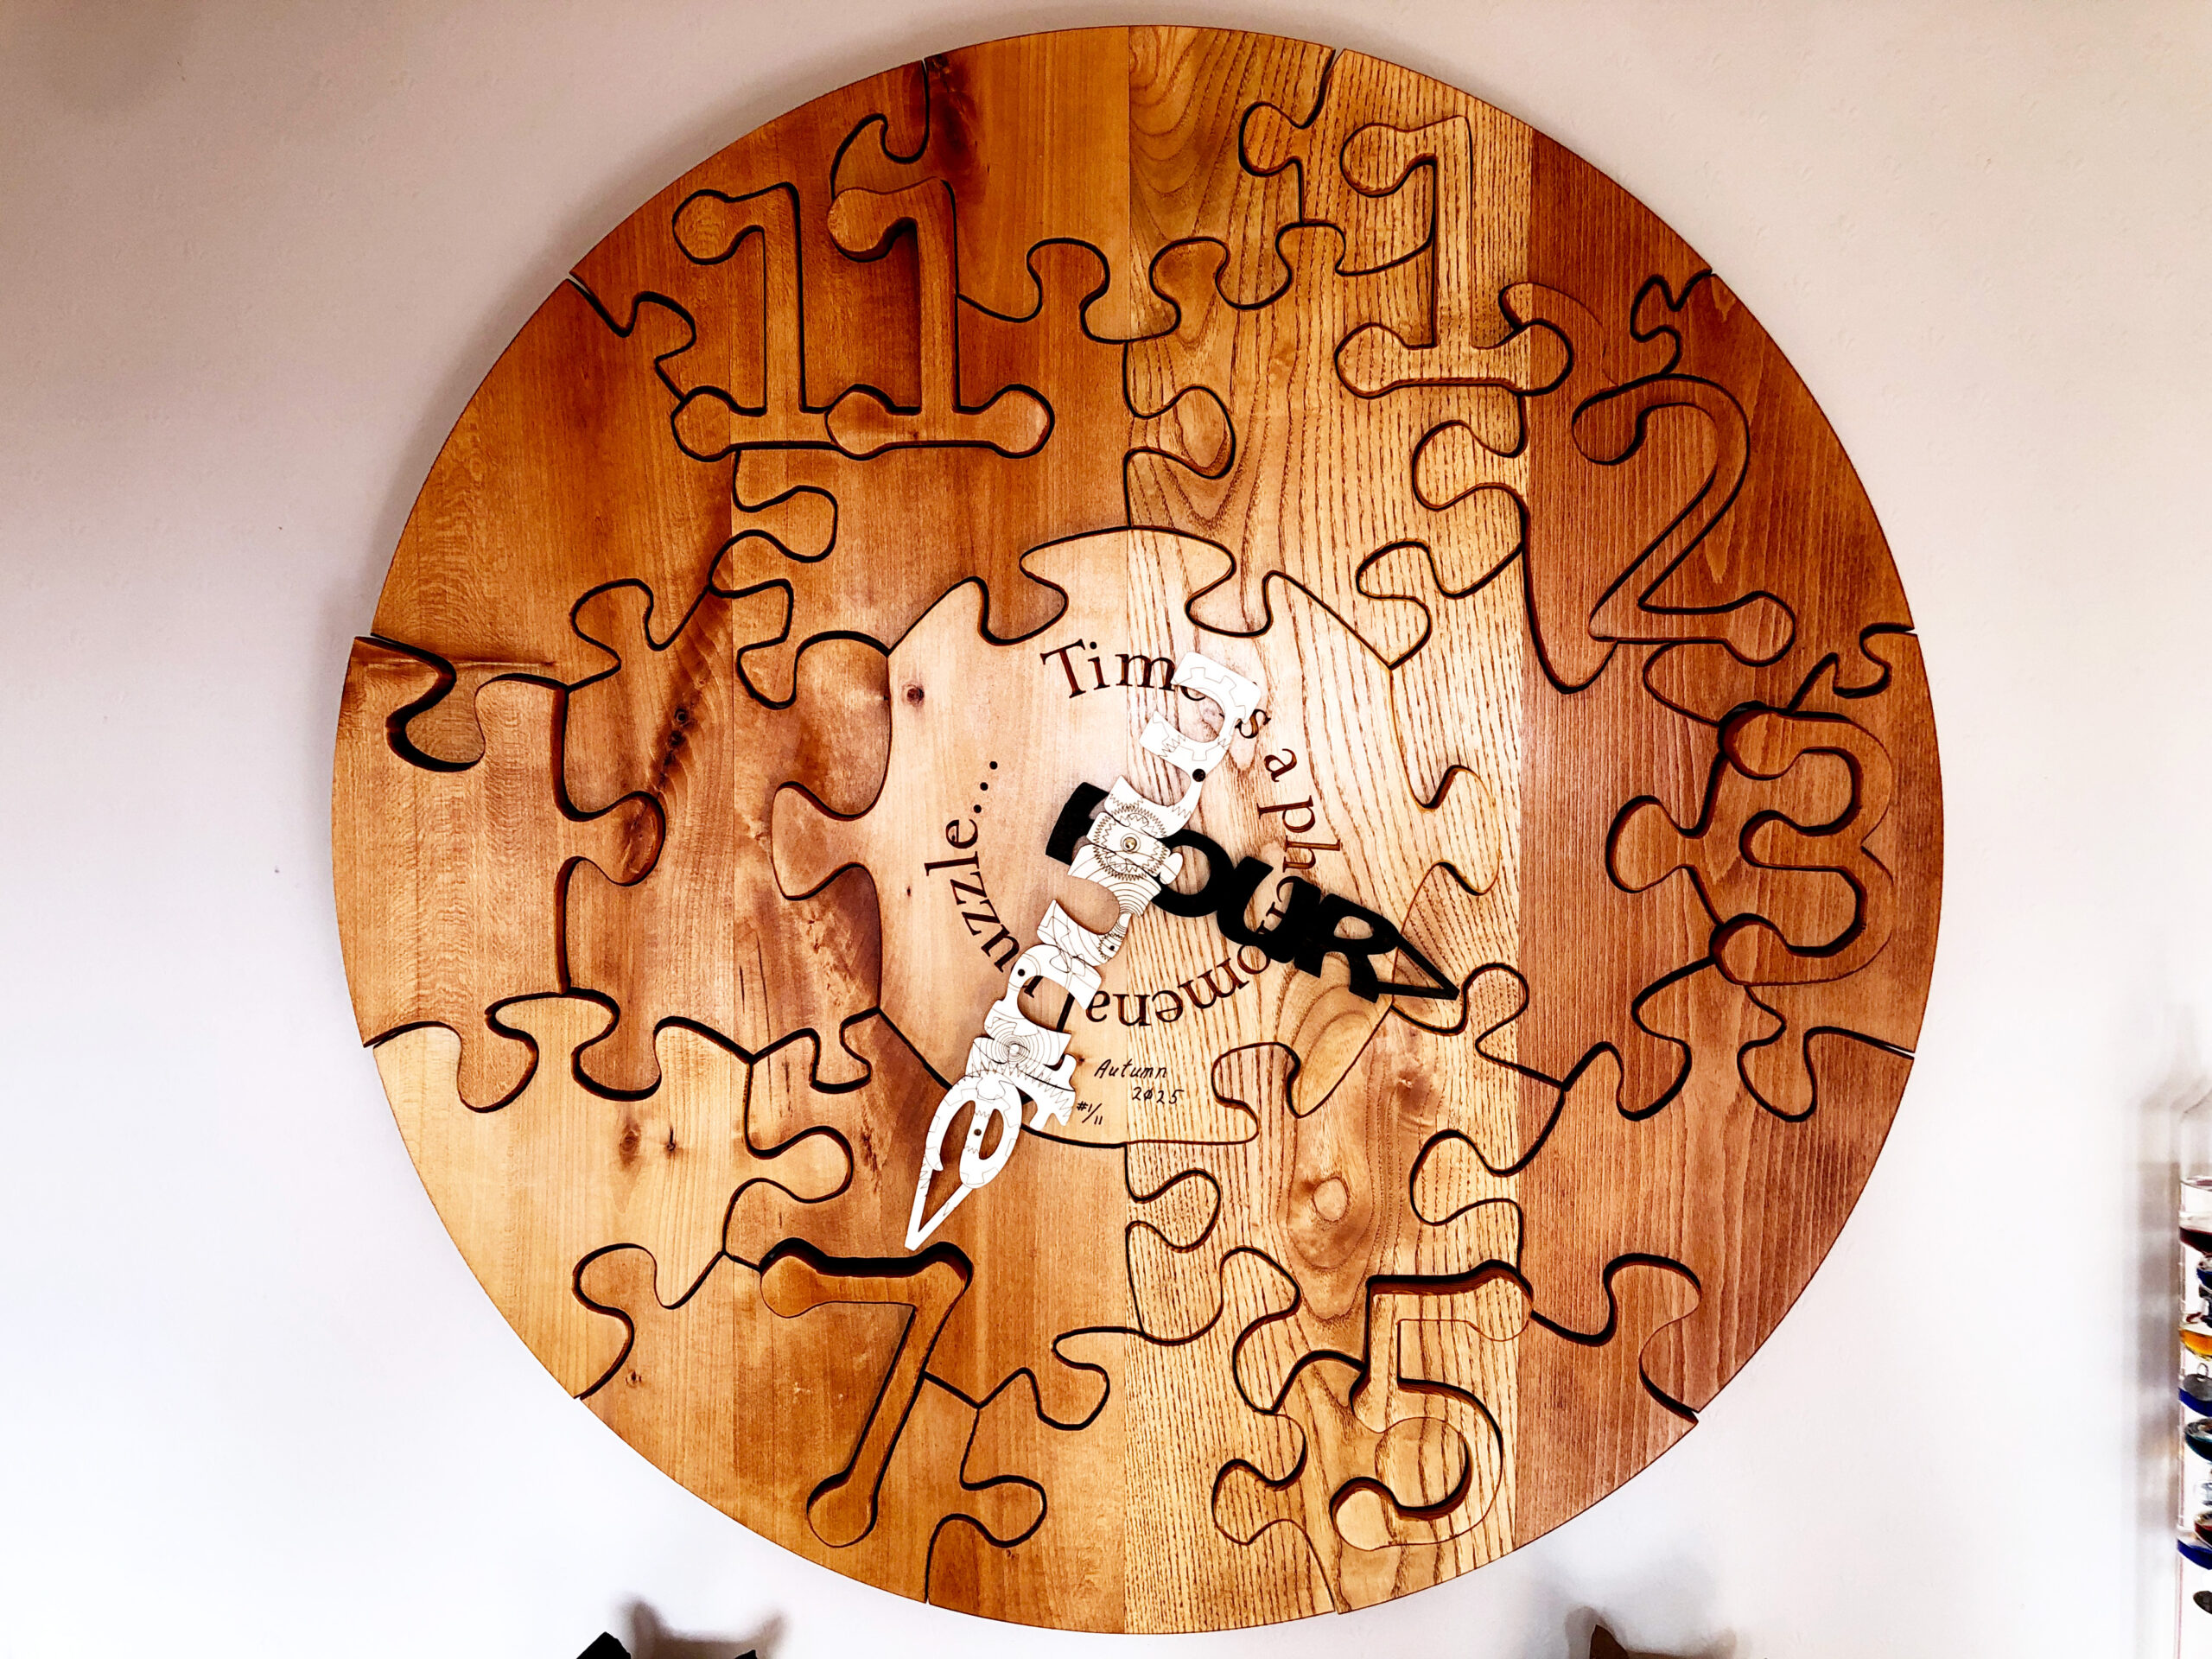
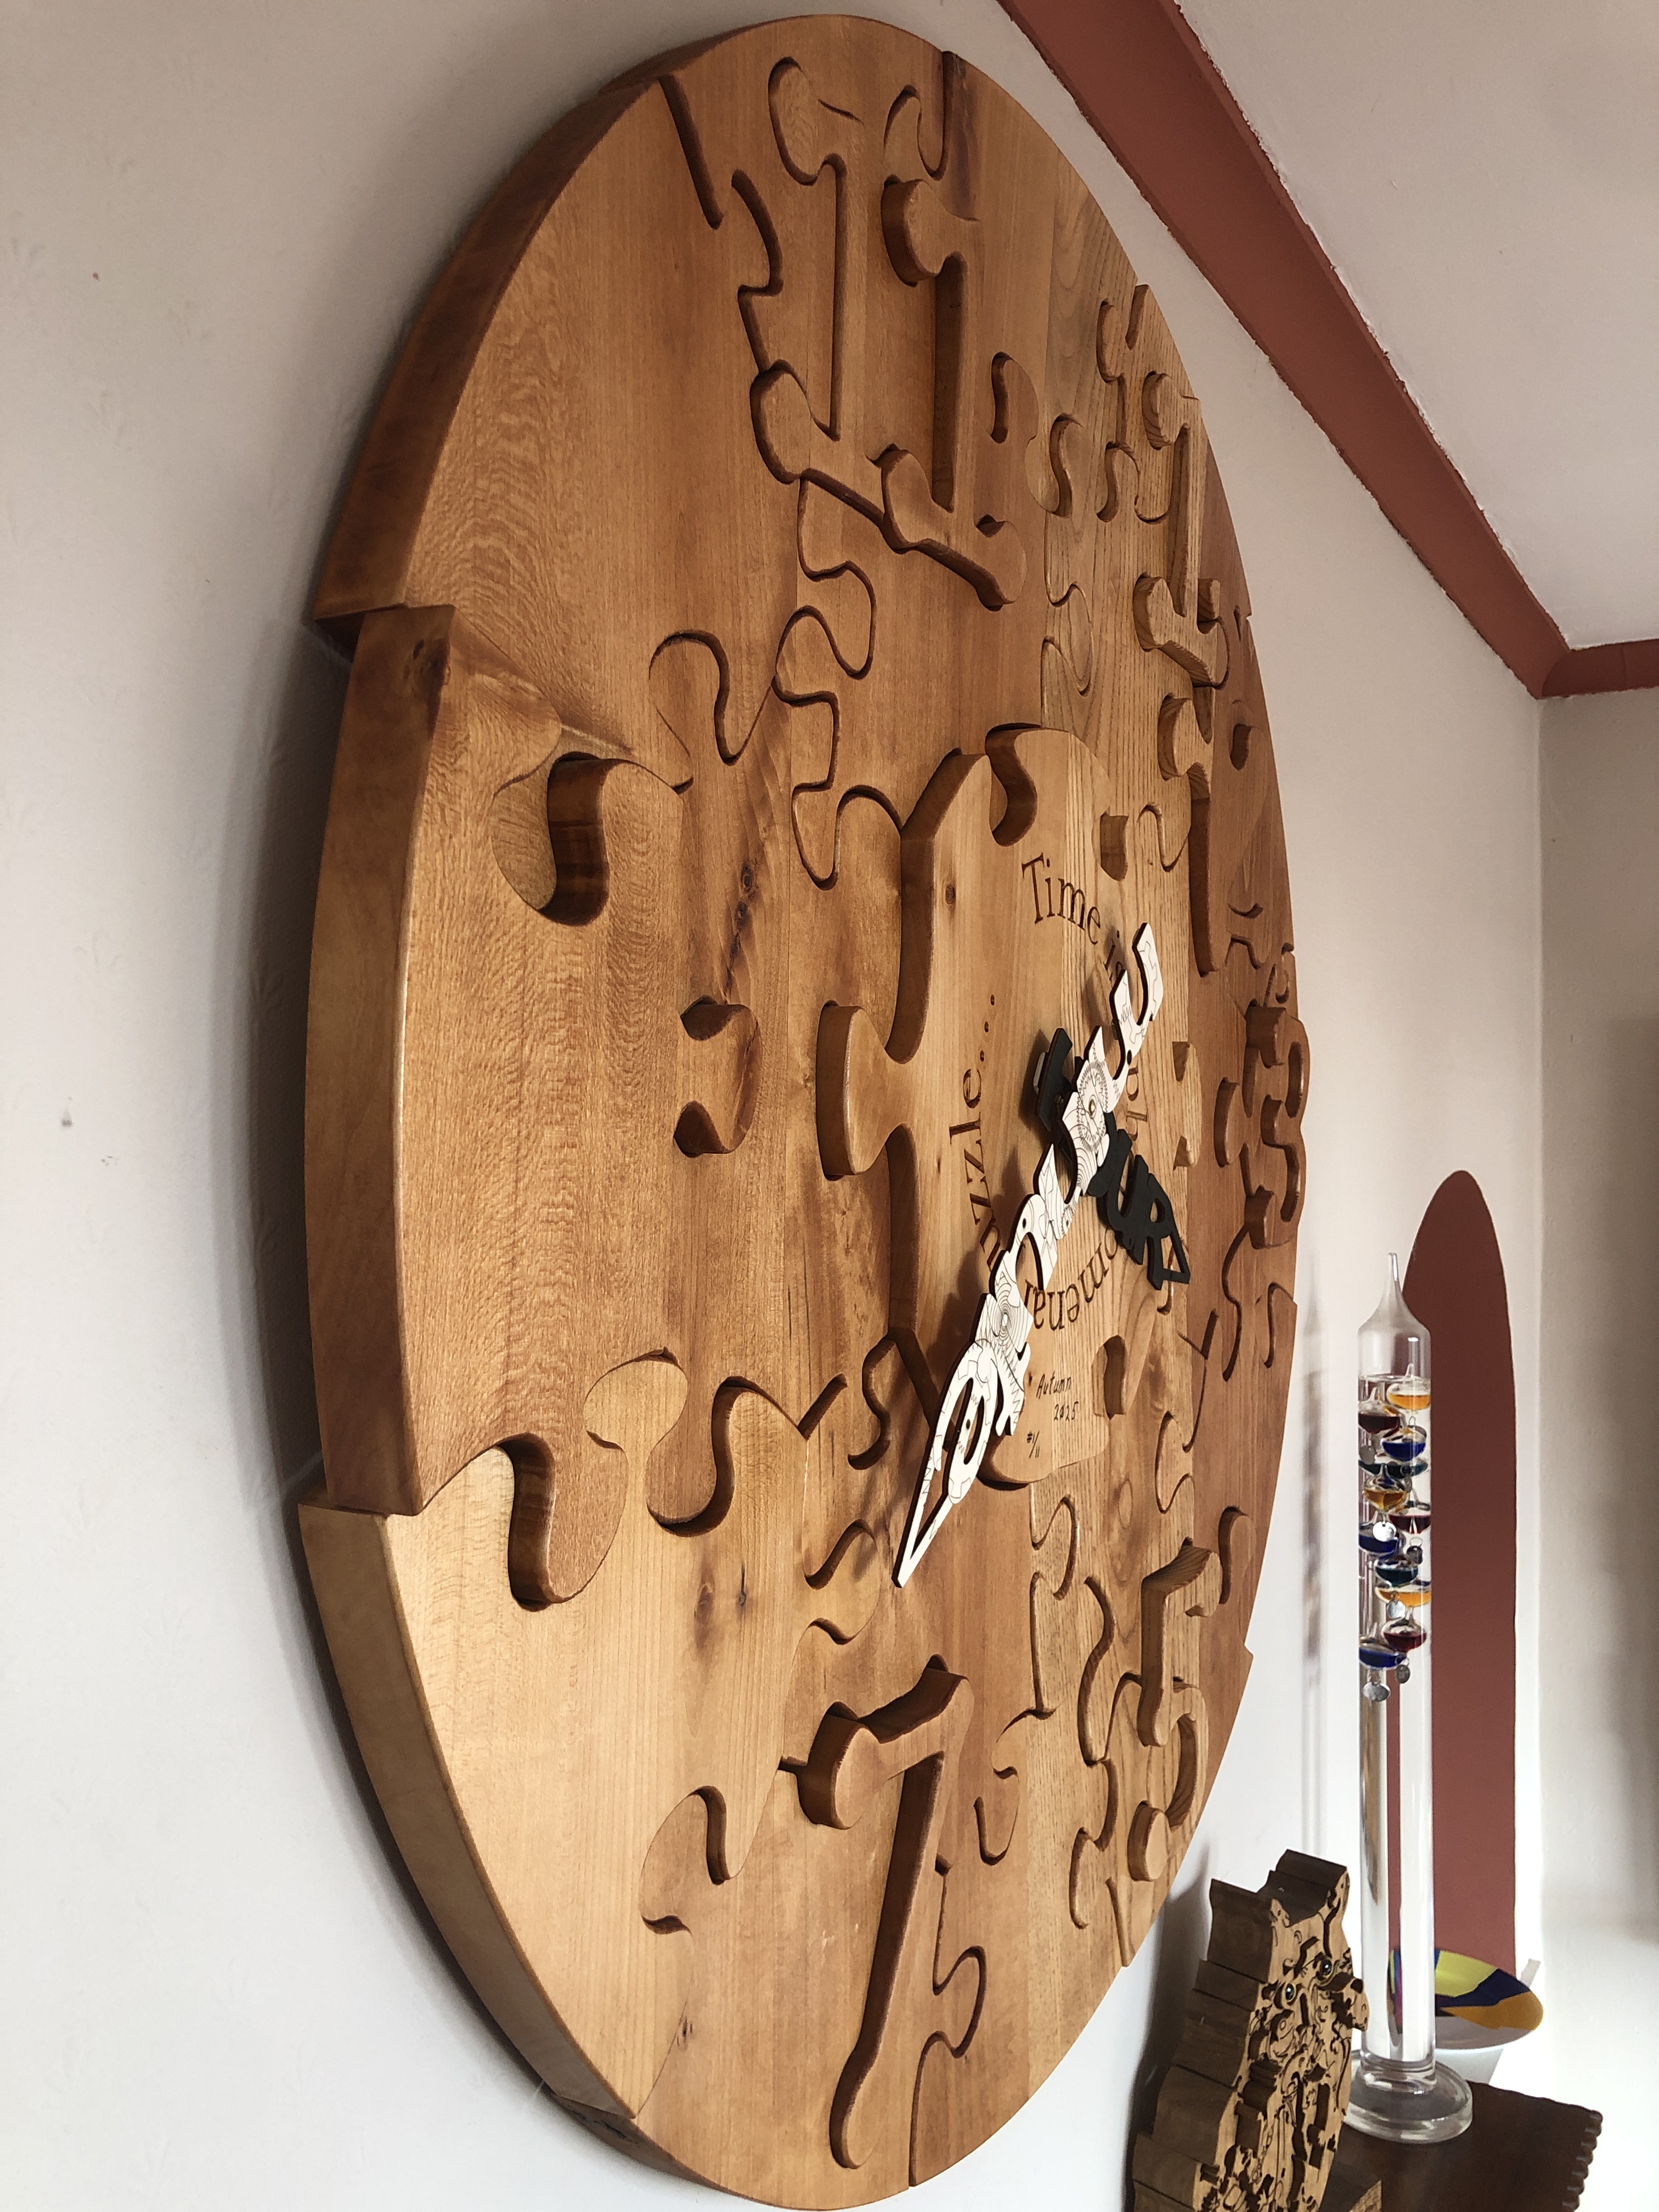
Title: “Time is a phenomenal puzzle…(Clock and Art Puzzle)” Artist: Michael Autumn Medium: Oak wood clock face and plywood hands. Working clock movement. Size: 95cm (W) x 95cm (H) Edition: 11 (only made to order) Authenticity: Hand-engraved (bottom, center of main central piece). Date: 03/2025
This is an artwork primarily about time – that eternal puzzle in human minds – mine included – and what better way to depict time than by a clock…? However, during my journey in creating this piece I realised that it is also about gravity – because without gravity this clock would simply fall apart – because there is nothing else holding it together…! And this ties in nicely with Einstein’s Theory of Relativity – where gravity deflects time (gravitational time dilation) in what is known as “spacetime”…
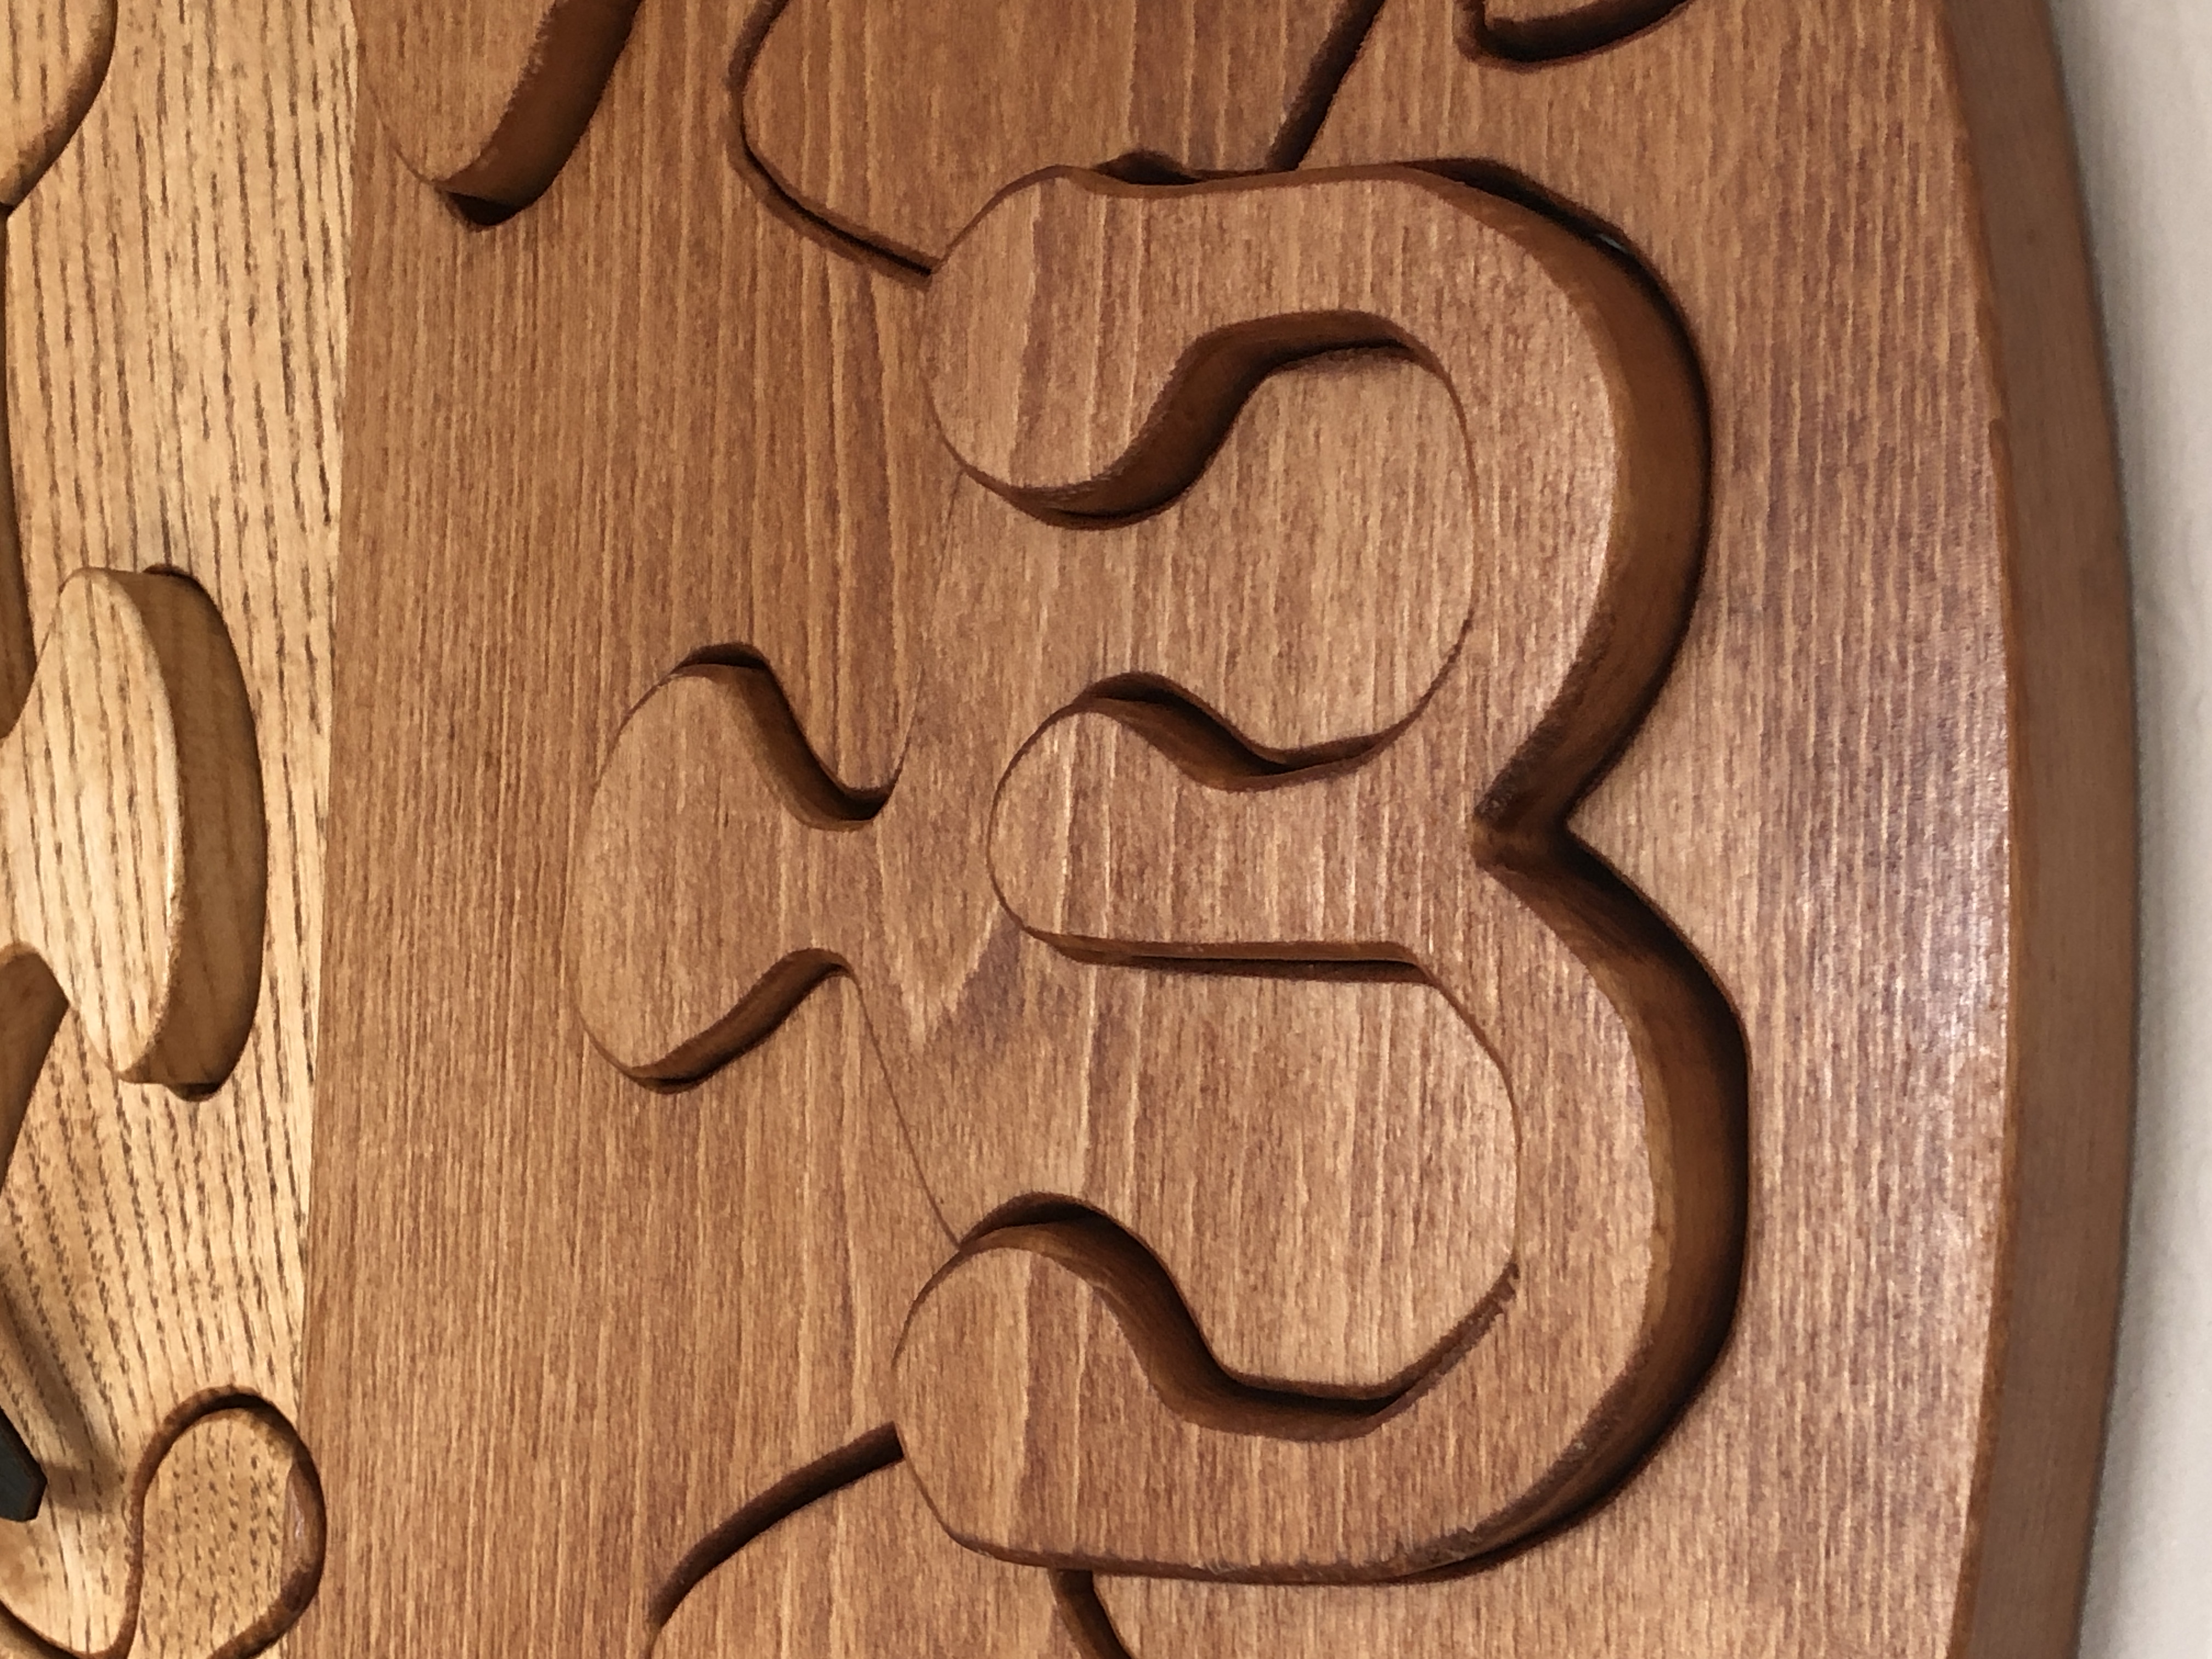
But this is not a normal clock (as you might expect from me!?): it is in fact two puzzles – and it was quite a technical challenge or puzzle to design and make both of them…! There is nothing holding the clock face or clock hands jigsaw pieces together – other than gravity – i.e. their own weight. There is no glue, screws, or nails – all the pieces are gravity-defying wooden joints!
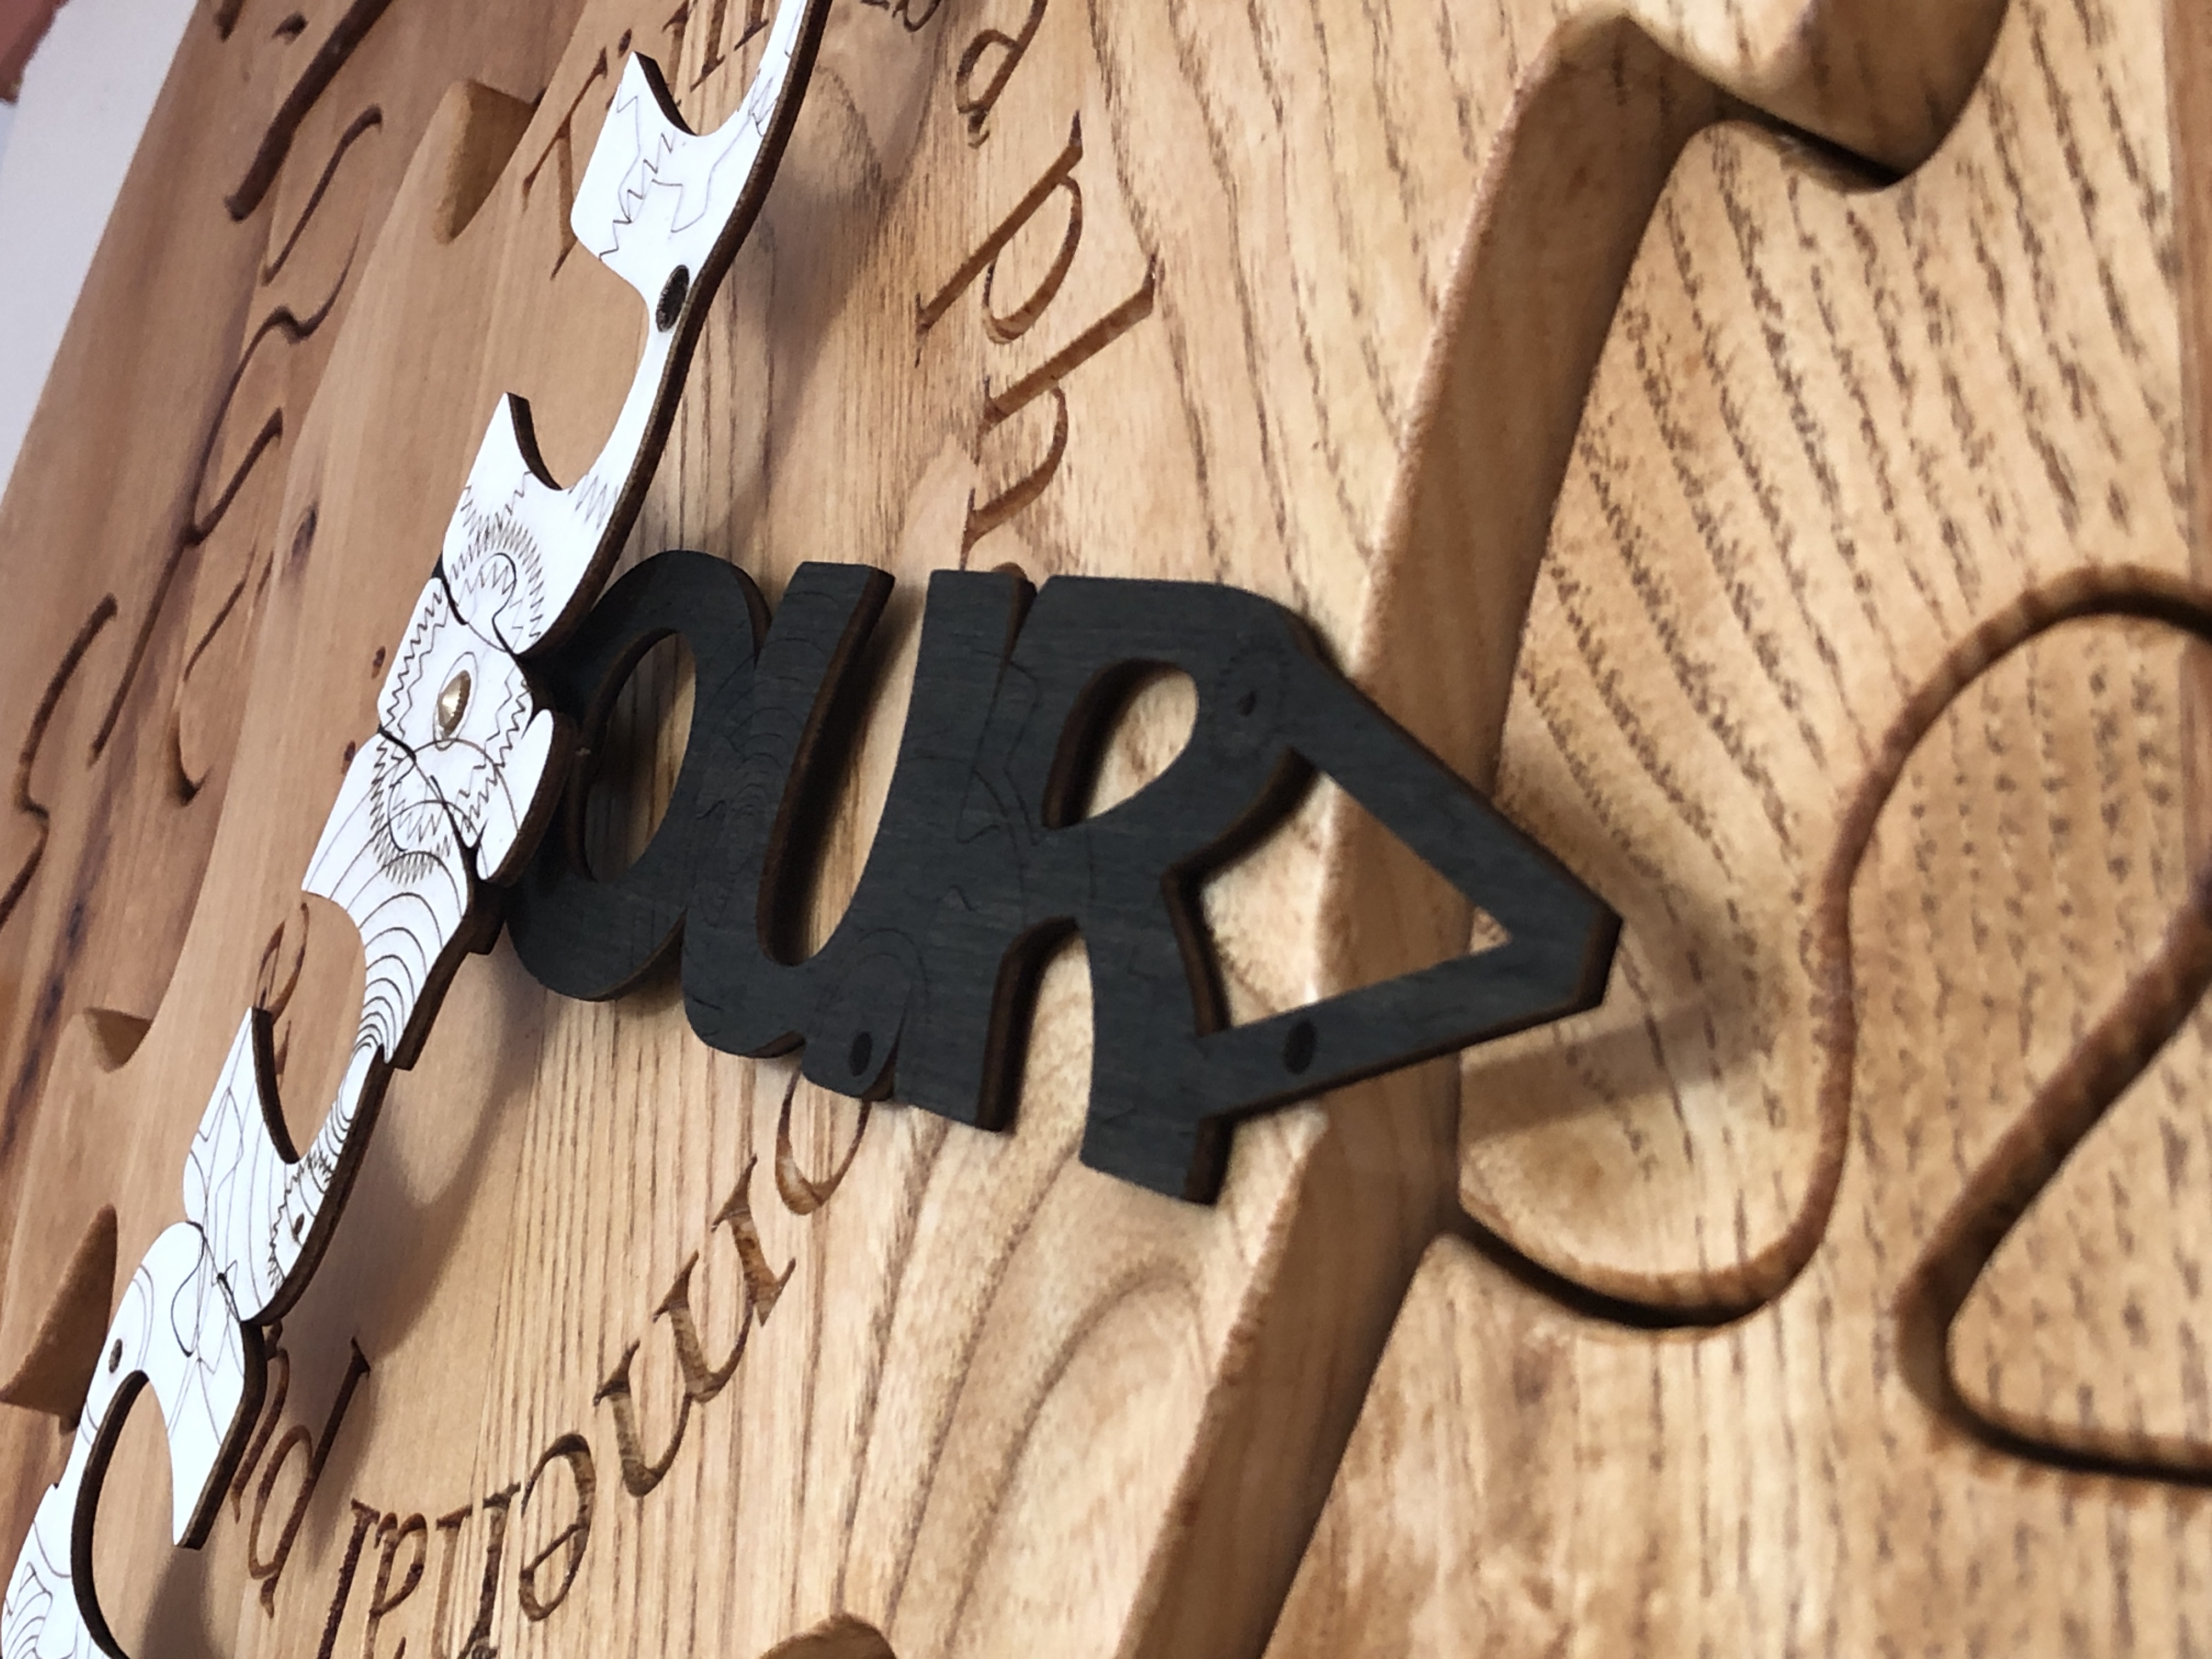
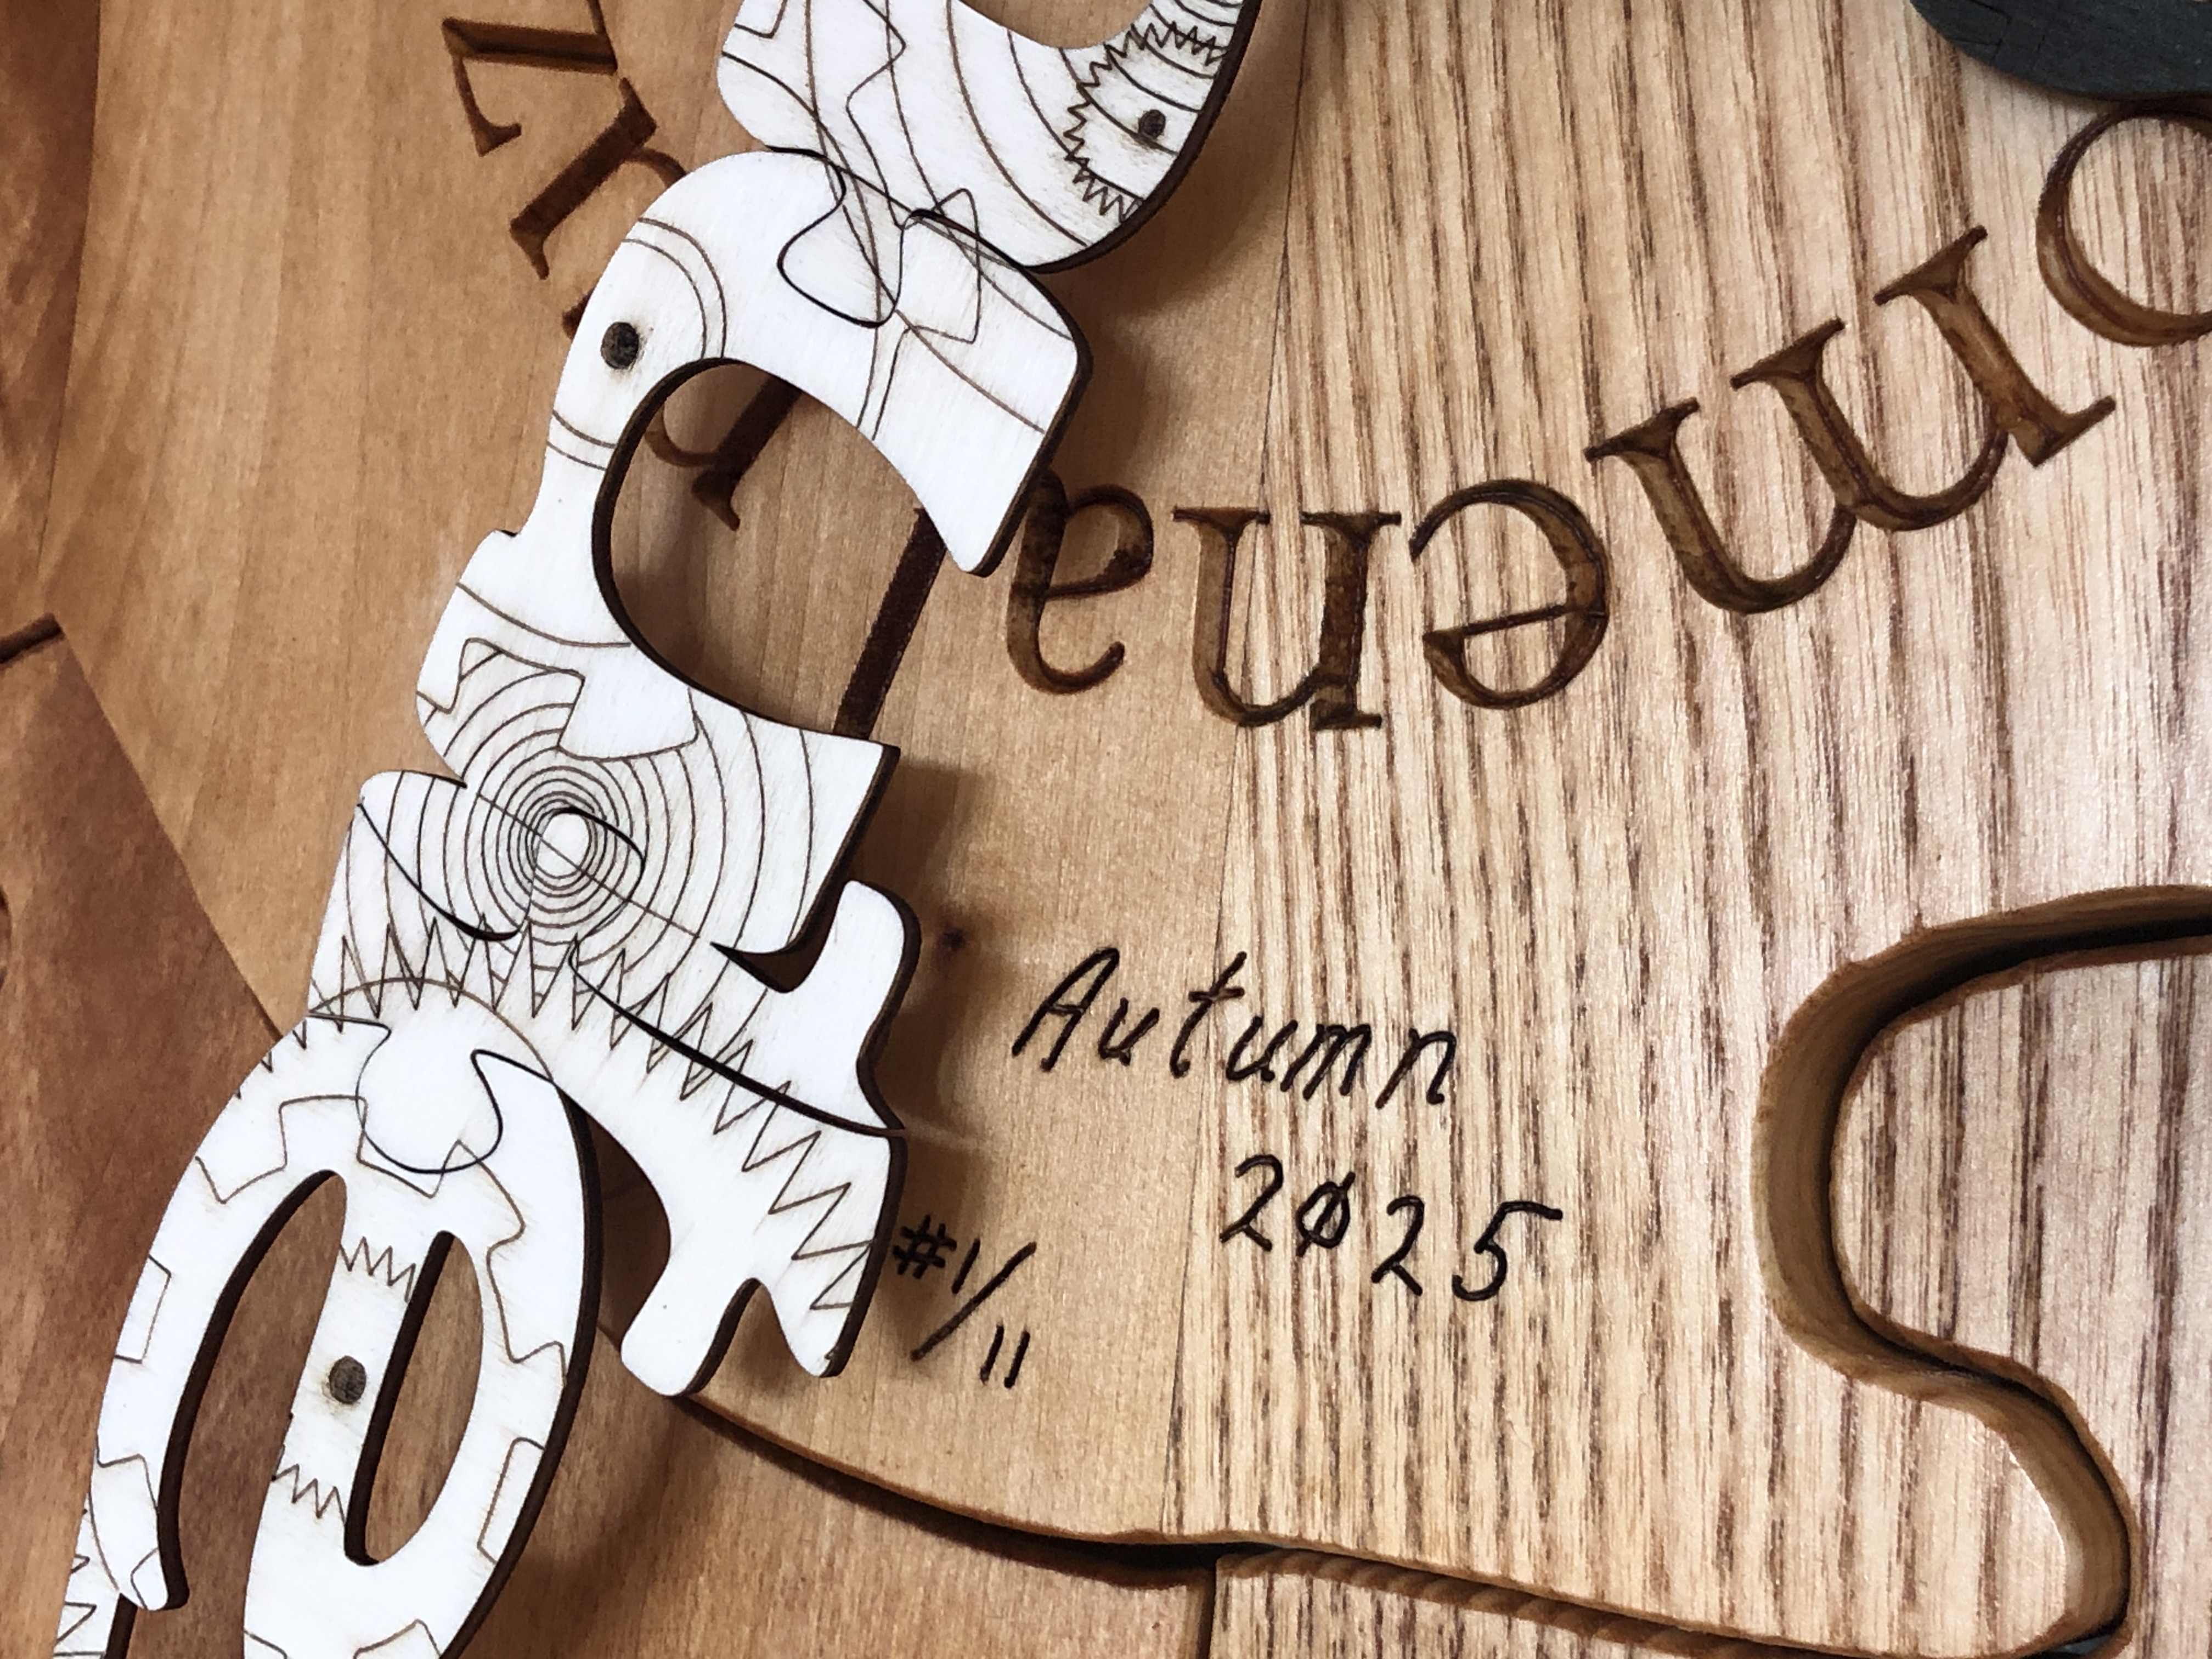
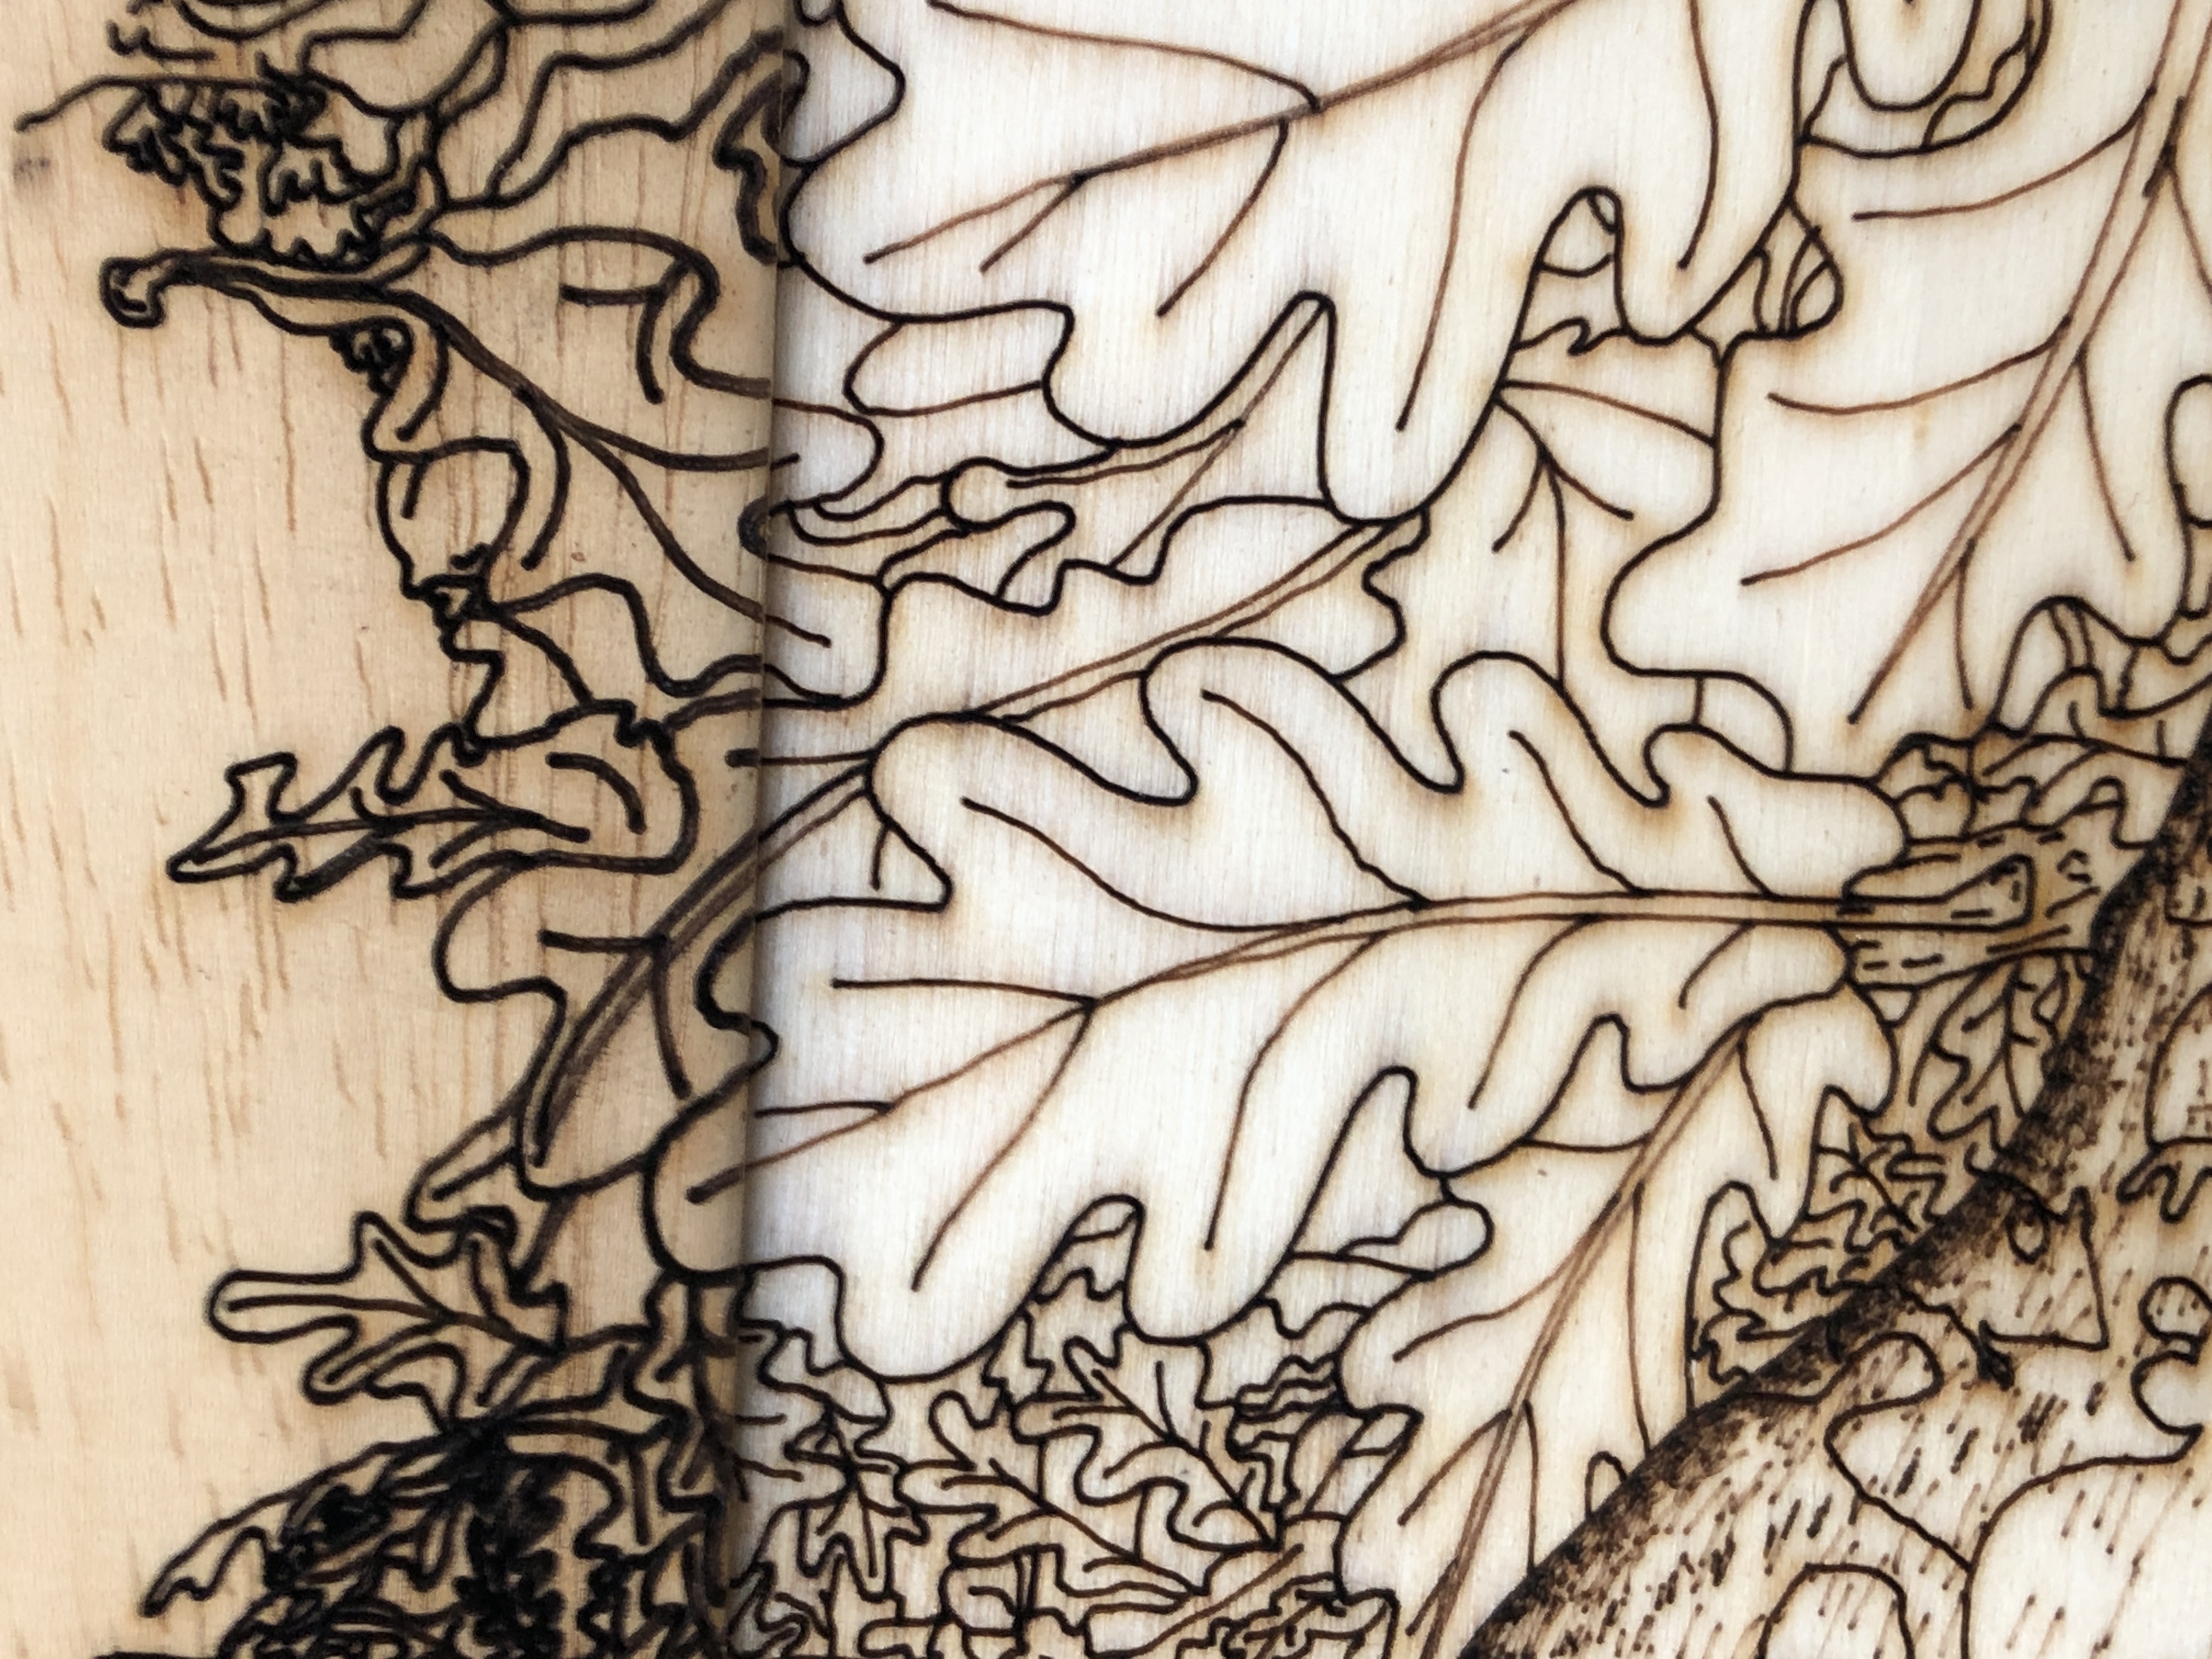
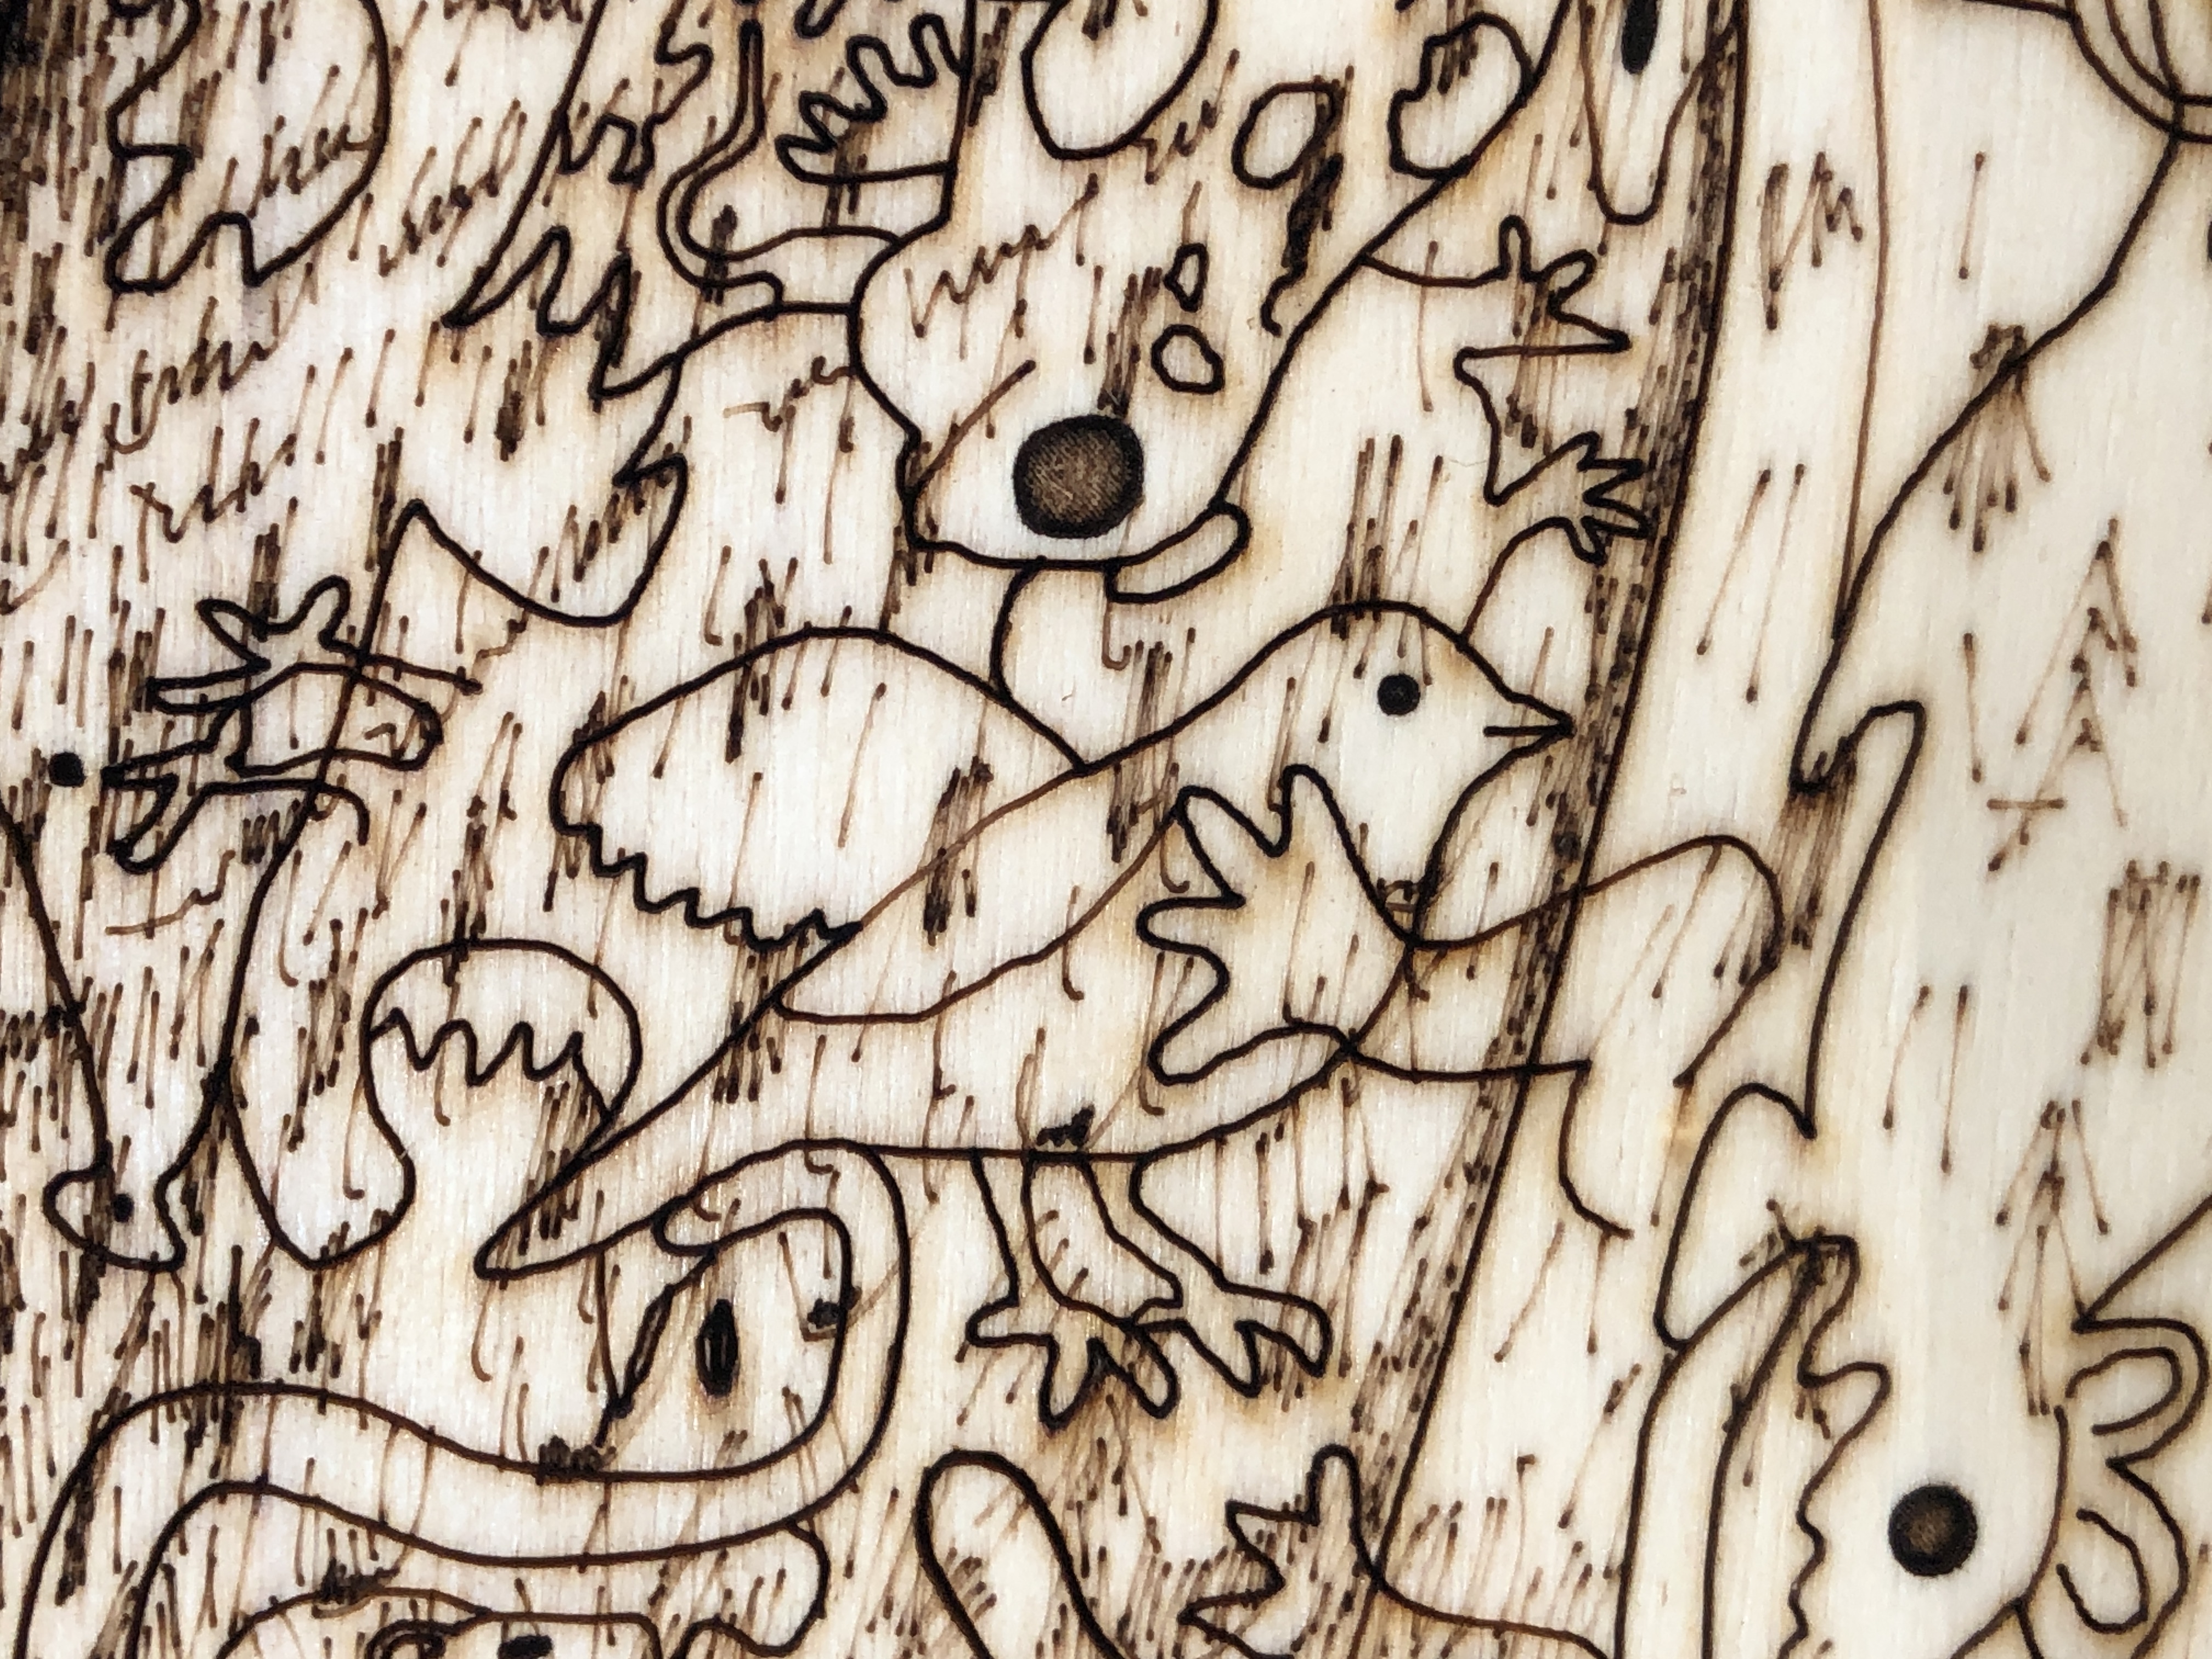
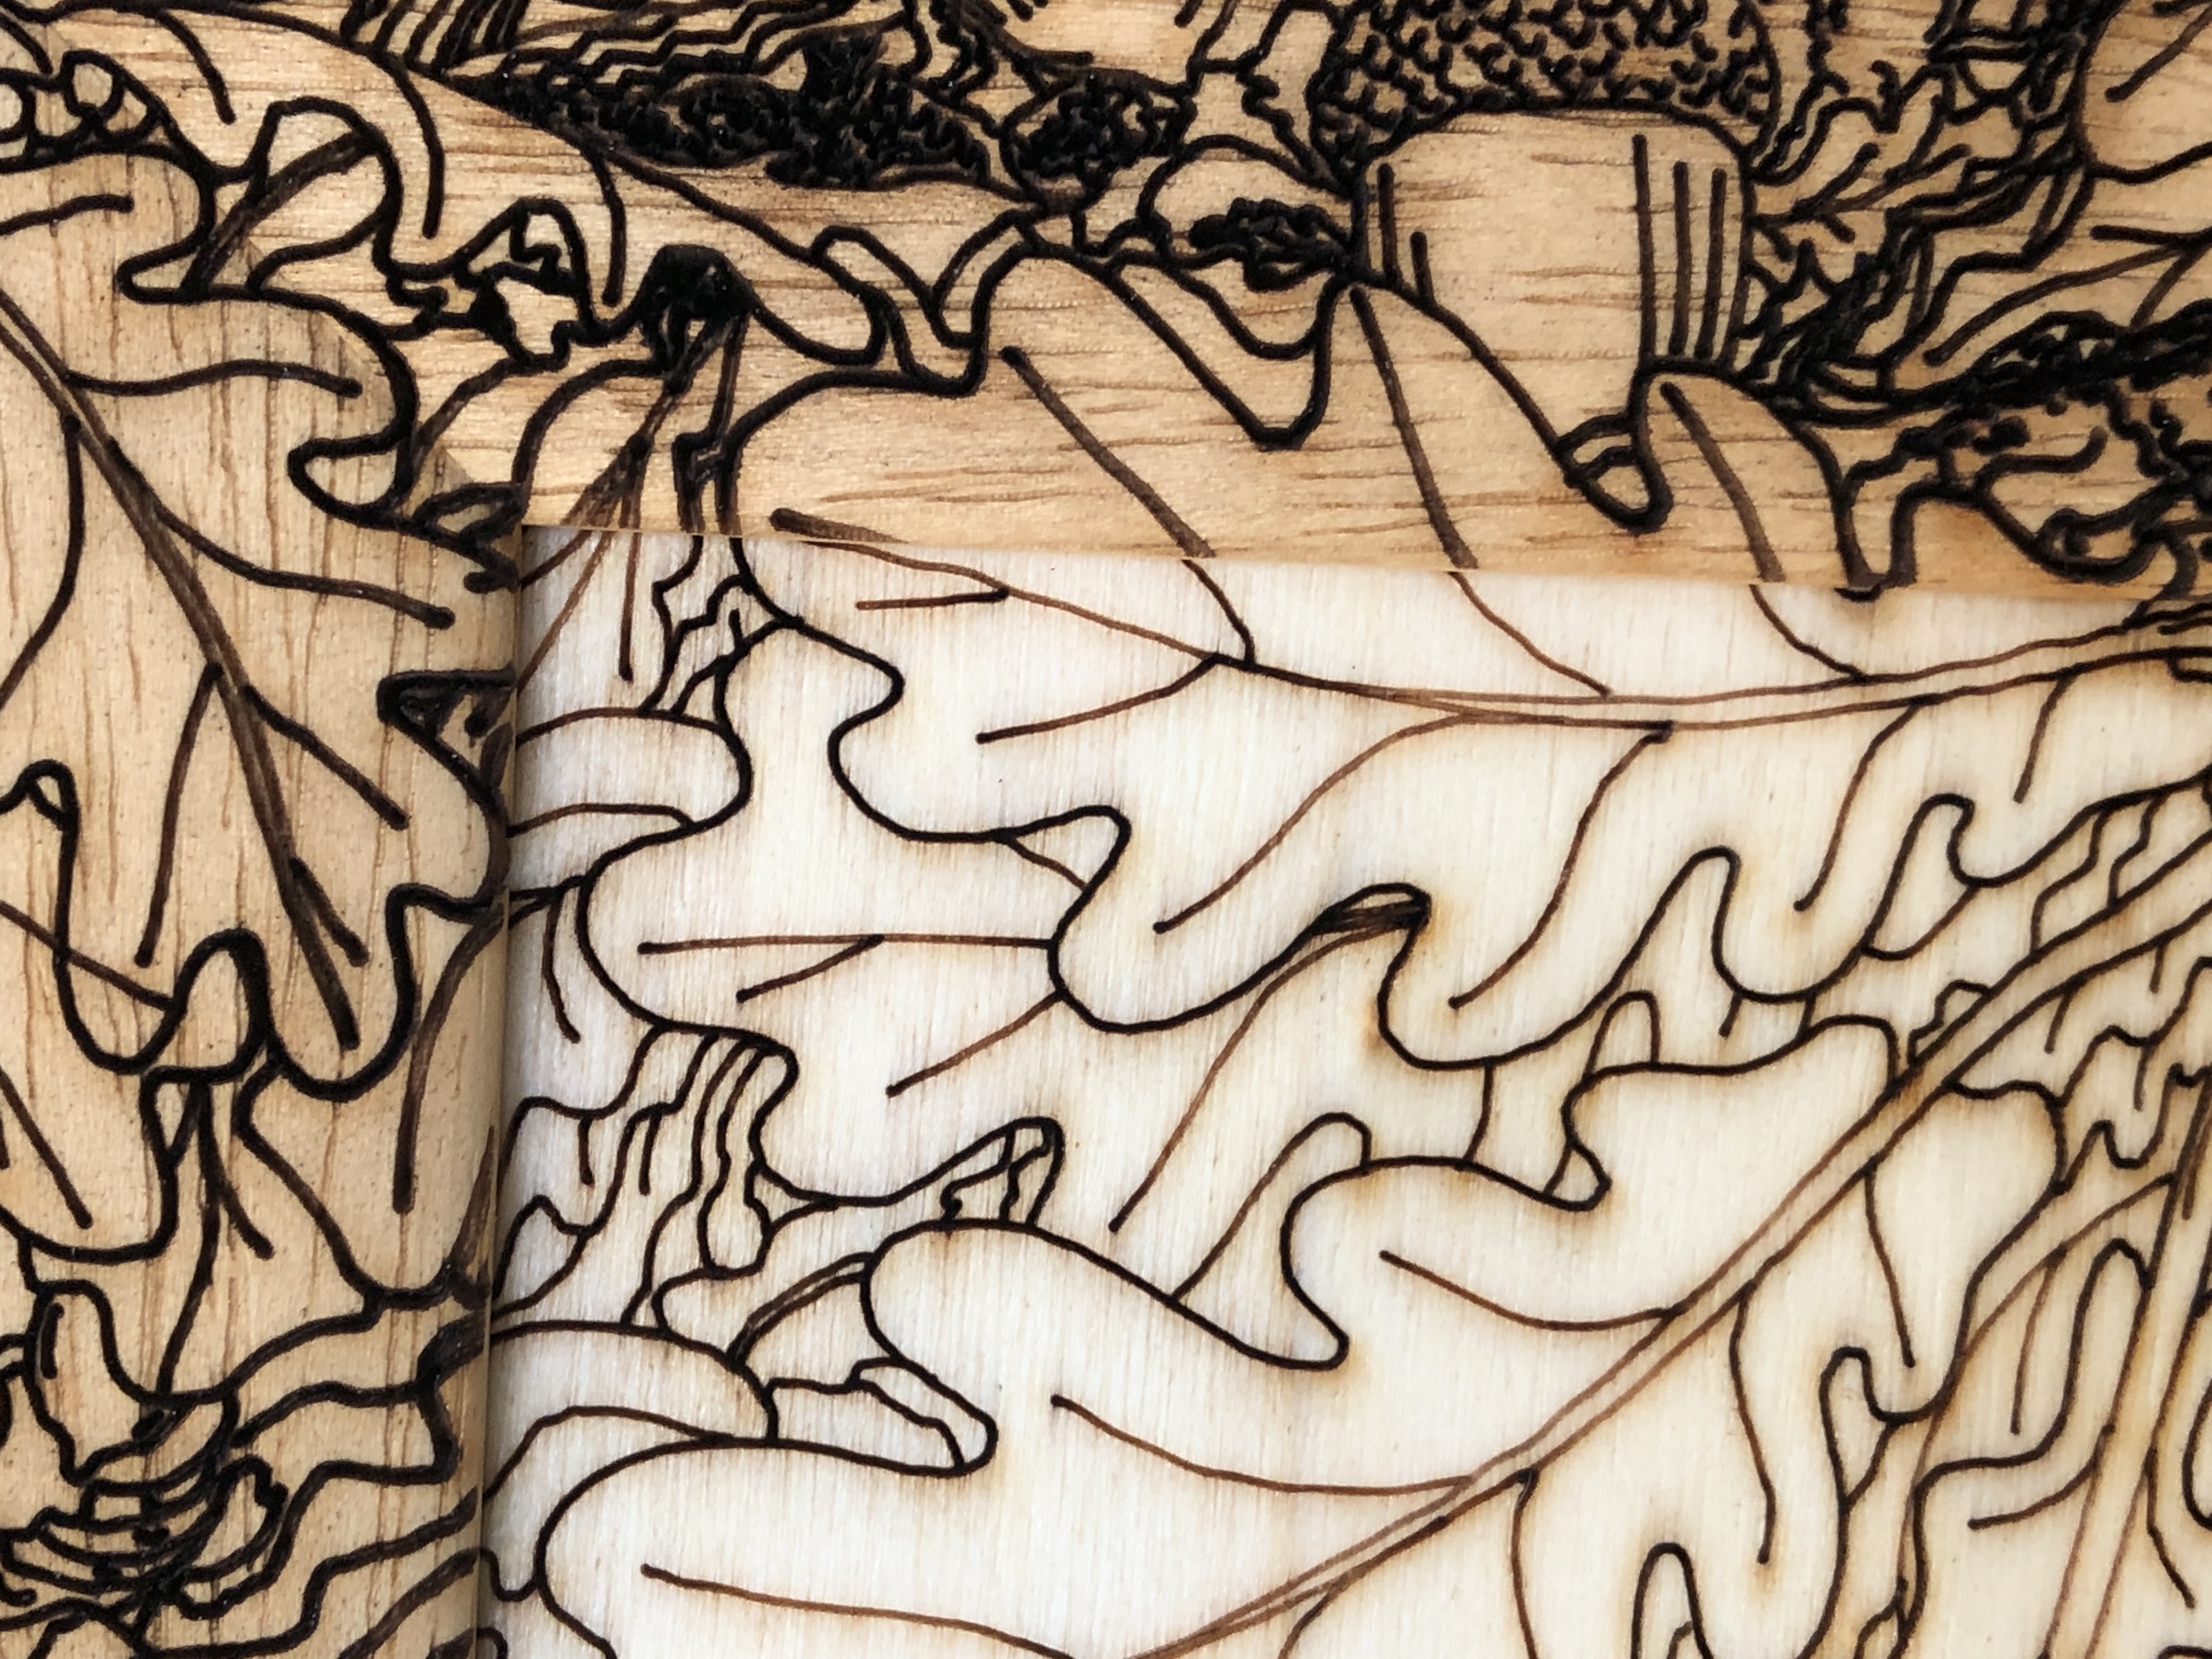
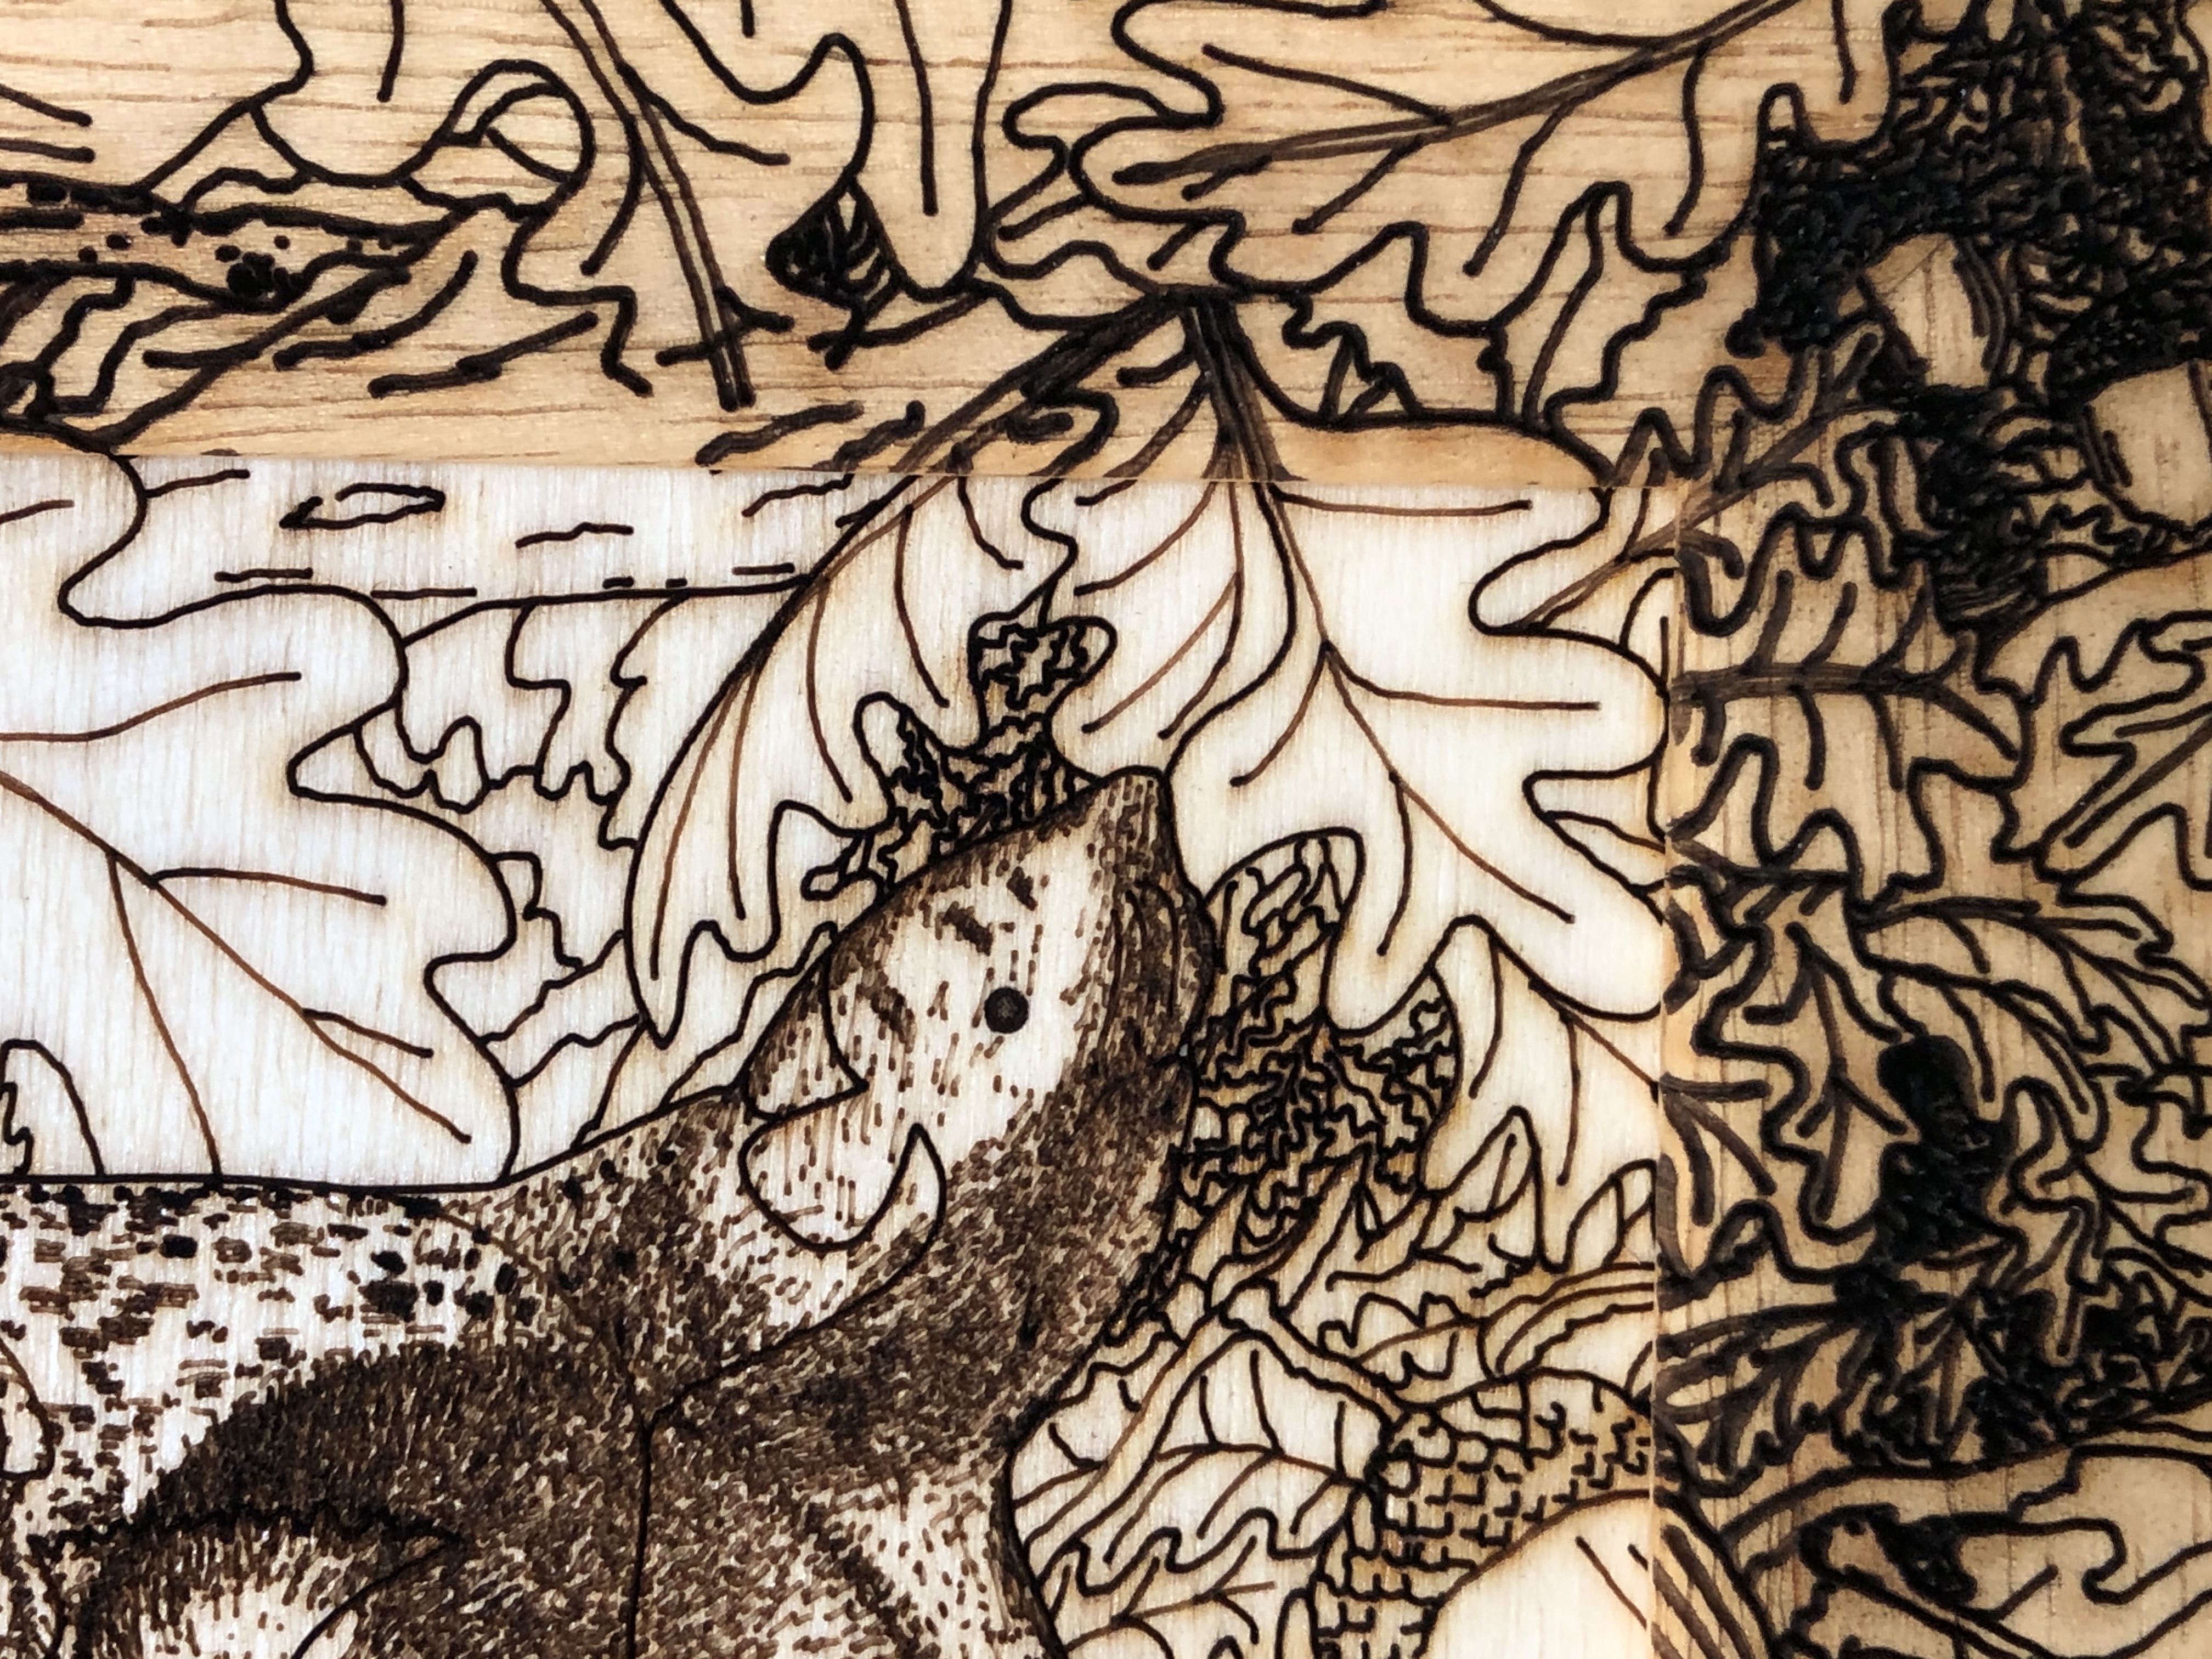
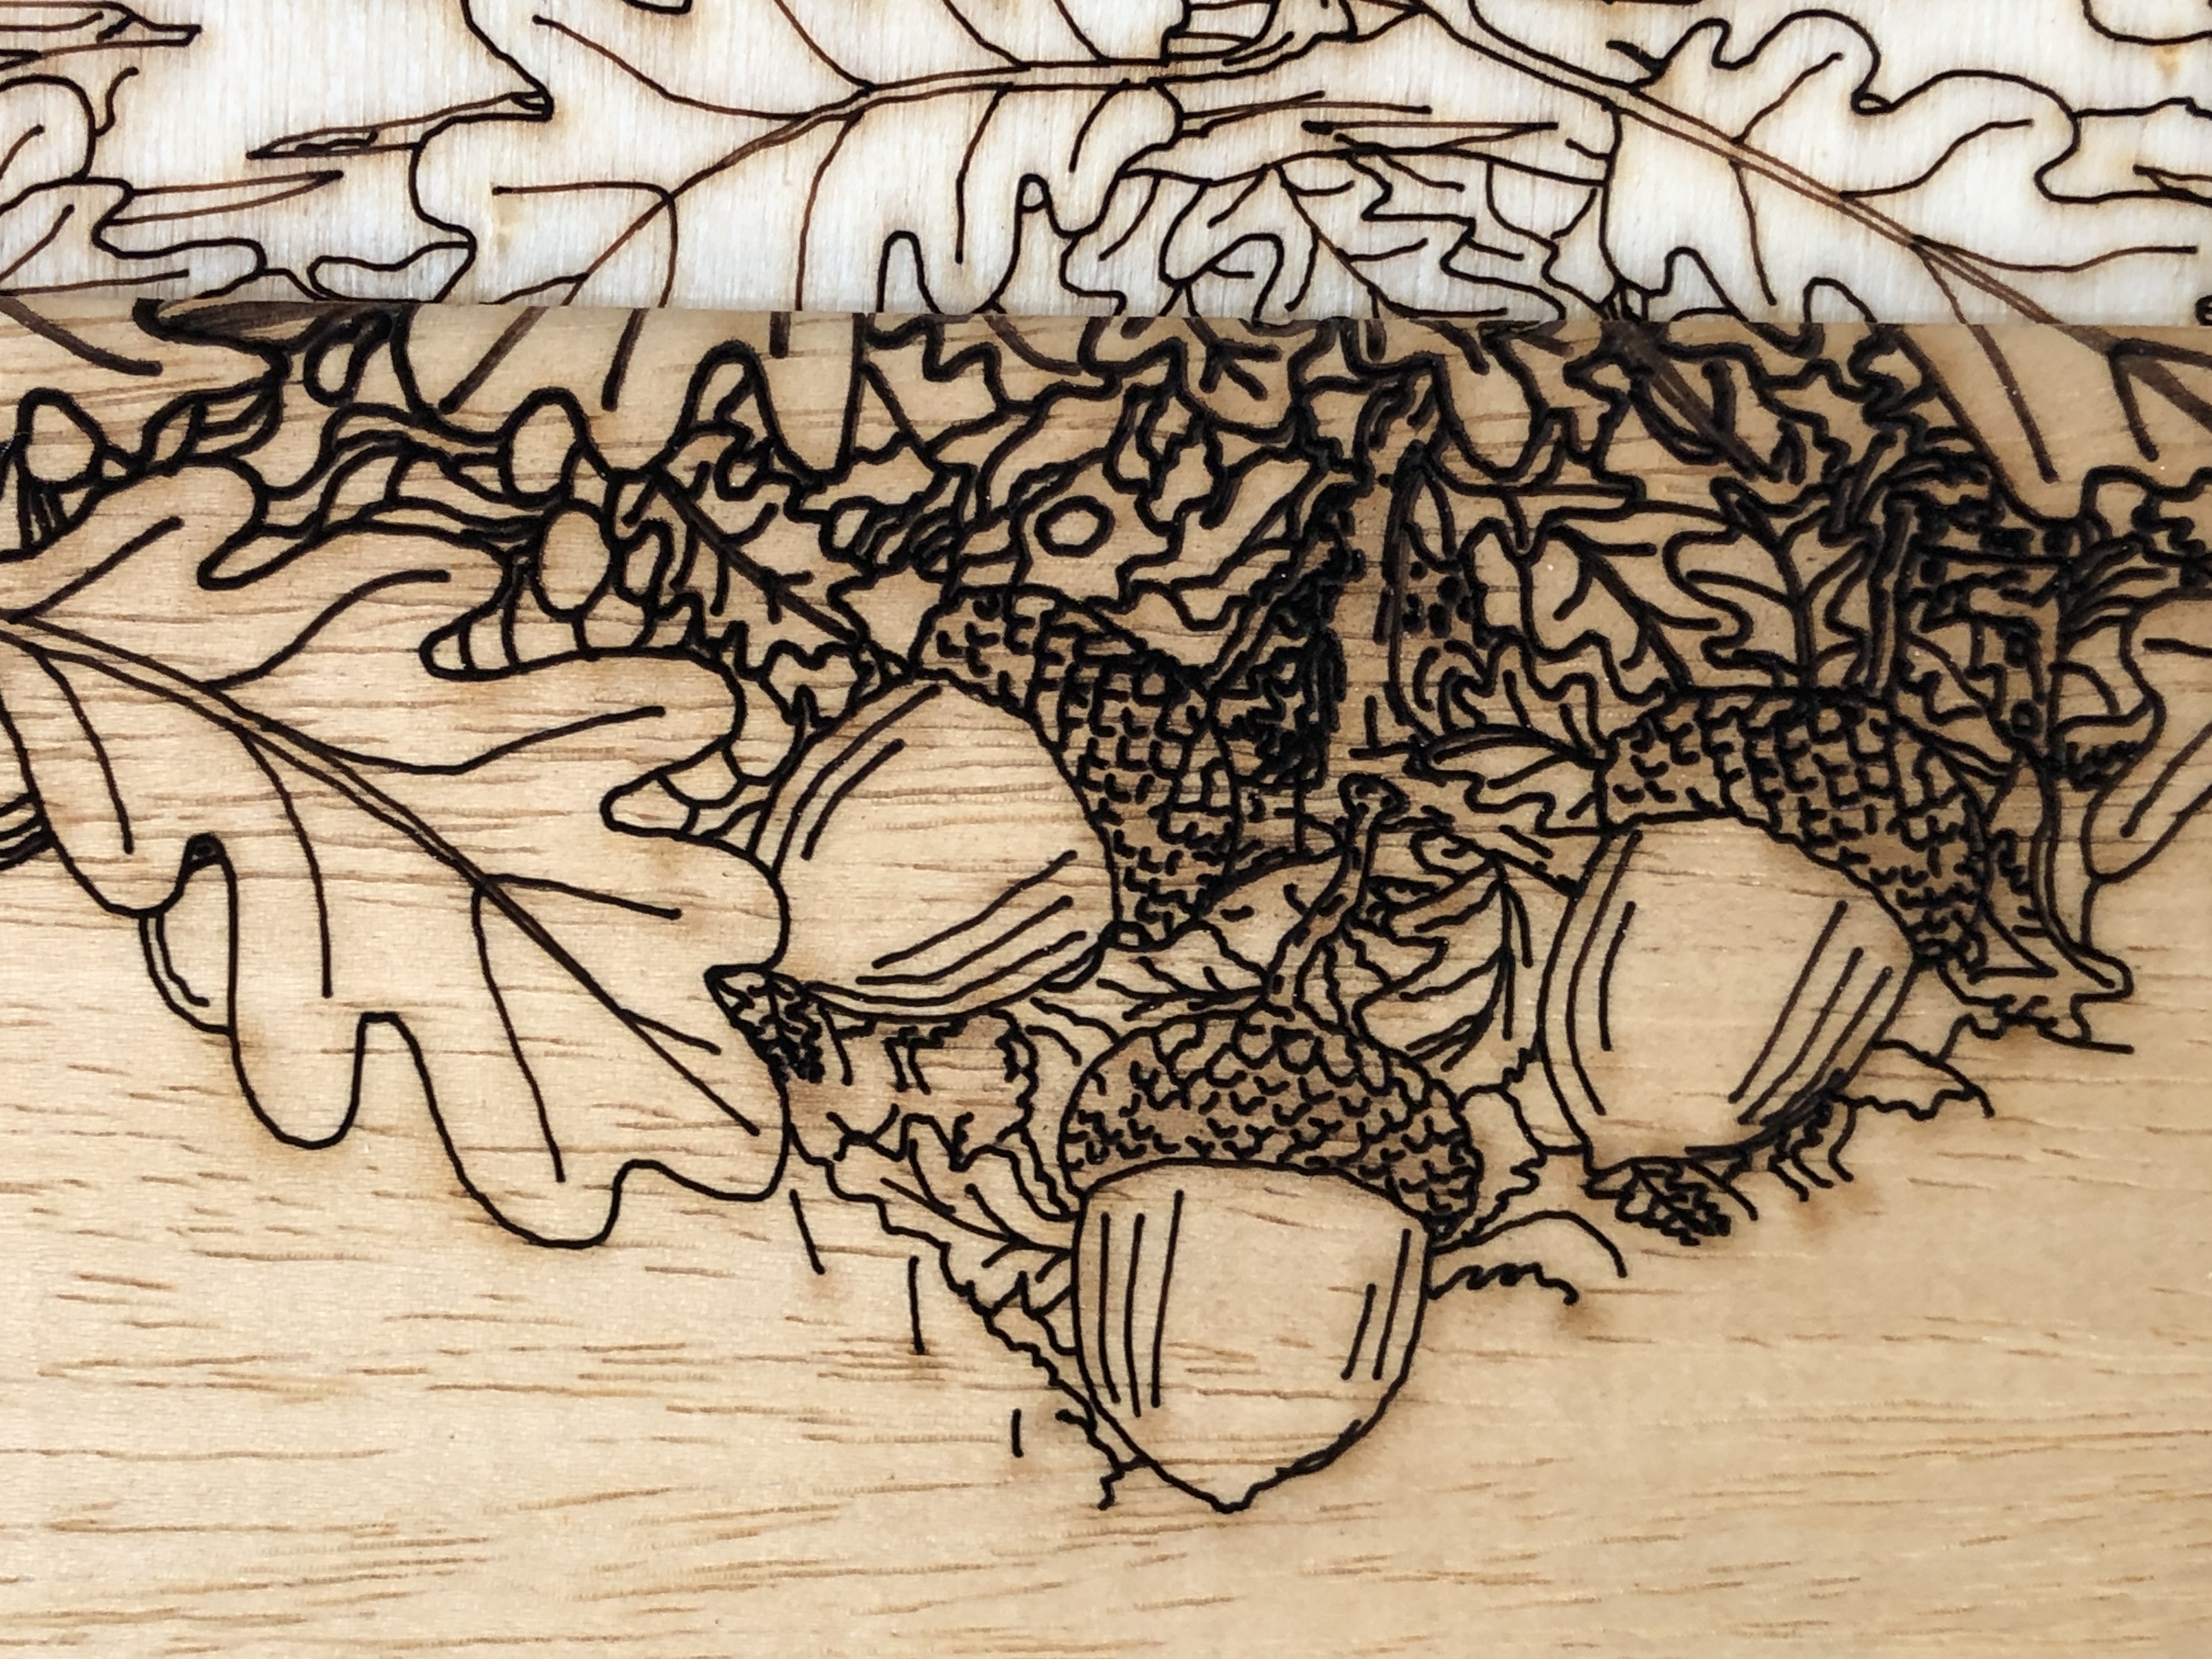
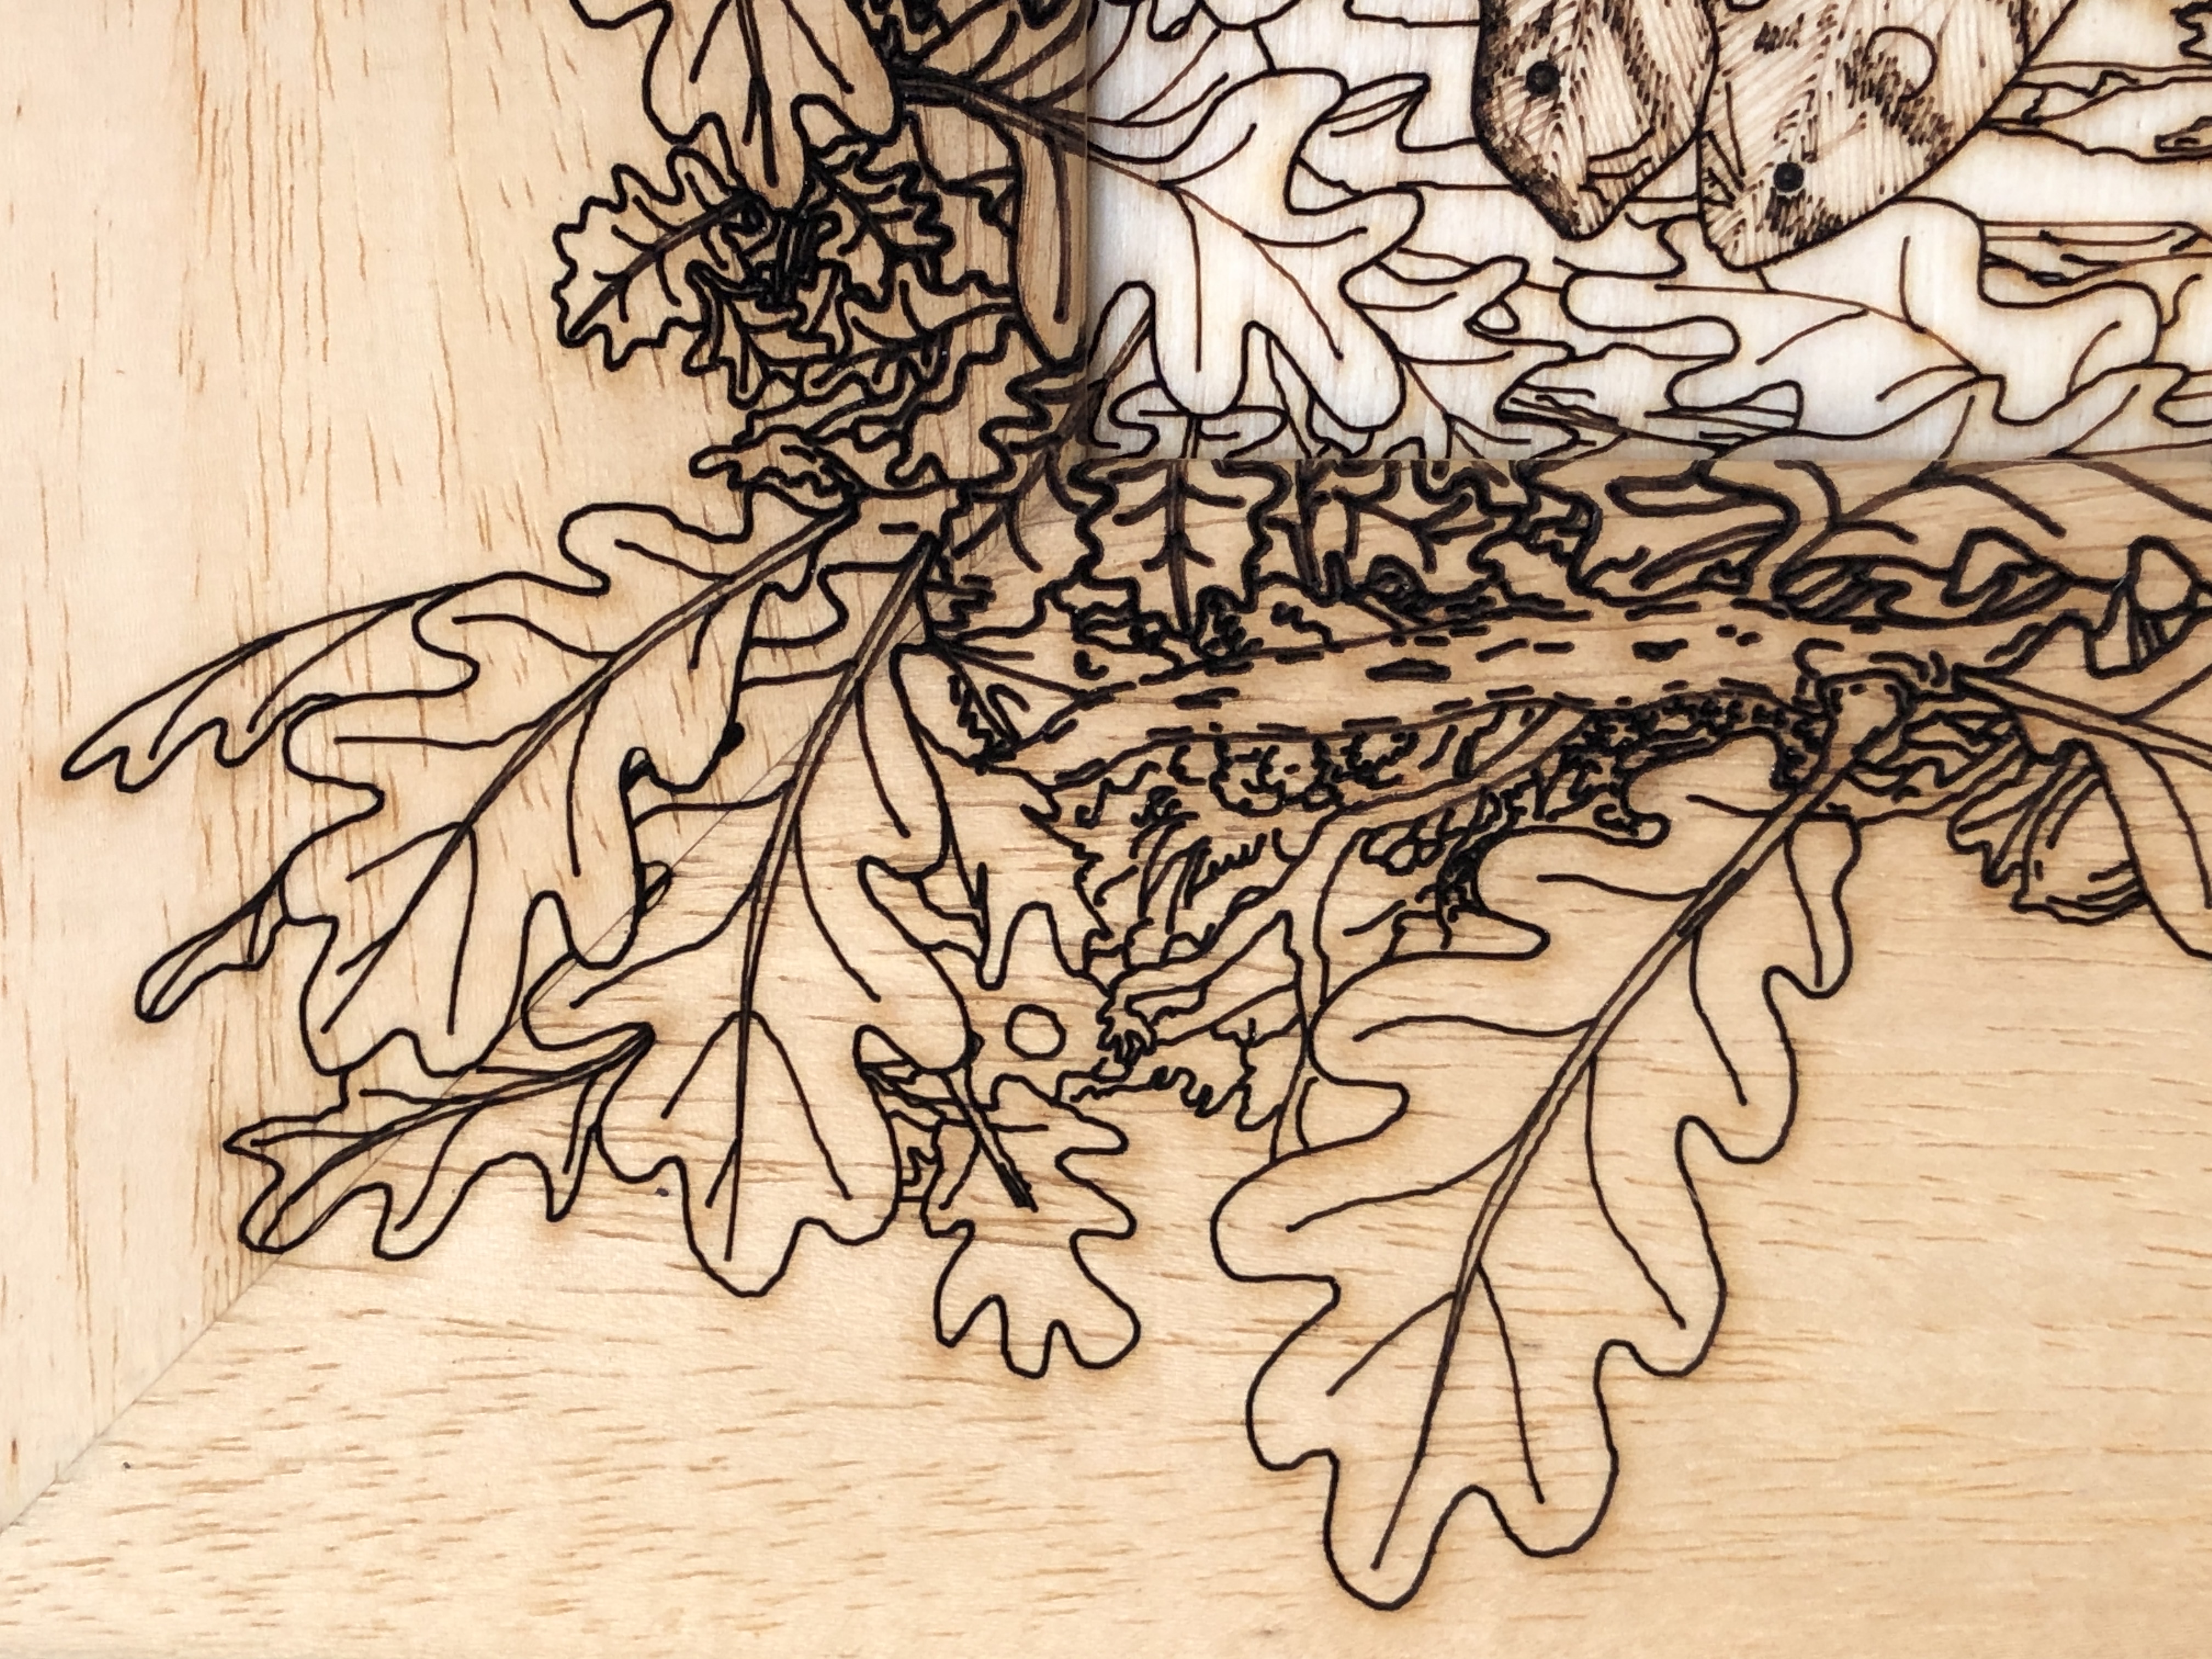
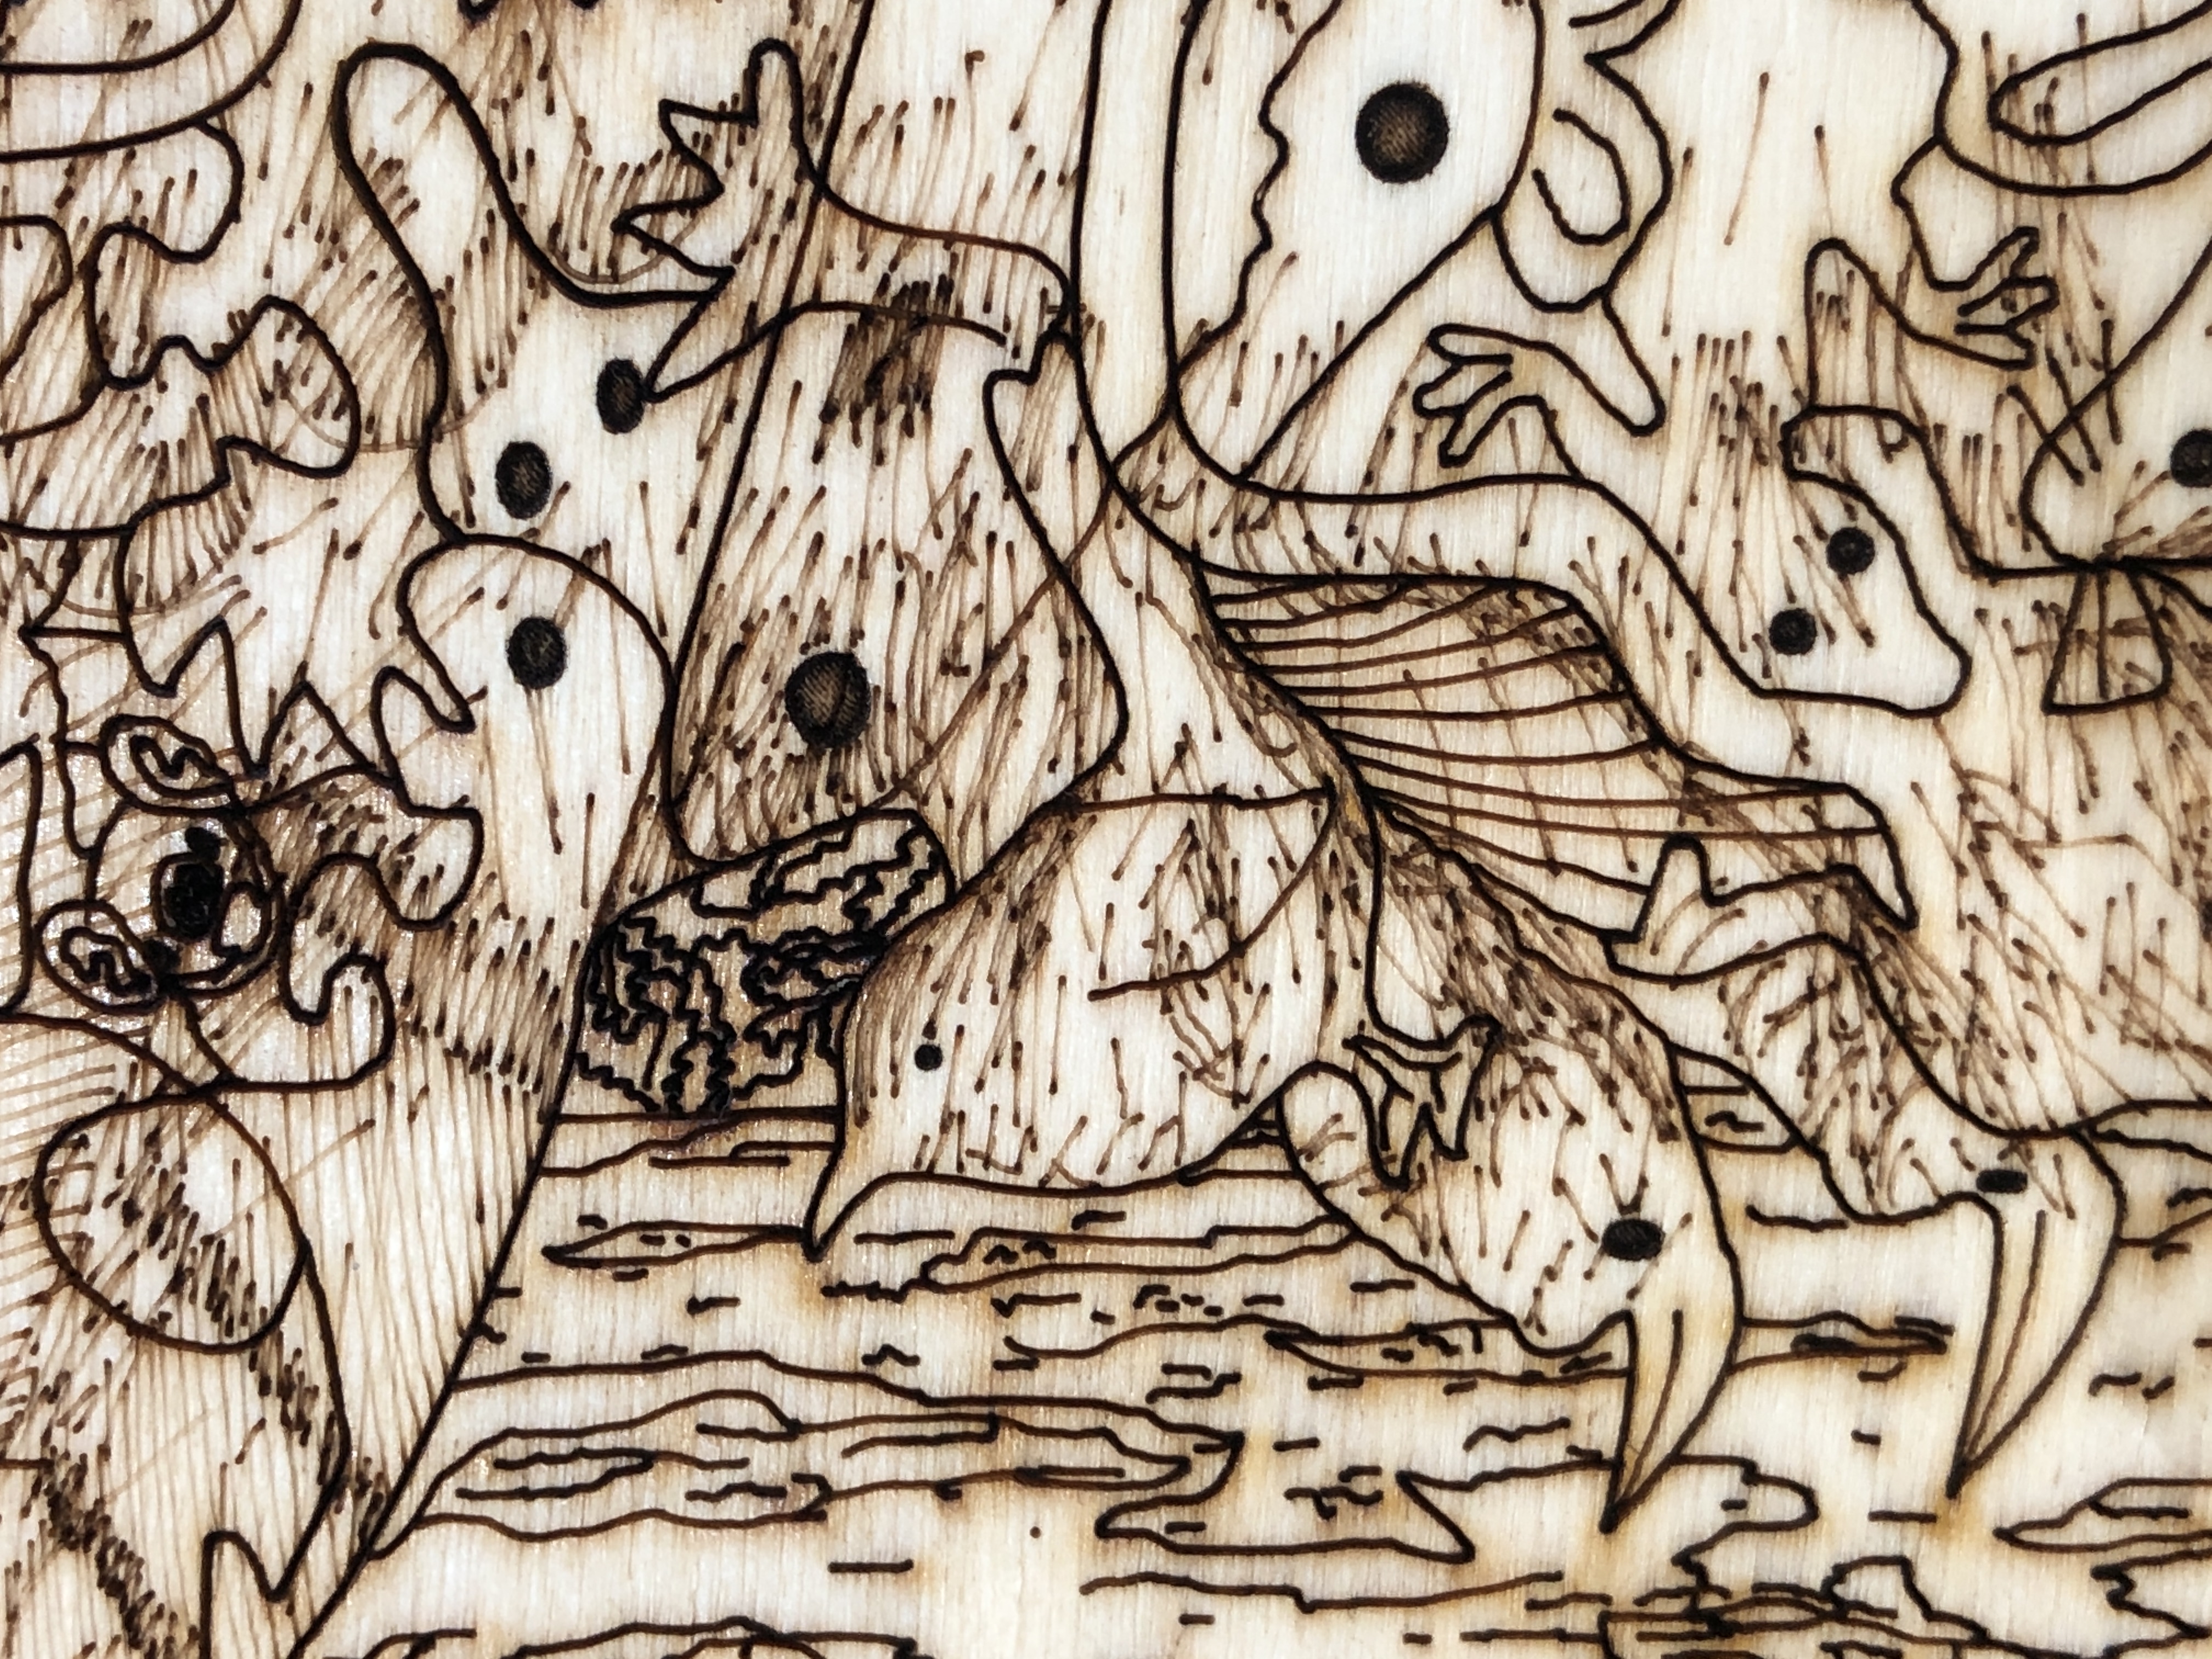
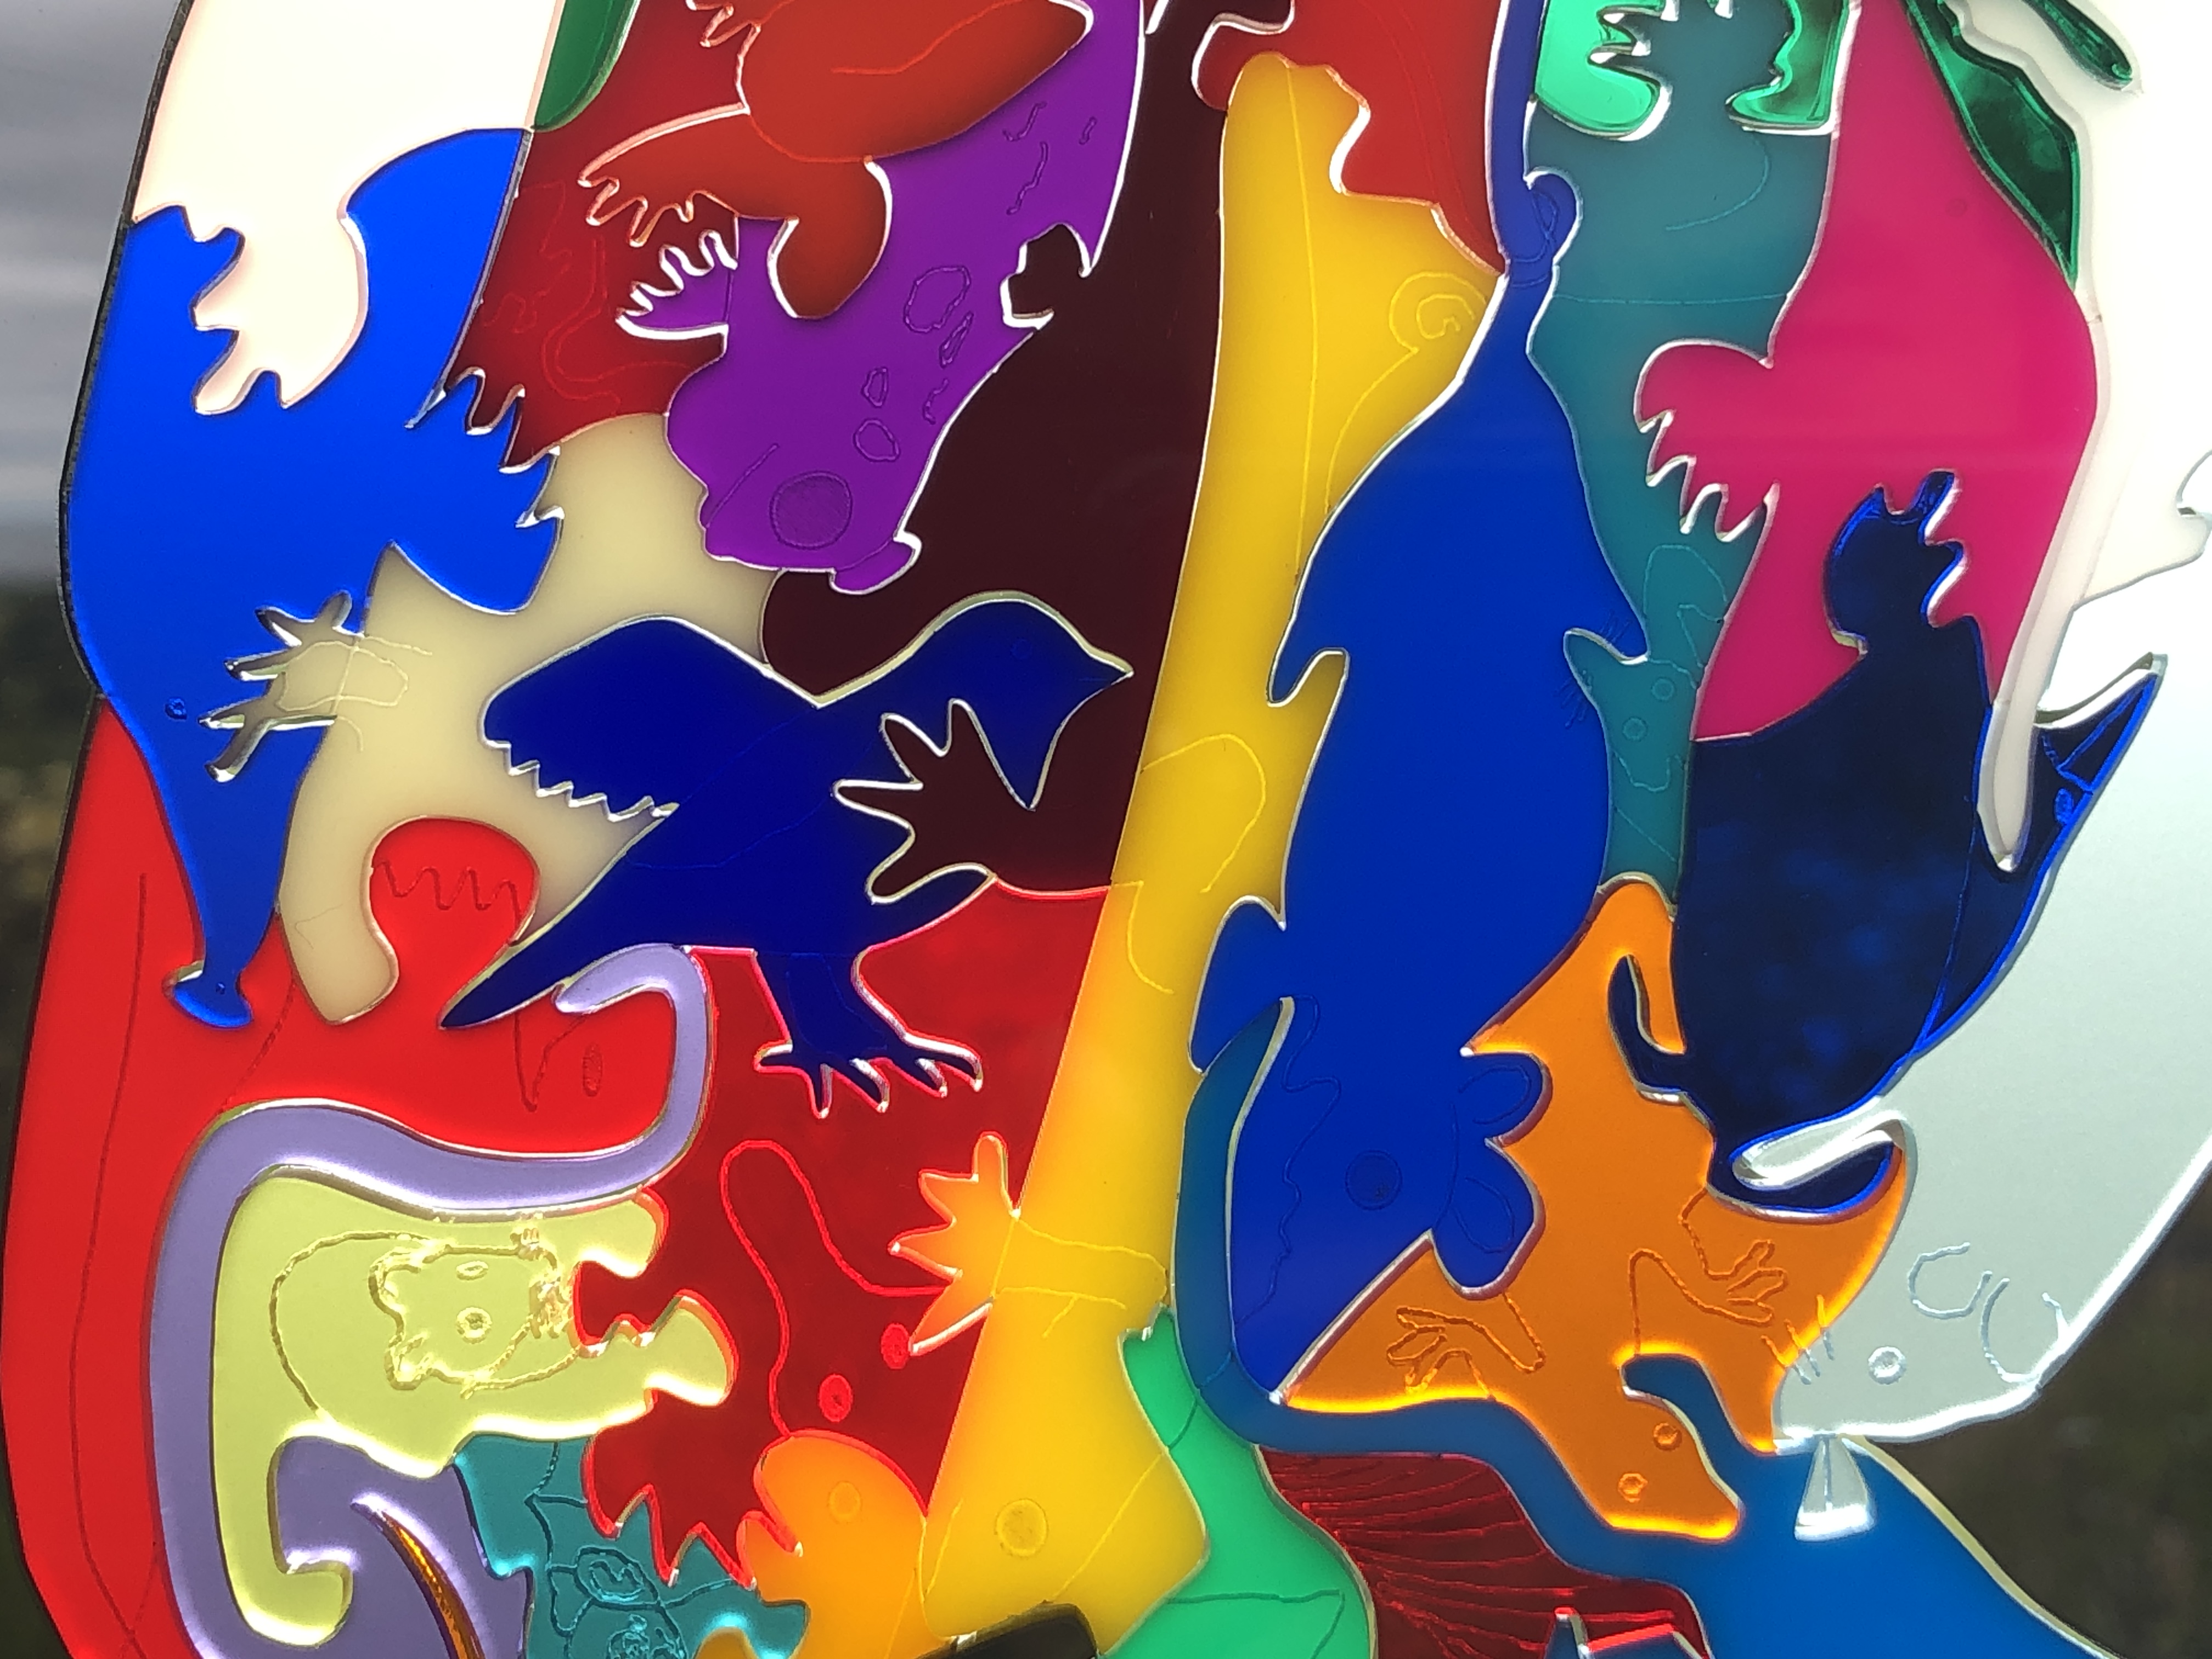
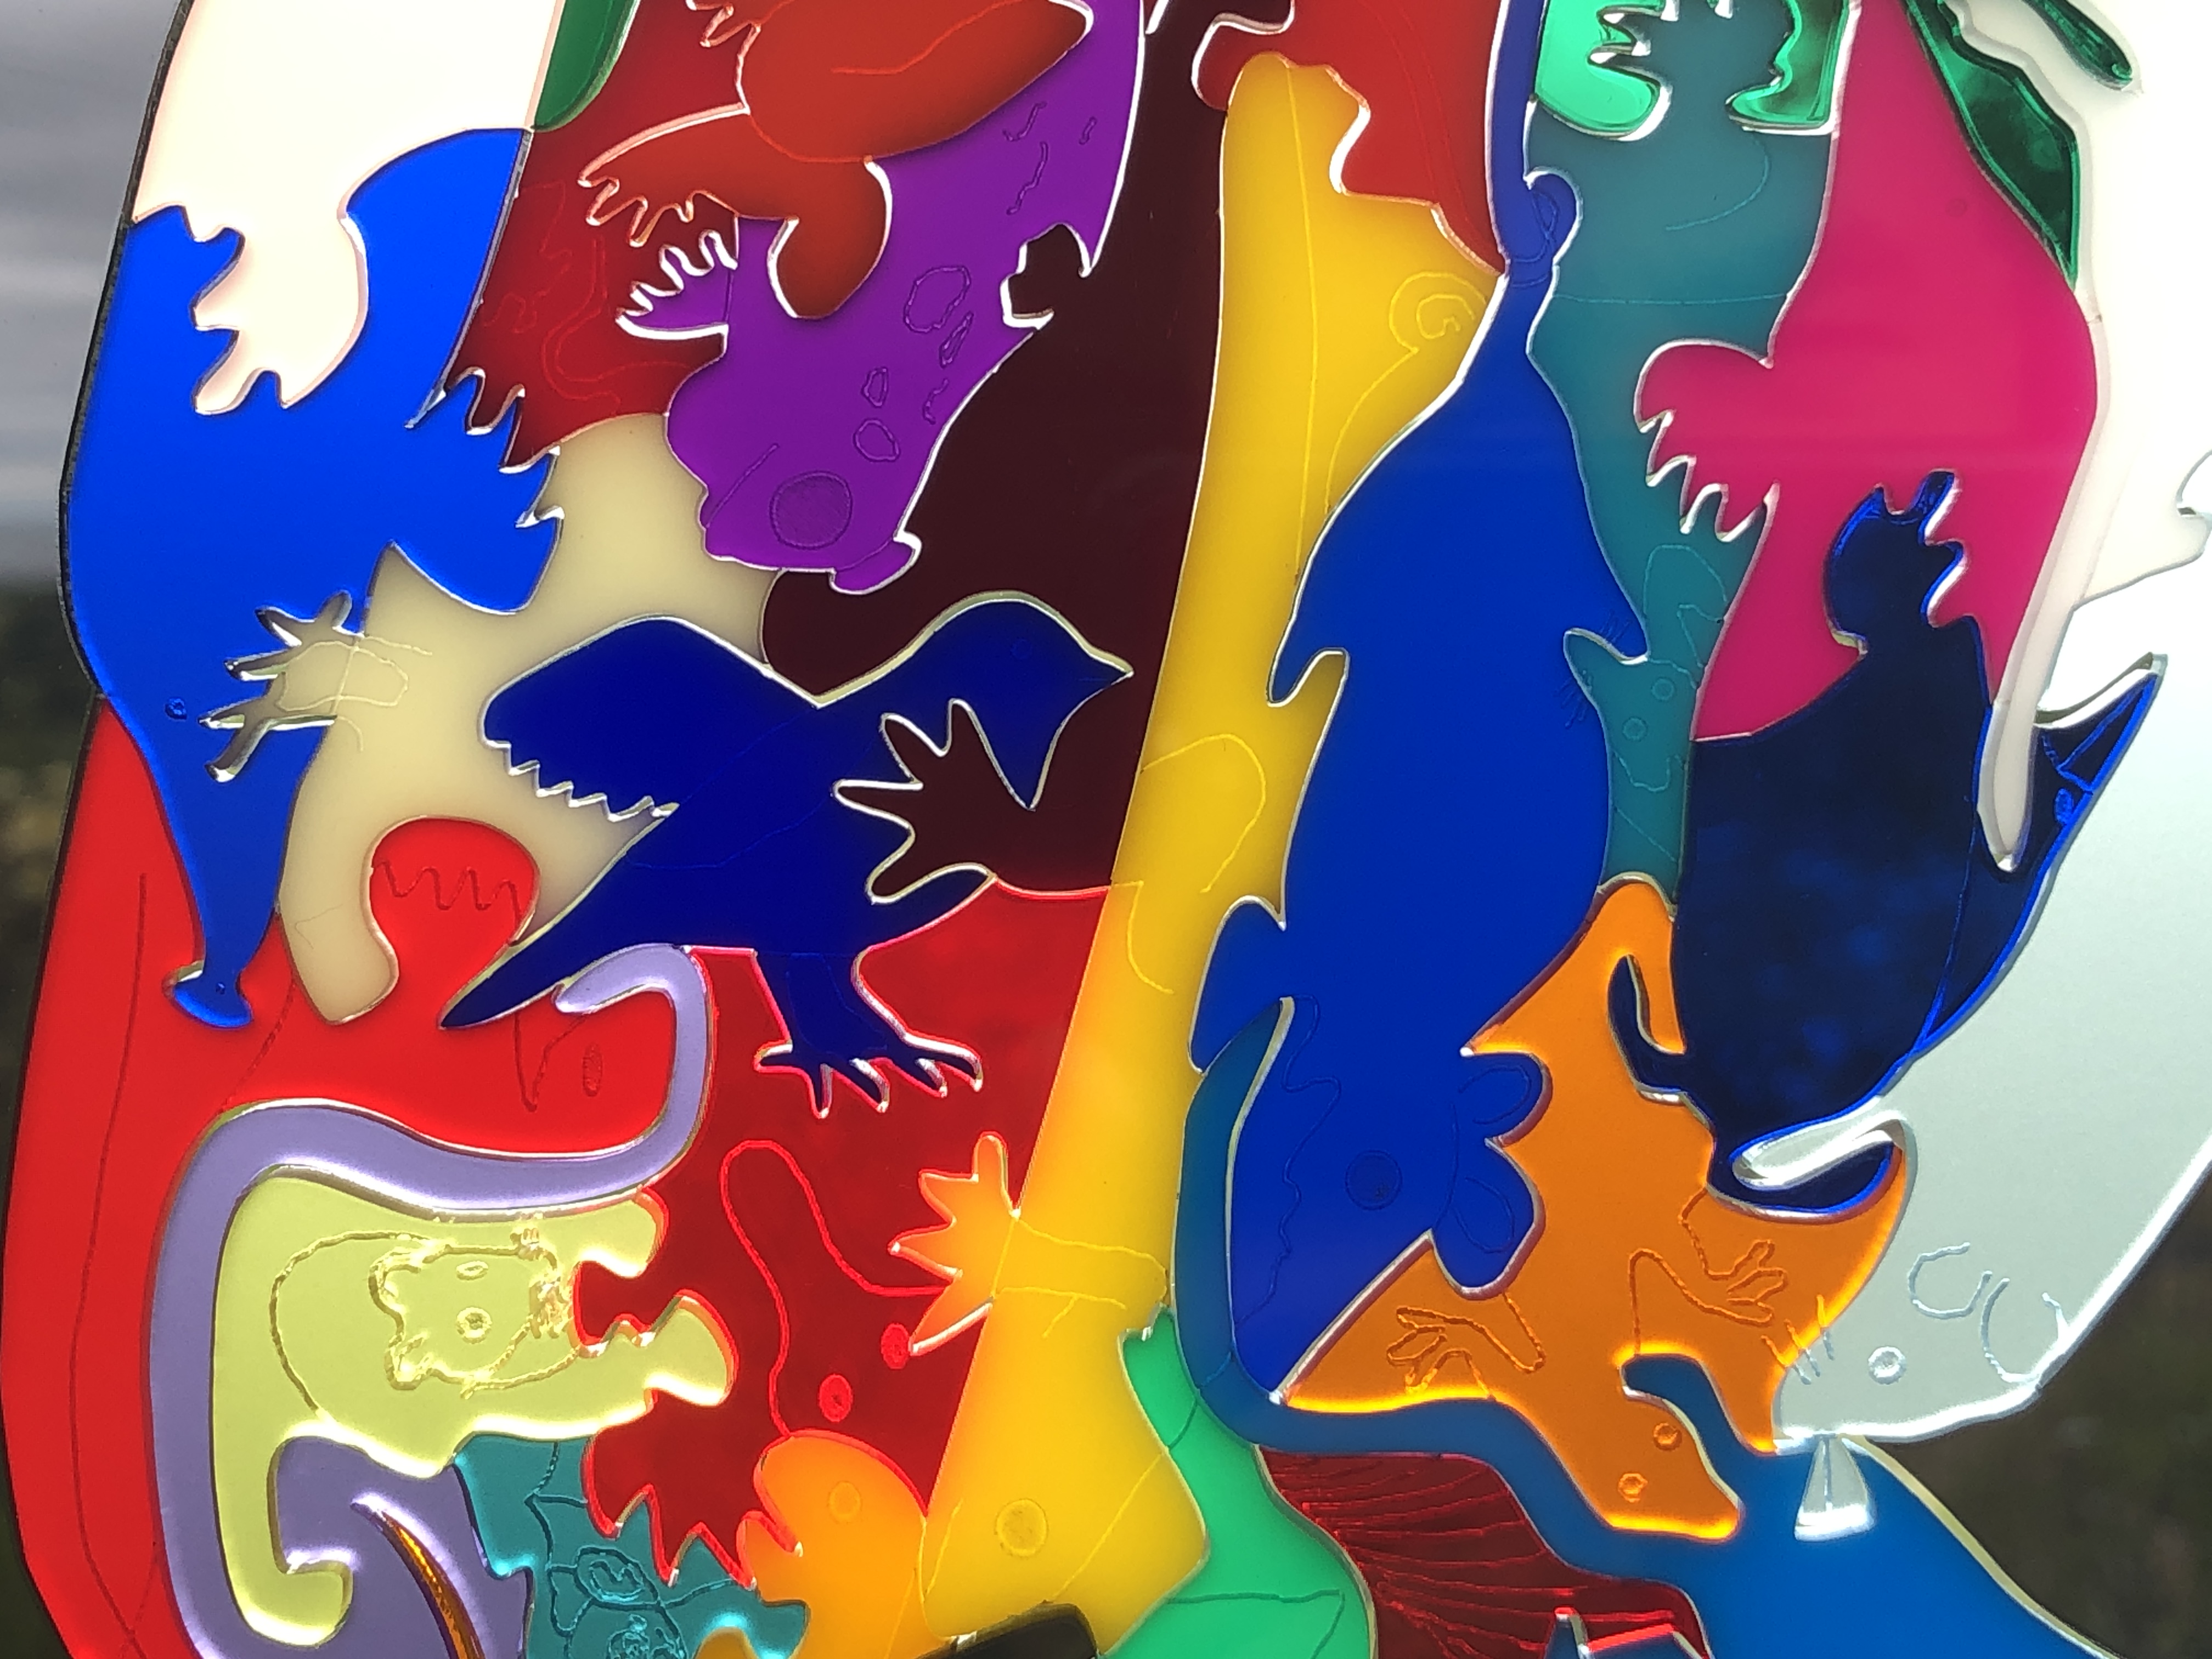
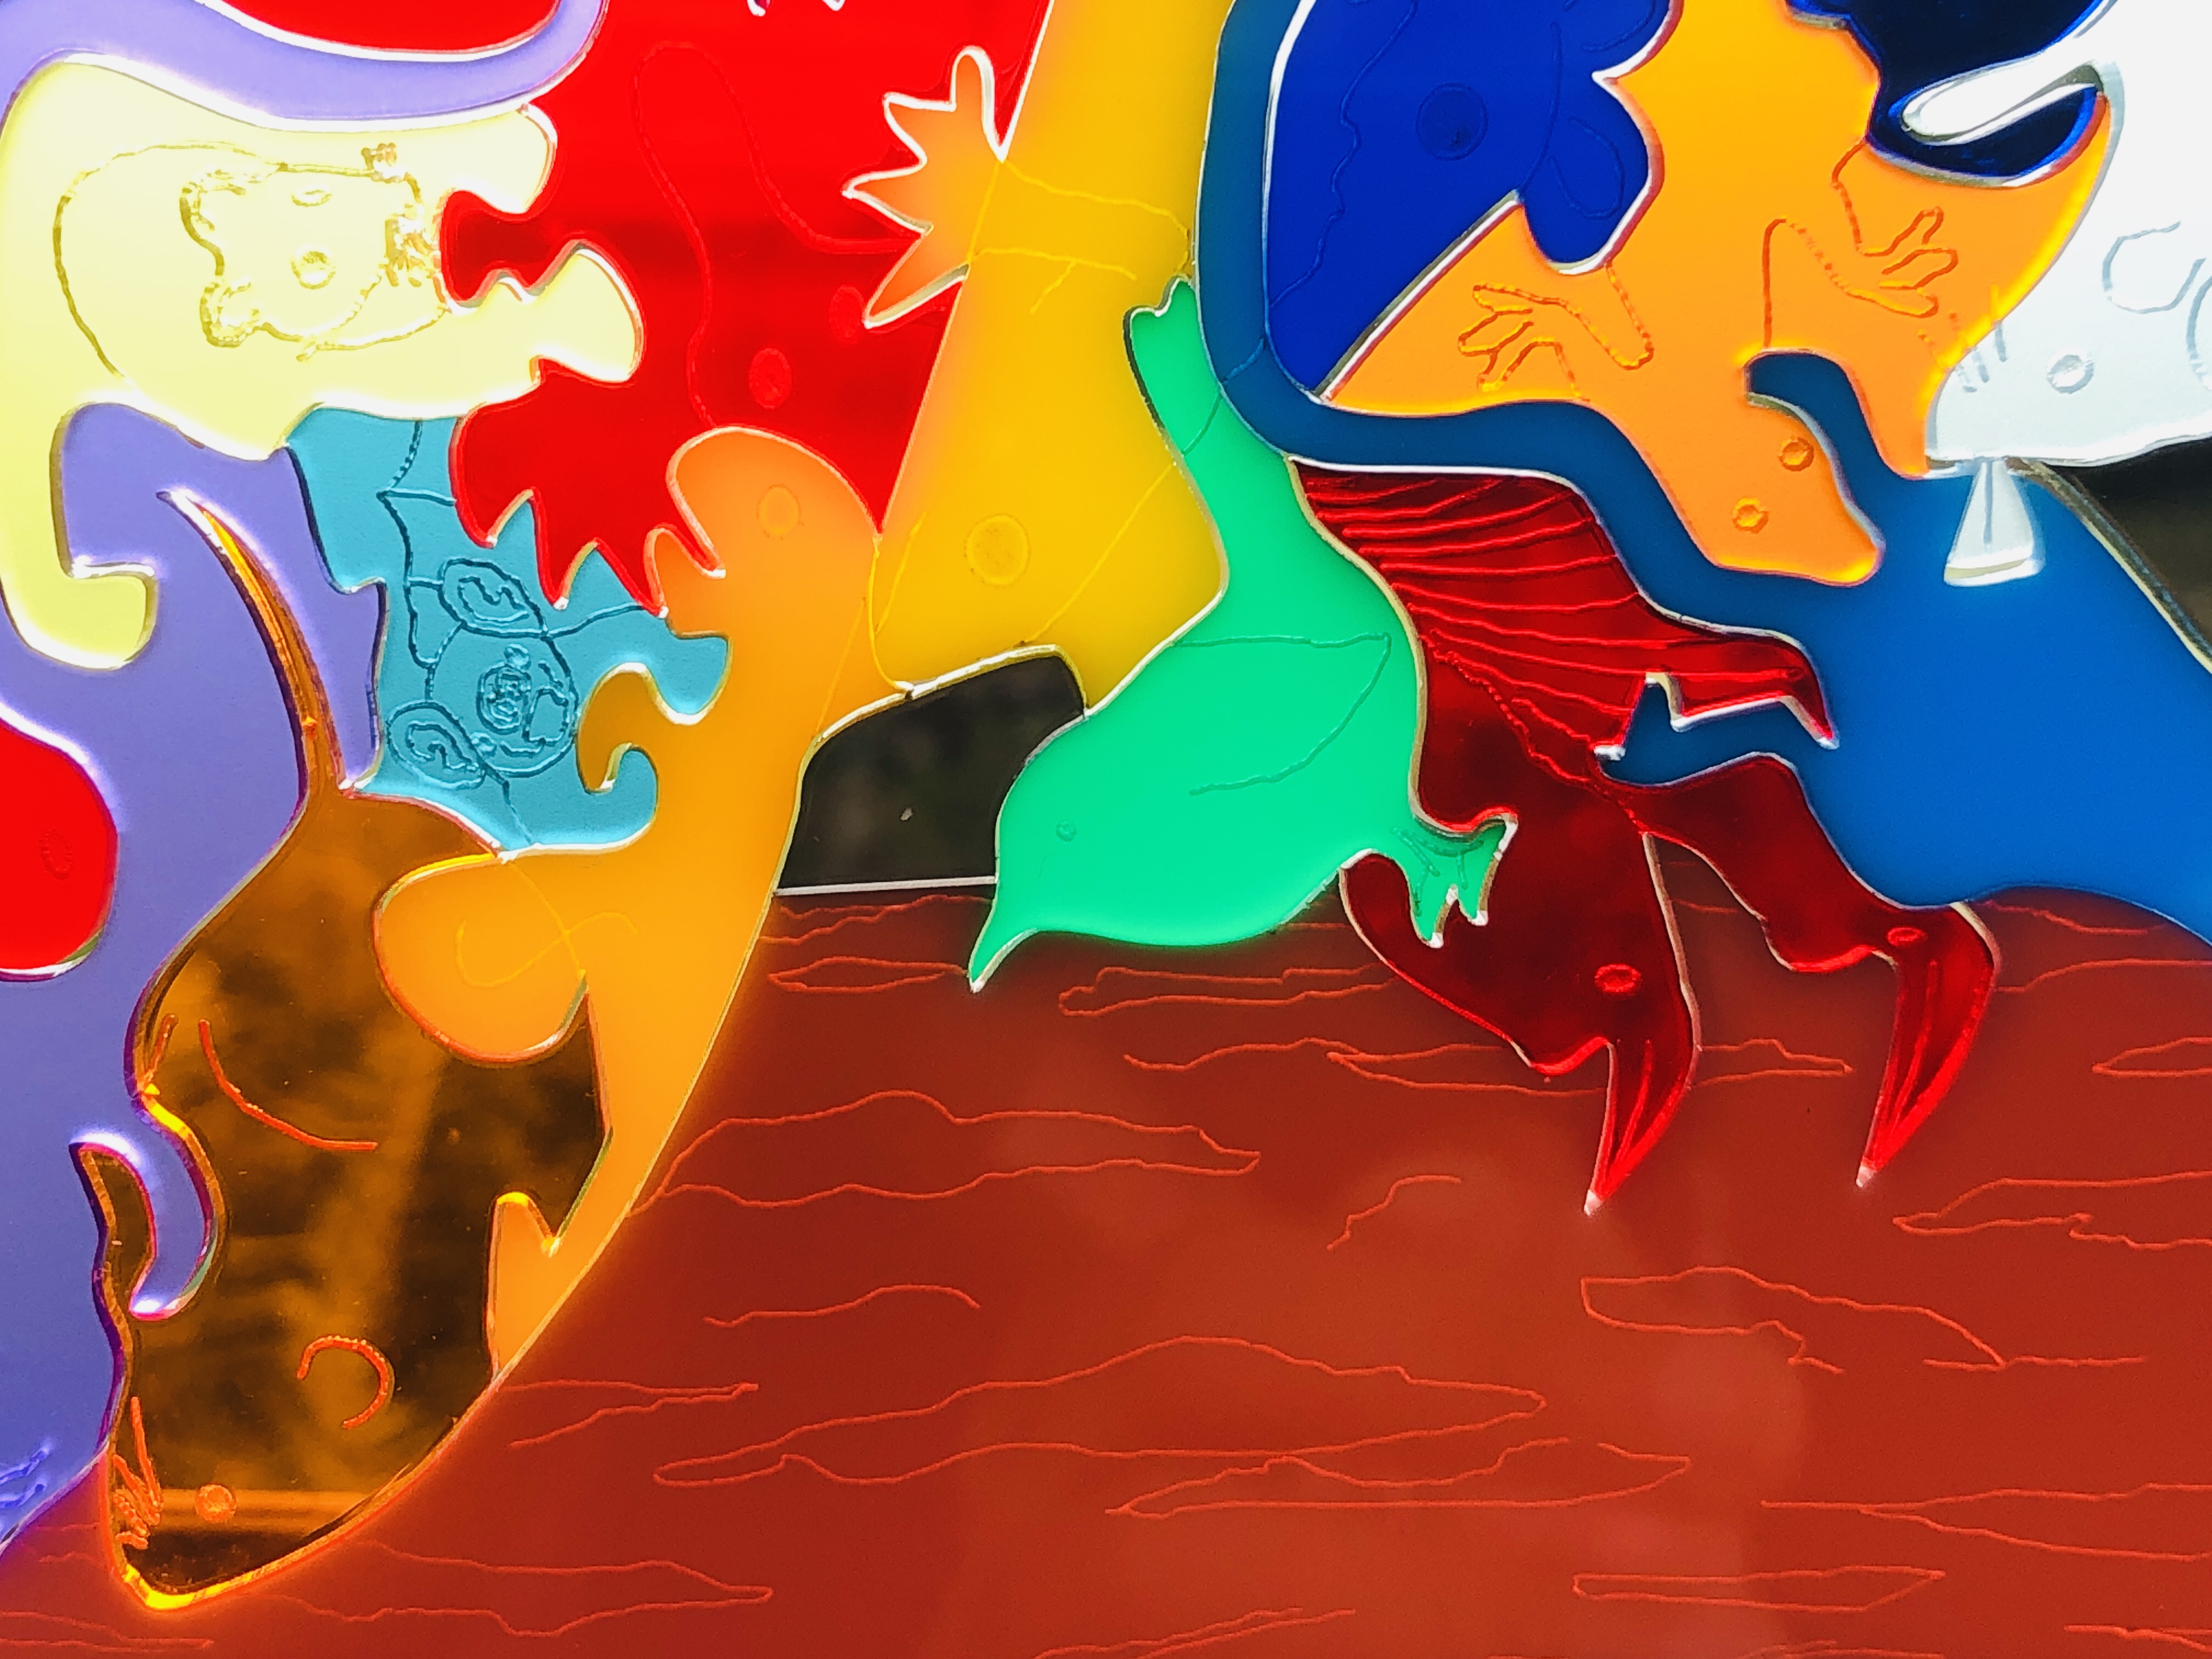
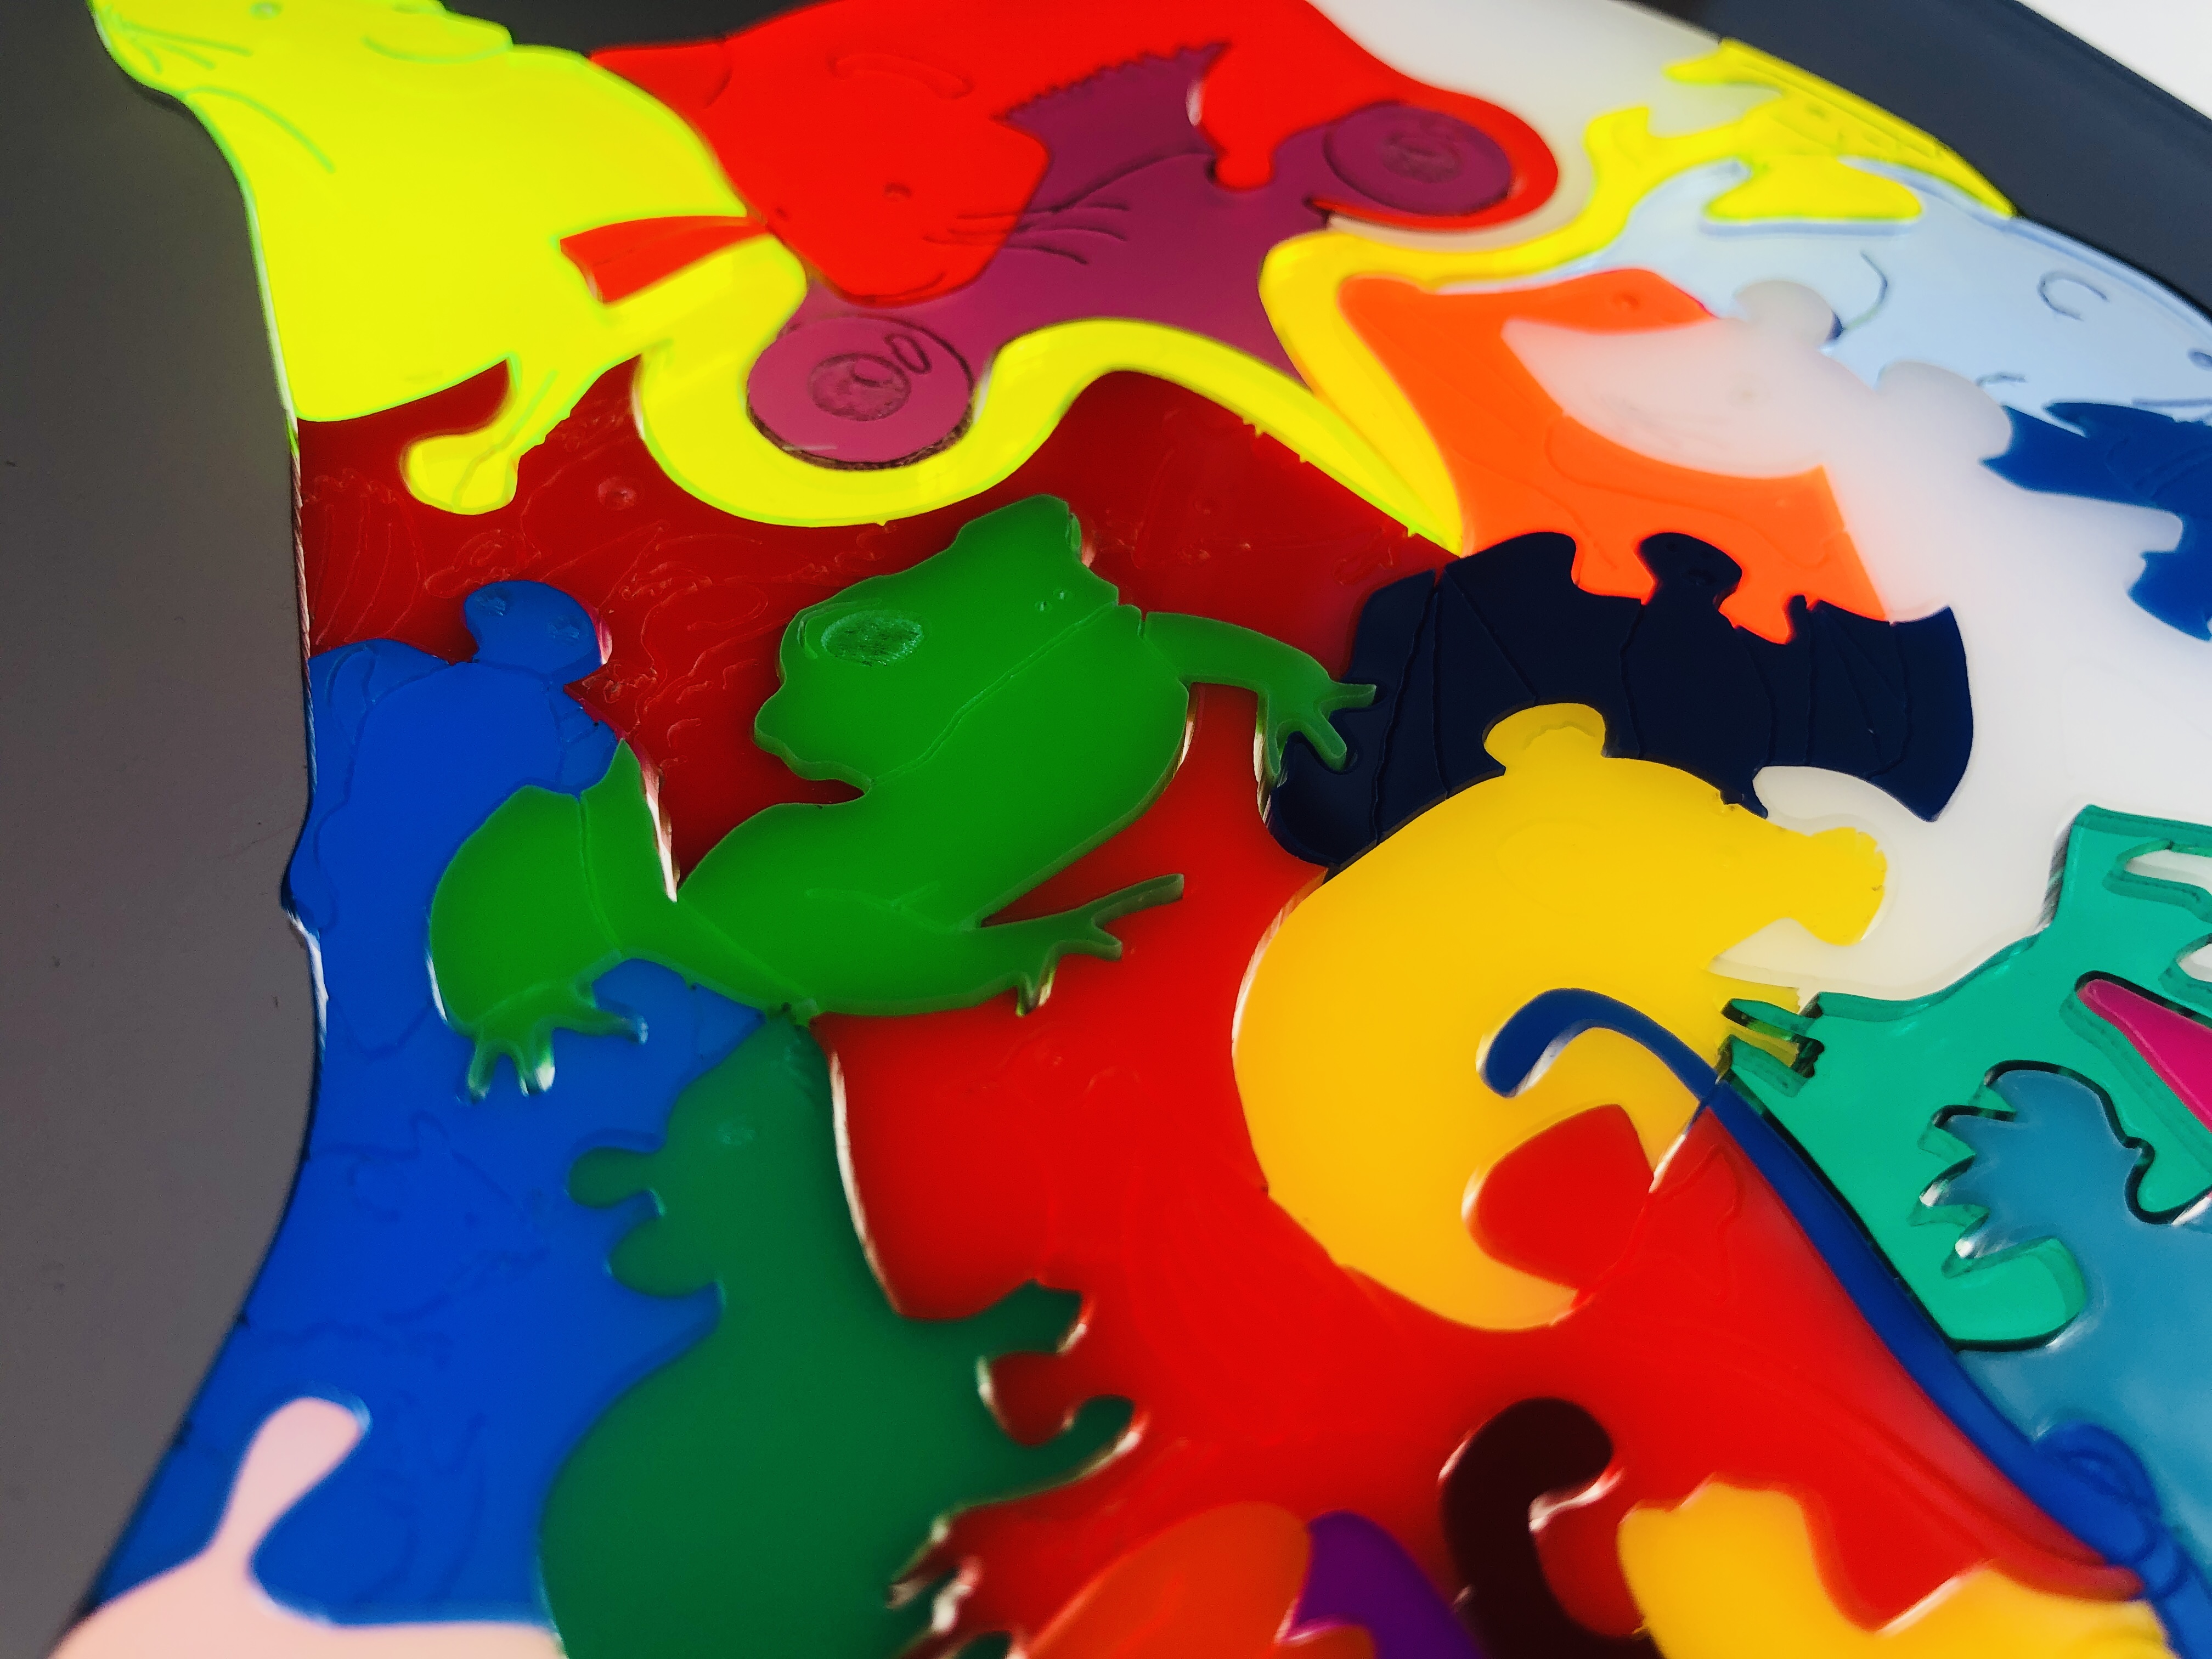
Close-up of some face pieces – they are all loose. I vary the depth of some pieces to make them stand out…
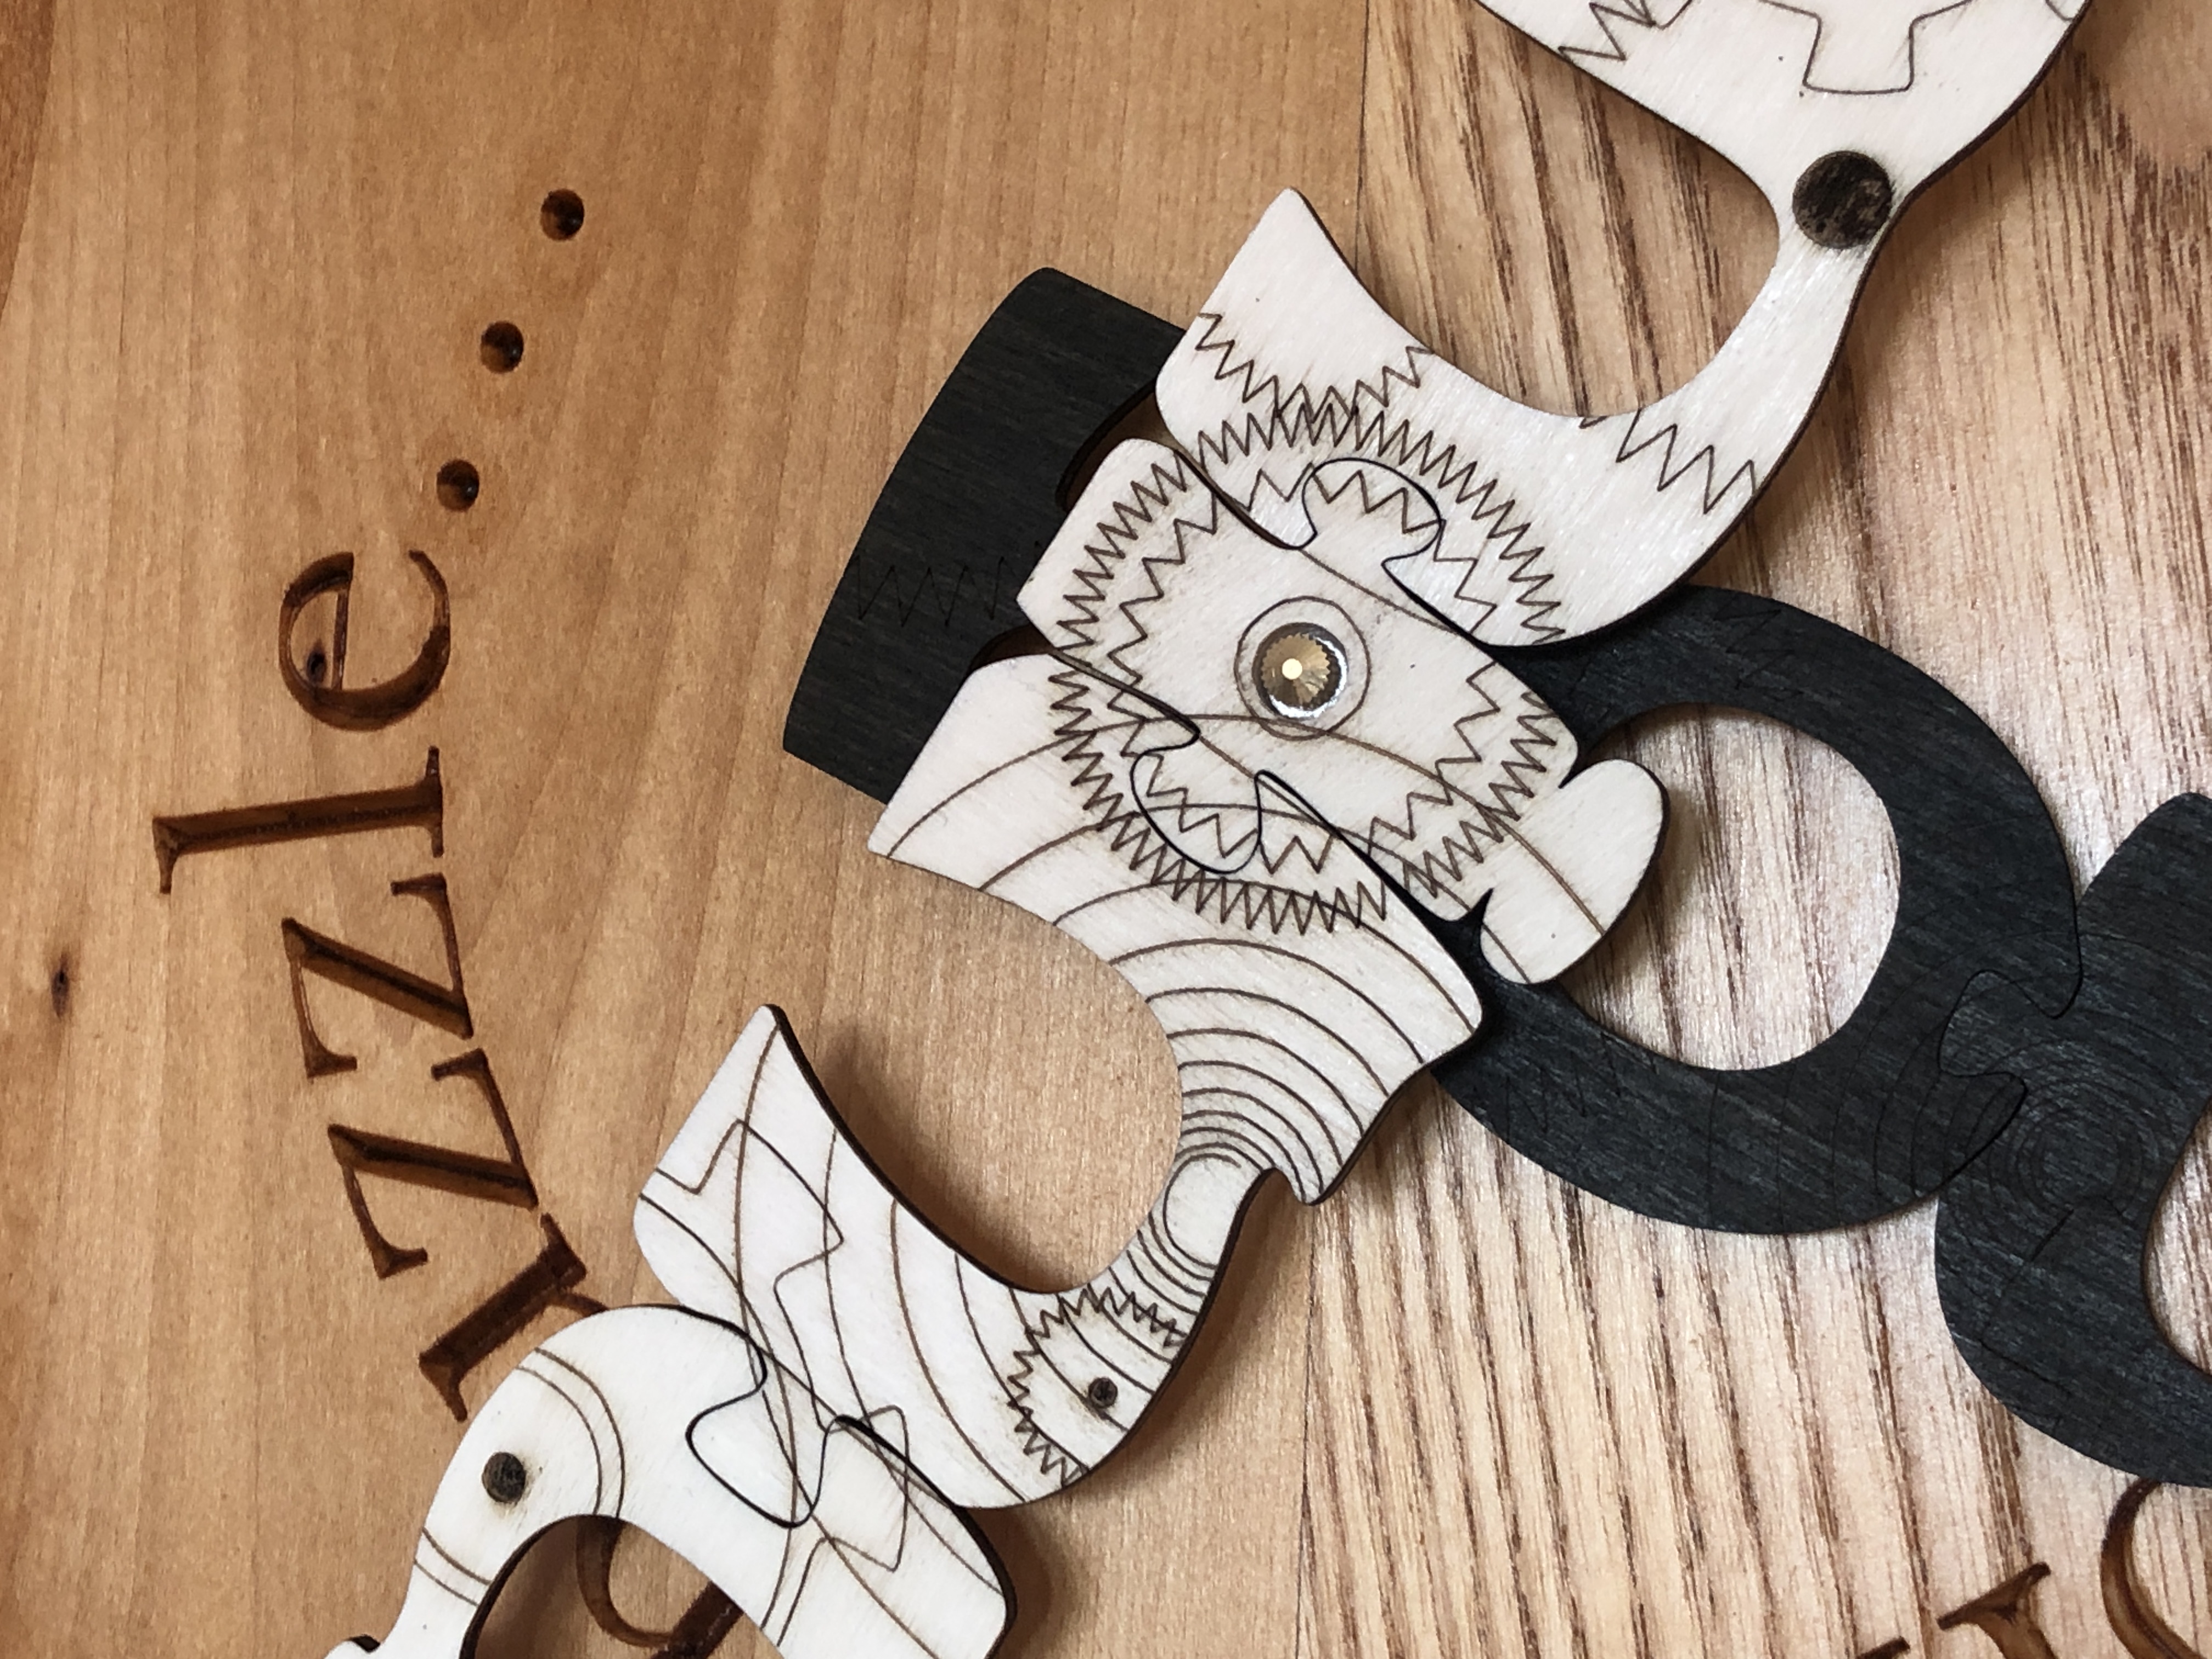
The clock face is a large (950mm or 37 ½ ” diameter) thick circular wooden jigsaw puzzle – where all the pieces are solid oak – about 32mm (1 ¼ ”) thick. The clock hands are very strong but light plywood jigsaw puzzle pieces 3mm (about an ⅛ ”) thick – spelling out the words “hour” and “minute”. They have a steampunk motif engraving of cogs, wheels, springs, shafts, and screws – as if they were word-shaped windows revealing the inner workings of the clock inside.
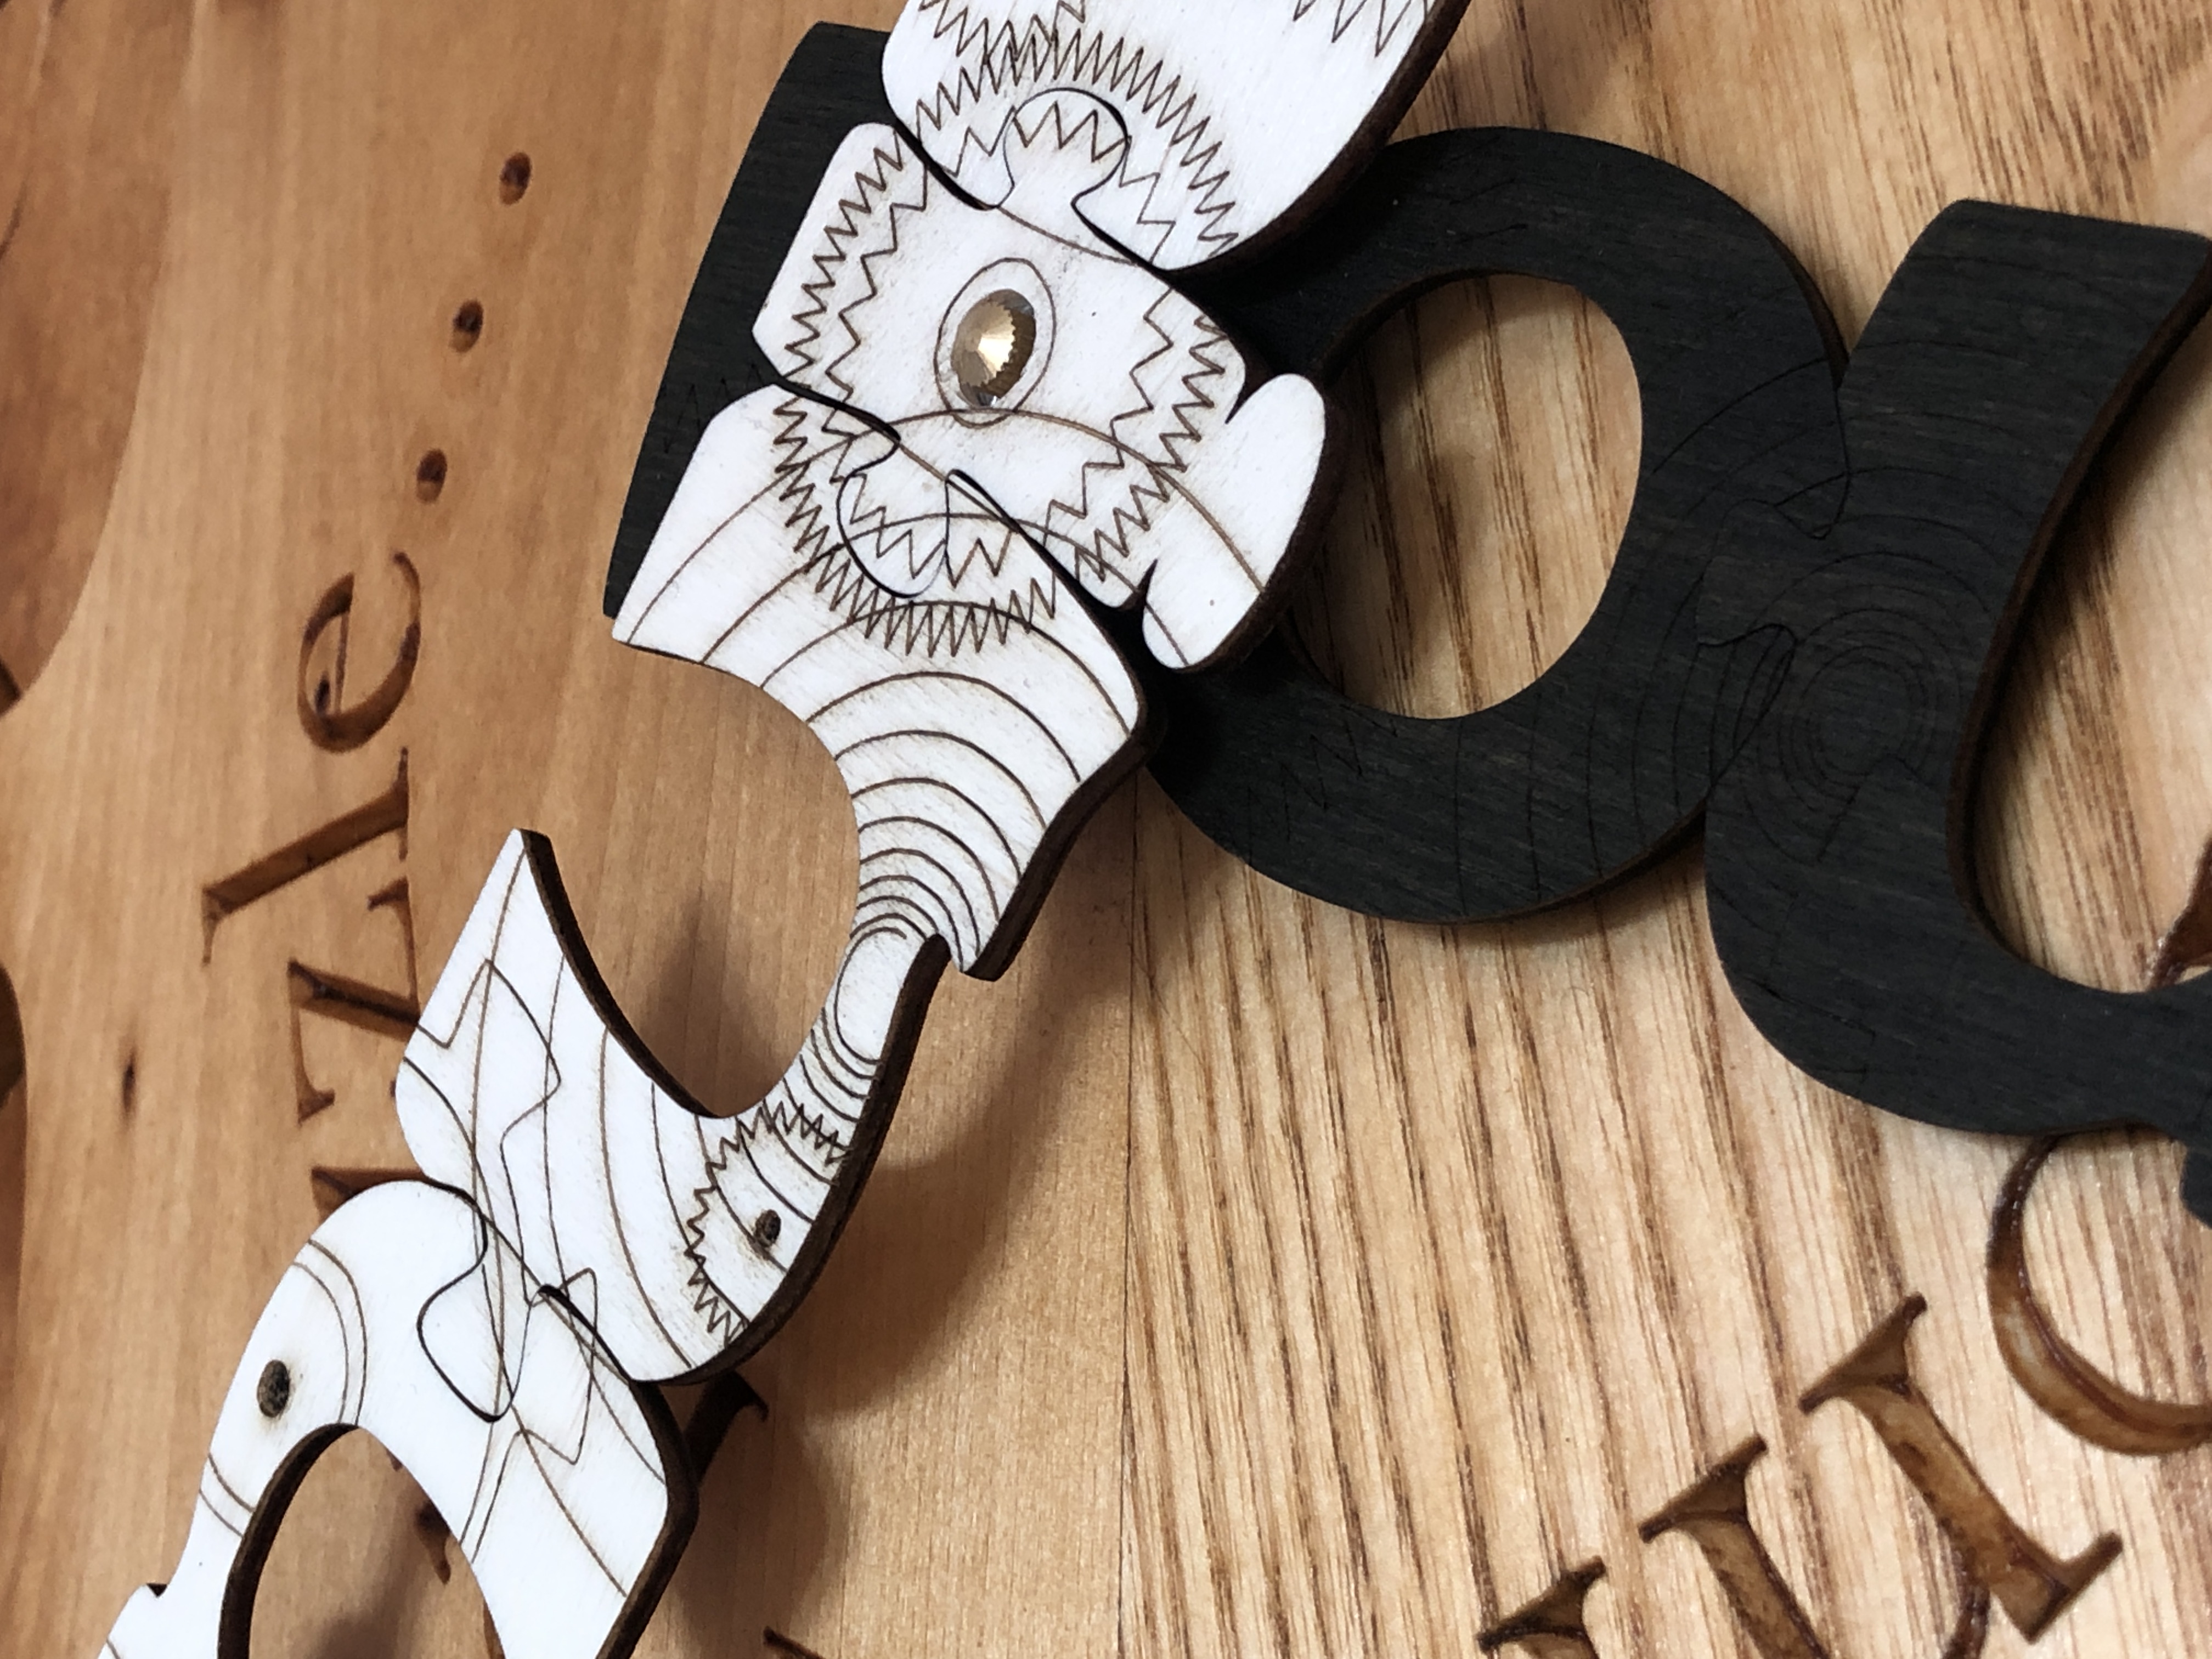
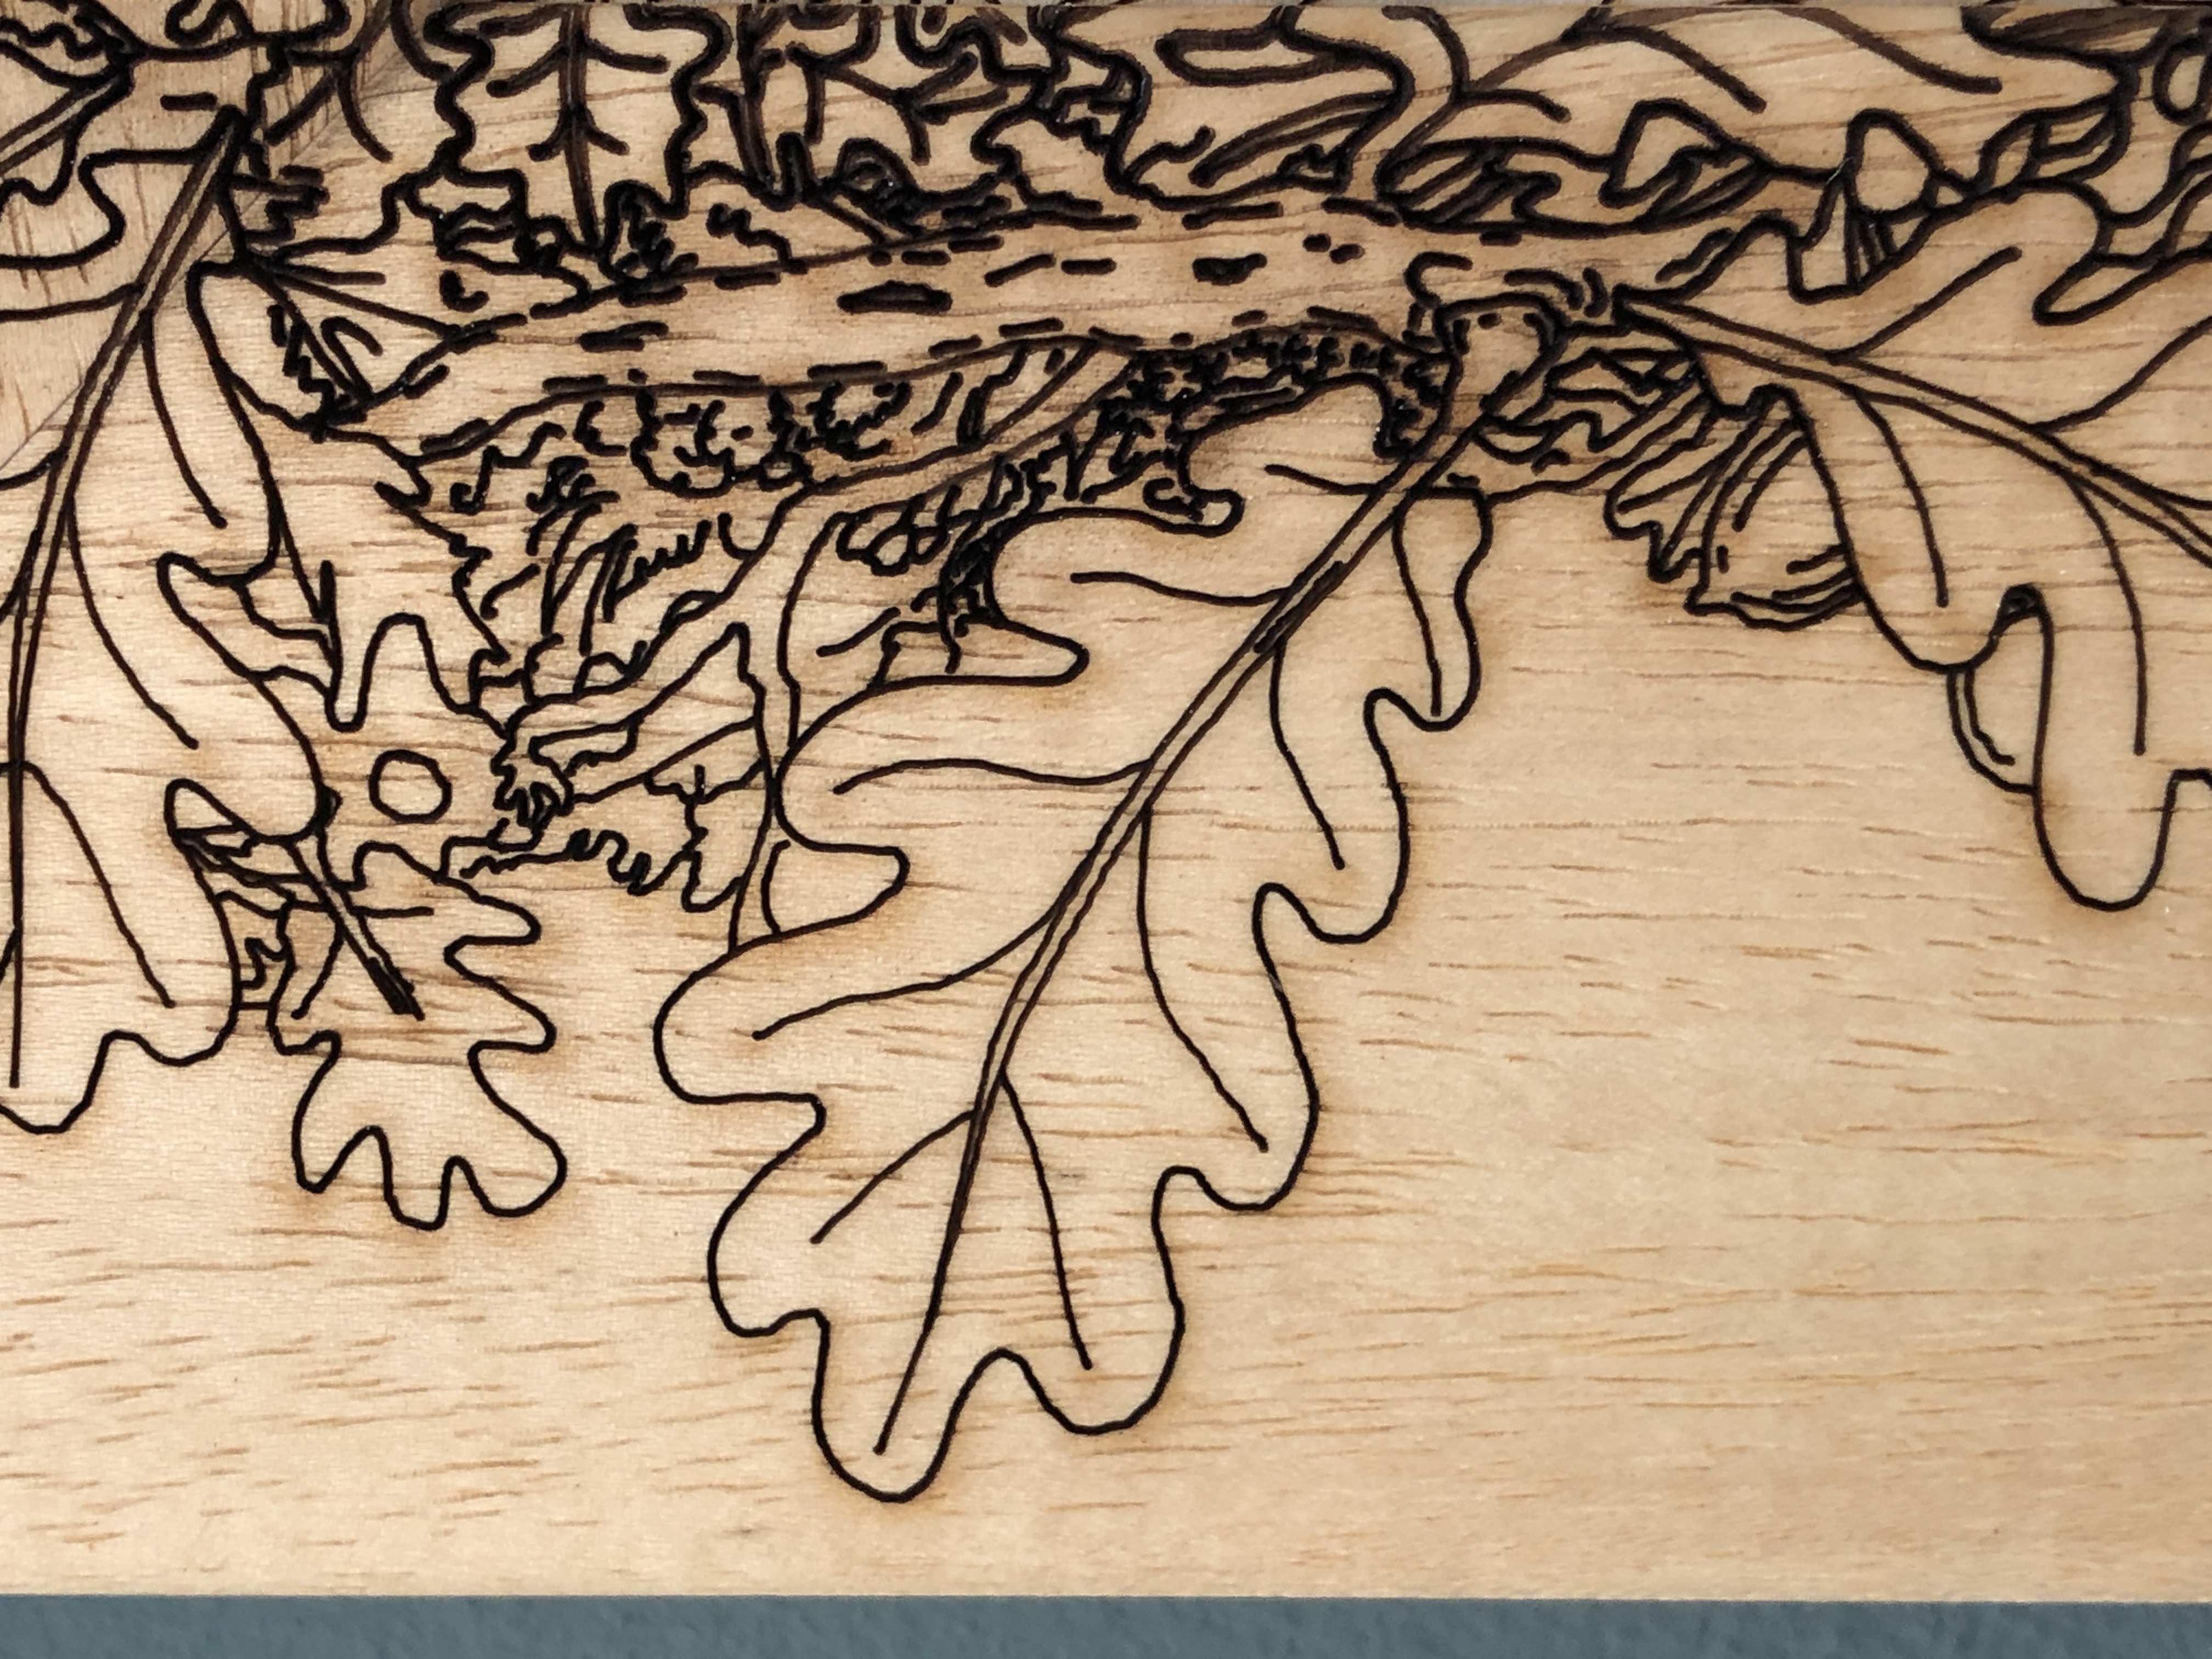
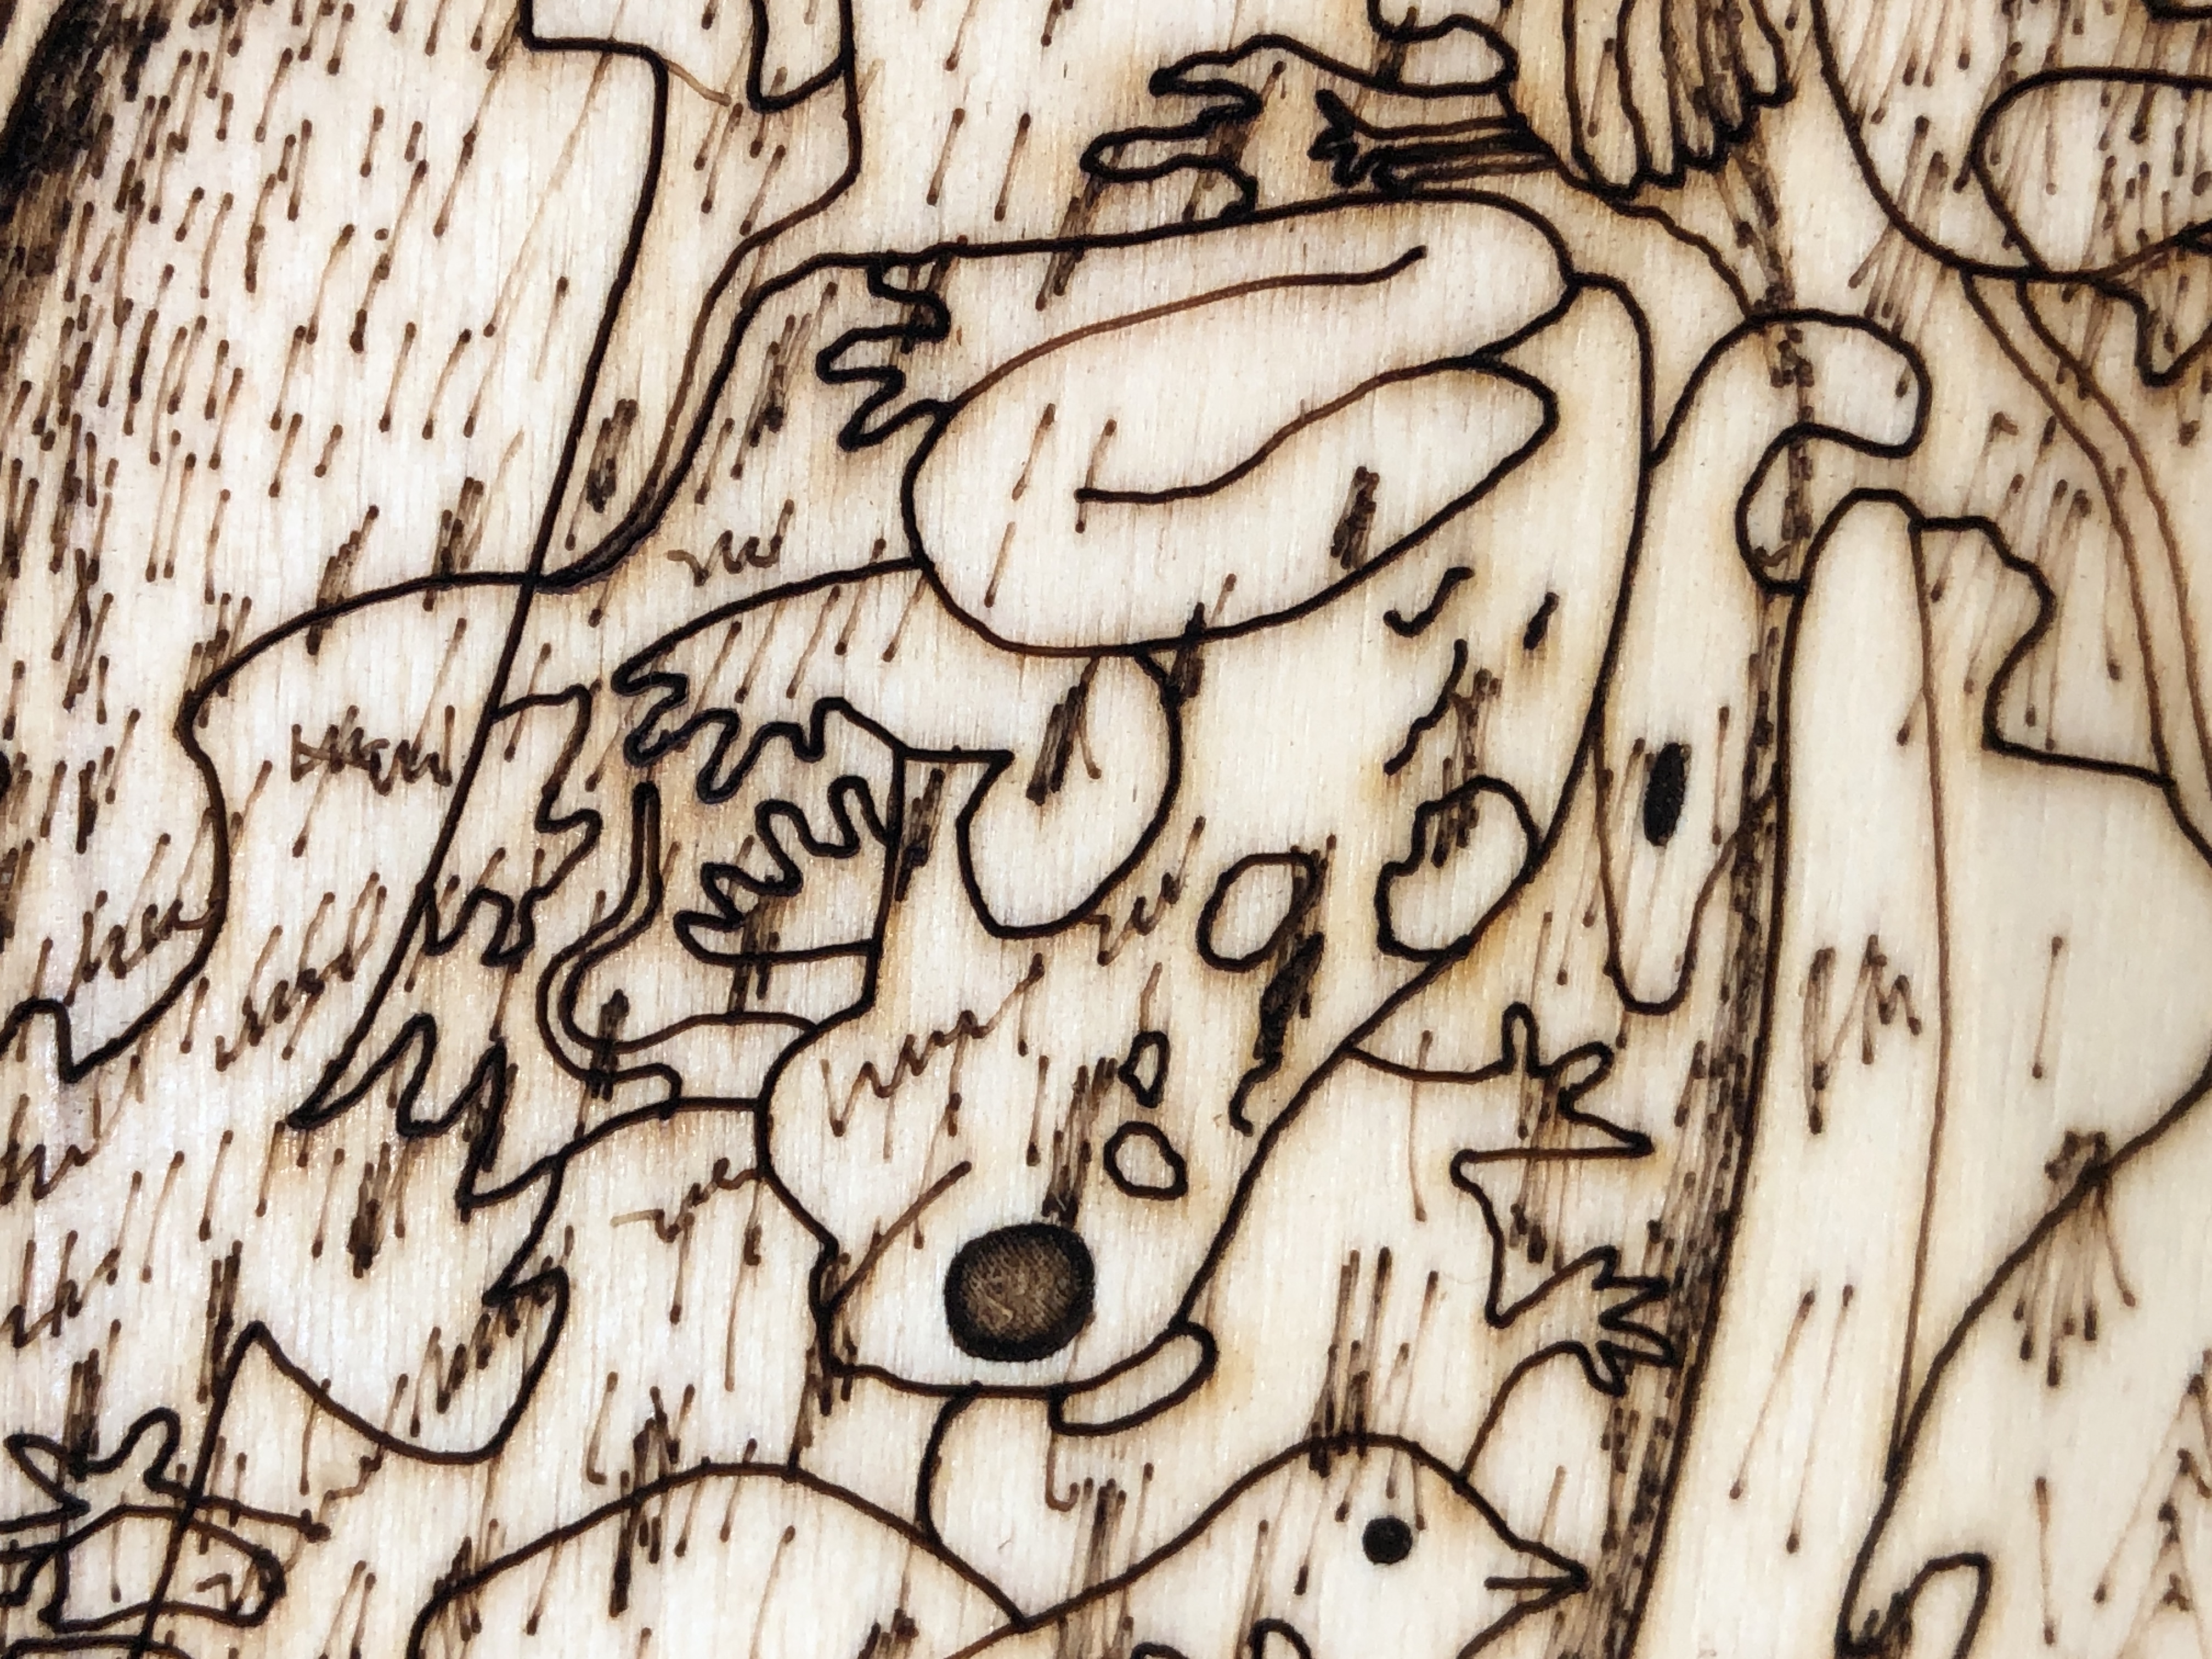
Close-up of steampunk motif engraving of cogs, wheels, springs, shafts, and screws
I designed and made the puzzle clock face about three years ago (December 2021) (albeit a “small” one – about 500mm – 20” – in diameter), but I couldn’t think of a design I was happy with for the clock hands. This proved really difficult because I wanted the clock hands to be puzzles in themselves – so the pieces had to reliably and tightly fit together – each as a rigid unit, be fully rotatable, and fit securely on a conventional working clock movement. The latter was an interesting technical challenge, but I really struggled with a suitable aesthetic design for them. What would look appropriate or conforming with the theme of a time puzzle? What would look aesthetically pleasing (to me at least!)?
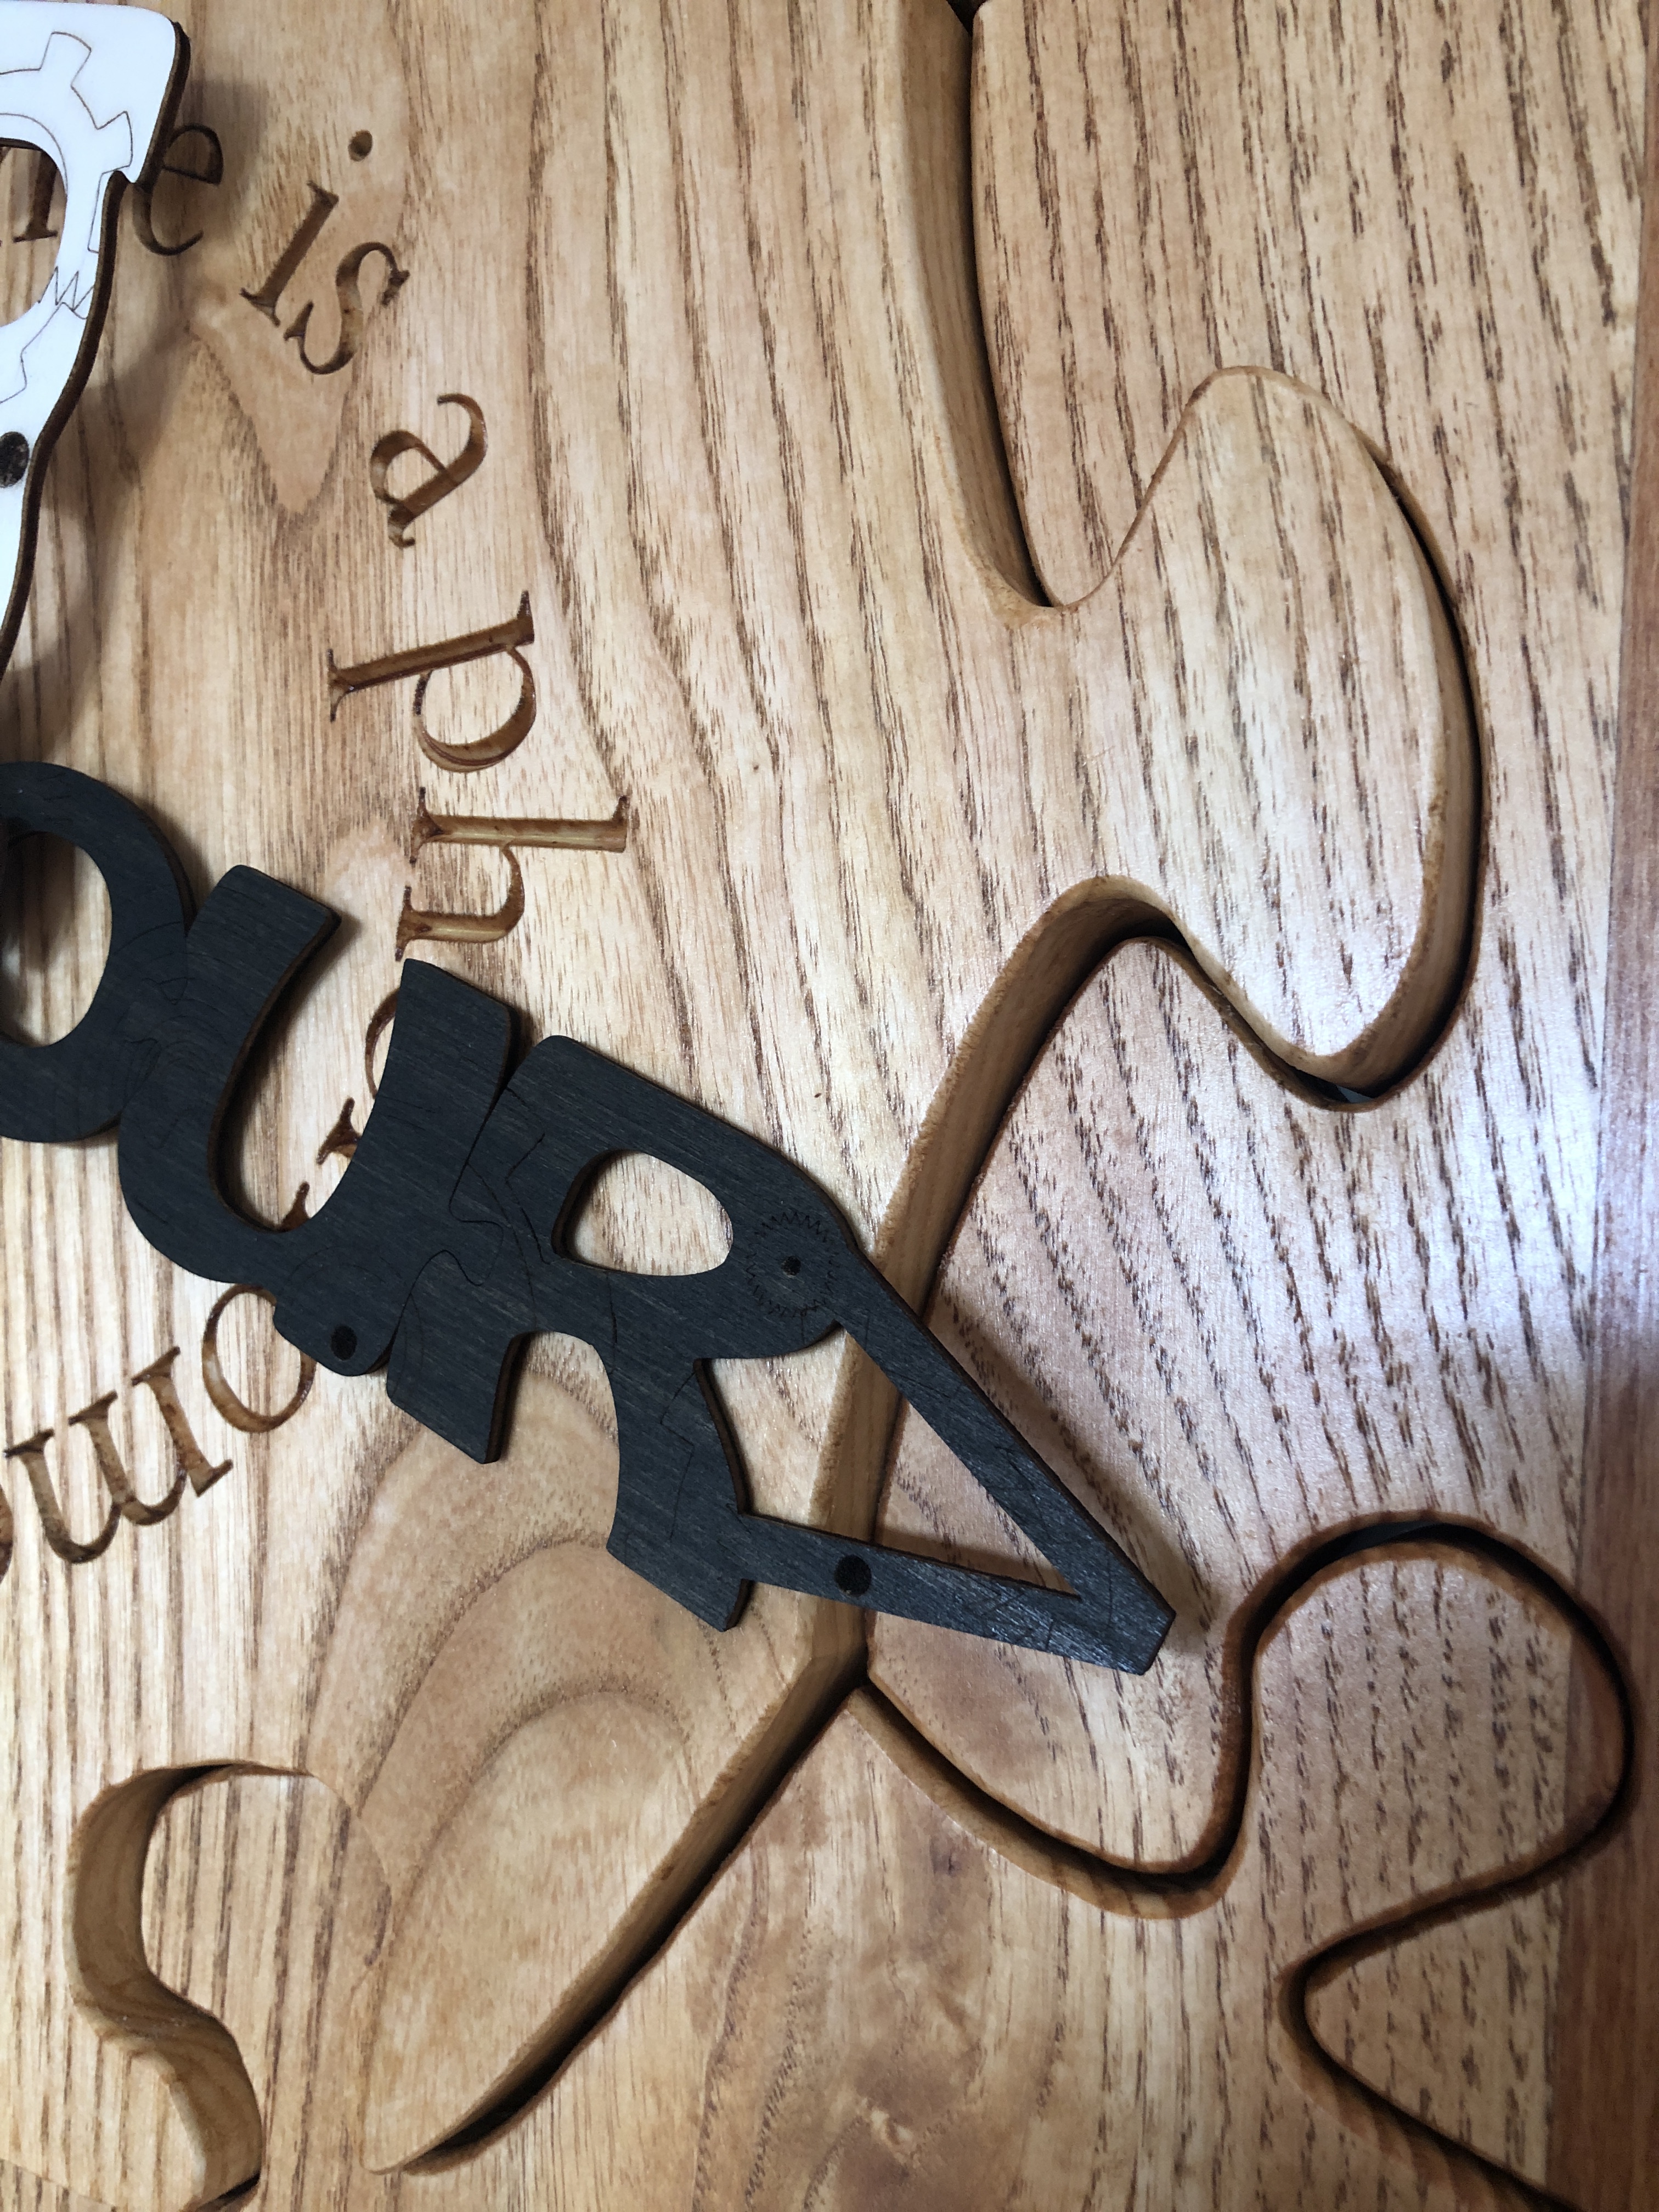
I toyed with several ideas and made prototypes – most of which failed – but recently I came up with the idea of a steampunk motif on the words “hour” and “minute” – and I figured out how to make them into actual jigsaw puzzle pieces. It involved the use of an extremely precise laser (you could be forgiven for thinking all lasers were equally precise, but that would be very wrong…), choosing extremely flat, strong, very light, and knife-edge-holding, material – with very careful preparation and handling. The hands have been dyed – not stained or painted – to give good contrast with each other and the clock face.
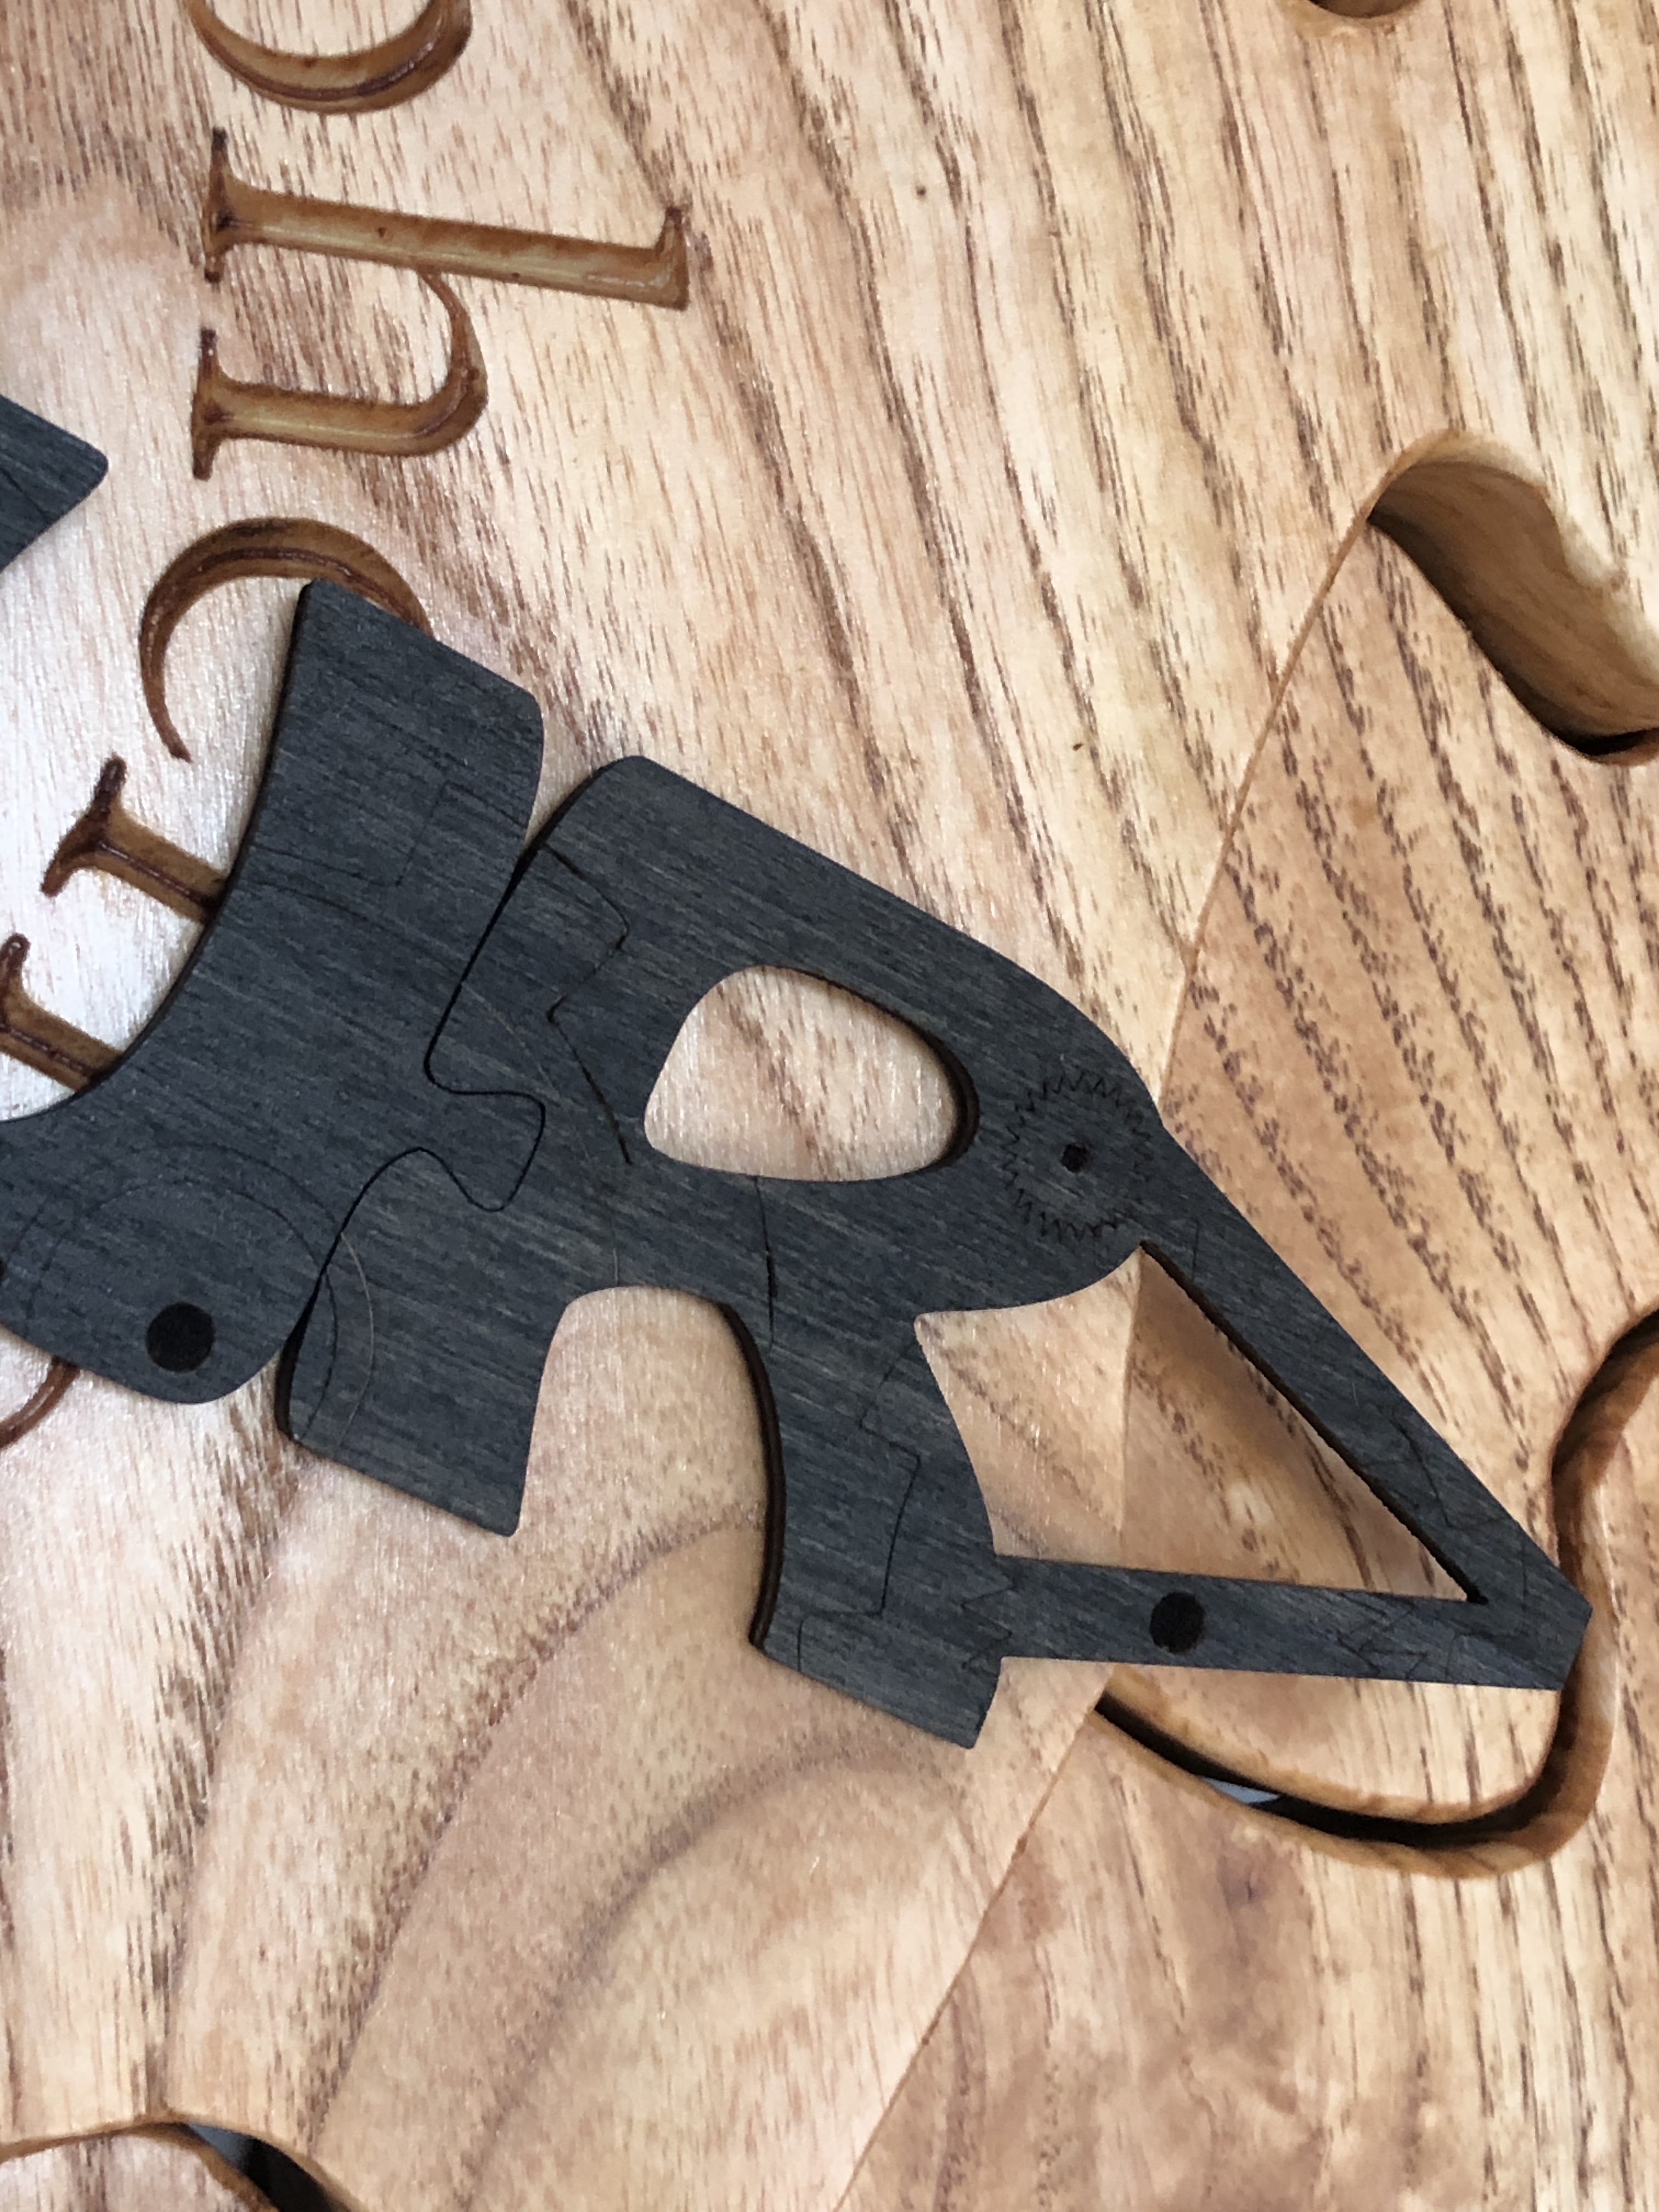
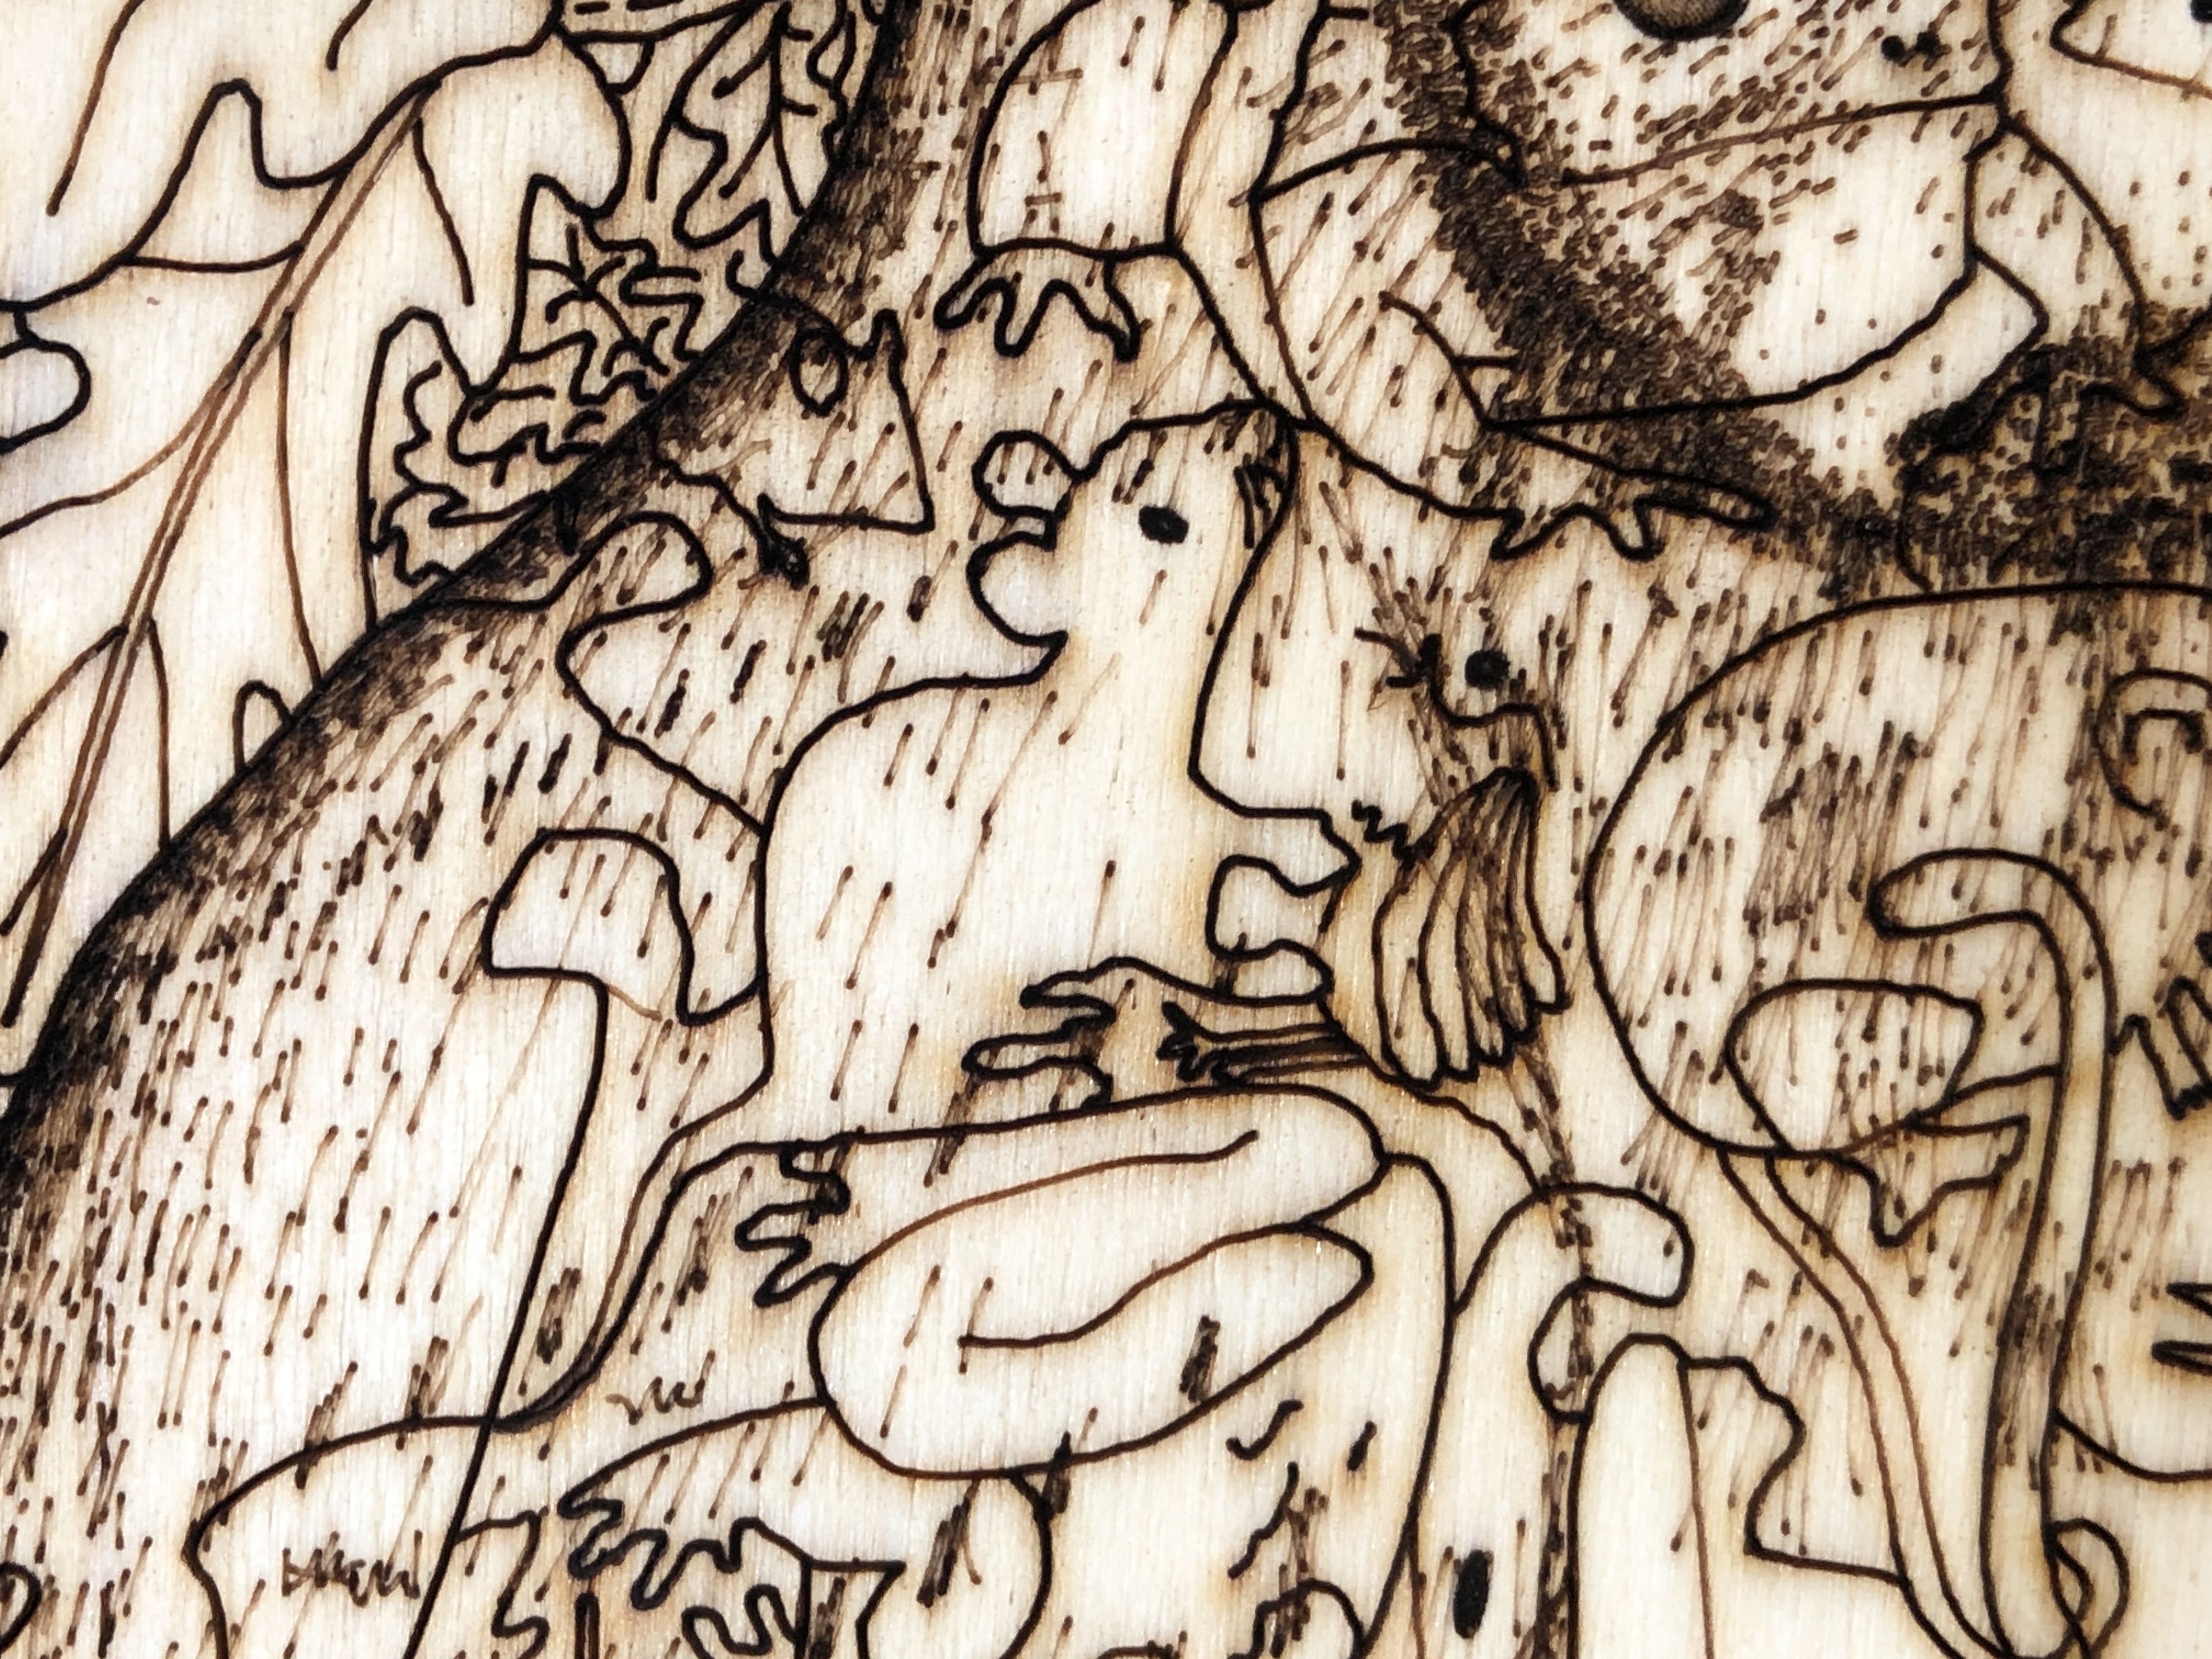
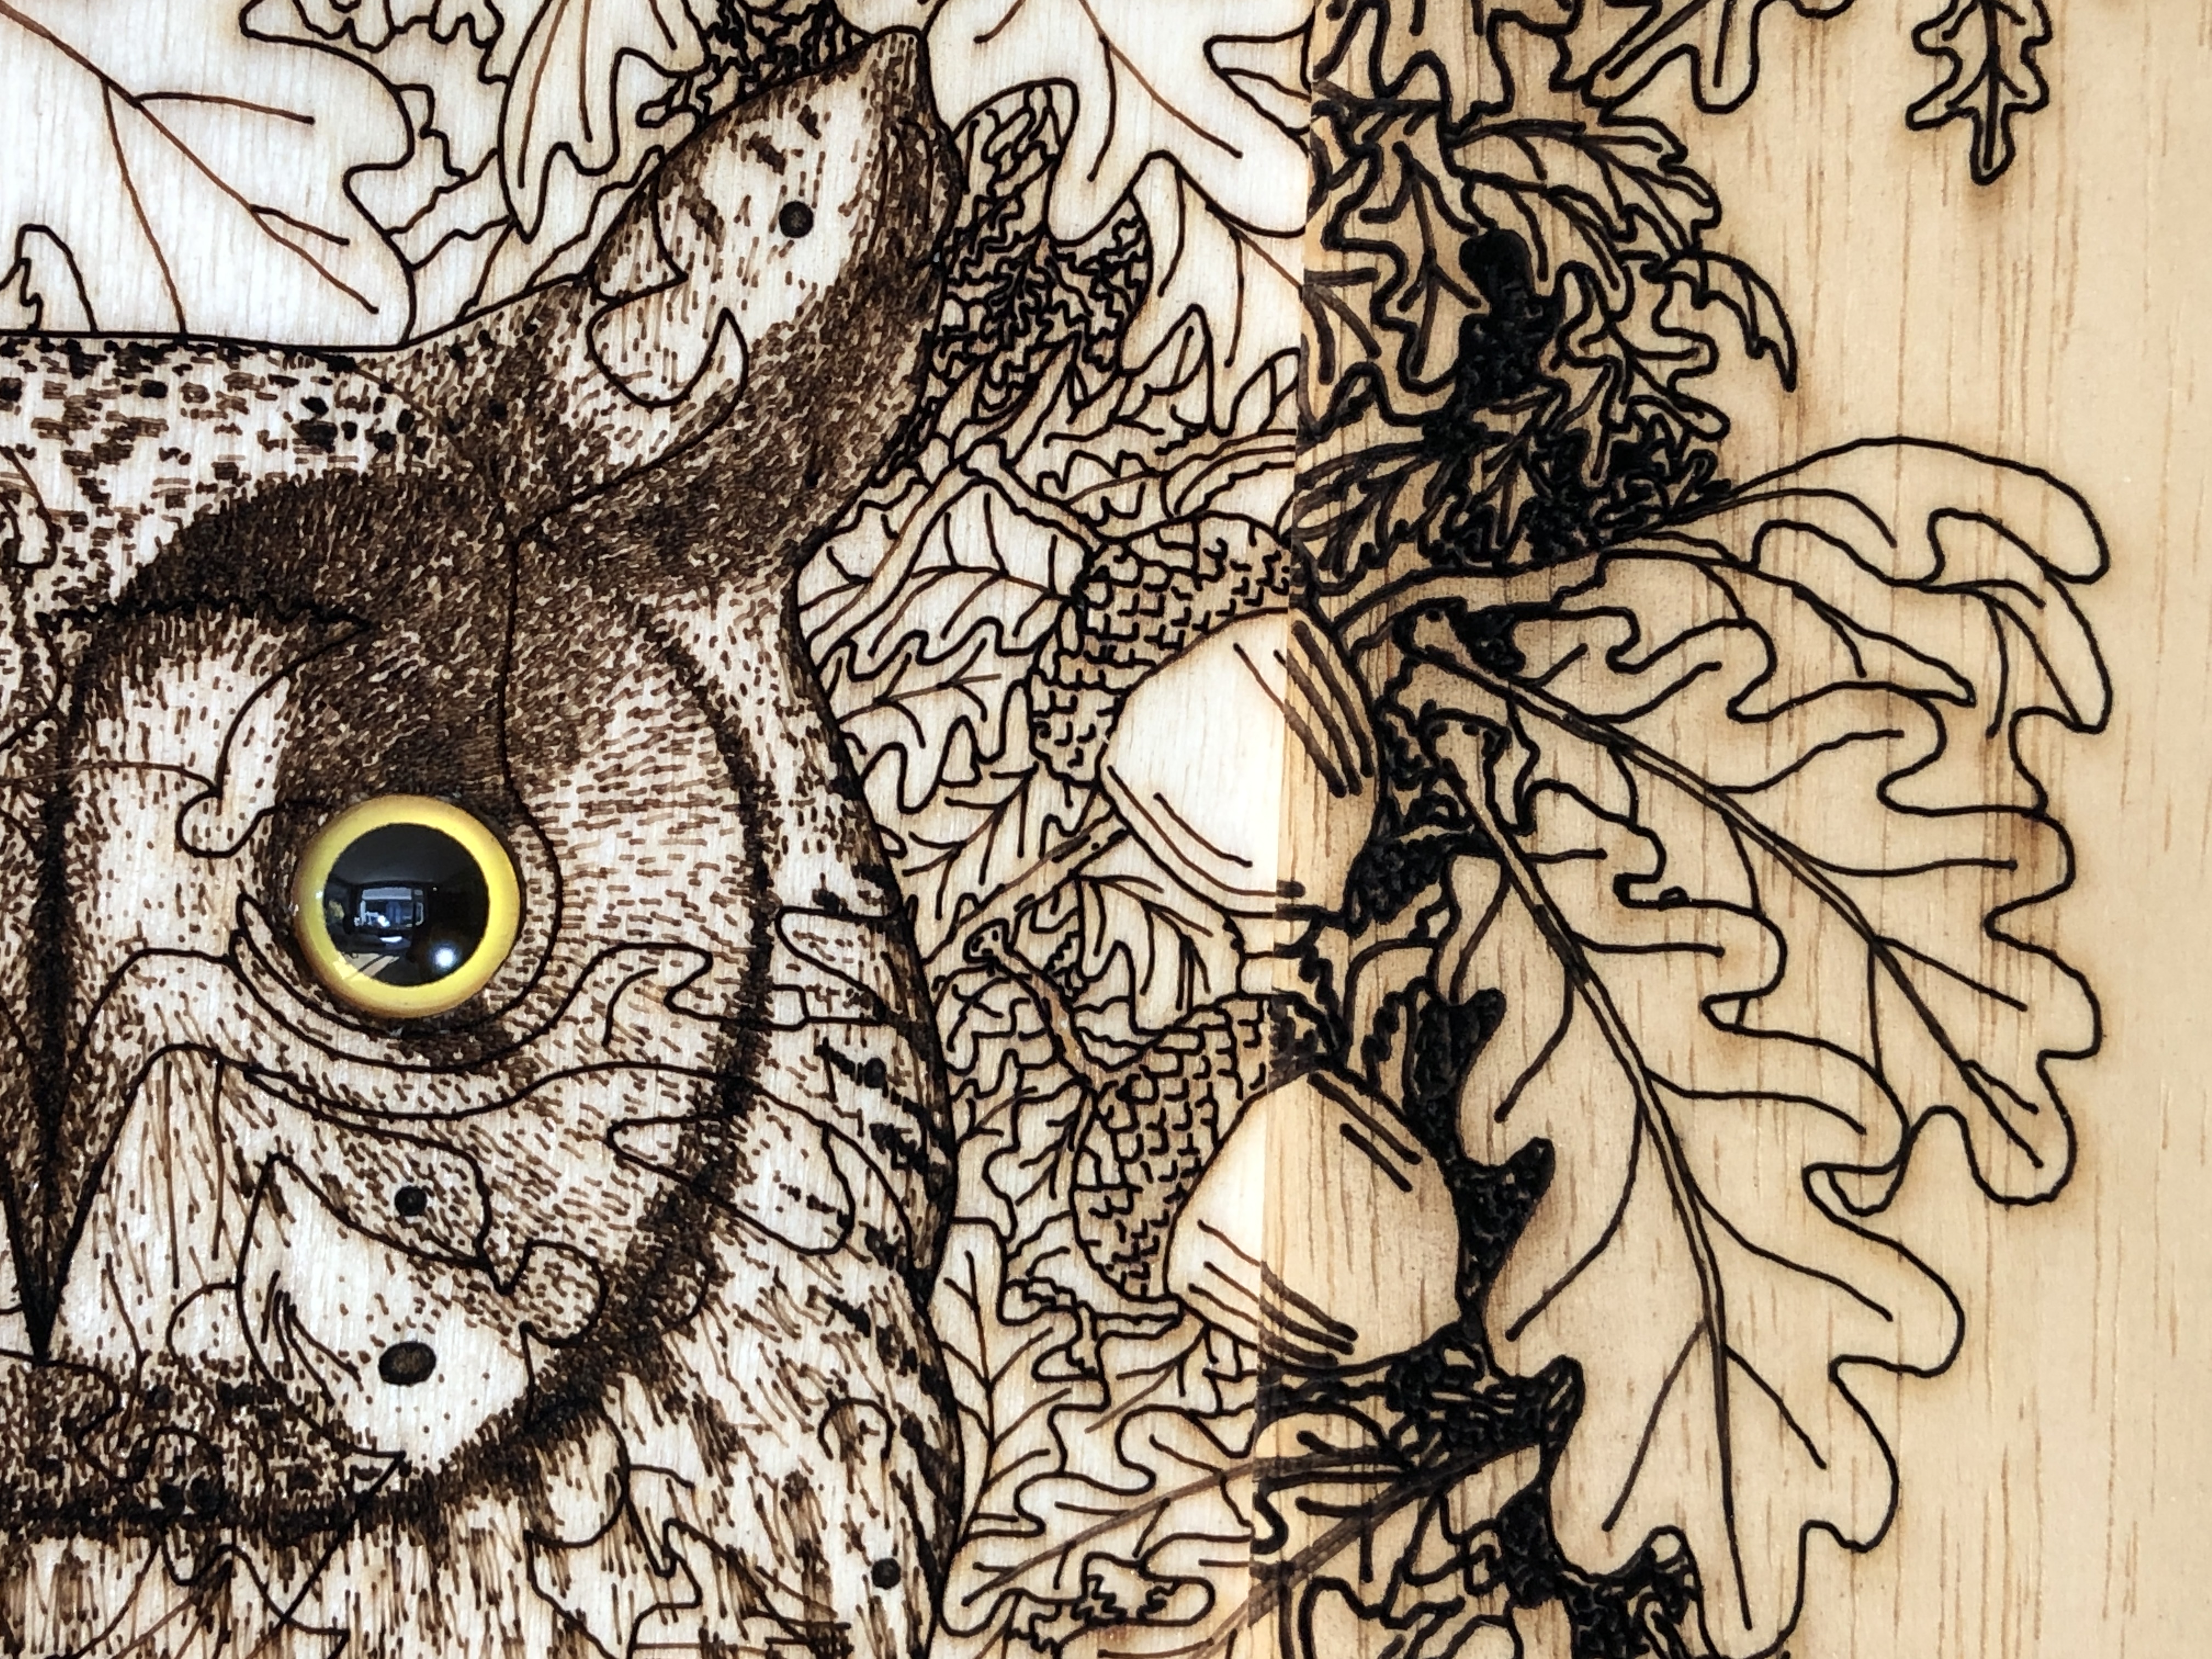
Close-up of the “R” of the HOUR hand. Note the join with the “U”.
The final artwork has been 95% made by hand, my hands, using the best tools at every stage (as the making-video shows). I’m very pleased to reference, and hope to provoke thought into, two fundamental and very puzzling concepts in physics and philosophy – time and gravity…
Why are some of the numbers missing on my clock face?
The keen-eyed amongst you might notice that the only numbers I’ve used are prime numbers. Having a penchant for prime numbers, when designing the clock face, I felt that putting on all the numbers – one to twelve – would make it look too crowded. Also, my goal was to design a clock puzzle – i.e. with interlocking puzzle pieces. Interlocking puzzle pieces are where two or more distinct puzzle pieces structurally hold together – and each piece connects with two or more other distinct puzzle pieces.
It is surely a coincidence that whoever came up with the shape of the Hindu-Arabic numbers we use today, all the single-digit prime numbers have no holes – or negative spaces – in them, whereas the non-prime numbers have holes. This means that the non-prime numbers – 4, 6, 8, and 9 – cannot be single, whole, puzzle pieces. They are two or more pieces – with one or more smaller (hole) pieces fully enclosed. These “hole” pieces – or negative spaces – are attachable to only one other piece – the positive space of the enclosing main digit shape – whereas the prime single digit numbers are all simple single puzzle pieces…
The negative spaces of the even numbers do not meet the criterion of a puzzle piece – each piece connects with two or more other distinct puzzle pieces – and were excluded from the design.
This clockface design is using only prime numbers because it is a proper structural puzzle – all the pieces meet the criteria of proper puzzle pieces – and, most importantly, this appeals to my aesthetic and numerophile senses (in fact I did originally call this artwork “Prime Jigsaw Clock”, but later changed my mind). A clock face is so familiar to modern people that numbers are not strictly necessary – and many clockface designs have no numbers at all. So, to be provided with six very special prime numbers, is six more than strictly necessary – and adds to the mystique of what this clock is all about…
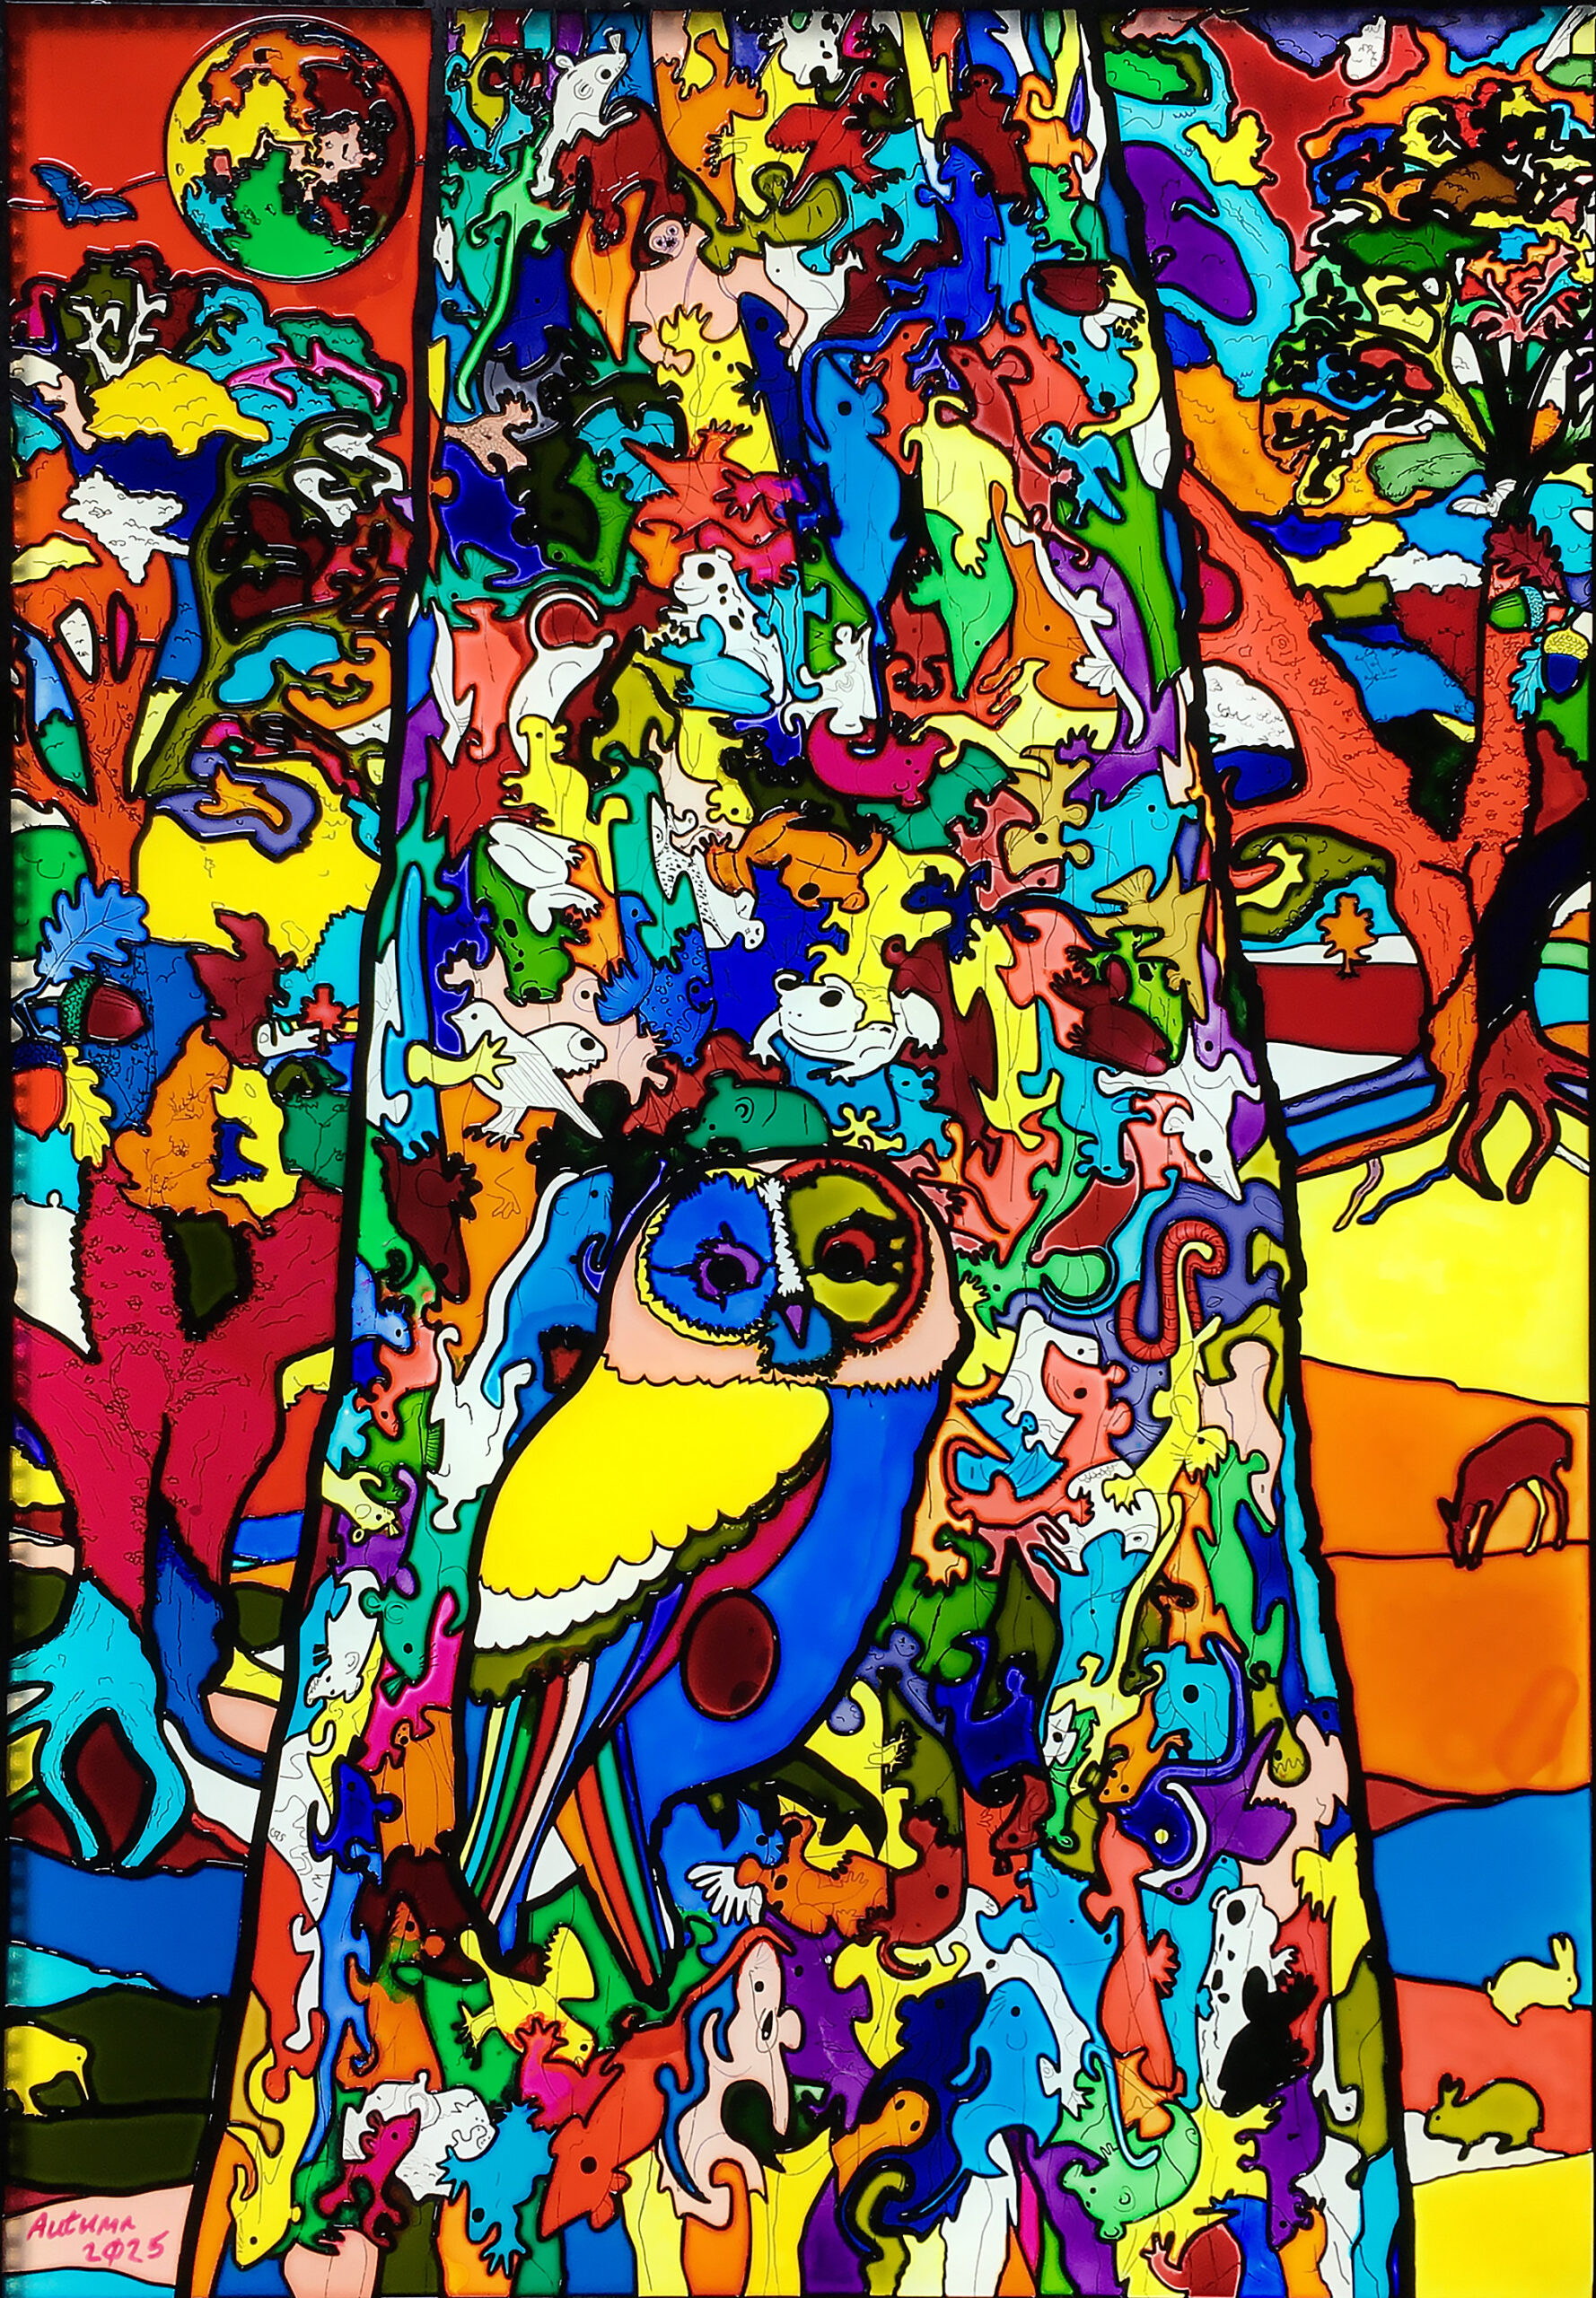
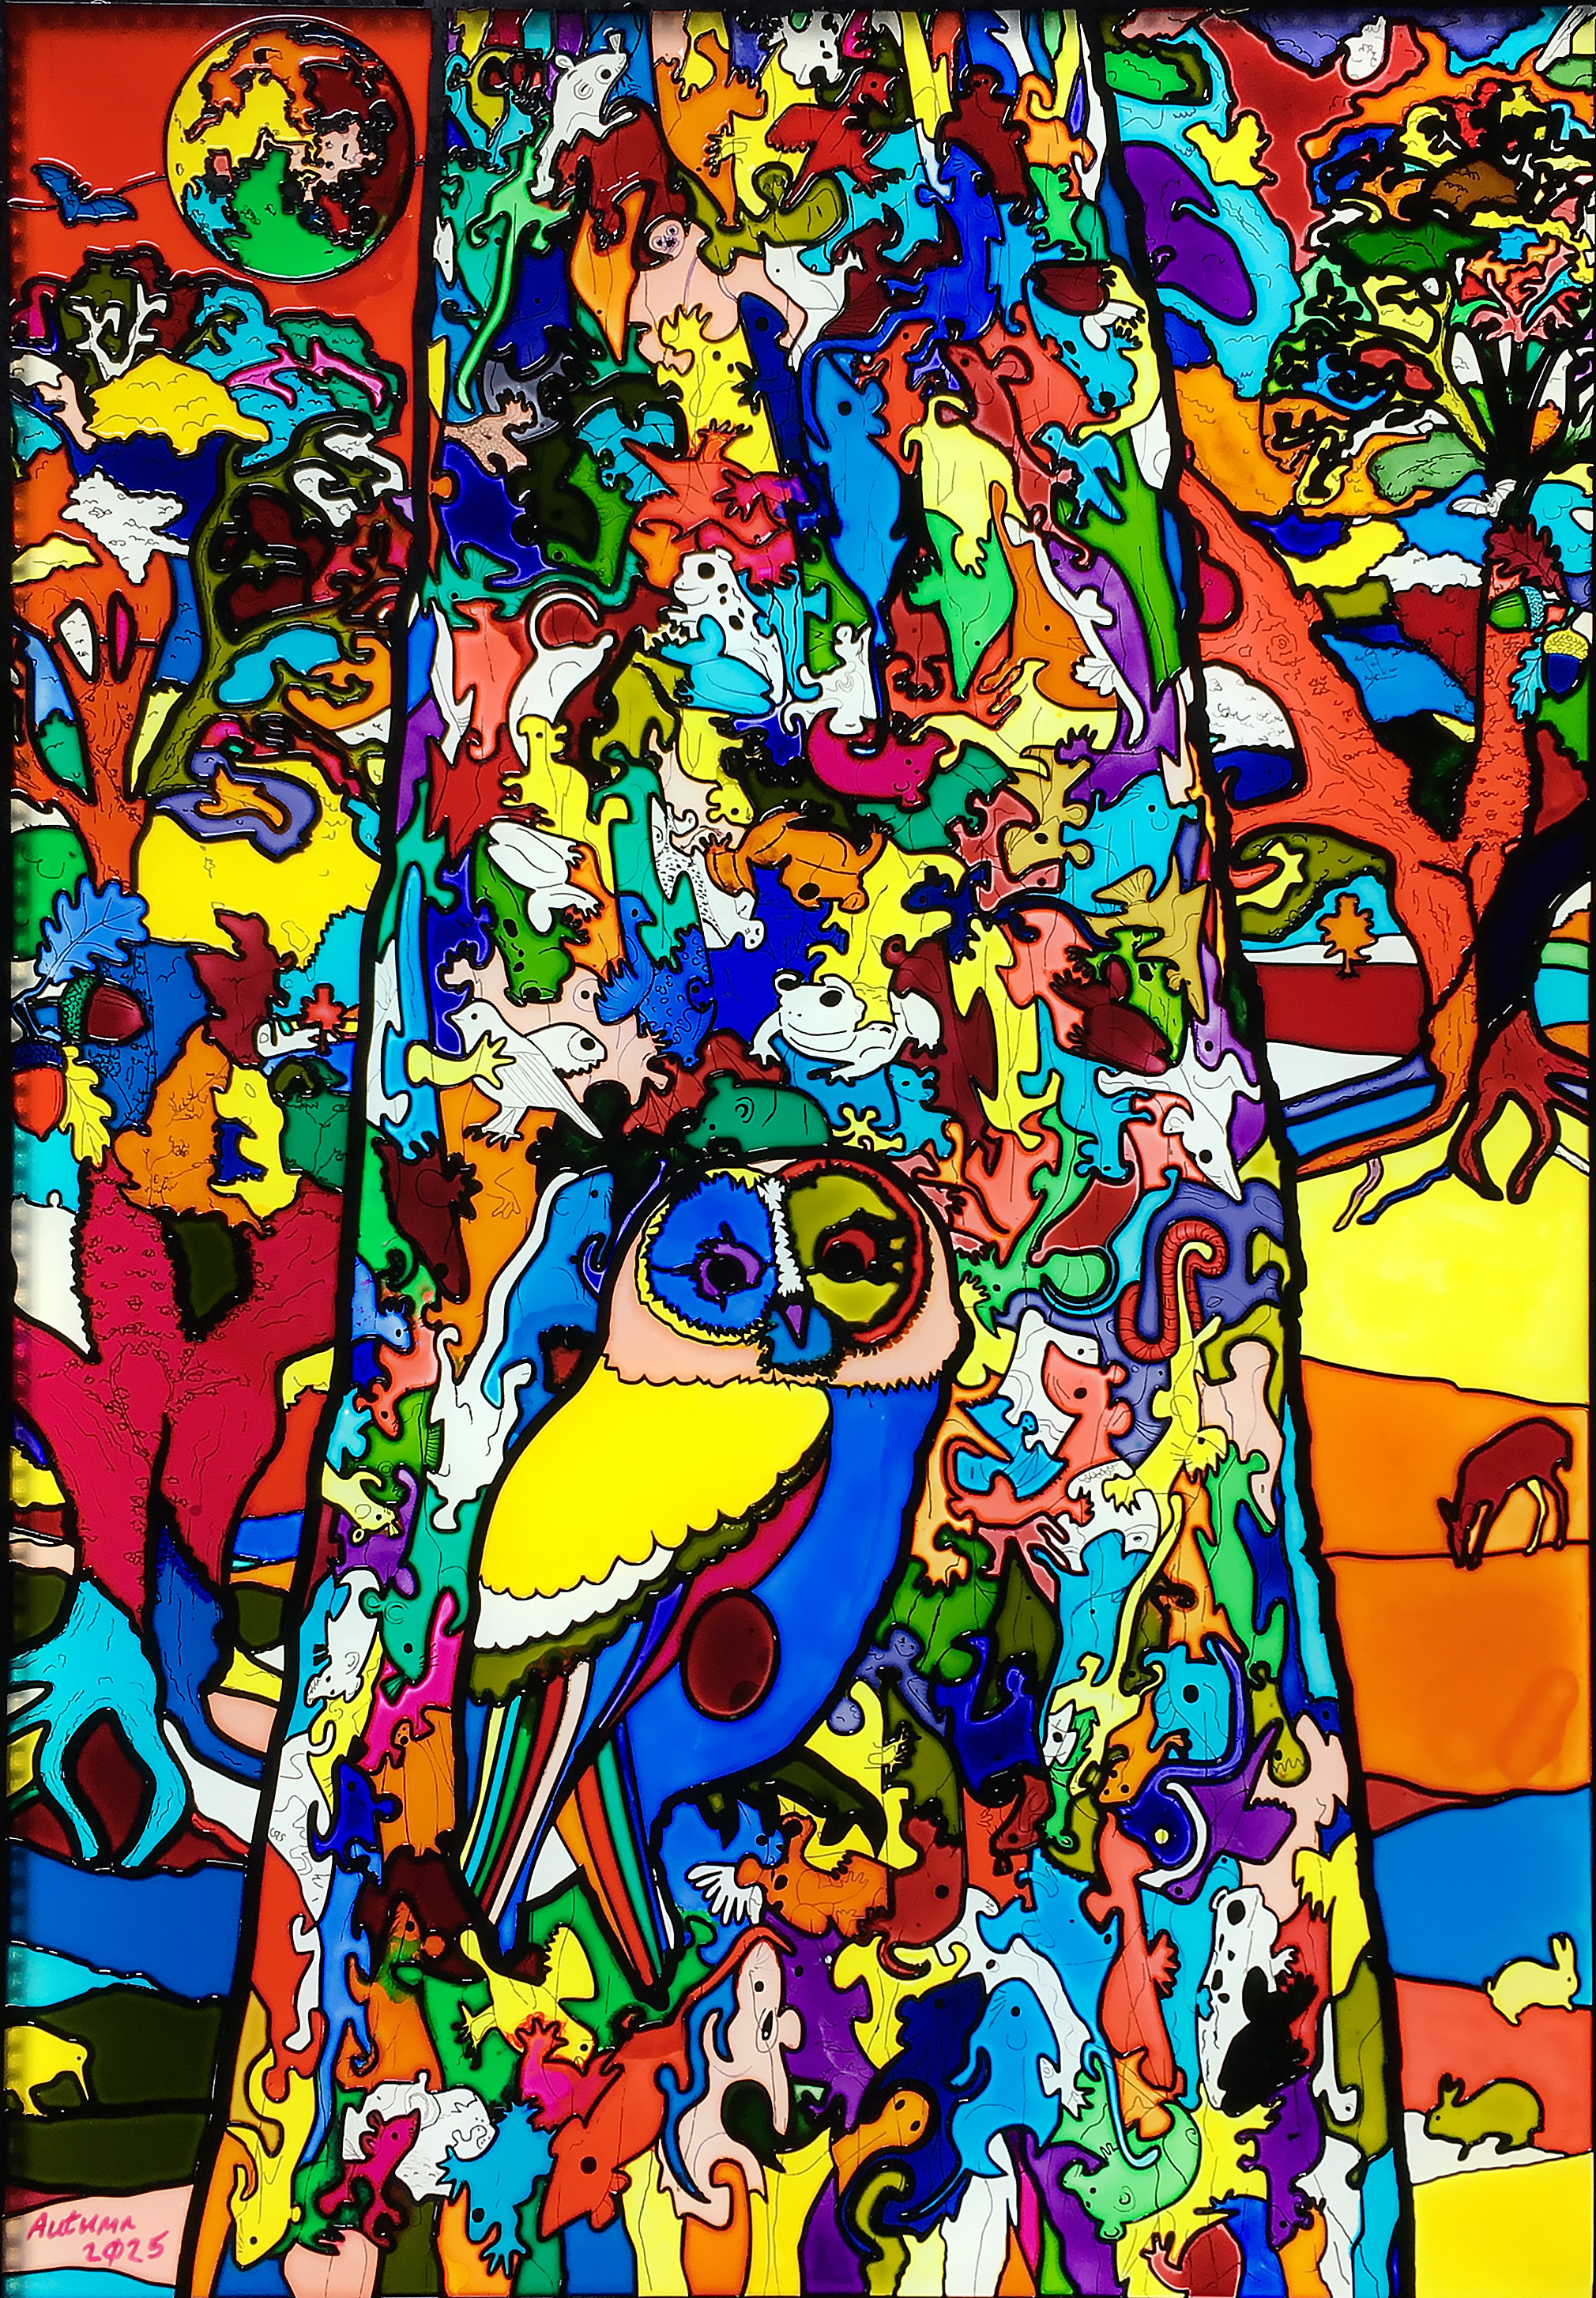
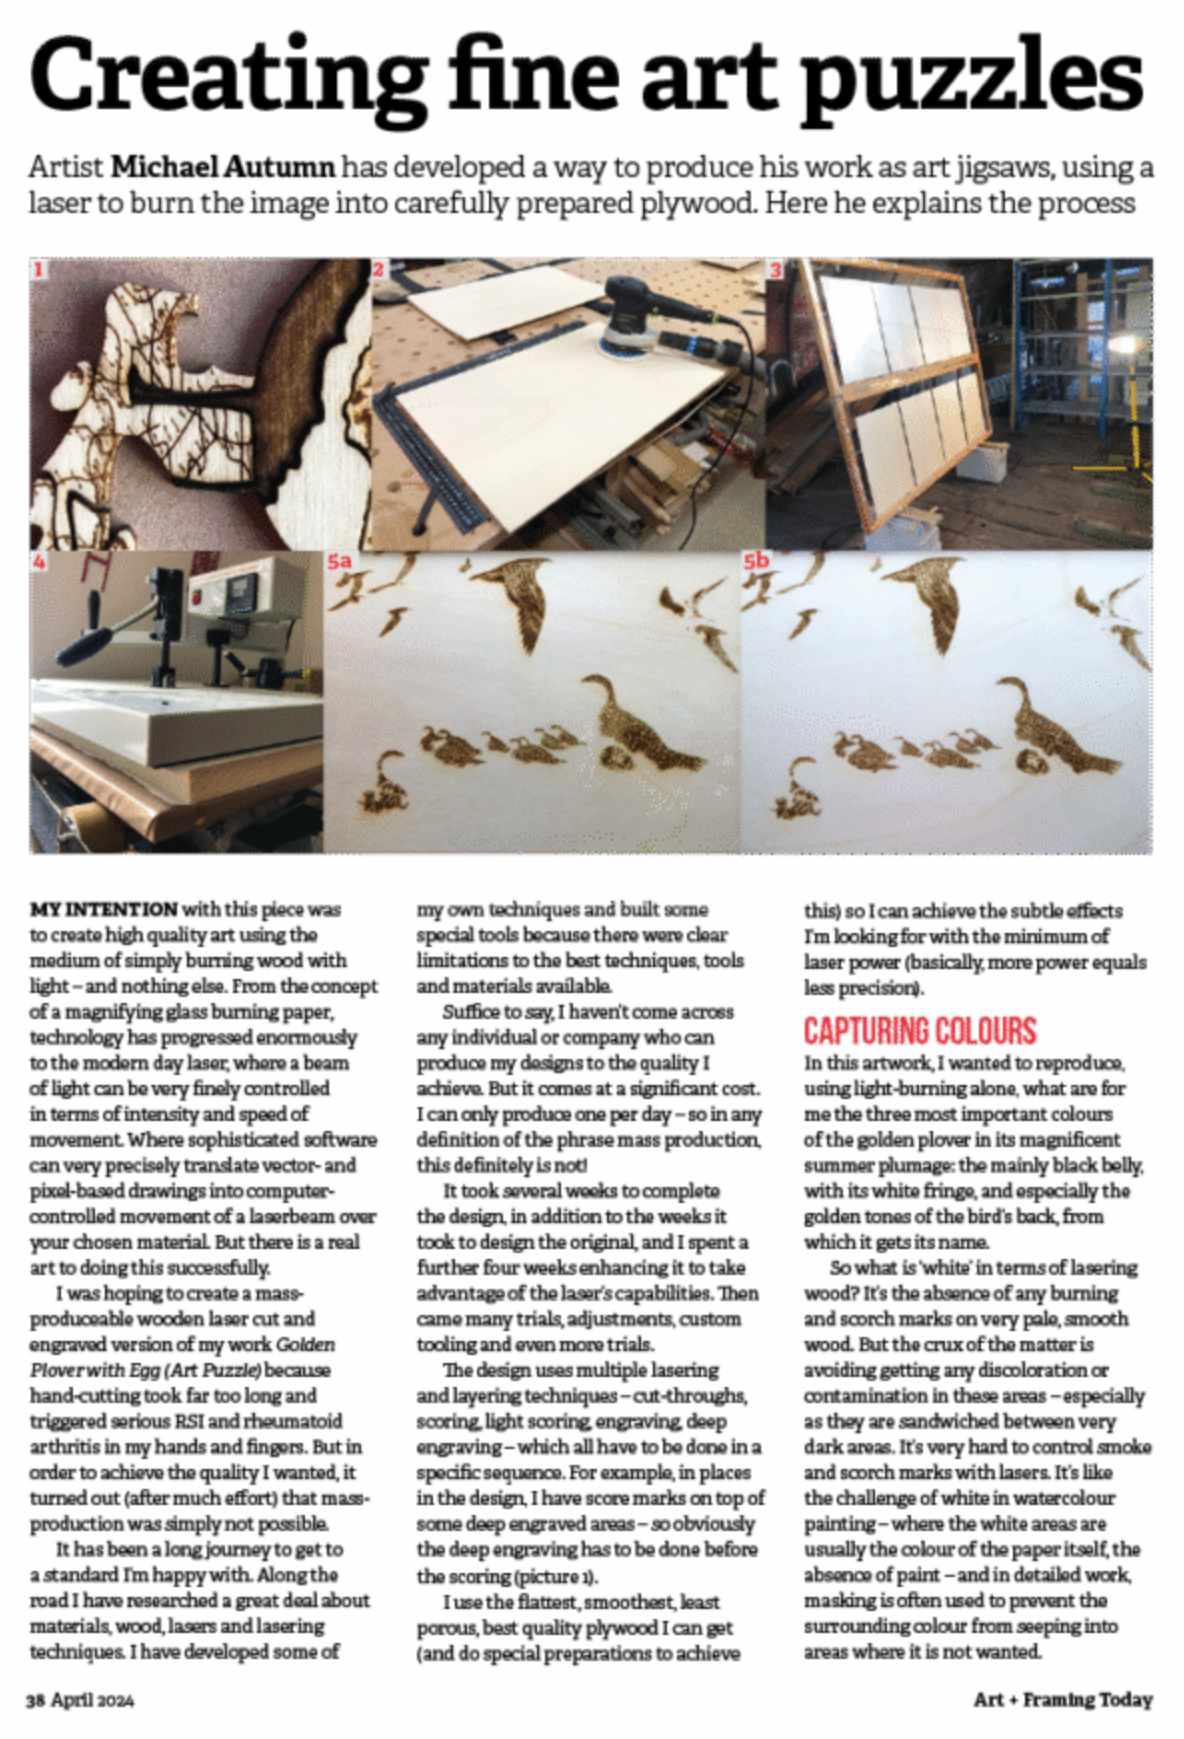
Title: “Tawny Owl in Landscape (Predator and Prey) (floral map)” Artist: Michael Autumn Medium: Resinous glass paints on faux leaded (composite plastic) clear cast acrylic sheet Size: 60cm (W) x 85cm (H) Edition: Original Authenticity: Hand-signed (bottom, far left) with purple glass paint on light pink painted cloisonné cell. Date: 02/2025
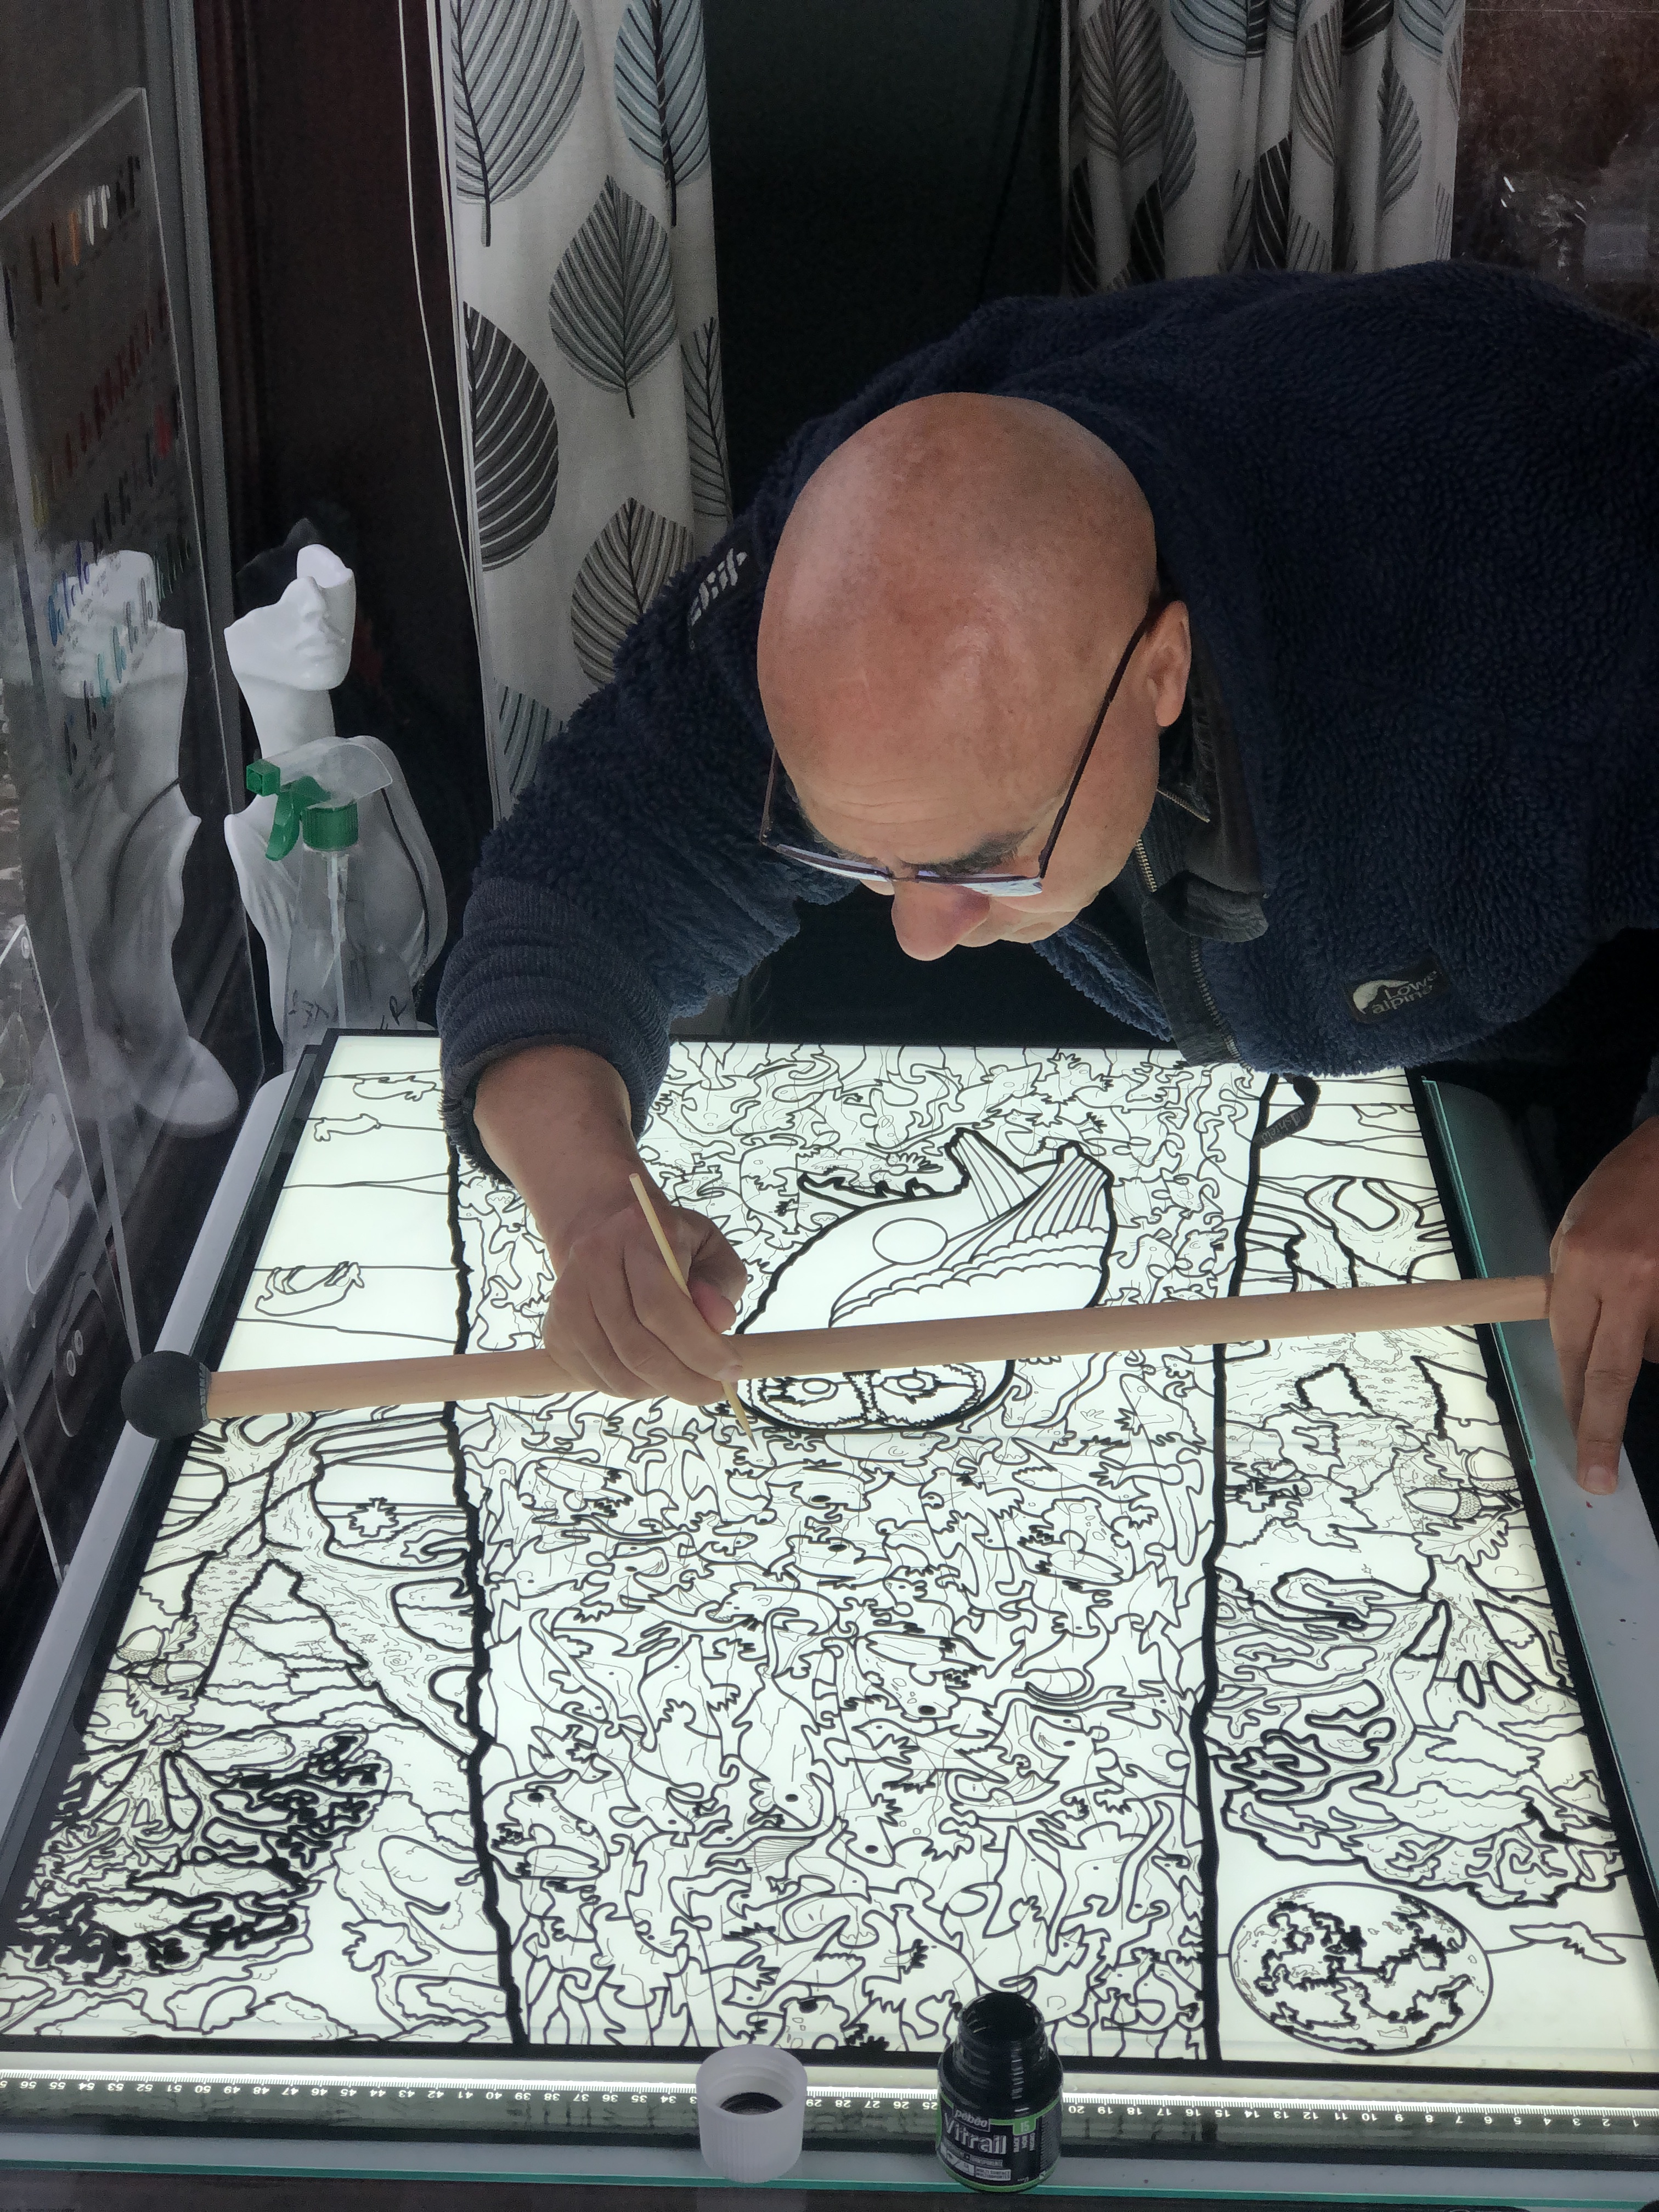
Michael Autumn drawing and painting black detail lines and spots amid the laser cut black composite plastic faux leading.
TL;DR
Not tied to any particular medium or technique, I have tried to devise a way of achieving a stained-glass look with much more detail than is conventionally possible – using a clear acrylic sheet, laser-cut black composite “leading” (aka “cames” – the “H”-shaped strips of lead holding the glass pieces together), and the coloured “glass pieces” are transparent resinous glass paint.
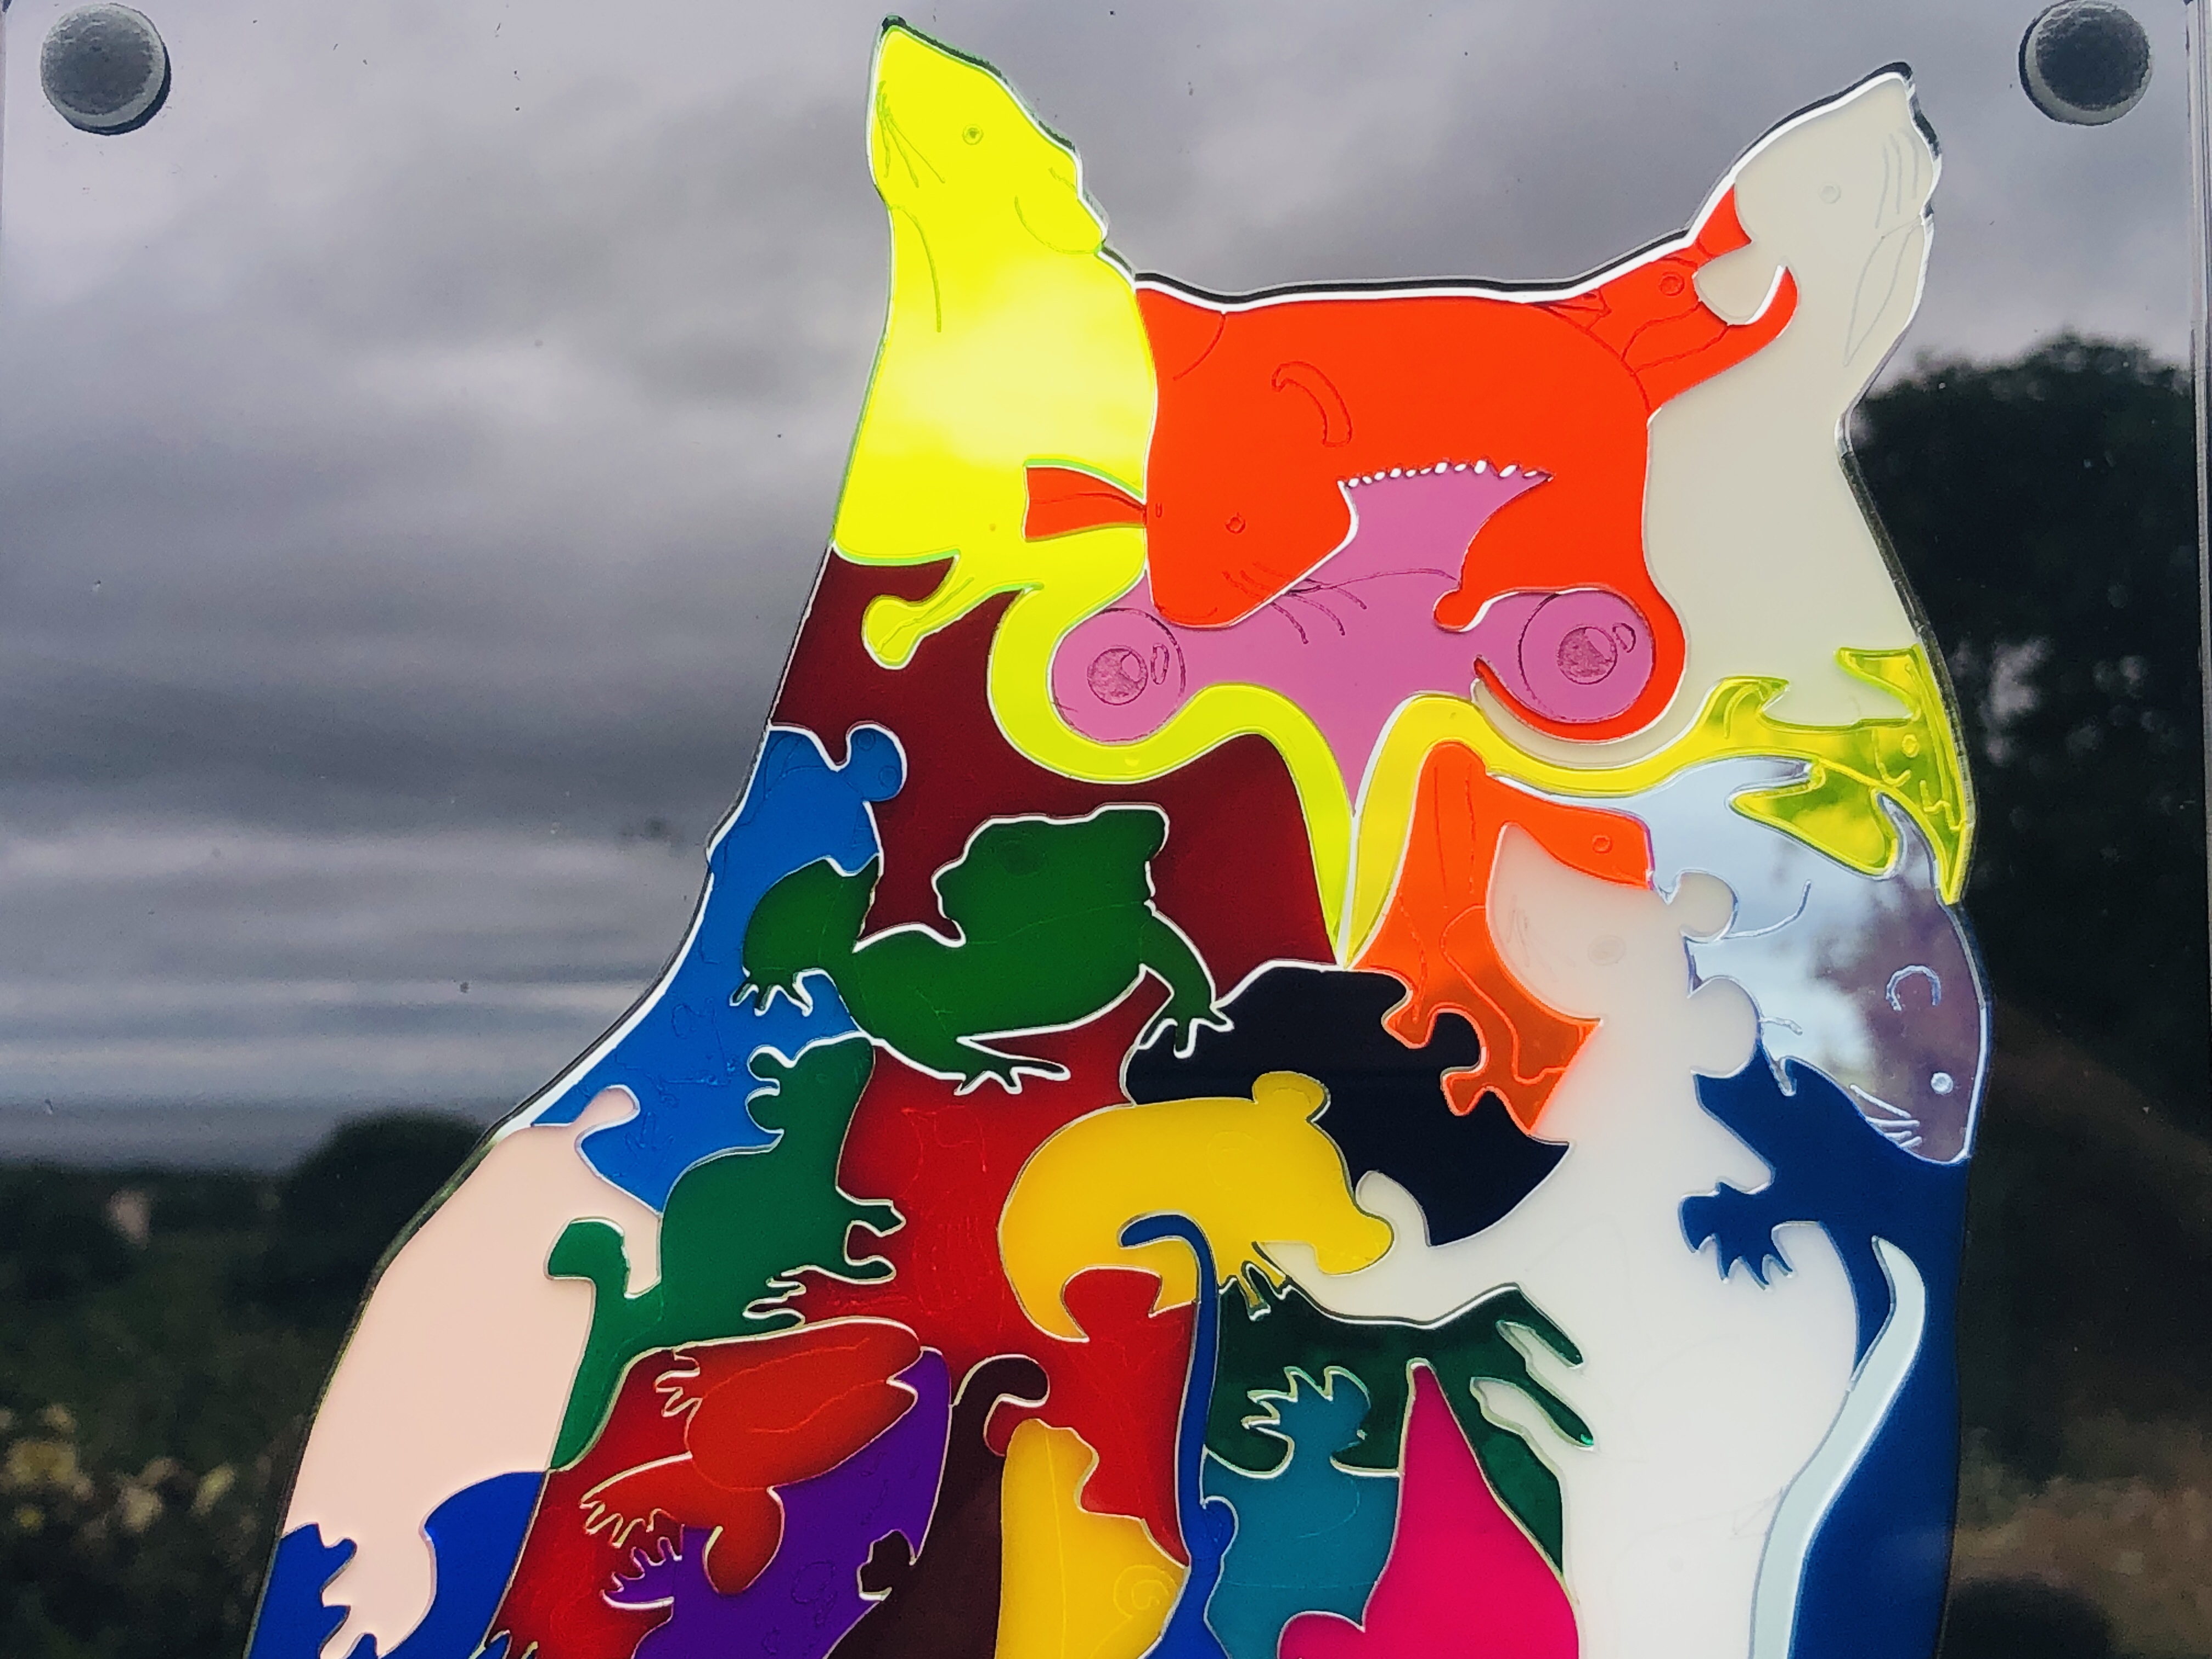
The scene is a tawny owl in a “tree”, in a landscape with animals, trees, bats, and the moon in the background. The main foreground “tree” trunk is actually made up of a variety of the owl’s prey creatures – and asks the question: if these owls eat 2-6 of these animals every day, and they live up to 24 years…?
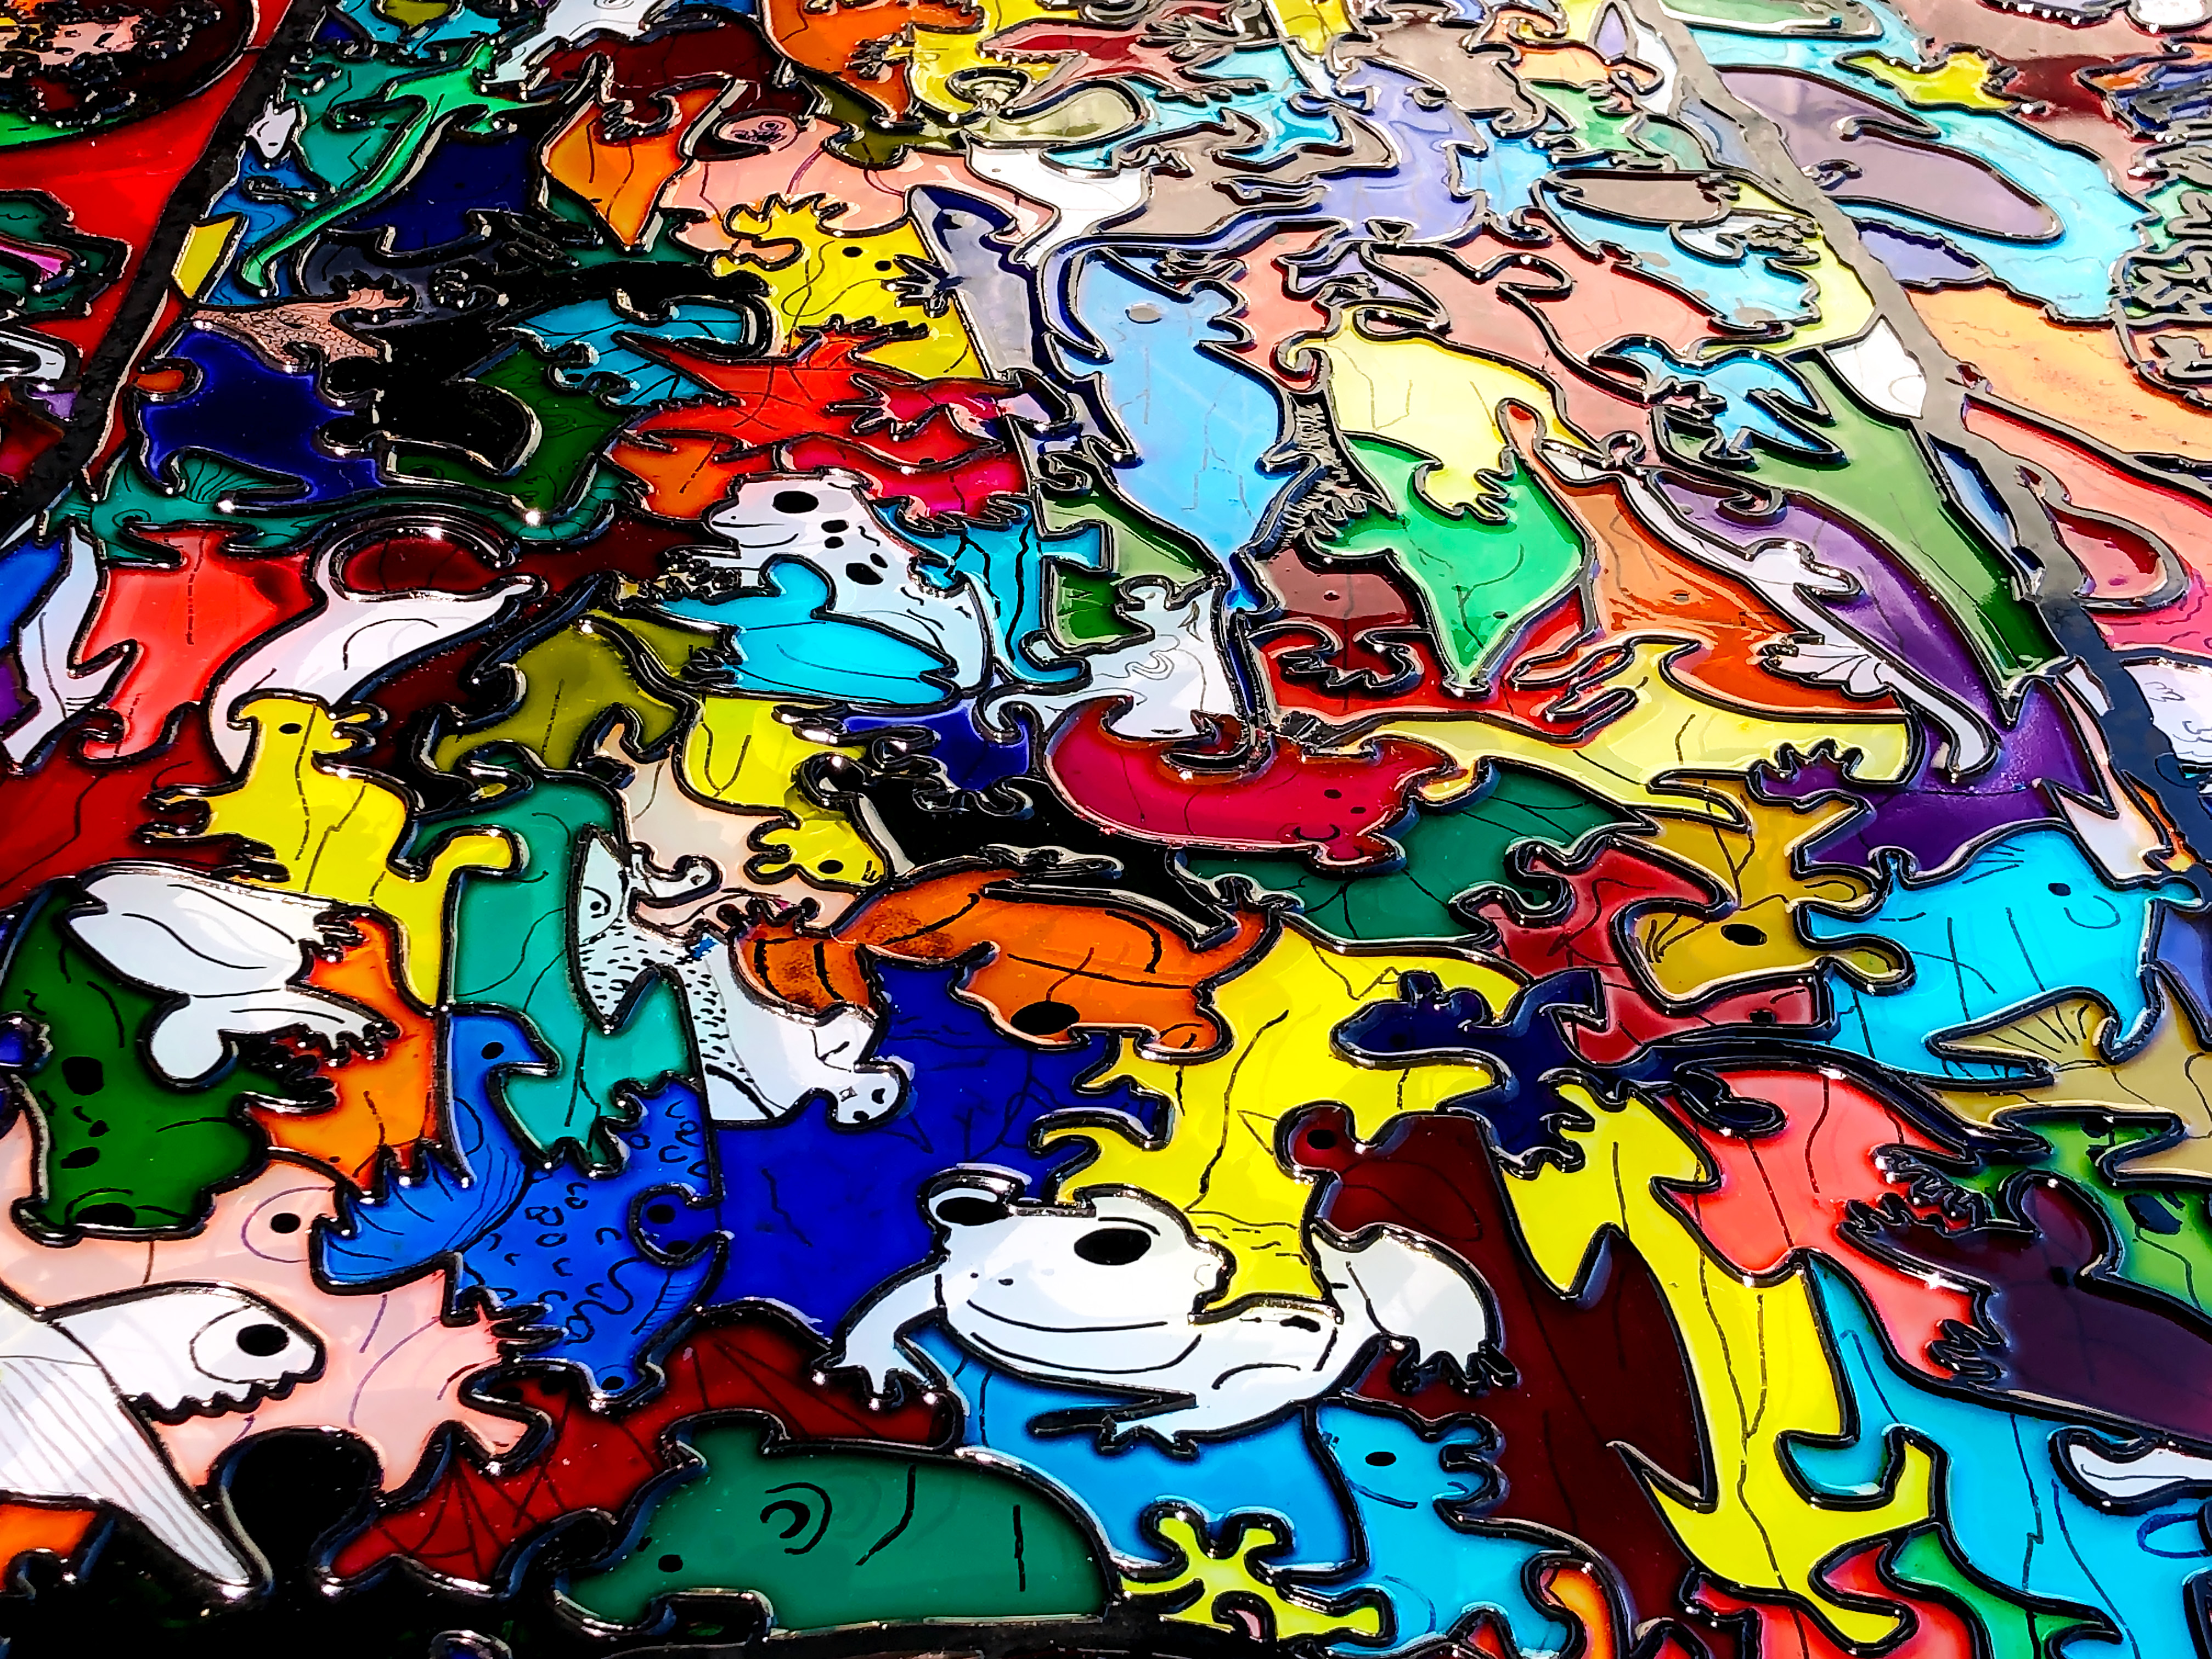
The centre column (the main tree trunk) of this artwork comes directly from my original thick oak wooden art puzzle (see https://michaelautumn.wordpress.com/2023/05/03/tawny-owl-with-egg-art-puzzle/). That work is naturally quite dark and monochromatic because it is a nocturnal scene, and most of the prey animals (depicted in the main tree trunk) are also nocturnal, and therefore dark and dull coloured. So I thought it would be interesting to turn the idea upside-down and make it into a vibrant kaleidoscopic “stained-glass” landscape scene.
This imaginary landscape faux stained-glass artwork is my attempt to overcome some of the limitations of conventional stained-glass techniques. It’s hand drawn and hand painted (using transparent resinous glass paints) on a 10mm thick clear 850mm x 600mm acrylic base. The faux leading (aka “cames” – the “H”-shaped strips of lead holding the glass pieces together) (of different widths) is my devising: its hand-drawn, laser cut, black composite – glued to the acrylic base. The coloured glass effect is achieved with transparent resinous glass paint lasgely poured into each cell – an effect very much like cloisonné stained-glass.
I’m lucky to be a completely free artist – unaffiliated to any art movement, genre, or medium; and not tied to any particular materials, methods or techniques. My main interest is expressing my creativity and achieving my designs to the best of my ability – using any material/s or techniques I can think of to help me achieve my goals. I like exploring new materials, tools, and technologies: you might call me a tech geek. I’m very interested in pushing art forward – as opposed to continuing centuries-old traditions and techniques. In every historical medium I can think of, past masters in those mediums cannot be matched – let alone surpassed – and I think it’s pointless to try. All artists can do what they like, but I am keen on creating new things. I’m very interested in trying new materials and tools that give new and/or greater creative possibilities. While I like the look of stained-glass, I find that the centuries-old tradition of cutting glass and fusing pieces side-by-side with lead – is too restrictive, time-consuming, and cumbersome. Through my own research and tests I realised it’s possible to create the same look, but more easily and in much greater detail.
In this artwork I have simulated the opaque dark lead cames look of stained-glass using laser cut black plastic composite. I developed this idea through research and testing, and my design fully exploits the much greater detail possible. My most intricate laser can cut thin material and can readily cut 1mm latticework. The thinnest commercially available lead cames I can find are between 3.5mm and 5mm… The majority of the faux cames in this artword are 1mm, the widest is 8mm. This means not only that far greater detail in the design are achievable, but also more light can come through the window…
Lead cames have the function of binding pieces of transparent glass side by side. But I am using coloured transparent resinous glass paint – so I don’t need to bind pieces of glass together. Cames also have an aesthetic that I like that highlights shapes and colours. I use different widths giving me greater artistic freedom than with conventional cames.
Finally, the whole piece is covered in a thin layer of clear resin to seal everything and provide extra protection. So the actual stained-glass piece is a thin layer sandwiched between a sheet of clear cast acrylic and a clear resin topcoat. The base, or rear, acrylic sheet also acts as natural UV protection – filtering out up to 99% UV radiation. And, since this is the side facing the sun/daylight, means it is in the best position to protect the sandwiched coloured layer…
This is just the beginning of me trying this new technique…
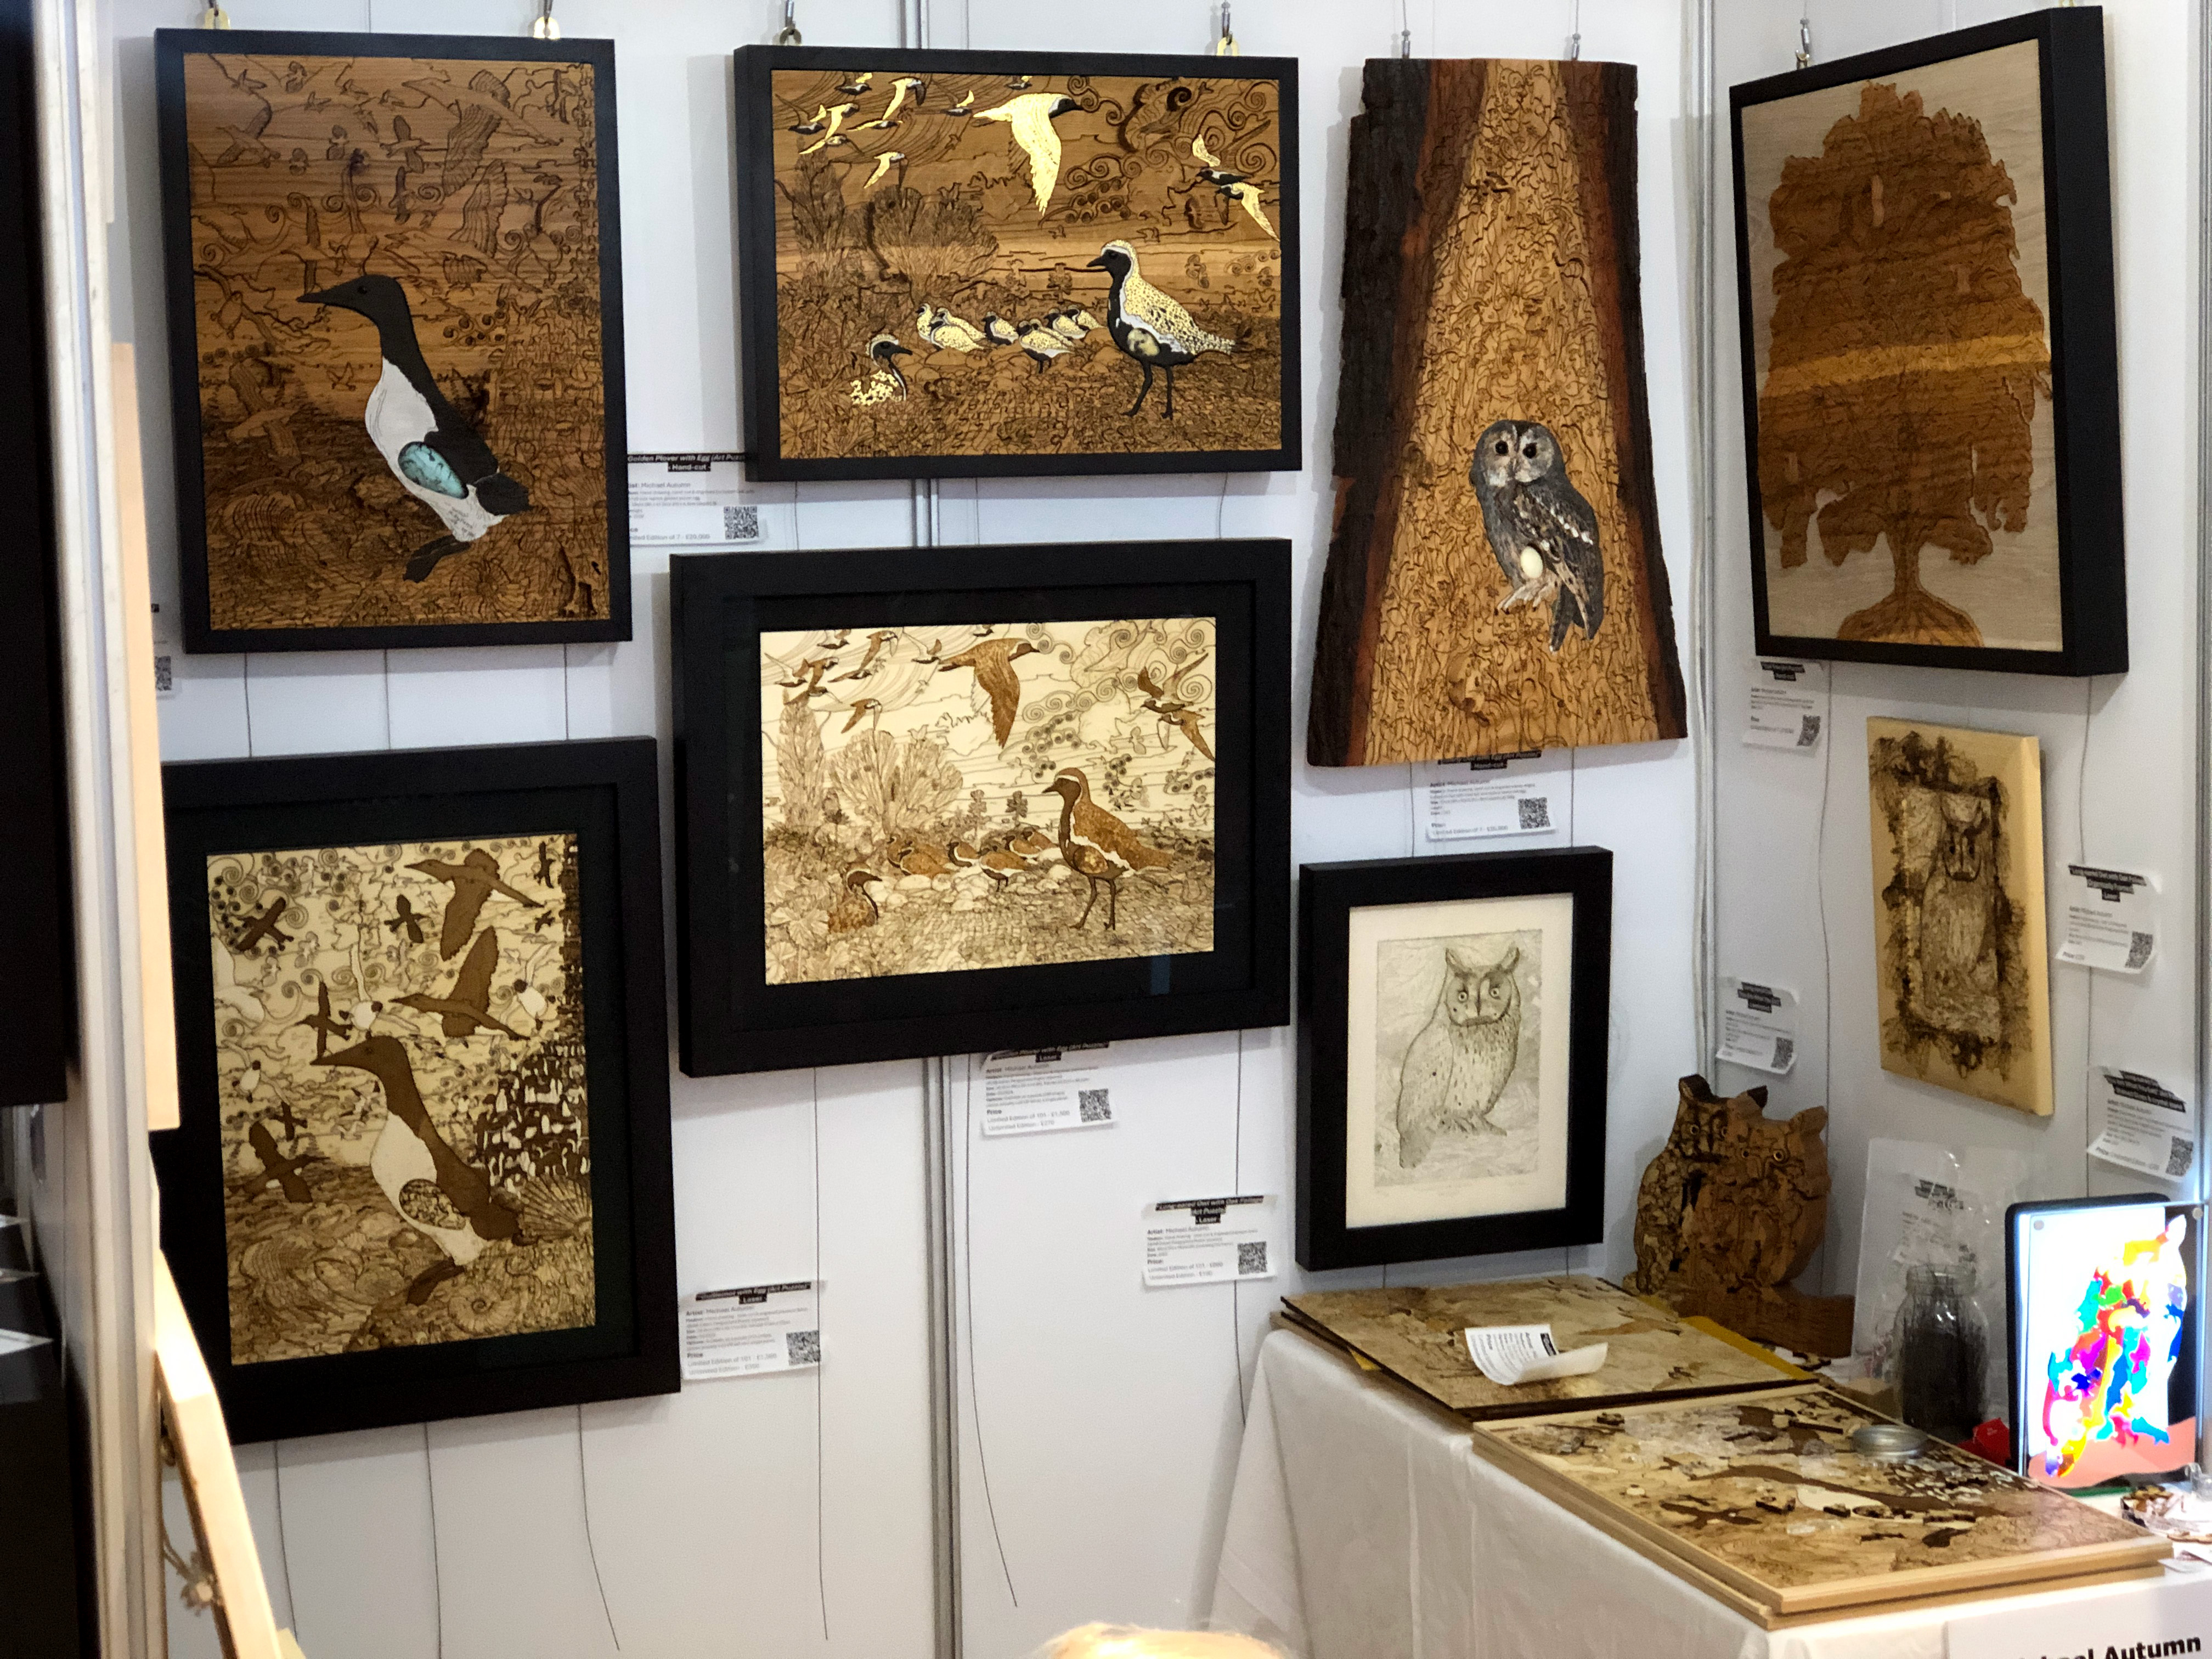
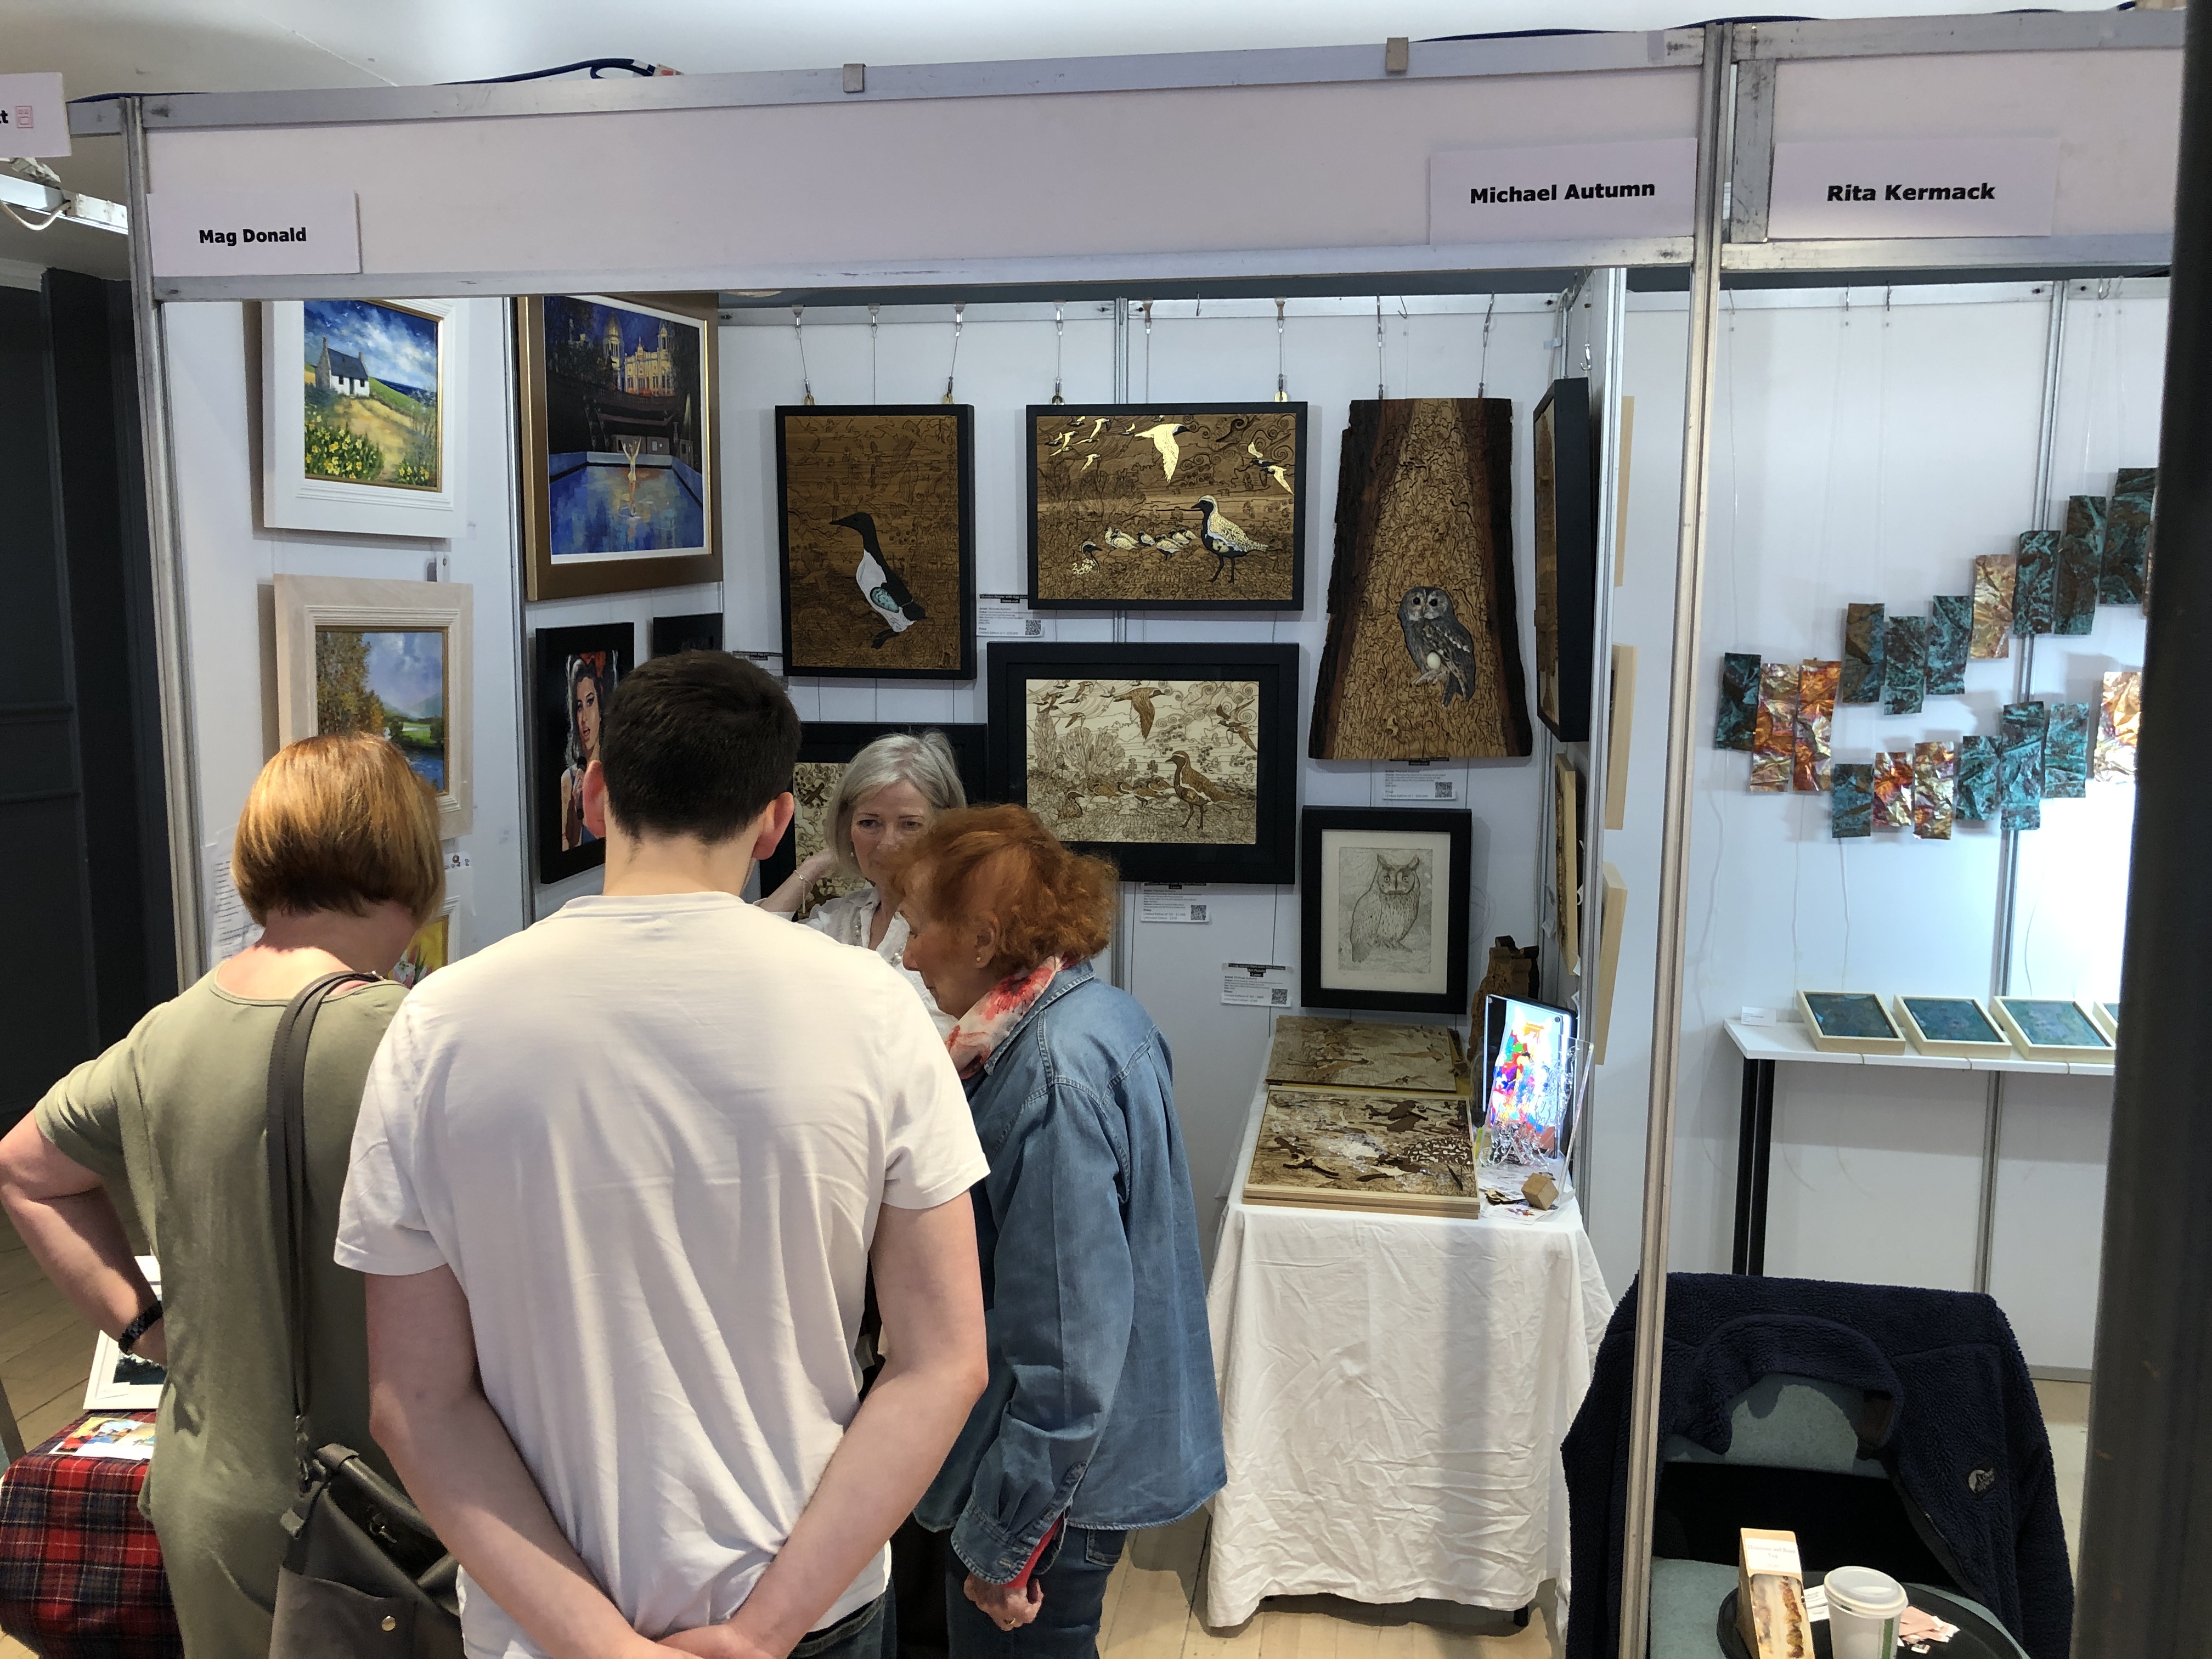
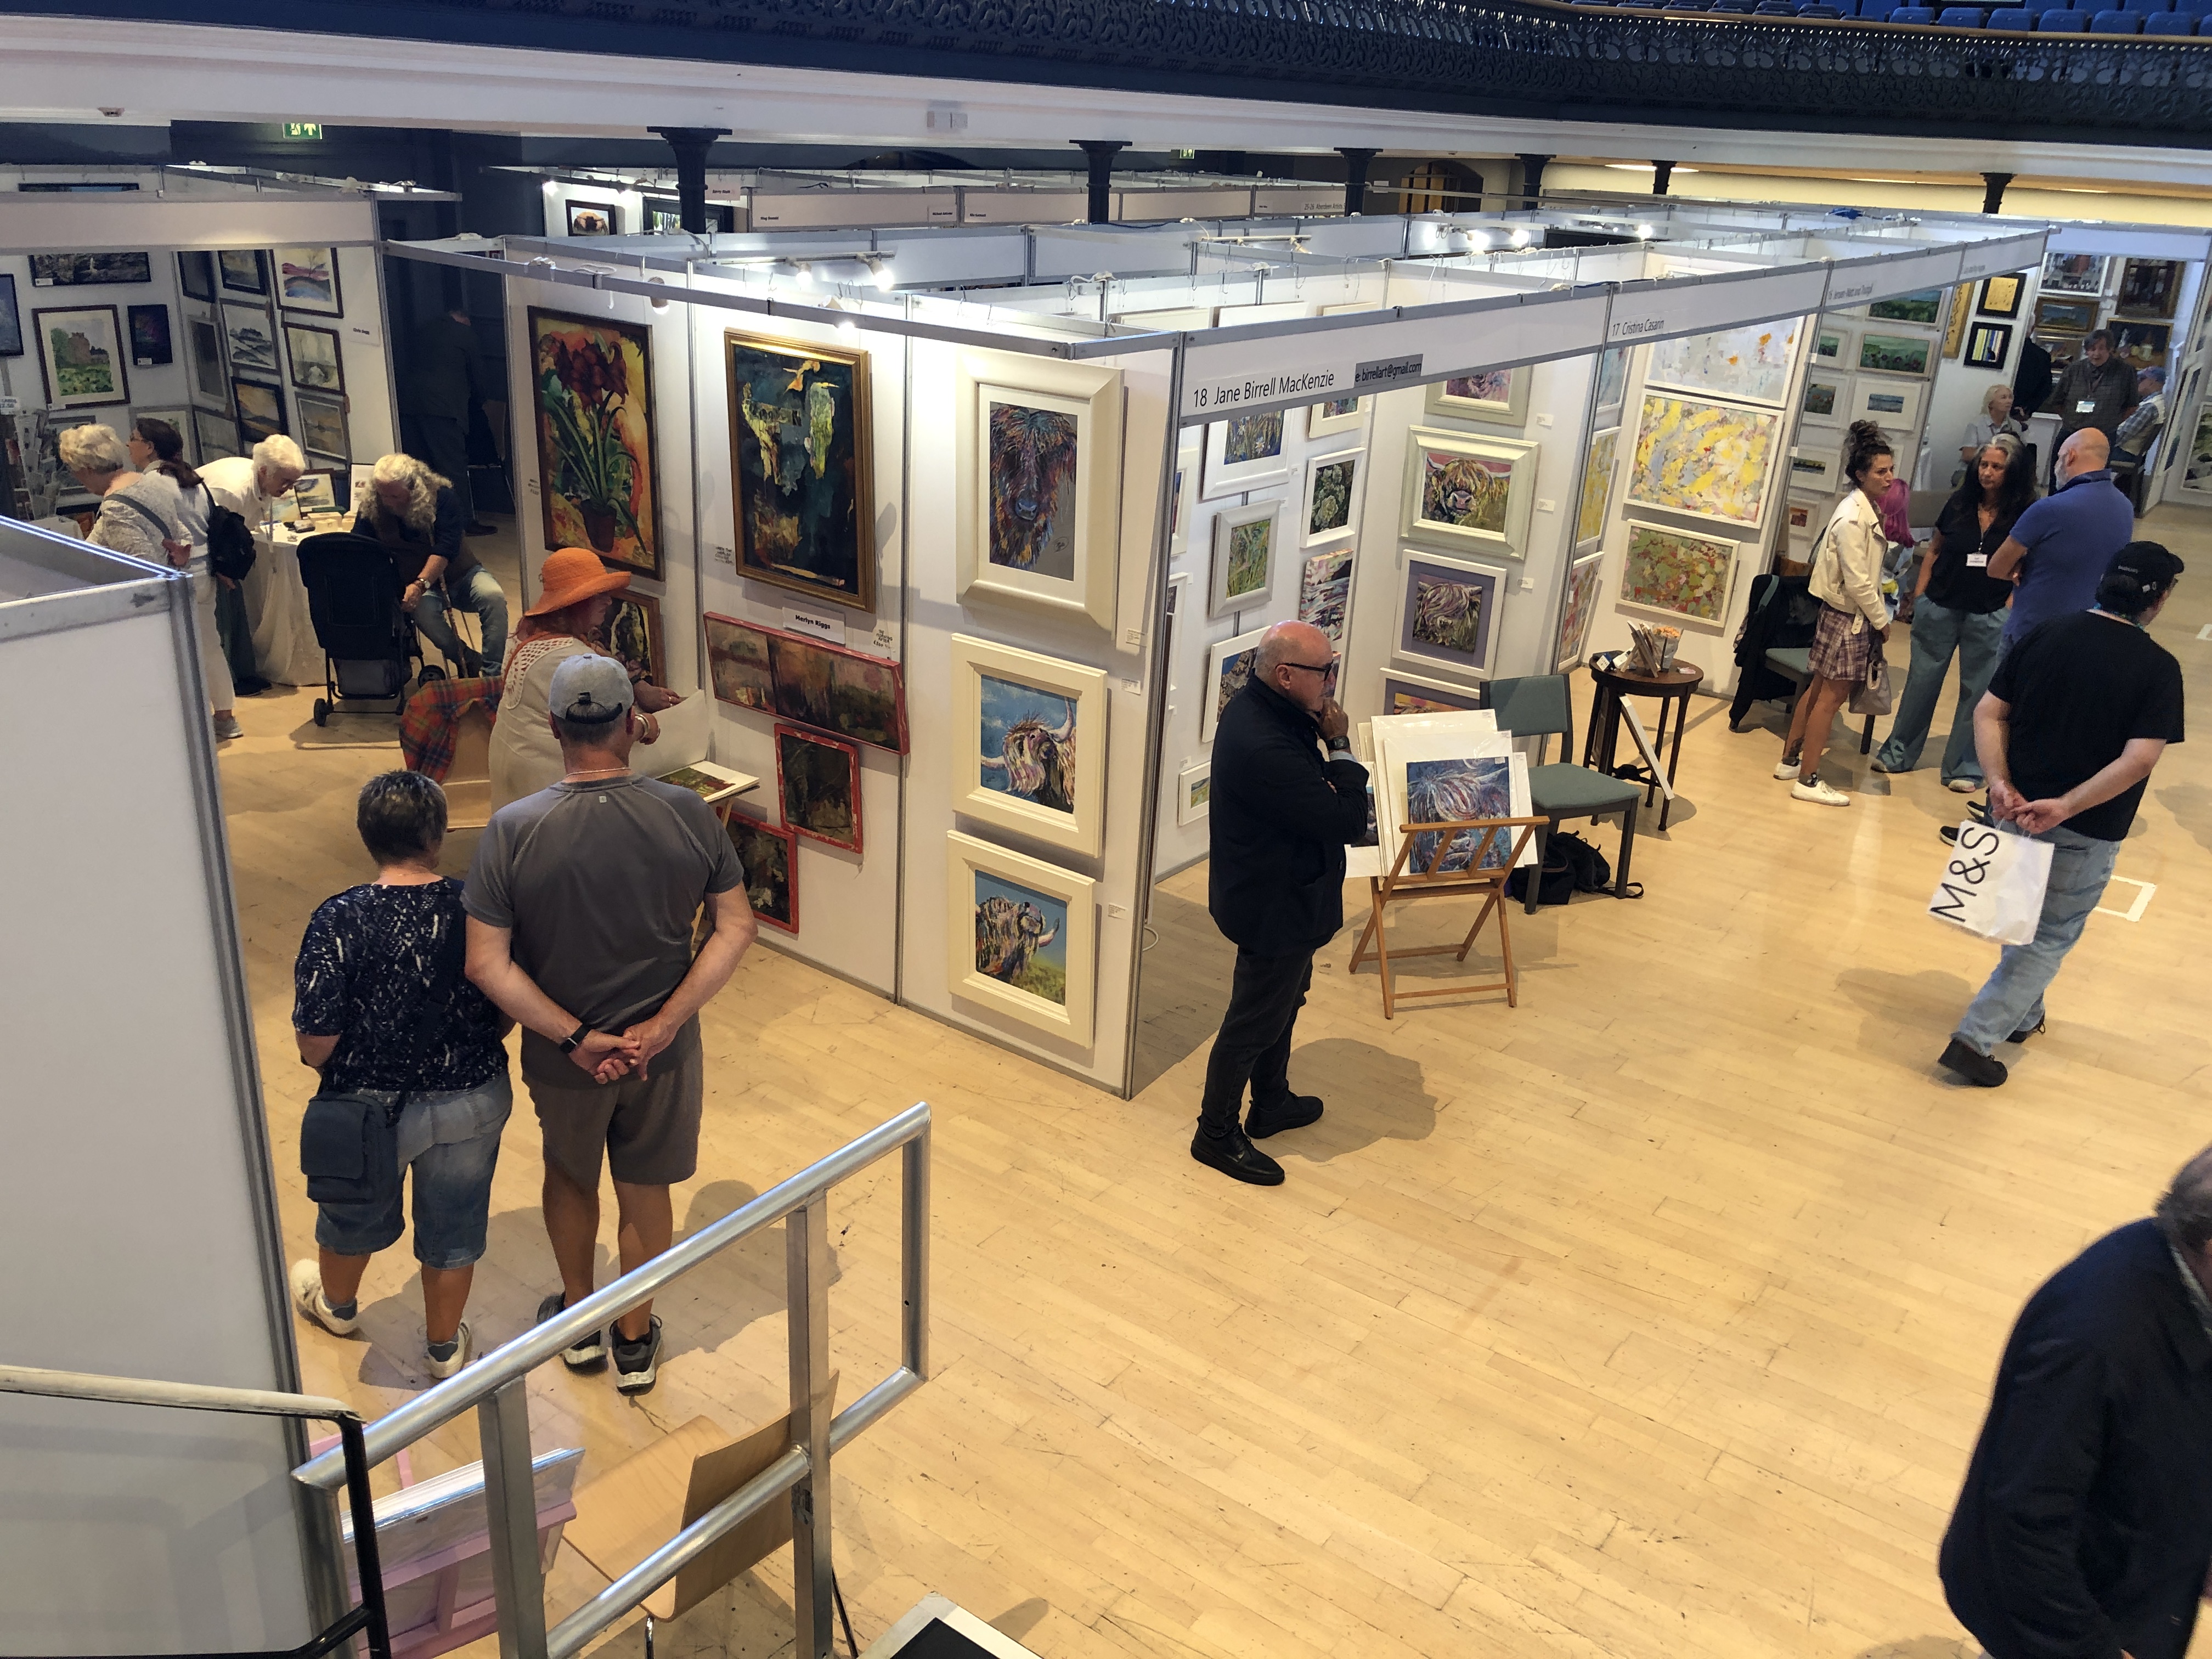
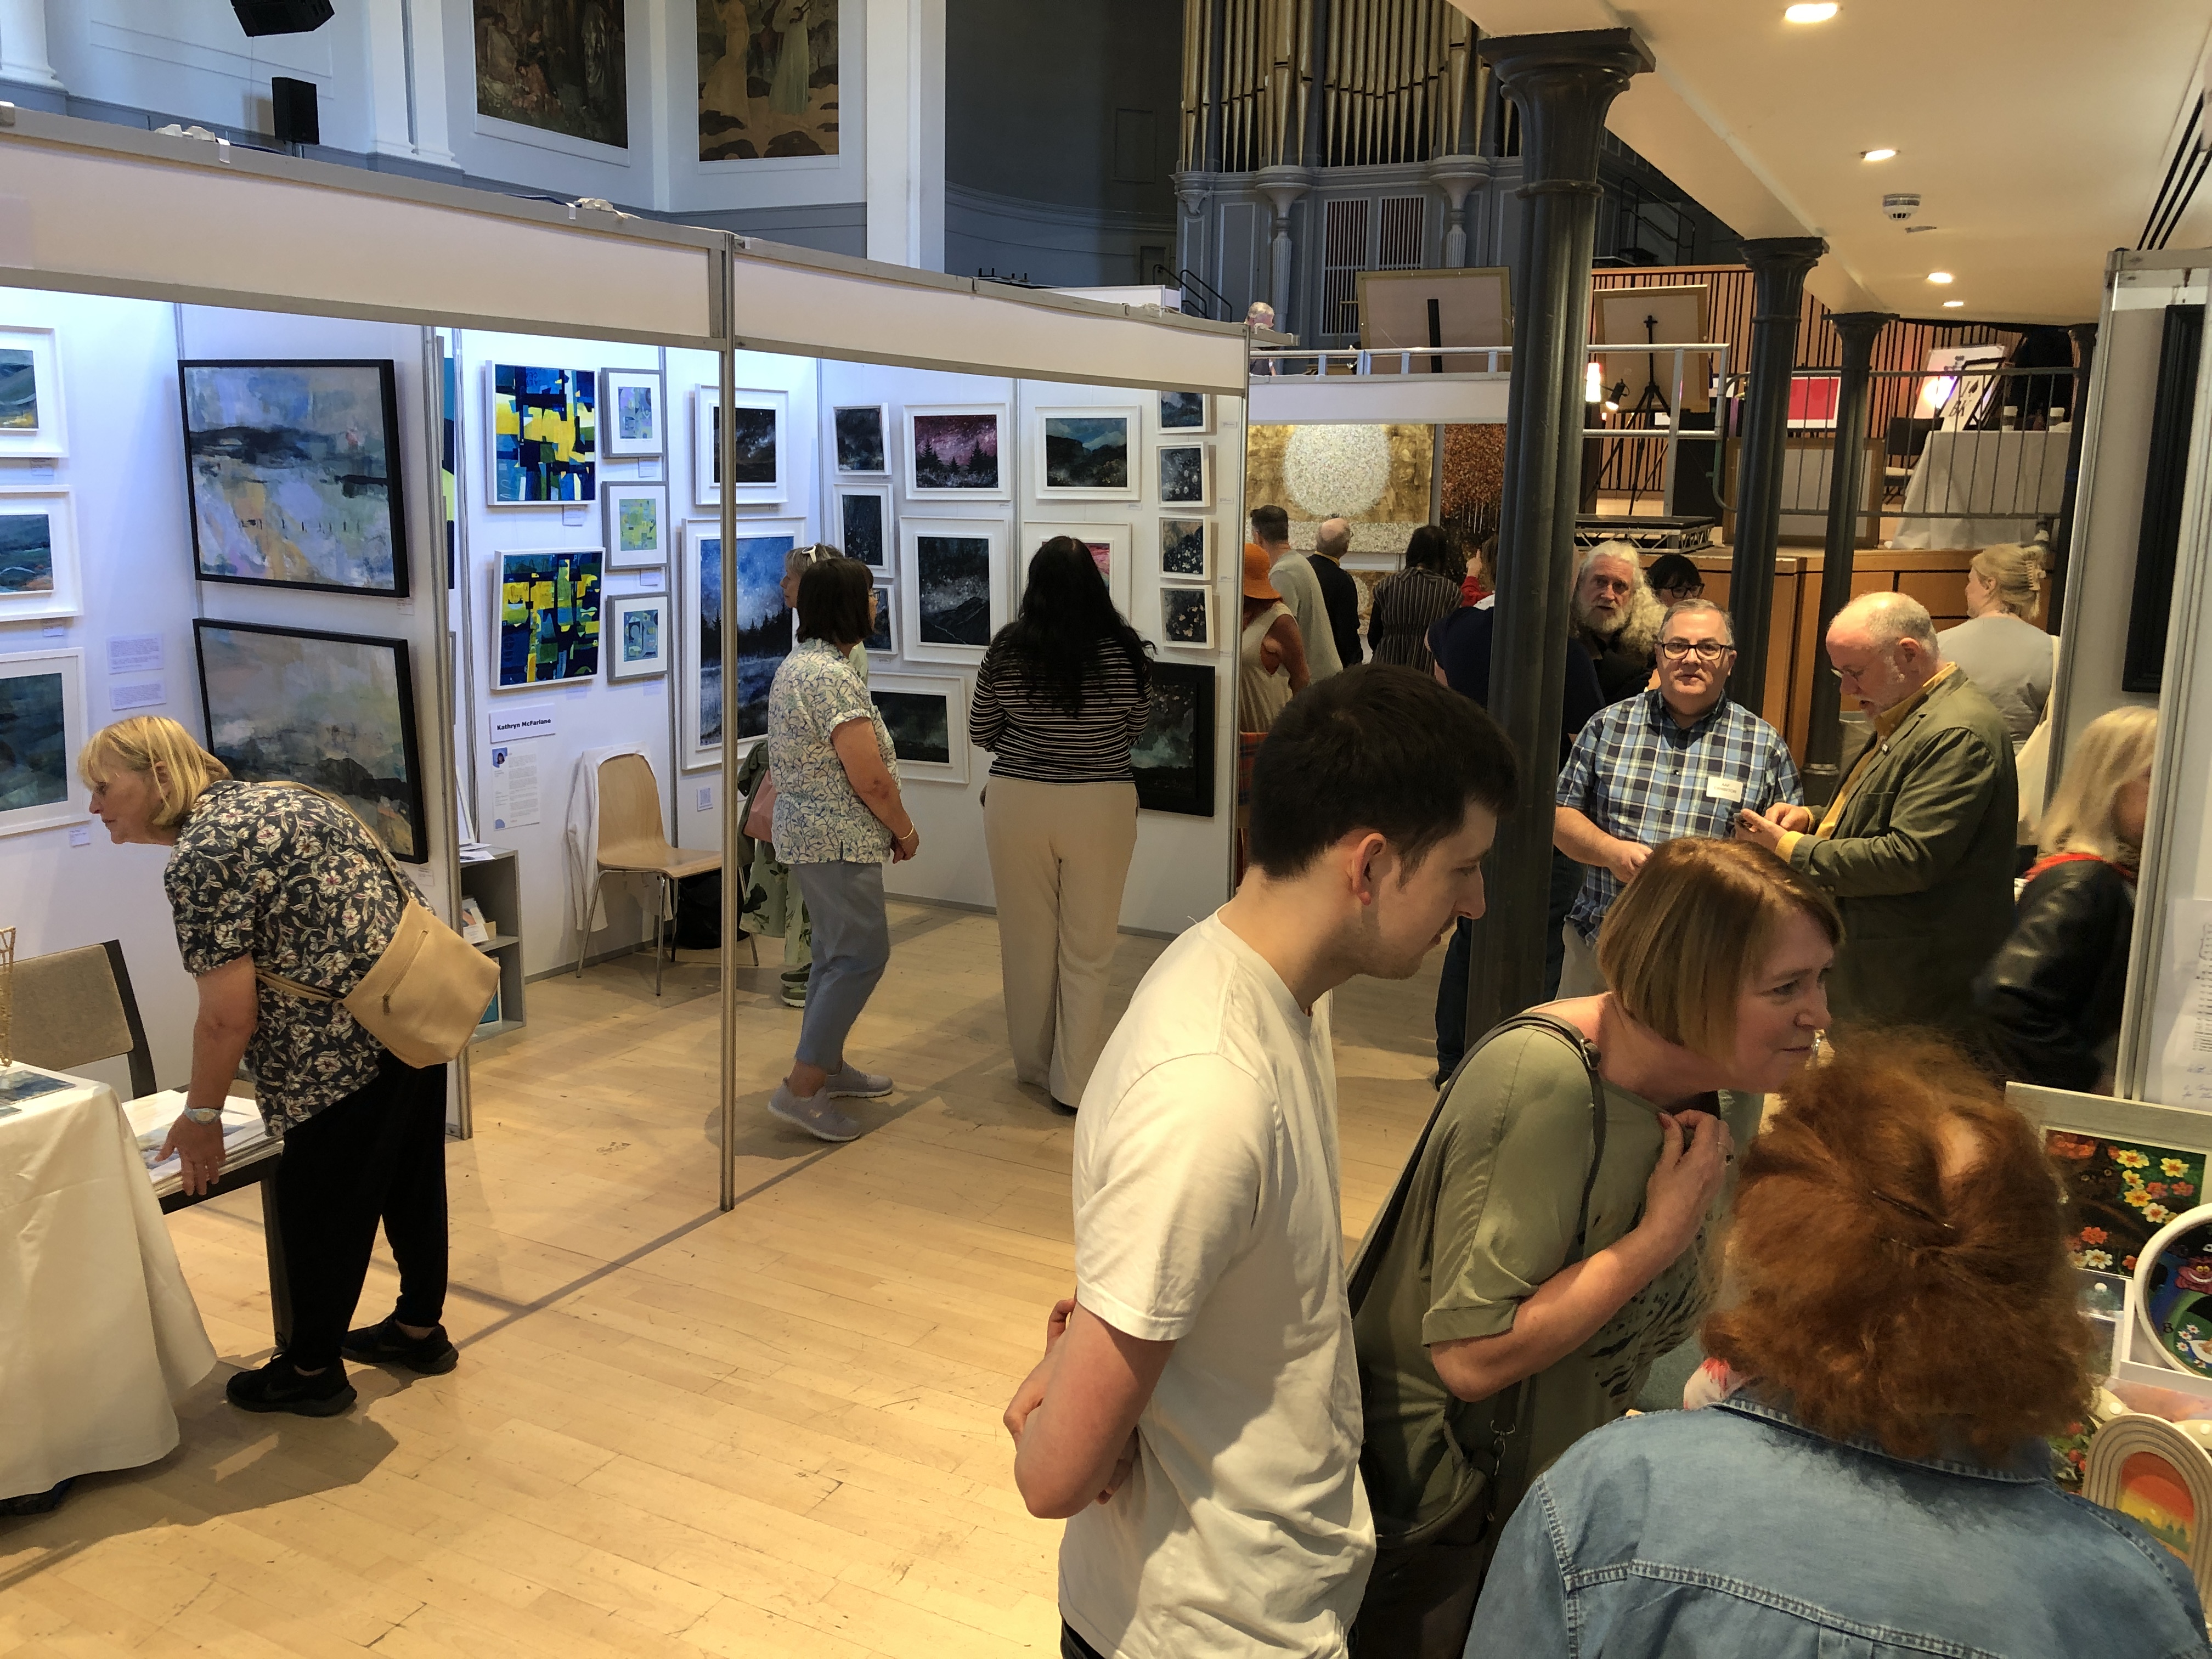
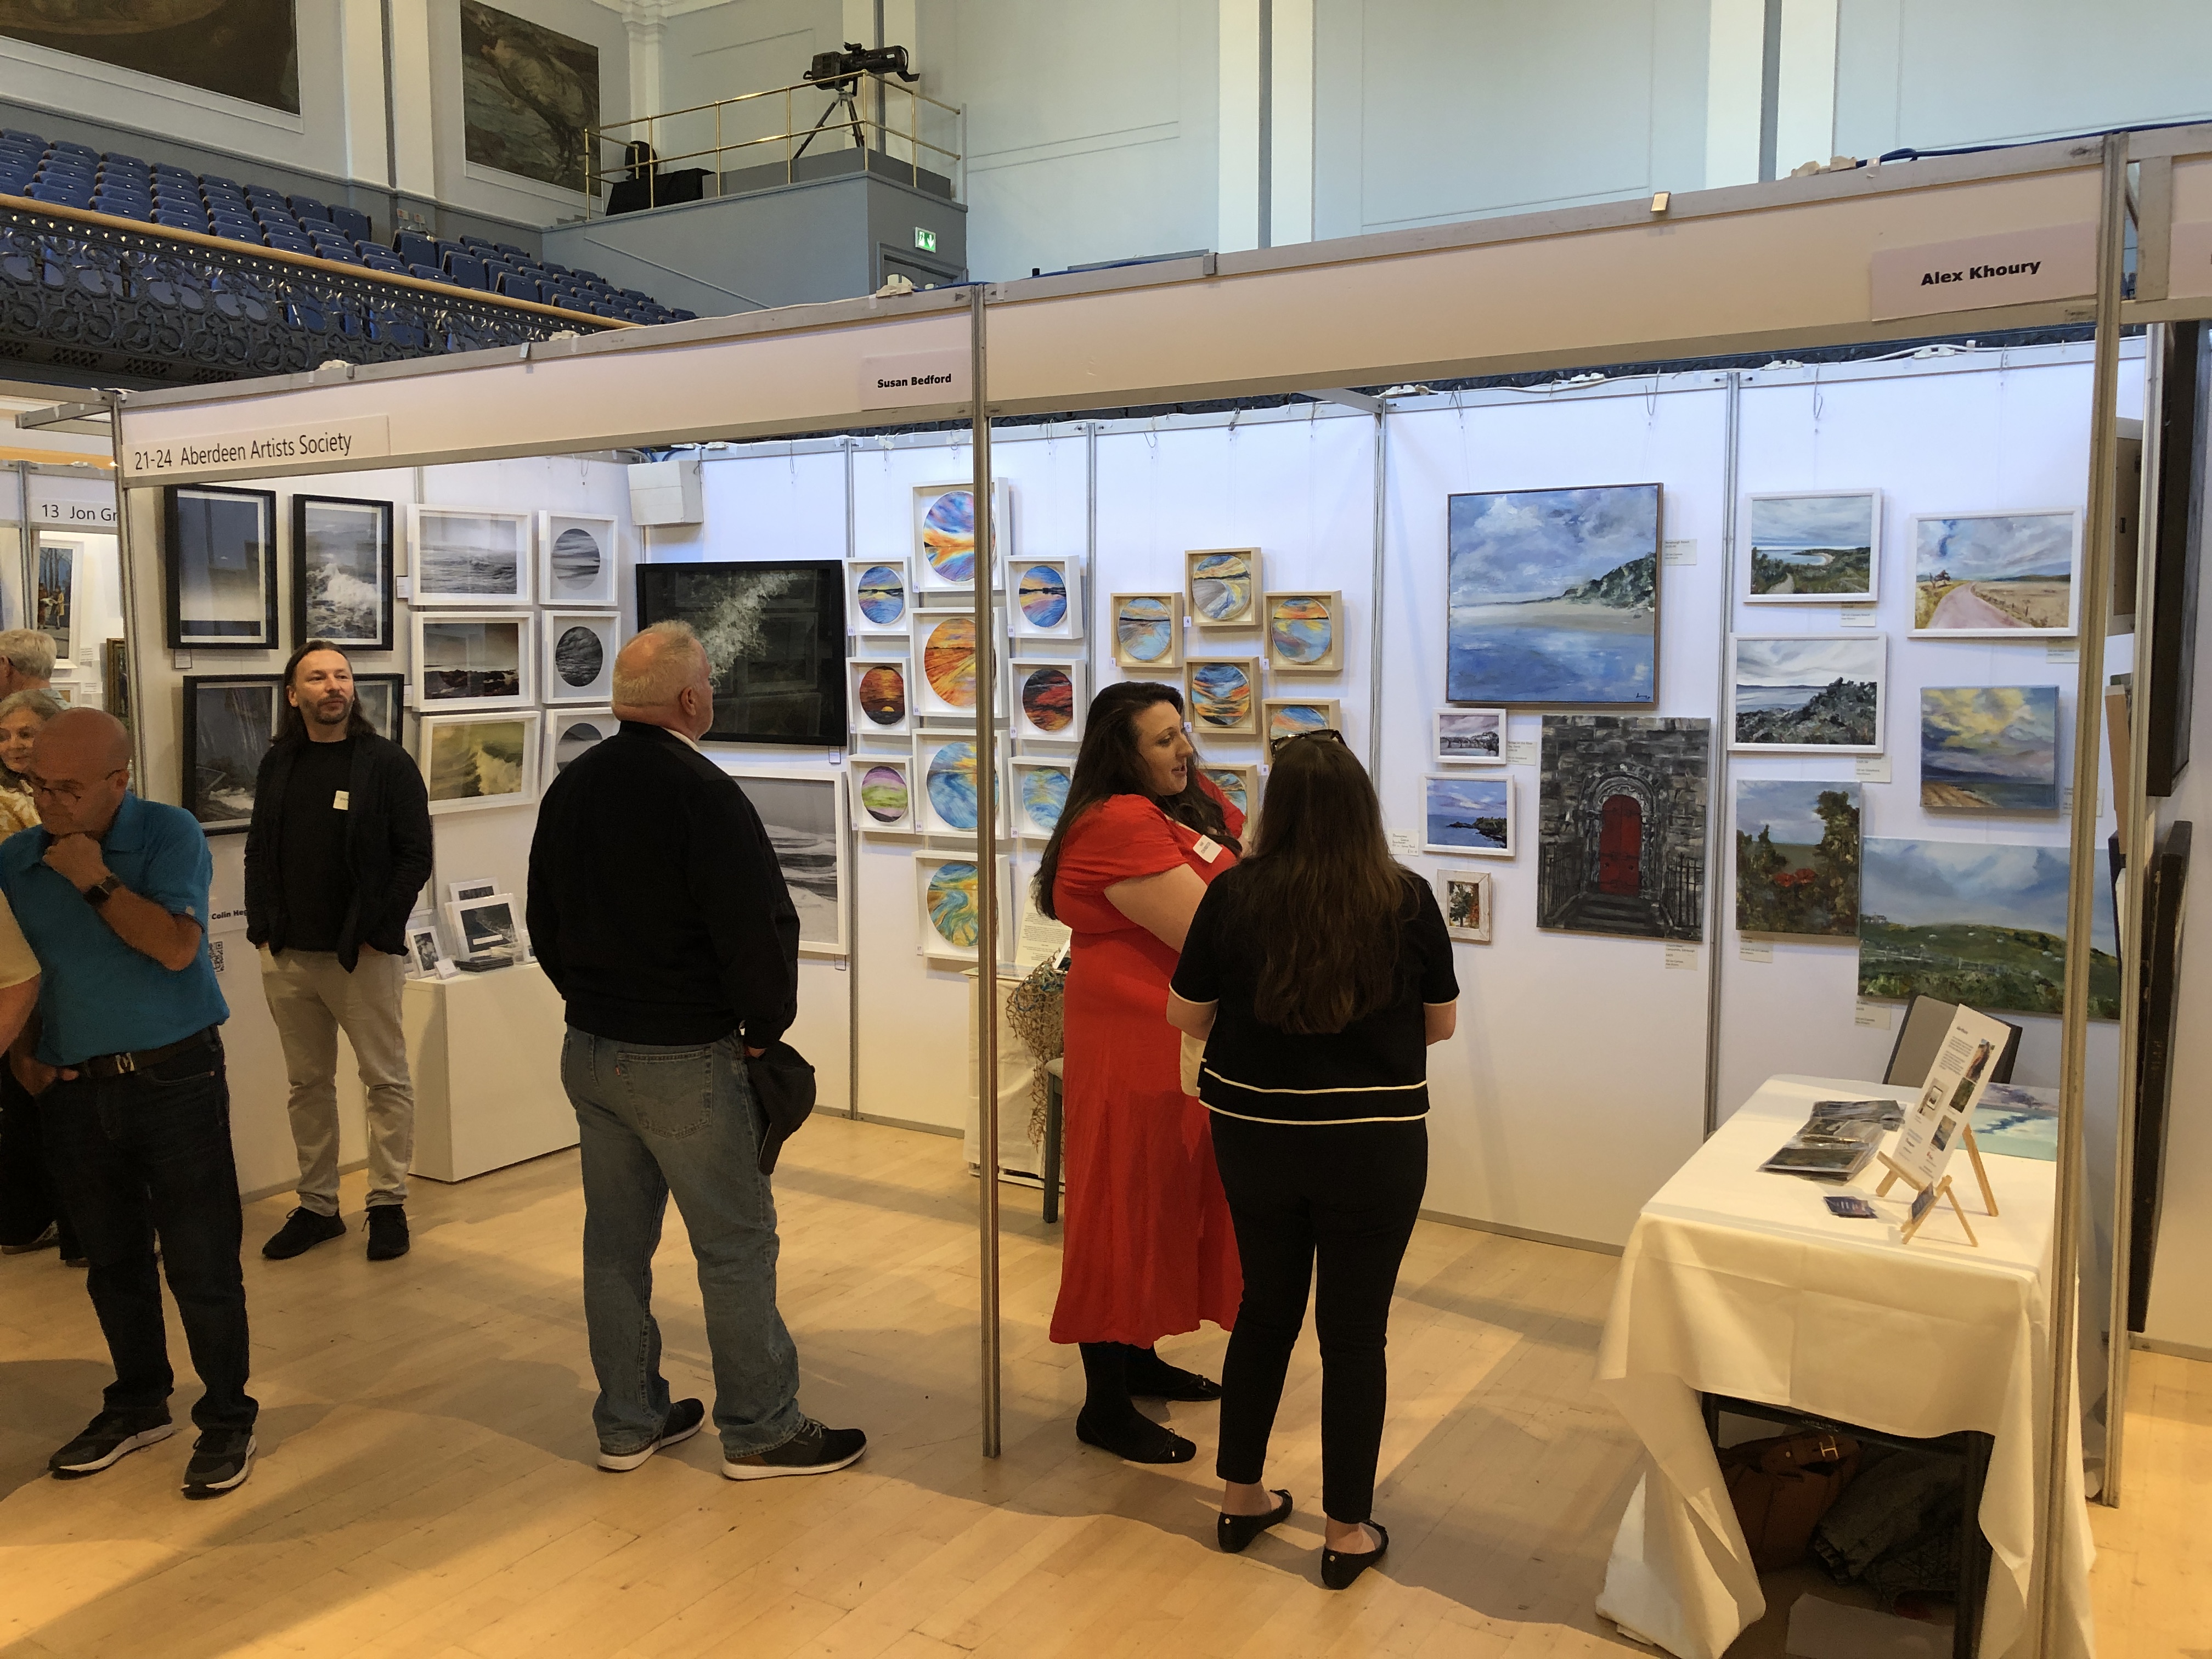
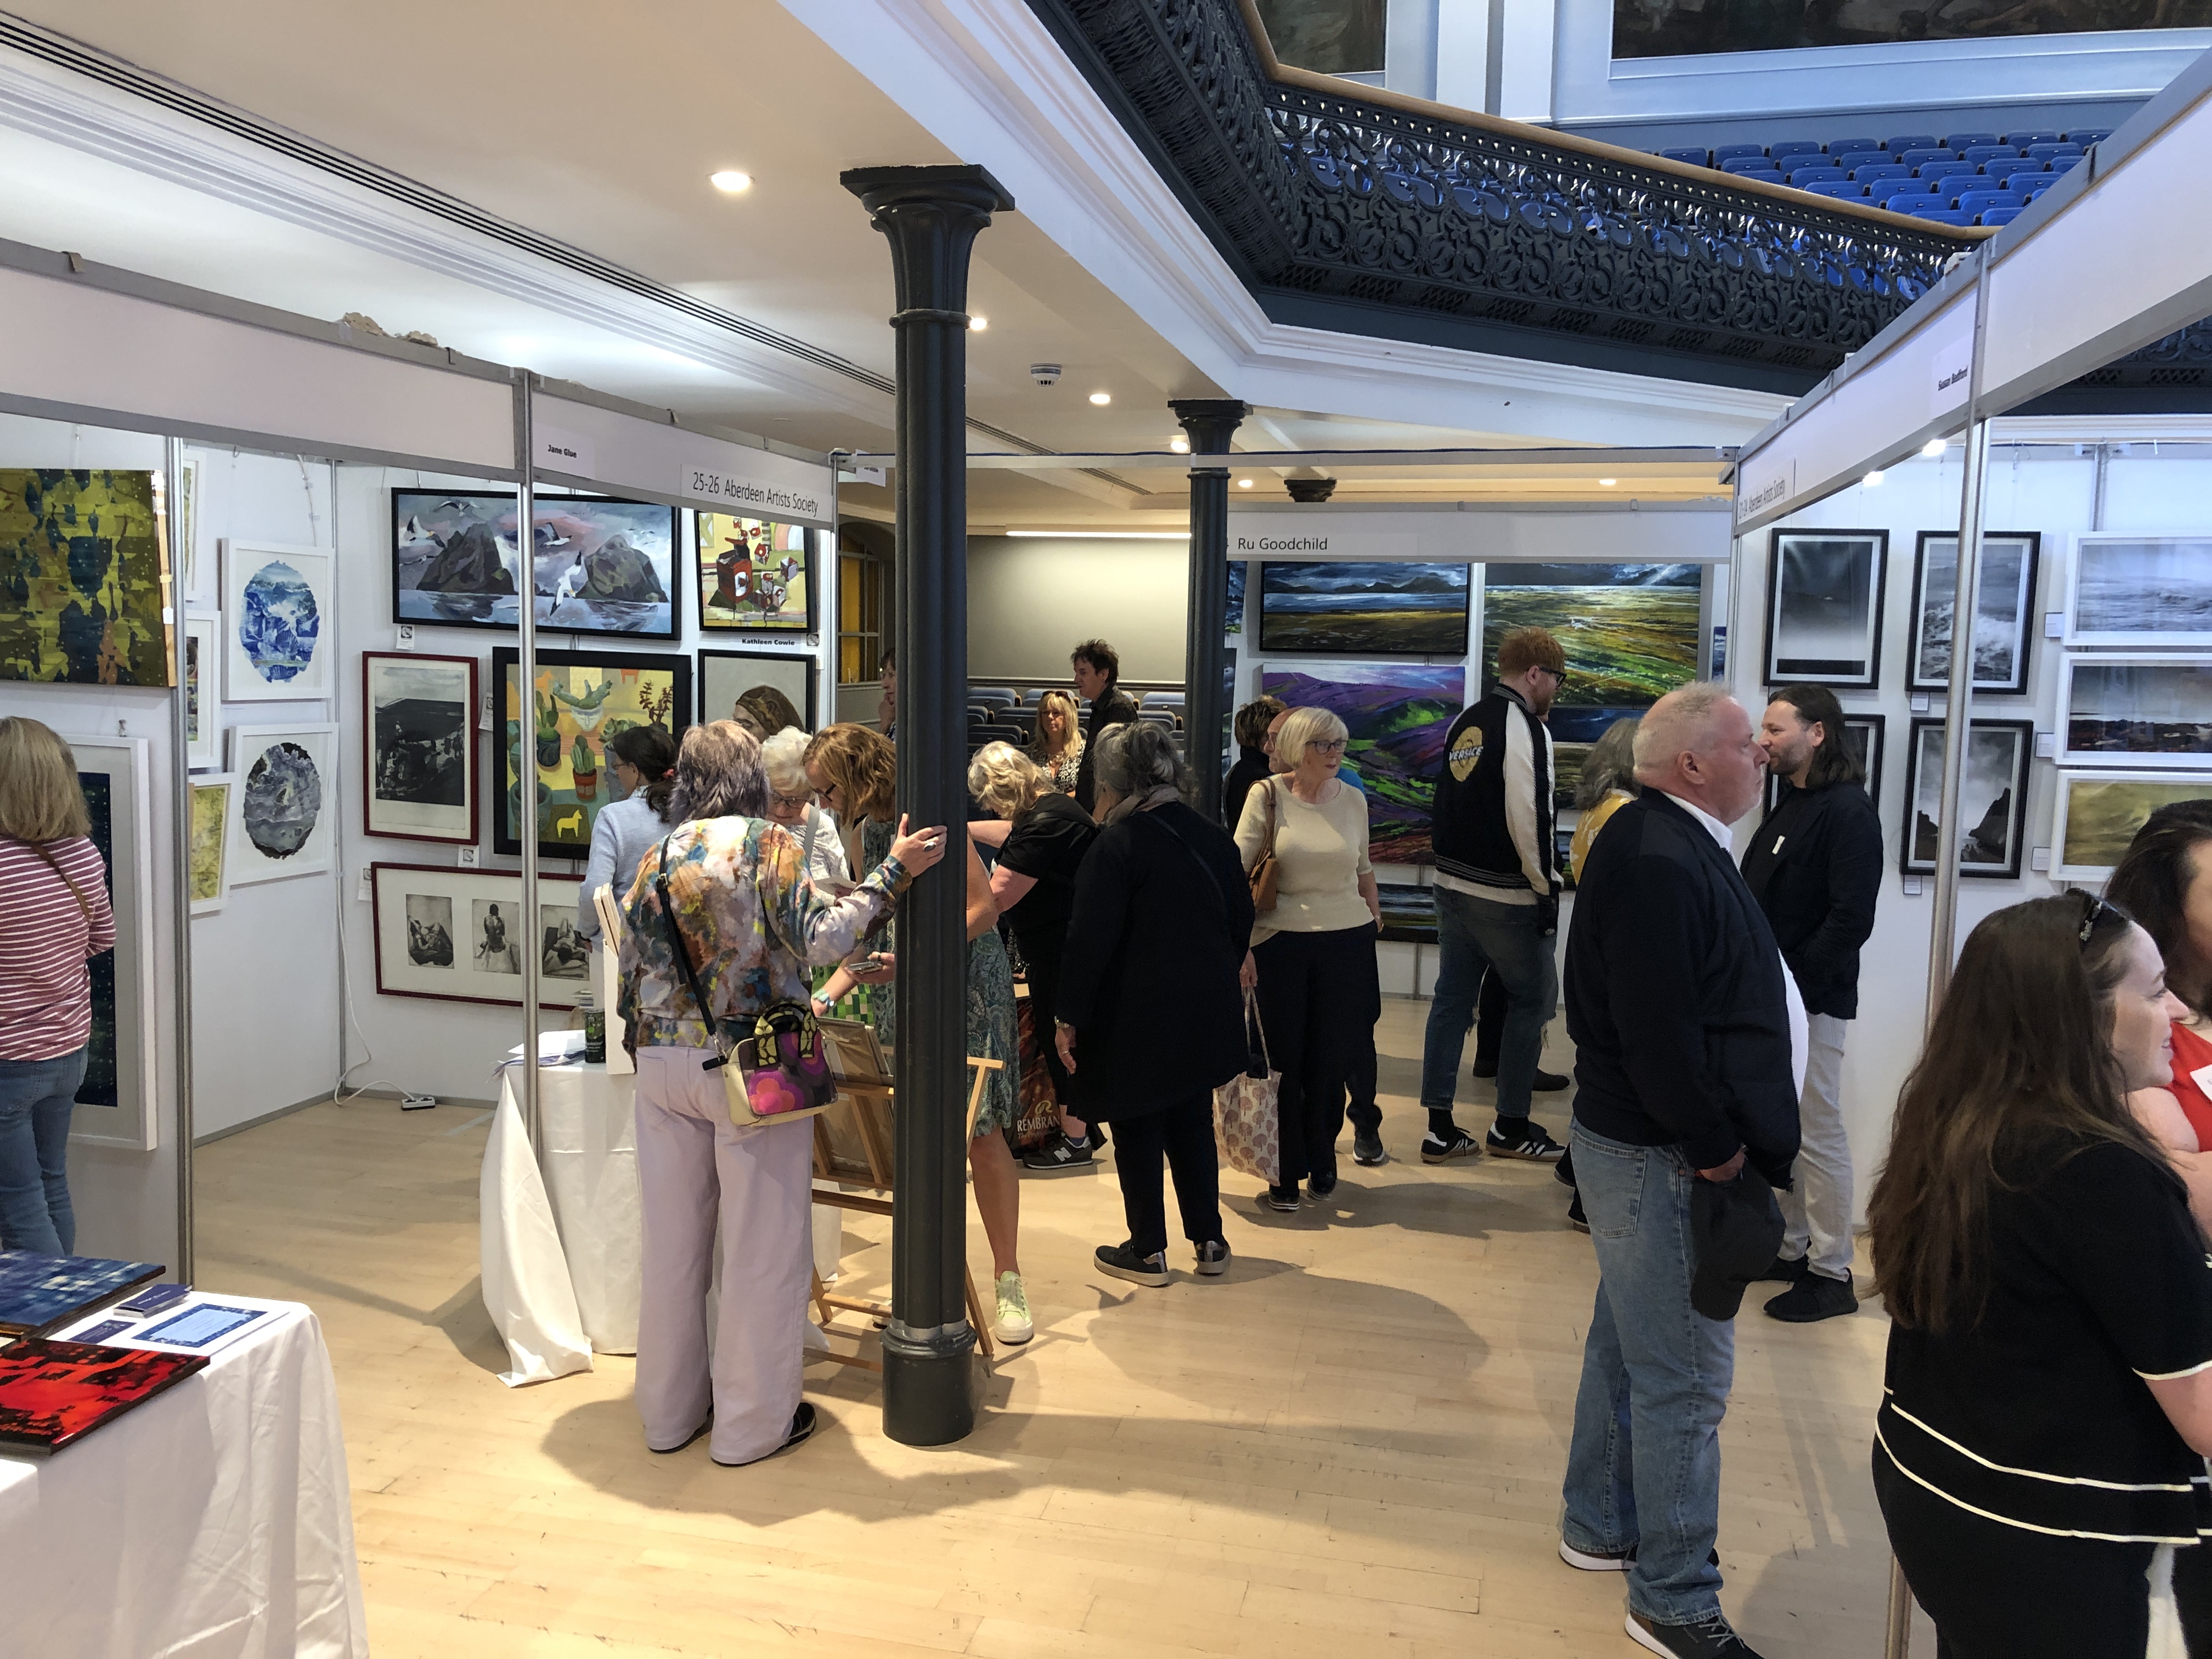
Being new to the area, on 11th August I joined the Aberdeen Artists Society (AAS). Several days later while looking for art fairs in Scotland to try to exhibit at, I discovered that there was an annual art fair in Aberdeen between 30th August and 1st September. However, the deadline for applications was in March(!), and all places were obviously taken. I was naturally disappointed that I was so late to the scene.
Since there was a block-booking by AAS for a number of the available stands at the fair, I thought I would just message them in the very remote chance that there was a cancellation. The following week, Sunday, I woke up to discover an email back from AAS admin that there had been a cancellation – and anyone interested in taking it should reply. I couldn’t believe my luck and responded immediately – and asked for further details. At this point in time, I didn’t know I would get it – but was excited to be at least in with a chance… Later in the day I learned I could have it – a 3-metre stand (@2.4m high) and snapped it up. I had less than two weeks to prepare what I was going take. I have some number-ones of limited-edition artworks – which I like to keep for myself – and so I set about making additional copies of them (with frames). And I researched and bought a portable LED light panel to illuminate my “Long-eared Owl (Art Puzzle) – (You Are What You Eat) – Stained Glass”. This worked really well at the exhibition – and help draw people to my stand (when it wasn’t completely blocked).
It was a very busy couple of weeks preparing for the exhibition, but I naturally wanted to make the most of this opportunity. I especially thought I should take all my hand-cut original thick solid oak art puzzles – that have never been seen in public before. These are large and heavy – too heavy for the provided hanging system – so I had to quickly source suitable ones of my own.
Friday afternoon of the 30th was the setting up time – with a private viewing scheduled between 6-9pm. I was a bit late in starting but managed to complete my stand just after 6pm – when the guests (and friends of exhibitors) starting to arrive…
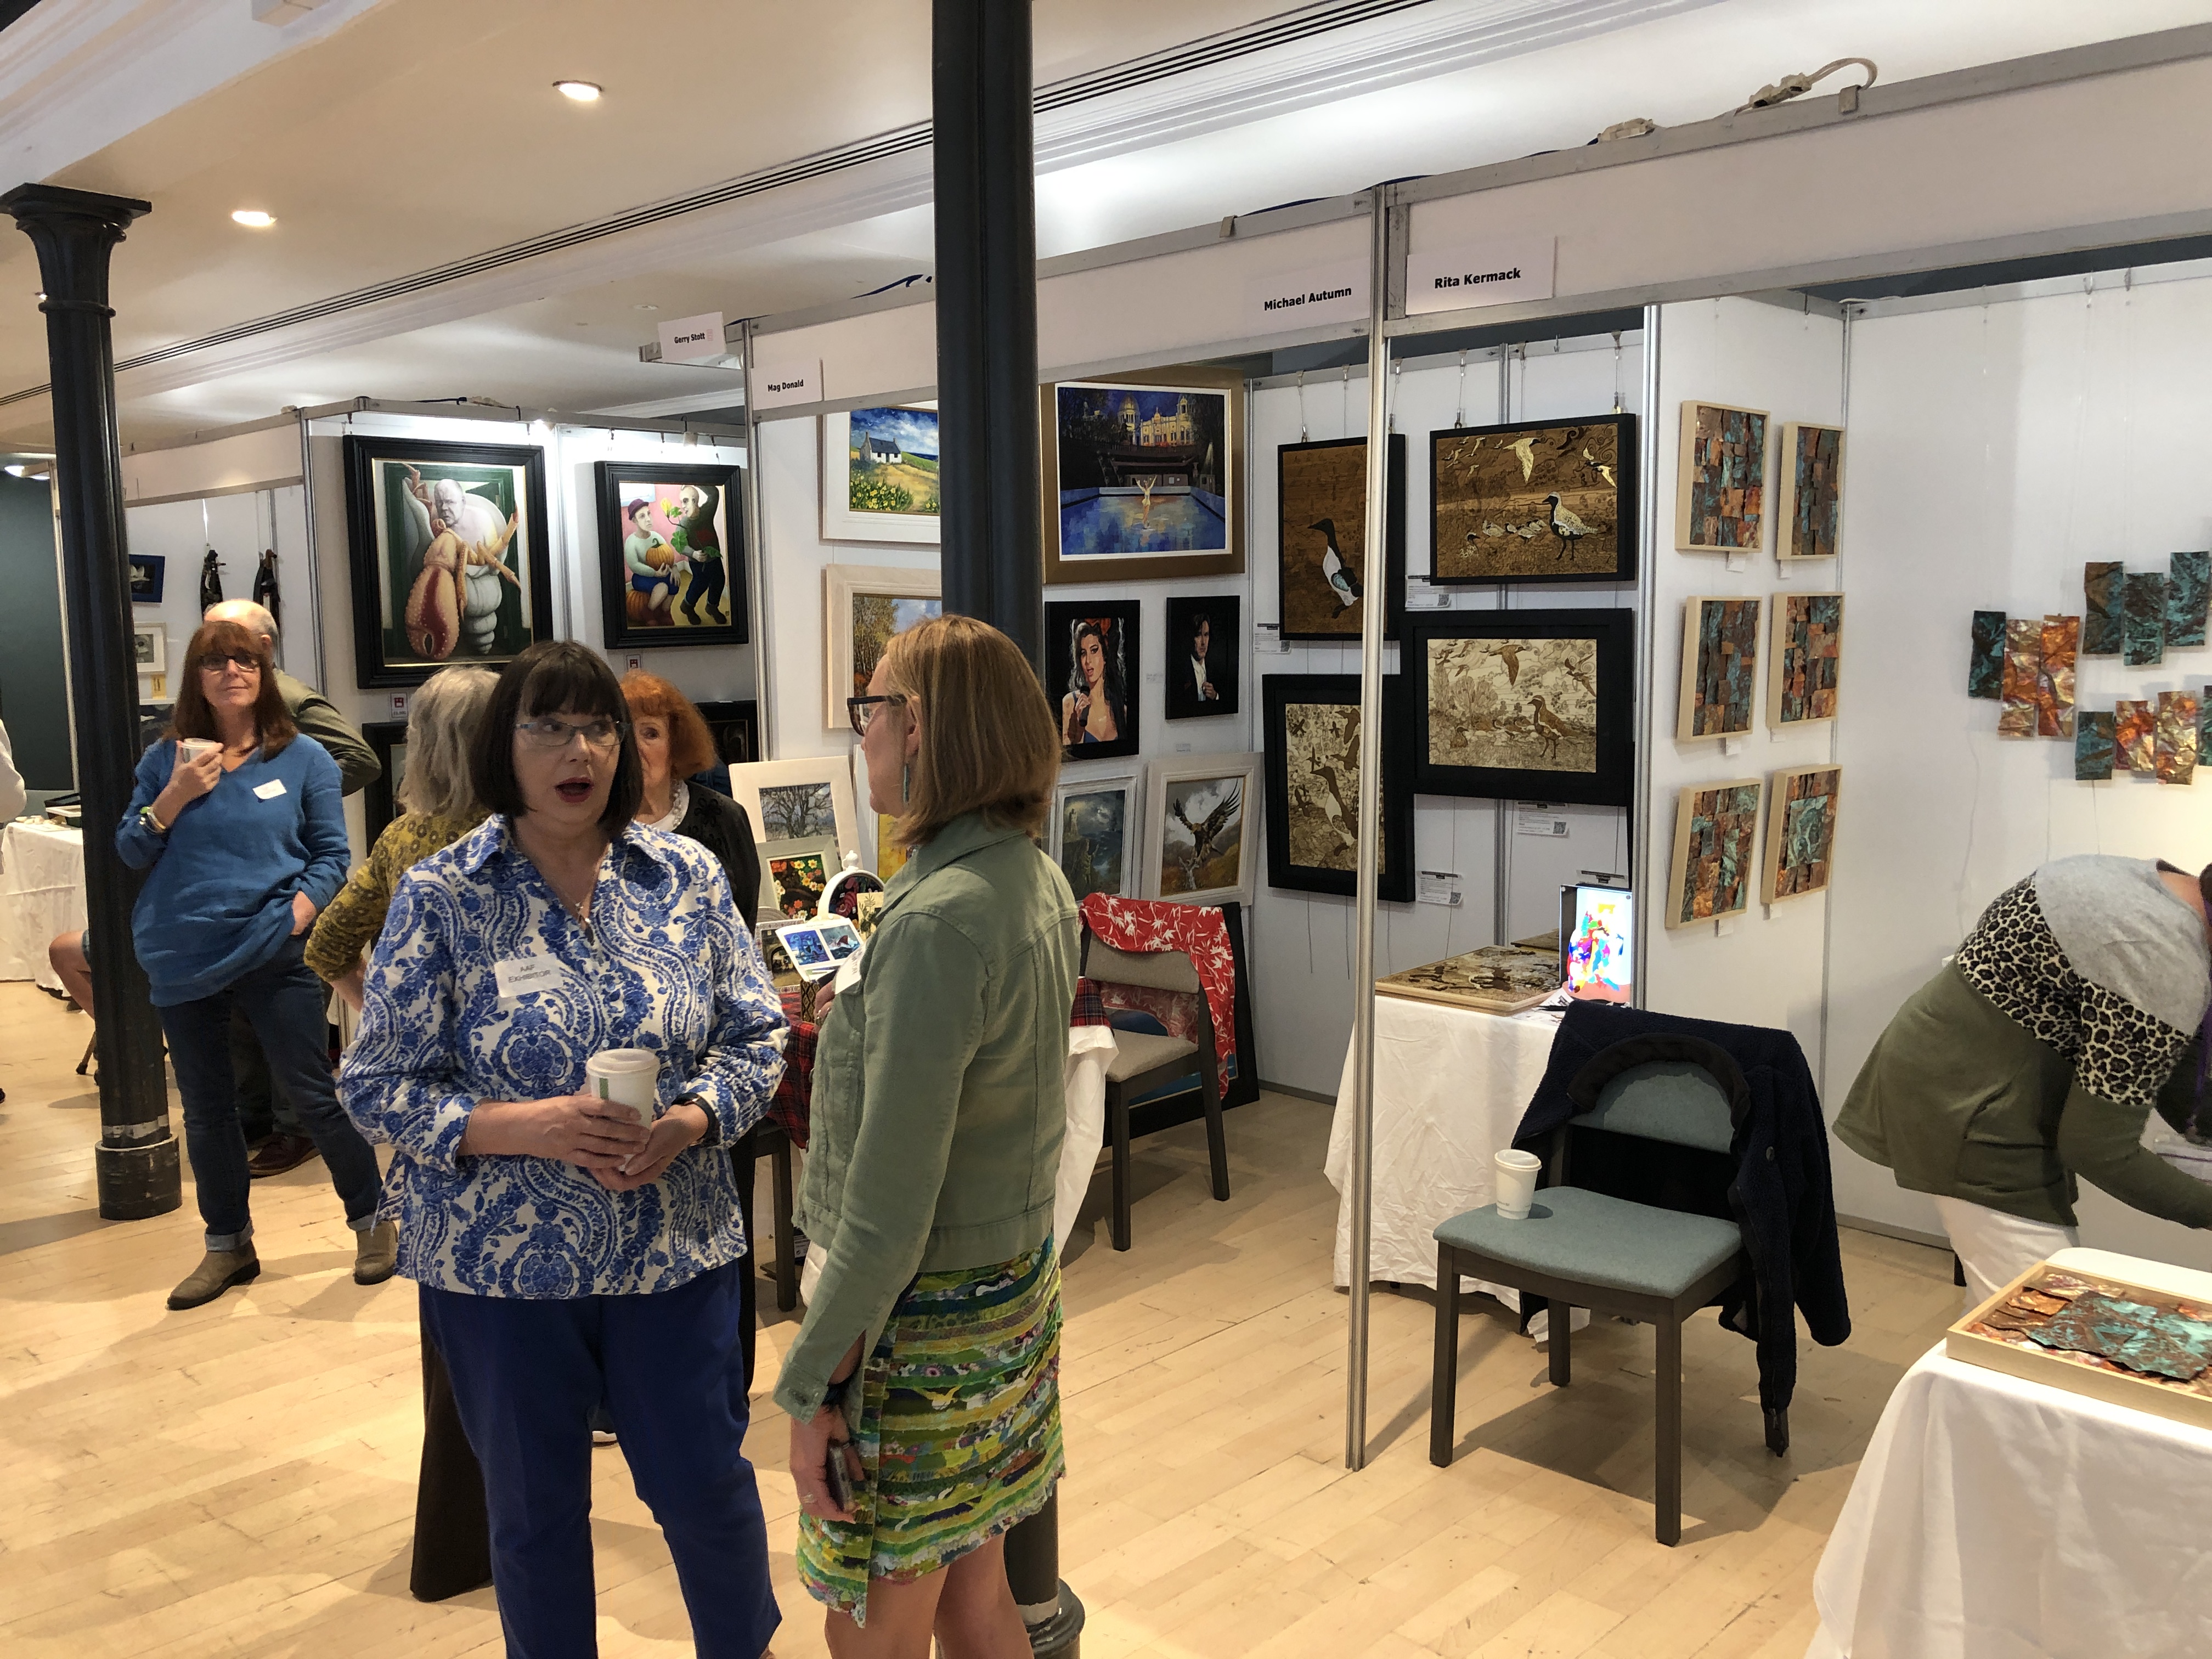
My L-shaped 3m space (2m + 1m) was adjacent to a 2m stand jutting out at a right angle – which made the space ridiculously tight – effectively walled on three sides. It made putting up and taking down the artworks difficult because we were in each other’s way. This, coupled with my neighbour having a table at the mouth of our pitches – and who seemed to know everyone – and they all stopped for a nice long chat – meant that my pod was practically completely blocked a lot of the time…
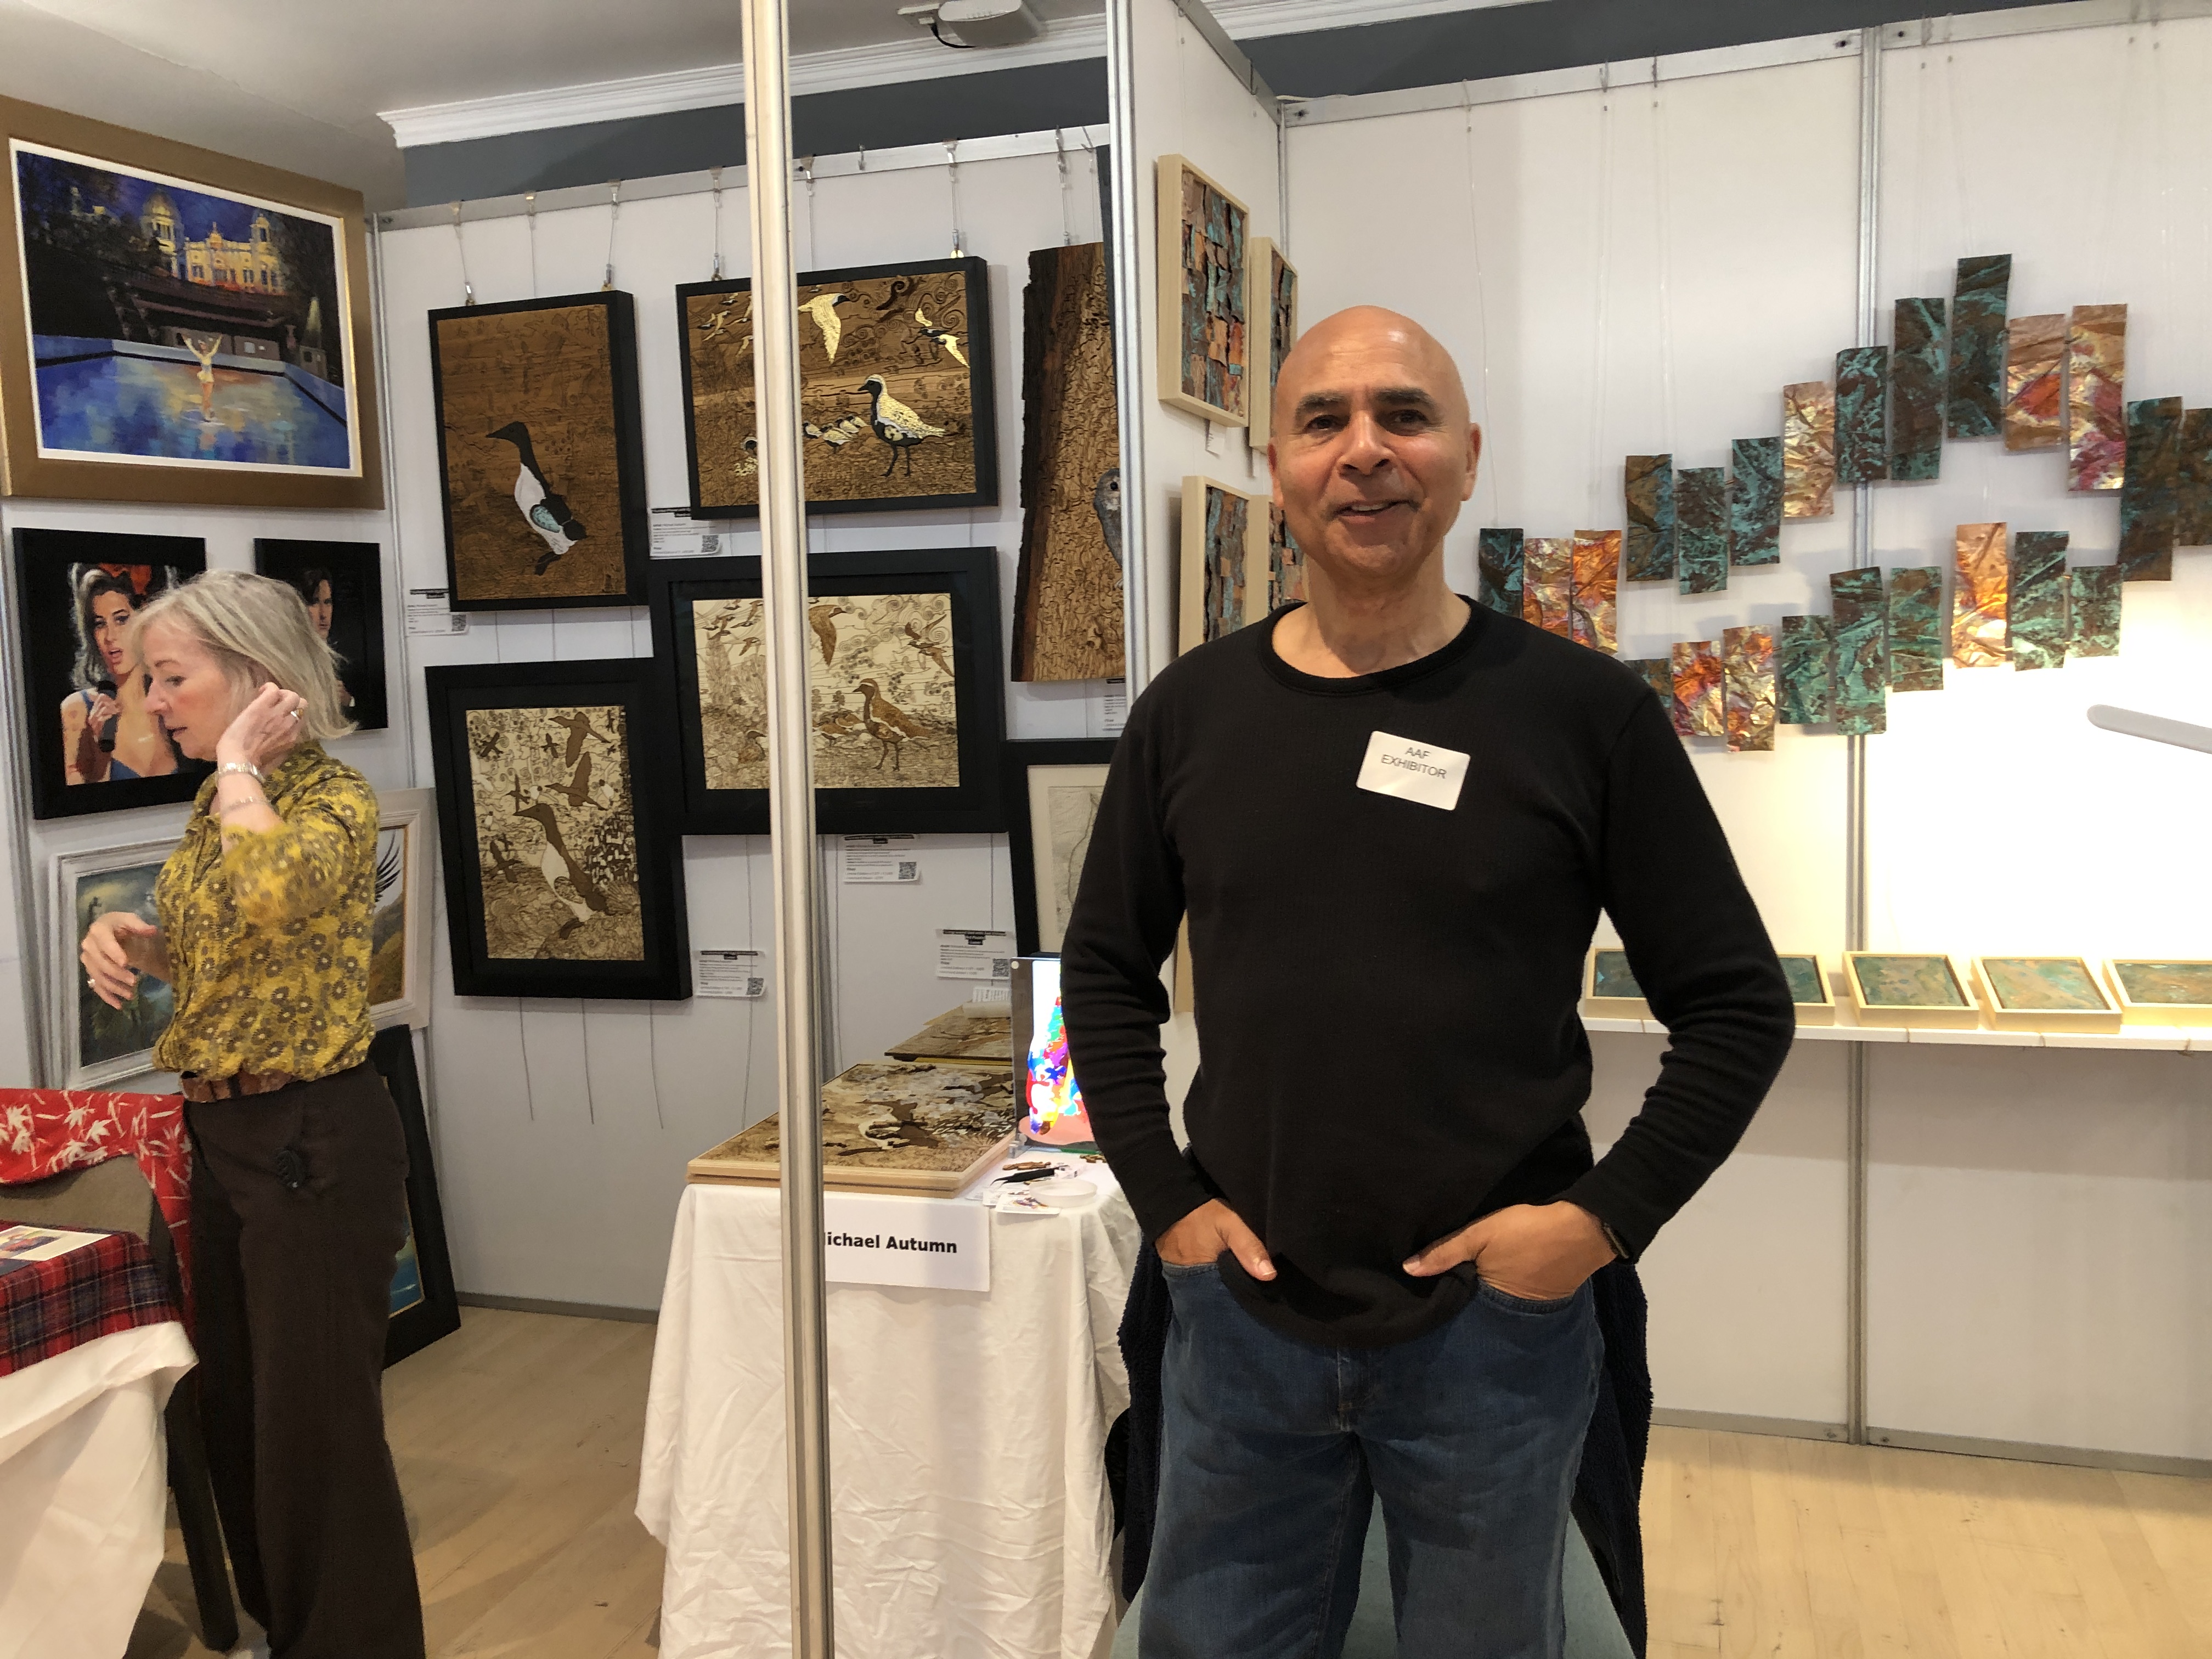
I sold some pieces – including one to a former art curator (who said quietly to me “…this is the best work here…”) – so that was very nice.
The genuine deep fascination of some people, very close inspection (by those who could get through!), and the very kind words – like “…these are absolutely incredible…”, “…it’s really made my day to come out and see your work…”, “…this is the best stand…”, “…this is my favourite stand…” – was incredibly, and indelibly, nice to hear – and extremely encouraging. I felt my artwork brought a little joy and thought-provocation to some of the people…
It was also really nice to share the experience with my fellow exhibiting artists, and to share stories of our journeys, trials, and tribulations. For so long I have worked in complete isolation of other artists – and so it was especially good to get feedback from my peers…
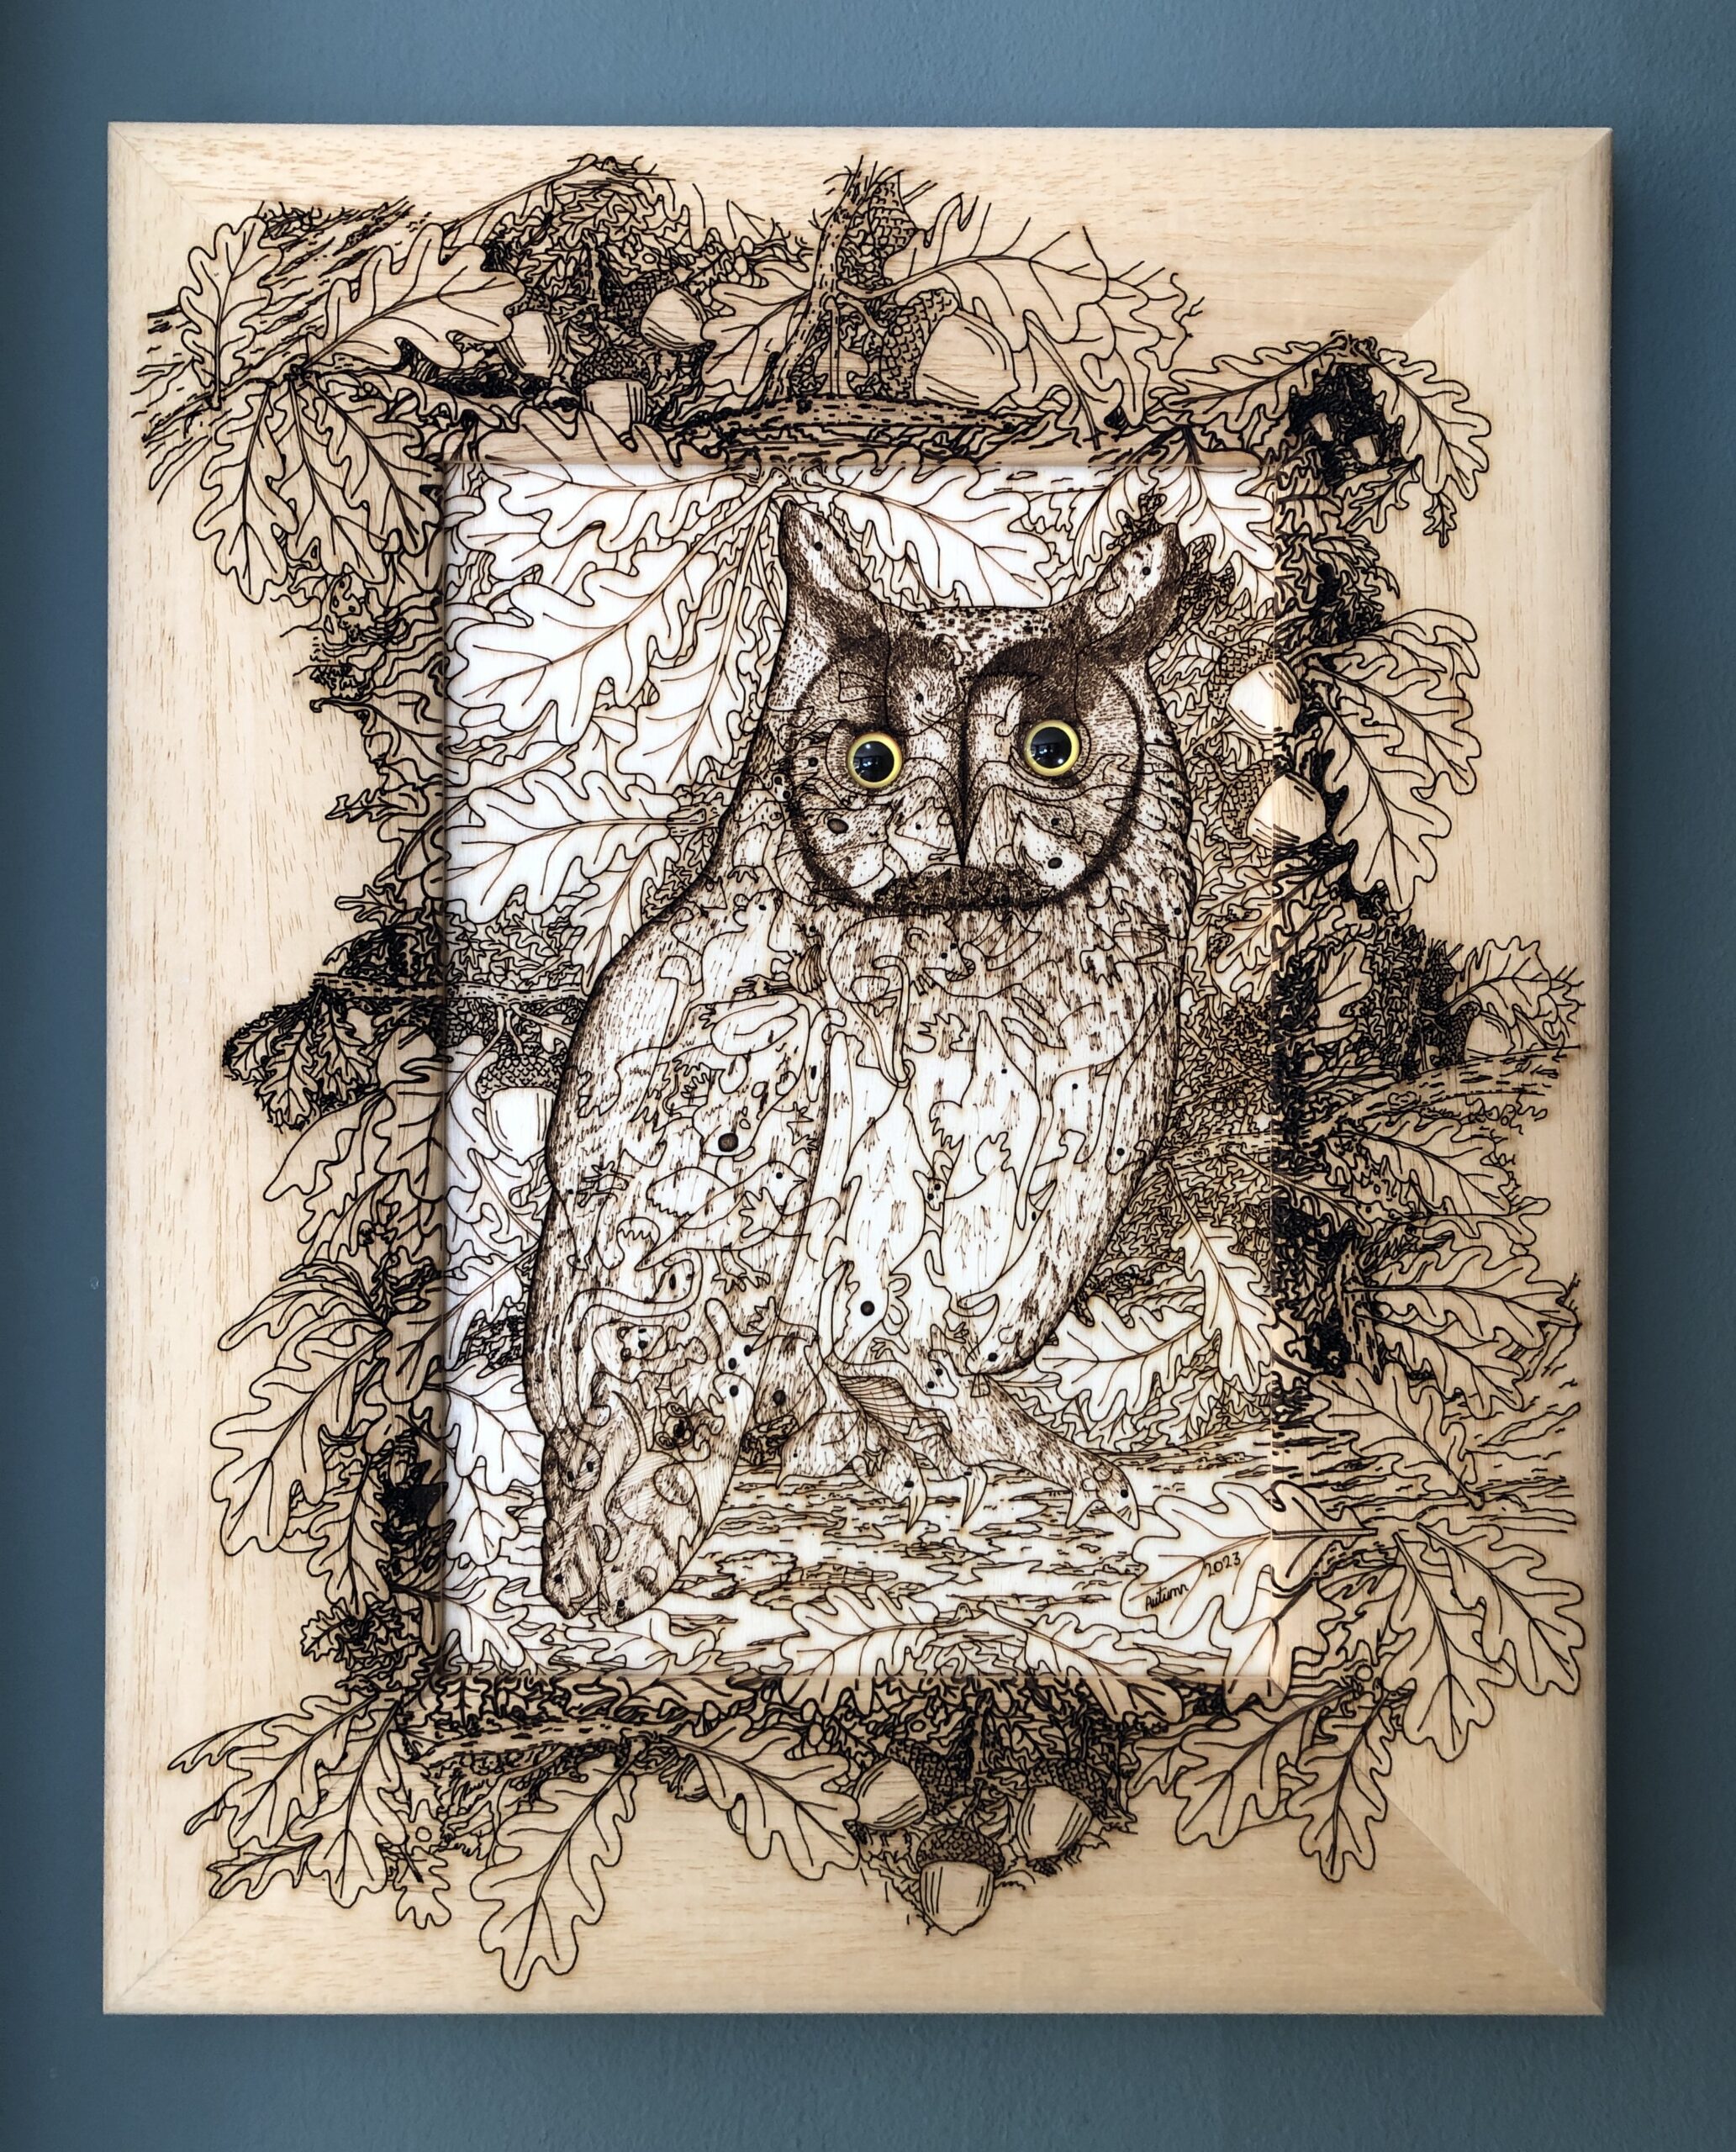
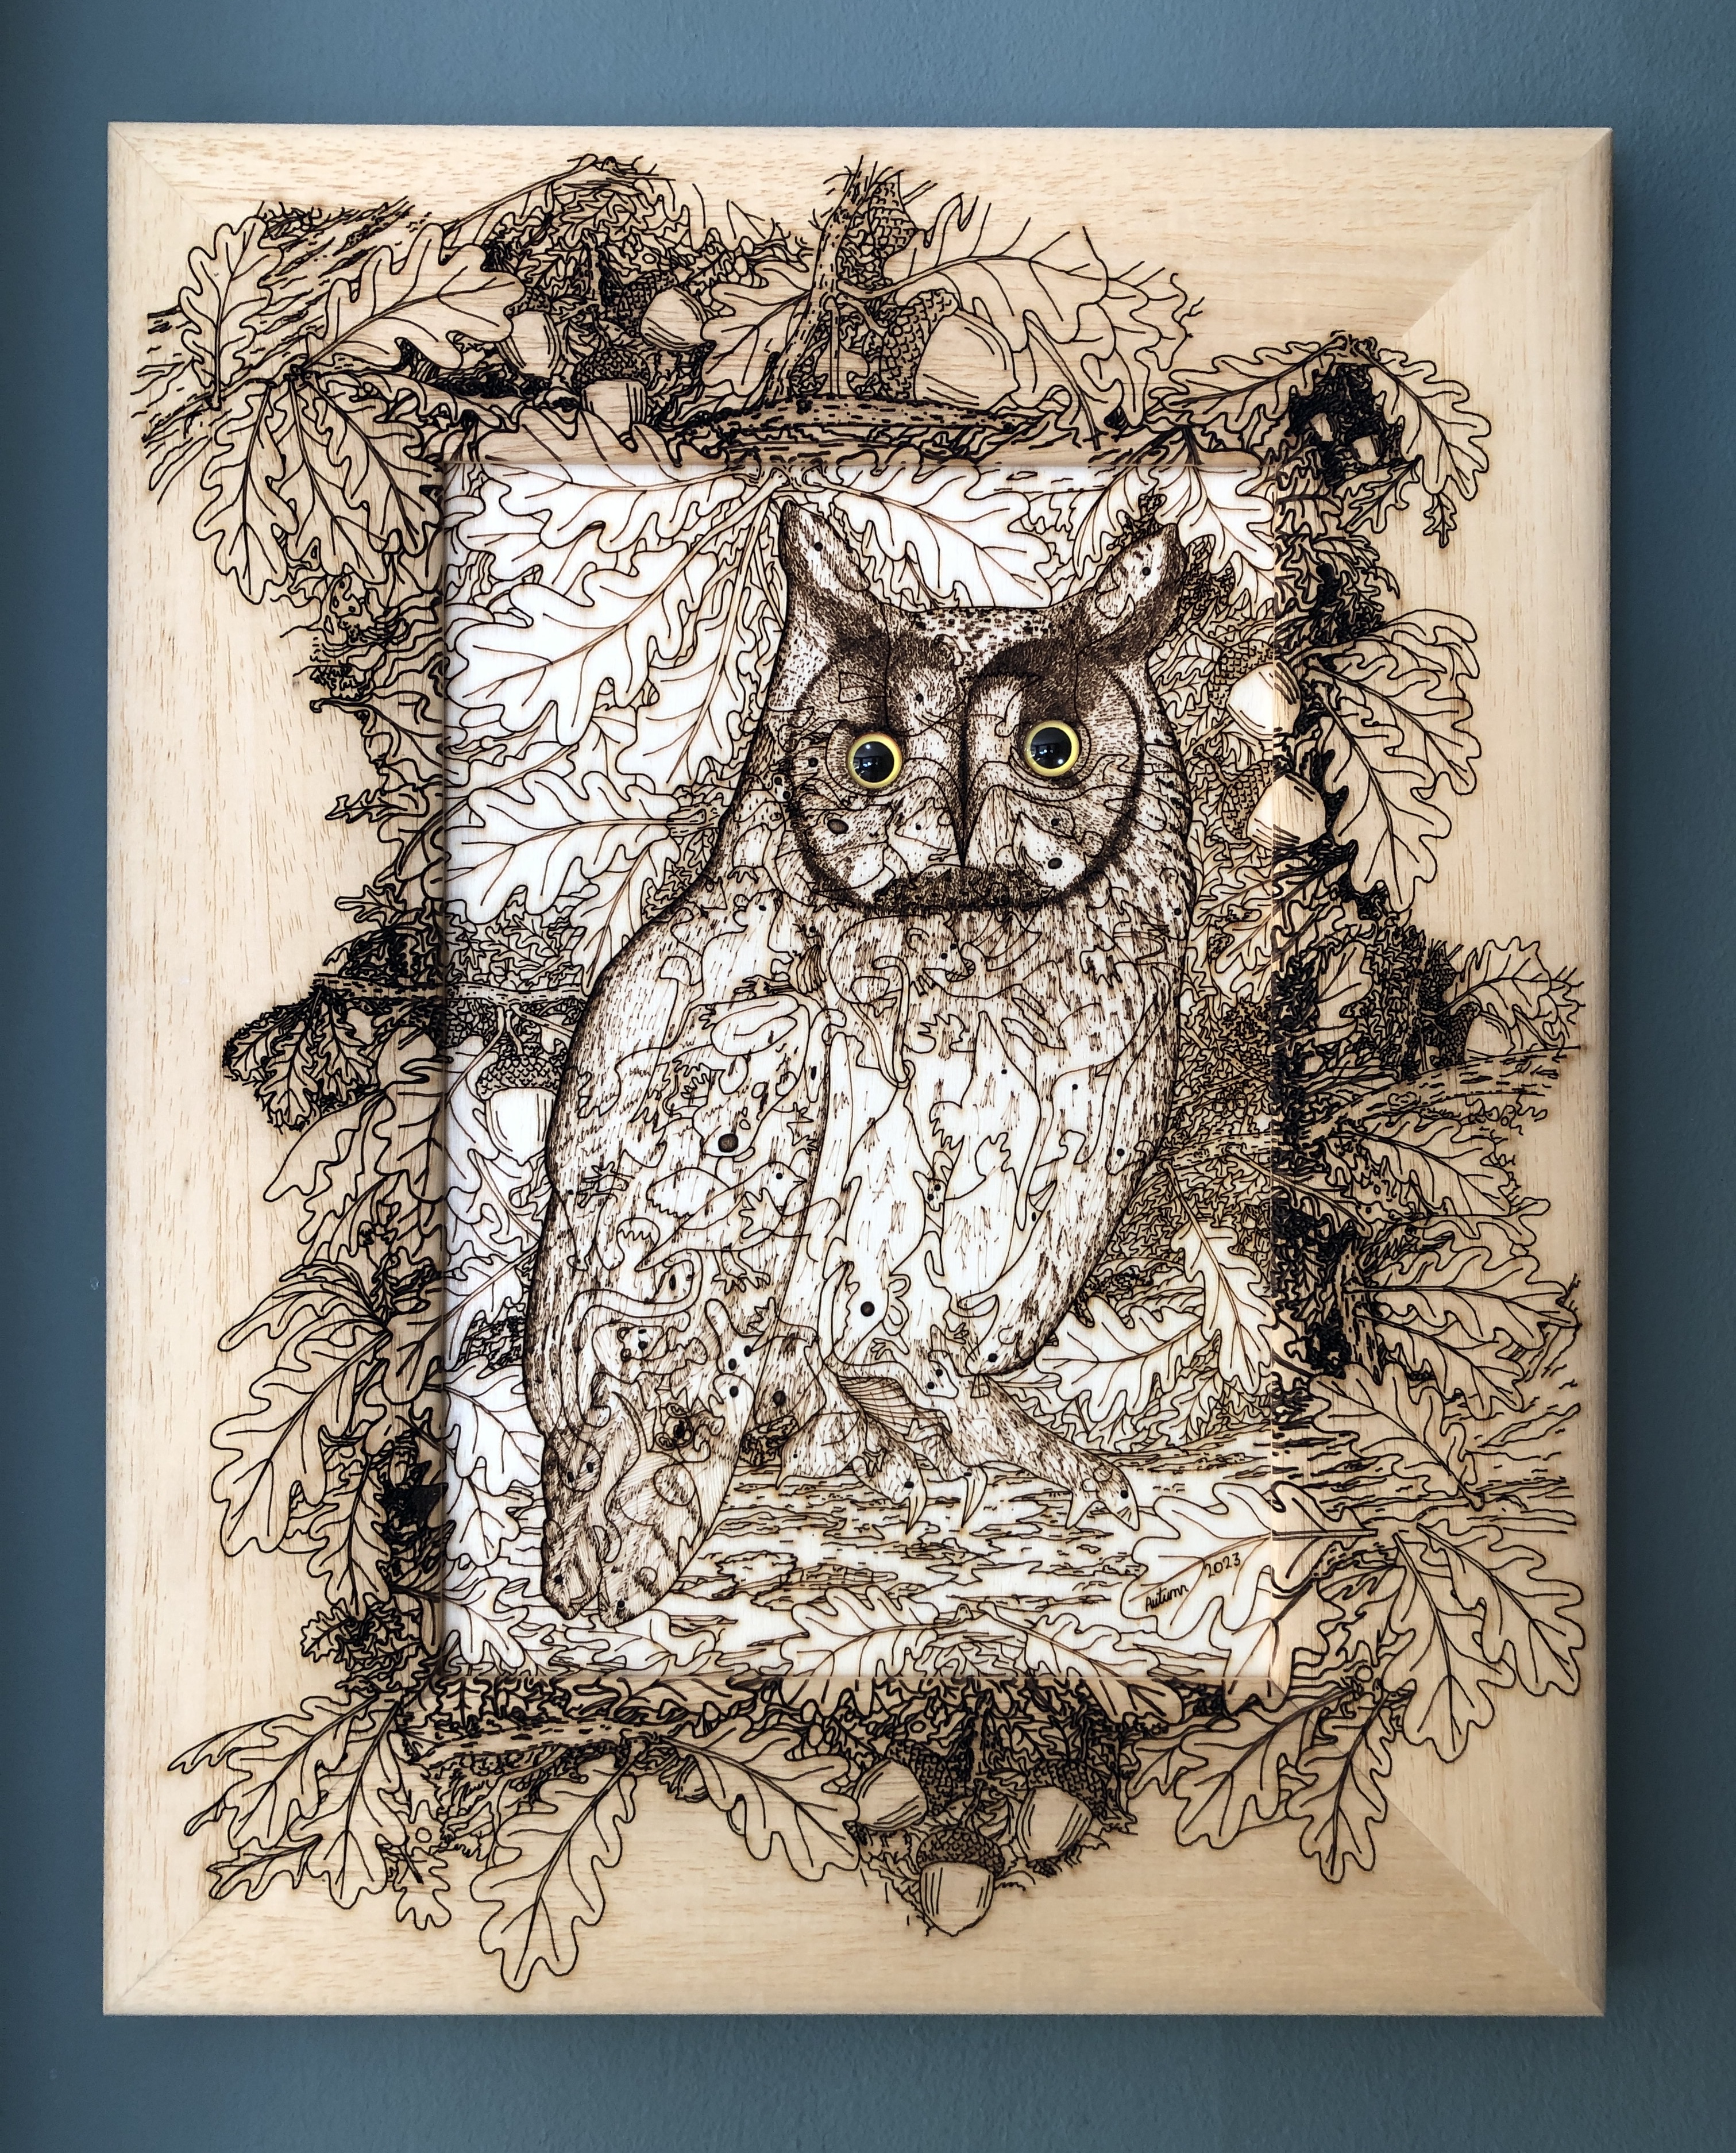
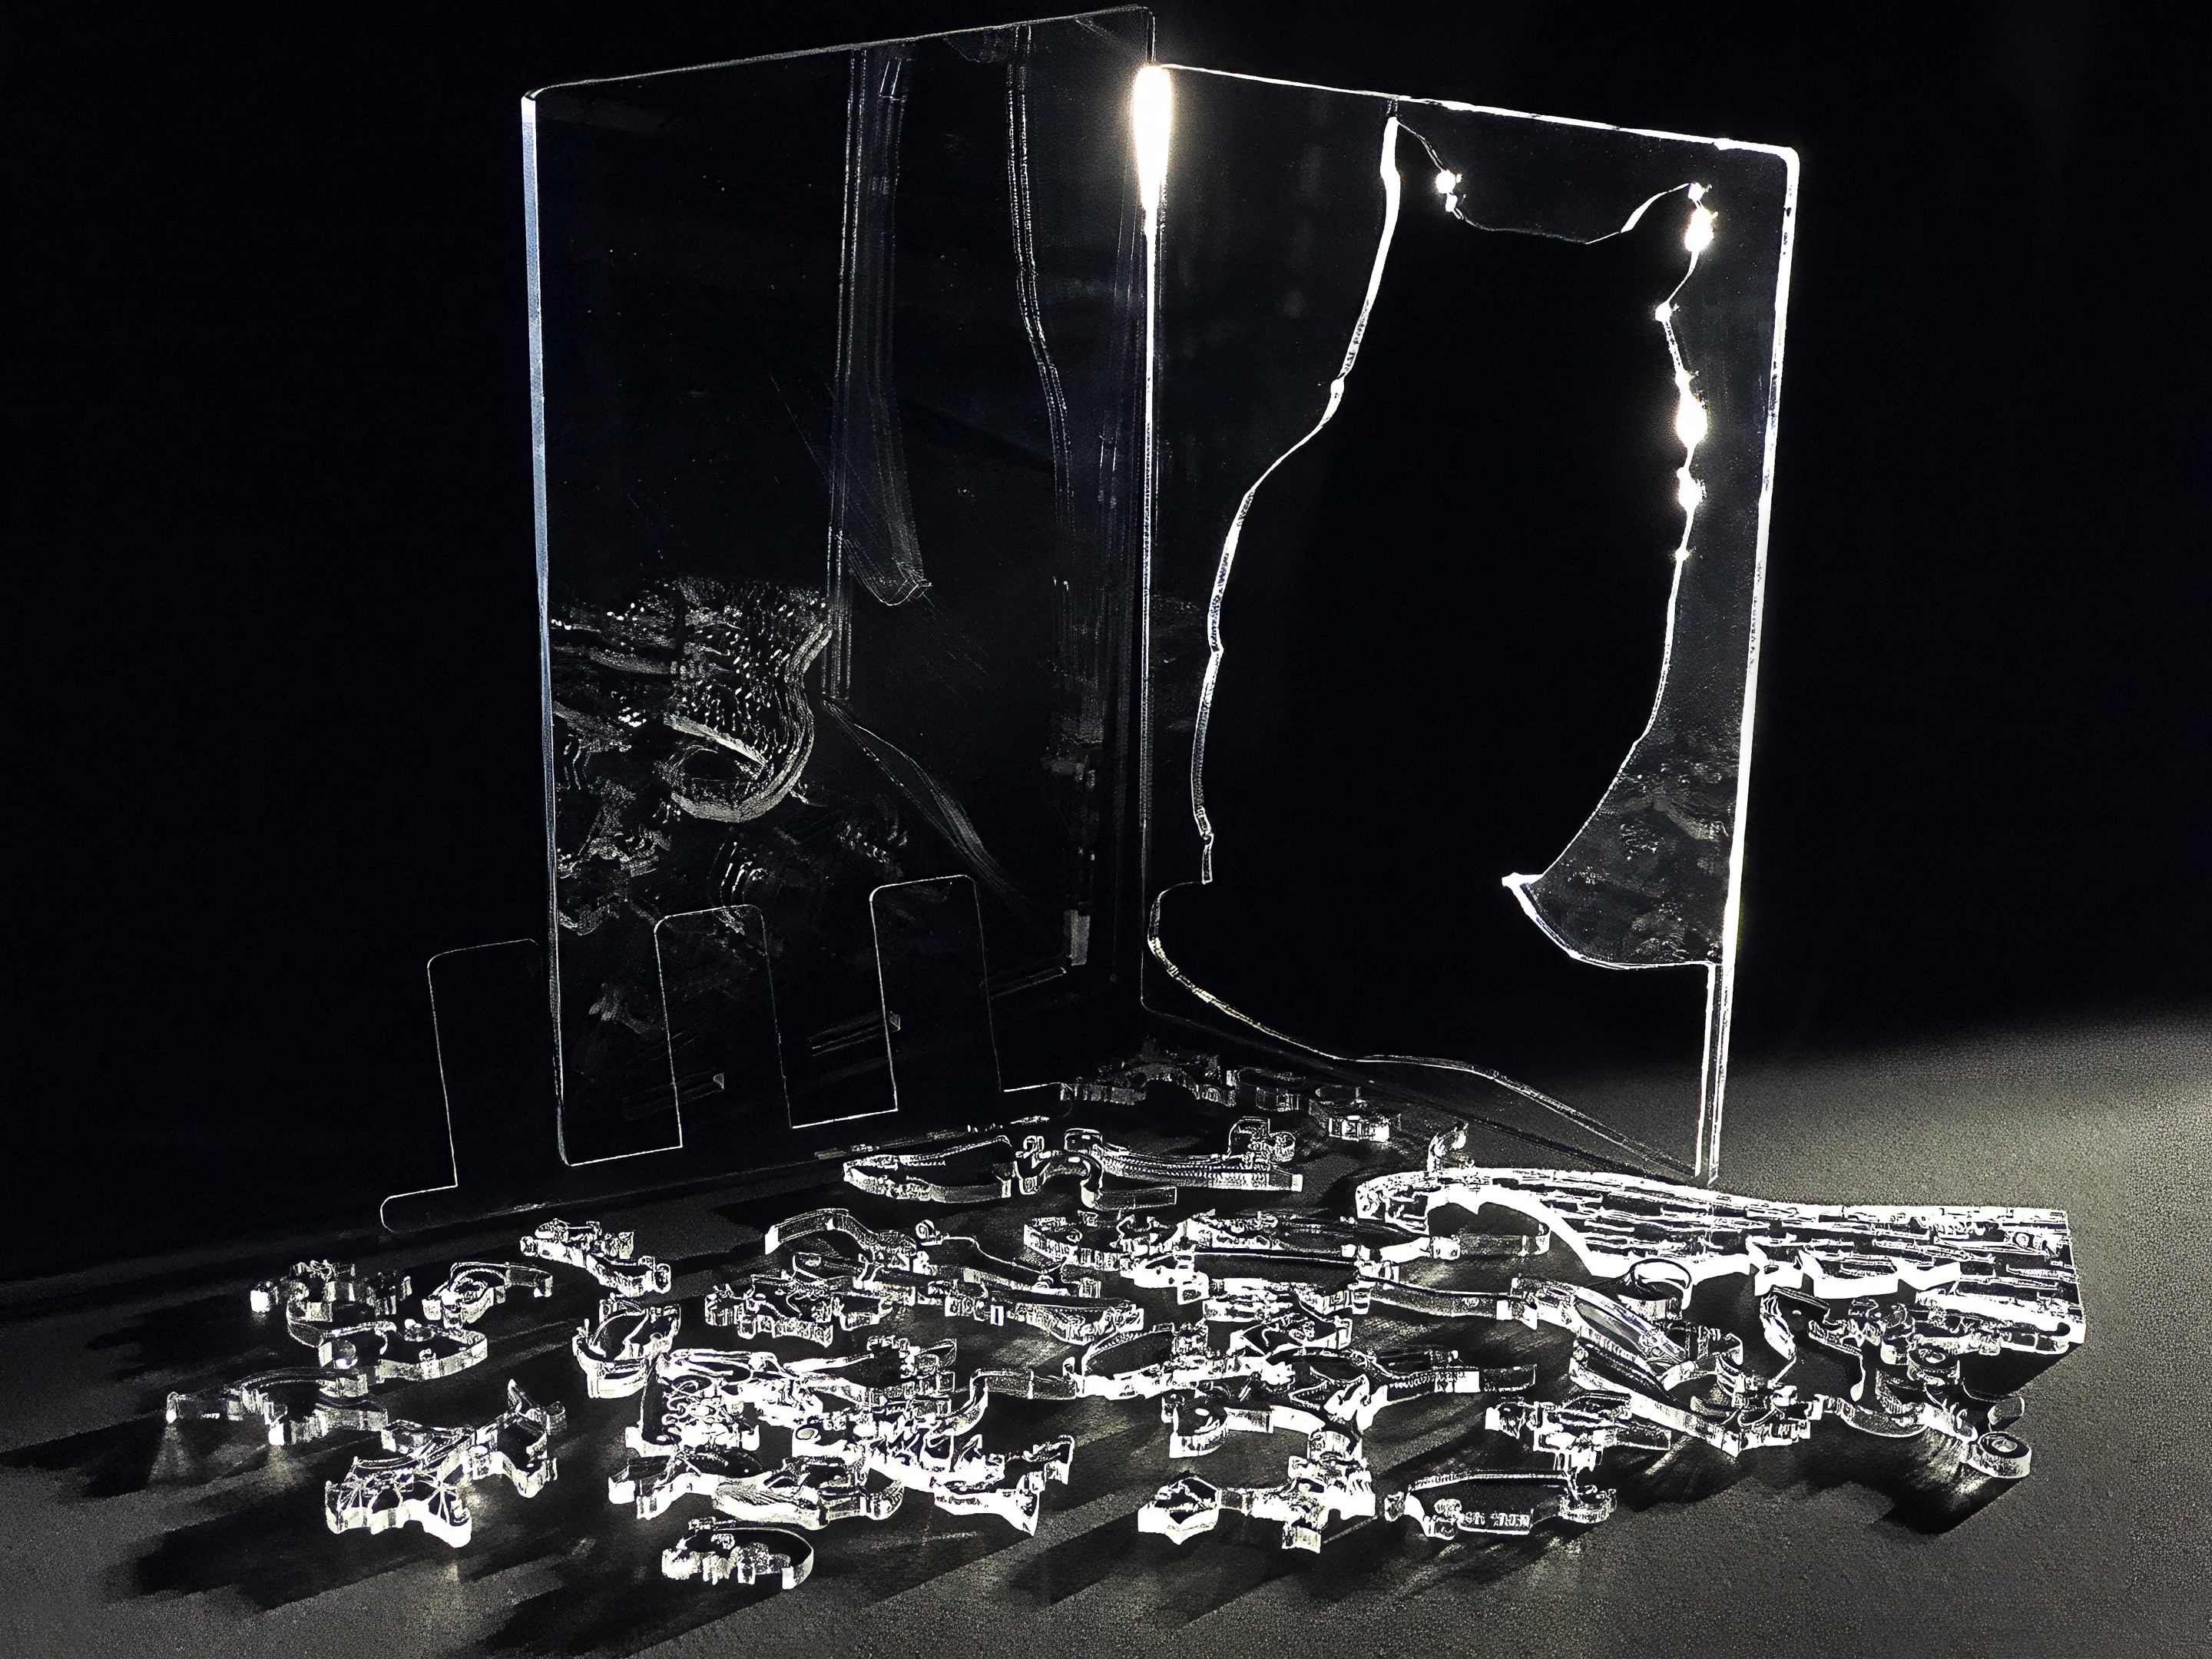
Title: “Long-eared Owl with Oak Foliage (Organically Framed)”
Artist: Michael Autumn Medium: Hand-drawing – laser cut & engraved premium 6mm AB/AB Italian Panguaneta Poplar plywood Size: 40cm (H) x 31cm (W) (including the frame) Date: 2023 Country: UK
Description: I have this little art puzzle that I sell on its own (see photo below),
The original “normally” framed version.
… but some people fed back to me that they would prefer to buy it framed. That’s fair enough – everyone has different tastes – and quite flattering in fact – that they like the design enough to want to put it on the wall – but not wanting to have to solve the puzzle and then go to the effort of getting it framed. So I simply adjusted the laser setting for the cut lines of this laser job so that it didn’t cut all the way through – just deeply scored. Et voila! An art engraving rather than an art puzzle!
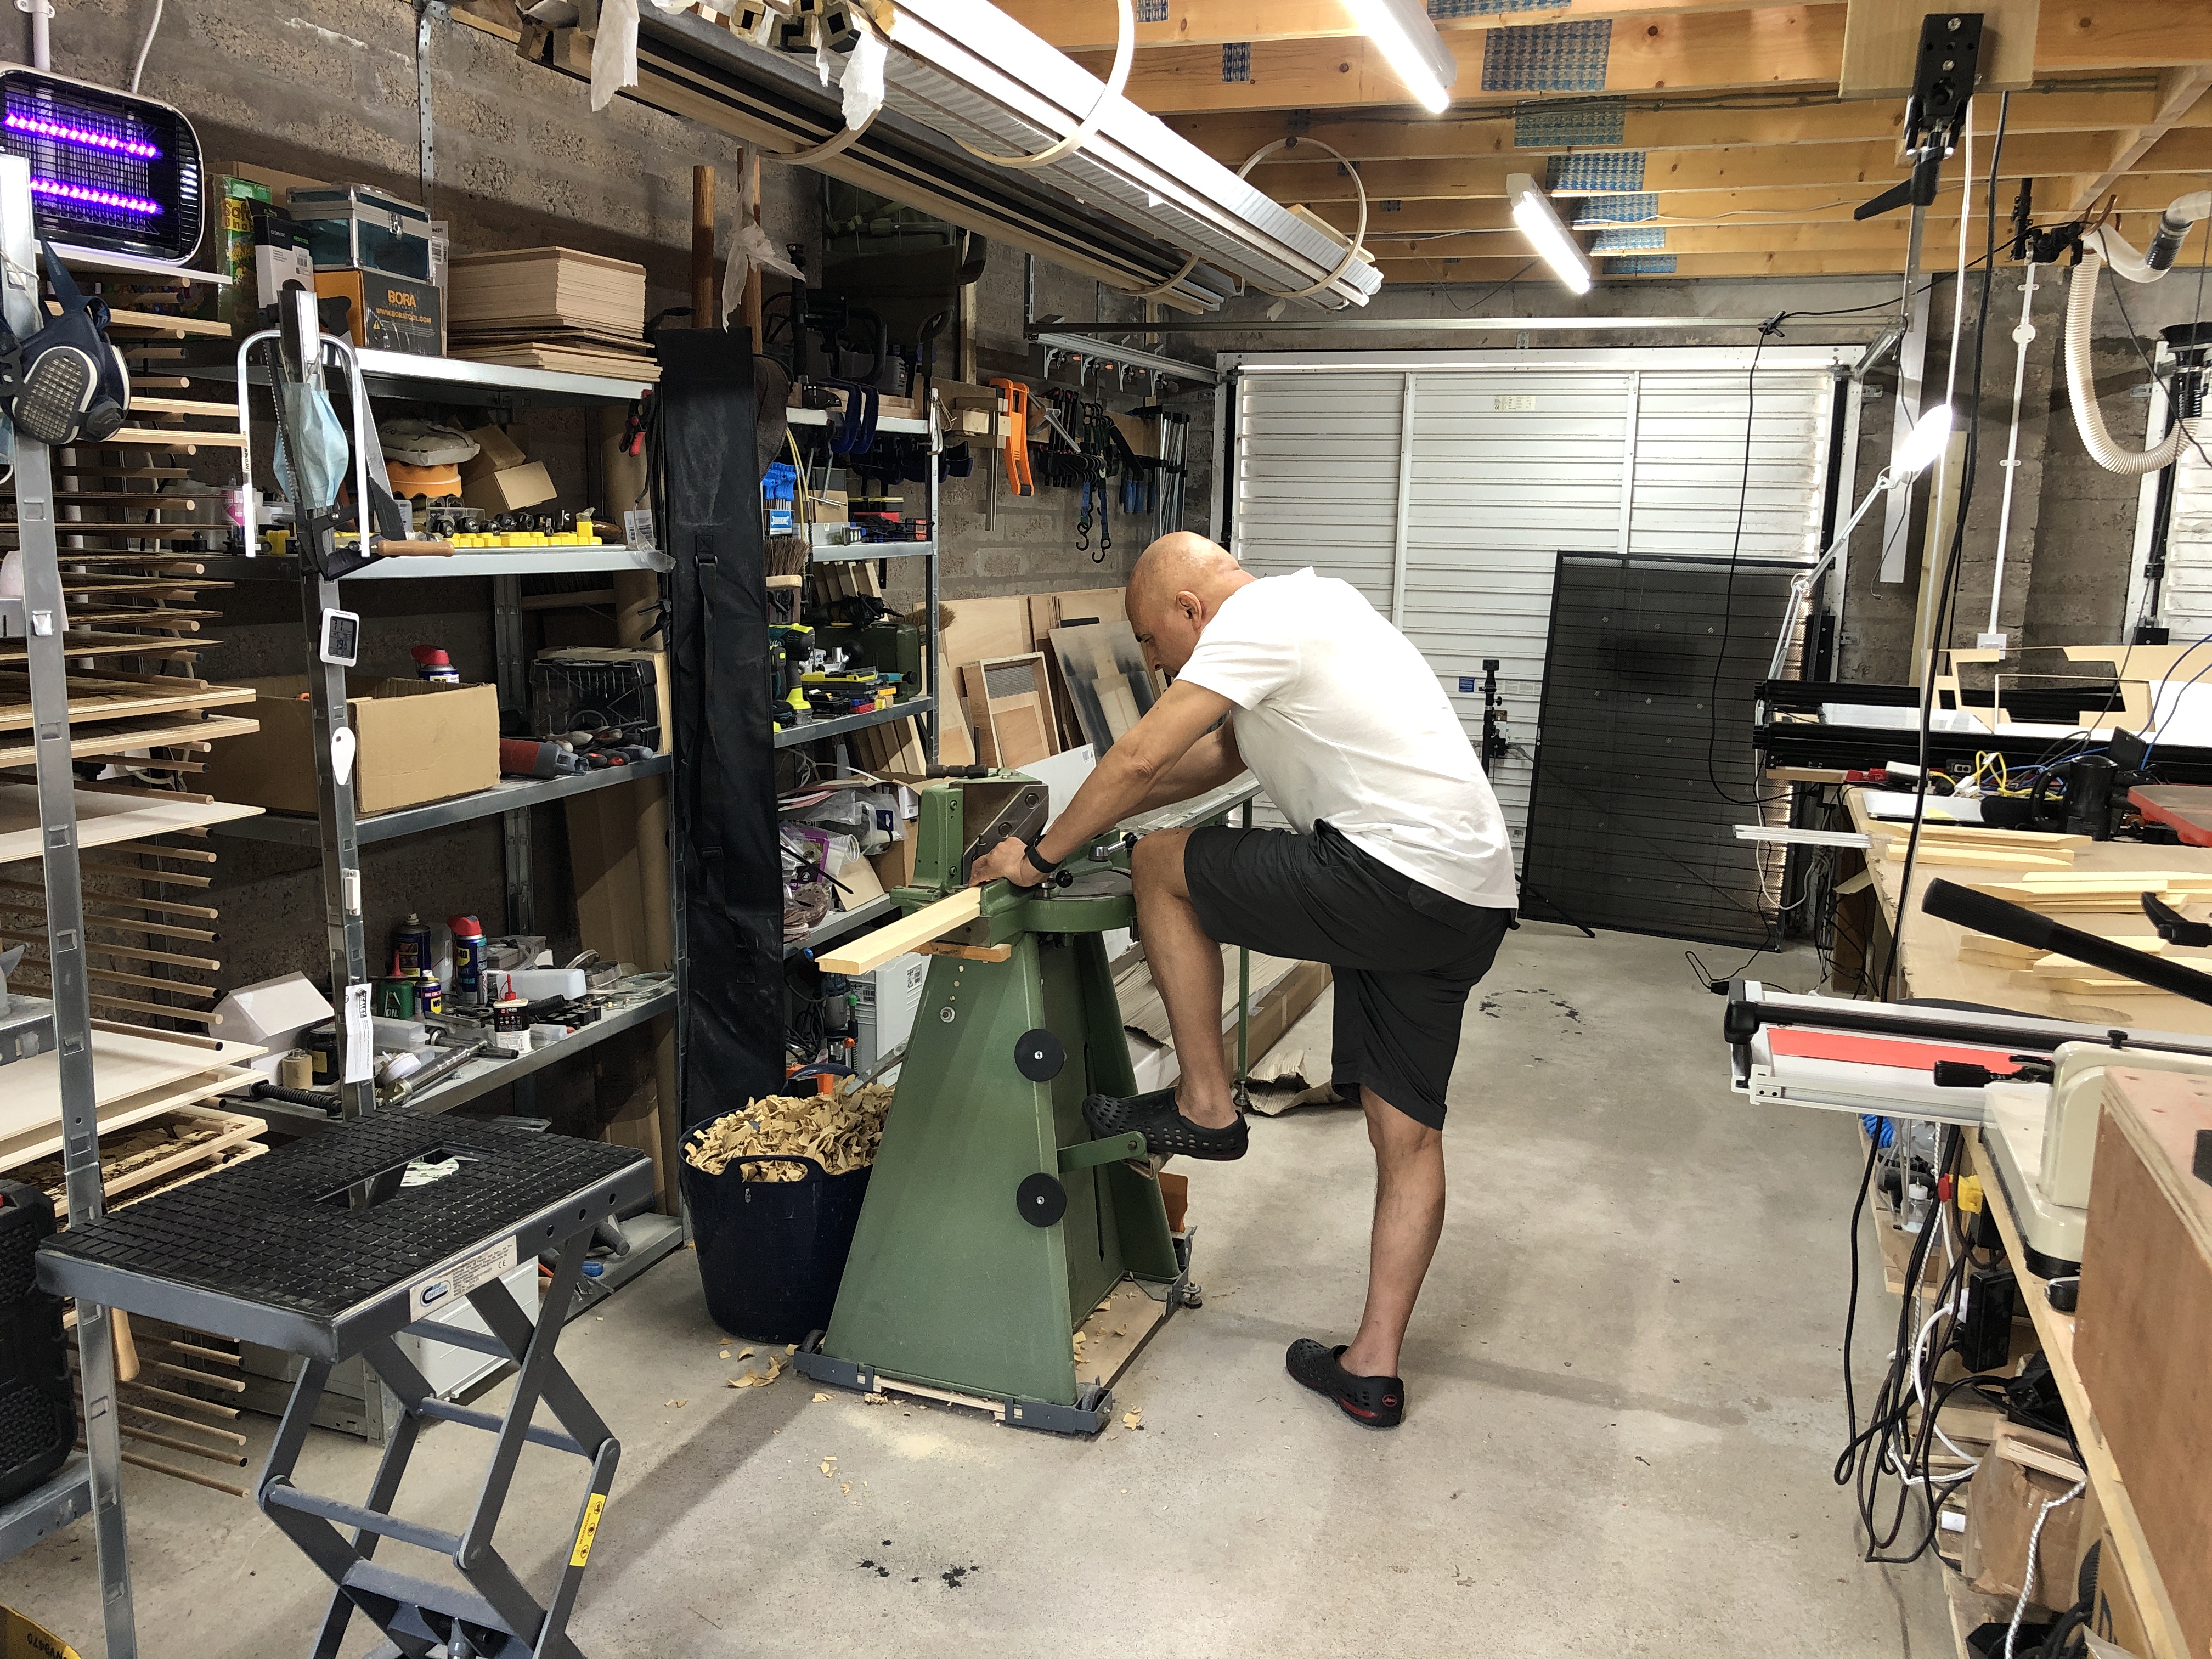
If the truth be said, I don’t really like framing. I’m an artist, and I don’t like spending my time manually making frames – especially many of the same ones. And I really don’t like cutting mounts and glazing, cleaning the glass, etc – it’s quite mundane. But I do like designing frames – and making one-offs – frames that bring out the best of my artwork.
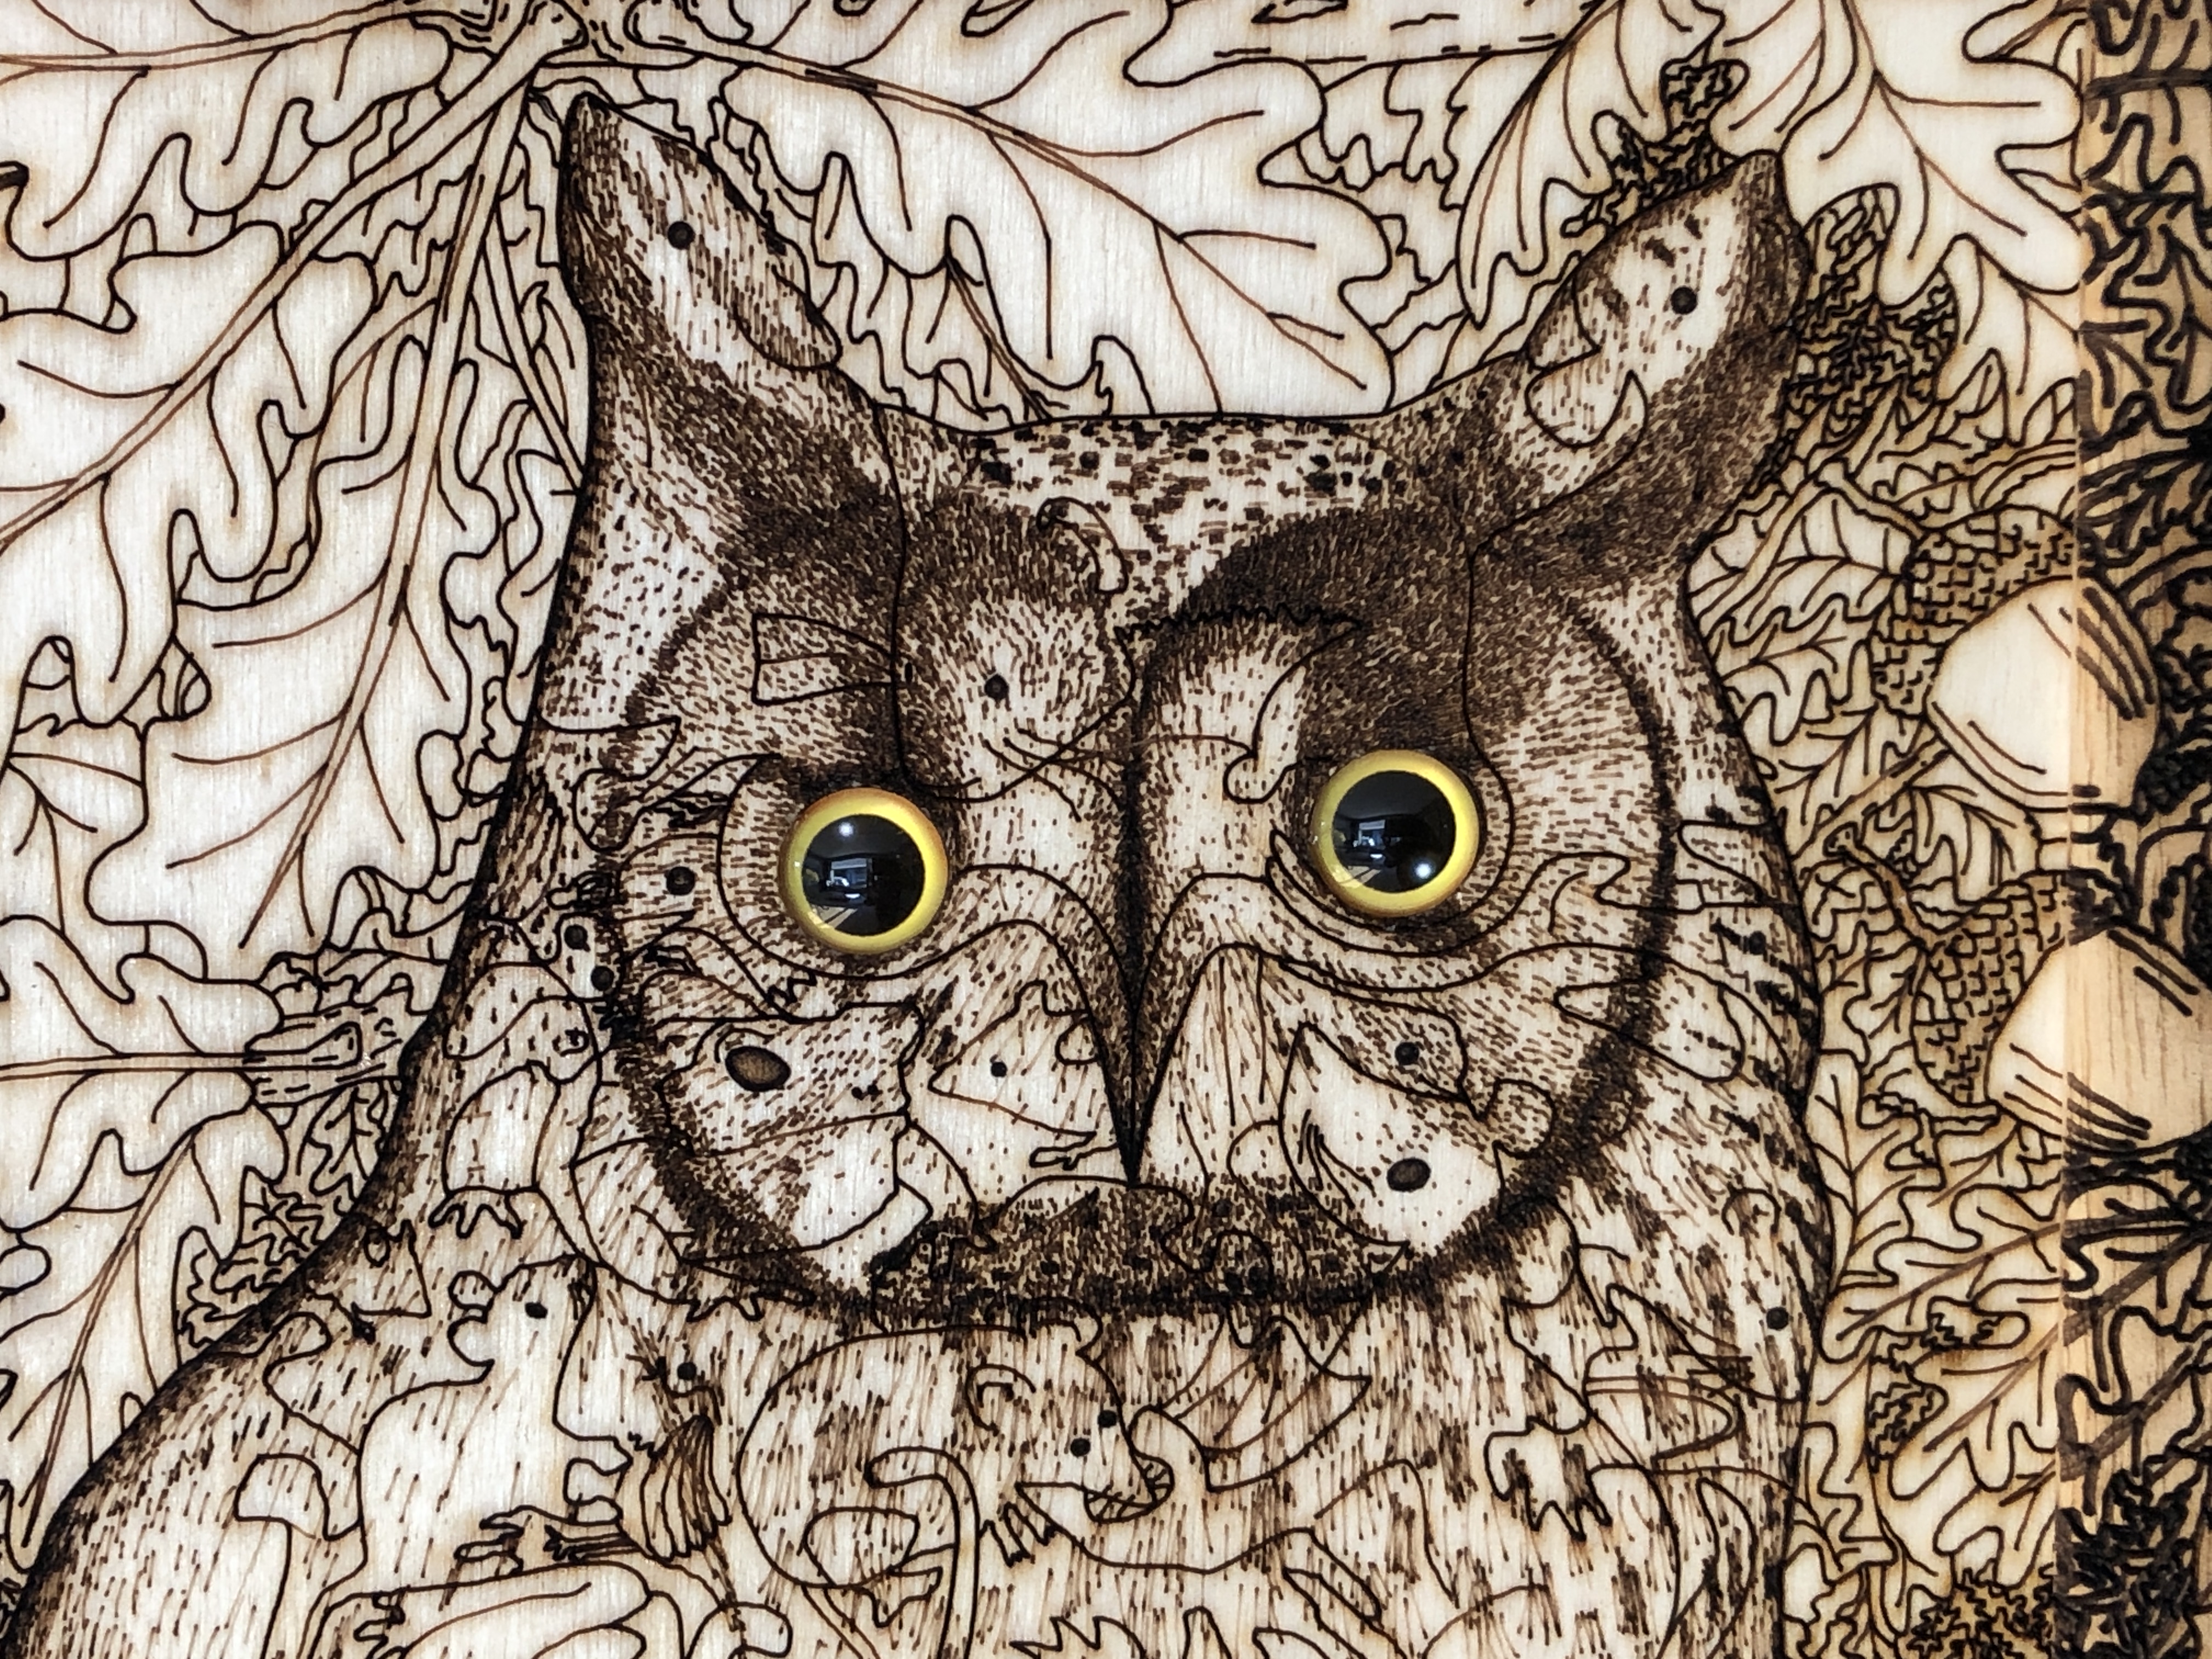
Thinking about framing this artwork I looked to see if there was a suitable readymade frame, but unfortunately there wasn’t any of the exact size required. Resigned to having to frame it myself, I thought about how I could make it more special – or interesting. My first thought was to put realistic and accurately-sized glass eyes in the owl – that would give it a central focus (no pun intended!). Also I thought the eyes should be embedded a little – rather than simply stick them on top – because this would look more realistic. And if I engrave the “sockets” as part of the laser design then they would be very easily accurately positioned and consistent. I did a few trials, and managed to get them exactly as I wanted (see photo below).
Embedded glass eyes in this special version of “Long-eared Owl with Oak Foliage”
Back to the main challenge. I don’t really like small frames – they make the artwork look insignificant – and I thought a “normal” frame with a windowmount around this piece would make the artwork look even smaller…
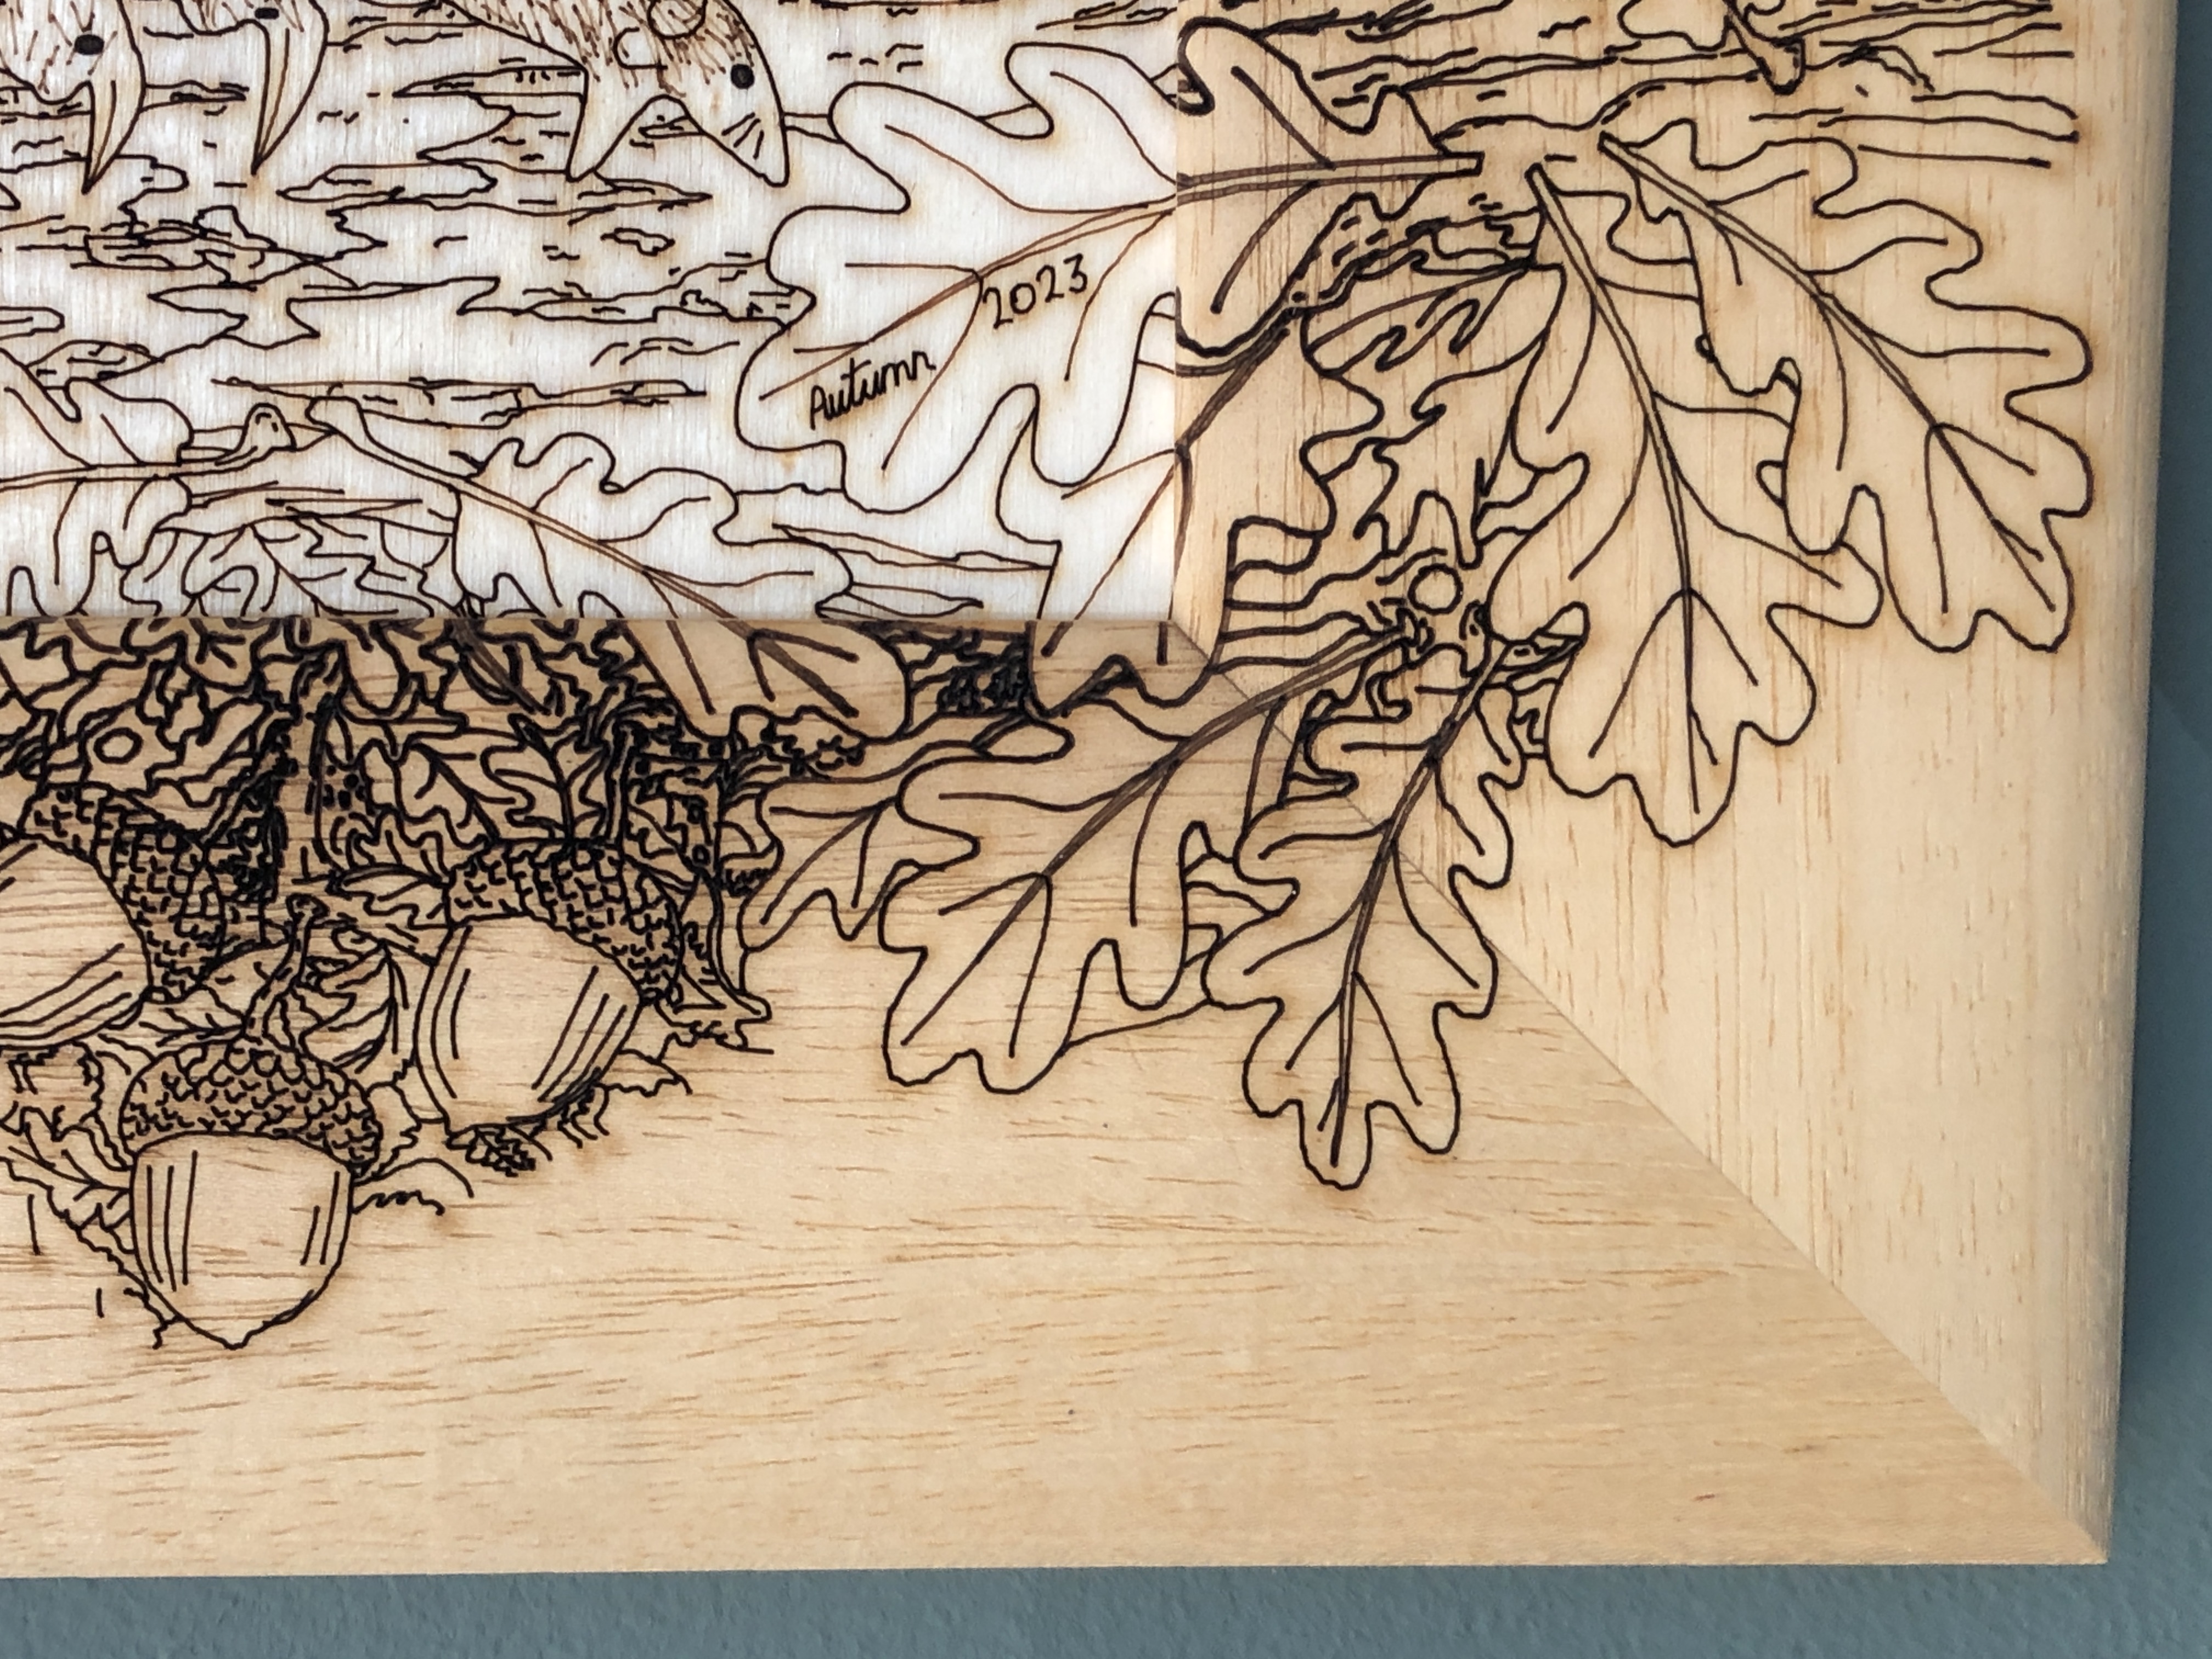
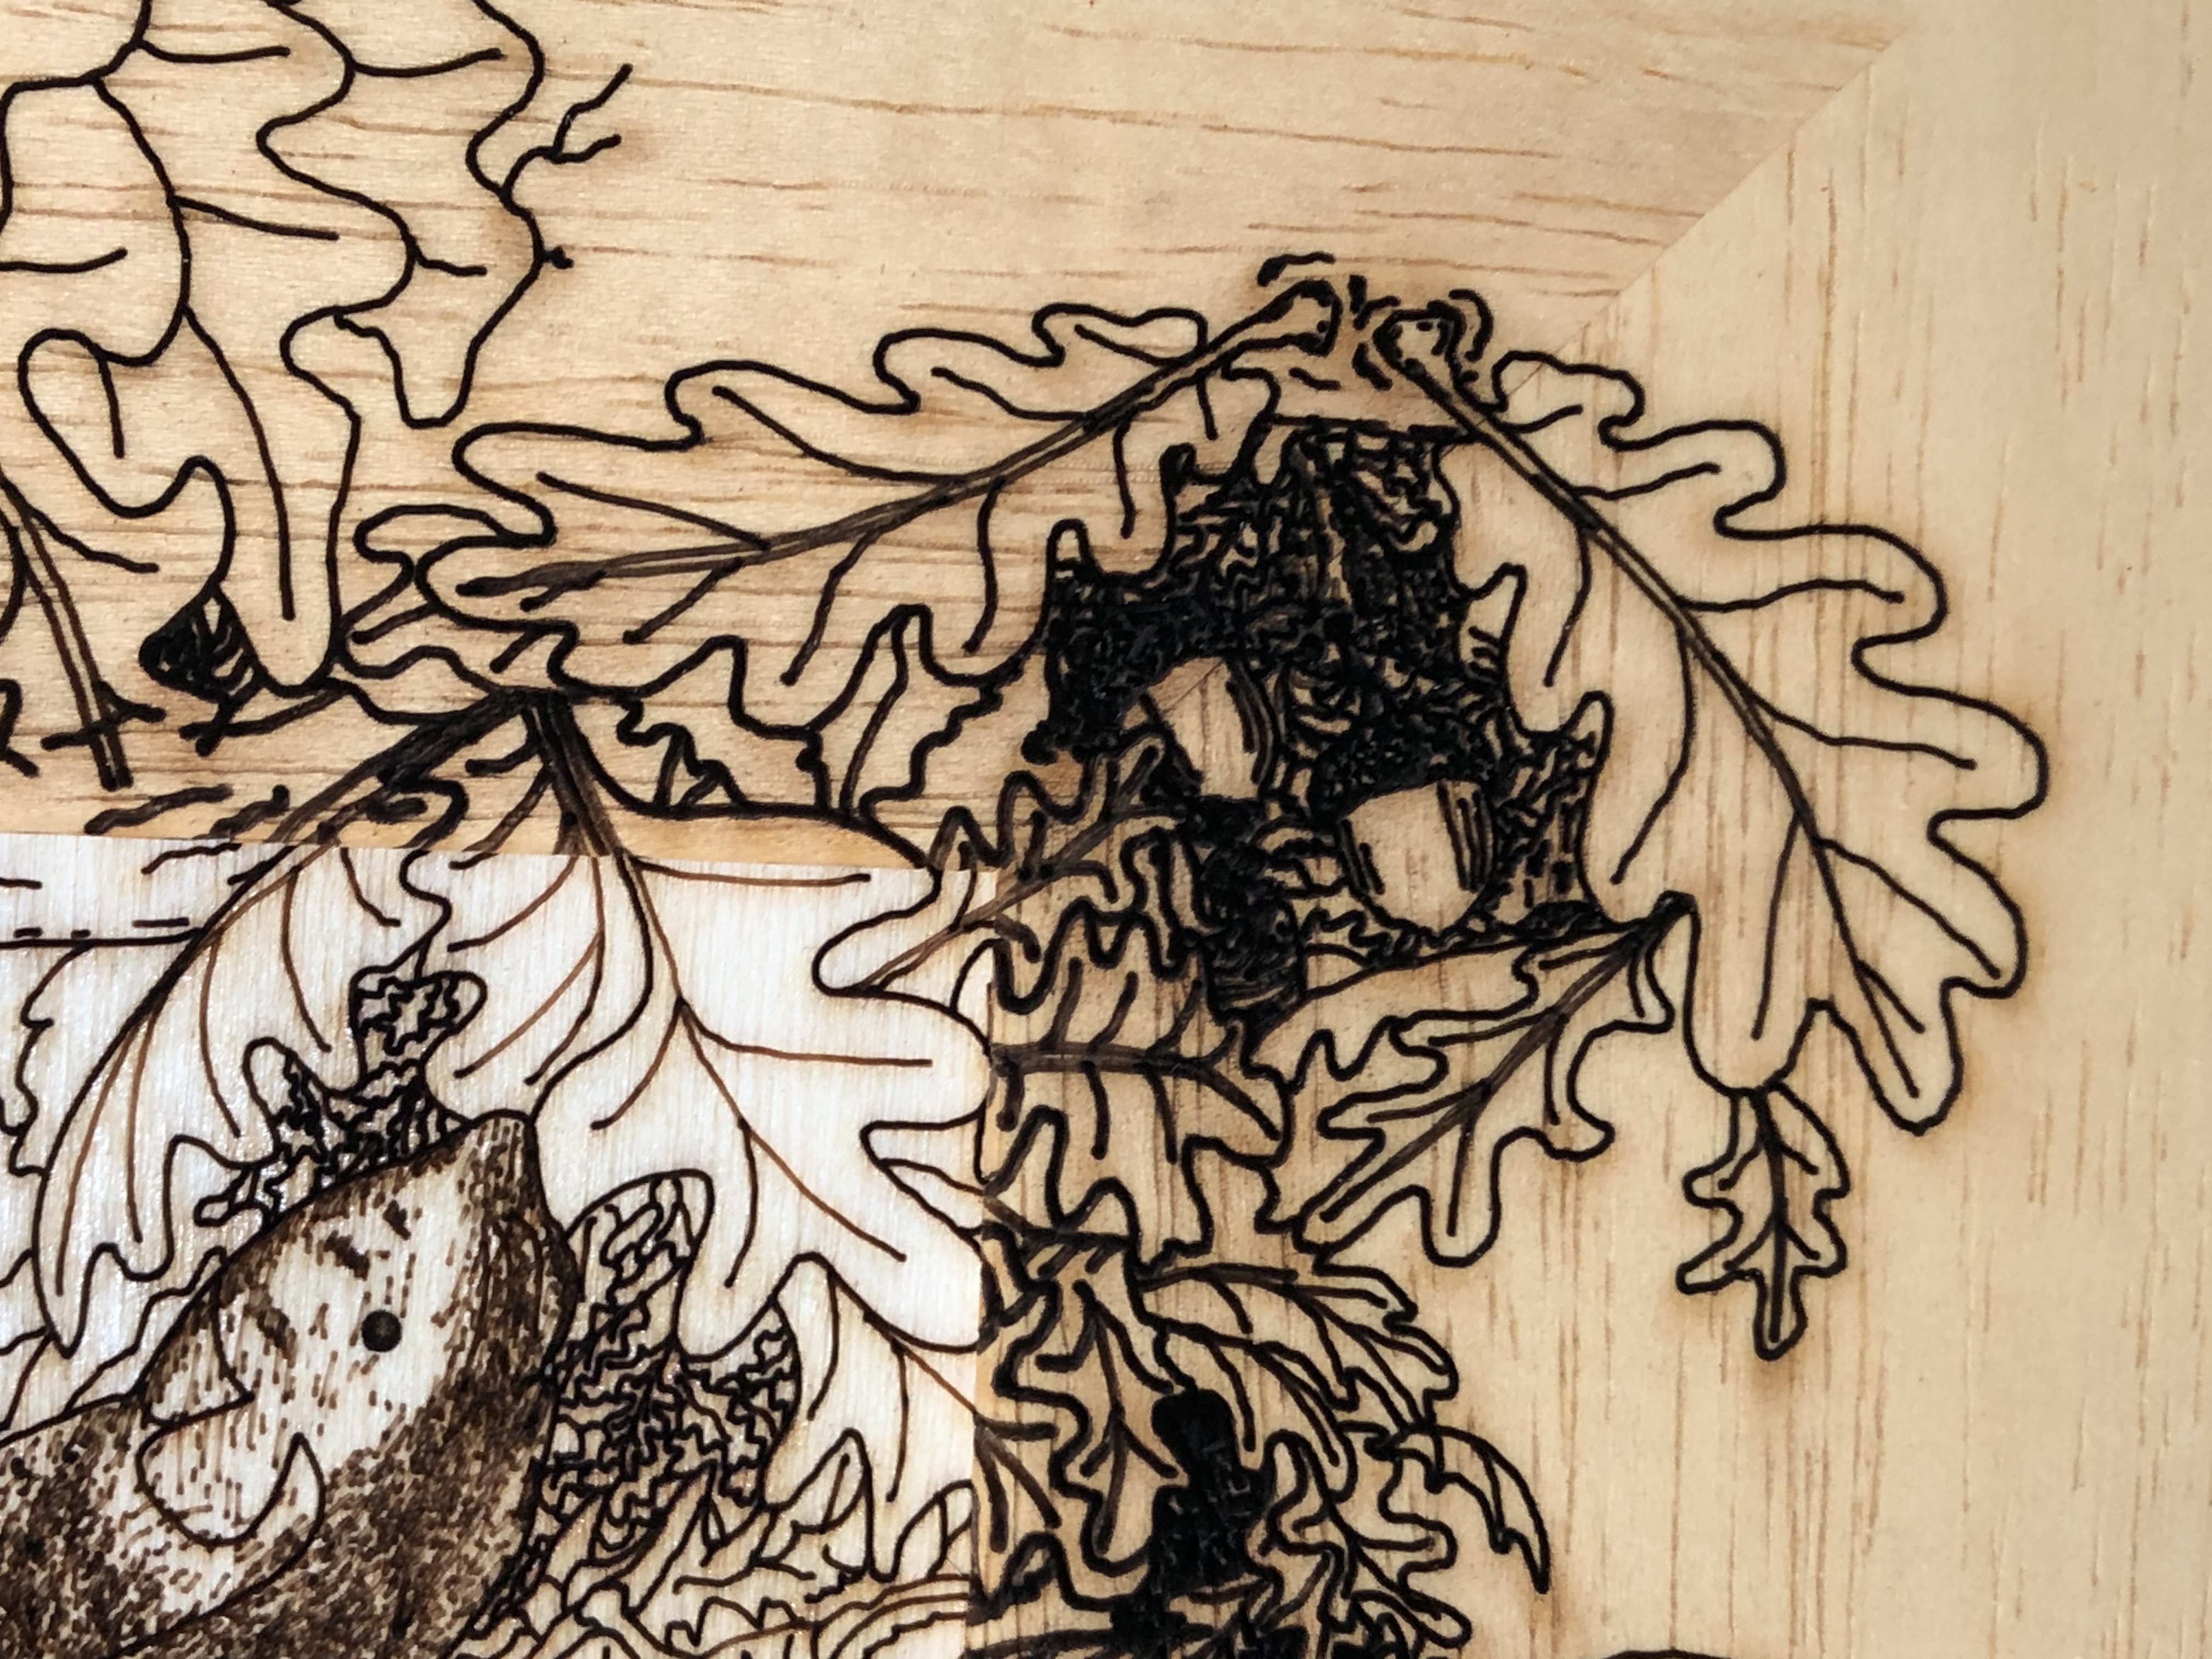
I also thought that a conventional rectangular frame feels is at odds with the artwork – where there isn’t a single straight line. Eventually I got the idea of extending the artwork out into a wide wooden frame – and not having any straight line edges – just a naturalistic “edge”… I could laser directly onto the frame in the same style as the artwork itself. I looked for a wide (to give a greater overall size impact), light-coloured, plane wood moulding. I didn’t really want a completely flat moulding profile – because that would look less like a frame. Eventually I found a suitable shallow “cushion” moulding – which subtly differentiates the artwork from the frame – and I think it works really well – what do you think…?
The advantage of this frame is that I can varnish it the same way the artwork is finished – with non-yellowing, UV-protective, varnish – and it doesn’t require a windowmount or glass.
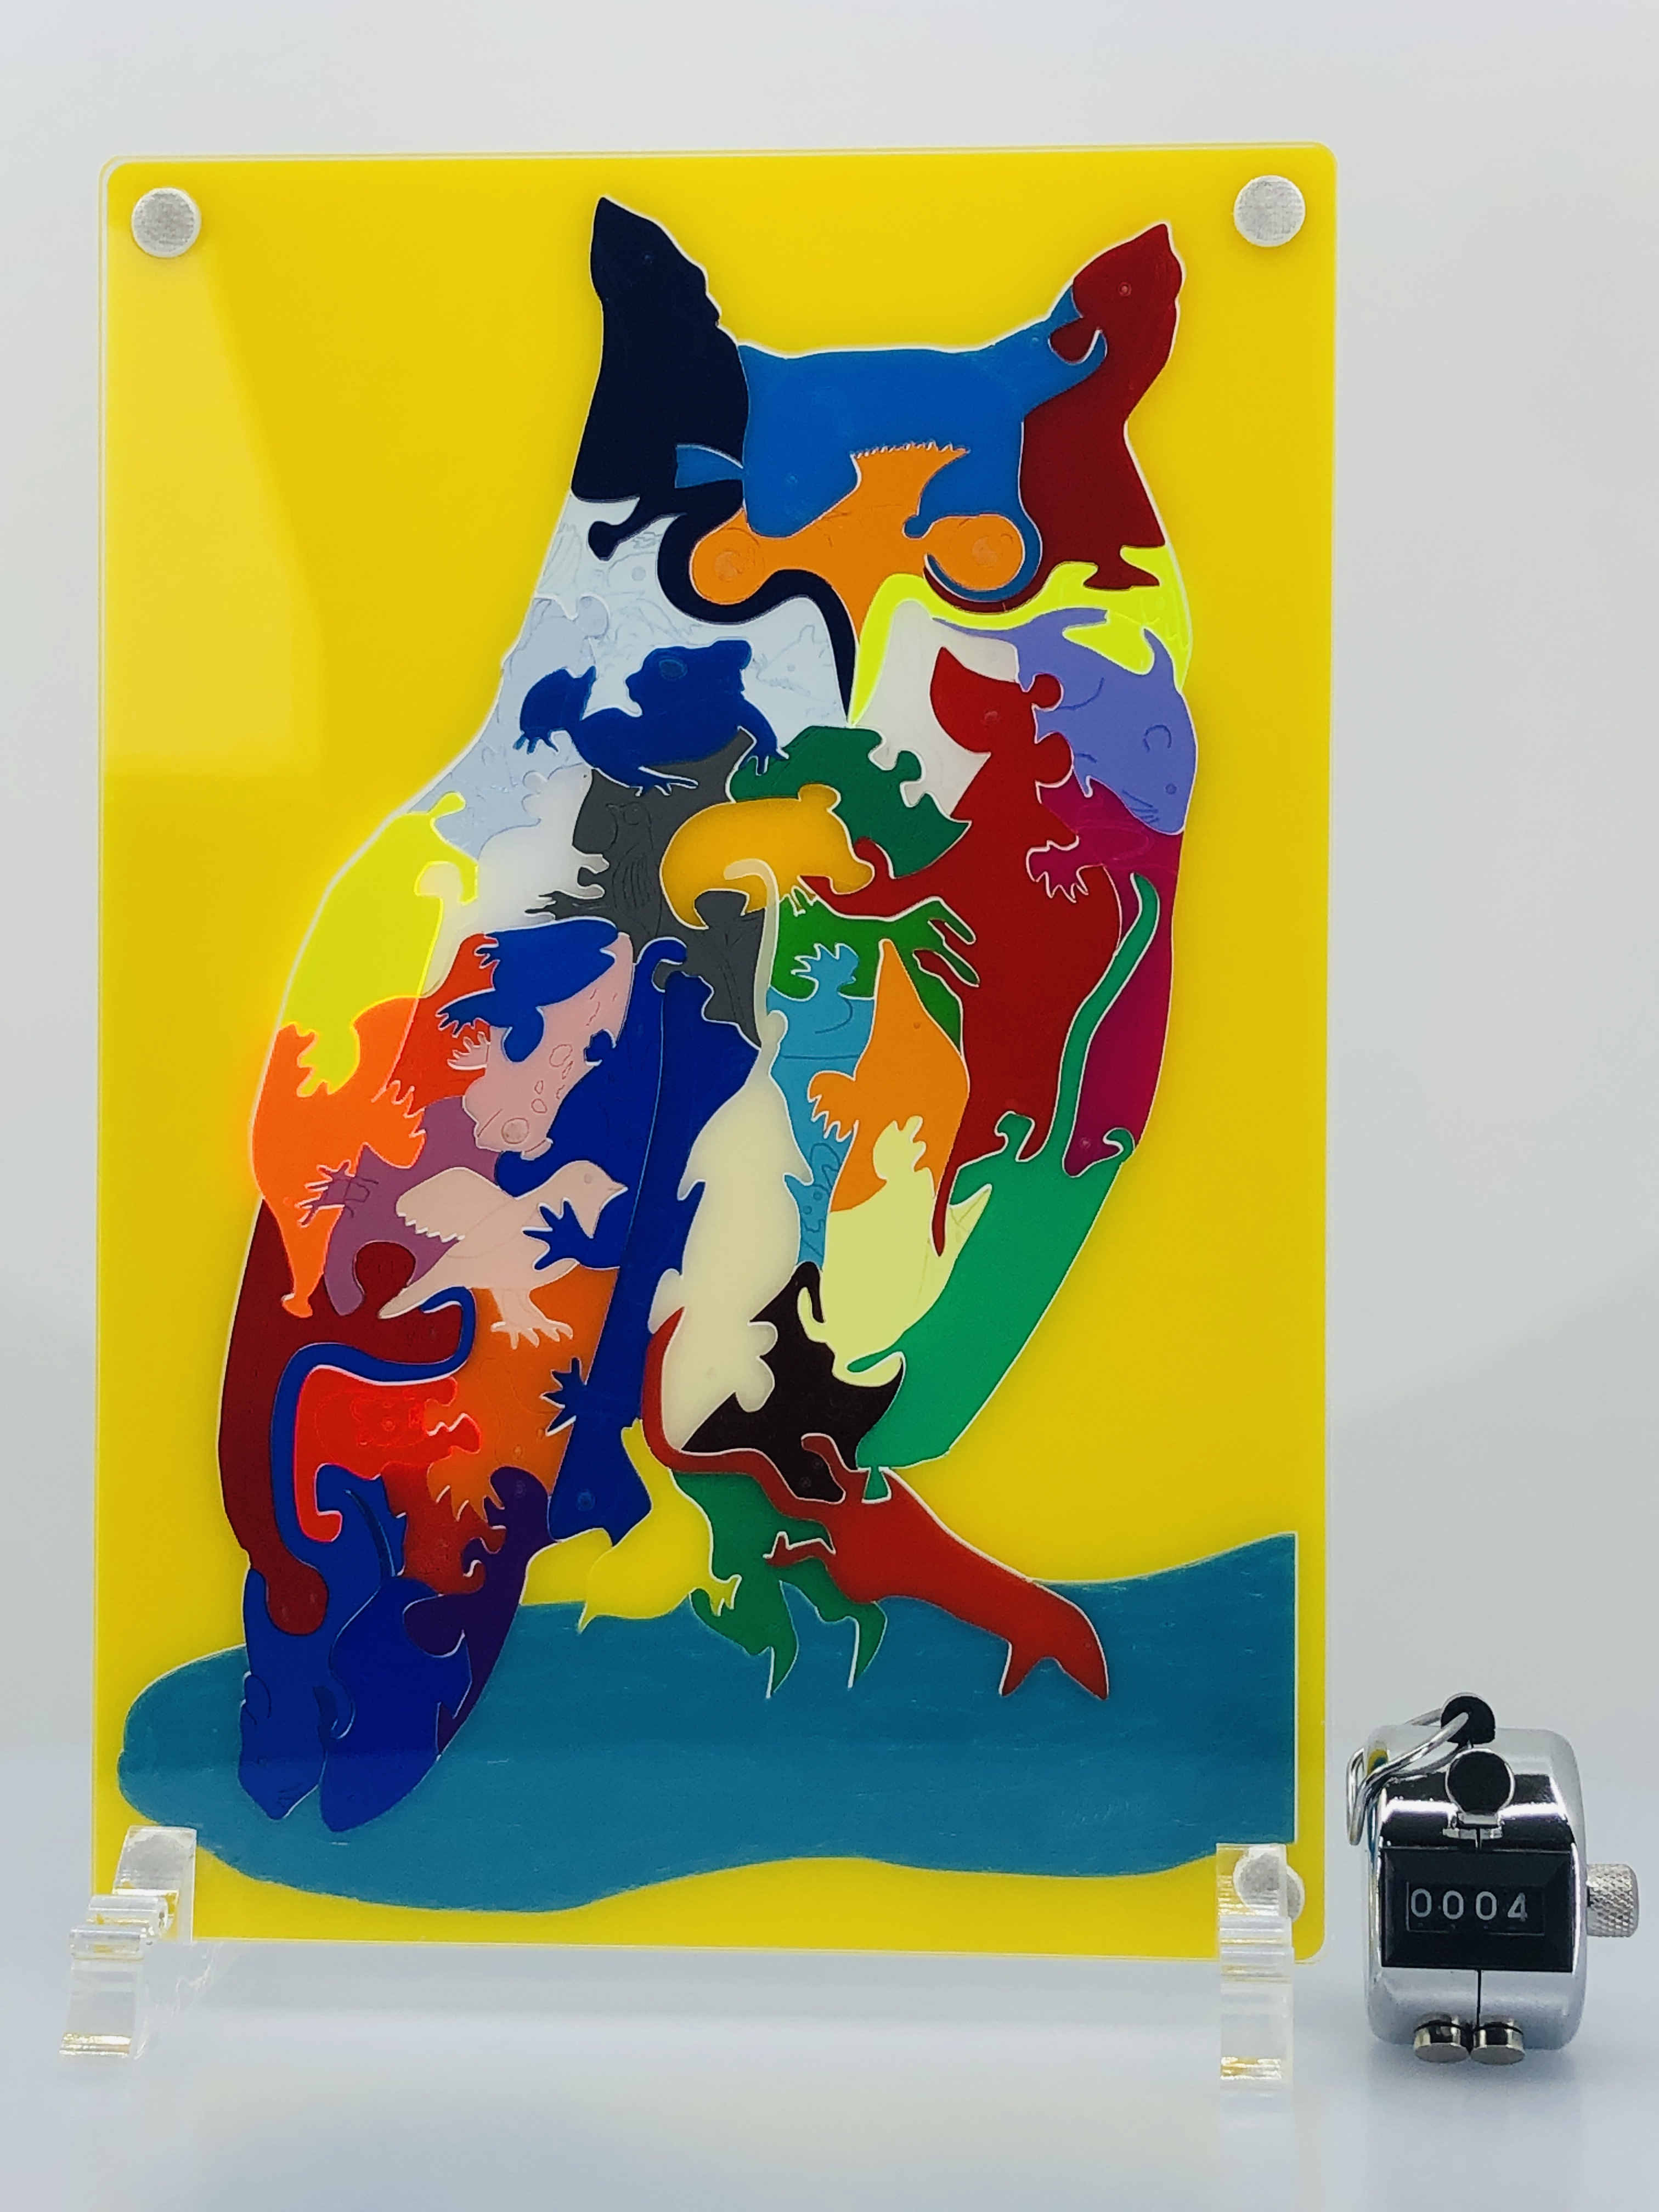
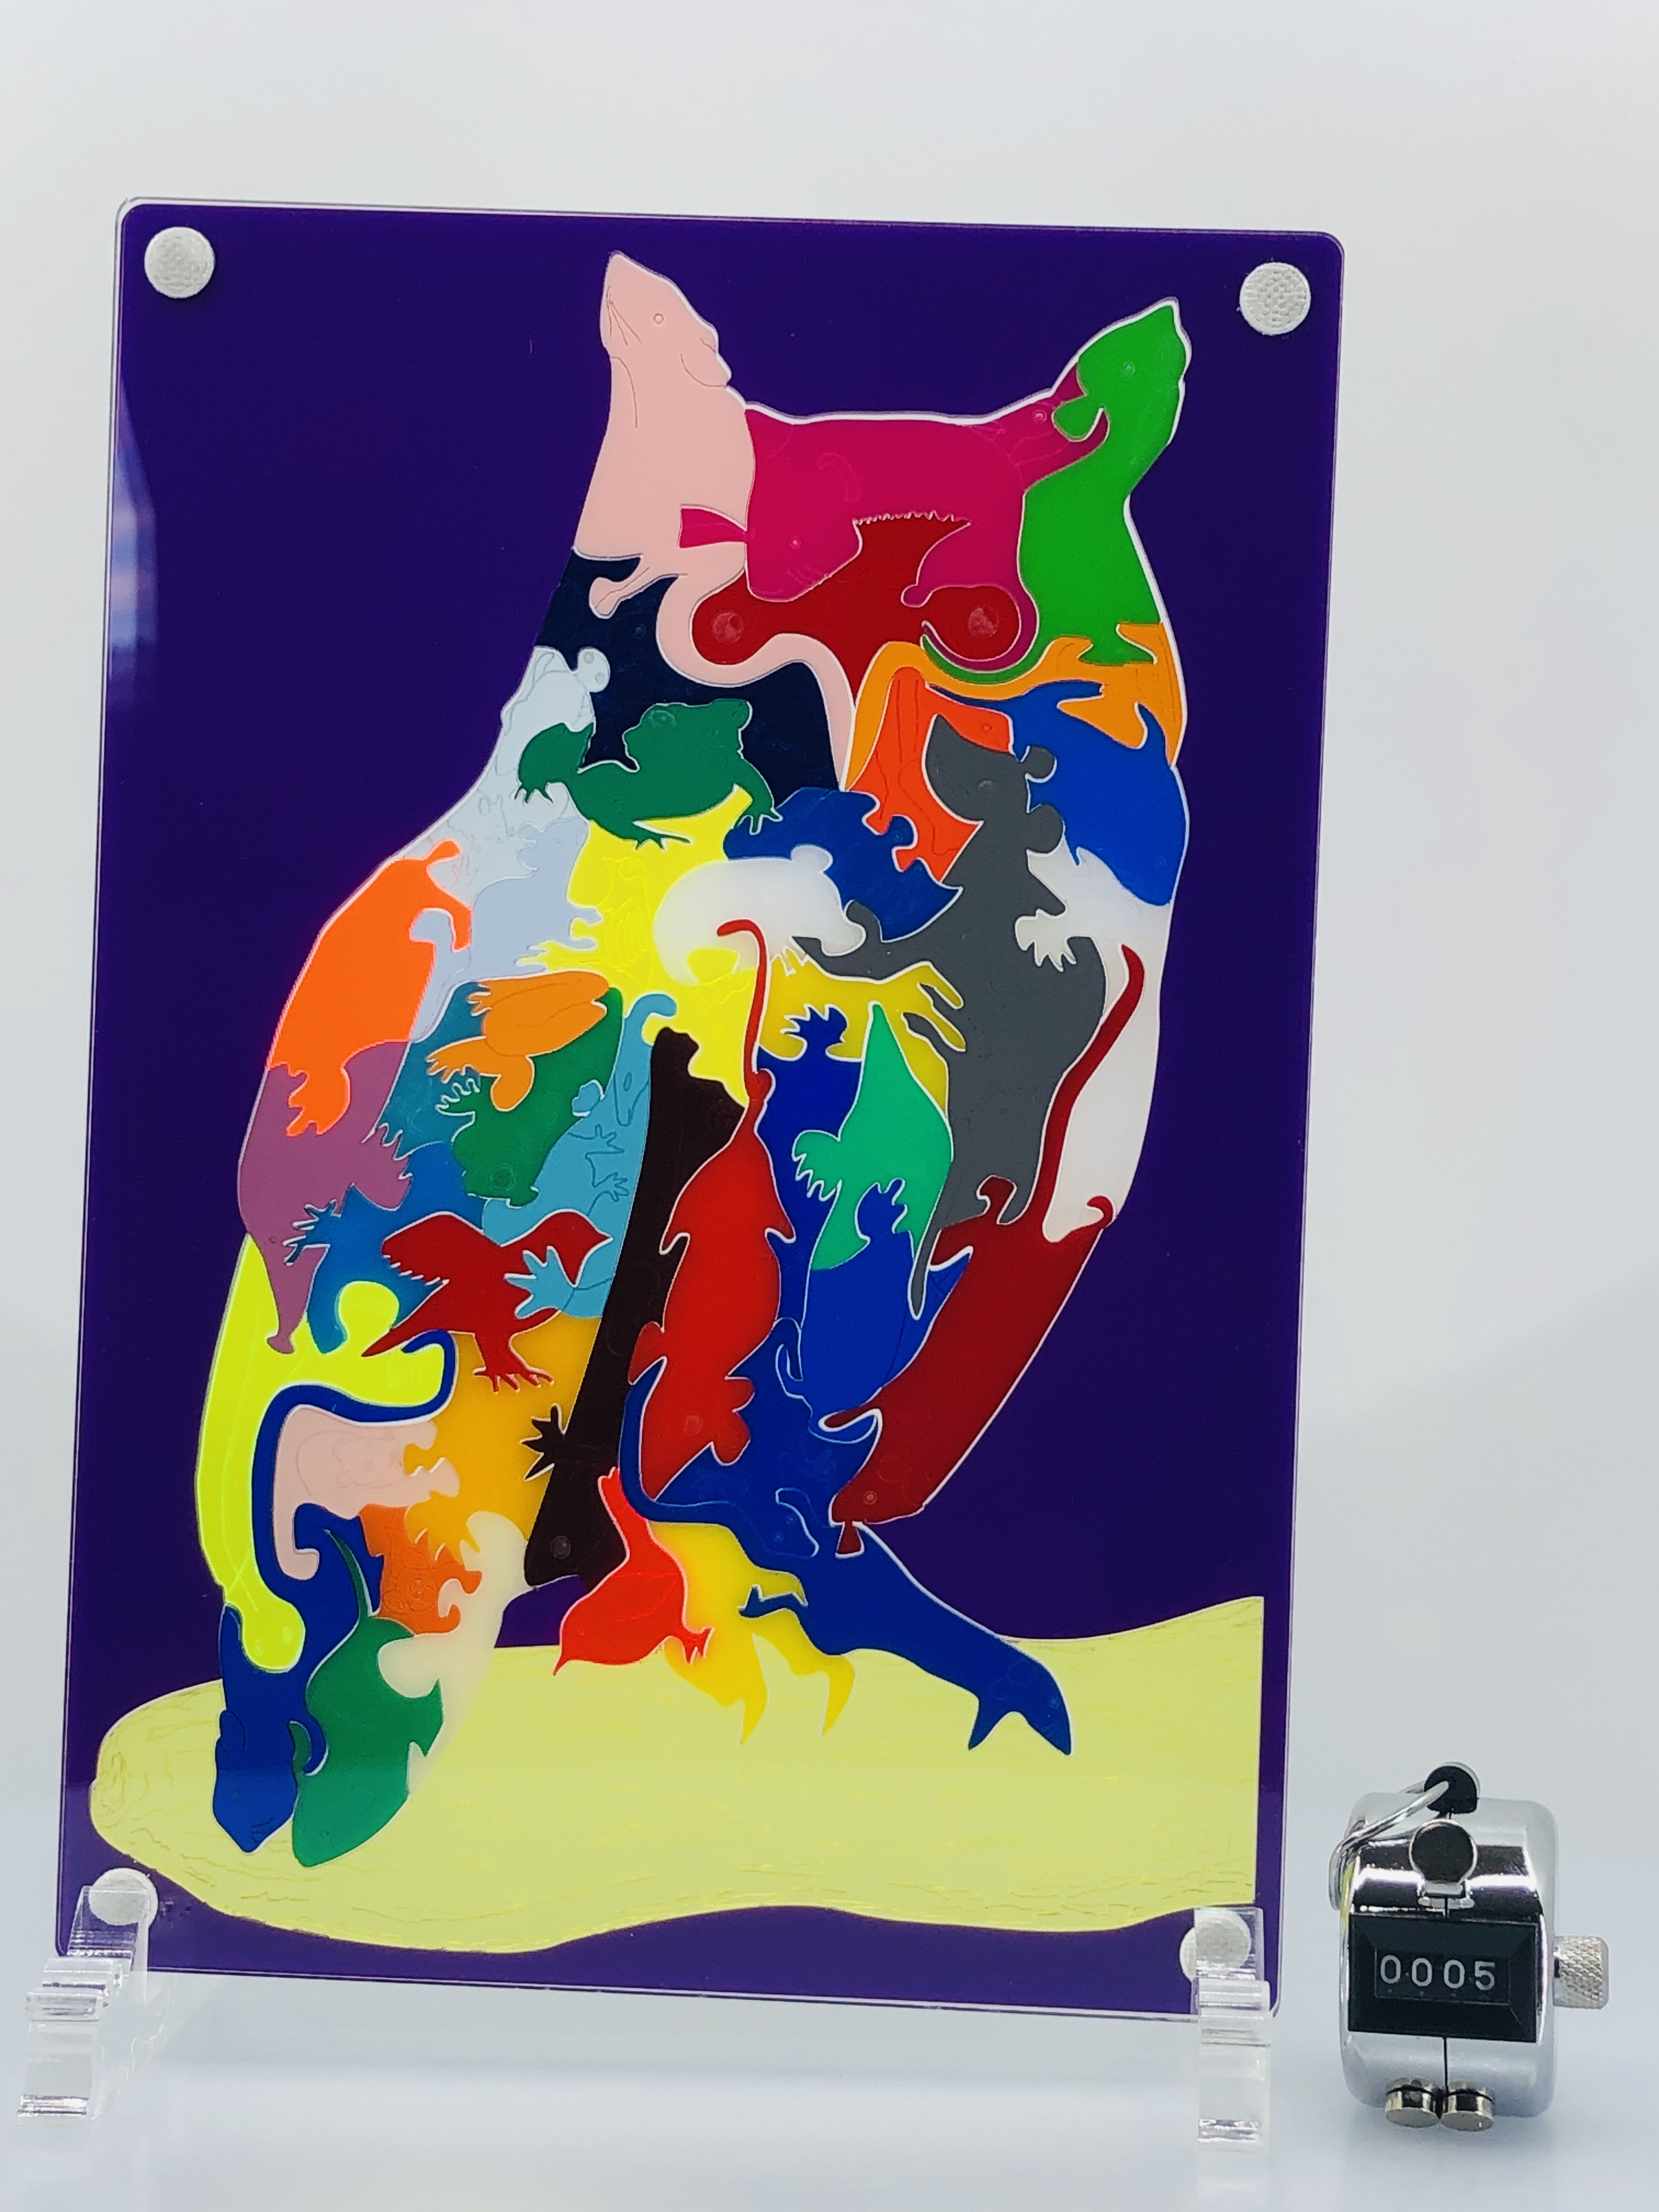
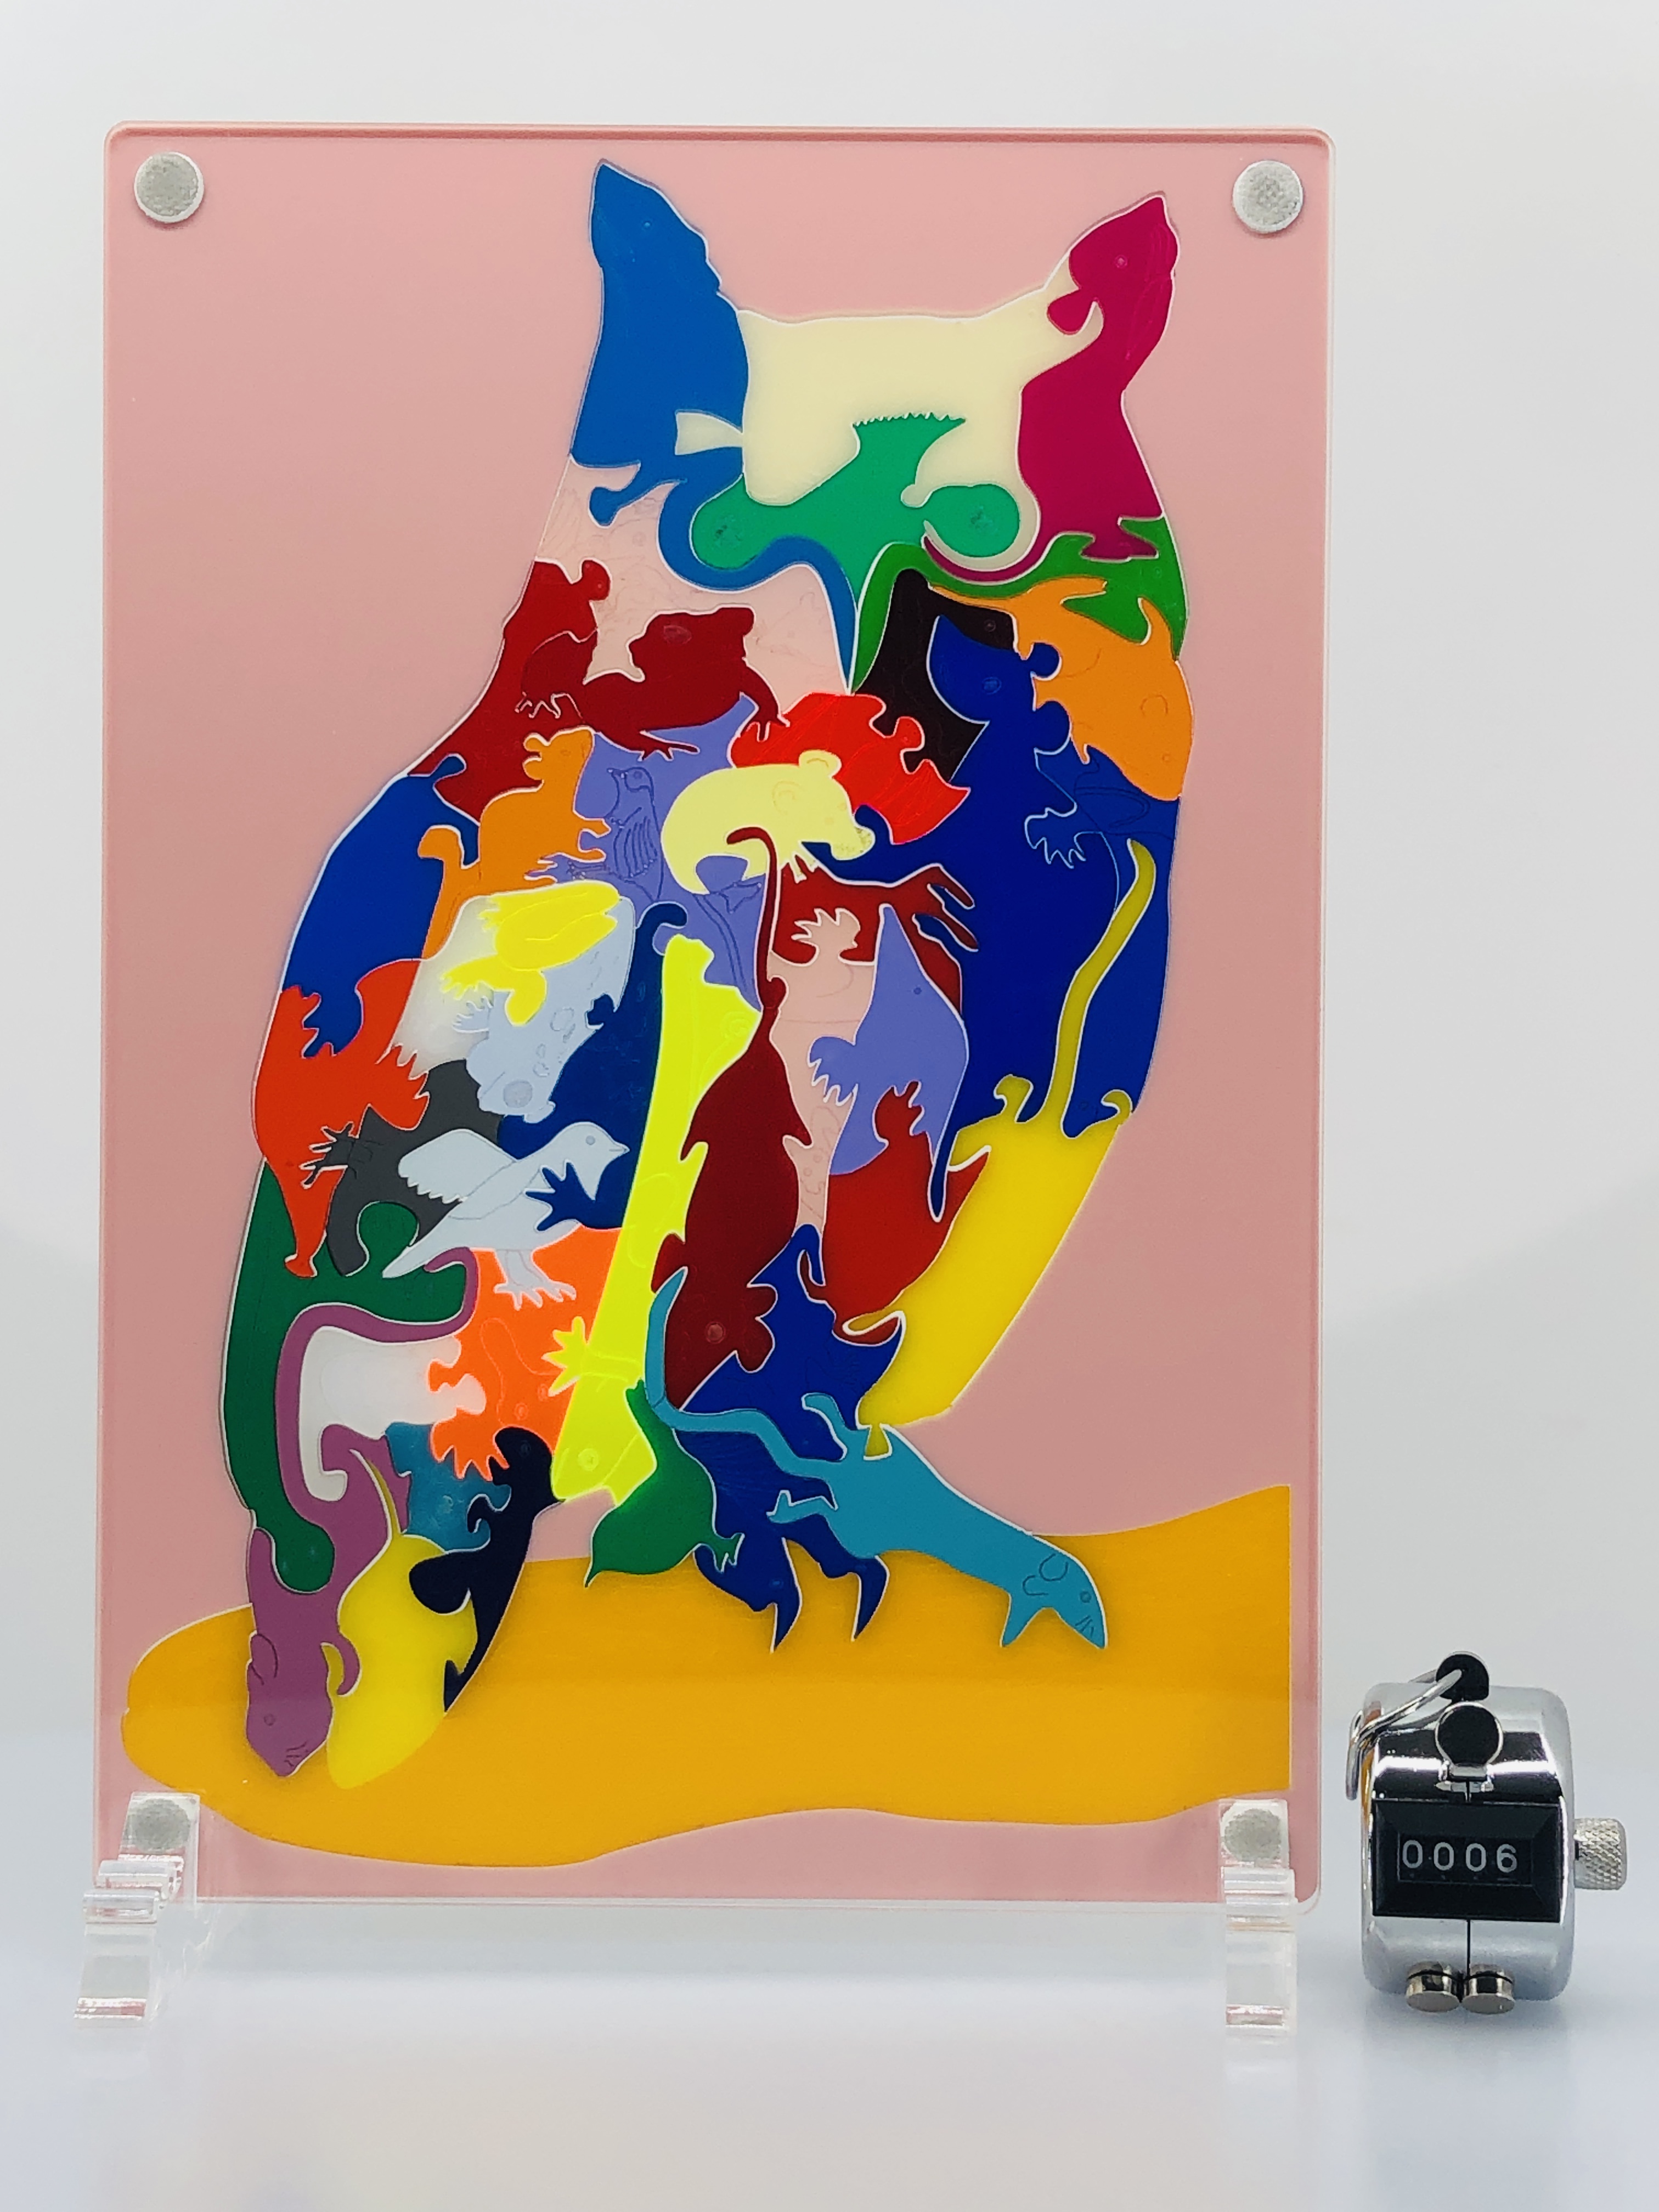
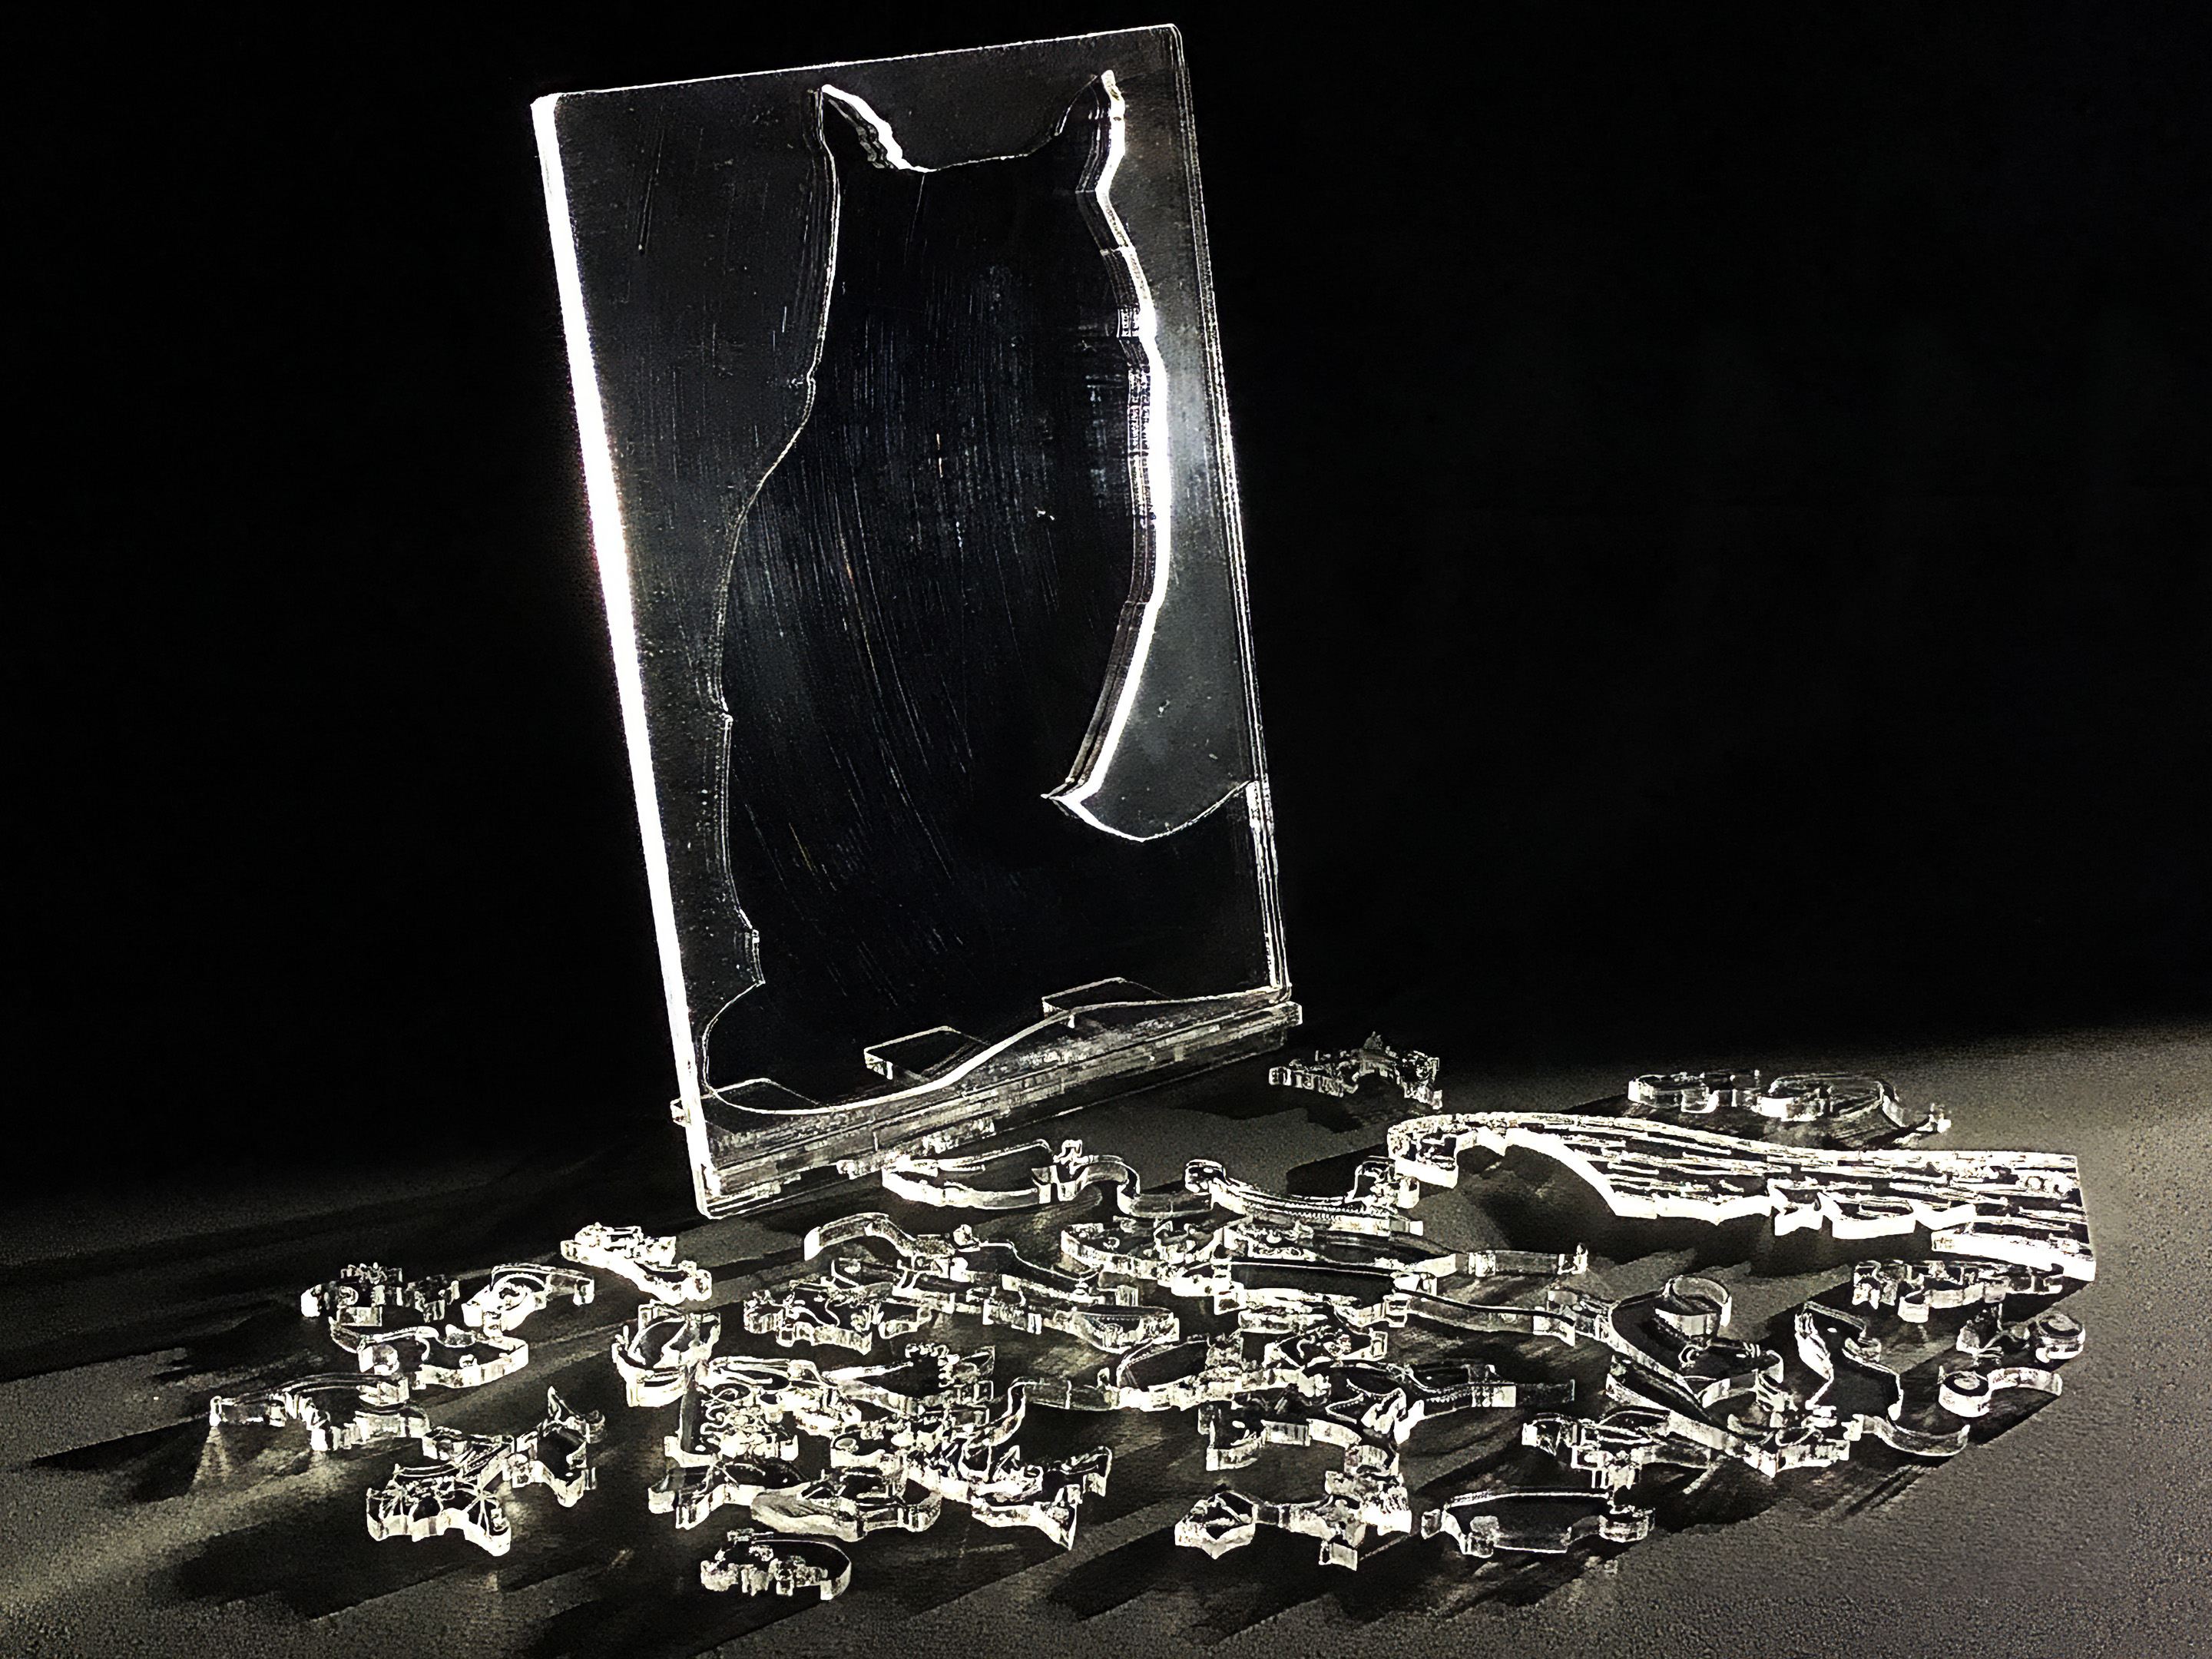
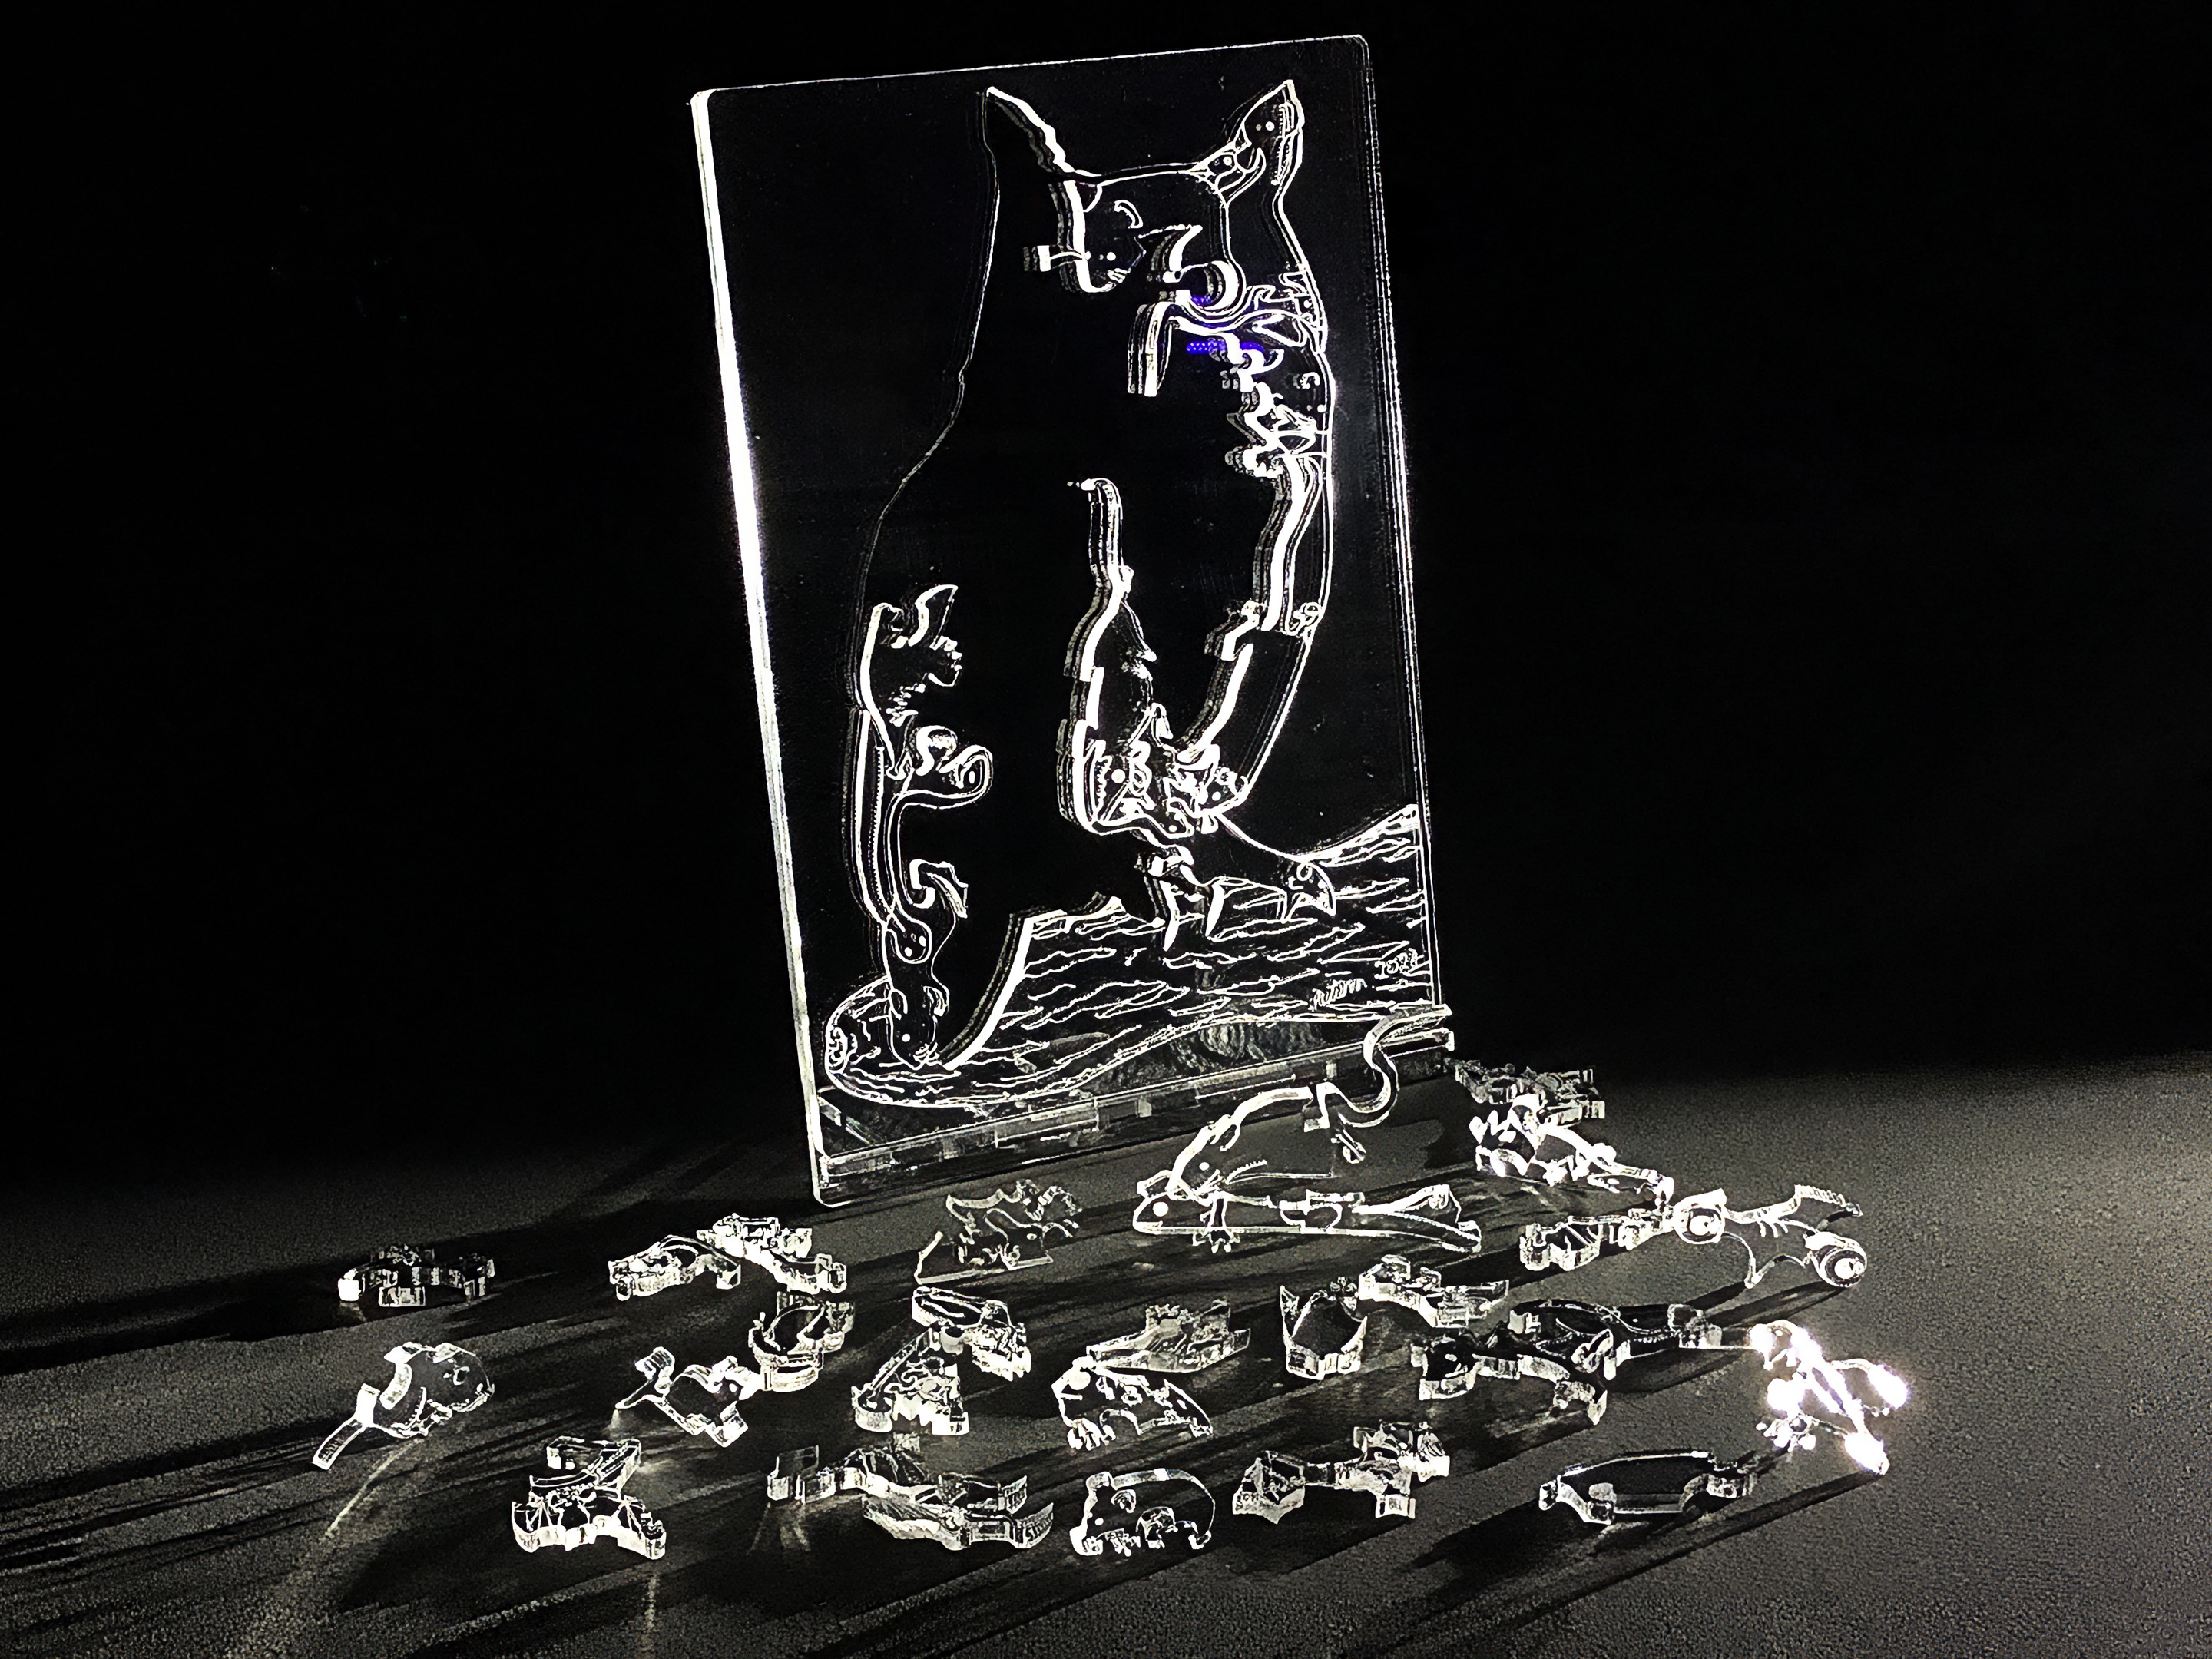
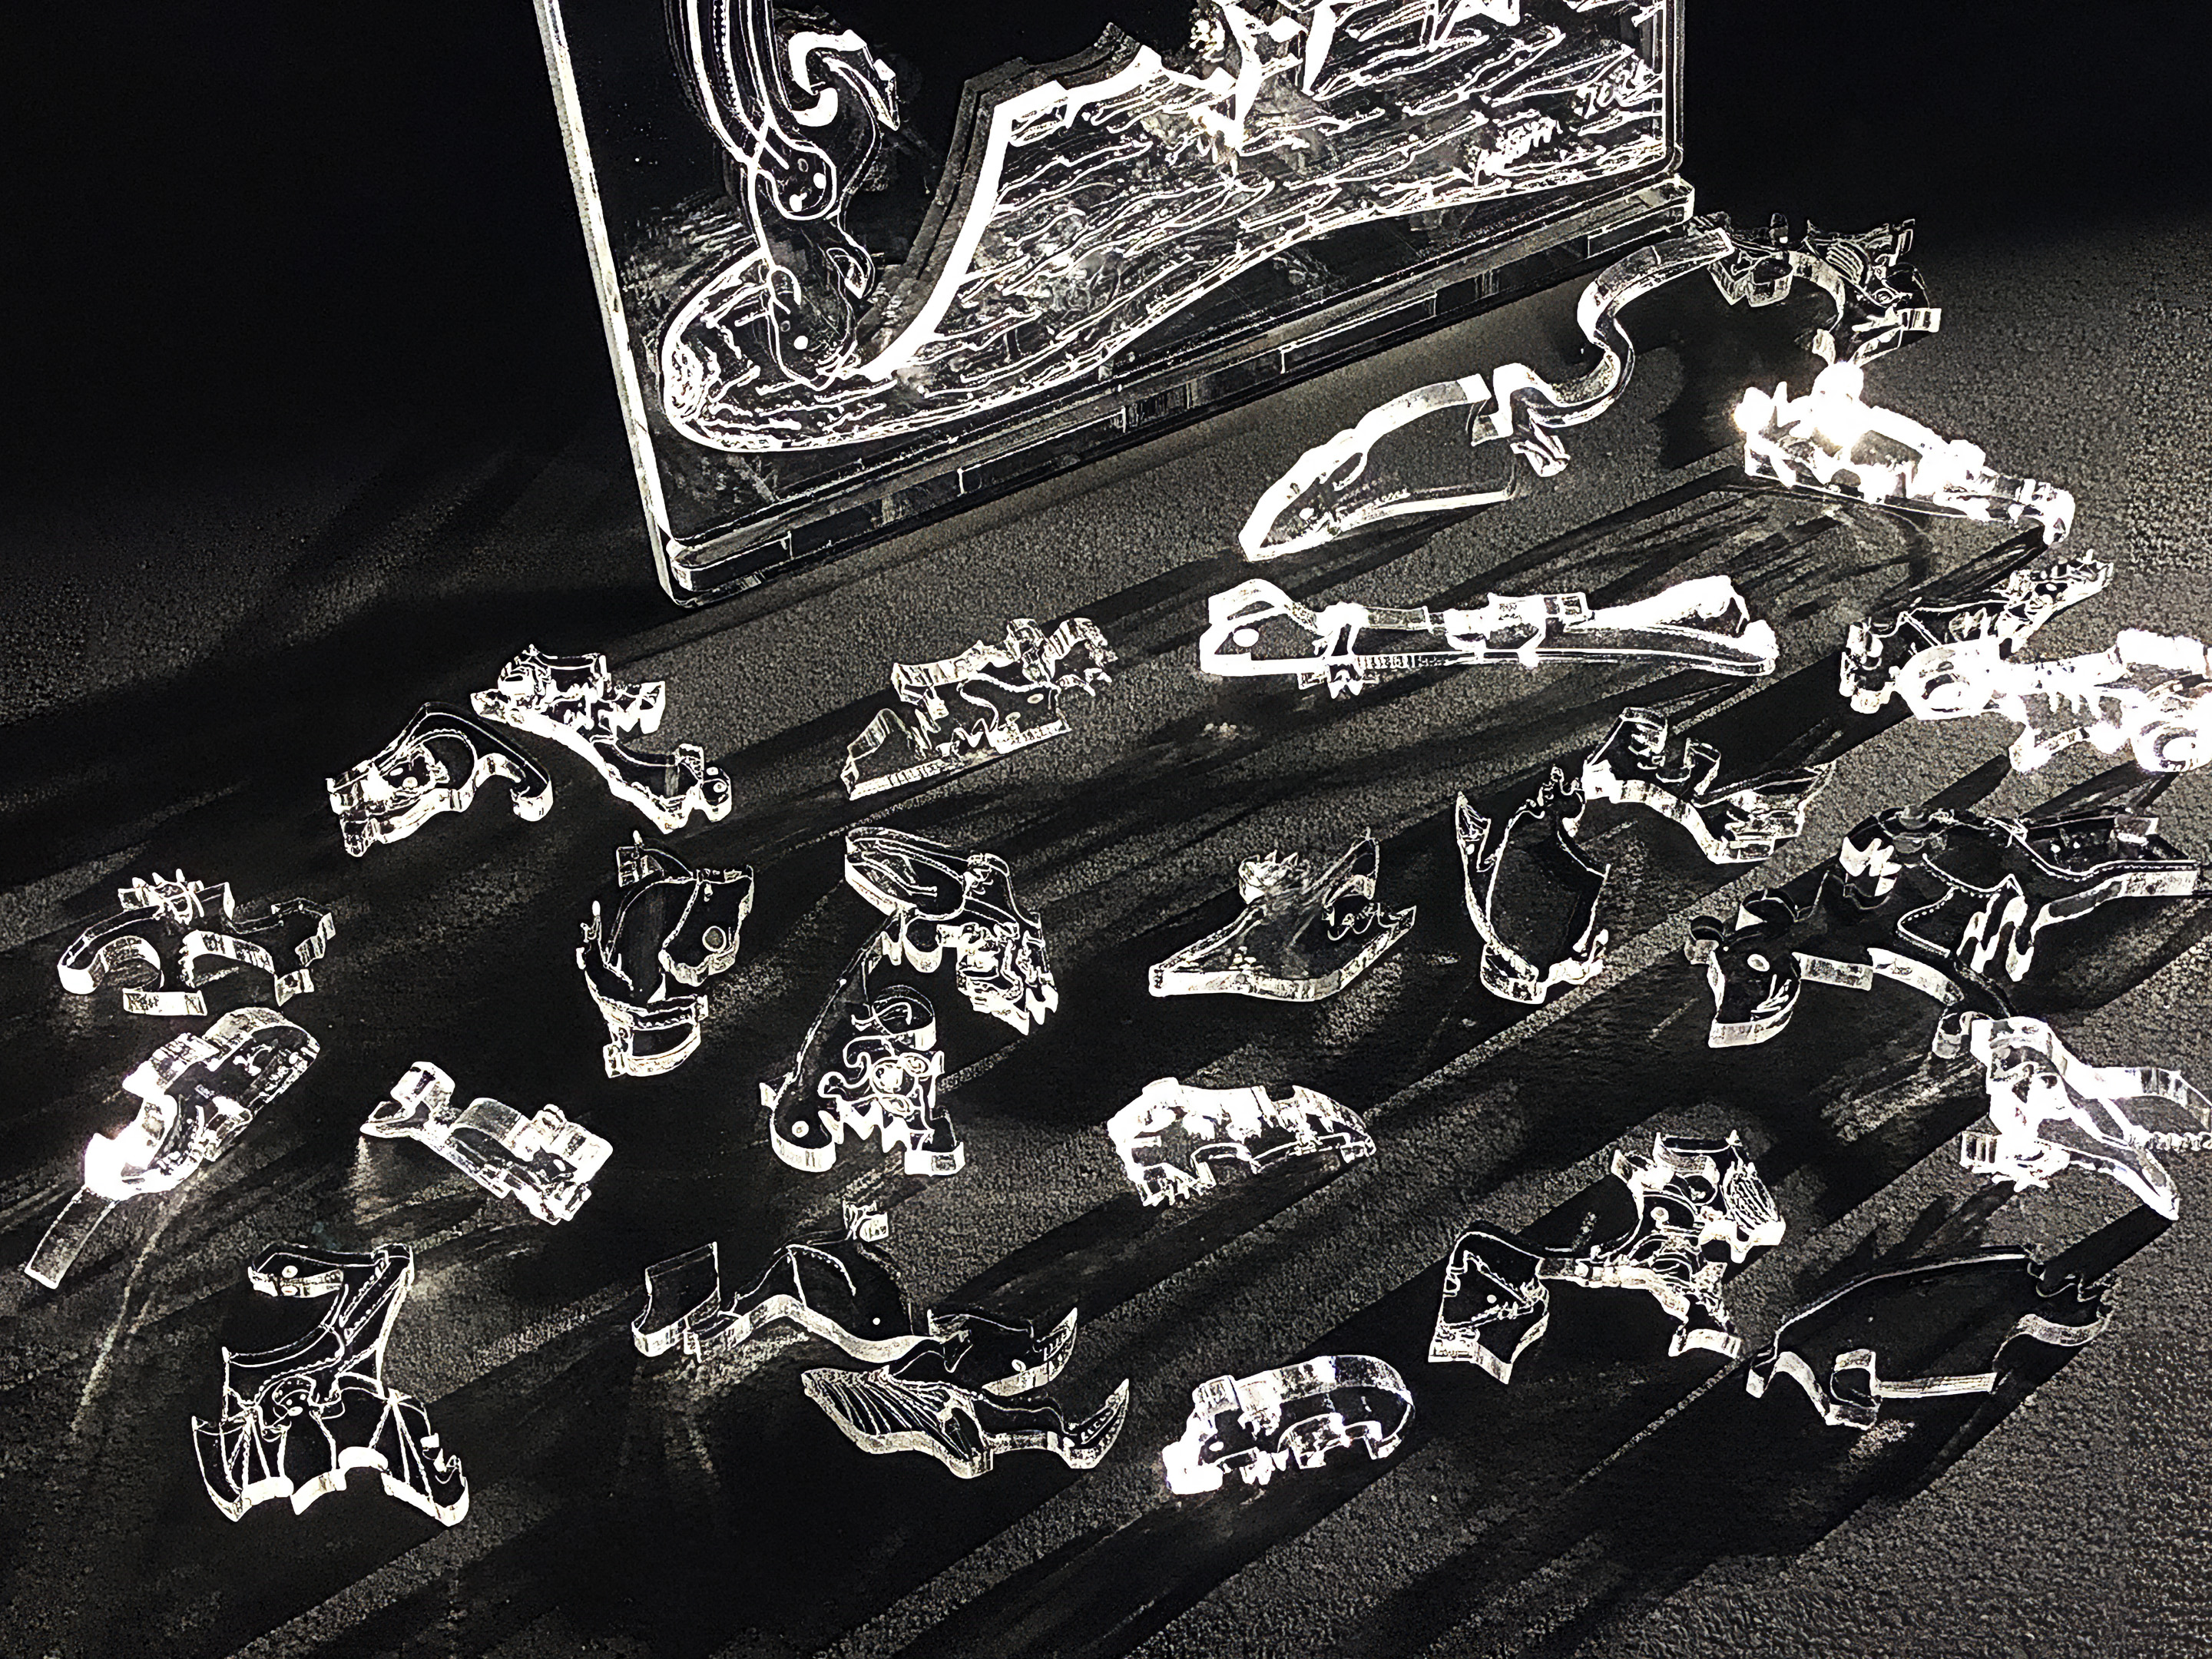
Artist: Michael Autumn Medium: Tinted/transparent/translucent/frosted/fluorescent, and opalescent cast 3mm Perspex® – laser cut & engraved from a hand-drawn digital design (with 3mm and 5mm crystal clear magnetised support panels) Size: 19cm (W) x 29cm (H) Edition: Unlimited Date: 07/2024 Country: UK For sale: A selection of colour variations is available to buy on Etsy – https://michaelautumnart.etsy.com
TL;DR
Using coloured acrylics for creating stained glass effects offers a great number of opportunities and there seems to be nothing that cannot be achieved using it compared to conventional stained glass techniques and real glass. I’m very encouraged by the future possibilities of using coloured acrylics, and have several designs already in mind. Watch this space…
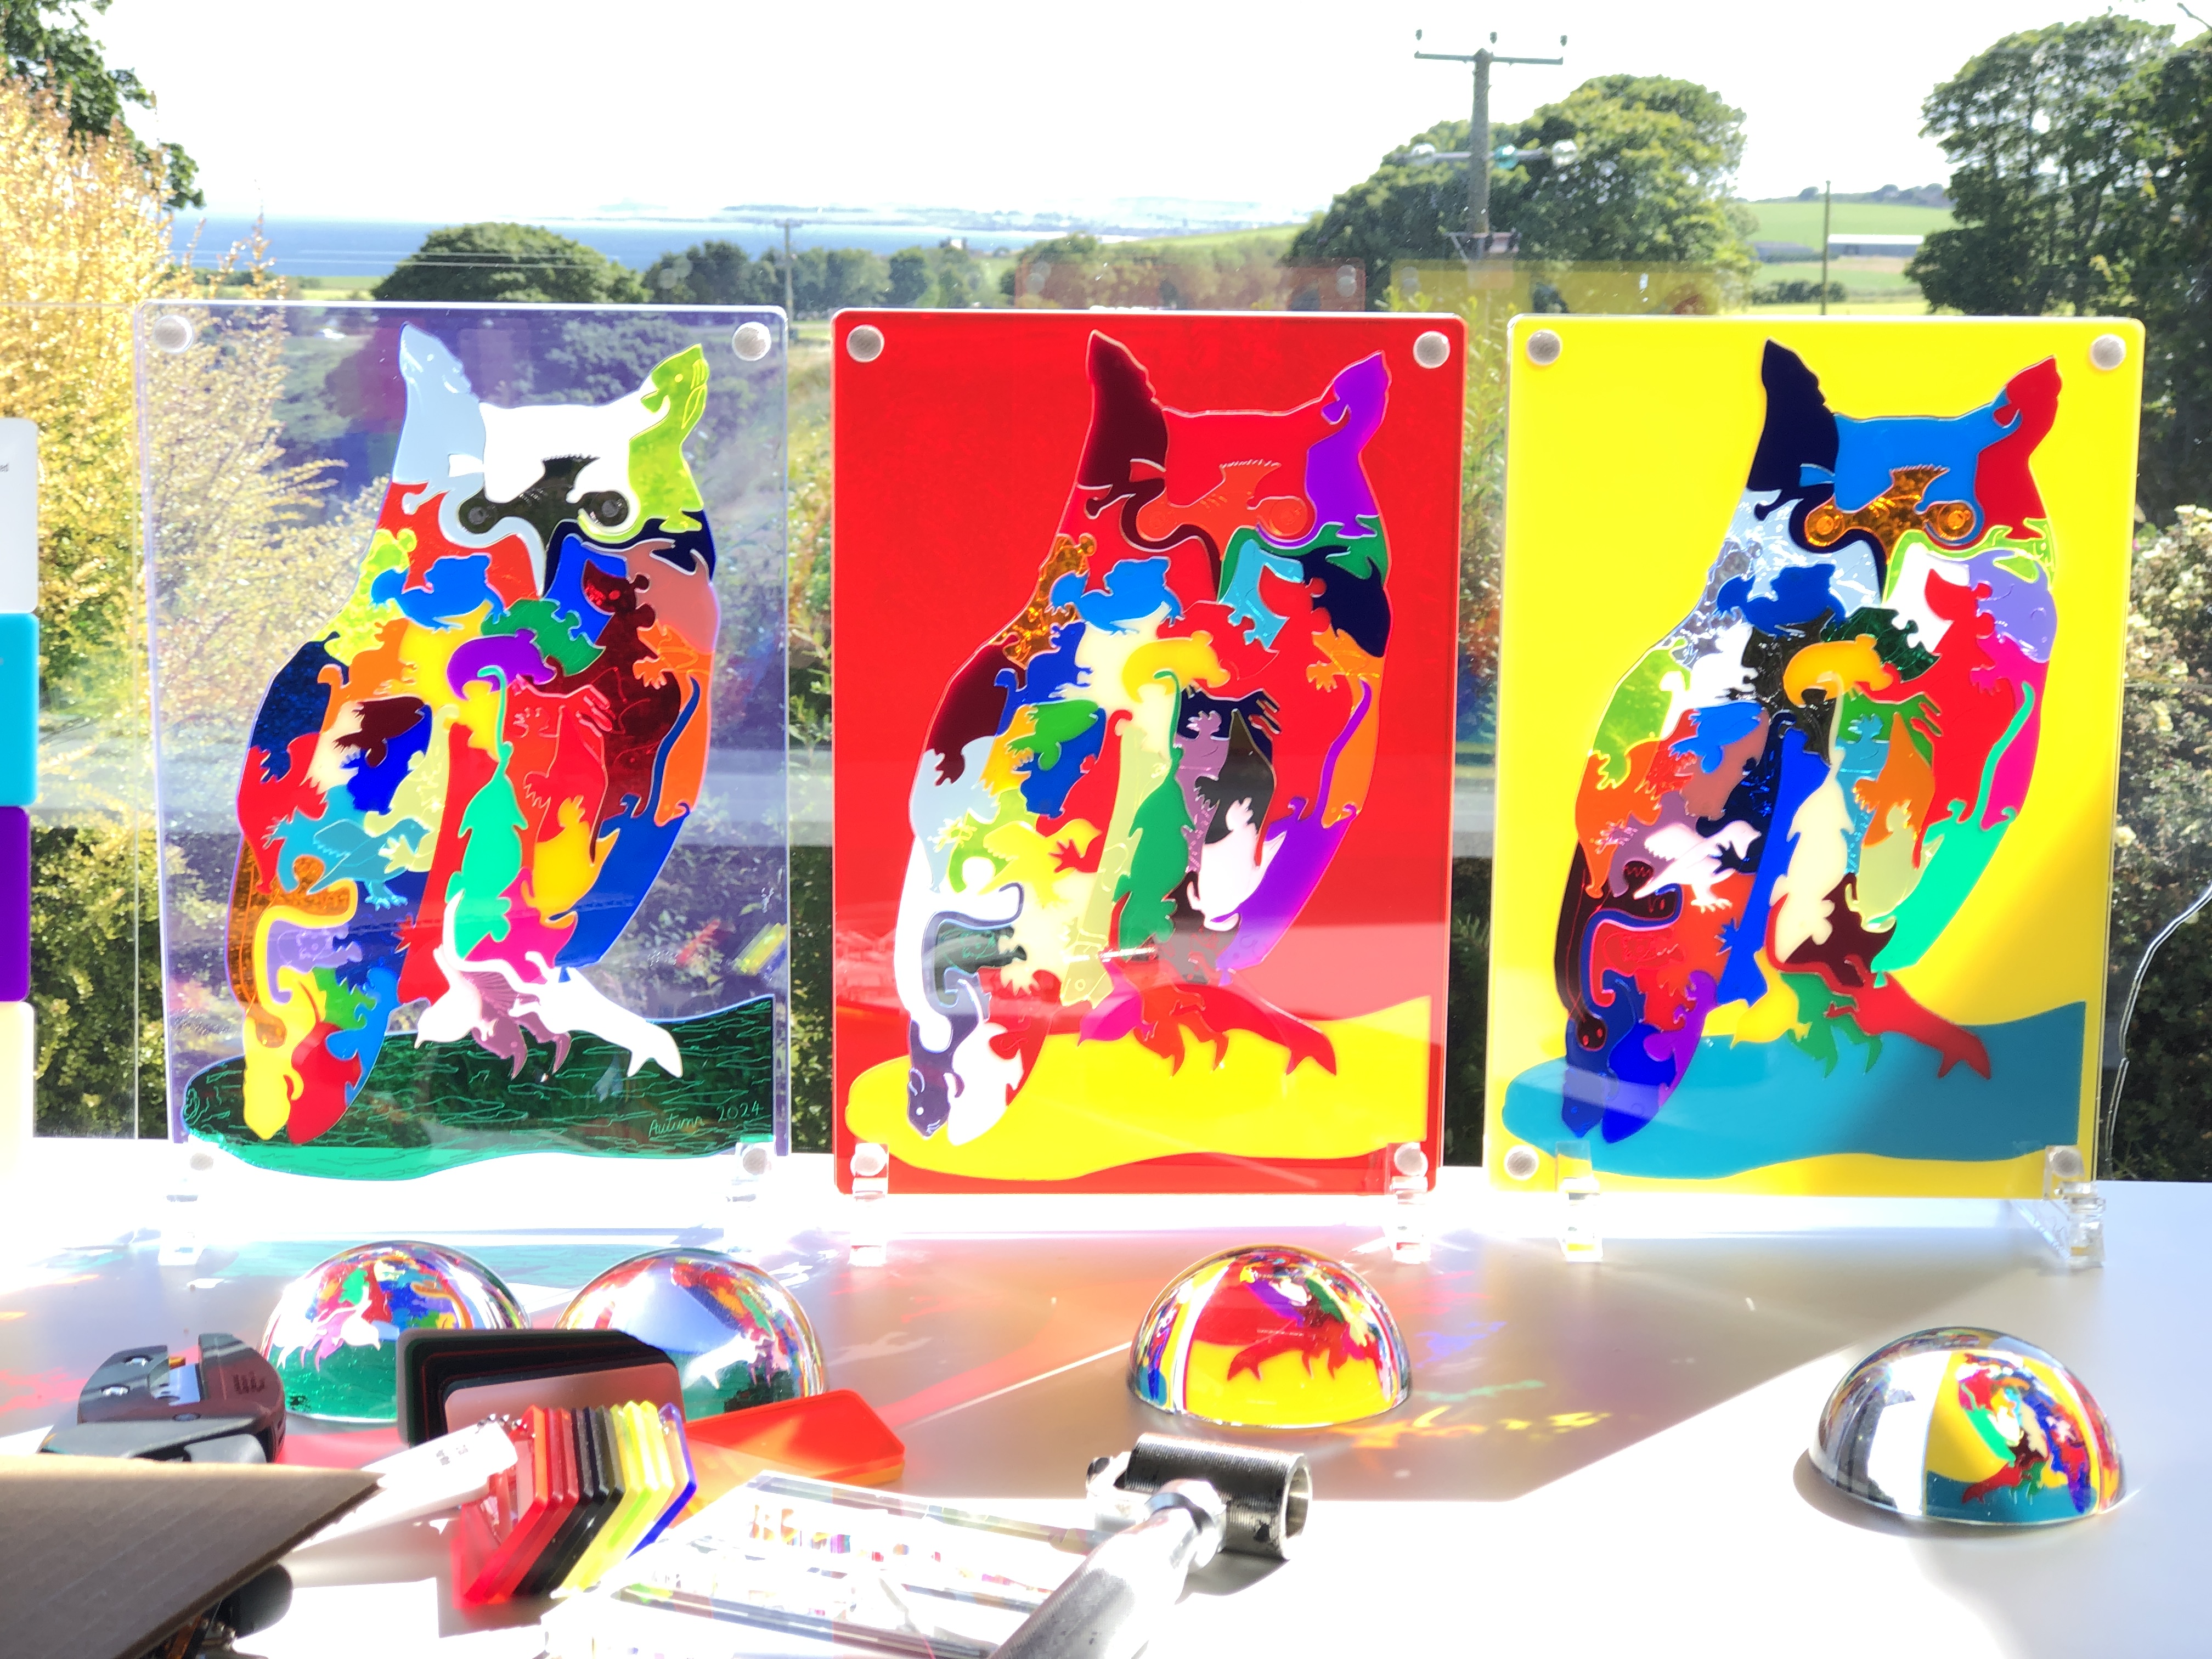
Description: The idea behind this artwork was to have a tactile, life-sized, long-eared owl, and to toy with the idea – “You are what you eat”. This is my first foray into using coloured acrylics as a modern stained glass substitute. Stained glass (windows) is a really beautiful medium – not least because, unlike most other art forms, it constantly changes with light and the colour of the (sun)light shining through it. However, just like buildings today don’t have to be made from the same building materials and techniques used by the cathedral-building Normans in the mediaeval period, stained glass windows don’t have to be made with silica, lime, and soda, coloured with metallic salts – and held together with strips of lead.
I personally don’t see the point in replicating materials and techniques that have been used – and mastered – for centuries. I don’t live in the past; I live in the present. Some artists and artisans of the past can, at best (and with extreme effort), be matched – but it’s exceedingly unlikely that they can be surpassed. I’m talking about the likes of Grinling Gibbons, Ingres, Peter Bruegel the Elder, Jan van Eyke, Albrecht Dürer, Gian Lorenzo Bernini (sculptor) – not to mention the often anonymous mediaeval stained-glass window artists.
I can learn from the past, but learning is not the same a replicating. As an artist, I’m always looking to create something new – or say something new. And a constant challenge is to create something different – something that stands out from the crowd, and hasn’t been done before. In my opinion, in the art world it’s a waste of time to do what someone has done before… That is what an artisan does – not an artist…
Glass is a truly wonderful, diverse, and lovely material – particularly with its ability to be coloured (tinted) – but it has its limitations. The old severe limitations of cutting it have been completely overcome by the use of modern day lasers, but it’s very brittle, sharp, and dangerous! This leaves one with the option to work within glass’s limitations, resort to cast moulding (and its limitations), or look for alternative materials that achieve similar results…
Poly(methyl methacrylate) (PMMA) is the synthetic polymer derived from methyl methacrylate. It is used as an engineering plastic, and it is a transparentthermoplastic. PMMA is also known as acrylic, acrylic glass, as well as by the trade names and brands Crylux, Hesalite, Plexiglas, Acrylite, Lucite, and Perspex, among several others (see below). This plastic is often used in sheet form as a lightweight or shatter-resistant alternative to glass. It can also be used as a casting resin, in inks and coatings, and for many other purposes. It is often technically classified as a type of glass, in that it is a non-crystalline vitreous substance—hence its occasional historic designation as acrylic glass.
Wikipedia
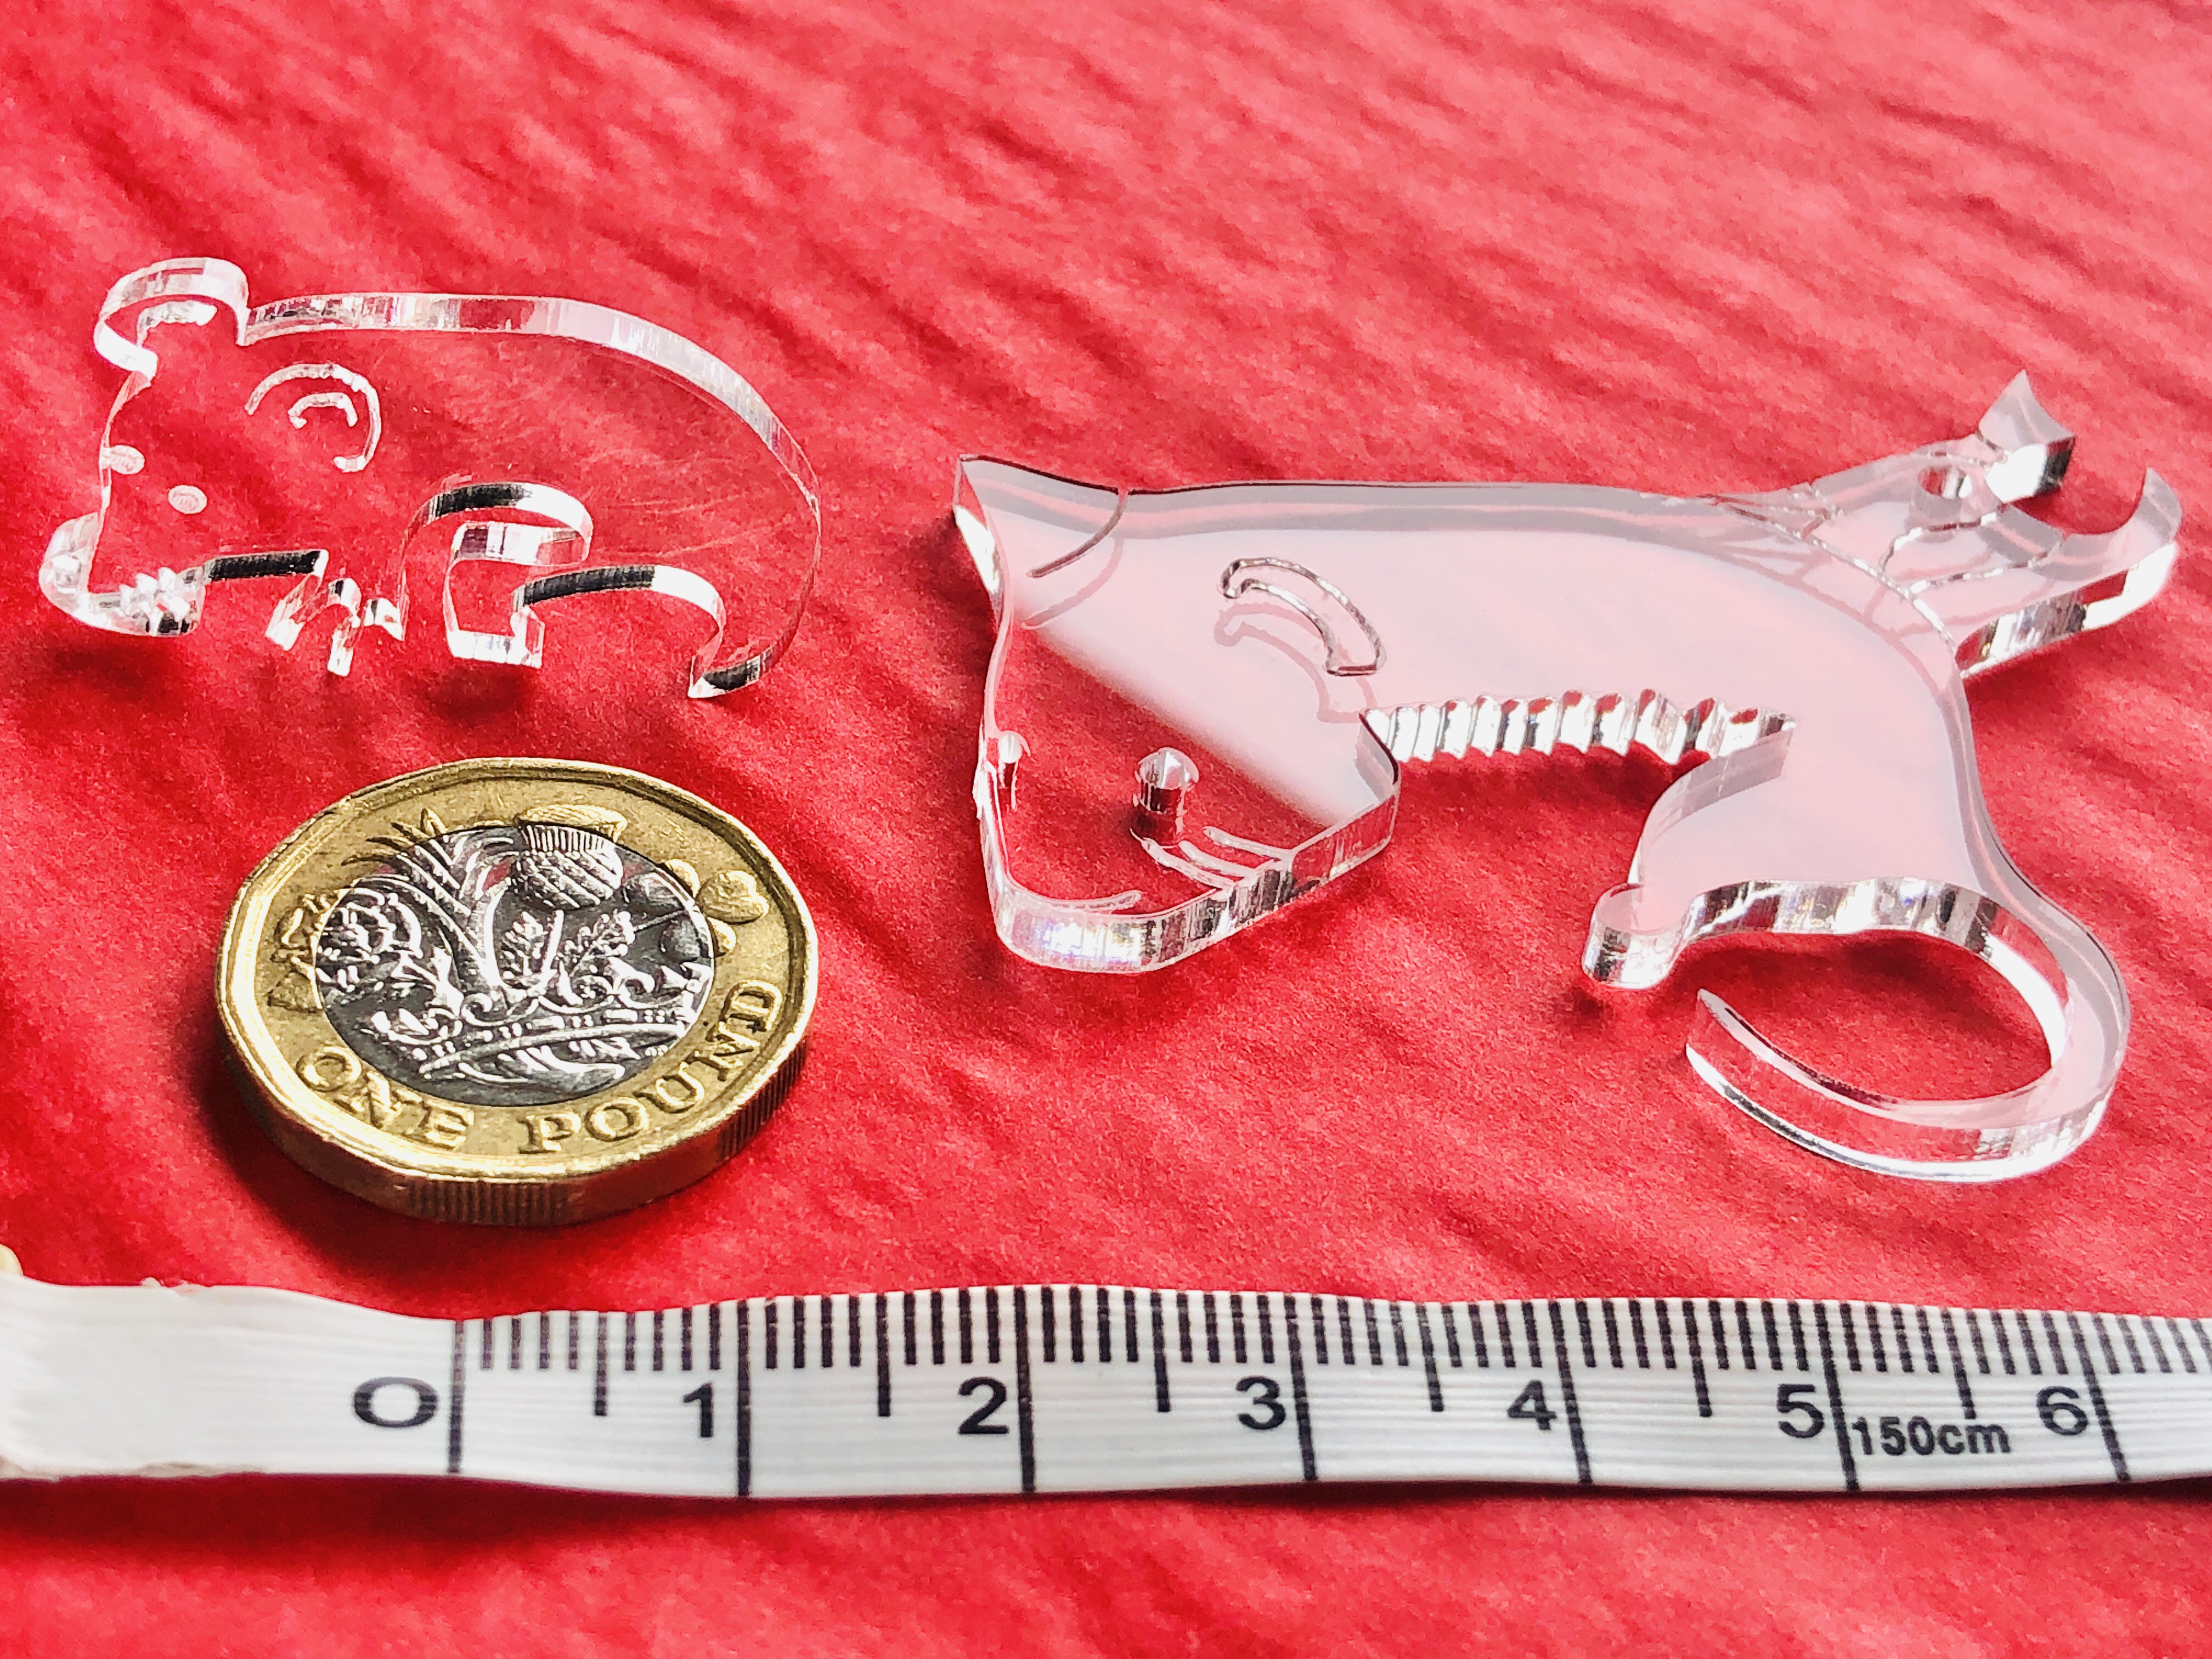
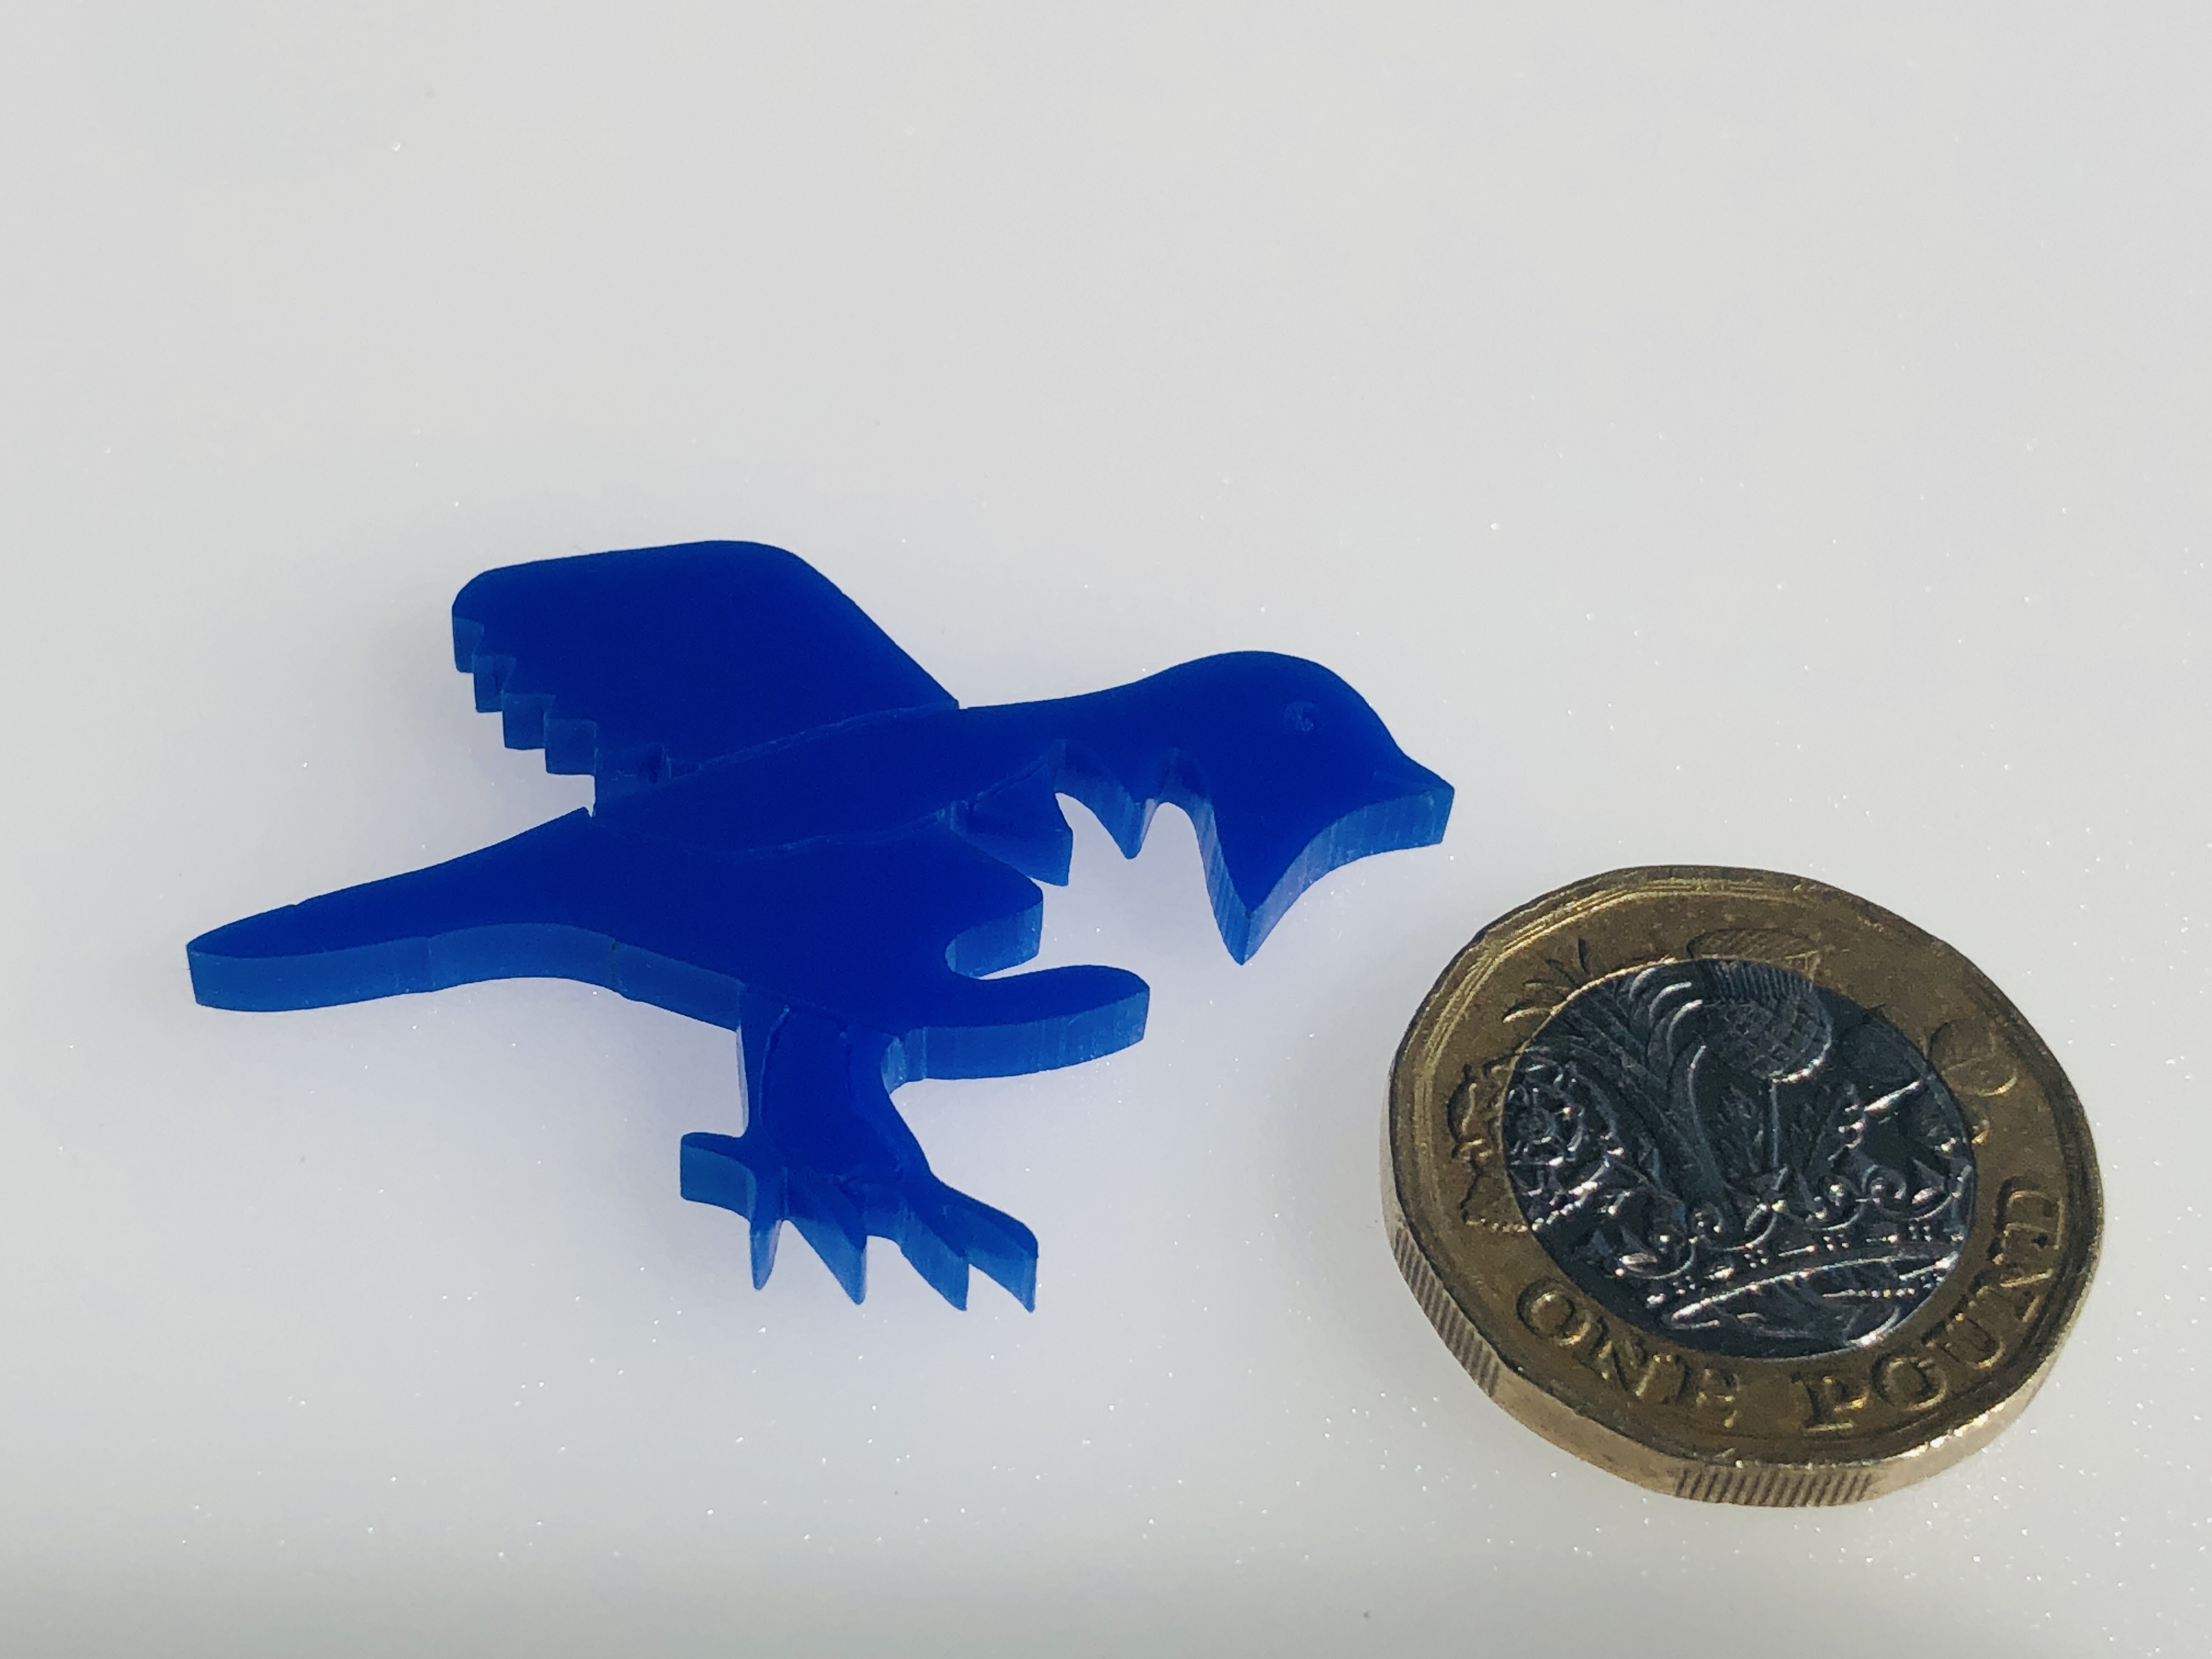
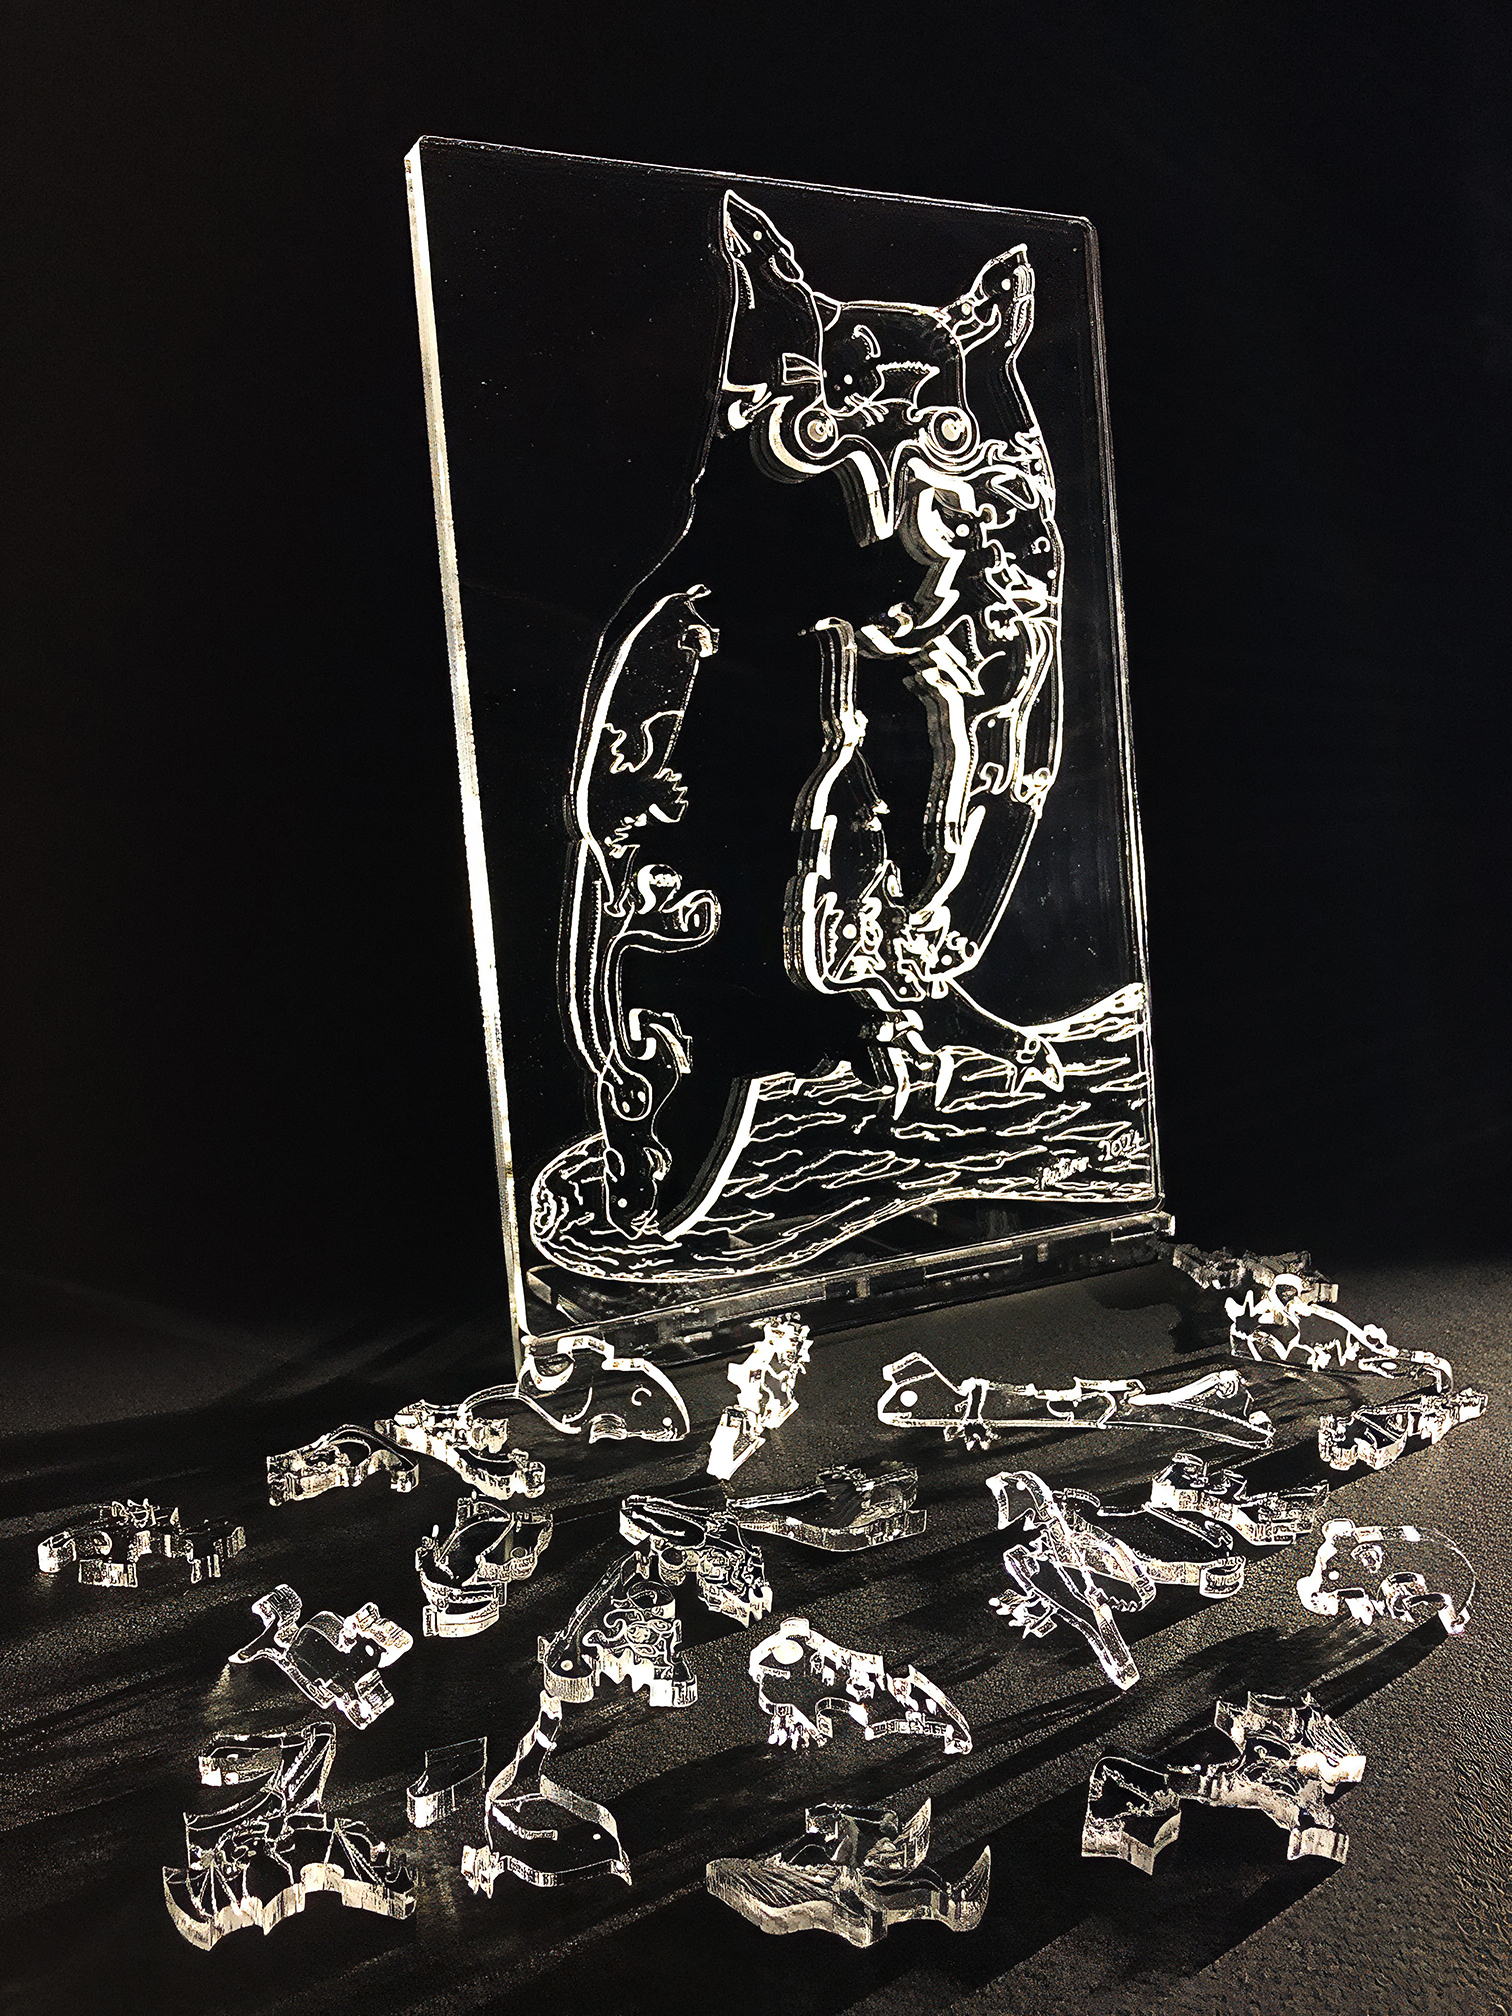
Clear cast acrylic already matches conventional glass in many respects – and in some cases surpasses it. Clear acrylic can transmit up to 97% of light passing through it (compared to more like 90% in normal glass), it’s less dense (and therefore lighter for the same volume) than glass (but up to 20 times stronger), doesn’t shatter like glass, is nowhere near as sharp – and therefore much safer to handle. Acrylic, like glass, can be cut with a laser. This last point is extremely important because the laser literally vaporises the acrylic in its very narrow path. This allows for extremely intricate cutting. I’ve achieved approximately 1mm wide cuts in a 3mm thick sheet – see below :-
I do quite a lot of museum-level picture framing, and it’s noteworthy that acrylic glass is the “glass” of choice for practically every museum. Like glass, it can be painted on, and it’s naturally more UV blocking than glass. So the only downside to using acrylic that I can think of is that it’s much softer, and therefore more easily scratched, than glass – and so it needs to be handled very carefully (but so does glass…!).
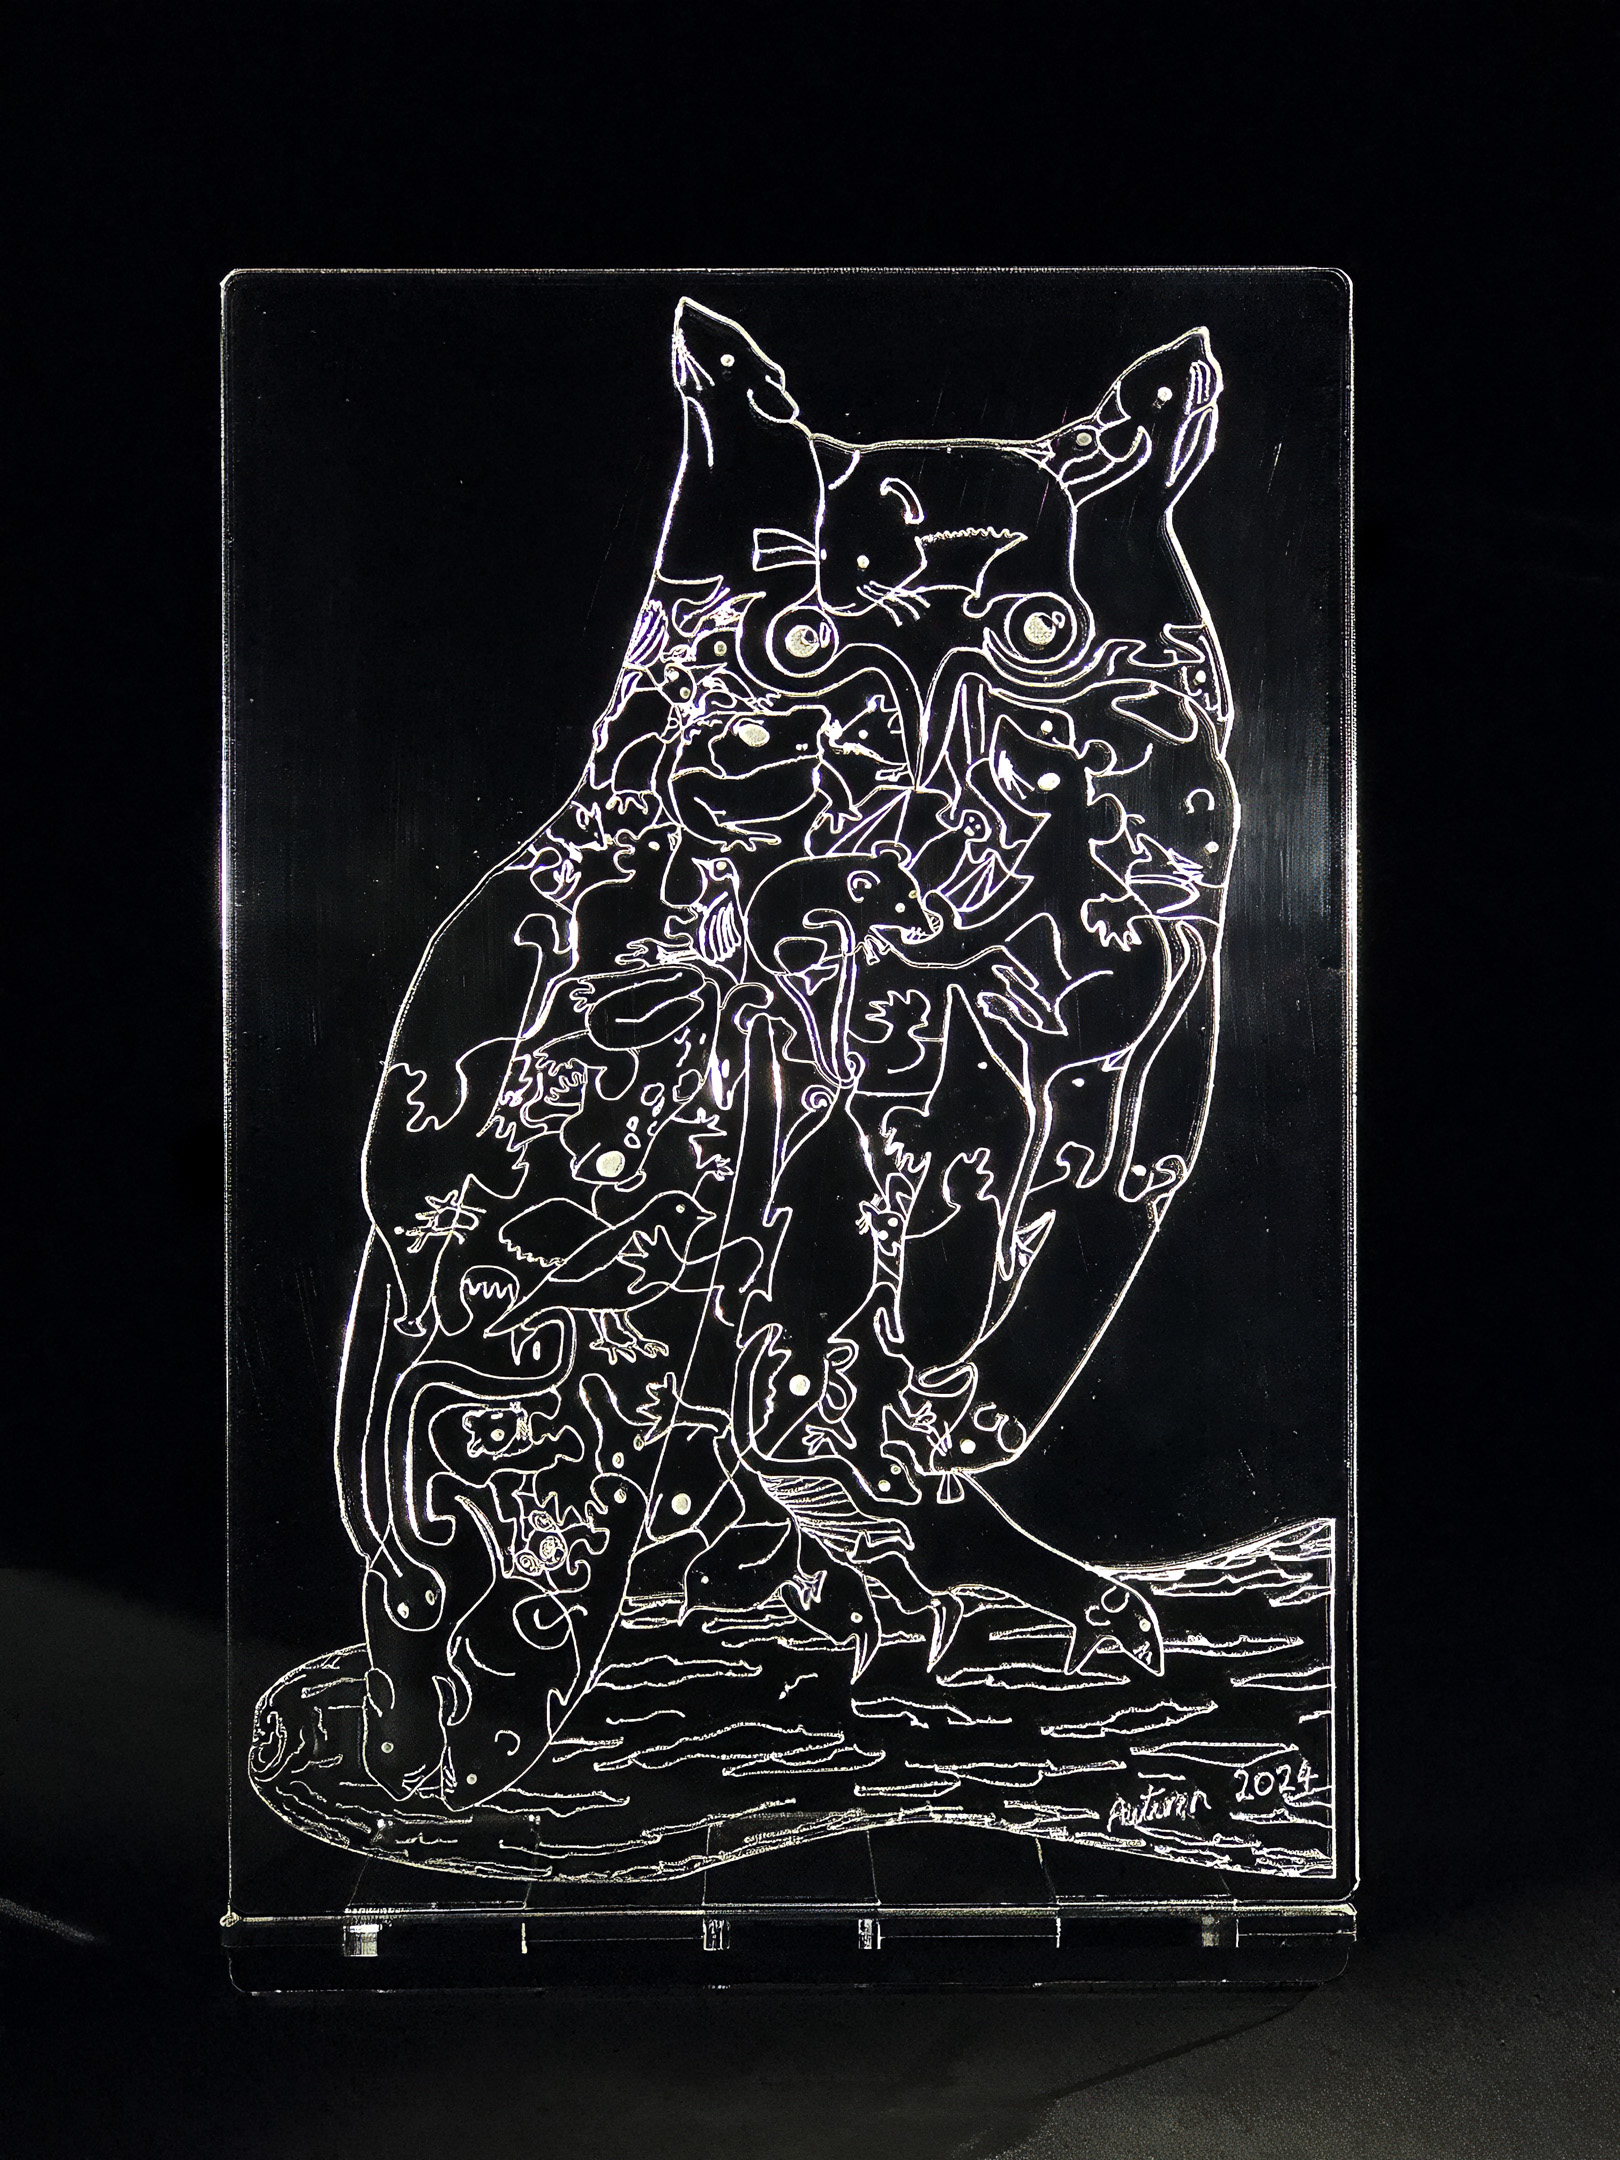
After successfully managing to very intricately and smoothly cut and engrave clear 3mm & 5mm acrylic in this artwork –
…I thought it would be extremely interesting to try cutting and engraving coloured 3mm acrylic sheets (this is the thickness with the widest range of colours available) – to see how it performs as a stained glass substitute.
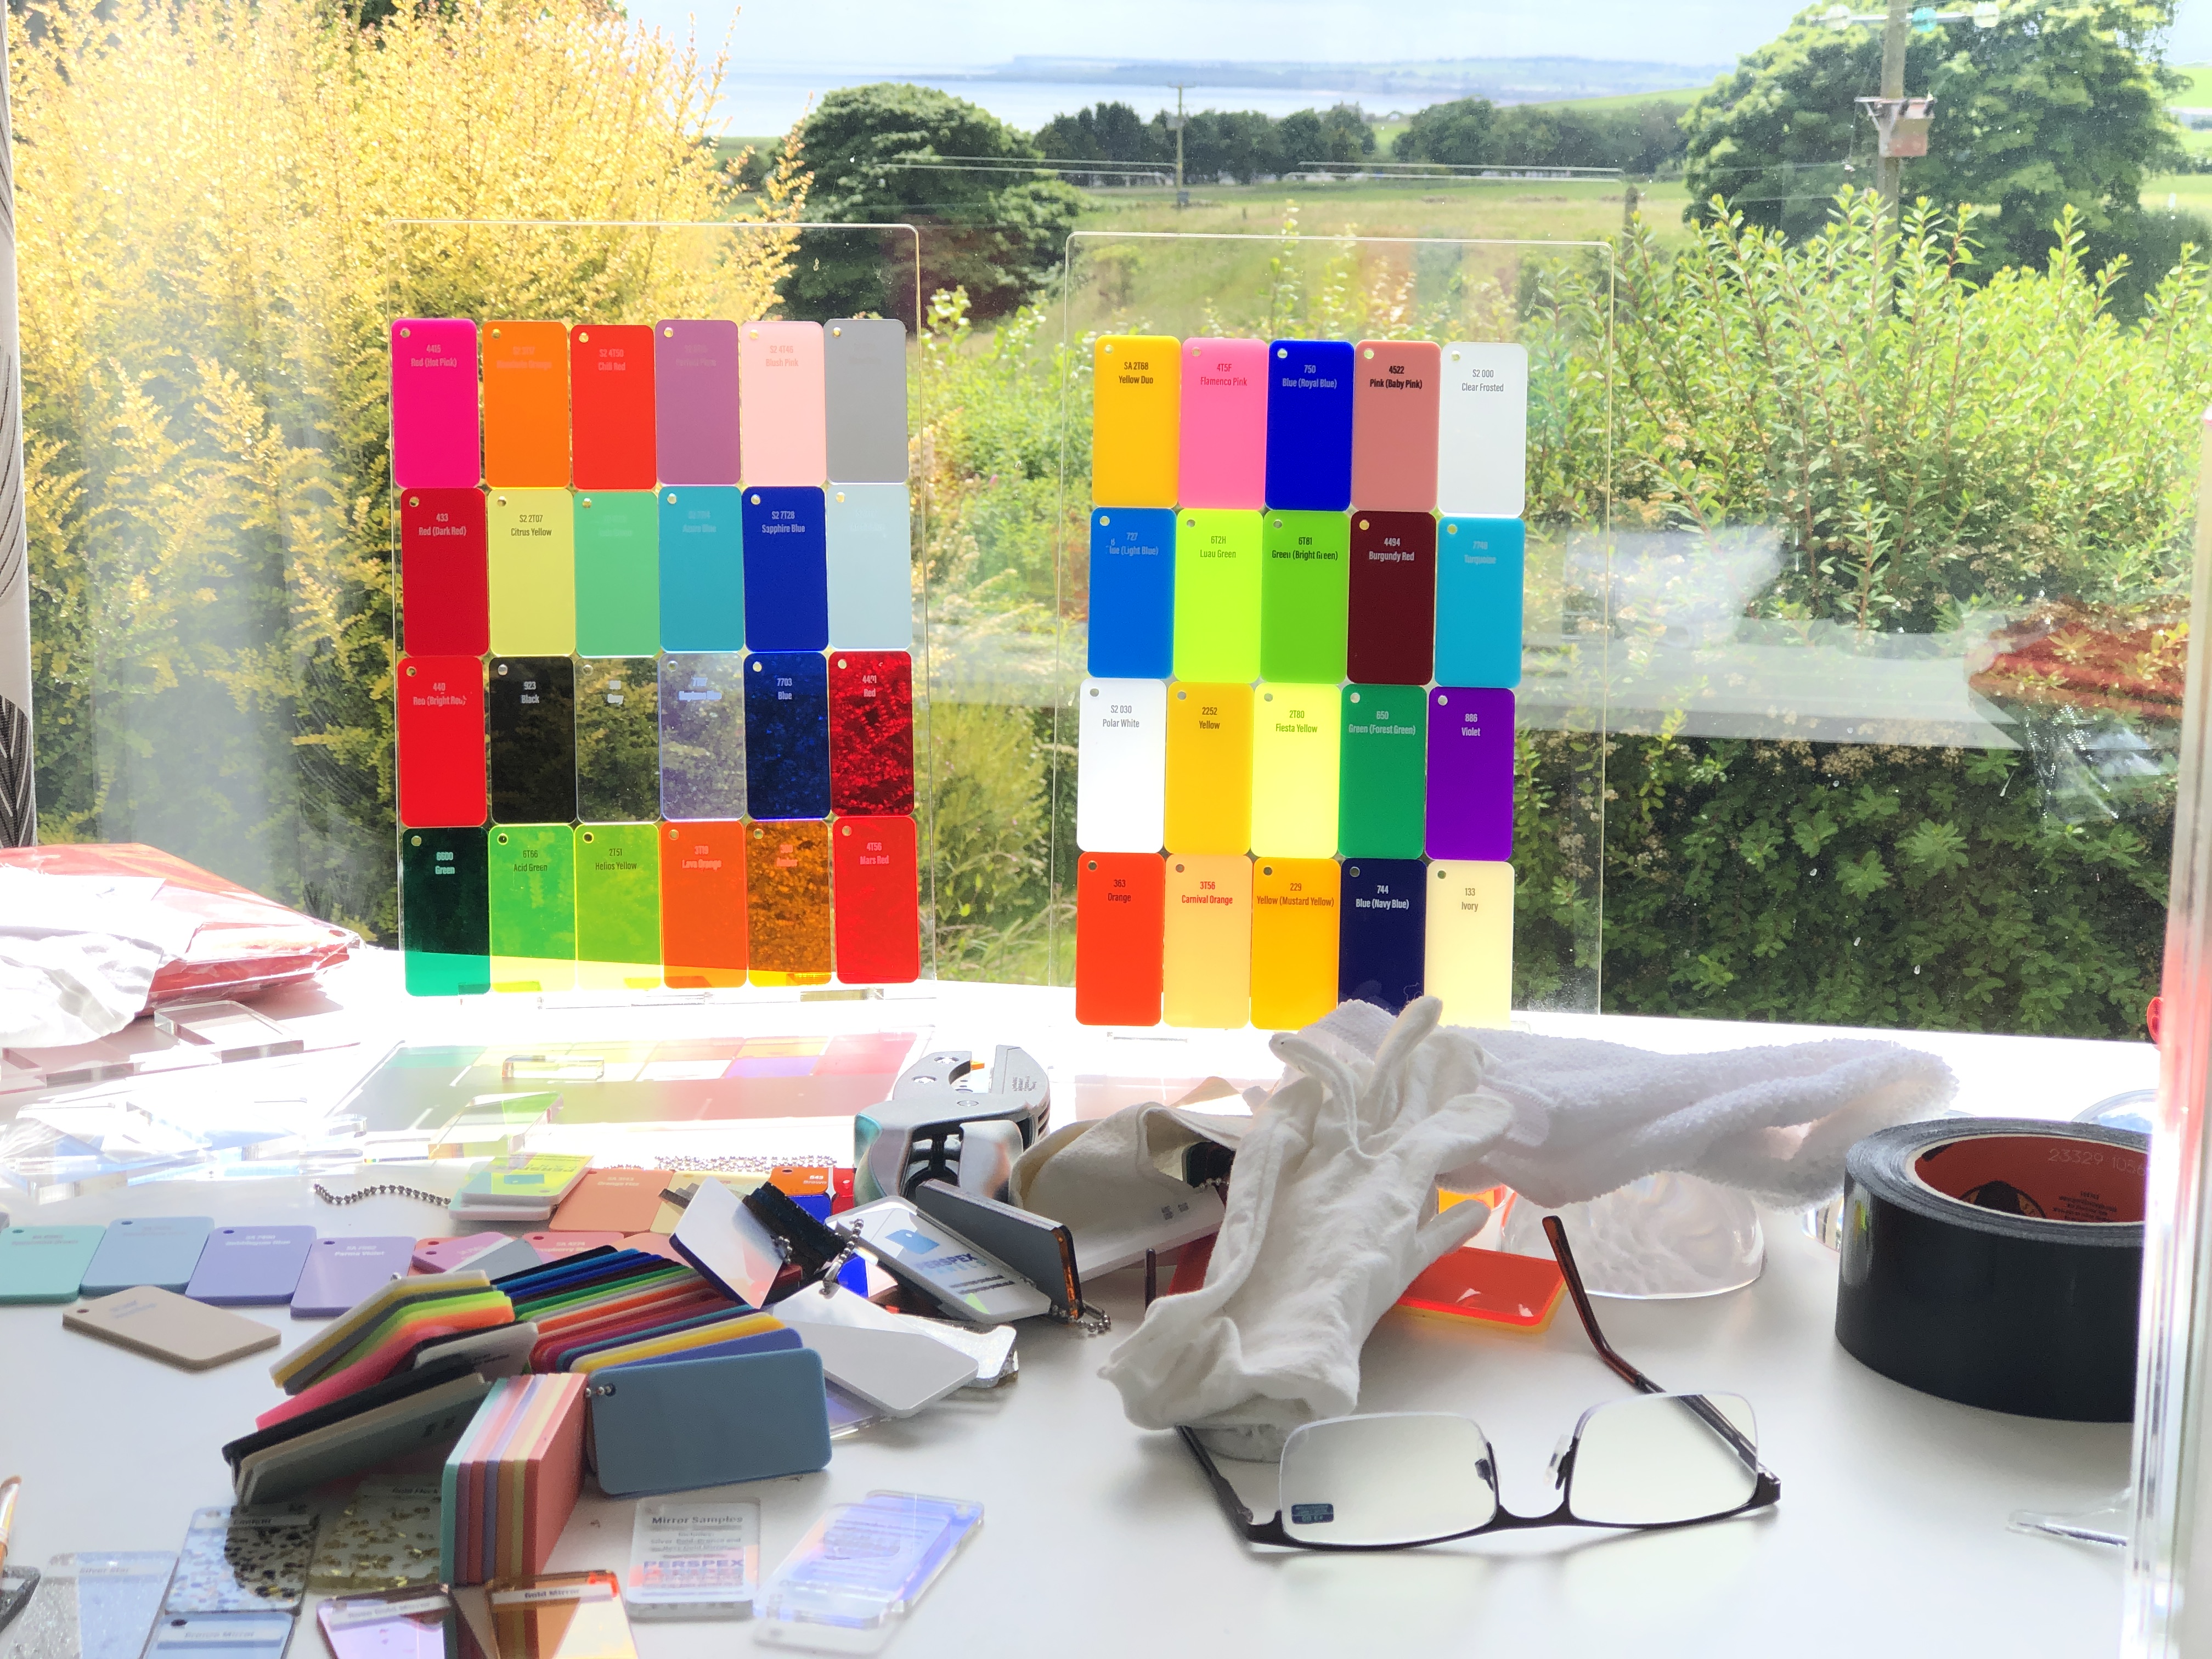
Most of the range of colours of acrylic available
I didn’t envisage any problems – except perhaps that some colours may require more cutting power than others (greater reflectance of bright colours verses albedo effect of dark colours). But this turned out not to be the case, and the cutting was a breeze.
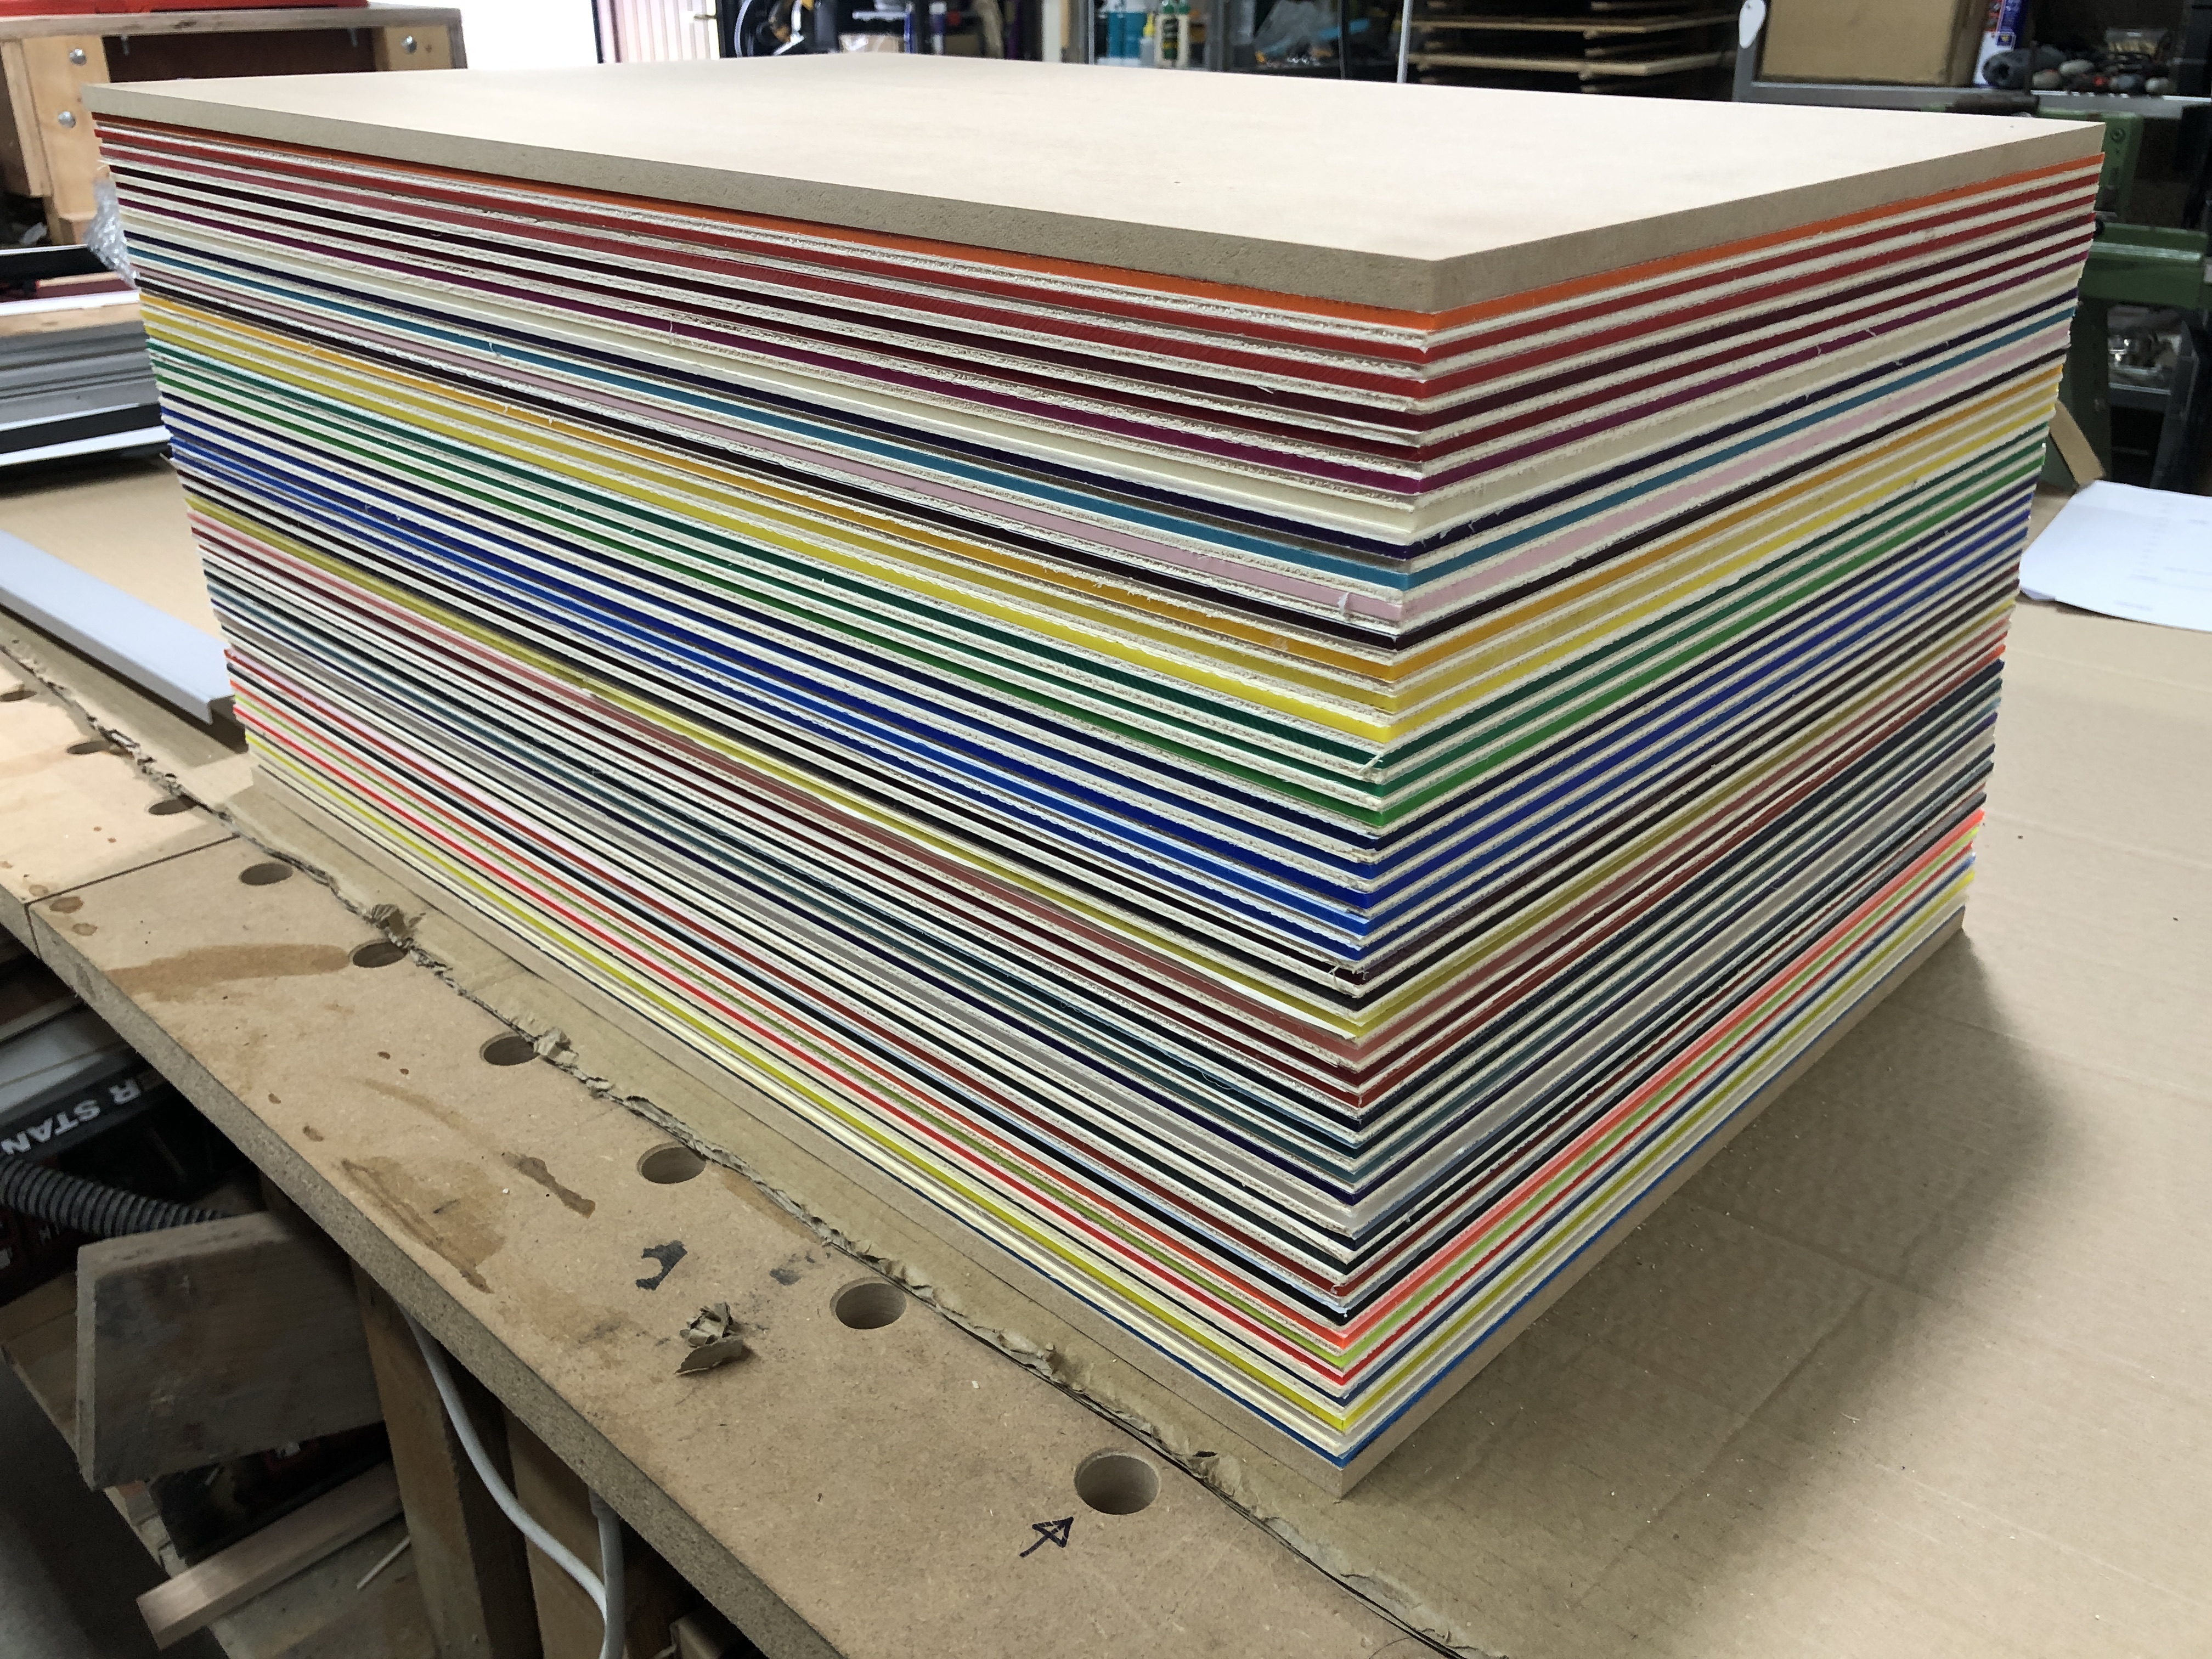
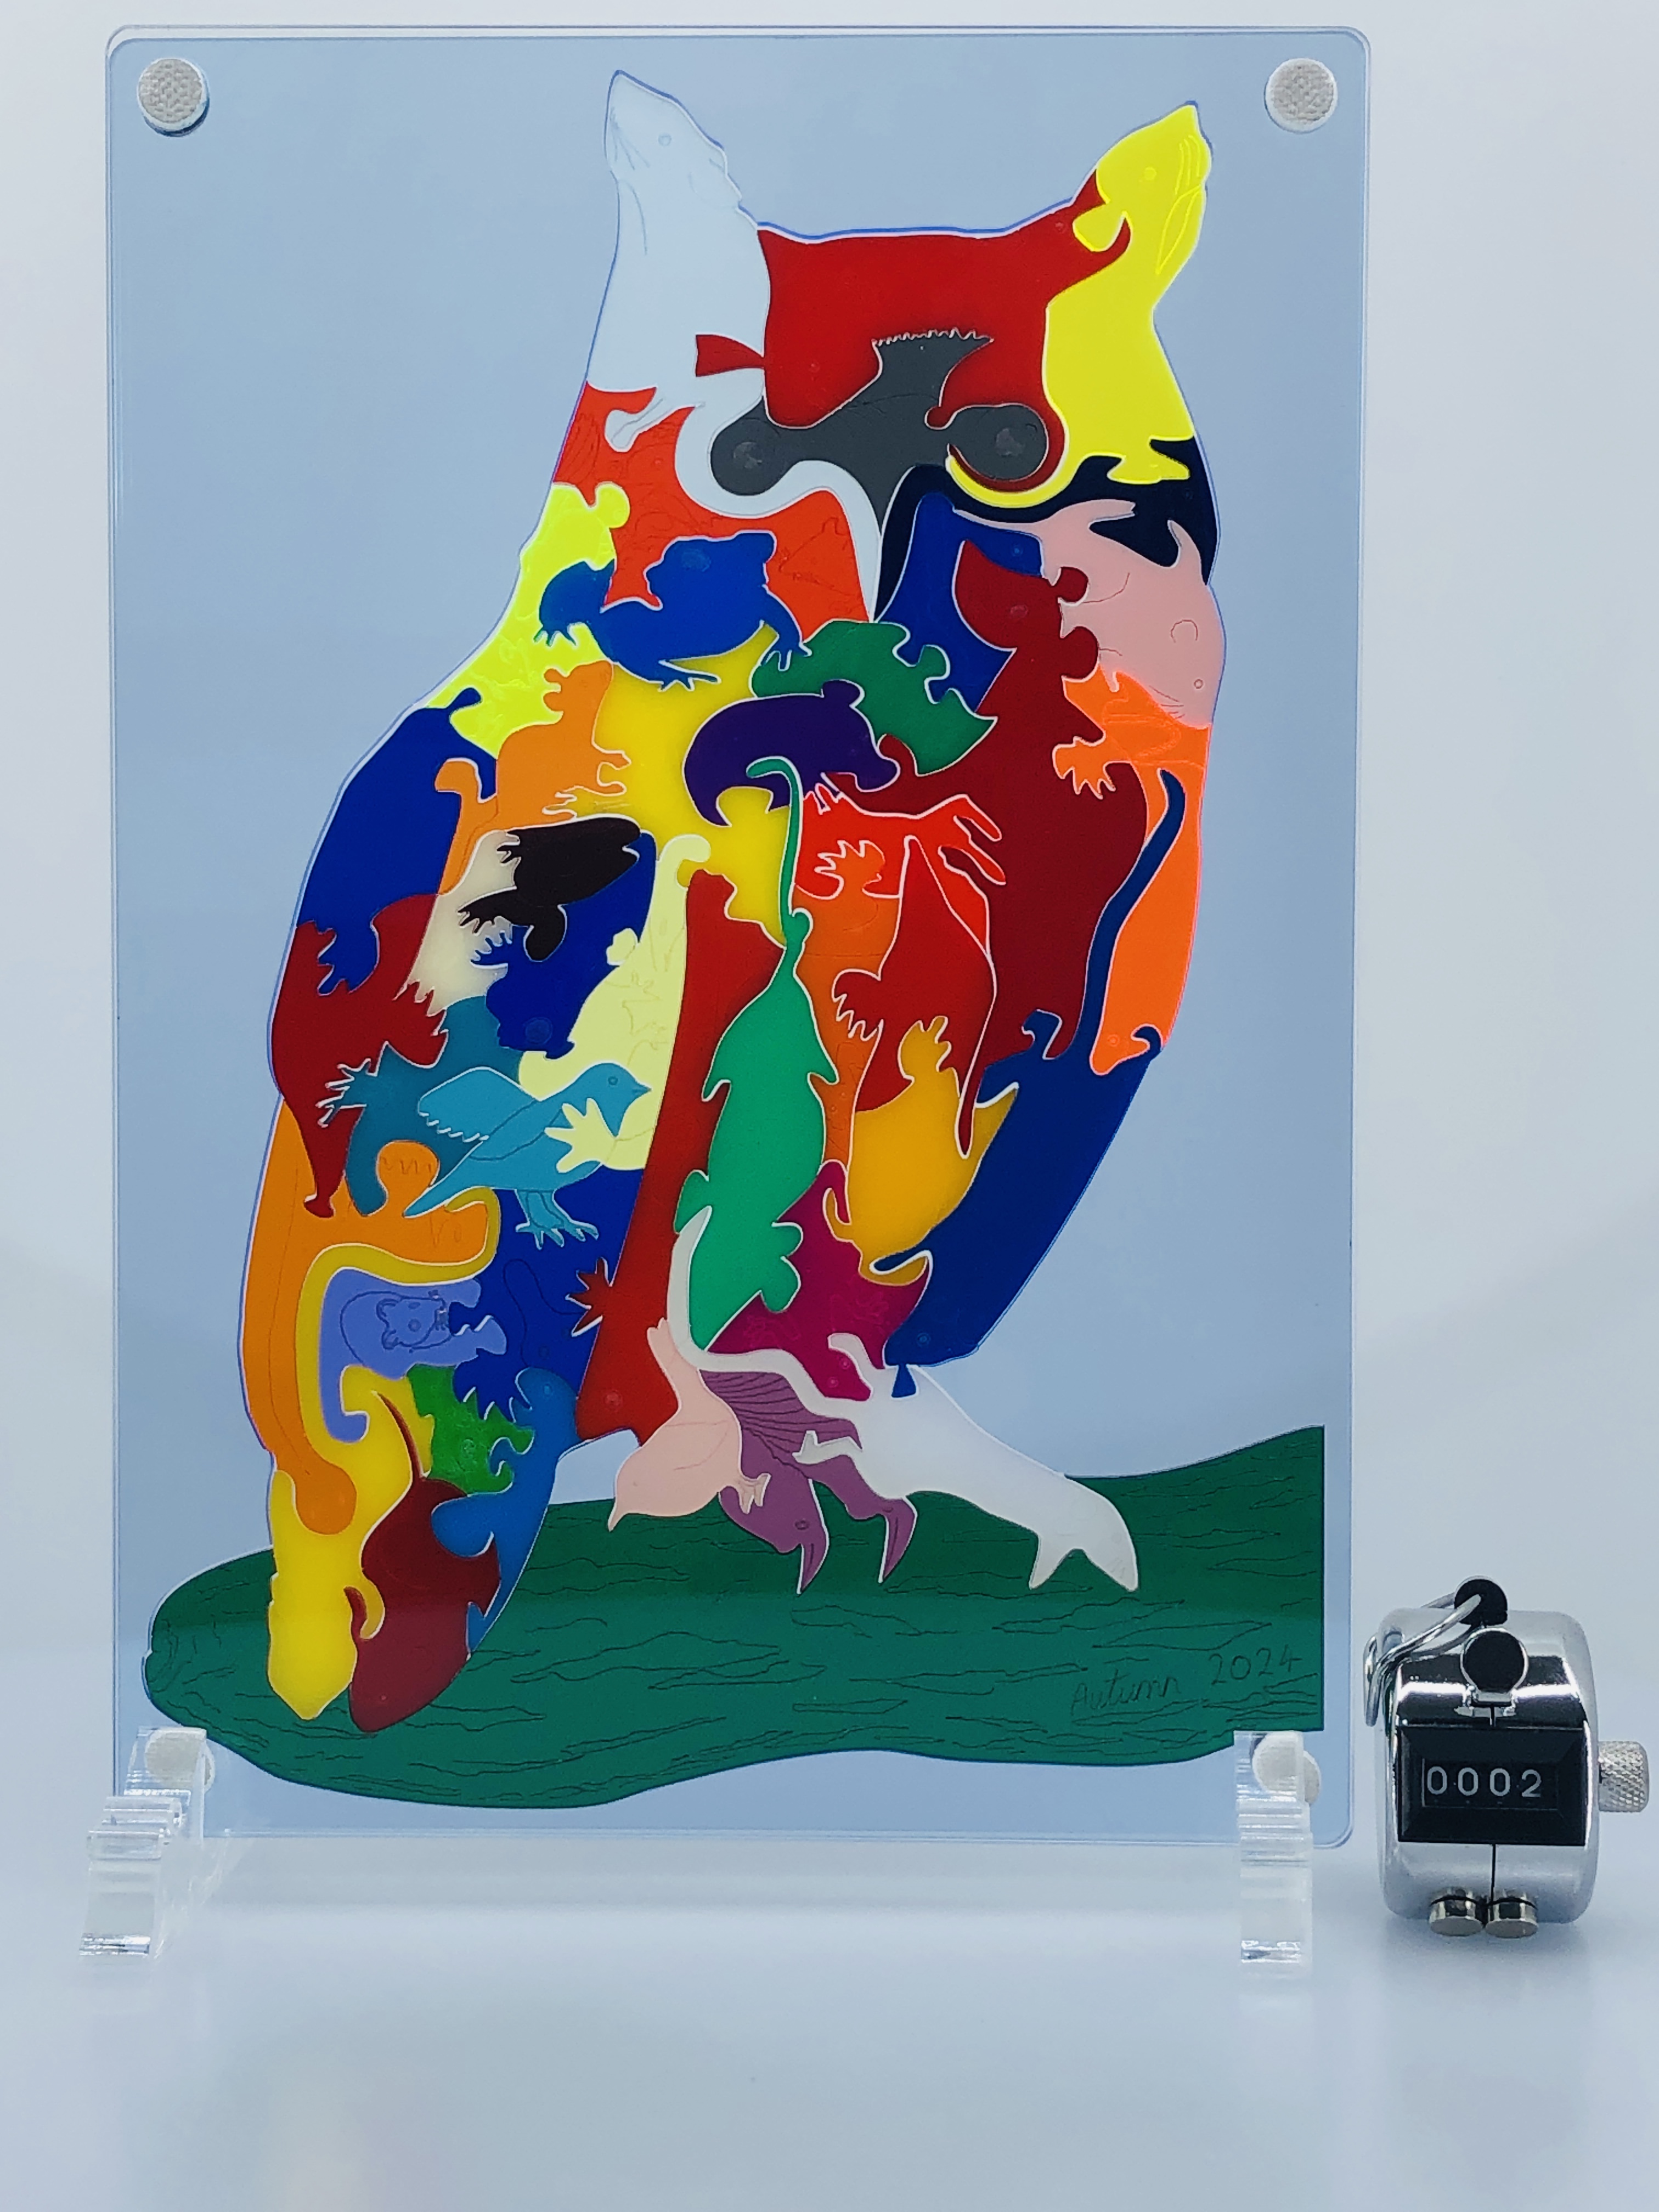
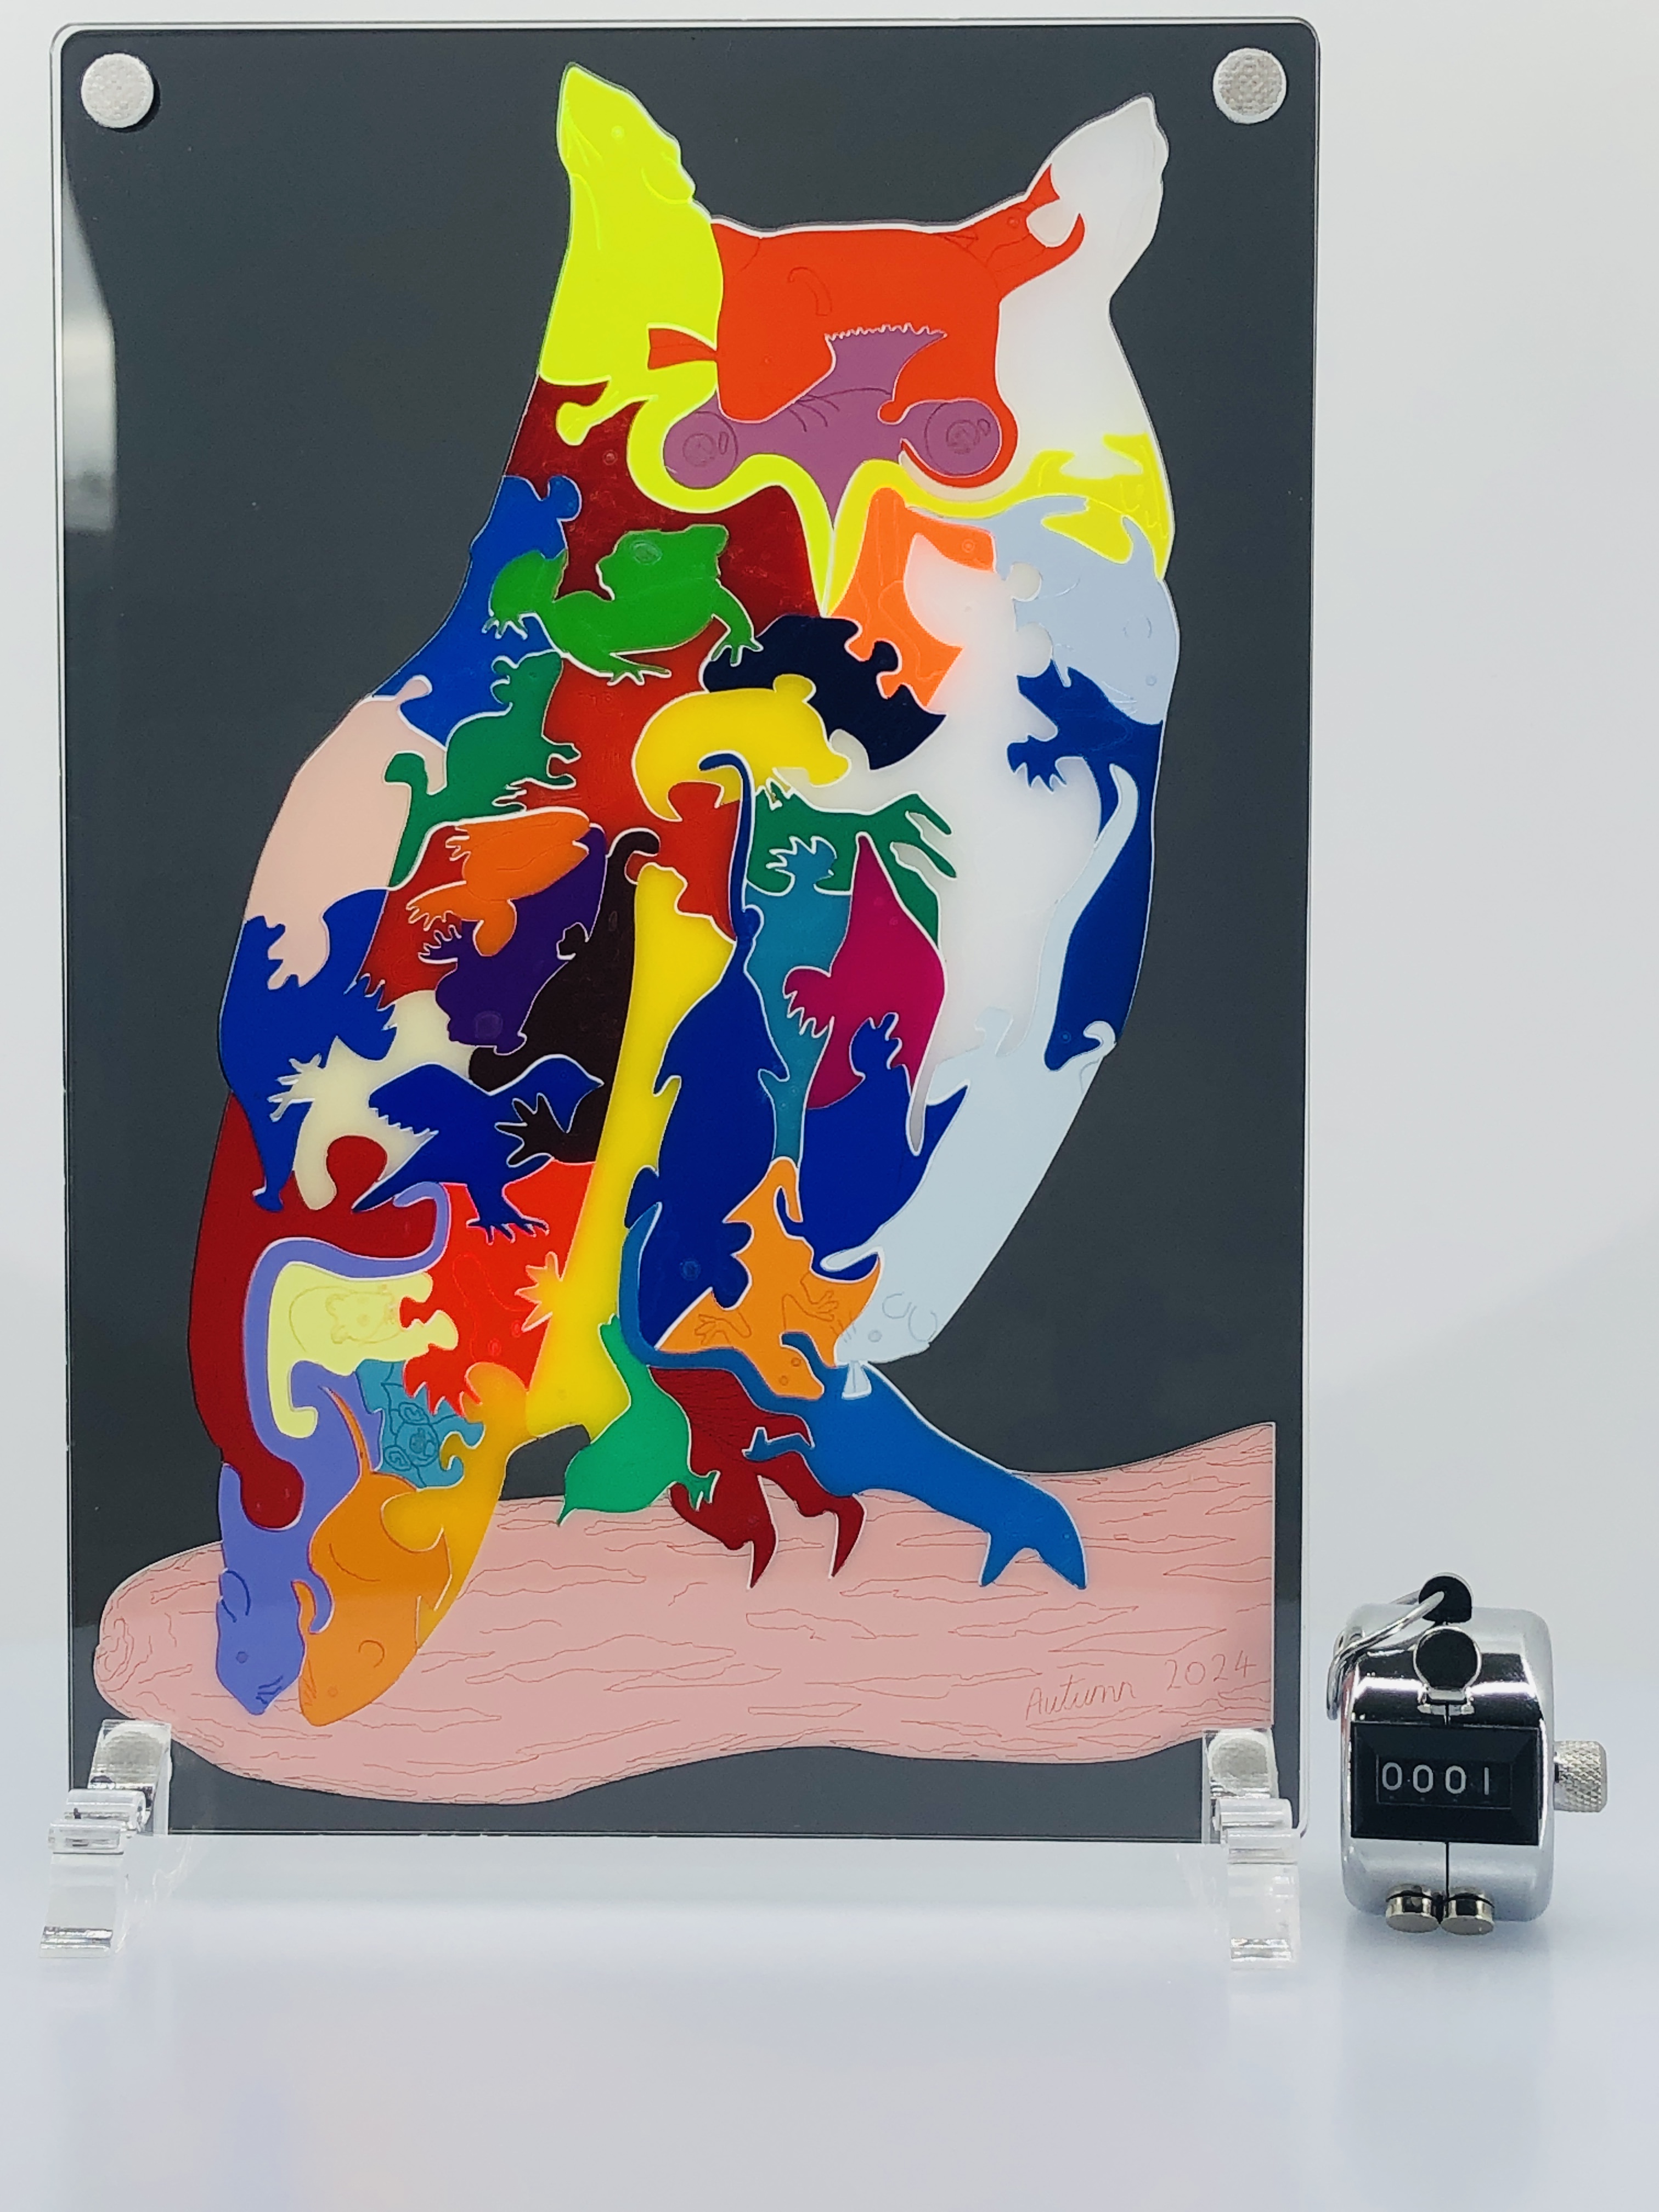
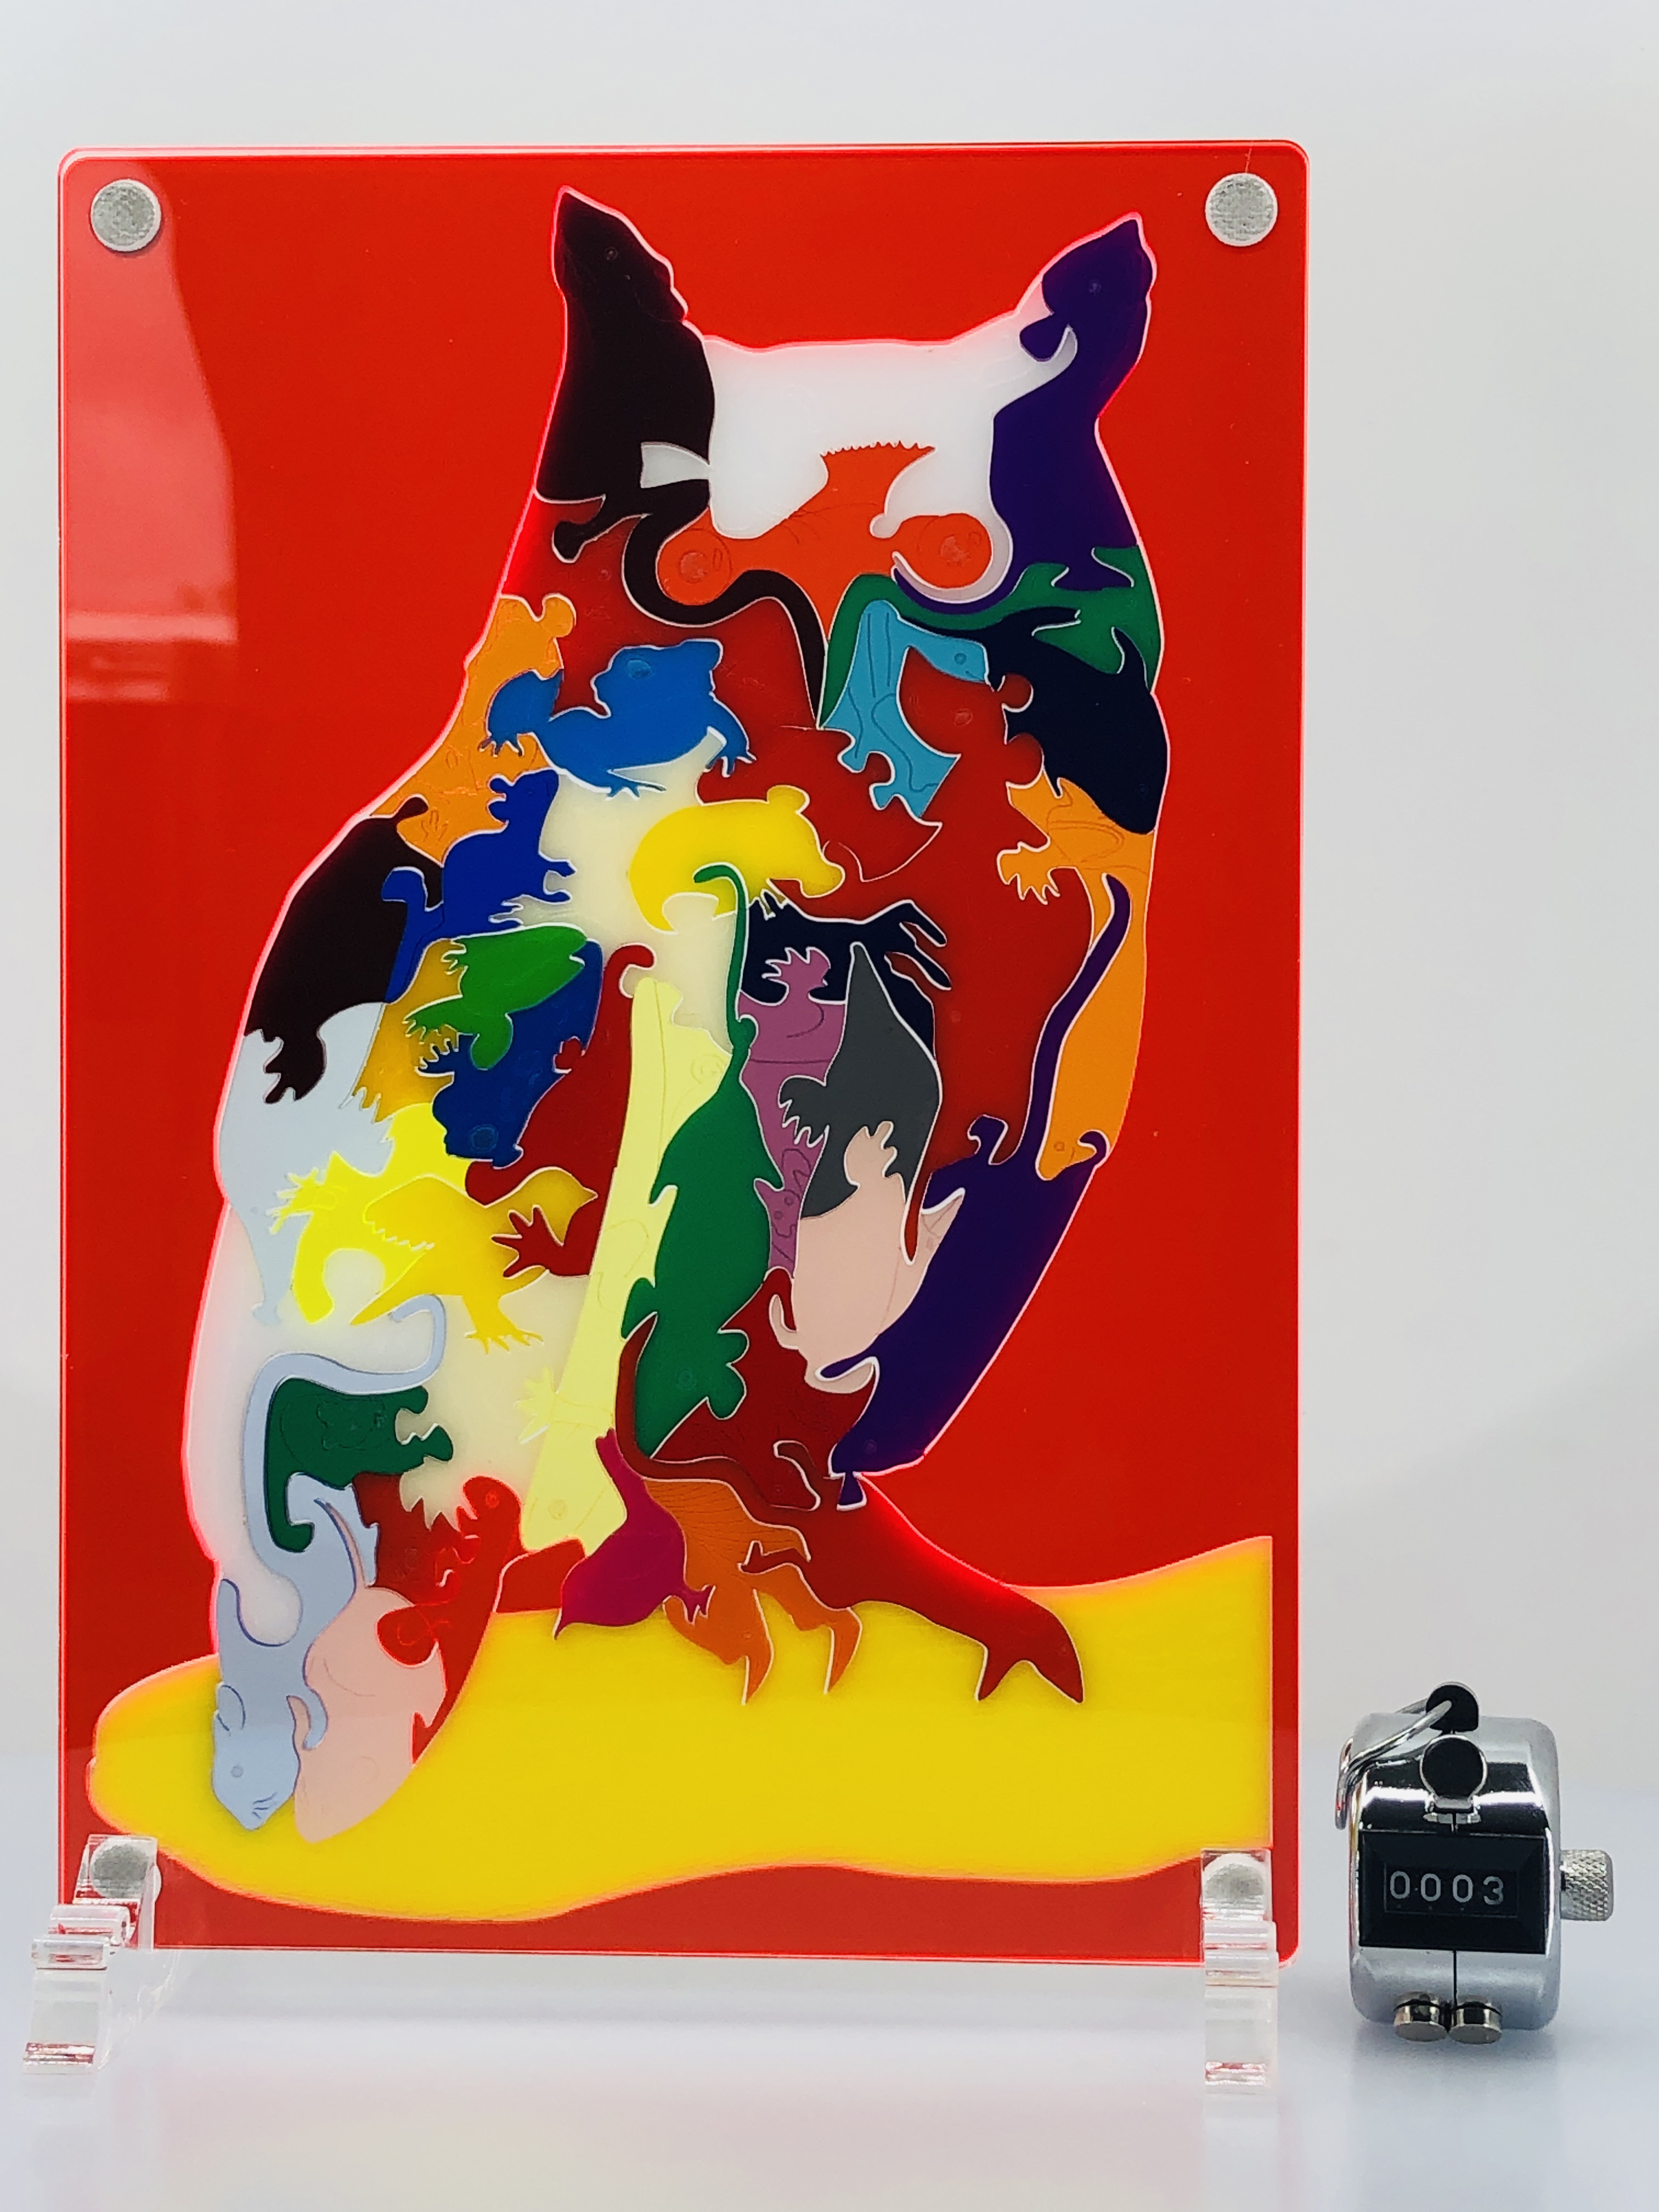
In fact I was confident enough that cutting coloured acrylic would be doable (having gotten comfortable with cutting 3 & 5mm clear acrylic), that I decided to go full in, and bought 44 different colour/tint/frost/florescence/opalescence sheets (at not inconsiderable expense) – one for each of the pieces of the long-eared owl art puzzle!
44 sheets of different colour/tint/frost/florescence/opalescence sheets of acrylic
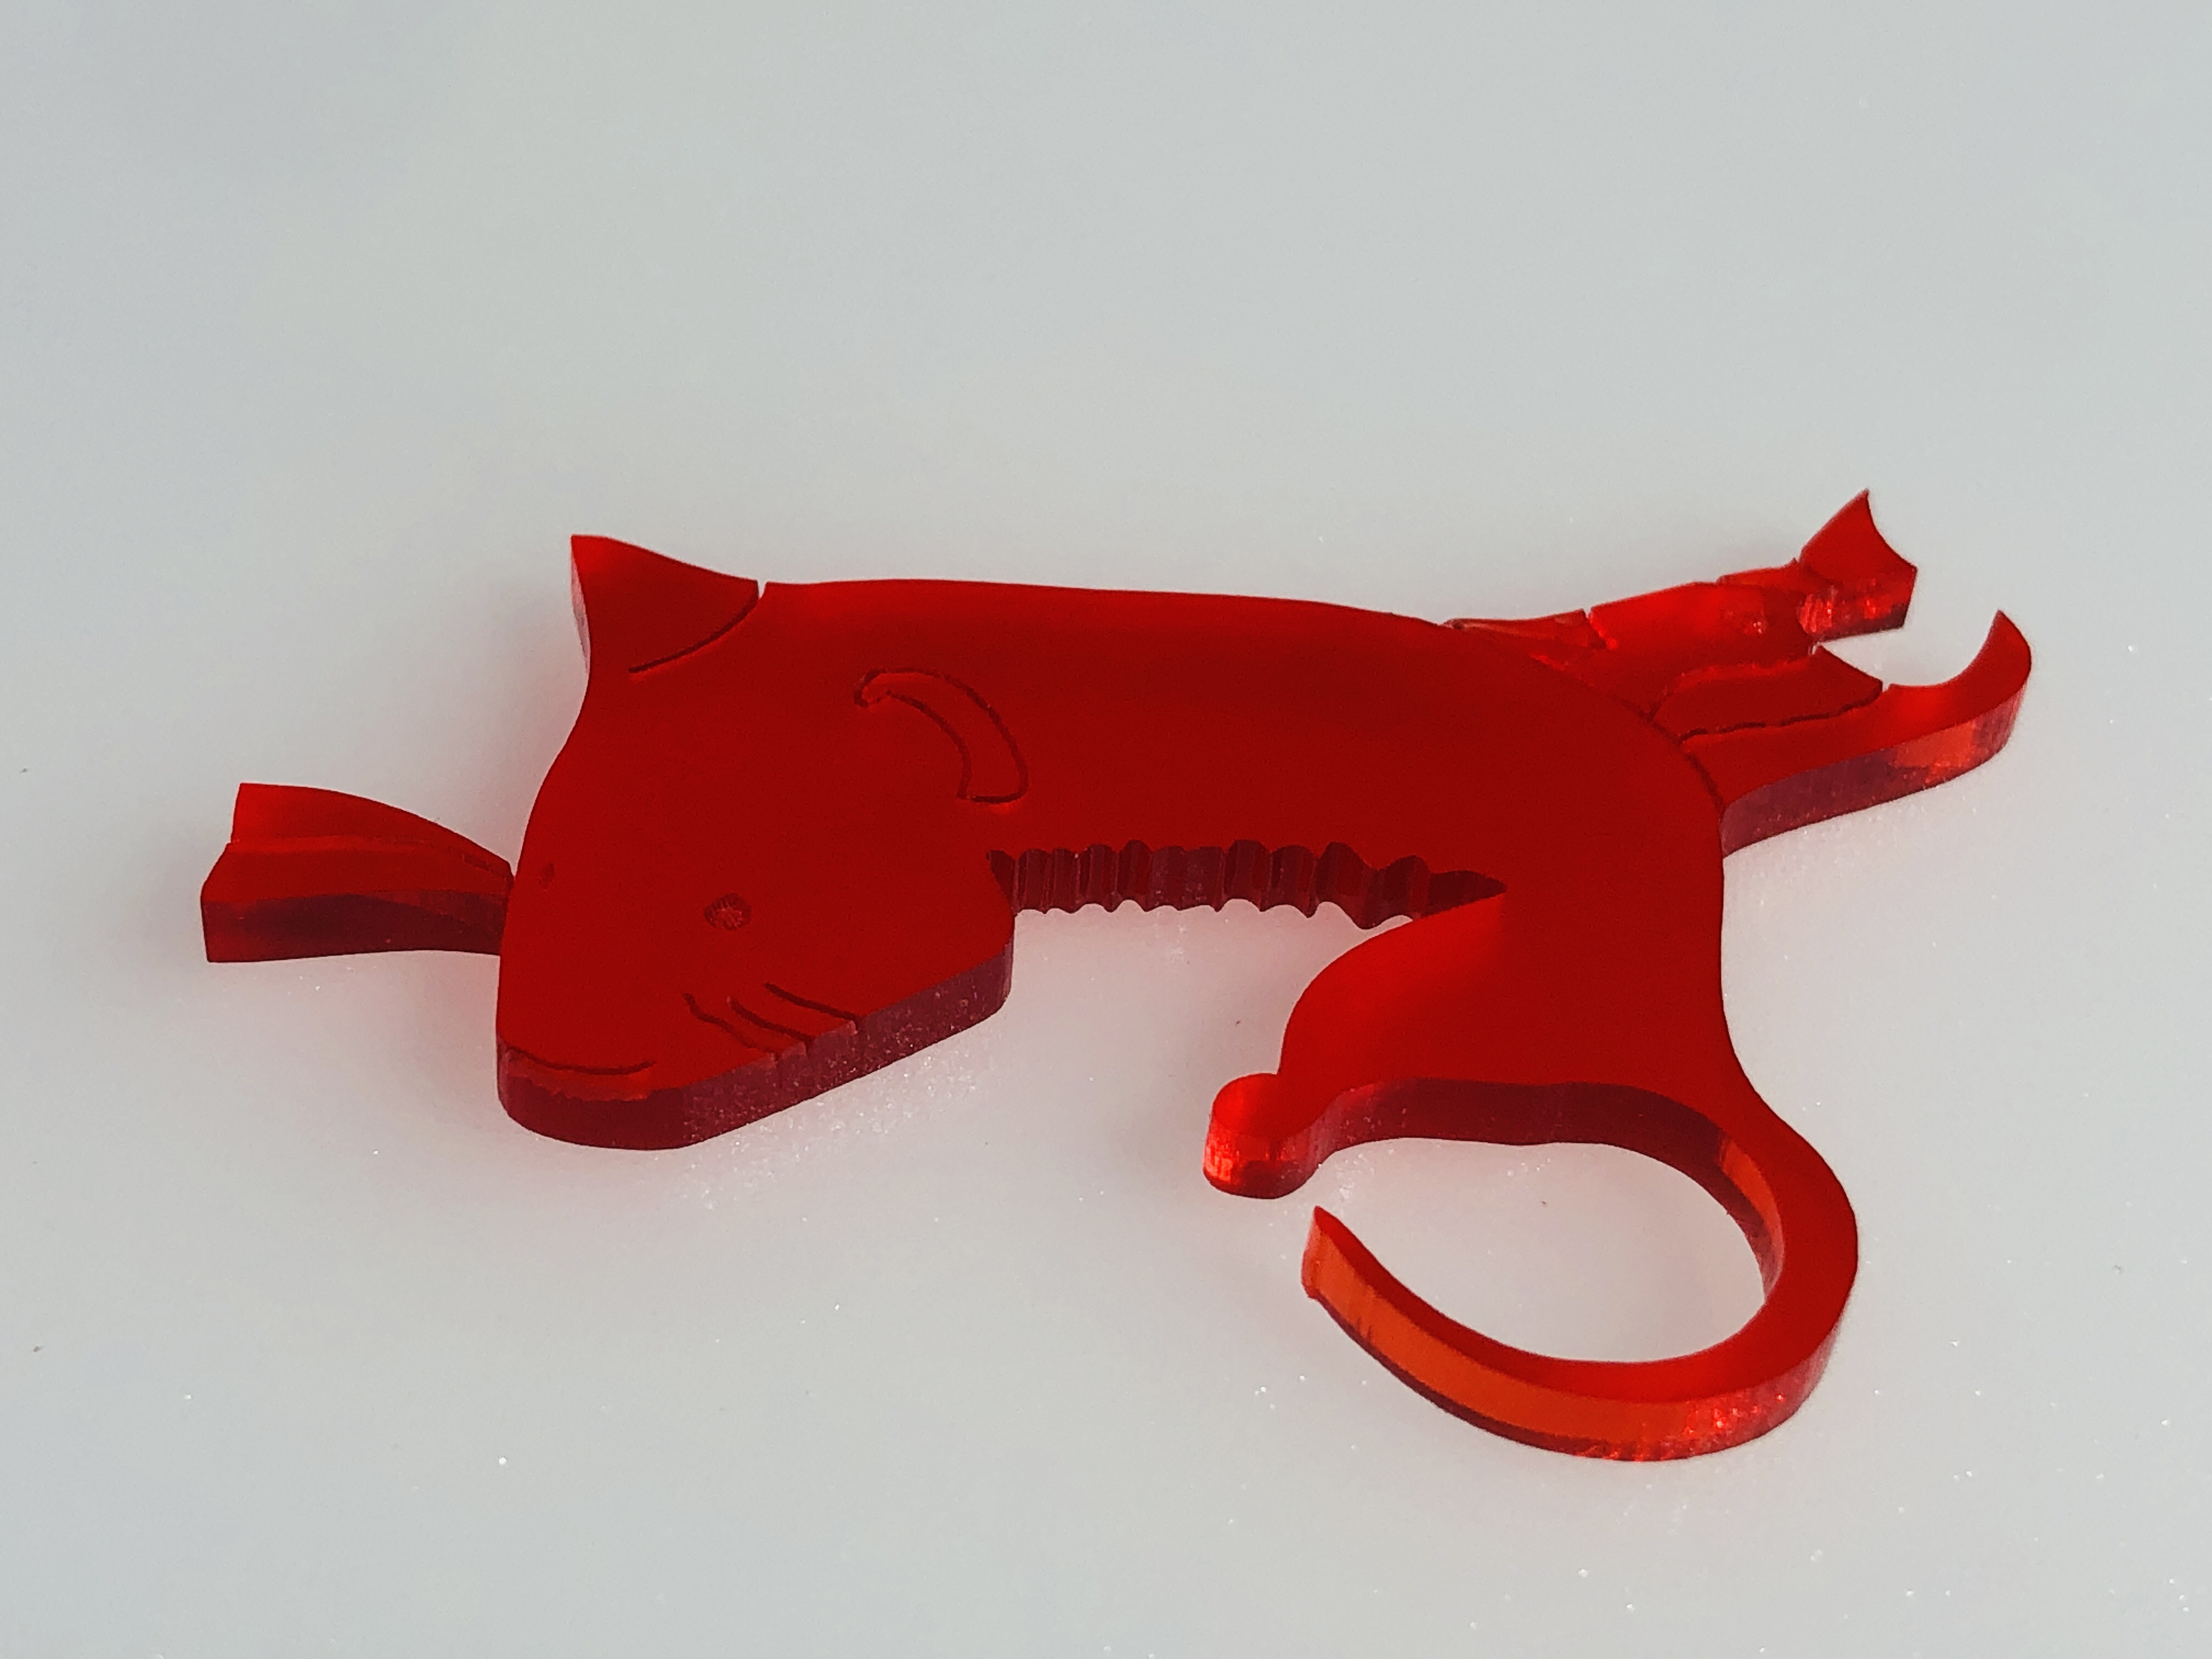
I thought it would make a great artwork for each of the 44 pieces to be a different colour and/or opacity. And I would be able to make 44 random-coloured/effects art puzzles… (I had to make do with some opaque colours because there simply weren’t enough transparent/translucent colours available – but I thought the variety of translucency in itself could be very different and interesting…)
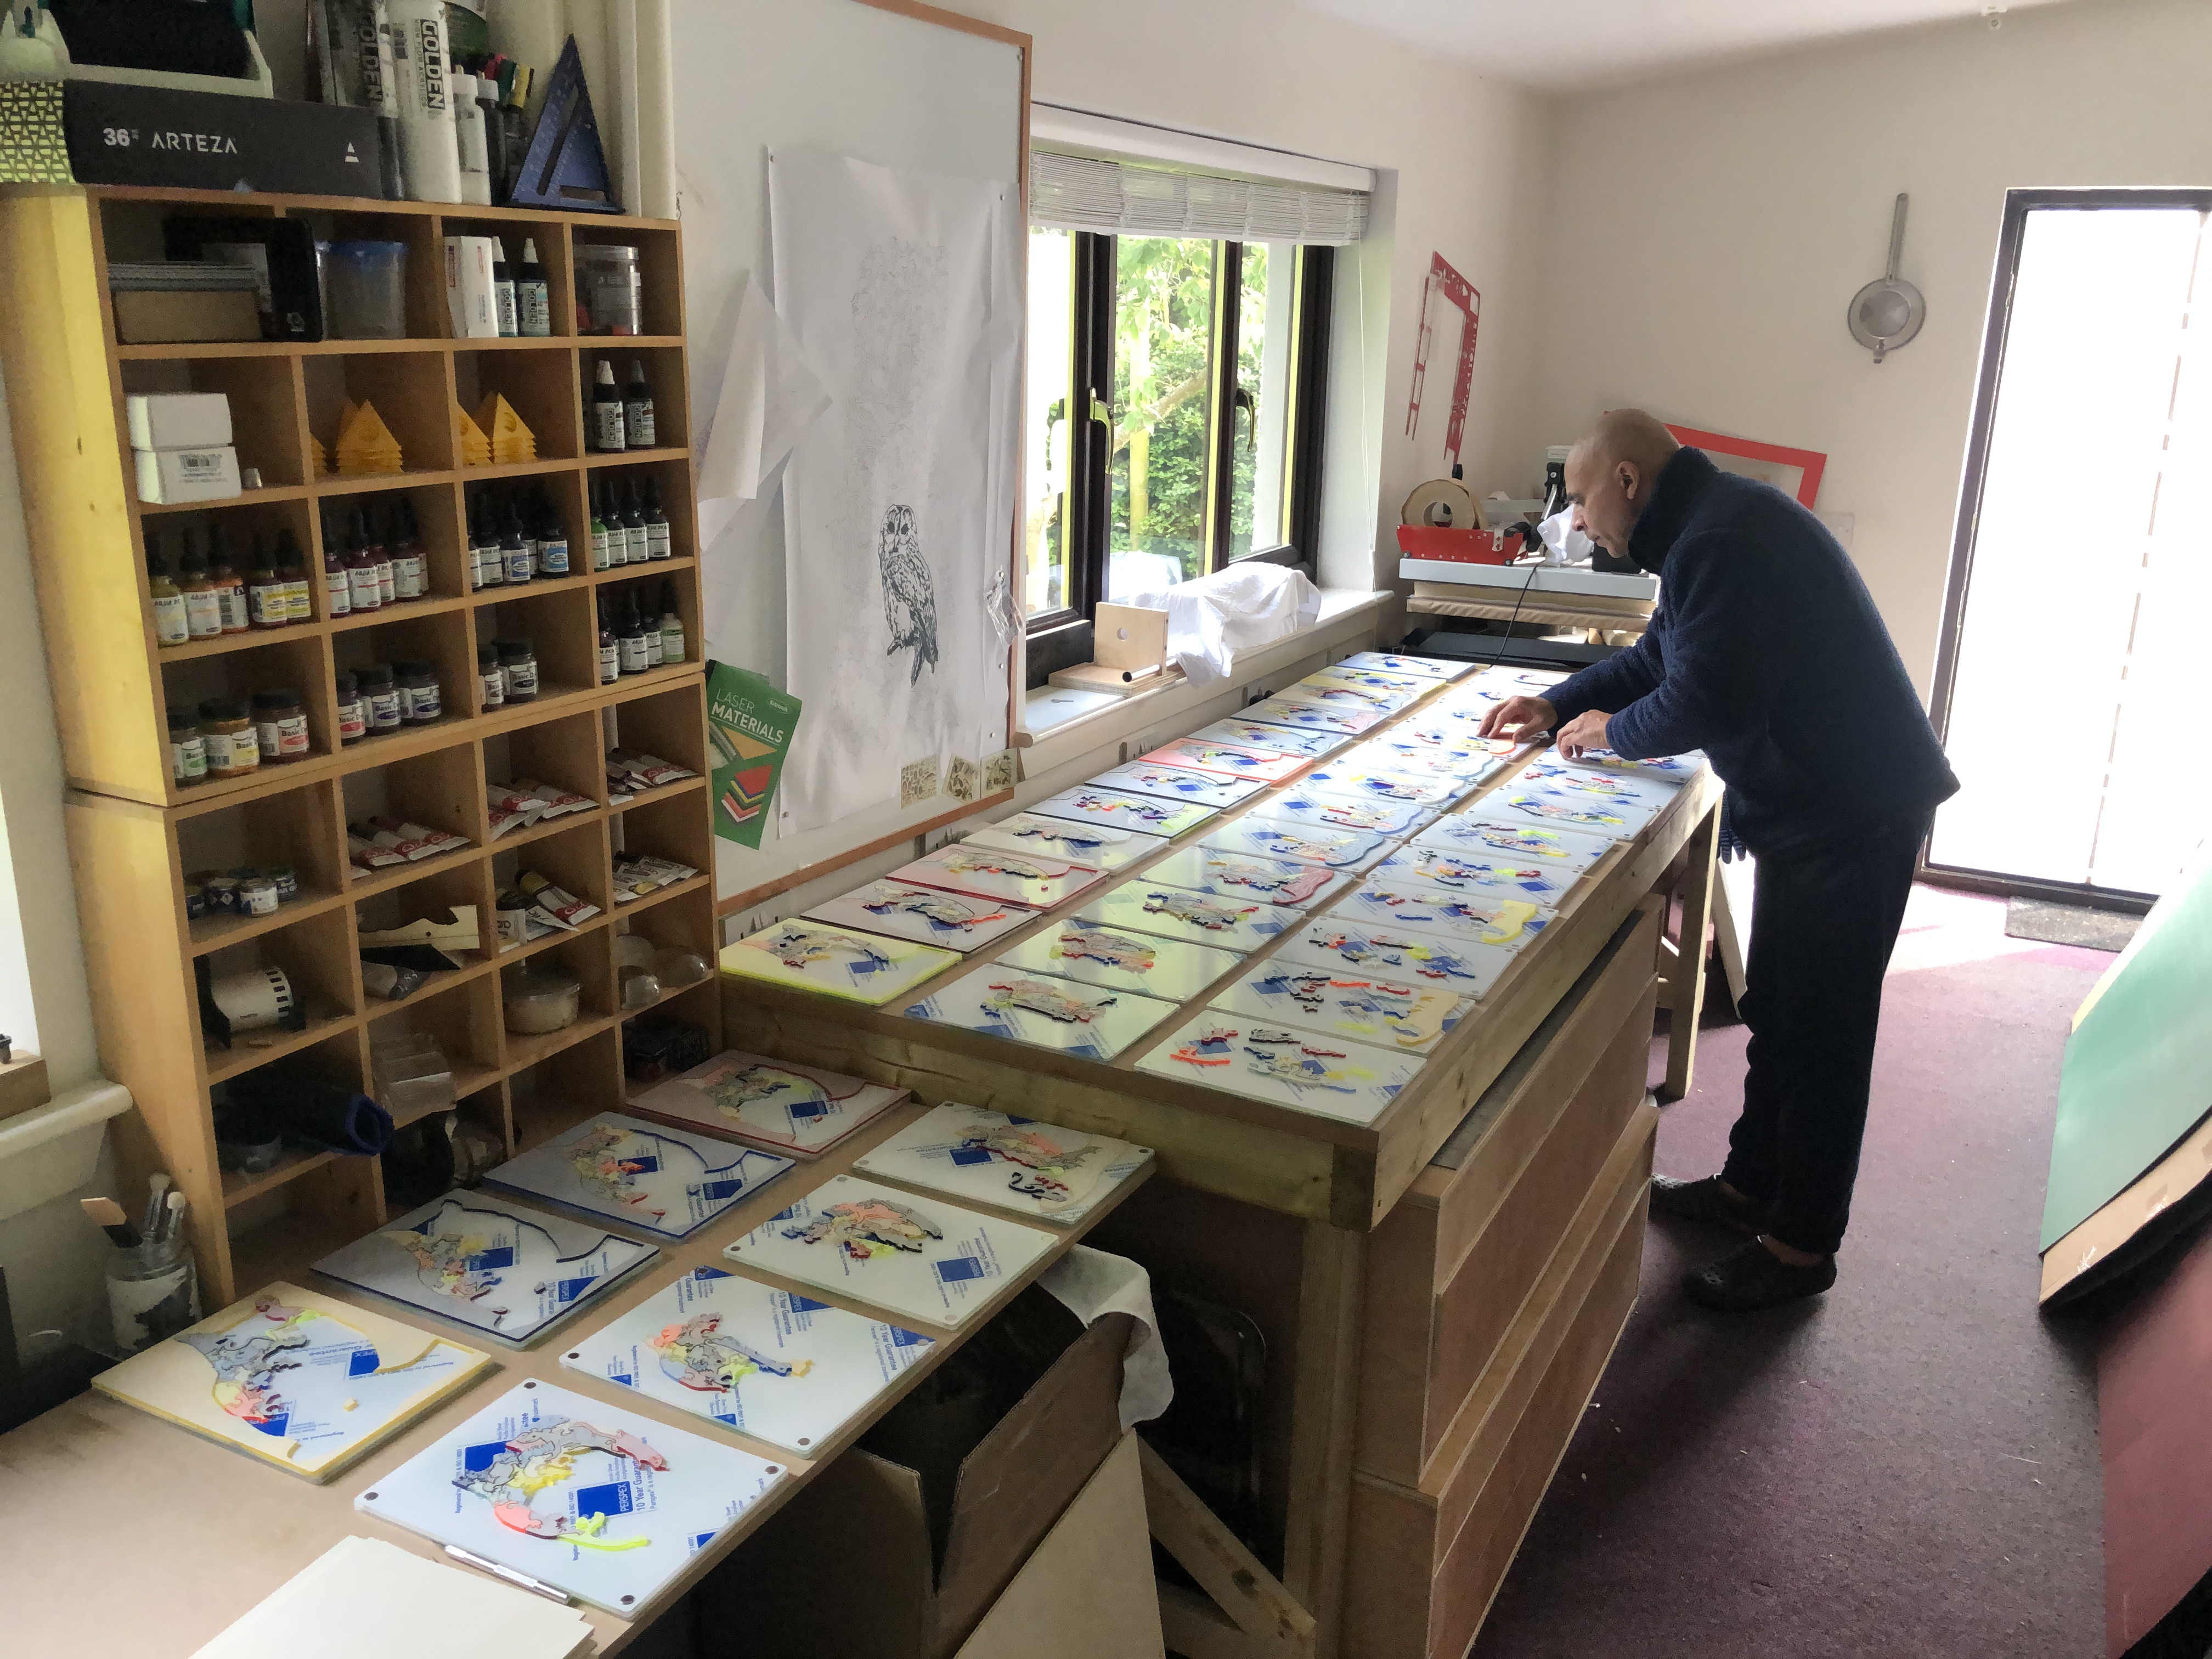
Assembling 44 different art puzzles from 44 single-coloured puzzles took a long time and was very painstaking…
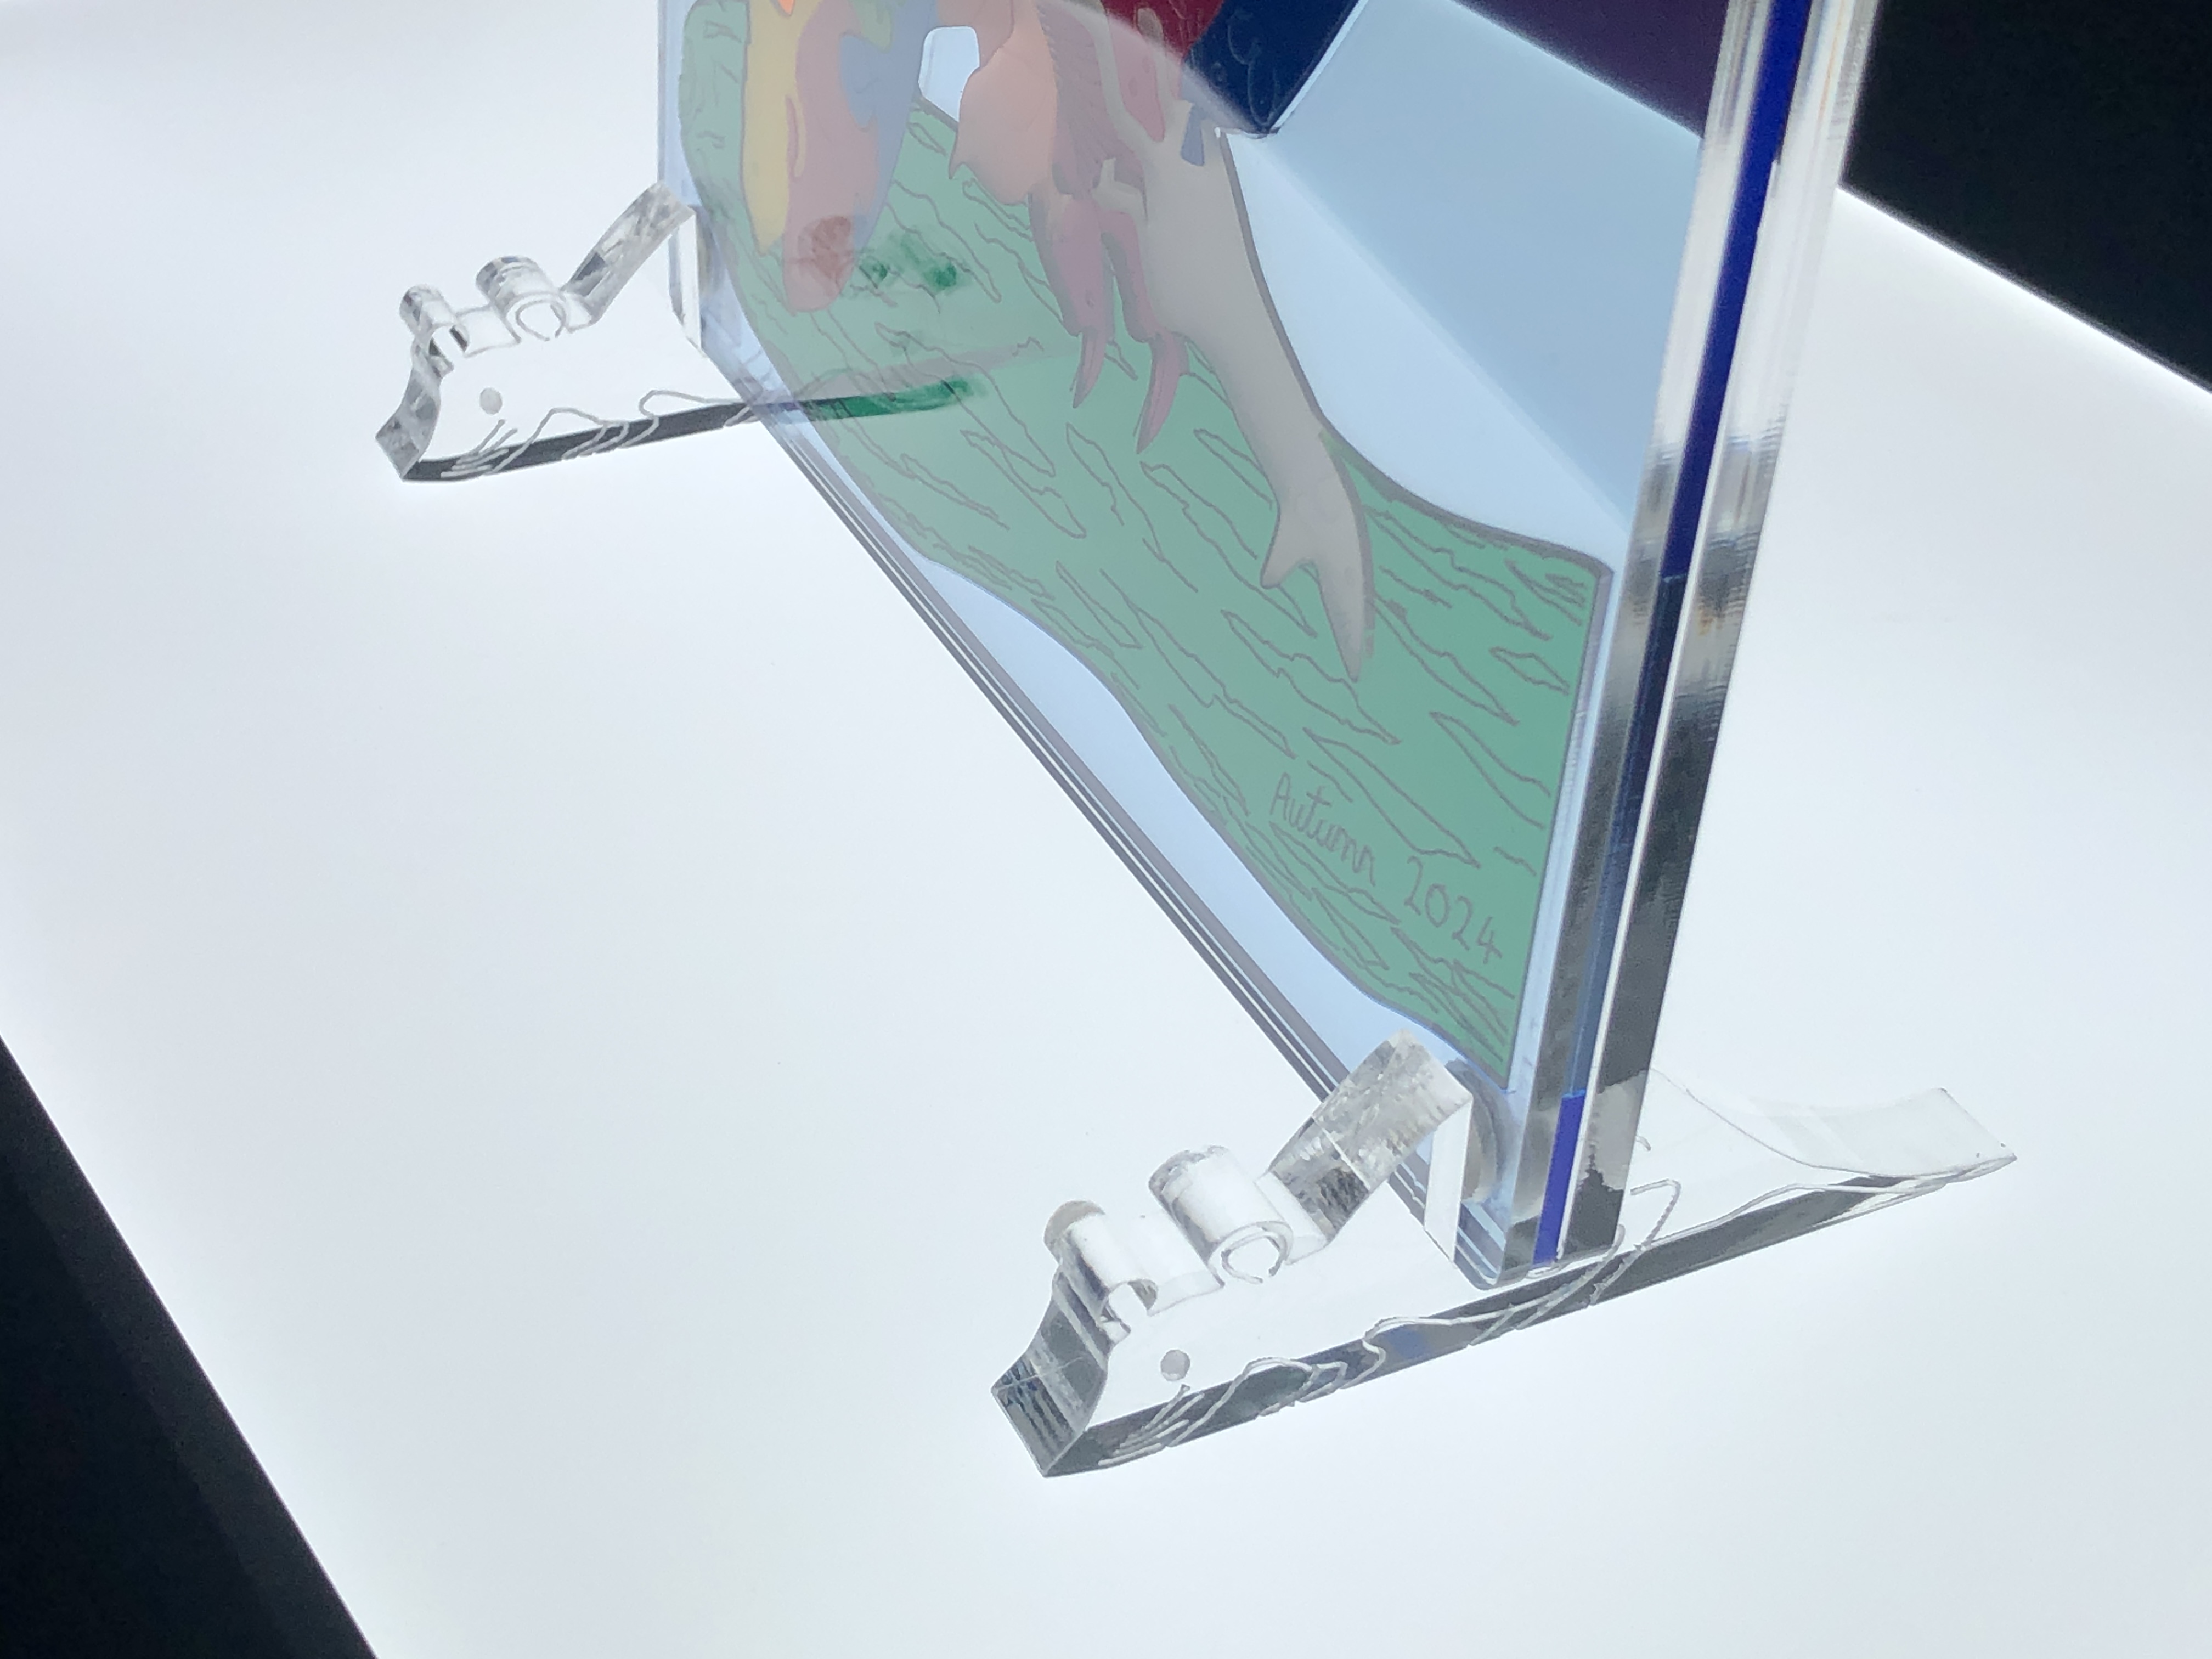
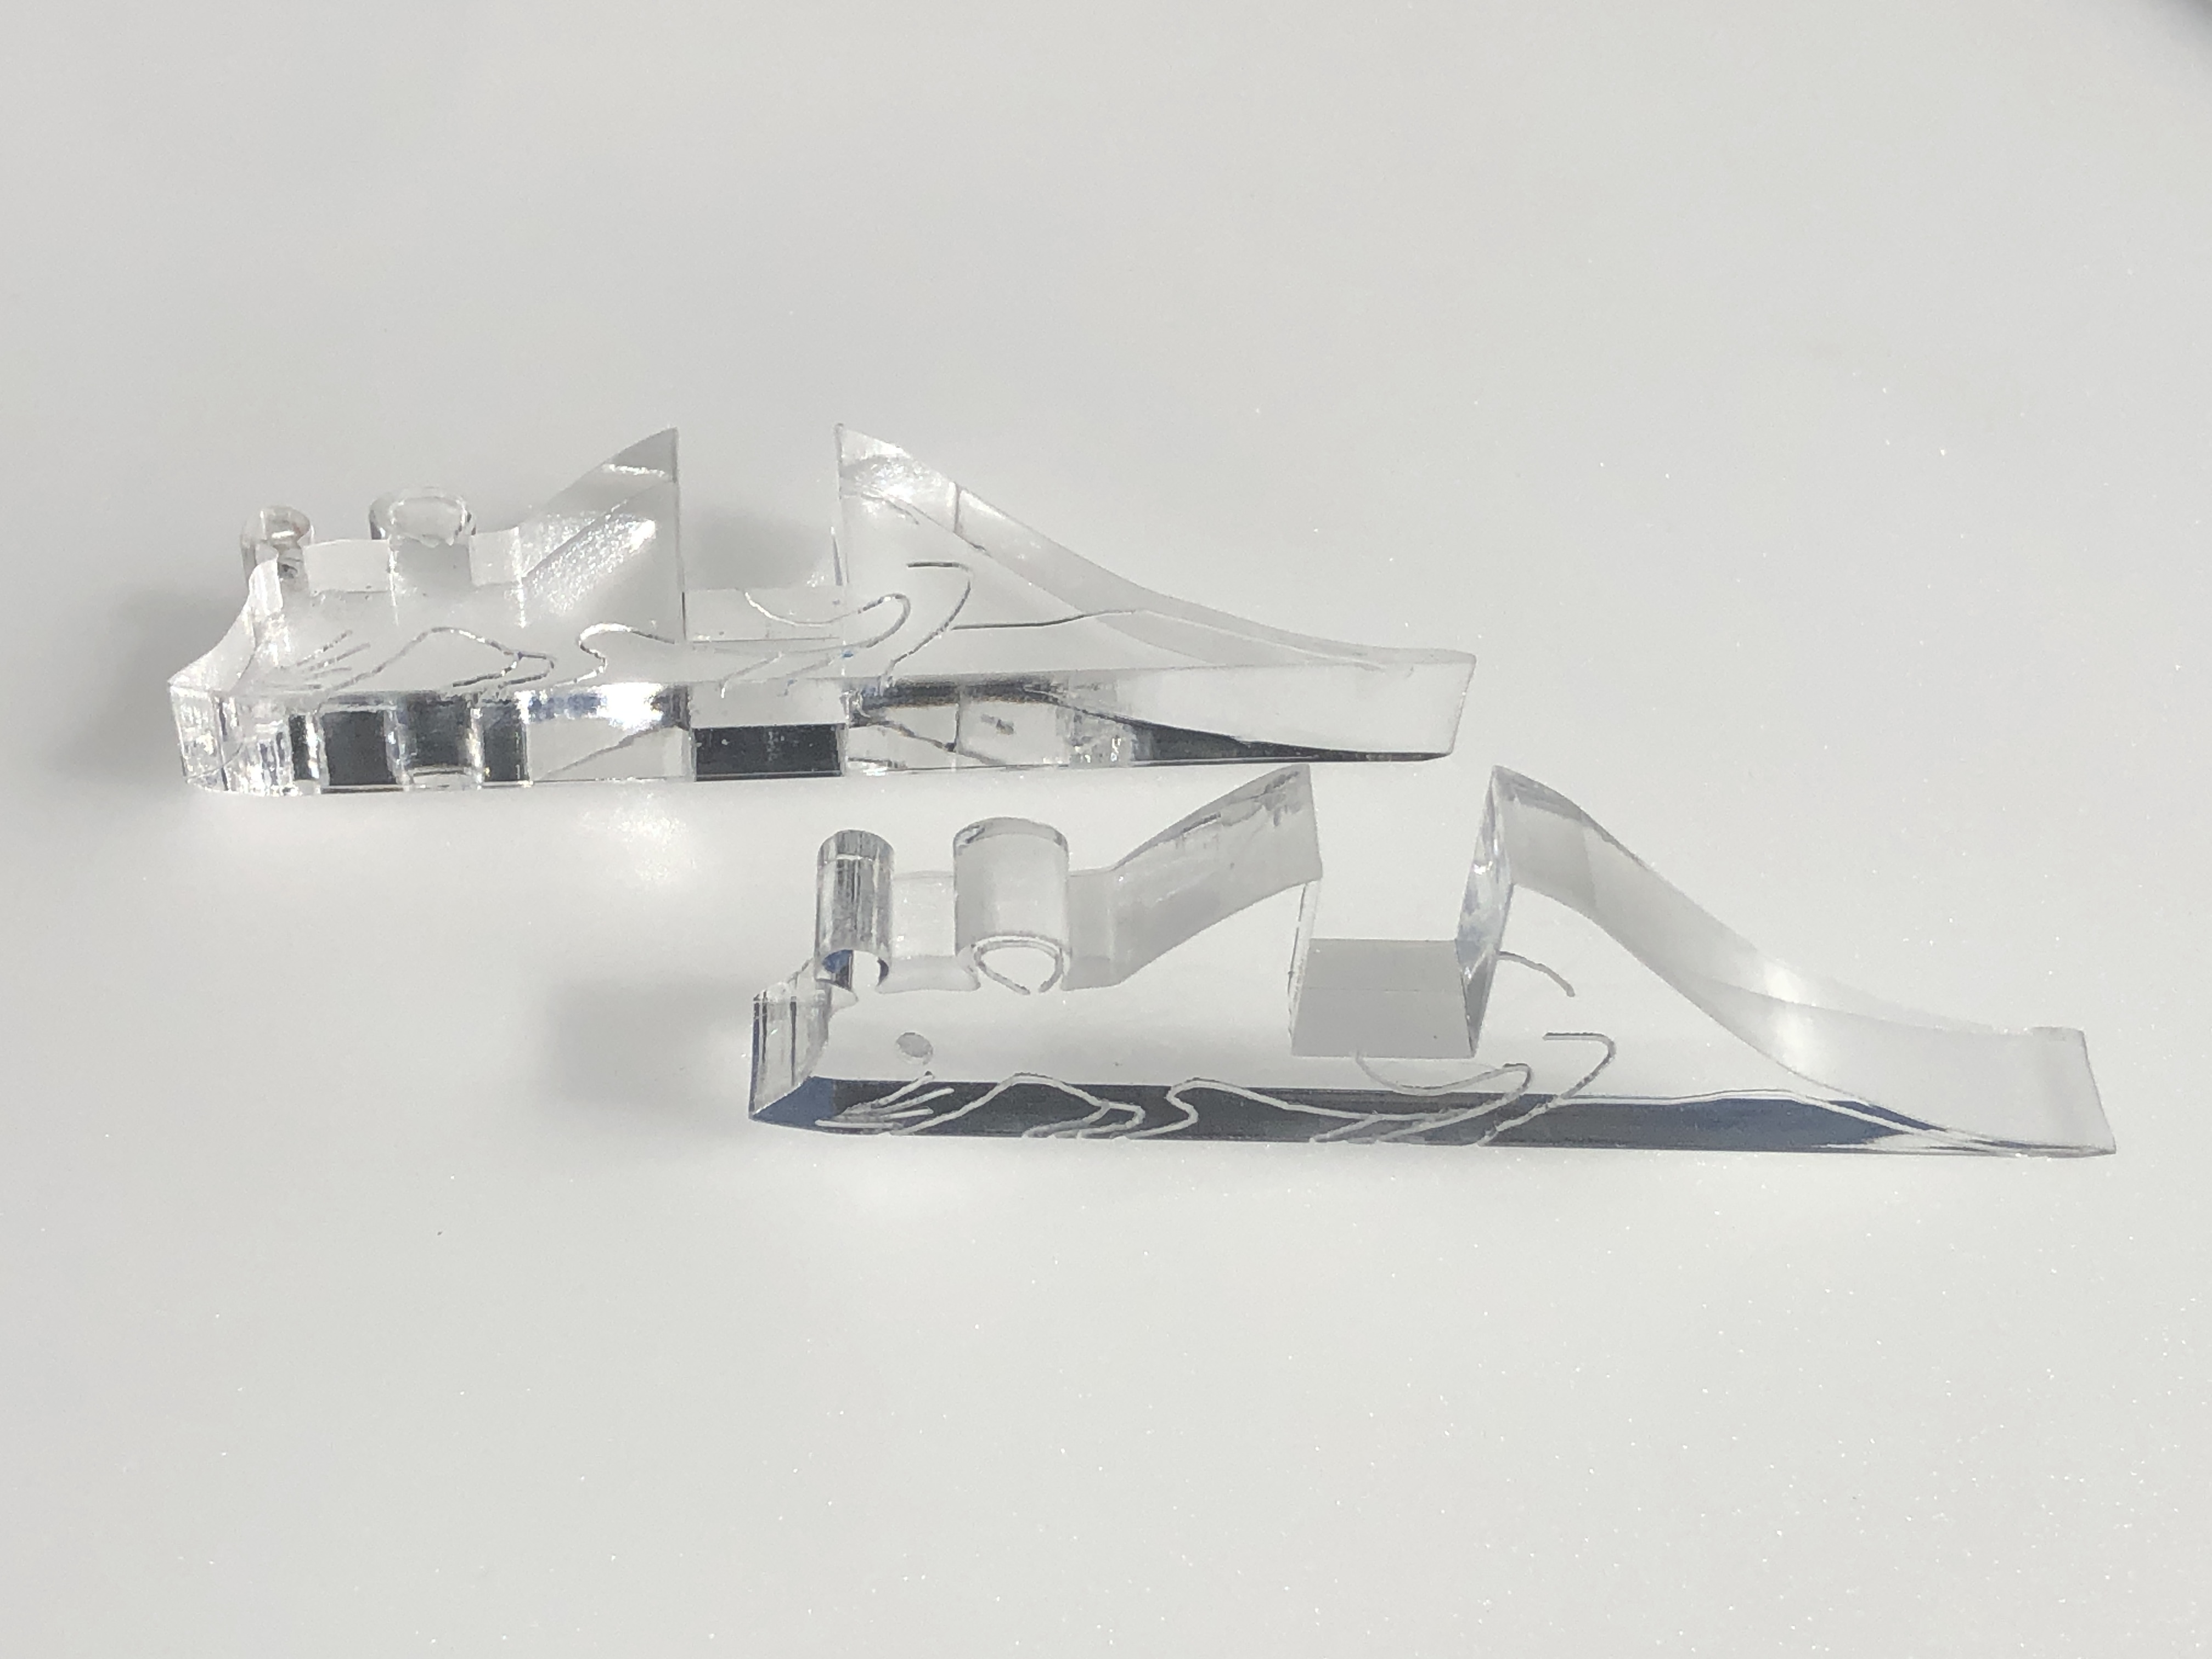
I envisioned that the “stained glass” art puzzle would look best on a windowsill (or similar), so I planned that the art puzzle(s) should be sandwiched between two sheets of magnetised clear panels (3mm for the front and 5mm for the back – the latter for greater stiffness), and stood on 10mm thick (for better stability) mice “feet” – so I also ordered in enough clear cast acrylic for these.
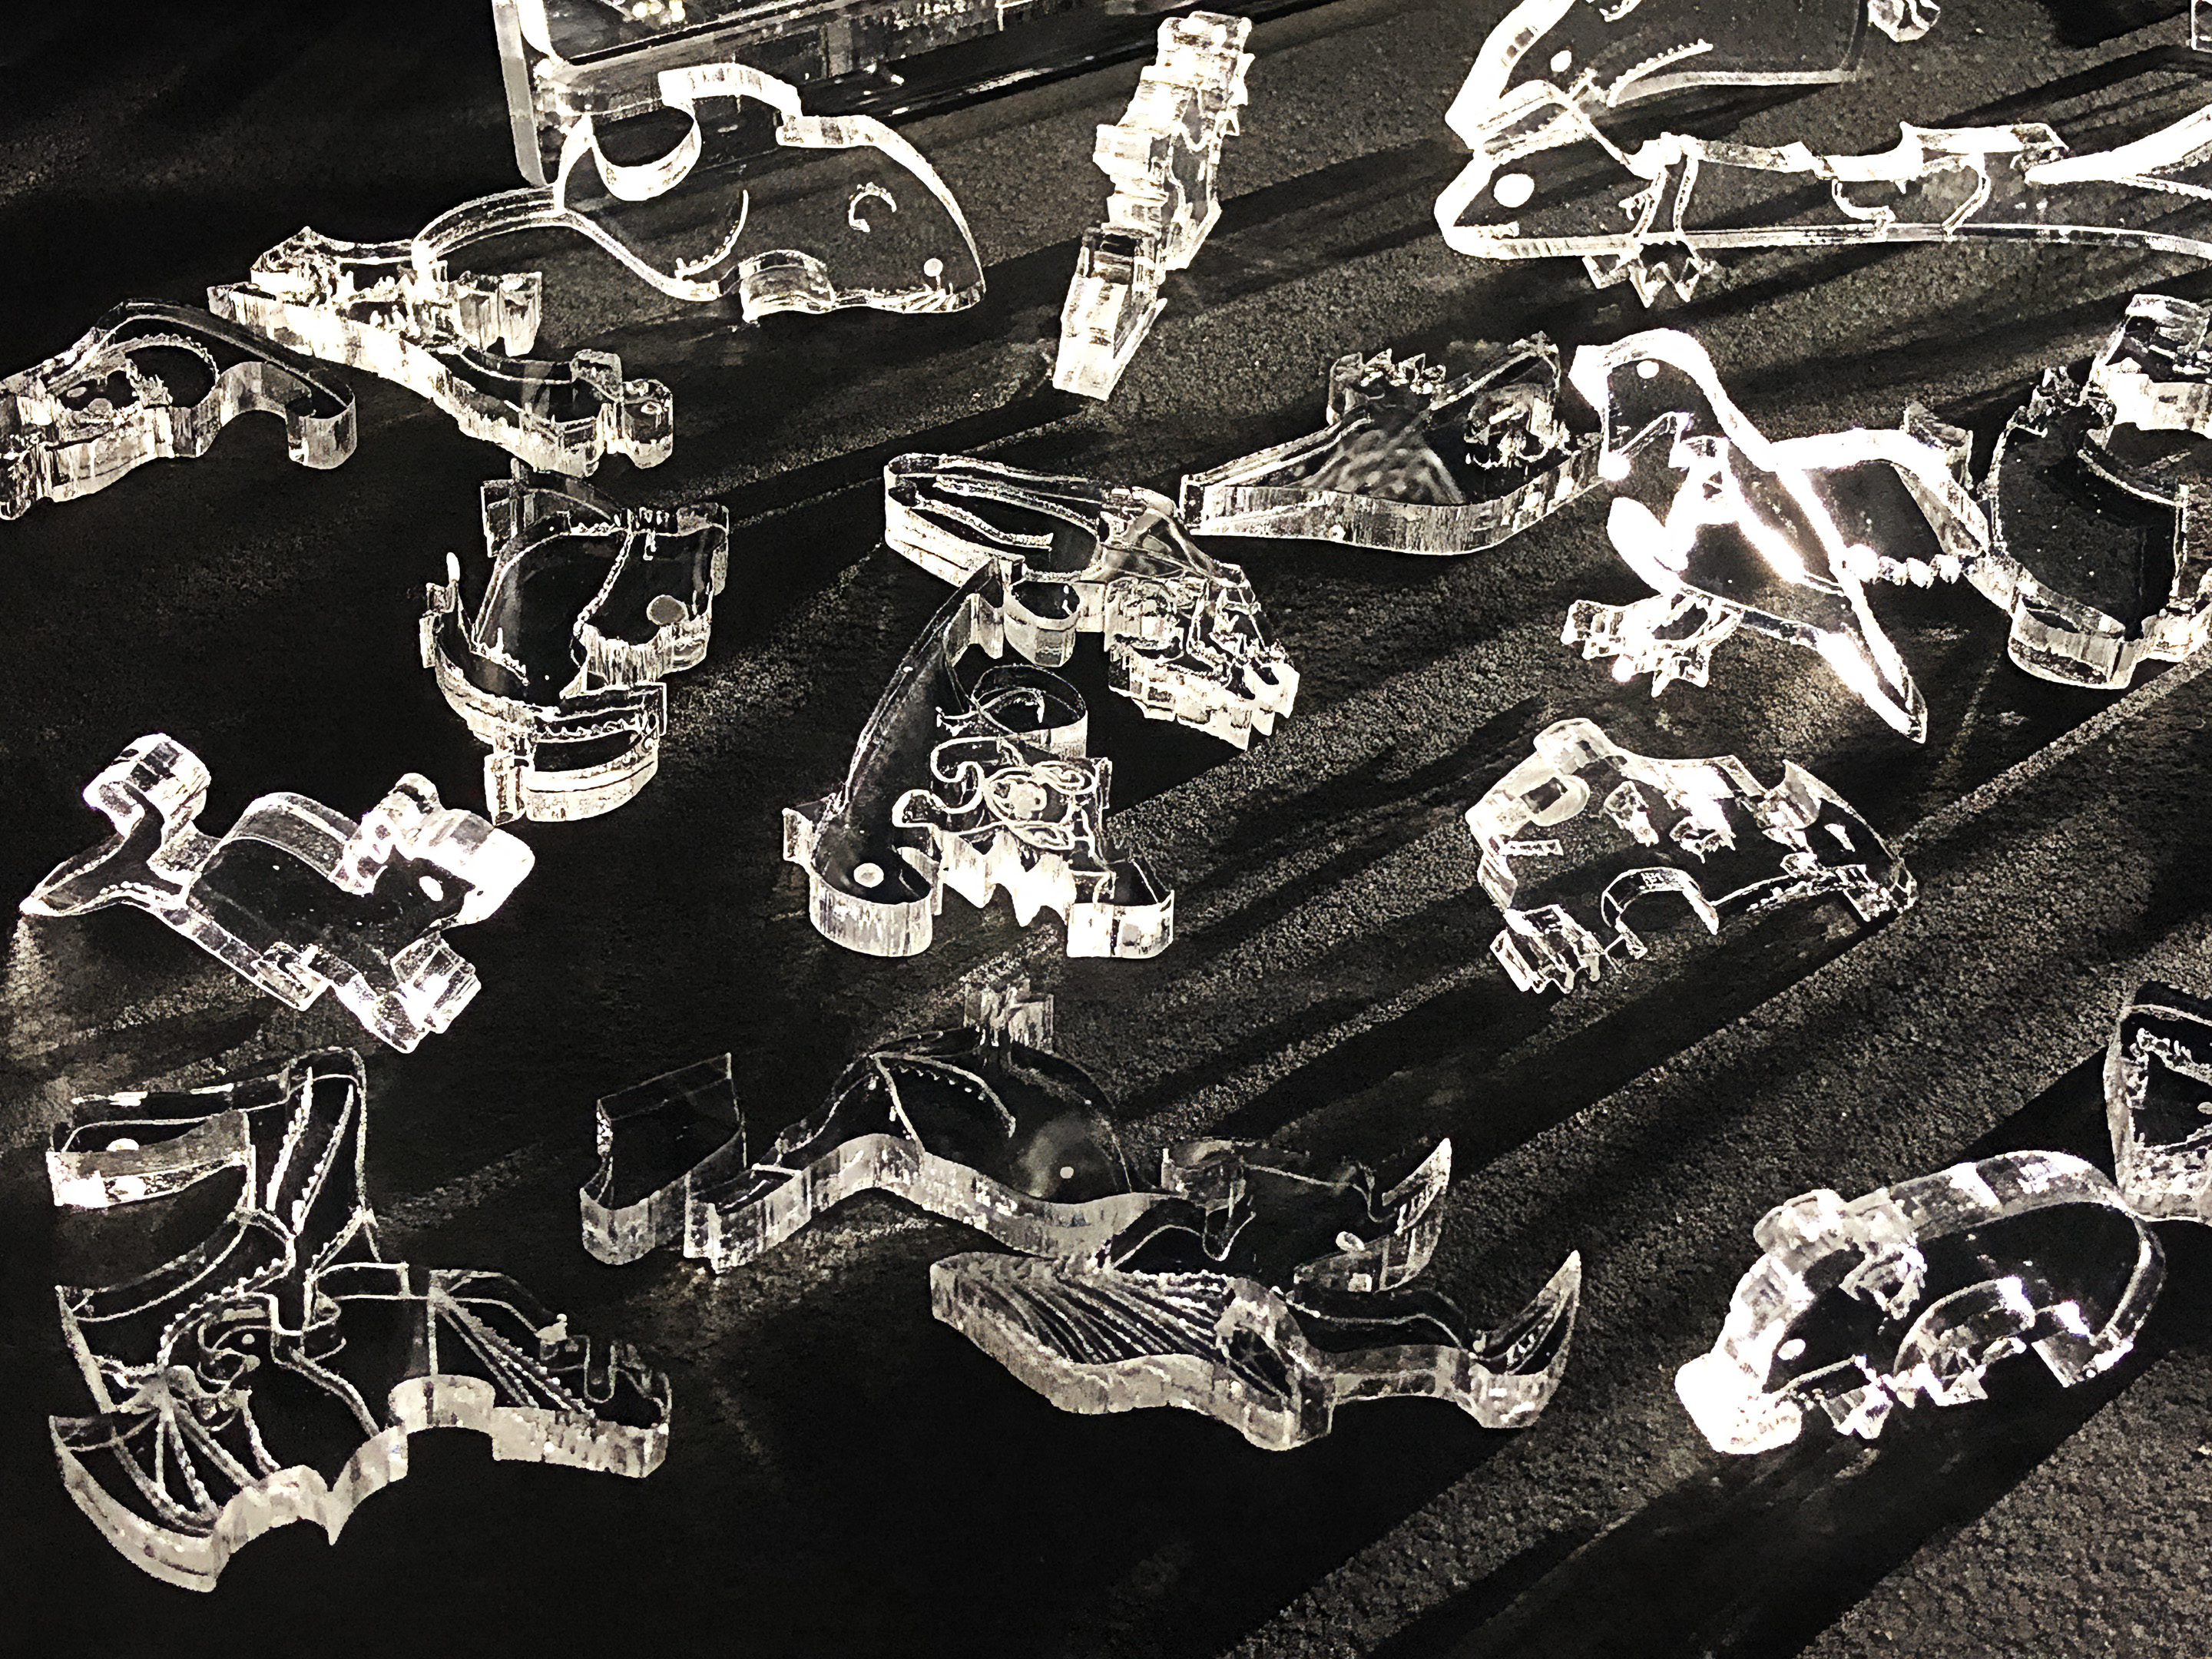
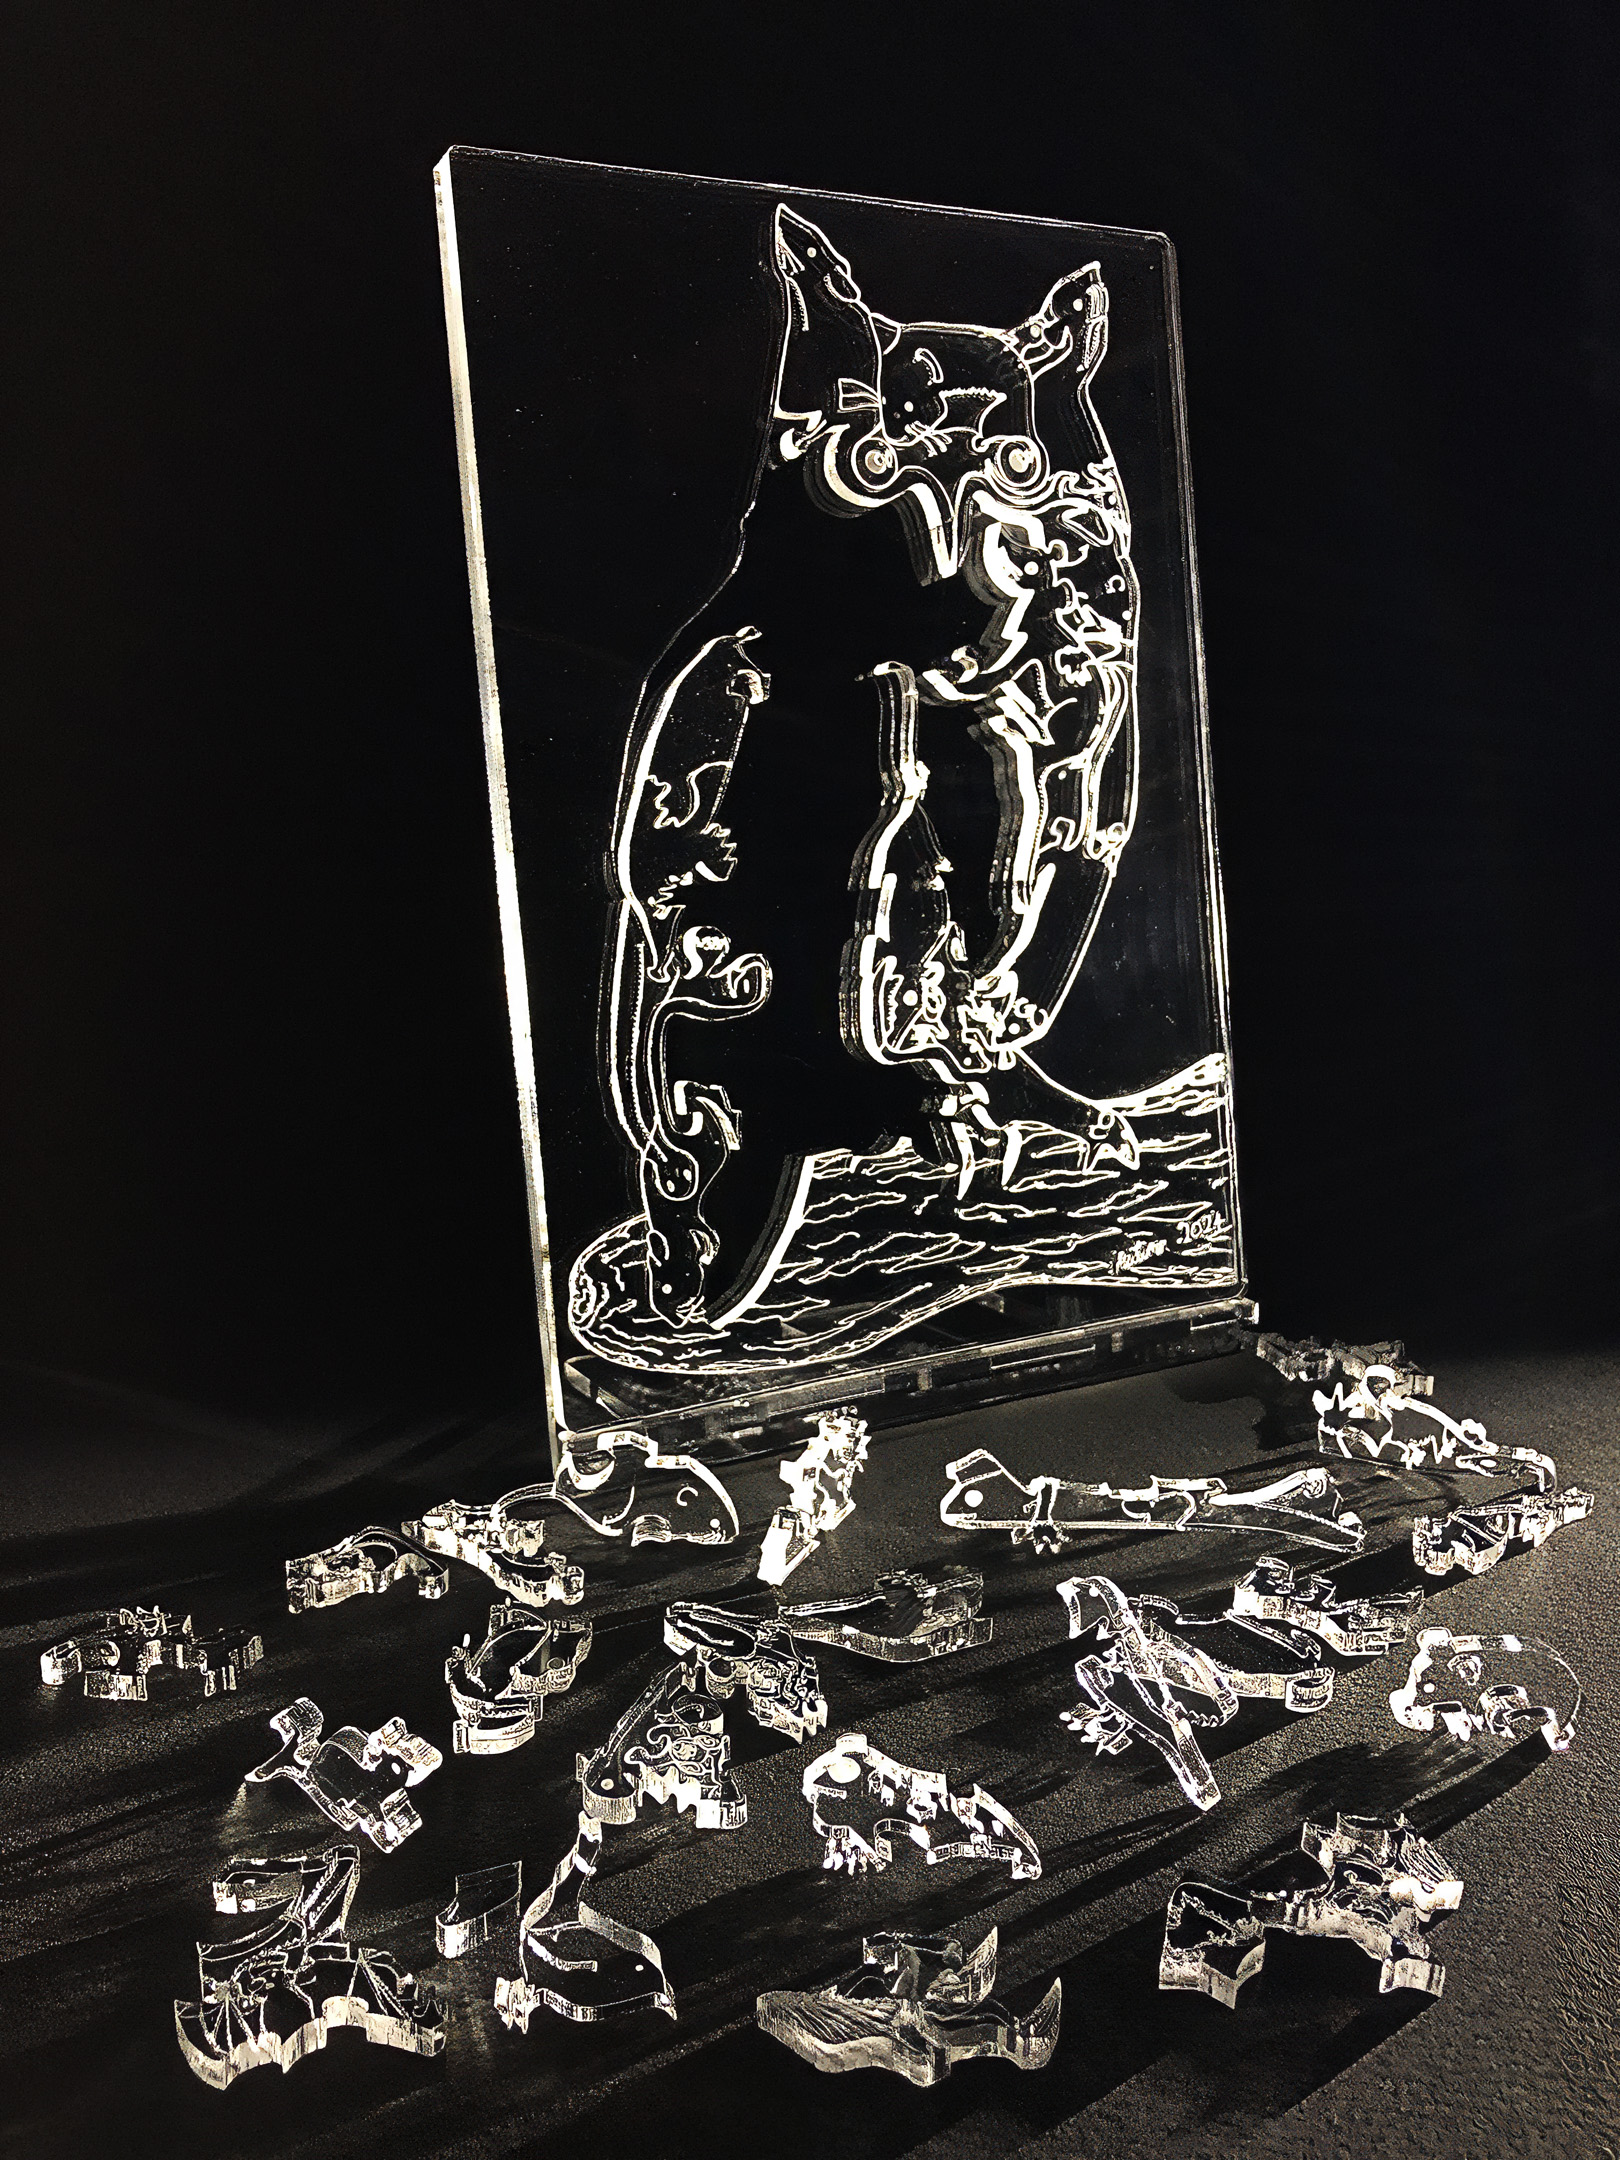
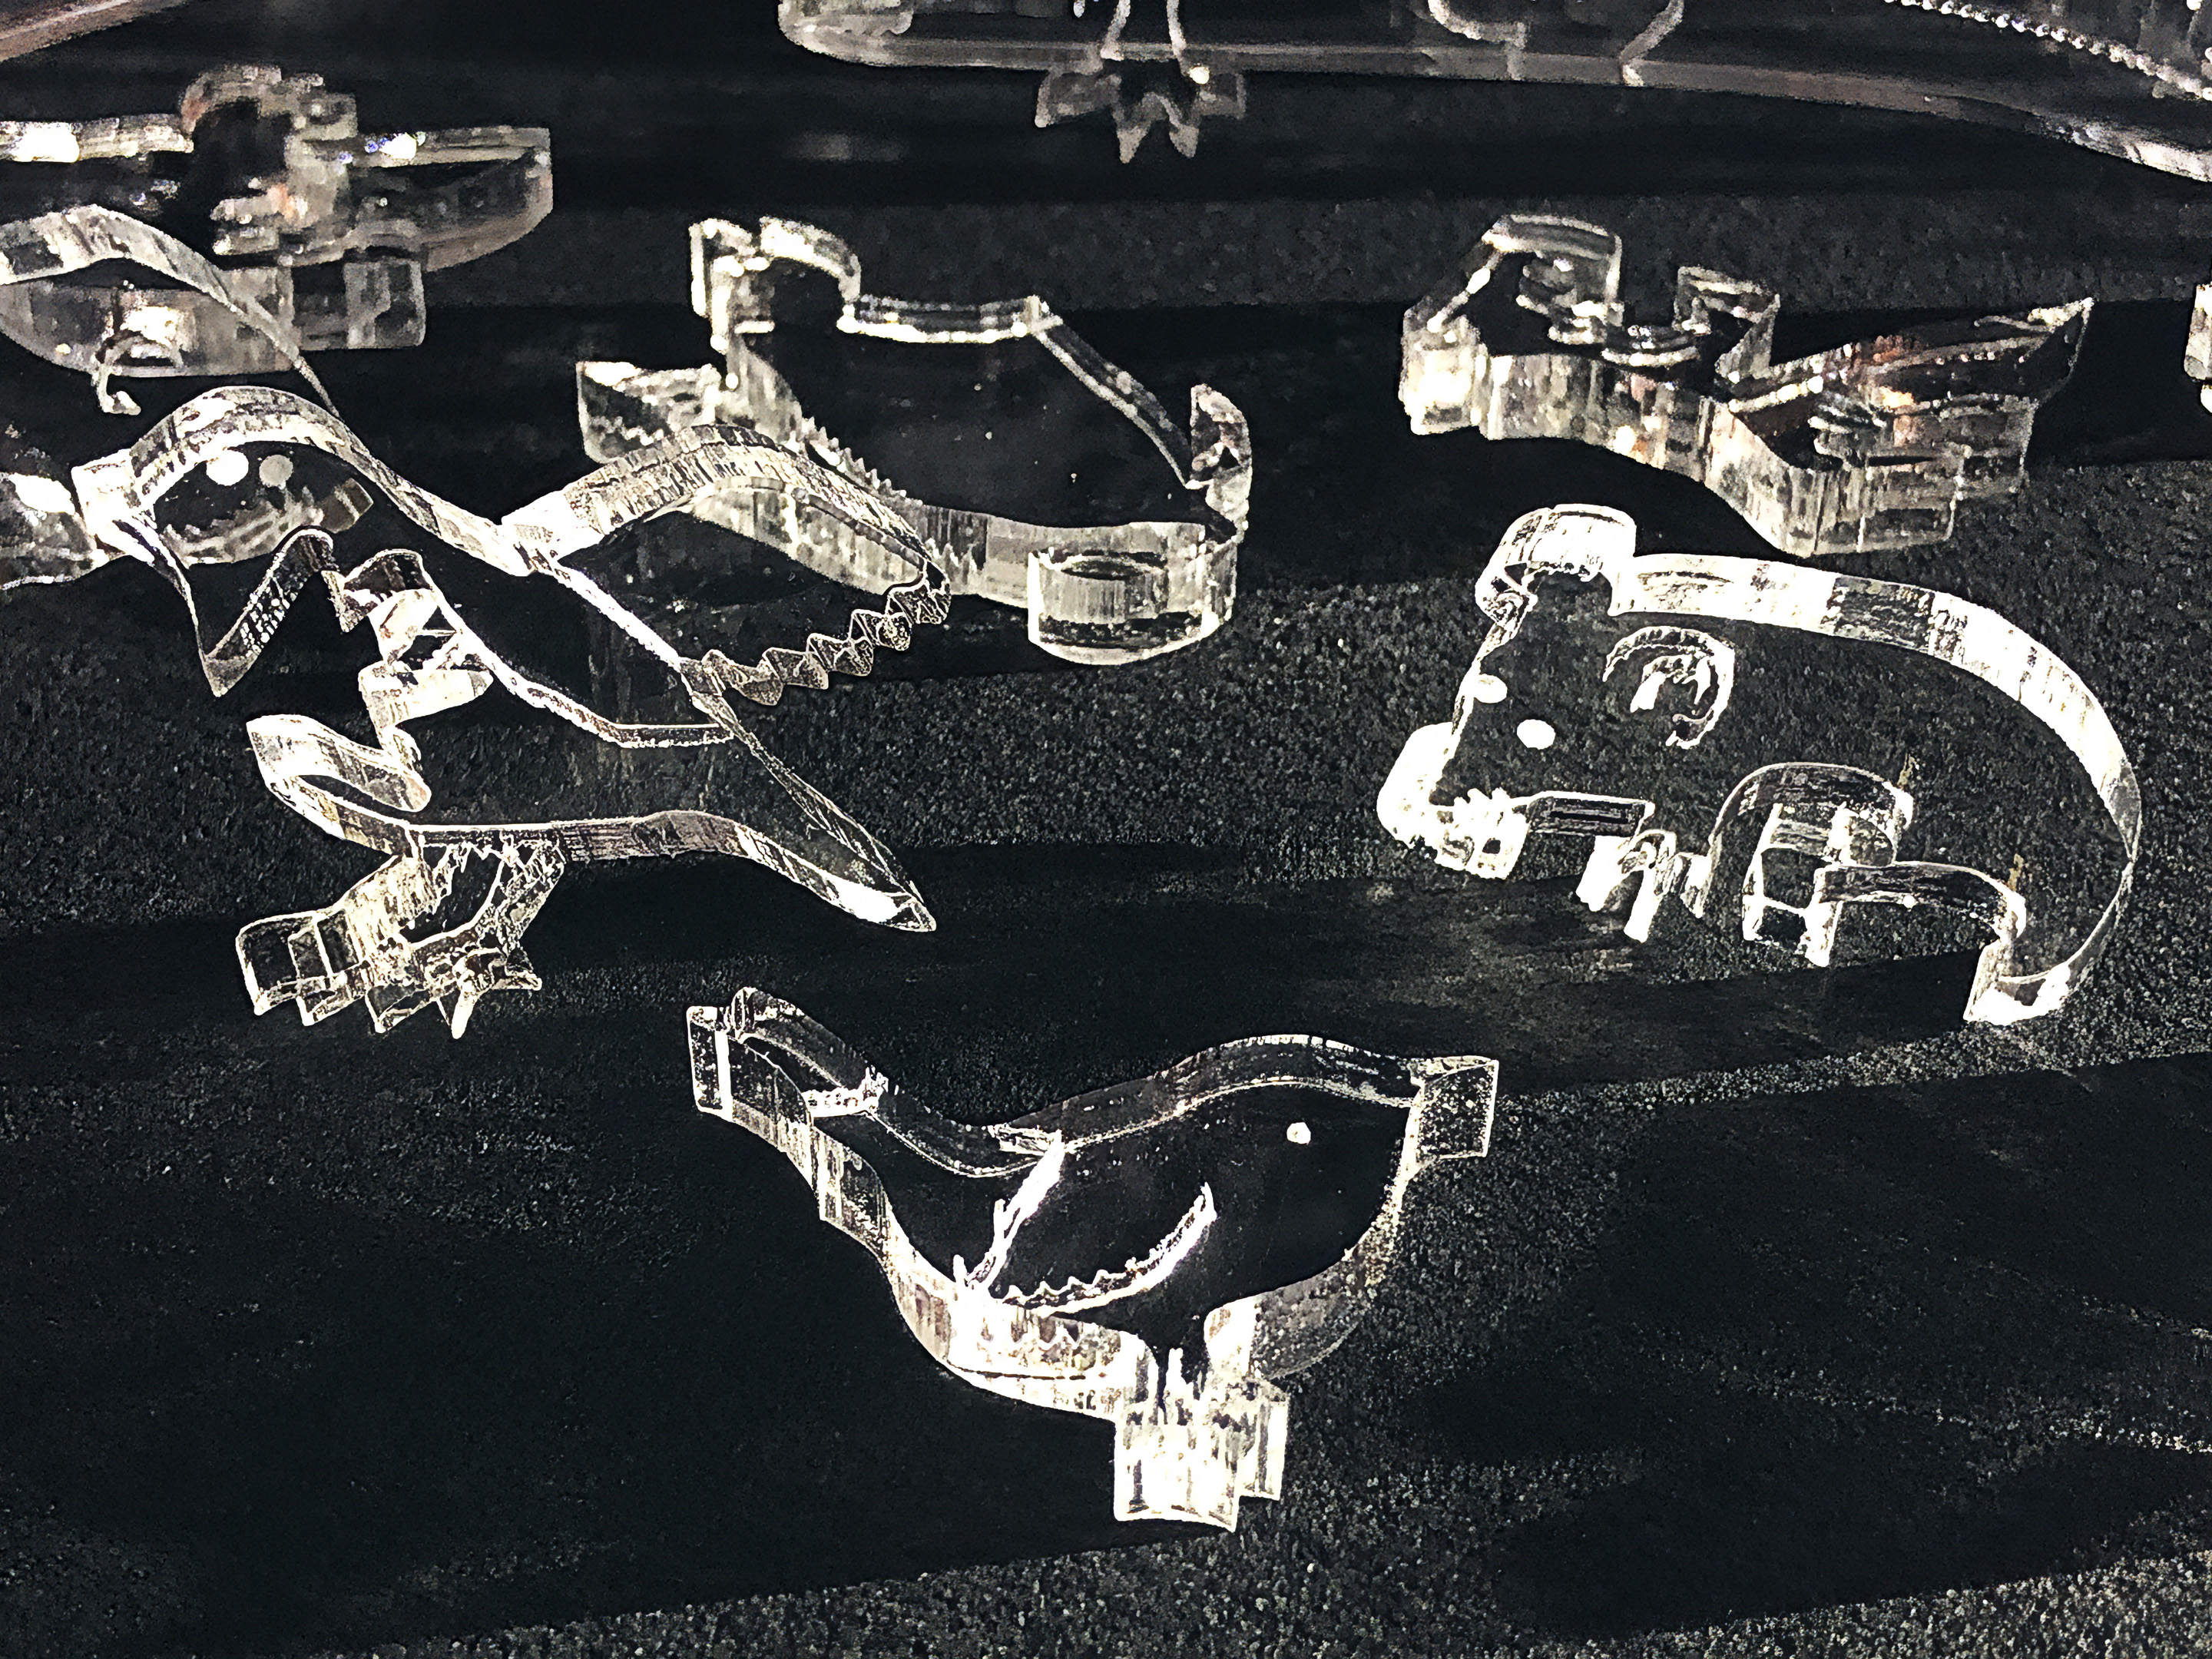
10mm thick custom cut and engrave crystal clear mice “feet” to display the art puzzle on e.g. a windowsill
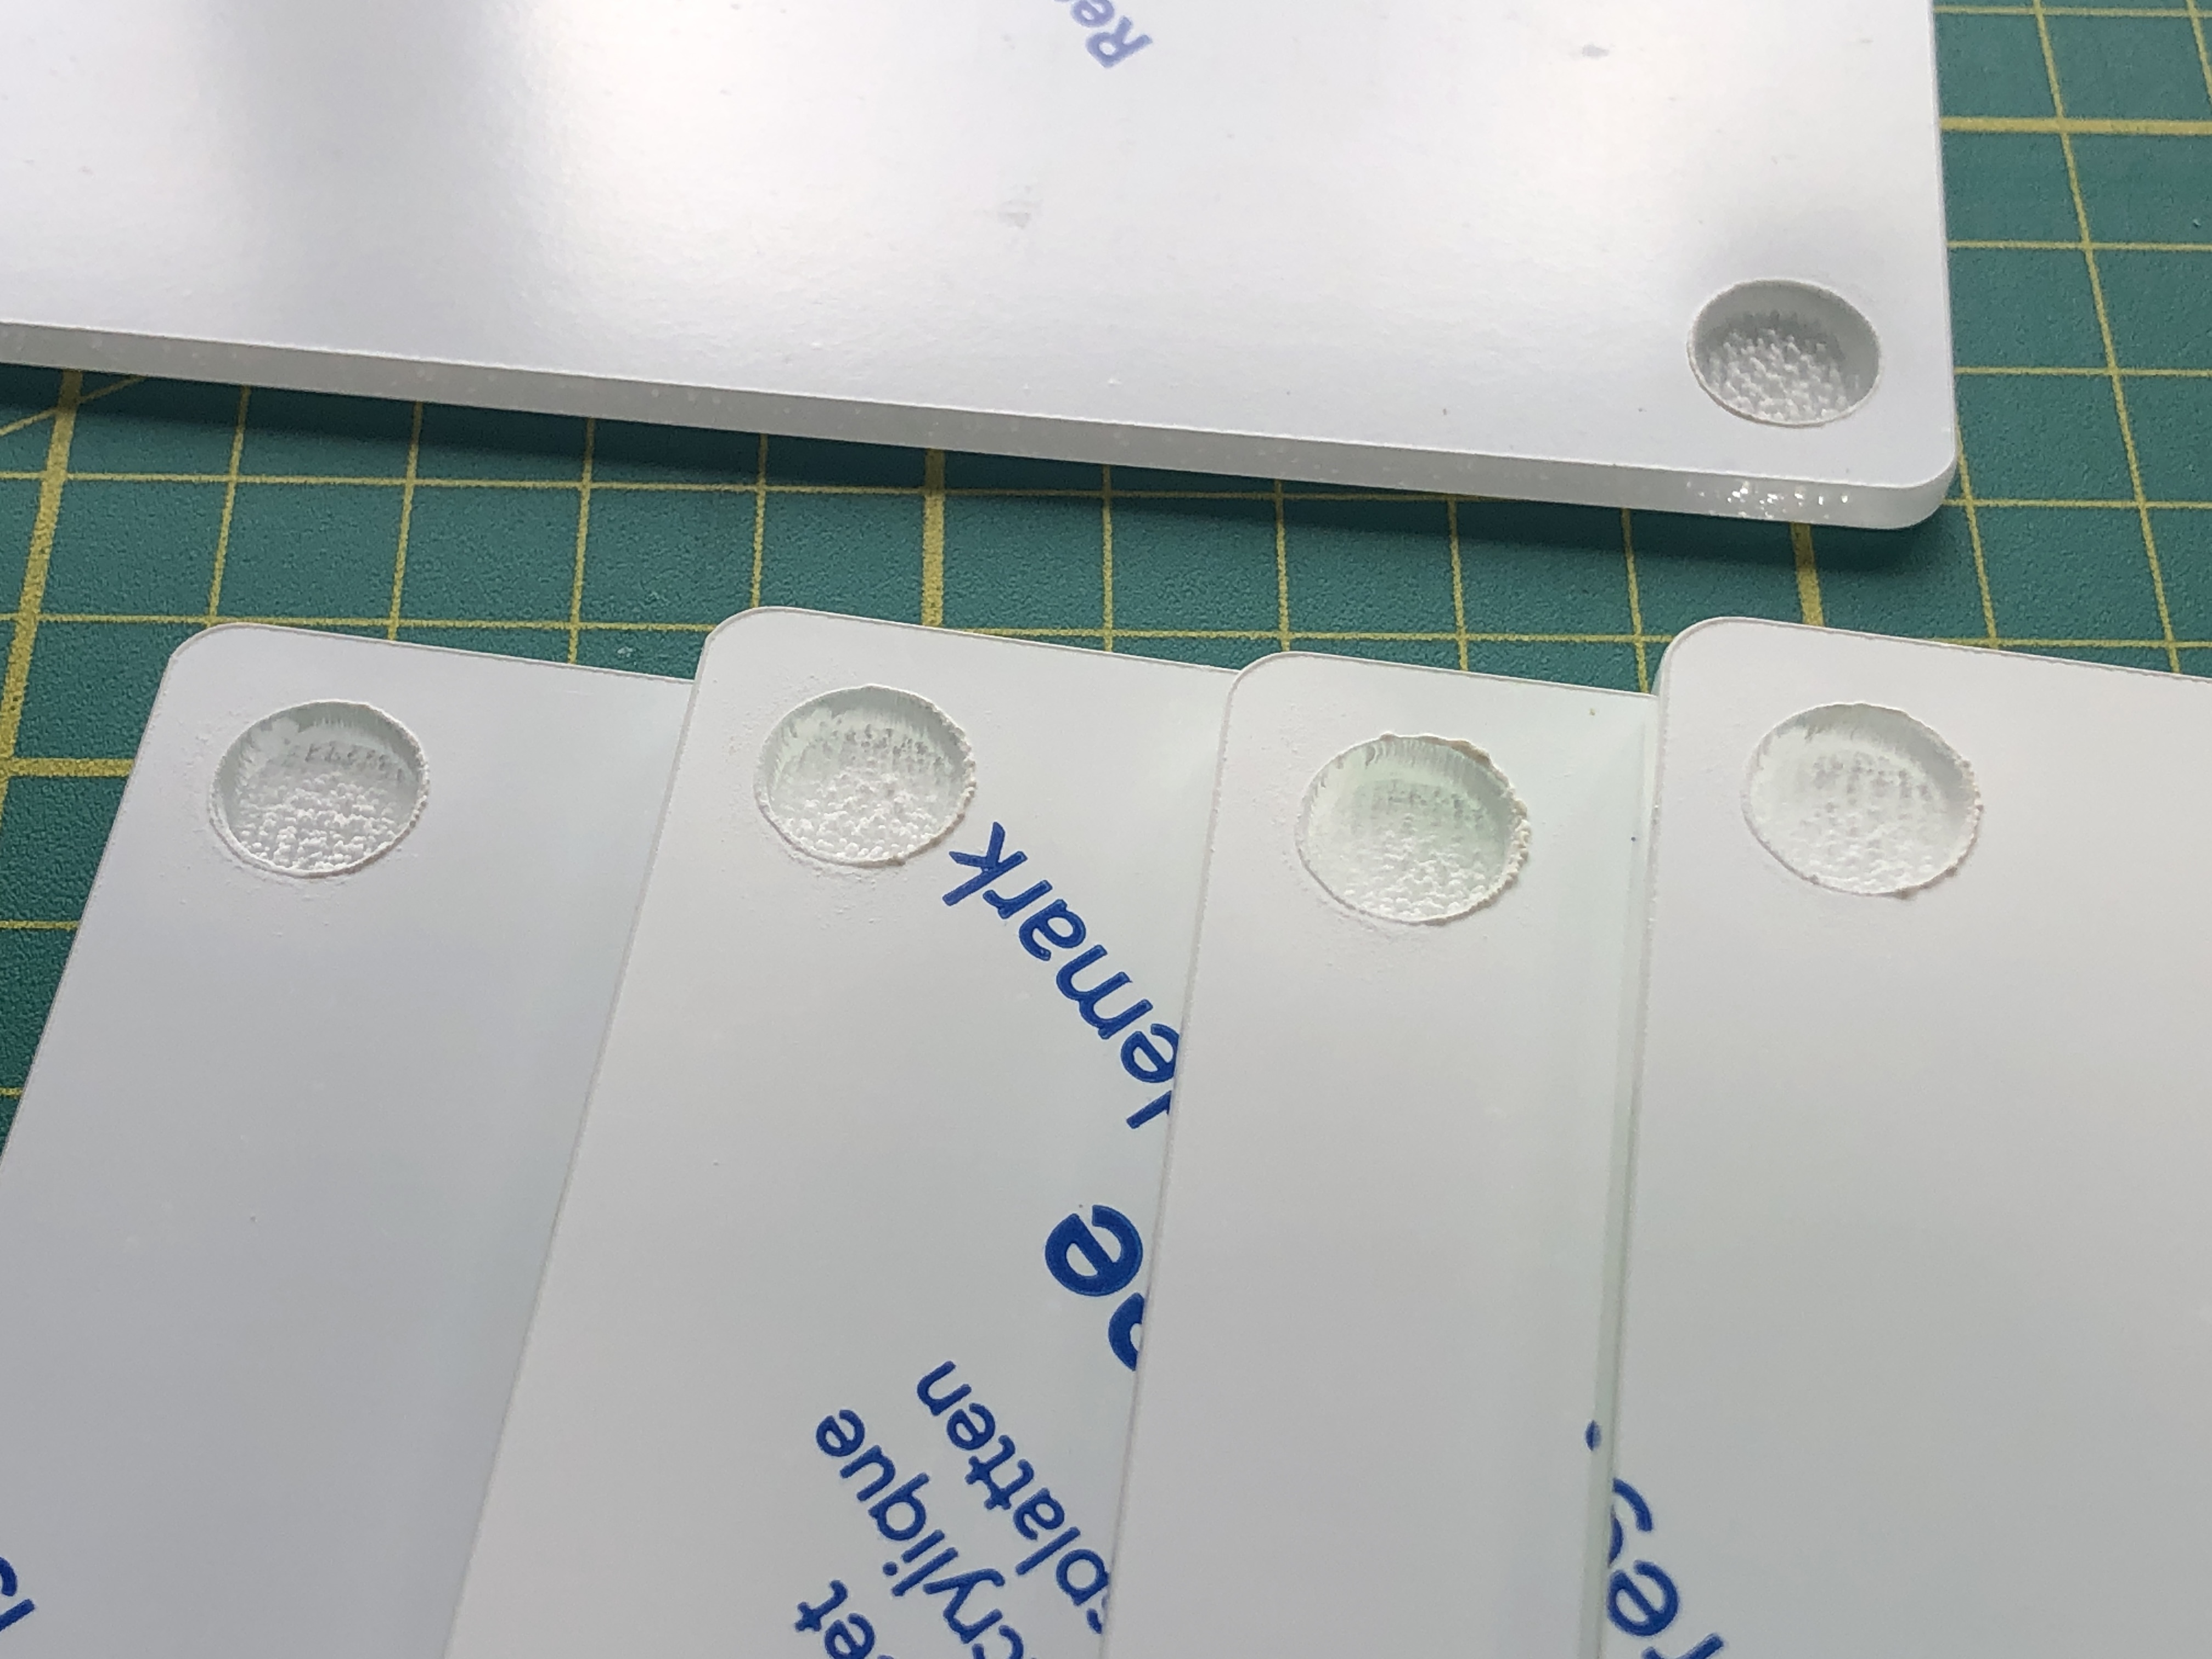
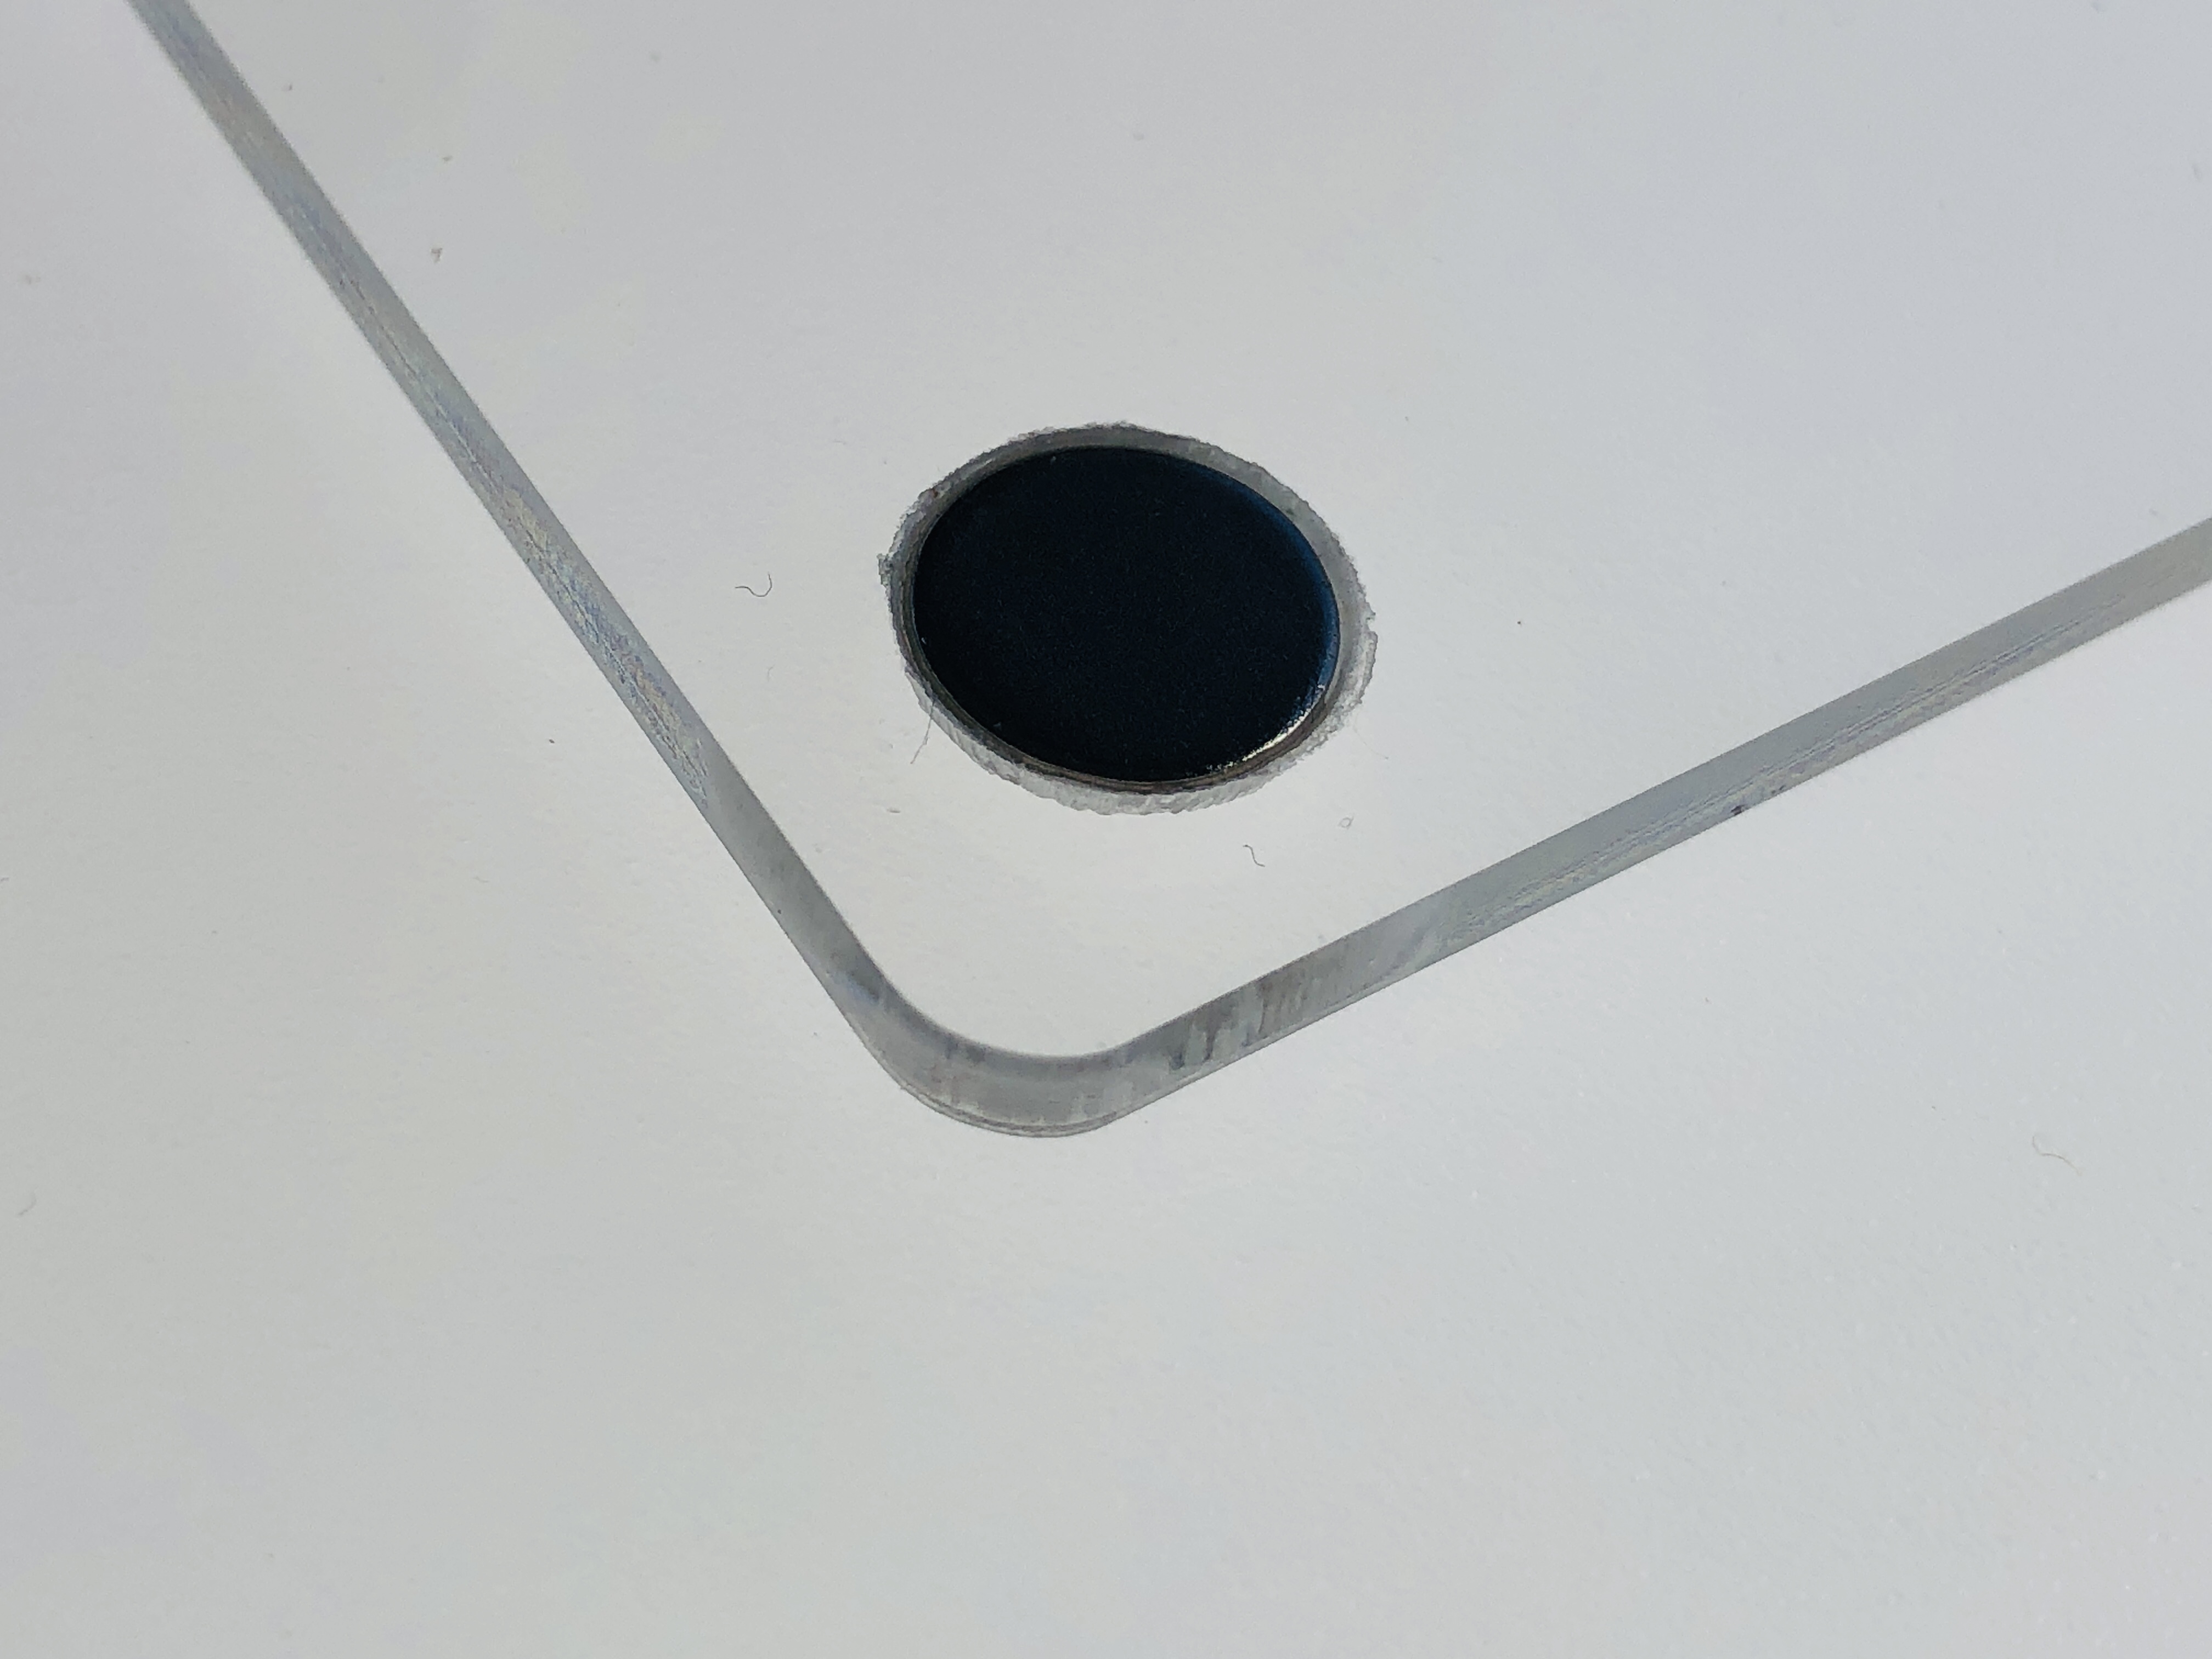
Cutting the circular recesses in both the sandwiching clear sheets of acrylic to snugly fit the 10mm diameter x 2mm thick neodymium magnets took a bit of working out and experimentation – particularly given that I was drilling into 3mm material and had to leave 0.5mm for glue – leaving only 0.5mm material left! I originally tried to use a bench drill and a positioning jig for the acrylic pieces, but that seemed too risky, and with 352 recesses to cut (2 x 4 x 44) – too time-consuming. I then tried to use a CNC router and a positioning jig. But that wasn’t accurate enough across all four corners – and getting perfect registration of the sunken recesses across two different thickness of acrylic seemed problematic. In the end I thought the easiest and most accurate way to bore out the recesses was to engrave them with the laser. This took a bit of experimentation to get the correct depth, but I got there in the end. Also, the rough bottoms made a good biting surface for the glue used to fix the magnets in place.
Recesses engraved into the corners of the clear acrylic support panels to hold the magnets in place.Magnet glued into a clear panel such that the top is level with the clear acrylic support panel’s surface
Conventional stained glass windows have to be strong enough to hold their own weight and withstand the worst weather they are likely to face, and to achieve this there is a great deal of strength built into, and around, them. All the individual glass pieces are welded together in the form of soldered H-sectioned lead strips. This relatively flimsy carcass is supported by being fixed to metal and/or masonry frame/s.
However, the approximately 10mm wide lead H-section strips are what on the one hand give conventional stained glass it’s traditional thick wire-frame look, but on the other hand means the stained glass pieces themselves are very basic and simple shapes. This low resolution can be largely overcome by over-painting, but the pronounced wire-frame effect of the lead strips is a given. Some people may like this effect, and, to be fair, the further away you stand away, the less intrusive it looks.
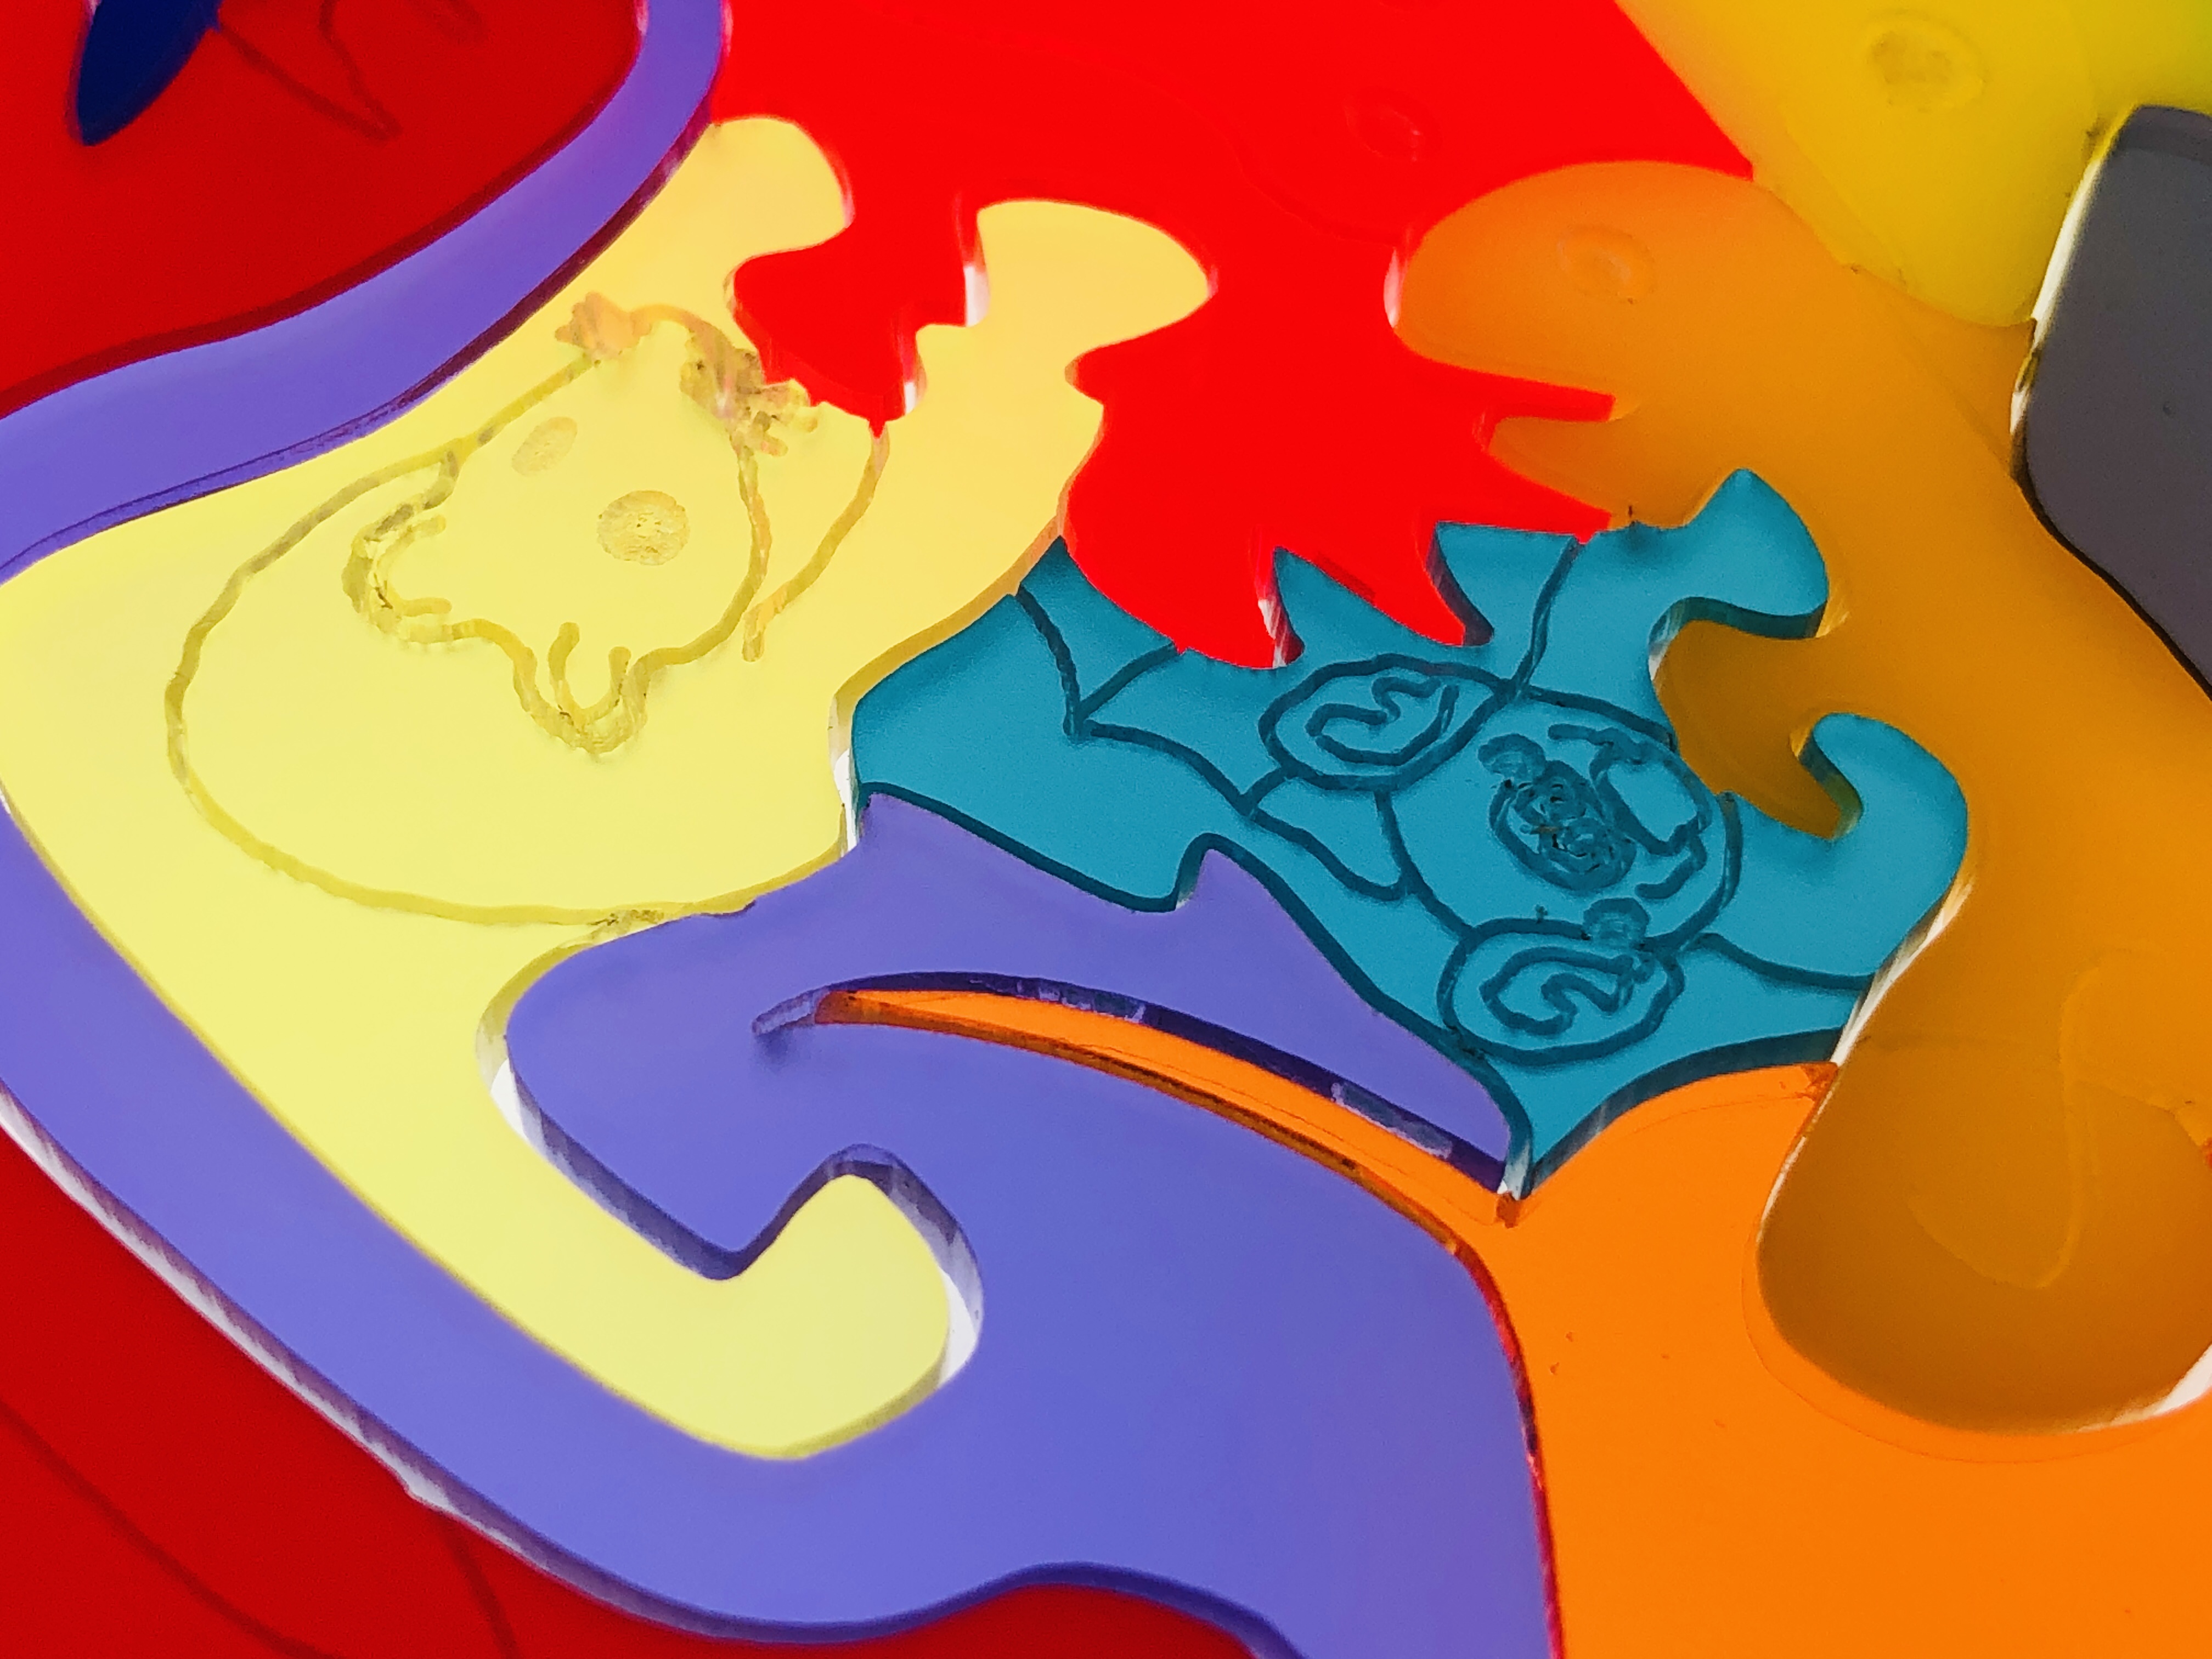
Coloured acrylic provides a completely alternative modern approach. The “stained glass” can be sandwiched between two clear sheets of acrylic (or glass), and optionally the whole design can be fixed in a frame and placed anywhere… There is no need for leading – or faux leading – at all. For practical purposes it’s useful to have a small gap between the pieces – if, for no other reason, to be able to assemble (and optionally disassemble) the pieces. This can be quite advantageous because on close inspection it provides for a halo of a thin gap of light between and around the pieces – see photo below :-
What’s more, unlike welded-in stained glass pieces, because the acrylic pieces are not fixed in position (they cannot move if supported around the sides), the whole design lends itself to be a (jigsaw) puzzle as well as a decorative beautiful “stained glass” artwork… This simply requires that there be some way to easily open the framed sandwich – hence why I chose to use simple magnets to hold the three panels together…
Not having leading means literally more light comes through, but, on the positive side, leading more clearly defined the edges of shapes – and so may be preferred for that reason. However, there is nothing to stop you using leading, faux leading, piping, or indeed a purpose-cut lattice of opaque black (or any other colour) acrylic – if a shape-outlining effect is desired…
In conclusion, using coloured acrylics for creating stained glass effects offers a great number of opportunities and there is seems to be nothing that cannot be achieved using it compared to conventional stained glass techniques and real glass. I’m very encouraged by the future possibilities of using coloured acrylics, and have several designs already in mind. Watch this space…
Long-eared owls are ferocious predators (as are all owls) – and will basically eat anything that moves that is smaller than them. They often swallow their prey whole, and regurgitate a large pellet of the undigestible parts – such as bones, teeth, hair, feathers. Indeed, examining their pellets is how ornithologists know so much about what they eat.
This is a precision laser-cut and engraved “art” puzzle – directly cut and engraved in premium 3mm coloured cast acrylic from an original digital hand-drawing. The design is a specially modified version of my original hand-cut 40mm thick solid oak artwork entitled “Long-eared Owl (Art Puzzle) (You are what you eat)” (2022)
I have created a few stained glass designs in the past – using stick-on lead piping and coloured glass inks. At the time I was happy enough with them, but they weren’t very good. The solidity of the colours wasn’t there, and the colours faded over time. I do find there is something magical about transparent materials – as well as them being beautiful because their appearance changes dramatically from different angles, and by the changing light falling on them.
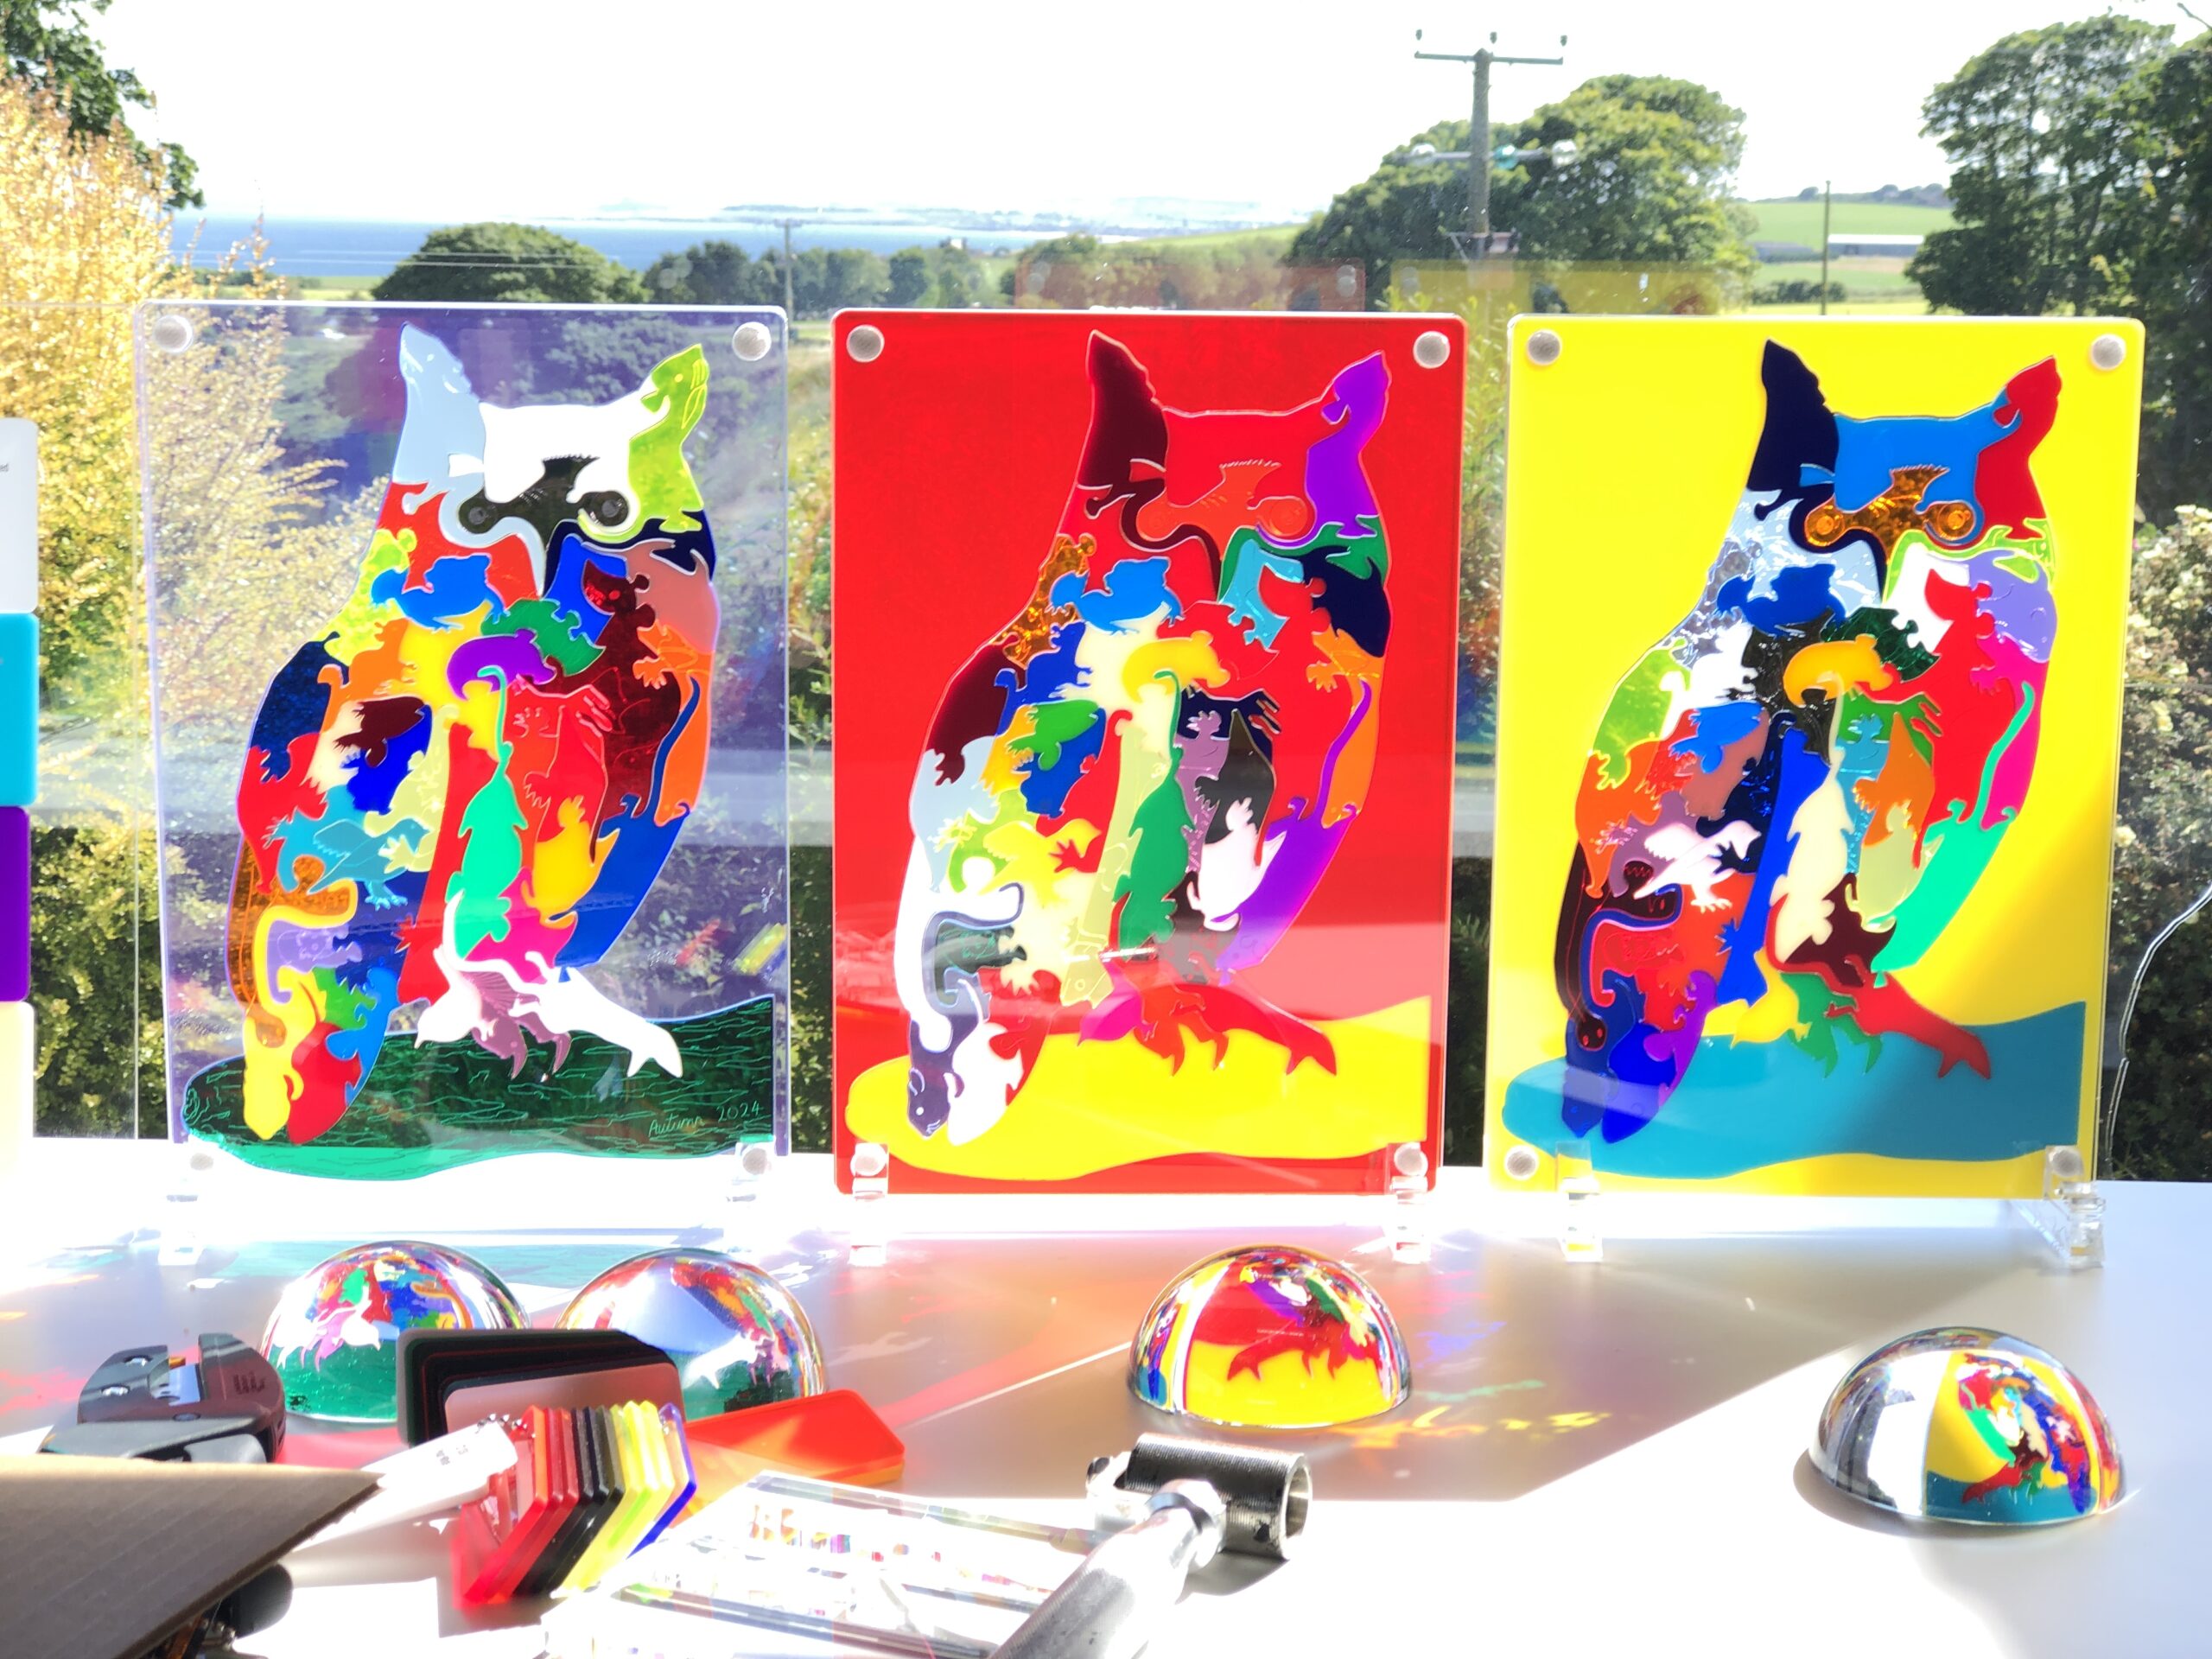
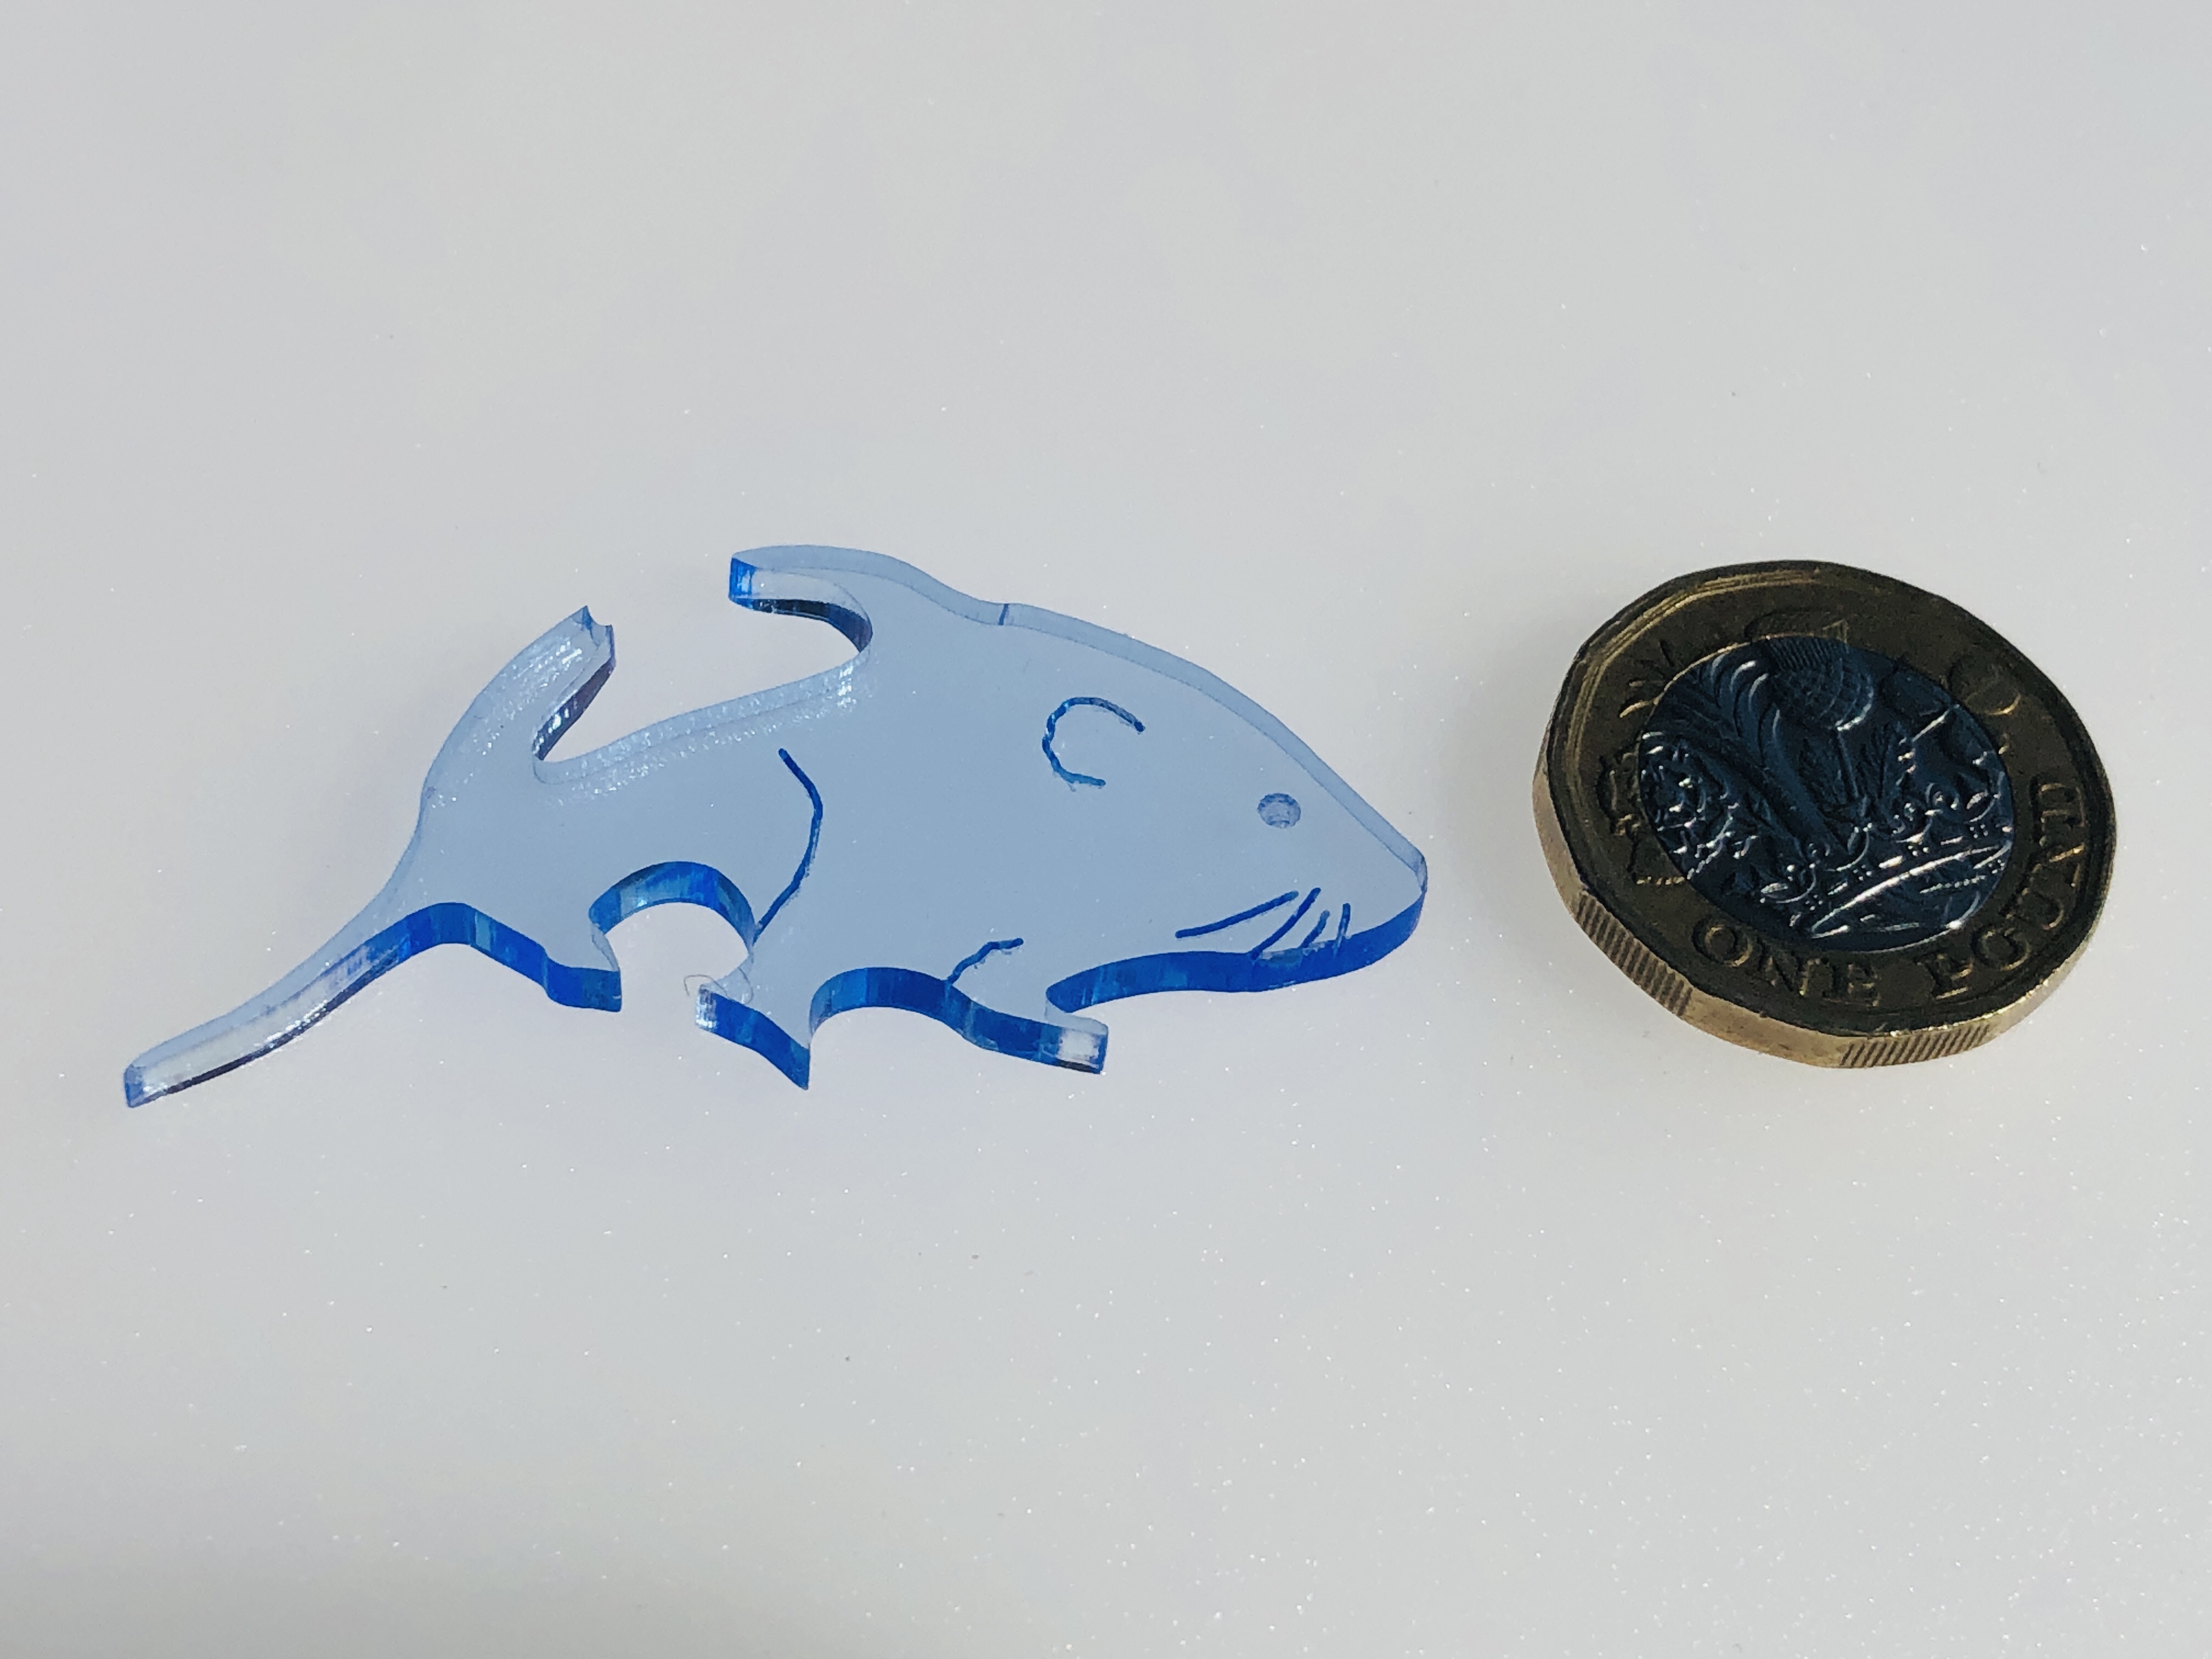
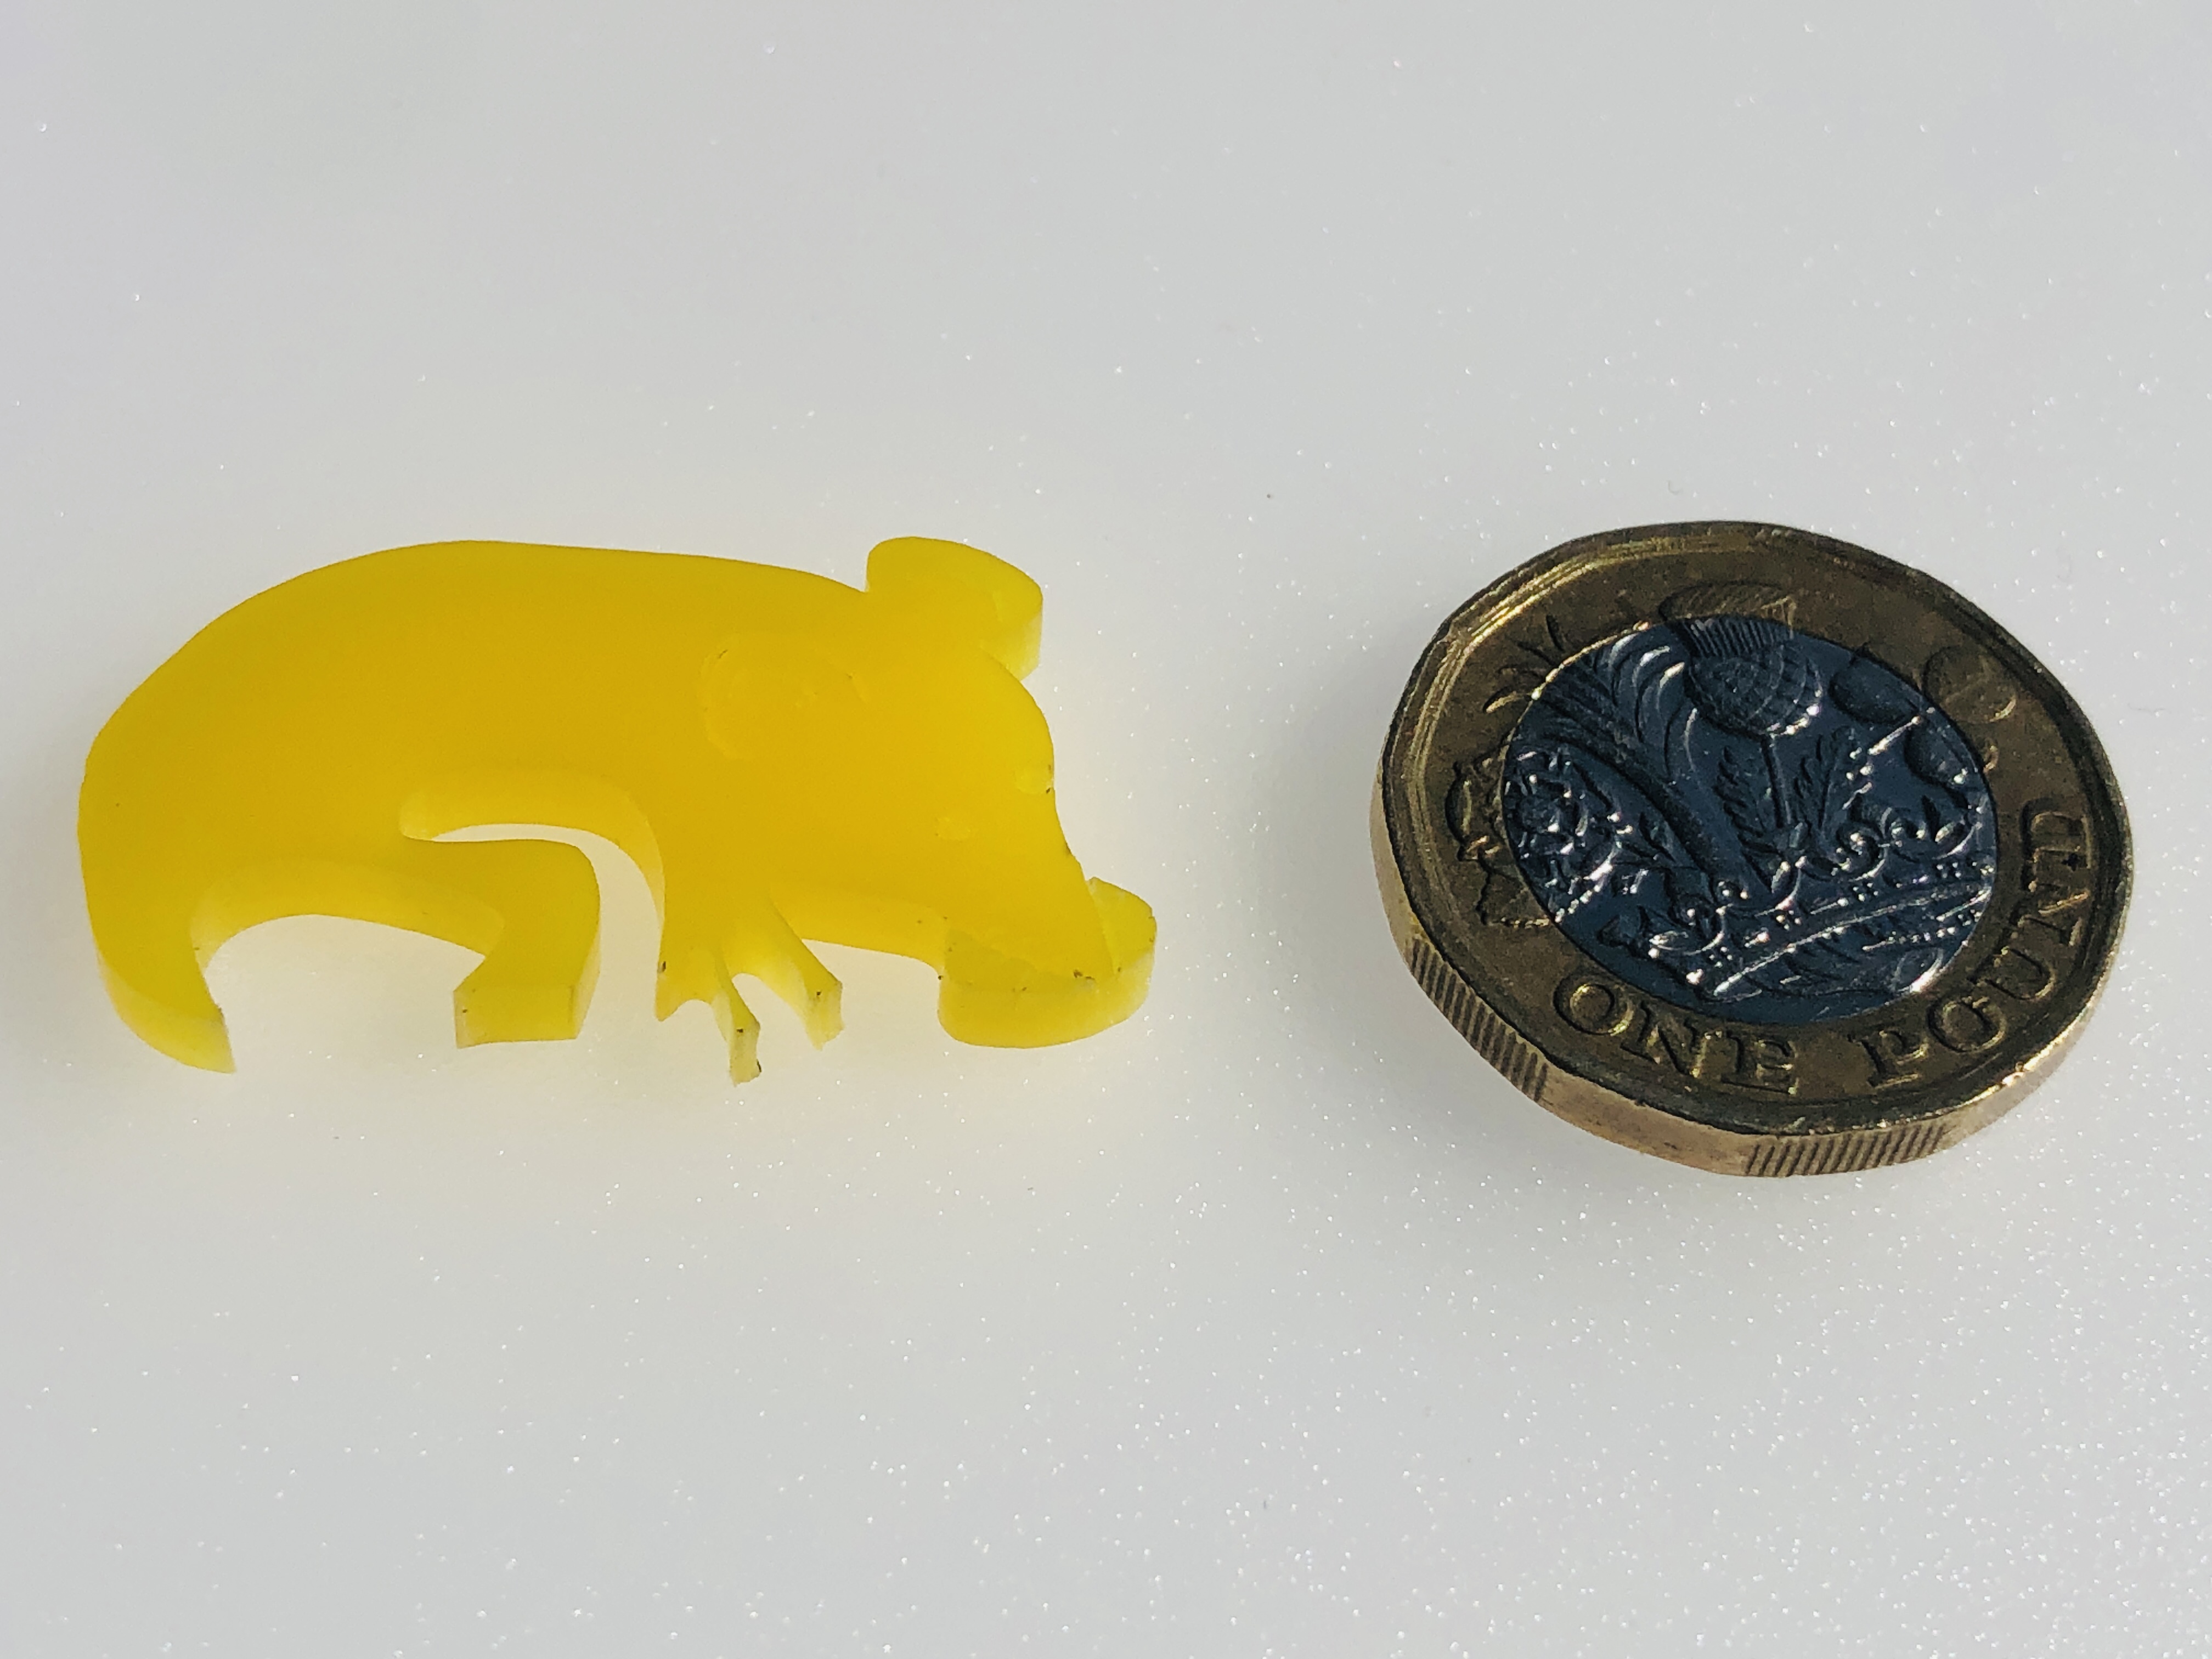
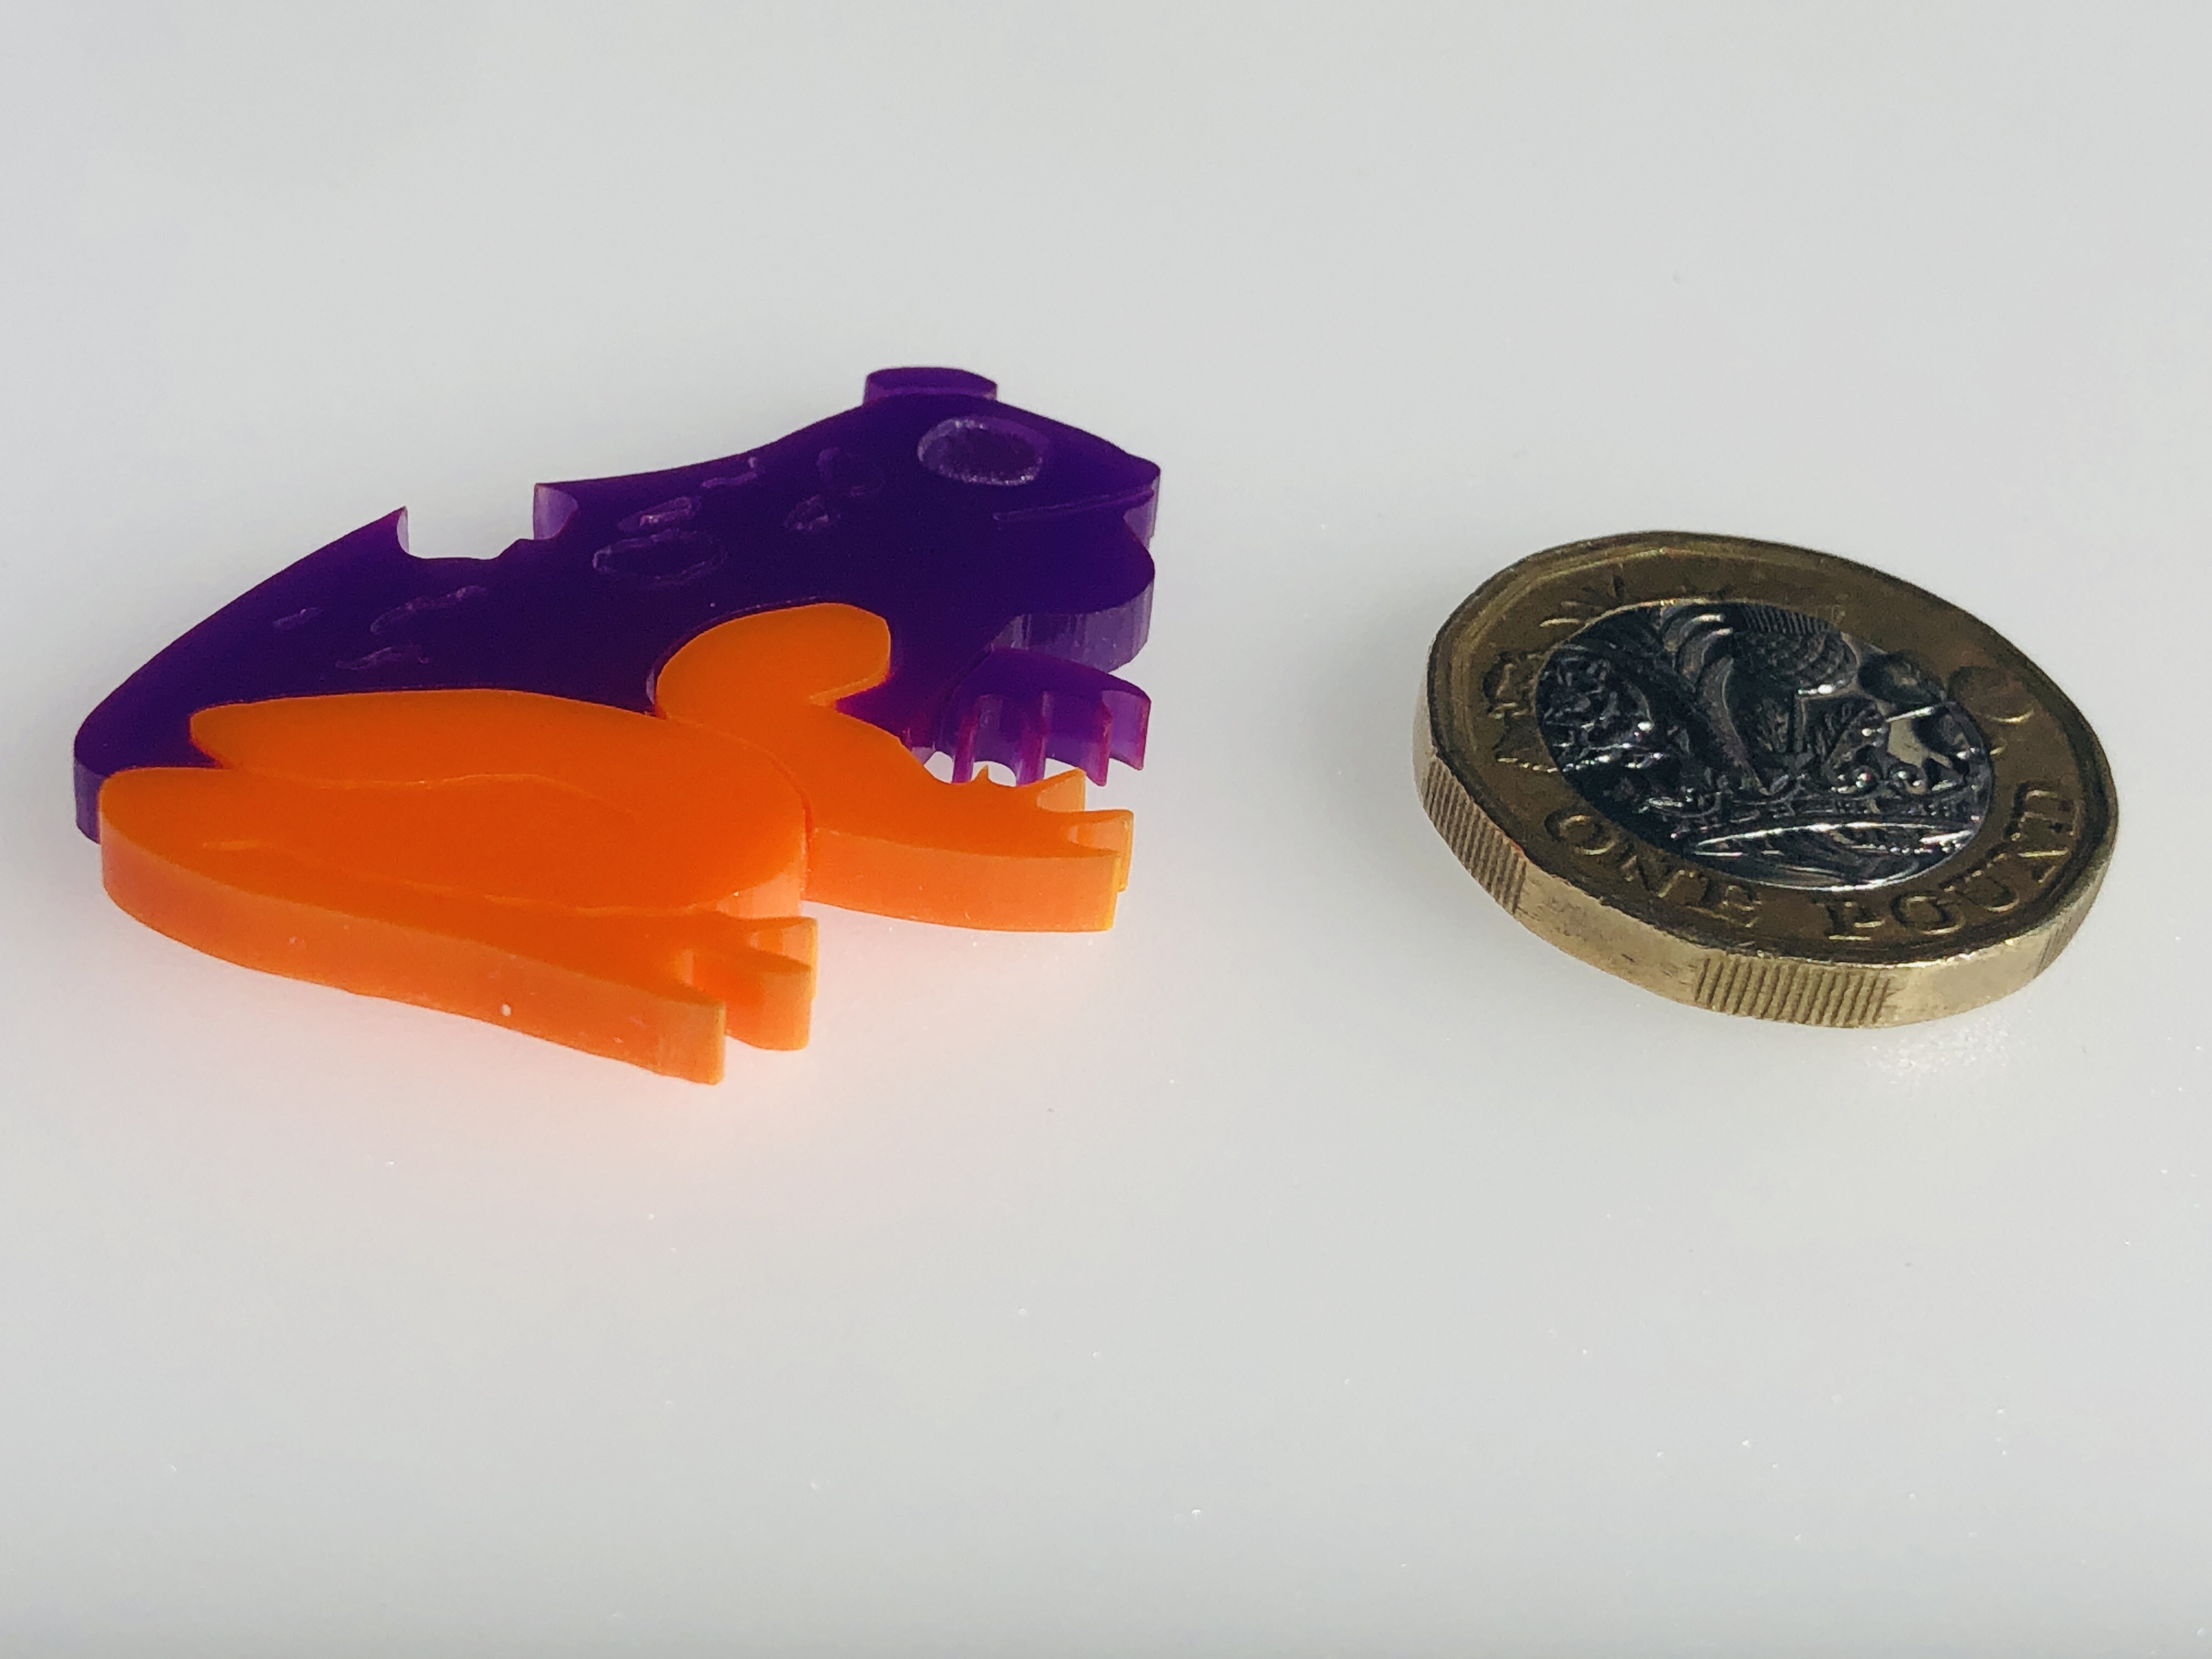
Here are a few of the many varieties I have made :-
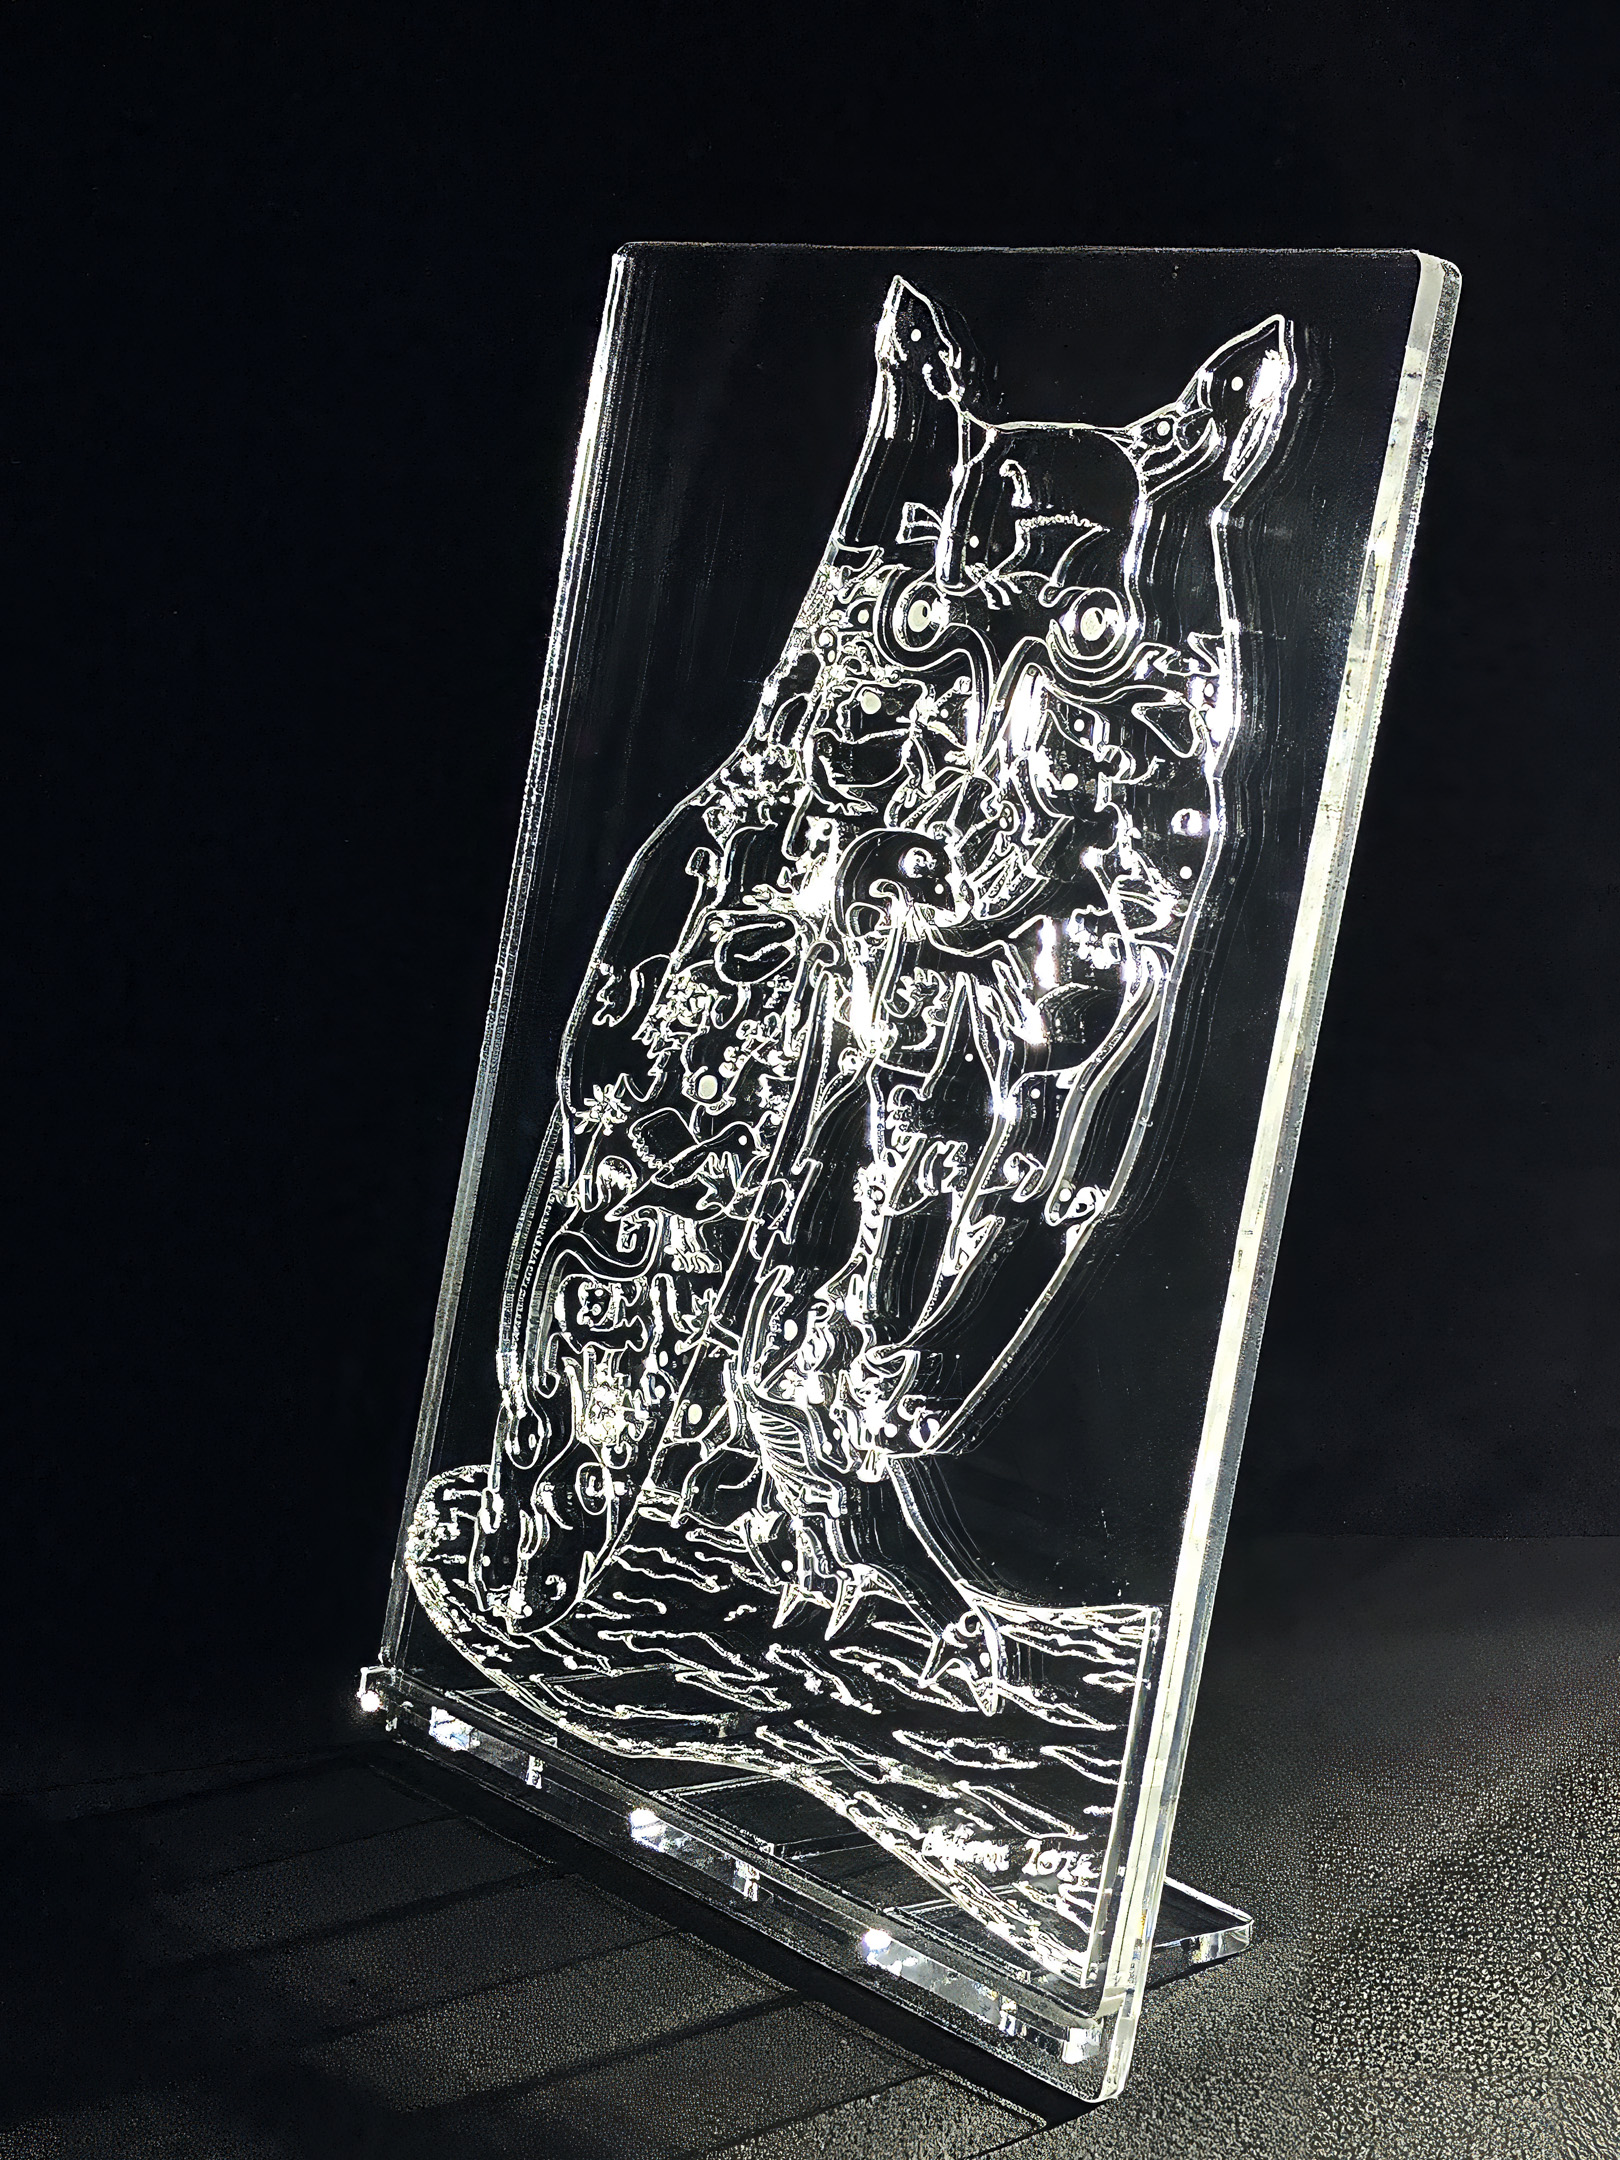
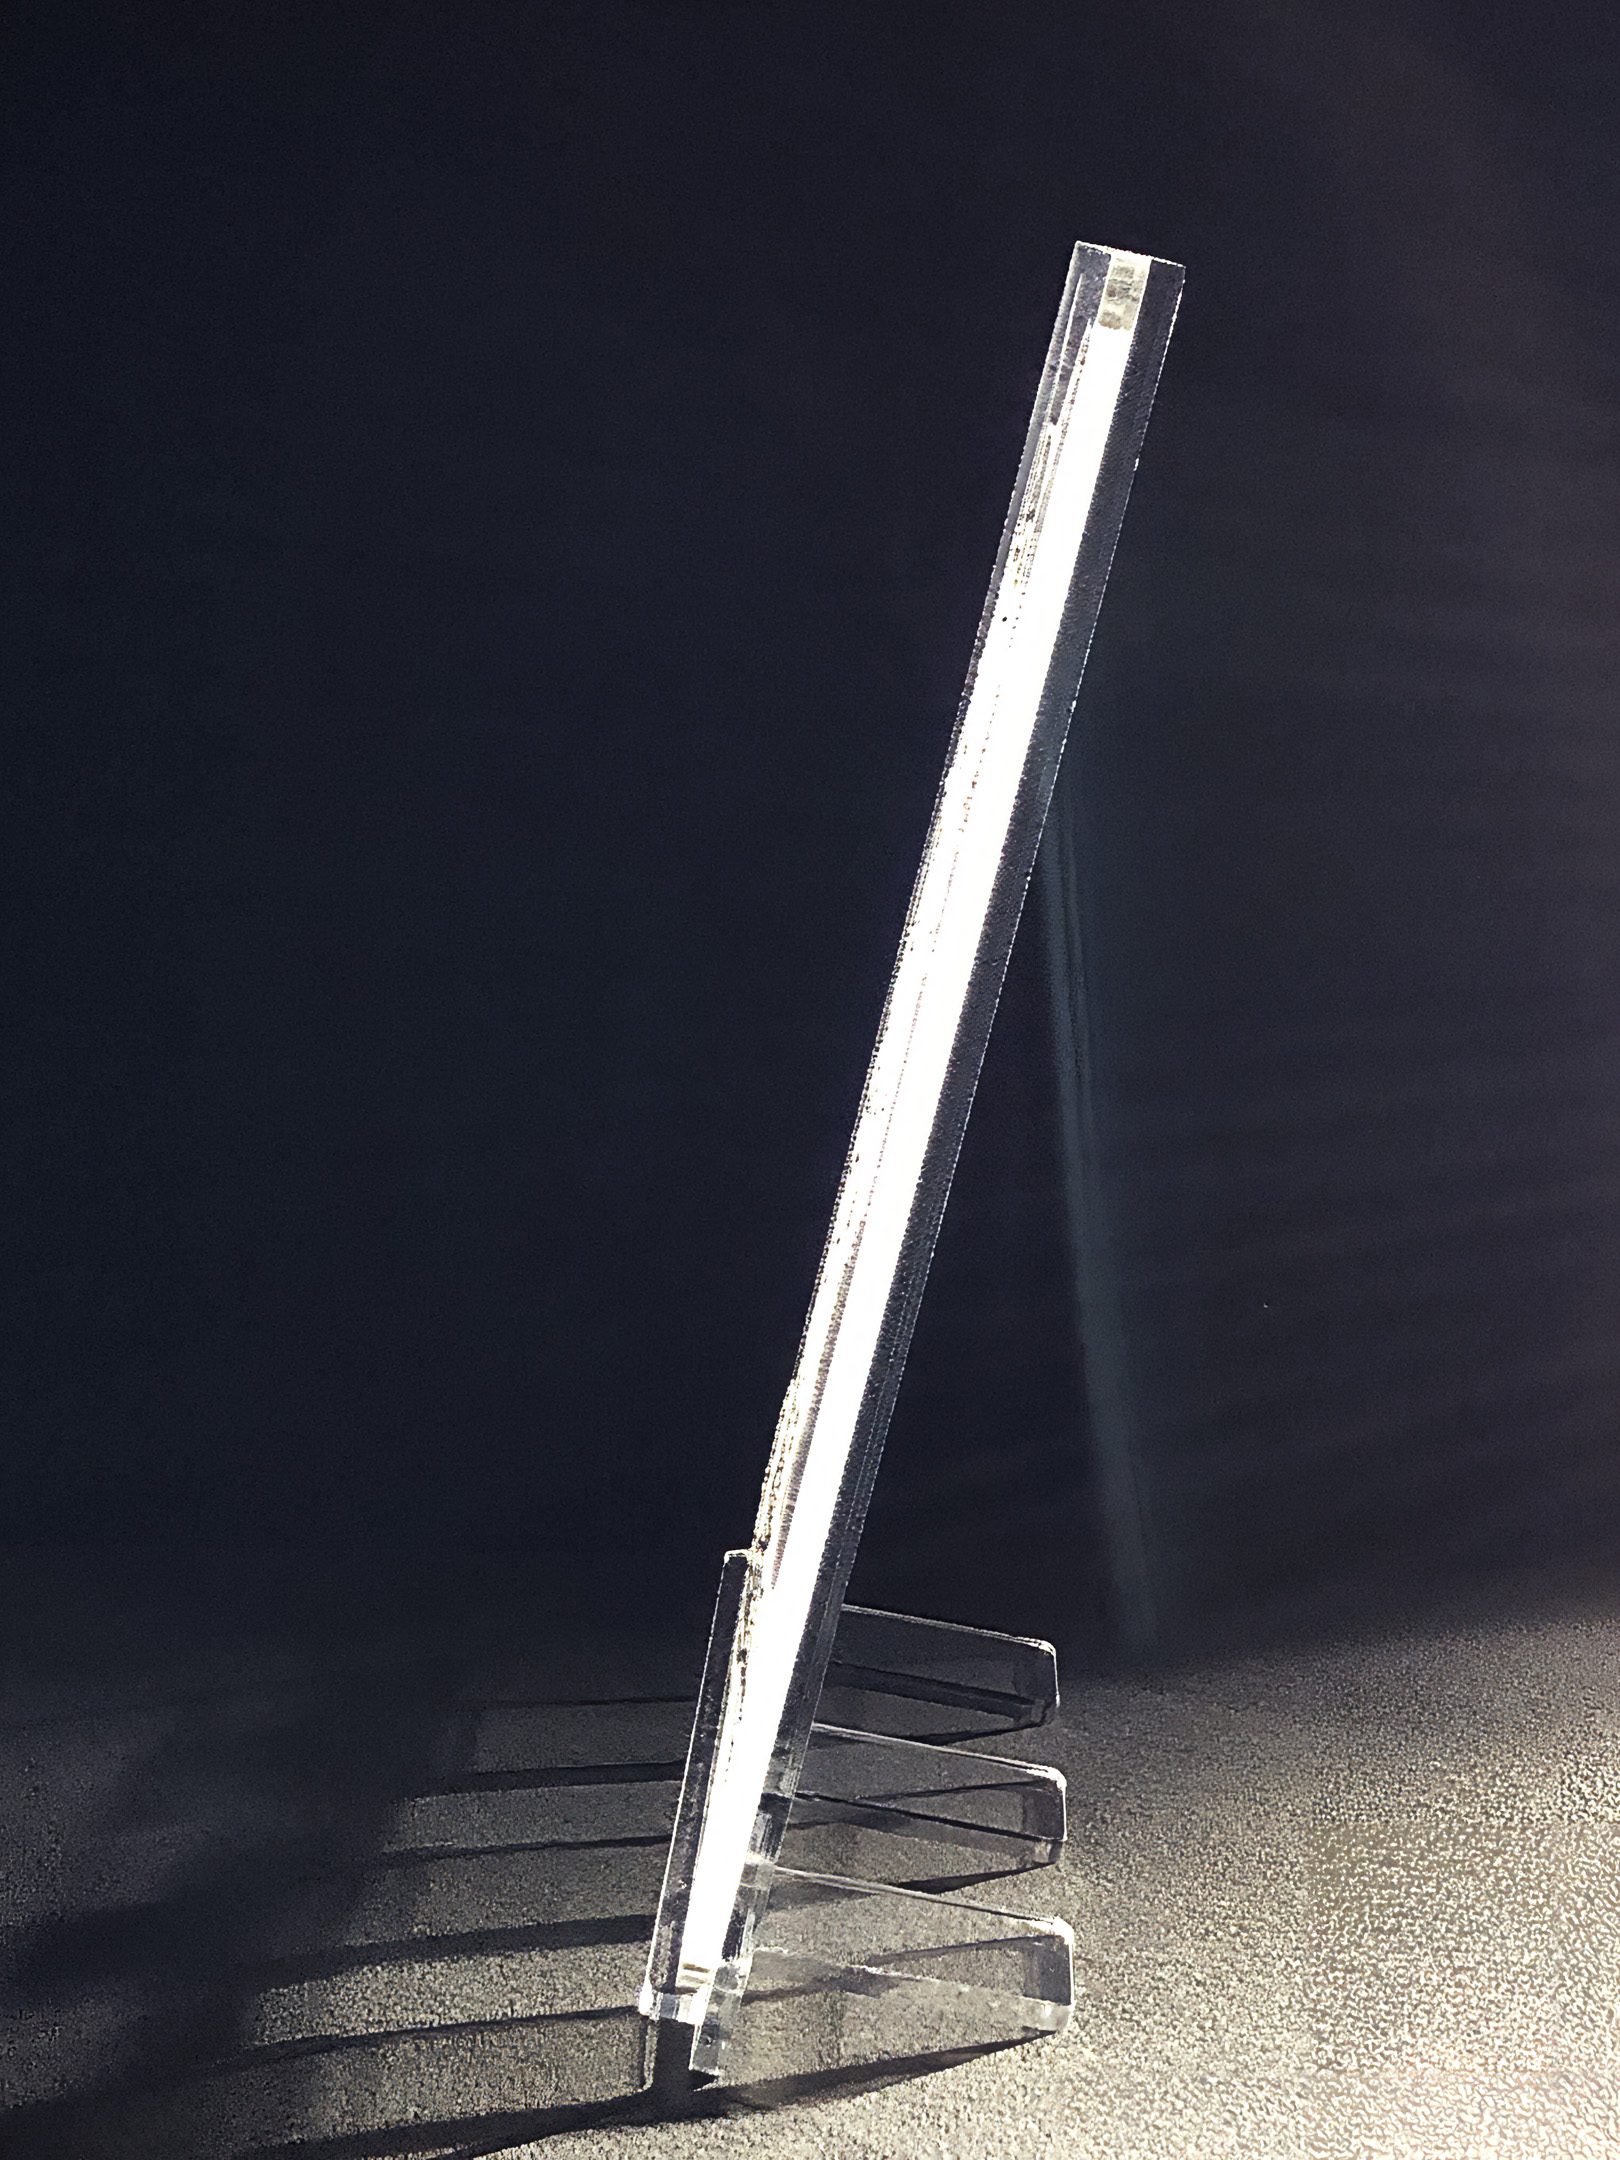
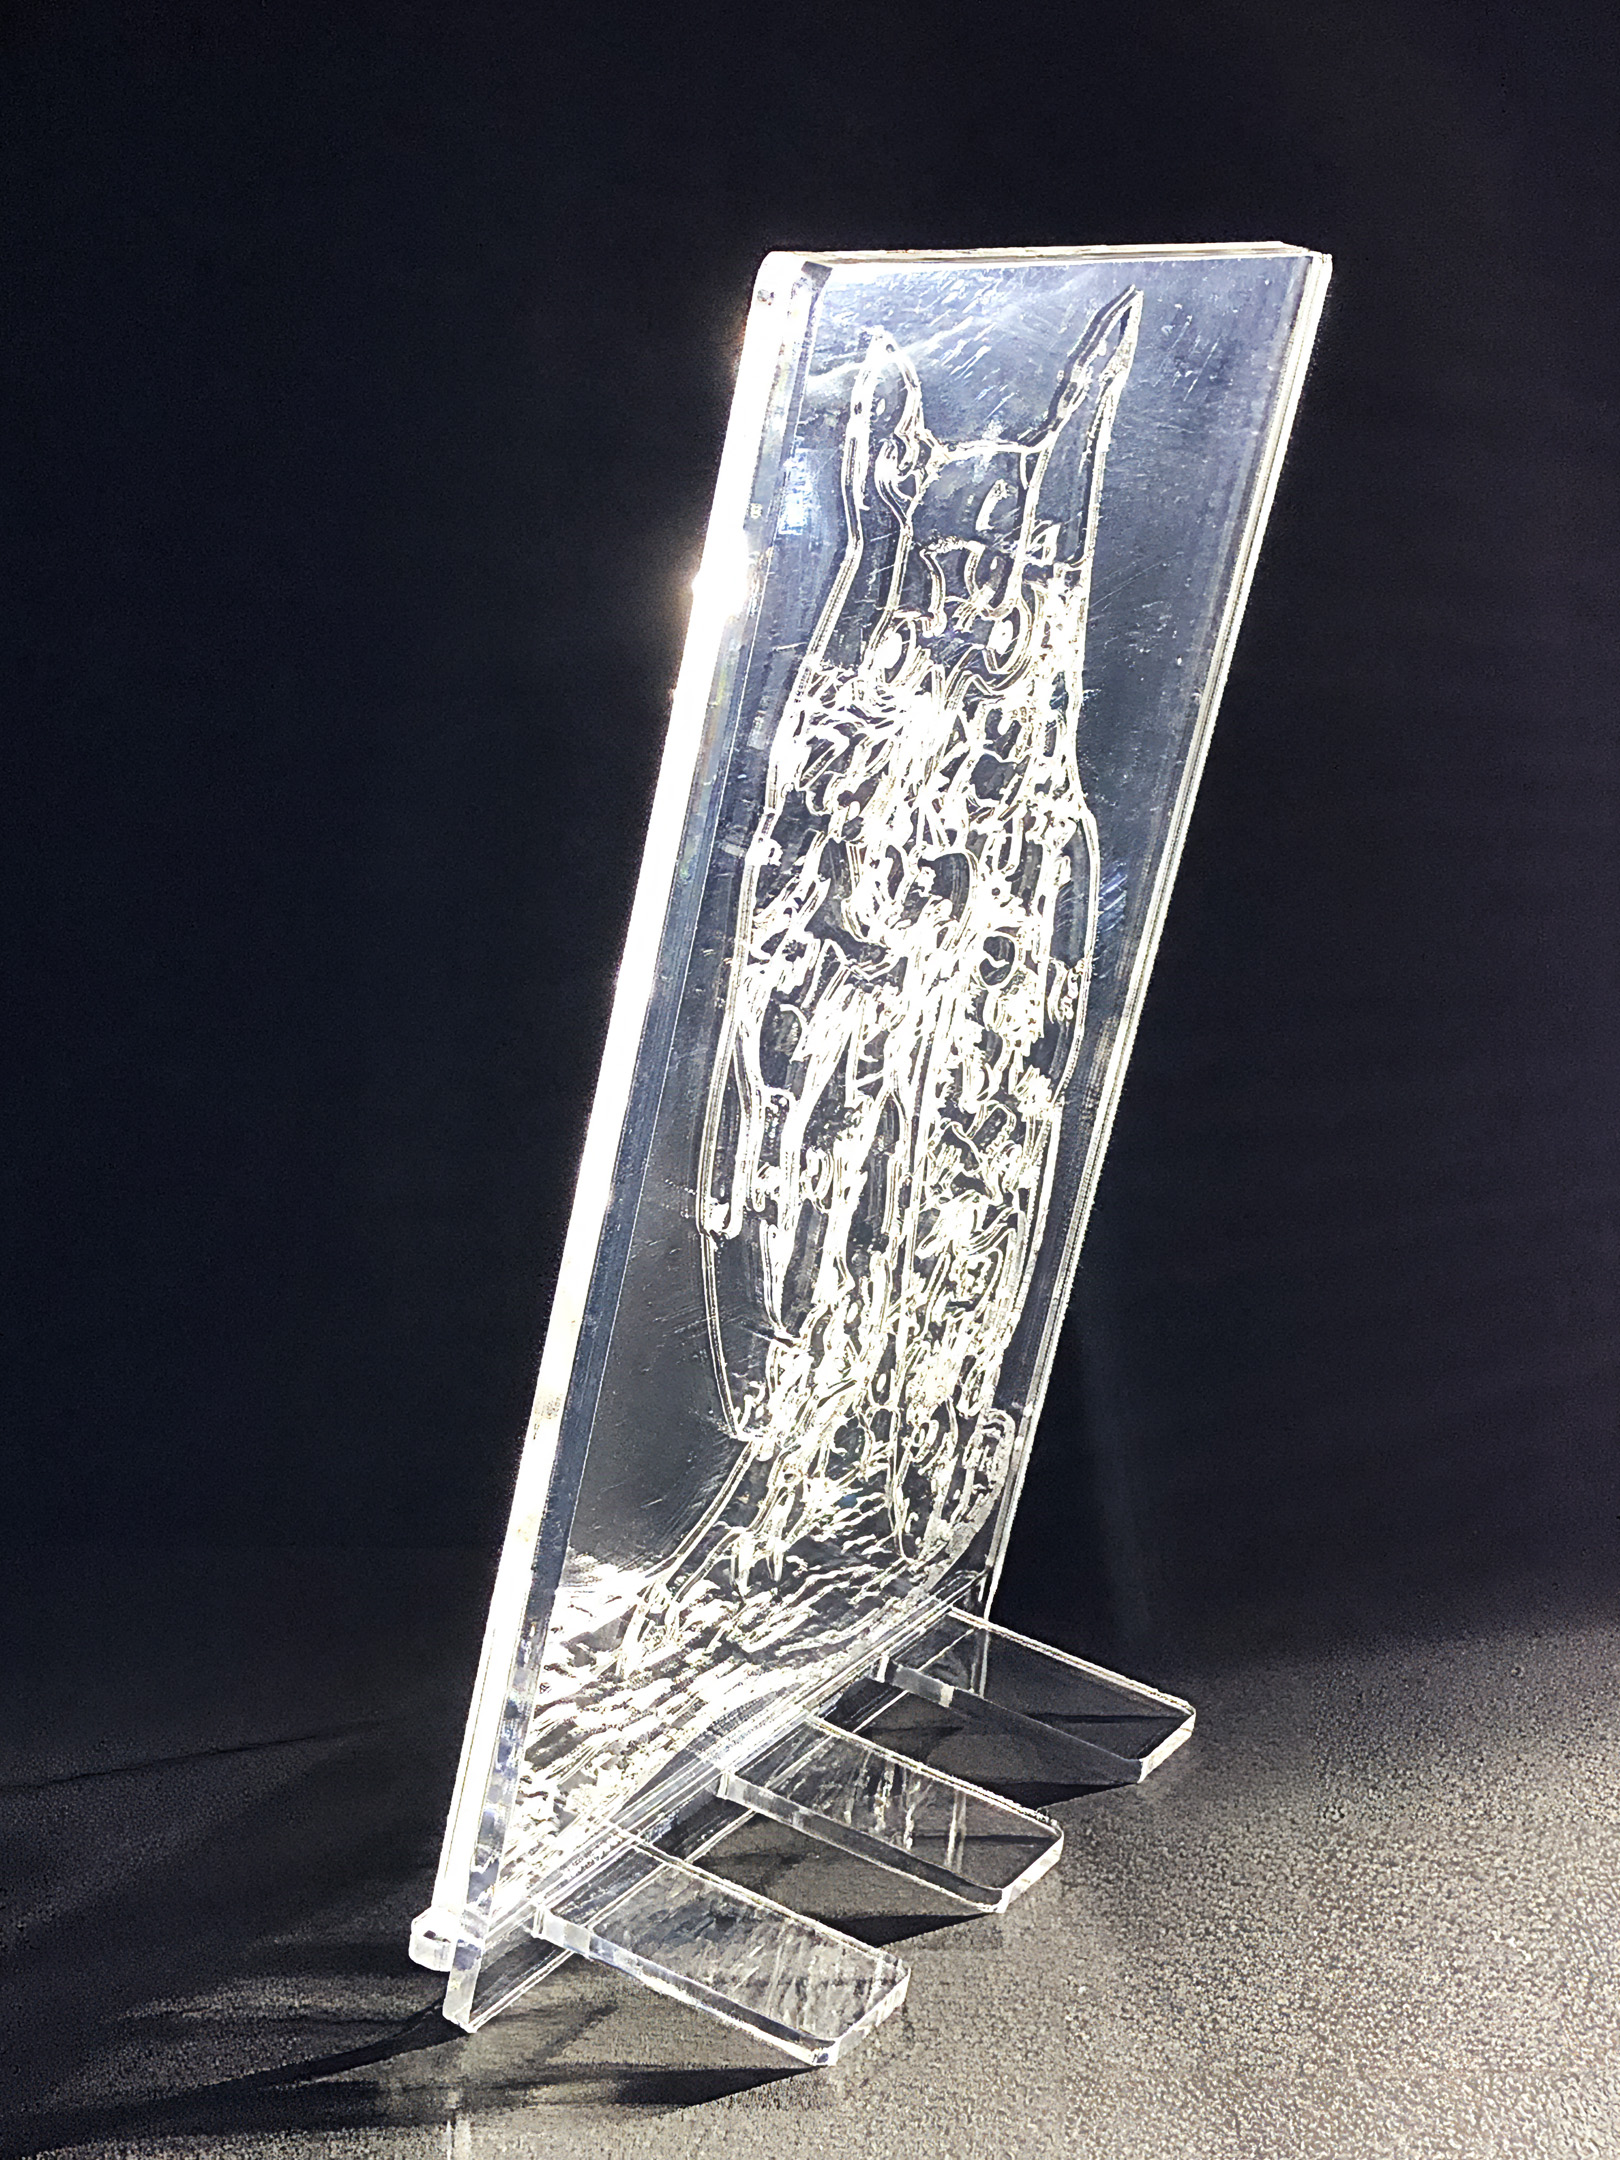
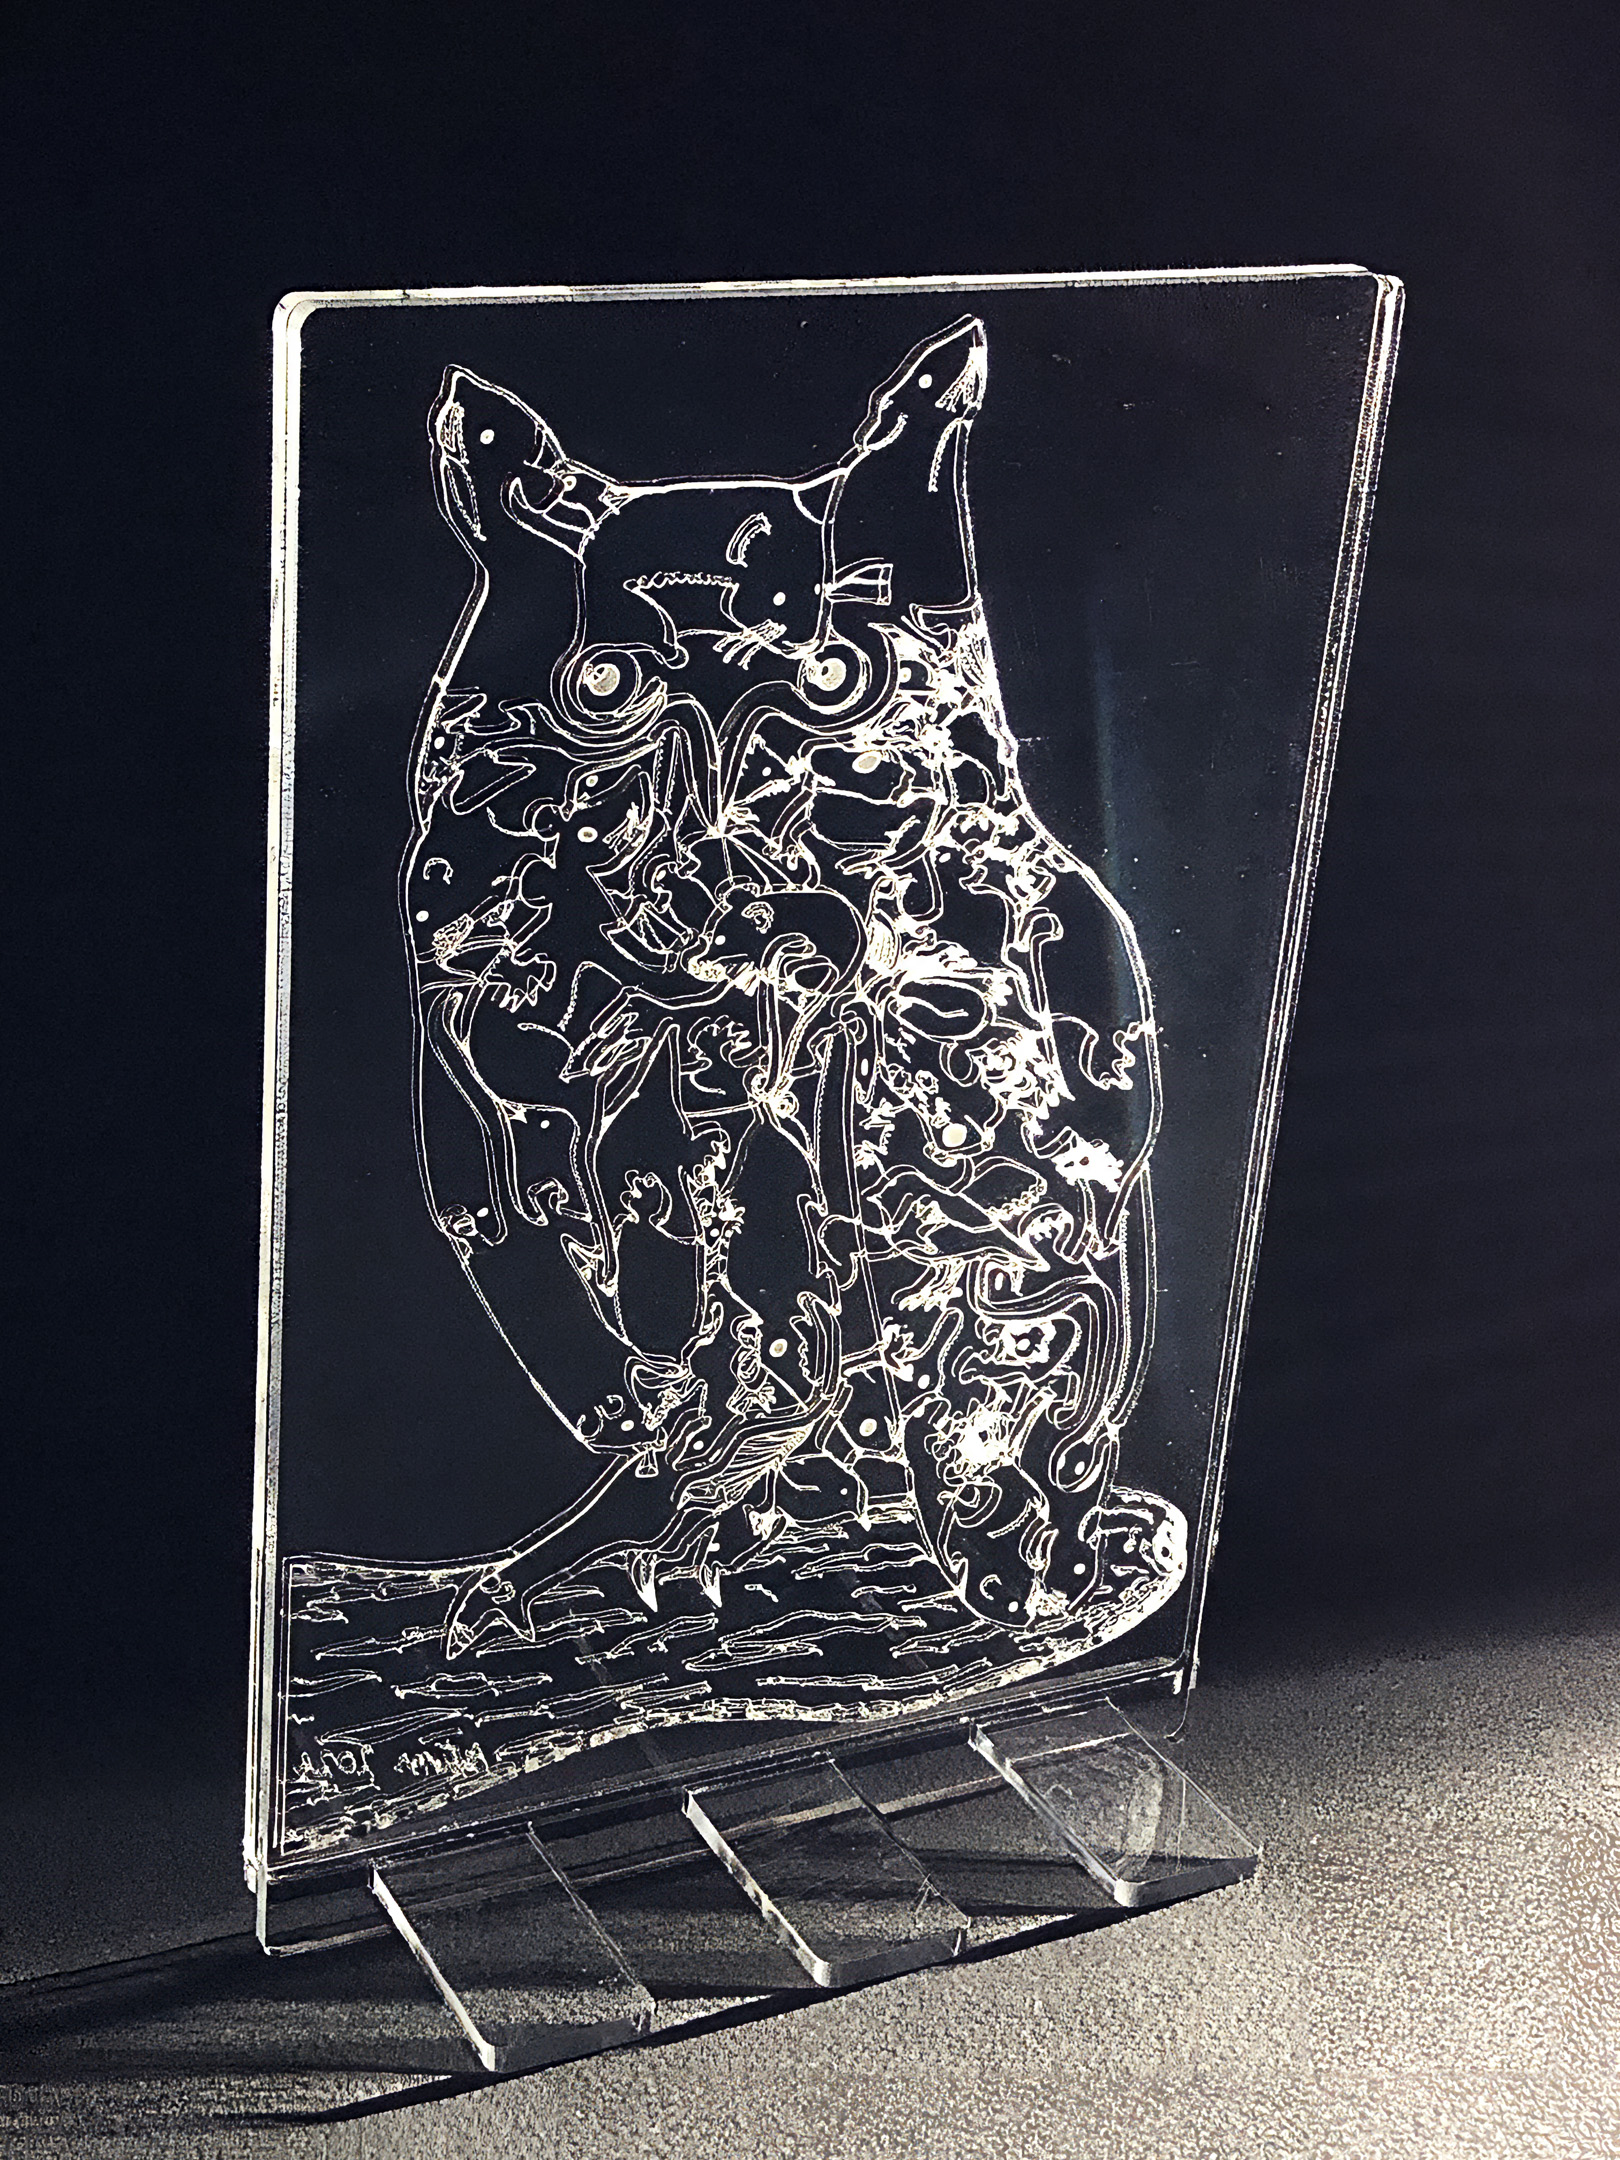
Artist: Michael Autumn Medium: Clear cast 5mm Perspex® – laser cut & engraved from a hand-drawn digital design Size: 19cm (W) x 29cm (H) (including stand) Edition: Unlimited Date: 05/2024 Country: UK For sale: Available to buy on Etsy – https://www.etsy.com/uk/listing/1741855133/long-eared-owl-you-are-what-you-eat
Description: The idea behind this artwork was to have a tactile, life-sized, long-eared owl, and to toy with the idea – “You are what you eat”. Long-eared owls are ferocious predators (as are all owls) – and will basically eat anything that moves that is smaller than them. They often swallow their prey whole, and regurgitate a large pellet of the undigestible parts – such as bones, teeth, hair, feathers. Indeed, examining their pellets is how ornithologists know so much about what they eat.
This is a precision laser-cut and engraved “art” puzzle – directly cut and engraved in premium 5mm clear cast acrylic from an original digital hand-drawing. The design is a specially modified version of my original hand-cut 40mm thick solid oak artwork entitled “Long-eared Owl (Art Puzzle) (You are what you eat)” (2022)
I’ve been longing to create something in clear glass or acrylic for many years because I find there is something magical about transparent materials – as well as them being beautiful because their appearance changes dramatically from different angles, and by the changing light falling on them.
I don’t claim to be an expert in framing by any means, but, as an artist making a lot of original artists prints – in the form of intricately cut and engraved wooden puzzles and engravings – that, crucially, I hope, will survive in pristine condition for hundreds of years – just like my Giclée prints – I have some very demanding or exacting framing requirements. Having made a special study, there seems to be very little published literature on this subject (which is not surprising because it is quite a niche topic) – and what little I have found doesn’t completely fulfil my goals.
An example of the 6mm wooden puzzles I make and want to frame to museum (FATG level 1) standard
Before getting into what my requirements are, let me start by setting the scene. Framing is a compromise between conservation (or preservation/protection) and public display. At the extreme, one could wrap the artefact in something chemically inert and pH neutral (6.5 – 7.5) – like cotton rag or archival tissue paper – and keep it in a microbe-proof, insect-proof, light- and air-tight, container – in a temperature- and humidity-controlled environment. This is precisely how the vast majority of precious museums’ and galleries’ artefacts are kept all over the world – in storage, and out of public view (can be as much as 95% of their collection!) – the reason being that the vast majority of these heritage institutions simply do not have the space to display all their (often growing) collections.
At the other extreme, the artefact could be displayed as-is – giving the viewer a completely unhindered view – as if it were right in front of them. For example, imagine seeing and handling a precious 14th century illuminated manuscript. How long would that survive…?!
Attribution: Katie Hunt from St Albans, UK, Public domain, via Wikimedia Commons
Unfortunately artefacts demonstrably deteriorate from the effects of ultraviolet (UV) radiation, airborne and material-contact acids (like the acids produced from the degrading lignin in wooden frames), temperature fluctuations, consumption and decomposition by the FBI (fungi, bacteria, and insects), water/moisture, etc. – and so valuable and/or irreplaceable items need to be protected from these harmful forces.
A balance needs to be struck between making the artefacts accessible – and this invariably means viewable by the public at close distance – and protection/conservation. Conservation is a special and vital consideration because it involves maintaining the artefacts in their current condition for as long as practically possible – and this invariably mean hundreds of years. The publicly viewable conserved artefact is invariably achieved by encasing it in a display frame – i.e. a completely fixed and controlled internal and external environment – using materials and techniques that demonstrably preserve and protect – and which have passed the test of time.
What are my special requirements of framing wooden puzzles? Well, it stems from the fact that they are not completely flat (2D) – like a lot of conventional flat art is. They are not what is conventionally considered 3D, however, they do have thickness or depth because of what they are made of – and this is conventionally called “2.5D”. And what they are made of, and how thick the material is, is relevant to their aesthetic, heritage, and value – and so I feel strongly that this should be visible in a frame. To display a wooden puzzle simply as a flat, 2D, object makes it virtually indistinguishable from a conventional print or drawing, it’s impossible to see what it’s made of – and I feel something vital is lost. If you look at my conventionally framed “Long-eared Owl with Oak Foliage (Art Puzzle)” (2023) – this is scored and cut plywood (see below),
the cut lines and score lines are intentionally indistinguishable from each other (to trick the viewer – a metaphor for camouflage) – and so one could easily mistake this for a drawing on paper – rather than something which is made of 3mm plywood and has been extremely intricately cut and scored by a very high precision laser (see below for an “exploded” view)…!
I think it’s important to see what material the puzzle is made of, and how thick it is – and this means being able to see the sides as well as the back. So this means, at the very least, there has to be unobstructed glass at the front, sides, and back…
As a frame of reference (pardon the pun!), here’s a diagrammatic cross-section of a simple frame (without a windowmount) :-
Obviously the sides and back of the puzzle cannot be seen, and the frame rebate obscures part of the front.
One option I considered is a double-sided version of the framing method called direct contact overlay (DCO) or encapsulation – which involves holding the artwork down flat with a very thin sheet of clear polyester film such as Mylar®/Milenex® or Reflex®, or extremely fine mesh fabric like nylon tulle or silk Crepeline® – stretched over a sink mat (inlay mountboard). At the very least this approach would involve a sheet of polyester film or fine mesh fabric on both front and back, with window mounts on the front and back, and it would look something like this :-
This is unsatisfactory because, firstly, neither polyester sheet nor fine mesh fabric is are strong enough to hold flat reasonably heavy loose artefacts – especially from both front and back – or for transportation (puzzle pieces could easily become dislodged with the vibrations and shocks that would inevitably occur during transportation). Secondly, the polyester’s reflectivity detracts from the overall aesthetic for the viewer. While Reflex® is the least reflective I know of, no clear sheet polyester film that I have come across comes close to the non-reflectivity of museum glass. When we consider the lengths and cost of developing non-reflective acrylic museum glass, I feel it would be a travesty to additionally layer a sheet of Mylar®/Milenex® or Reflex® in front of a valuable artwork if we don’t have to… And no fine mesh – even silk Crepeline® – is completely invisible on close inspection – and so it’s better not to use them unless there is no viable alternative.
Finally, it would be very difficult to maintain the required tautness across the full width and height of large and heavy puzzles (some of mine measure approximately 600mm by 400mm) – so some pieces could easily tilt forwards, or even become completely dislodged – and potentially get damaged – when the frame is hung. And with a sealed frame package it would be very time-consuming, and not without danger, to take apart, fix, and re-seal…
Another issue with this method is that the sides of the puzzle (or other 2.5D artefacts) cannot be seen because the sink mat and windowmount – both being made of opaque mount board – obscures a side-on view. So I looked for another solution.
So why not simply stick the puzzle between two sheets of glass – with enough gap beyond the side edges so that the sides can be seen as well – as in the diagram below…?
Some fundamental rules of conservation framing are that the artefact should be preserved as-is/intact, should not be damaged/deteriorated or altered in any way, and any glue must be non-permanent and completely (and easily) reversible. So sandwiching the artefact between two sheets of glass is fraught with all sorts of problems.
Let’s consider the impact of the glue on the wood. It would have to be a starch-based (water reversible) glue that would have to adhere to both the rear sheet of glass and the puzzle wood. Whilst starch-based glue would probably work (I have successfully done some testing), the issue of reversing it would be incredibly cumbersome; and separating all the puzzle pieces without damaging them would be a nightmare! So starch-based glue is very much not easily reversible and carries a high risk of damage when removing the puzzle from the frame. No, gluing is not a viable option.
Moreover, many framers and conservators would balk at the idea of even having glass touching the artefact! The reasons being that condensation can form on the inside of the frame and it is completely unacceptable to have moisture come into contact with artefact, mould could develop on inside of the glass and on the artefact, the artefact could stick to the glass (thereby making separation difficult and dangerous), and there could be a “ghosting” effect on the glass – which, at the very least, is an irreversible loss (transfer) of pigment from the artefact to the glass.
So if we can’t glue the puzzle to the glass, how can we fix it between two pieces of glass and show the front, sides and back…? One solution would be to snugly surround the artefact with with a sink mat (obviously it should not be a tight fit in order to allow for expansion and contraction with temperature fluctuations) with enough thickness of mountboard so that the artefact is completely held in place at all sides – and the glass sandwiches it top and bottom . Let’s called this the naïve glass sandwich solution so we can refer back to it later on. It is shown below :-
As stated from the outset, framing is a compromise between preservation/conservation and visual public display – displaying the artefact to its best advantage. A compromise I am suggesting (and do myself) is to have a glass sandwich – very much like the naïve glass sandwich – but crucially not to have full and direct contact pressure between the artefact and the glass.
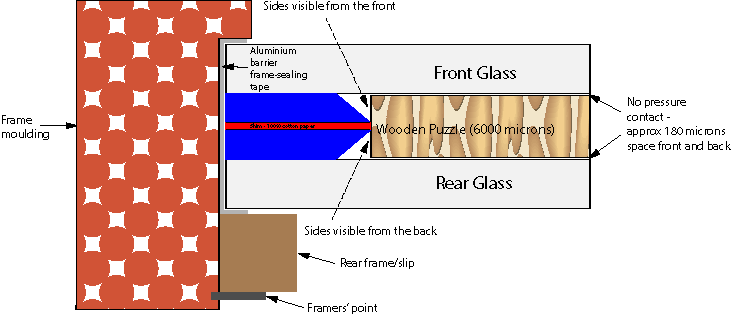
In the naïve glass sandwich solution, glass would be in full and direct contact with an artefact to the extent that it would be pressing down on the whole surface of the flat object. But what if we introduced a thin shim into the sink mat of the framing package so that the glass is not pressing down on the whole surface of the artefact – instead it is pressing down on the surrounding sink mat mountboard – which has been made very slightly deeper than the artefact? This will take the full and direct pressure off the artefact – resulting in the slightest possible, non-pressured, contact – as shown below :-
Like the sink mat mountboard, the shim should also be 100% cotton card (I used 280gsm [approximately 360 microns] card – the same colour as the 3000 micron mountboard). The net effect of this shim is to give approximately 180 microns of space front and back, between the artefact and the acrylic glass. The artefact can, and will, come into contact with the acrylic, but it will not be under any pressure (pressured contact is not acceptable as previously discussed). Moreover, the artefact has ample room to expand and contract with temperate fluctuations – with no adverse effects.
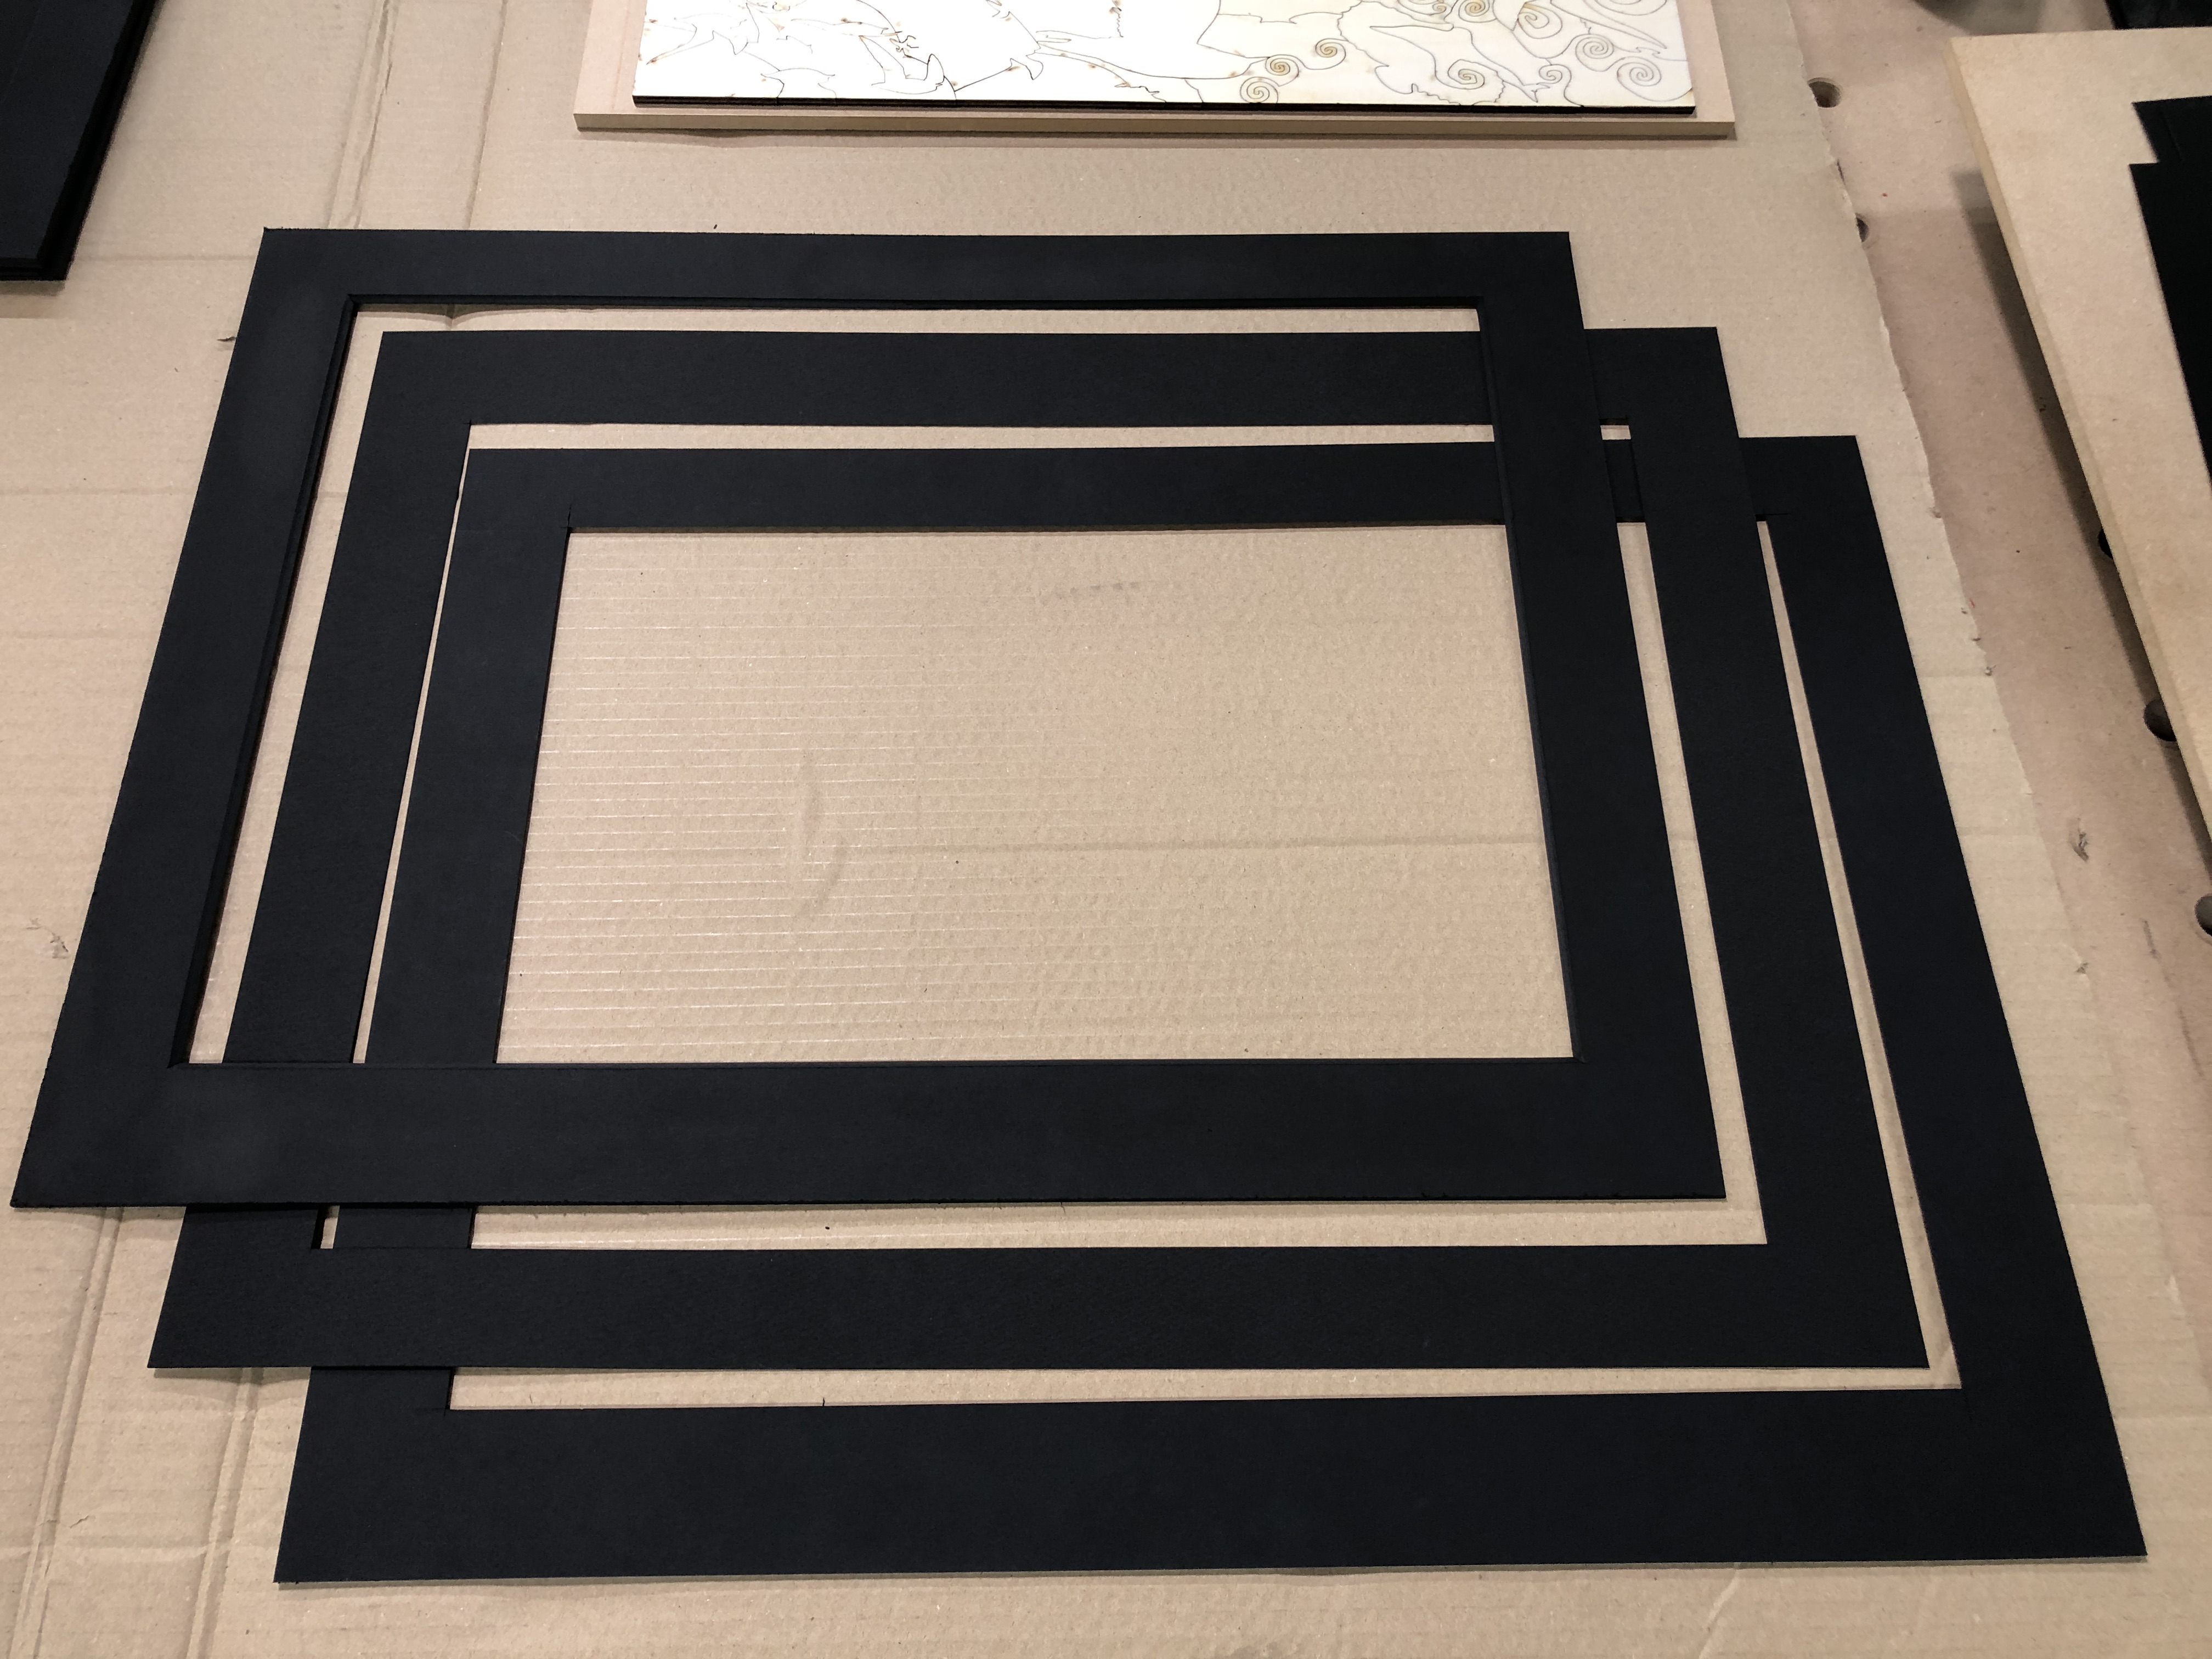
The front and back 3000 micro bevel-cut window mountboards and the thin shim in the middle
If acrylic is used instead of silica-based glass, it is far less prone to condensation formation. This is due to the fact acrylic is a far better insulator (and therefore poorer conductor) than silica-based glass, will therefore not fluctuate so quickly to temperature changes, and therefore is less likely to present a cold enough surface temperature upon which moist air can reach the dew point and condense.
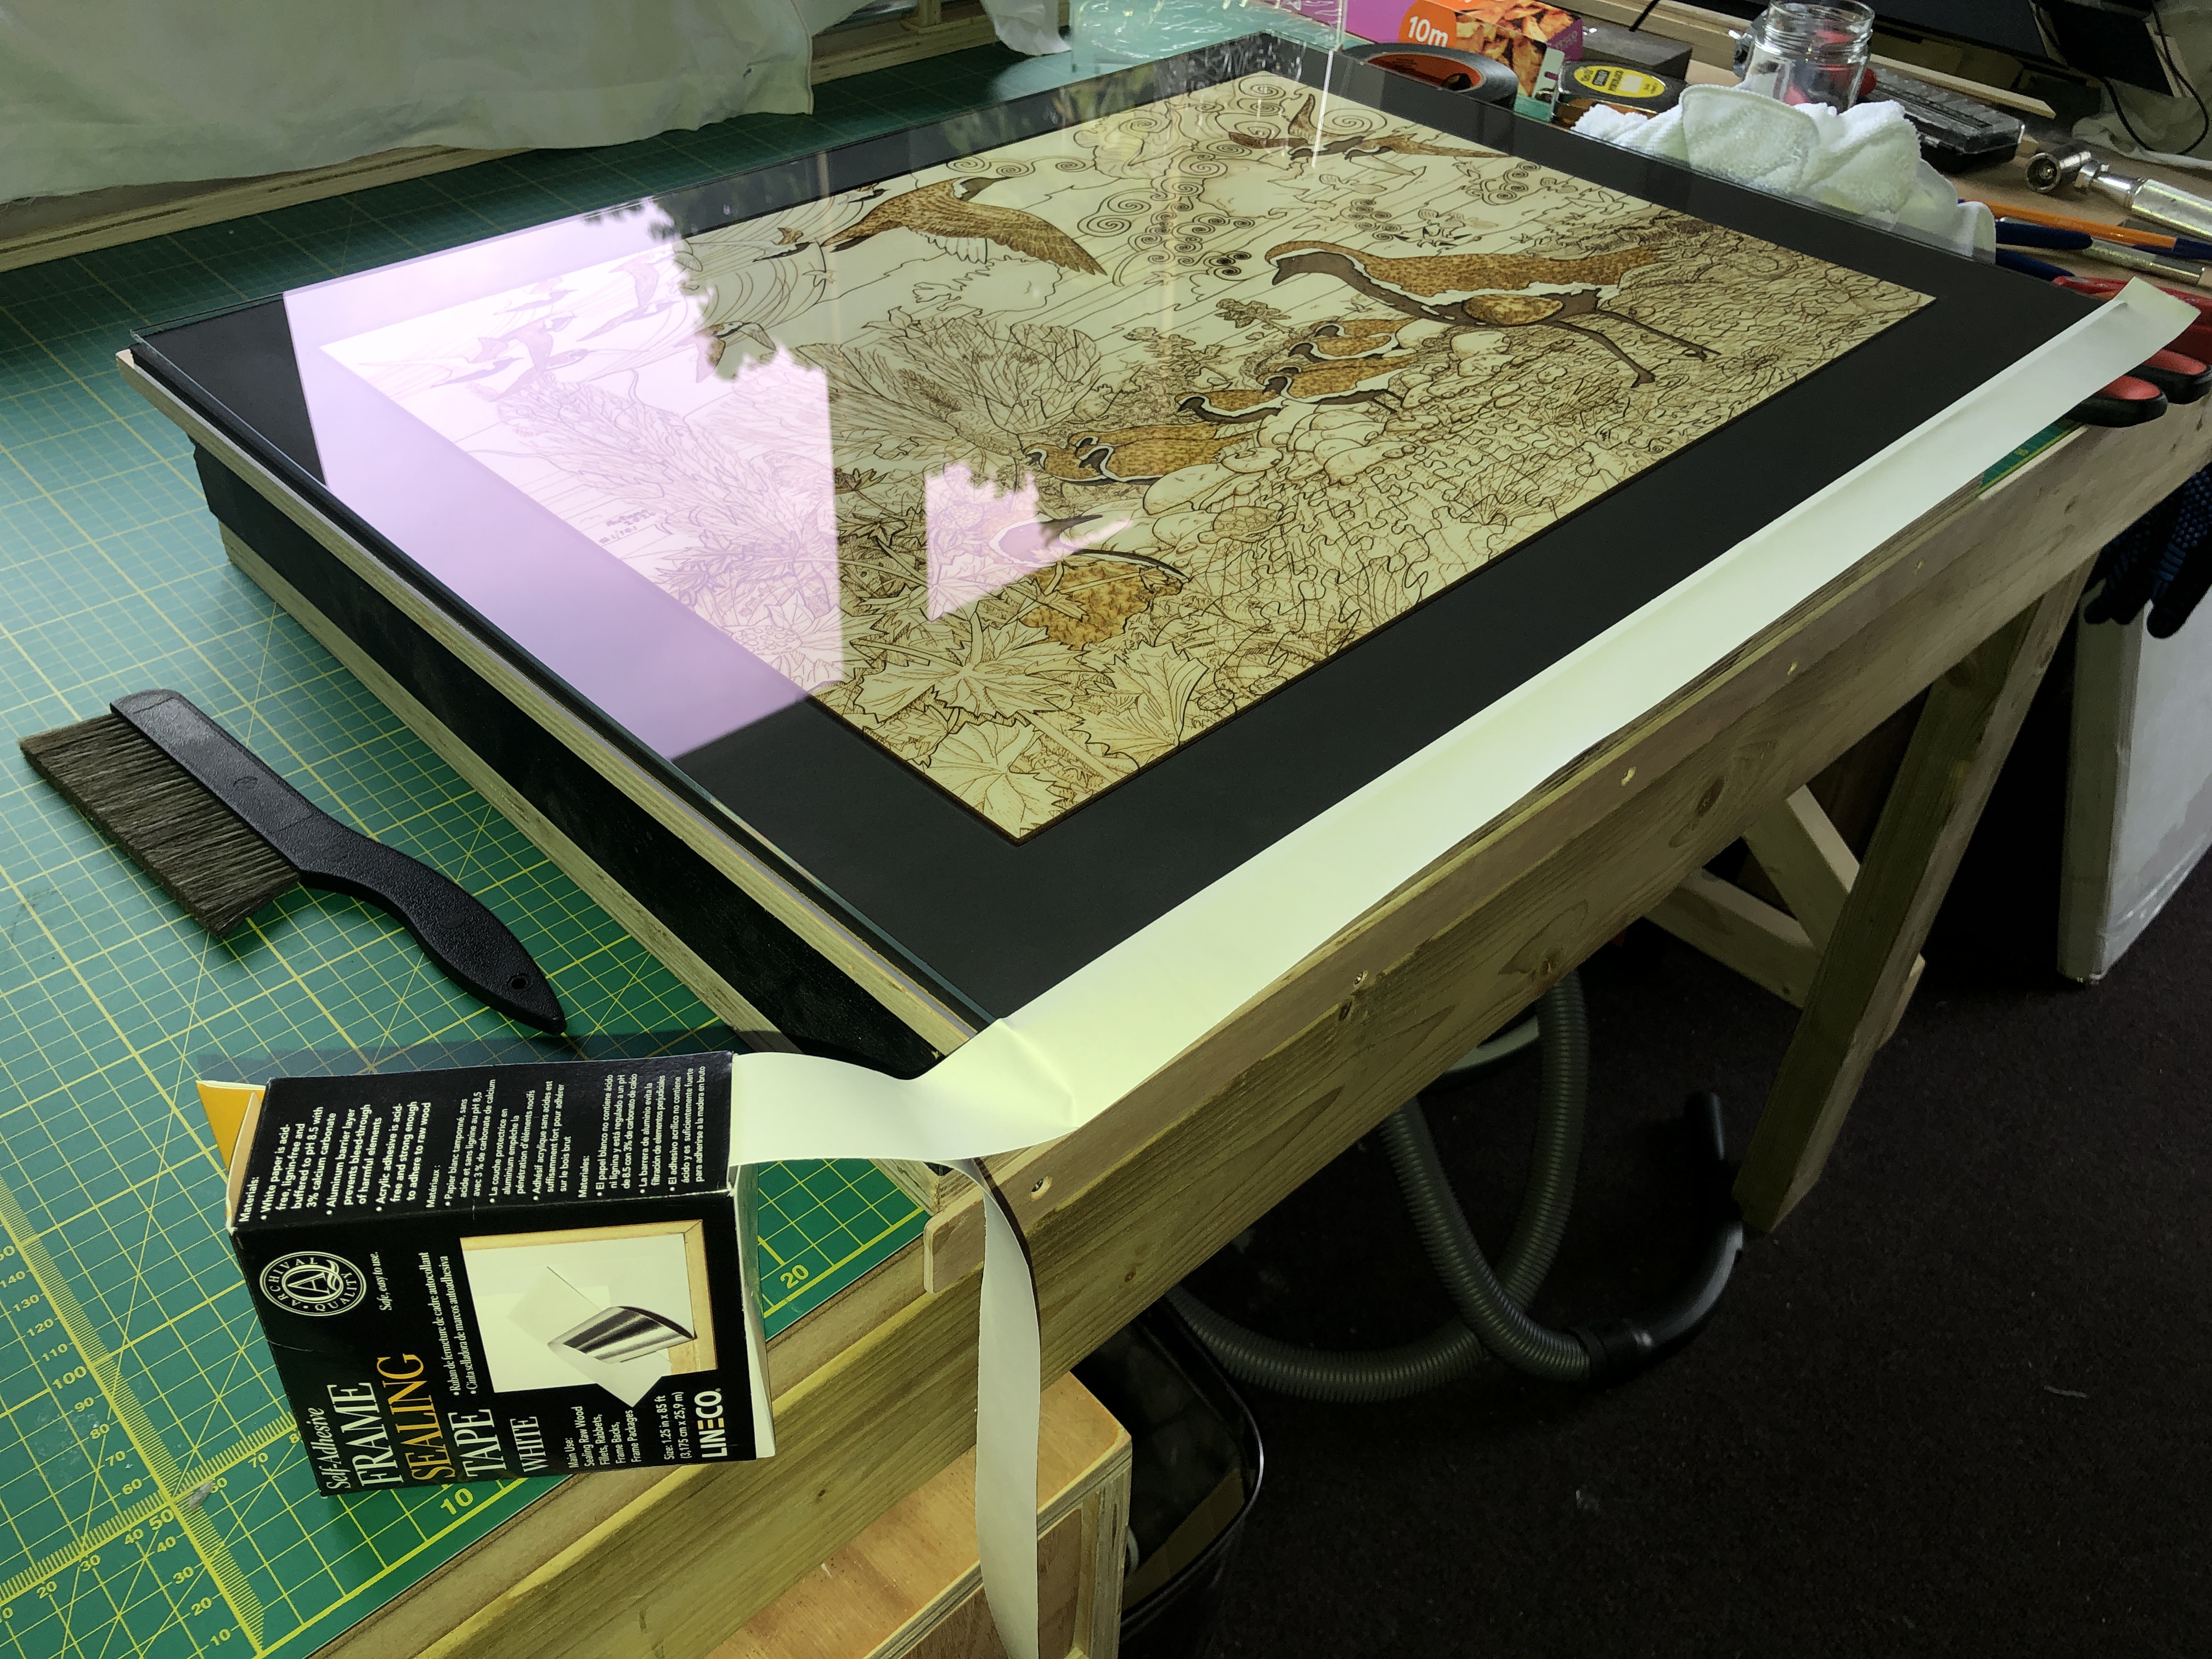
Moreover, if the whole frame package is sealed completely air-tight with an impervious tape (like aluminium barrier frame-sealing tape), and assuming there is only normal humidity in the artefact before sealing, the risks of internal condensation formation should be so negligible as can be discounted.
Frame sealing with aluminium barrier tapeCompleted frame sealing with aluminium barrier tape
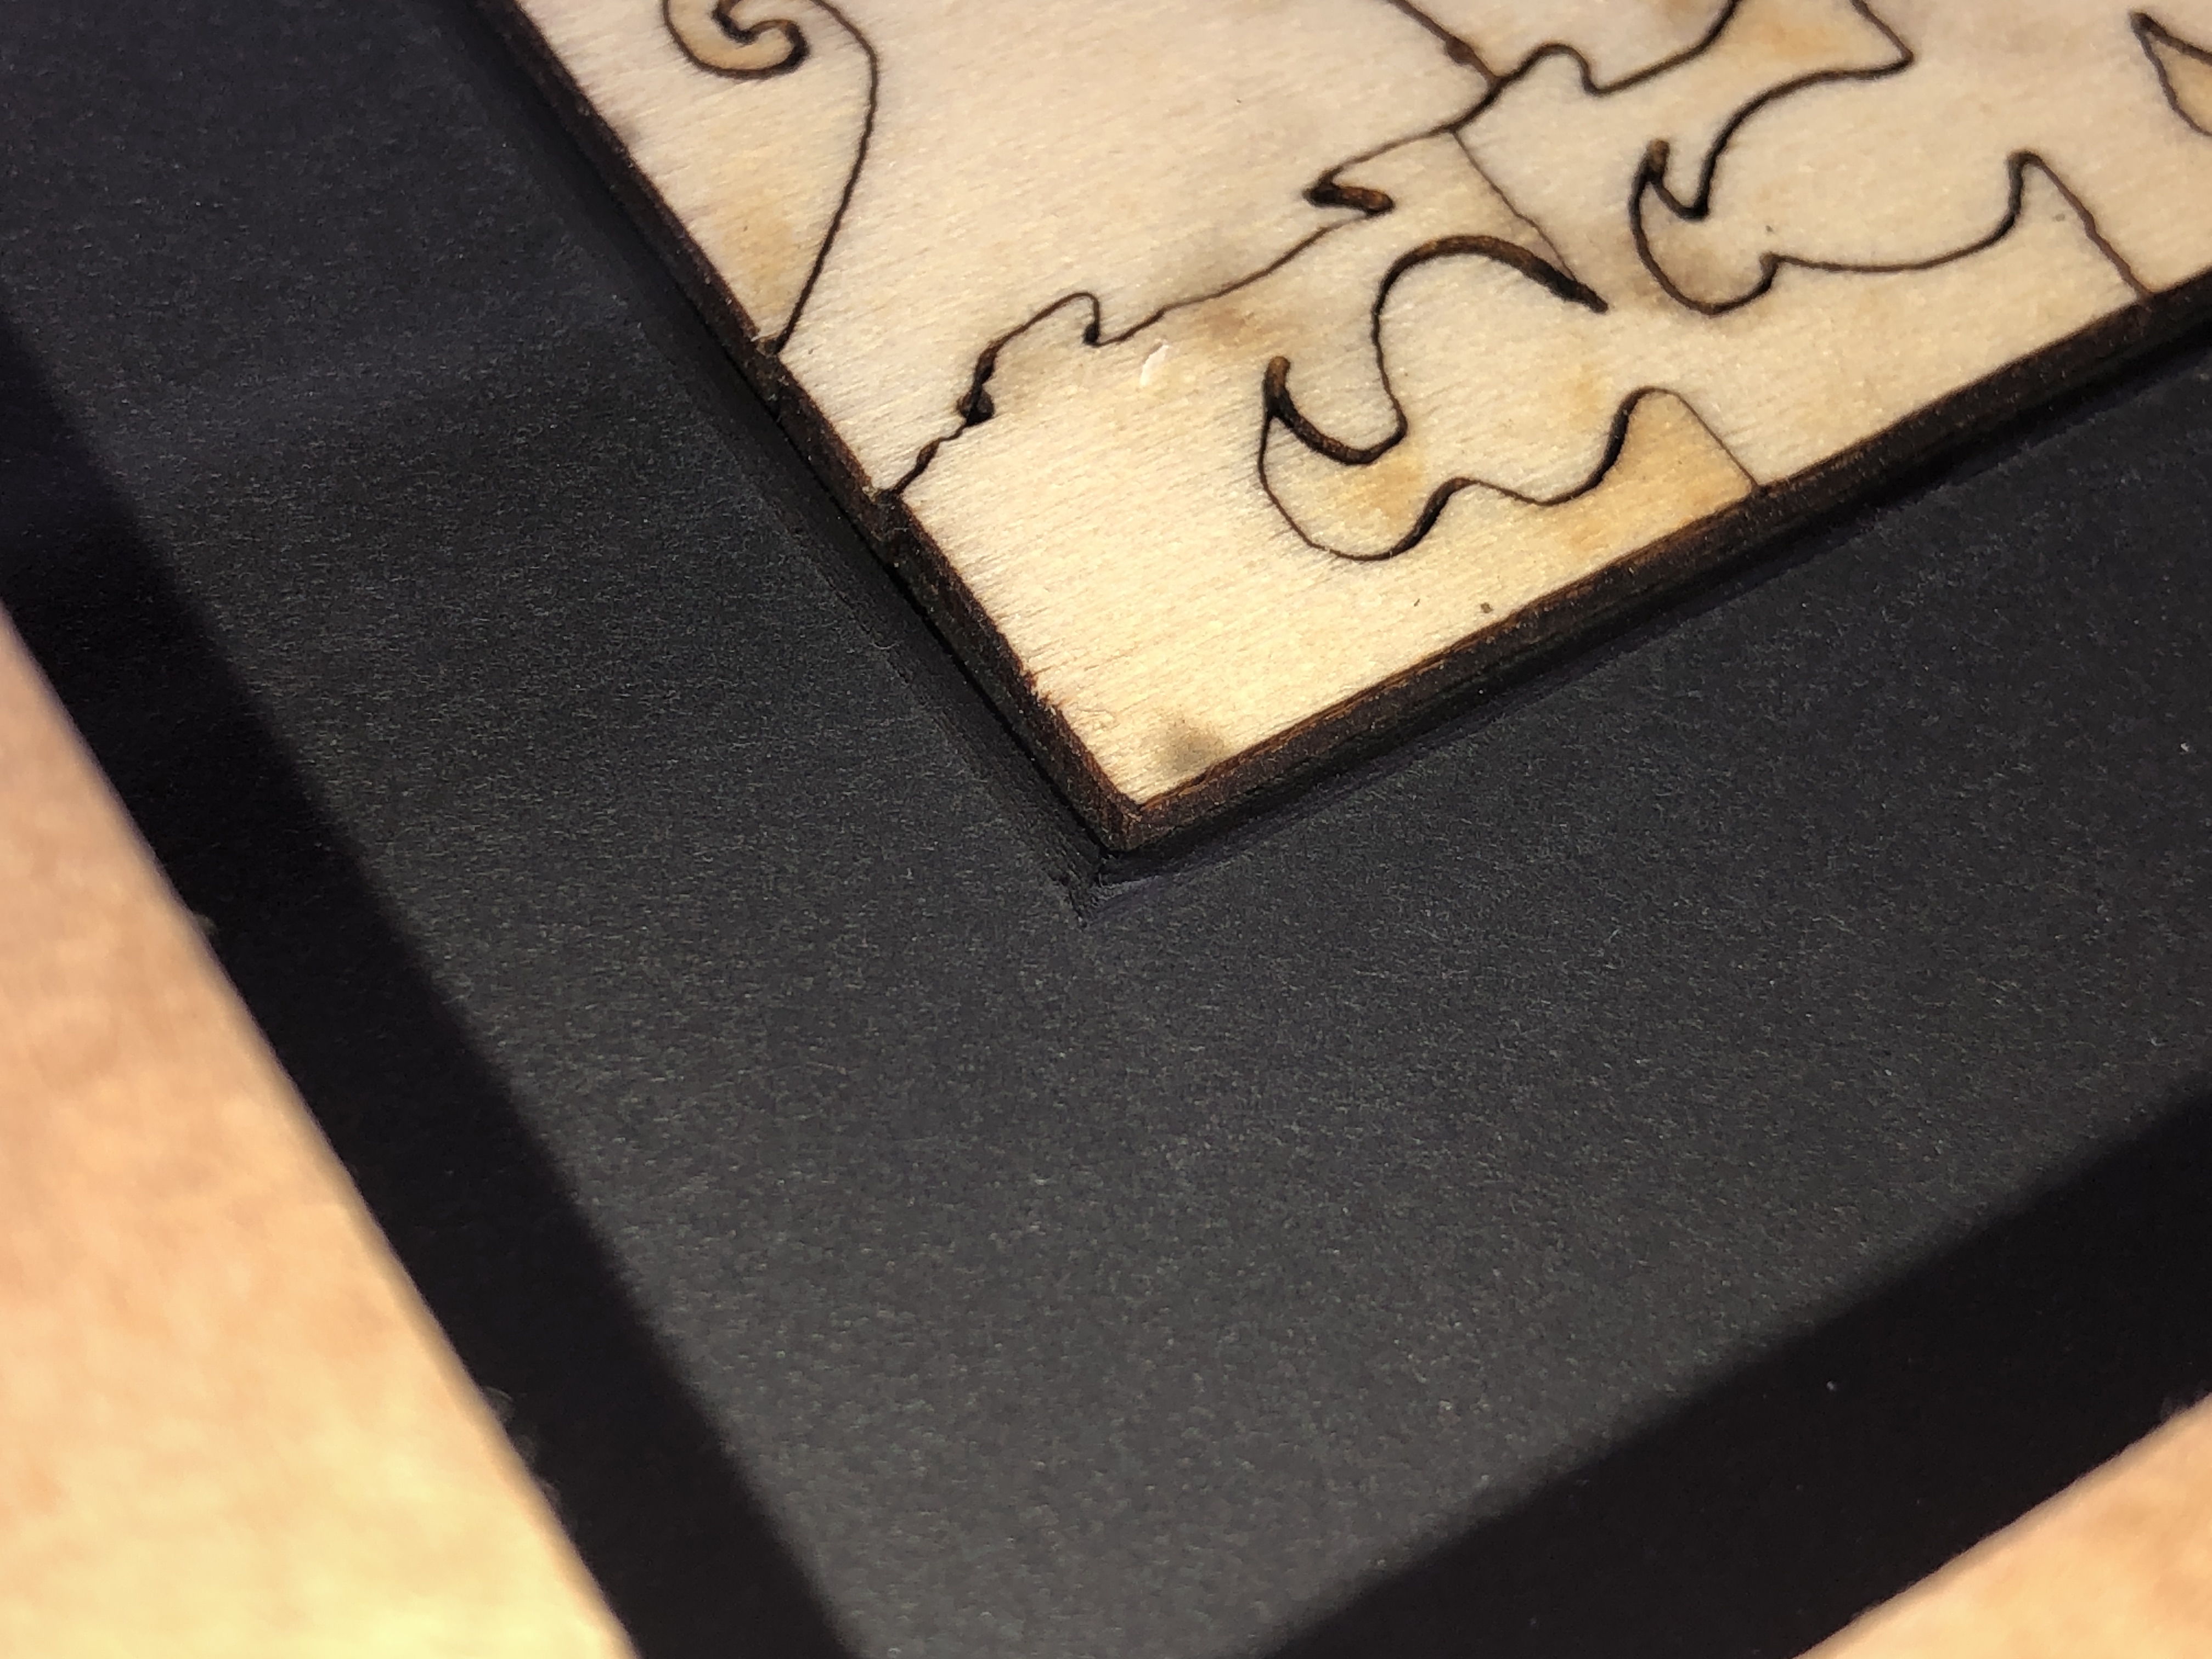
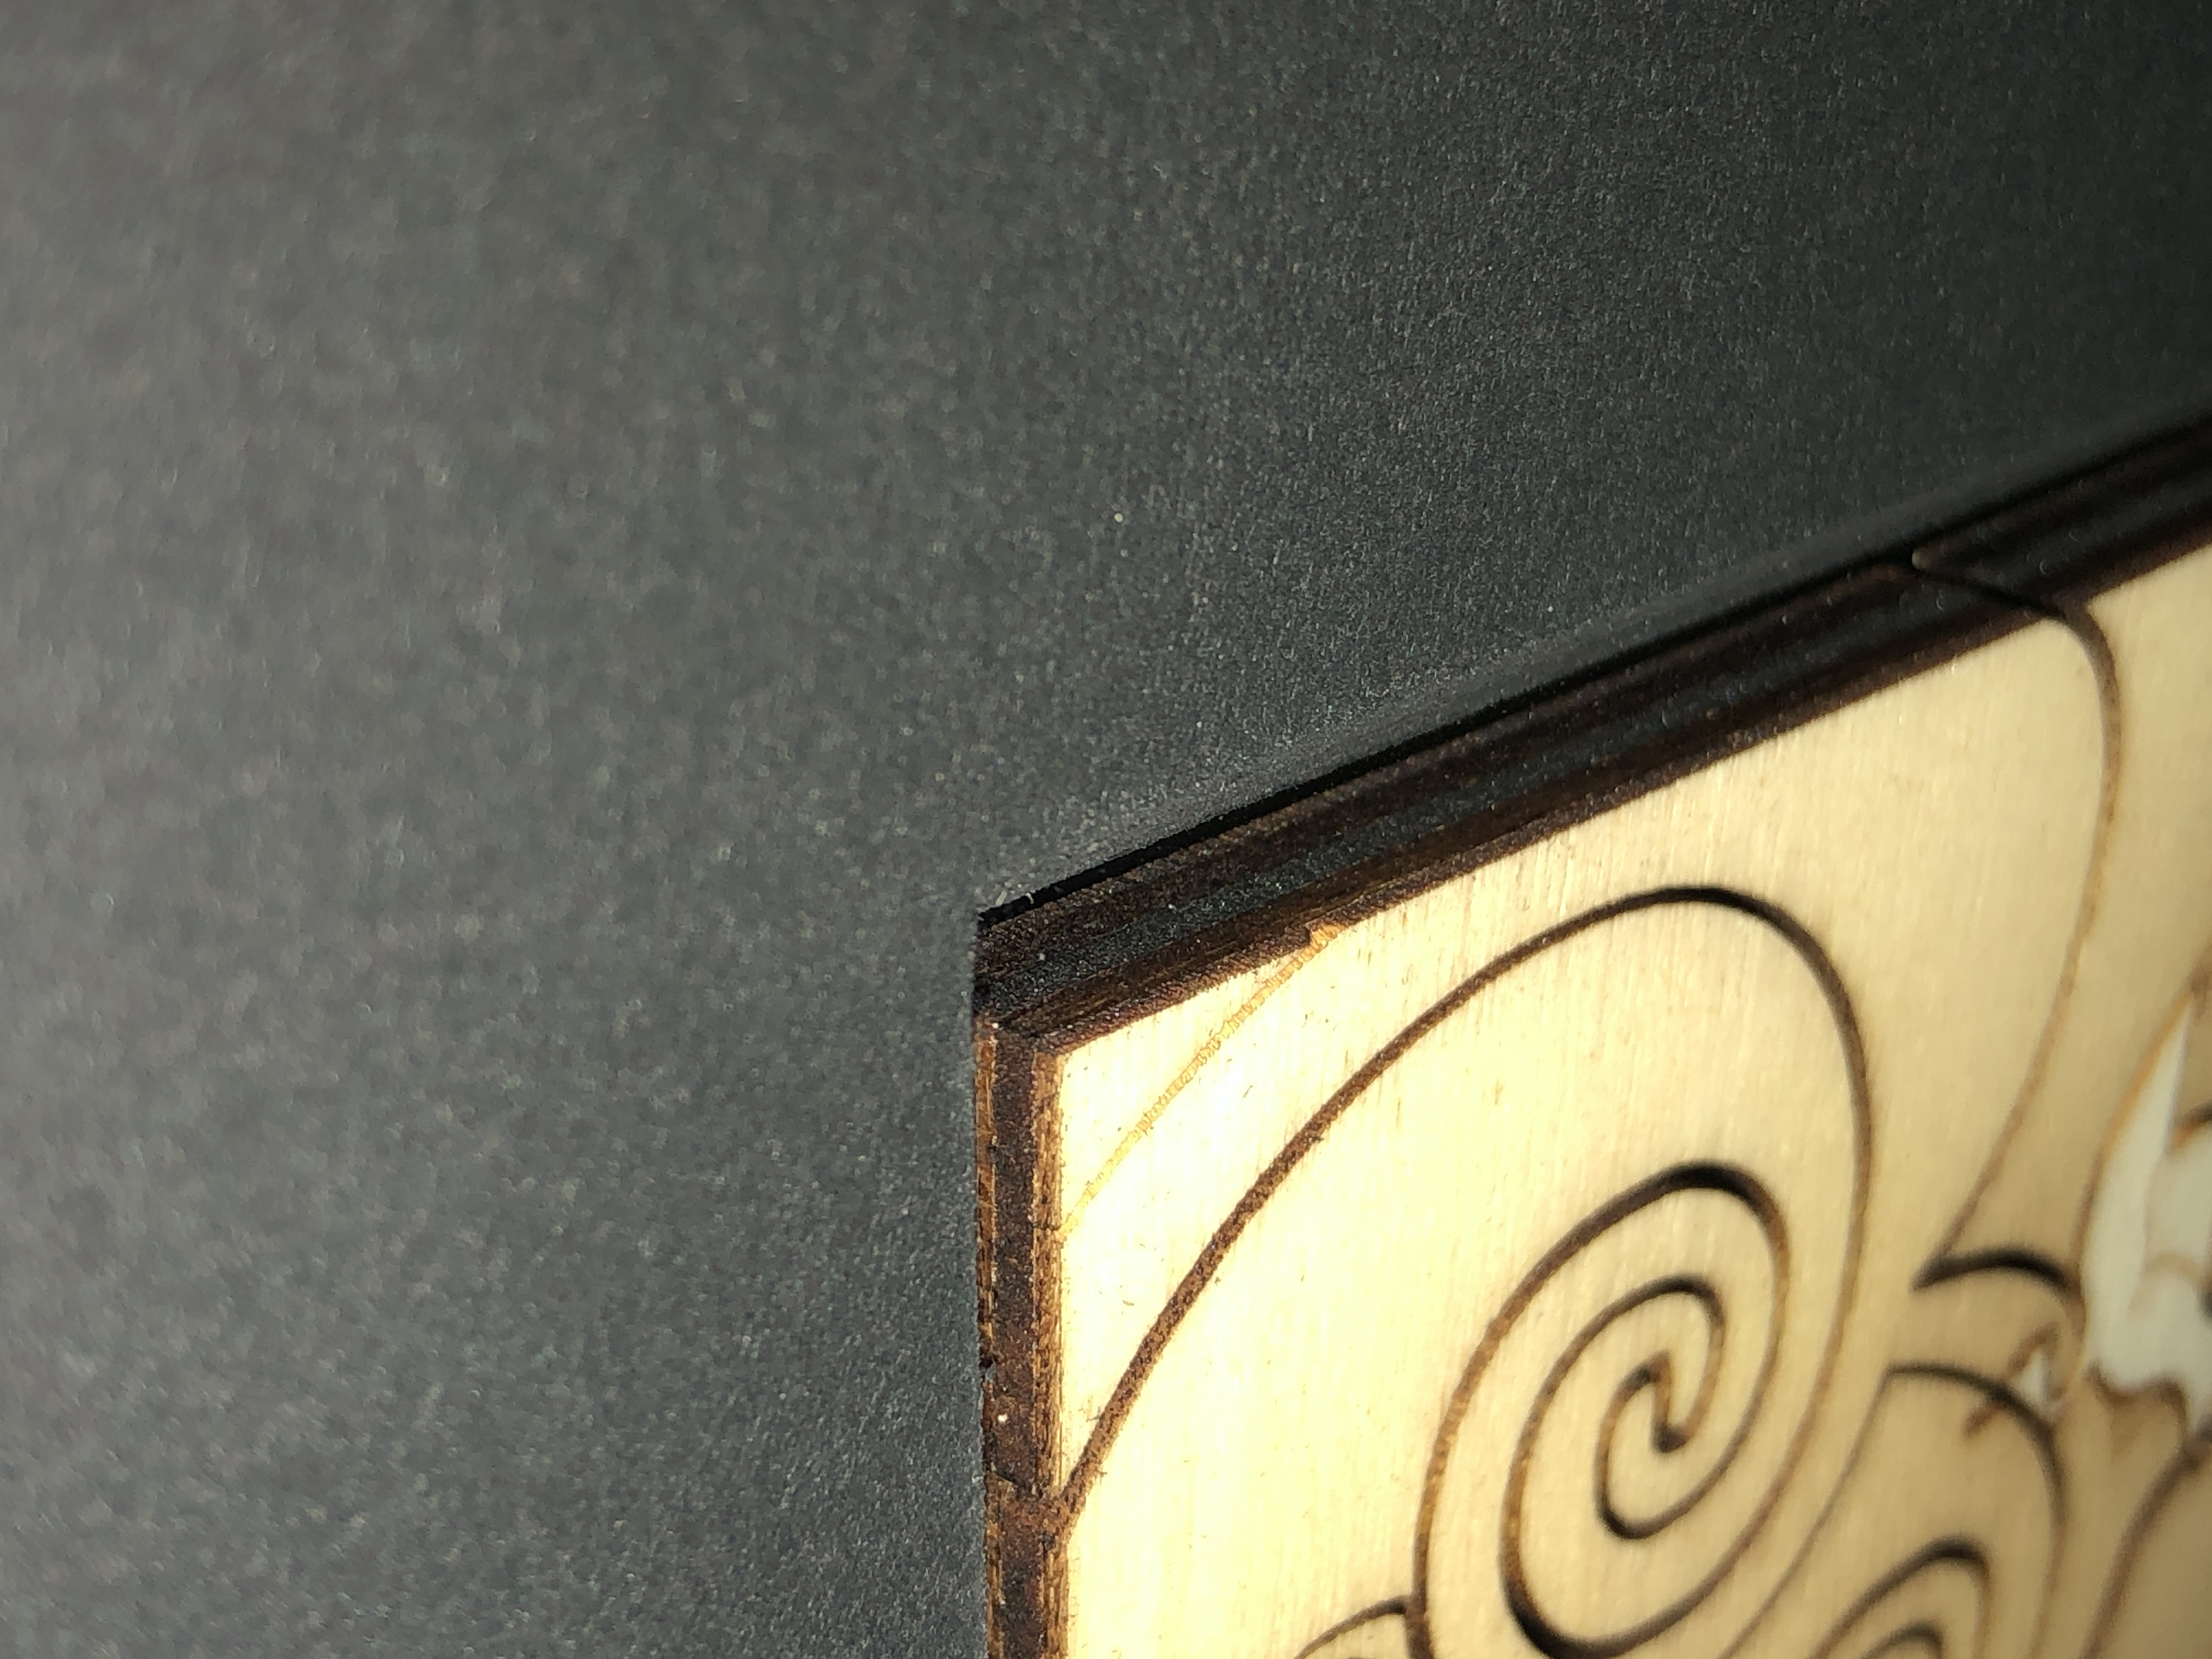
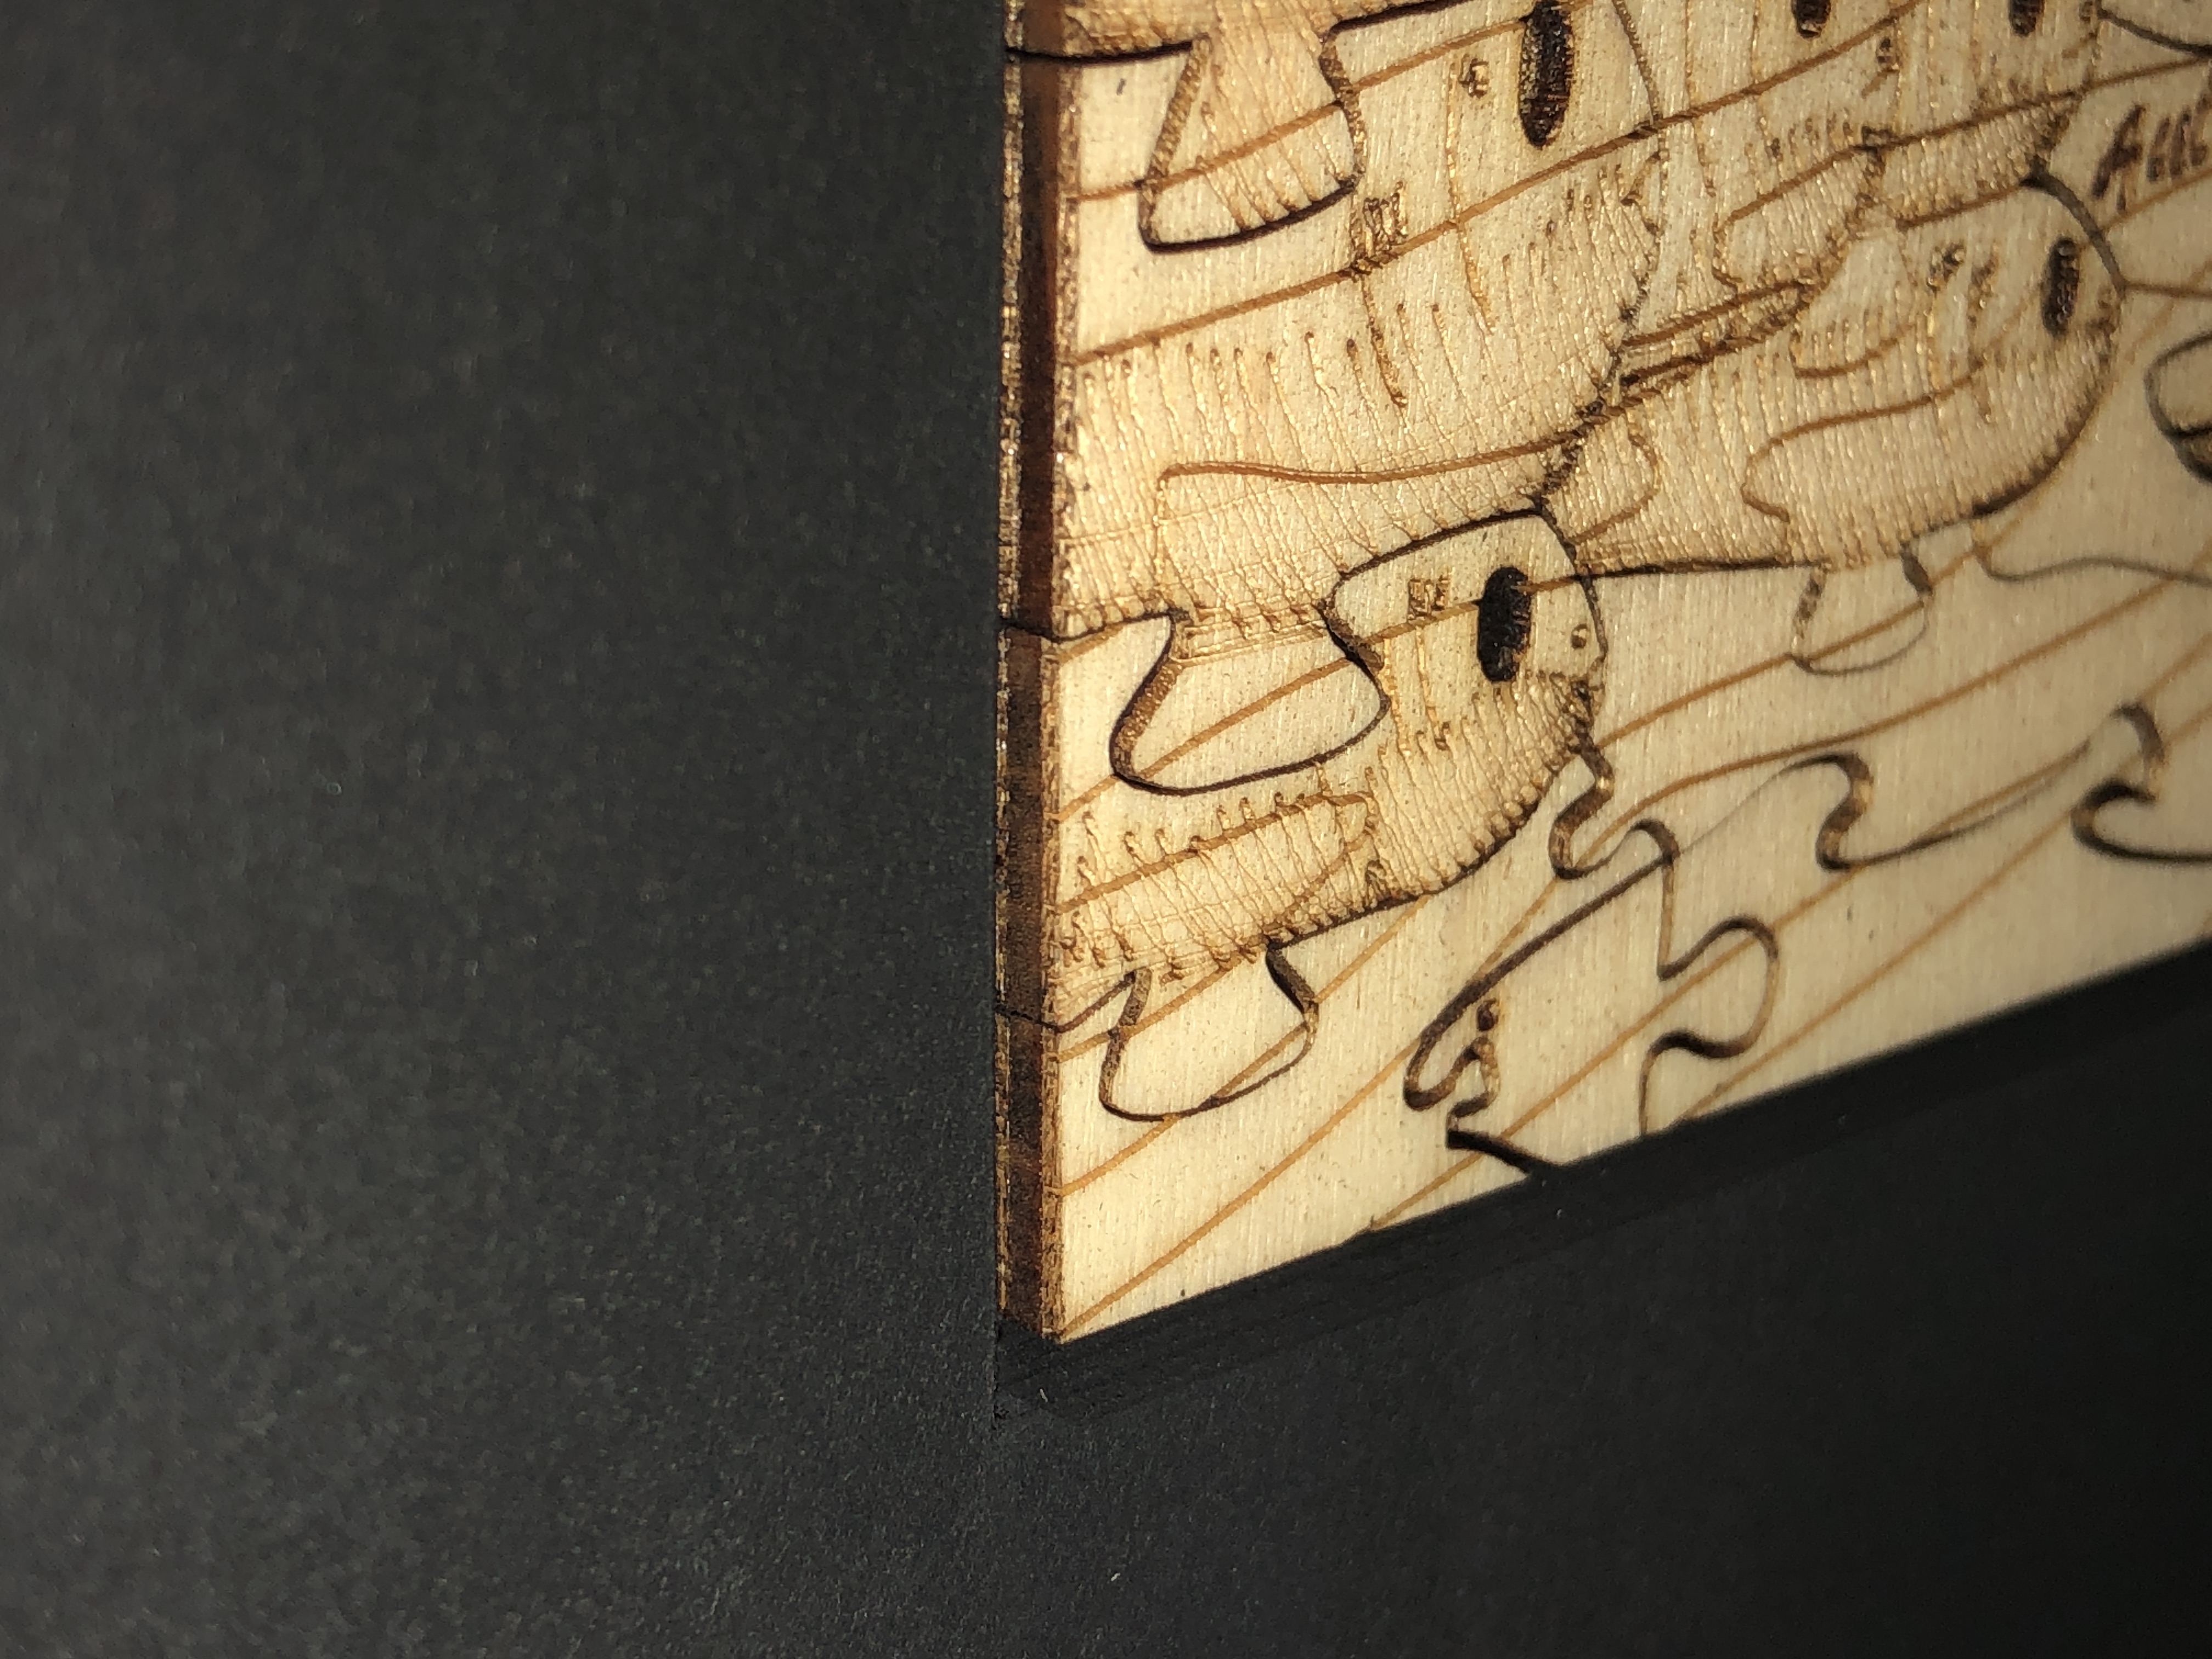
How to achieve an all-round side view? Well, since we are only dealing with relatively shallow depths (6mm in my case), bevel-cutting both of the 3000 micron (3mm) sink mat mountboards gives us a 45 degree side view from both sides of the 6000 micron thick sink mat. In fact, because the artefact in only in contact with the apex of two back-to-back bevel-cut mountboards, nothing of the artefact is hidden or obscured from view – as may hopefully be seen more clearly in the following close-up diagram :-
Are here are some example photos showing this side-viewing capability front and back :-
Should the sink mat layers be glued together – as is common practice? In this instance I think this is not necessary because the three pieces are required to be exactly the same size (are best cut with the same cut stops on the mountboard cutter [or computerised mat cutter]), they simply cannot move at all in the compressed sealed frame package, it’s extra work, and any glue is not without risk – even wheat starch or Methyl cellulose.
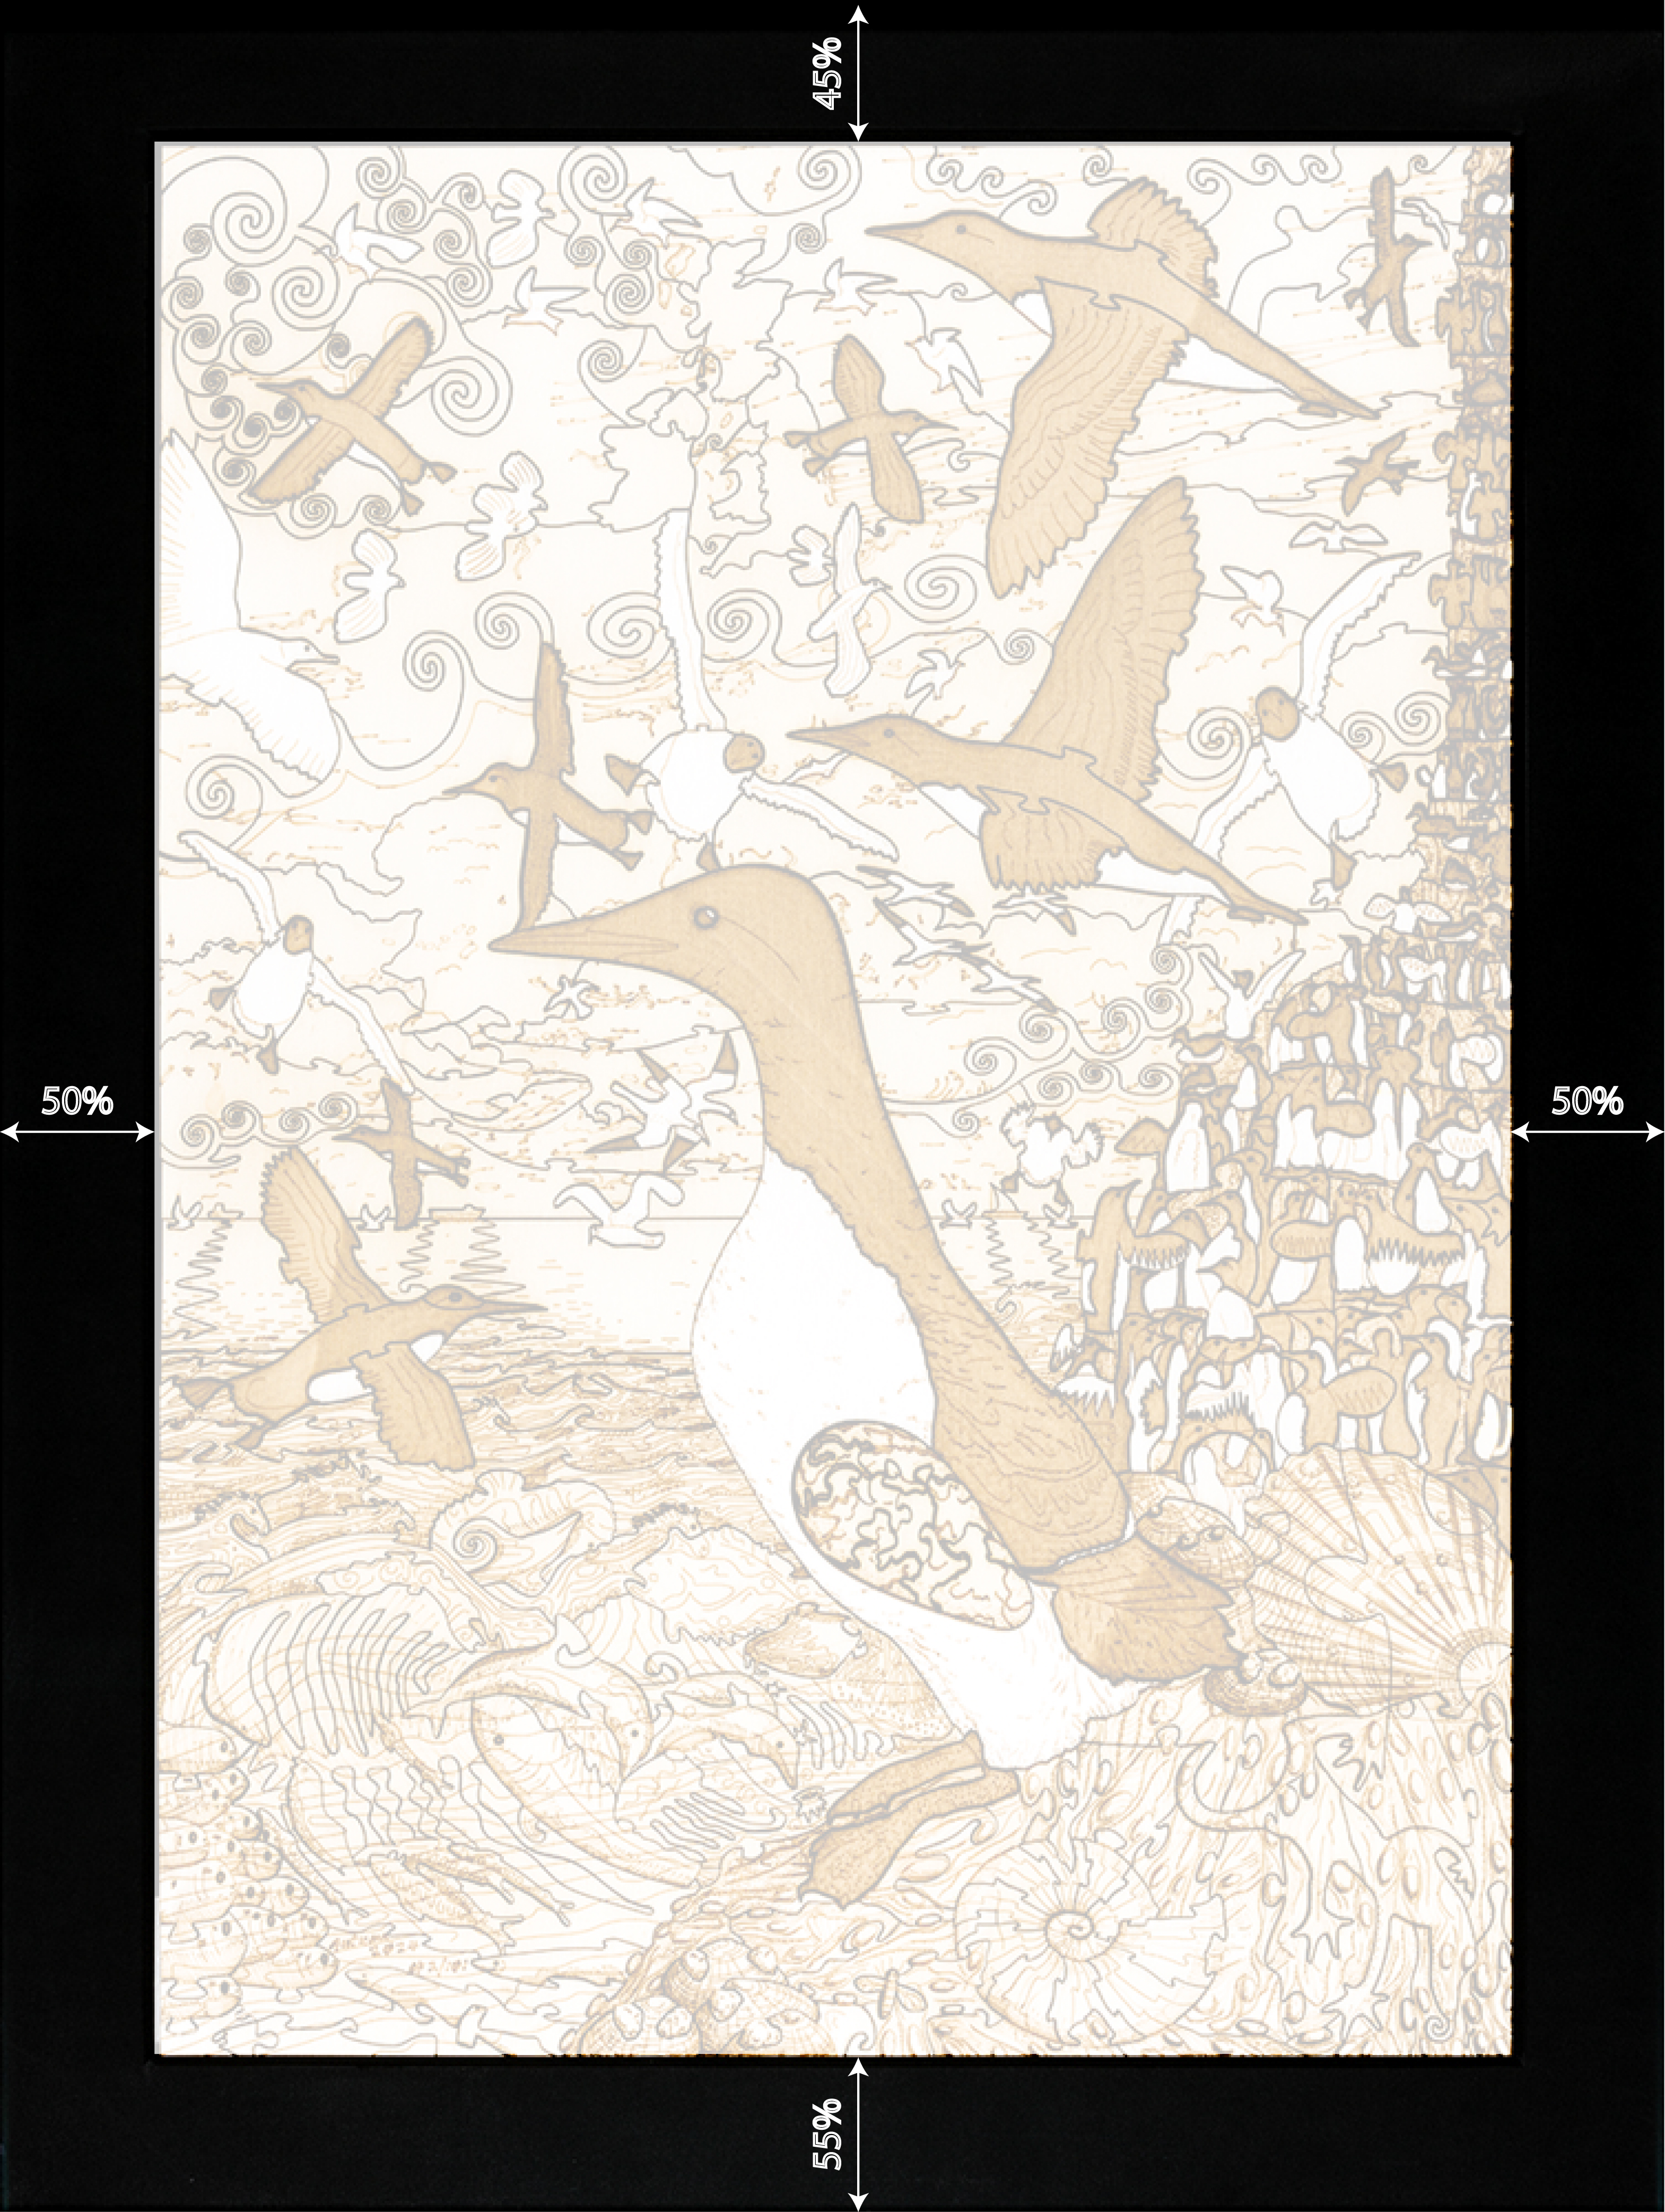
To allow for natural slight expansion, the size of the sink mat window should obviously be just slightly bigger than the artefact – but not so big as to allow the artefact to slosh around in the frame. I suggest about 2% larger – so about 1mm per 500mm length. And the positioning of the sink mat window relative to the sides, and whether you want symmetry or not – is down to the individual preferences of the framer or client. My preference is sideways symmetry – i.e. equal spacing at the sides – and vertical asymmetry – i.e. the old standard of 45% top and 55% bottom – to allow for natural down-shift of the whole package in the frame (due to margin allowances), and to compensate for visual perceptual effects of the frame being hung at eye-level on a wall (see below).
Spacing around the sink mat window
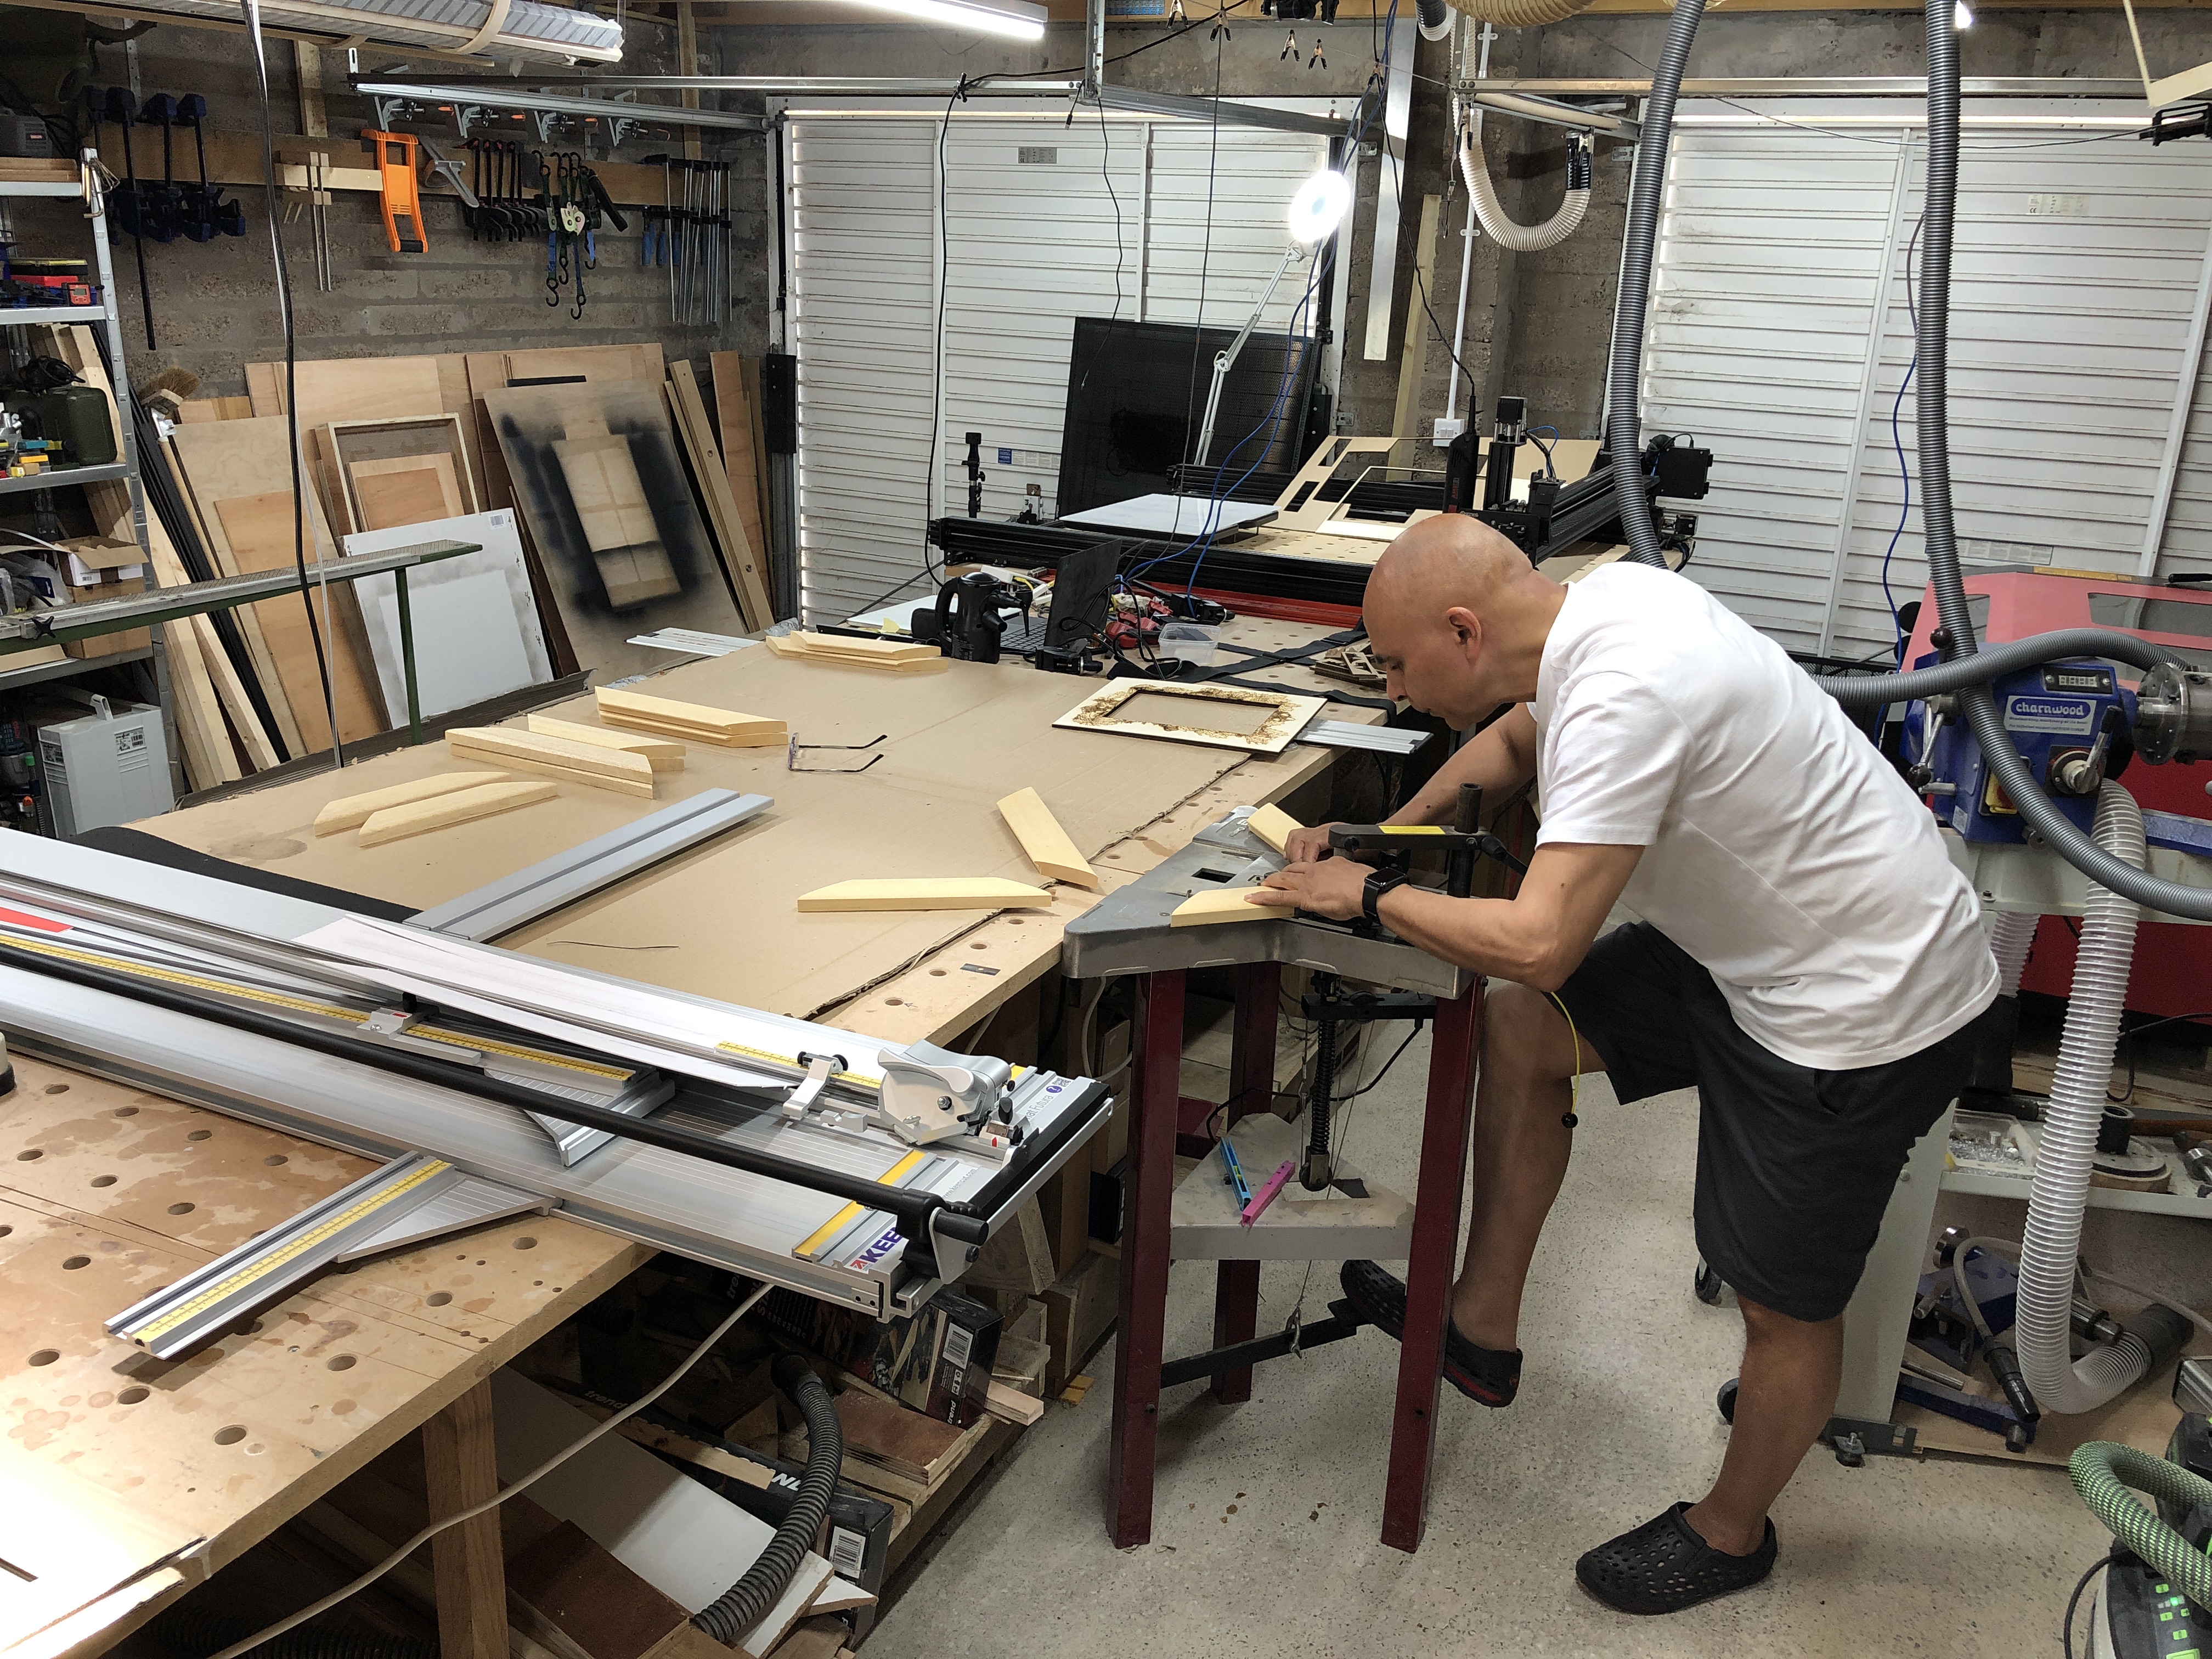
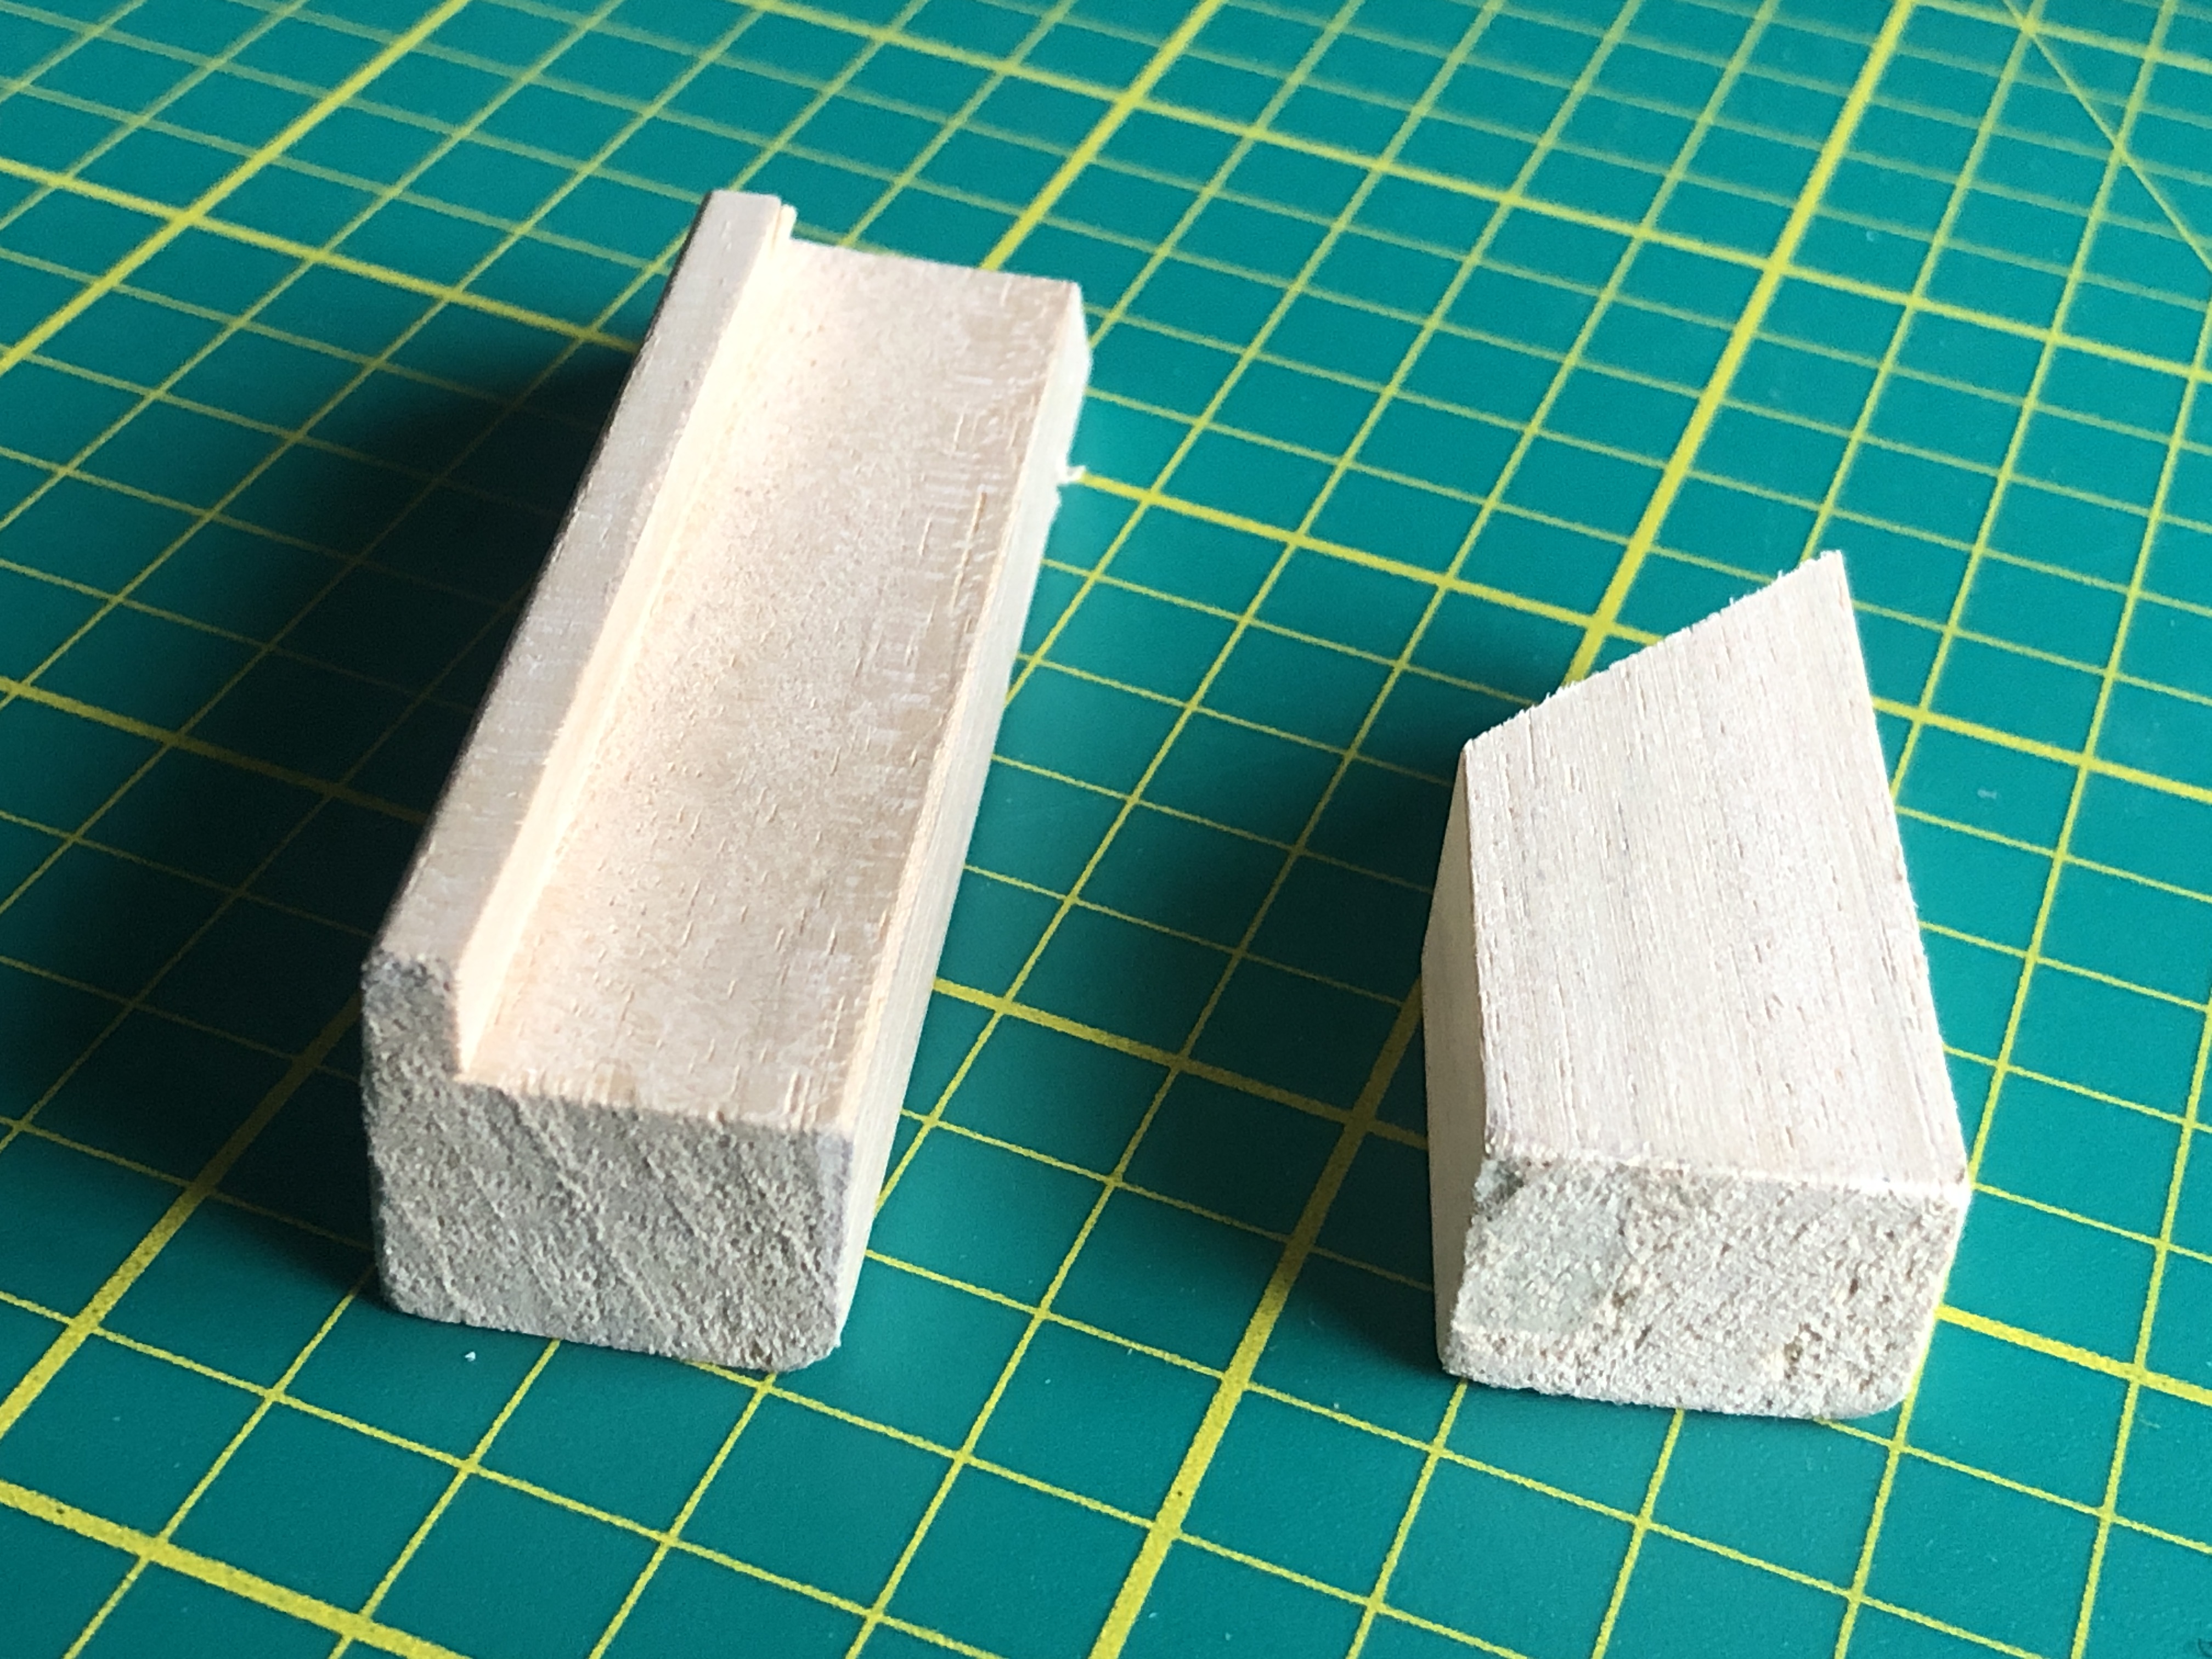
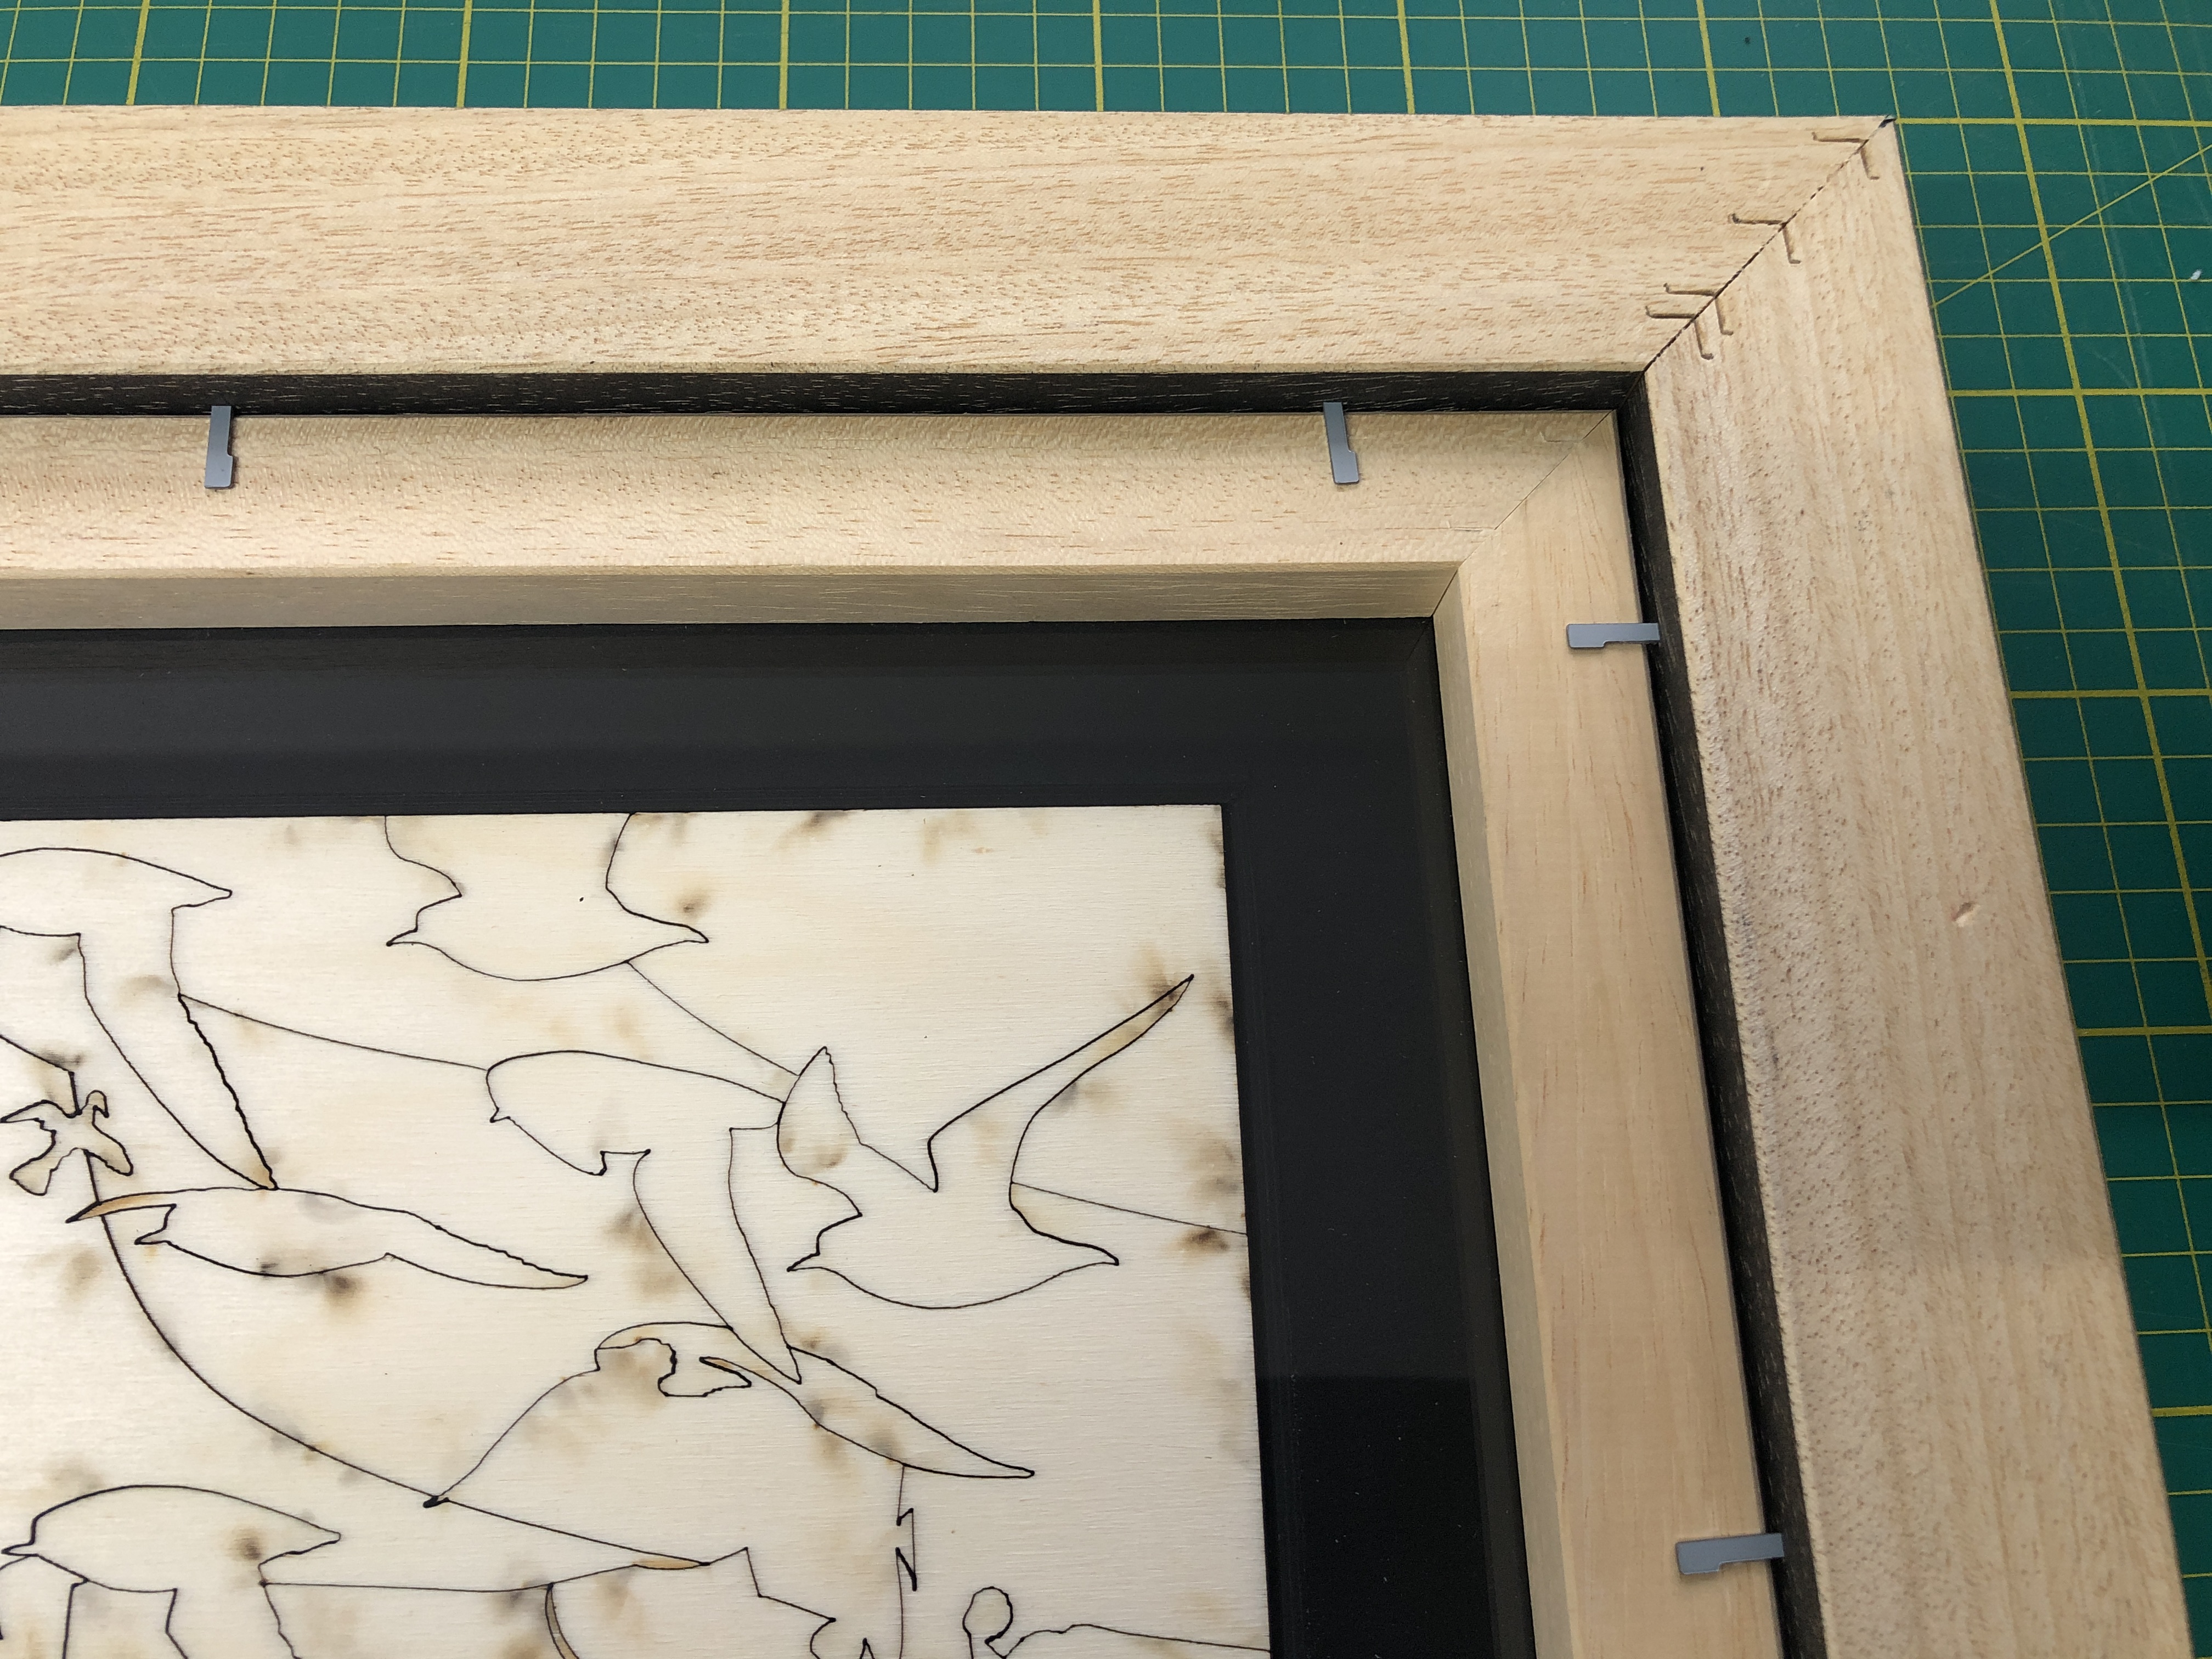
With this approach a rear frame/slip is required to secure the sealed frame package in the frame – pressed firmly against the front frame moulding rebate – and fixed, as normal, with stiff framer’s points. In my case I used a small plain frame moulding and routed out the rebate – making a plain rectangular profile, because the rebate was getting in the way (see below) :-
Small wooden moulding used for the rear slip frame – before and after routing off the rebateThe rear slip frame held in place with framer’s points
Both frame mouldings at the back of the frame can be finished off with normal water-gummed paper tape (or some other FATG Level 1 acceptable frame-sealing tape). Here is an example photo detailing this :-
Detail of corner of the back of the frame with the rear encasing slip covered with frame-sealing tape.
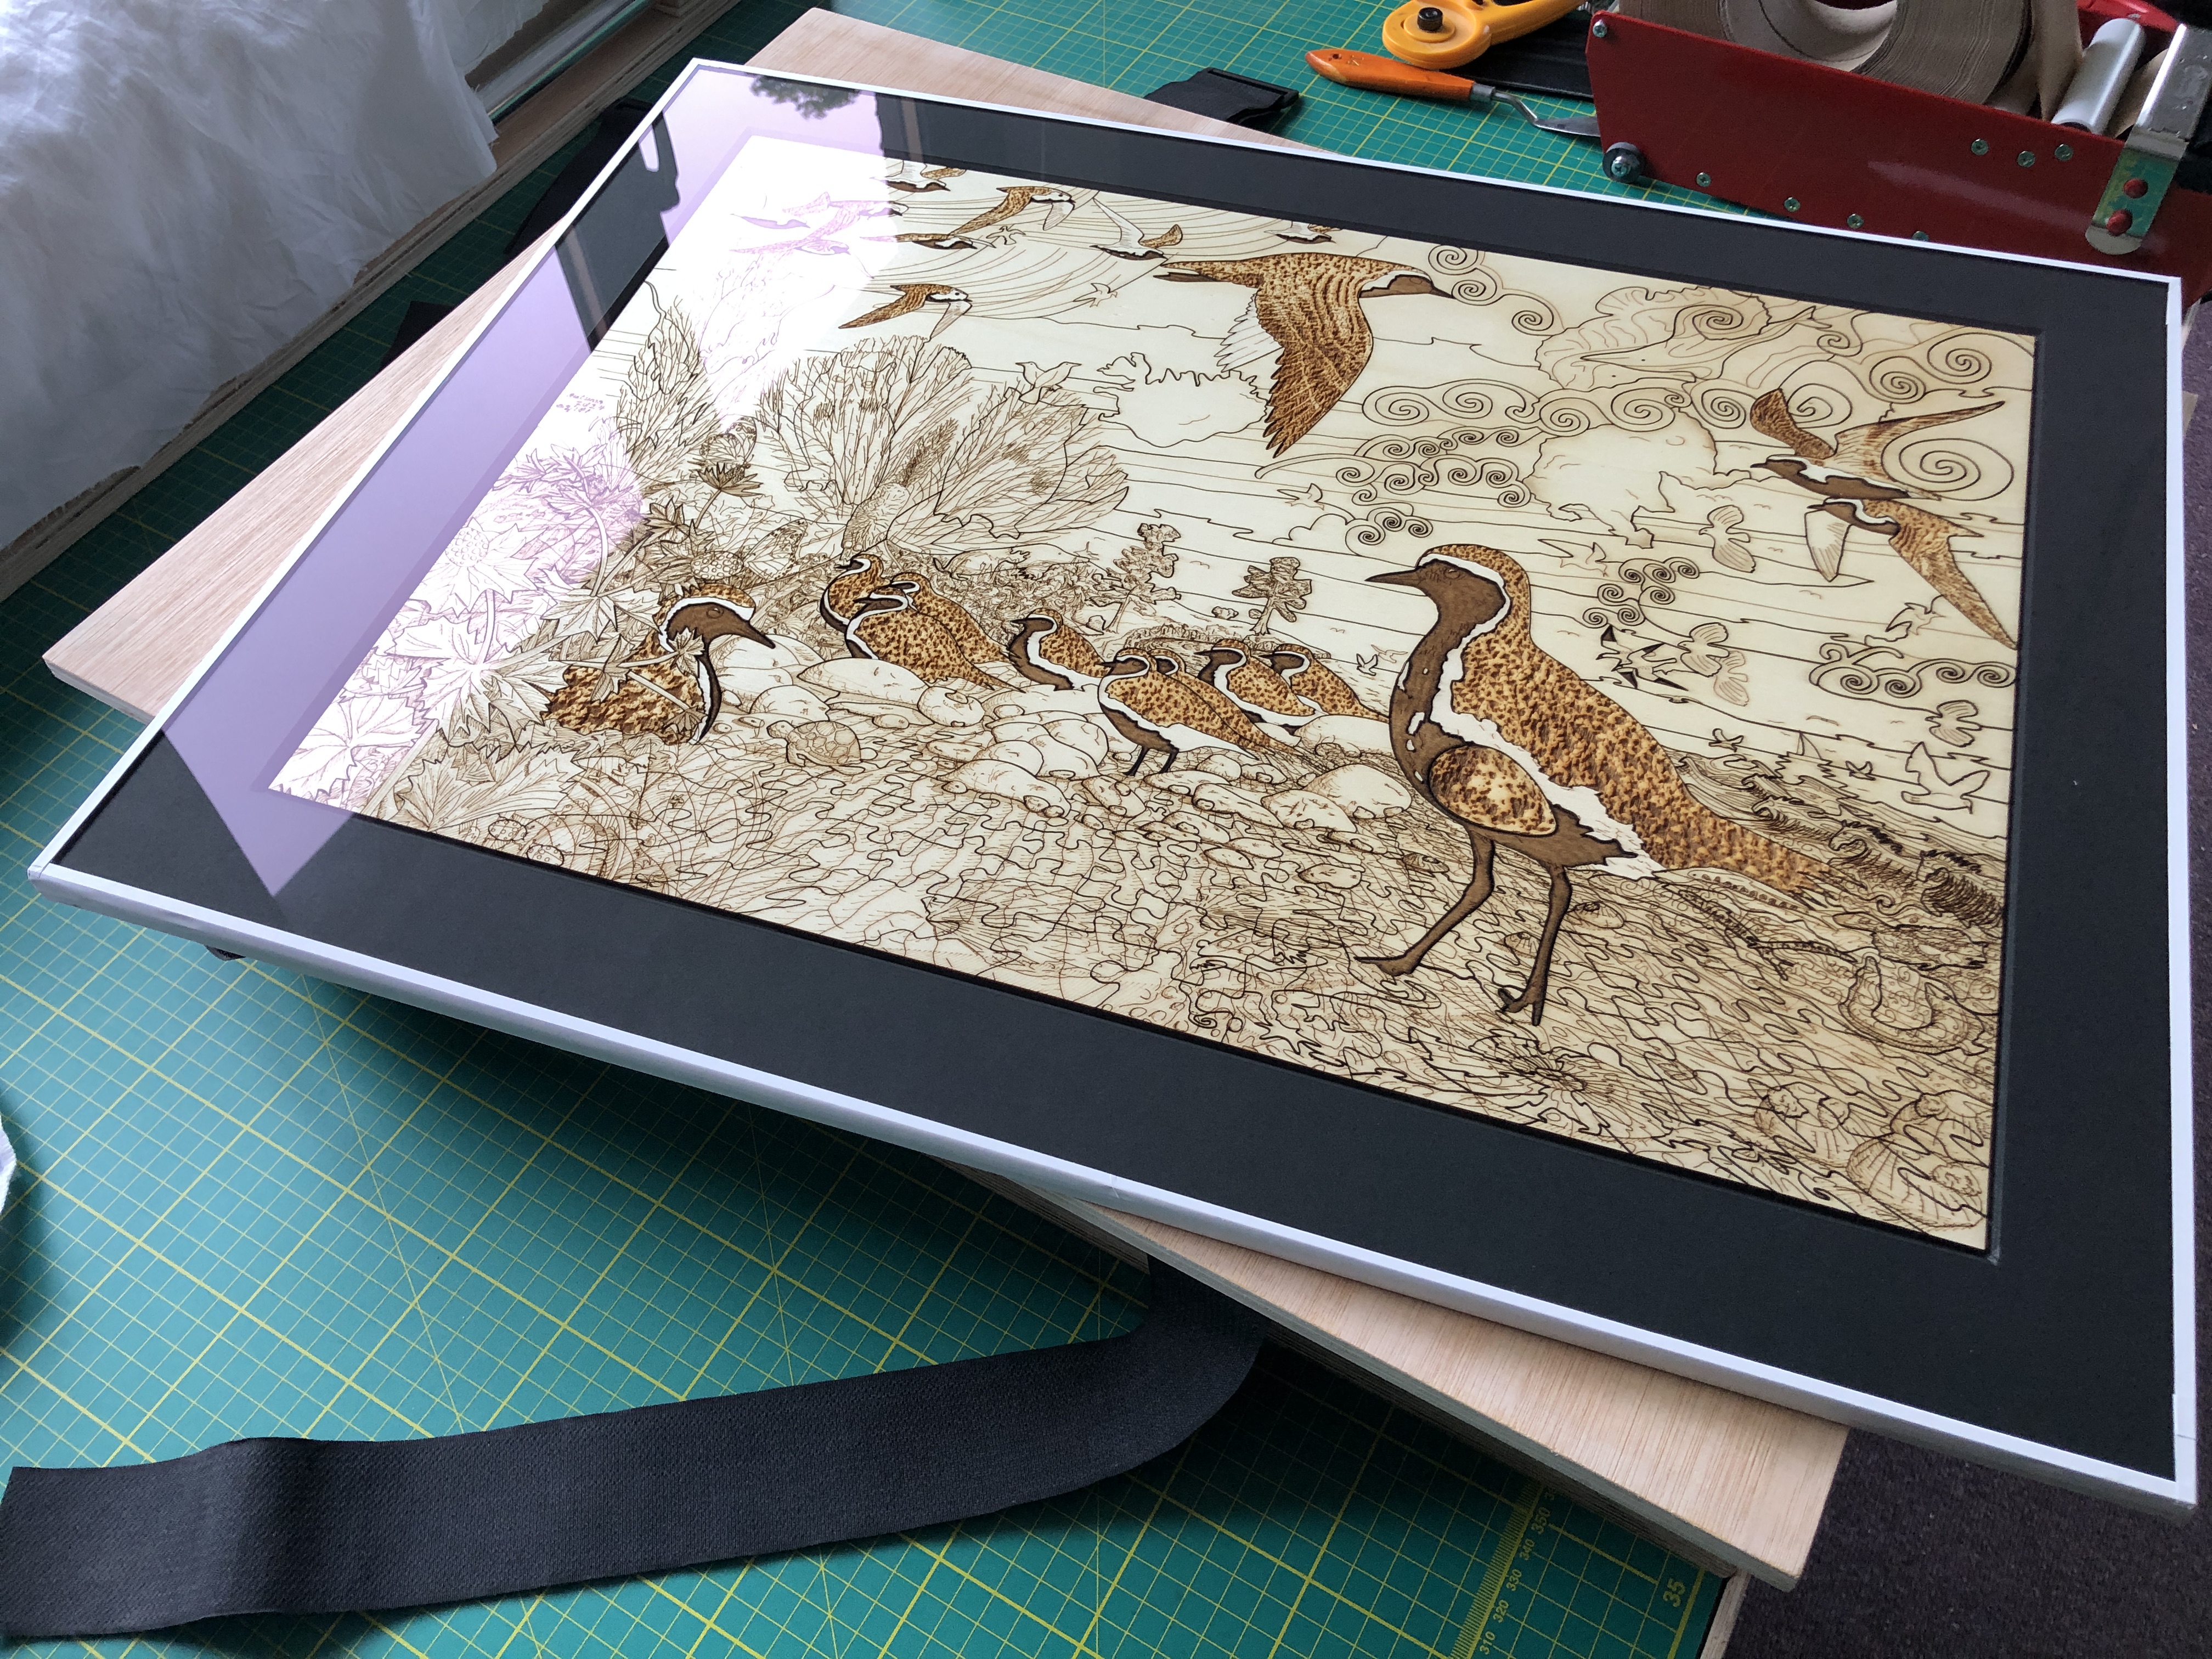
Here is a complete front view of a frame following this solution (I’m in one of the shots just to give an idea of the size) :-
Size: 39.0cm (W) x 55.1cm (H), framed 73cm x 57cm
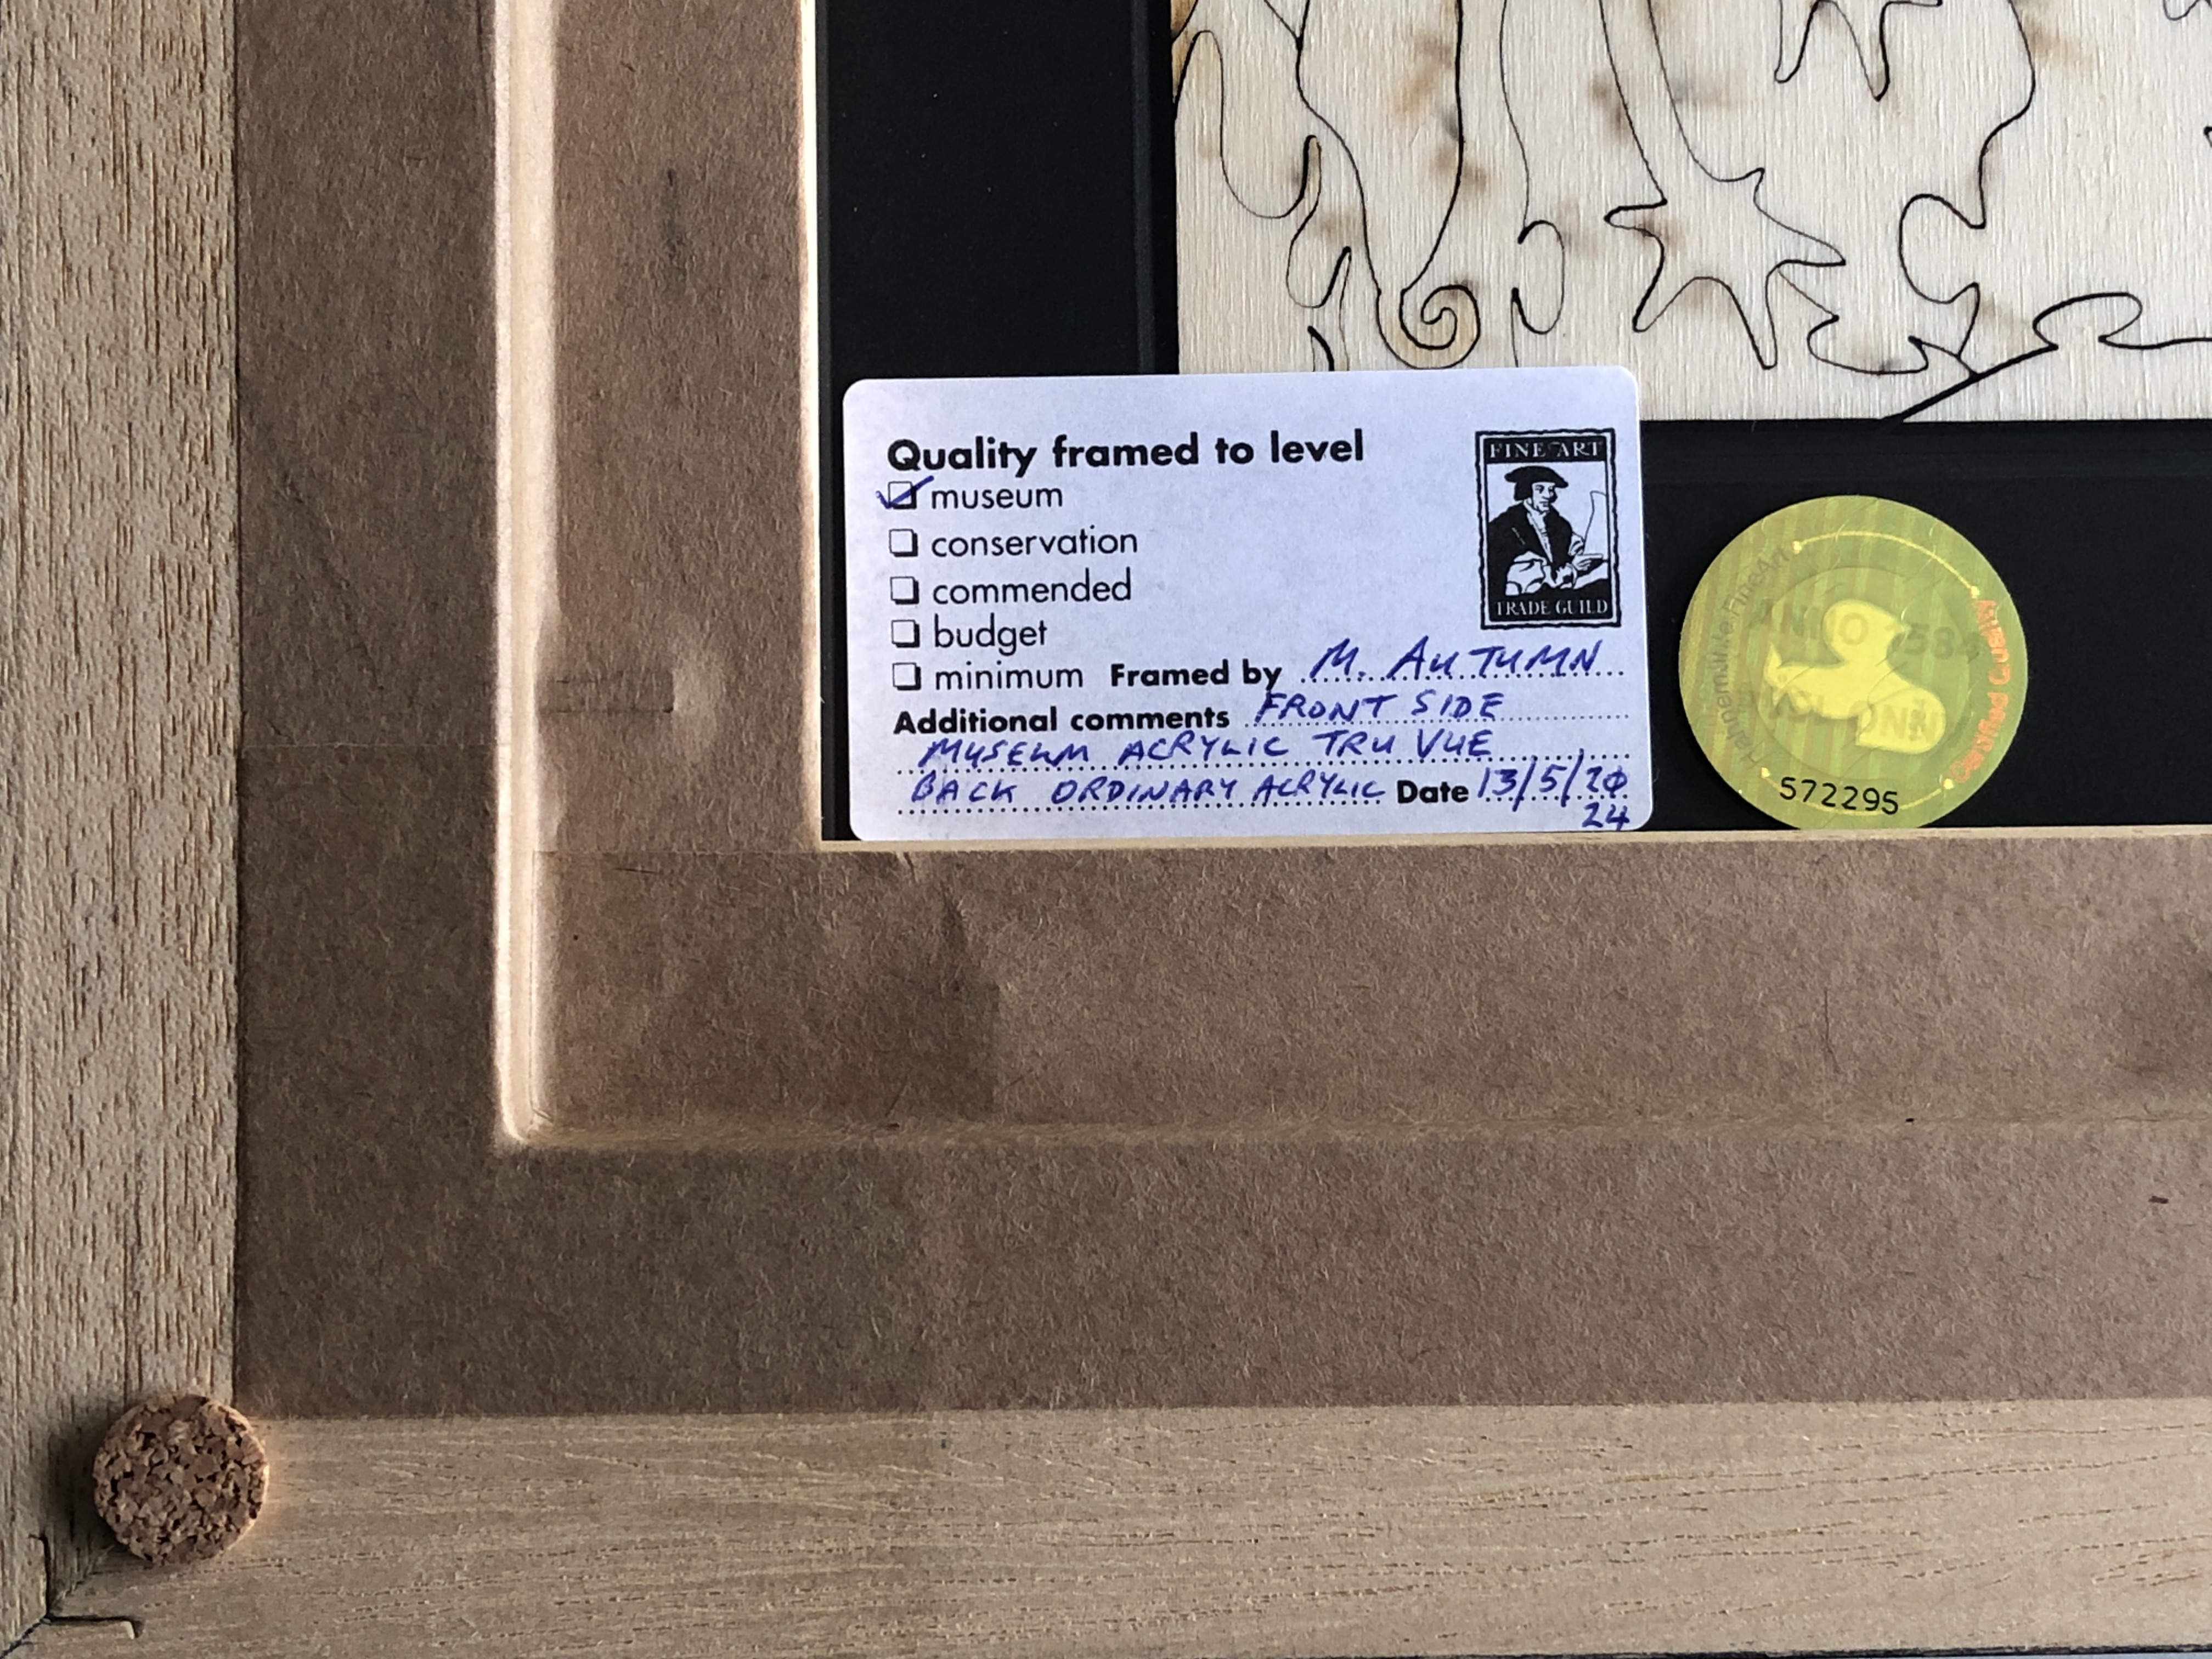
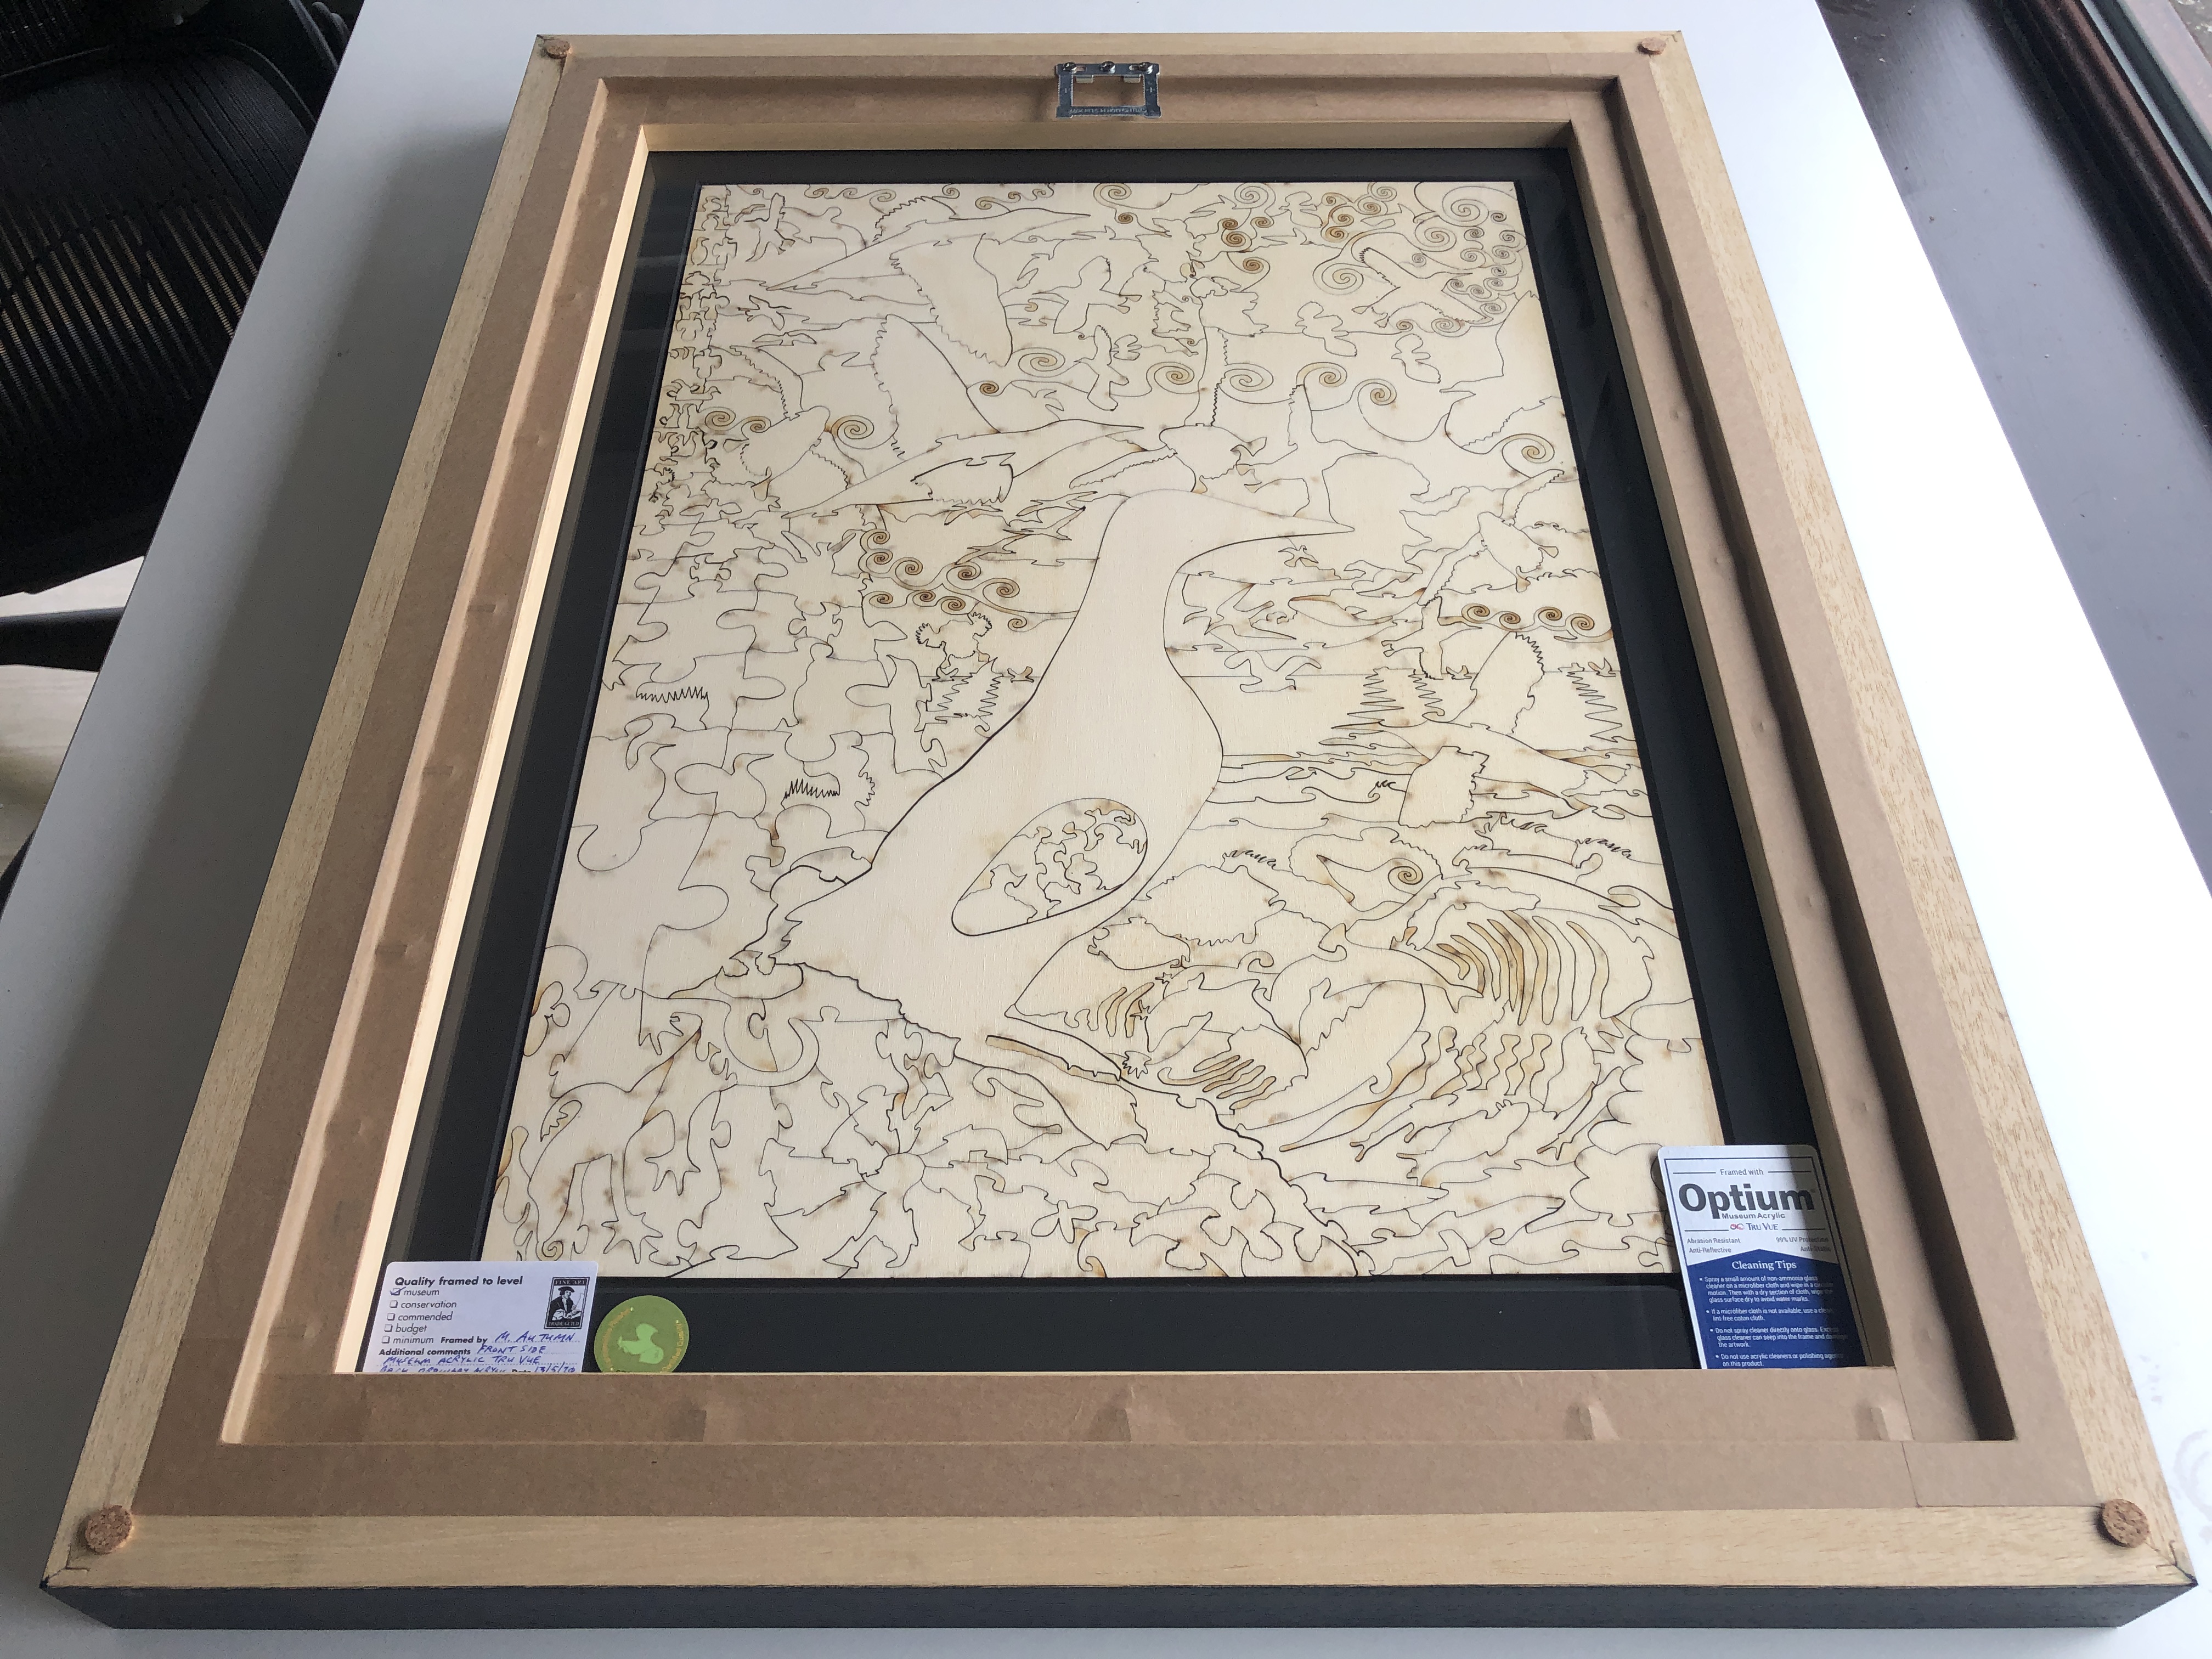
And here is a rear view :-
So this concludes the proposed museum (FATG Level 1) frame design for wooden puzzles and other thin, flat, 2.5D artefacts designed and intended to be viewed from both front and back. If the artwork is to be hung on a wall – and not frequently viewed from the back – then ordinary acrylic seems adequate – and will cut down on the not inconsiderable costs of this solution. The only time I feel it would be necessary to use museum acrylic glass on both sides is where the frame is to be displayed in such a way that it can always be seen from both sides – such as in a free-standing display partition, in an interior wall with an opening/hatch, or suspended from a ceiling away from a wall – where viewers can wander all around it.
Incidentally, notwithstanding the UV protection provided by the museum acrylic glass described above, I additionally varnish my wooden puzzles and engravings (front and back) with the best available UV, non-yellowing, clearest, matt varnish. The point being that, wherever possible, the artefact in the frame should be given as much non-invasive, non-destructive, protection in and of itself – a belt-and-braces approach to conservation. This is similar to using archival UV protective inks in Giclée prints – as well as UV varnishing them – and not relying solely on a museum grade (FATG Level 1) frame to protect them…
The completed version of the framed artwork mentioned at the beginning
References
Kistler, V C (2001). Conservation Framing, Vol 4, 2001. Library of Professional Picture Framing.
Miller, J (2021). Direct contact overlay mounting. ART + FRAMING TODAY, April-June 2021.
Kosek, J M (2004). Conservation Mounting for Prints and Drawings. A Manual Based on Current Practice at the British Museum. Archetype Publications in association with the British Museum.
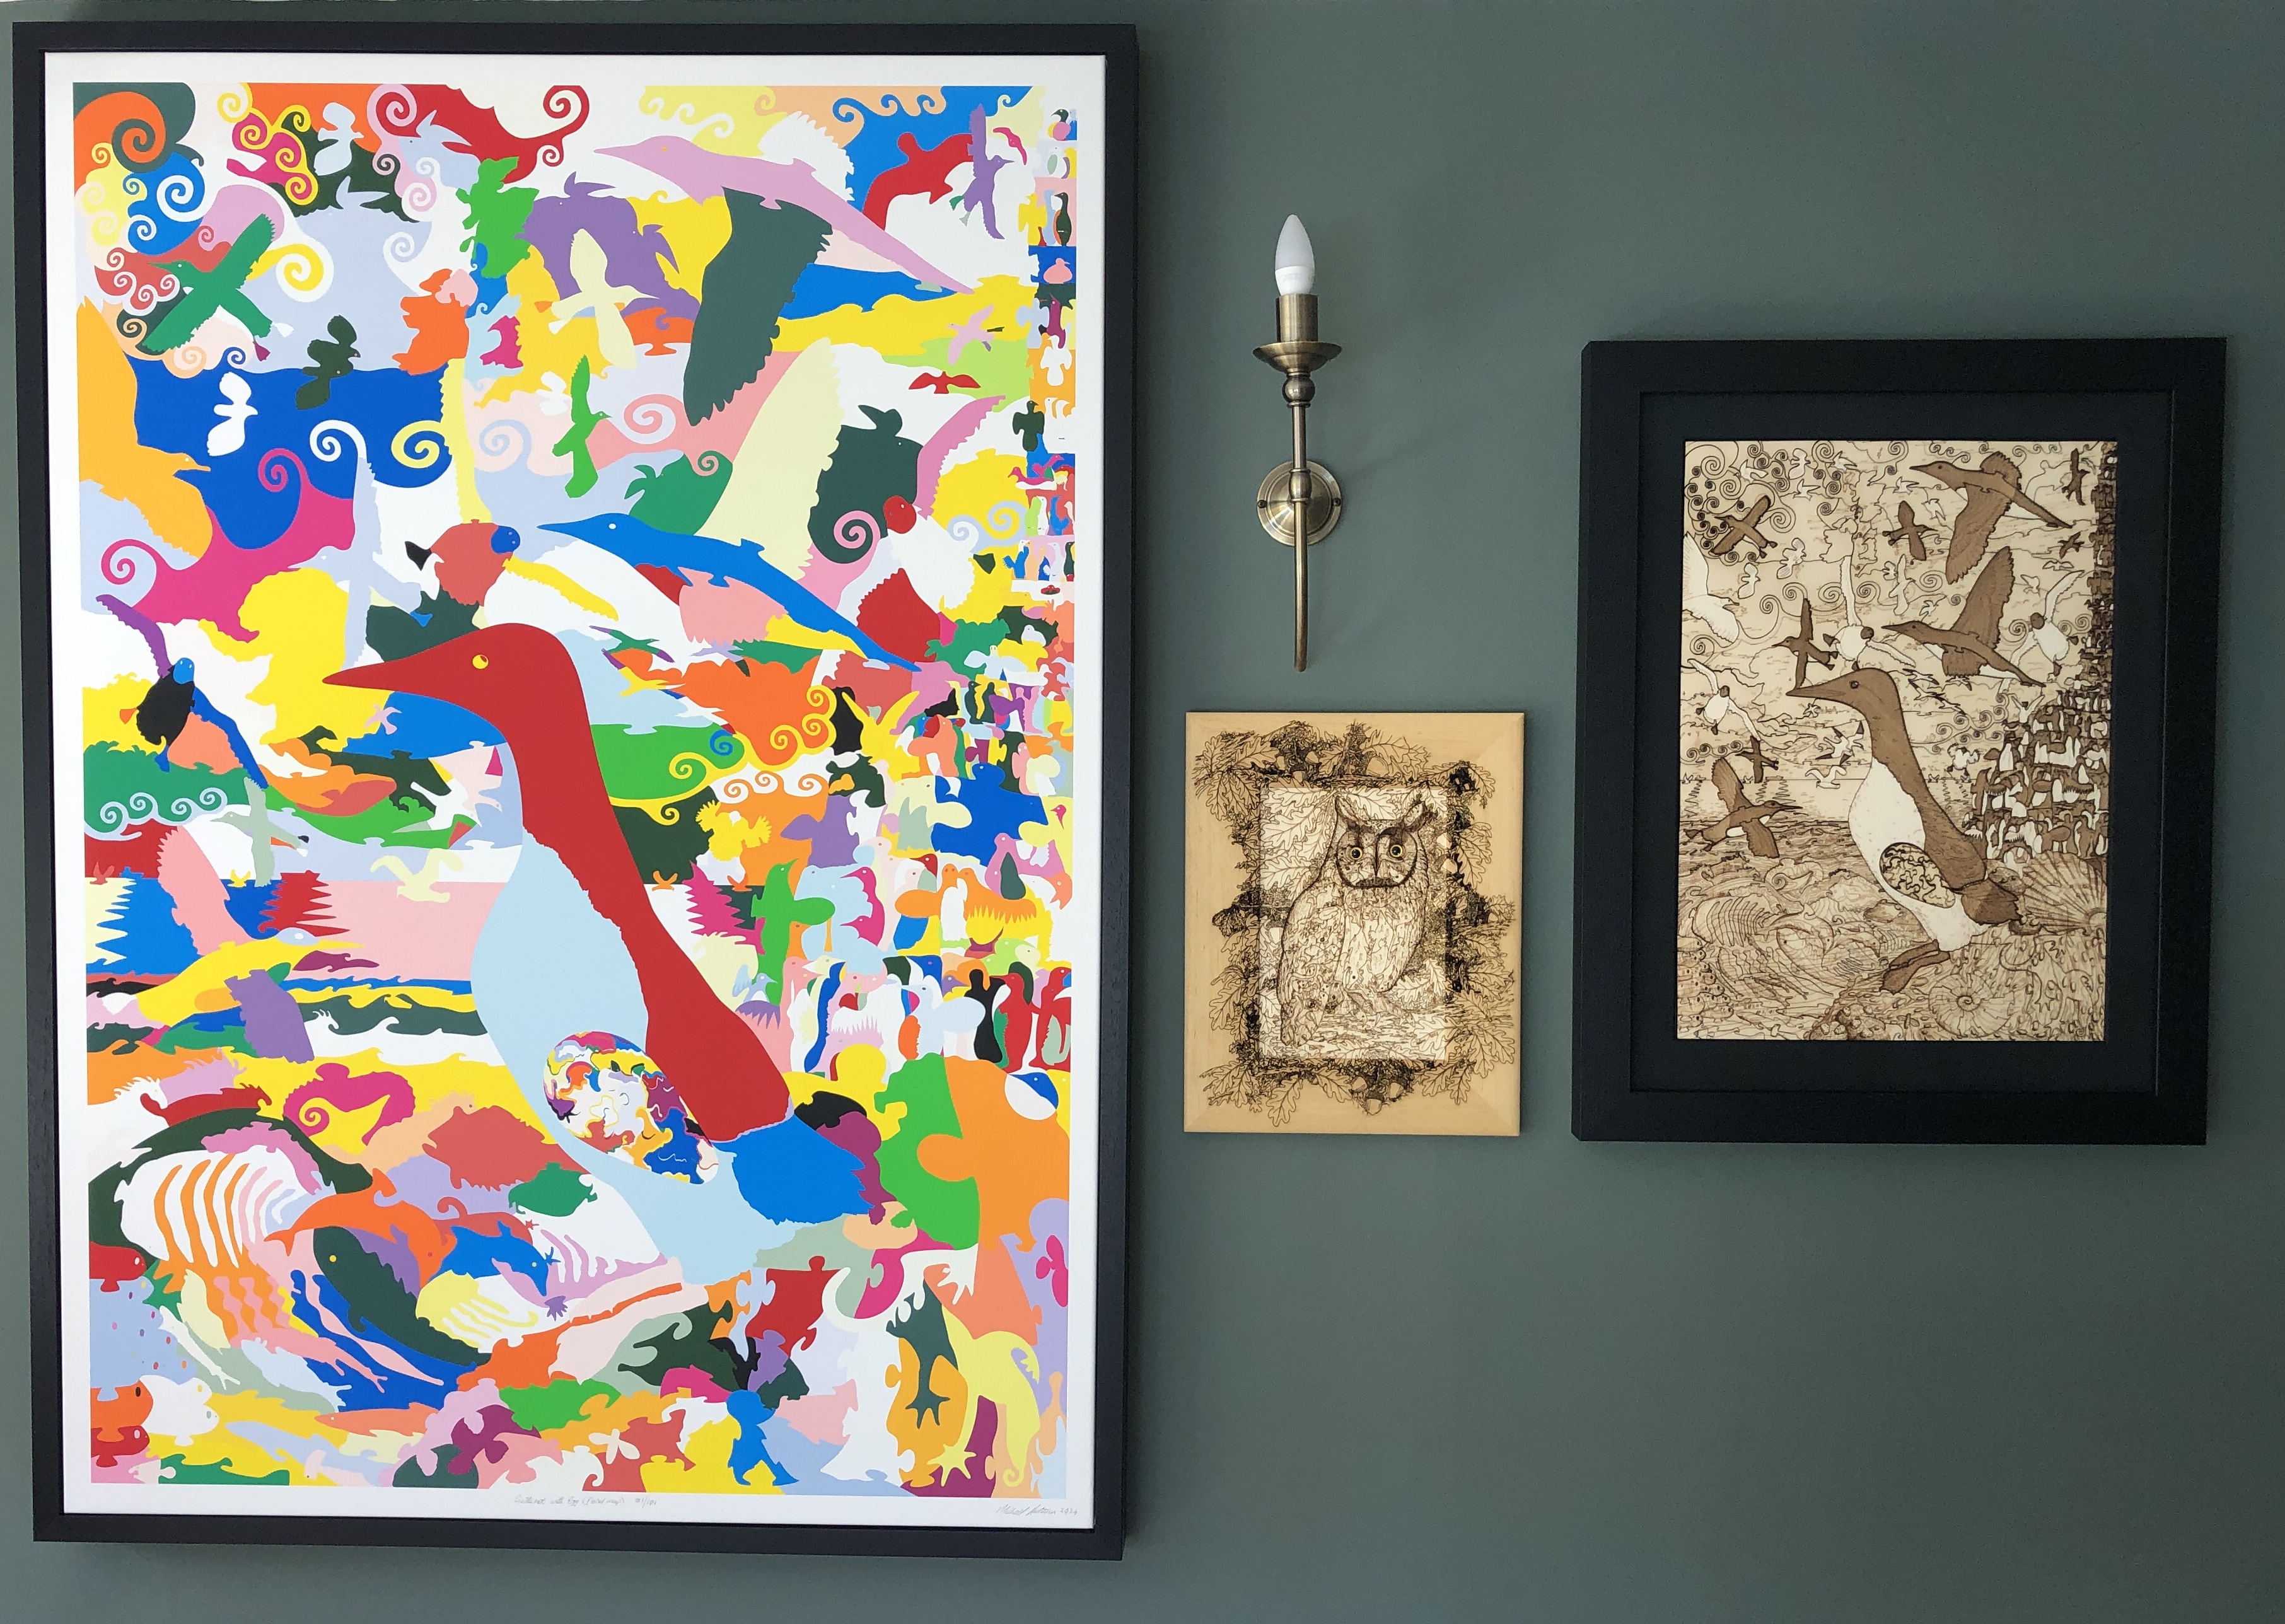
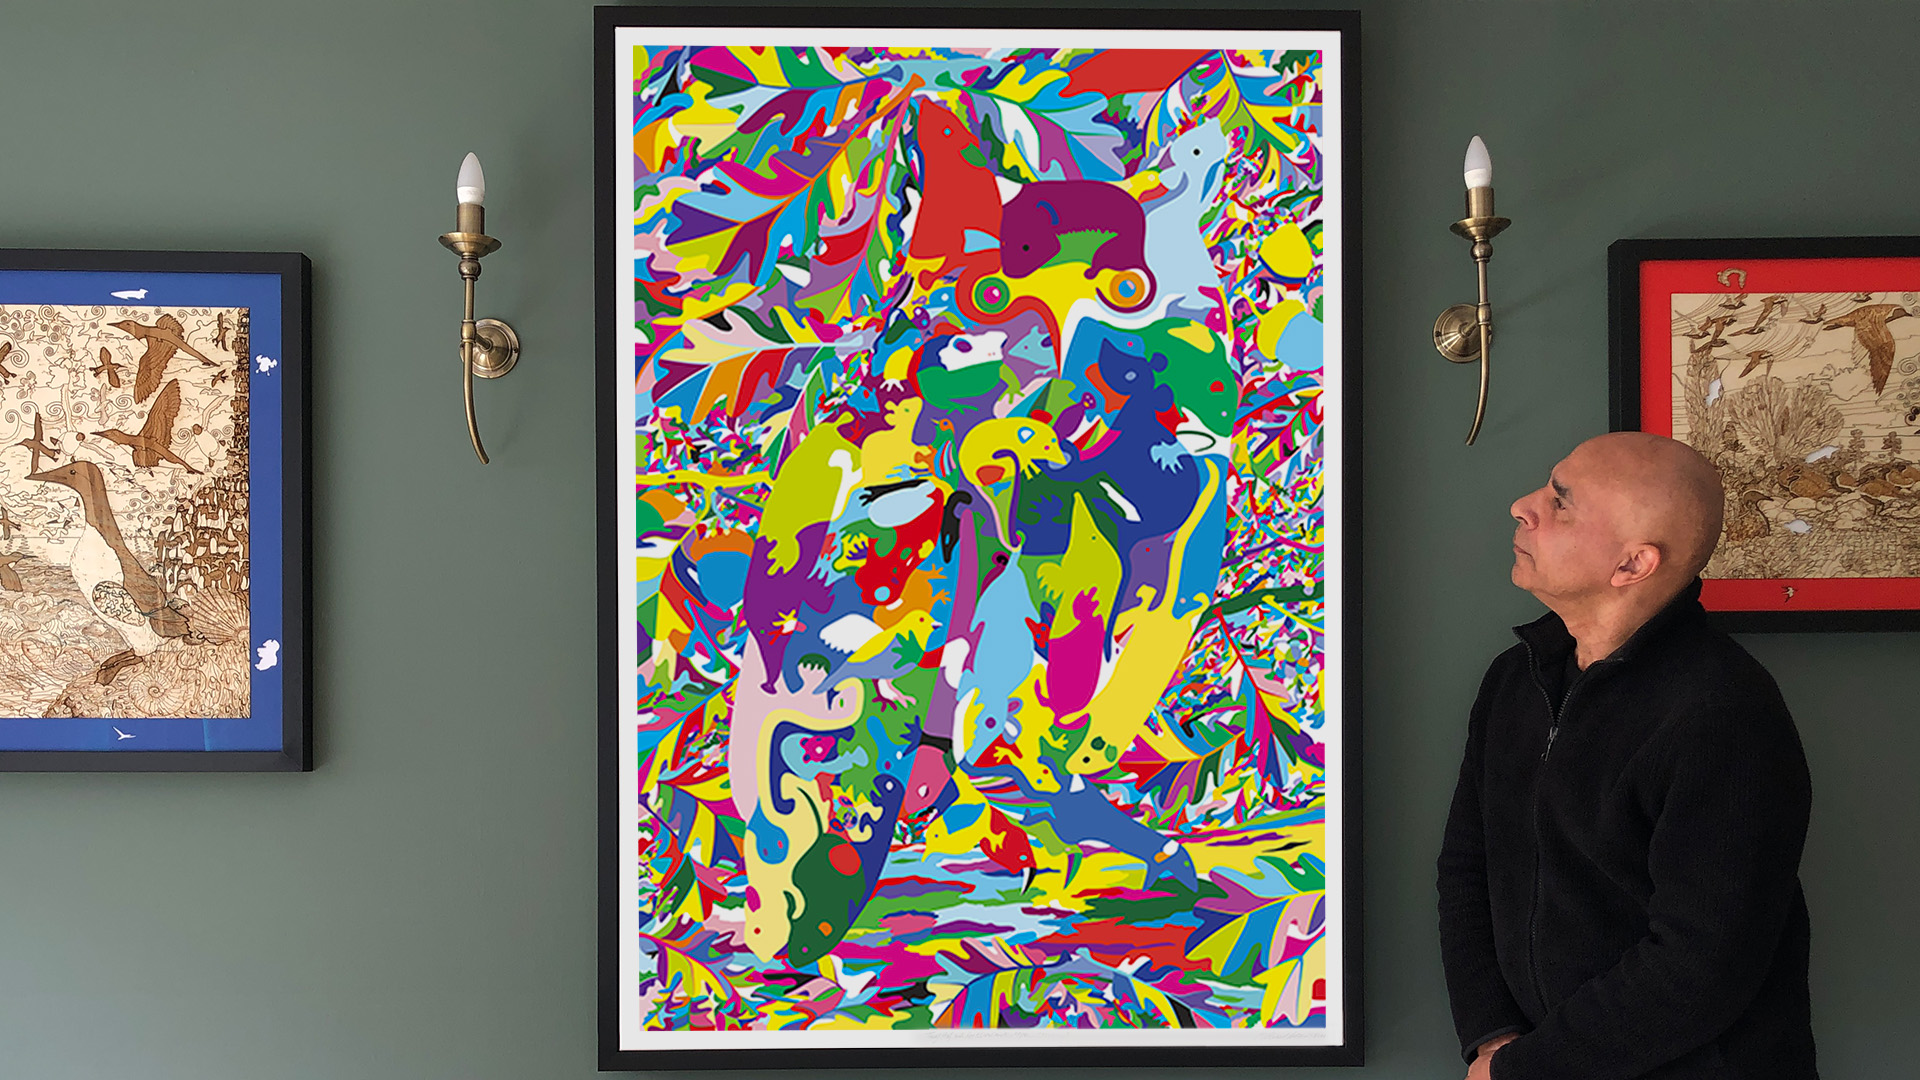
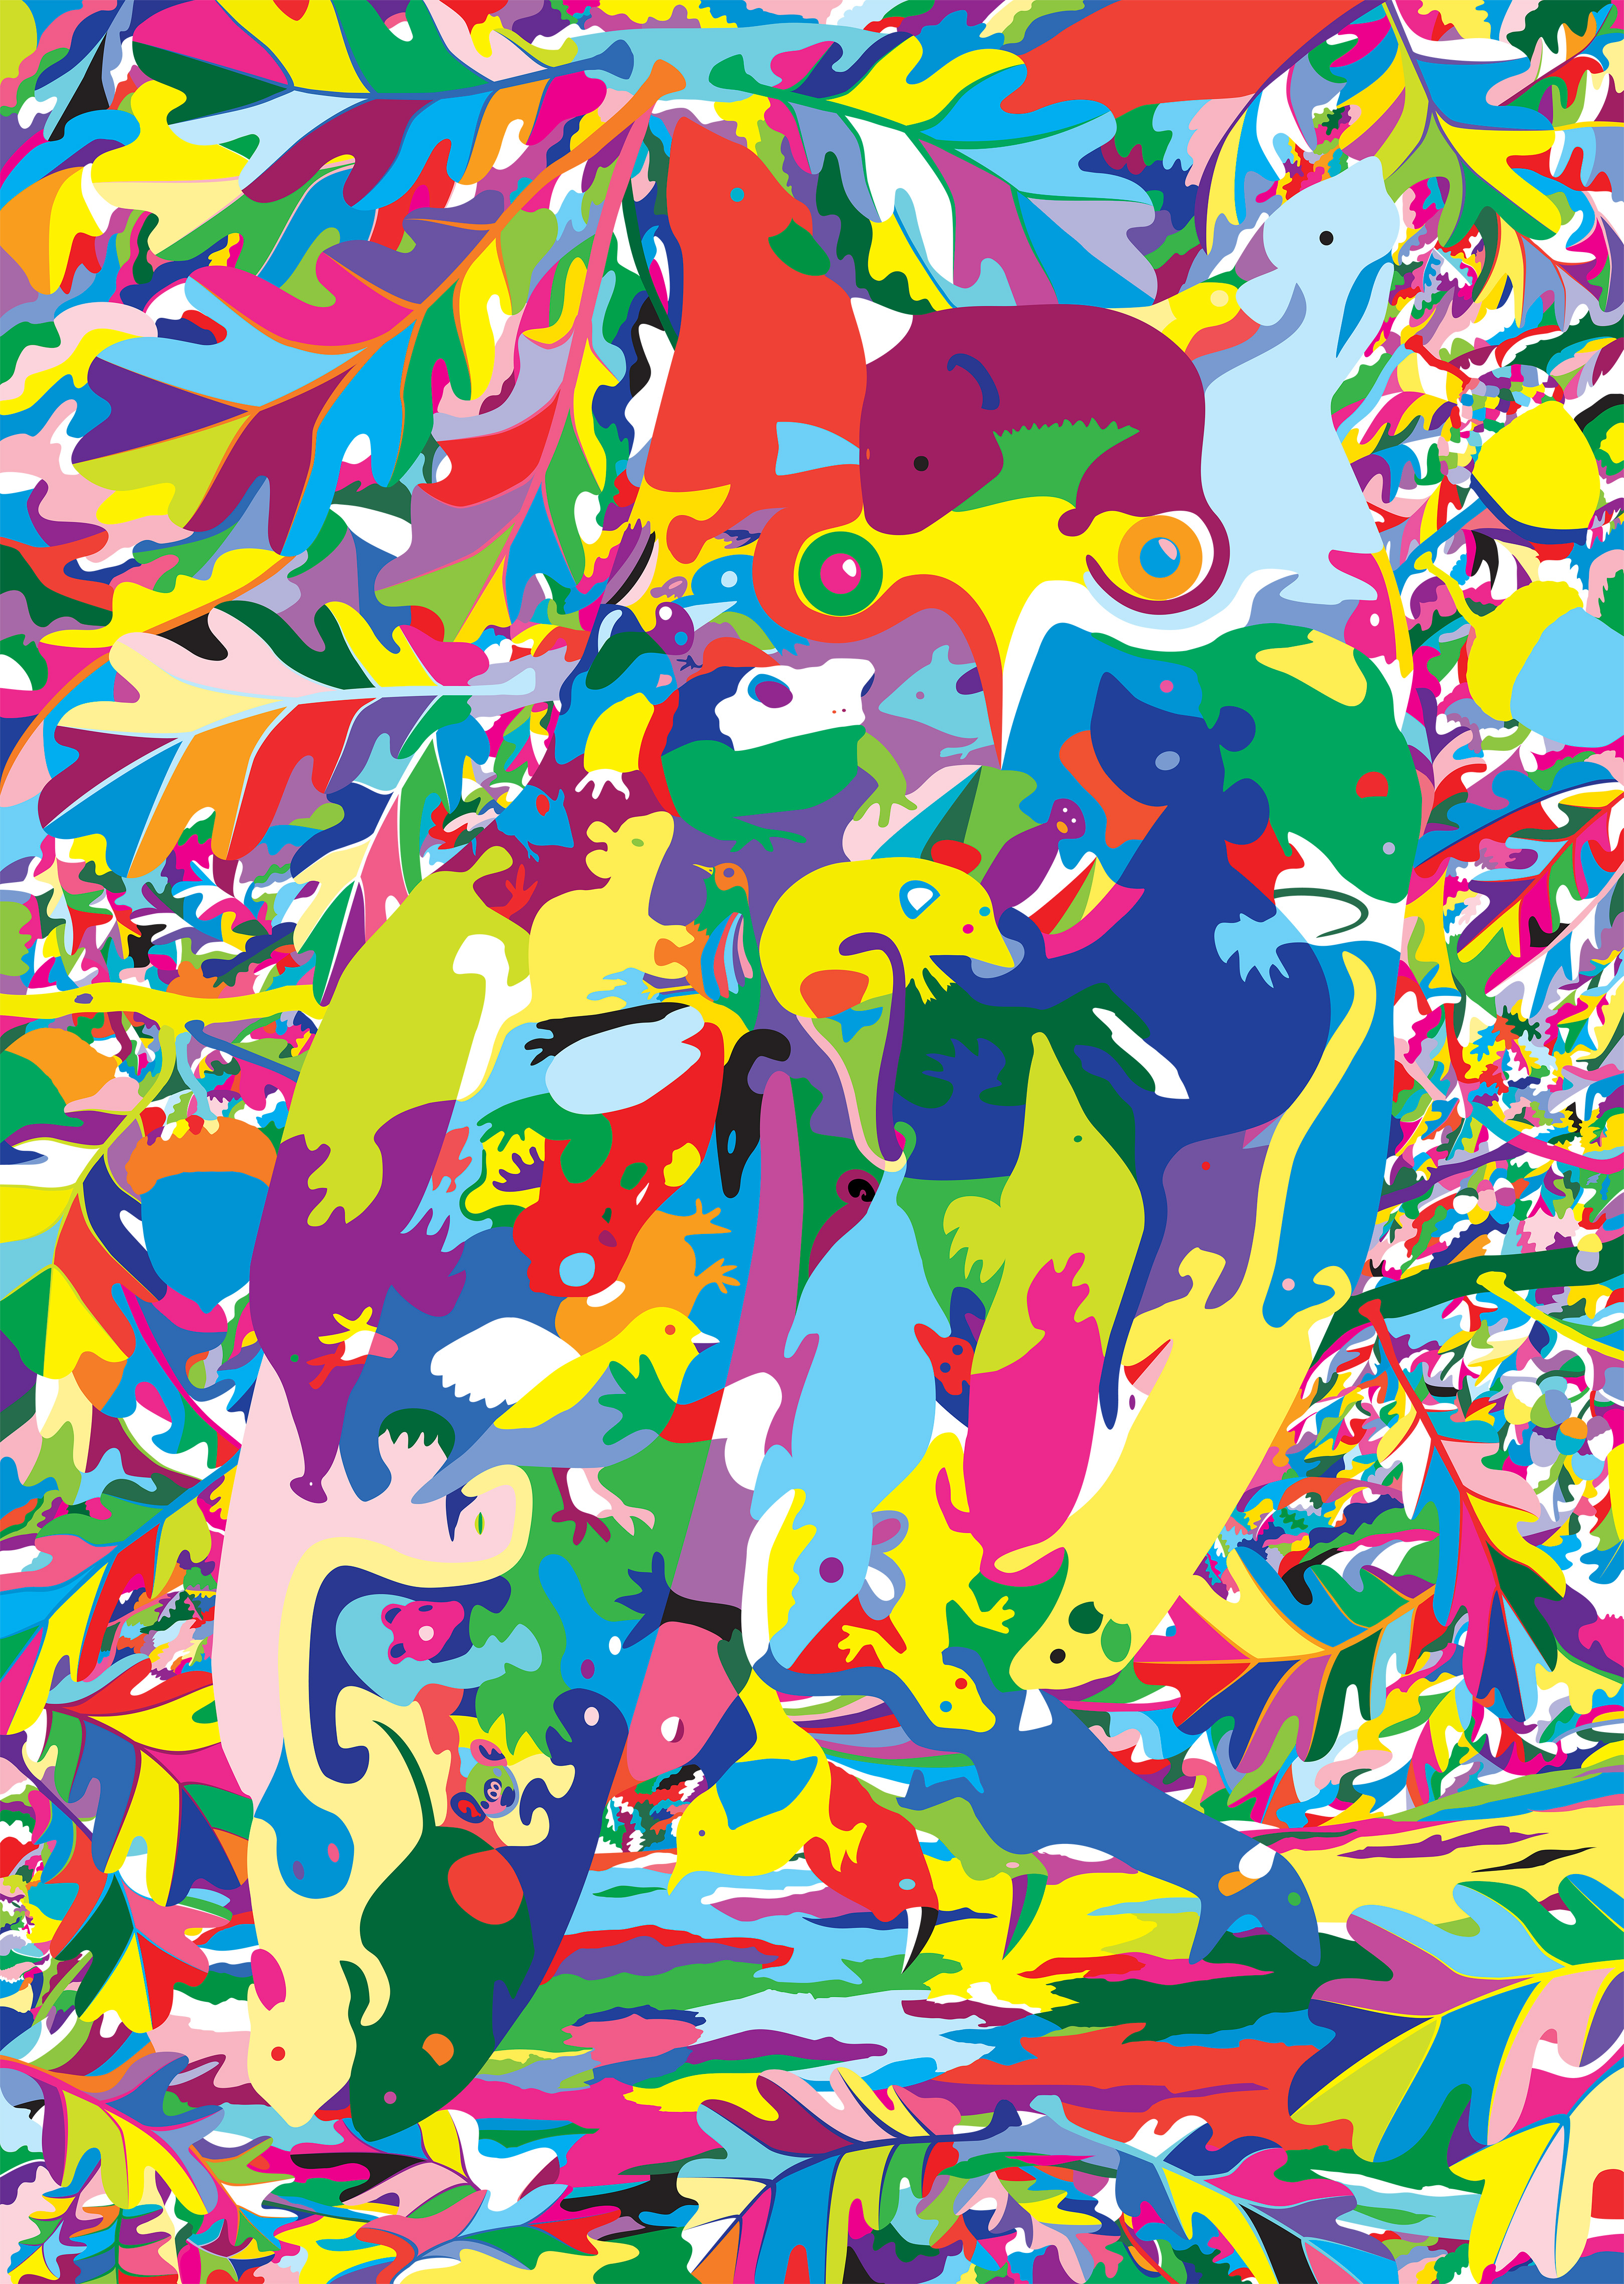
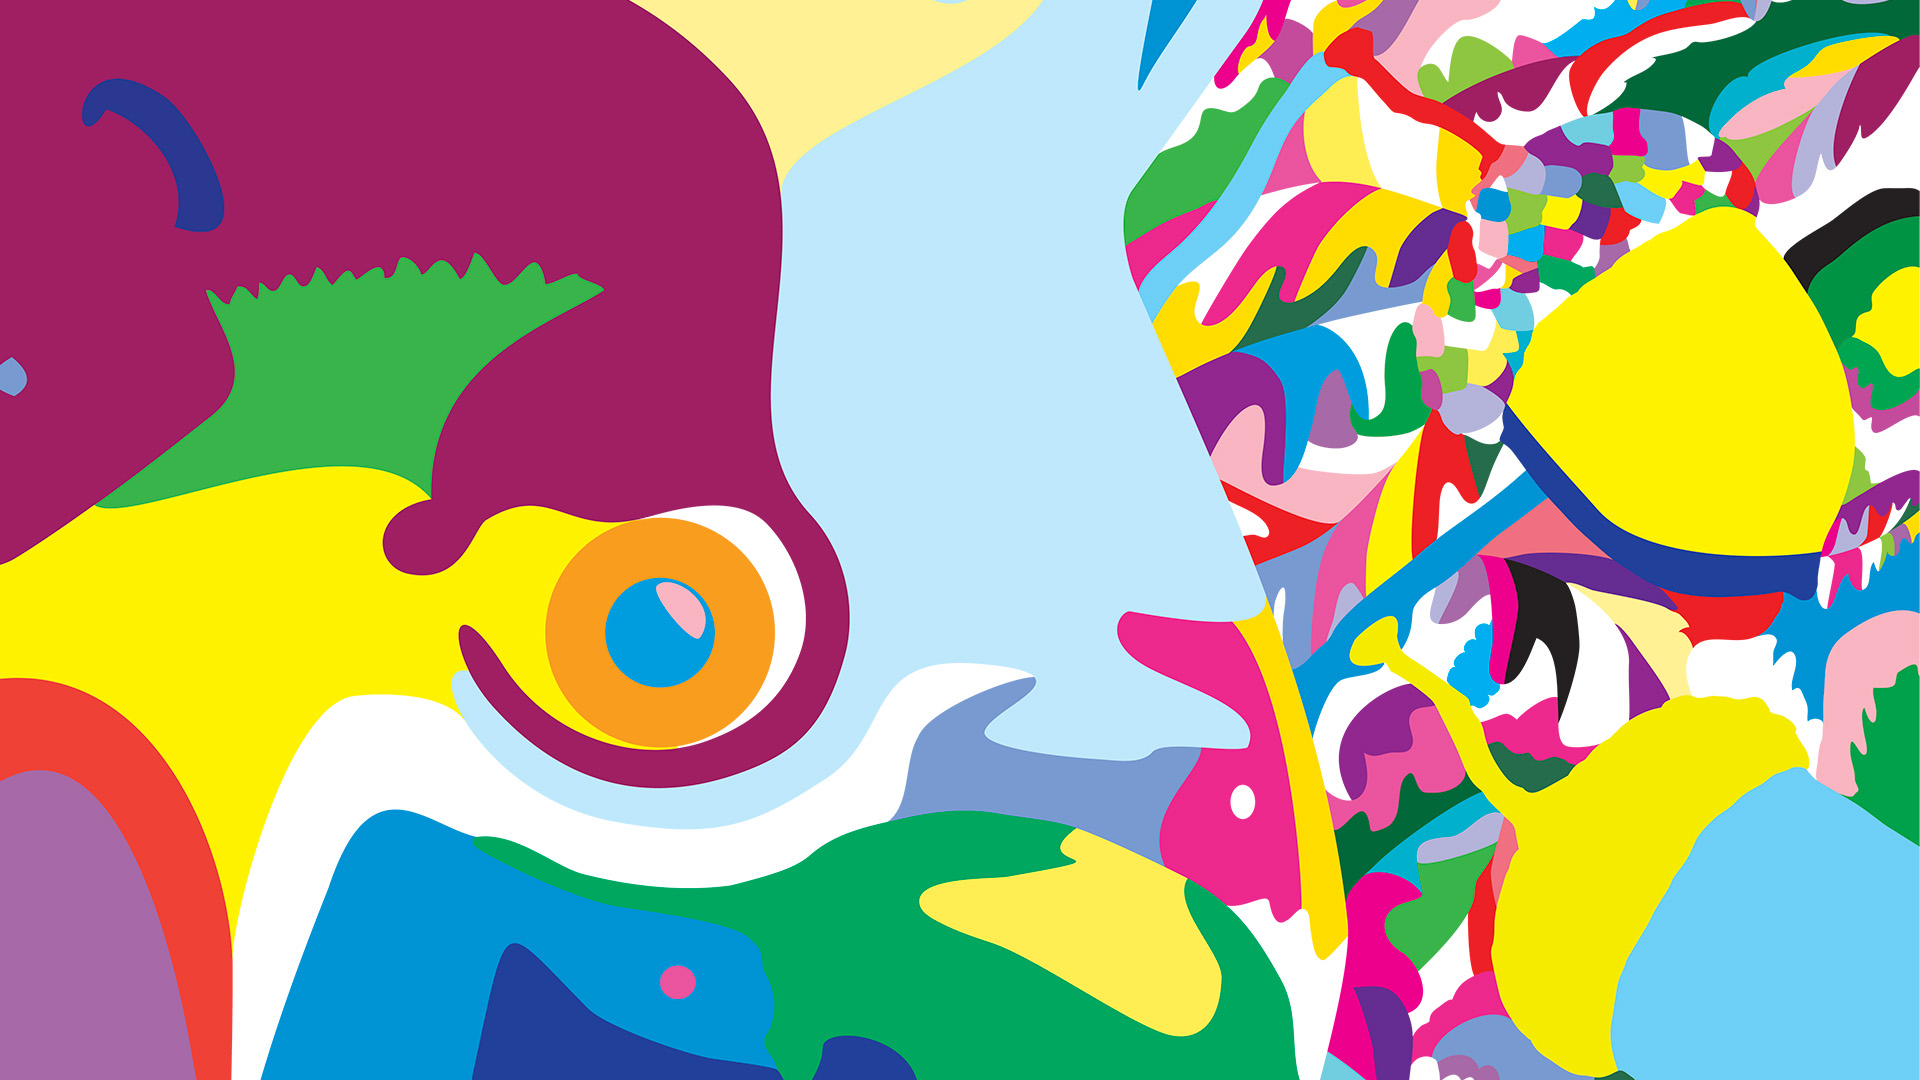
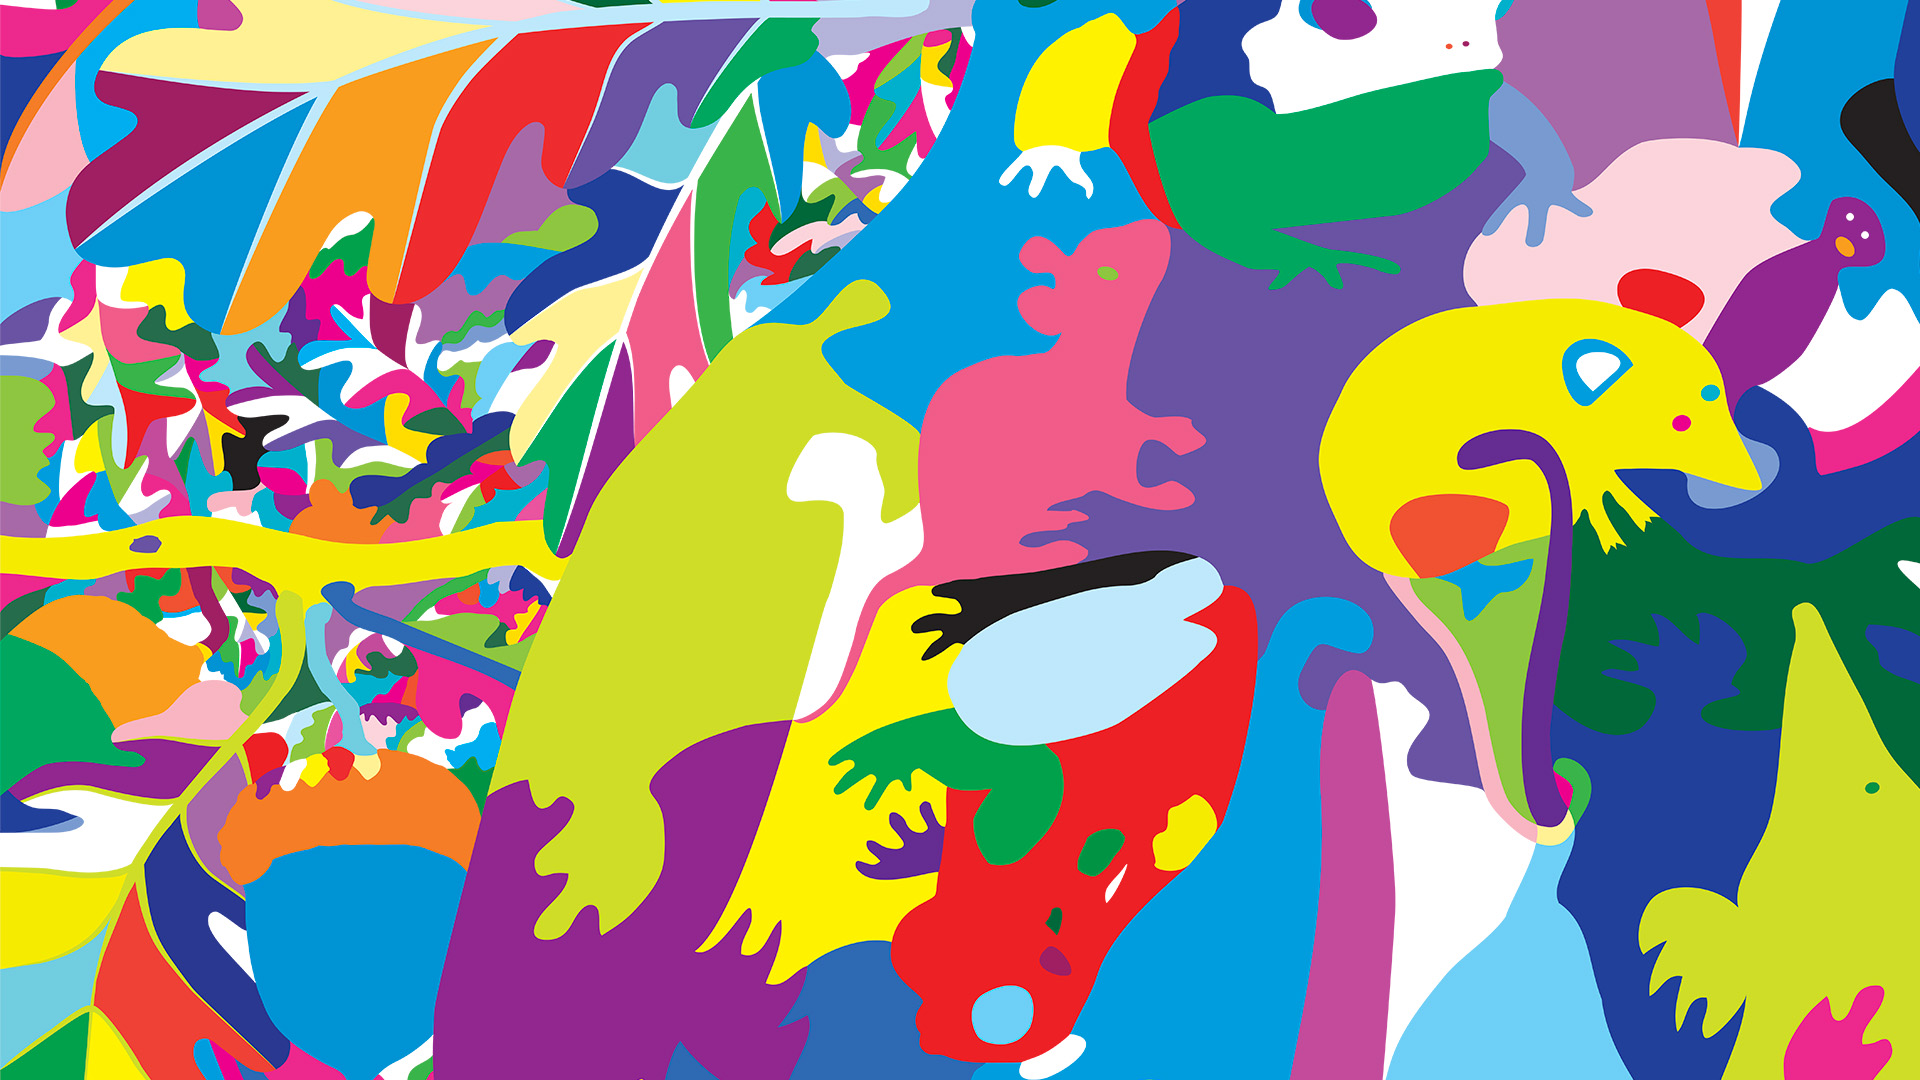
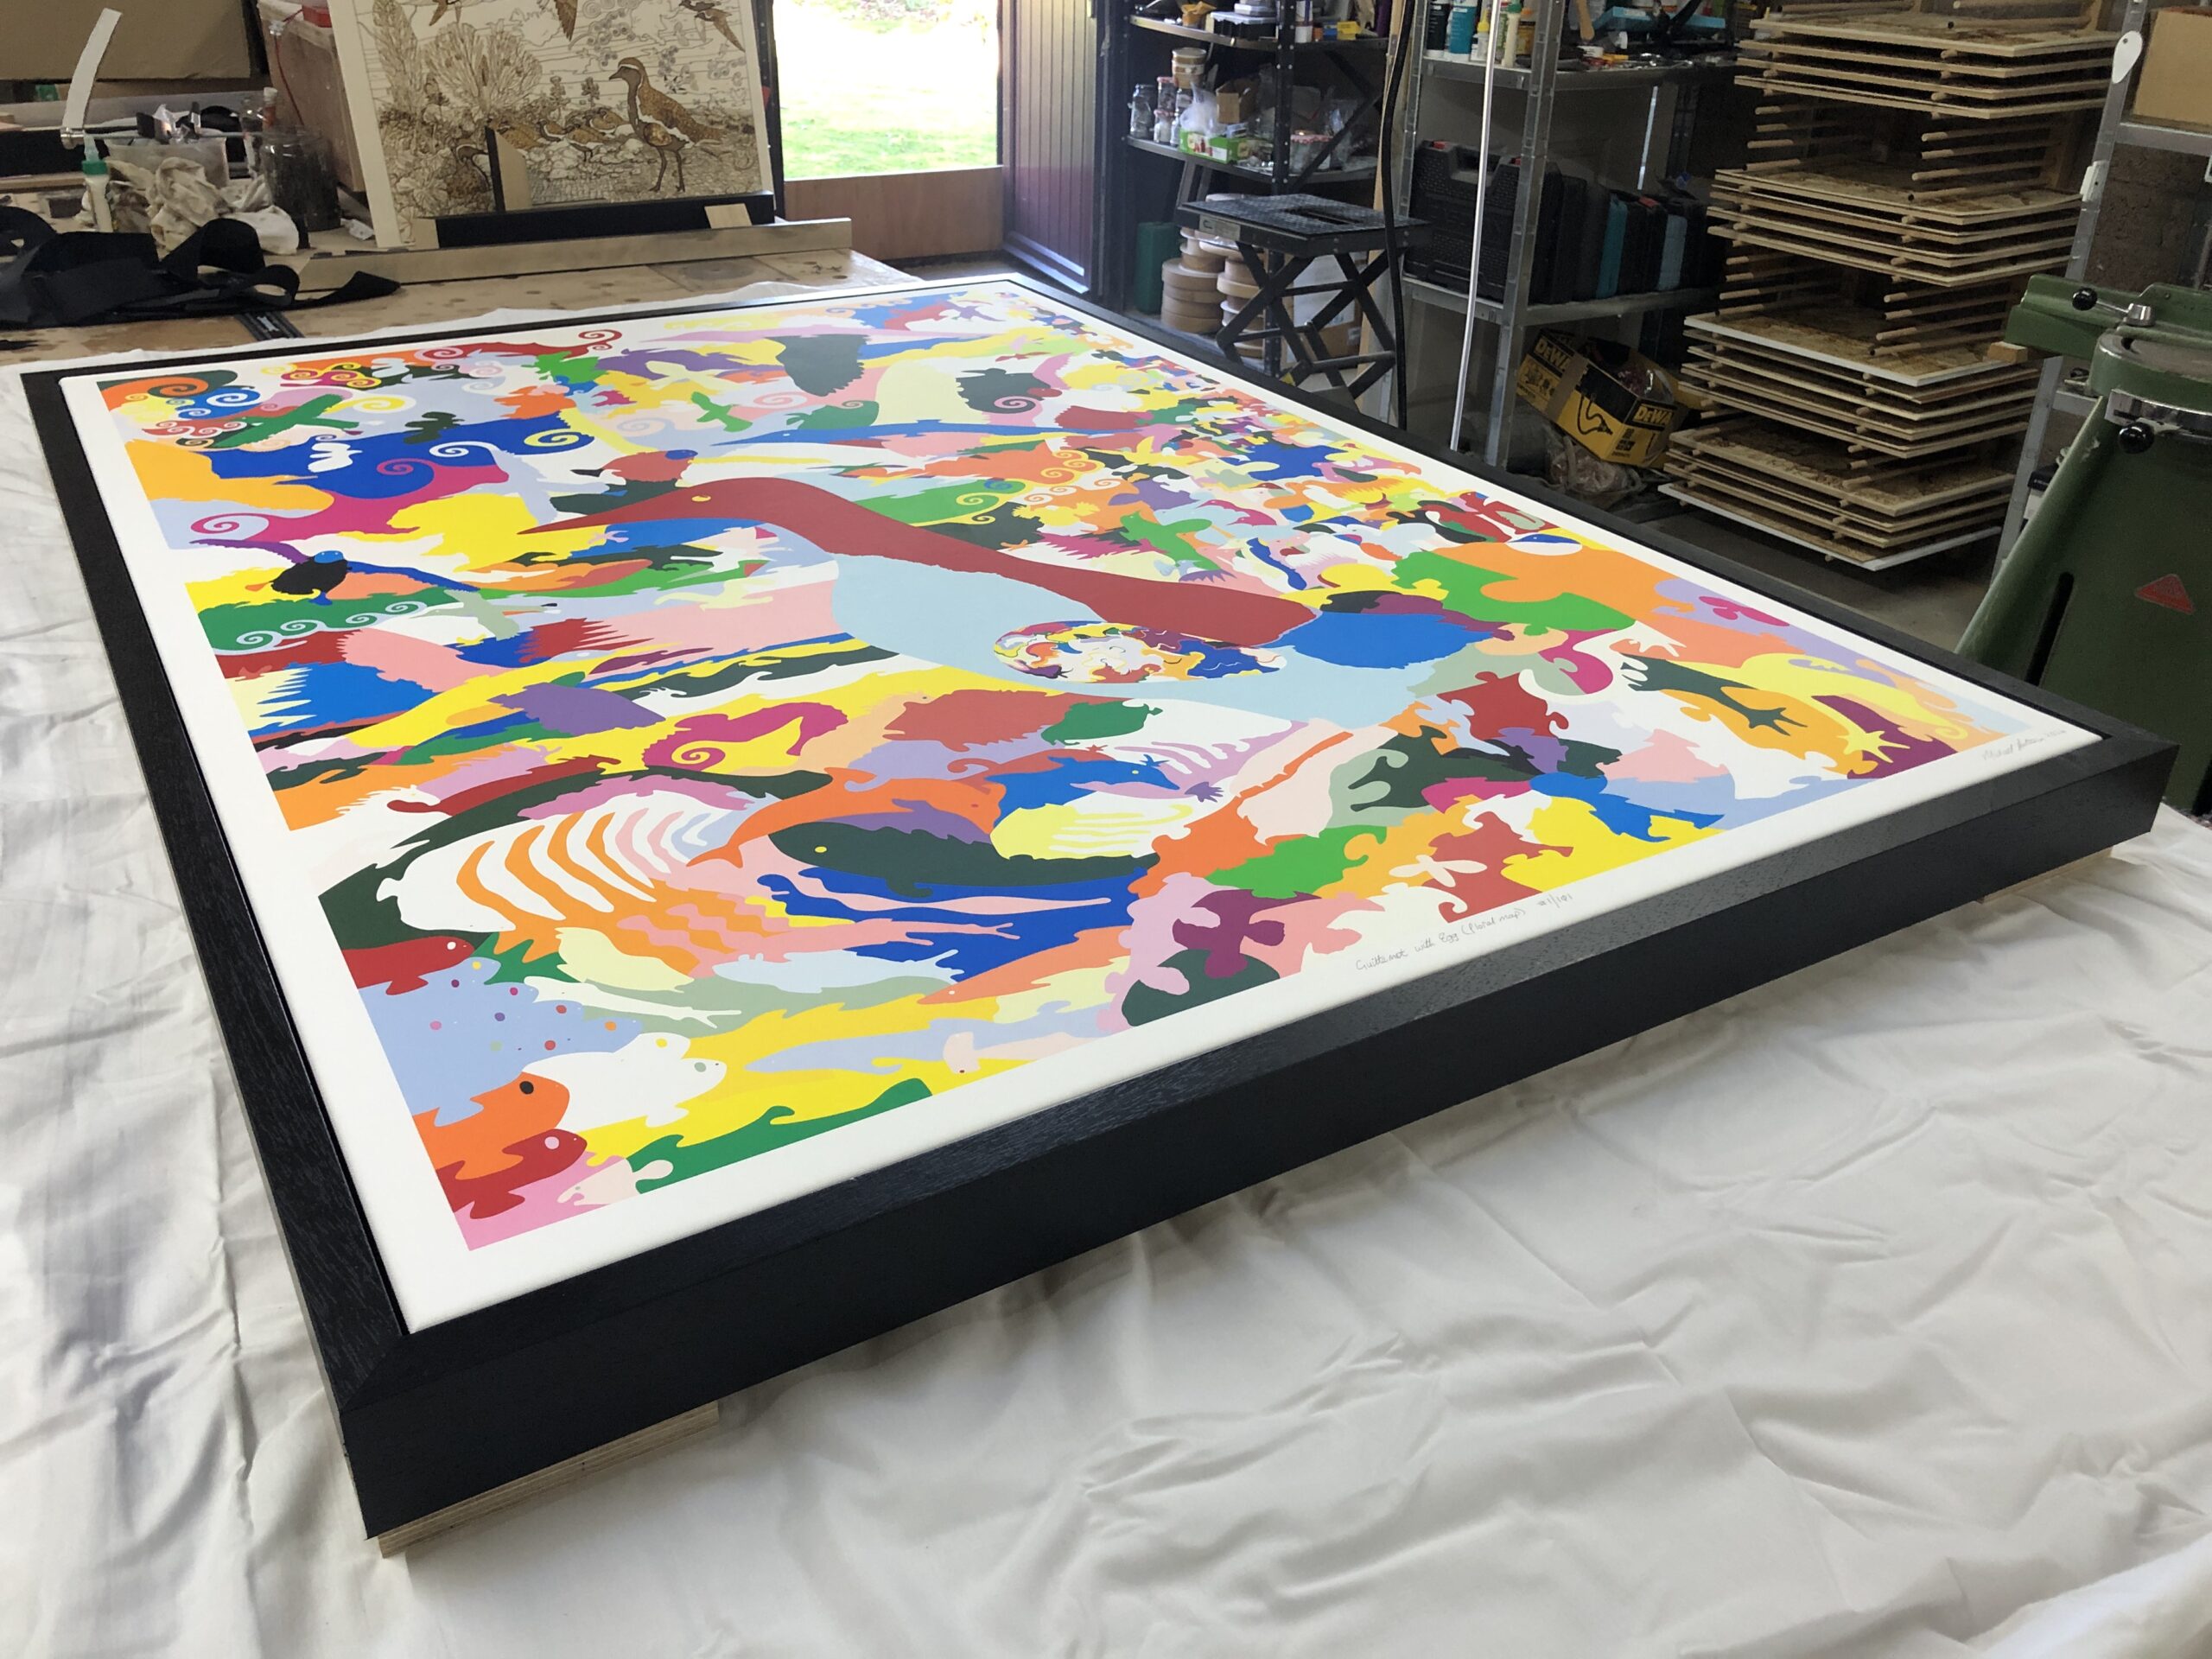
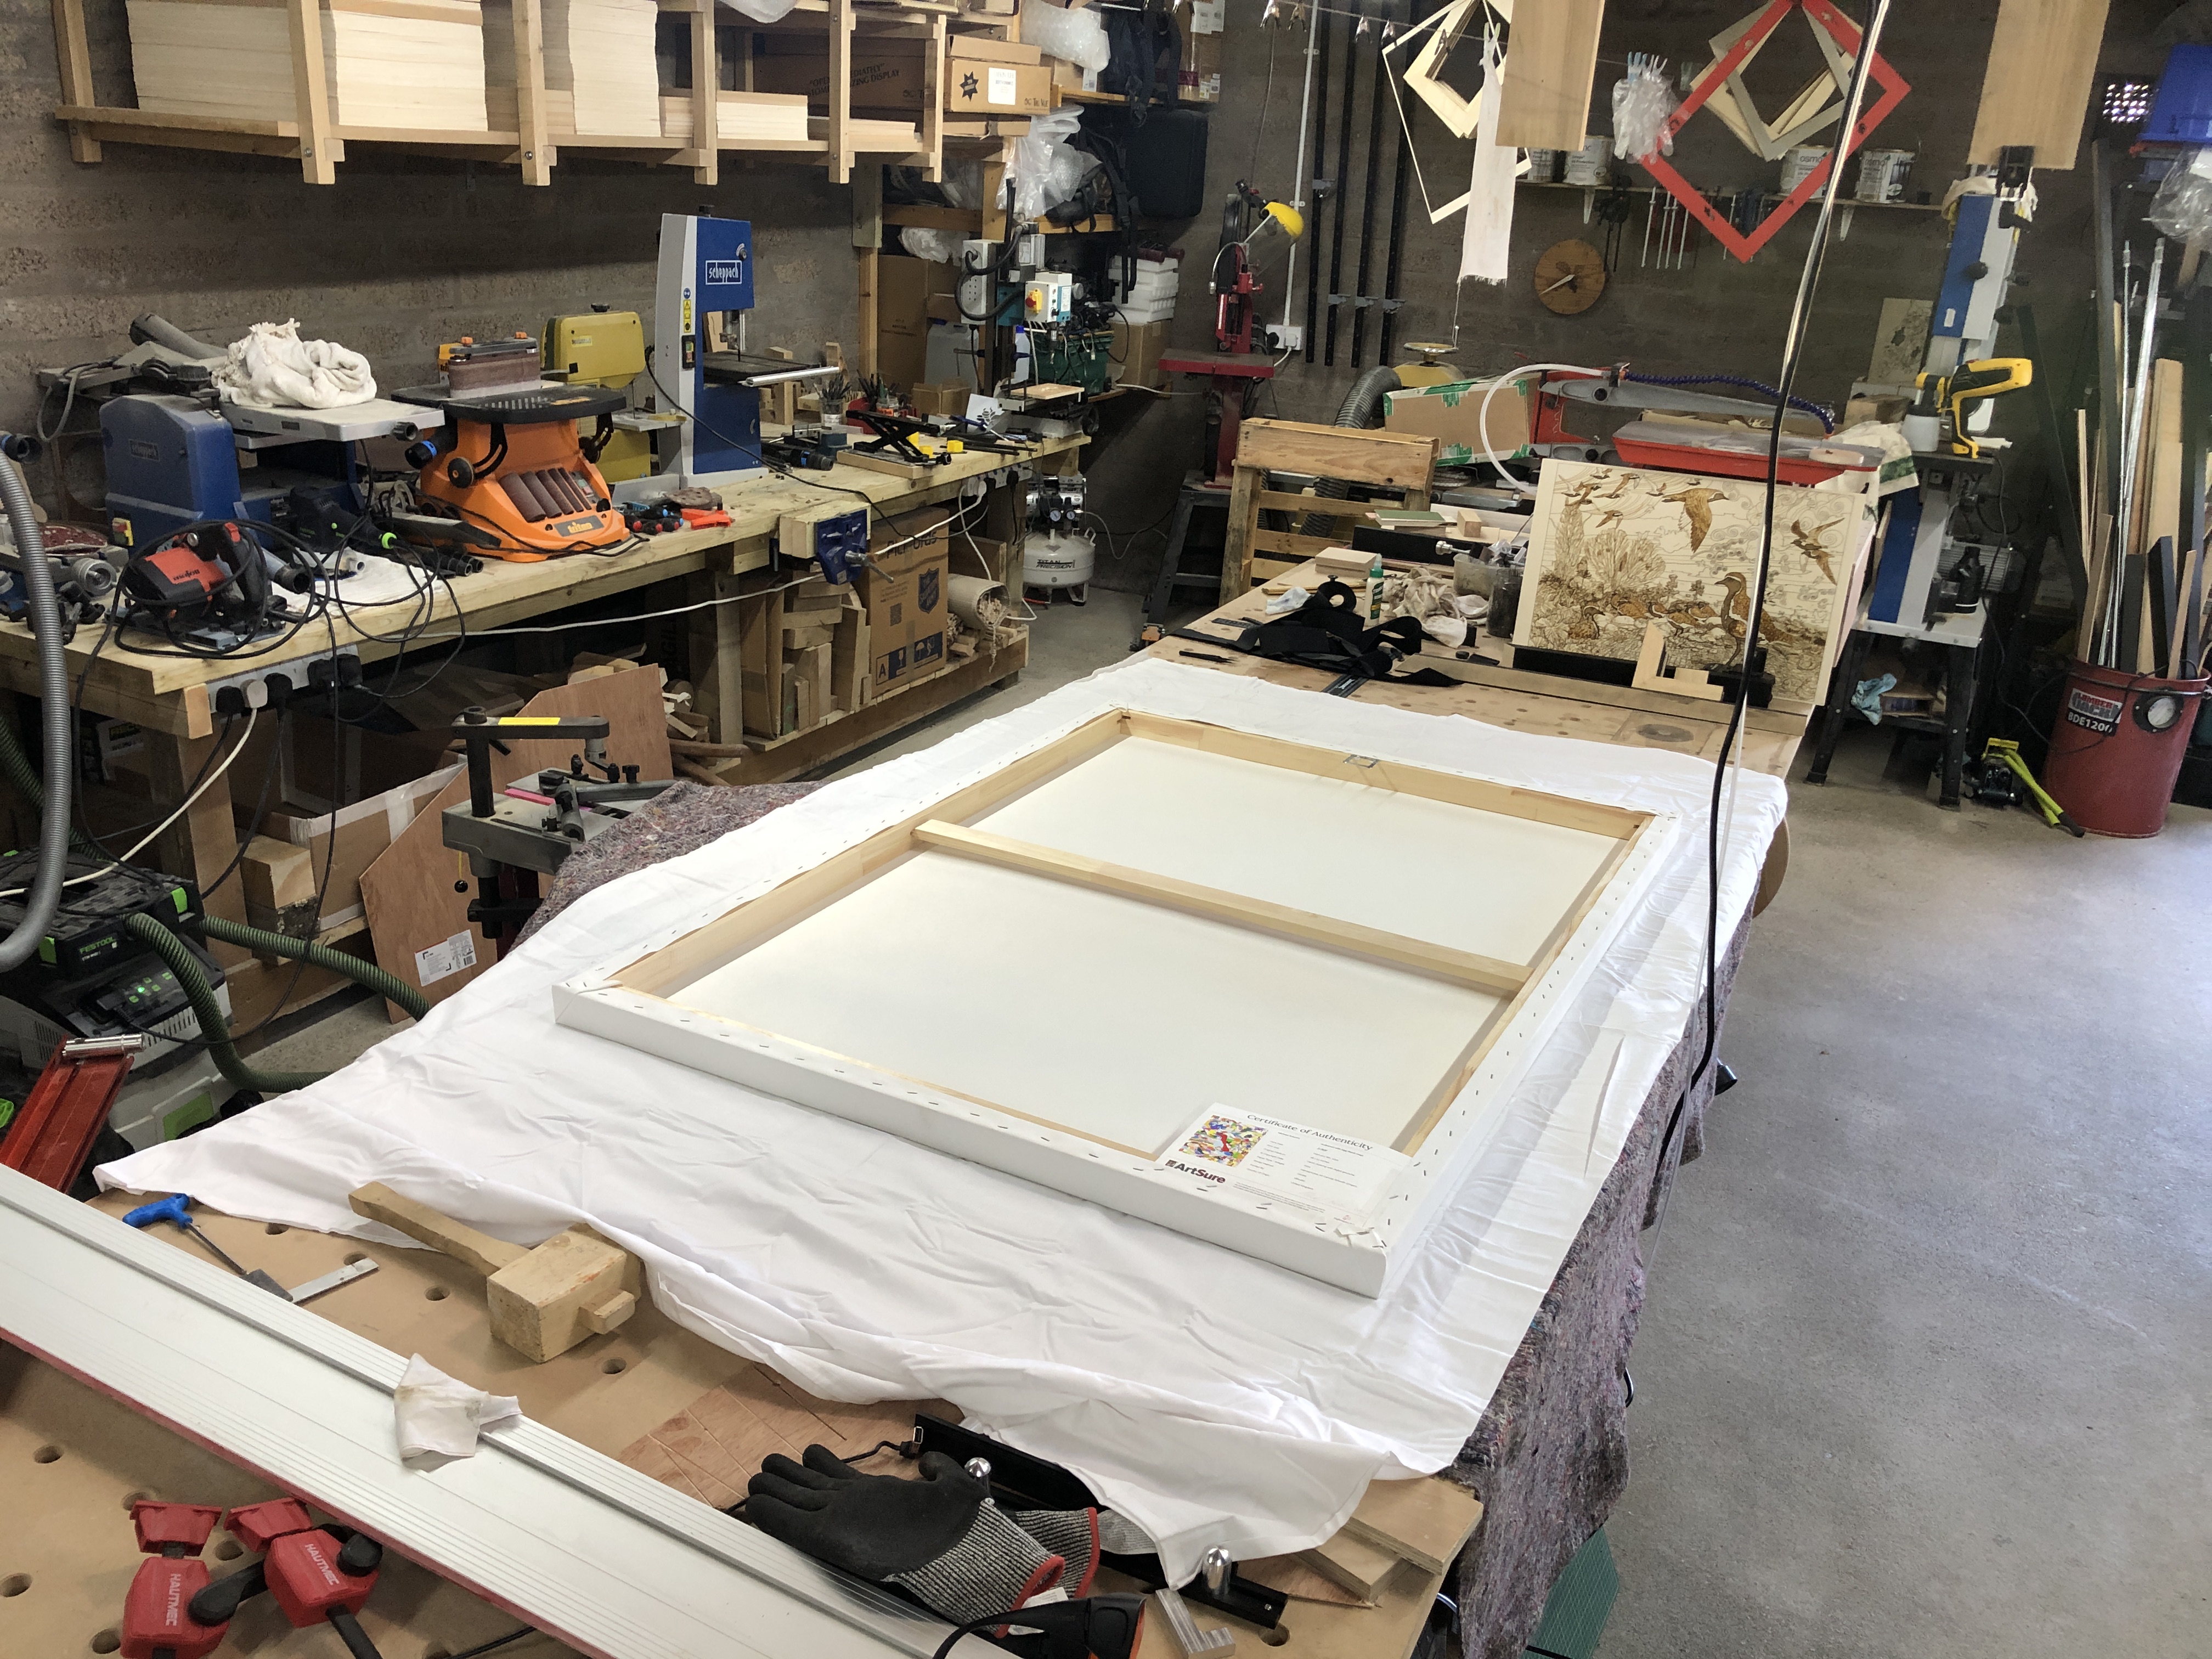
Title: “Long-eared Owl with Oak Foliage (floral map)” Artist: Michael Autumn Medium: Hand-drawing with digital gouache Giclée archival print on fine 100% cotton canvas (matt) Hahnemühle Art Canvas Smooth 370gsm + Hahnemühle UV protection matt varnish Size: 36″ (W) x 50.9″ (H), canvas stretcher 38″ (W) x 53″ (H) Edition: Limited Edition of 101 Authenticity: Hand-signed (front, bottom, far right on white canvas border) with graphite pencil (varnished over with same UV-protective matt varnish as whole) and titled (front, bottom, centre on white canvas border) Date: 04/2024
Just to give an idea of the size the artwork…
TL;DR
This artwork is an homage to visual perception – it’s about how we detect meaning from the millions of individually coloured photons entering our eyes – and how I, as an artist, can trick you into seeing what I want you to see.
Owls, like this one, are incredibly well camouflaged – not so much by their colouring, but by their habit of staying completely still, most often in a tree, during their time of rest and sleep (often during the day). So much so, that you could literally walk within feet of them and you probably wouldn’t even realise they are there. Likewise, in this artwork, you have to really look to see the owl…
And there is a reference to the idiom – “you are what you eat“…
Long-eared Owl with Oak Foliage (floral map) is the simple colouring-in (albeit very carefully selected and juxtaposed colours) of a flat line drawing I did previously of this art puzzle design (see the photo of that artwork below and this post: Long-eared Owl with Oak Foliage (Art Puzzle)).
Long-eared Owl with Oak Foliage (Art Puzzle)
I used this technique to regularly check for line breaks (where there shouldn’t be any), and to get a better view of the shapes of the individual pieces I was designing – amid a sprawling mesh of simple black thin lines on a white background. This got me to thinking about the difference between the dumb mechanical process of colouring a shape (of a flood fill) and true animal (human) understanding…
It may be quite common for artists to write about how they feel about their work, but I’ve personally never come across it. This is probably just my lack of reading (I’m not a big reader, I usually only read to learn something specific – which is quite often).
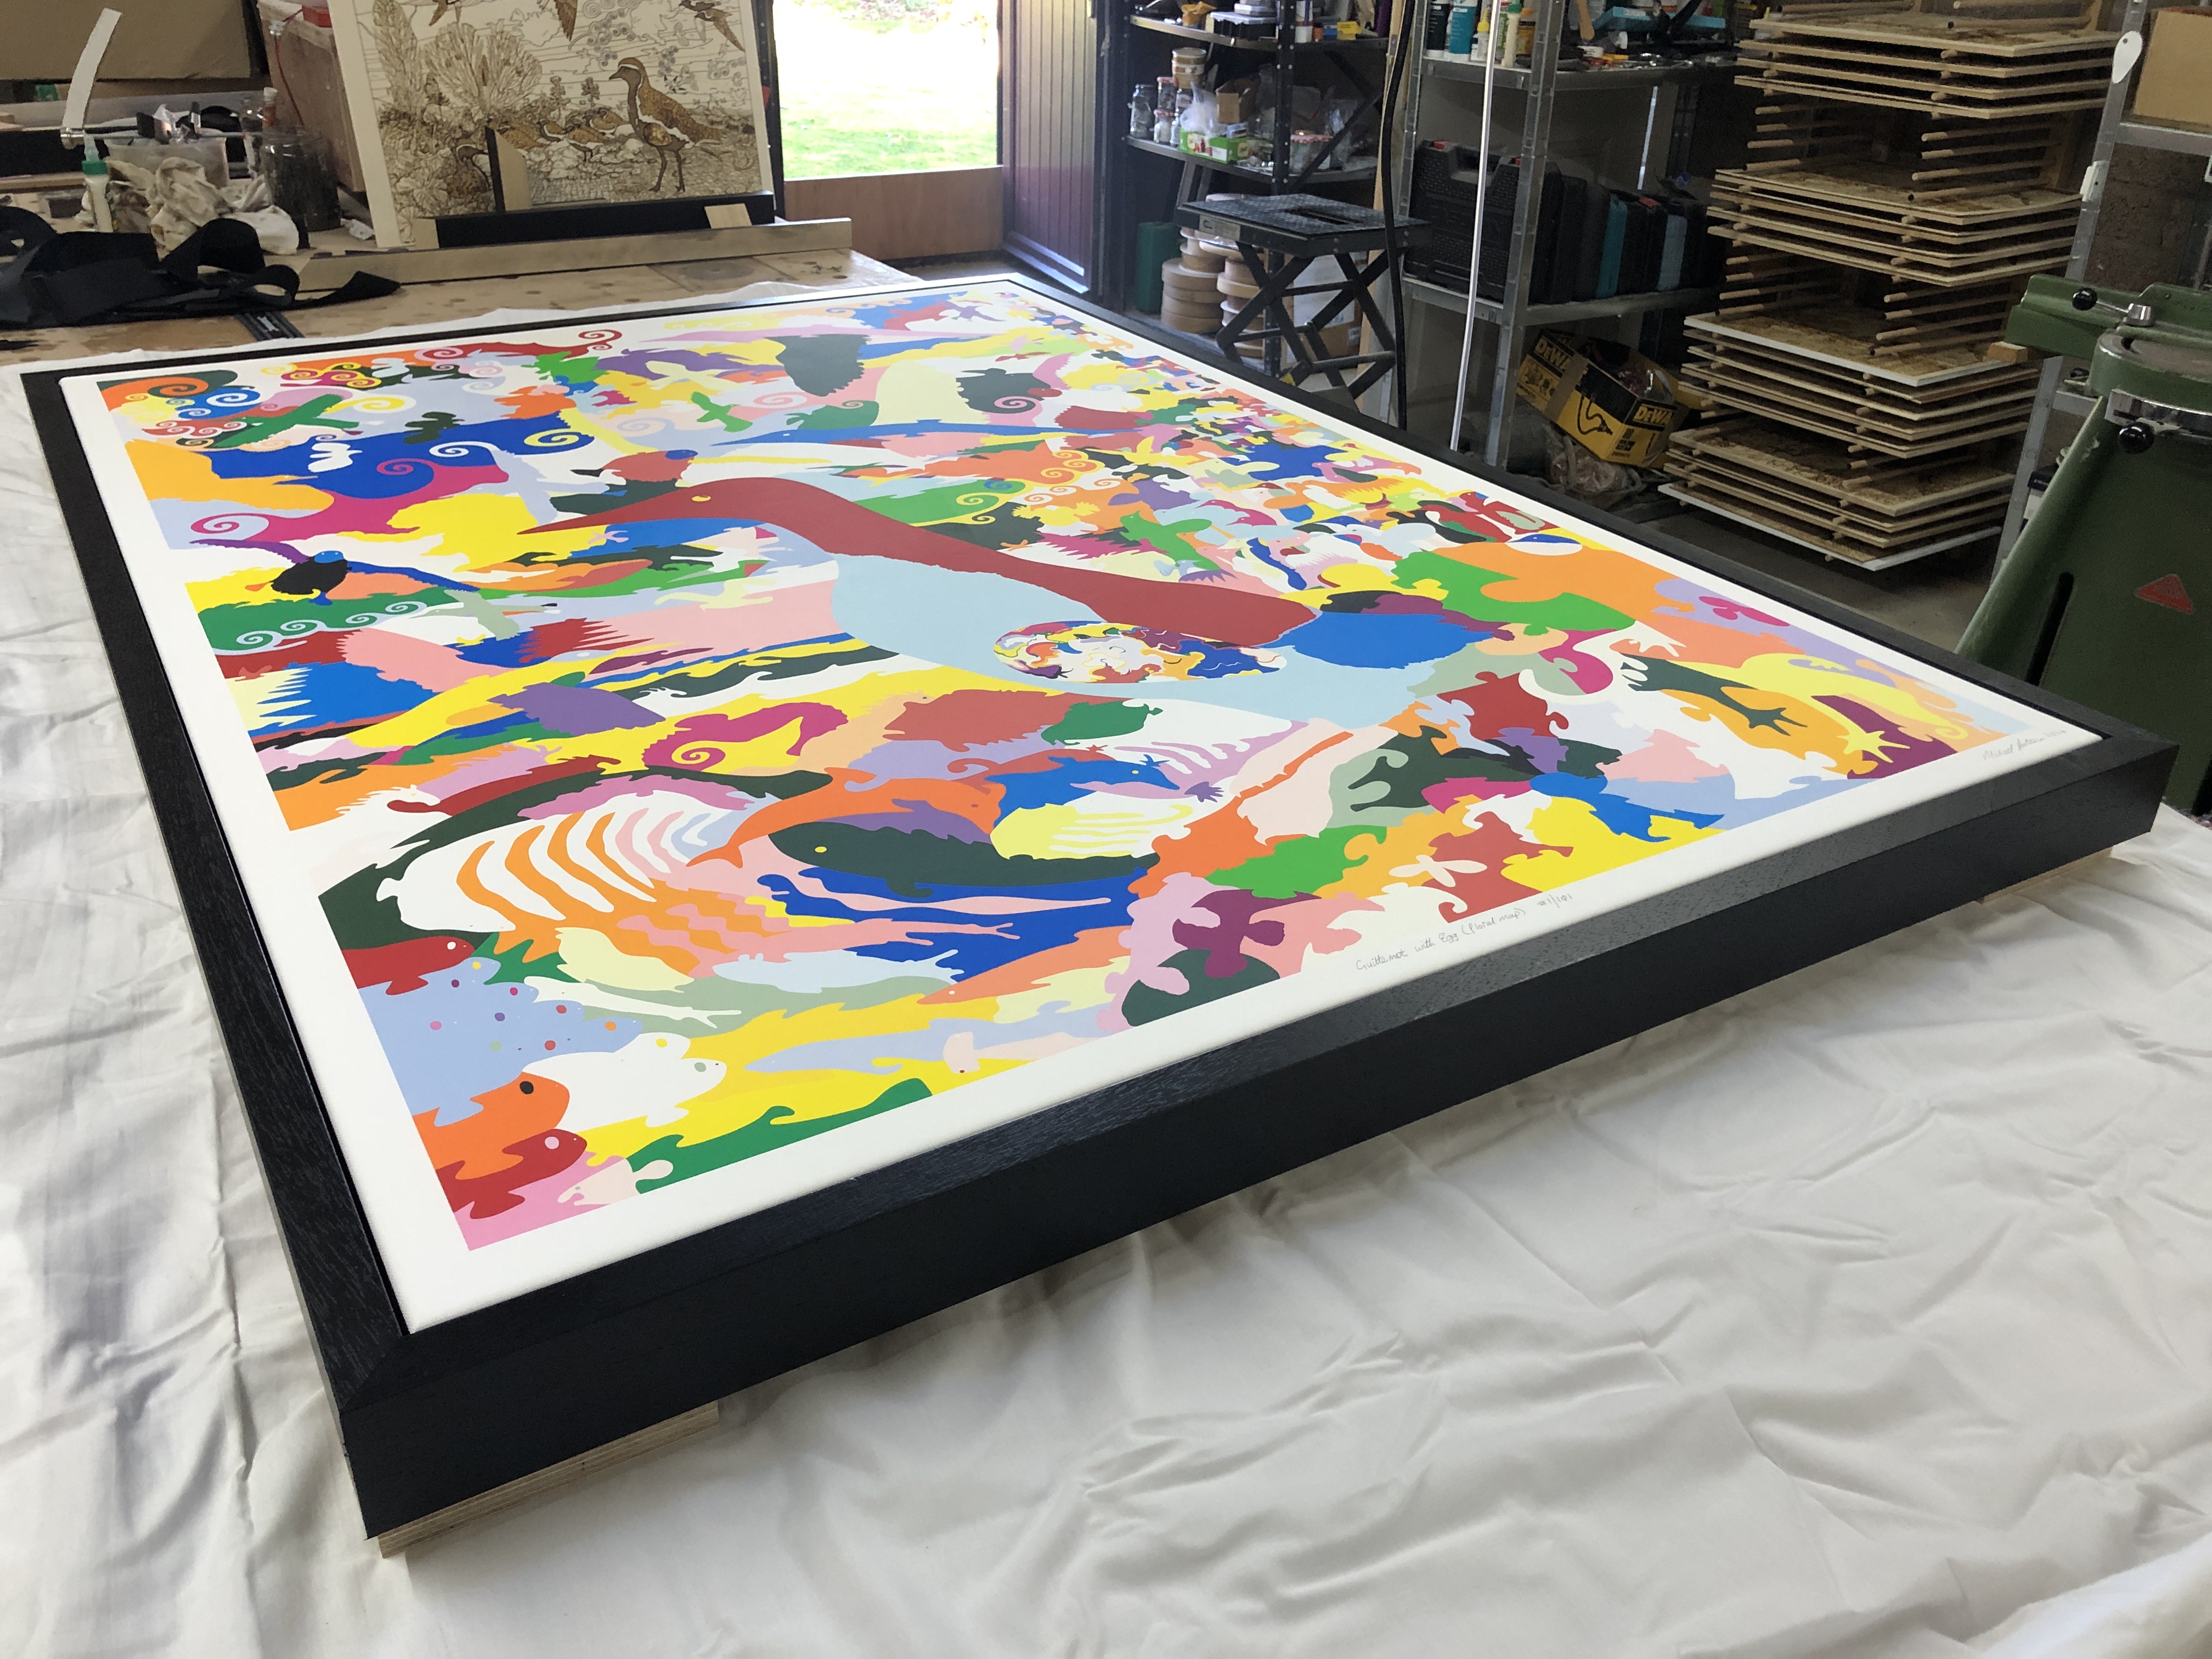
Yesterday I framed this large canvas :-
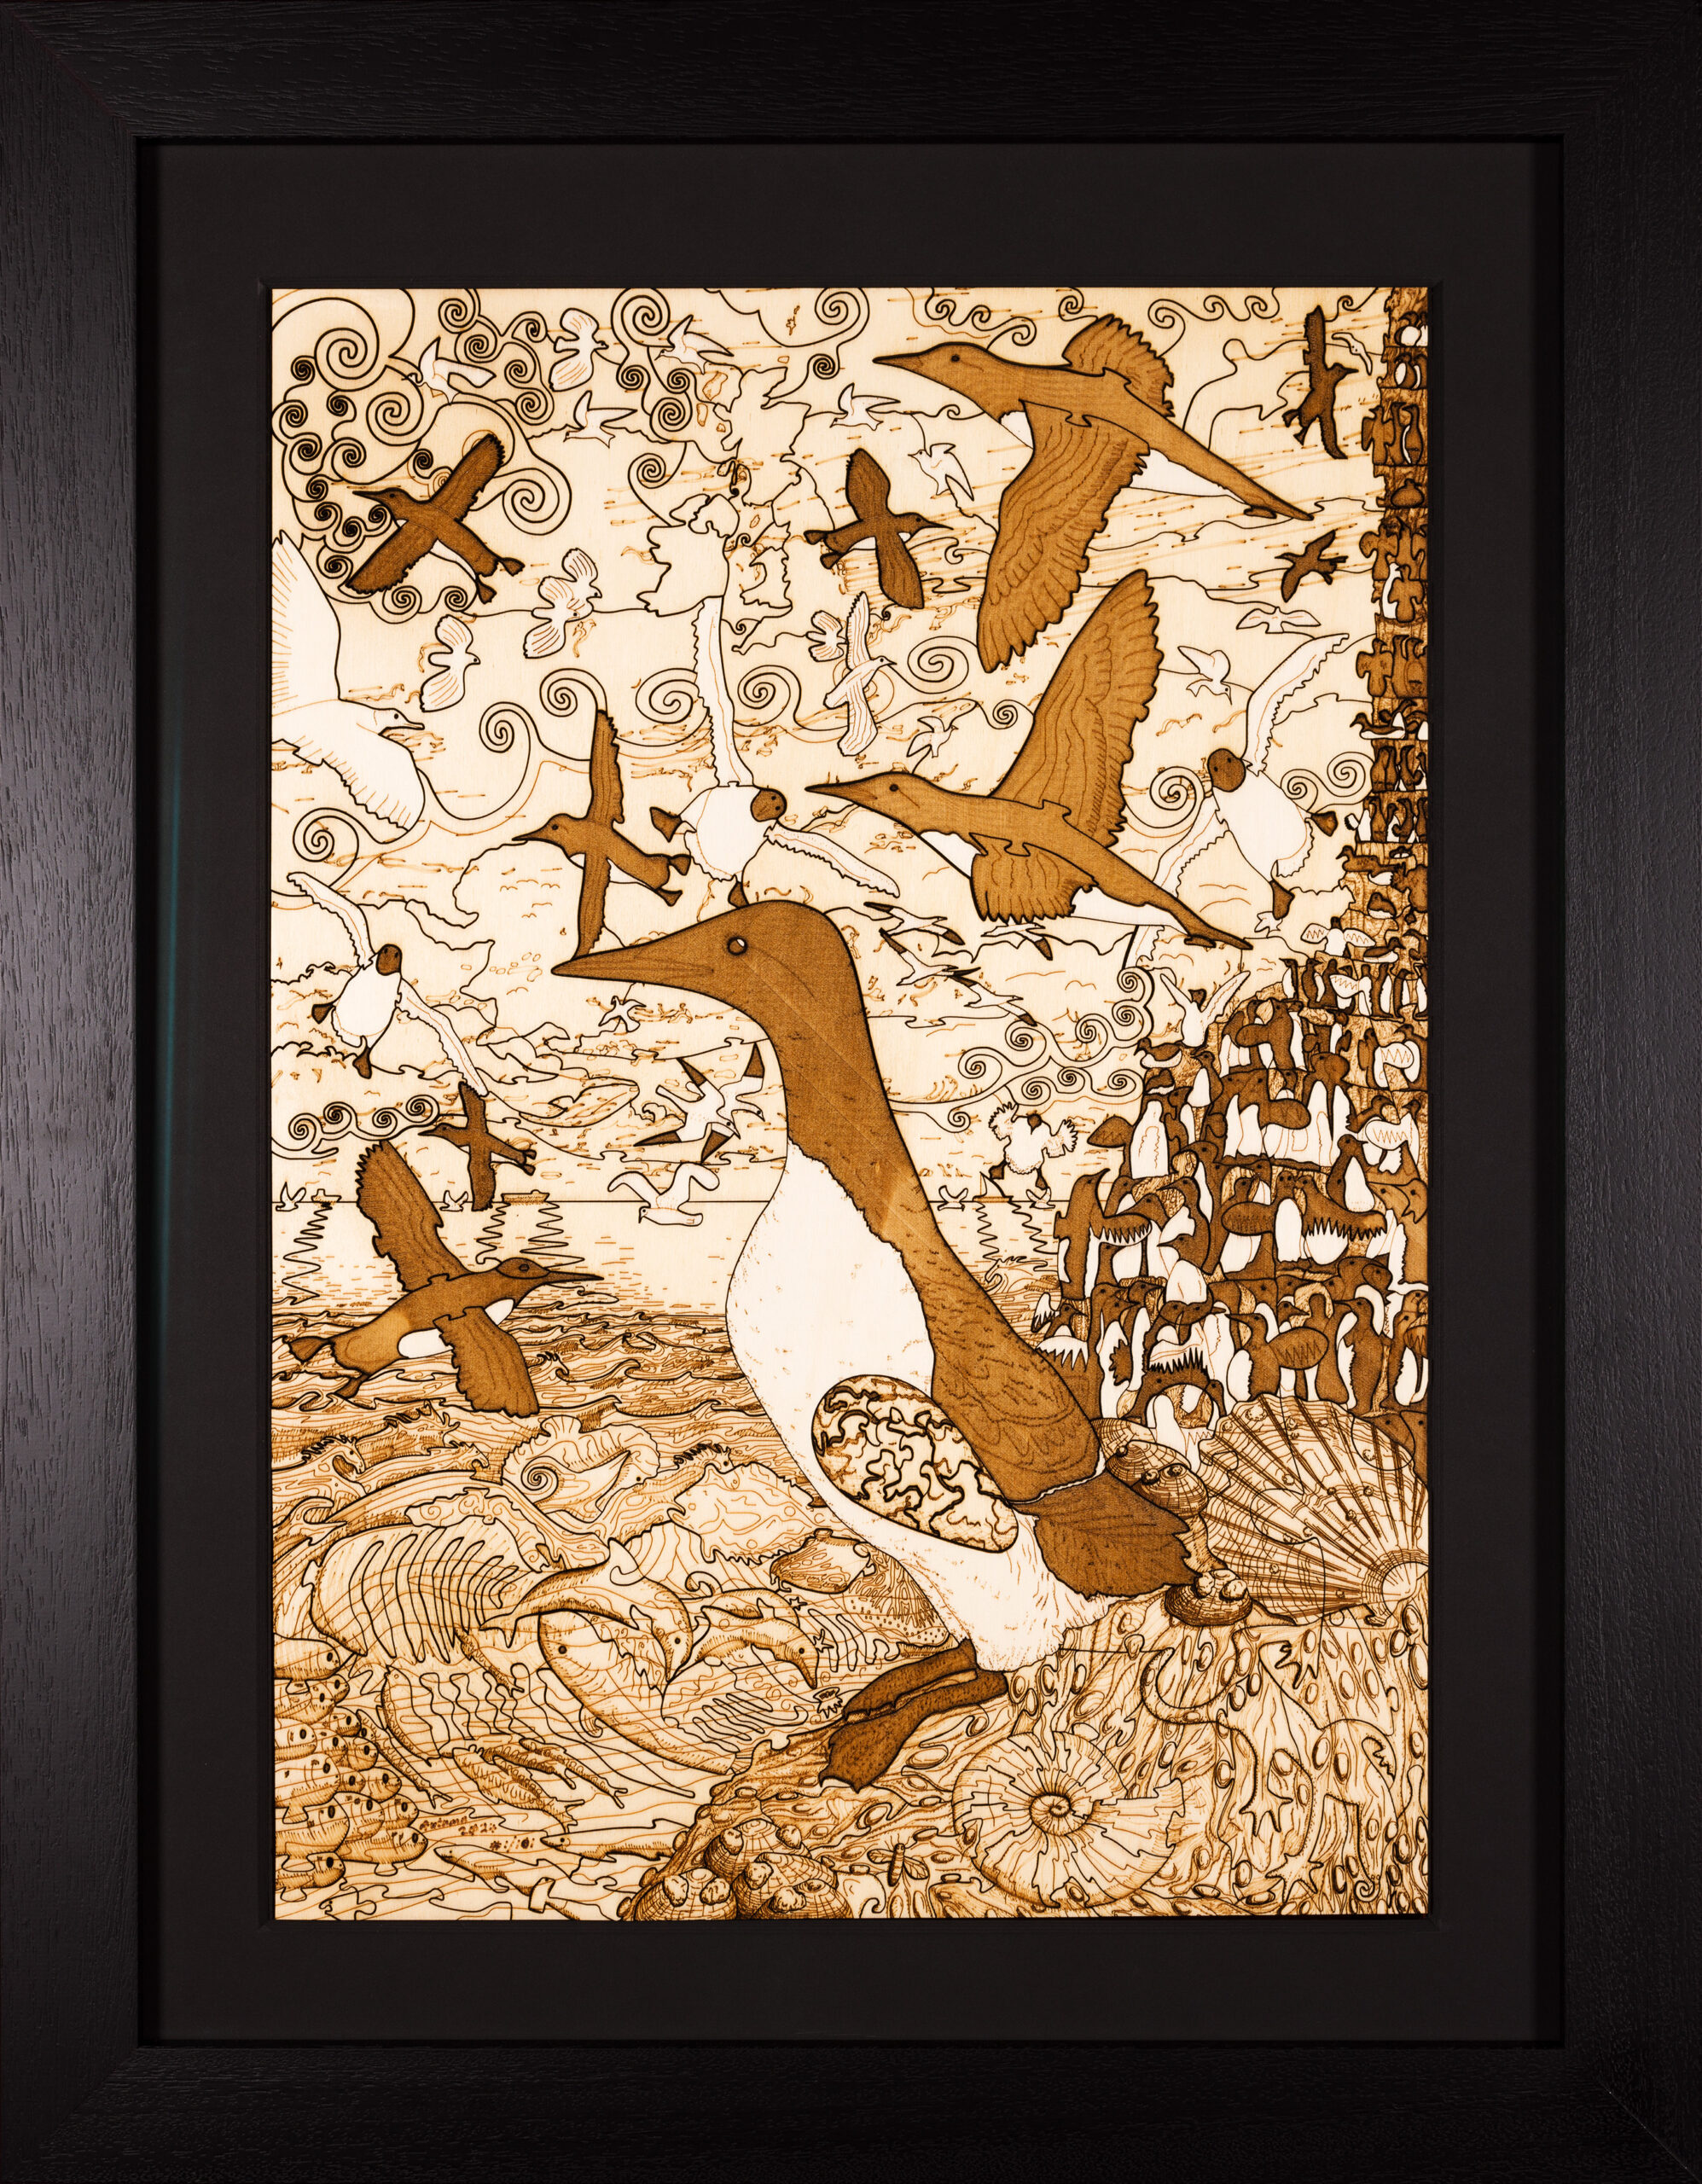
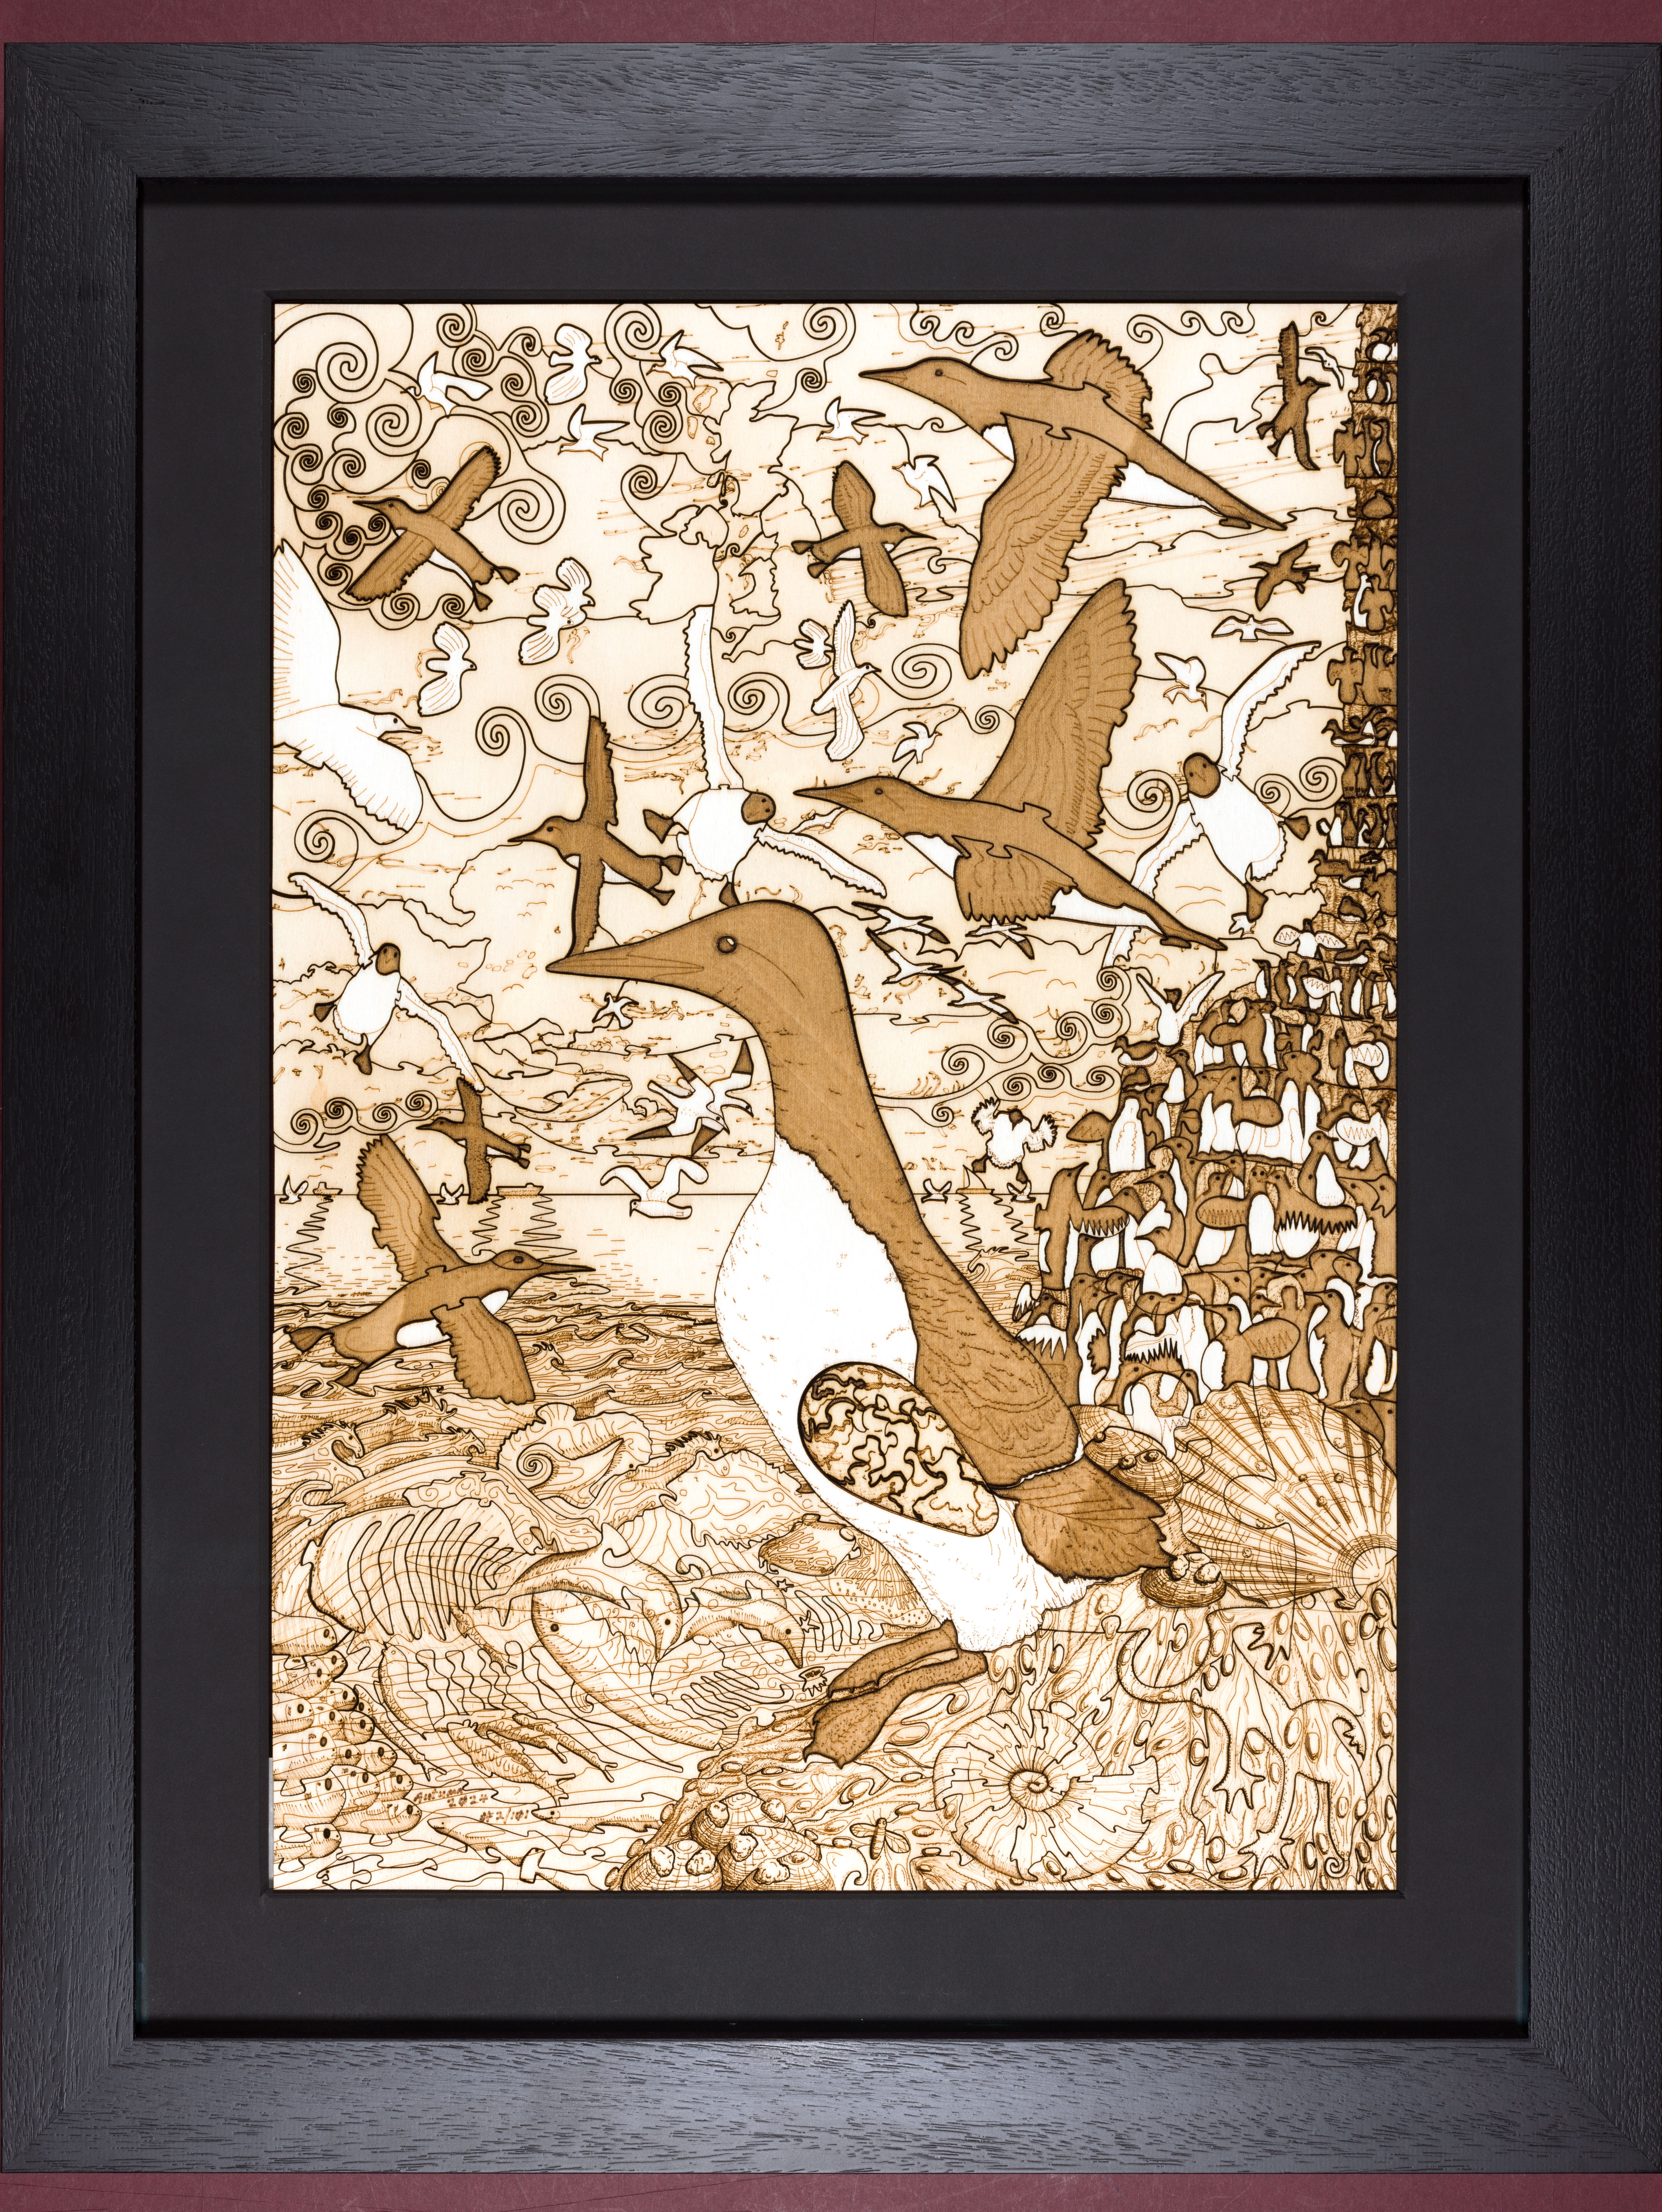
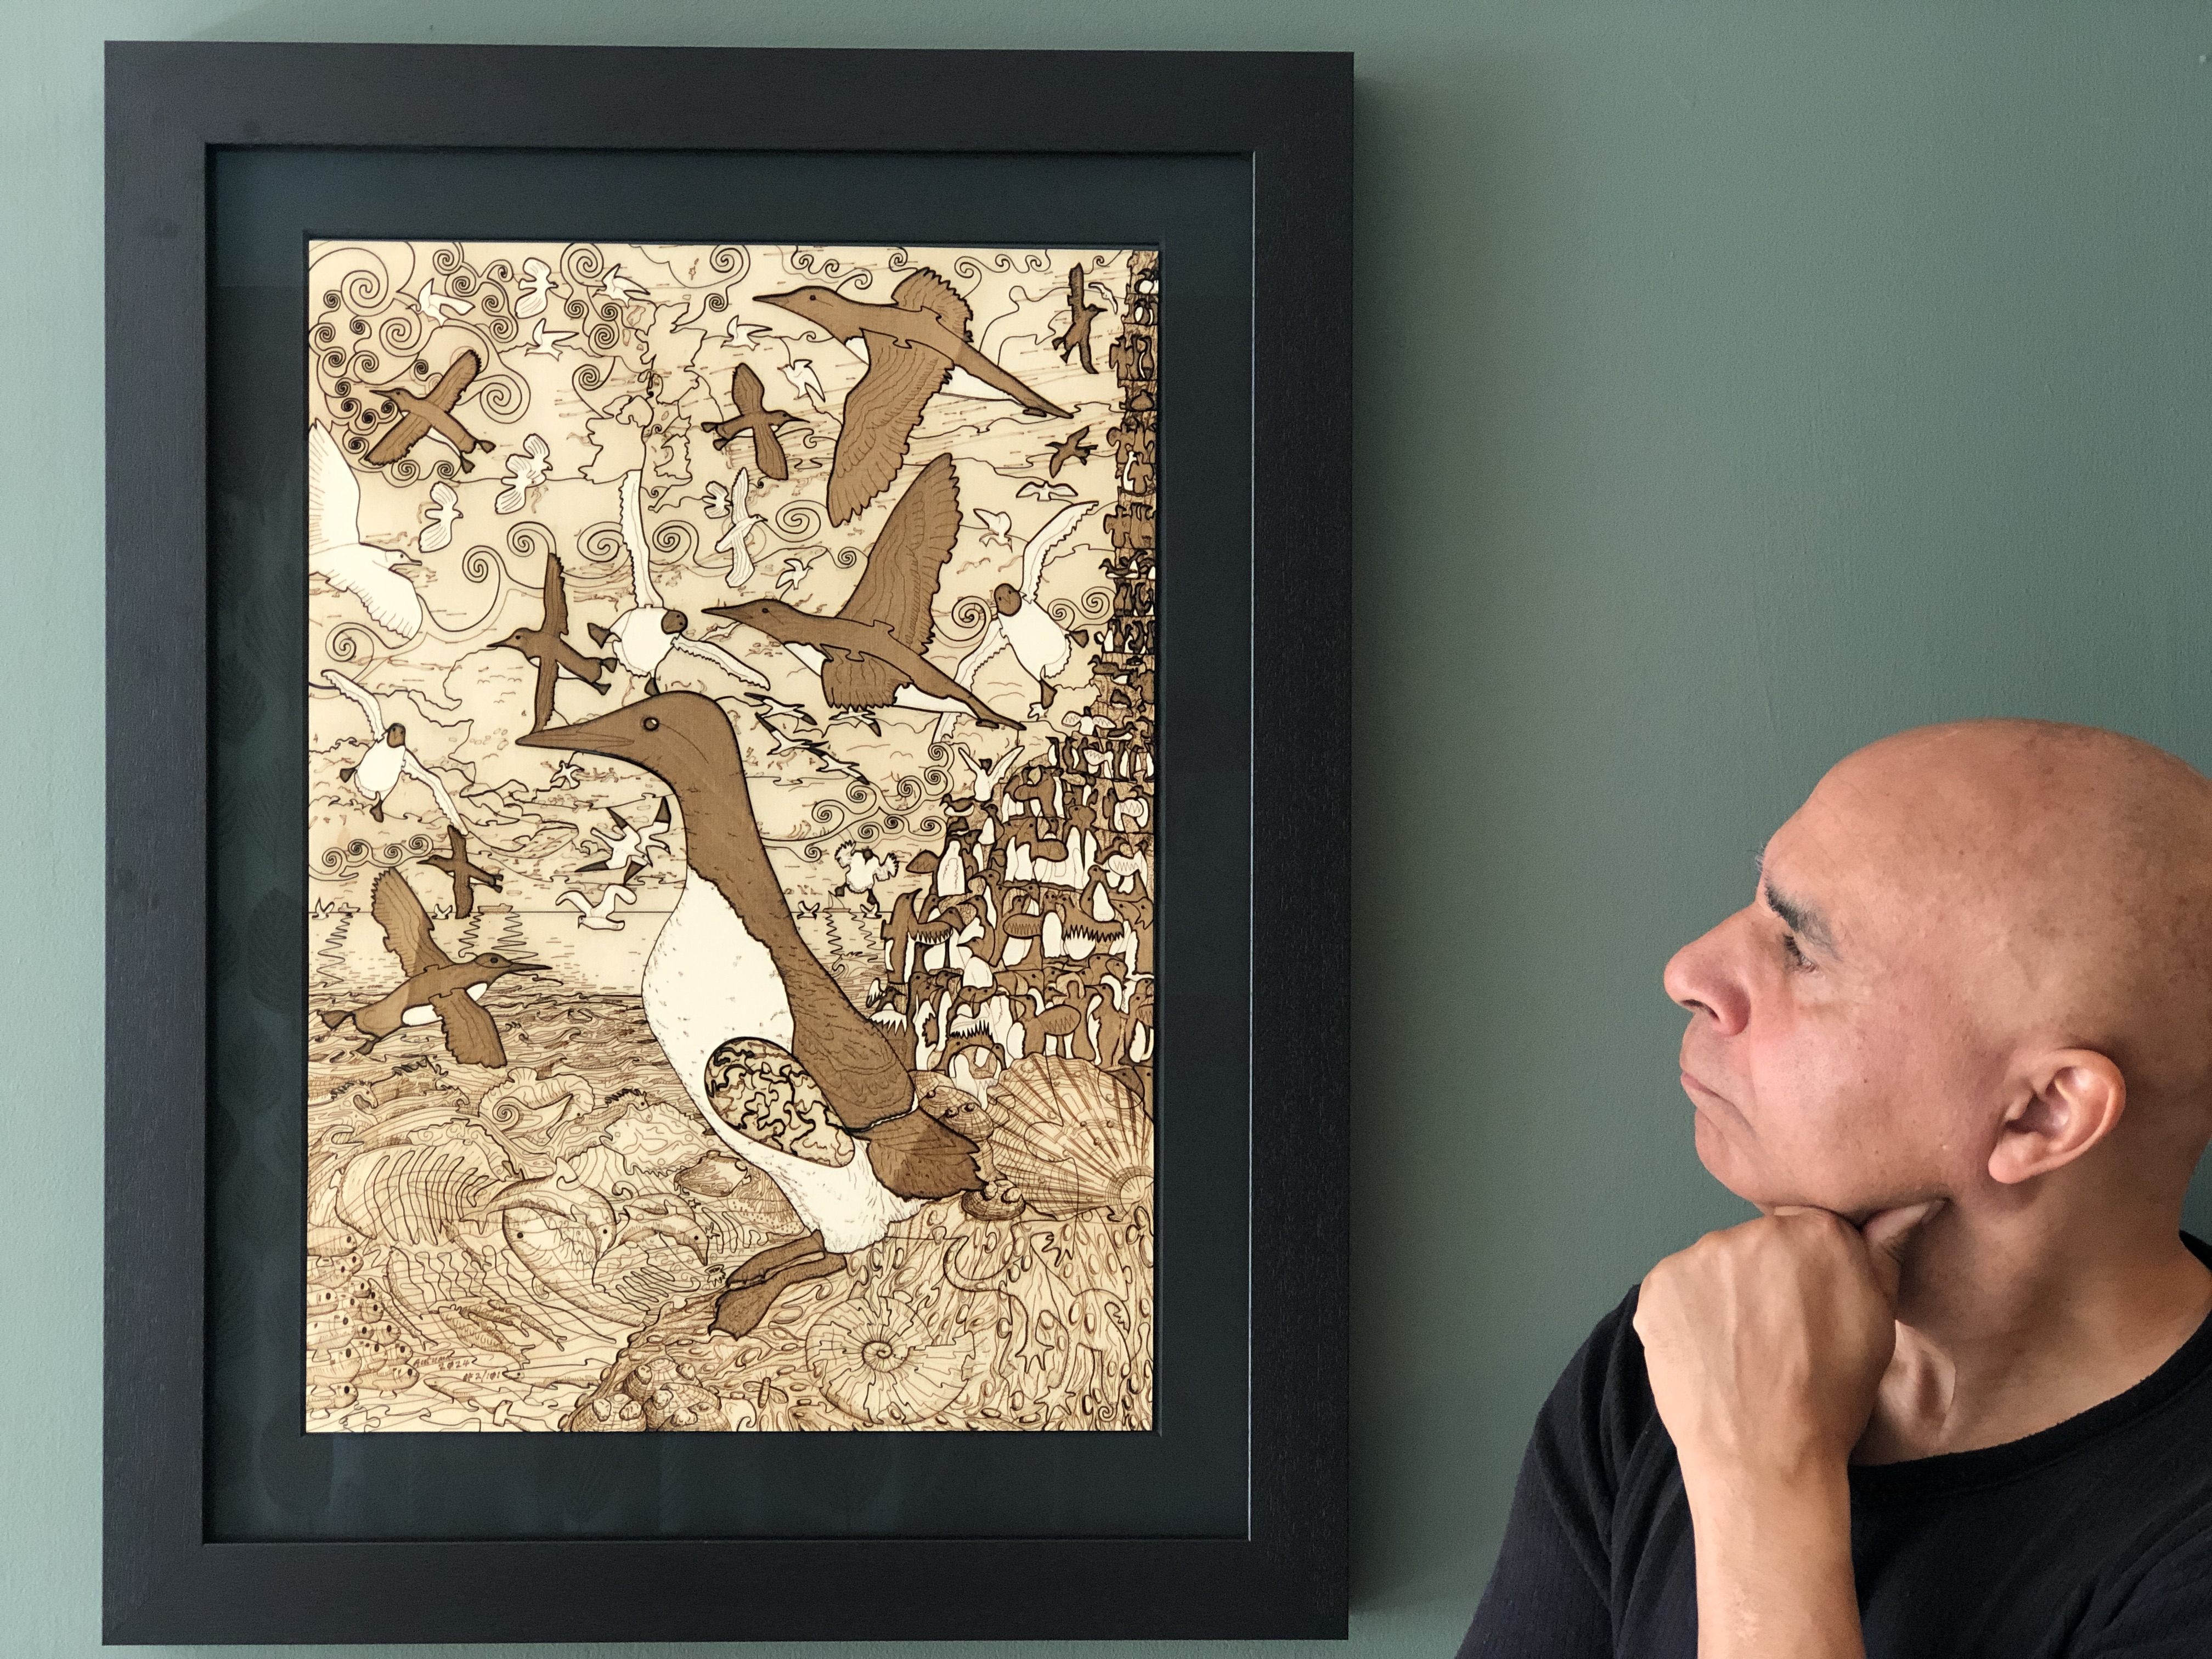
Guillemot with Egg (floral map)
After working on the back fixings, I turned it over to see the finished work. In all candour, I thought it looked really fabulous. The heavy black tray (float) frame made the colours pop even more, and the whites to appear whiter. I was really moved and felt a great sense of achievement.
When I think back over the months I have spent on it, the weeks designing it, all the hundreds of hours drawing innumerable curves – that I have meticulously weaved and tweaked; all the colour choices and juxtapositioning… It feels it was definitely worth all the effort – and not inconsiderable cost. It was a truly joyous, uplifting, moment, and I felt very blessed and proud…
This just reinforces why I cannot part with original artwork – and so steer clear from doing non-reproducible art. Most of my artwork I do primarily for myself: mainly to show and express my gratitude and wonder of Nature. Yes, I love to share my feelings of what moves me – often to tears – which is why I have invested so much time and resources into reproducibility (editions as opposed to original art). It is a real privilege that I can produce copies of my artwork, like this one, to a standard that I am very happy with – and can share with many others (some of whom are fortunate enough to have the resources to own copies)… This is immensely satisfying.
If this work can give a fraction of the joy it gives me, to other people, then I am truly grateful and blessed…