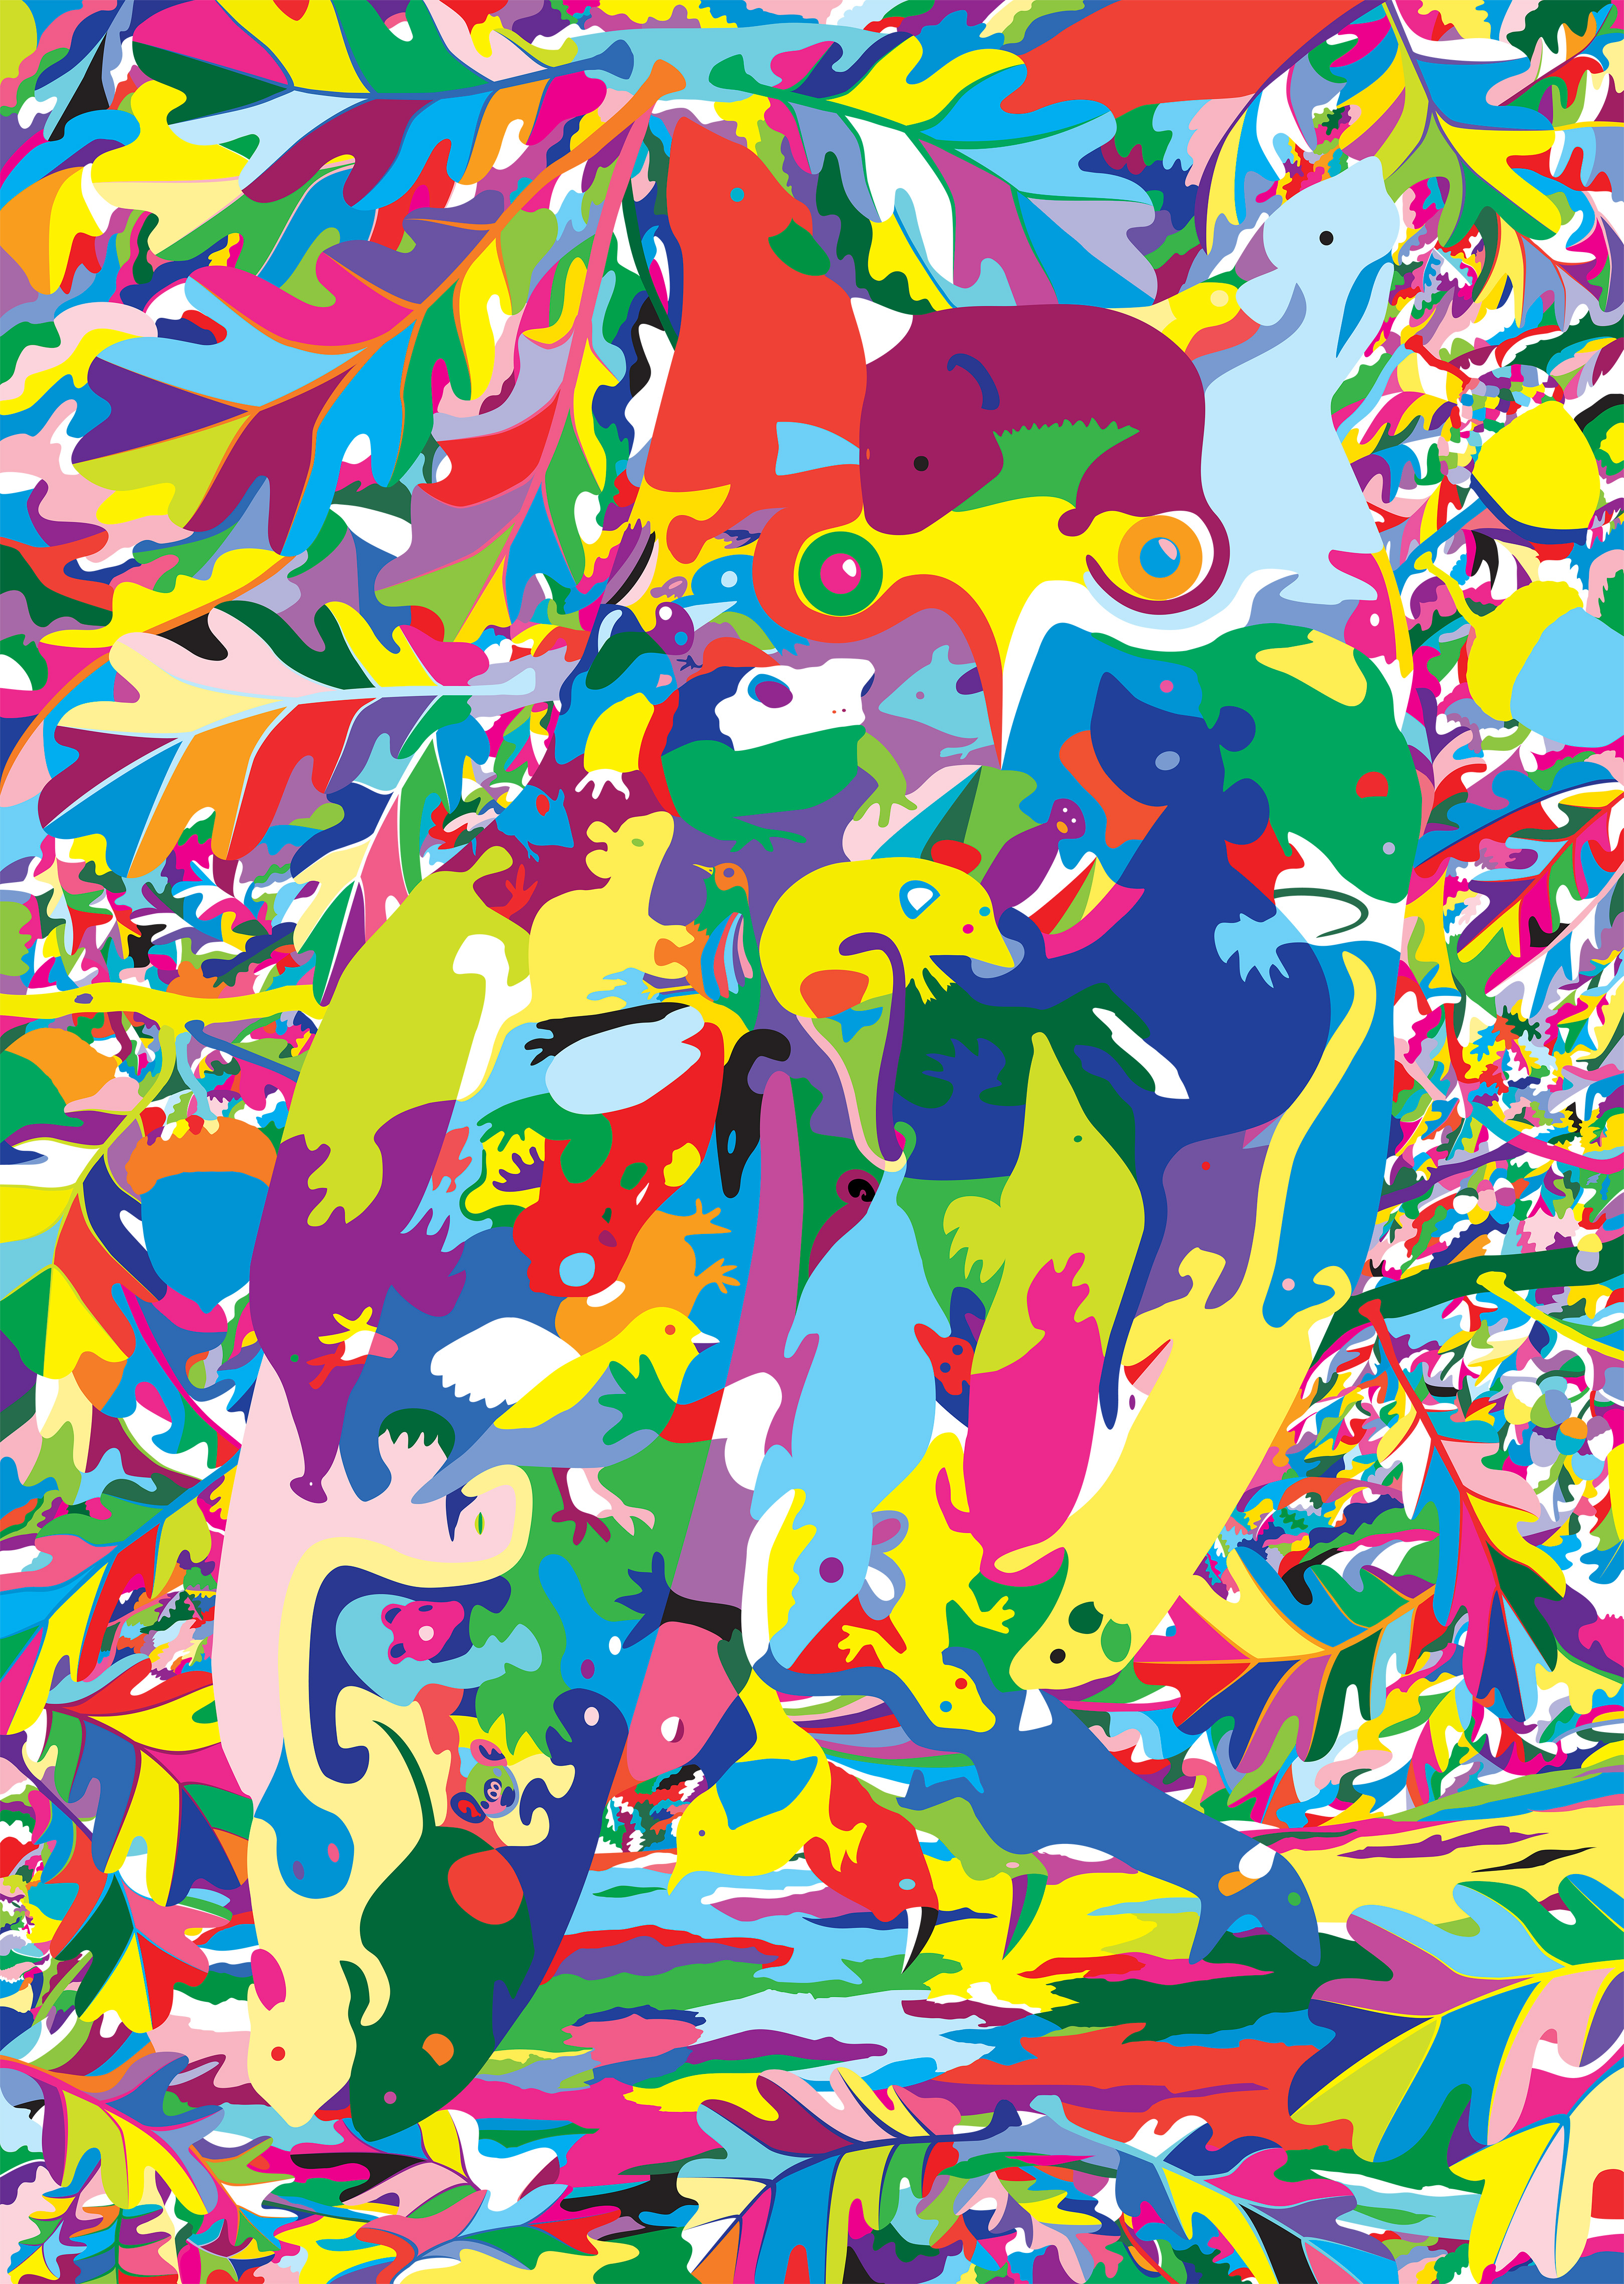
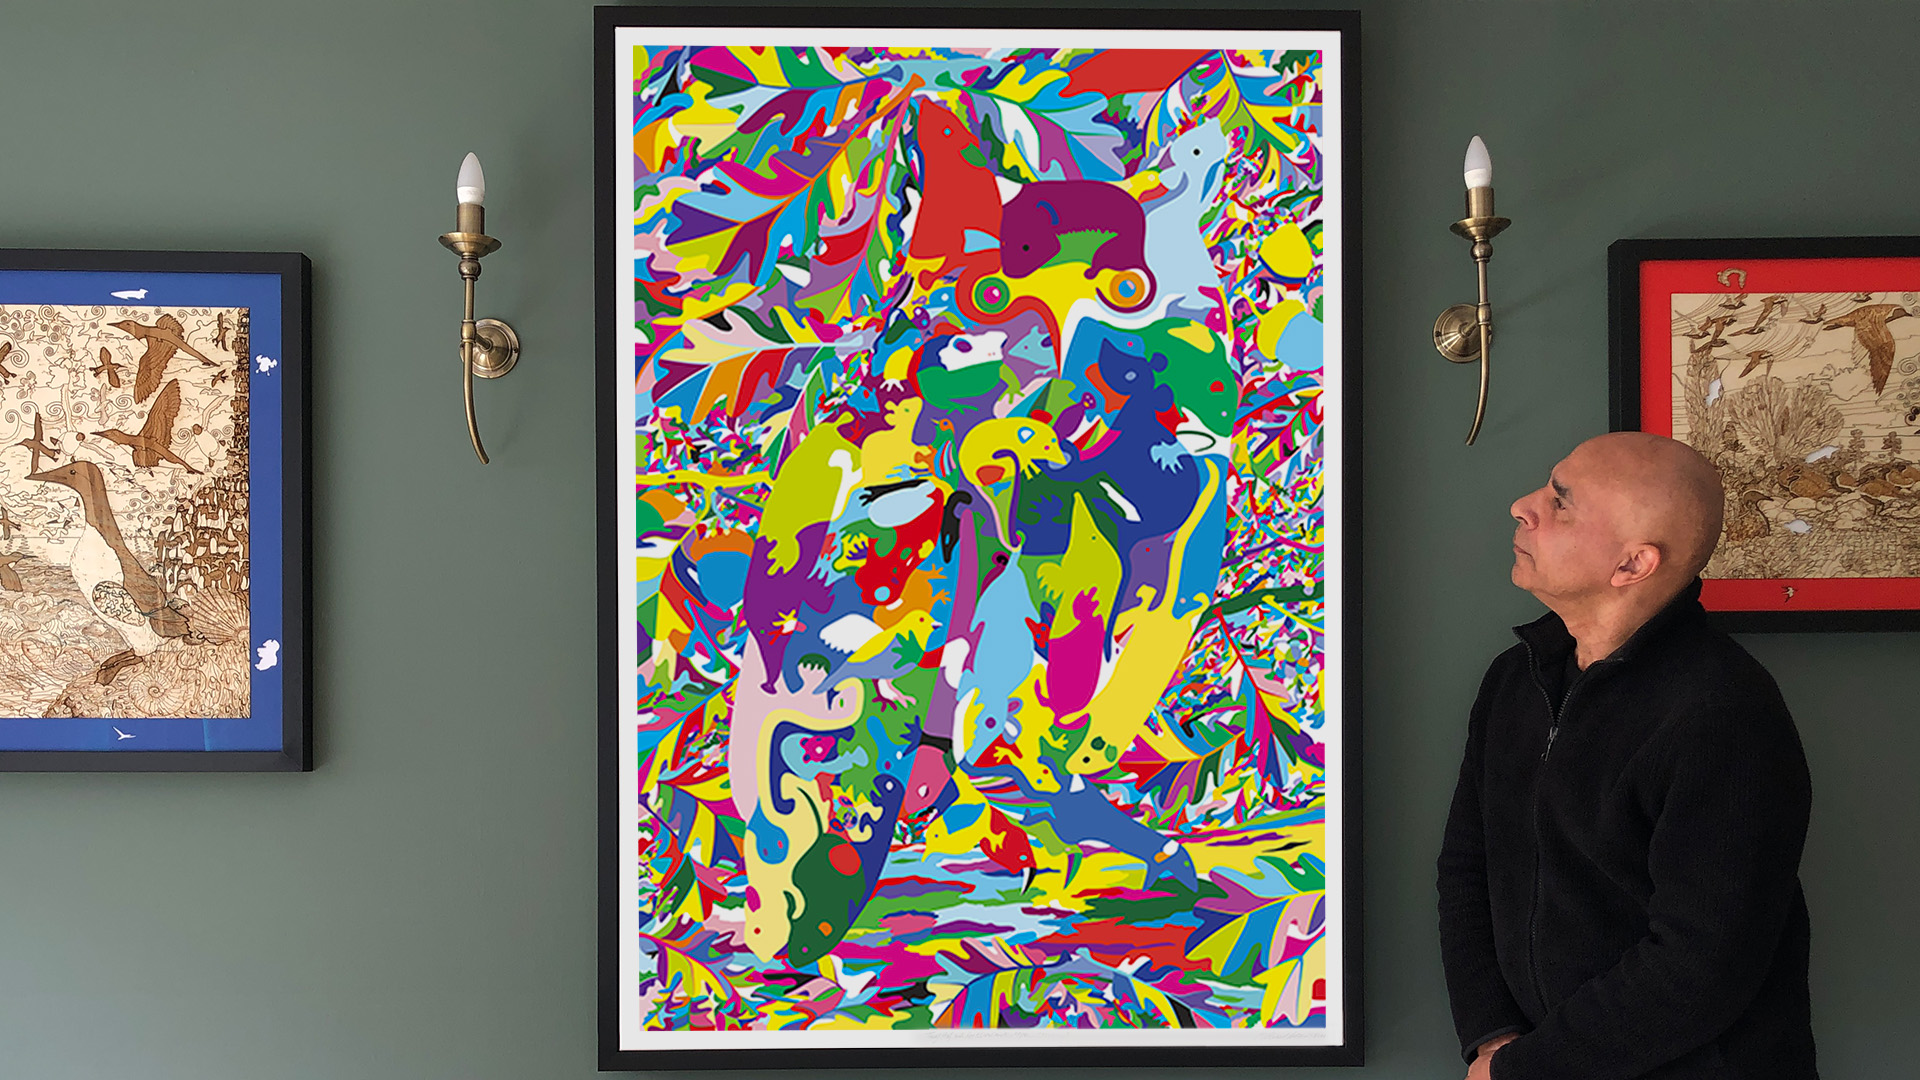
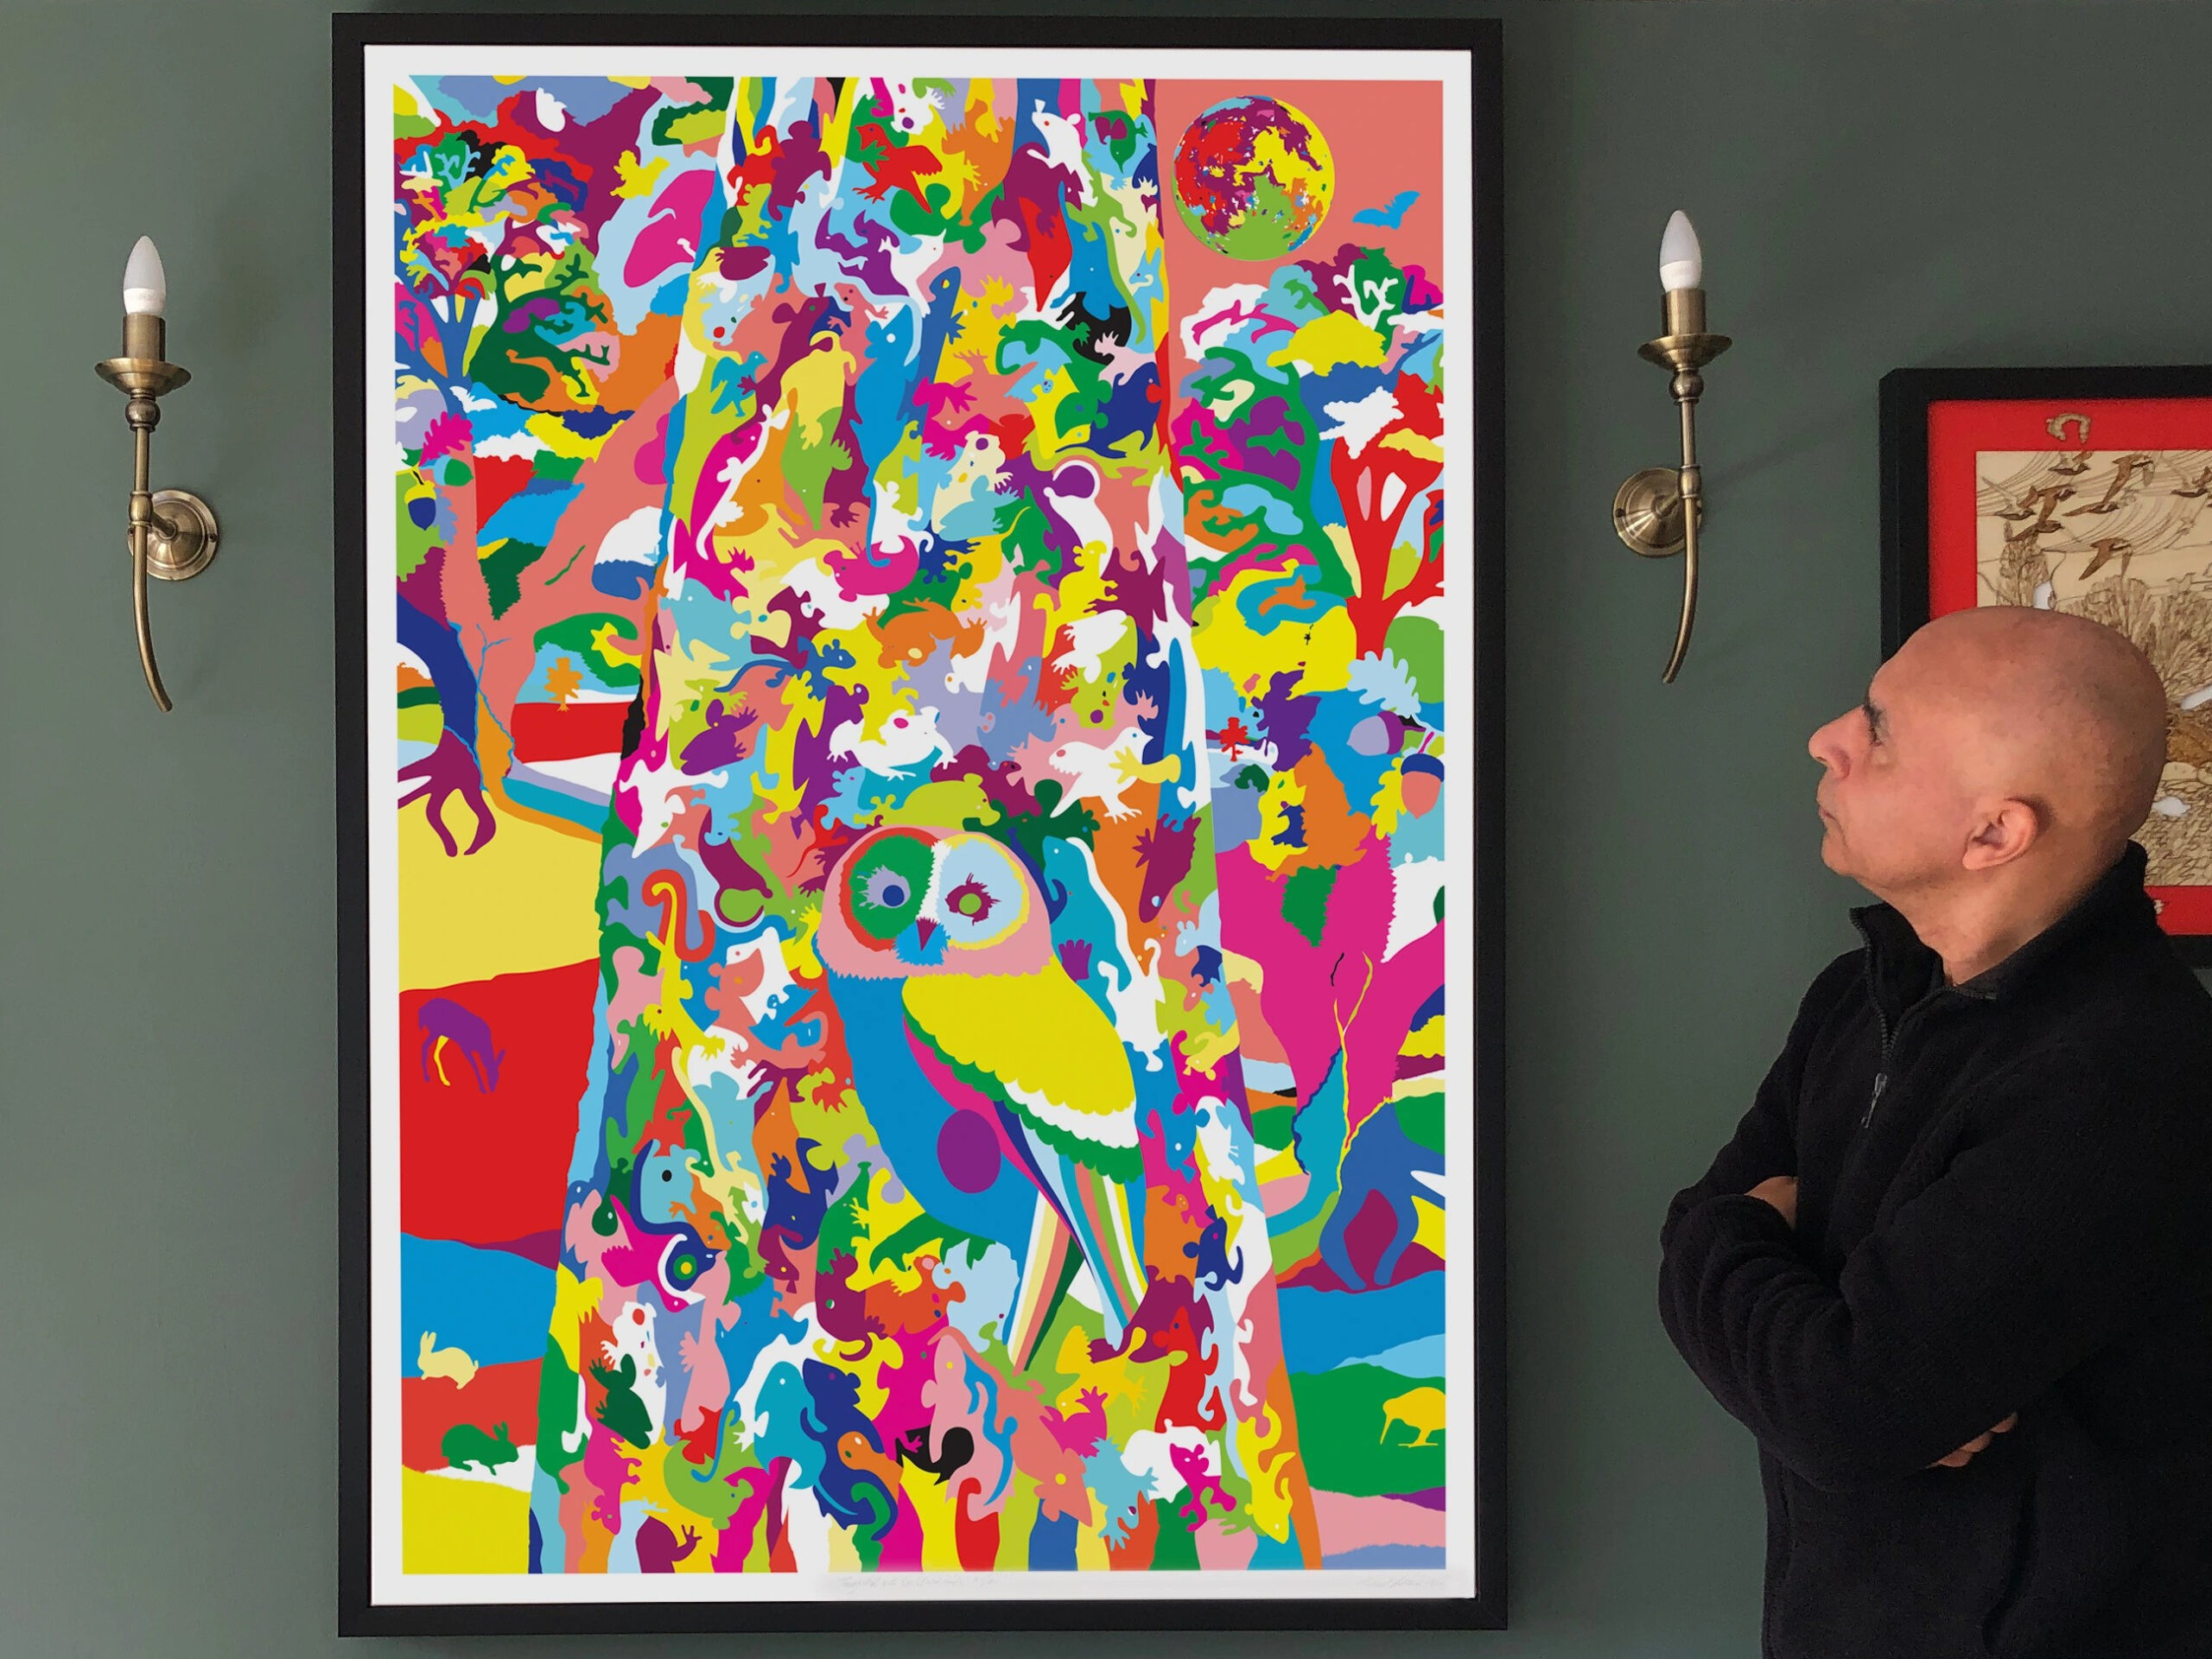
Title: “Long-eared Owl with Oak Foliage (floral map)” Artist: Michael Autumn Medium: Hand-drawing with digital gouache Giclée archival print on fine 100% cotton canvas (matt) Hahnemühle Art Canvas Smooth 370gsm + Hahnemühle UV protection matt varnish Size: 36″ (W) x 50.9″ (H), canvas stretcher 38″ (W) x 53″ (H) Edition: Limited Edition of 101 Authenticity: Hand-signed (front, bottom, far right on white canvas border) with graphite pencil (varnished over with same UV-protective matt varnish as whole) and titled (front, bottom, centre on white canvas border) Date: 04/2024
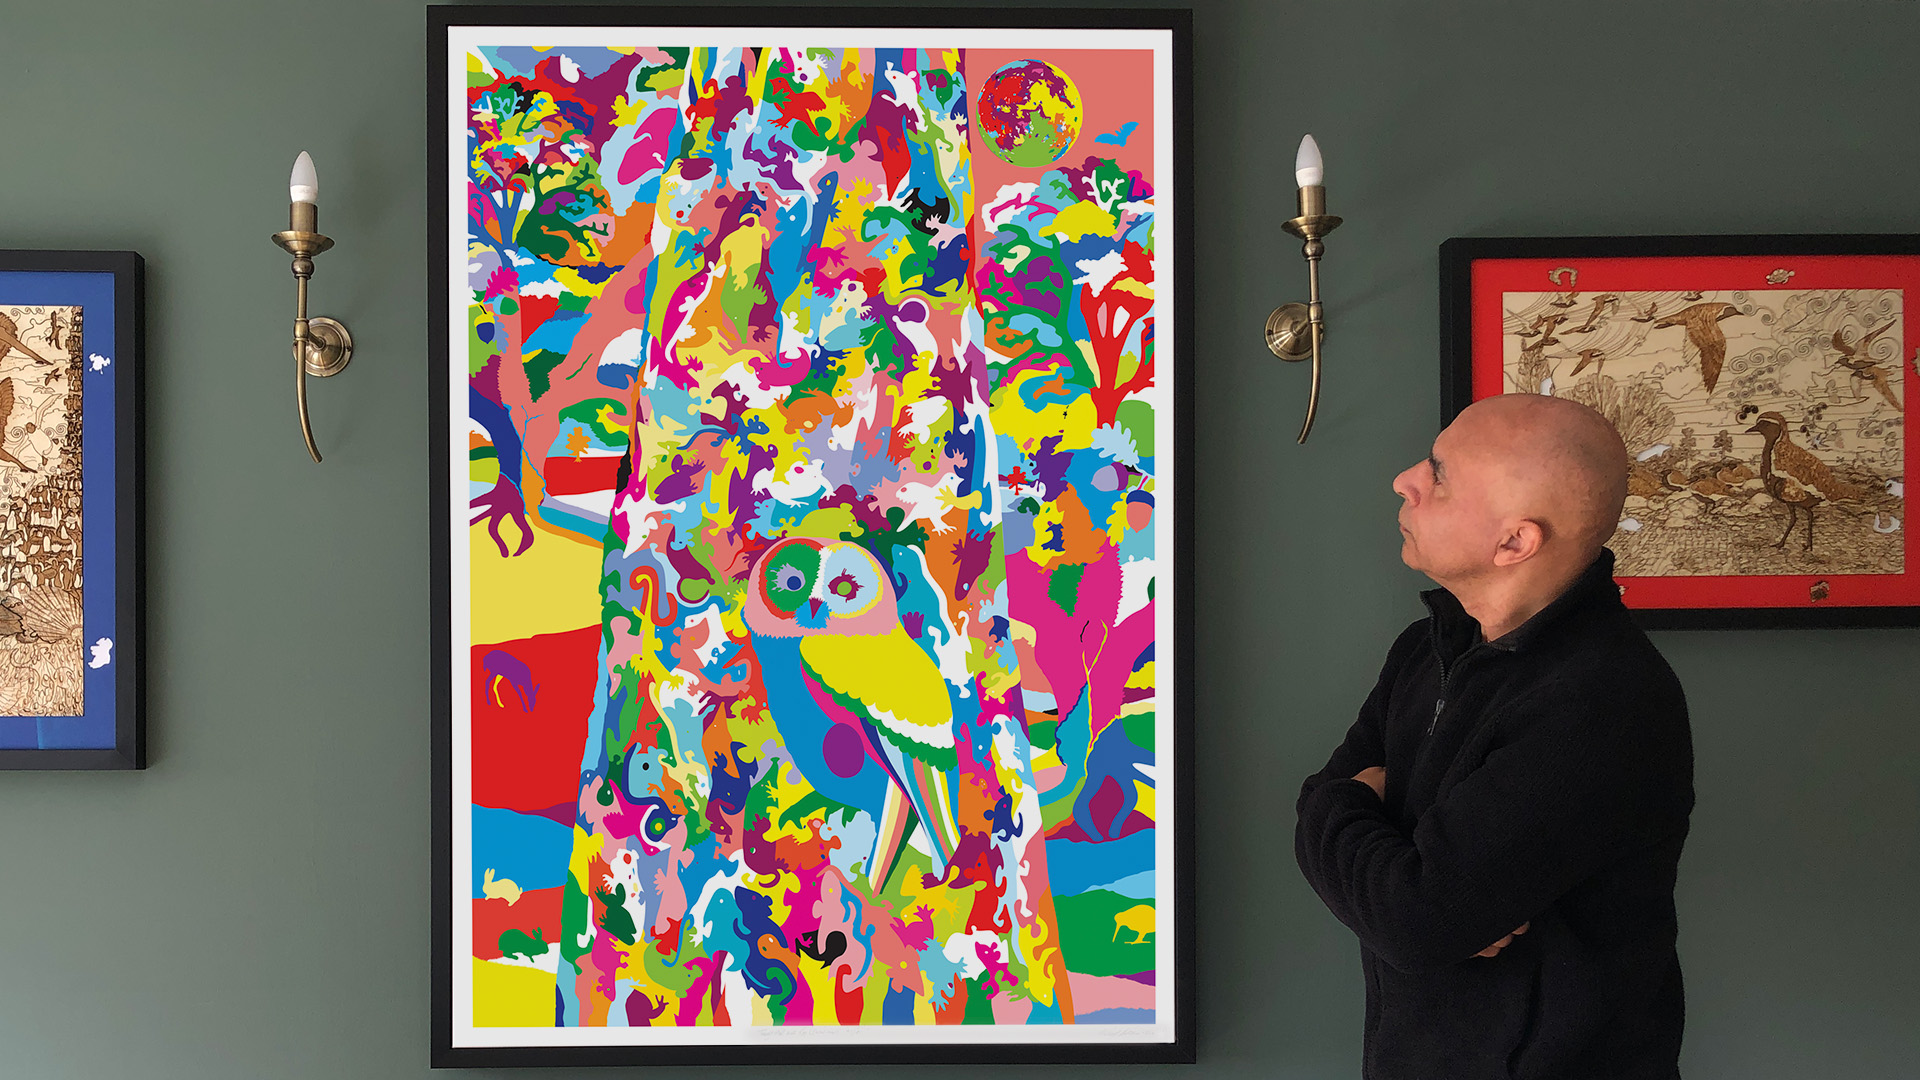
Just to give an idea of the size the artwork…
TL;DR
This artwork is an homage to visual perception – it’s about how we detect meaning from the millions of individually coloured photons entering our eyes – and how I, as an artist, can trick you into seeing what I want you to see.
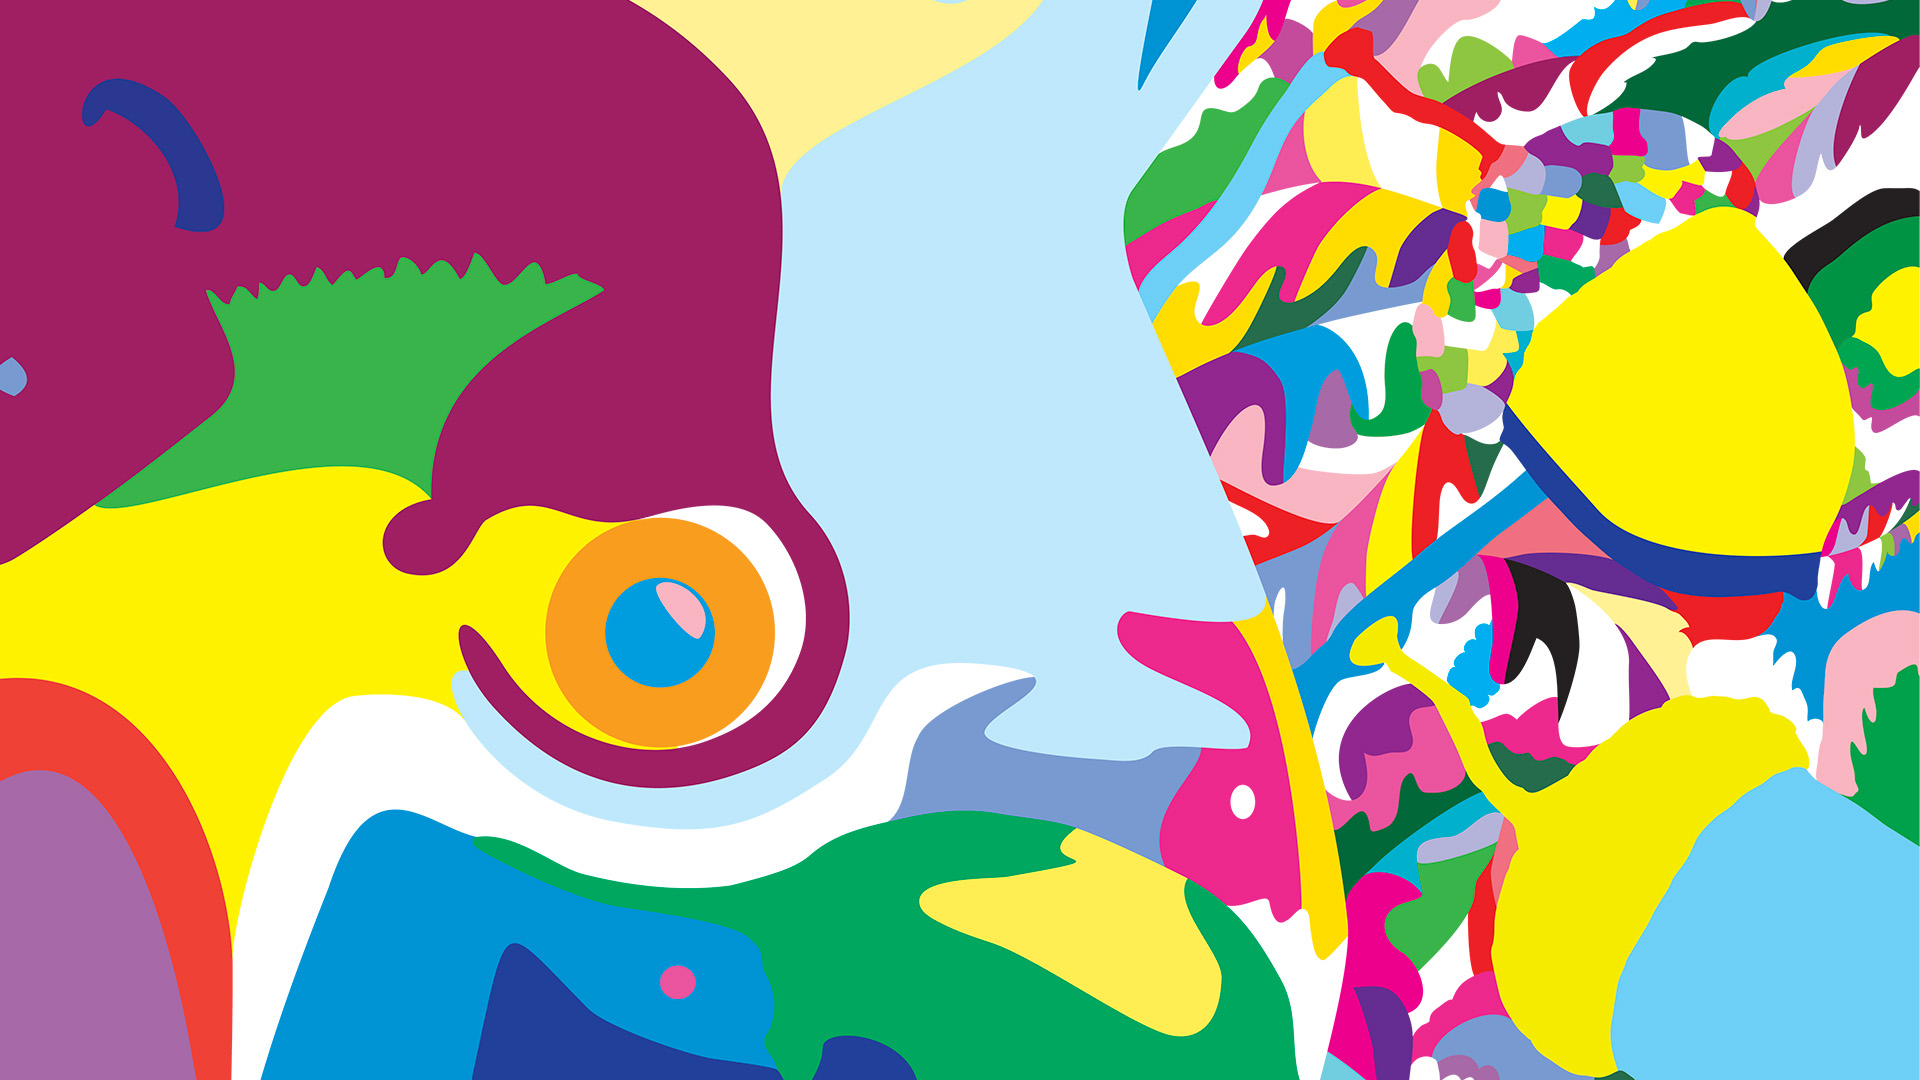
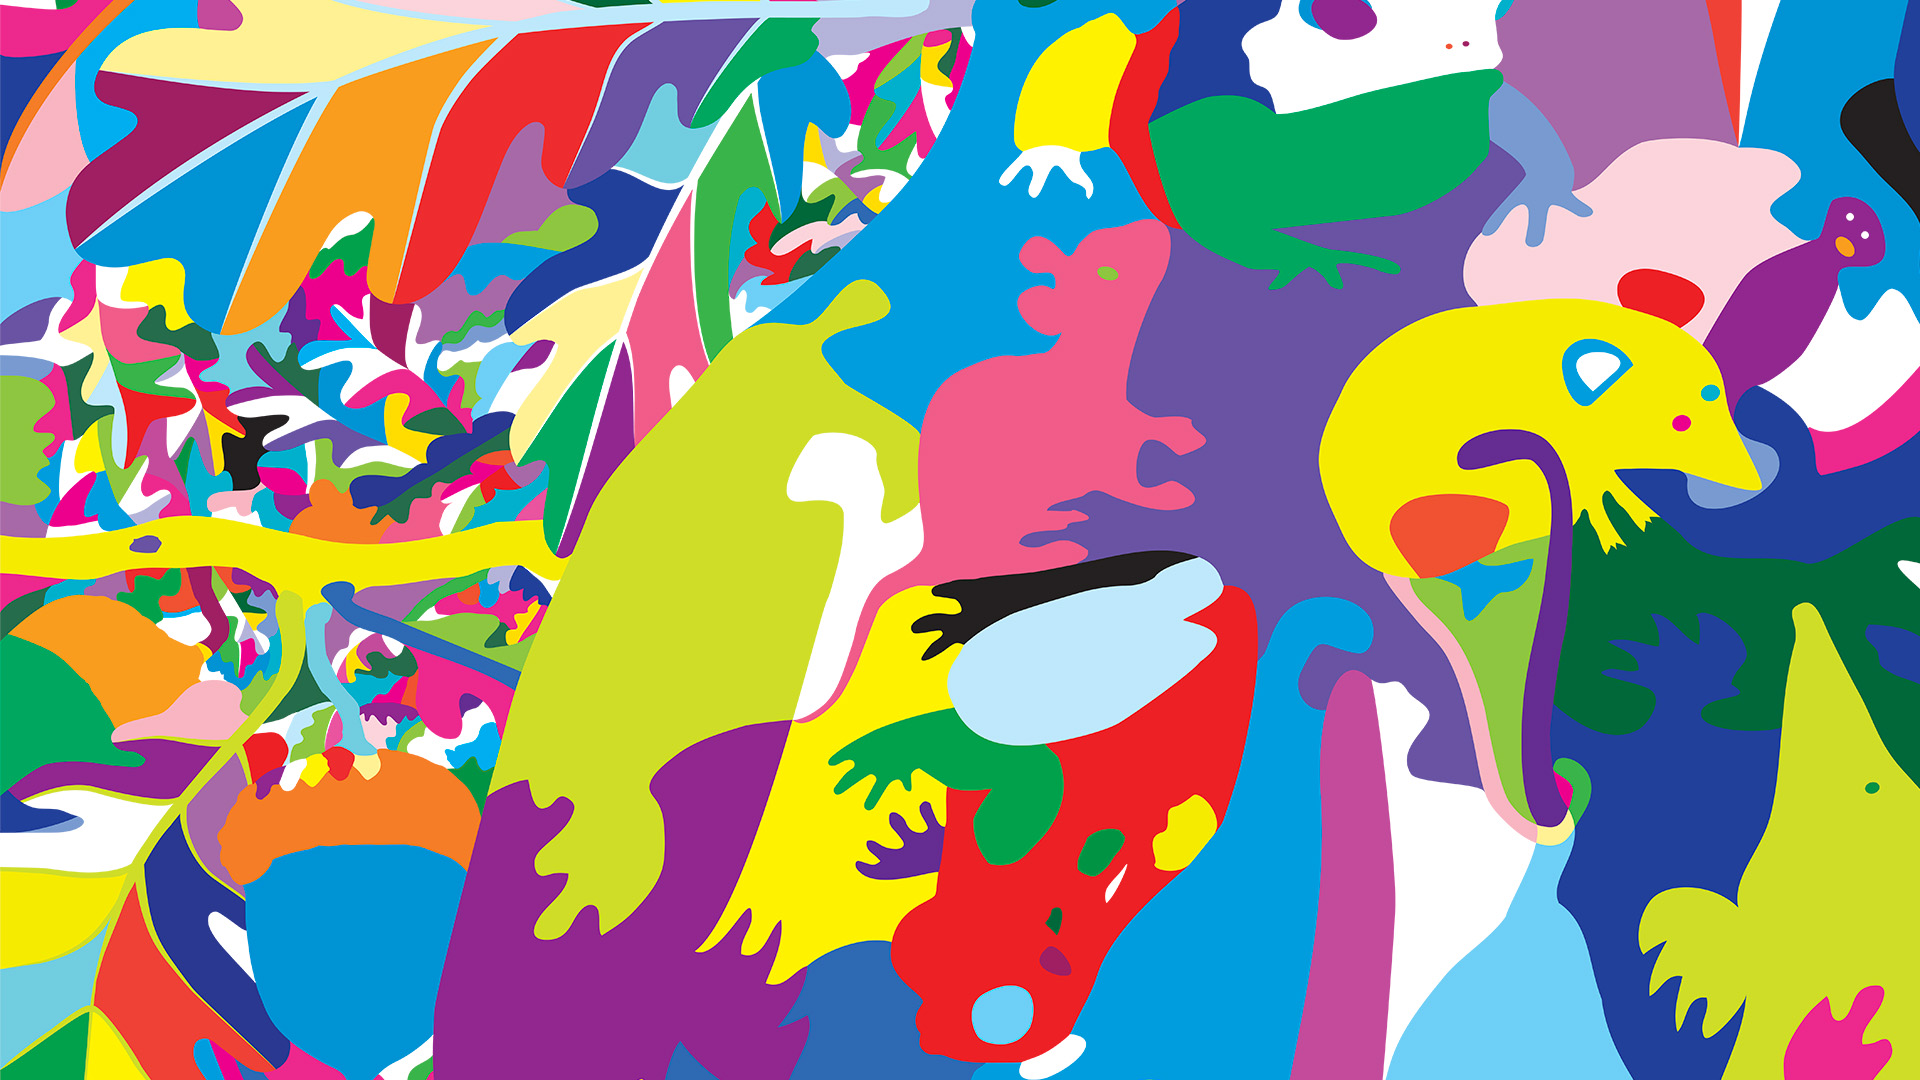
Owls, like this one, are incredibly well camouflaged – not so much by their colouring, but by their habit of staying completely still, most often in a tree, during their time of rest and sleep (often during the day). So much so, that you could literally walk within feet of them and you probably wouldn’t even realise they are there. Likewise, in this artwork, you have to really look to see the owl…
And there is a reference to the idiom – “you are what you eat“…
Long-eared Owl with Oak Foliage (floral map) is the simple colouring-in (albeit very carefully selected and juxtaposed colours) of a flat line drawing I did previously of this art puzzle design (see the photo of that artwork below and this post: Long-eared Owl with Oak Foliage (Art Puzzle)).
Long-eared Owl with Oak Foliage (Art Puzzle)
I used this technique to regularly check for line breaks (where there shouldn’t be any), and to get a better view of the shapes of the individual pieces I was designing – amid a sprawling mesh of simple black thin lines on a white background. This got me to thinking about the difference between the dumb mechanical process of colouring a shape (of a flood fill) and true animal (human) understanding…
It may be quite common for artists to write about how they feel about their work, but I’ve personally never come across it. This is probably just my lack of reading (I’m not a big reader, I usually only read to learn something specific – which is quite often).
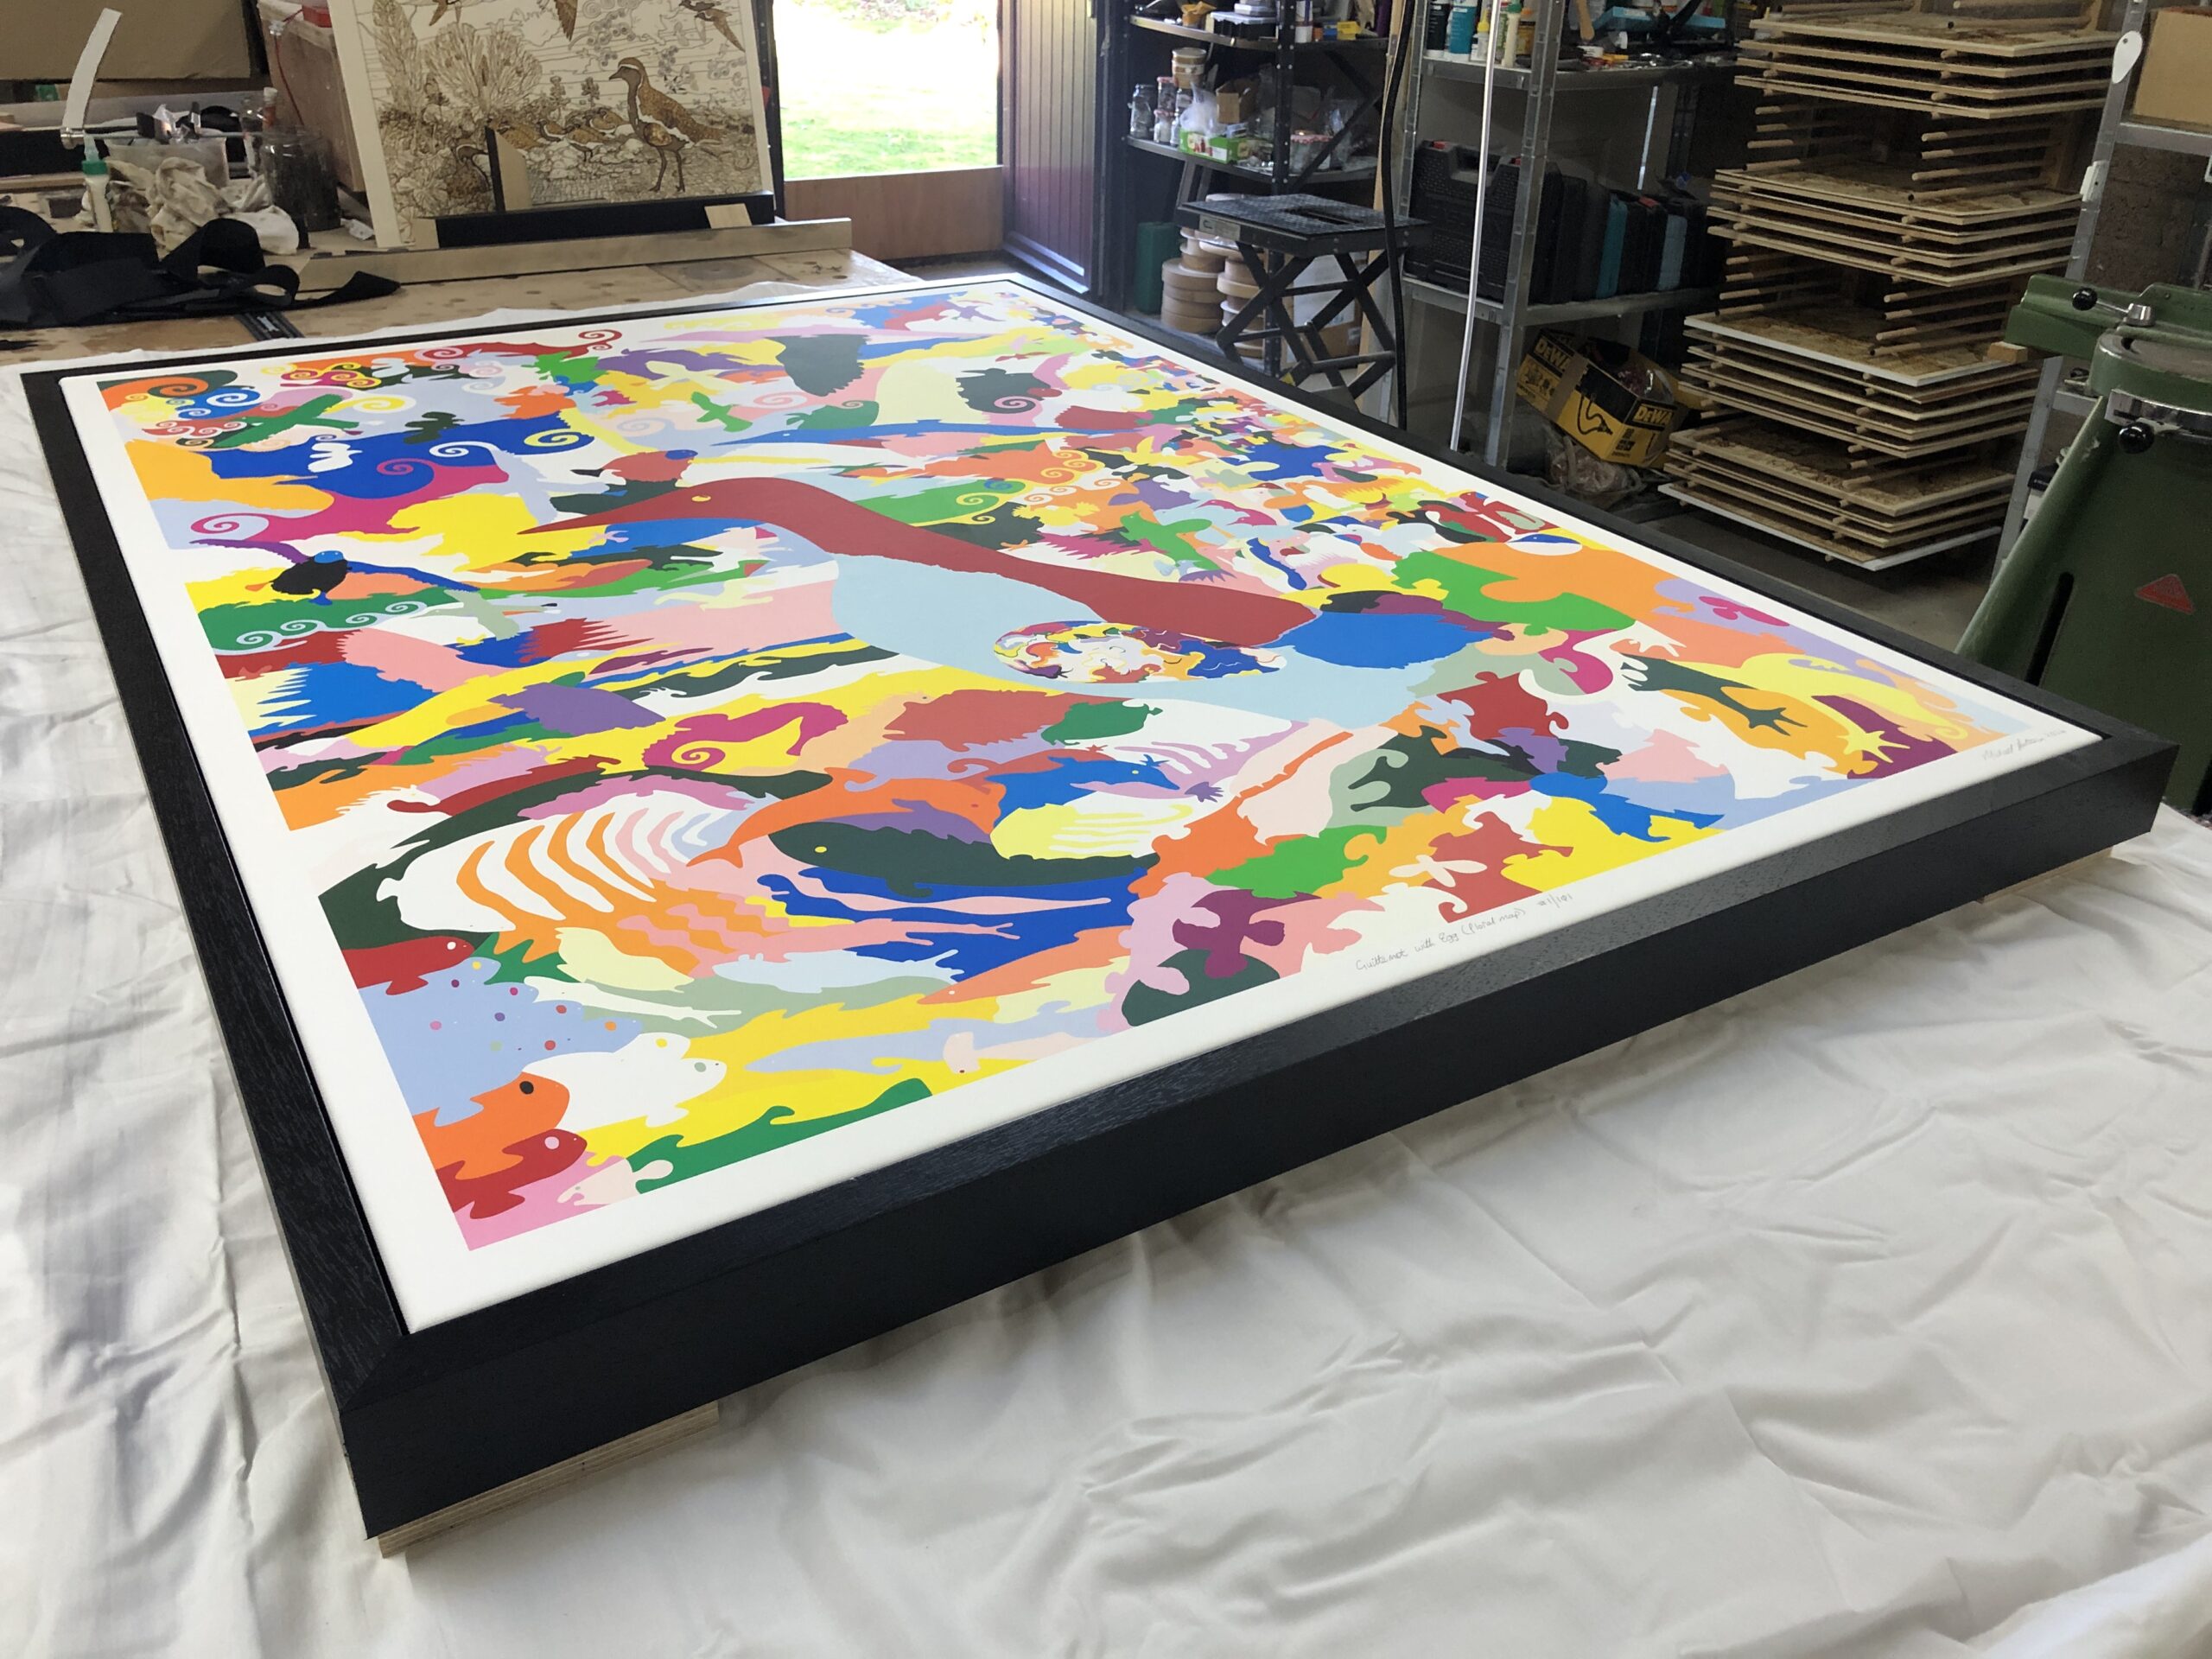
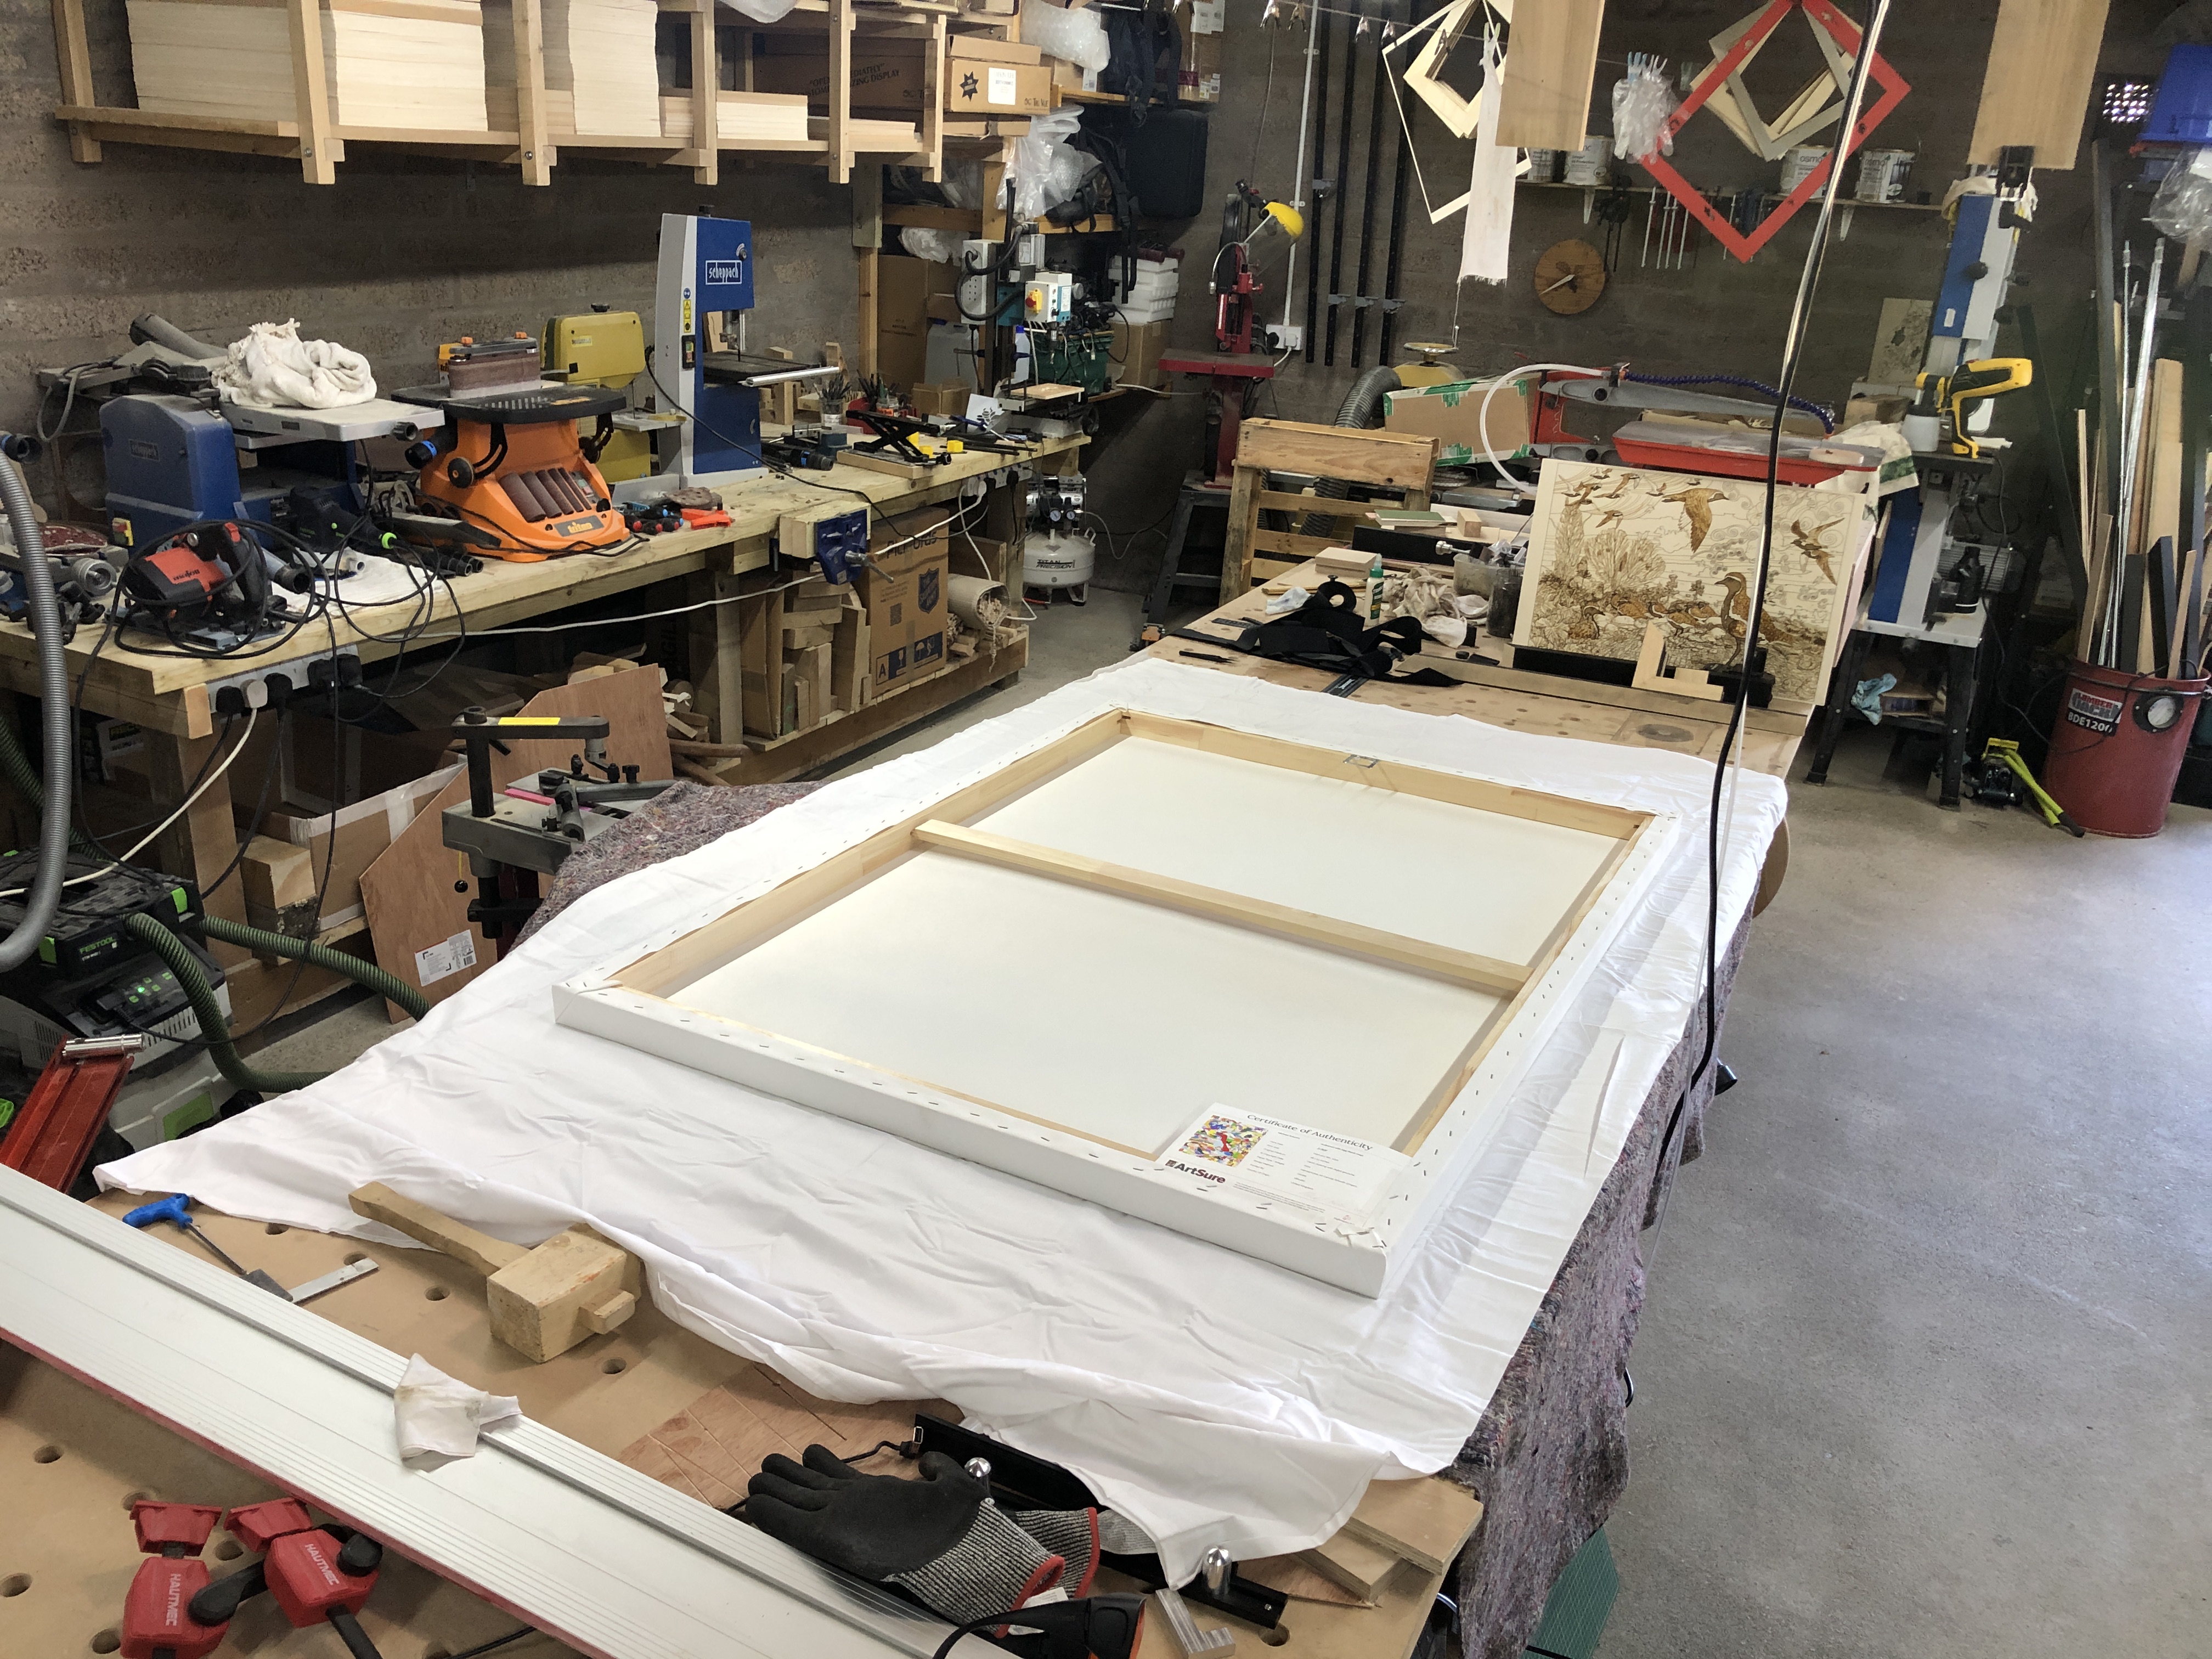
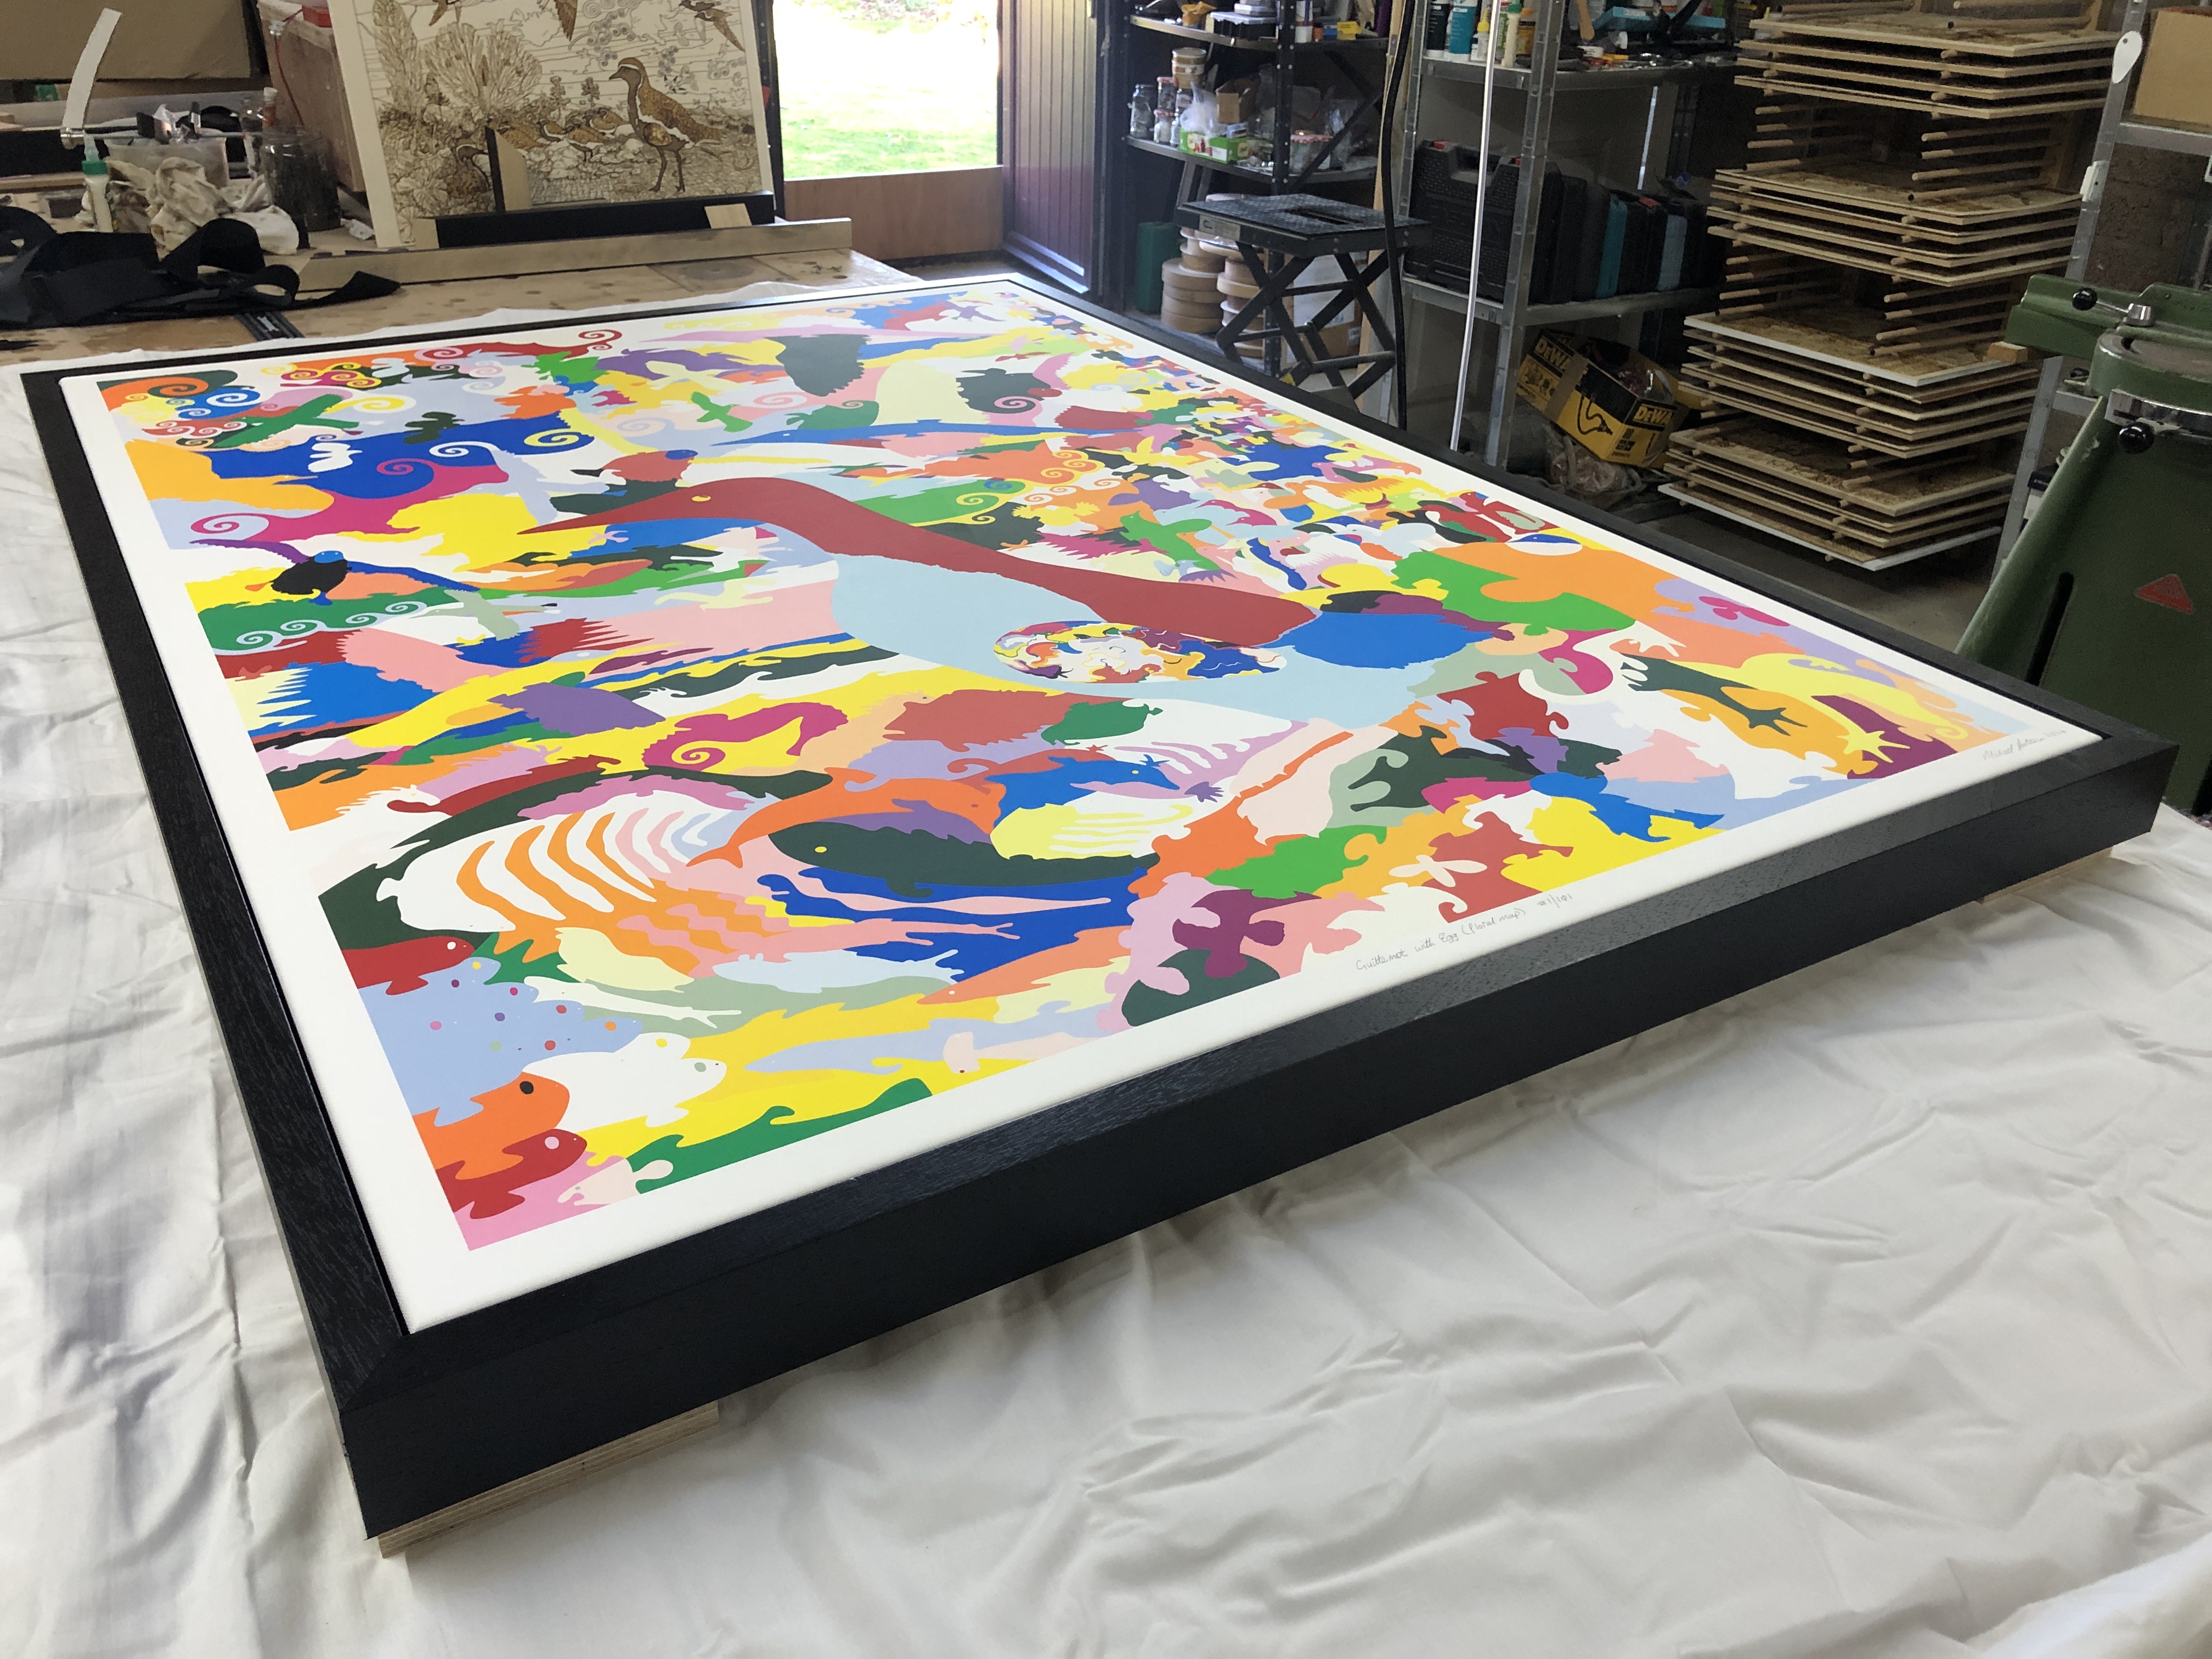
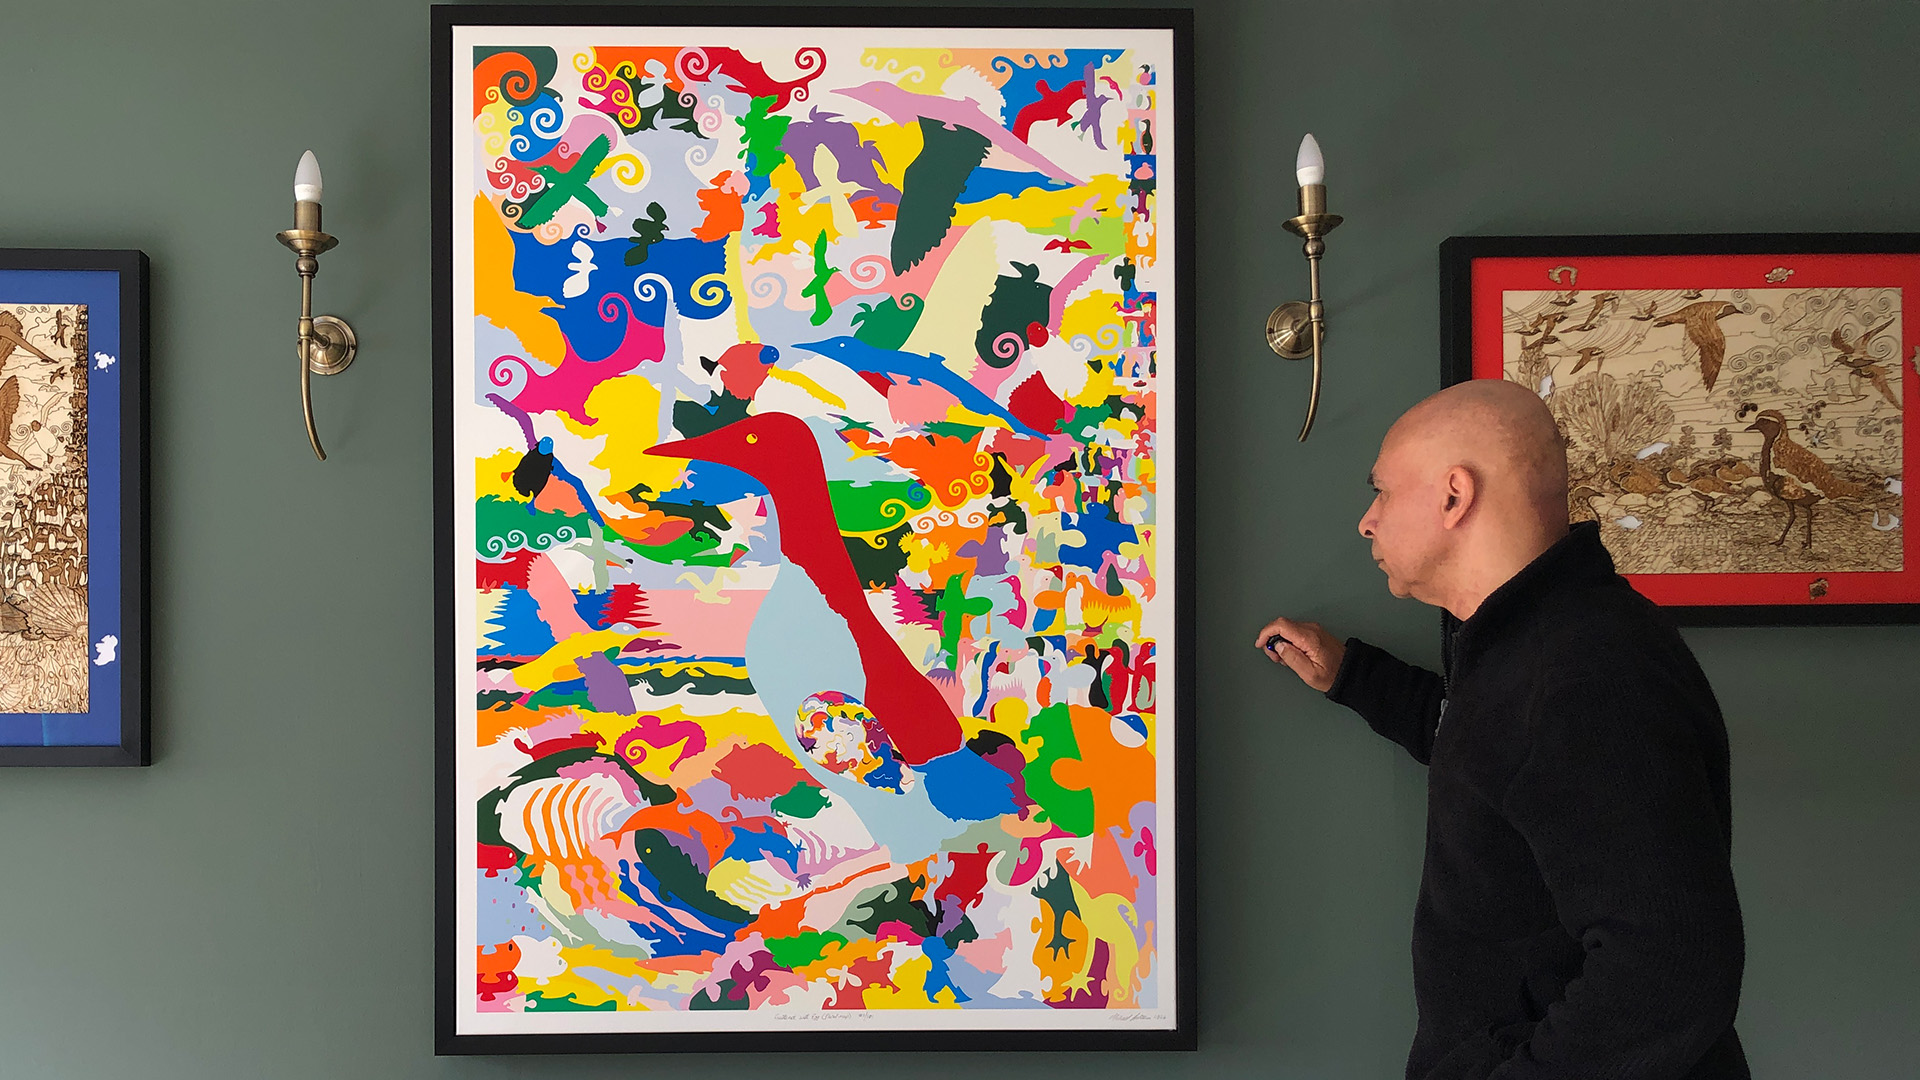
Yesterday I framed this large canvas :-
Guillemot with Egg (floral map)
After working on the back fixings, I turned it over to see the finished work. In all candour, I thought it looked really fabulous. The heavy black tray (float) frame made the colours pop even more, and the whites to appear whiter. I was really moved and felt a great sense of achievement.
When I think back over the months I have spent on it, the weeks designing it, all the hundreds of hours drawing innumerable curves – that I have meticulously weaved and tweaked; all the colour choices and juxtapositioning… It feels it was definitely worth all the effort – and not inconsiderable cost. It was a truly joyous, uplifting, moment, and I felt very blessed and proud…
This just reinforces why I cannot part with original artwork – and so steer clear from doing non-reproducible art. Most of my artwork I do primarily for myself: mainly to show and express my gratitude and wonder of Nature. Yes, I love to share my feelings of what moves me – often to tears – which is why I have invested so much time and resources into reproducibility (editions as opposed to original art). It is a real privilege that I can produce copies of my artwork, like this one, to a standard that I am very happy with – and can share with many others (some of whom are fortunate enough to have the resources to own copies)… This is immensely satisfying.
If this work can give a fraction of the joy it gives me, to other people, then I am truly grateful and blessed…
Title: “Tawny Owl with Egg (floral map)” Artist: Michael Autumn Medium: Hand-drawing with digital gouache Giclée archival print on fine 100% cotton canvas (matt) Hahnemühle Art Canvas Smooth 370gsm + Hahnemühle UV protection matt varnish Size: 36″ (W) x 50.9″ (H), canvas stretcher 38″ (W) x 53″ (H) Edition: Limited Edition of 101 Authenticity: Hand-signed (front, bottom, far right on white canvas border) with graphite pencil (varnished over with same UV-protective matt varnish as whole) and titled (front, bottom, centre on white canvas border) Date: 03/2024
Just to give an idea of the size the artwork…
TL;DR
This artwork is an homage to visual perception – it’s about how we detect meaning from the millions of individually coloured photons entering our eyes – and how I, as an artist, can trick you into seeing what I want you to see.
Tawny Owl with Egg (floral map) is the simple colouring-in (albeit very carefully selected and juxtaposed colours) of a flat line drawing I did previously of this art puzzle design (see the photo of that artwork below and this post: Tawny Owl with Egg (Art Puzzle)).
Tawny Owl with Egg (Art Puzzle)
I used this technique to regularly check for line breaks (where there shouldn’t be any), and to get a better view of the shapes of the individual pieces I was designing – amid a sprawling mesh of simple black thin lines on a white background. This got me to thinking about the difference between the dumb mechanical process of colouring a shape (of a flood fill) and true animal (human) understanding…
It’s difficult sometimes to know what to include in an artist’s diary. I keep my diary to the absolute minimum – not only because I simply don’t have the time to jot down everything, but I have a high level of self-censorship. Some things are trivial, however, who knows what legacy I may leave (if any), and what are significant landmarks in an artists’ life that may be of historical and/or biographical interest…?
This is not a posting about any specific piece of work, I just want to put an entry in the diary of recent achievements that will probably be the beginnings of a fruitful seam of creativity for me – after having recently solved a series of technical challenges (wearing my IT (computer programming) hat) that literally enable some creative ideas that would otherwise not be realisable…
I’ve long been interested in depicting puzzling, ambiguous, dimorphous ideas in art – and have had many, and a growing number of, ideas mulling around in my head for several years – but with no satisfactory or acceptable way of representing them. So they have been on the backburner – waiting for solutions…
In parallel to this, for the last few years I’ve been exploring puzzles as a means artistic expression, and this has resulted in me spending hundreds of hours doing vector-based freehand drawings (using a graphics tablet). I have recently been doing some intricate image manipulations and transformations manually (with the creative software I use), and this gave me the idea of using these techniques for the aforementioned other art ideas. However, the problem is (was) that these techniques, if applied to the other ideas, would take prohibitively long. With my IT hat on, I wondered if there might be a way to program some, or all, of these laborious tasks…?
The great thing about computer programming is that once you solve a problem, it’s a trivial matter to scale it up. For example, if you get a computer program to draw a grid of rectangles – let’s say 5 by 7 – then it’s a trivial matter to get it to do any number of rectangles – e.g. 500 x 700, 5,000,000 x 7,000,000 – or any number you choose. Also, the repeatability of any solved task opens up enormous opportunities – including testing, simulations, daisy-chaining tasks, etc…
I’ve never mixed proper art with computer programming before. I have designed and developed an art program for others to create digital art, but I’ve never used computer programming to create, or help create, art. However, a few weeks ago I thought it could be a very worthwhile investment of my time to see if I could automate some tasks which would otherwise be too laborious to be conscionable…
So I looked at the following :-
Generate a vector puzzle of any size (these are freely available online)
Break a bitmap image into any vector puzzle
Make jigsaw puzzle tiles of any colour – particularly random colours from a given palette
Break a given percentage of a bitmap image into puzzle pieces. Set these pieces to a given colour or a random selection of colours from a given palette
Interleave the puzzle pieces of two (or more) images
Allow the masking (in or out) of any of the above
Allow the manual manipulation of any of the above – i.e. everything should be manually changeable
The handful of solutions (the above tasks are very different – and each require a different solution) I have recently come up with collectively give me what I would describe as a new visual grammar with which to express – or depict – a number of visual ideas – including all the ones I have been struggling with prior to this point… Watch this space…
Ever since submissions of works for consideration to the annual Summer Exhibition have had to be done solely by photographs of the works – rather than sending in the actual works – I have felt very uncomfortable and uneasy about the selection process.
Firstly, judging an artwork by a relatively small photograph on a small computer screen (of who-knows what quality…?) is a very disingenuous way of seeing art. This disproportionately disadvantages large works compared with smaller ones. Also it disproportionately disadvantages colourful, compared with monochrome, works. And the quality of the photographs may not do the image justice… I imagine some of the widely established best works of art in history would be rejected based on up to three 1920 x 1080 pixel photographs seen on a computer screen…
Secondly, I am especially concerned by the request for certain pieces of information on the application forms – information that should have absolutely no bearing whatsoever on the selection process. Whether this seemingly irrelevant information is used in the selection process or not is simply not know, but the mere fact that it is requested – and with the process not being transparent – leaves this open to question…
Why do you need to know if we have exhibited at the Summer Exhibition before?!
Why do you need to know if we are a Friend of the Royal Academy?!
Why do you need to know the price of the work (you can ask for this if the work is selected)?
The trouble of this covert digital selection process is that we have no way of even knowing if our photos are reviewed at all – or whether they are simply filtered out as rejects based on arbitrary, but irrelevant, information – or due to some other covert agenda… Who knows if preference is given to Friends of the RA…? Who knows if preference is given to people who have (or haven’t) exhibited before…? Who knows if decisions are based on the price of the work, or expected revenue from sales of the work…?
I am not casting aspersions or making accusations about the selection process, I am merely highlighting that it is not transparent at all, it is far from the ideal way to see art, and it is certainly open to abuse. If you persist with this selection process you should make every effort to make it transparent – and not ask for irrelevant information on the application form. Some information is only relevant if the work is selected – not before…
I mourn the days of simple transparency – when work was physically submitted and paraded in front of the selection panel – and it was sometimes filmed for all to see. This assured us that the visual impact of the whole work – with no irrelevant information – was the only selection criterion. In those halcyon days of knowing the selection panel were seeing the works in the flesh – and with no prior knowledge of the artist or the work – only then did we know that this was the most objective and honest way of a panel of RA artists making a collective subjective decision…
I fully understand that during COVID-19 there was no alternative other than to submit photographs of artwork, but now there is absolutely no excuse not to go back to the tried and tested physically present ways – the method the RA used for nearly 250 years prior to COVID. The reduced cost of using photographs and the sending of emails has considerably reduced costs to the RA Summer Exhibition, but it is to the great detriment of the exhibitors…
The Summer Exhibition is a hugely profitable source of revenue for the RA, but it relies entirely on the trust and support of artists. I will not be submitting any more works to future Summer Exhibitions unless we go back to the tried and tested way of doing it, or until the issues of transparency are completely addressed, and I urge other artists to seriously consider their position…
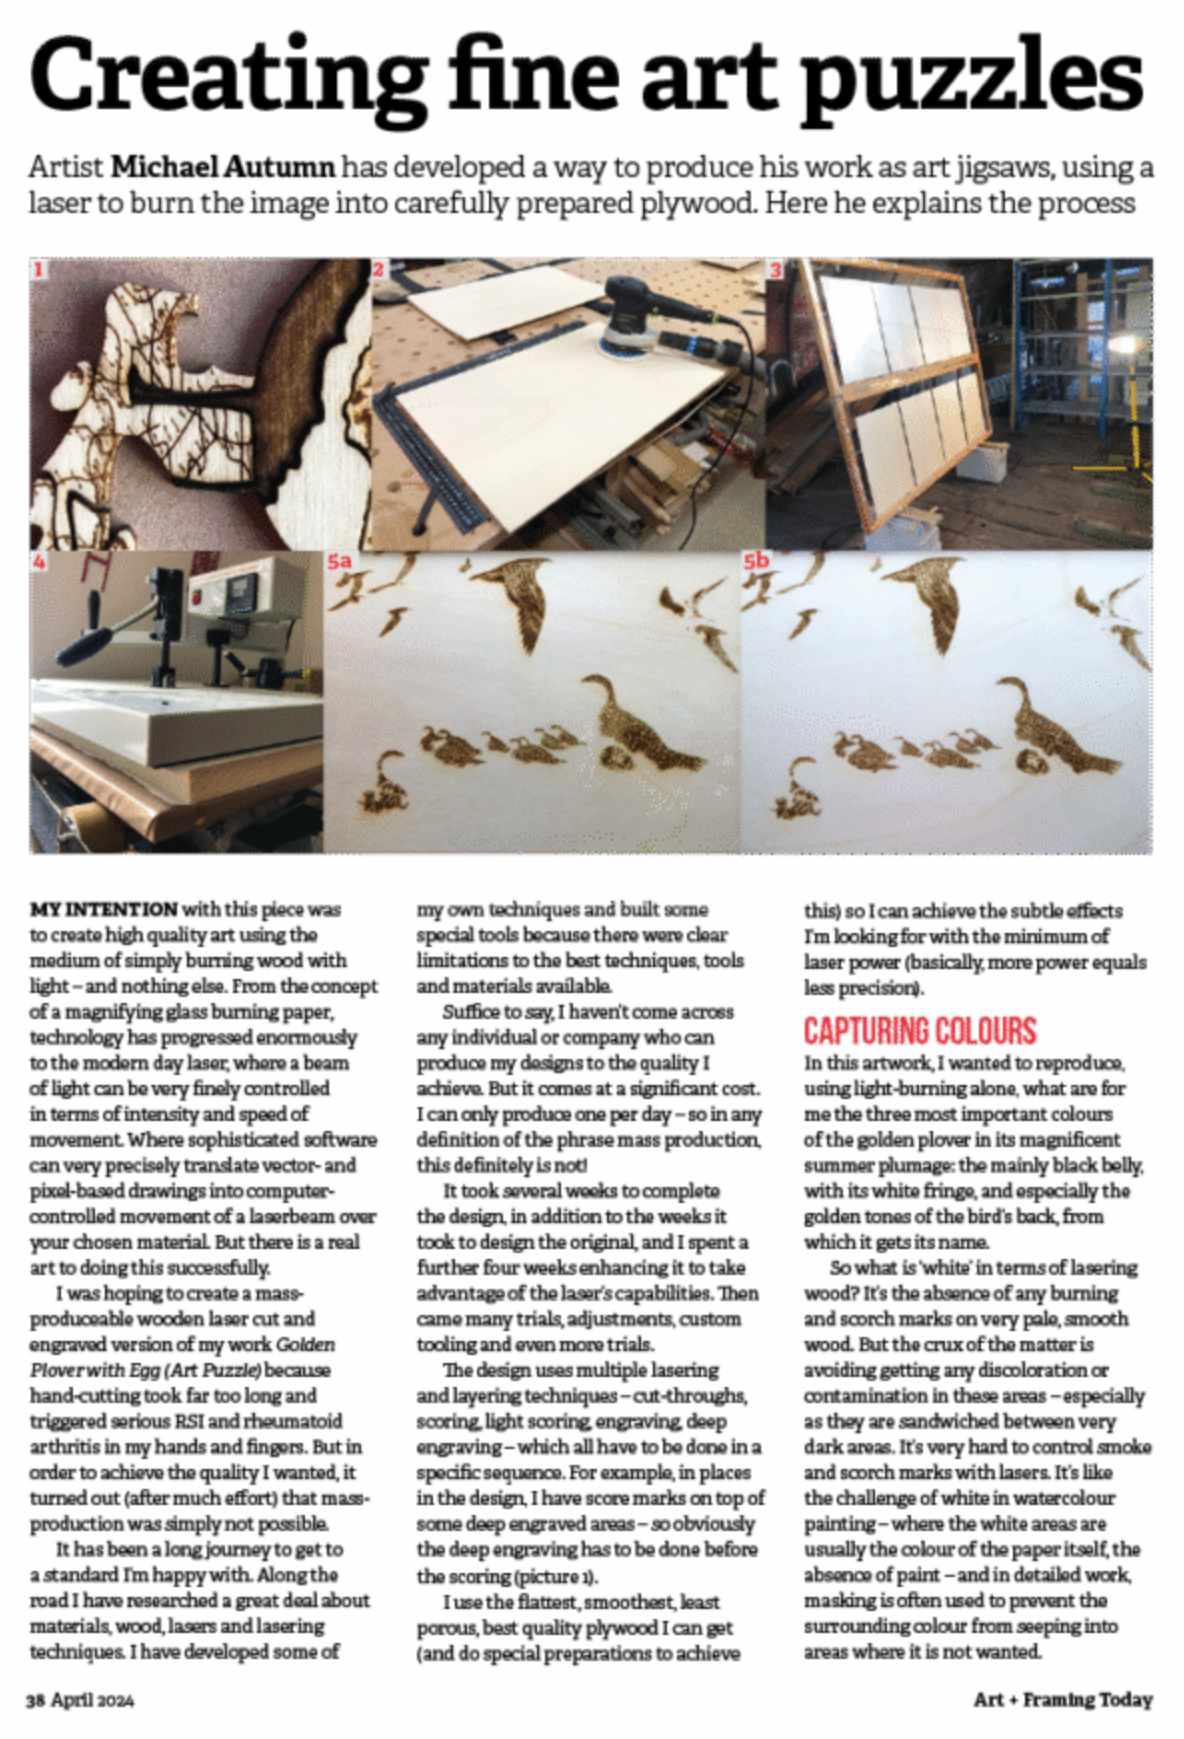
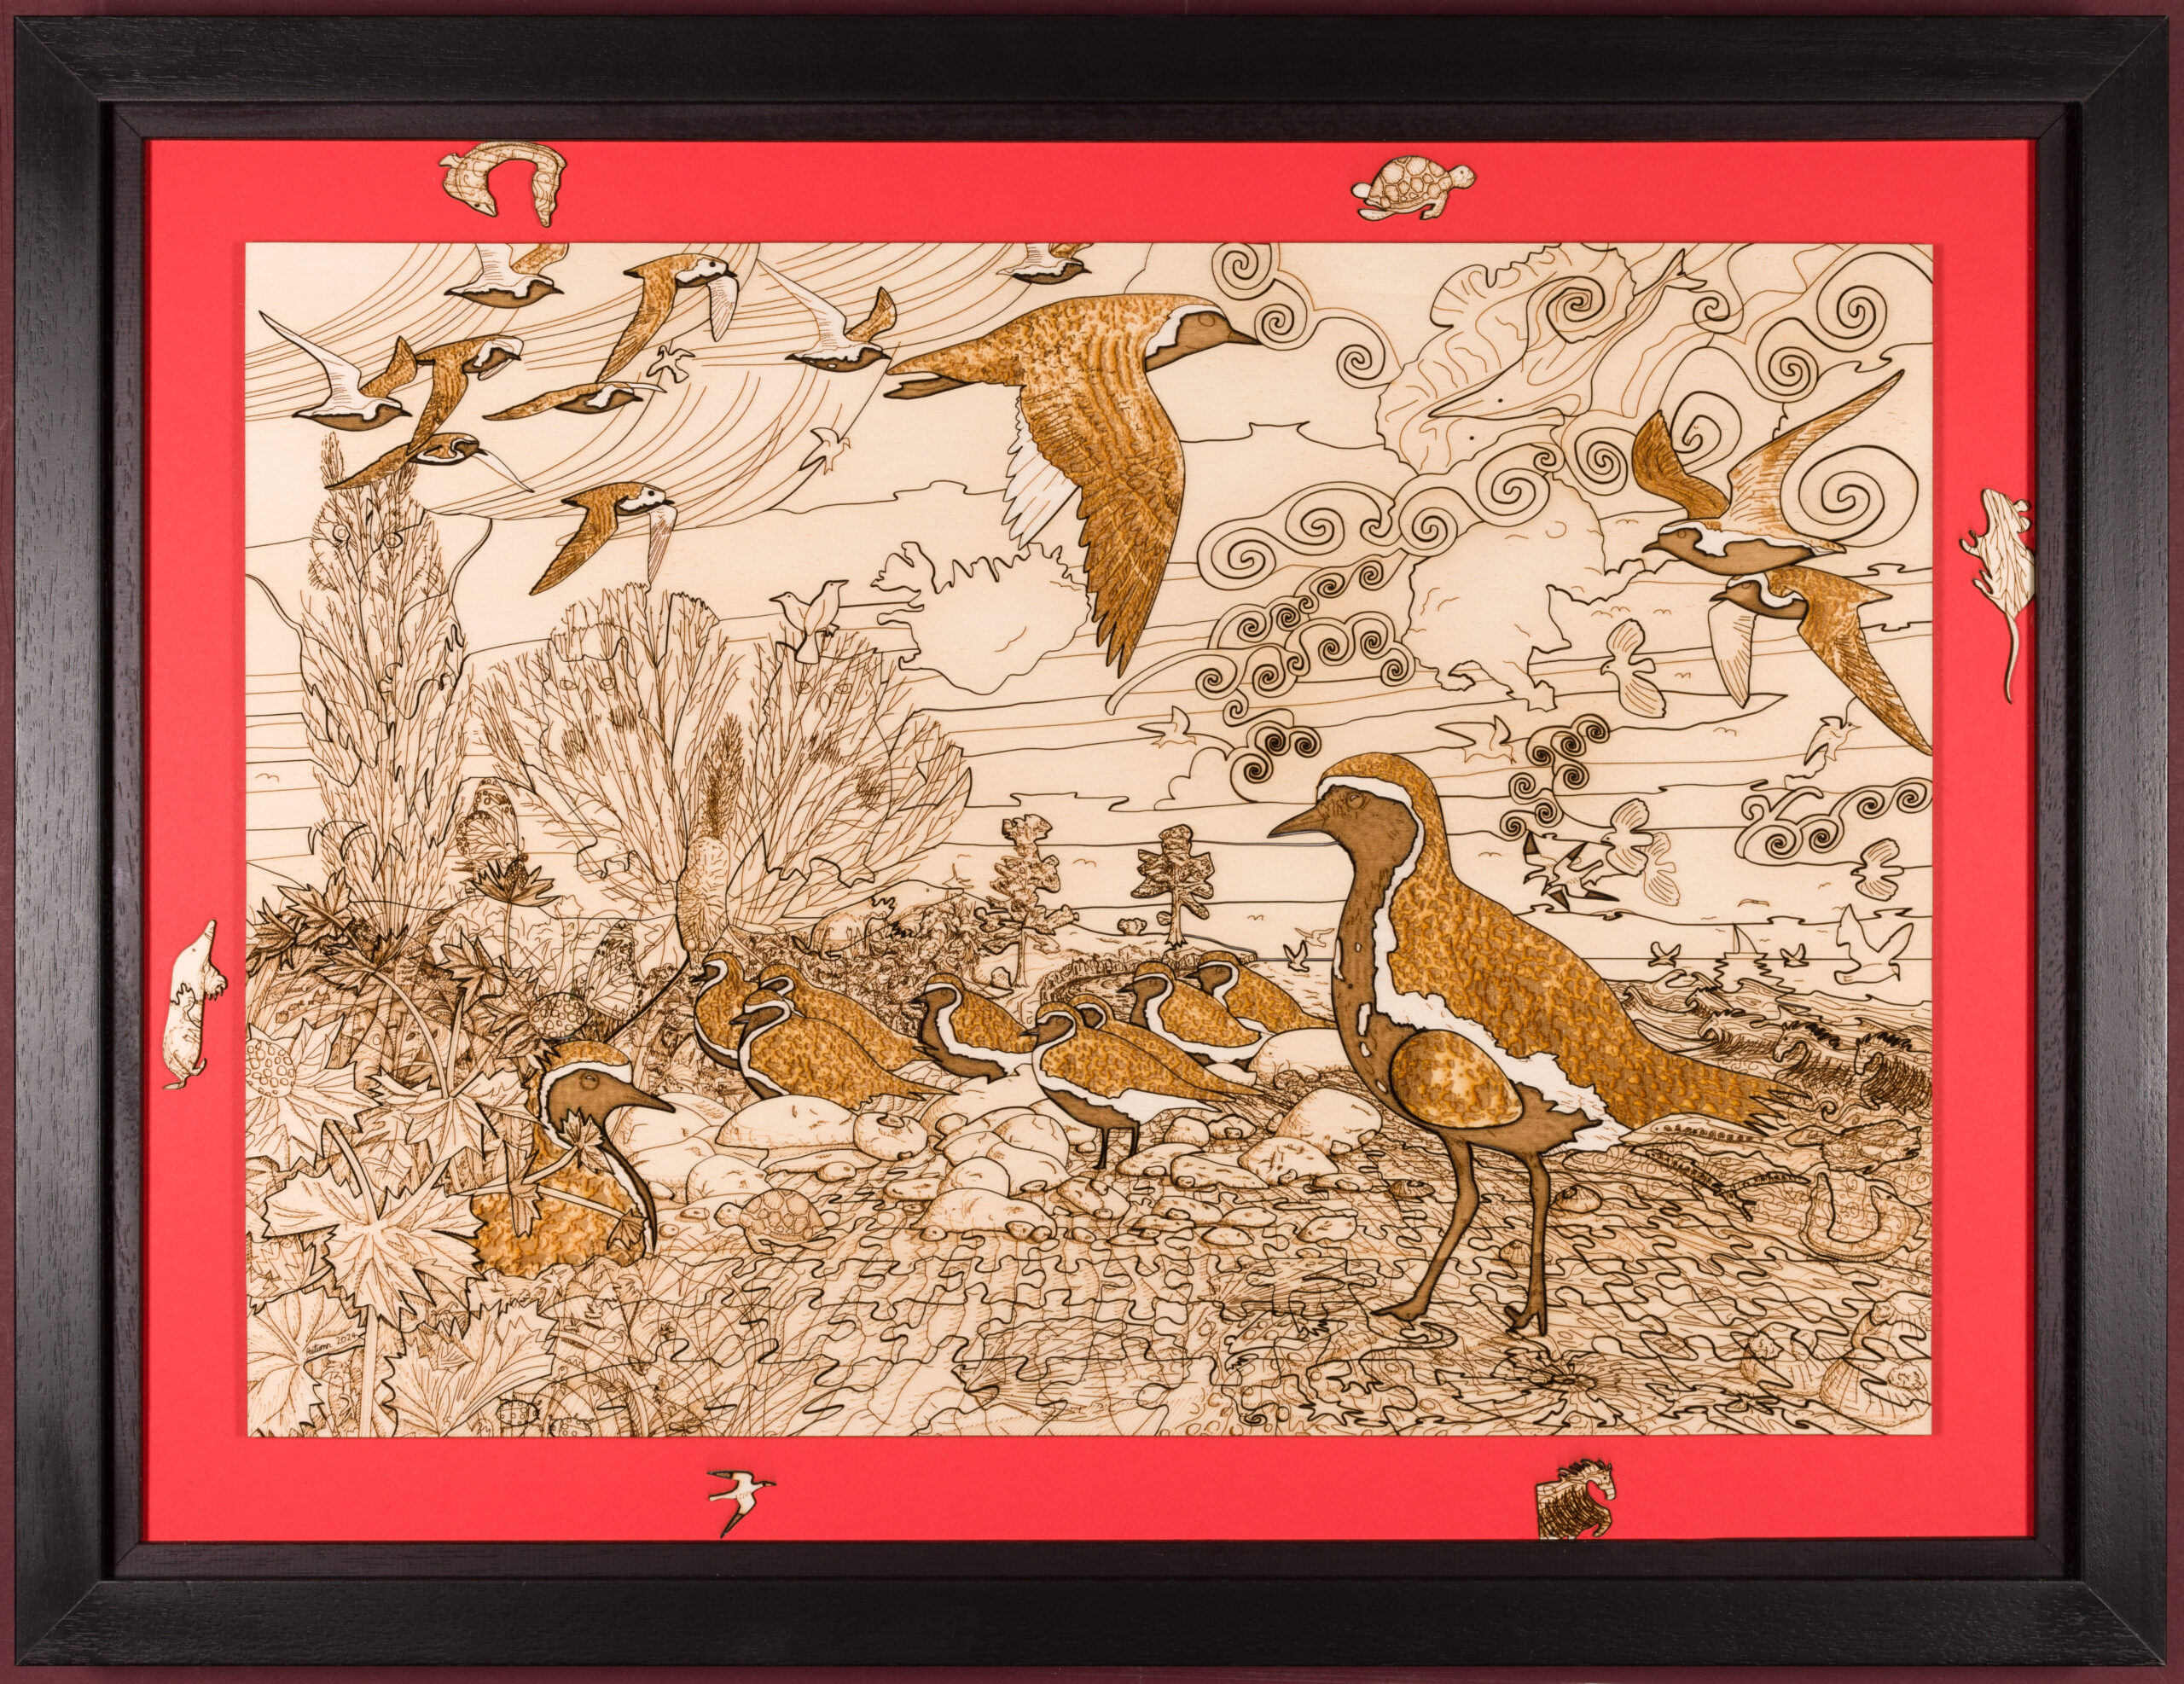
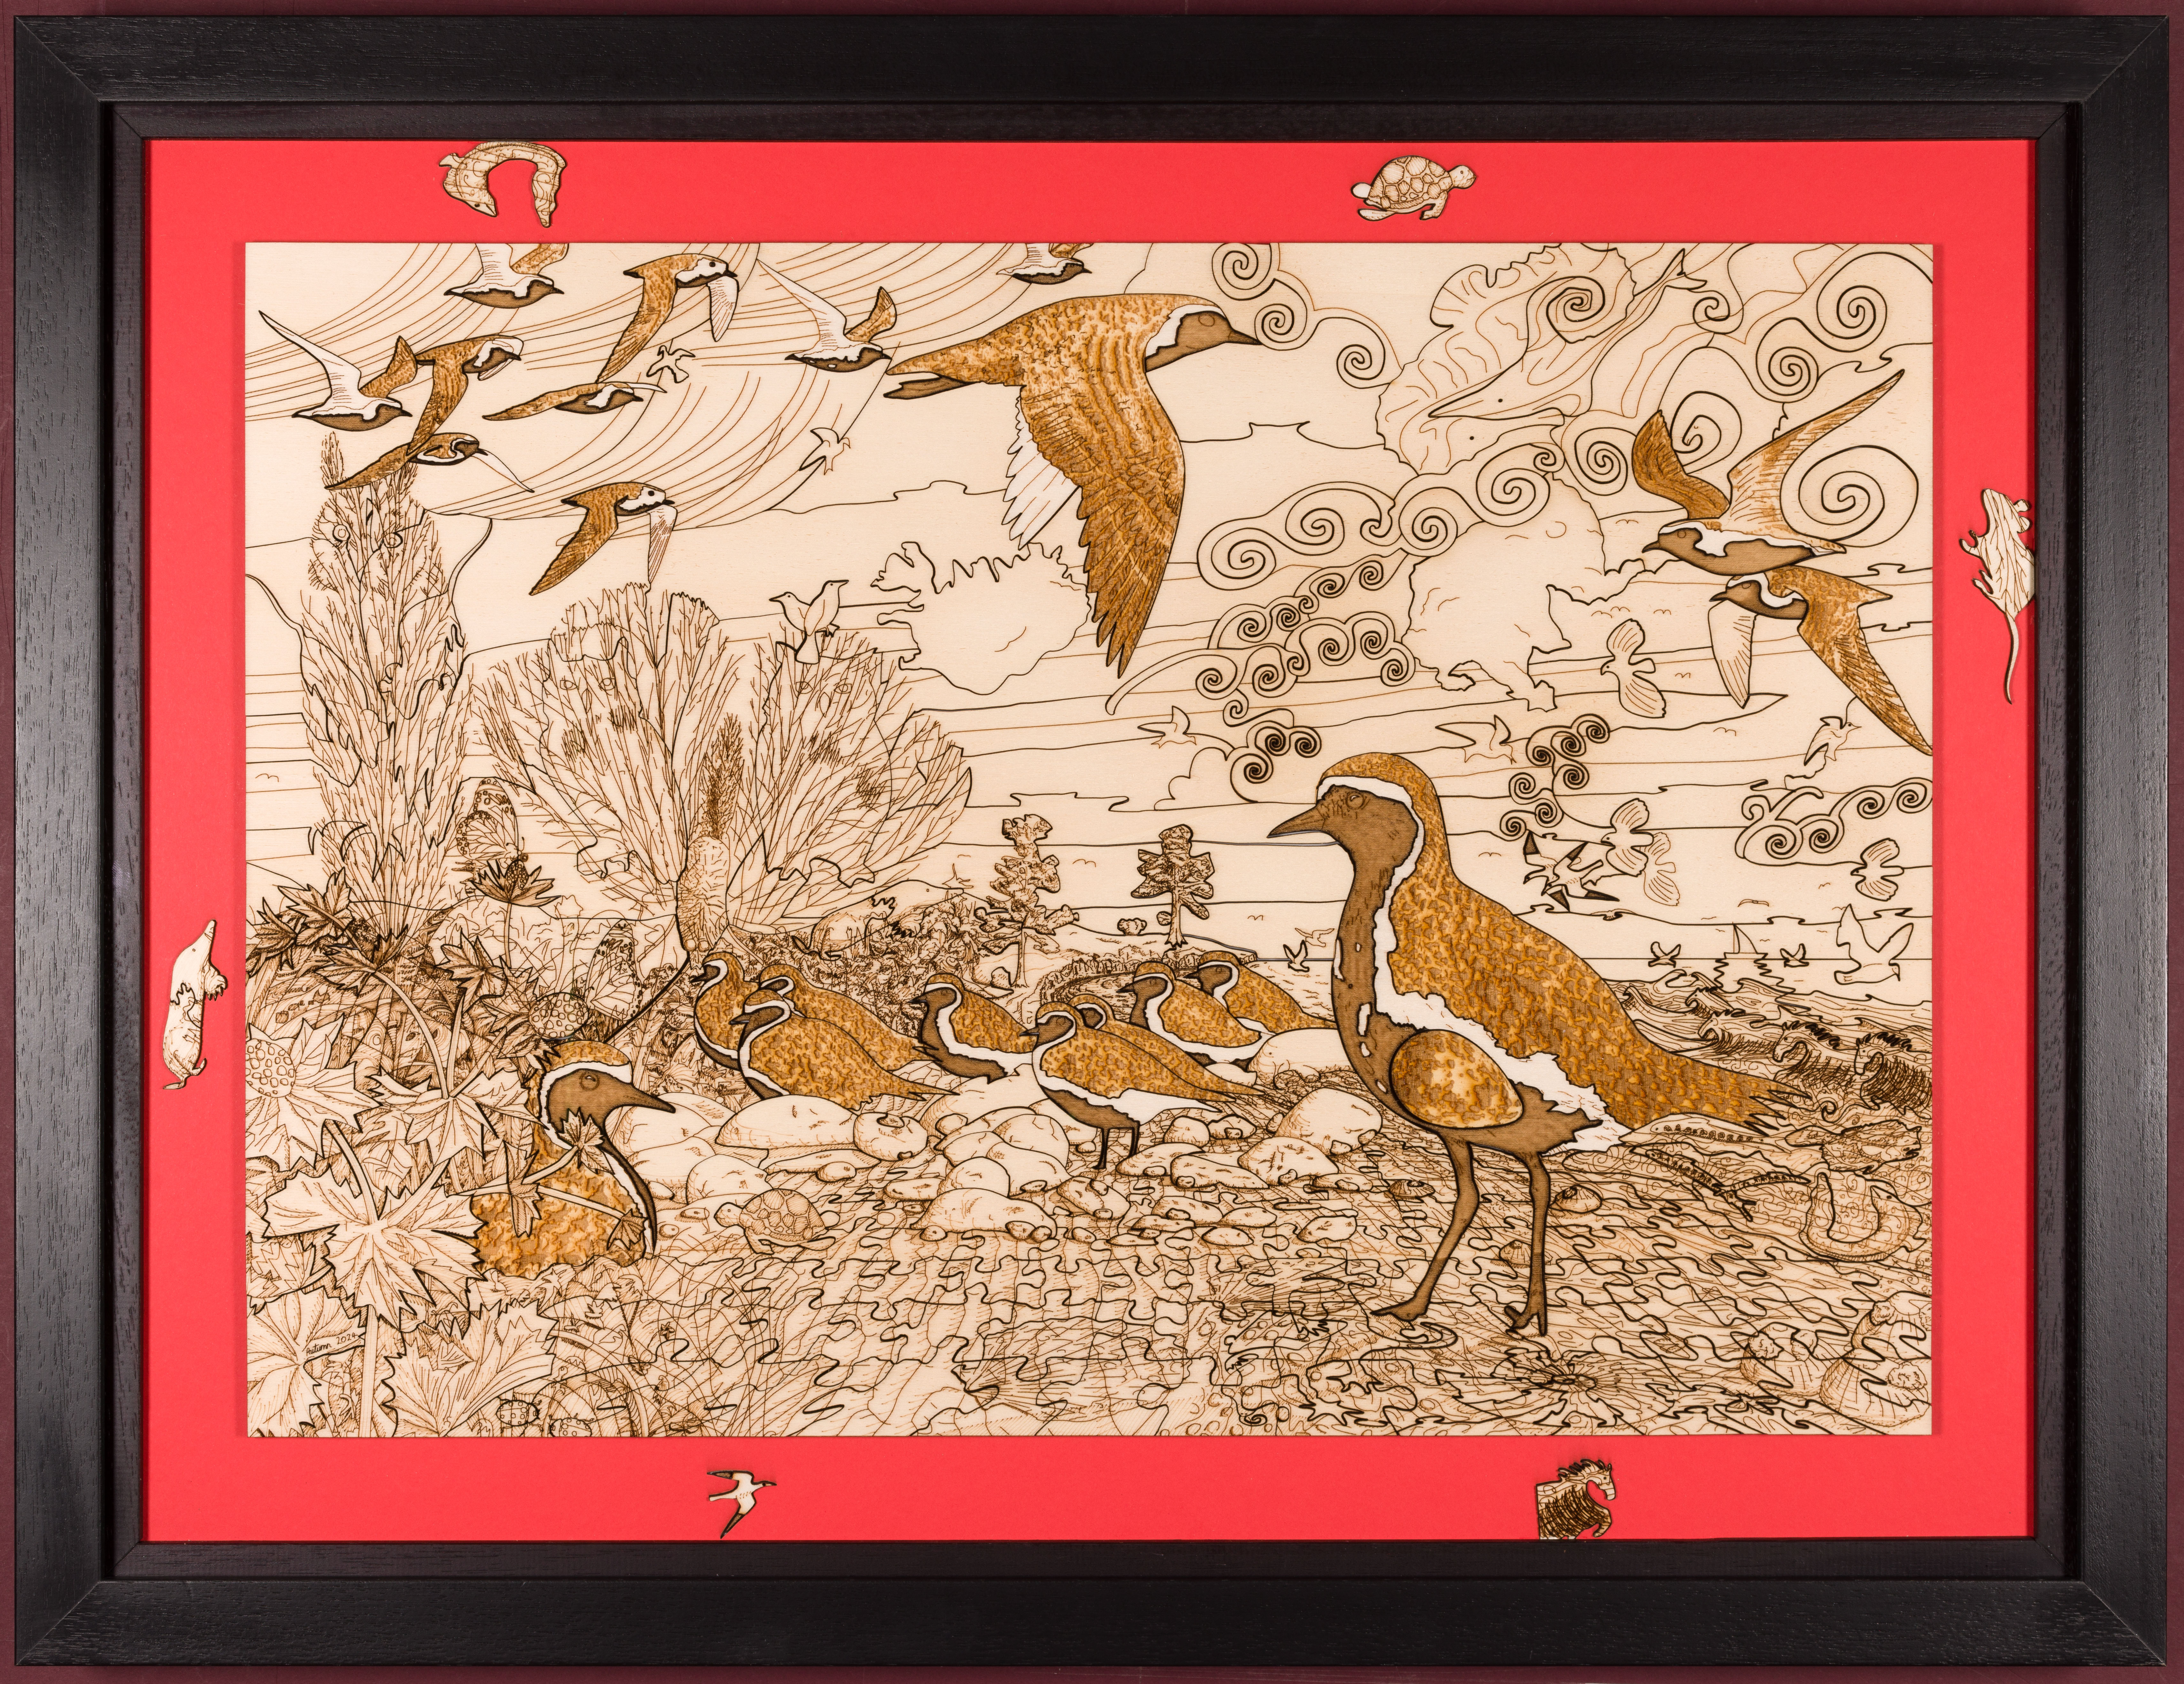
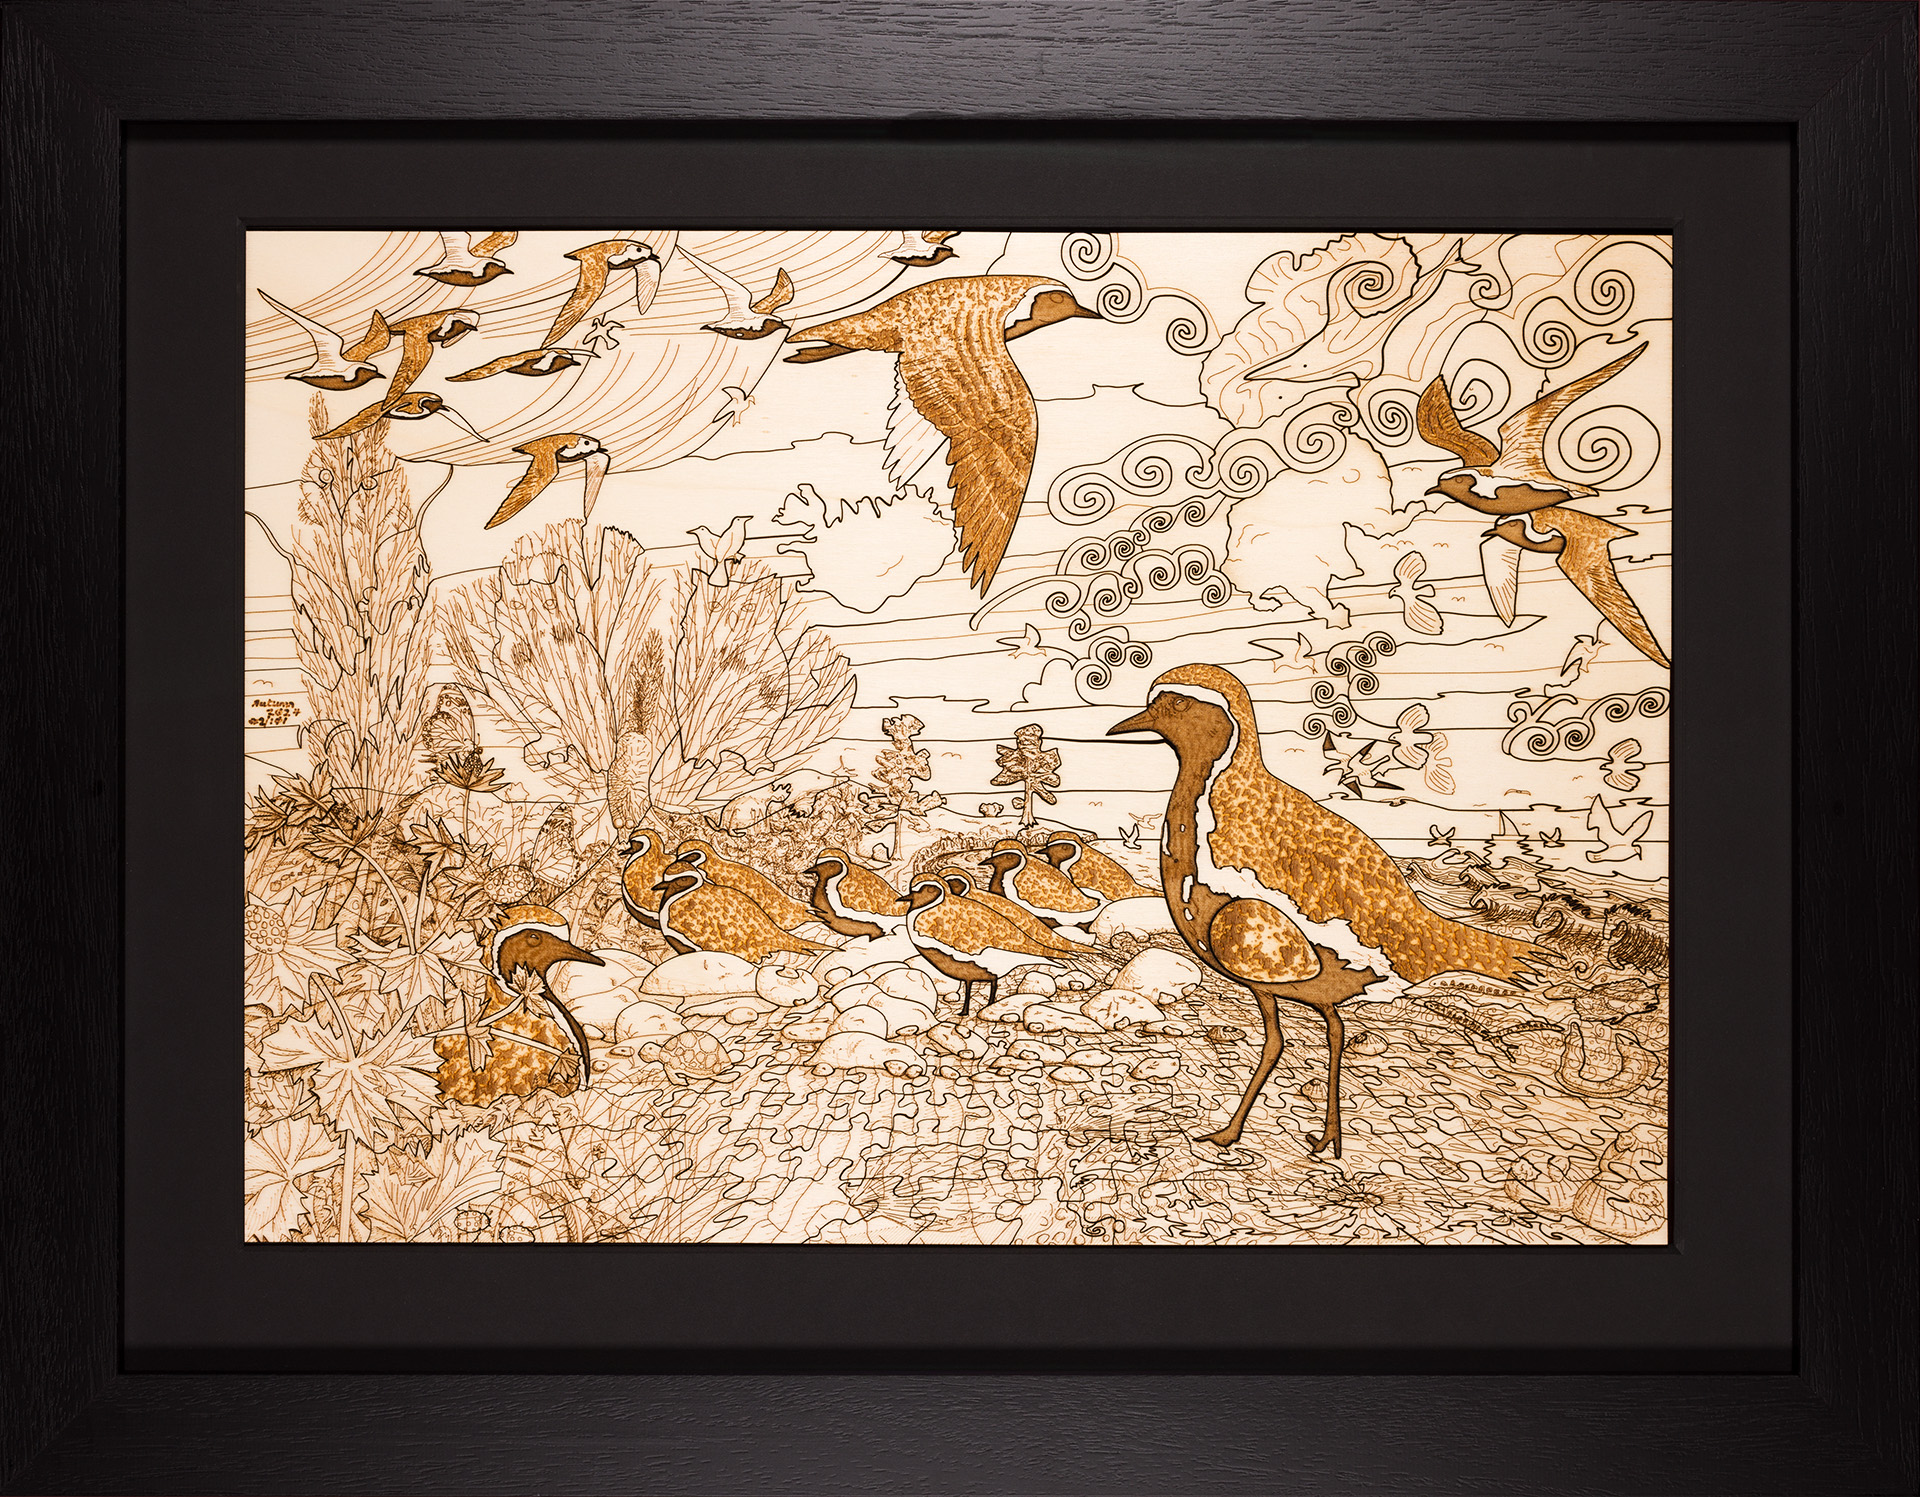
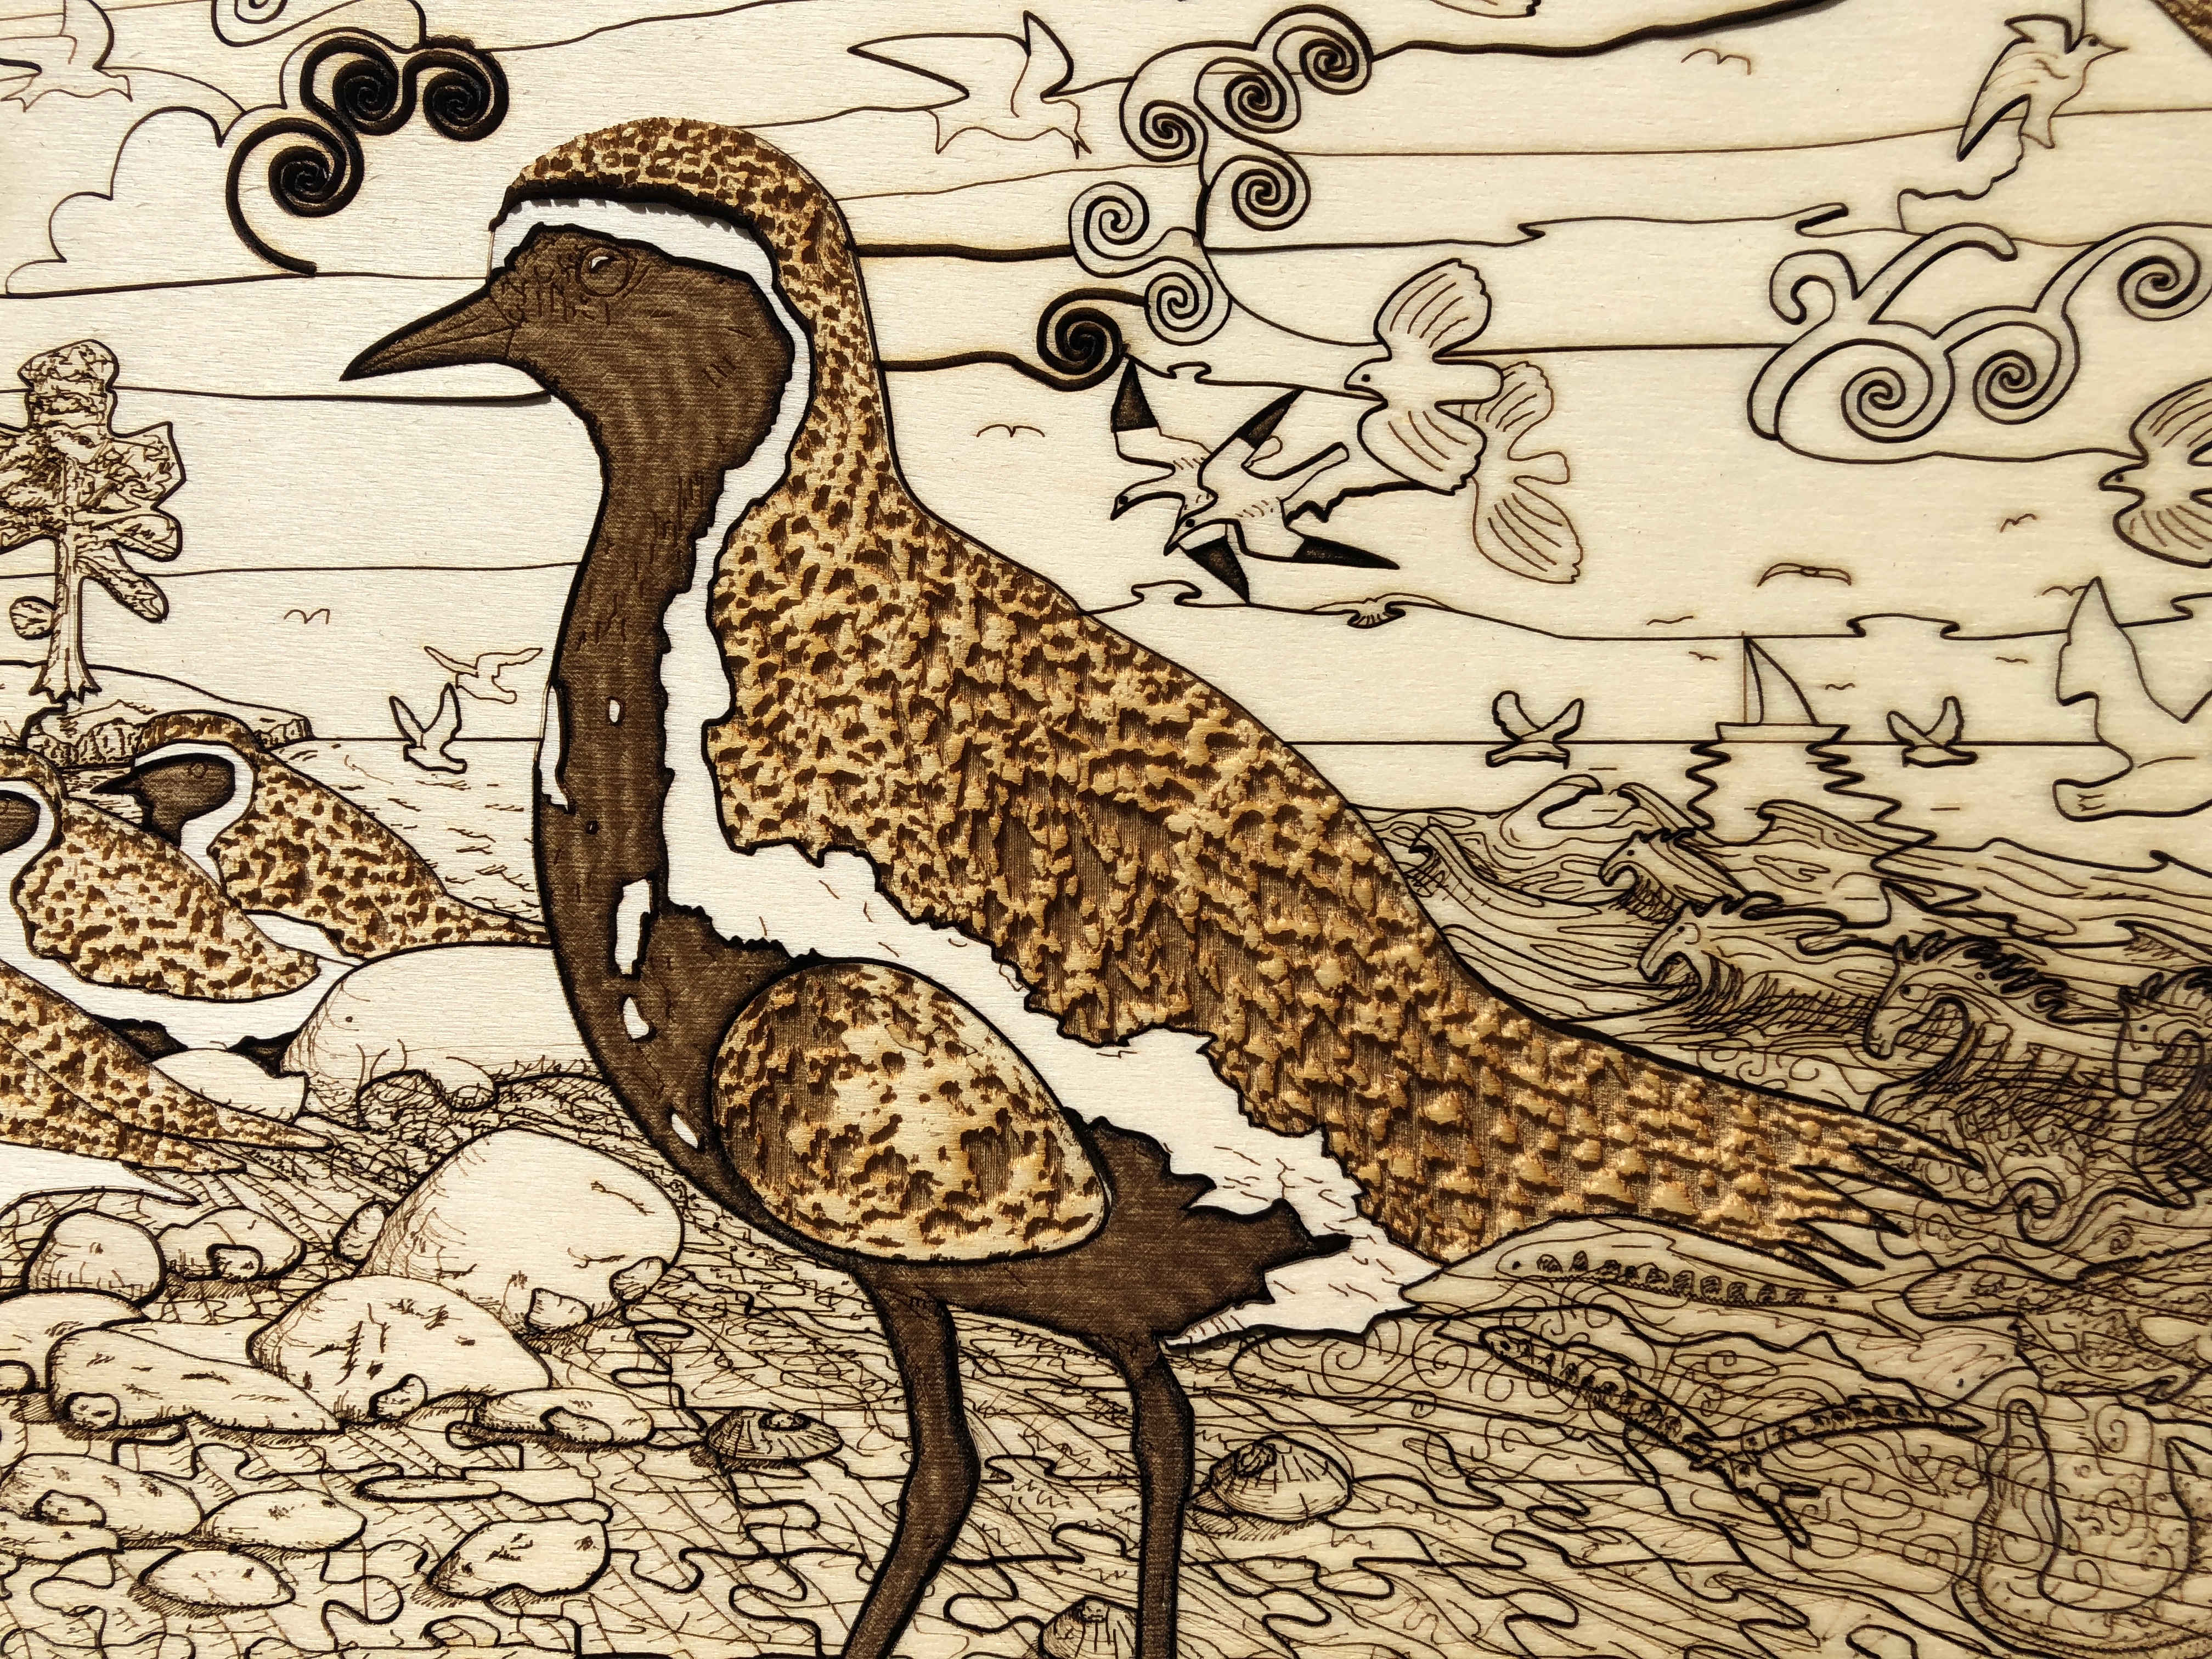
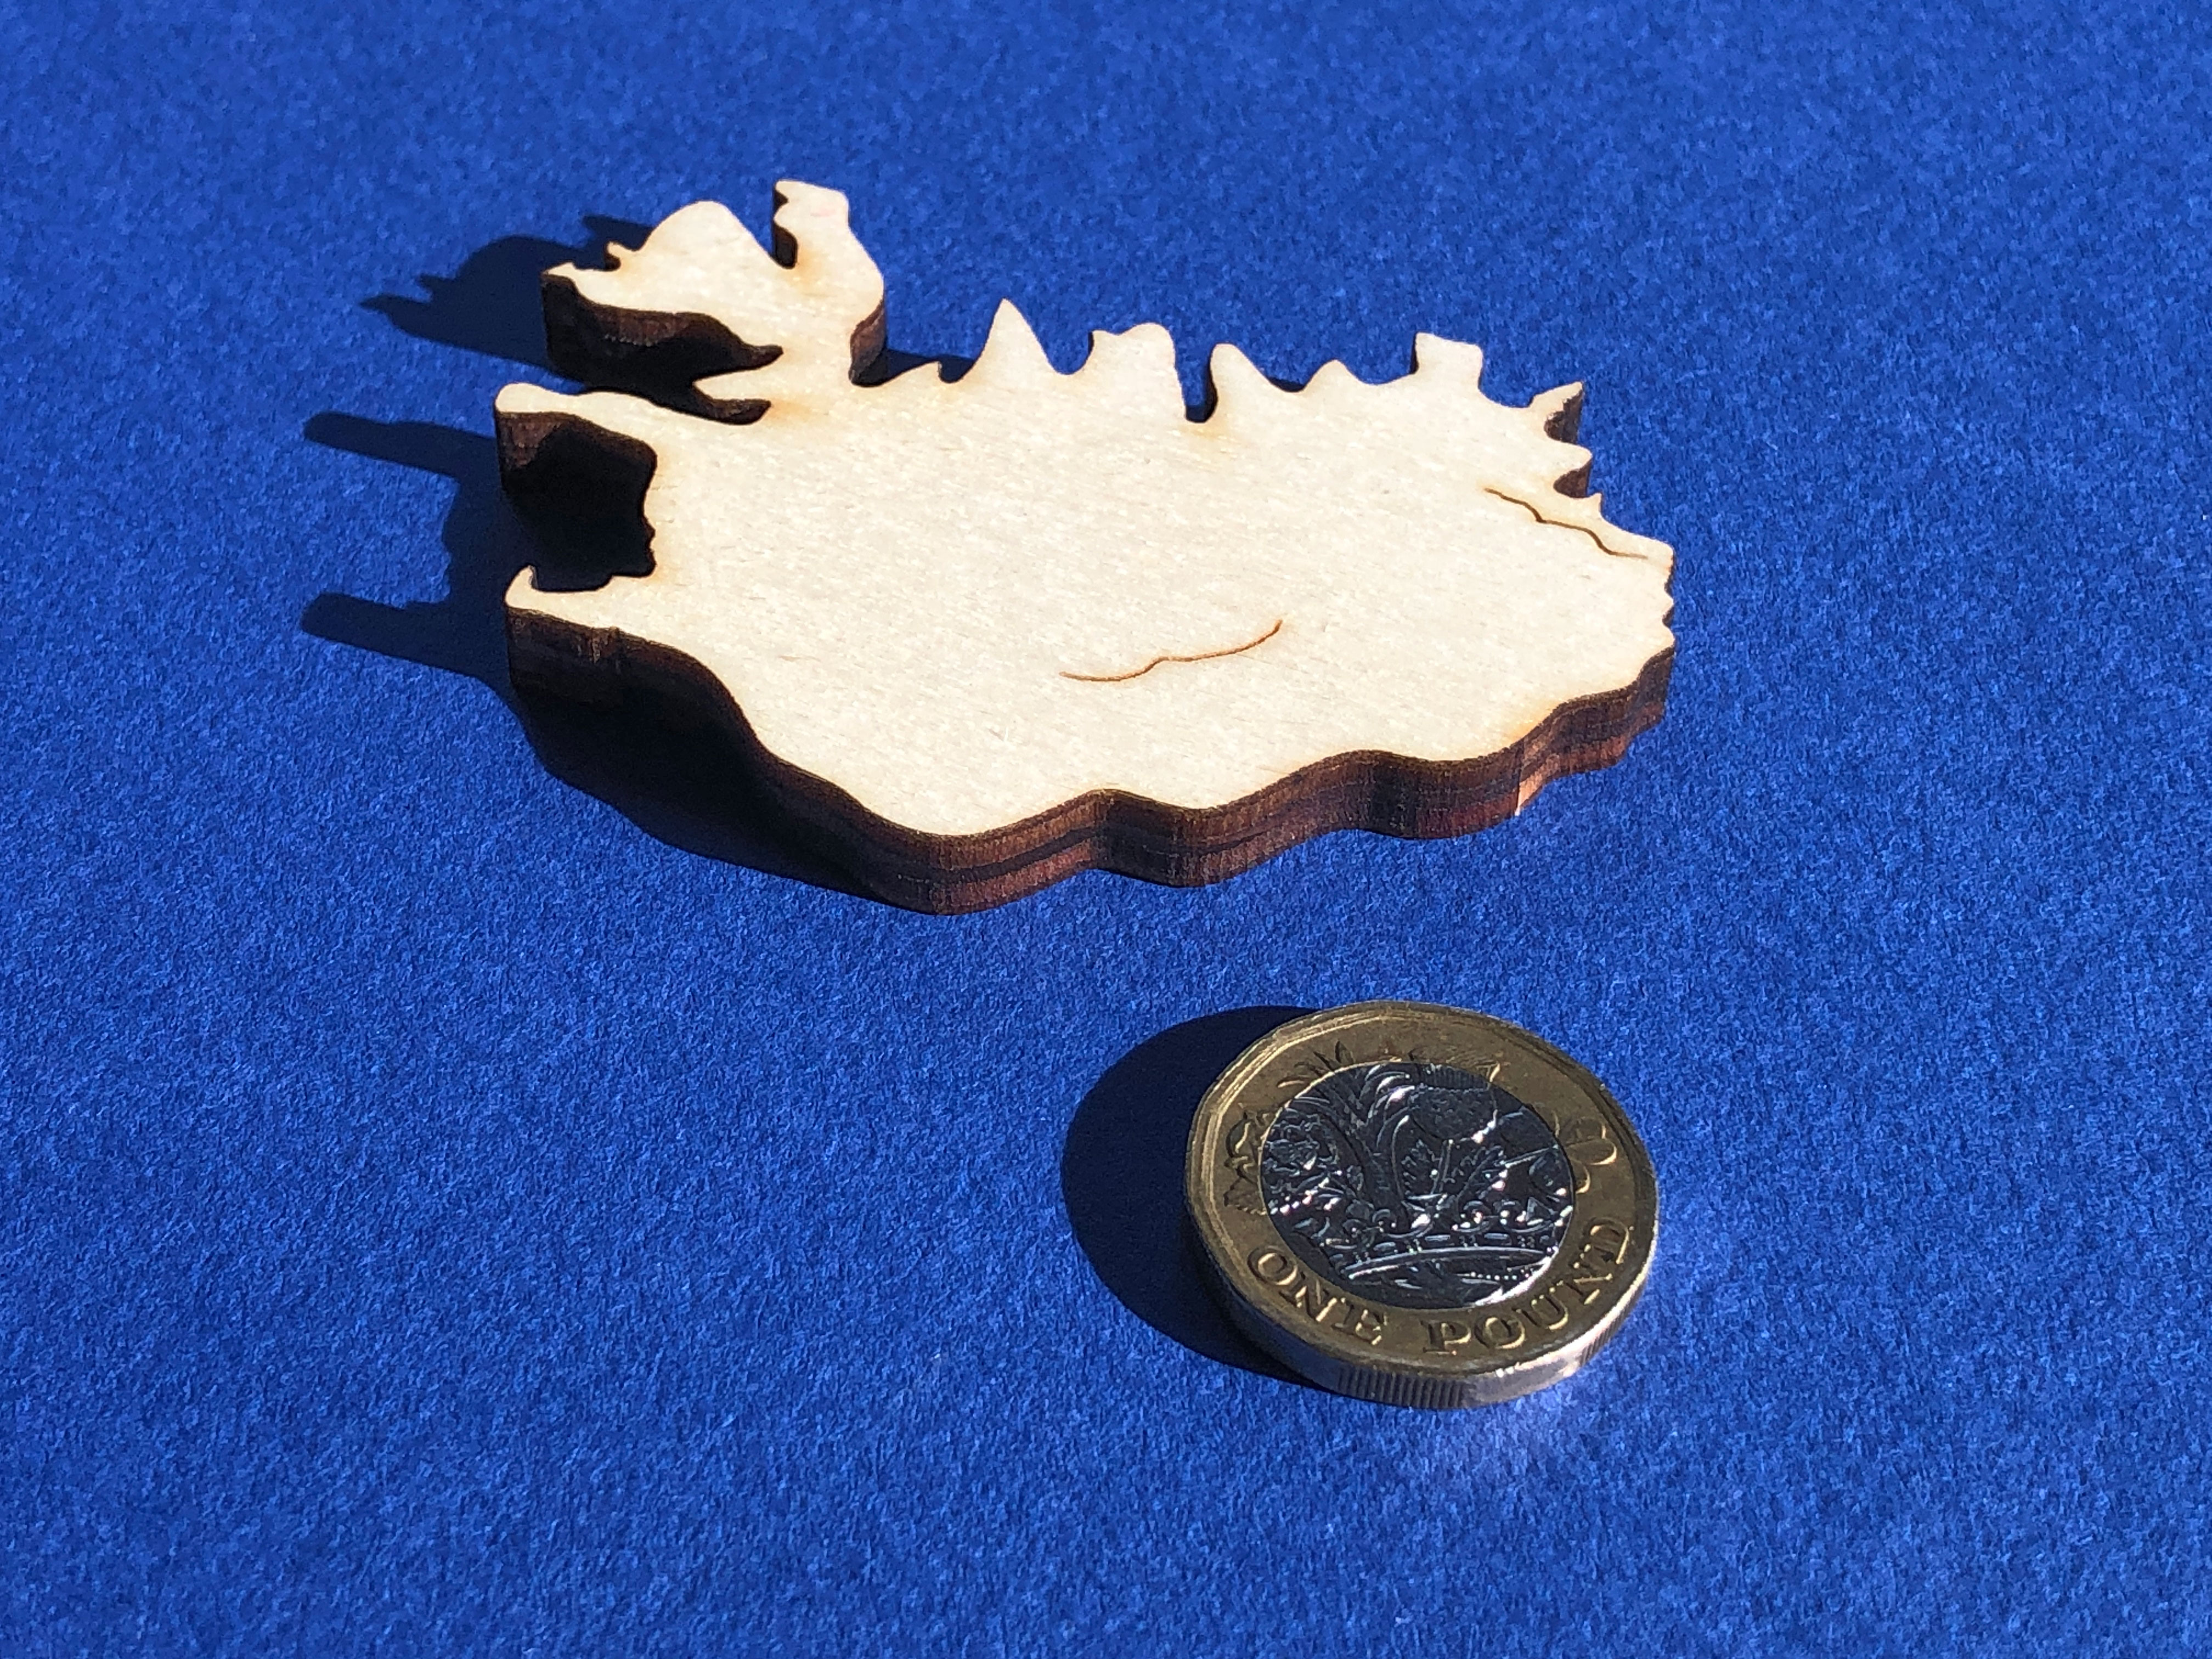
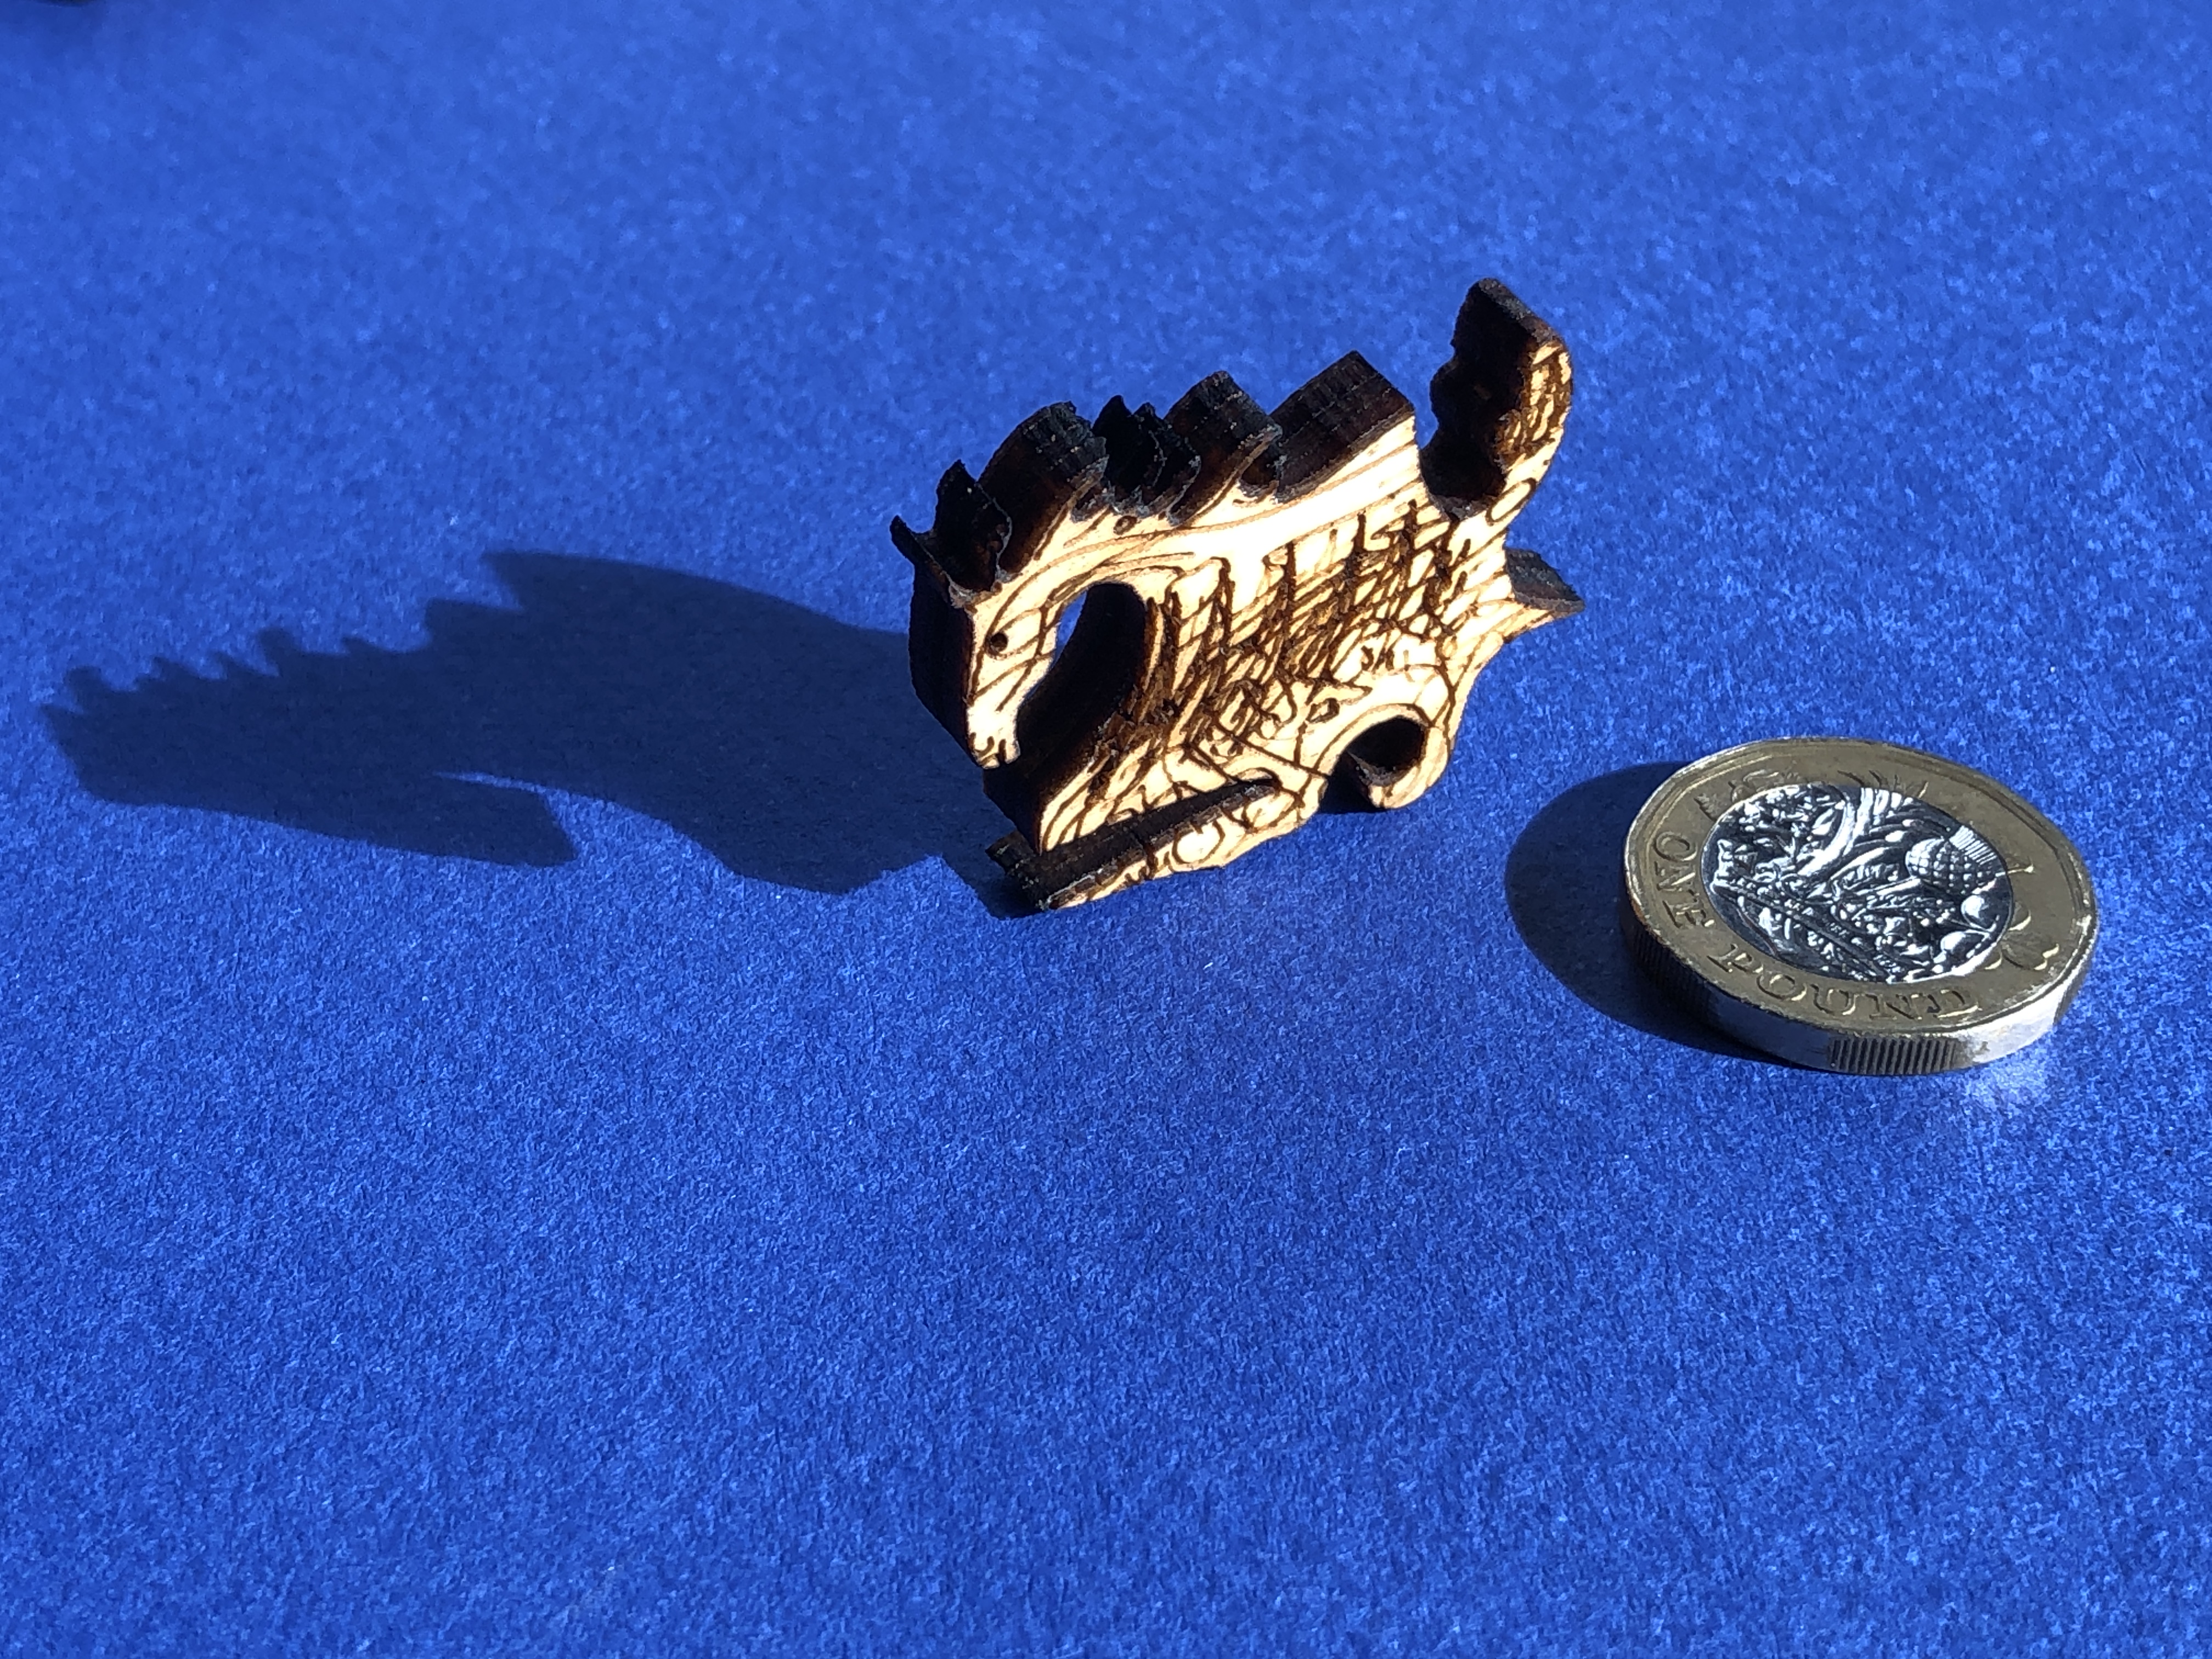
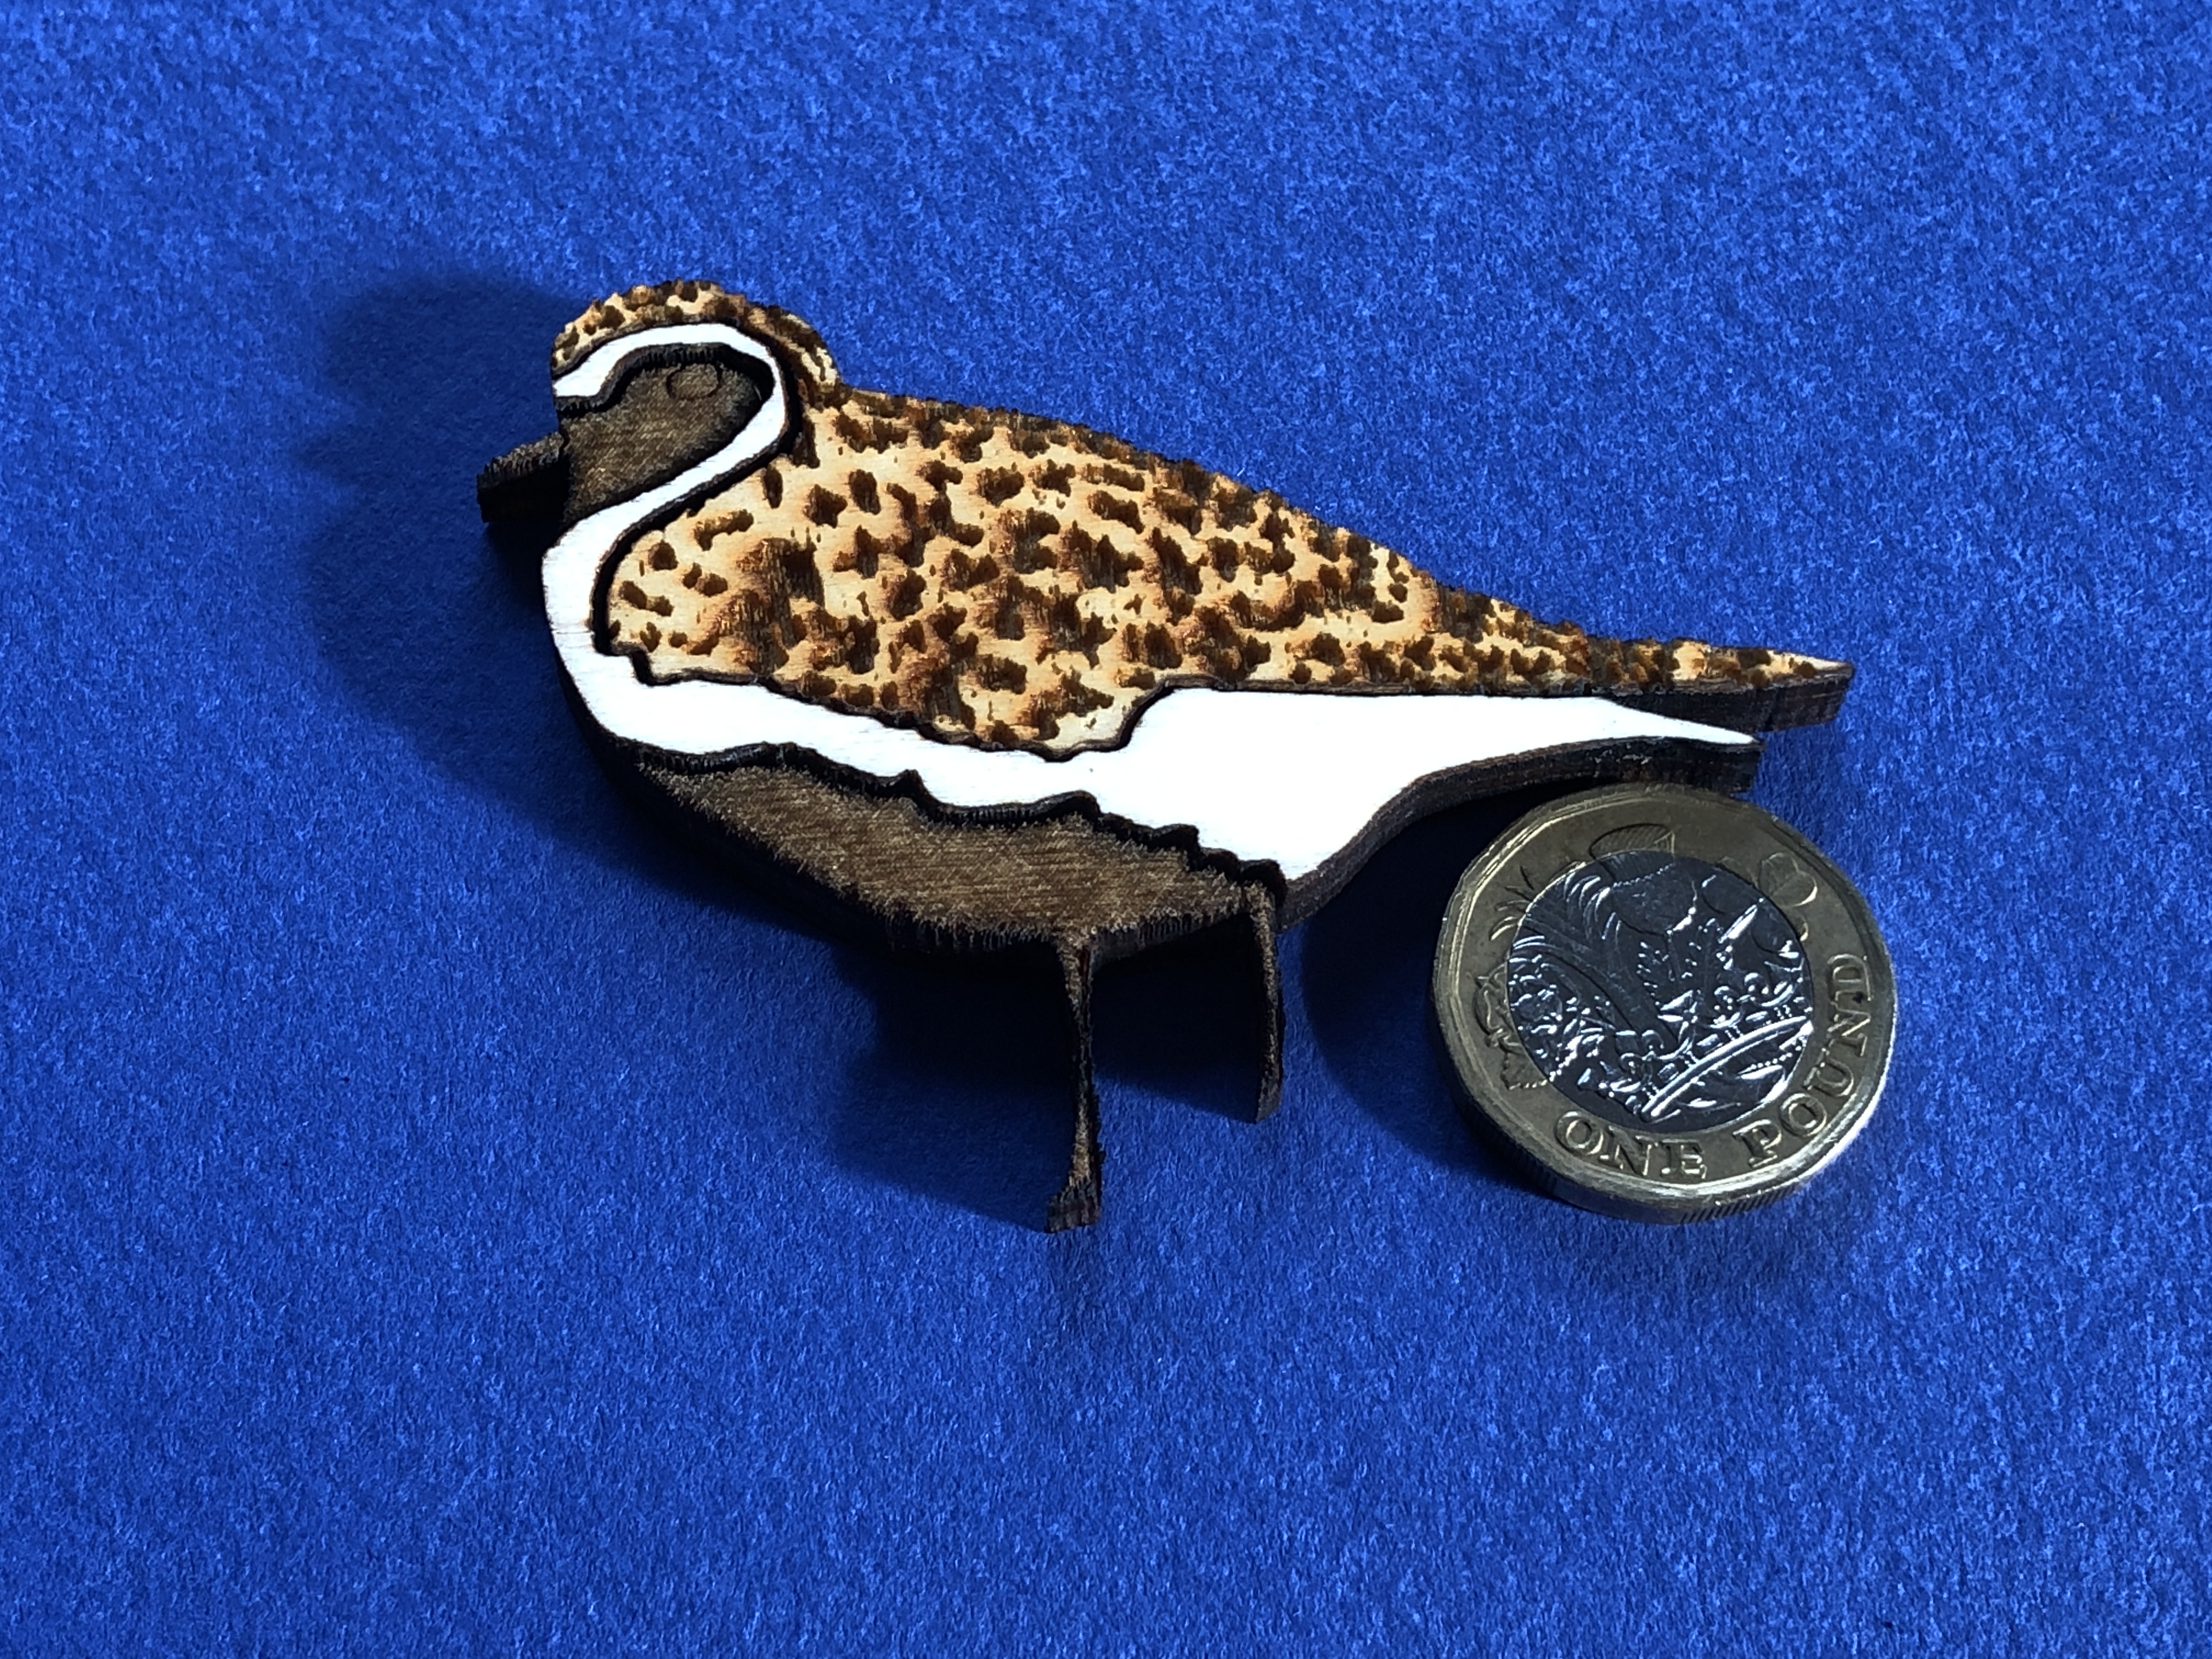
Title: “Golden Plover with Egg (Art Puzzle) – Laser” Artist: Michael Autumn Medium: Hand-drawing – laser cut & engraved Giclée archival laser cut & engraved on premium 6mm AB/AB Italian Panguaneta Poplar plywood (produced responsibly, sustainably, and to the highest of standards), child-safe, moisture-repelling, varnish Size: 39.0cm (W) x 55.1cm (H), framed 53.2cm x 69.5cm Edition: Limited Edition of 101 – individually signed and numbered, and museum-level (FATG Level 1) :-archival and bespoke framed; and Unlimited Edition, lasered signature, unframed. Date: 02/2024 Options: Available as a puzzle (338 unique pieces actually cut) OR left as a single engraved wooden panel. N.B.: The cut-outs in the frame above are to draw attention to the fact that the artwork is a wooden puzzle. – otherwise it could be mistaken for a simple drawing…
This is the framed limited edition version (museum grade – FATG Level 1) :-
Framed limited edition
The art of simply burning wood with light
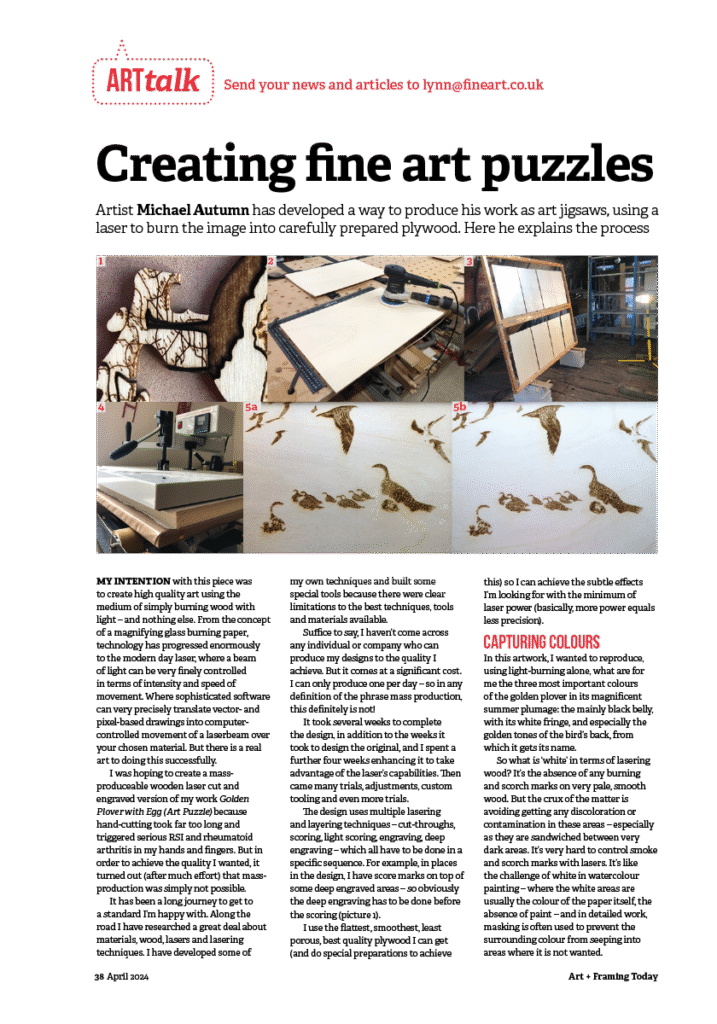
This is an attempt to create high quality art using the medium of simply burning wood with light – and nothing else. From the concept of a magnifying glass burning paper, technology has progressed enormously to the modern day laser – where a beam of light can be very finely controlled in terms of intensity and speed of movement. Where sophisticated software can very precisely translate vector- and pixel-based drawings into computer-controlled movement of a laserbeam over your chosen material. But there is a real art to doing this successfully…
I was hoping to create a mass-produceable wooden laser cut & engraved version of my 40mm thick solid oak “Golden Plover with Egg (Art Puzzle)”
Golden Plover with Egg (Art Puzzle)
(see https://michaelautumn.wordpress.com/2020/07/30/golden-plover-with-egg-jigsaw-puzzle/) because hand-cutting the latter took far too long and caused serious RSI and/or rheumatoid arthritis in my hands/fingers. But in order to achieve the quality I wanted, it turns out (after considerable effort!) that mass-production is simply not possible. It has been a long journey to get to a standard I’m happy with. Along the road I have researched a great deal about materials, wood, lasers (obviously! – but this is a big topic…), and lasering techniques. I have developed some of my own techniques and built some special tools because there were clear limitations in the best techniques, tools, and materials available. Suffice to say, I haven’t come across any individual or company who can produce my designs to the quality I do. But it comes at a significant cost. I can only produce one per day – so in any definition of the phrase mass production, this definitely is not!
Putting aside the weeks it took me to complete the design (in addition to the weeks it took me to design the original, I spent about another four weeks enhancing it to take advantage of laser capabilities) – and may trials, adjustments, custom tooling, and more trials…
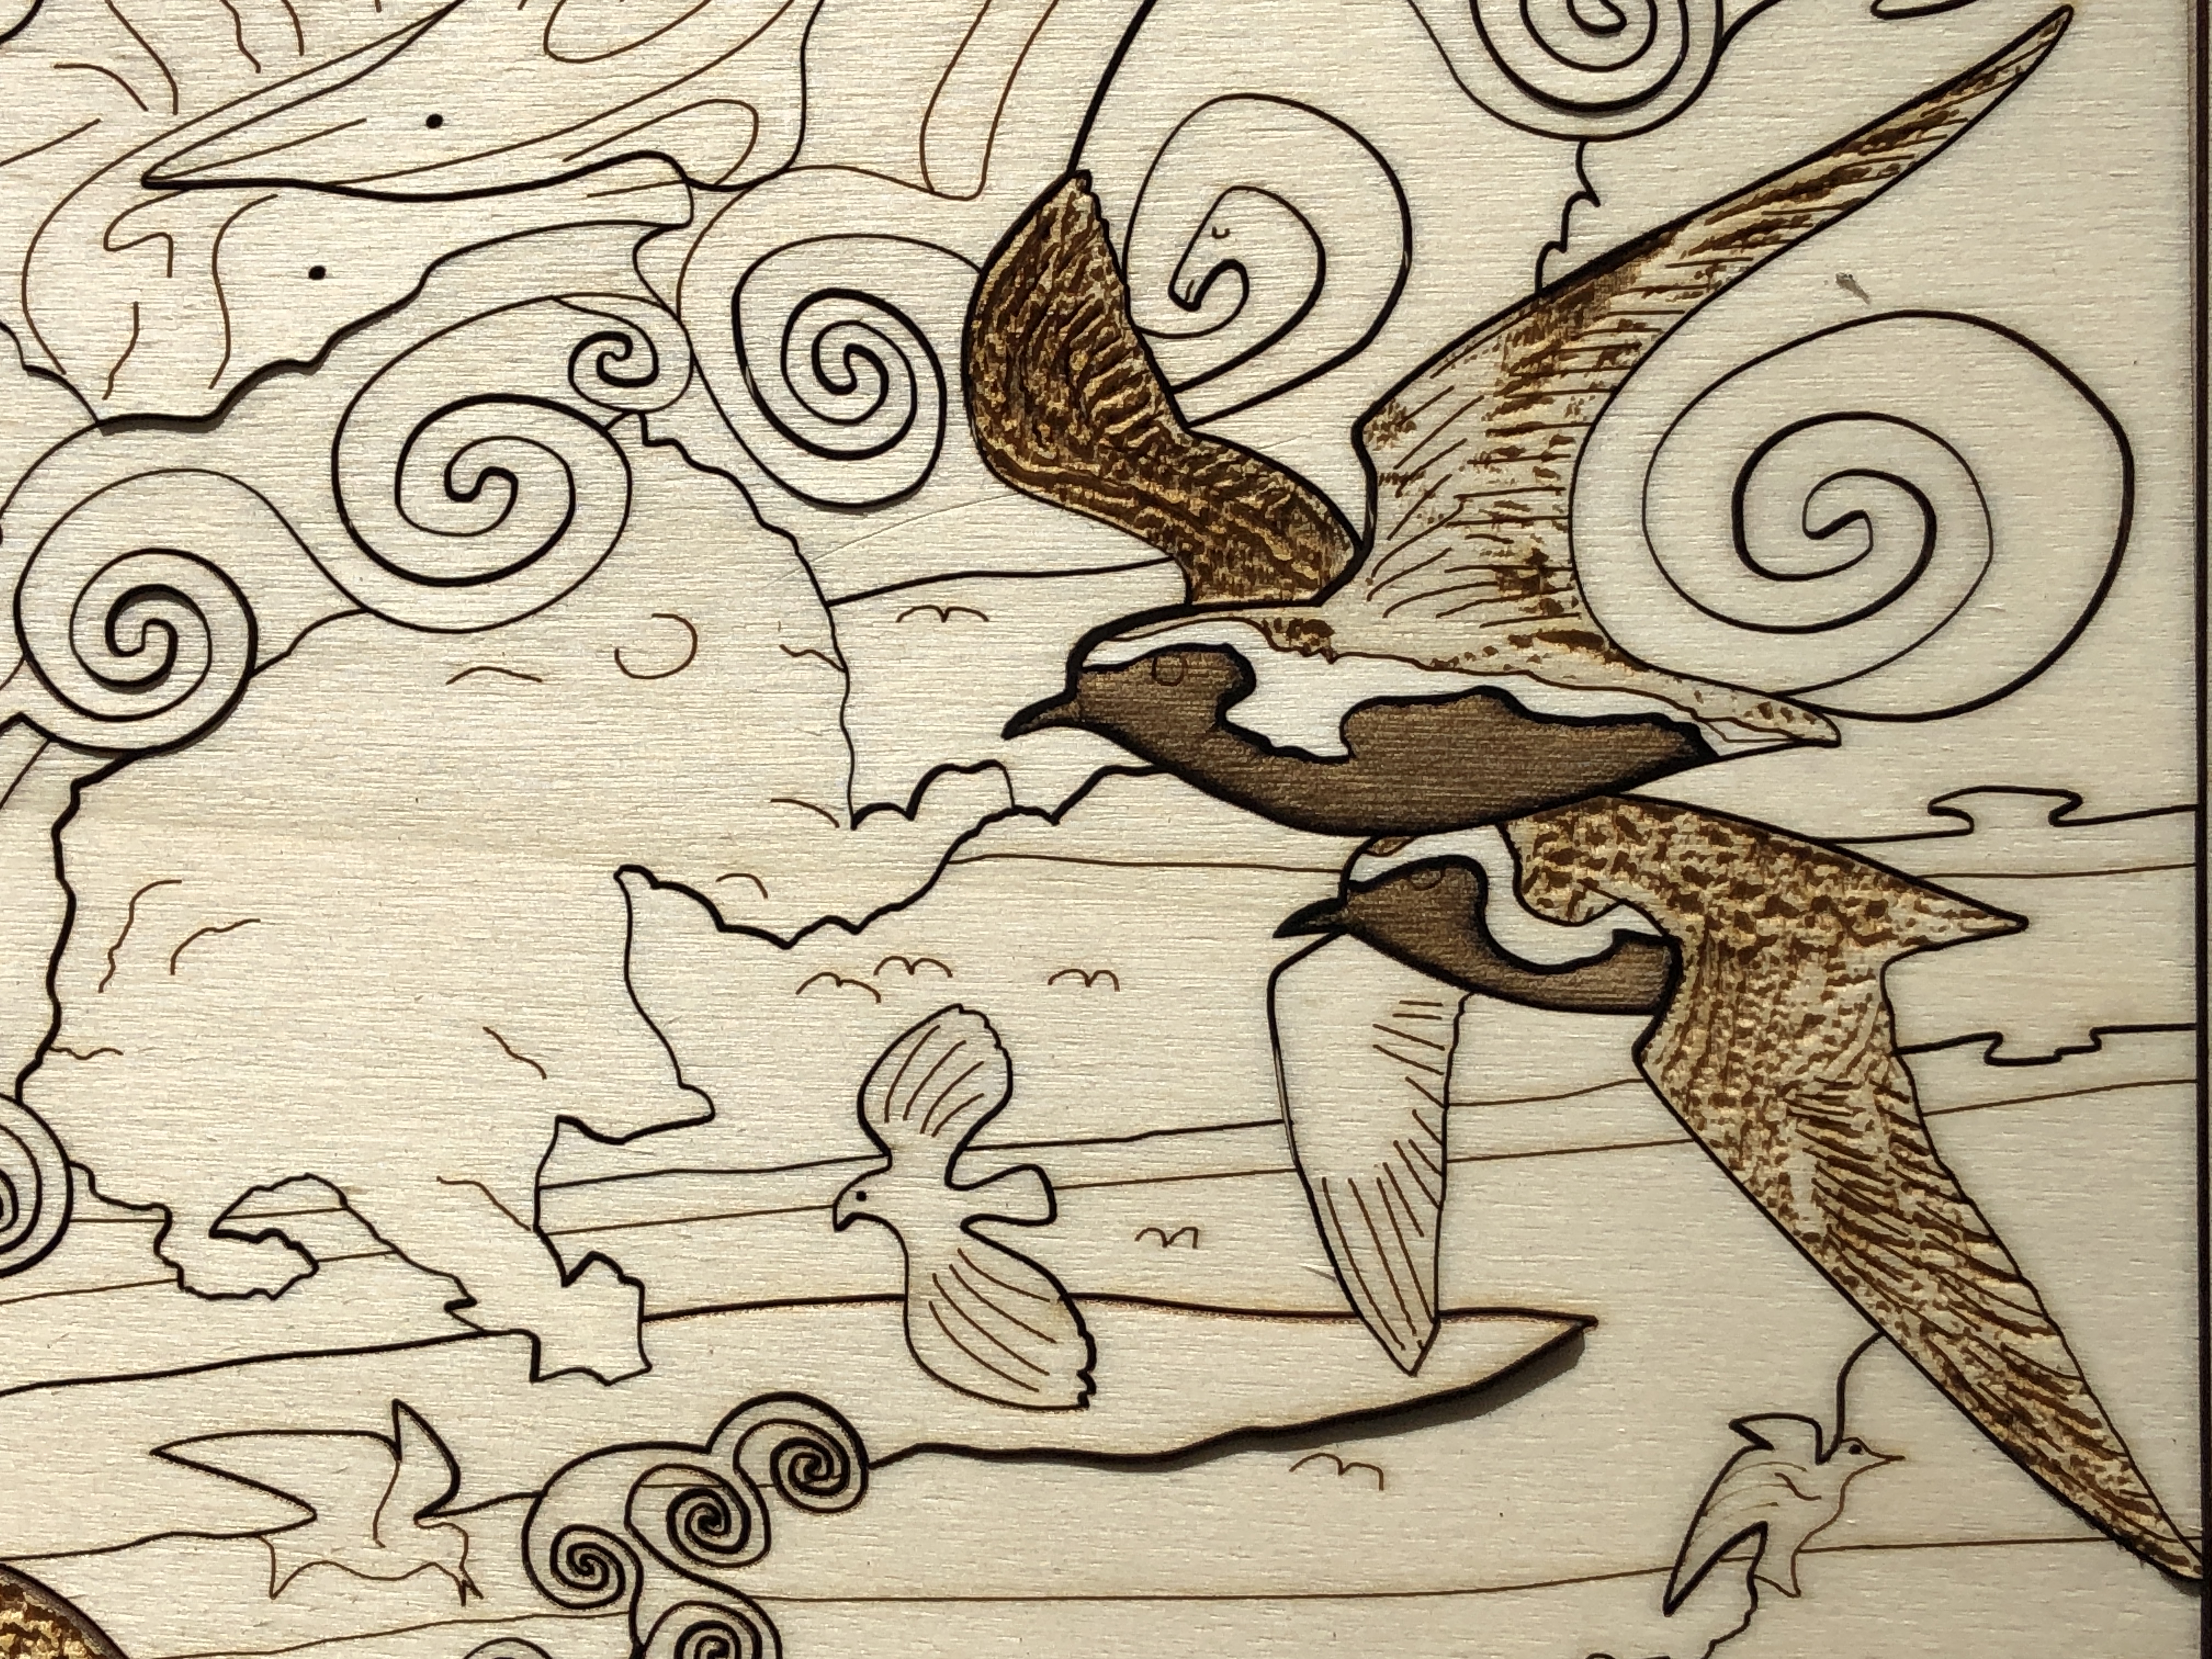
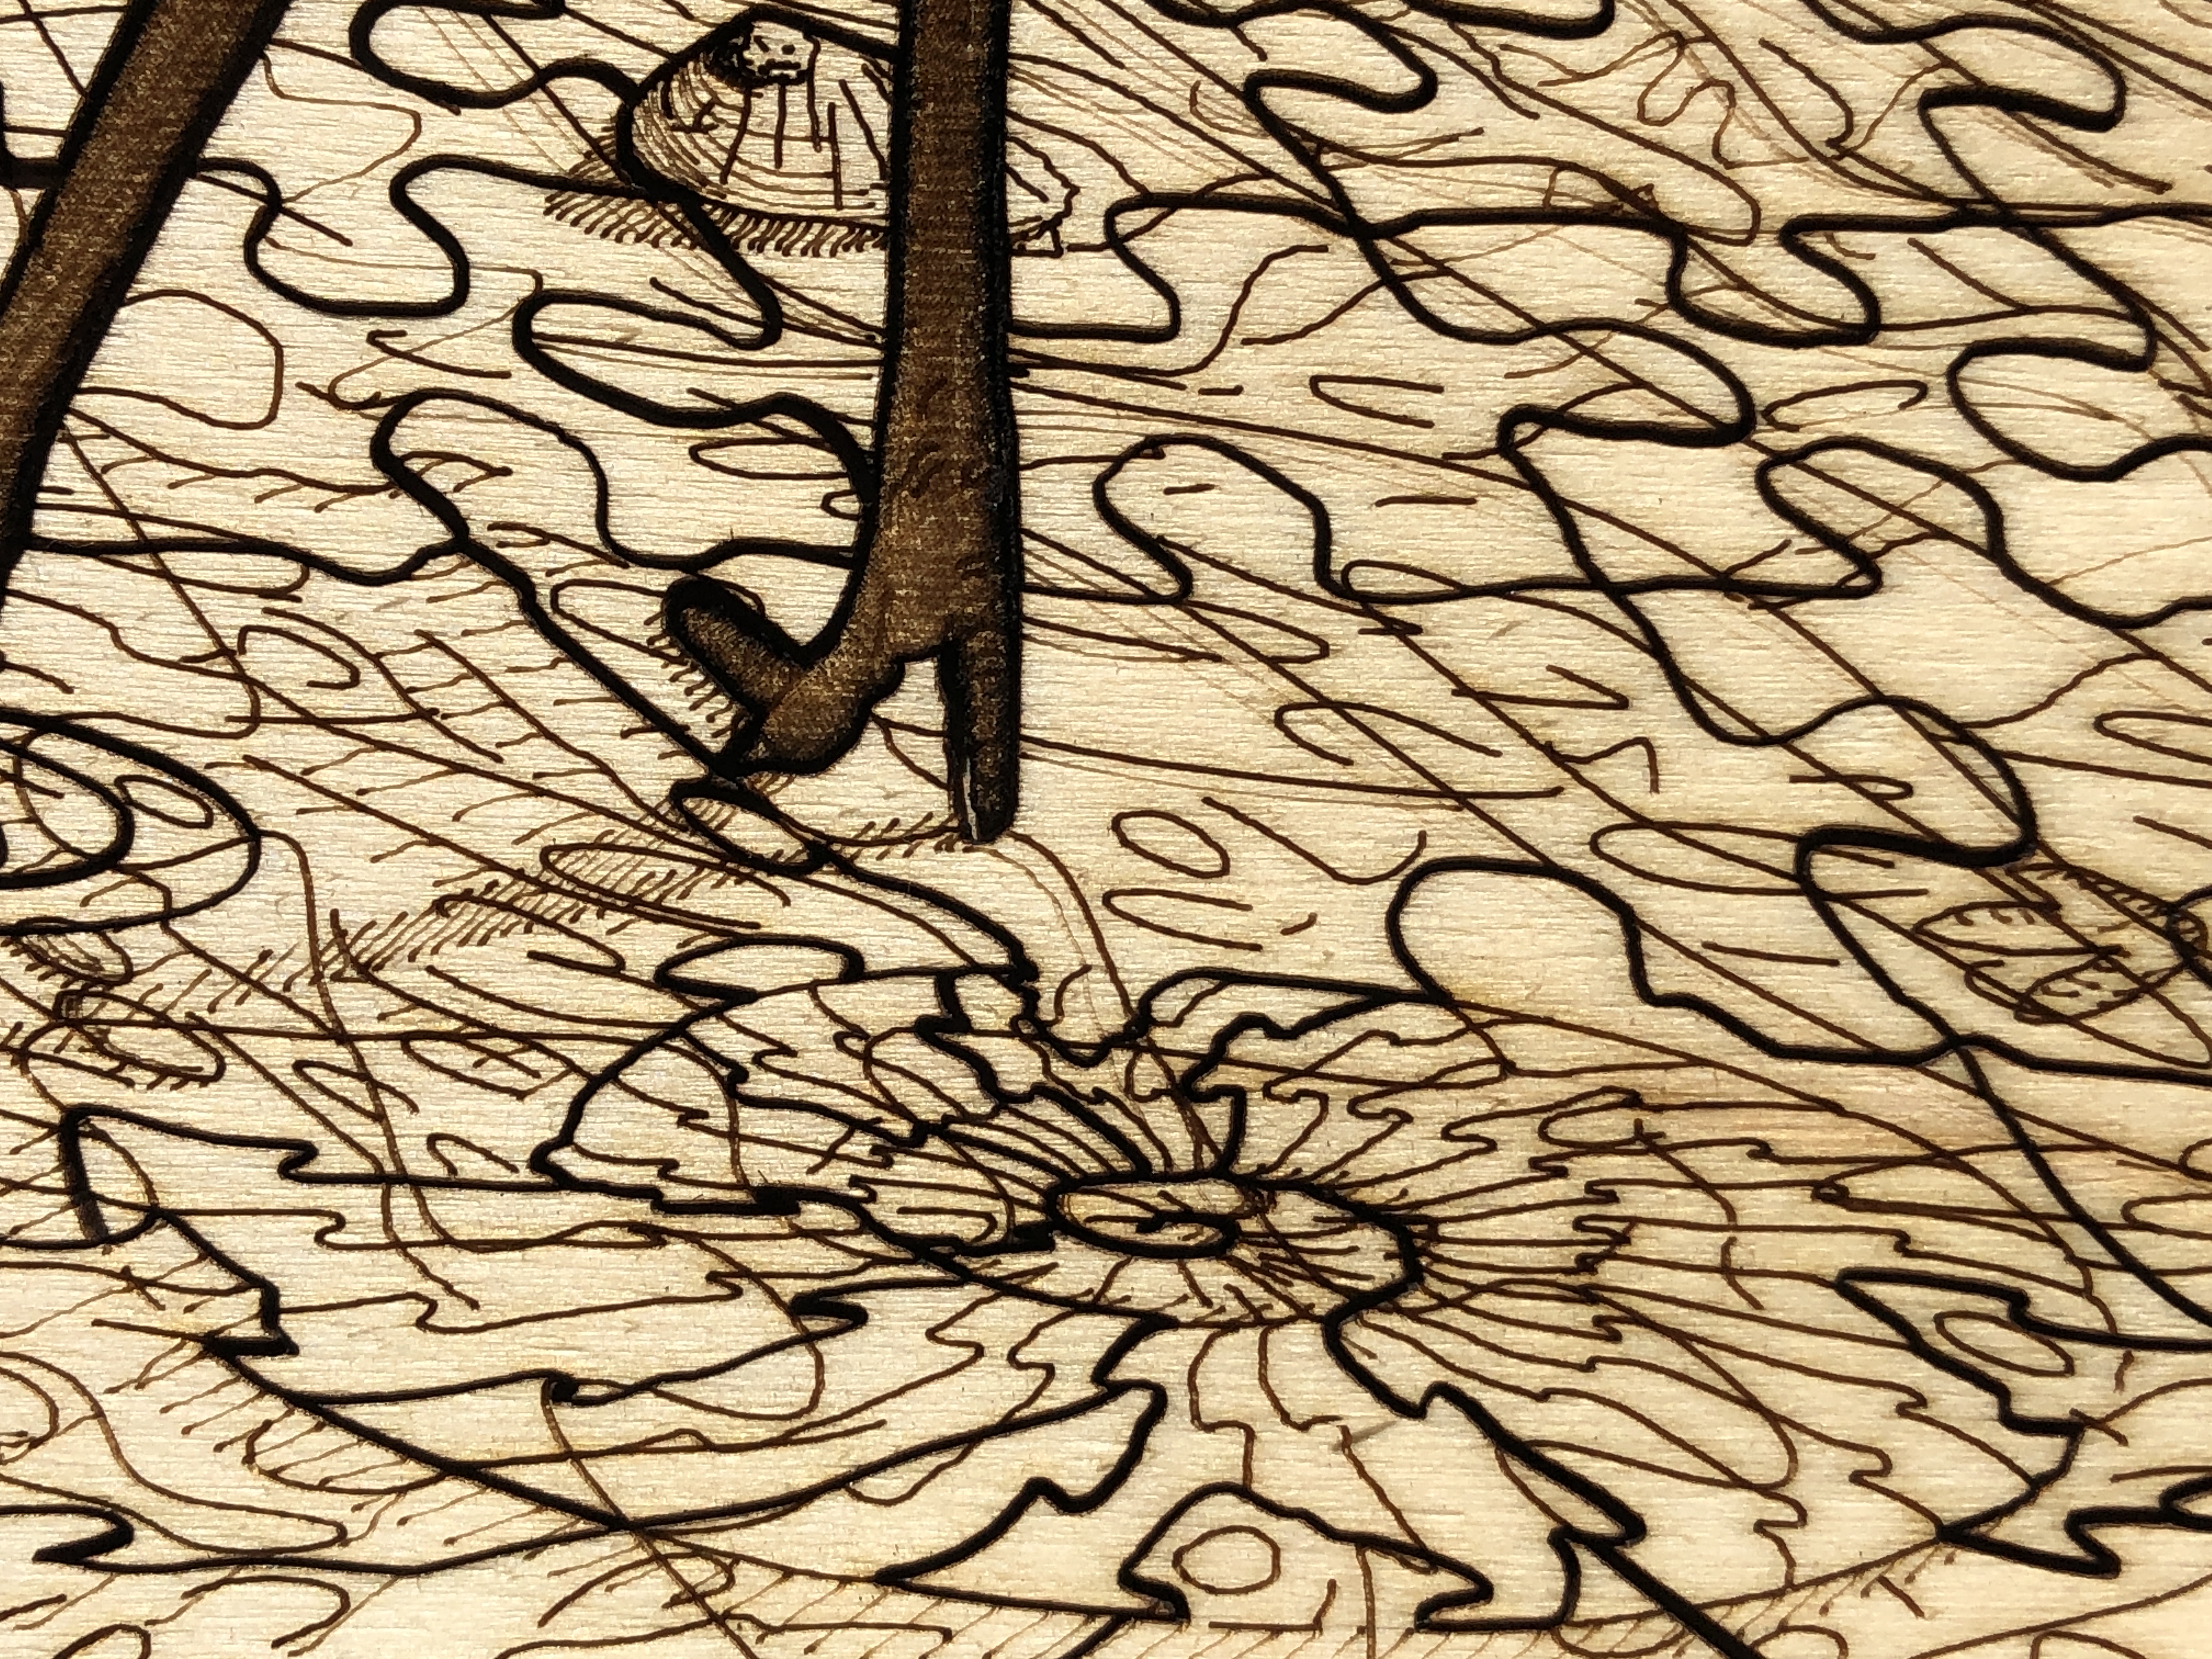
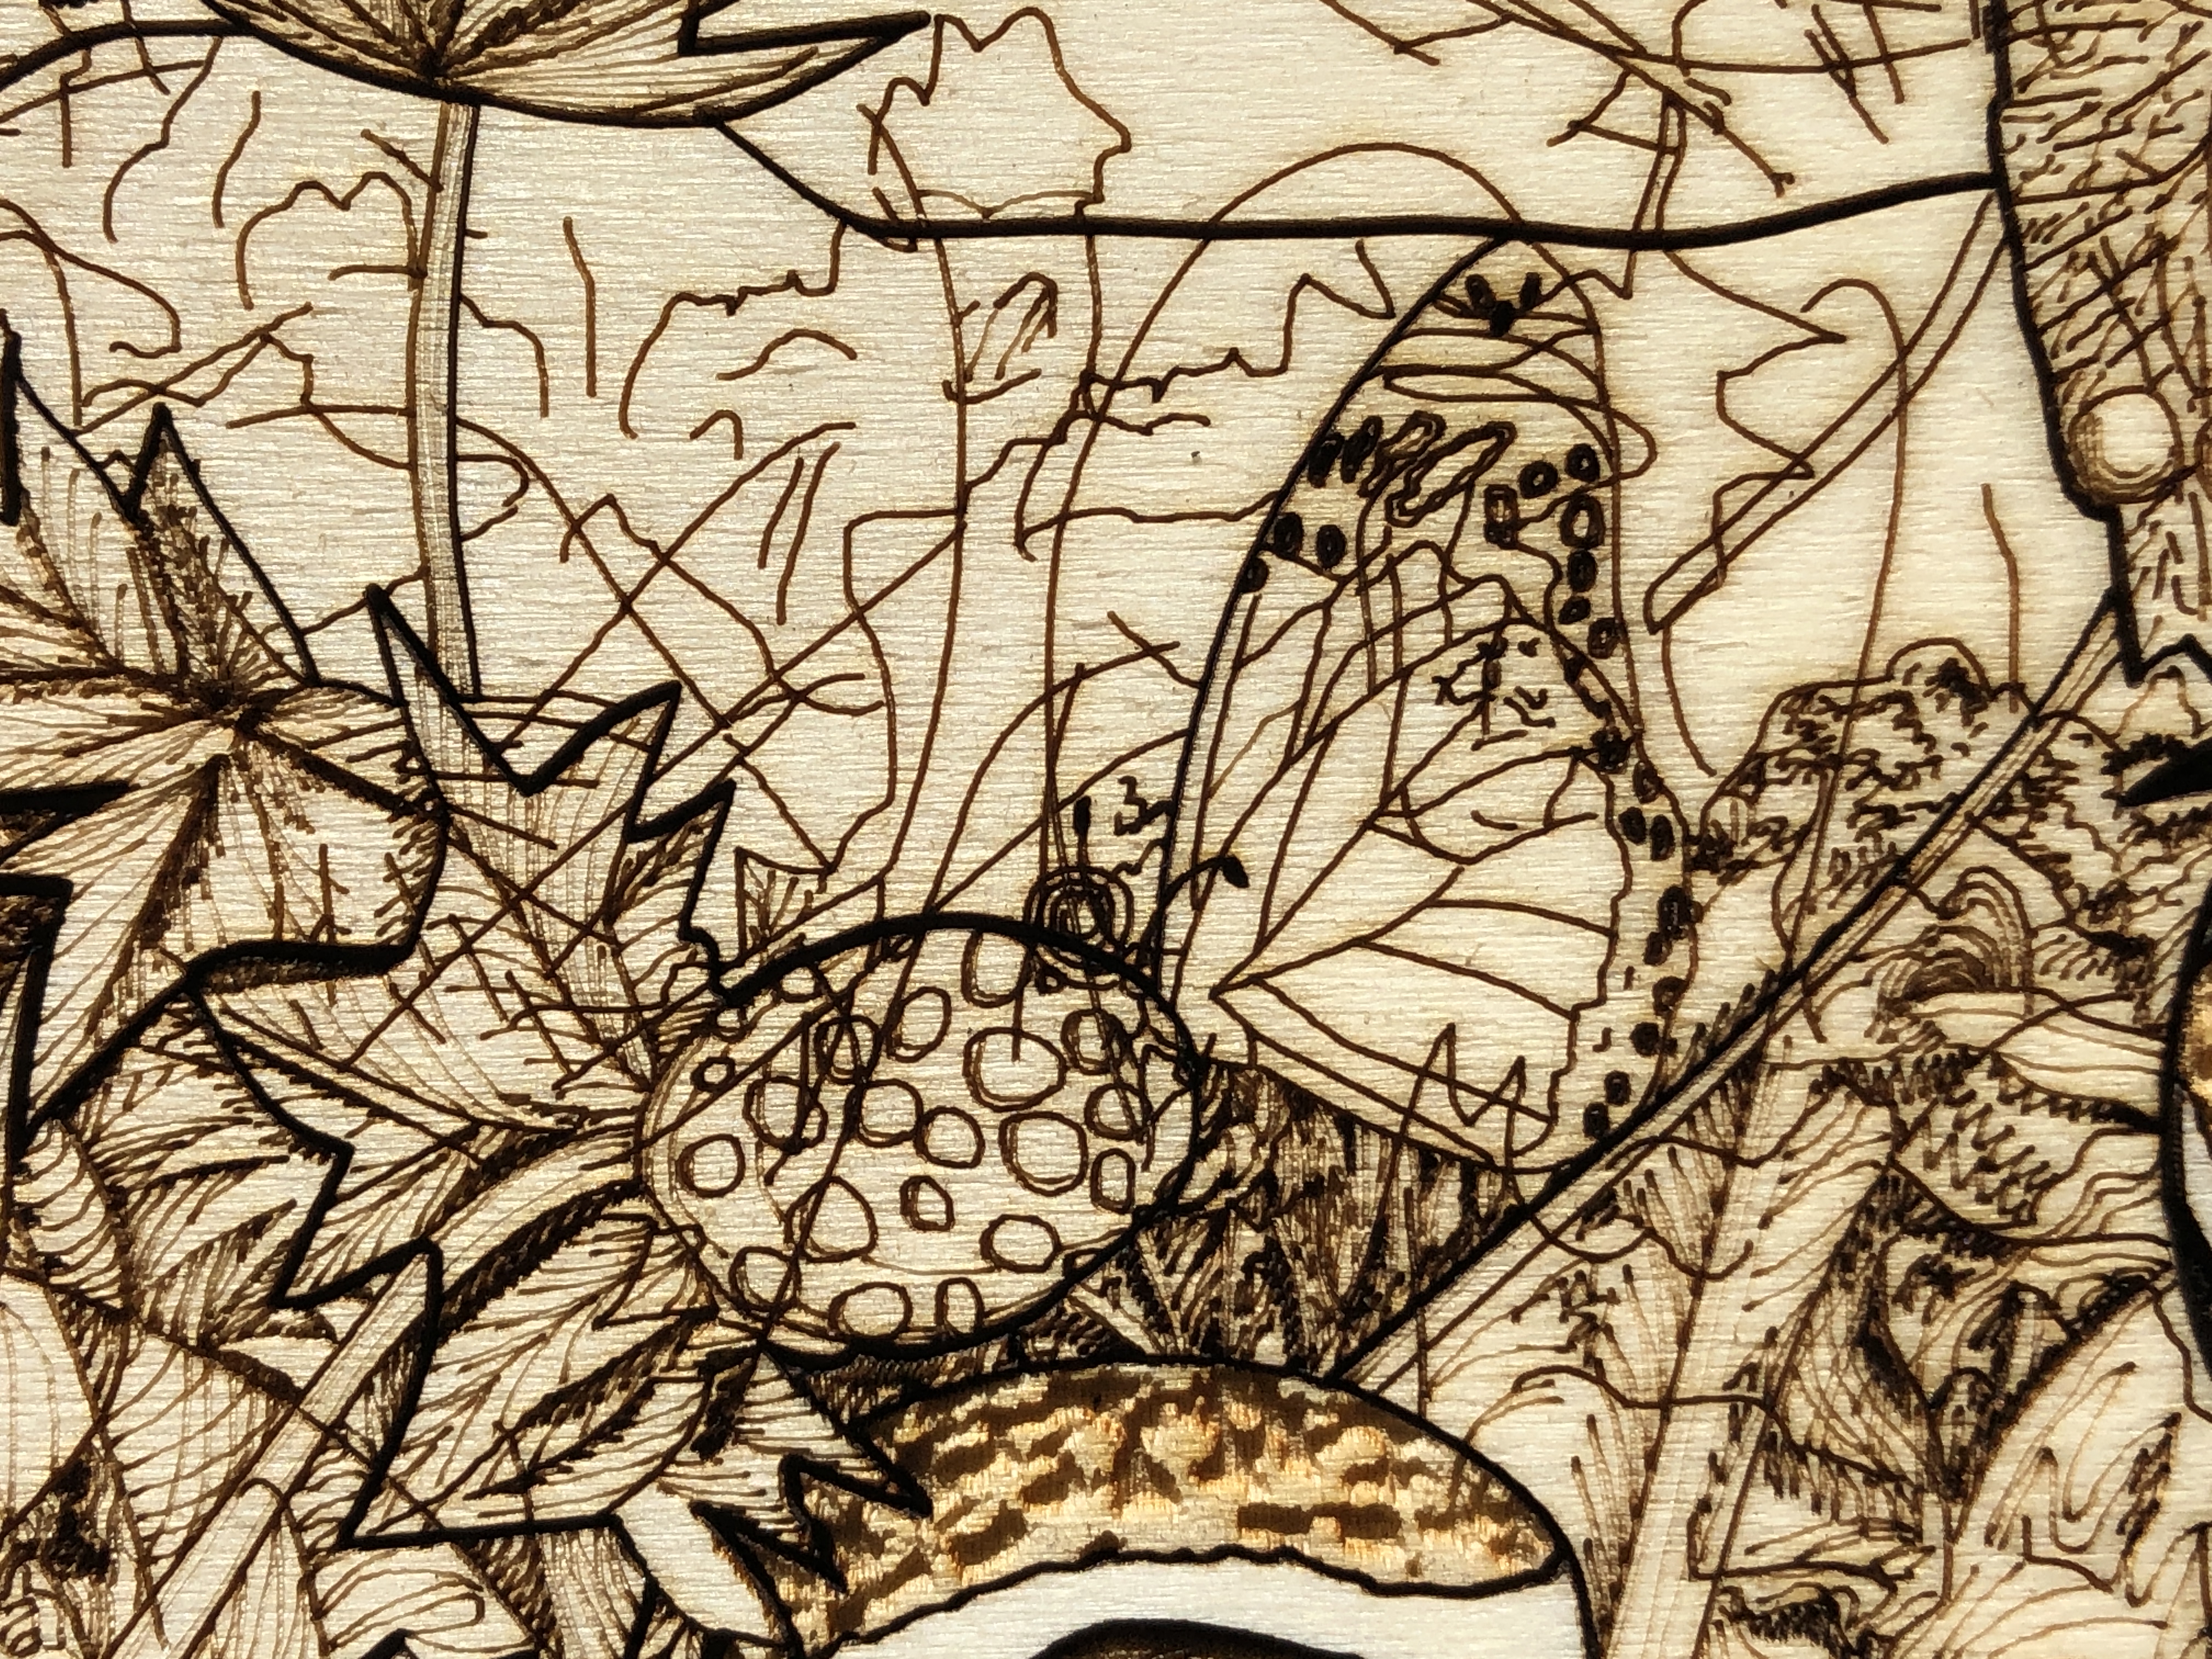
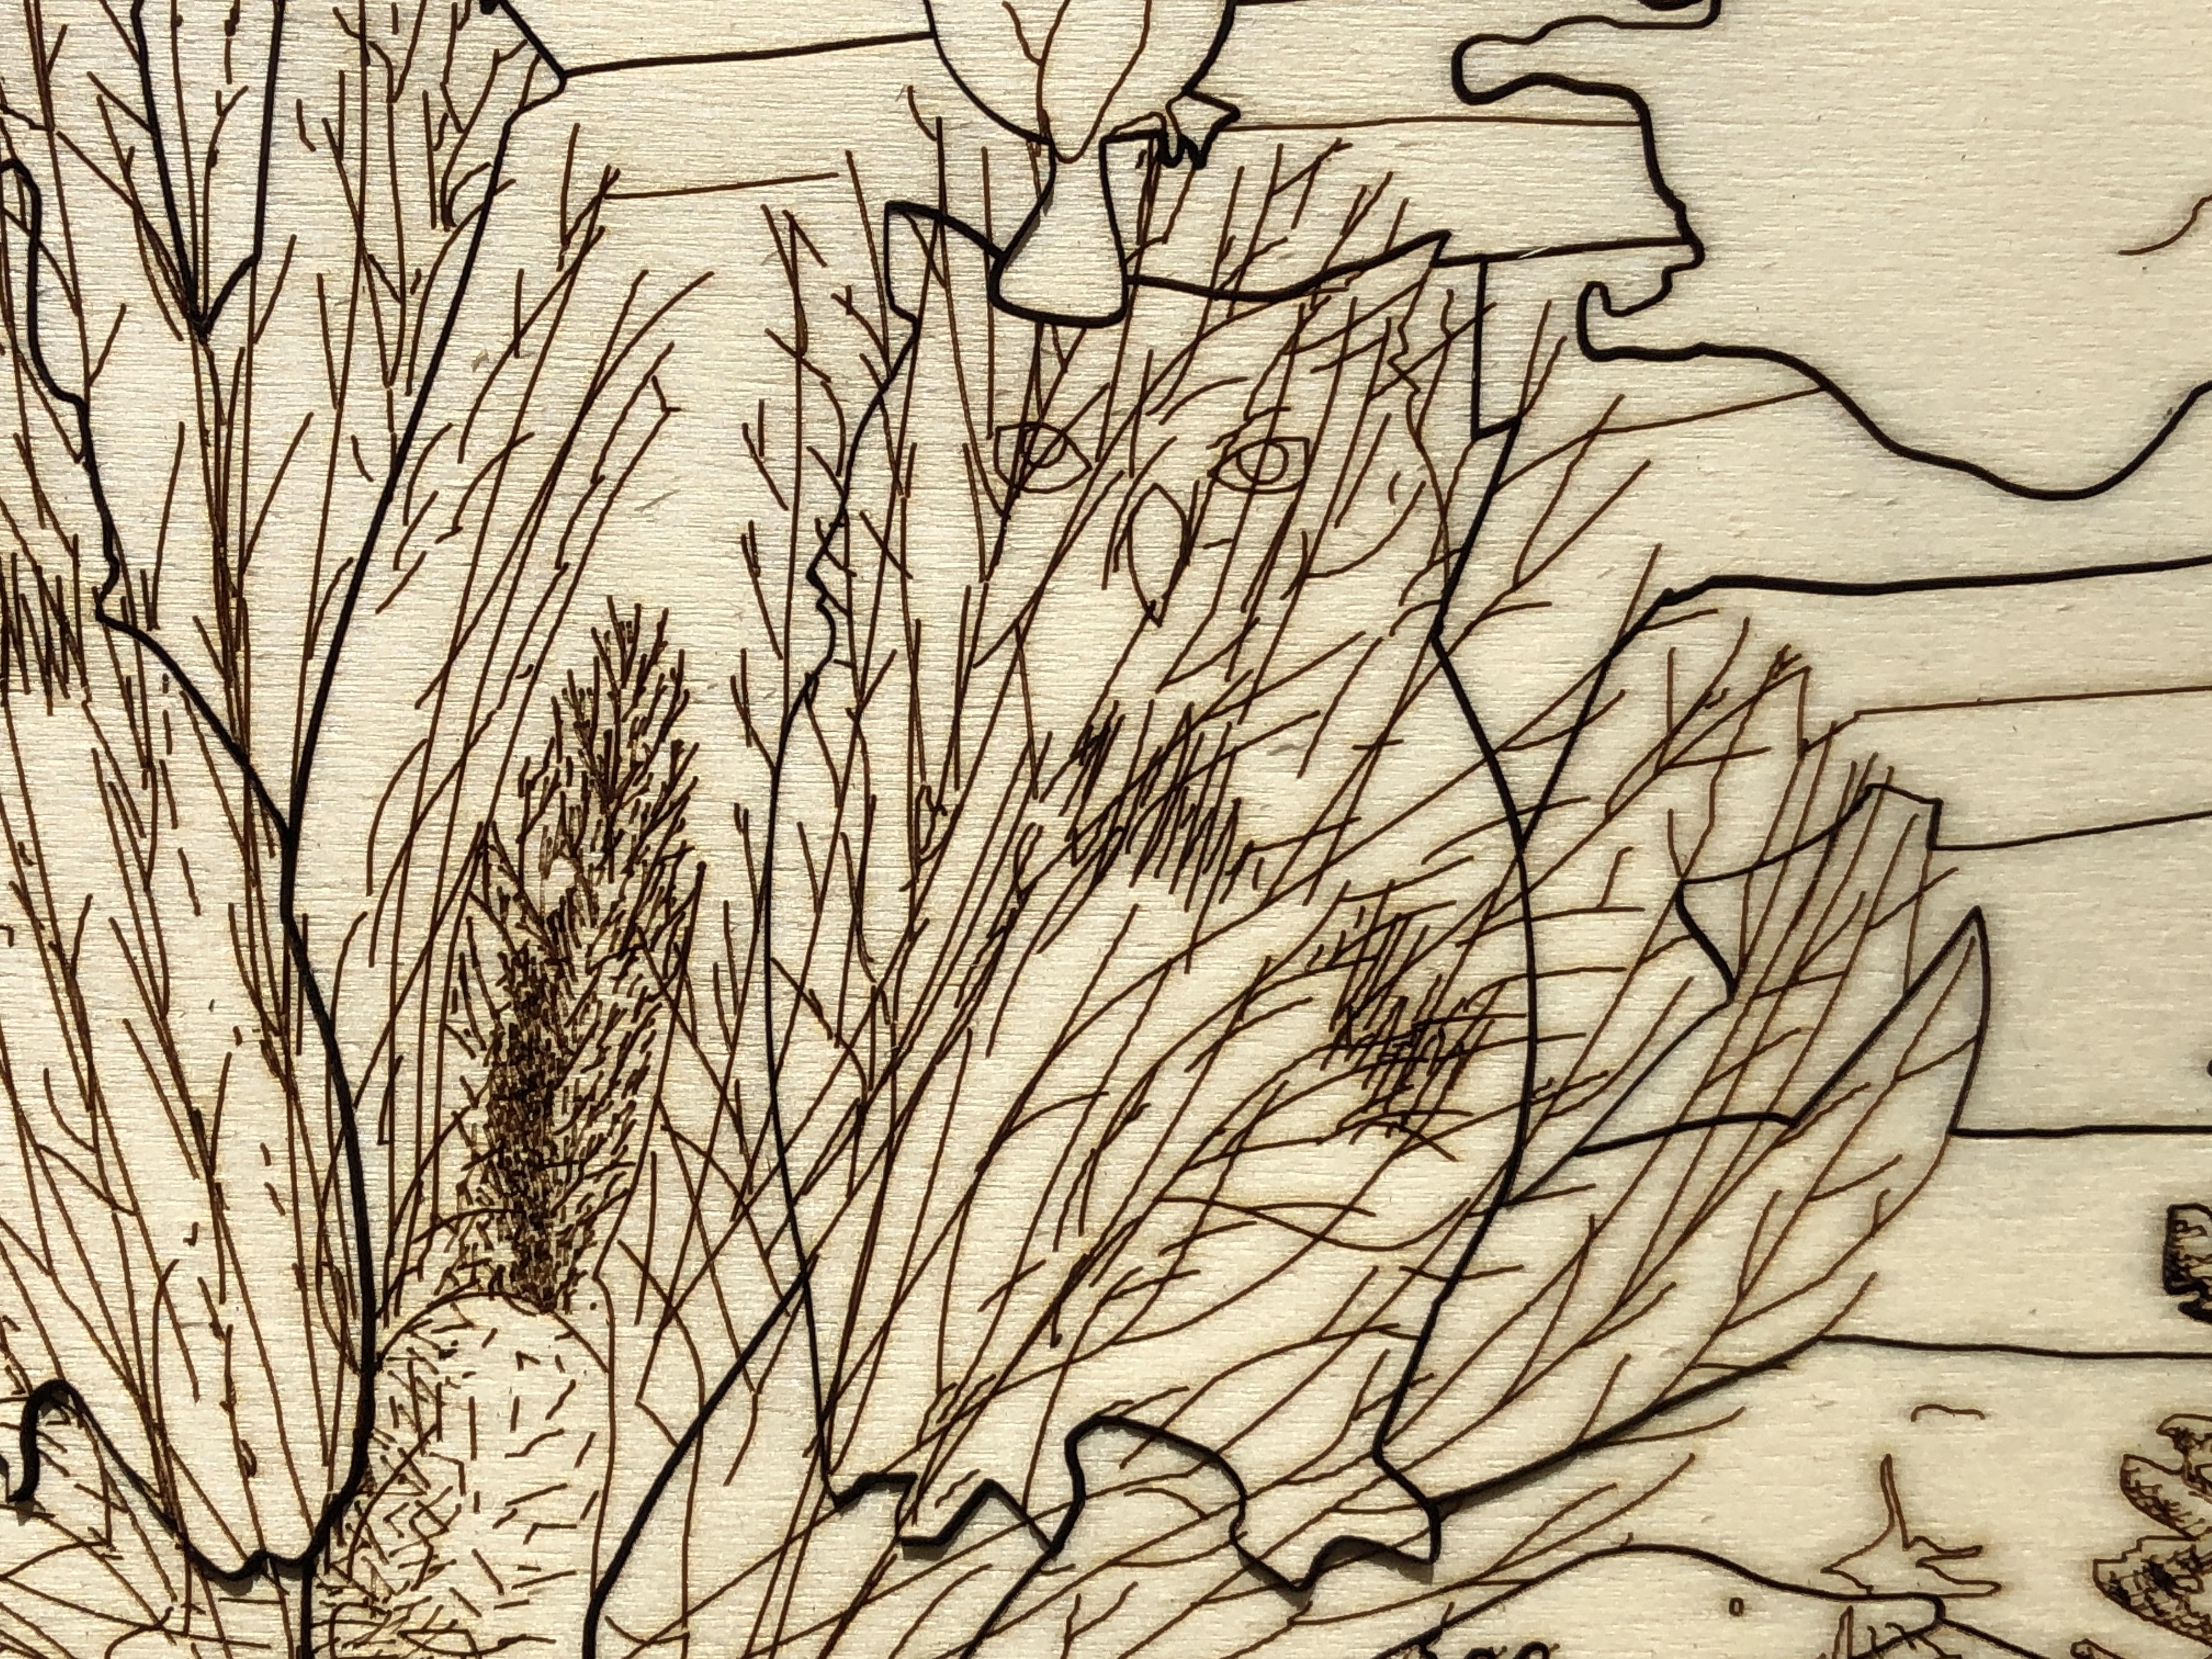
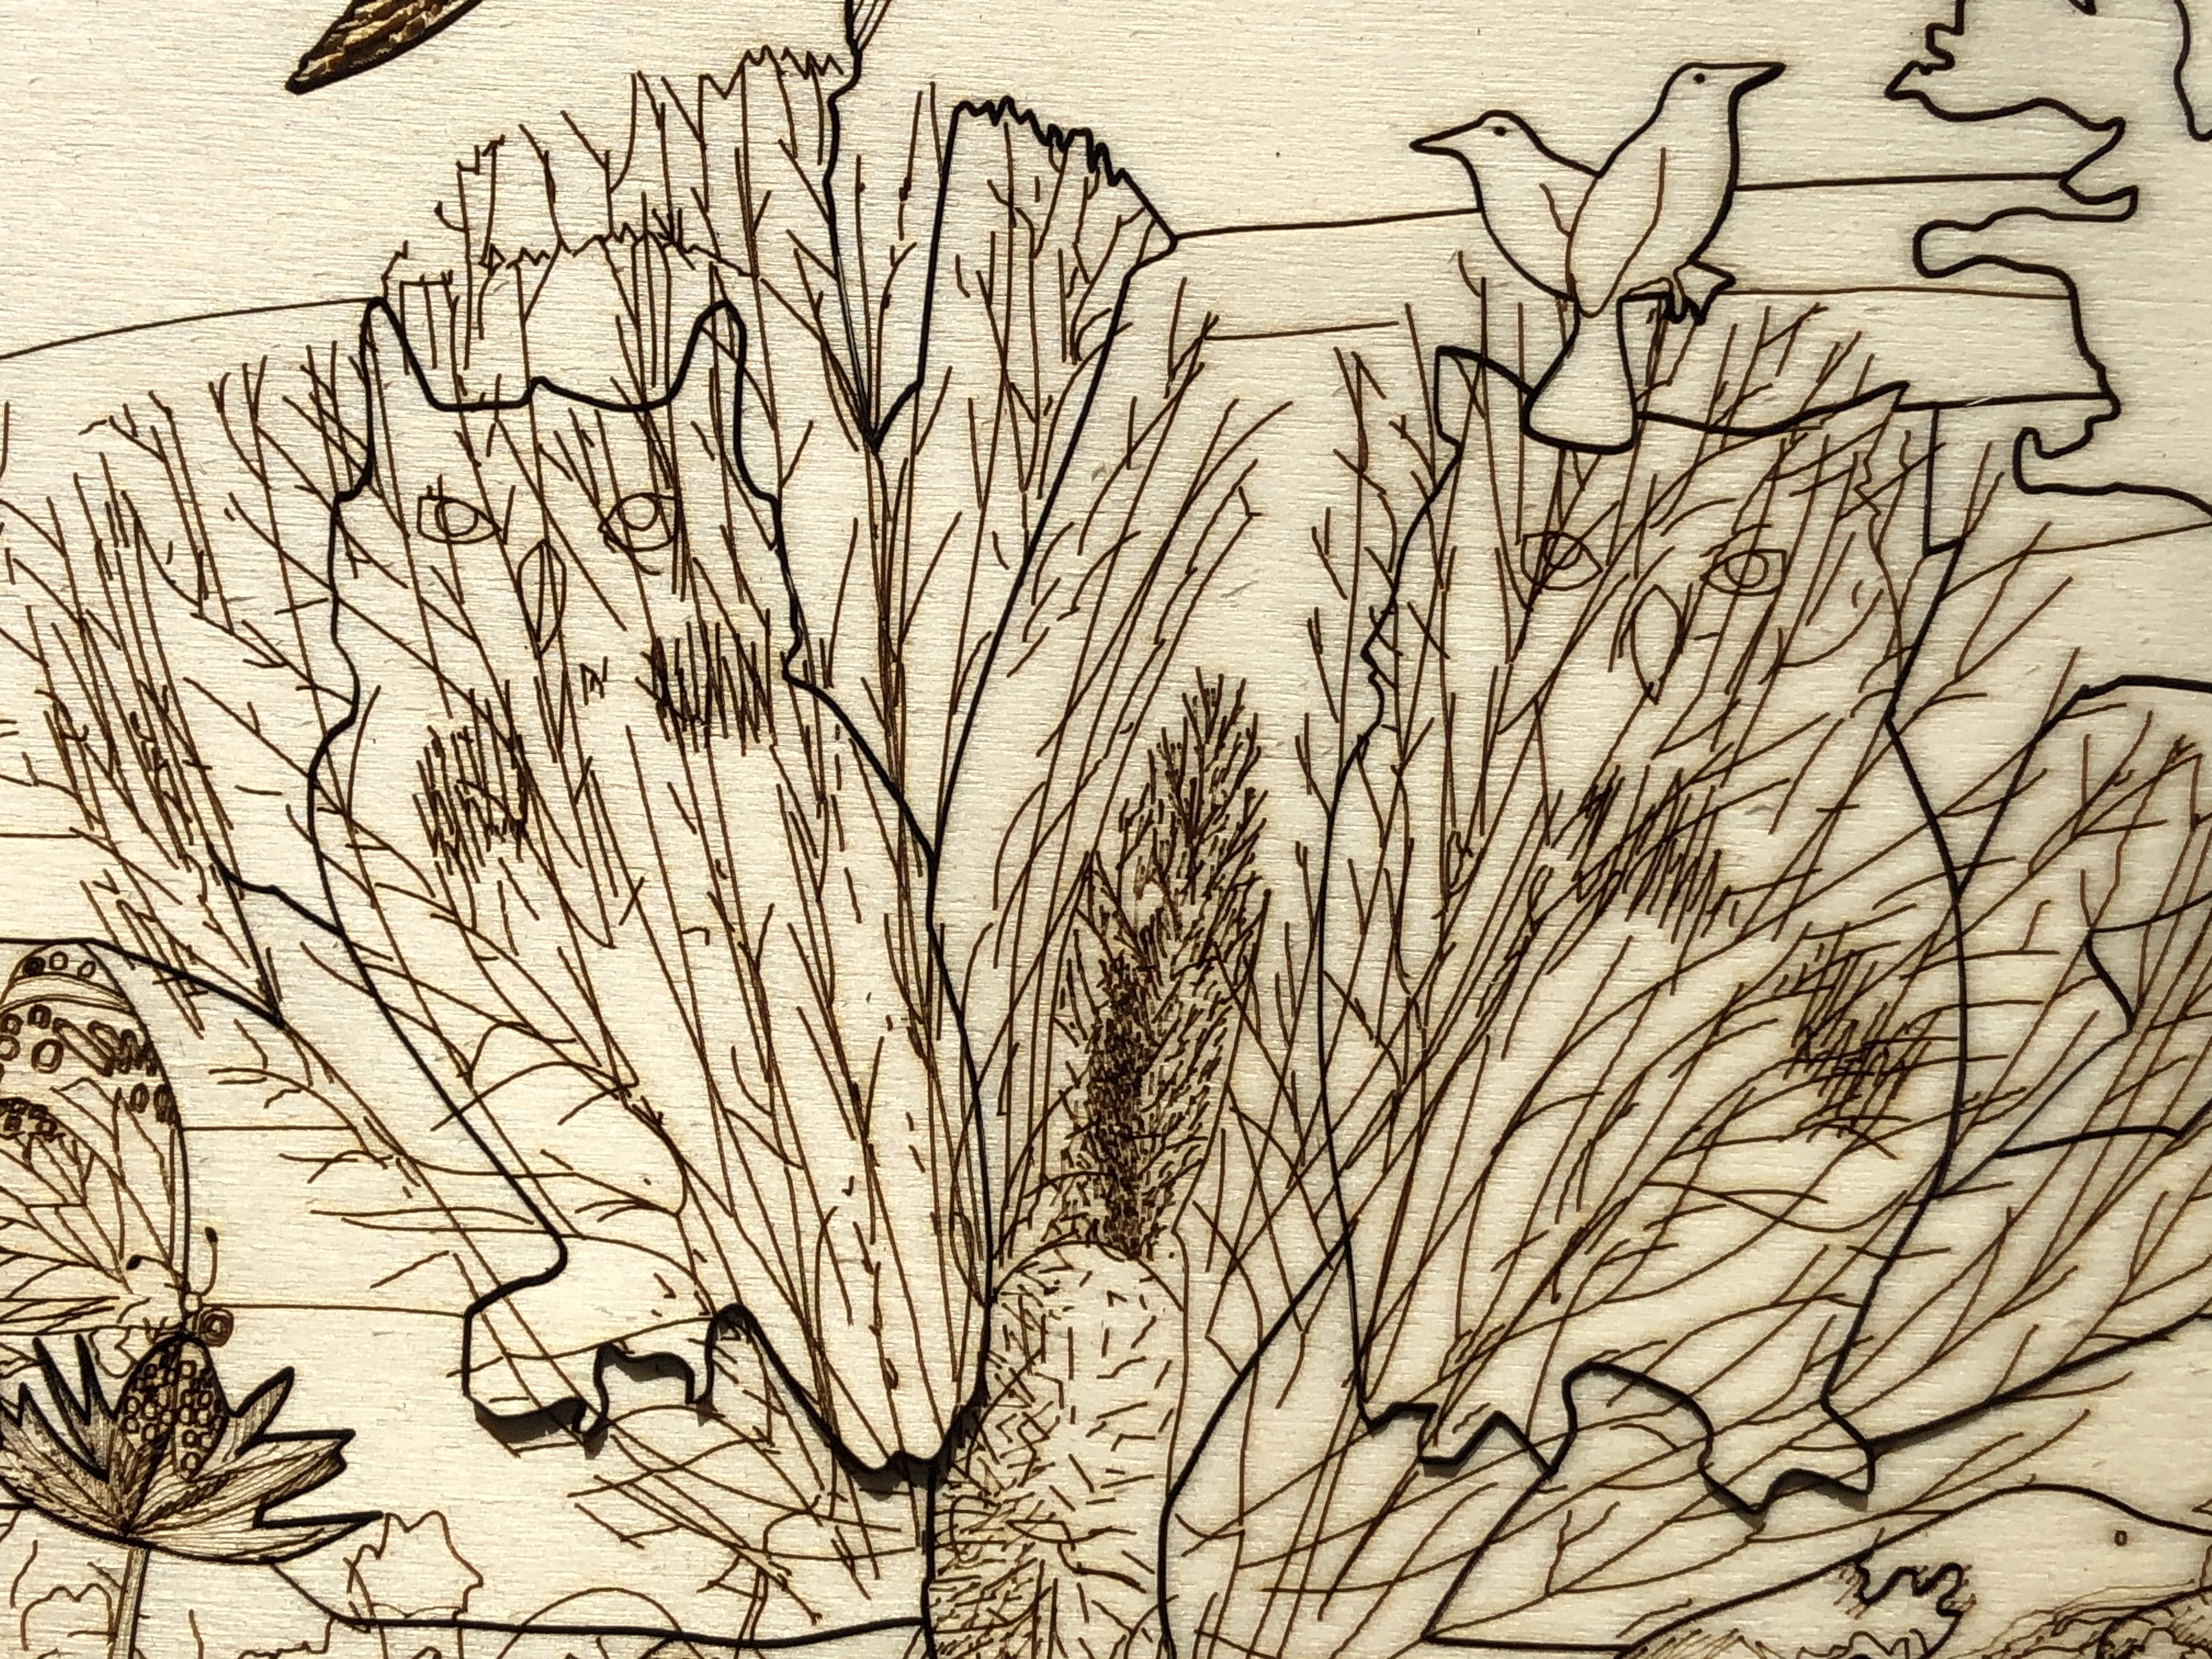
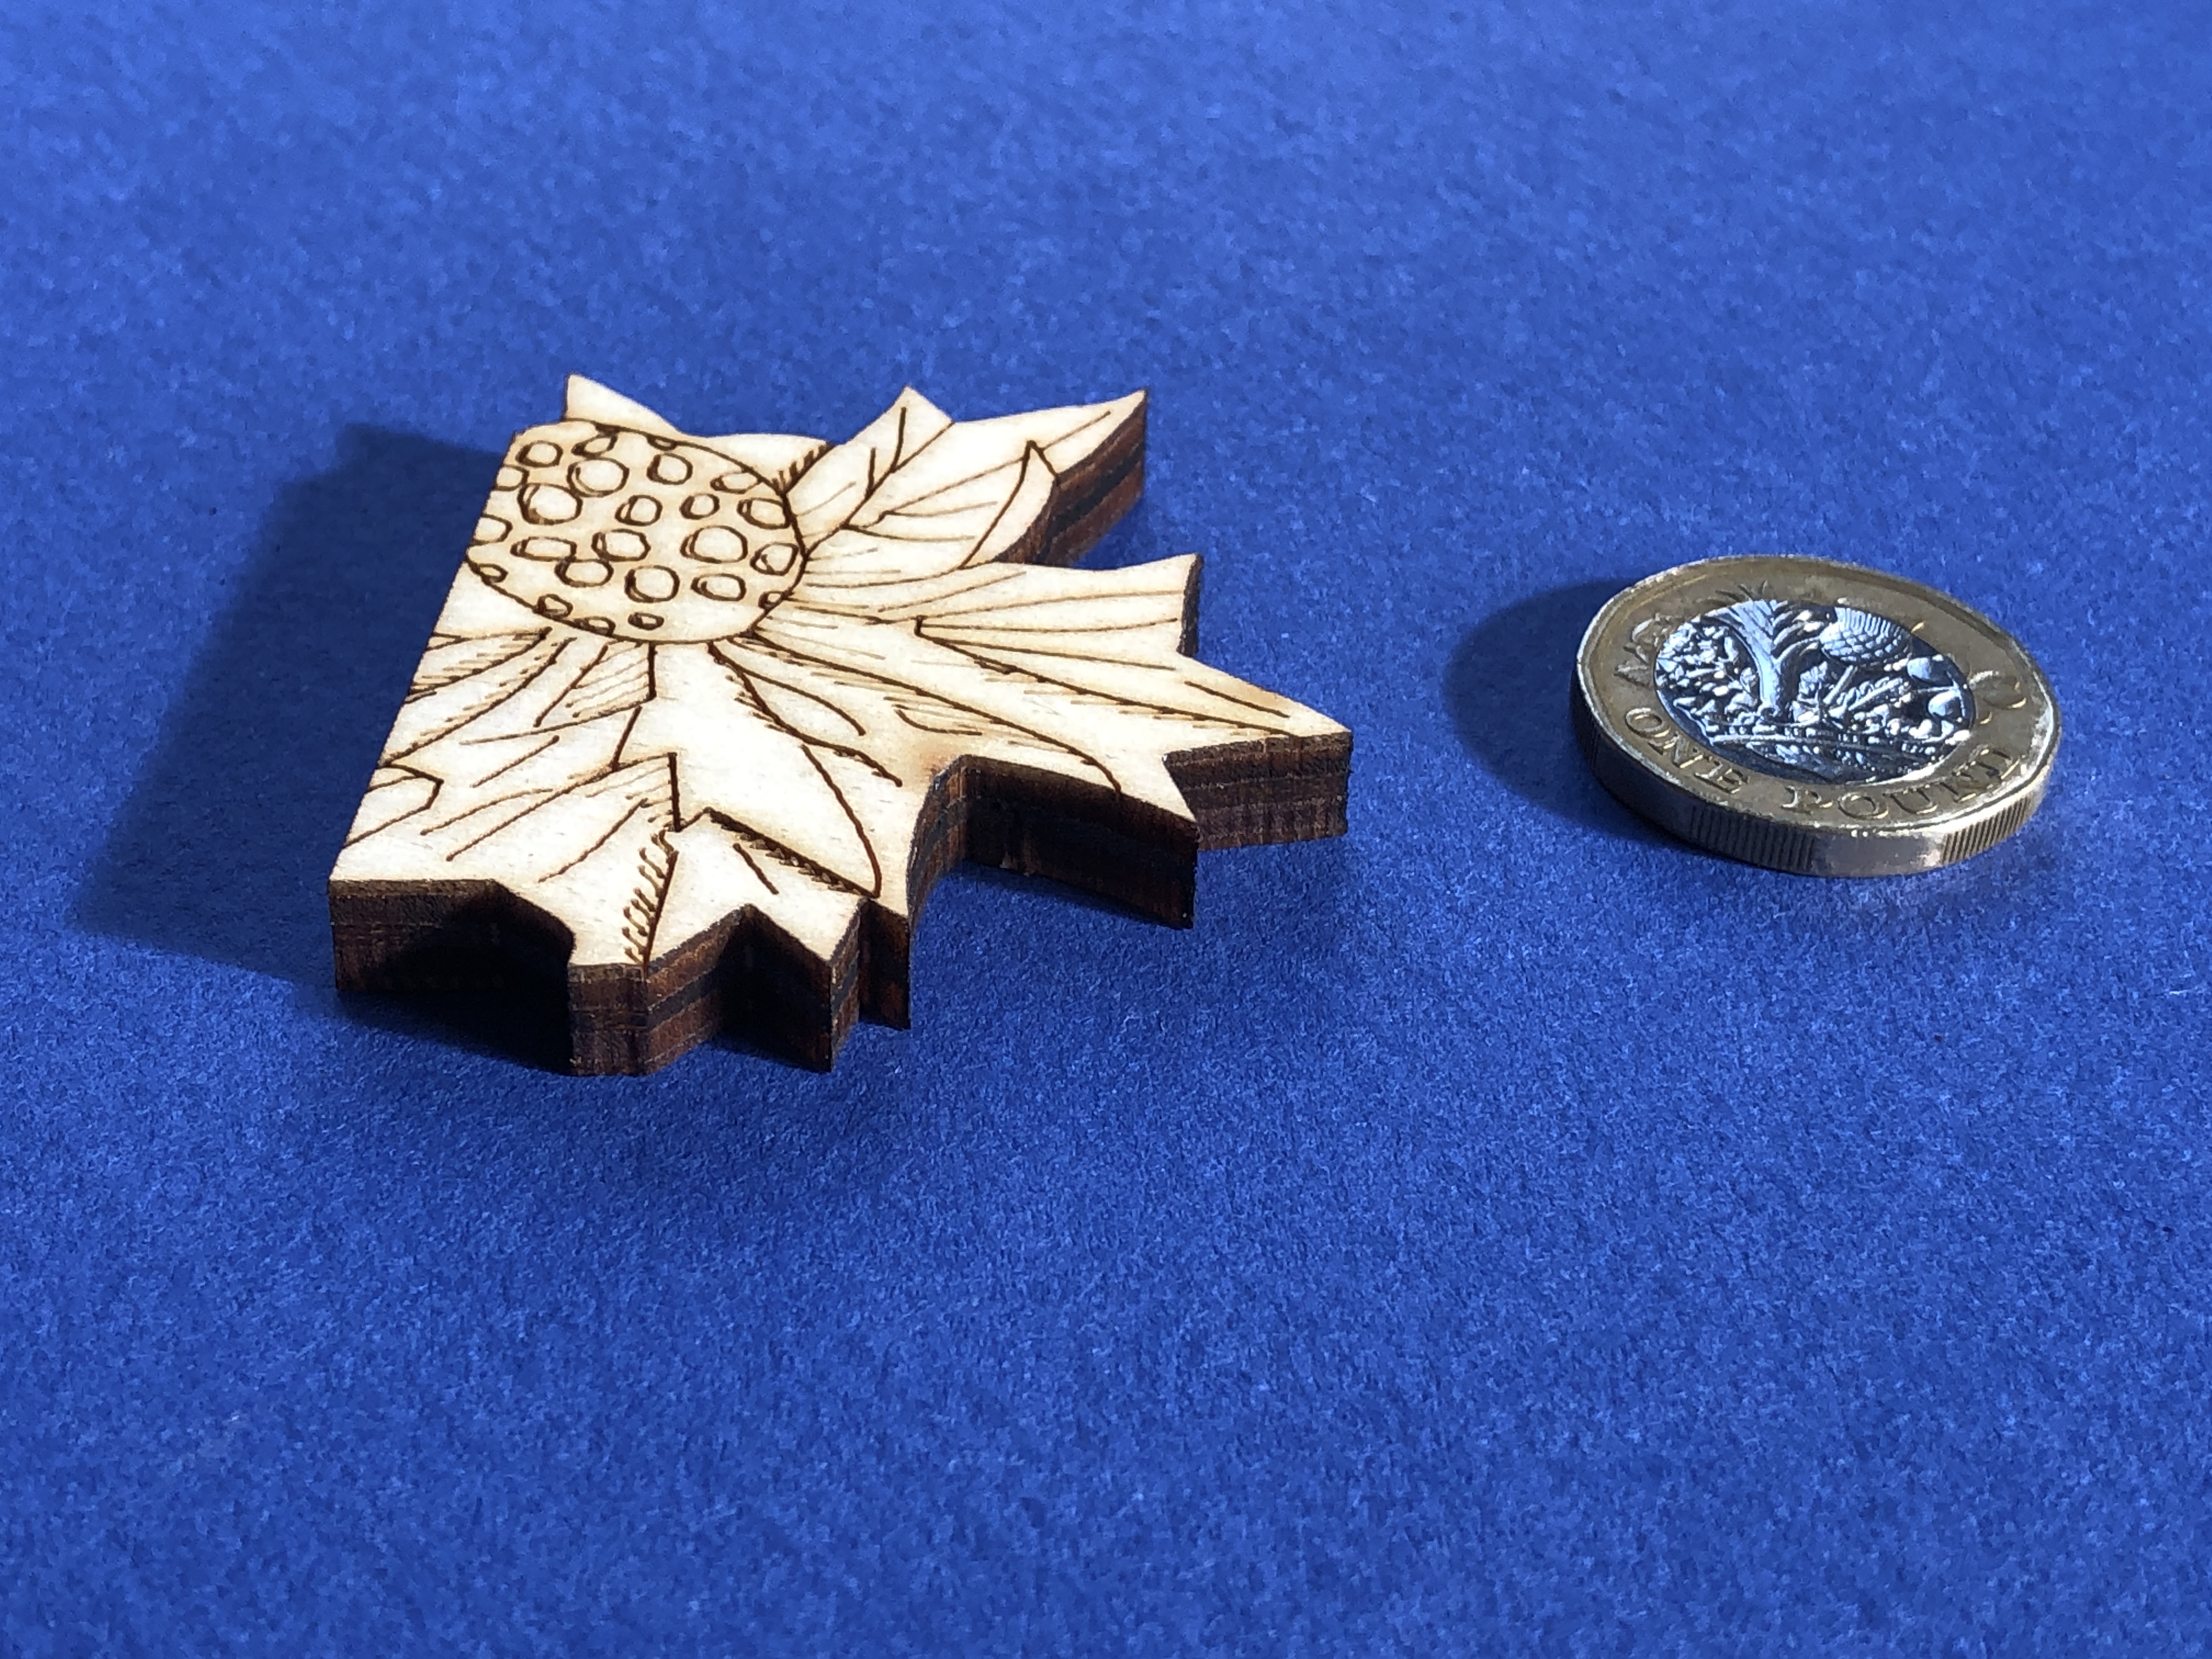
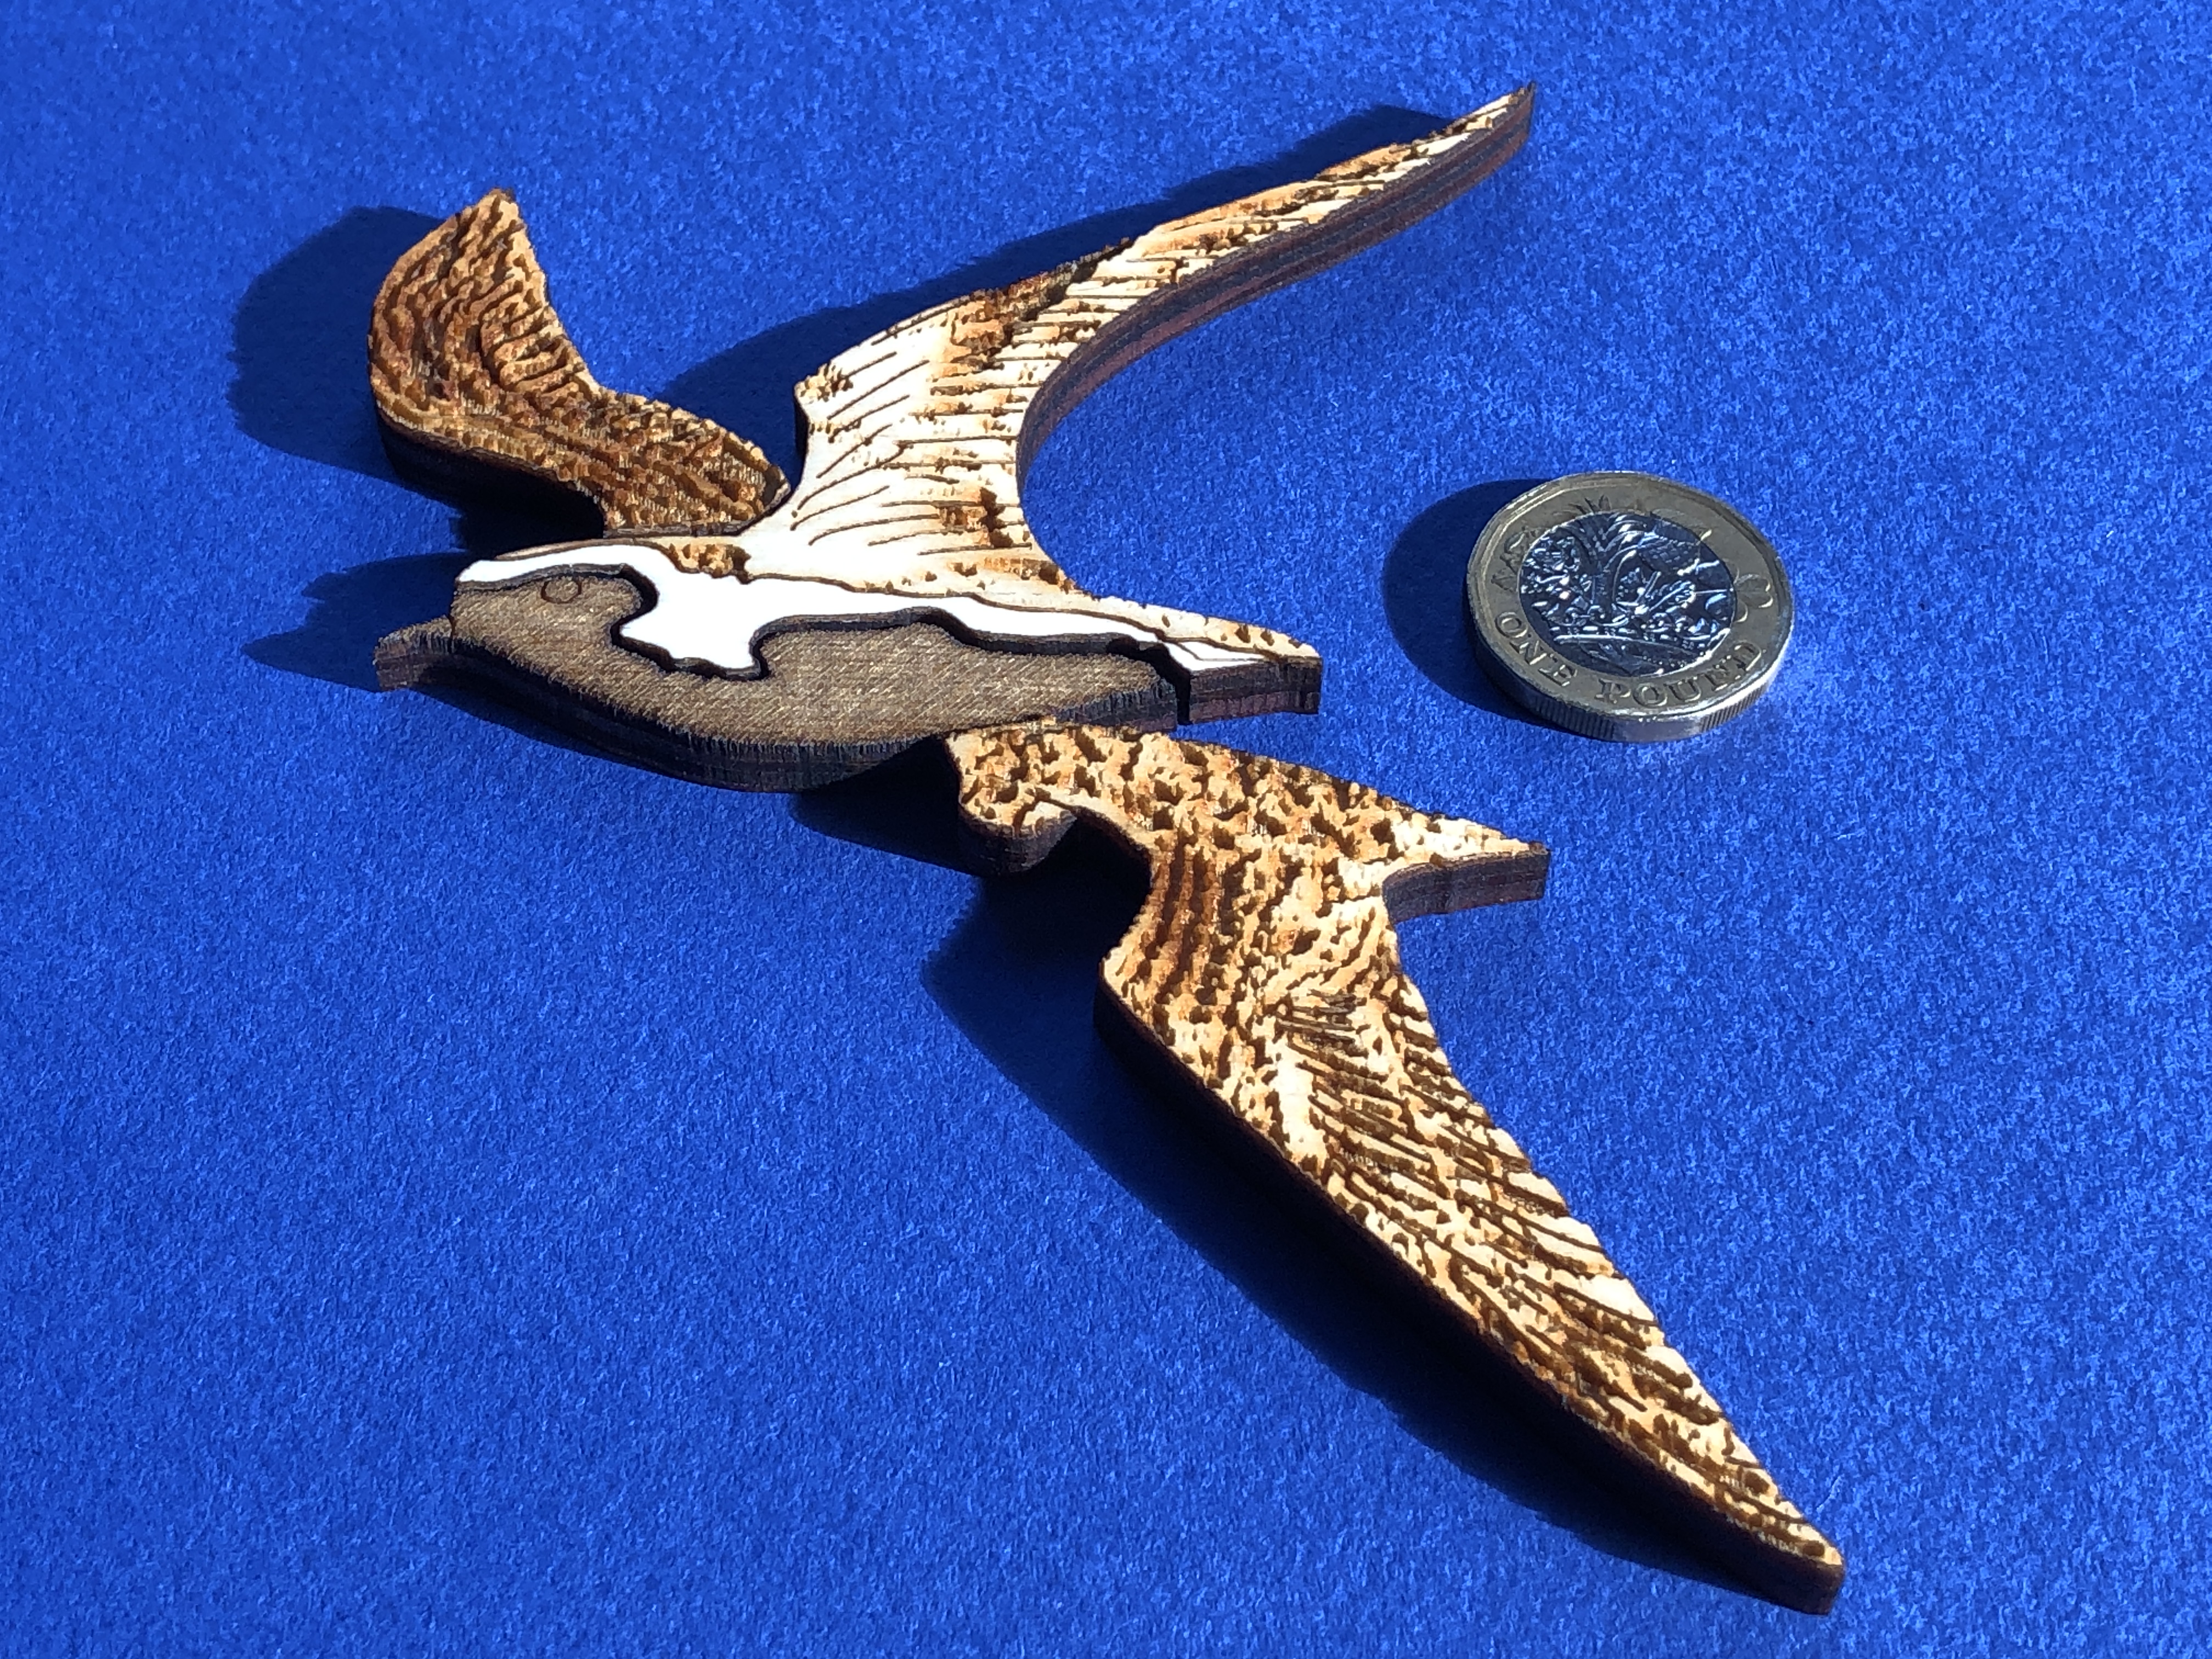
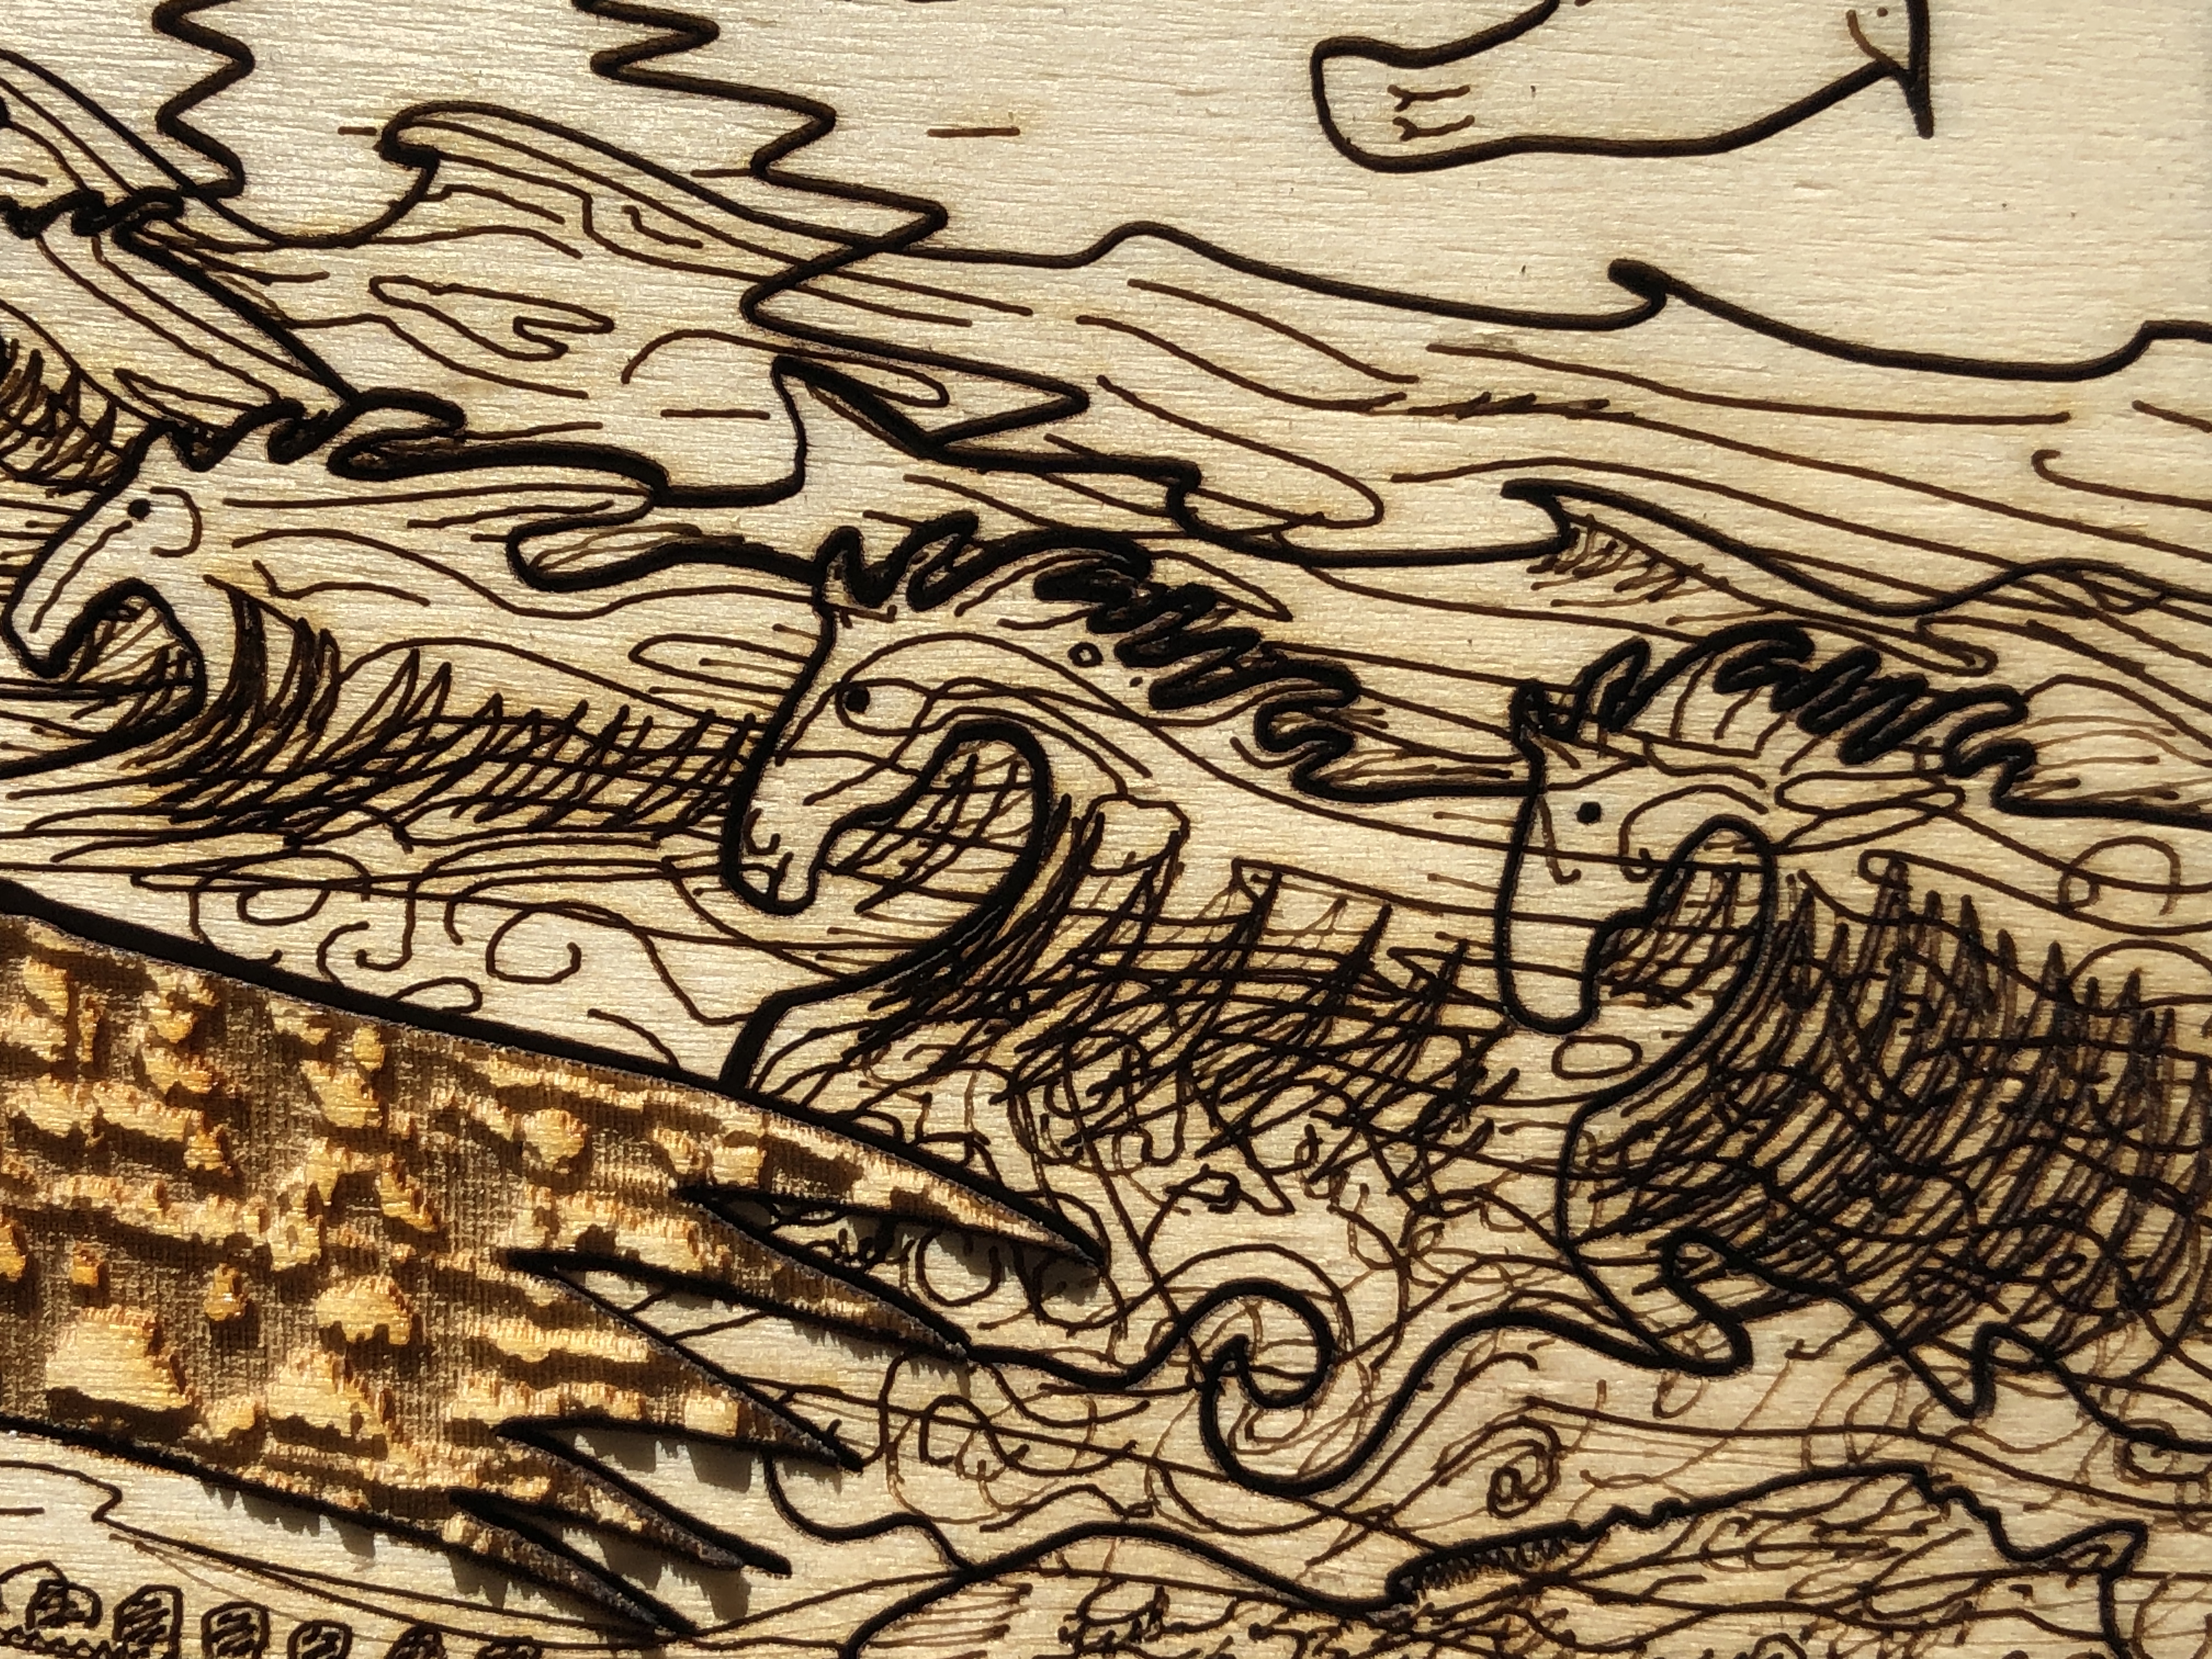
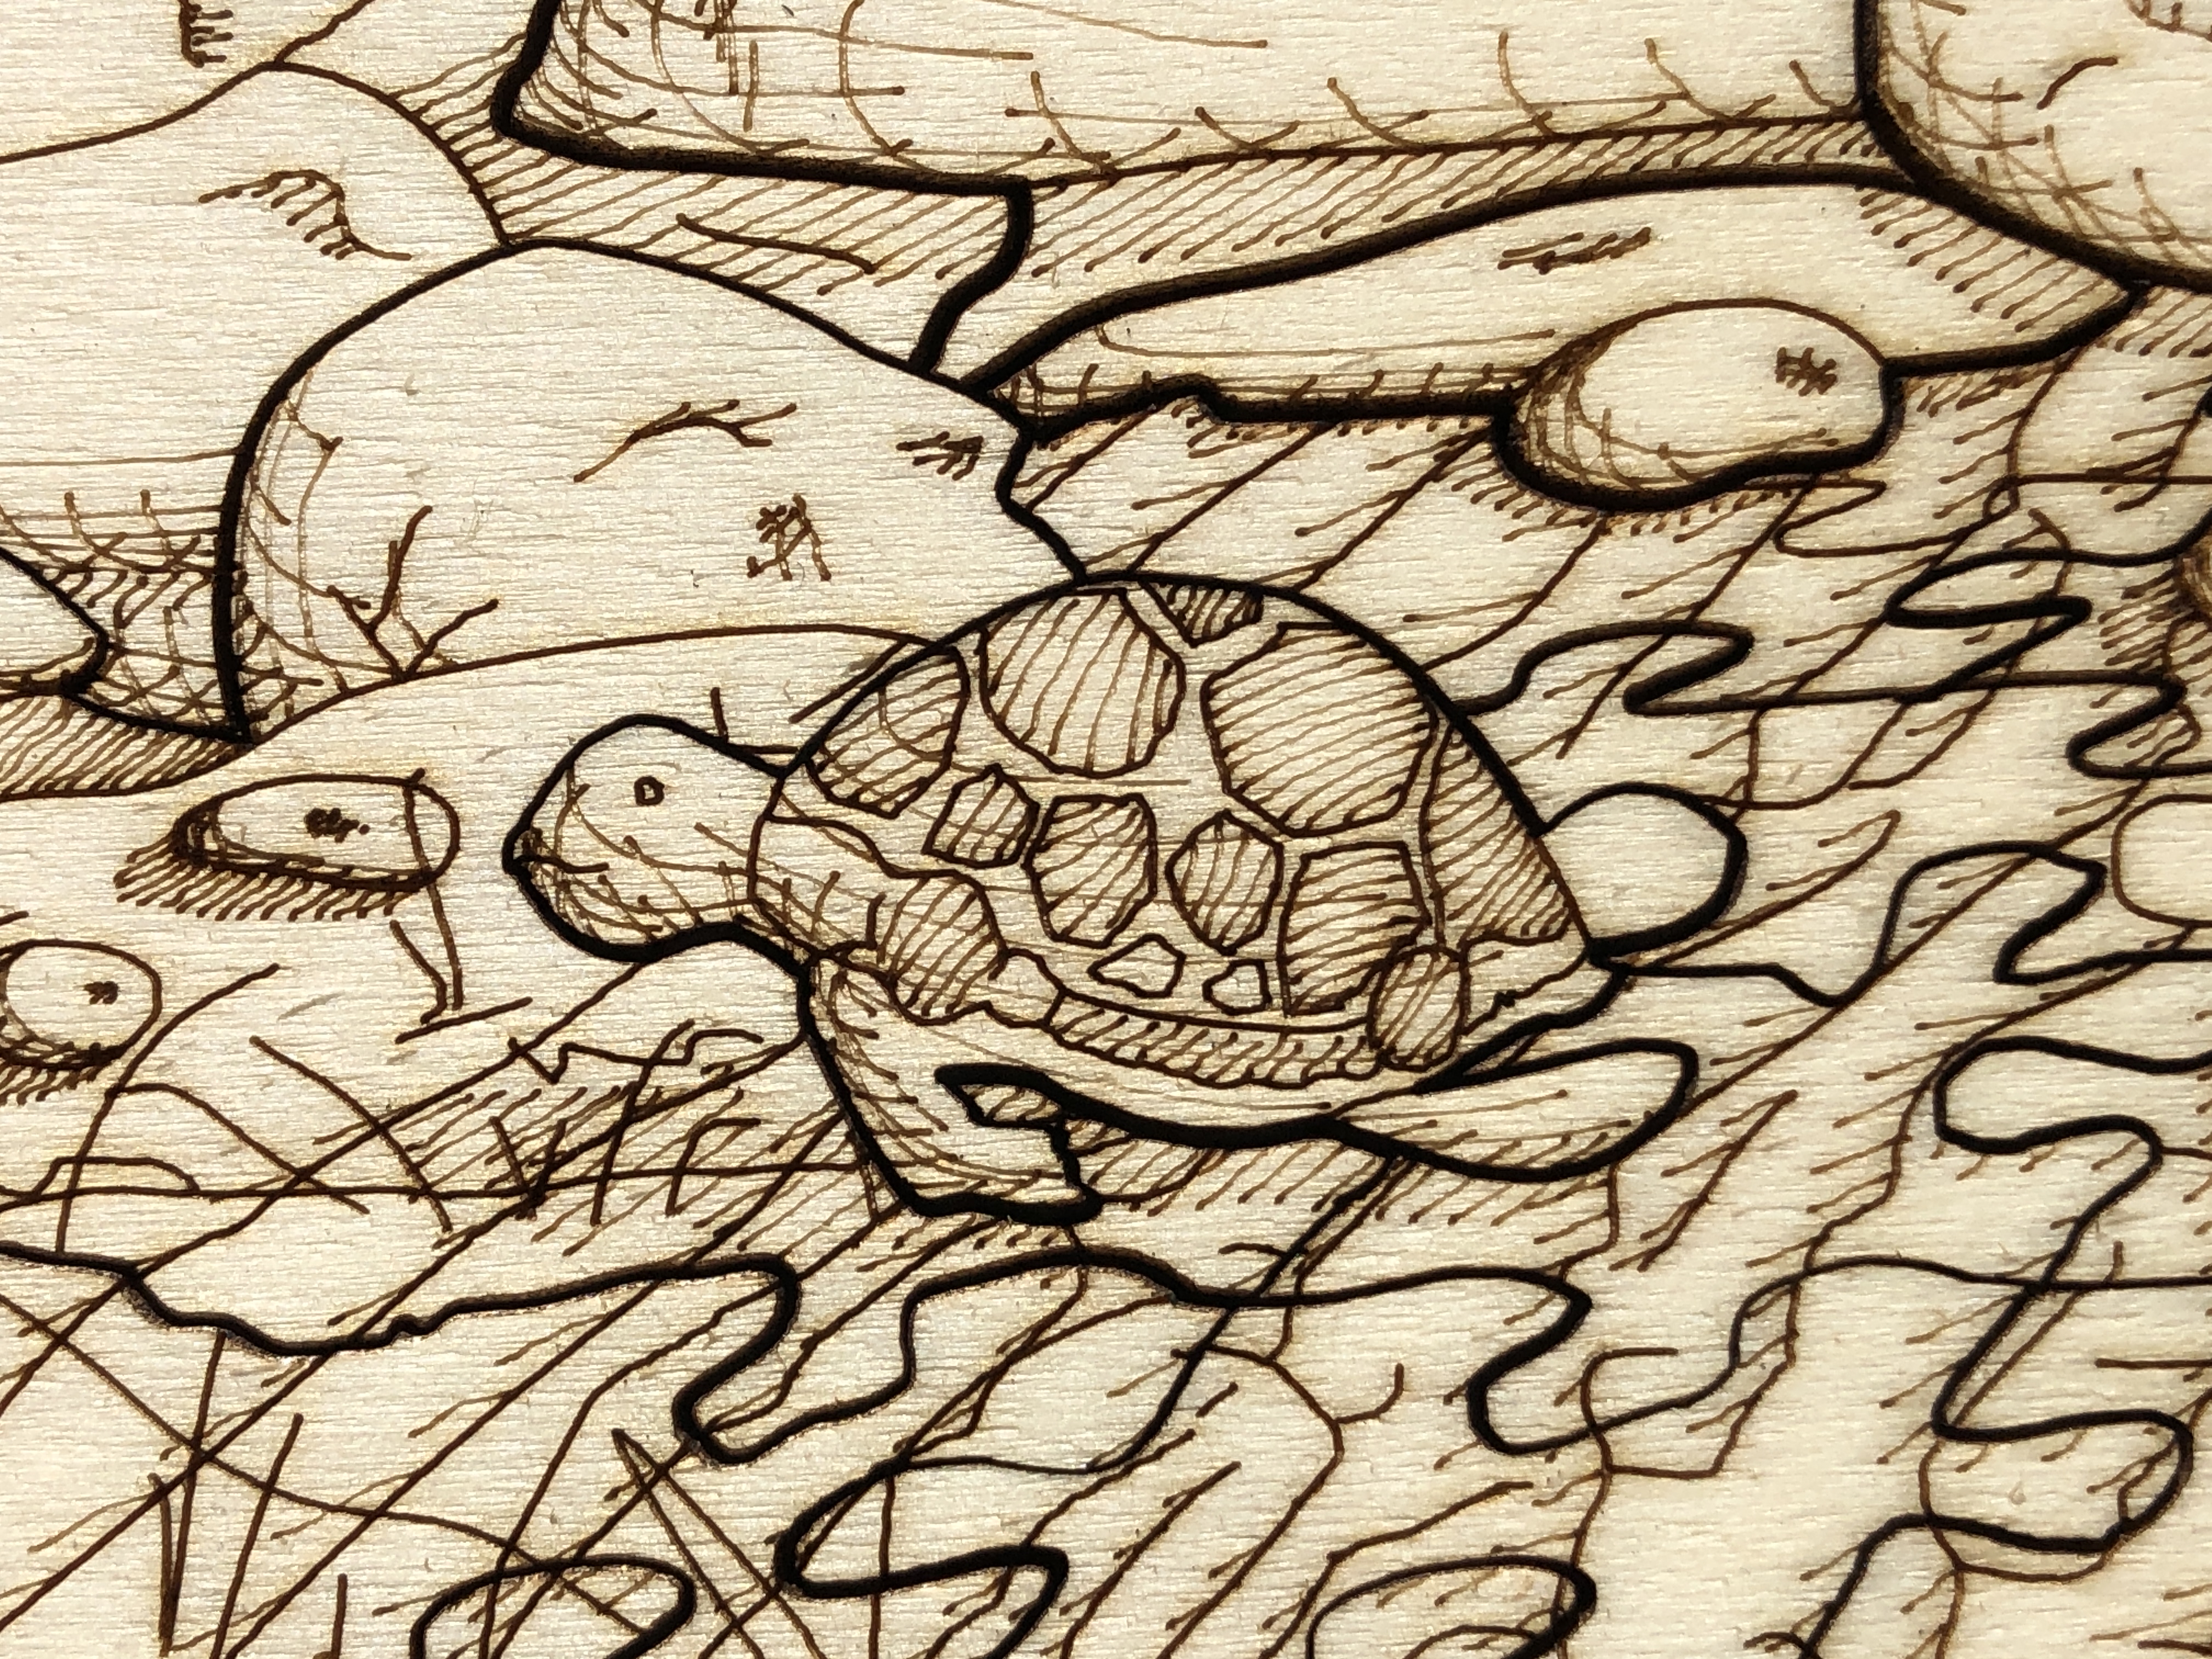
The design uses multiple lasering and layering techniques – cut-throughs, scoring, light scoring, engraving, deep engraving – which all have to be done in a specific sequence. For example, in places in the design, I have score marks on top of some deep engraved areas – so obviously the deep engraving has to be done before the scoring.
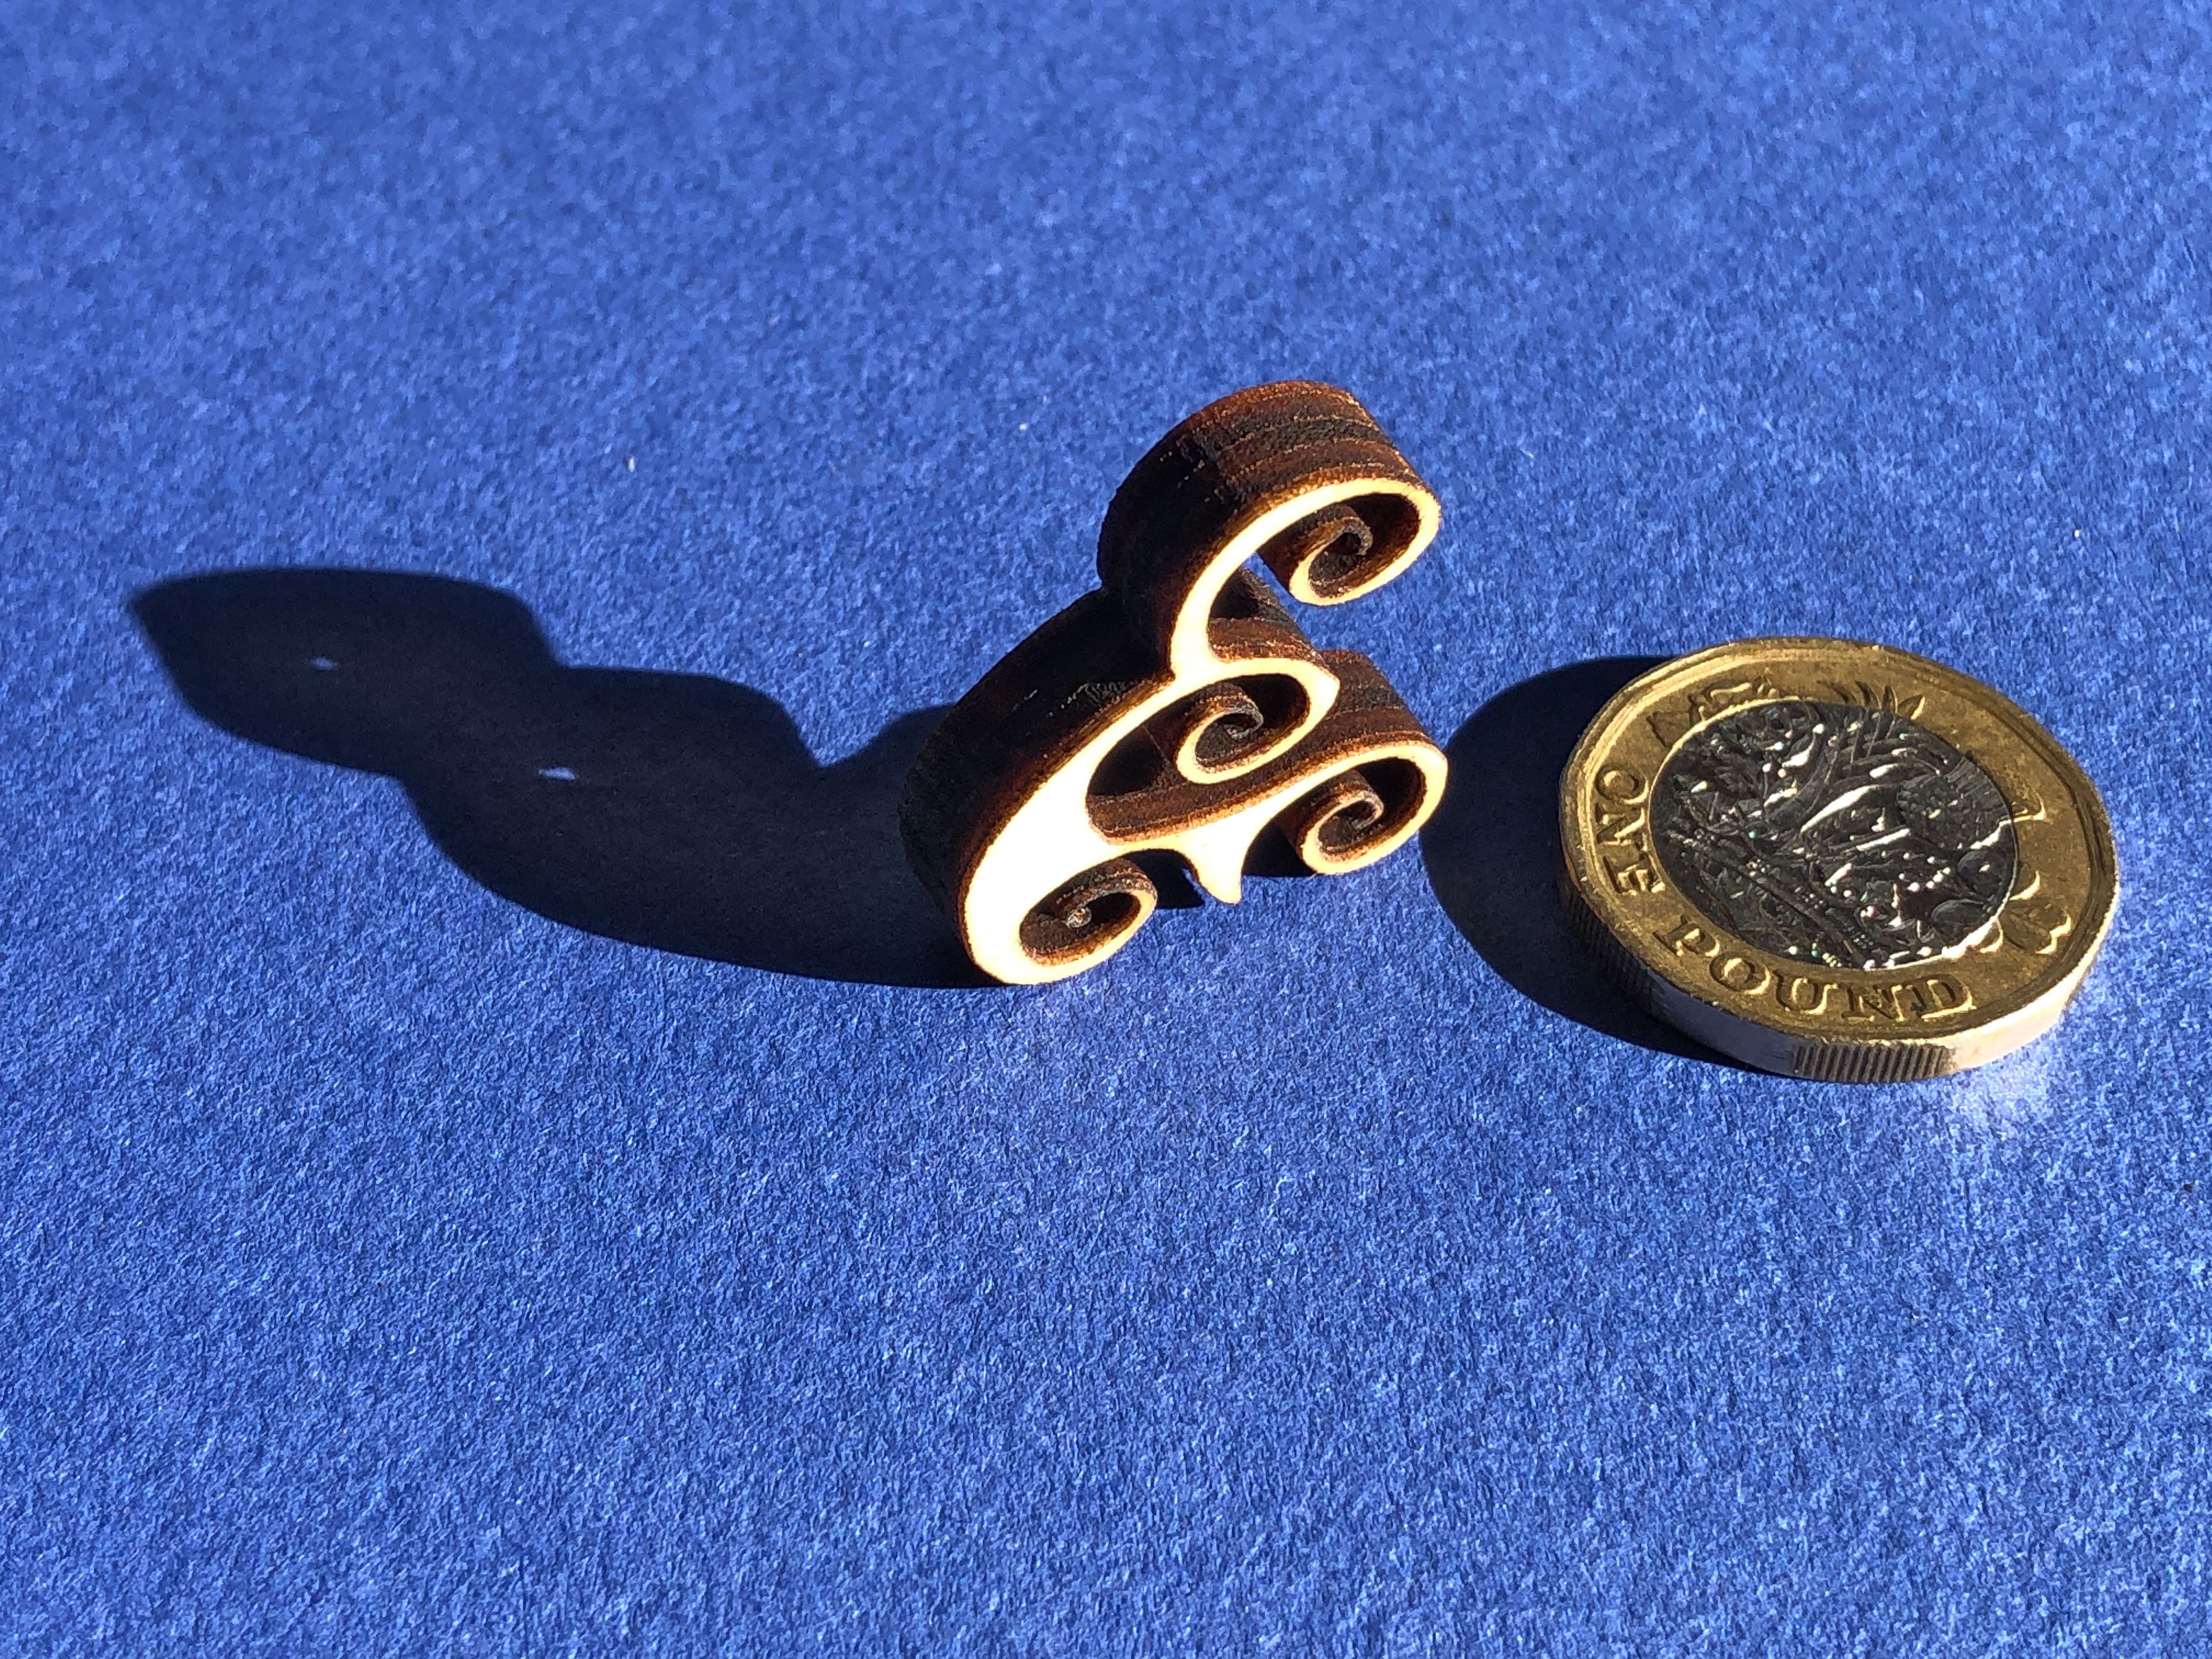
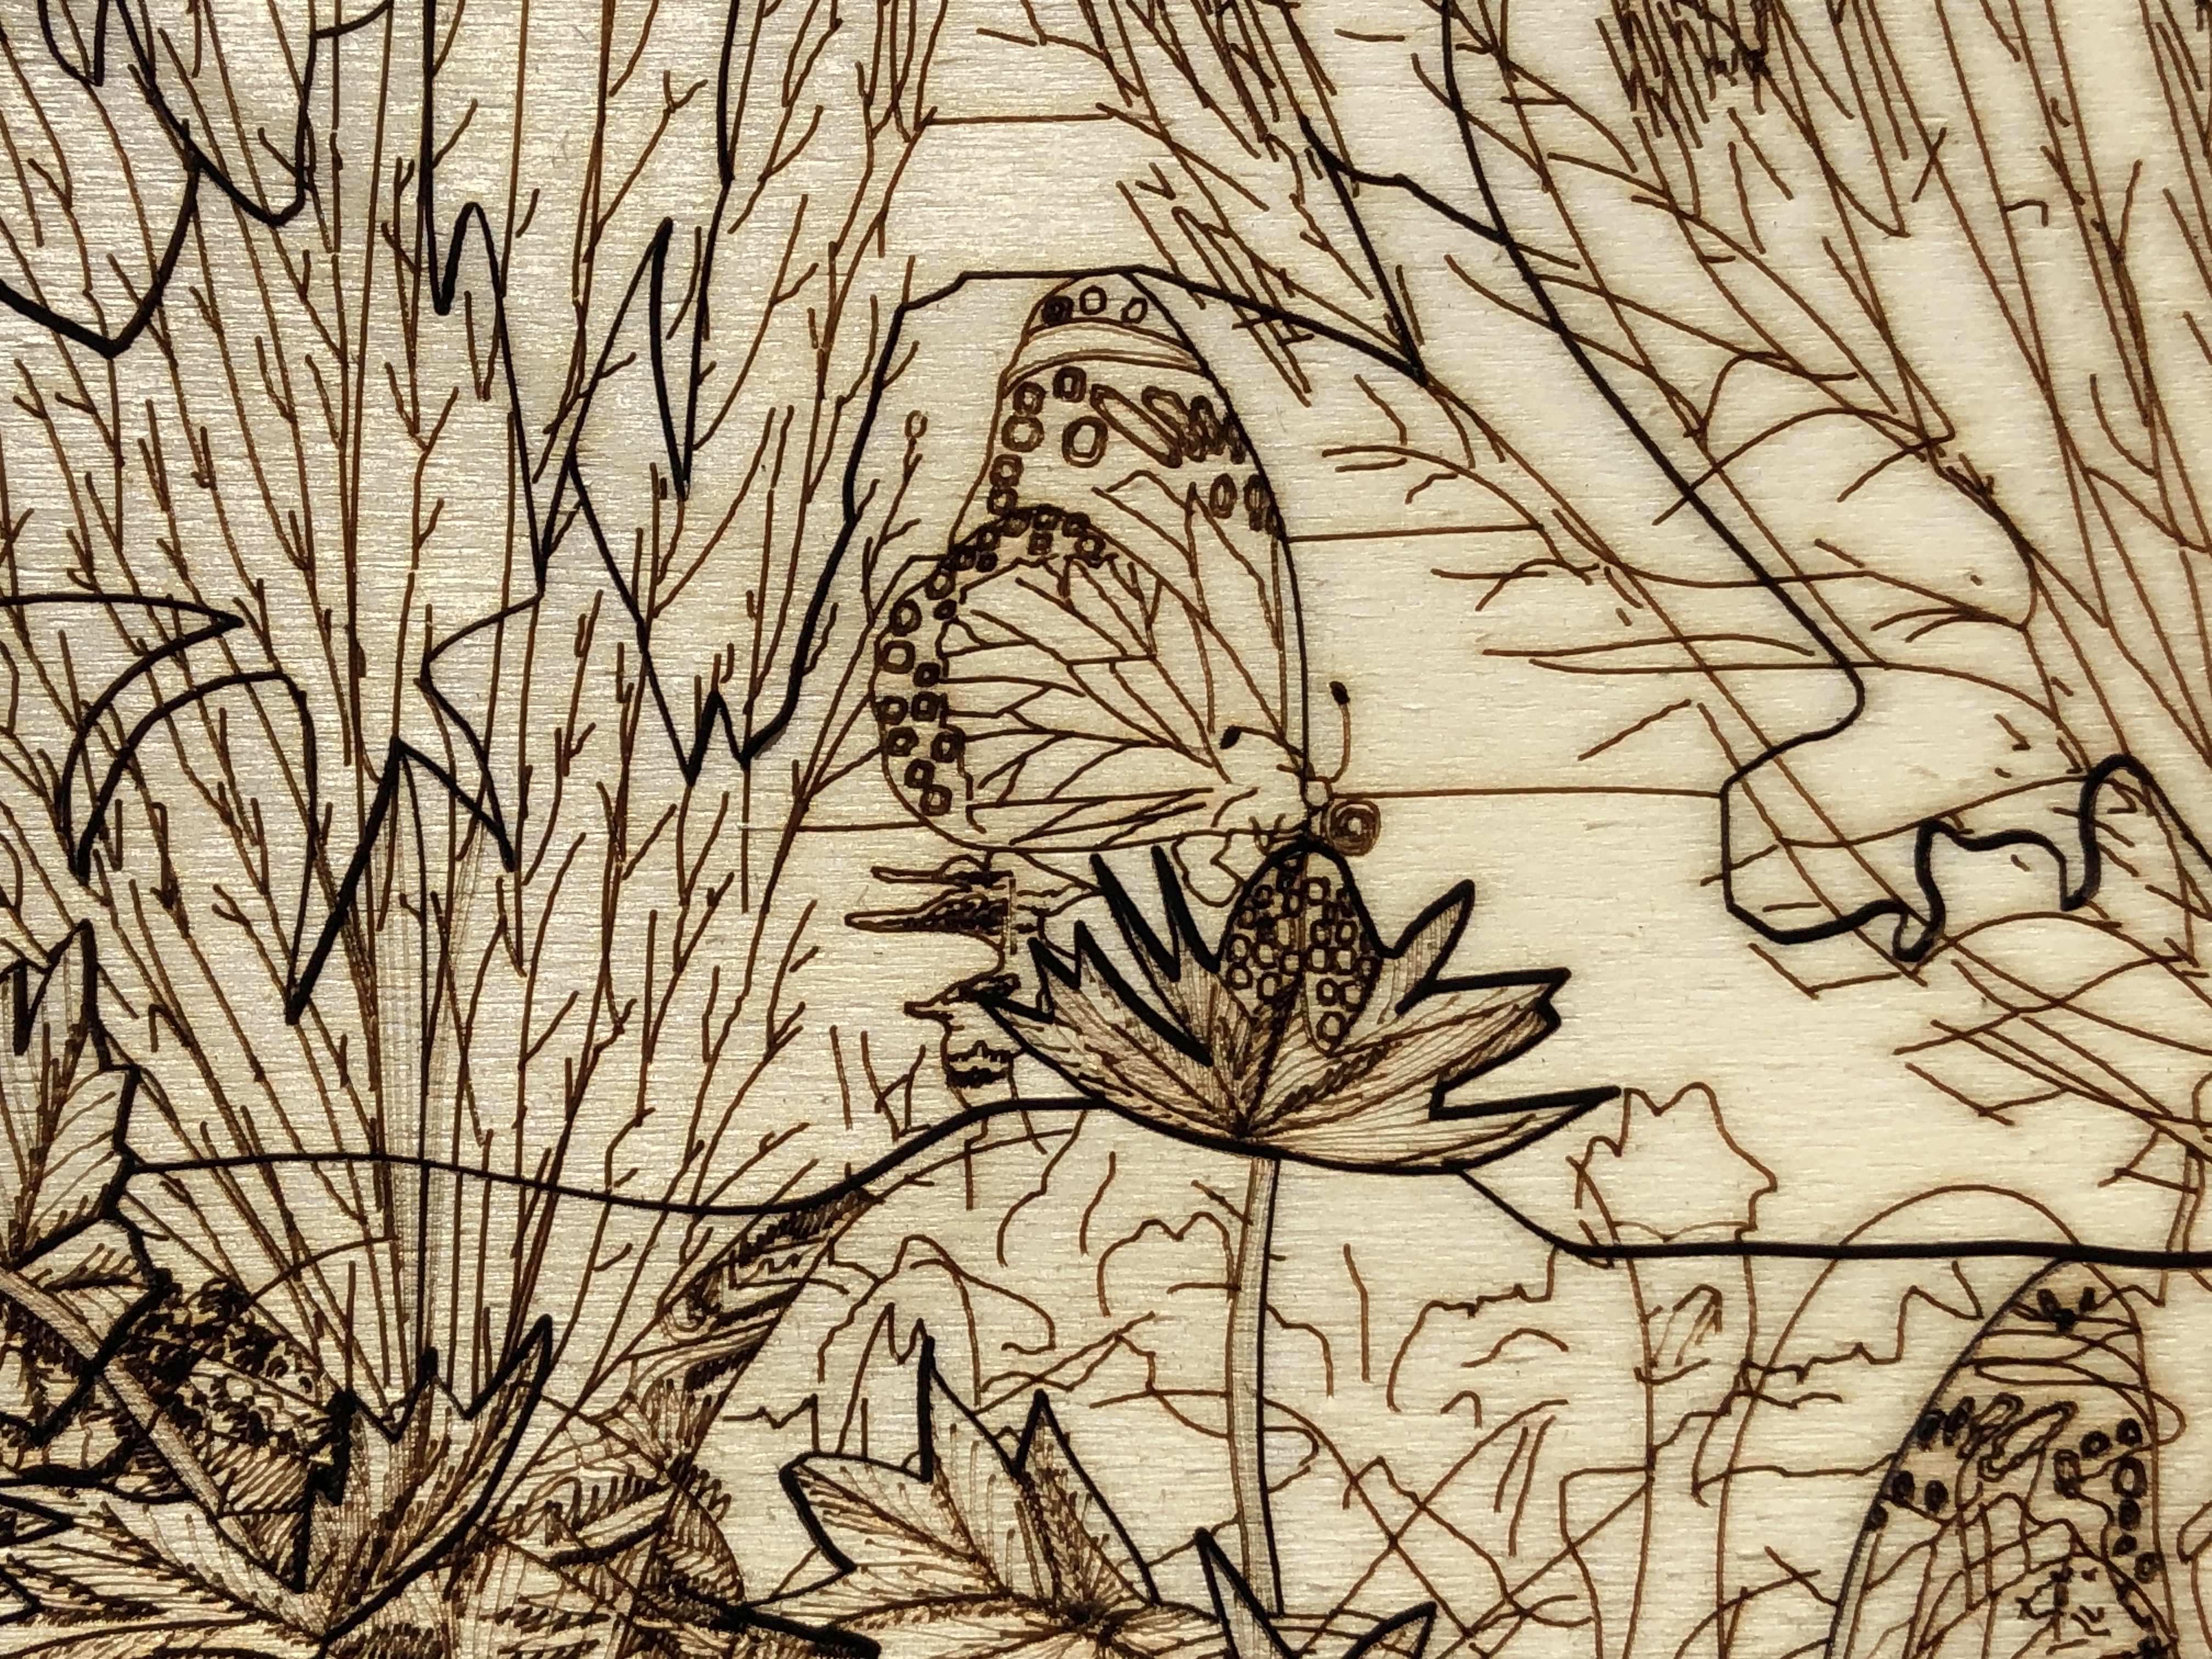
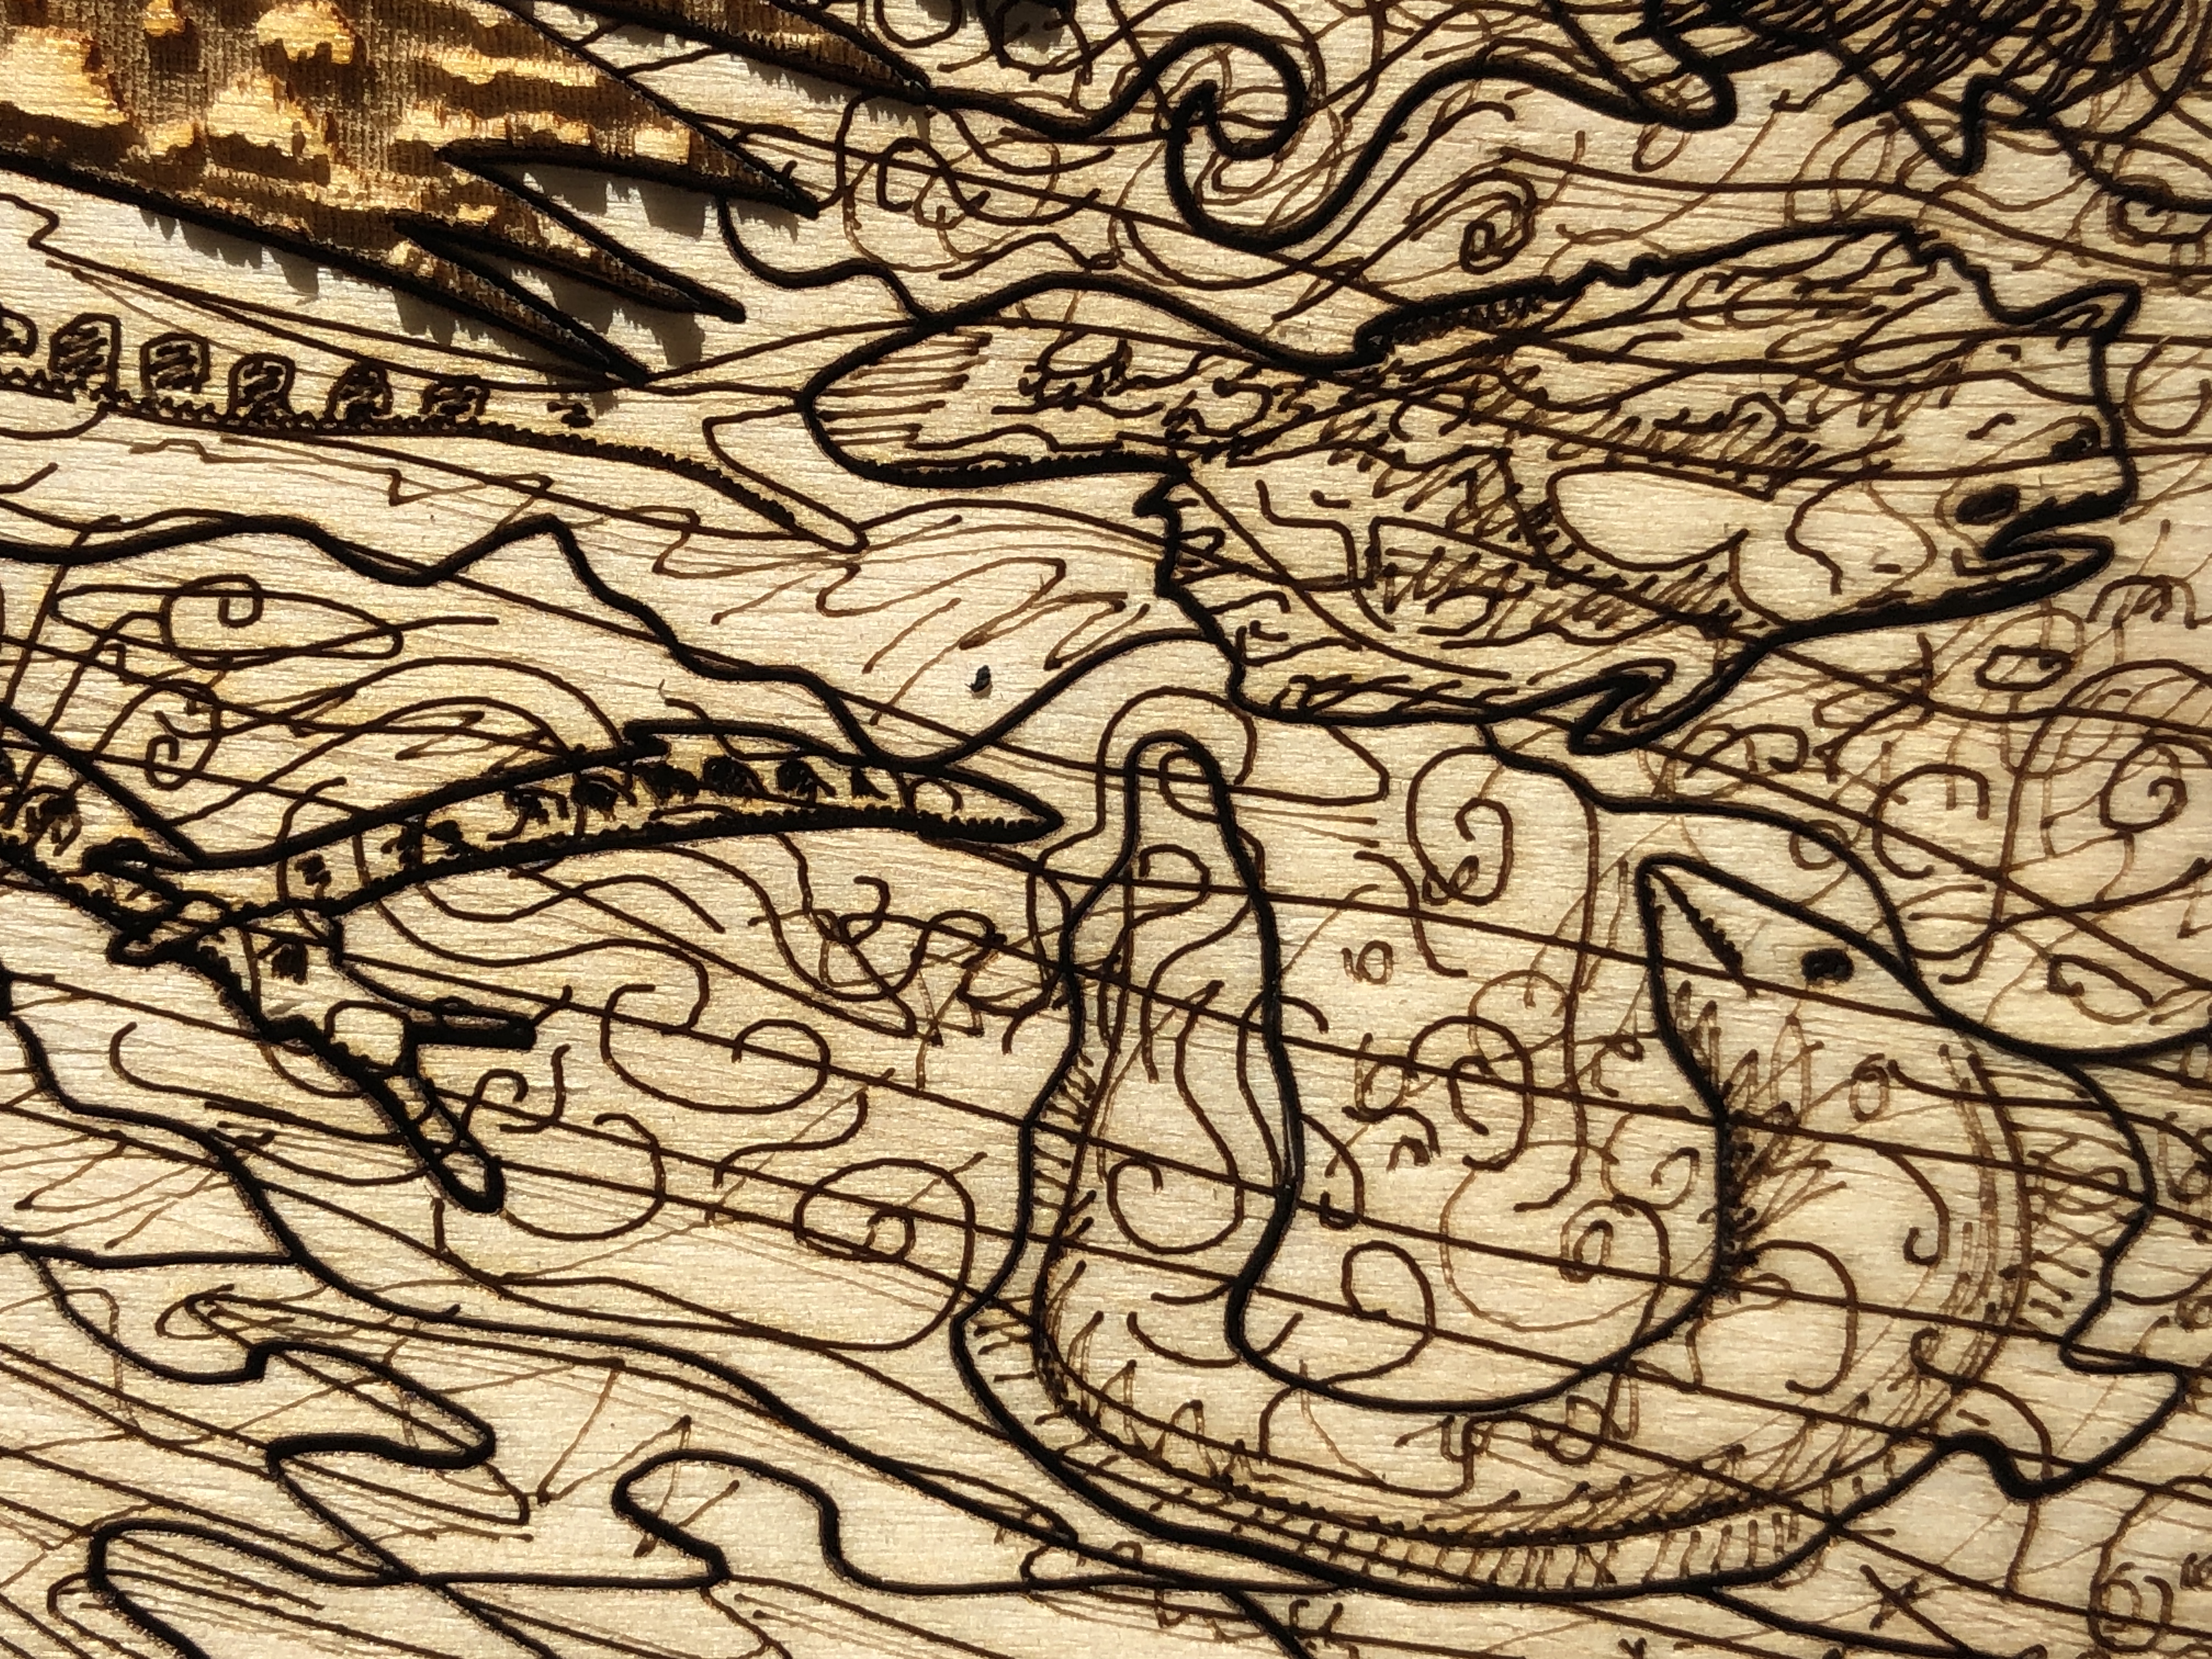
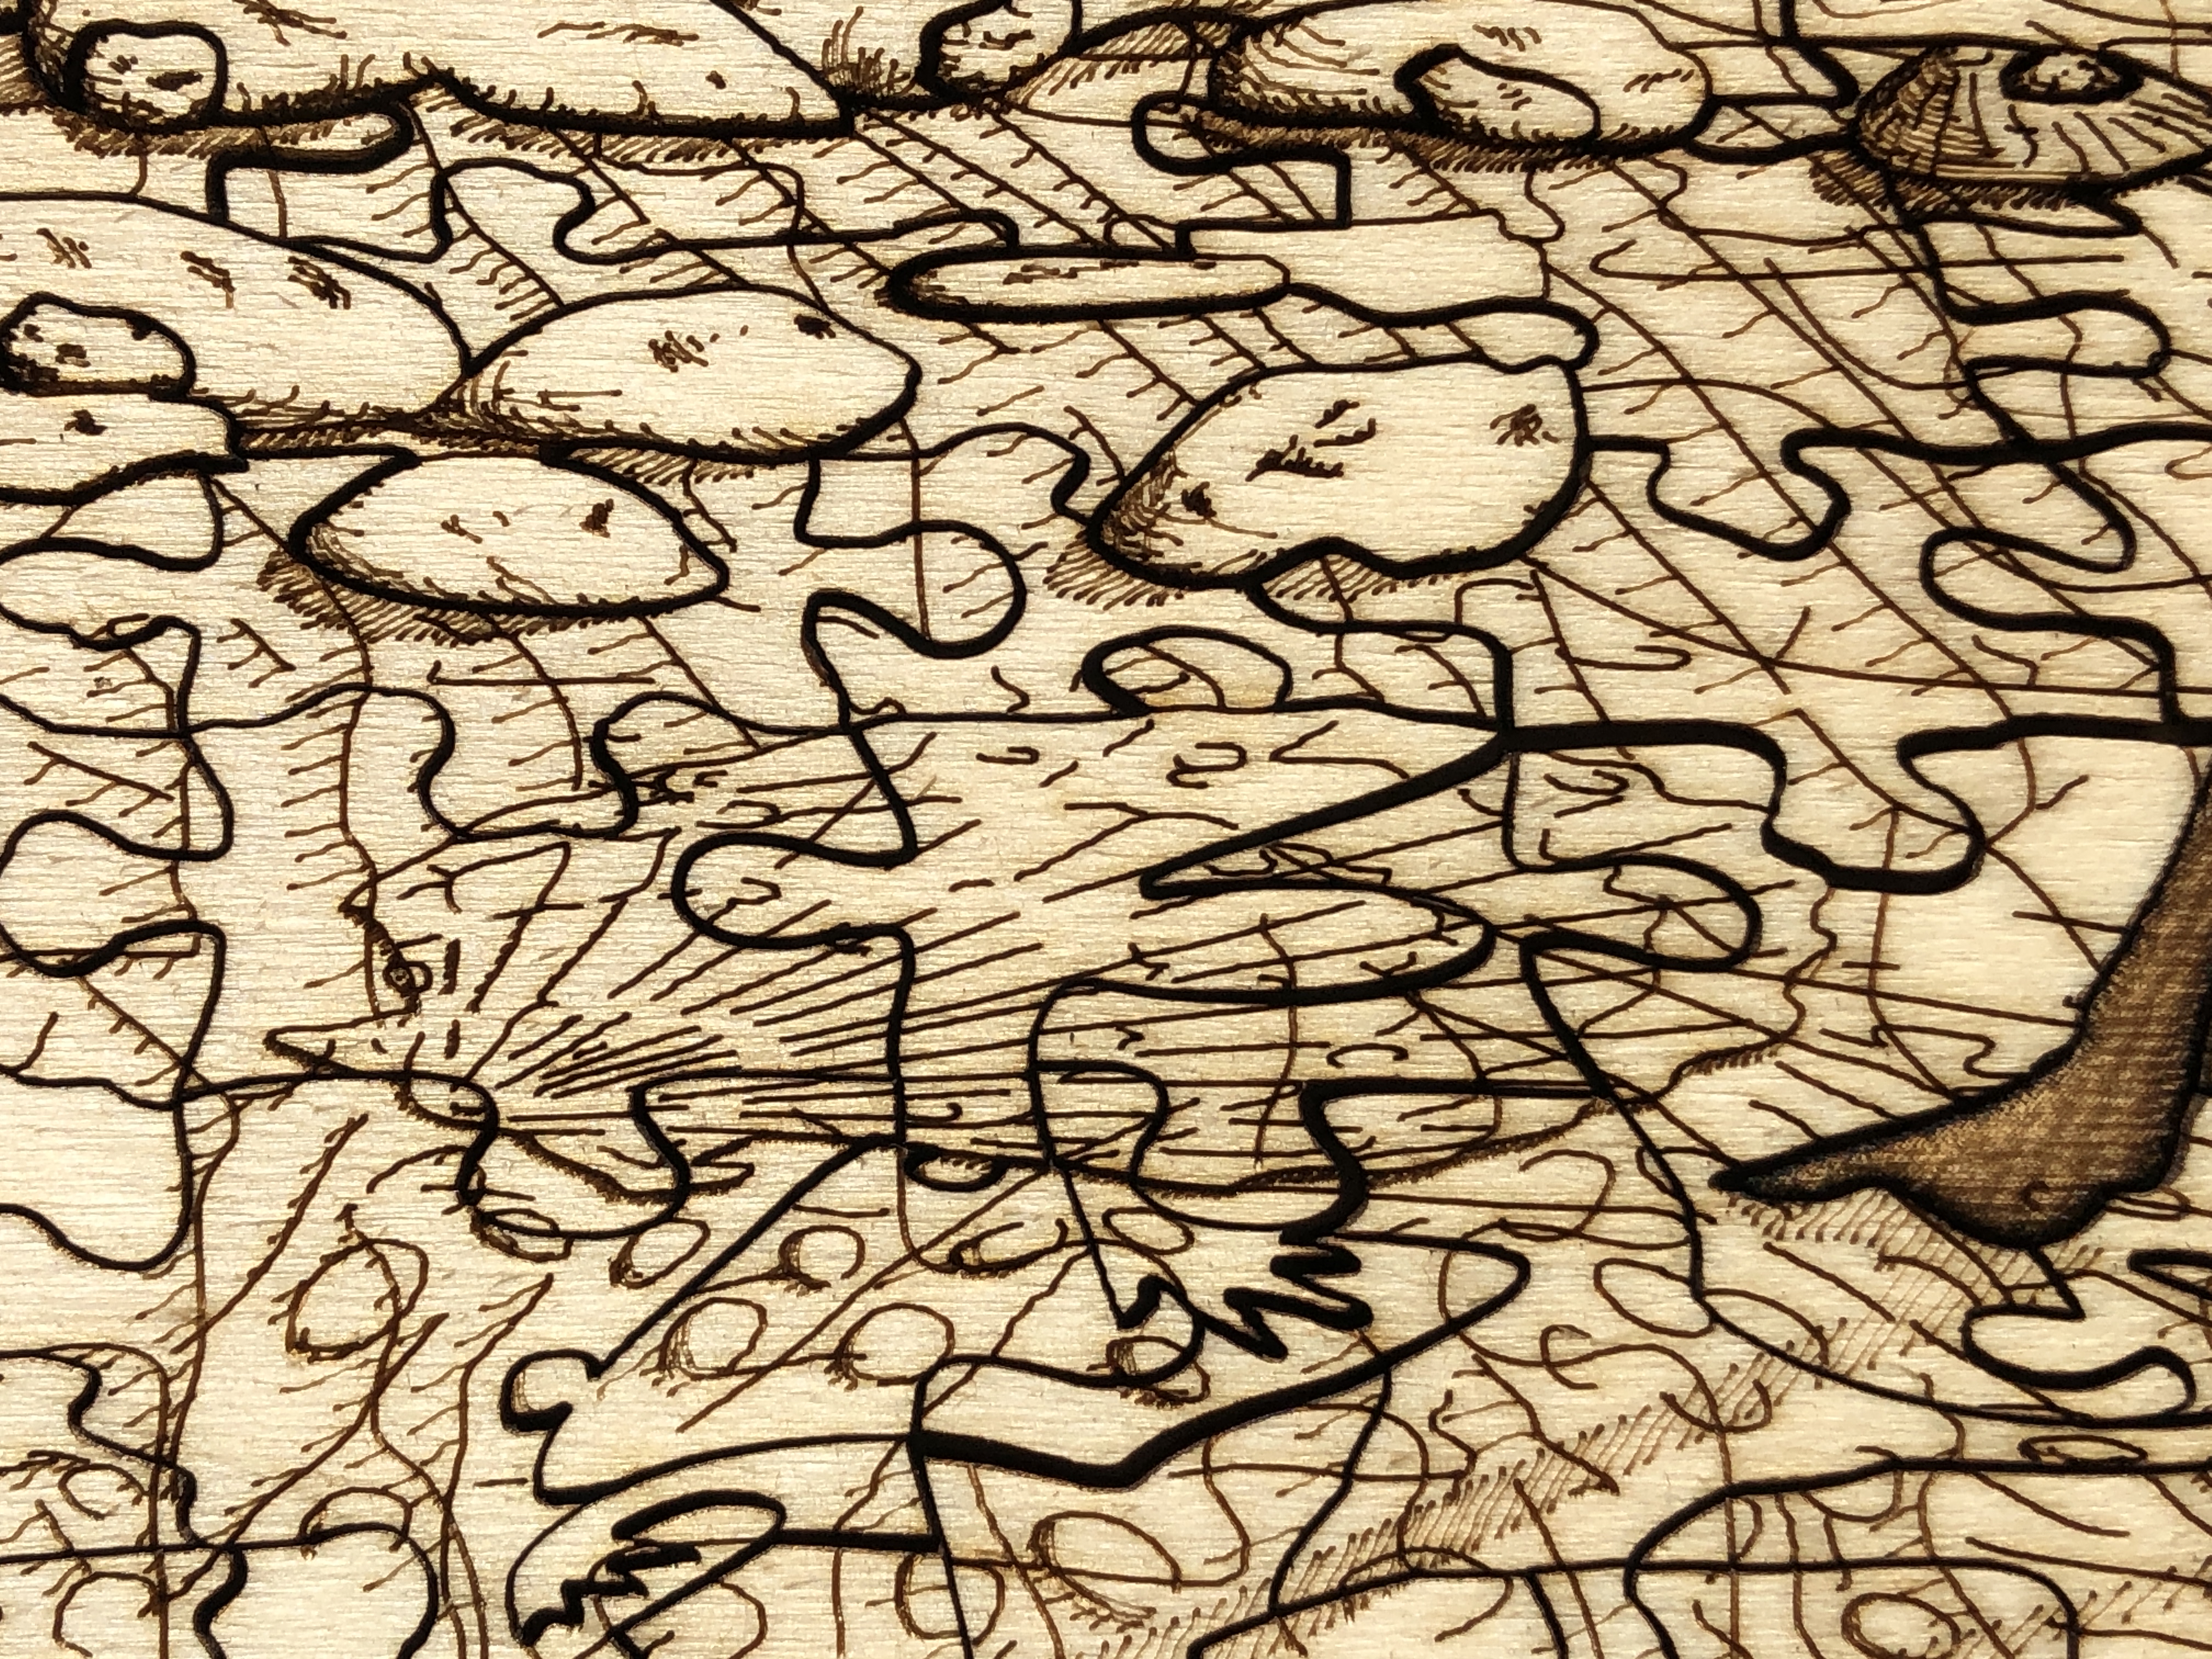
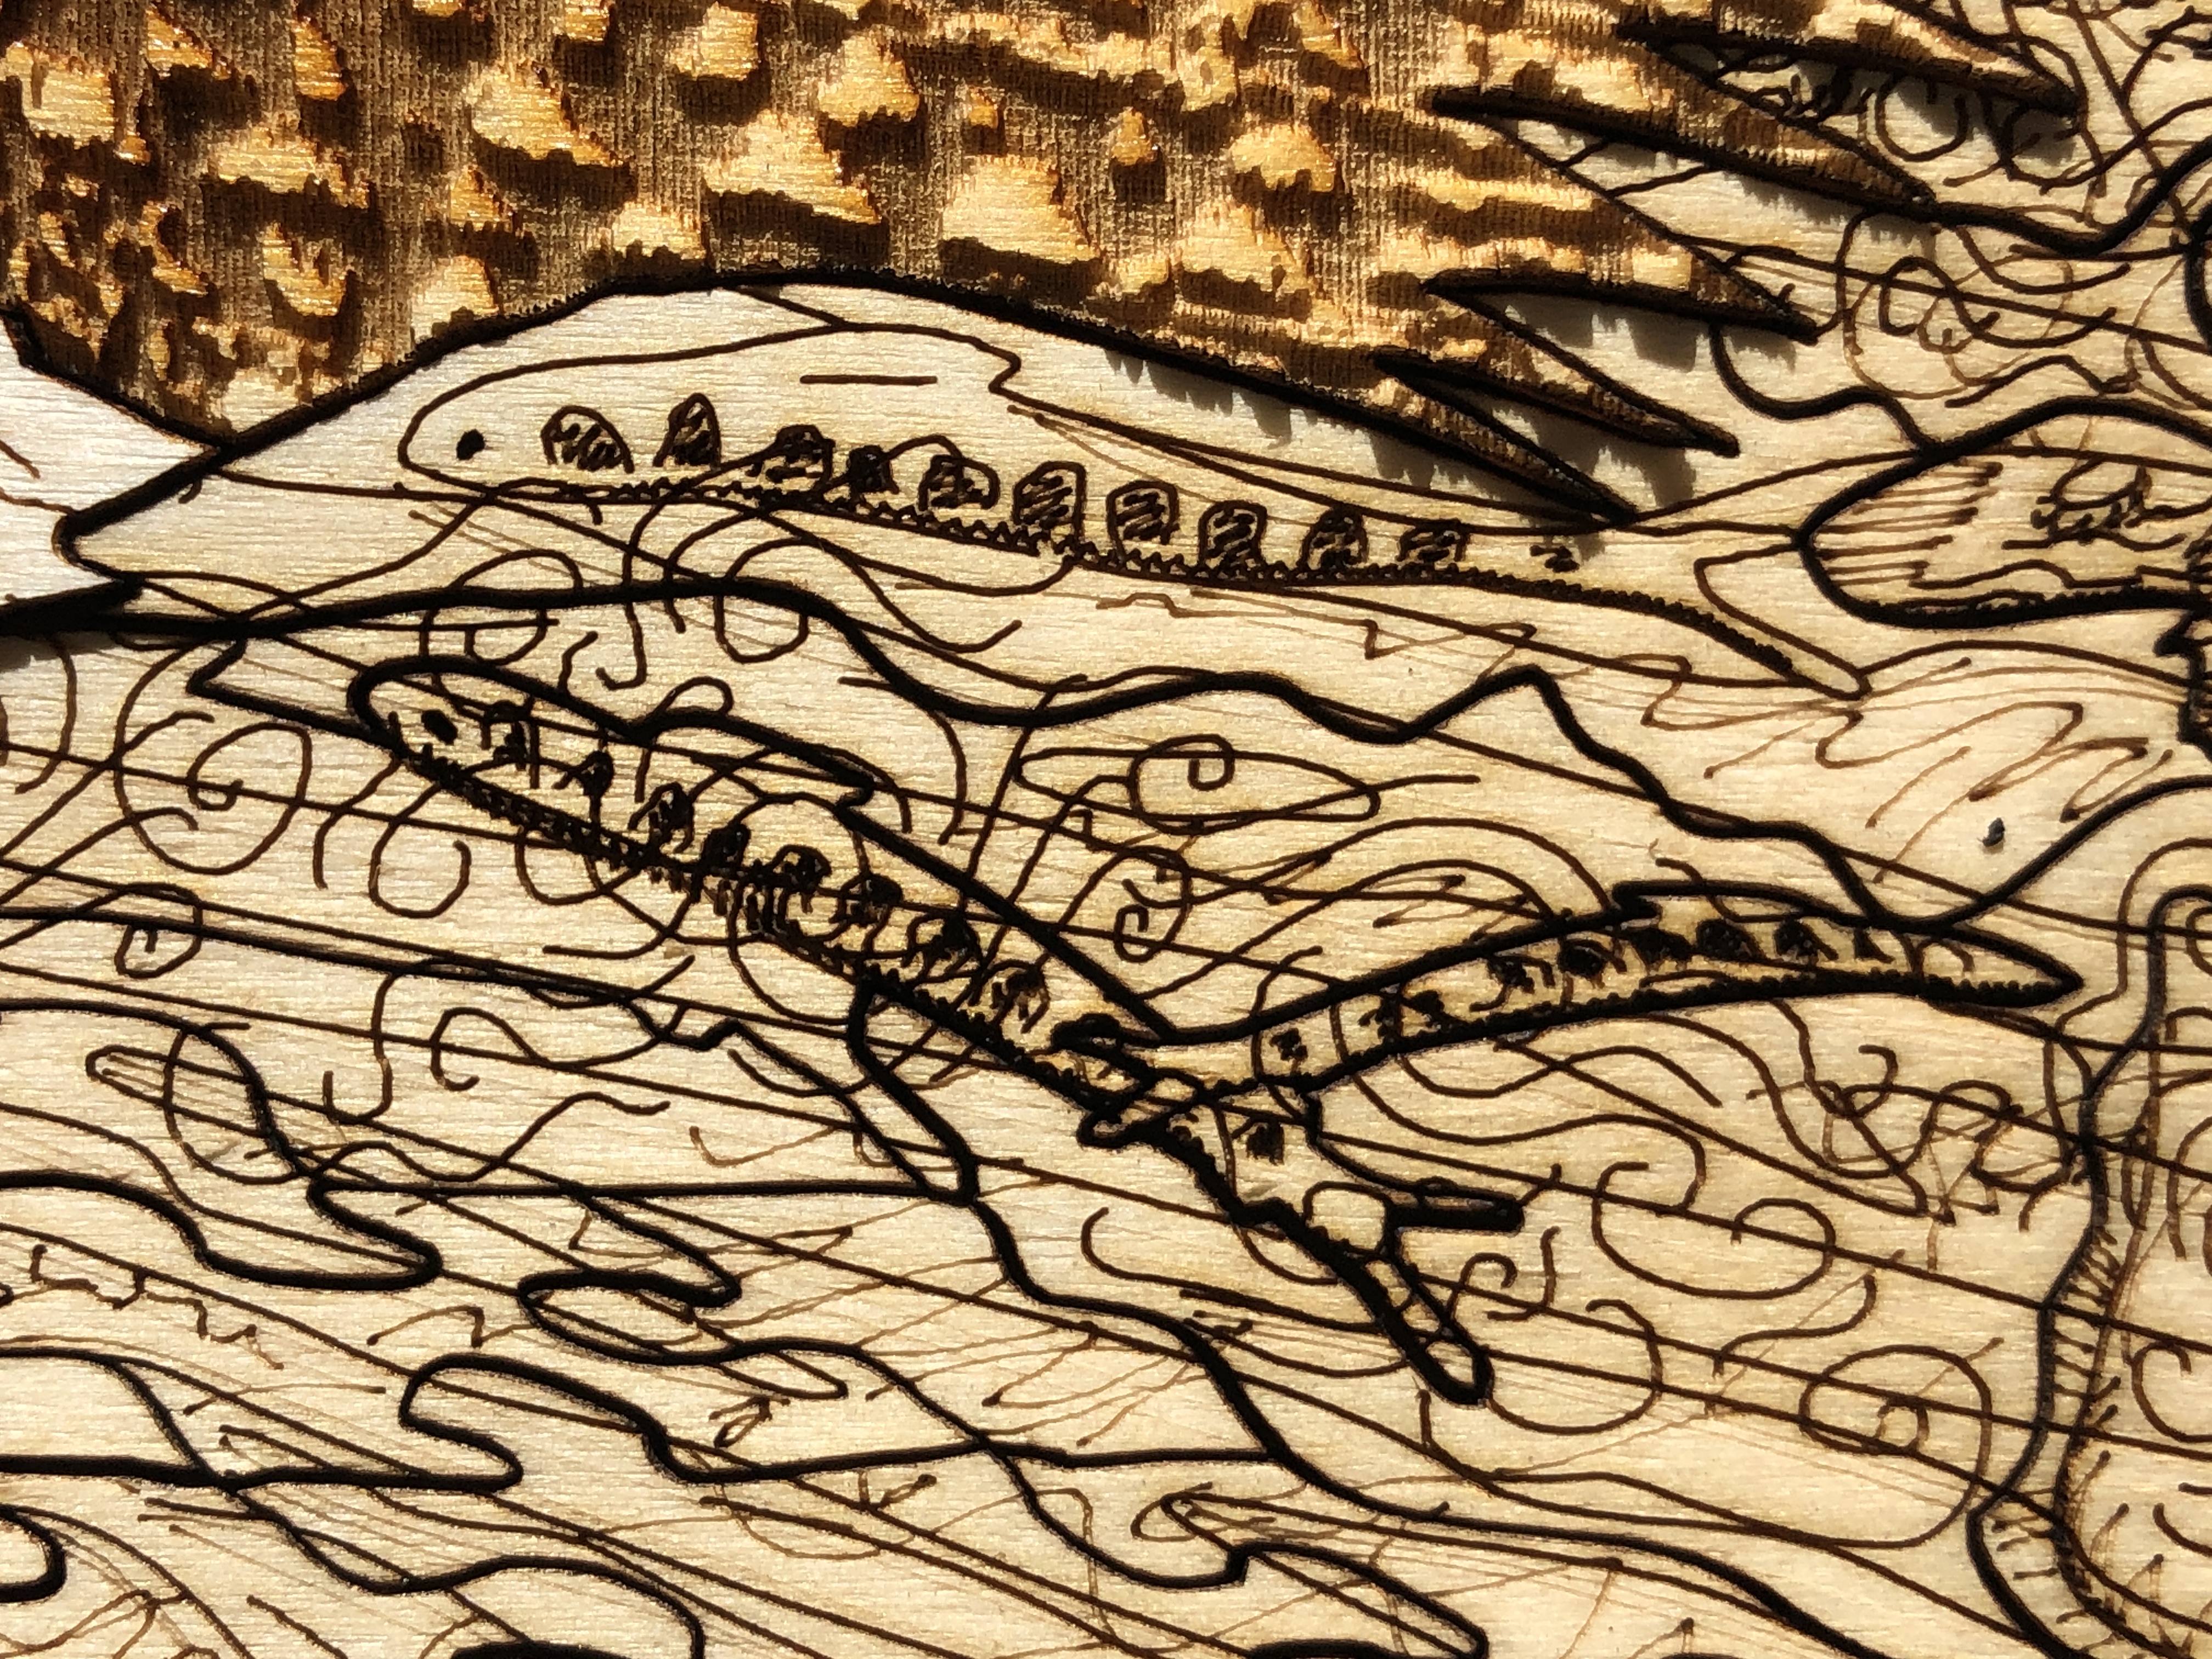
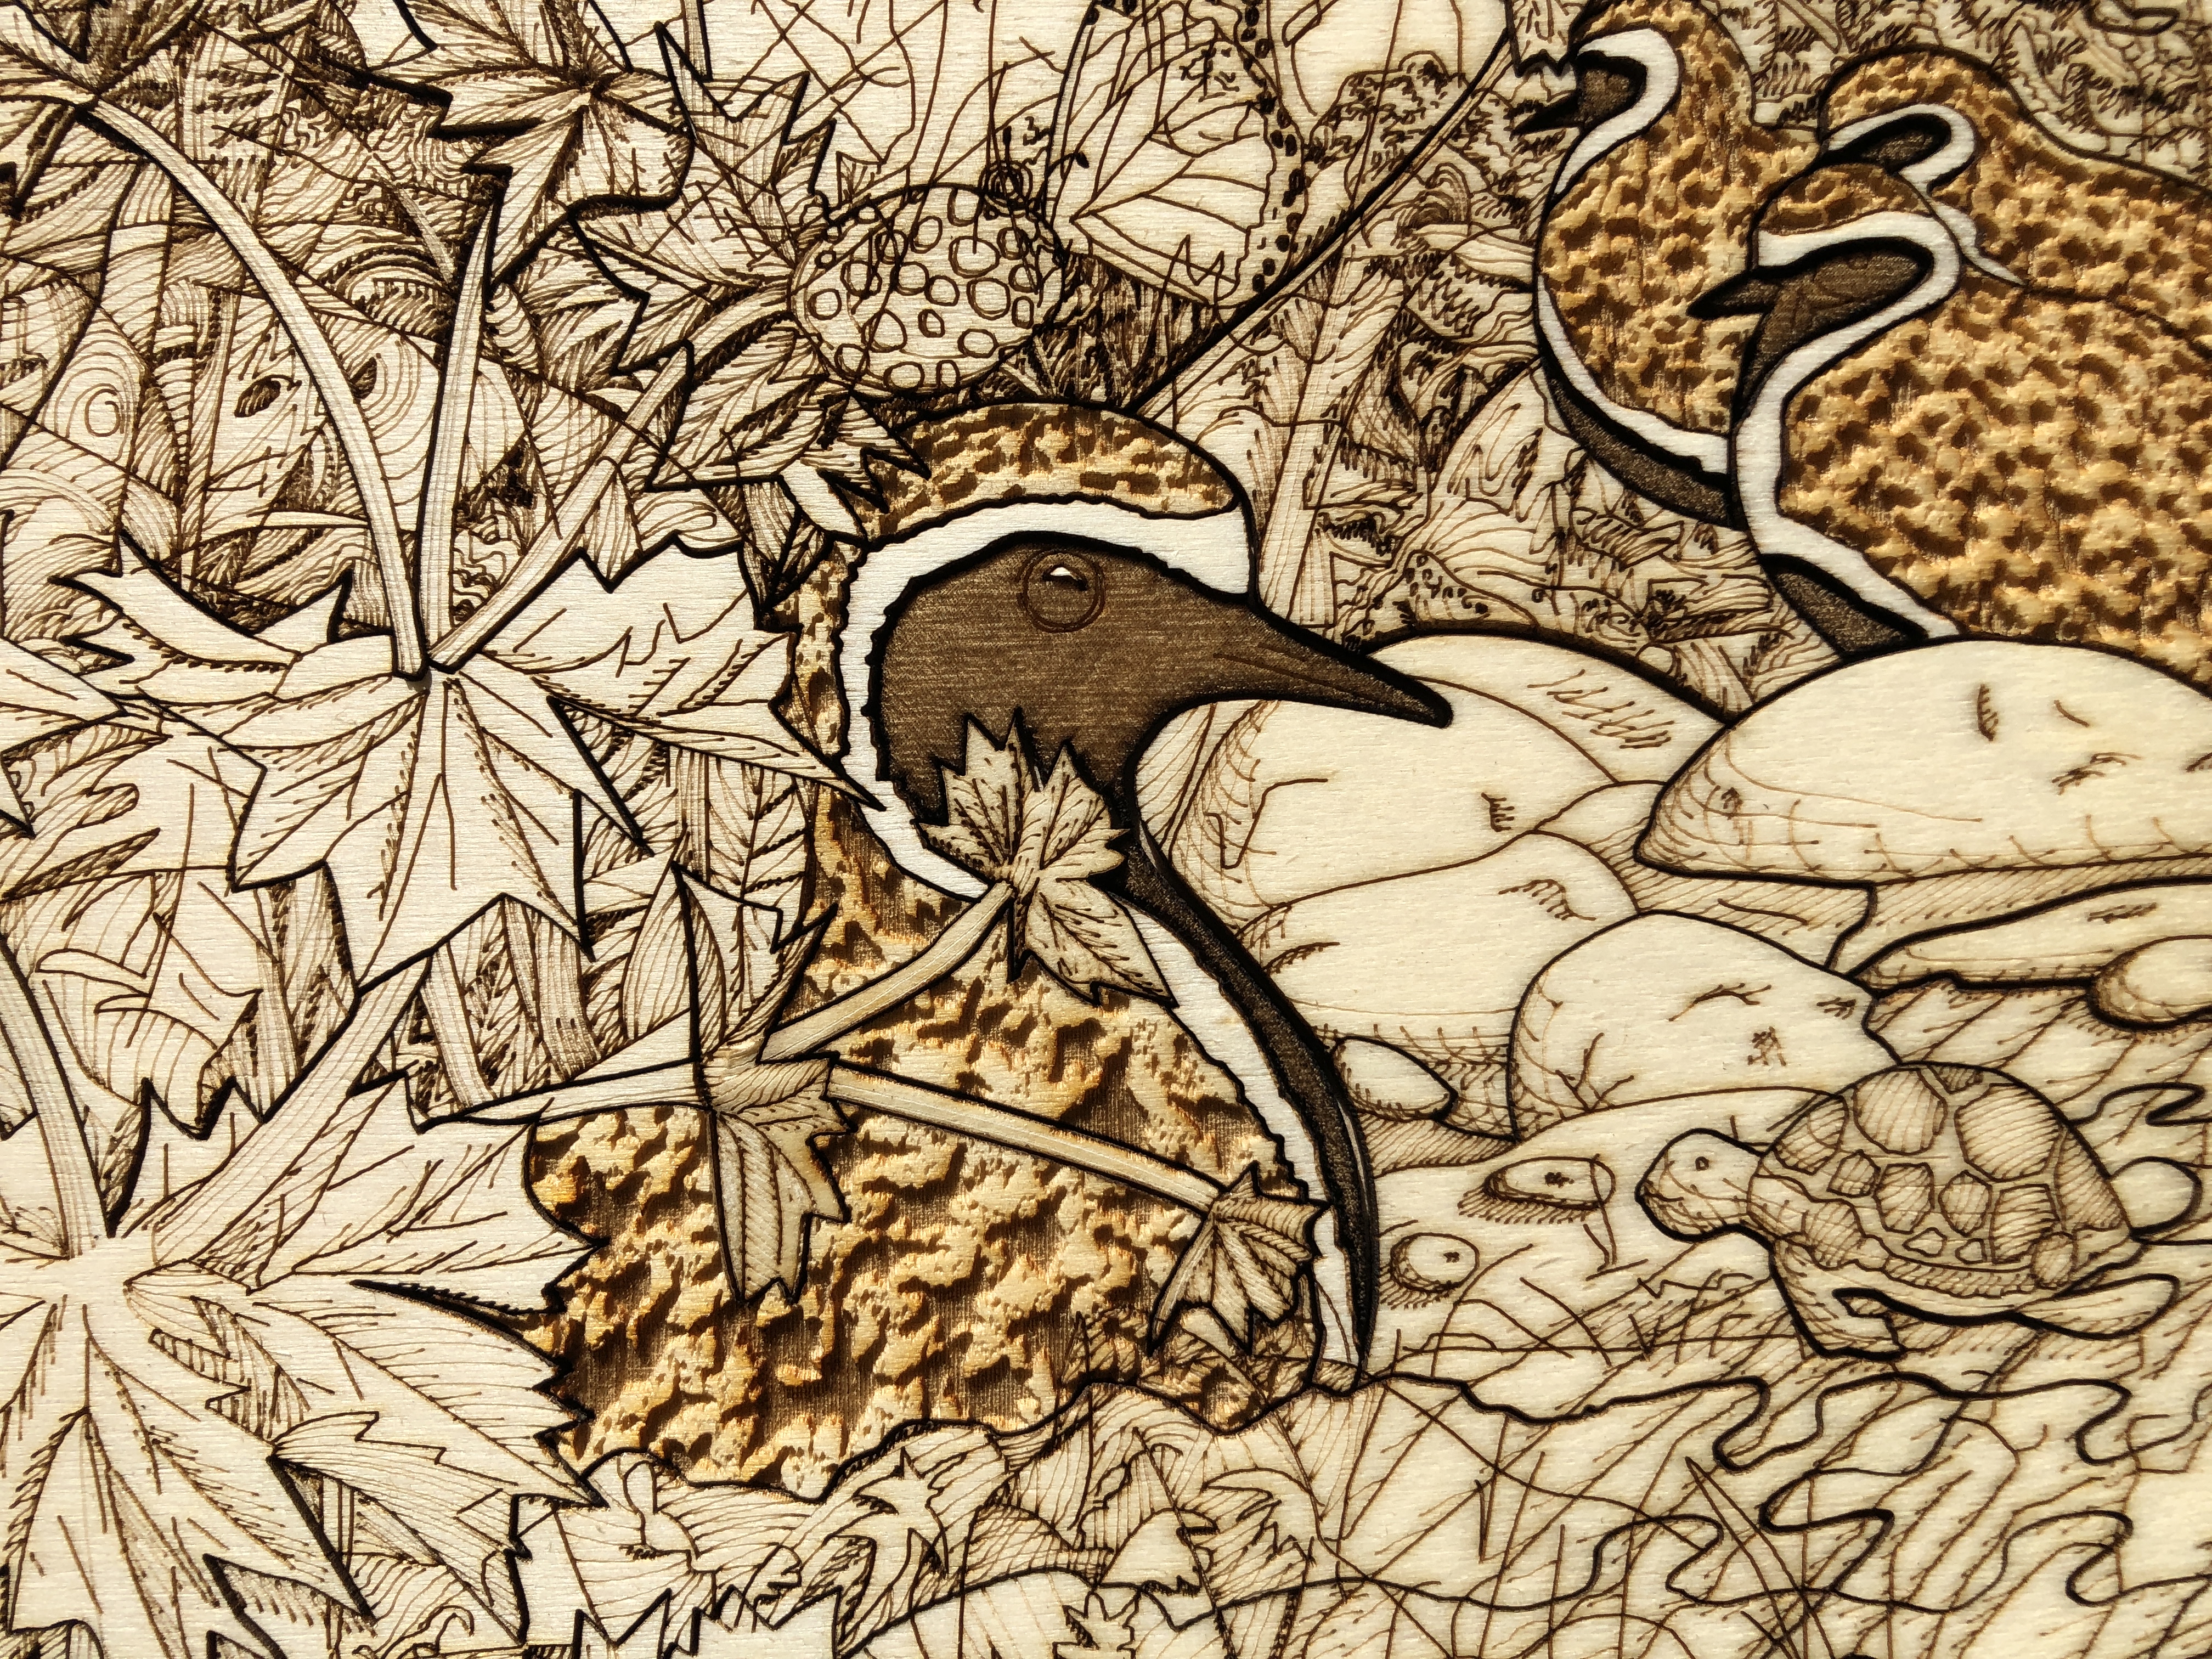
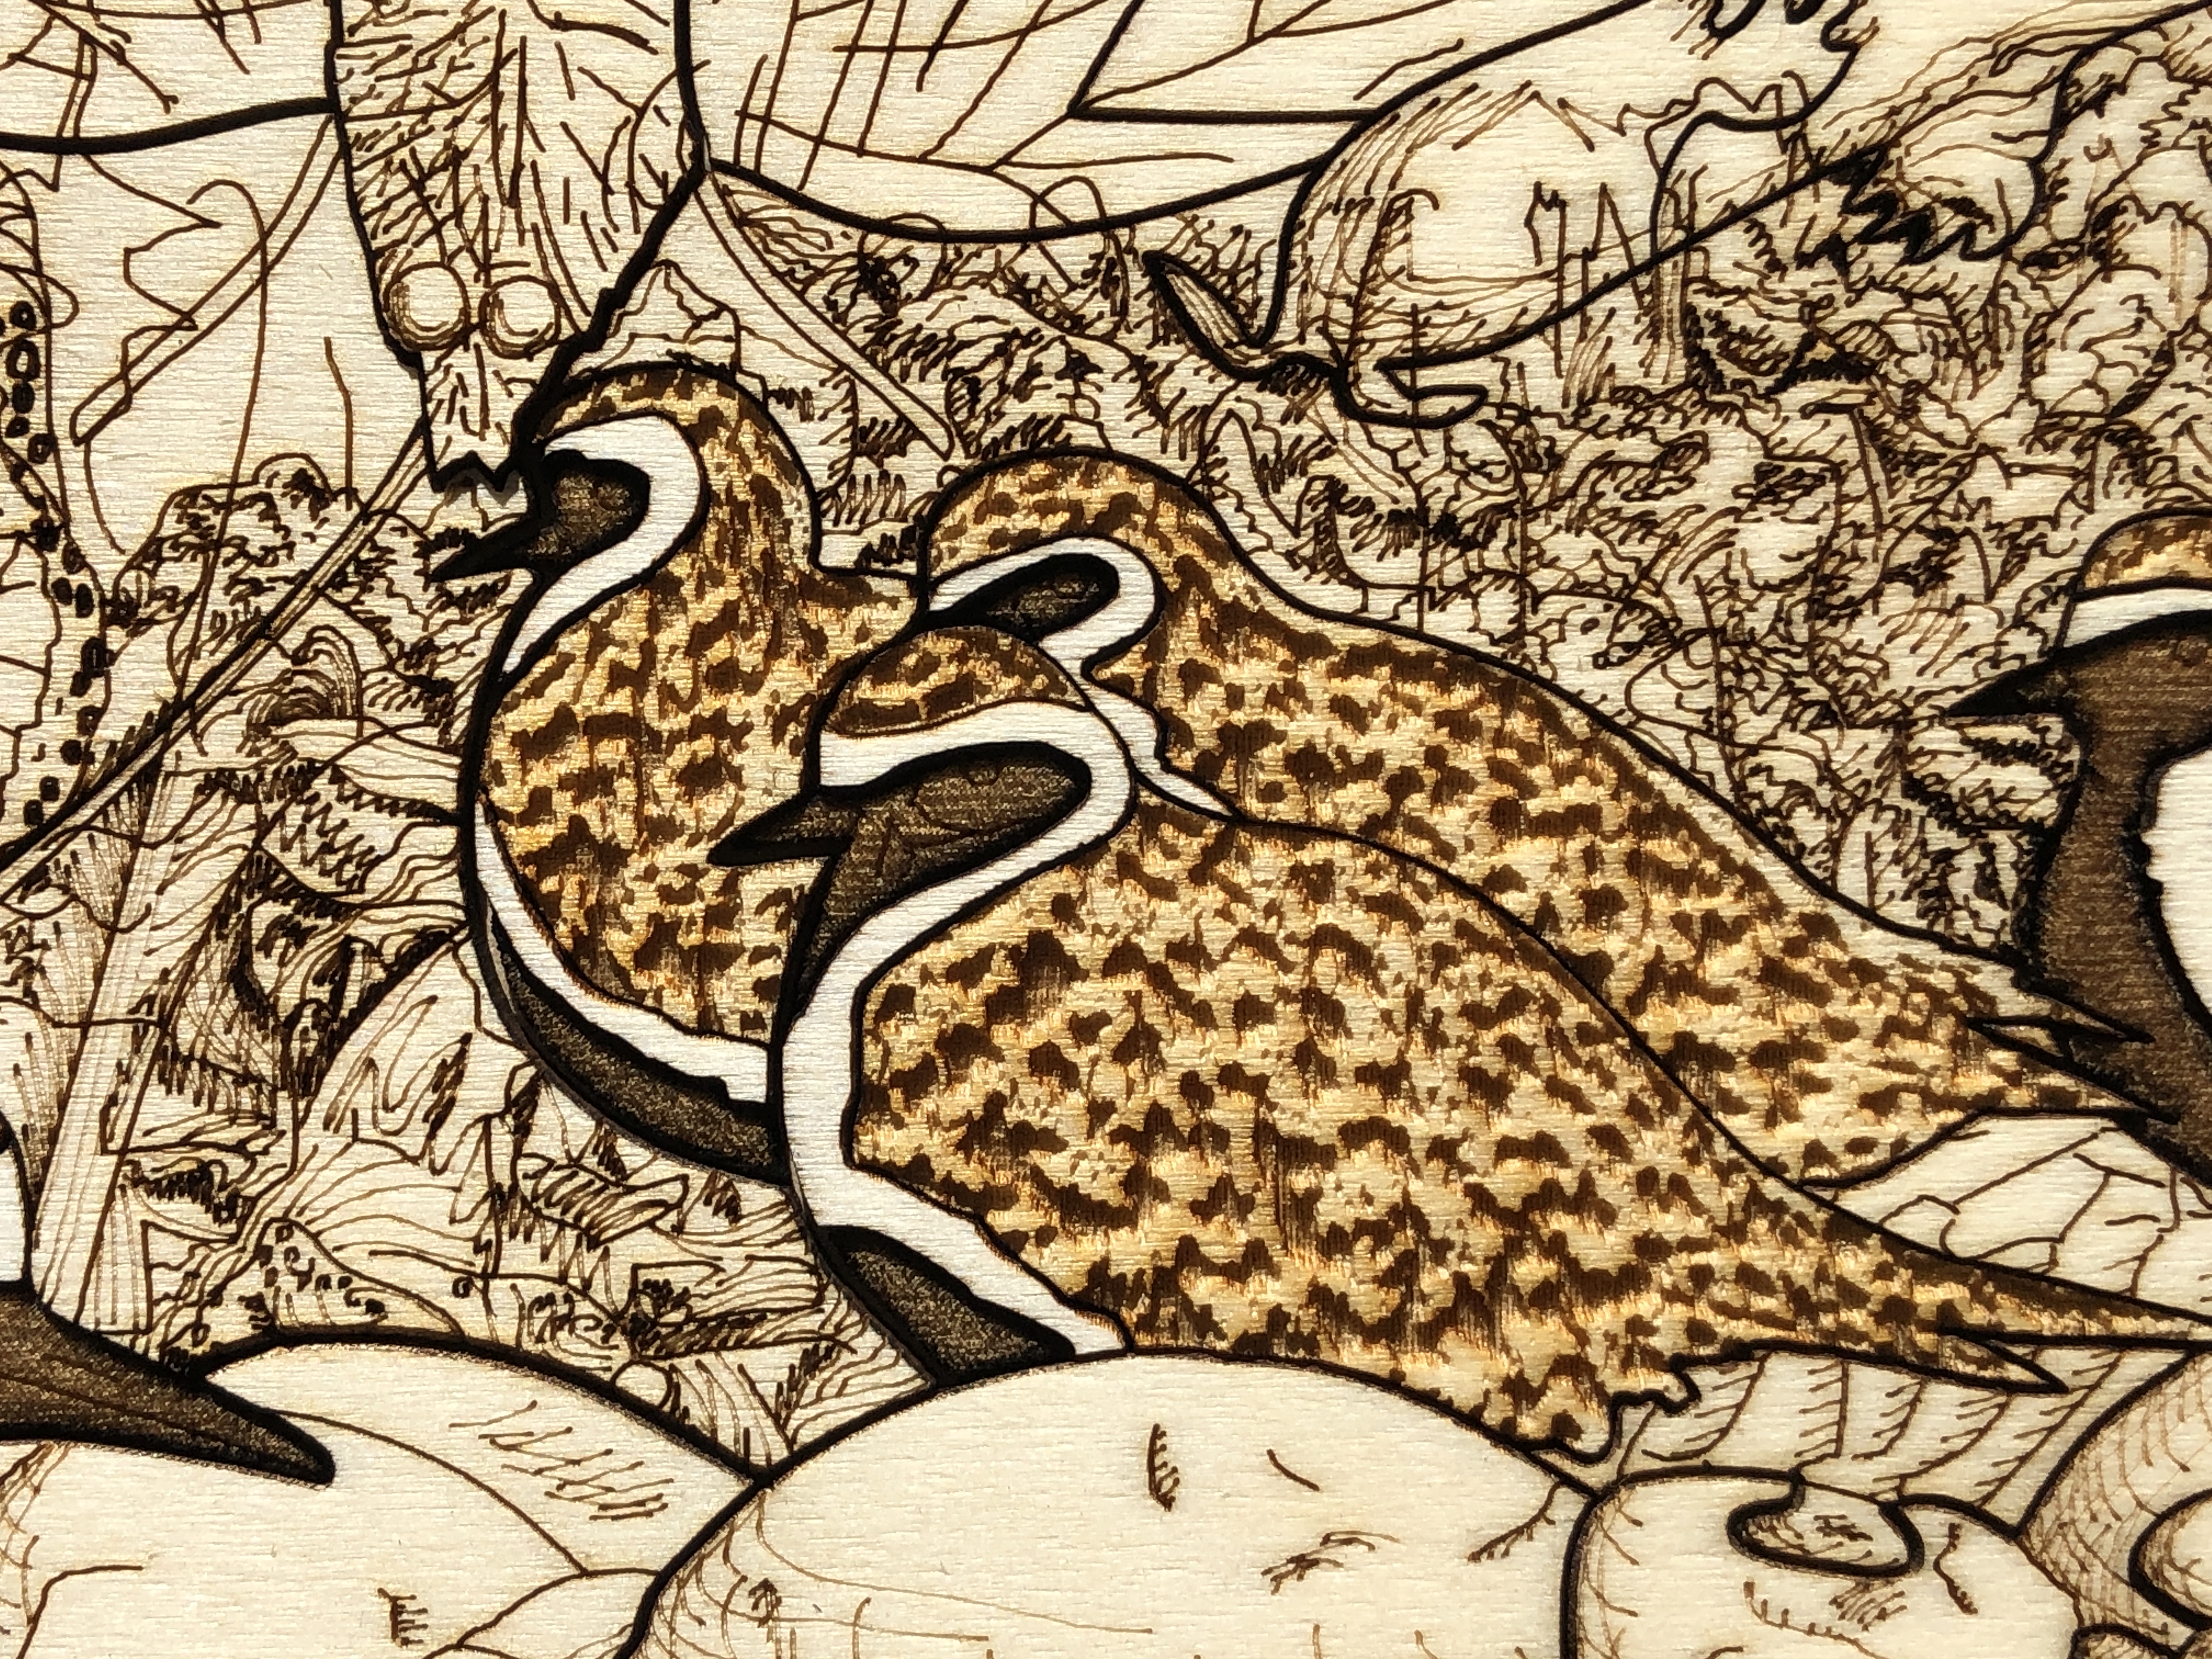
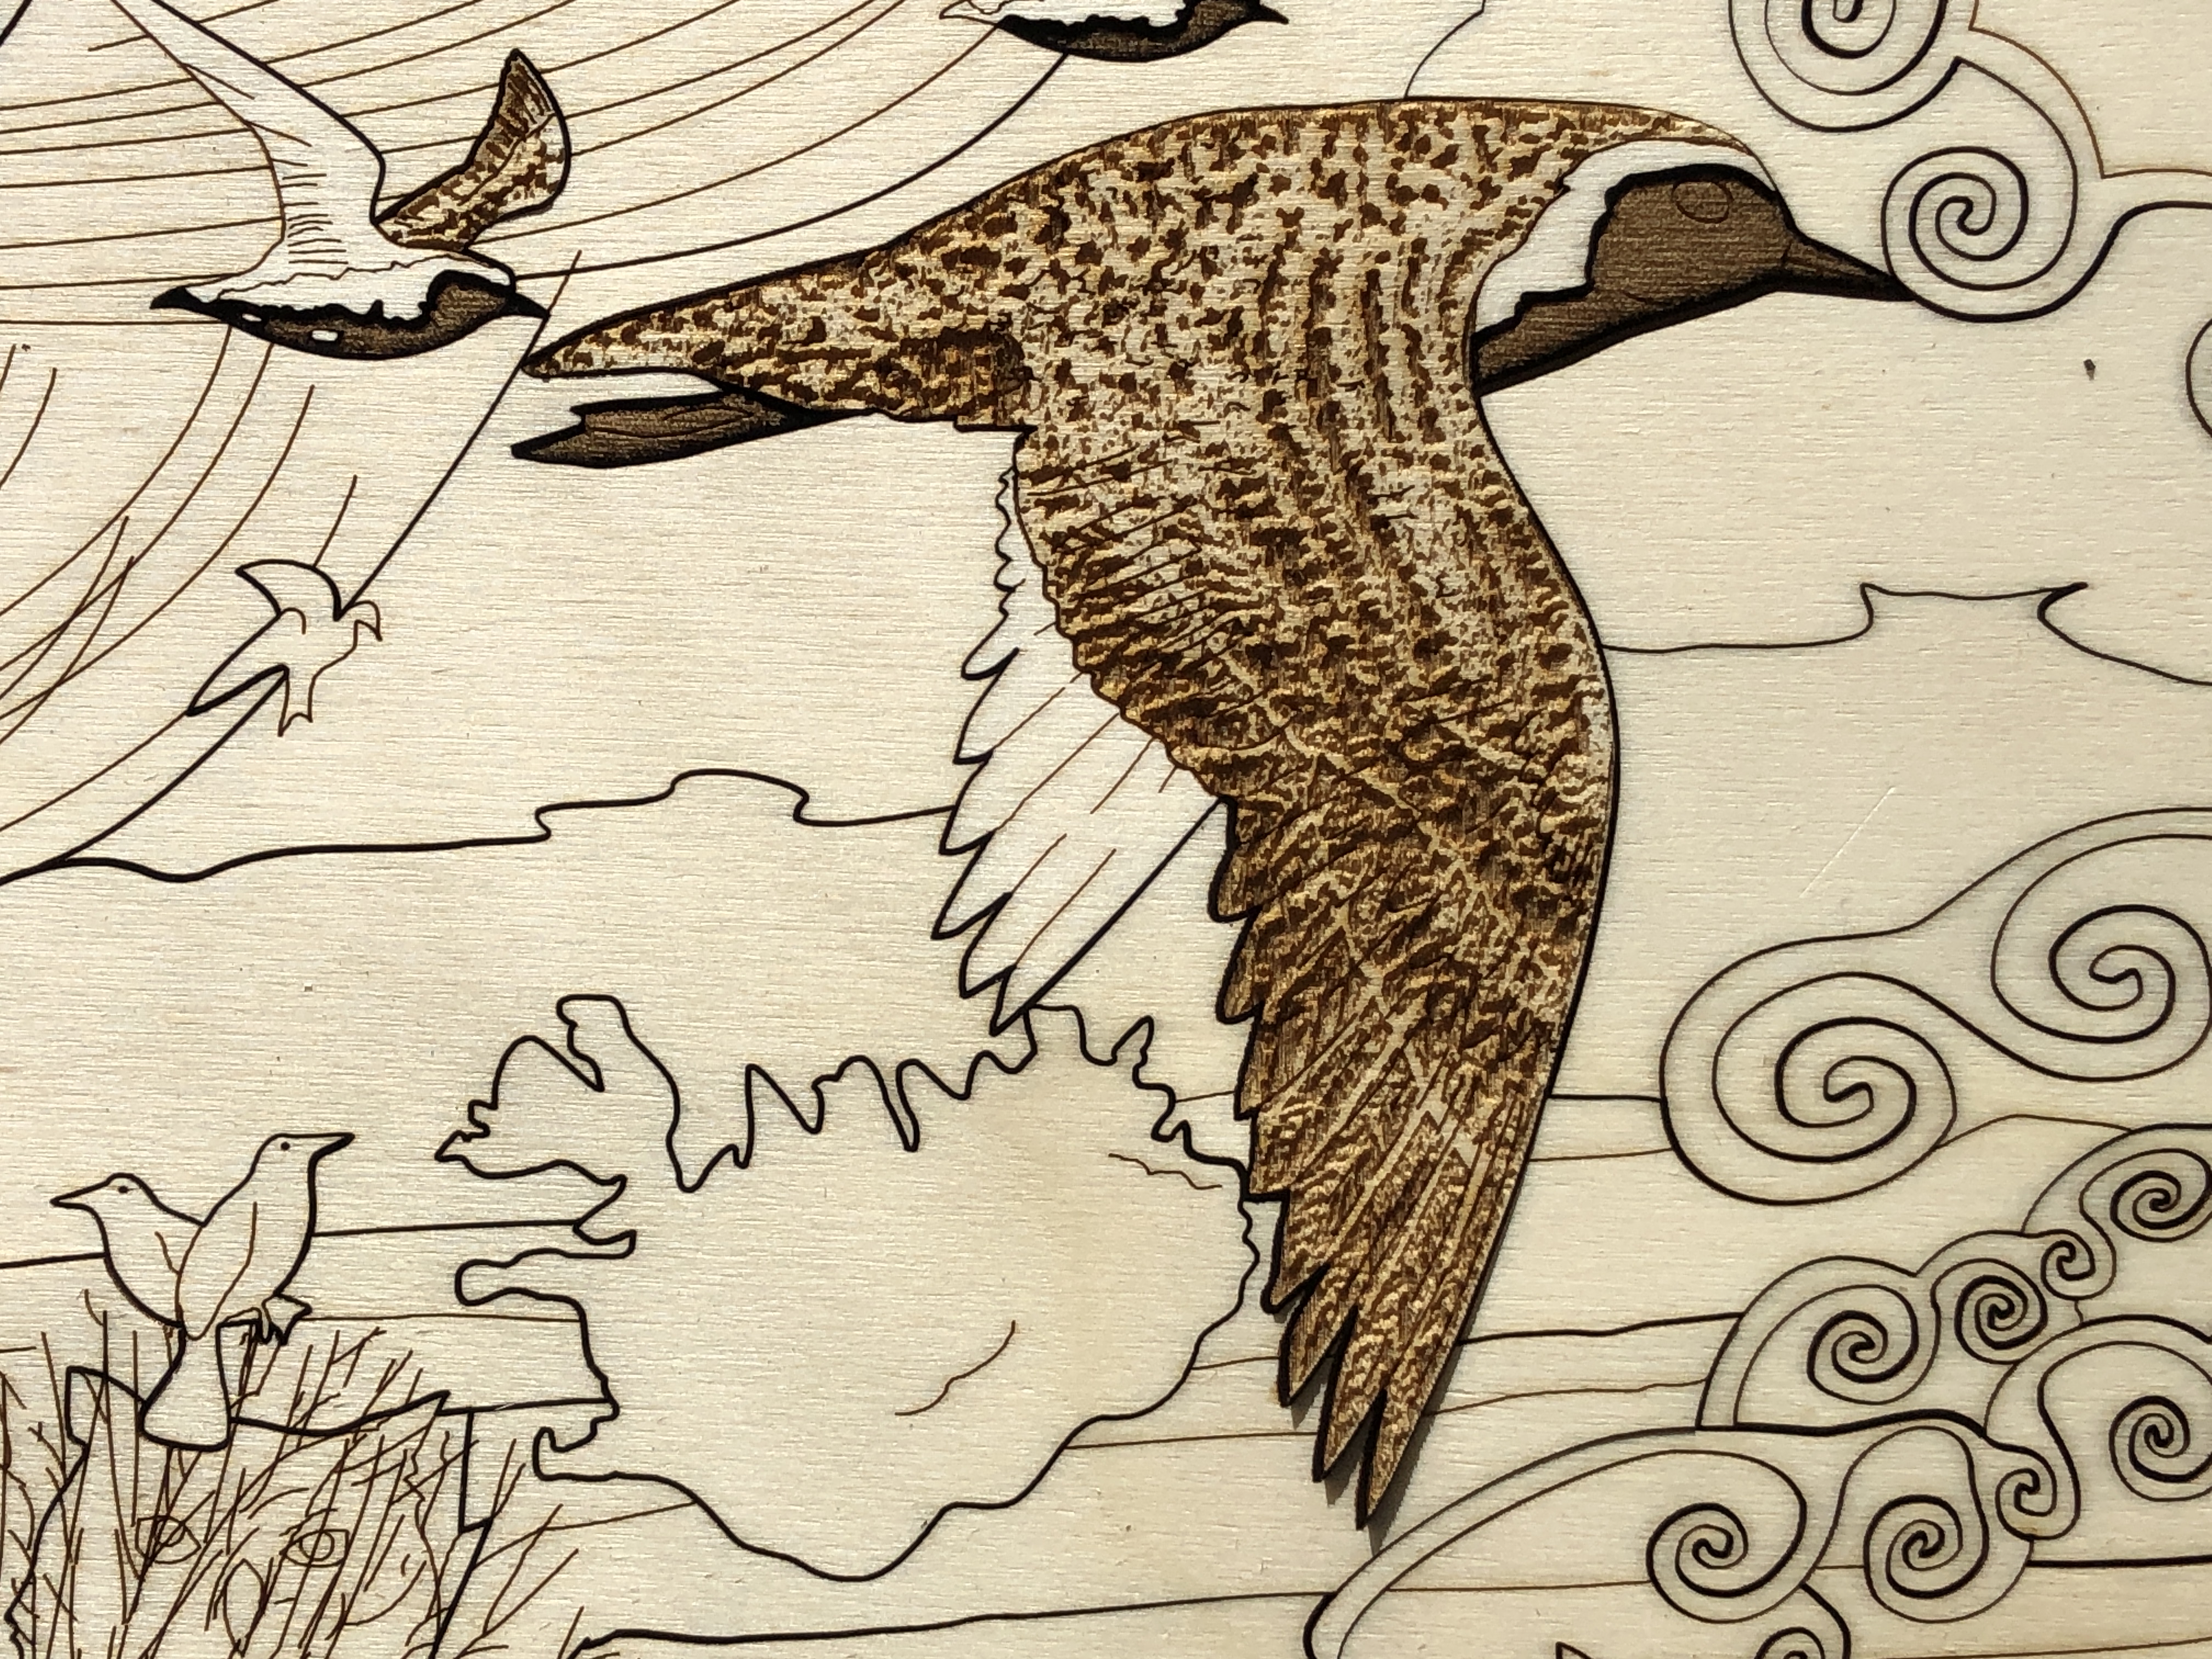
Detail showing a mix of cut lines, scoring, light scoring, and different types of engraving.
Also, I use the flattest, smoothest, least porous, best quality plywood I can (and do special preparations to achieve this – see below) – so I can achieve the subtle effects I’m looking for with the minimum of laser power (basically more power equals less precision).
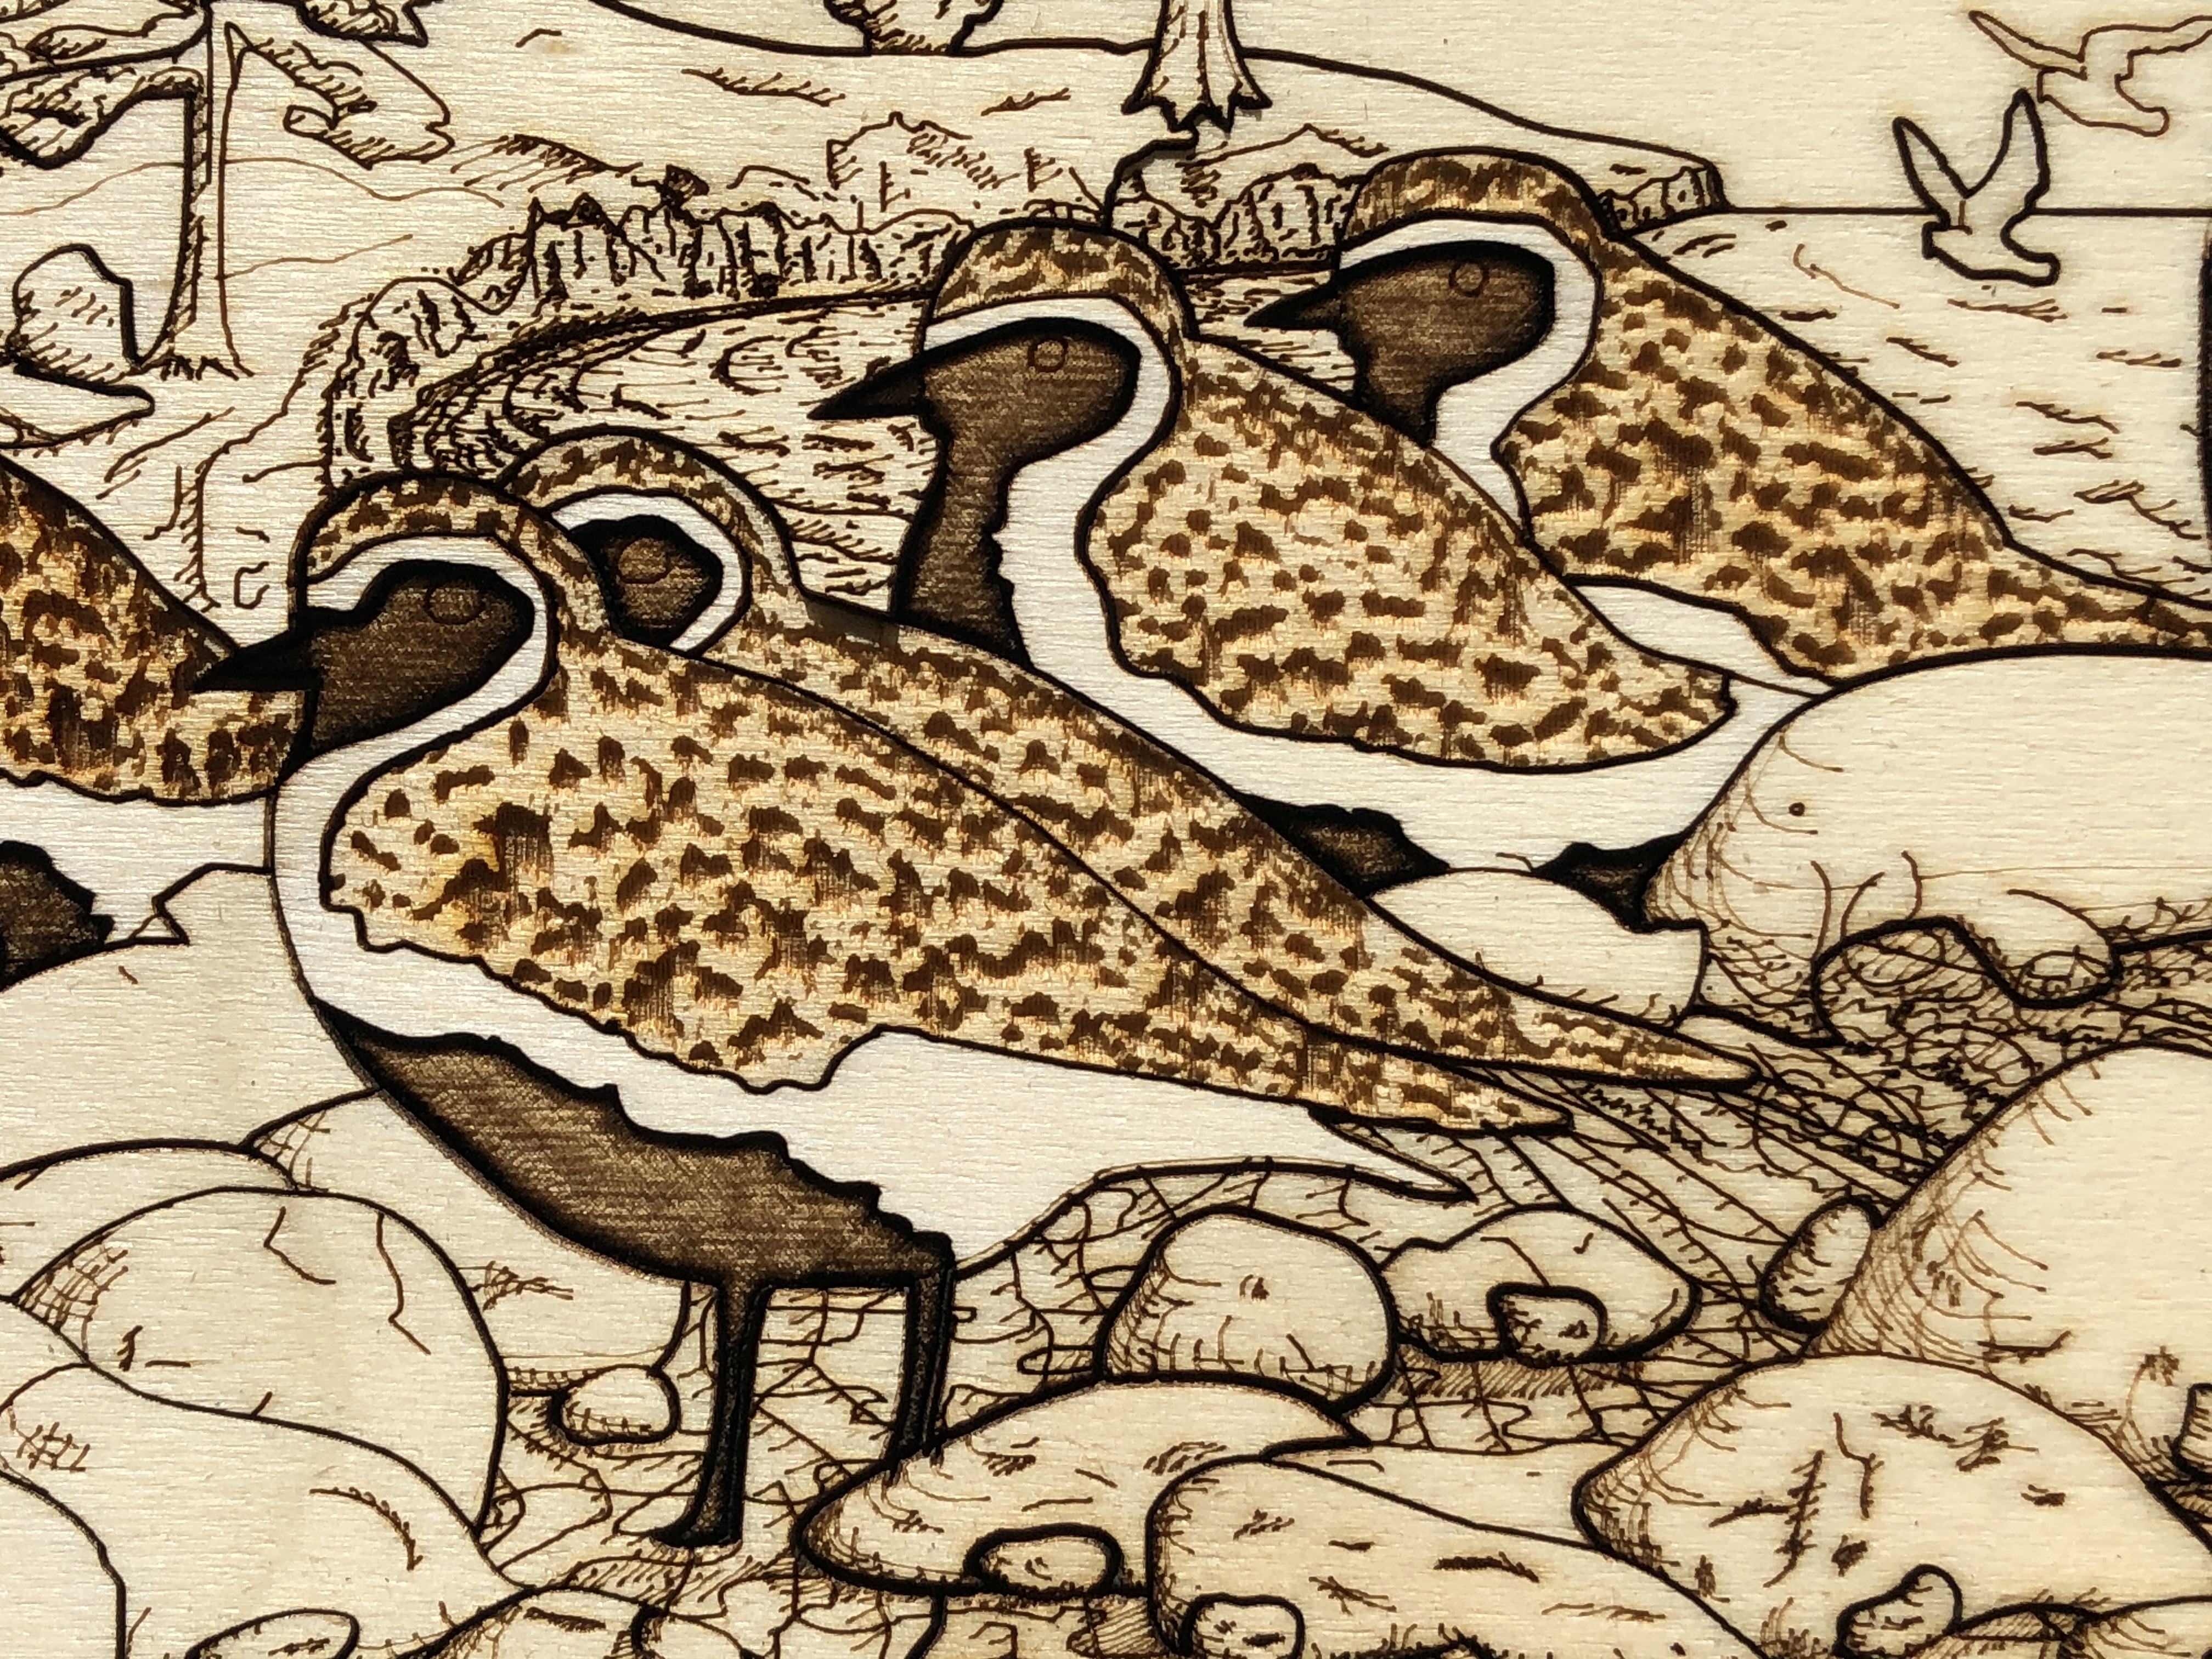
In this artwork I particularly wanted to reproduce, using light-burning alone, what is for me the three important colours of the golden plover in its magnificent summer plumage: the white fringe to their mainly black bellies, and especially the goldentones of their back – from where they get their name. So what is white in terms of lasering wood? It’s the absence of any burning and scorch marks on very pale, smooth, wood. But the crux of the matter is avoiding getting any discolouration/contamination in these areas – especially as they are sandwiched between very dark areas. It’s very hard to control smoke and scorch marks with lasers. It’s like the challenge of white in watercolour painting – where the white areas are usually the colour of the paper itself, the absence of paint – and in detailed areas masking is often used to exclude surrounding colour seeping into where it is not wanted.
These are the steps :-
Spray water on the raw plywood panels to raise the grain, let them dry.
Very fine (400 grit) orbit sand the dry plywood, wipe clean.
The plywood panels are then varnished and left to dry for up to three days (depending on time of year – humidity and temperature). This is to minimise the effects of laser burning and makes it easier to clean specific areas afterwards (see step 8).
The plywood panels are then flattened in a special press for several days.
A single plywood sheet is put in a custom-made flat panel laser bed holder (I designed).
The lasering itself takes a little over five hours on my 130W CO2 laser (for a single artwork). I do it in two steps because I find the results are better. Clean the “white” engraved areas (which I want as pale as possible) after engraving the “golden” areas – and before doing the black areas, scoring, and cuts.
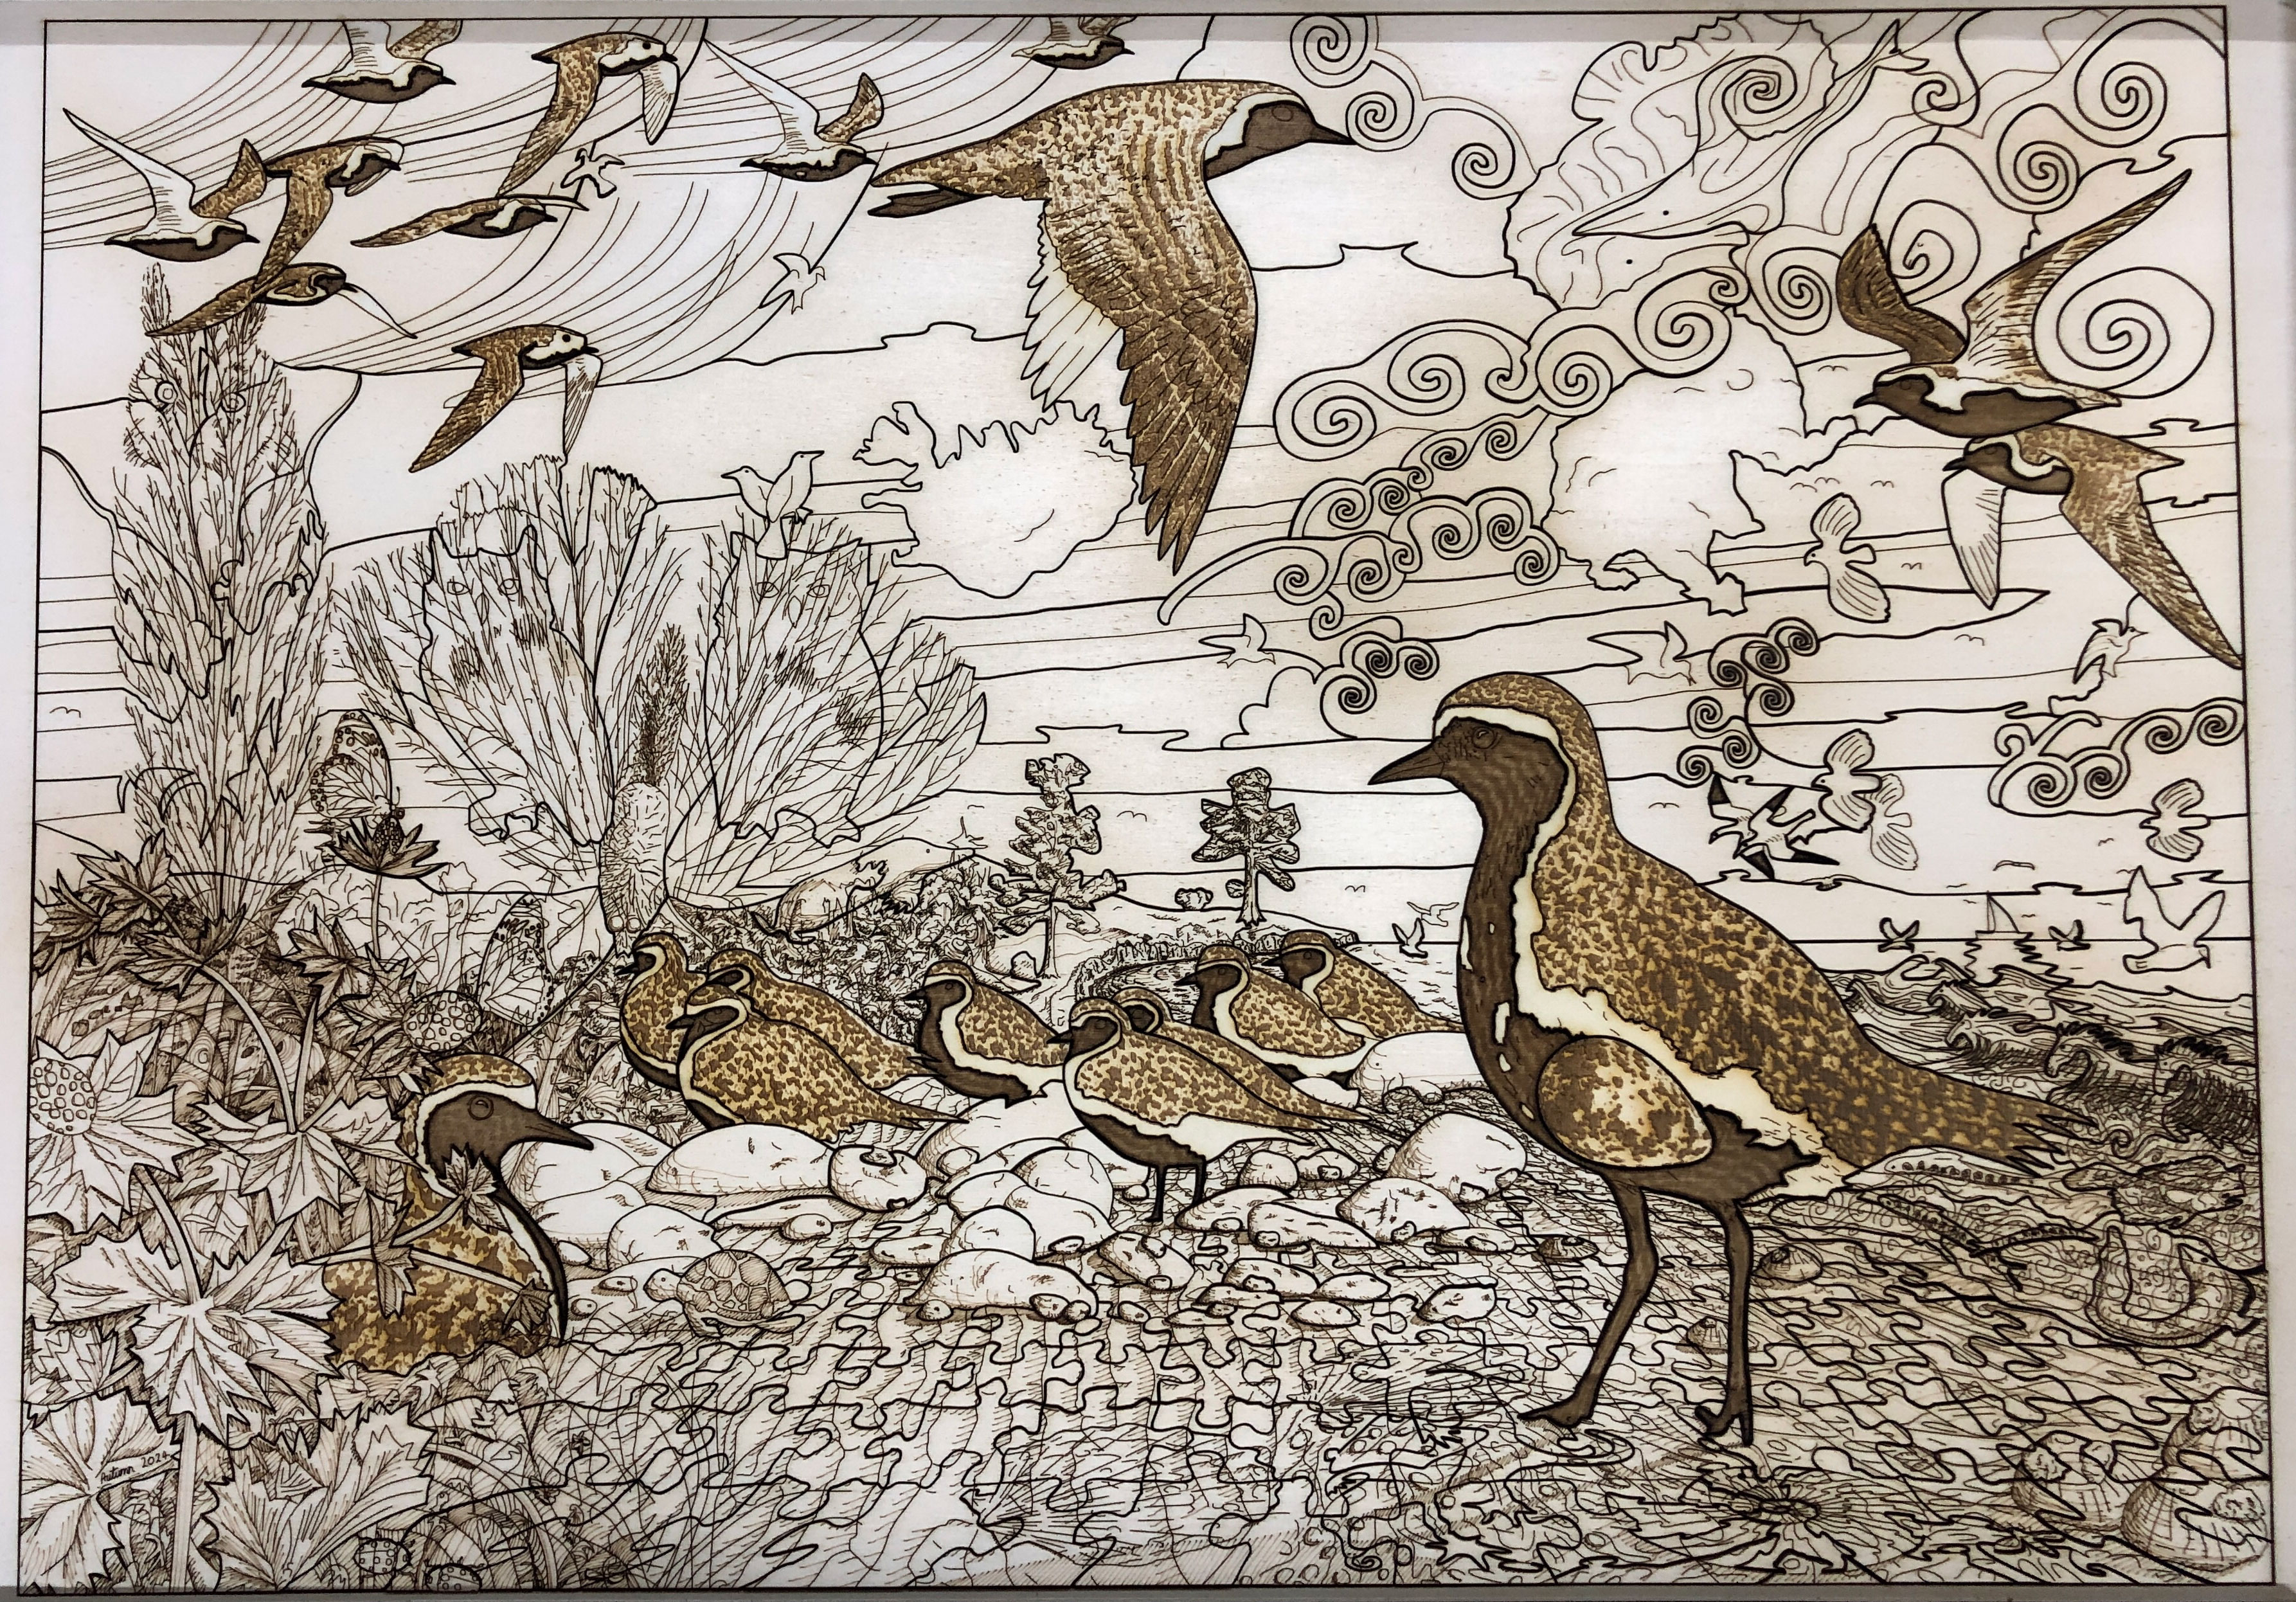
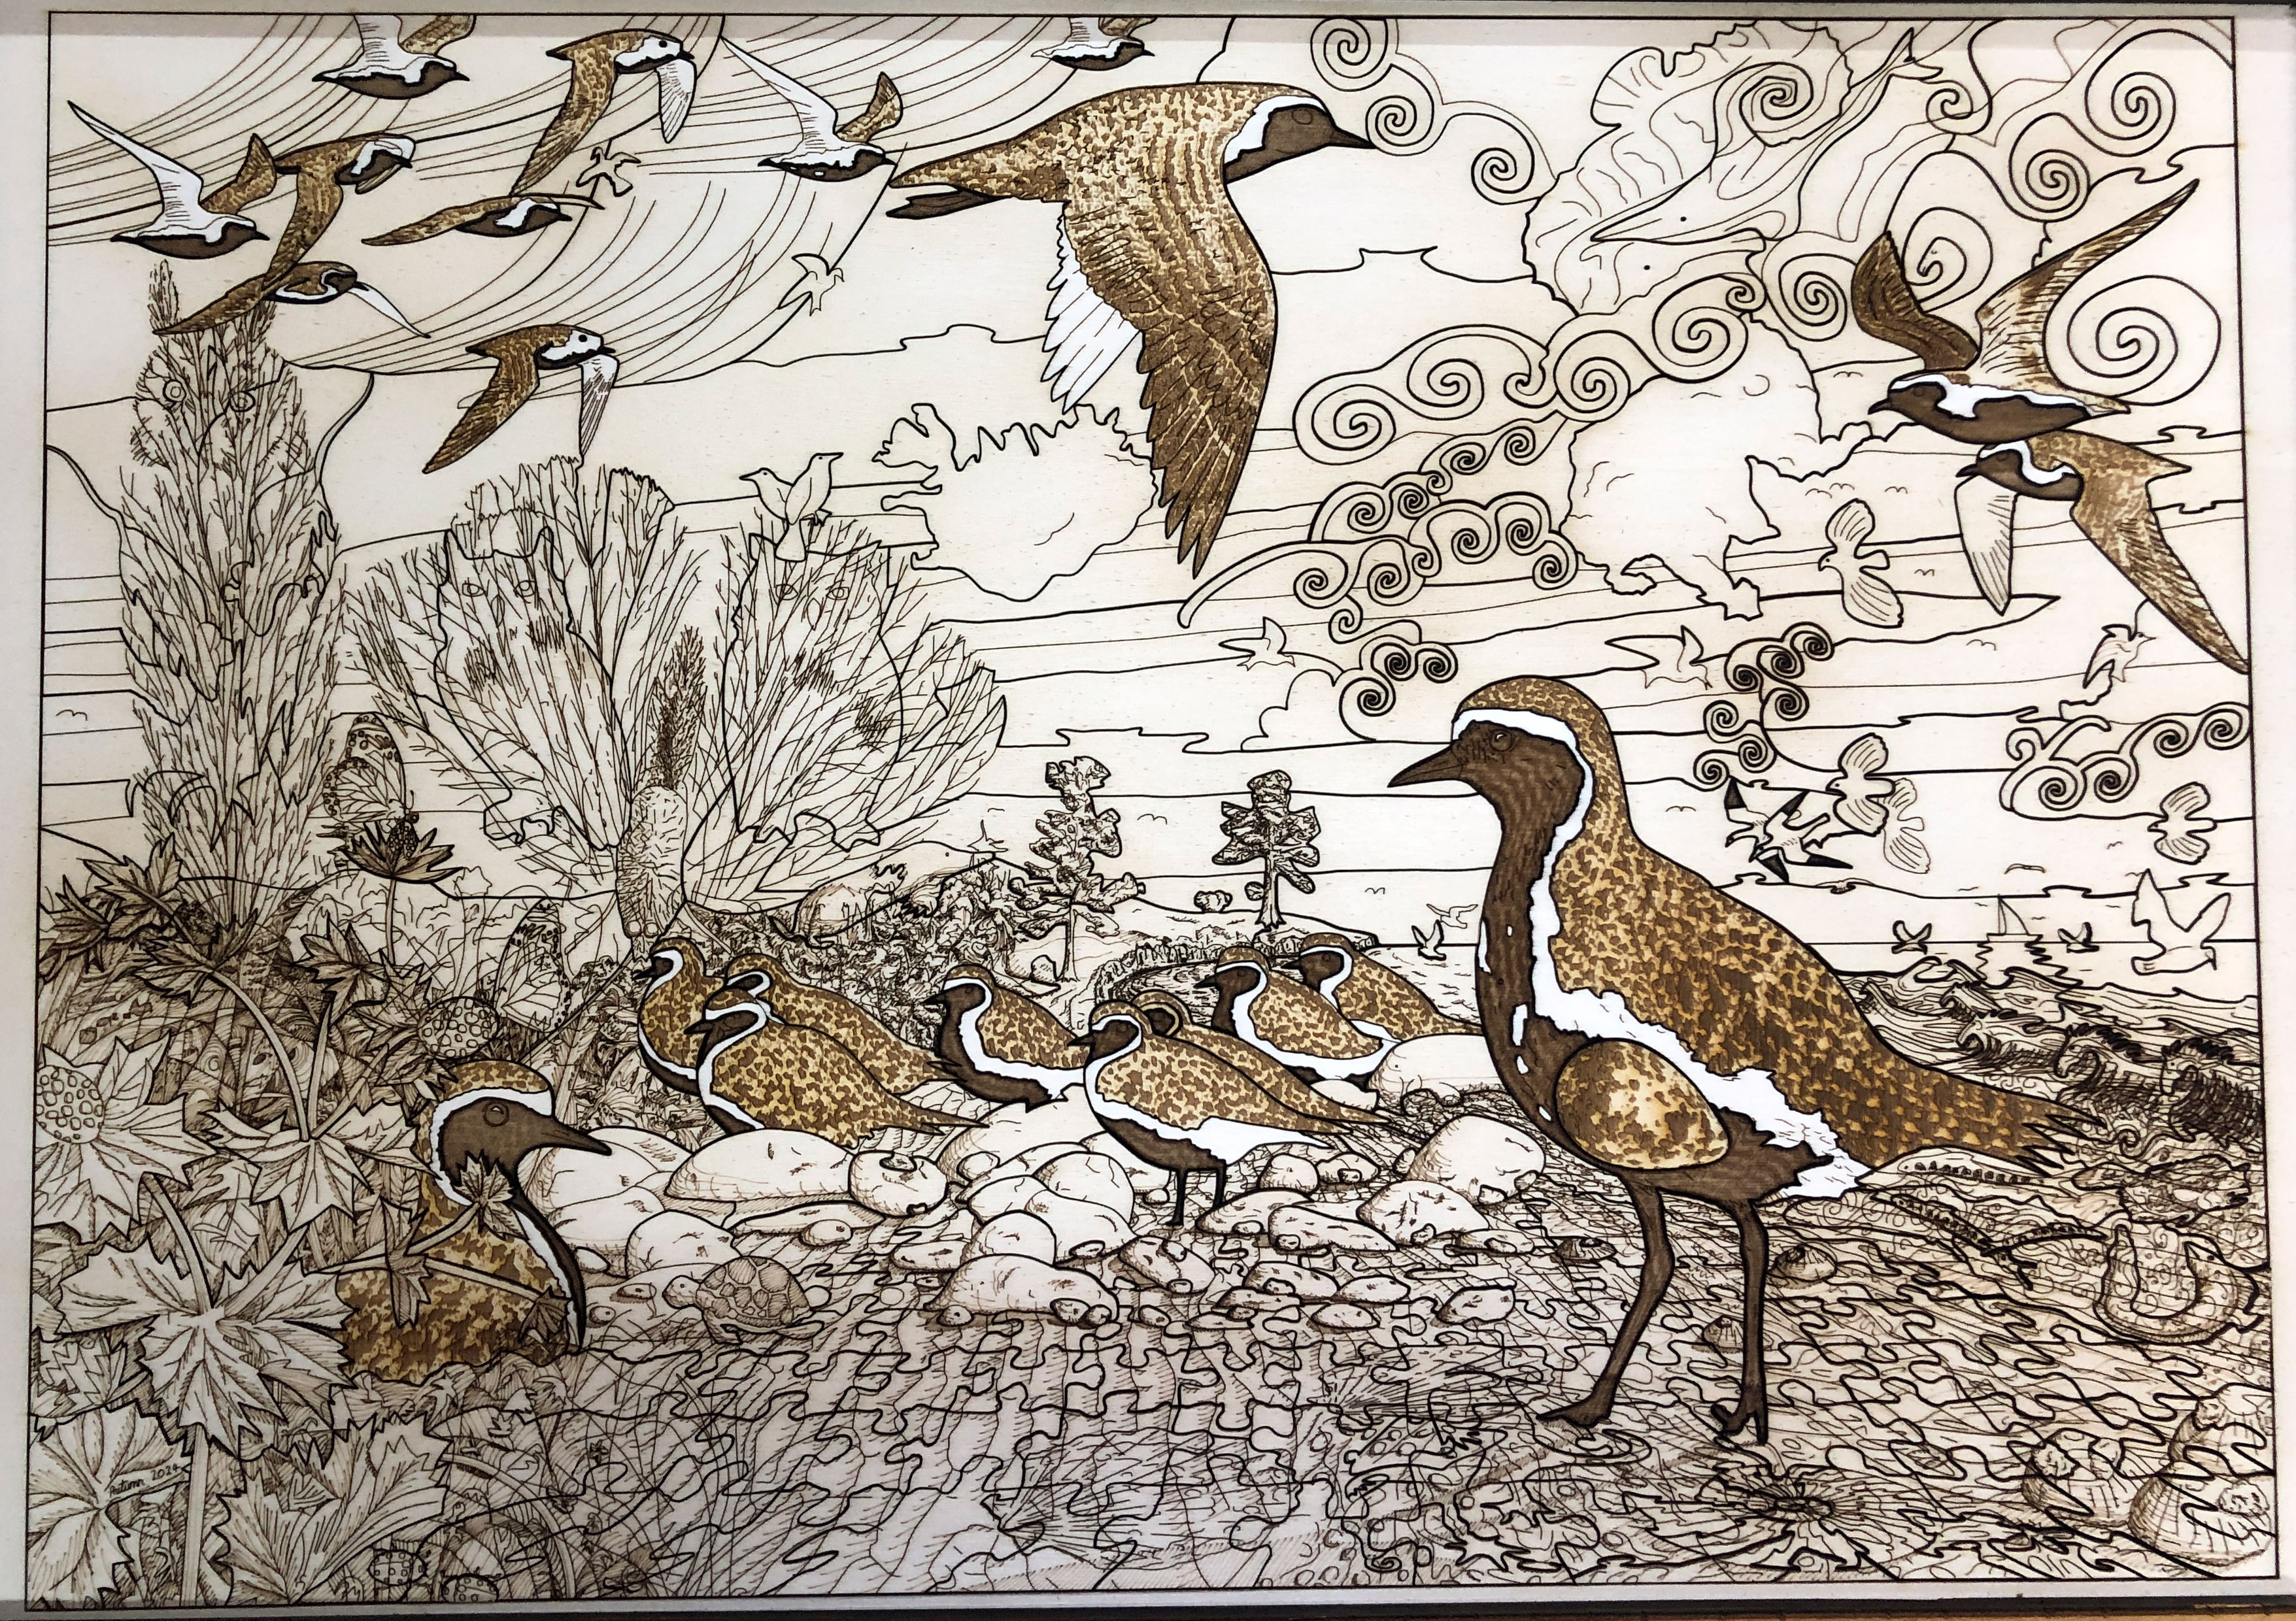
Step 1 – the “golden” areas. The following two images show the “golden” engraved areas before and after cleaning :-
Step 2 – the black engraving, scoring, and cuts.
After lasering, I do a detailed quality check. Wood, being organic with glued layers, varies from sheet to sheet – and some lasered artwork doesn’t make the grade – or needs fixing in some way.
Then very carefully lighten the brightest/whitest, most important areas (that have been darkened by smoke) with cotton swabs and a mild acid – to make them stand out better. This seems very much like an art-restoration process – like removing the old varnish from an old masterpiece – to restore the original colours! (But I only do certain areas to make them stand out – not the whole thing.) This takes me about an hour and a half. The difference is subtle, but vital to me. It is the difference between a mechanically produced piece of art and a true piece of art I’m happy with.
The following two images show before and after selected cleaning (notice how the white margins of the golden plovers stand out better after this second cleaning) :-
The artwork then gets a final varnishing and left to dry for up to three days. This is especially important to protect the newly exposed wood surfaces.
I use pyrography to number each piece in the limited edition.
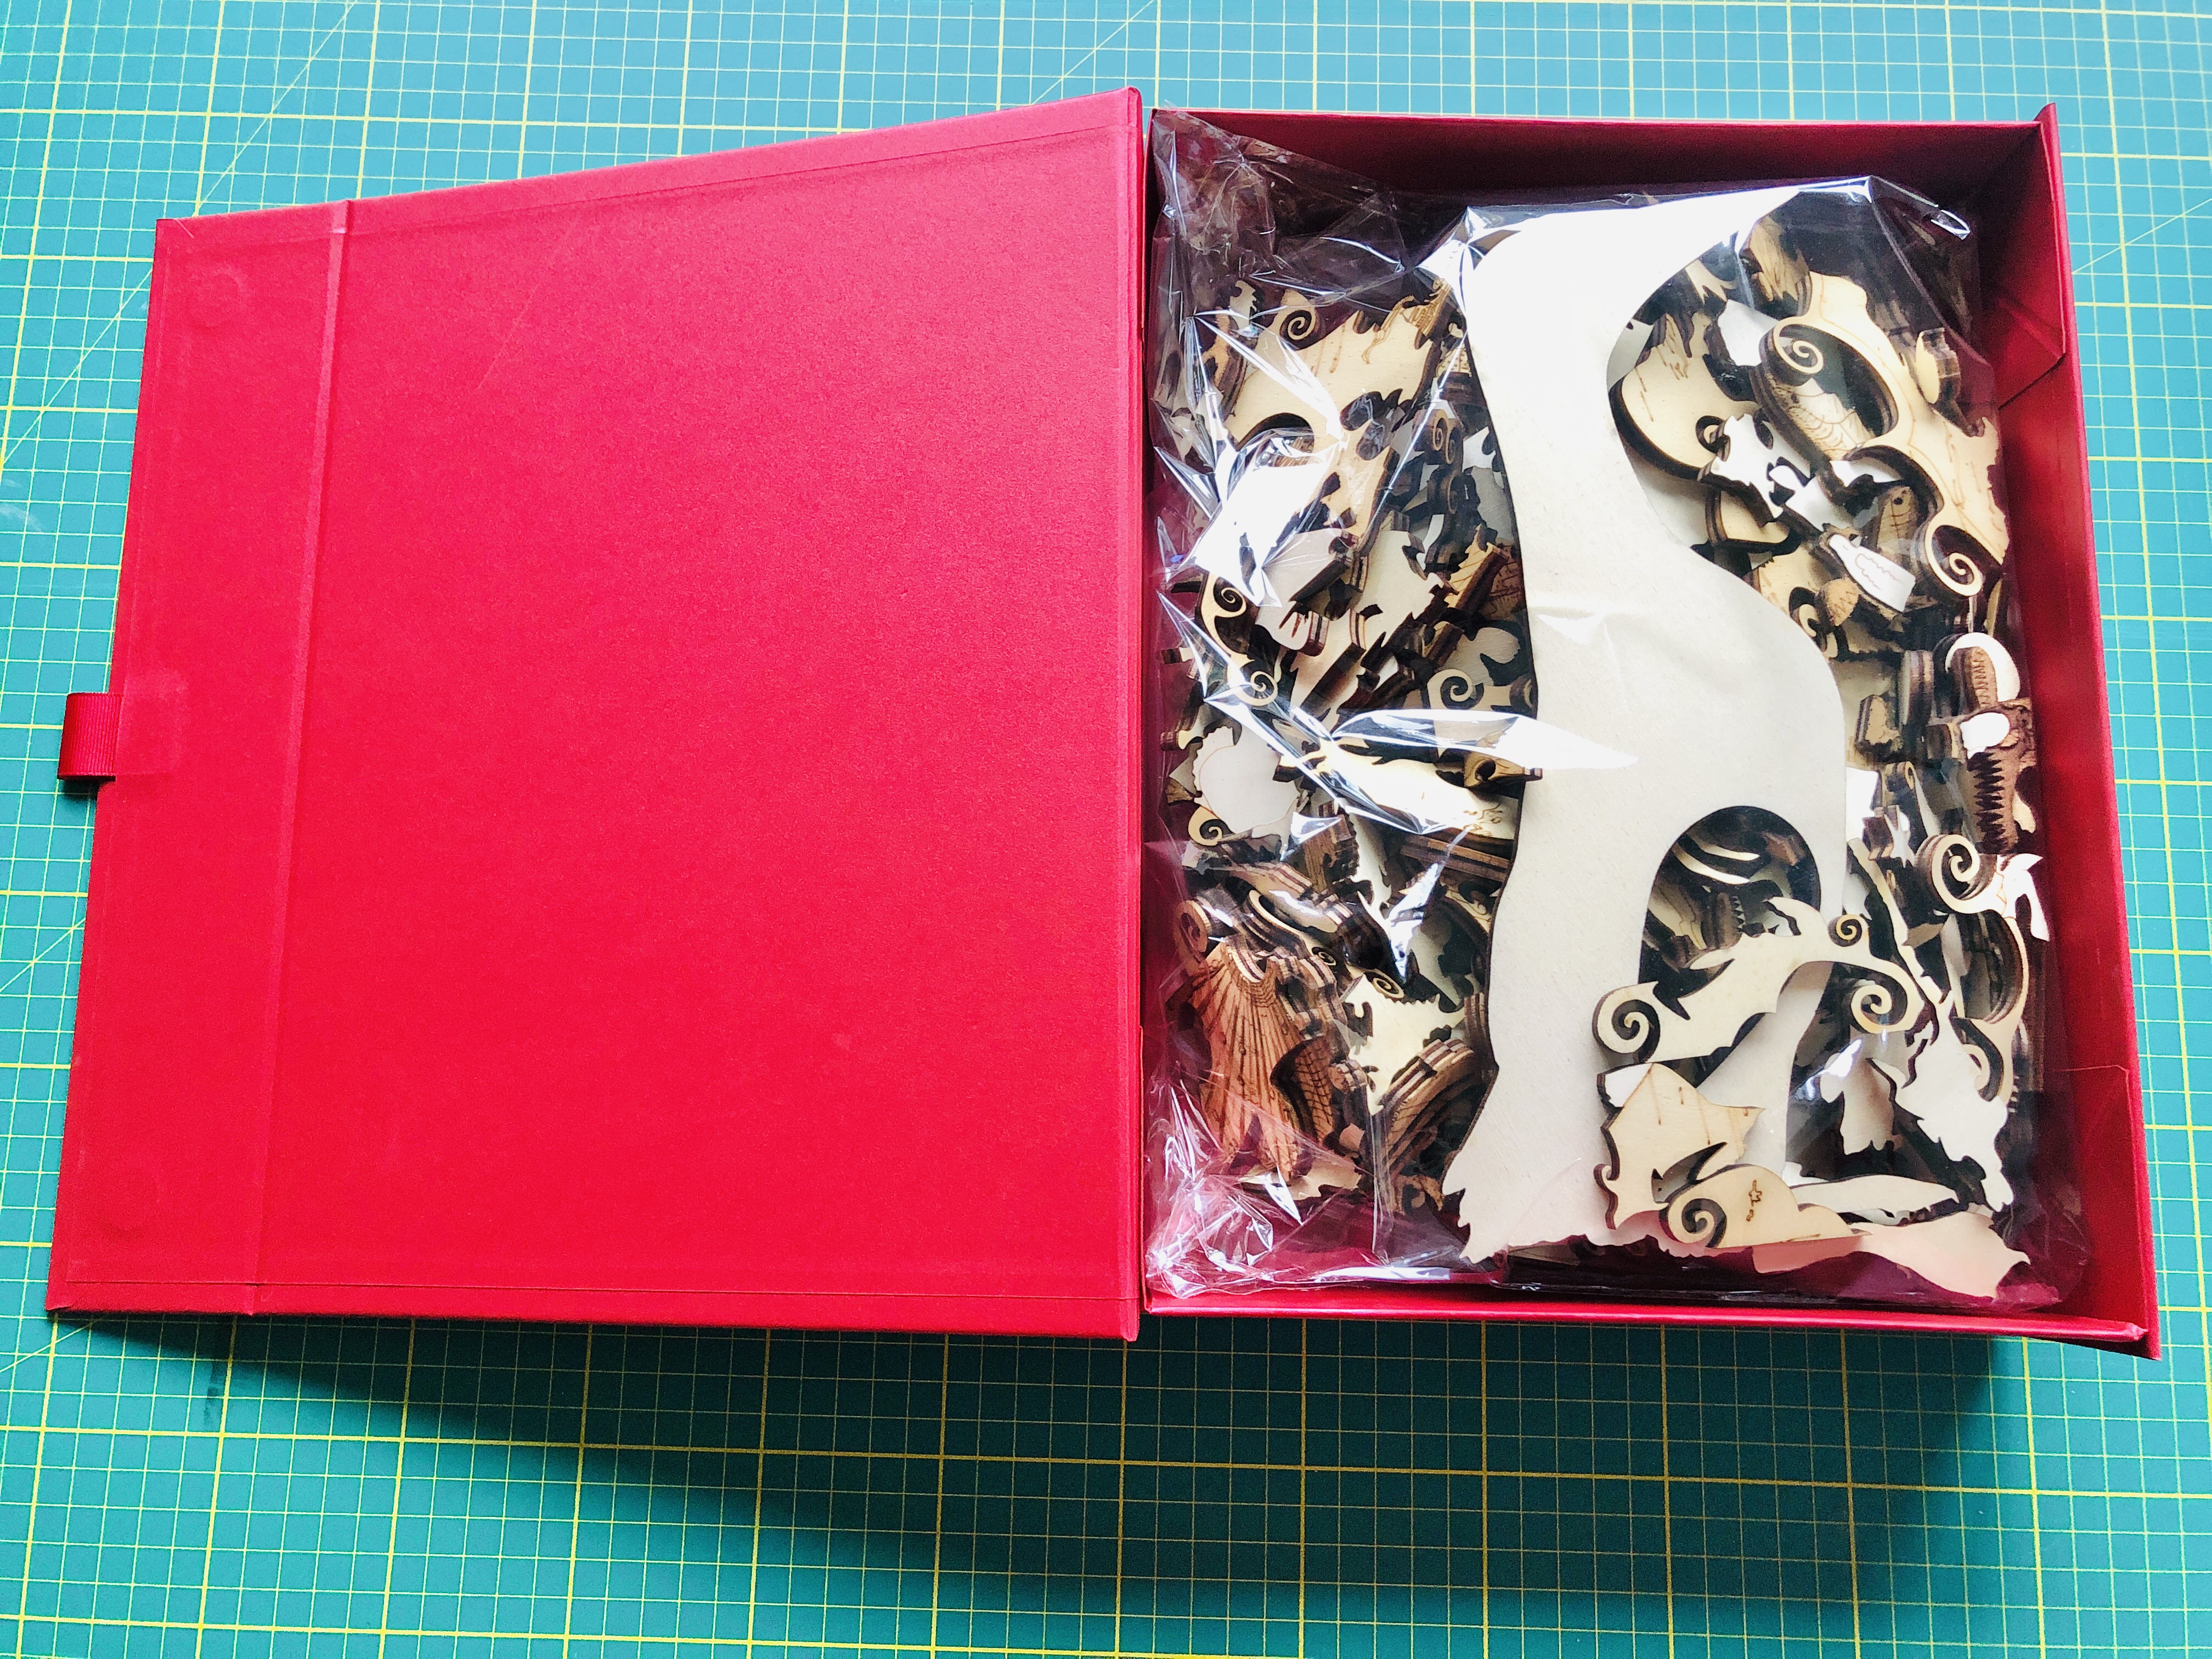
The special display mounts – with a selection of pieces cut of in order to highlight the work is in fact a puzzle – and not simply a drawing – are individually laser cut out of high quality mount board. This takes my precision laser about 40 minutes.
Finally I frame the artwork to using museum materials and techniques. I use anti-reflective, 99% UV filtering, ultra clear museum-grade glass to provide maximum protection to the piece.
I think the final work shows that lasers can be used to make real art – and are capable of very fine control – as much as lithographic printing, silk-screen printing, wood-block printing, lino-printing. Like any tool, the best results come with experience, knowledge, perseverance, patience, and finding ways around the natural limitations of the medium…
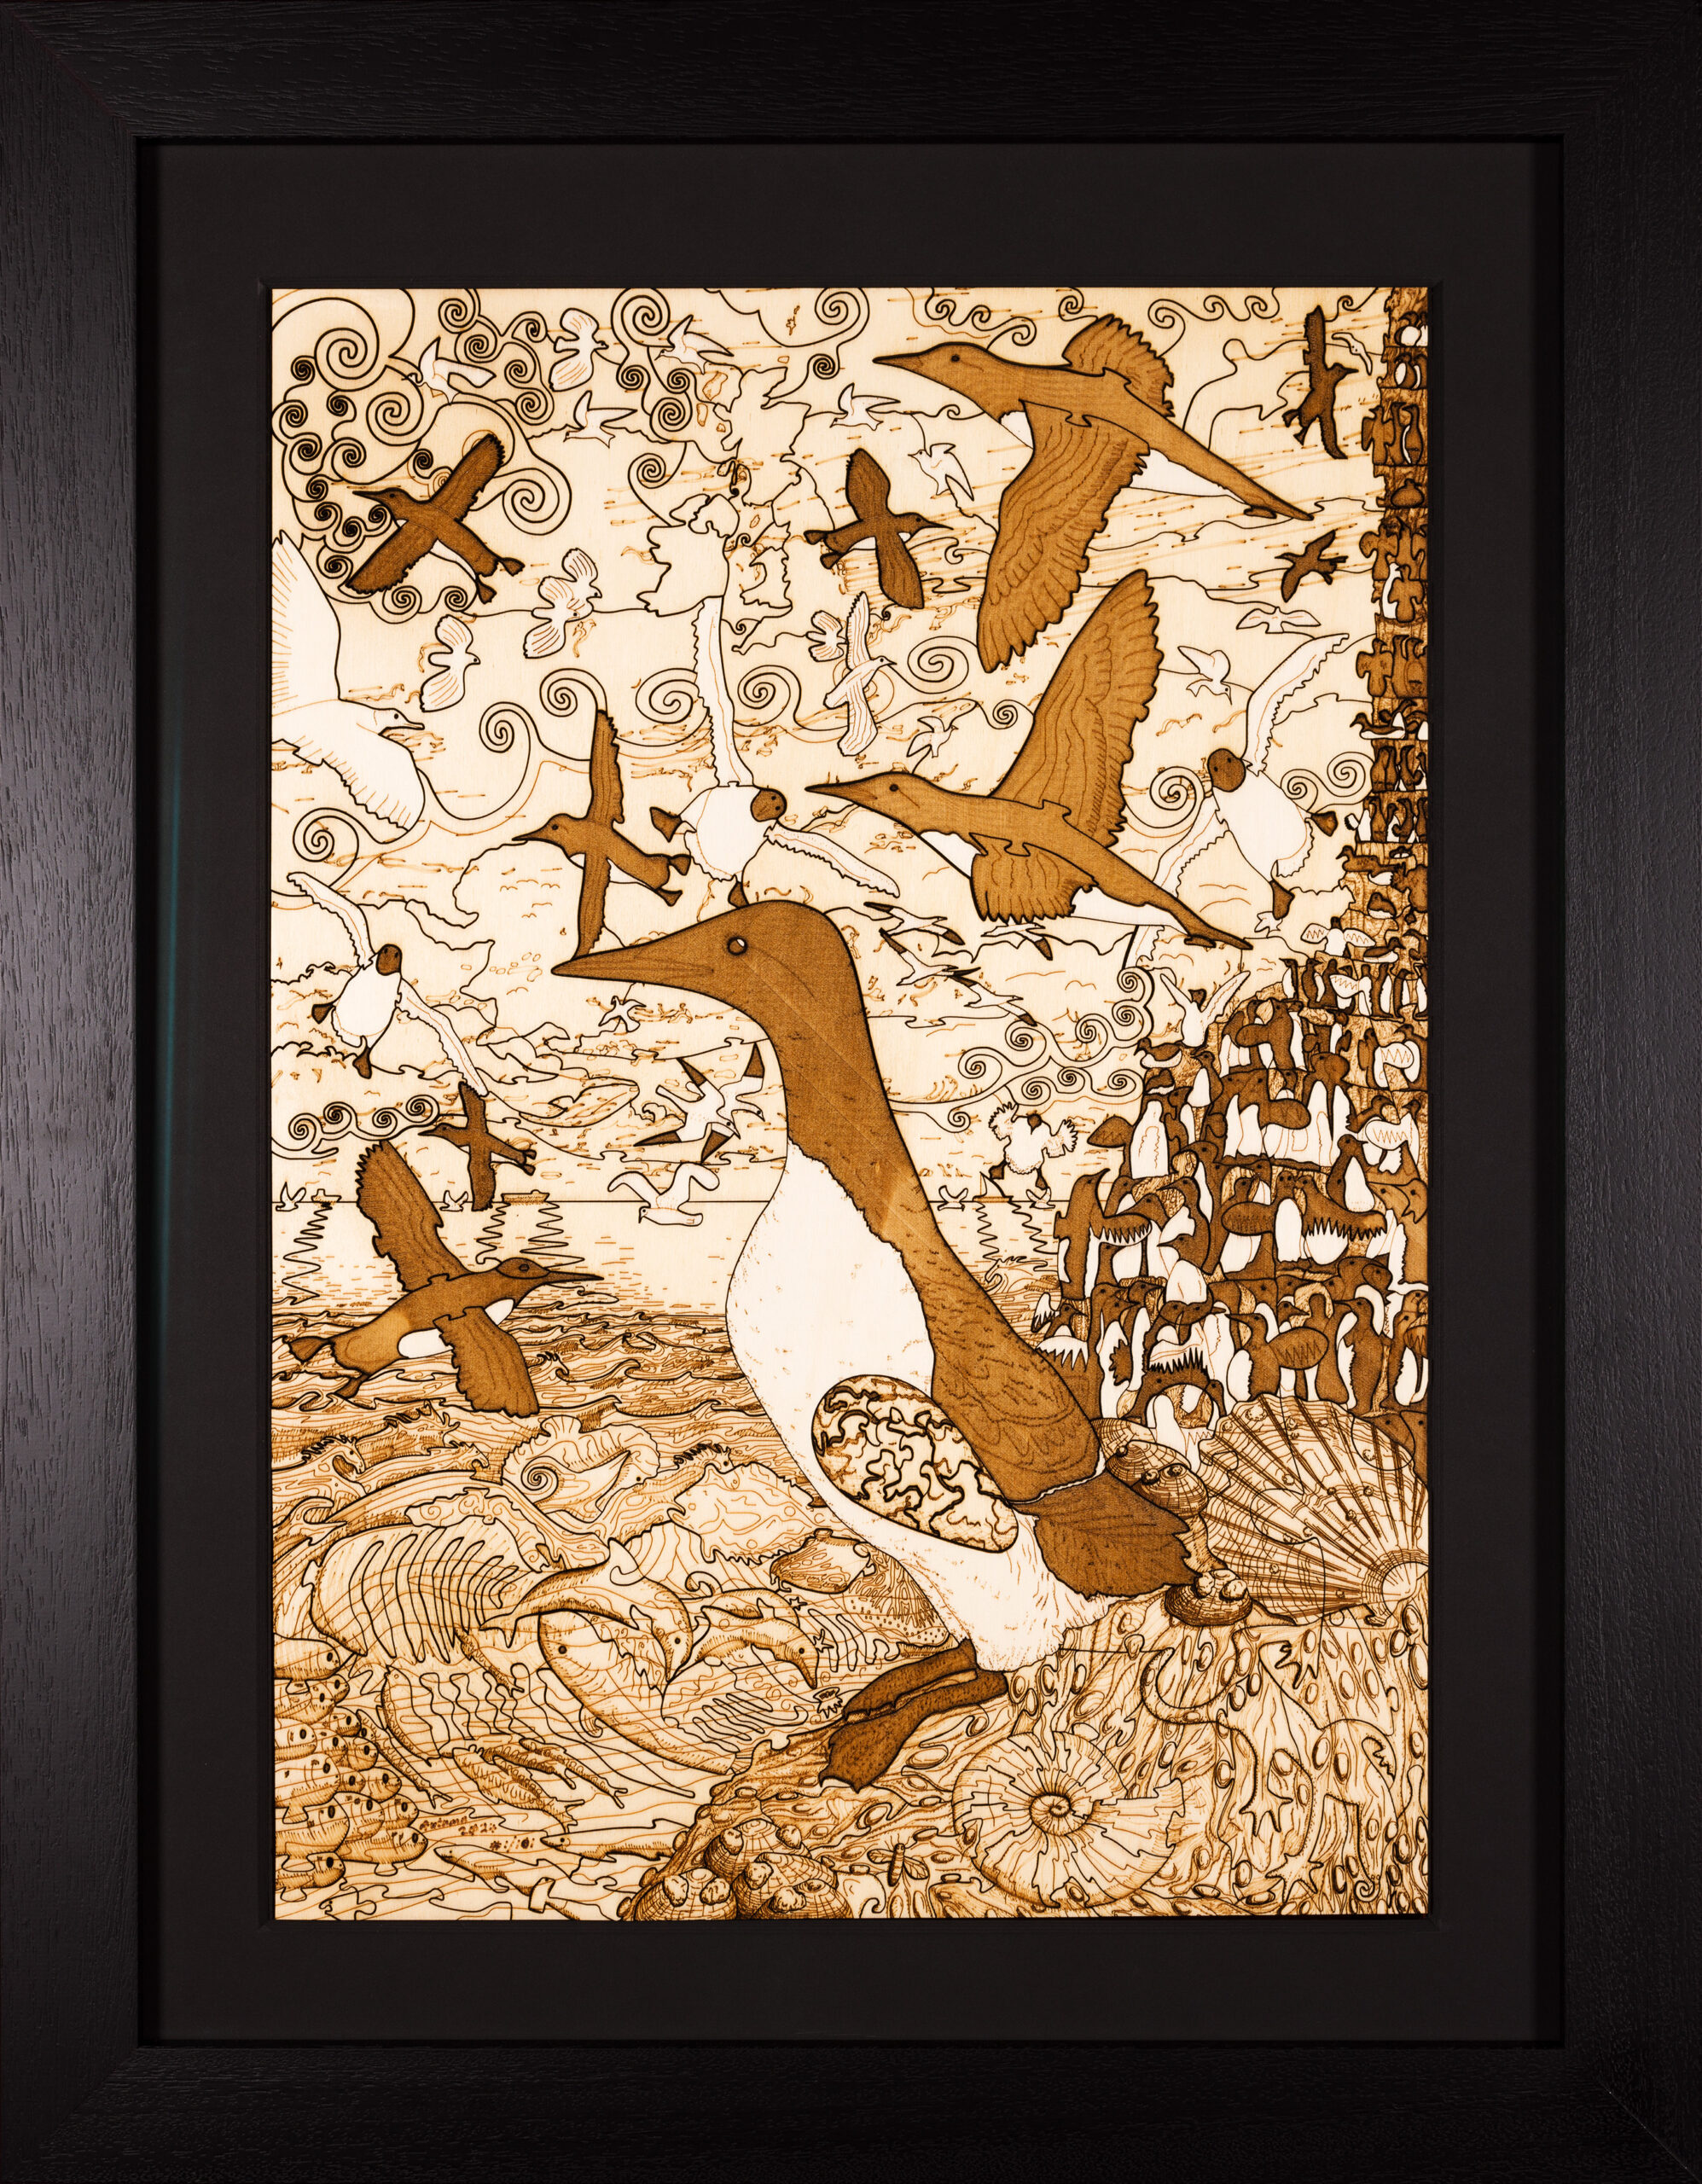
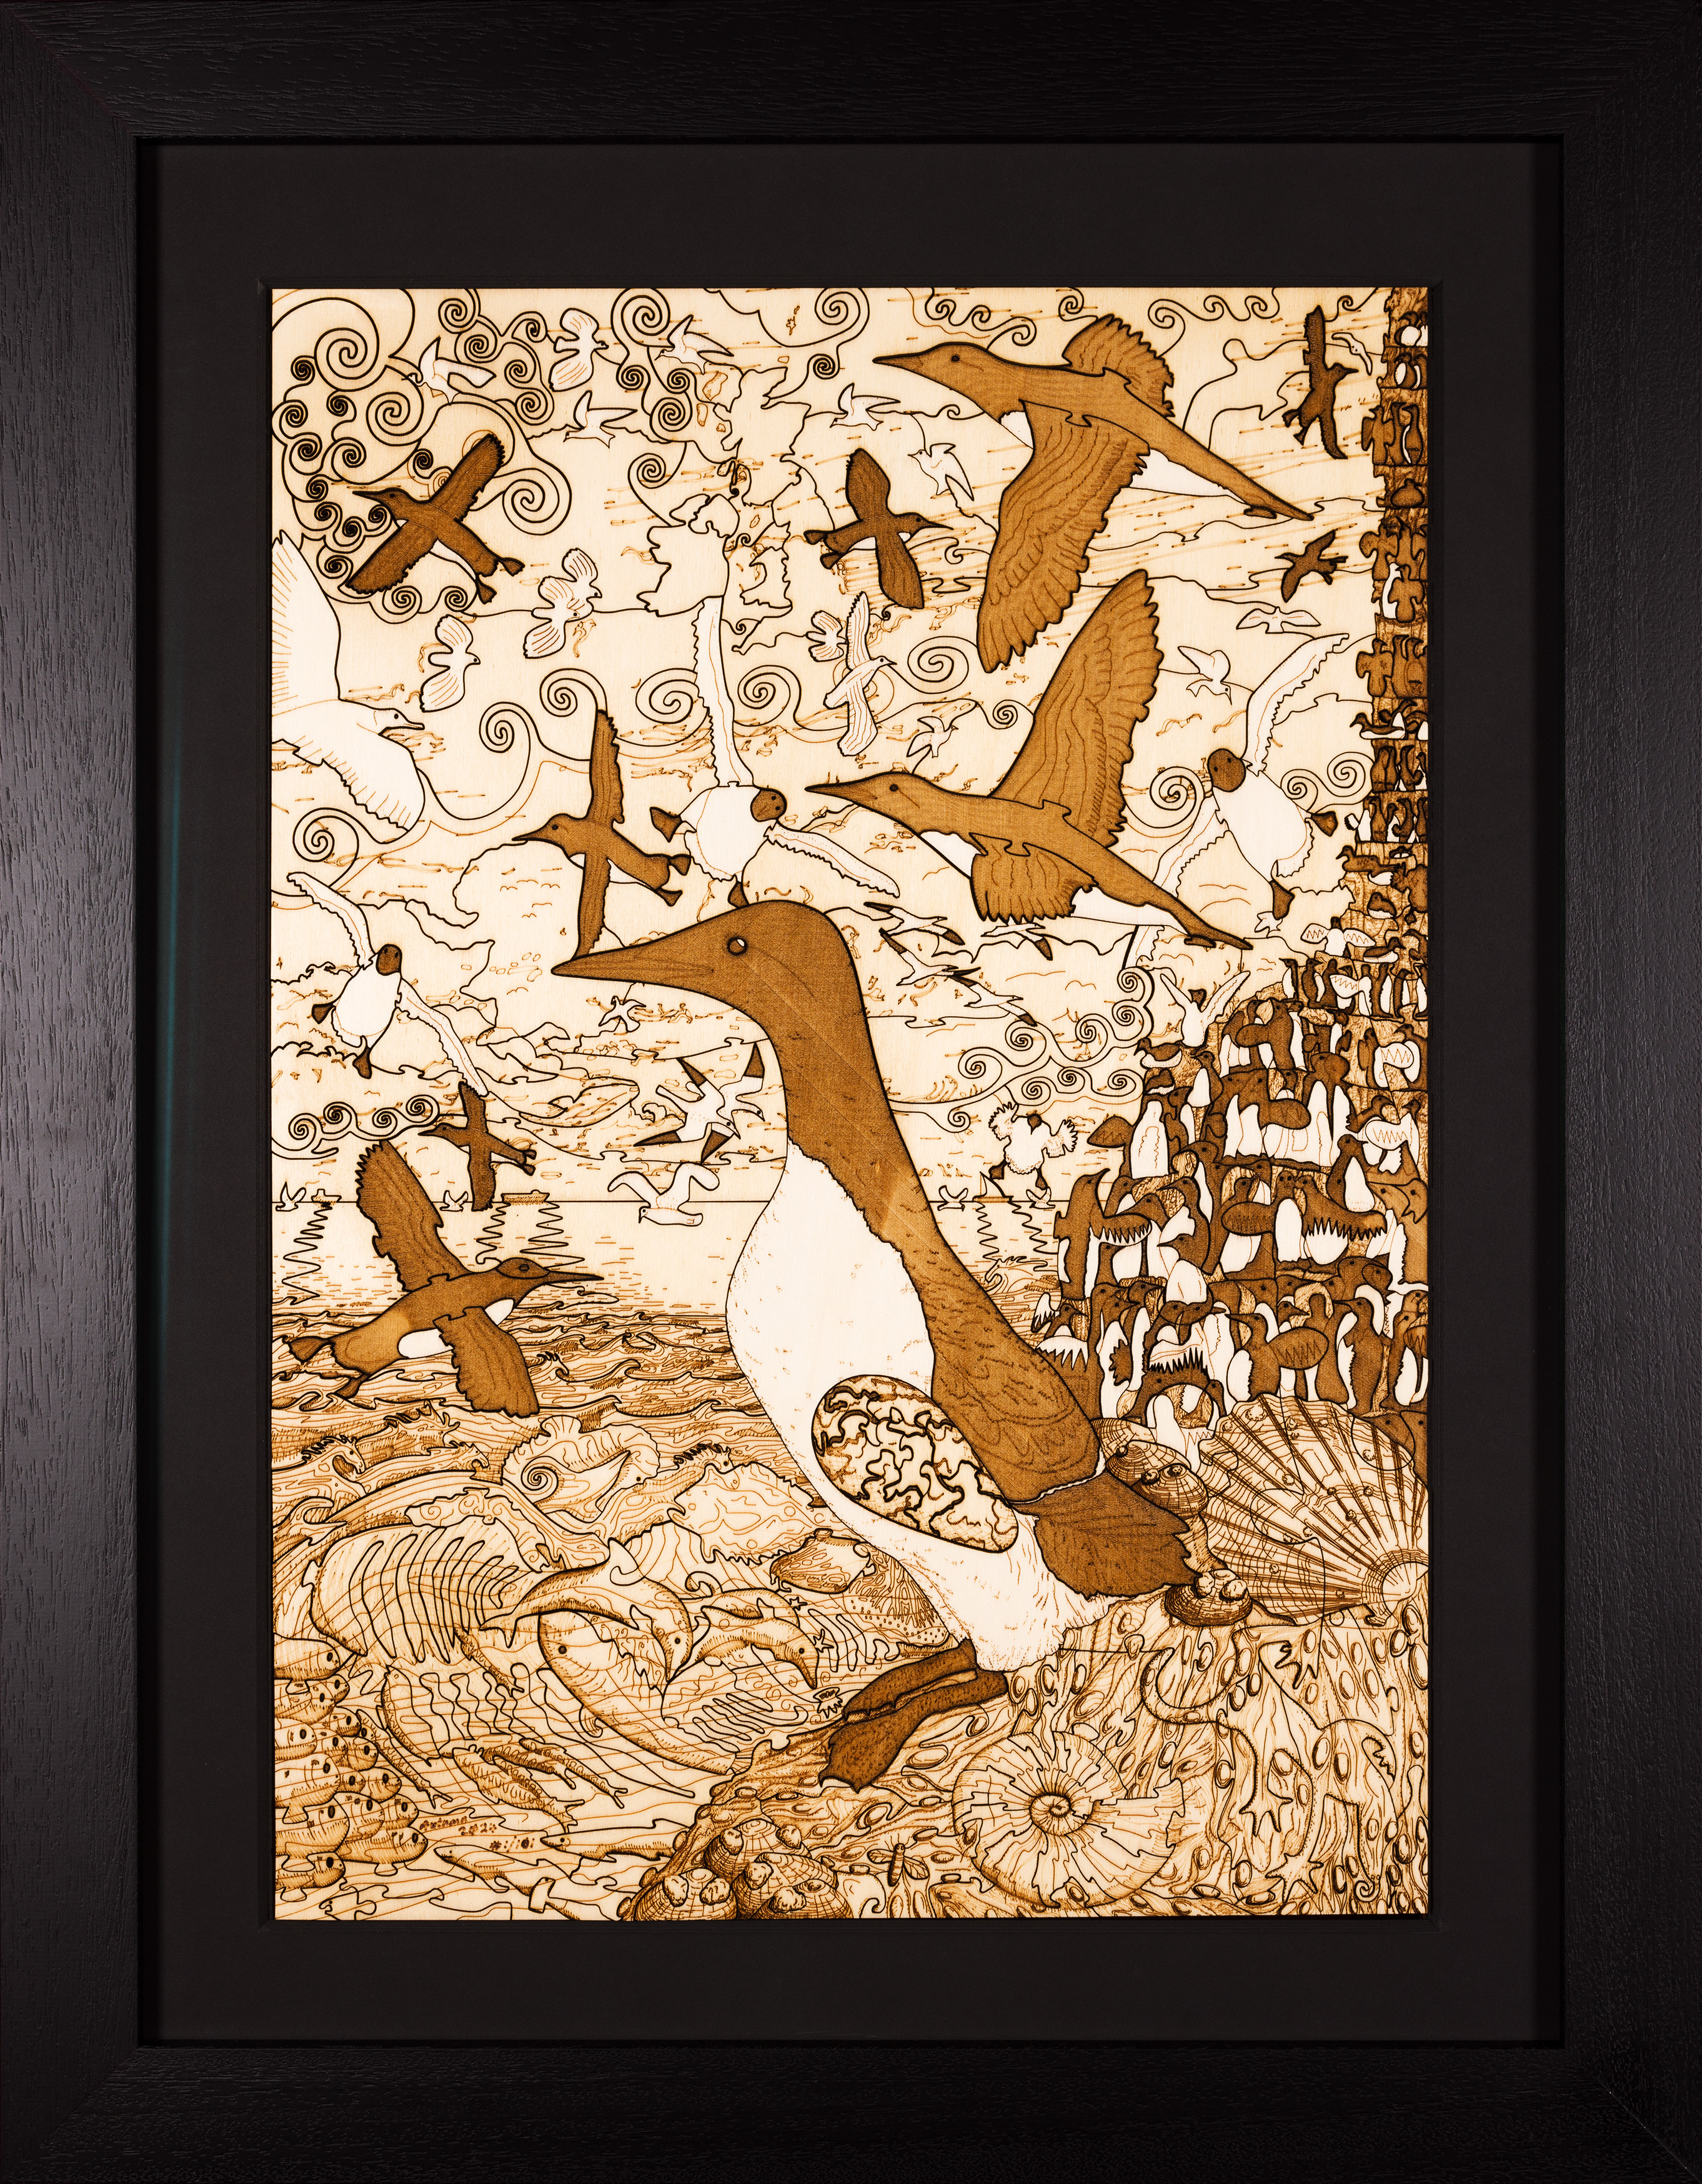
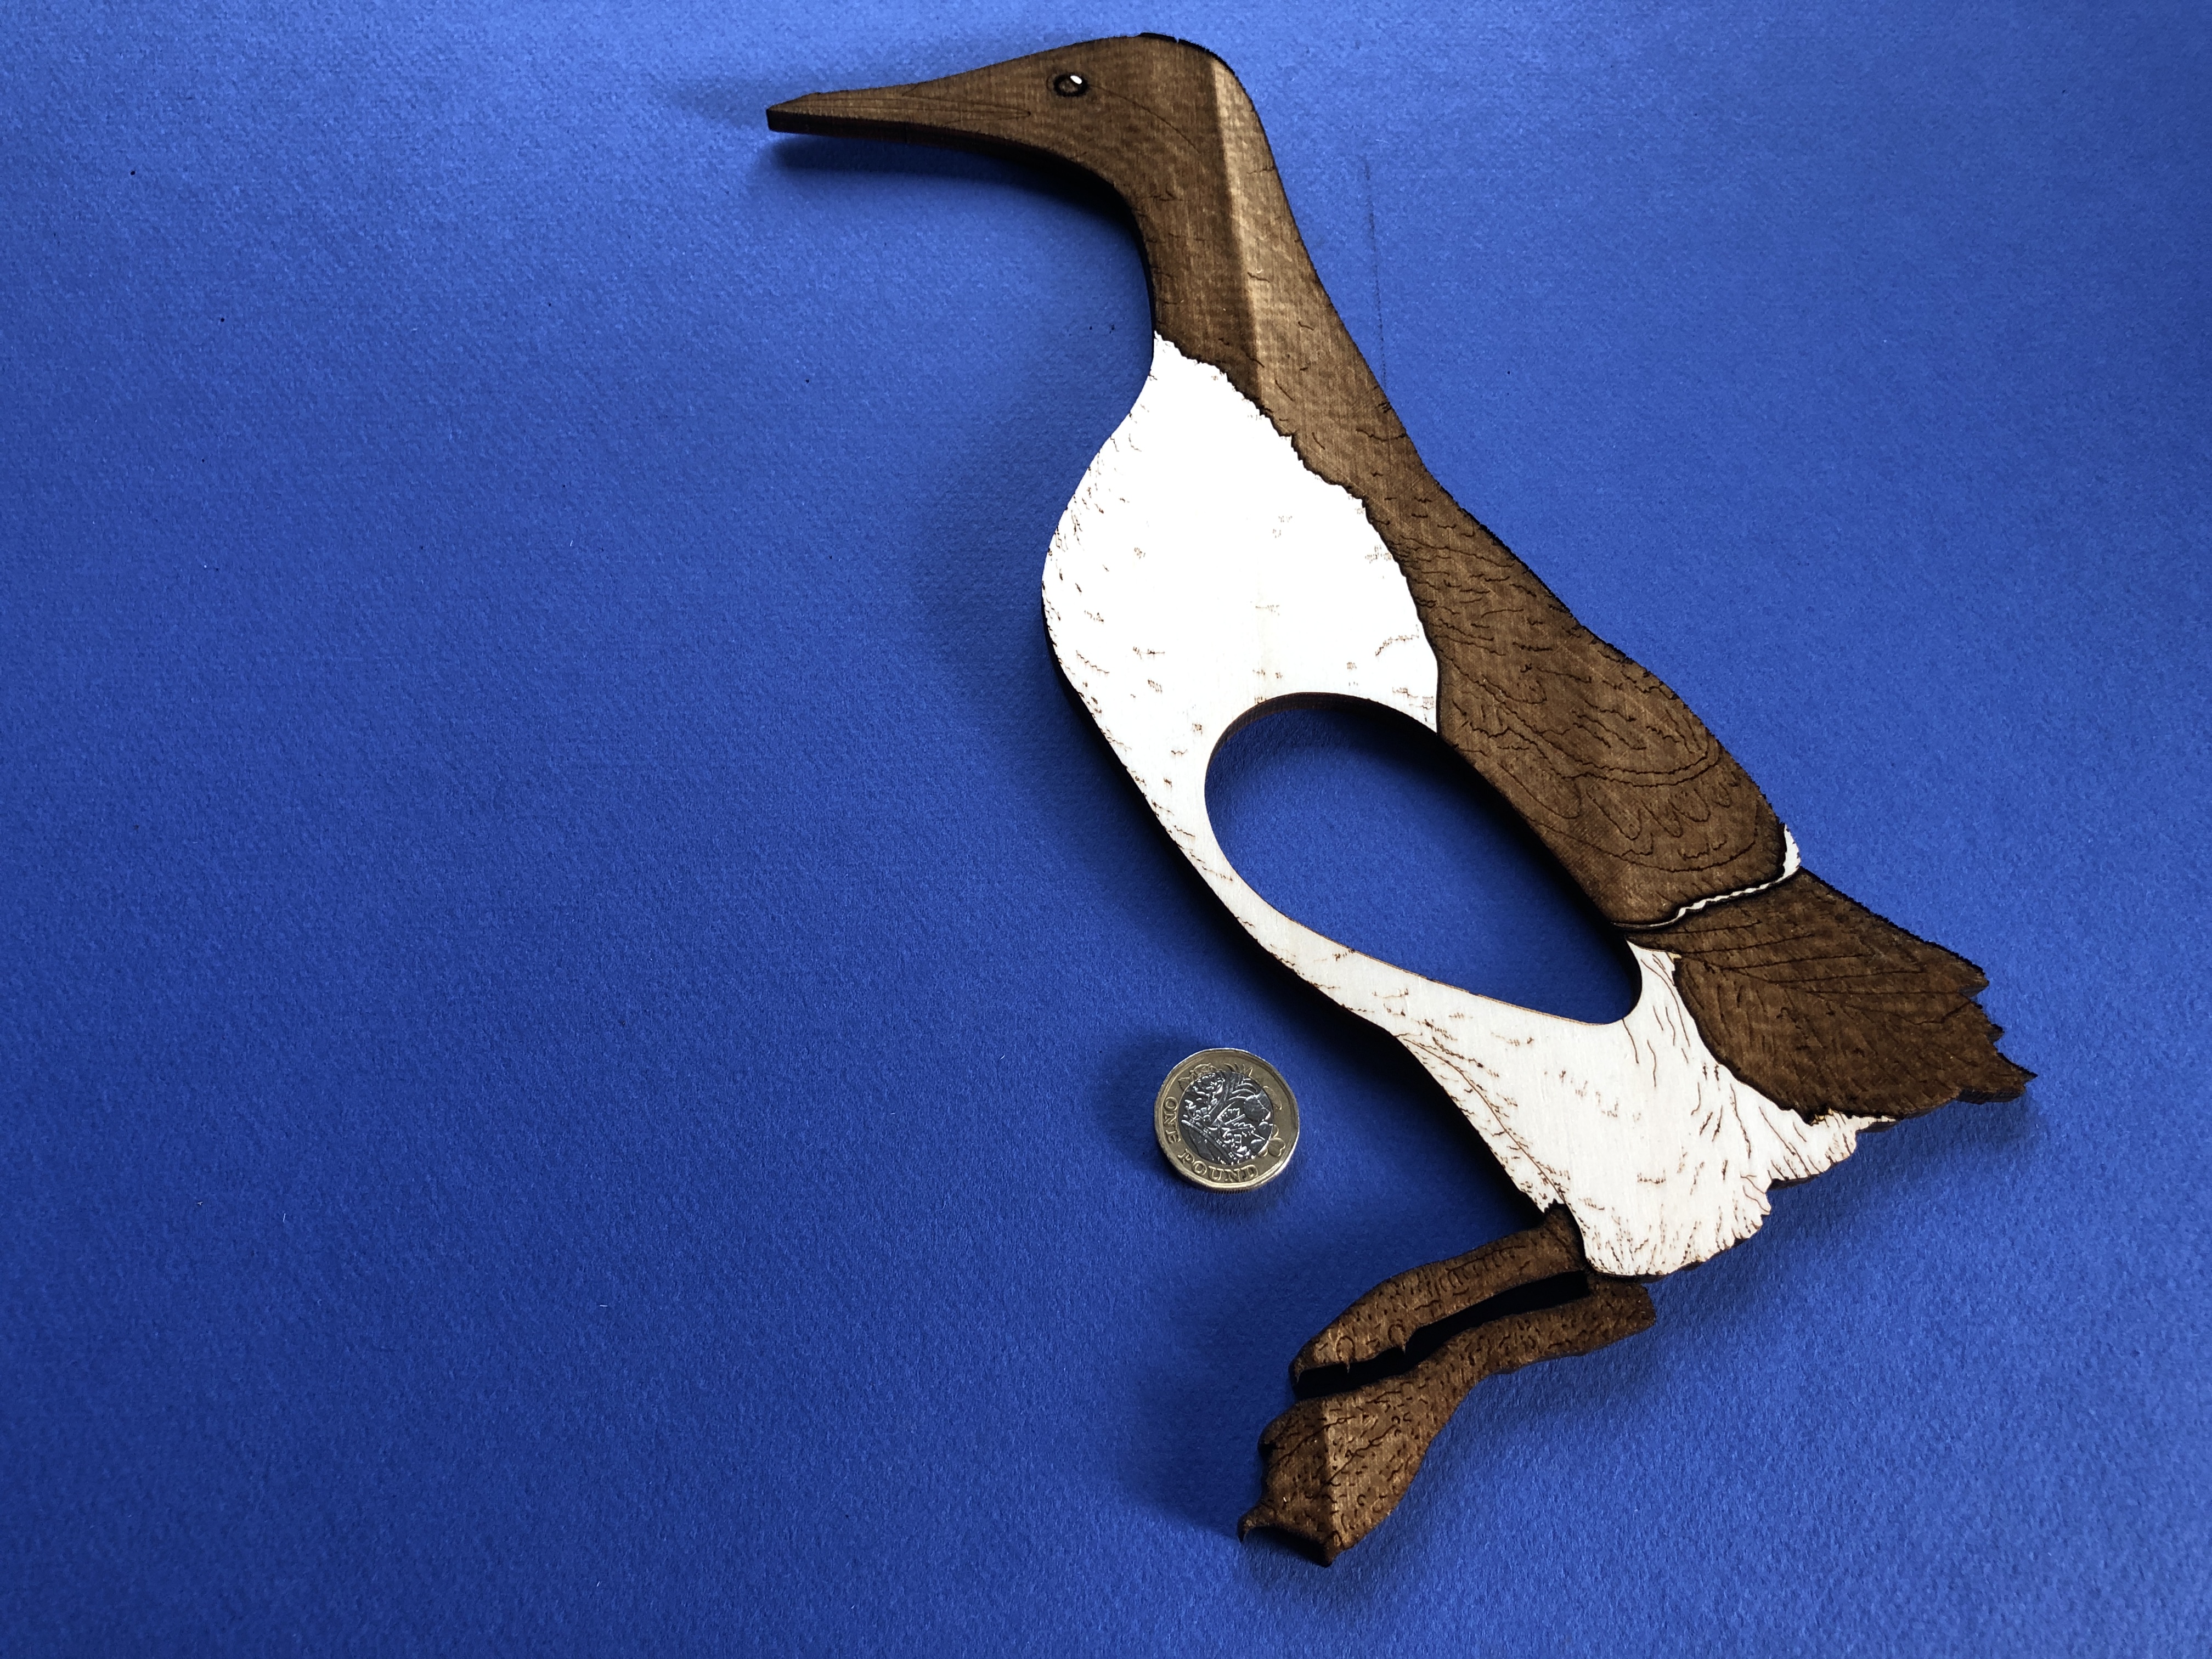
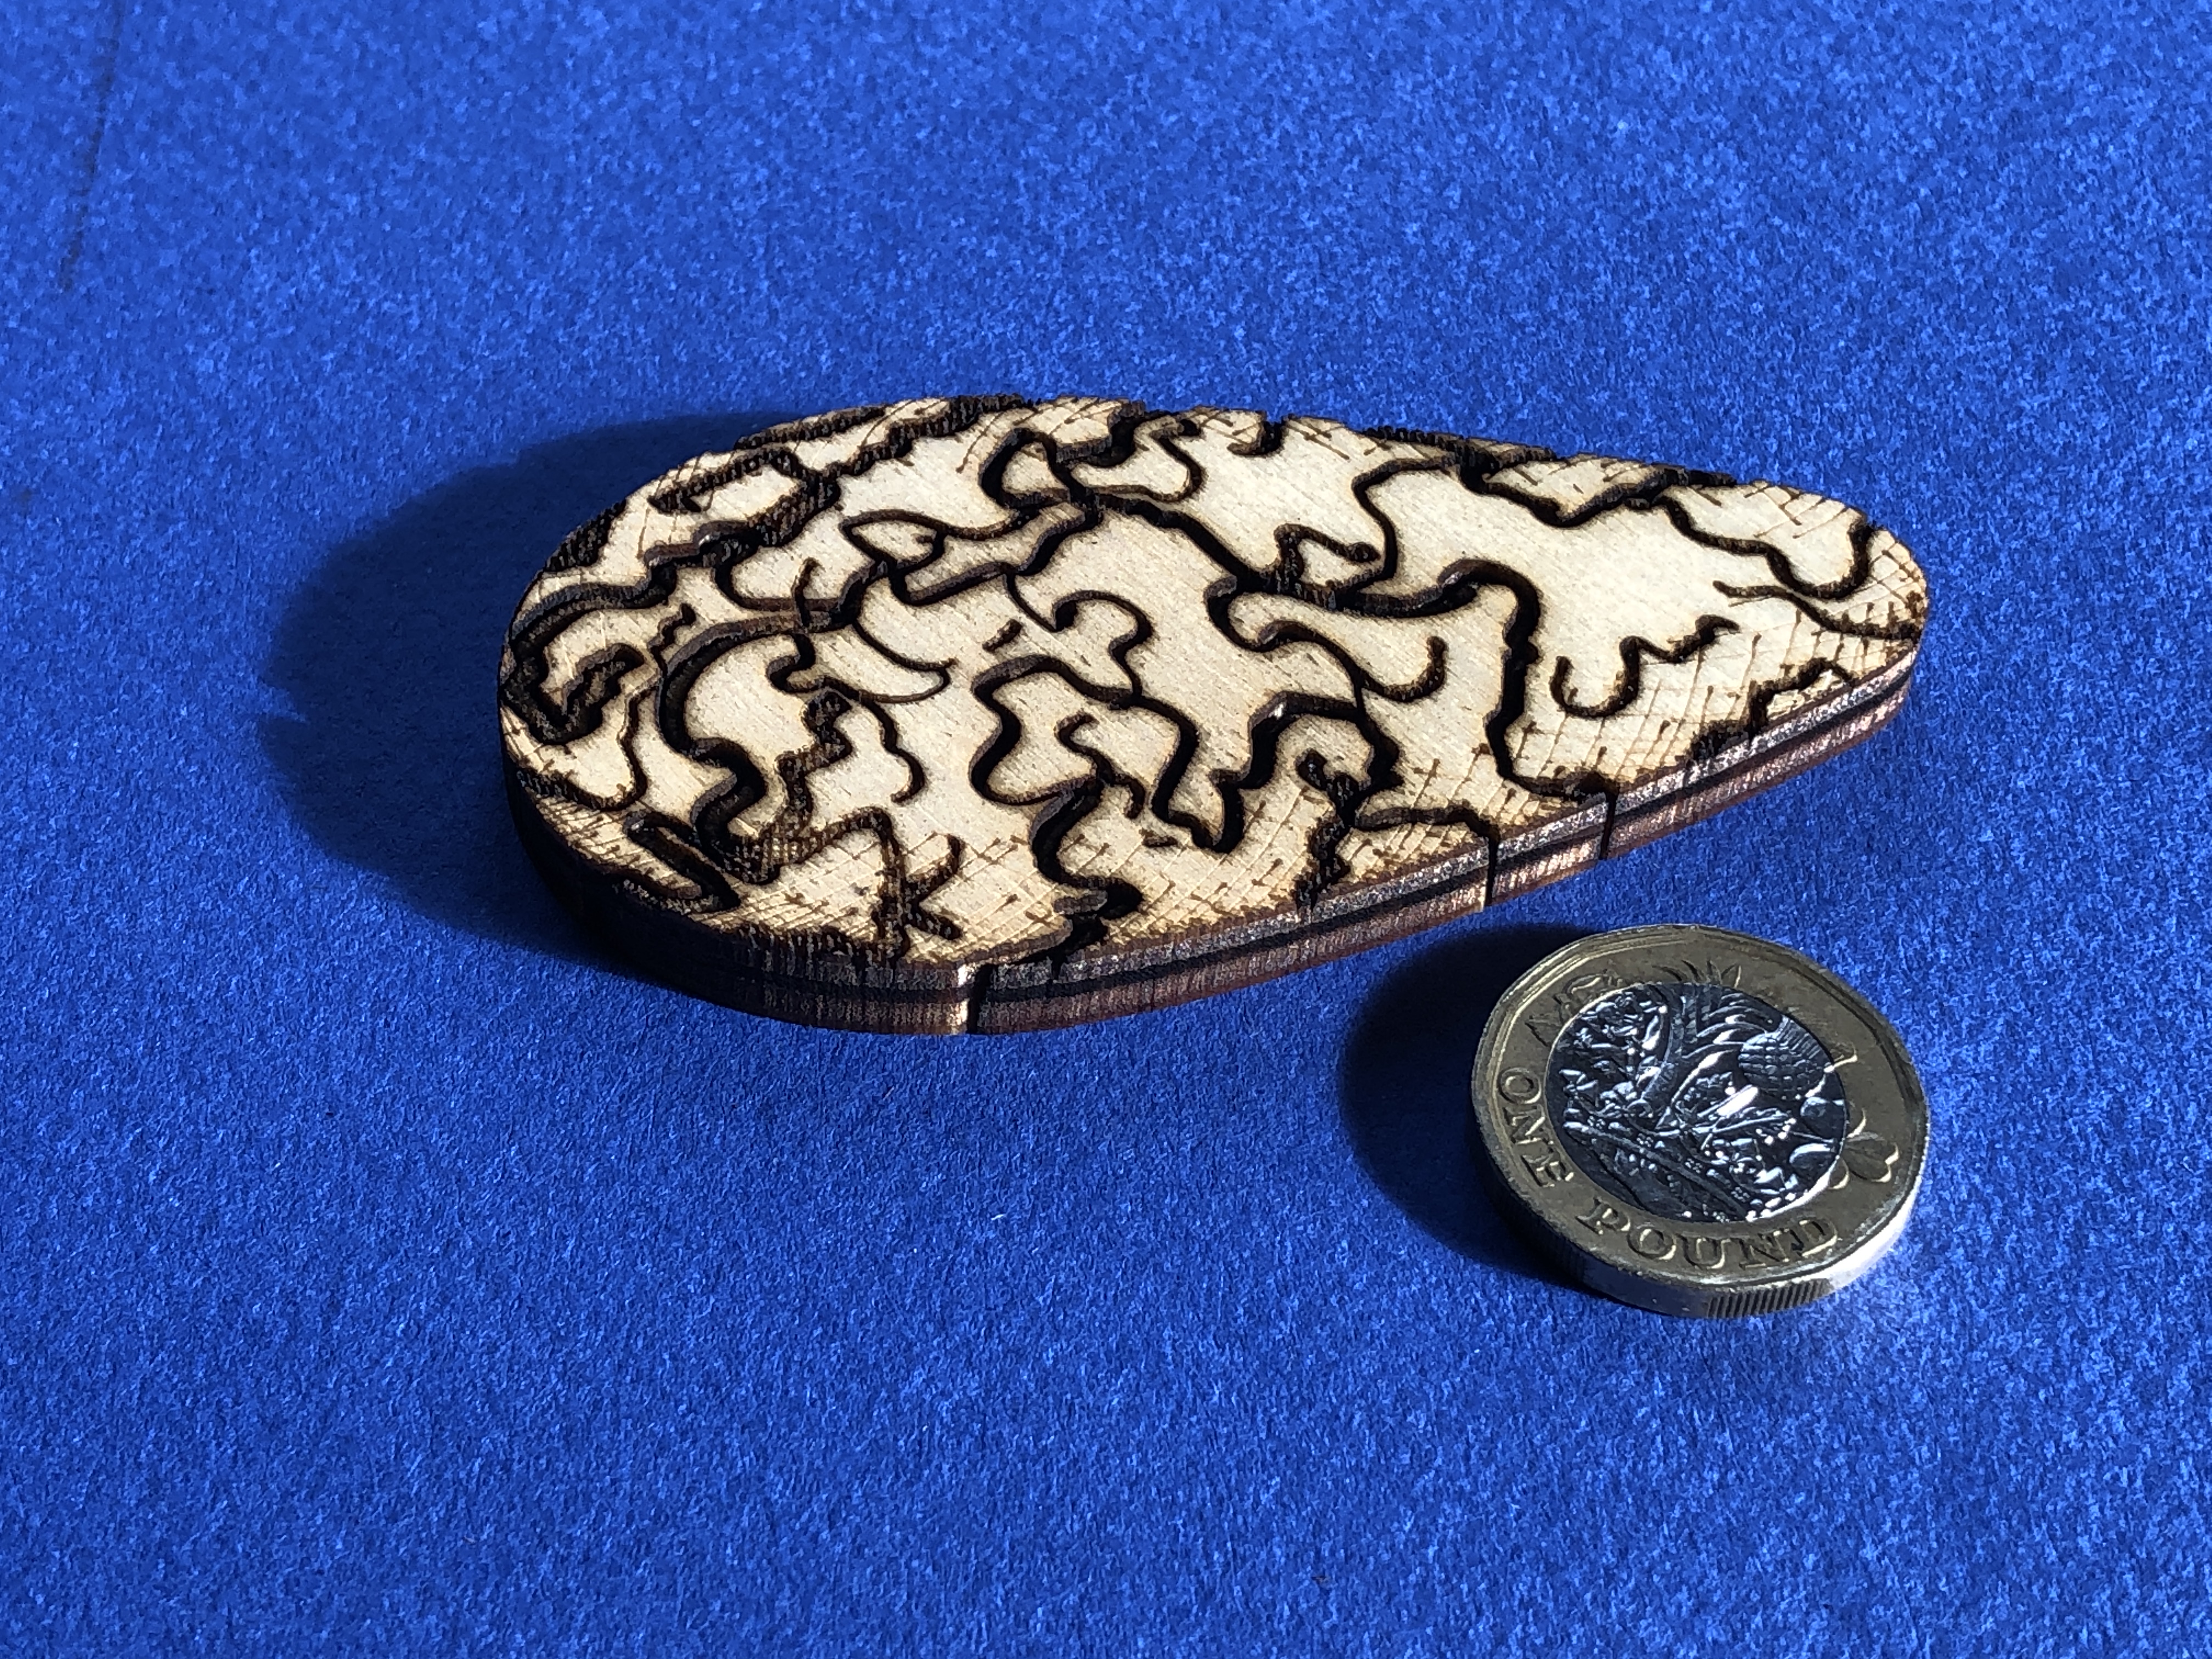
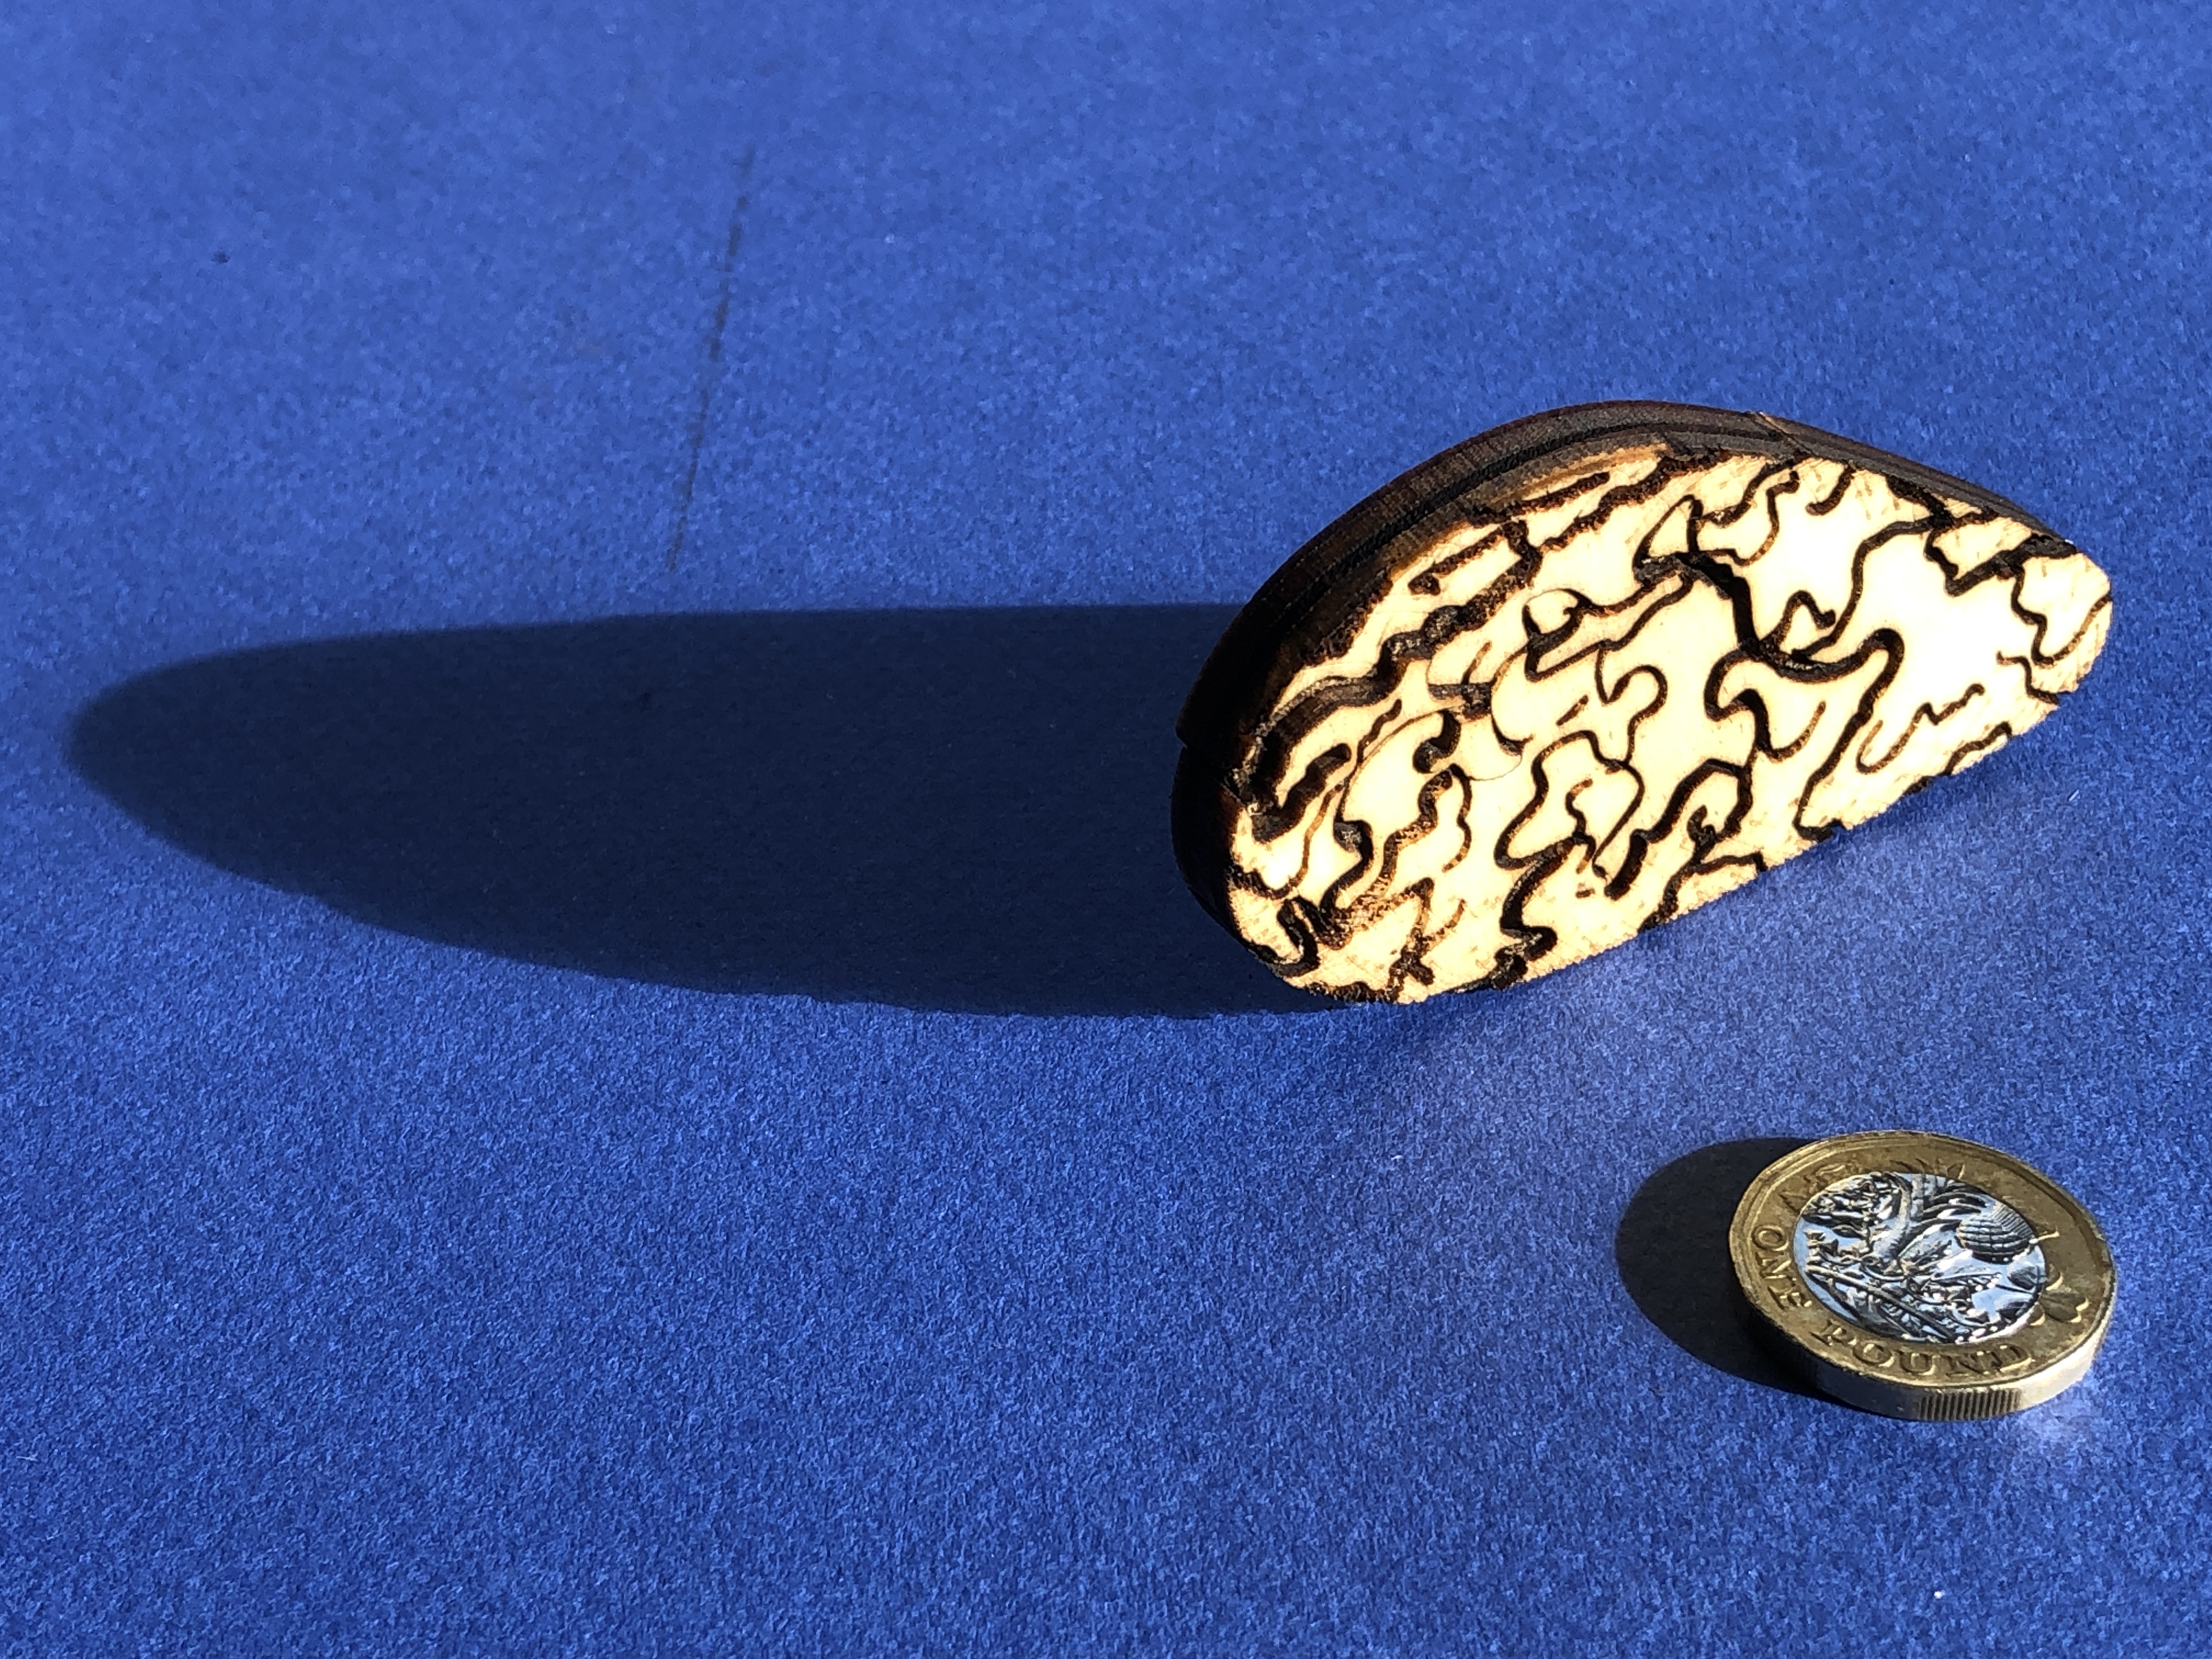
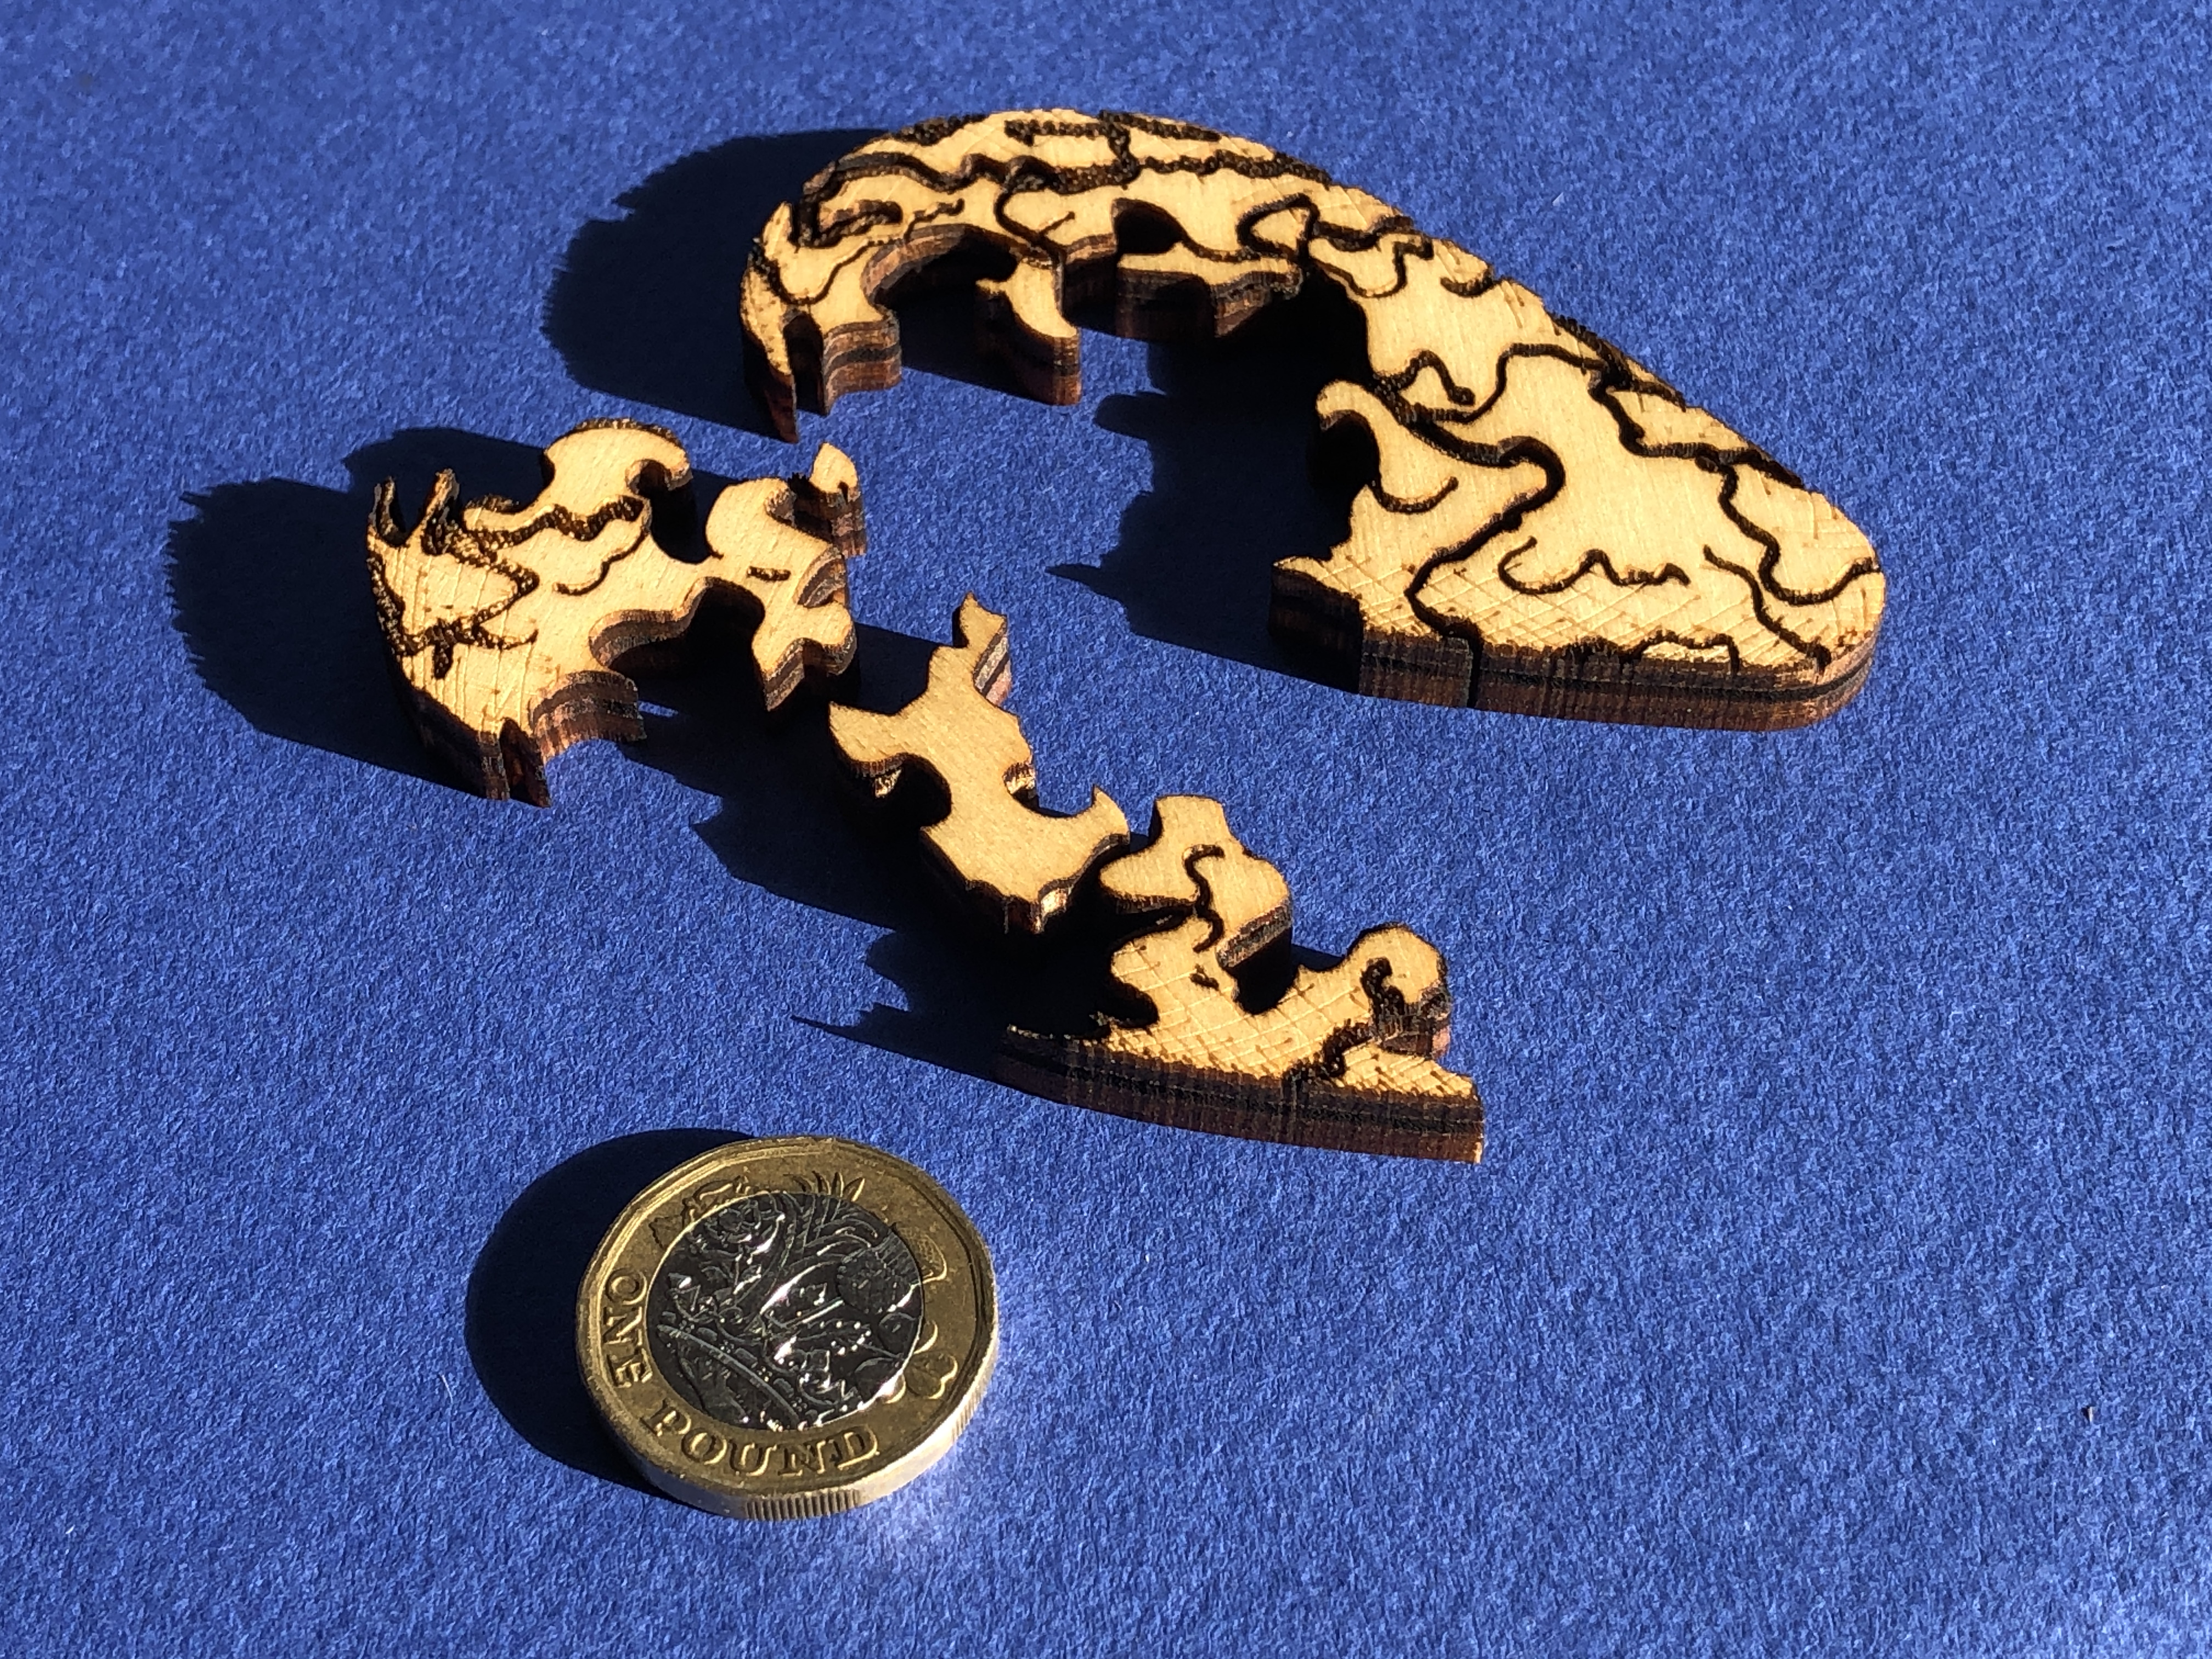
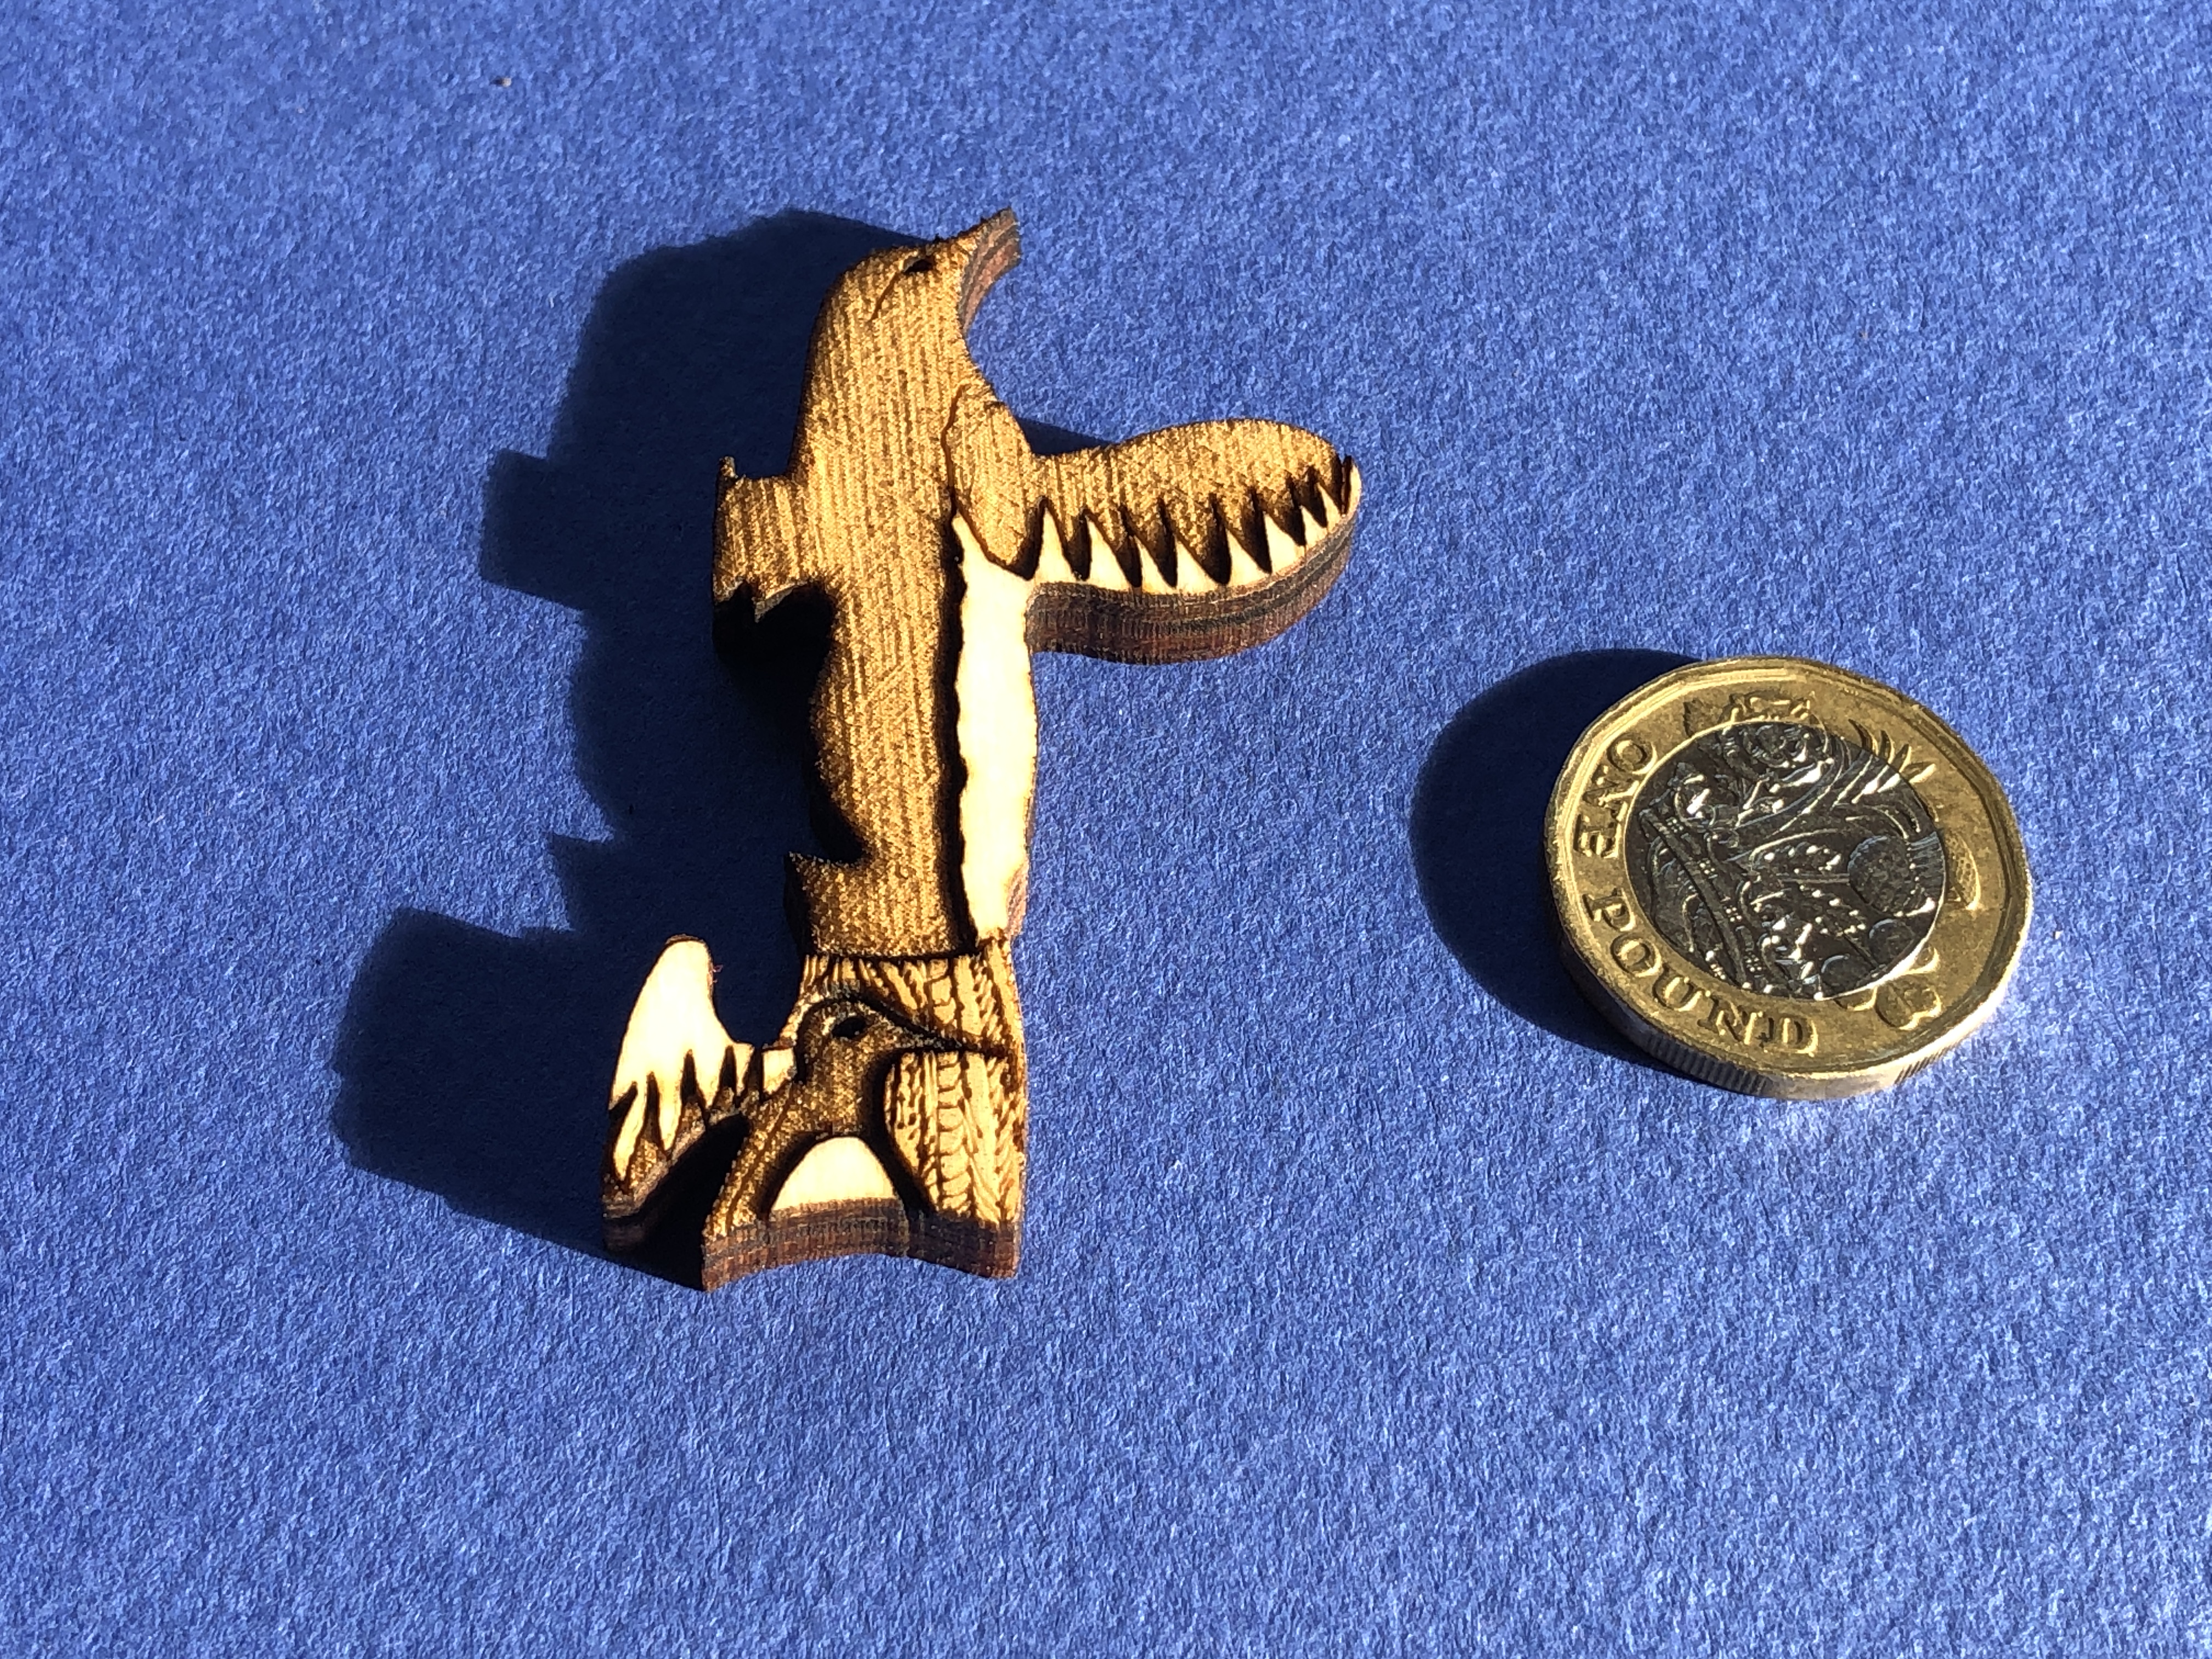
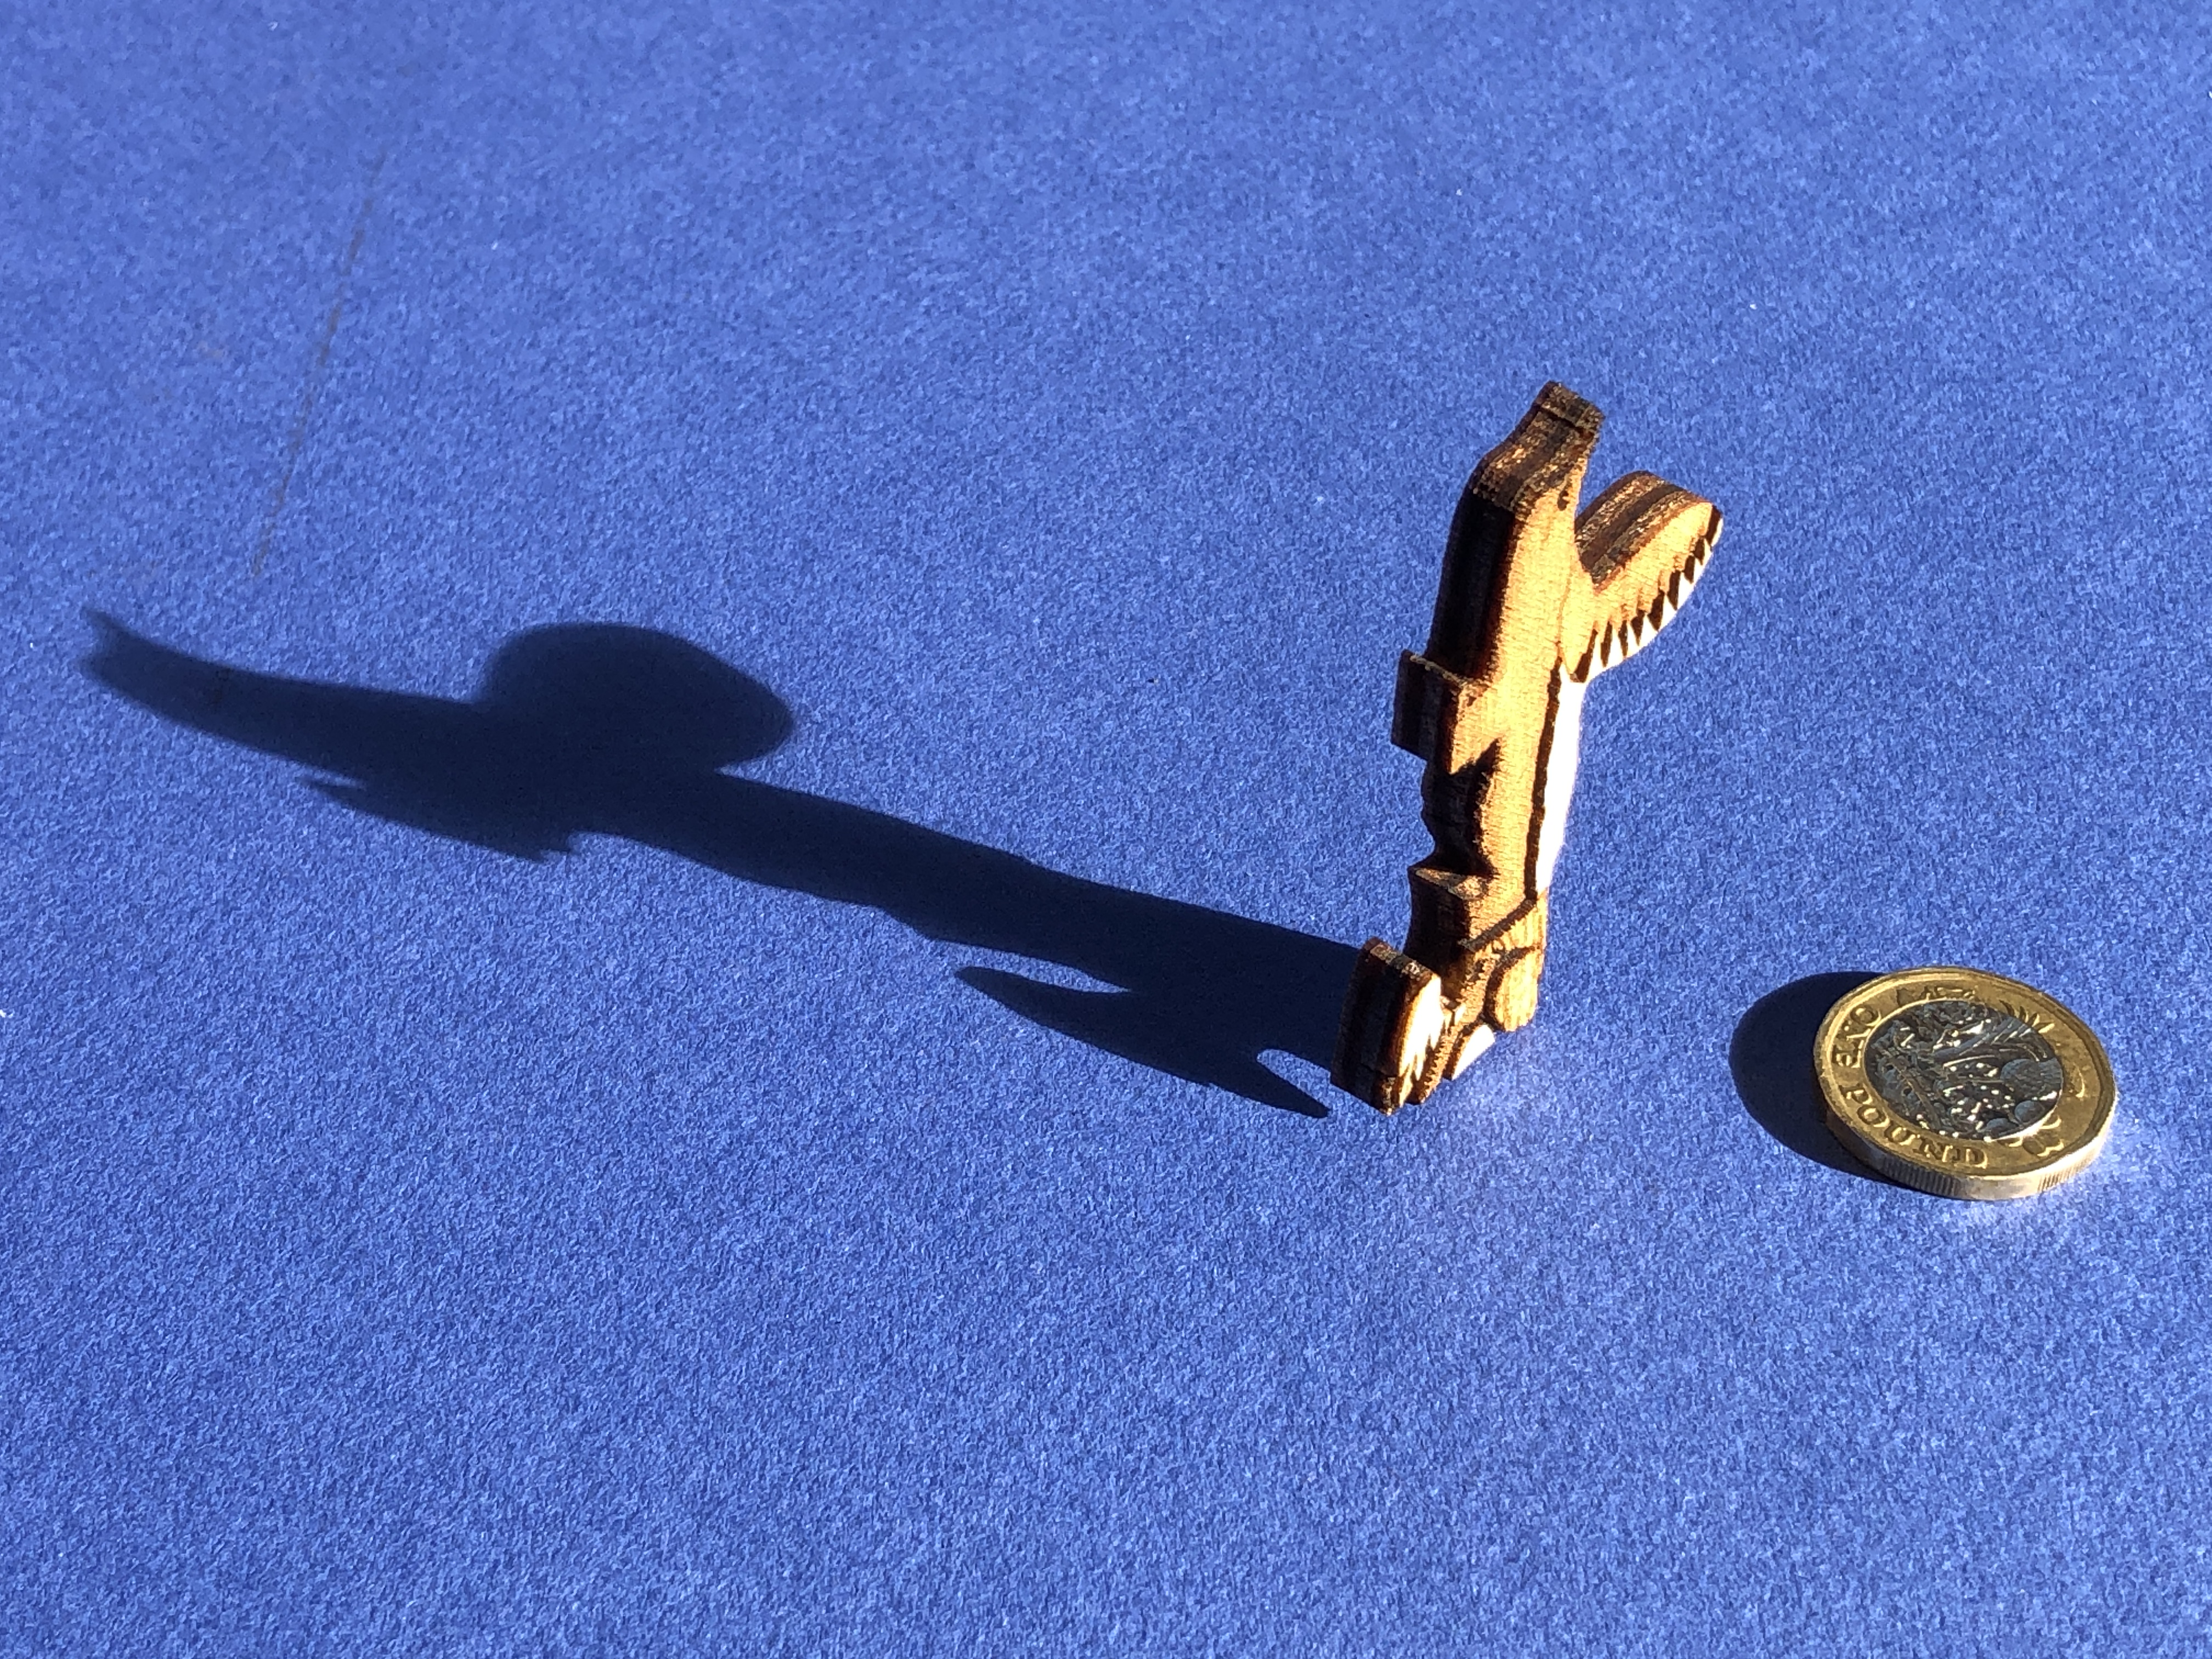
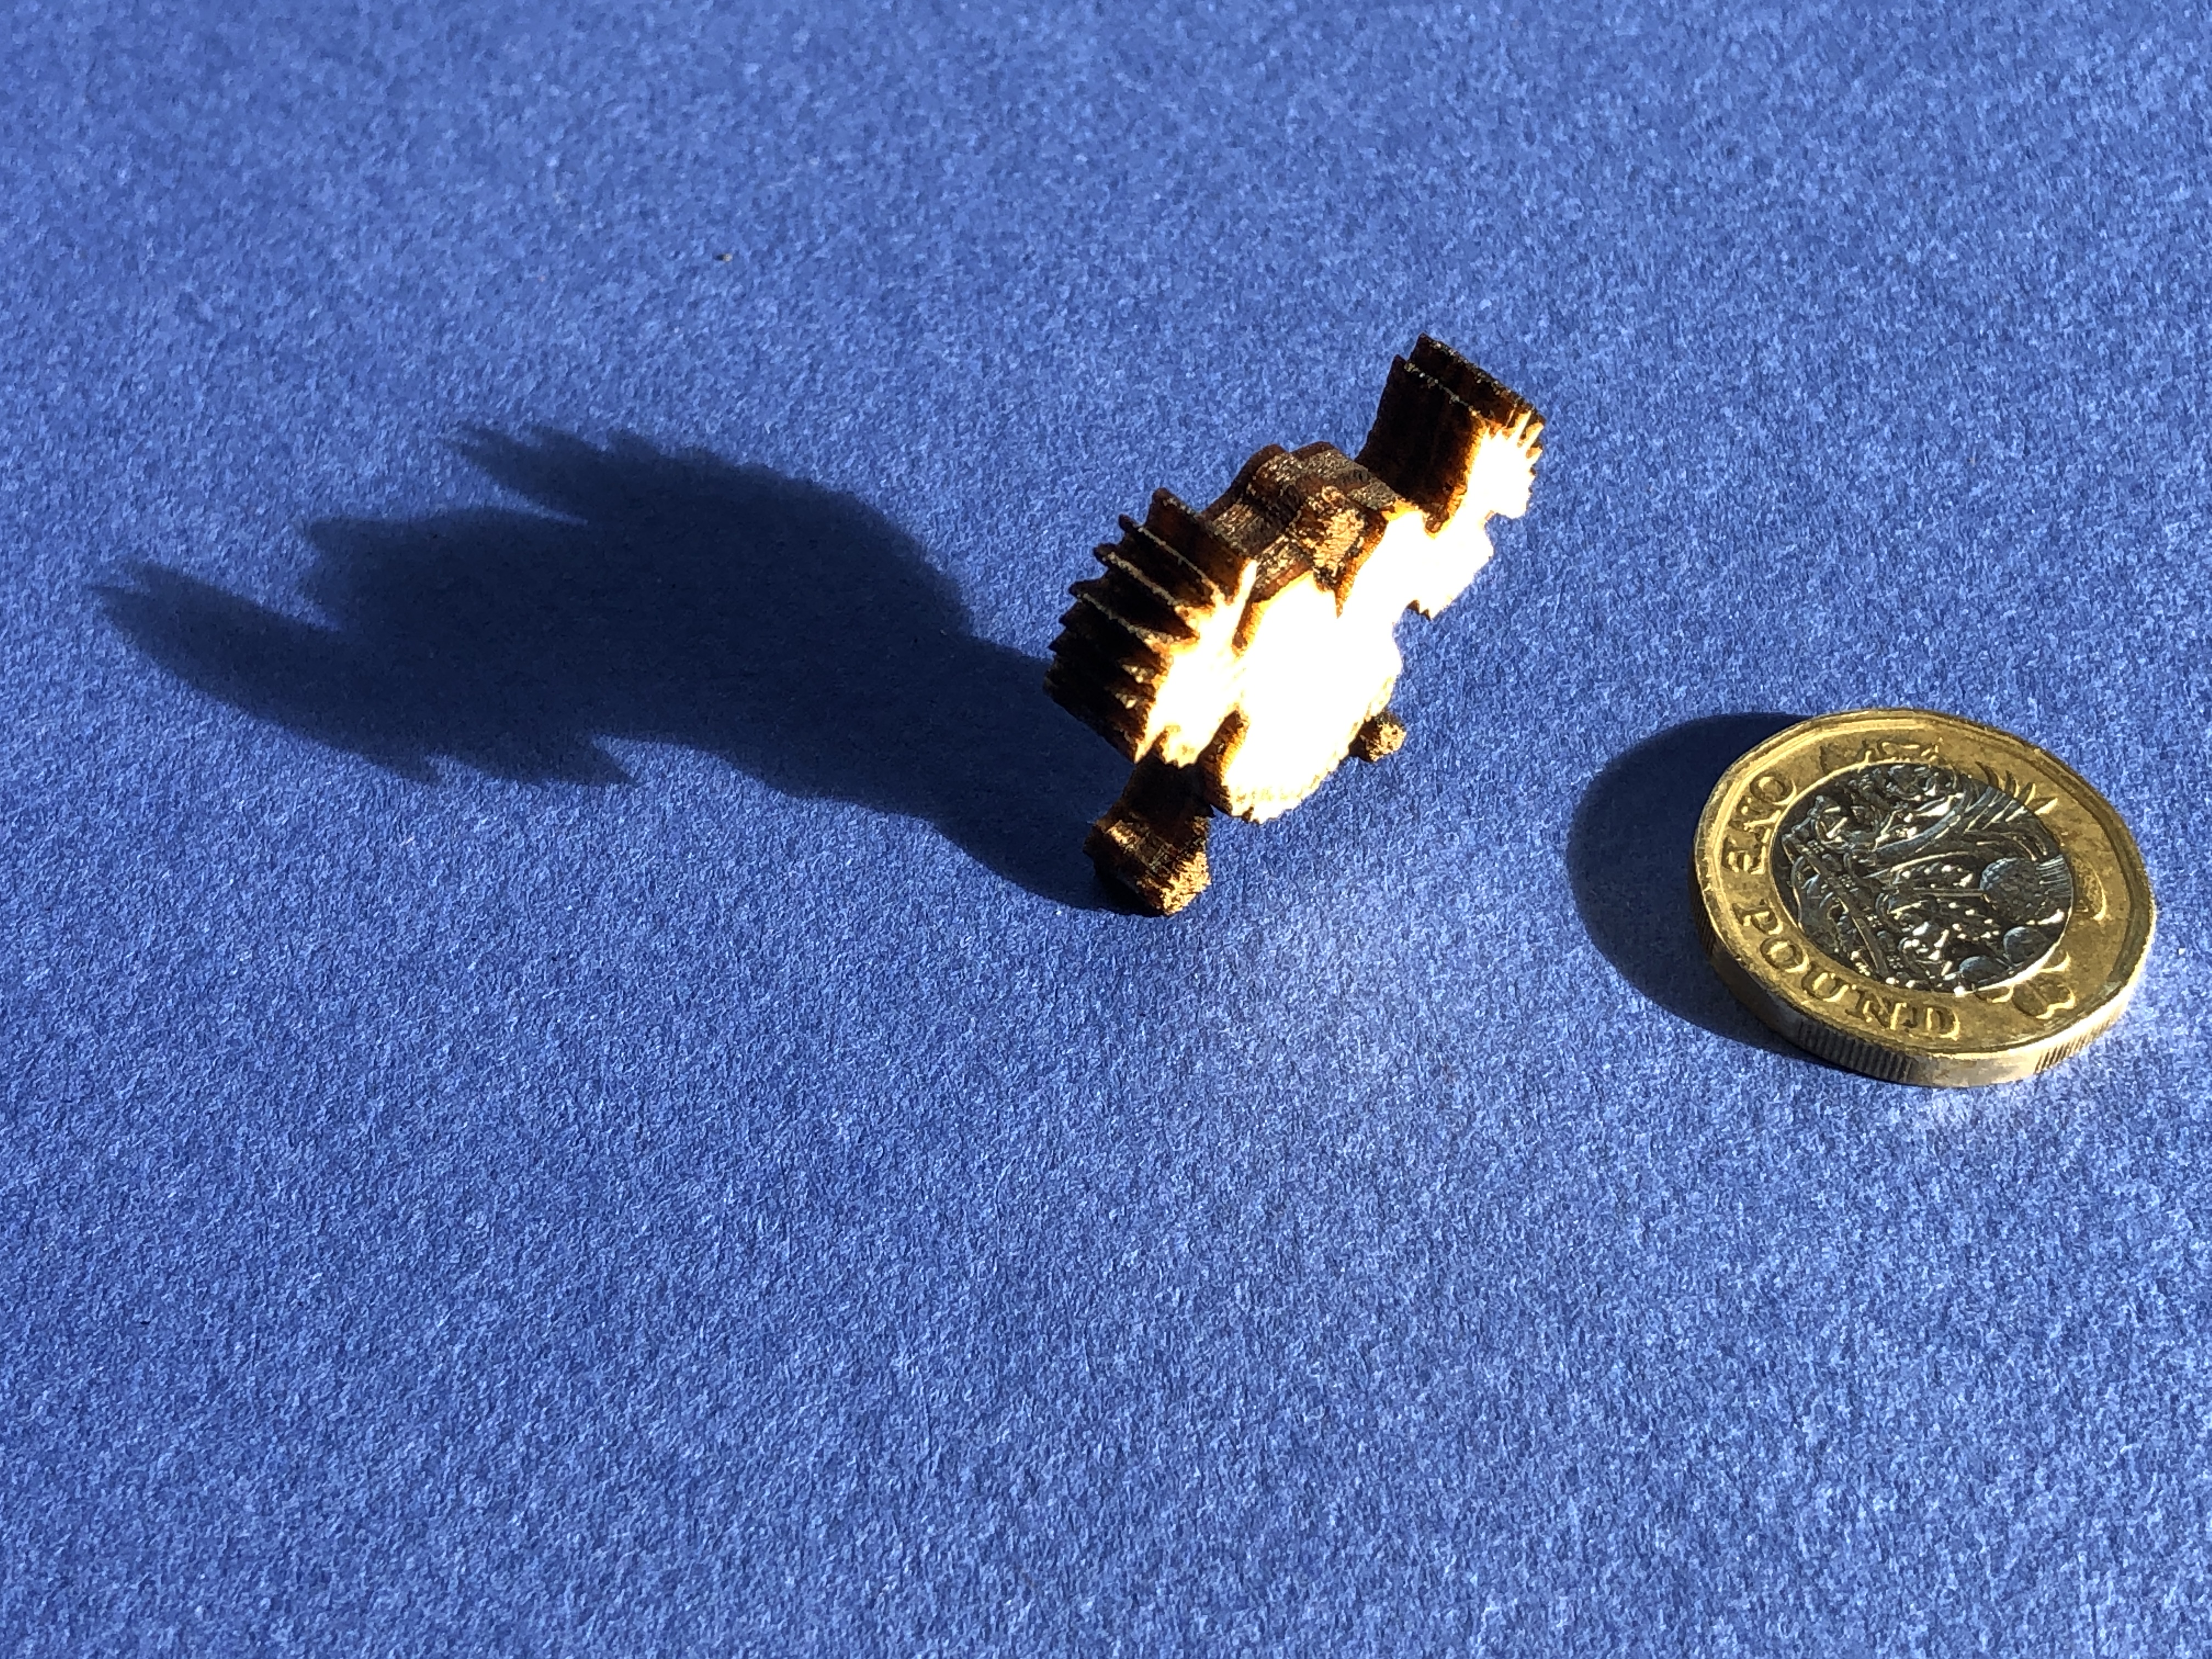
Title: “Guillemot with Egg (Art Puzzle) – Laser” Artist: Michael Autumn Medium: Hand-drawing – laser cut & engraved plywood Giclée archival laser cut & engraved on 6mm AB/AB Italian Panguaneta Poplar plywood (produced responsibly, sustainably, and to the highest of standards), child-safe, moisture-repelling, varnish Size: 39.0cm (W) x 55.1cm (H), framed 57cm (W) x 73cm (H) x 5cm (D) Edition: Limited Edition of 101 – individually signed and numbered, and museum-level (FATG Level 1) :-archival and bespoke framed; and Unlimited Edition, lasered signature, unframed. Limited editions come with highly respected, secure and verifiable Hahnemühle Certificates of Authenticity and are publicly trackable here – https://www.hahnemuehle.com/en/digital-fineart/my-art-registry/preview/14596.html Date: 02/2024 Options: Available as a puzzle (314 unique pieces actually cut) OR left as a single engraved wooden panel.
because hand-cutting the latter took far too long and caused serious RSI and/or rheumatoid arthritis in my hands/fingers. But in order to achieve the quality I wanted, it turns out (after much effort) that mass-production is simply not possible. It has been a long journey to get to a standard I’m happy with. Along the road I have researched a great deal about materials, wood, lasers (obviously! – but this is a big topic…), and lasering techniques. I have developed some of my own techniques and built some special tools because there were clear limitations in the best techniques, tools, and materials available. Suffice to say, I haven’t come across any individual or company who can produce my designs to the quality I do. But it comes at a significant cost. I can only produce one per day – so in any definition of the phrase mass production, this definitely is not!
Putting aside the weeks it took me to complete the design (in addition to the weeks it took me to design the original, I spent about another four weeks enhancing it to take advantage of laser capabilities) – and may trials, adjustments, custom tooling, and more trials…
The design uses multiple lasering and layering techniques – cut-throughs, scoring, light scoring, engraving, deep engraving – which all have to be done in a specific sequence. For example, in places in the design, I have score marks on top of some deep engraved areas – so obviously the deep engraving has to be done before the scoring.
Detail showing a mix of cut lines, scoring, light scoring, and different types of engraving.
Also, I use the flattest, smoothest, least porous, best quality plywood I can (and do special preparations to achieve this – see below) – so I can achieve the subtle effects I’m looking for with the minimum of laser power (basically more power equals less precision).
These are the steps :-
Spray water on the raw plywood panels to raise the grain, let them dry.
Very fine (400 grit) orbit sand the dry plywood, wipe clean.
The plywood panels are then varnished and left to dry for up to three days (depending on time of year – humidity and temperature). This is to minimise the effects of laser burning and makes it easier to clean specific areas afterwards (see step 8).
The plywood panels are then flattened in a special press for several days.
A single plywood sheet is put in a custom-made flat panel laser bed holder (I designed).
The lasering itself takes a little over seven hours on my 130W CO2 laser (for a single artwork).
After lasering, I do a detailed quality check. Wood, being organic with glued layers, varies from sheet to sheet – and some lasered artwork doesn’t make the grade – or needs fixing in some way.
Then very carefully lighten the brightest/whitest, most important areas (that have been darkened by smoke) with cotton swabs and a mild acid – to make them stand out better. This seems very much like an art-restoration process – like removing the old varnish from an old masterpiece – to restore the original colours! (But I only do certain areas to make them stand out – not the whole thing.) This takes me about an hour and a half. The difference is subtle, but vital to me. It is the difference between a mechanically produced piece of art and a true piece of art I’m happy with.
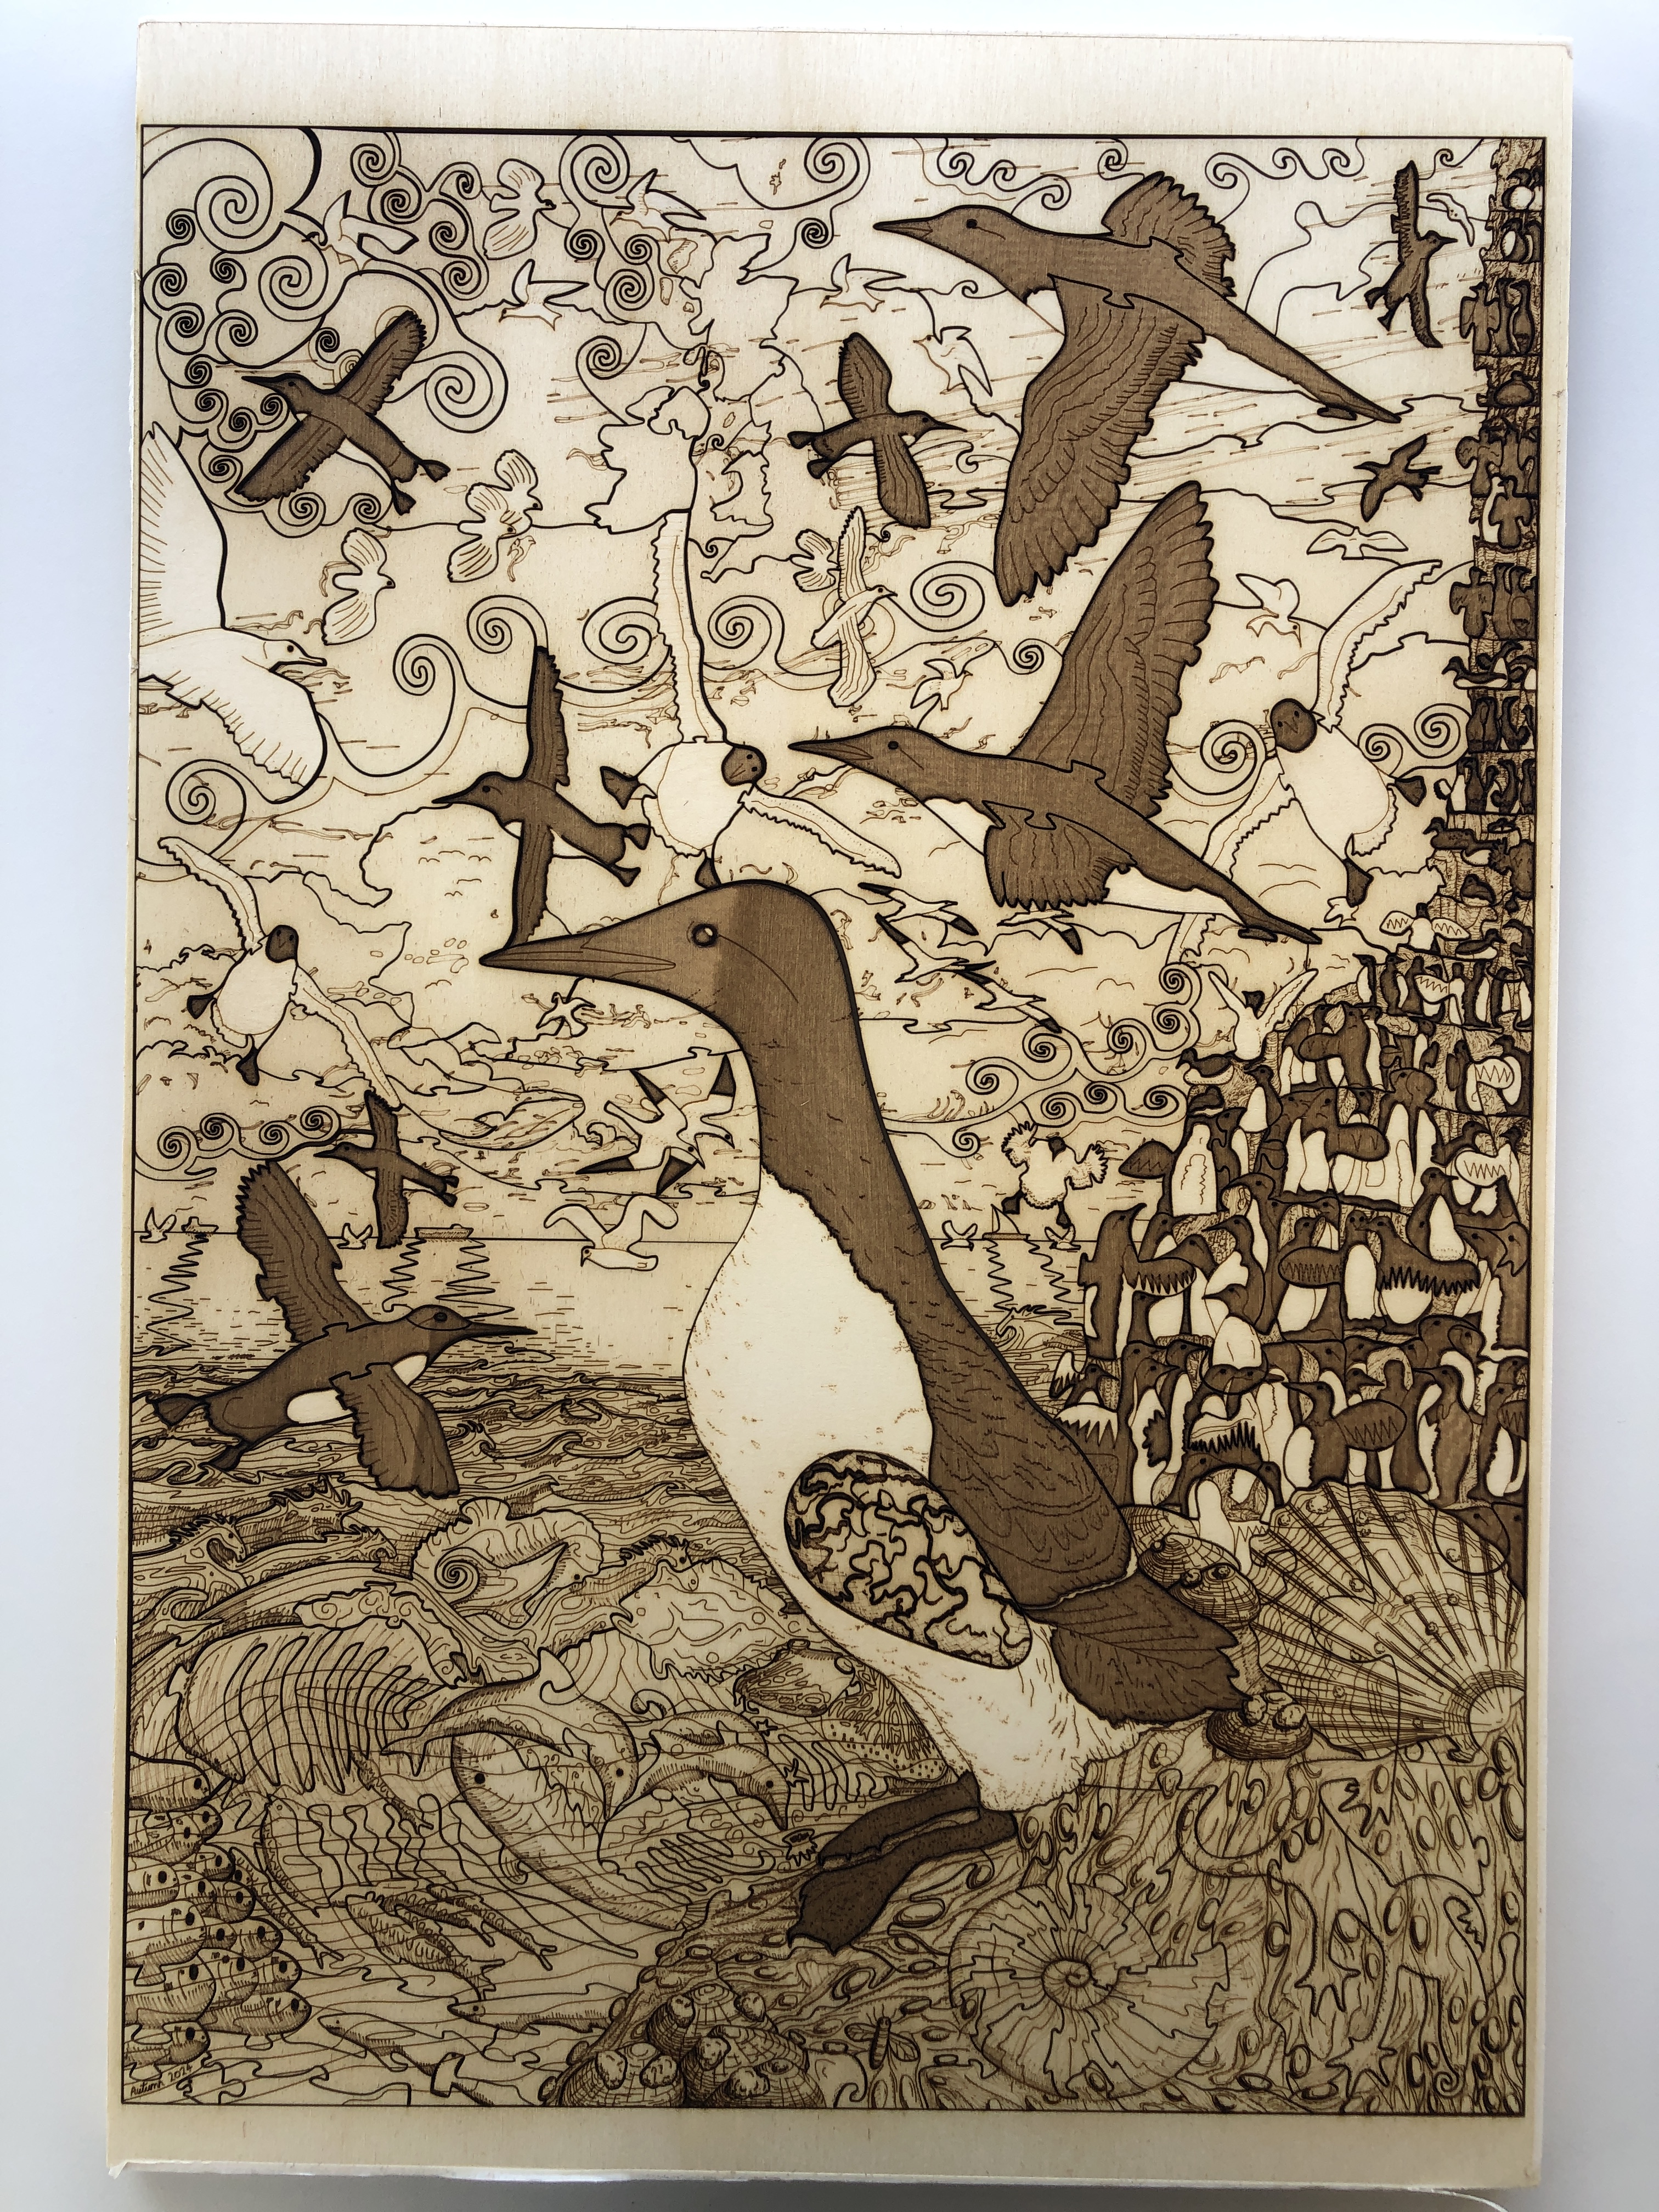
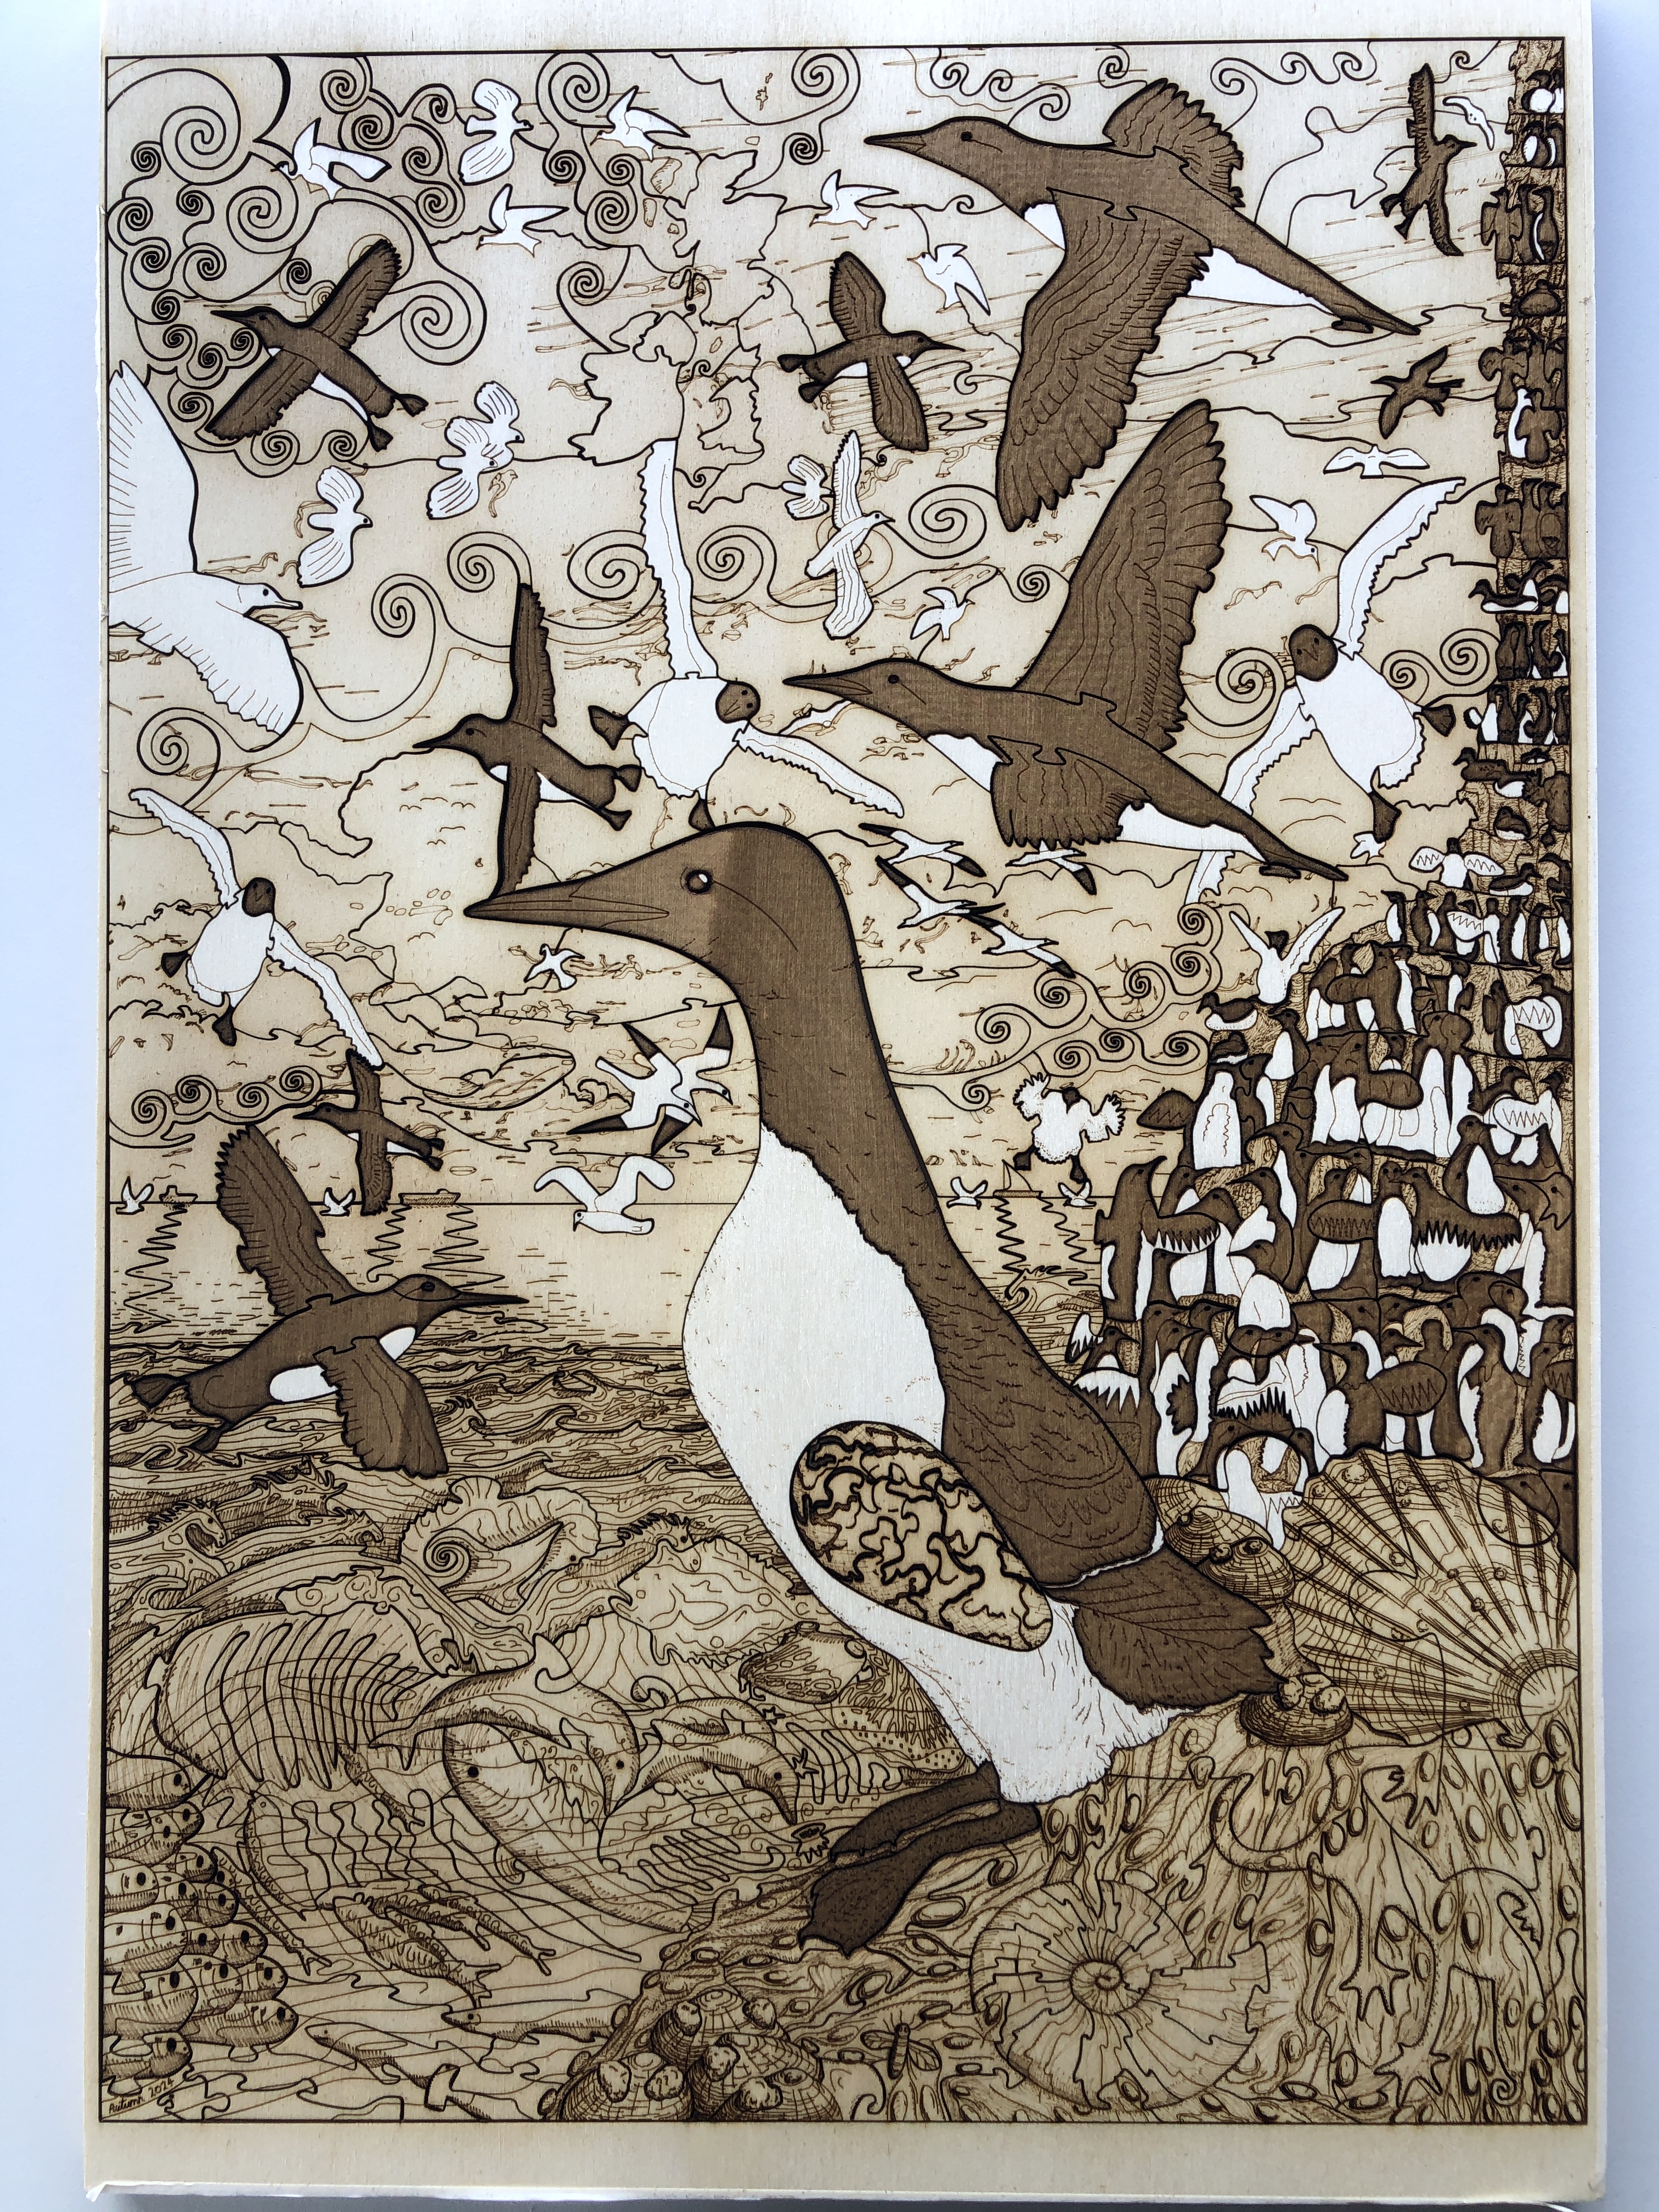
The following two images show before and after the white masking has been removed (notice how the white bellies of the guillemots stand out better after cleaning, and the eye of the main bird) :-
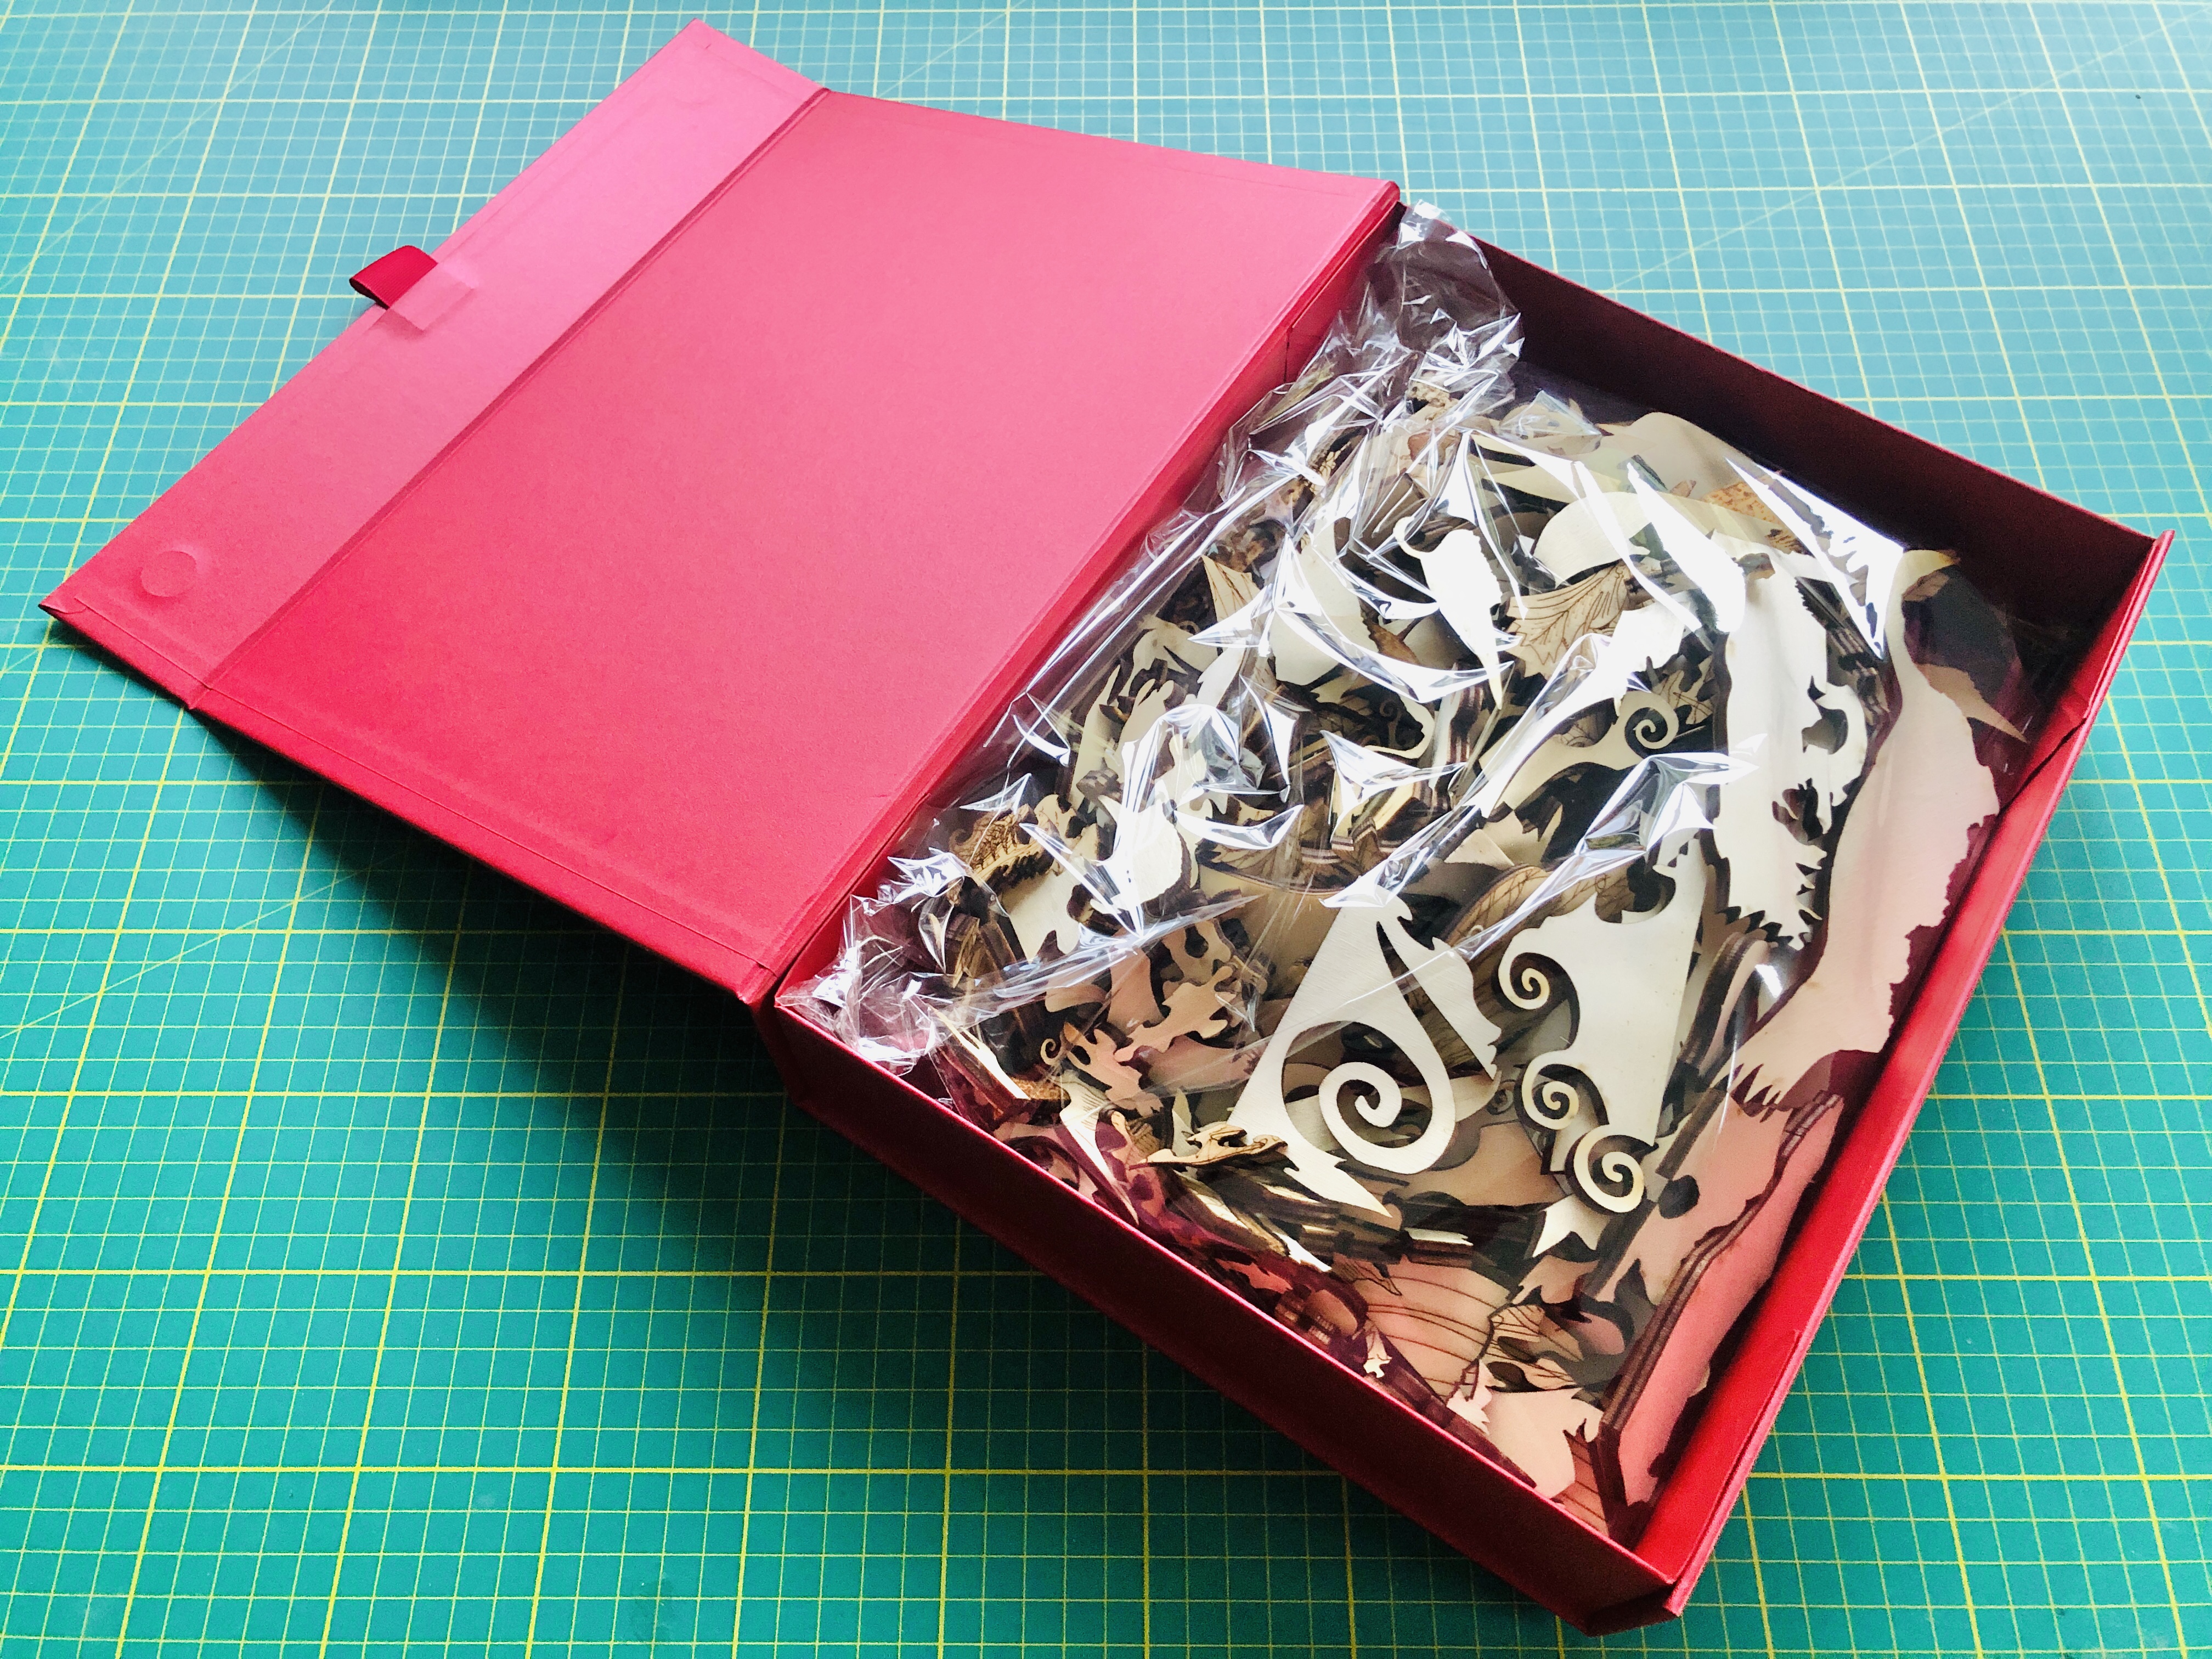
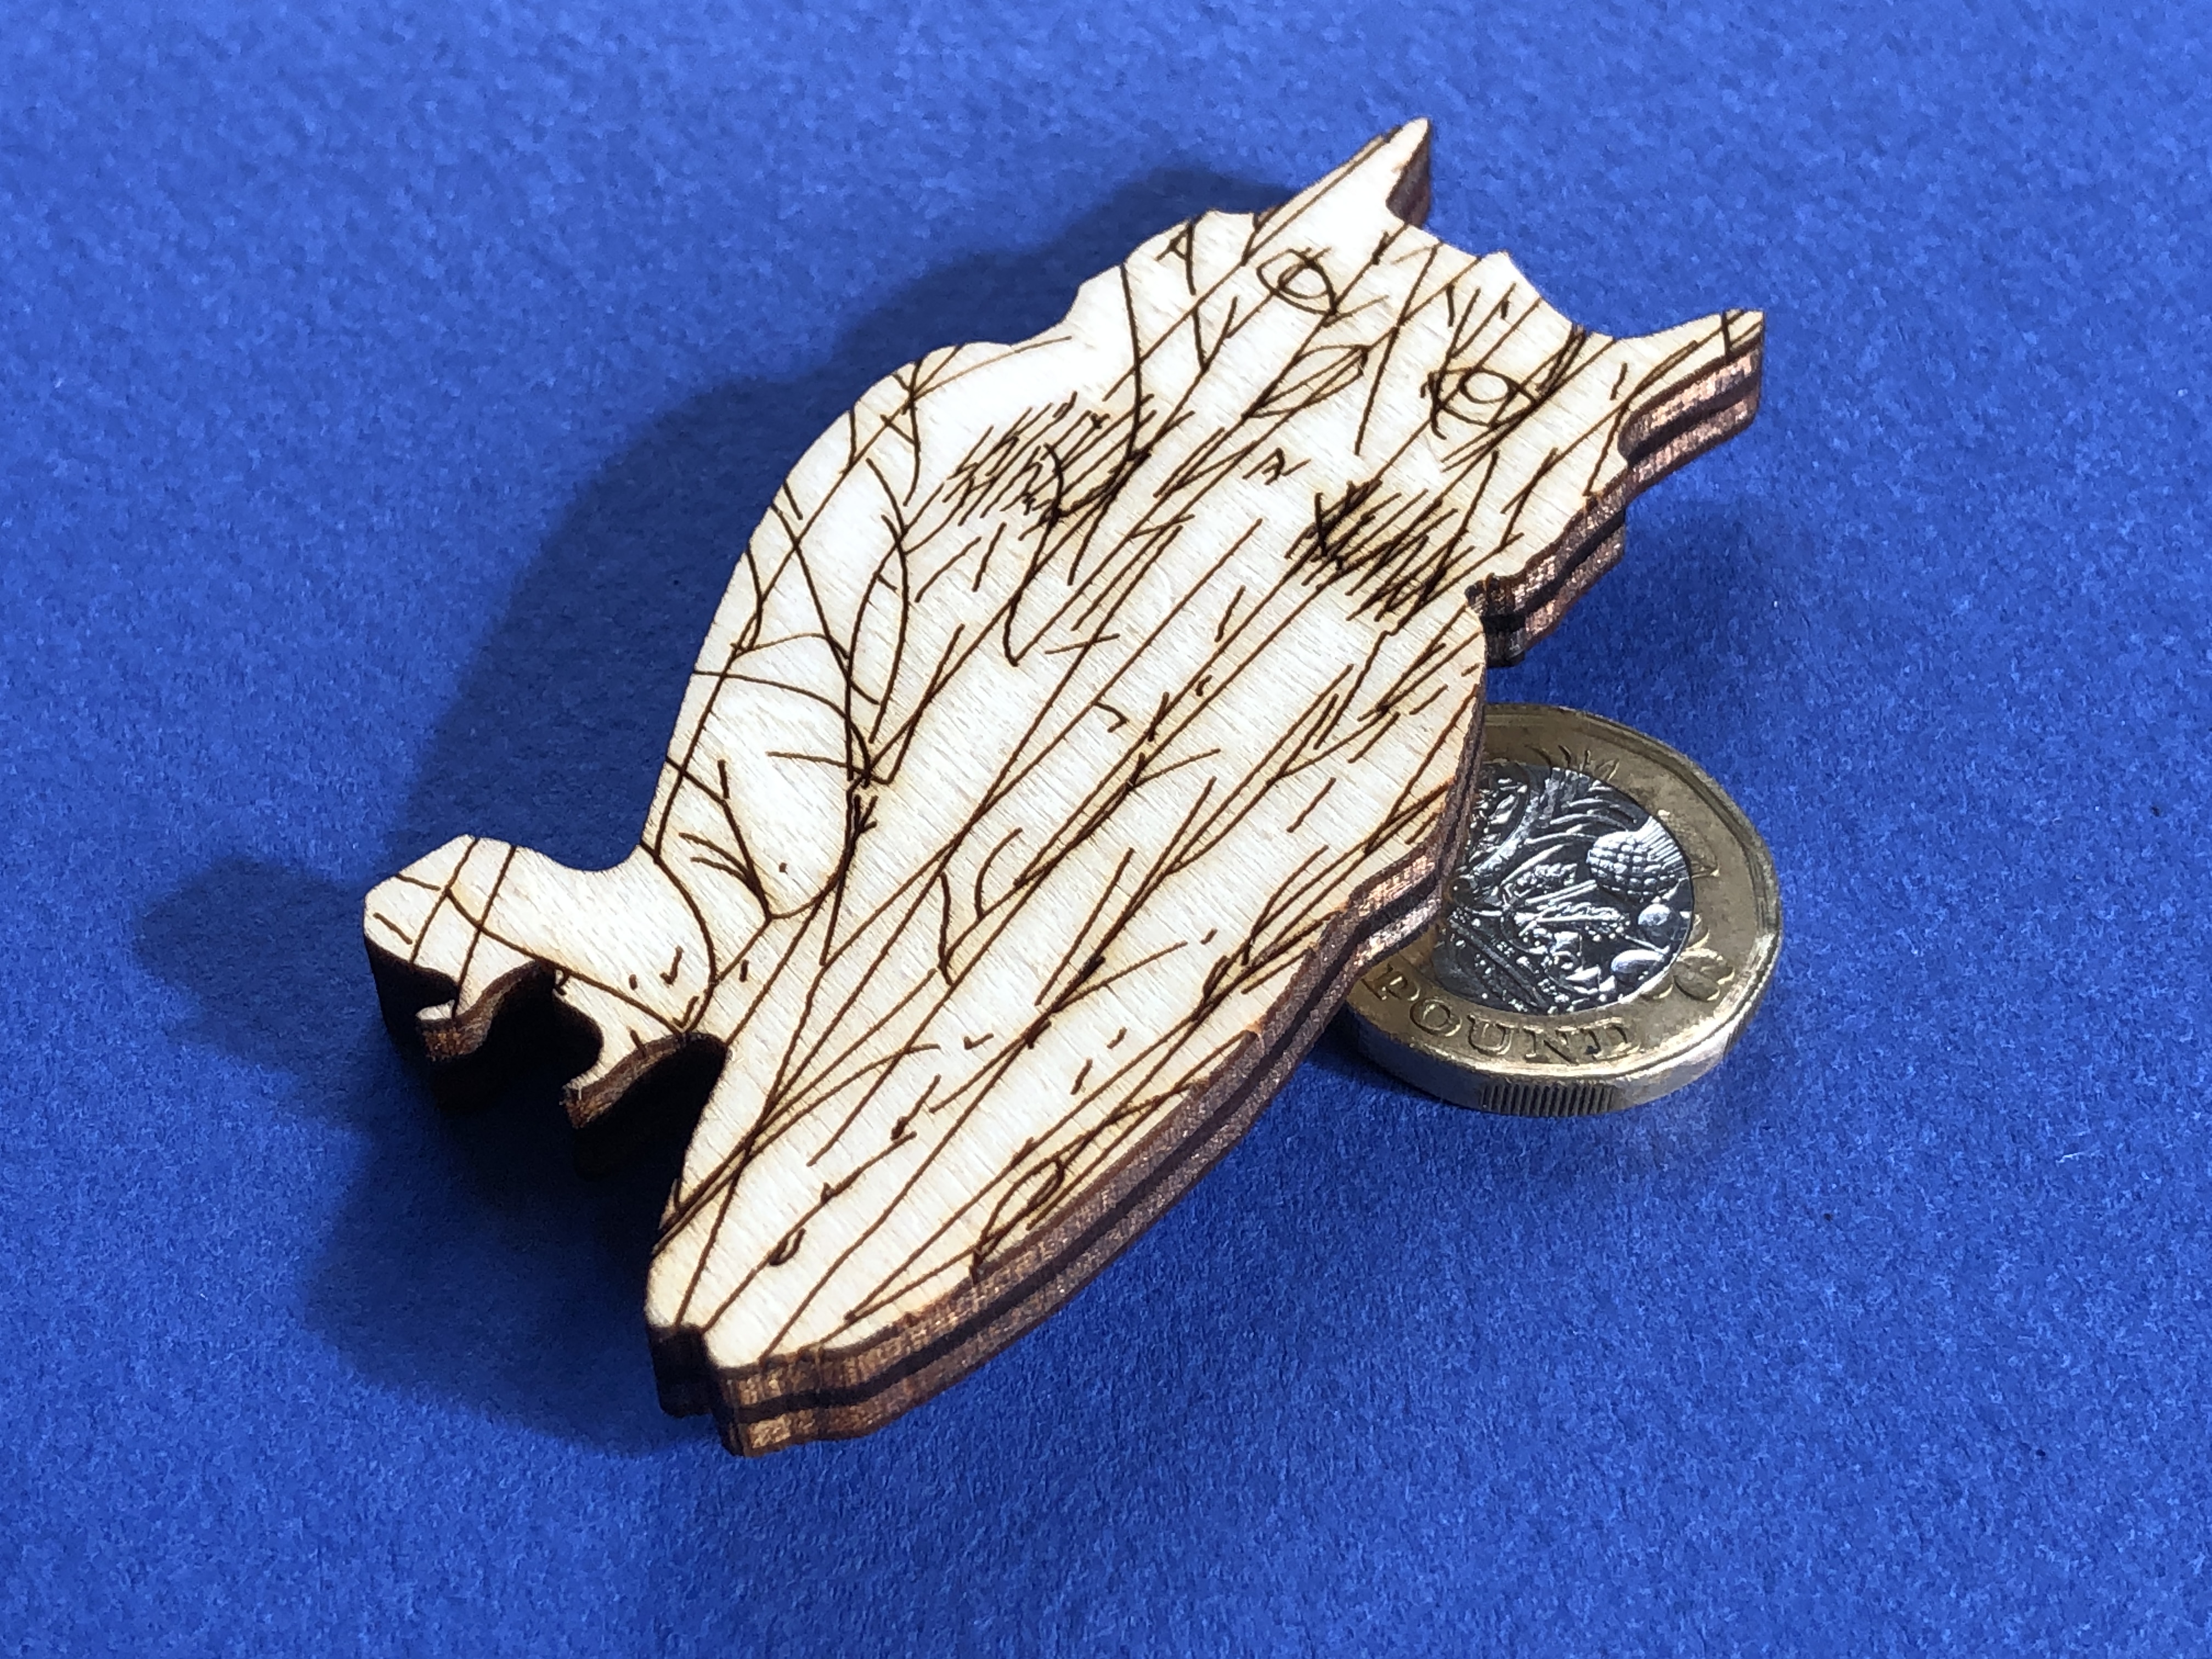
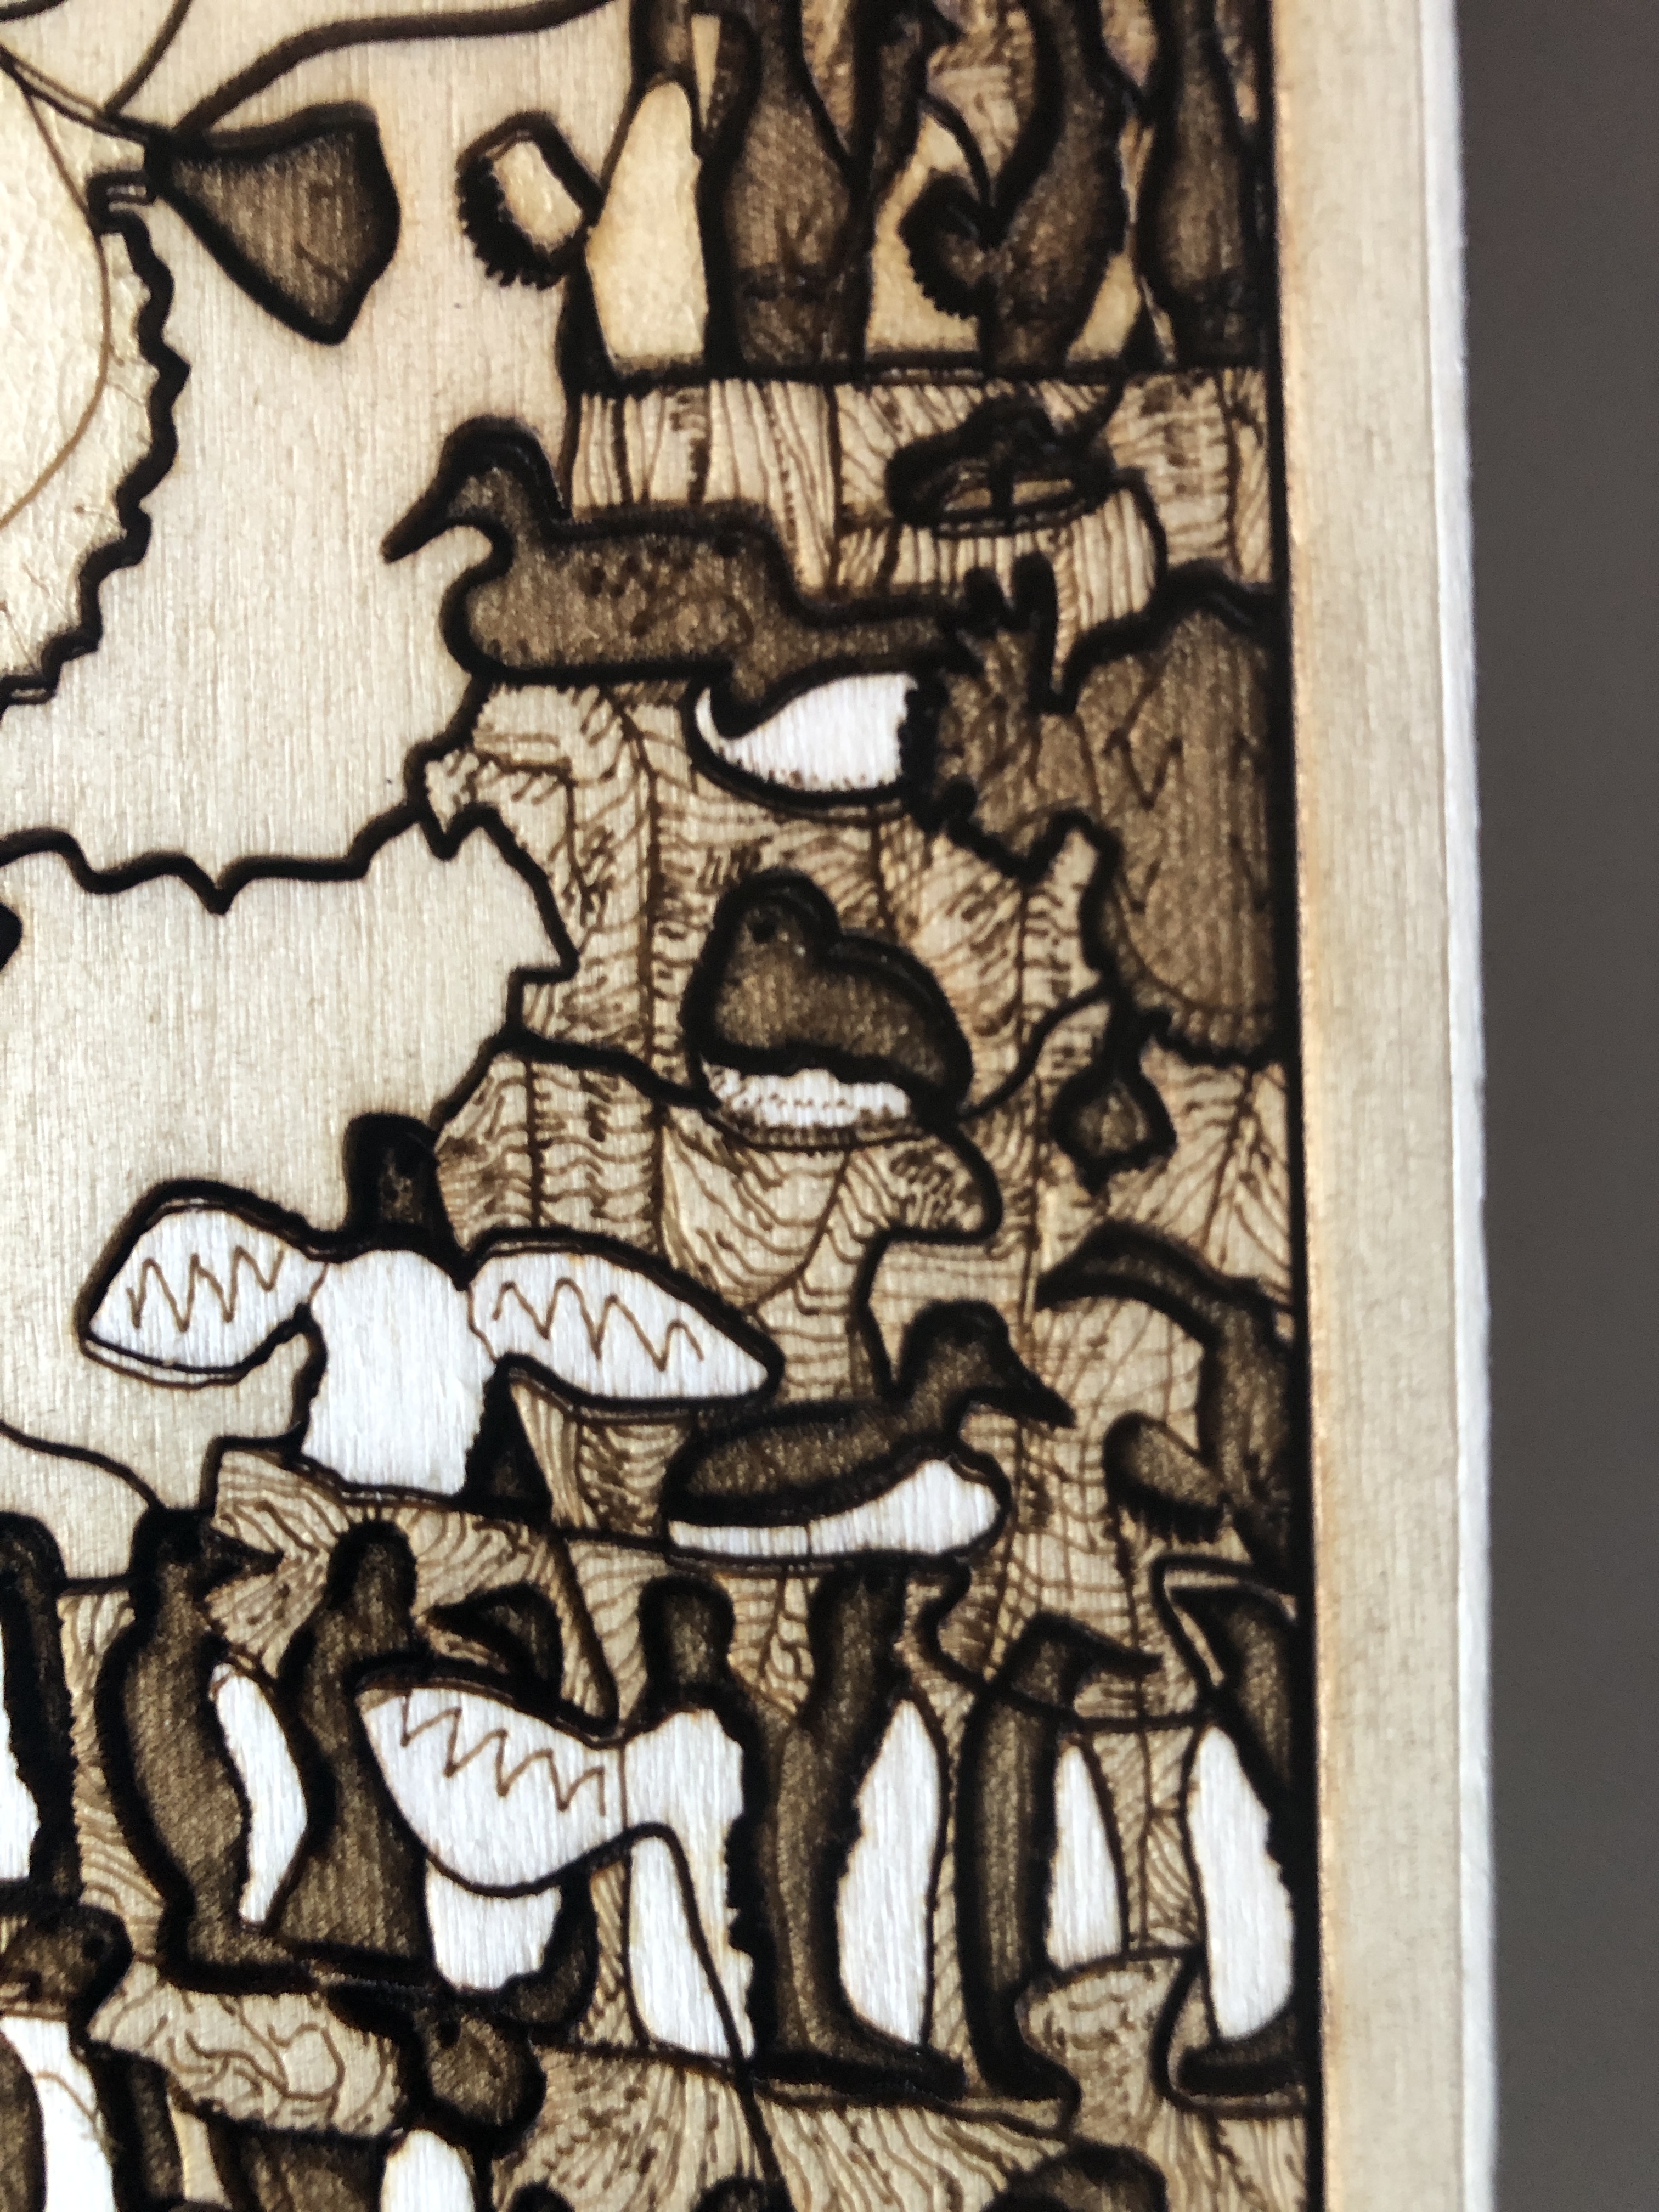
The following image shows detail of a part-de-masked area (compare the guillemot bellies on the bottom and middle to those on the top row) :-
The artwork then gets a final varnishing and left to dry for up to three days. This is especially important to protect the newly exposed wood surfaces.
I use pyrography to number each piece in the limited edition.
The special display mounts – with a selection of pieces cut of in order to highlight the work is in fact a puzzle – and not simply a drawing – are individually laser cut out of high quality mount board. This takes my precision laser about 40 minutes.
Finally I frame the artwork to using museum materials and techniques. I use anti-reflective, 99% UV filtering, ultra clear museum-grade glass to provide maximum protection to the piece.
I think the final work shows that lasers can be used to make real art – and are capable of very fine control – as much as lithographic printing, silk-screen printing, wood-block printing, lino-printing. Like any tool, the best results come with experience, knowledge, perseverance, patience, and finding ways around the natural limitations of the medium…
Just to give you an artist’s insight into this piece, a video of me talking about a very similar artwork to this (“Golden Plover with Egg (Art Puzzle) – Laser”) and the making of it can be seen on YouTube :-
– with the main difference being this one takes twice as long to laser, and three times as long to remove the masking tape.
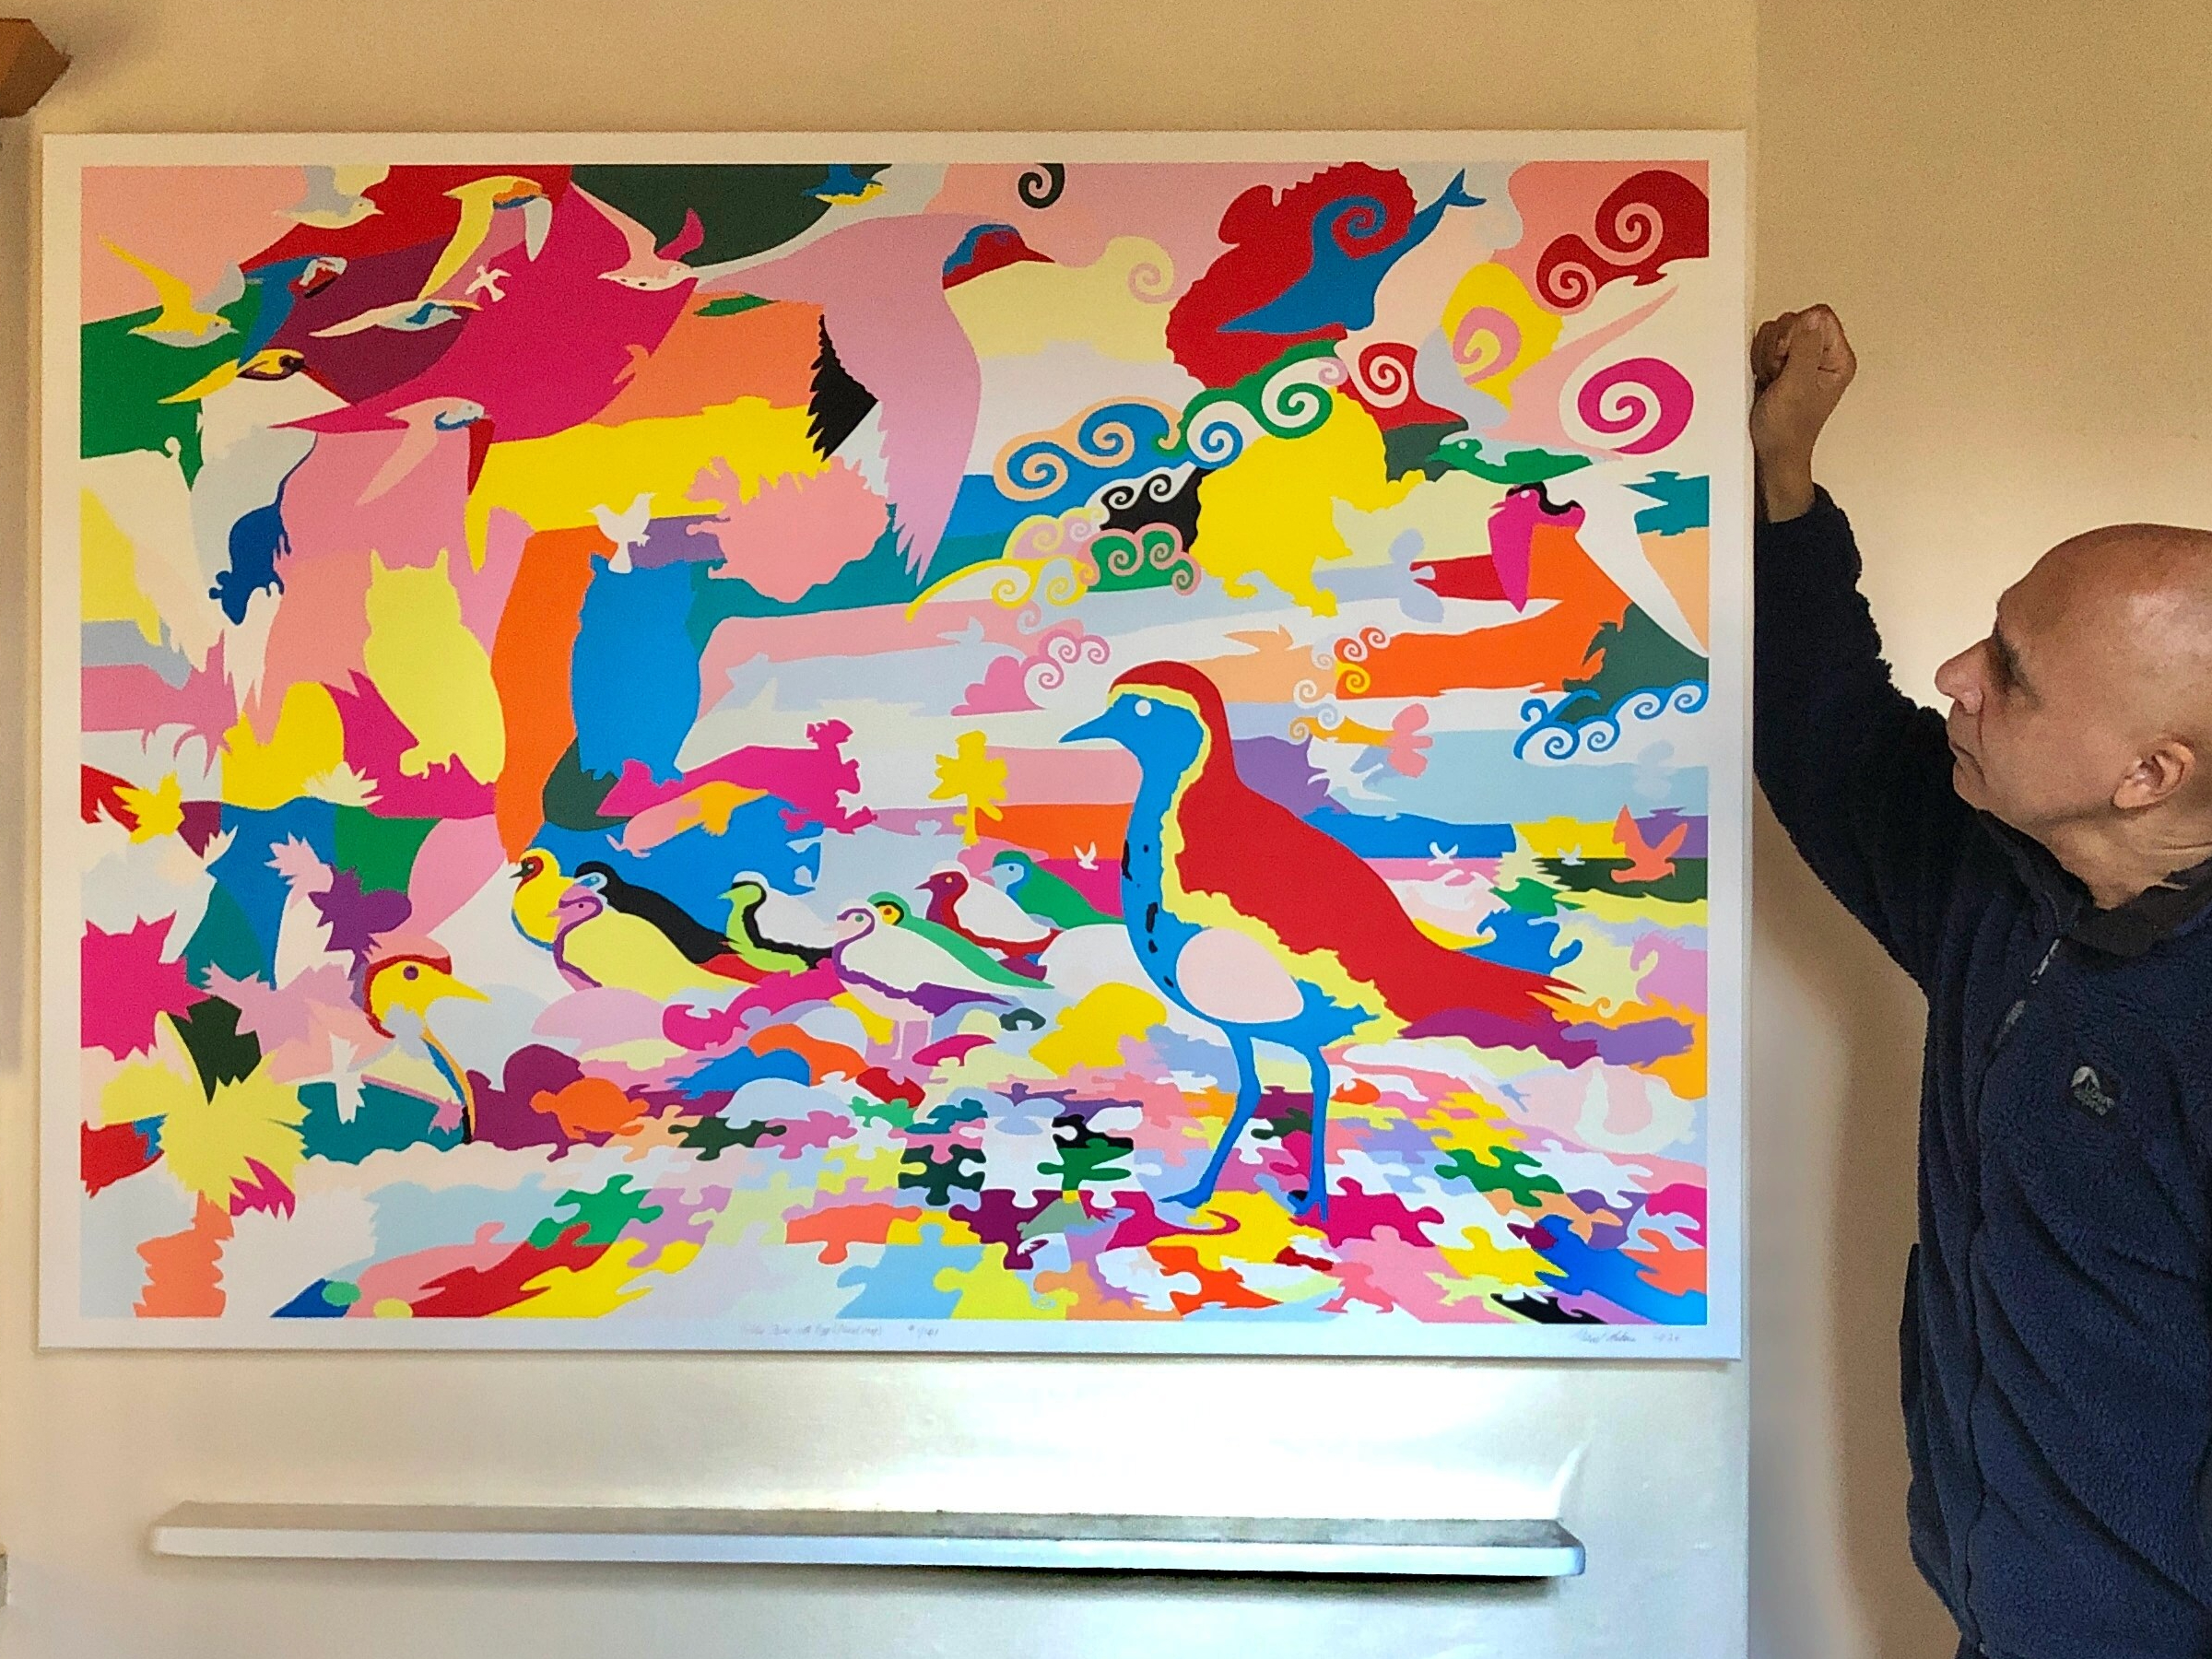
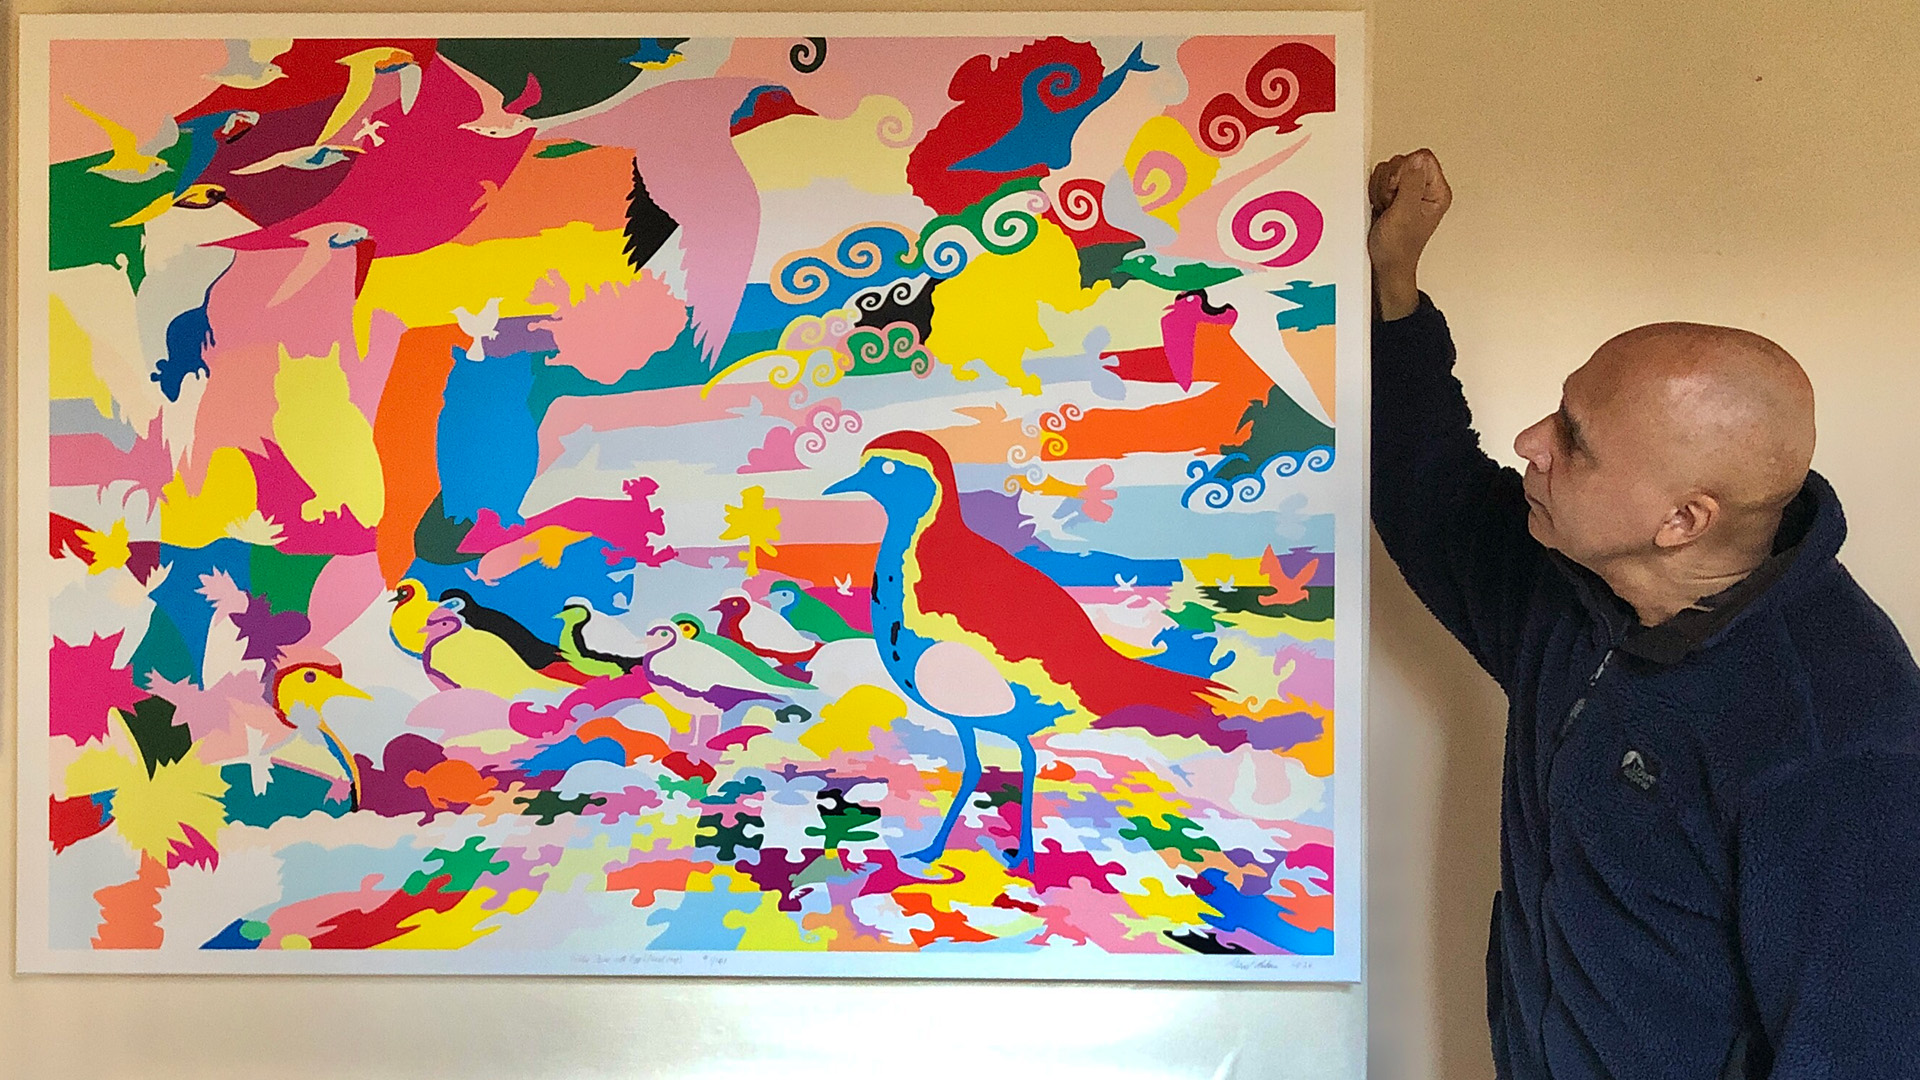
Title: “Golden Plover with Egg (floral map)” Artist: Michael Autumn Medium: Hand-drawing with digital gouache Giclée archival print on fine 100% cotton canvas (matt) Hahnemühle Art Canvas Smooth 370gsm + Hahnemühle UV protection matt varnish Size: 51″ (W) x 36″ (H), stretched canvas 38″ (W) x 53″ (H) Edition: Limited Edition of 101 Authenticity: Hand-signed (front, bottom, far right on white canvas border) with graphite pencil (varnished over with same UV-protective matt varnish as whole) and titled (front, bottom, centre on white canvas border) Date: 02/2024
Just to give an idea of the size the artwork…
TL:DR
This artwork is an homage to visual perception – it’s about how we detect meaning from the millions of individually coloured photons entering our eyes – and how I, as an artist, can trick you into seeing what I want you to see.
Golden Plover with Egg (floral map) is the simple colouring-in (albeit very carefully selected and juxtaposed colours) of a flat line drawing I did previously of this art puzzle design (see photo below and this post: Golden Plover with Egg (Art Puzzle)).
Golden Plover with Egg (Art Puzzle)
I used this technique to regularly check for line breaks (where there shouldn’t be any), and to get a better view of the shapes of the individual pieces I was designing – amid a sprawling mesh of simple black thin lines on a white background. This got me to thinking about the difference between the dumb mechanical process of colouring a shape (of a flood fill) and true animal (human) understanding…
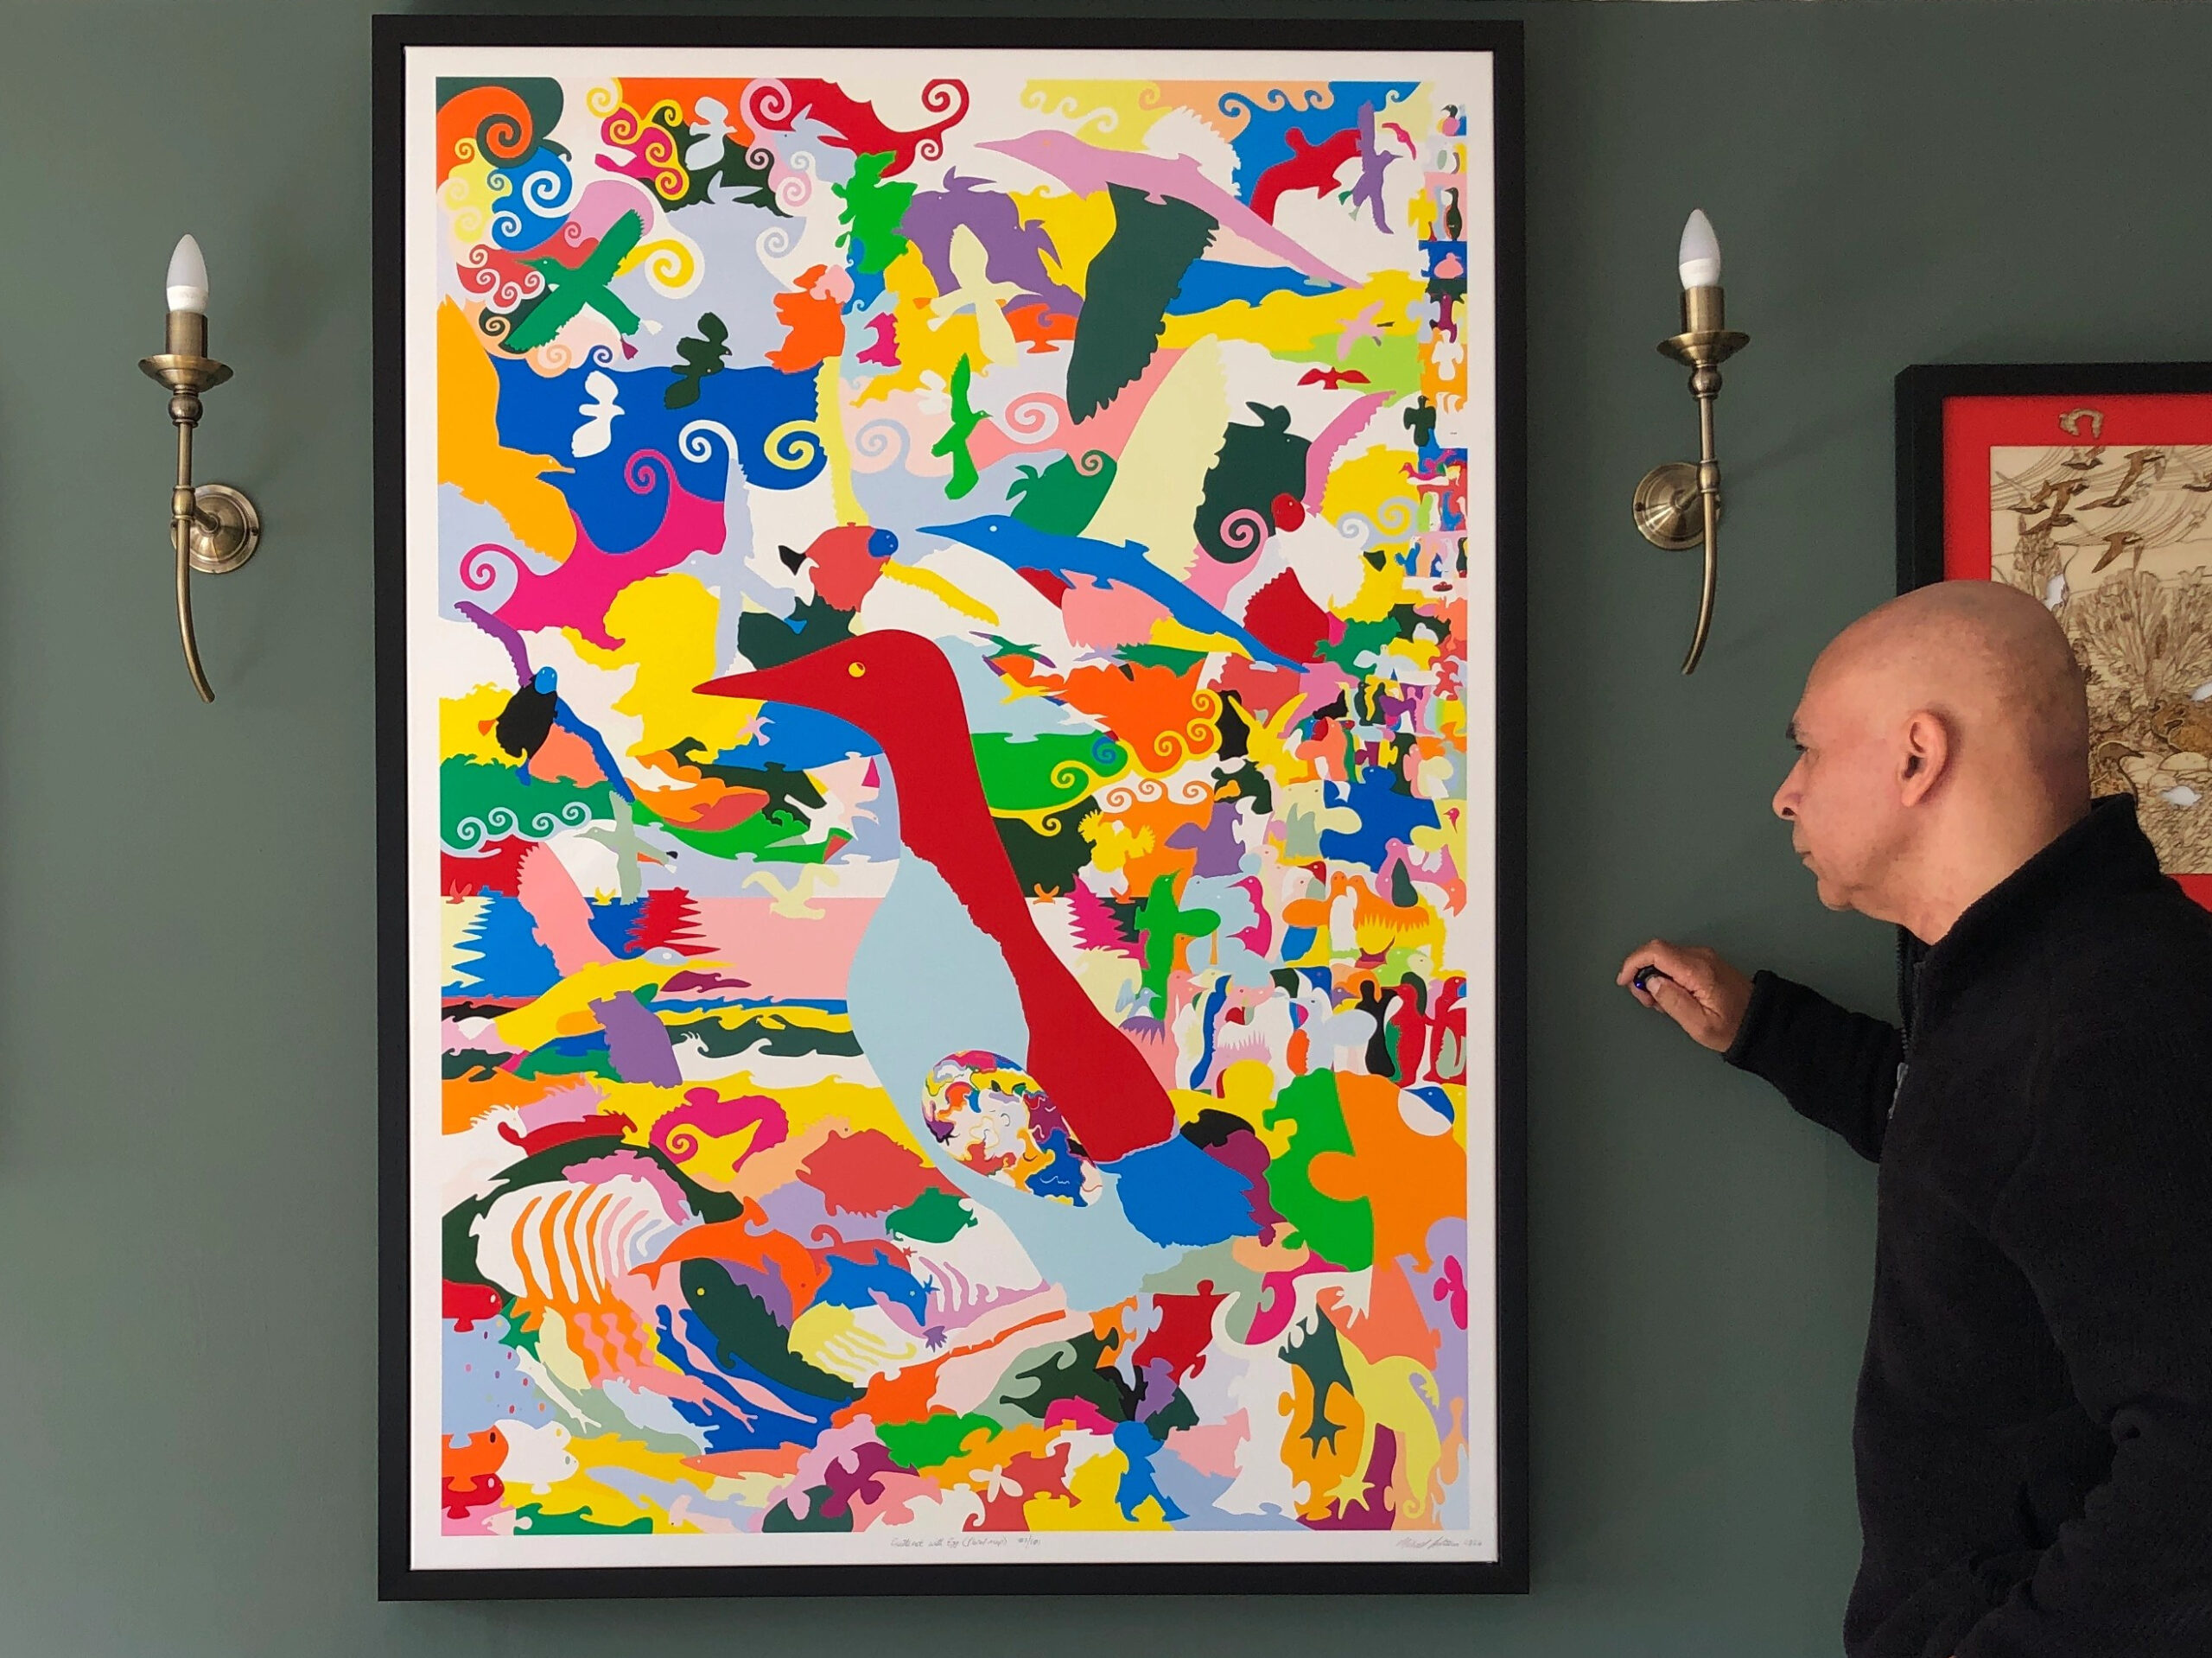
Title: “Guillemot with Egg (floral map)” Artist: Michael Autumn Medium: Hand-drawing with digital gouache Giclée archival print on fine 100% cotton canvas (matt) Hahnemühle Art Canvas Smooth 370gsm + Hahnemühle UV protection matt varnish Size: 36″ (W) x 50.9″ (H), canvas stretcher 38″ (W) x 53″ (H) Edition: Limited Edition of 101 Authenticity: Hand-signed (front, bottom, far right on white canvas border) with graphite pencil (varnished over with same UV-protective matt varnish as whole) and titled (front, bottom, centre on white canvas border) Date: 02/2024
Just to give an idea of the size the artwork…
TL;DR
This artwork is an homage to visual perception – it’s about how we detect meaning from the millions of individually coloured photons entering our eyes – and how I, as an artist, can trick you into seeing what I want you to see.
Guillemot with Egg (floral map) is the simple colouring-in (albeit very carefully selected and juxtaposed colours) of a flat line drawing I did previously of this art puzzle design (see photo of that artwork below and this post: Guillemot with Egg (Art Puzzle)).
Guillemot with Egg (Art Puzzle)
I used this technique to regularly check for line breaks (where there shouldn’t be any), and to get a better view of the shapes of the individual pieces I was designing – amid a sprawling mesh of simple black thin lines on a white background. This got me to thinking about the difference between the dumb mechanical process of colouring a shape (of a flood fill) and true animal (human) understanding…
The story behind this artwork is part intentional, part serendipity, and partly the indirect fruits of some non-trivial computer programming I did many, many, moons ago…
I am immensely impressed, and deeply bewildered, by our ability to visually perceive our environment. As you might know, typical adult human beings have about six million cones in our eyes to effectively detect pixels of coloured light (photons) in daylight (rods are used in low-light/dark conditions). Each detected pixel of light is to all intents and purposes completely independent of each other – and the eye’s cones are simple colour detectors of light coming into the eye – not in themselves capable of making any sense of the totality of what the all the other cones are measuring – they simply pass what they individually detect to the brain (via the optic nerve). It takes one of the most impressive and complex machines in the universe – a brain – to interpret these patchworks of colour.
The brain compares all the pixels together, detects edge boundaries, and uses its vast database of previously classified images (and parts thereof) to try to understand the current image. And by understanding the image I mean recognising the individual objects within it. Without the aid of a vast memory and very sophisticated pattern-recognition, reinforcement, and continuous learning – making sense of what we see would be impossible – and we simply wouldn’t survive. Why? Because we wouldn’t be able to find food and water, avoid danger, and move about pursuing our instinctive goals – build and maintain a shelter, avoid various dangers, find a mate, reproduce, etc… That’s not to say that the brain never gets things wrong. In fact, our brain’s insatiable appetite to pattern-match and classify what it “sees” is so strong that it is sometimes fooled into “seeing” things which aren’t there… Anyone ever seen elephant-shaped clouds…?
Since about 2021, I have been exploring the physical and metaphorical world of puzzles – particularly those in Nature: things that are camouflaged, paradoxical, ambiguous, double-entendre, things that are not what they seem. I have been expressing this through the medium of actual visual puzzles – jigsaw puzzles with a twist, and a completely different purpose – the purpose of expressing ideas rather than a challenging pastime. I call them art puzzles.
I start by hand-drawing a full size completely imaginary, but plausible, nature design of a main bird in an appropriate landscape (which takes me a long time – by far the bulk of the total), and then I physically cut out the puzzle (usually in wood). While designing the artwork for these intricate puzzles – with an eye for structurally interlocking pieces (which are often heavily disguised) – I periodically check that the cut lines all work – i.e. that there are no gaps where there shouldn’t be any, and all the pieces cut out cleanly (i.e. not stuck together anywhere).
This checking is important because, while I cut the pieces by hand for the first three years (and could compensate for any imperfections in the drawings), I have an eye on getting them cut by a computer-controlled machine – waterjet, laser, or some other technology – so I have to make the drawings “perfect”. As many of you will know, if you provide instructions to humans, you can get away with some imperfections and inaccuracies because an intelligent human being is likely to still achieve the correct result – compensating for your mistakes and imperfect measurements/instructions – because they can guess at your intentions. But most of you will also know that you can’t get away with anything when a computerised mechanical machine does the work: it will do exactly what it is told – no more, no less – because it has no notion of what it is supposed to do.
Zooming in on a complex detailed drawing and looking for gaps of where lines don’t join where they should – is a very tedious, long-winded, task – and it’s difficult to be certain you’ve properly checked everywhere. So a while back I got the idea of flood-filling the areas to see if there are any leaks. For those of you not familiar with the term, flood-filling is an automated way of filling an area of colour – of any complexity – with a new colour. It is not filling the whole image with colour – that isn’t much use. It fills/puts the new colour everywhere that is the same colour as the original point (pixel) colour – and here is the subtle bit – the colour has to be connected to the original point. To illustrate this, here is a sequence of pictures showing a small detail of my gap-finding process :-
Detail of the drawing with no gapsDetail of the drawing with a small gap – can you see it…?Detail of the drawing with red arrow showing a small gapDetail of the drawing with flood fill going through the gapDetail of the drawing with flood fill confirming gap fixedDetail of the drawing with various flood fills showing good gap integrity
So where does the computer programming part come in – that I mentioned in the introduction? Well, many, many, moons ago – when personal computers were just emerging, I started a career which involved creatively using IT to help people with special needs – recreation, communication, education, etc… One of the most rewarding projects I took on was to design an art program that would enable people who could reliably press one, two, or three buttons with any part of their body – to draw and paint on the computer – and print out their colourful creations. (I was an artist long before I got involved in computing, and so this was particularly interesting to me.) My main customer and inspiration for the program at the time was a very talented mouth-artist, called Mary, whom I was very ambitious for. I wanted to provide for every feature she asked for – in addition to those I thought should be there. One day while doing quite a complex design with the program, Mary asked if it was possible to change the colour of part of her picture. It wasn’t at the time, but I set about designing the feature. To my knowledge it hadn’t been done before, and it turned out to be quite challenging (it took me about a month to crack it). These days it’s common in art programs, and is something most people take for granted. But solving the problem from scratch was very satisfying and gave me insights to its many possibilities (including solving any 2D line-drawn maze of any complexity)…
The serendipitous aspect of this artwork lies in when I realised that the various flood fill tests I was doing during the course of designing the original art puzzle – were actually quite appealing in their own right. While I was only using a few simple random colours for my tests, I thought that with a harmoniously selected floral colour pallet and careful colour juxtapositions, I could make a really attractive design… I parked the idea at the time because I was engrossed with my original intention, but I did come back to it this year. It took quite a long time to arrive at the final design, and printing the colours correctly (i.e. as I envisioned and designed them on my computer) was really tricky (as usual!). Printed on the best available printer with the most archival inks. Best UV protection matt varnish.
I really like it, and it’s like nothing I’ve seen before…