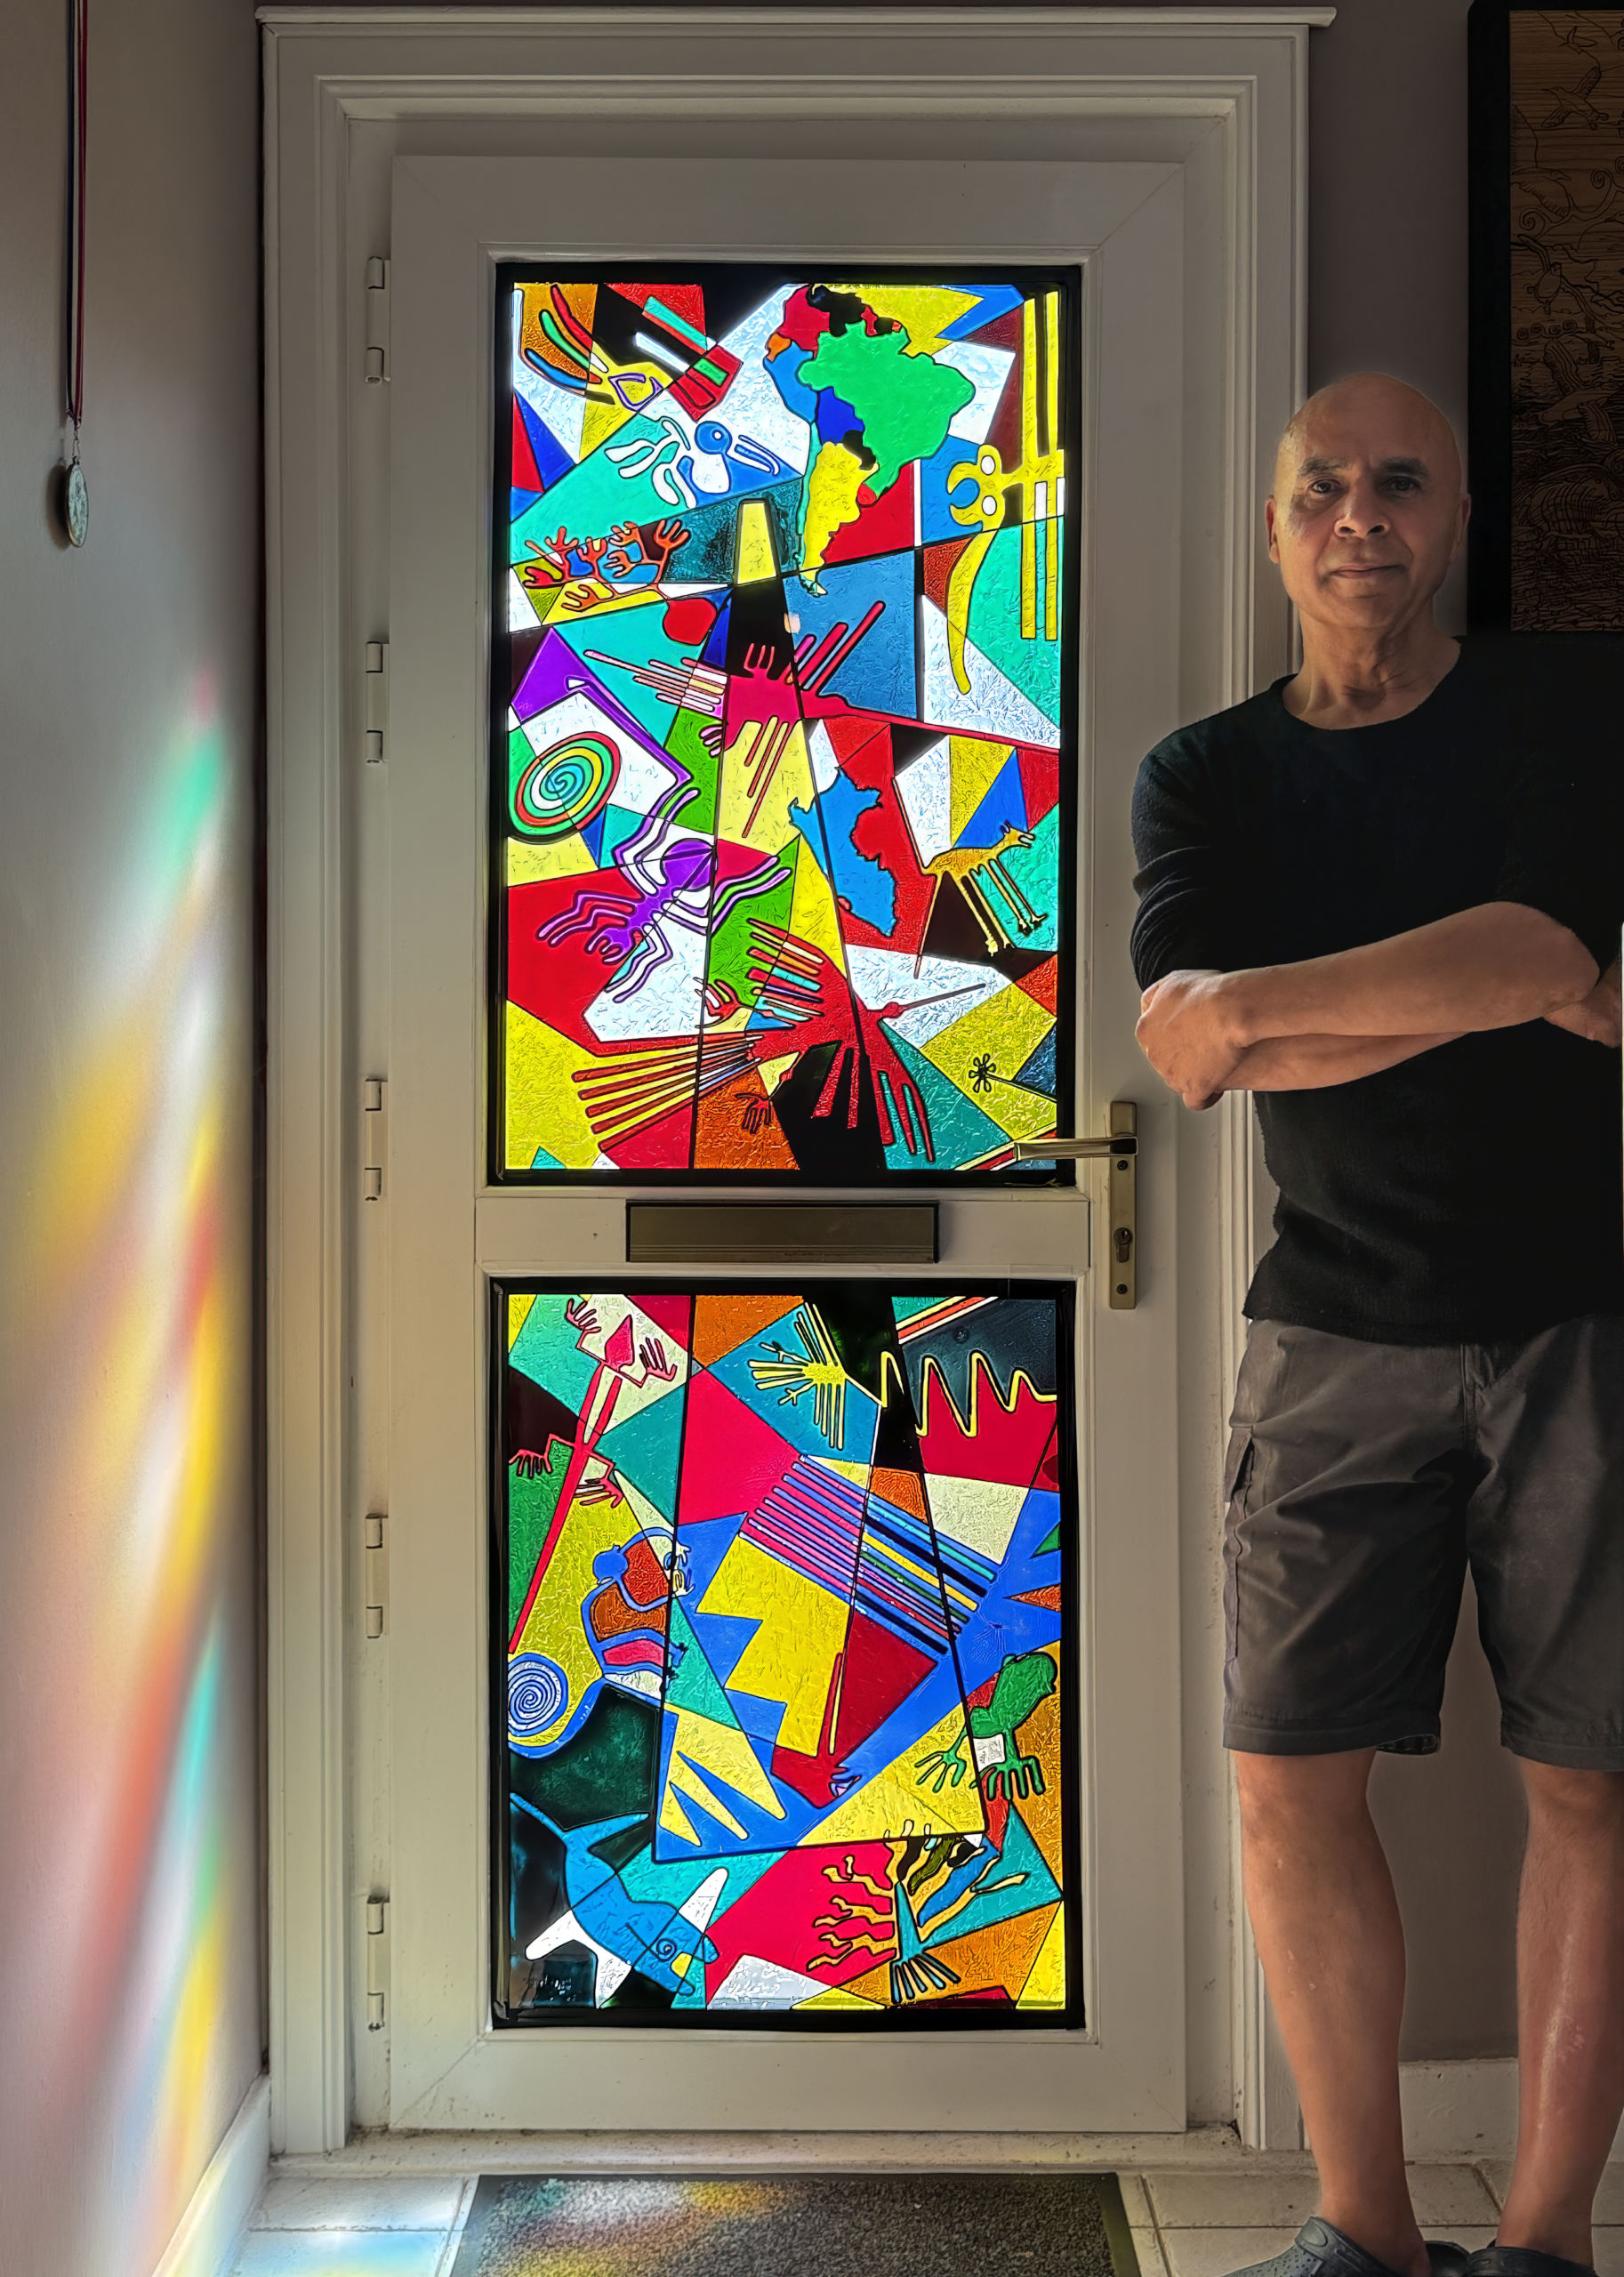
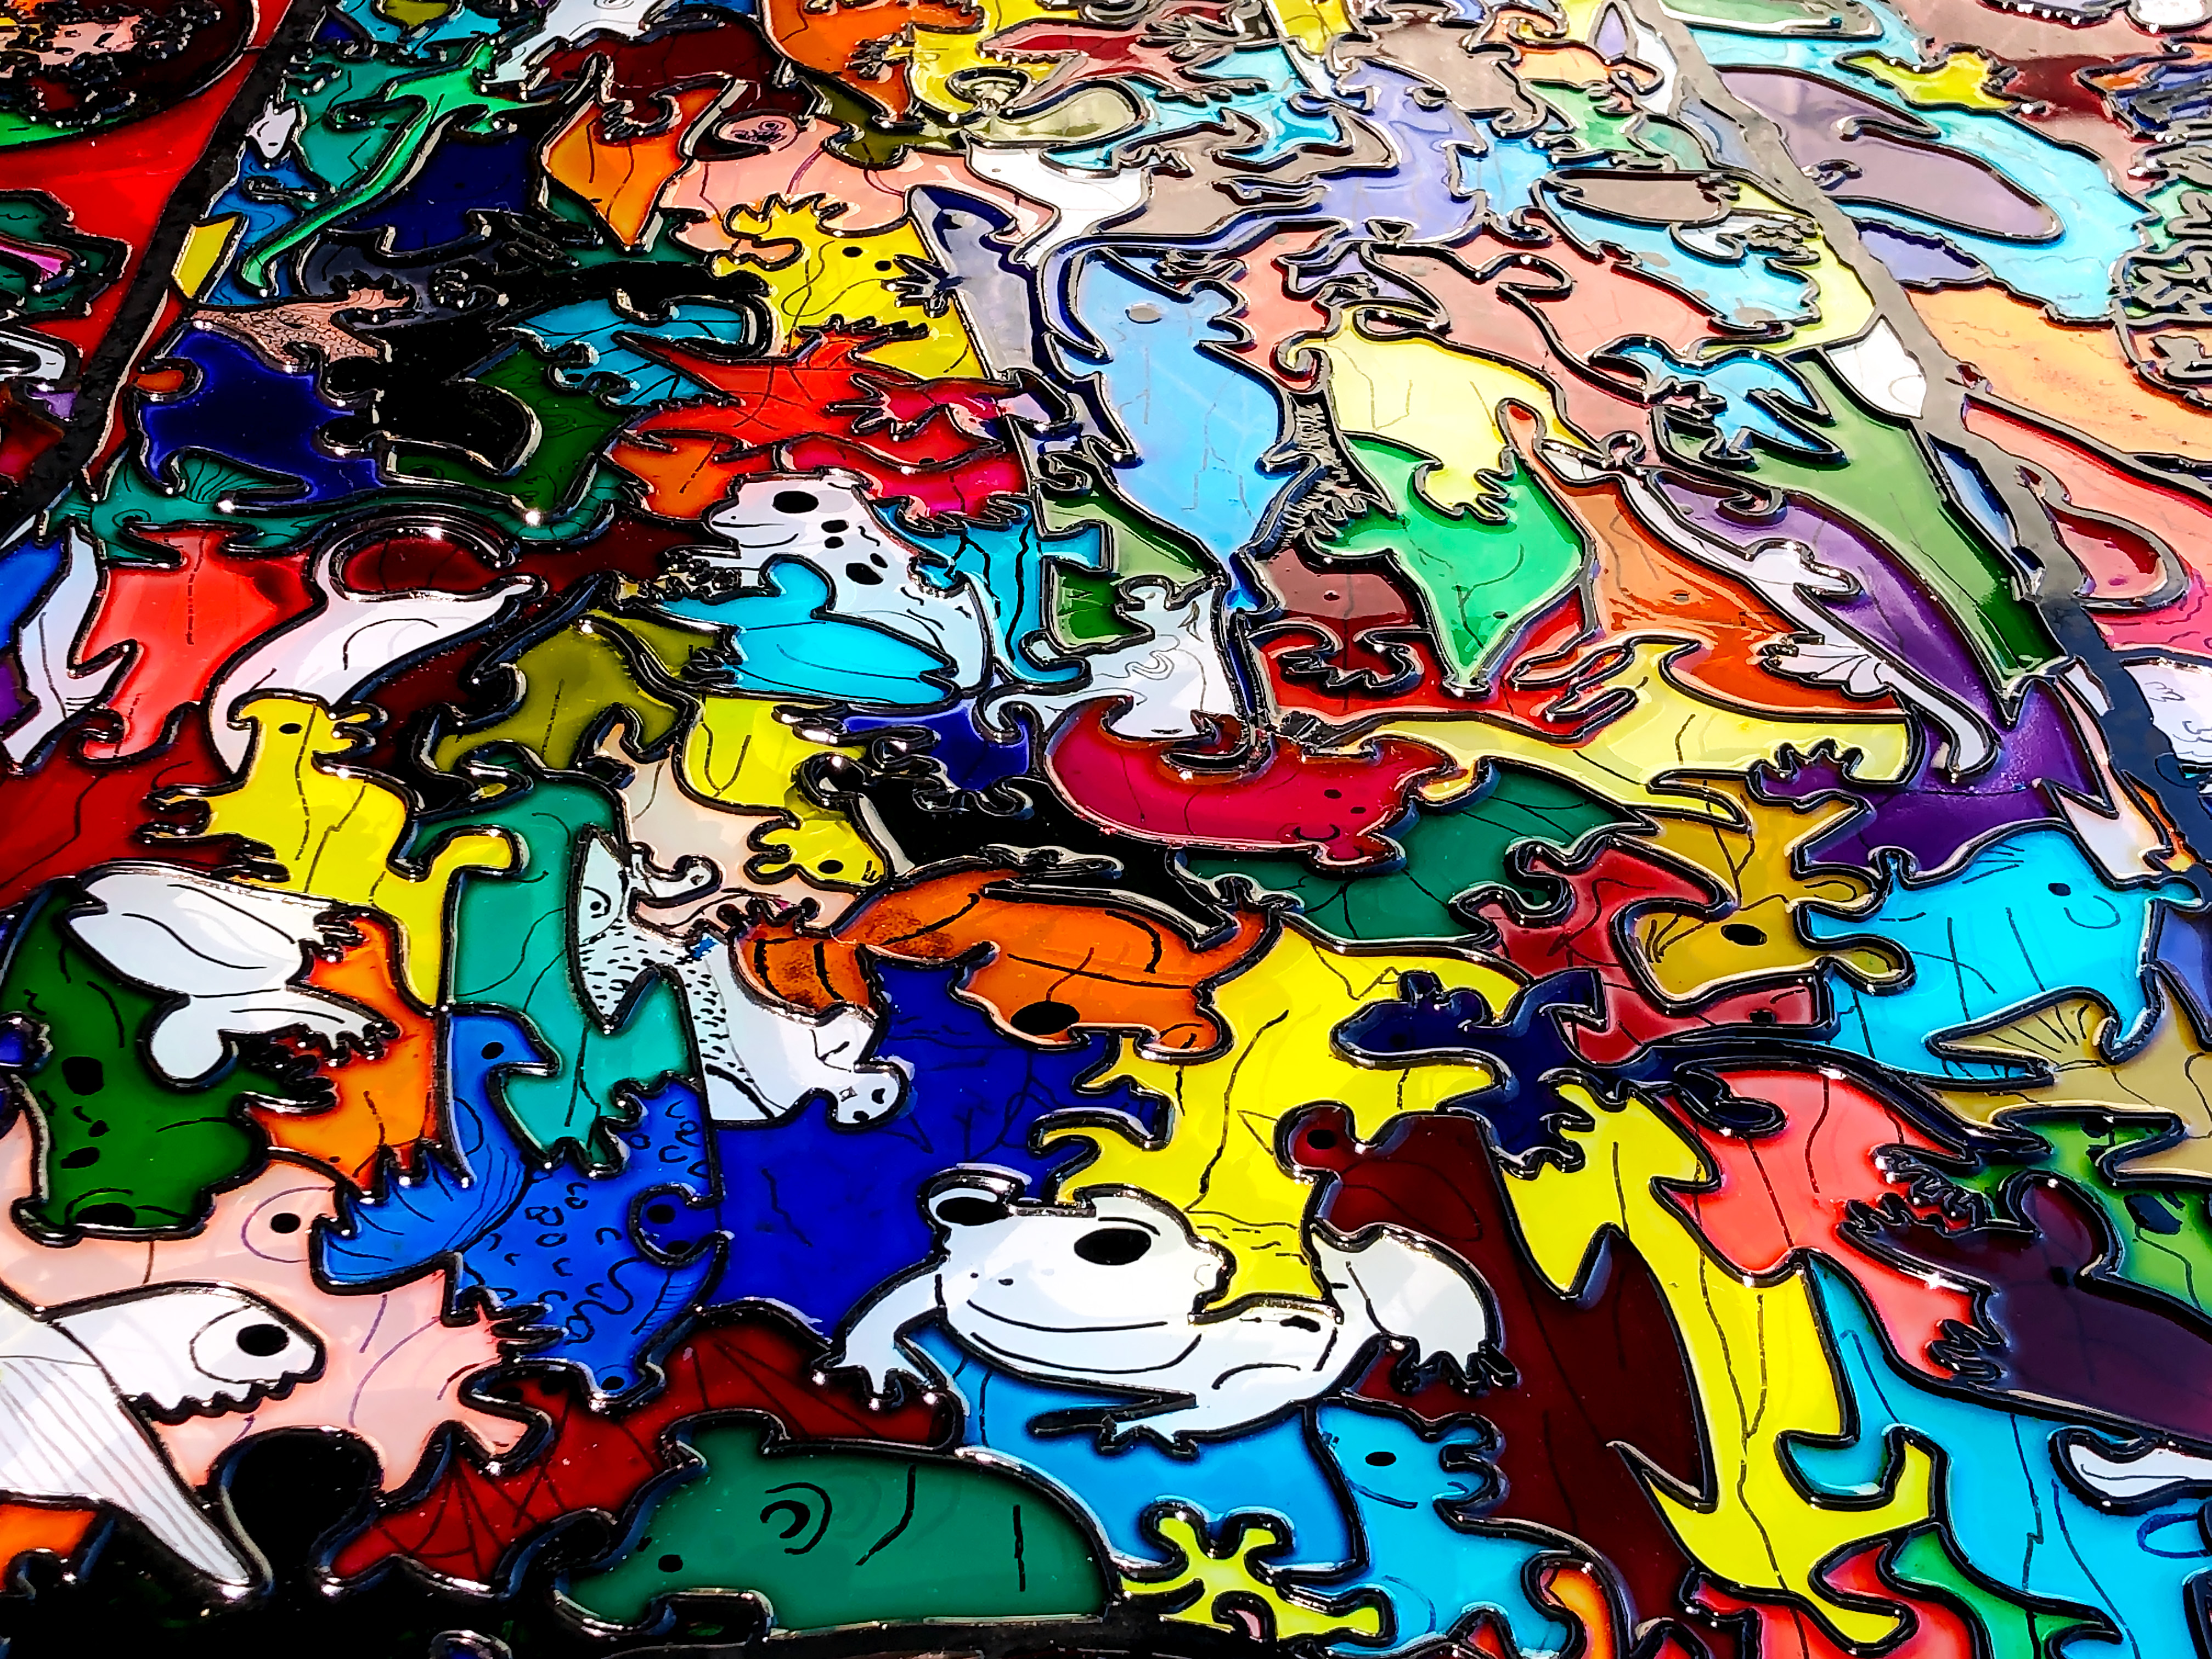
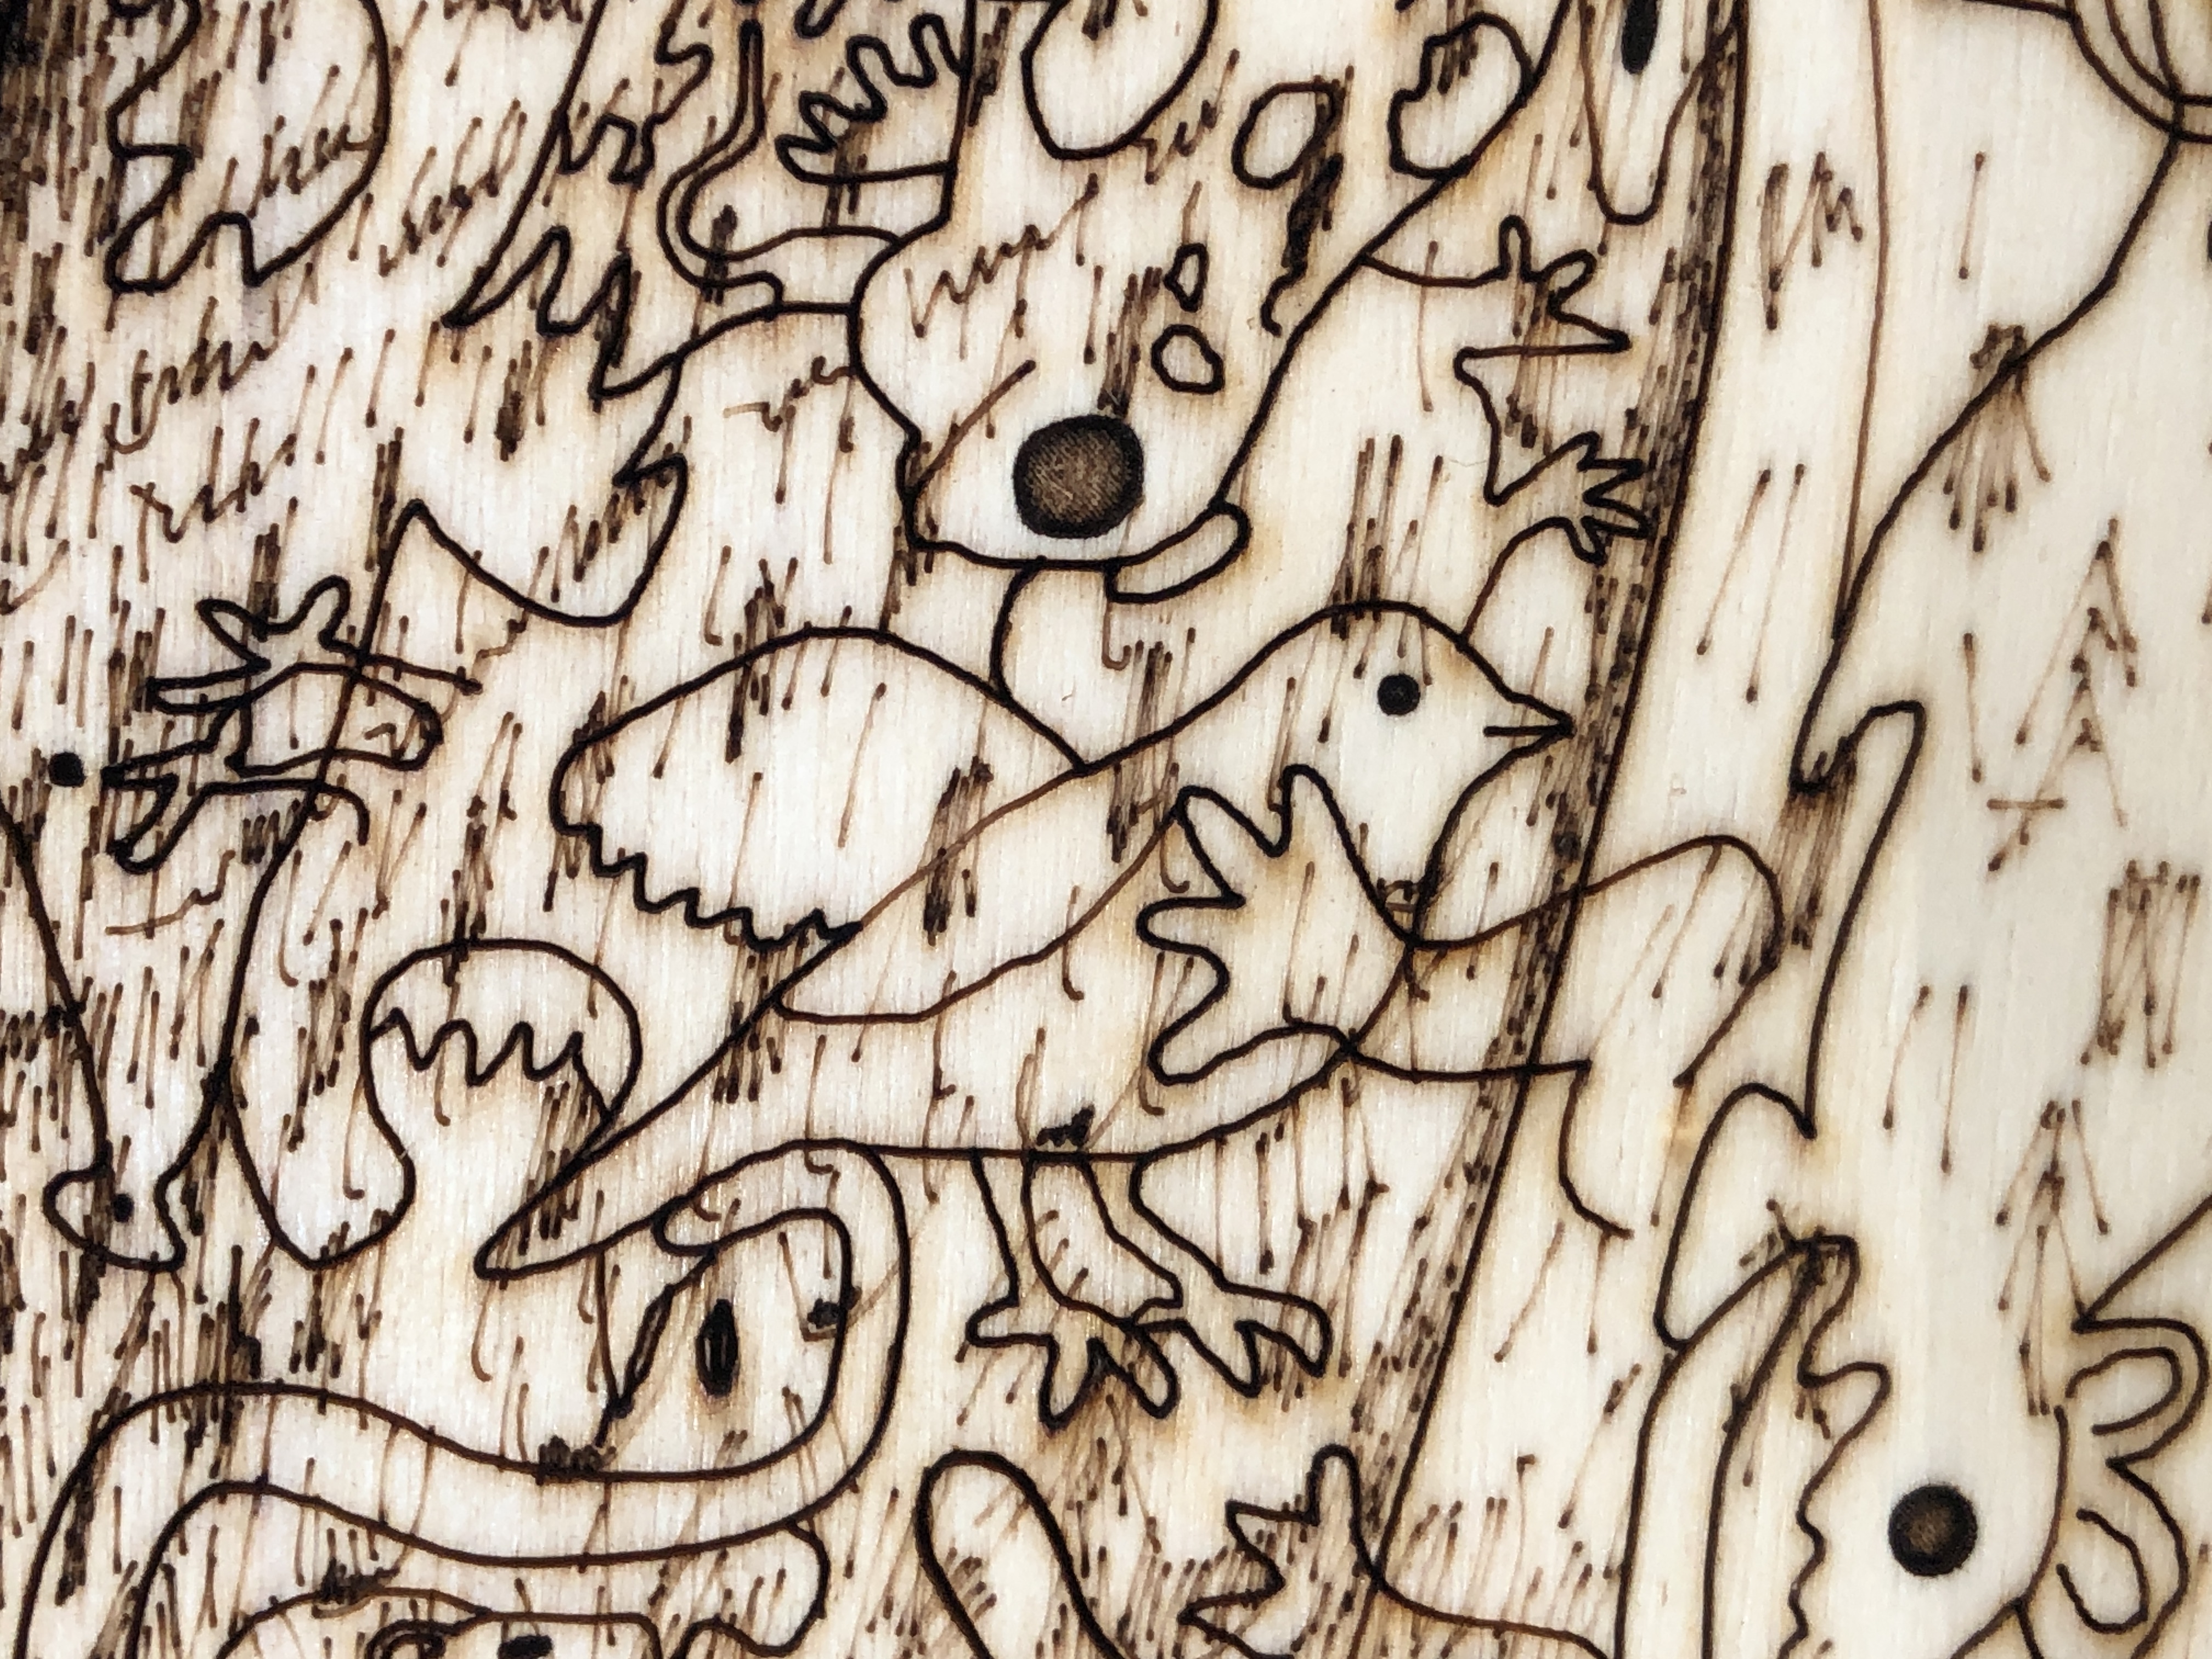
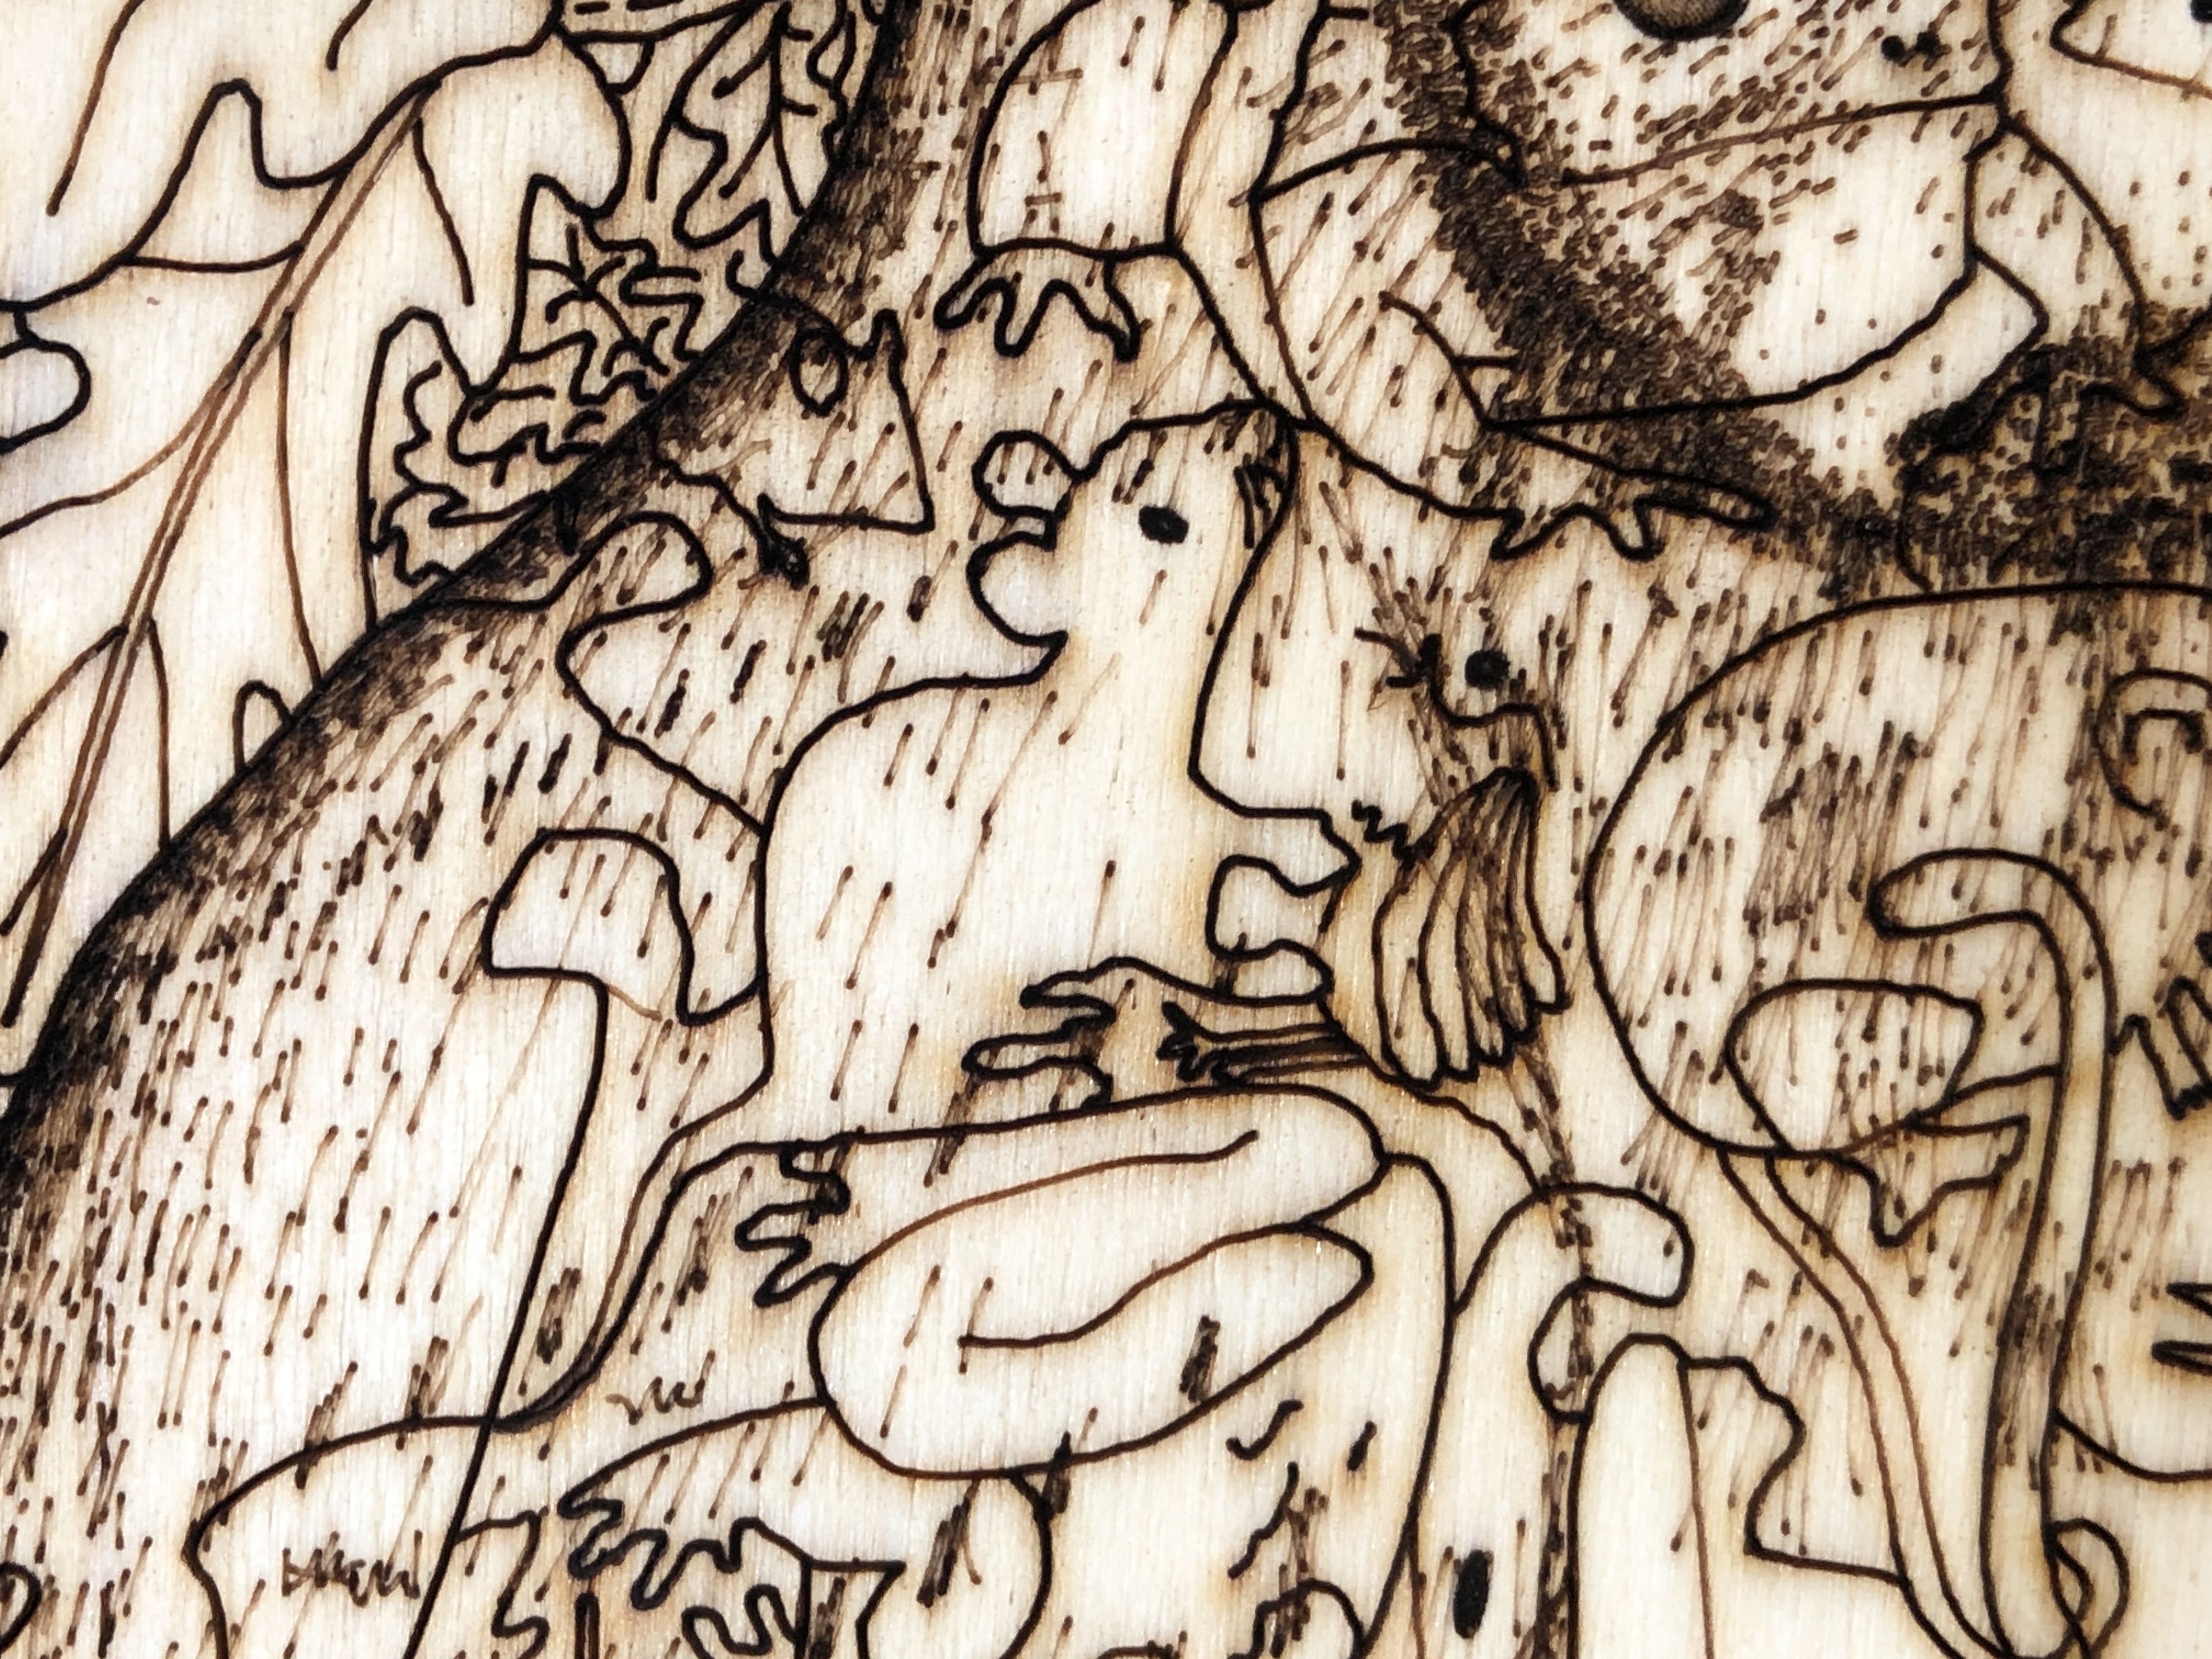
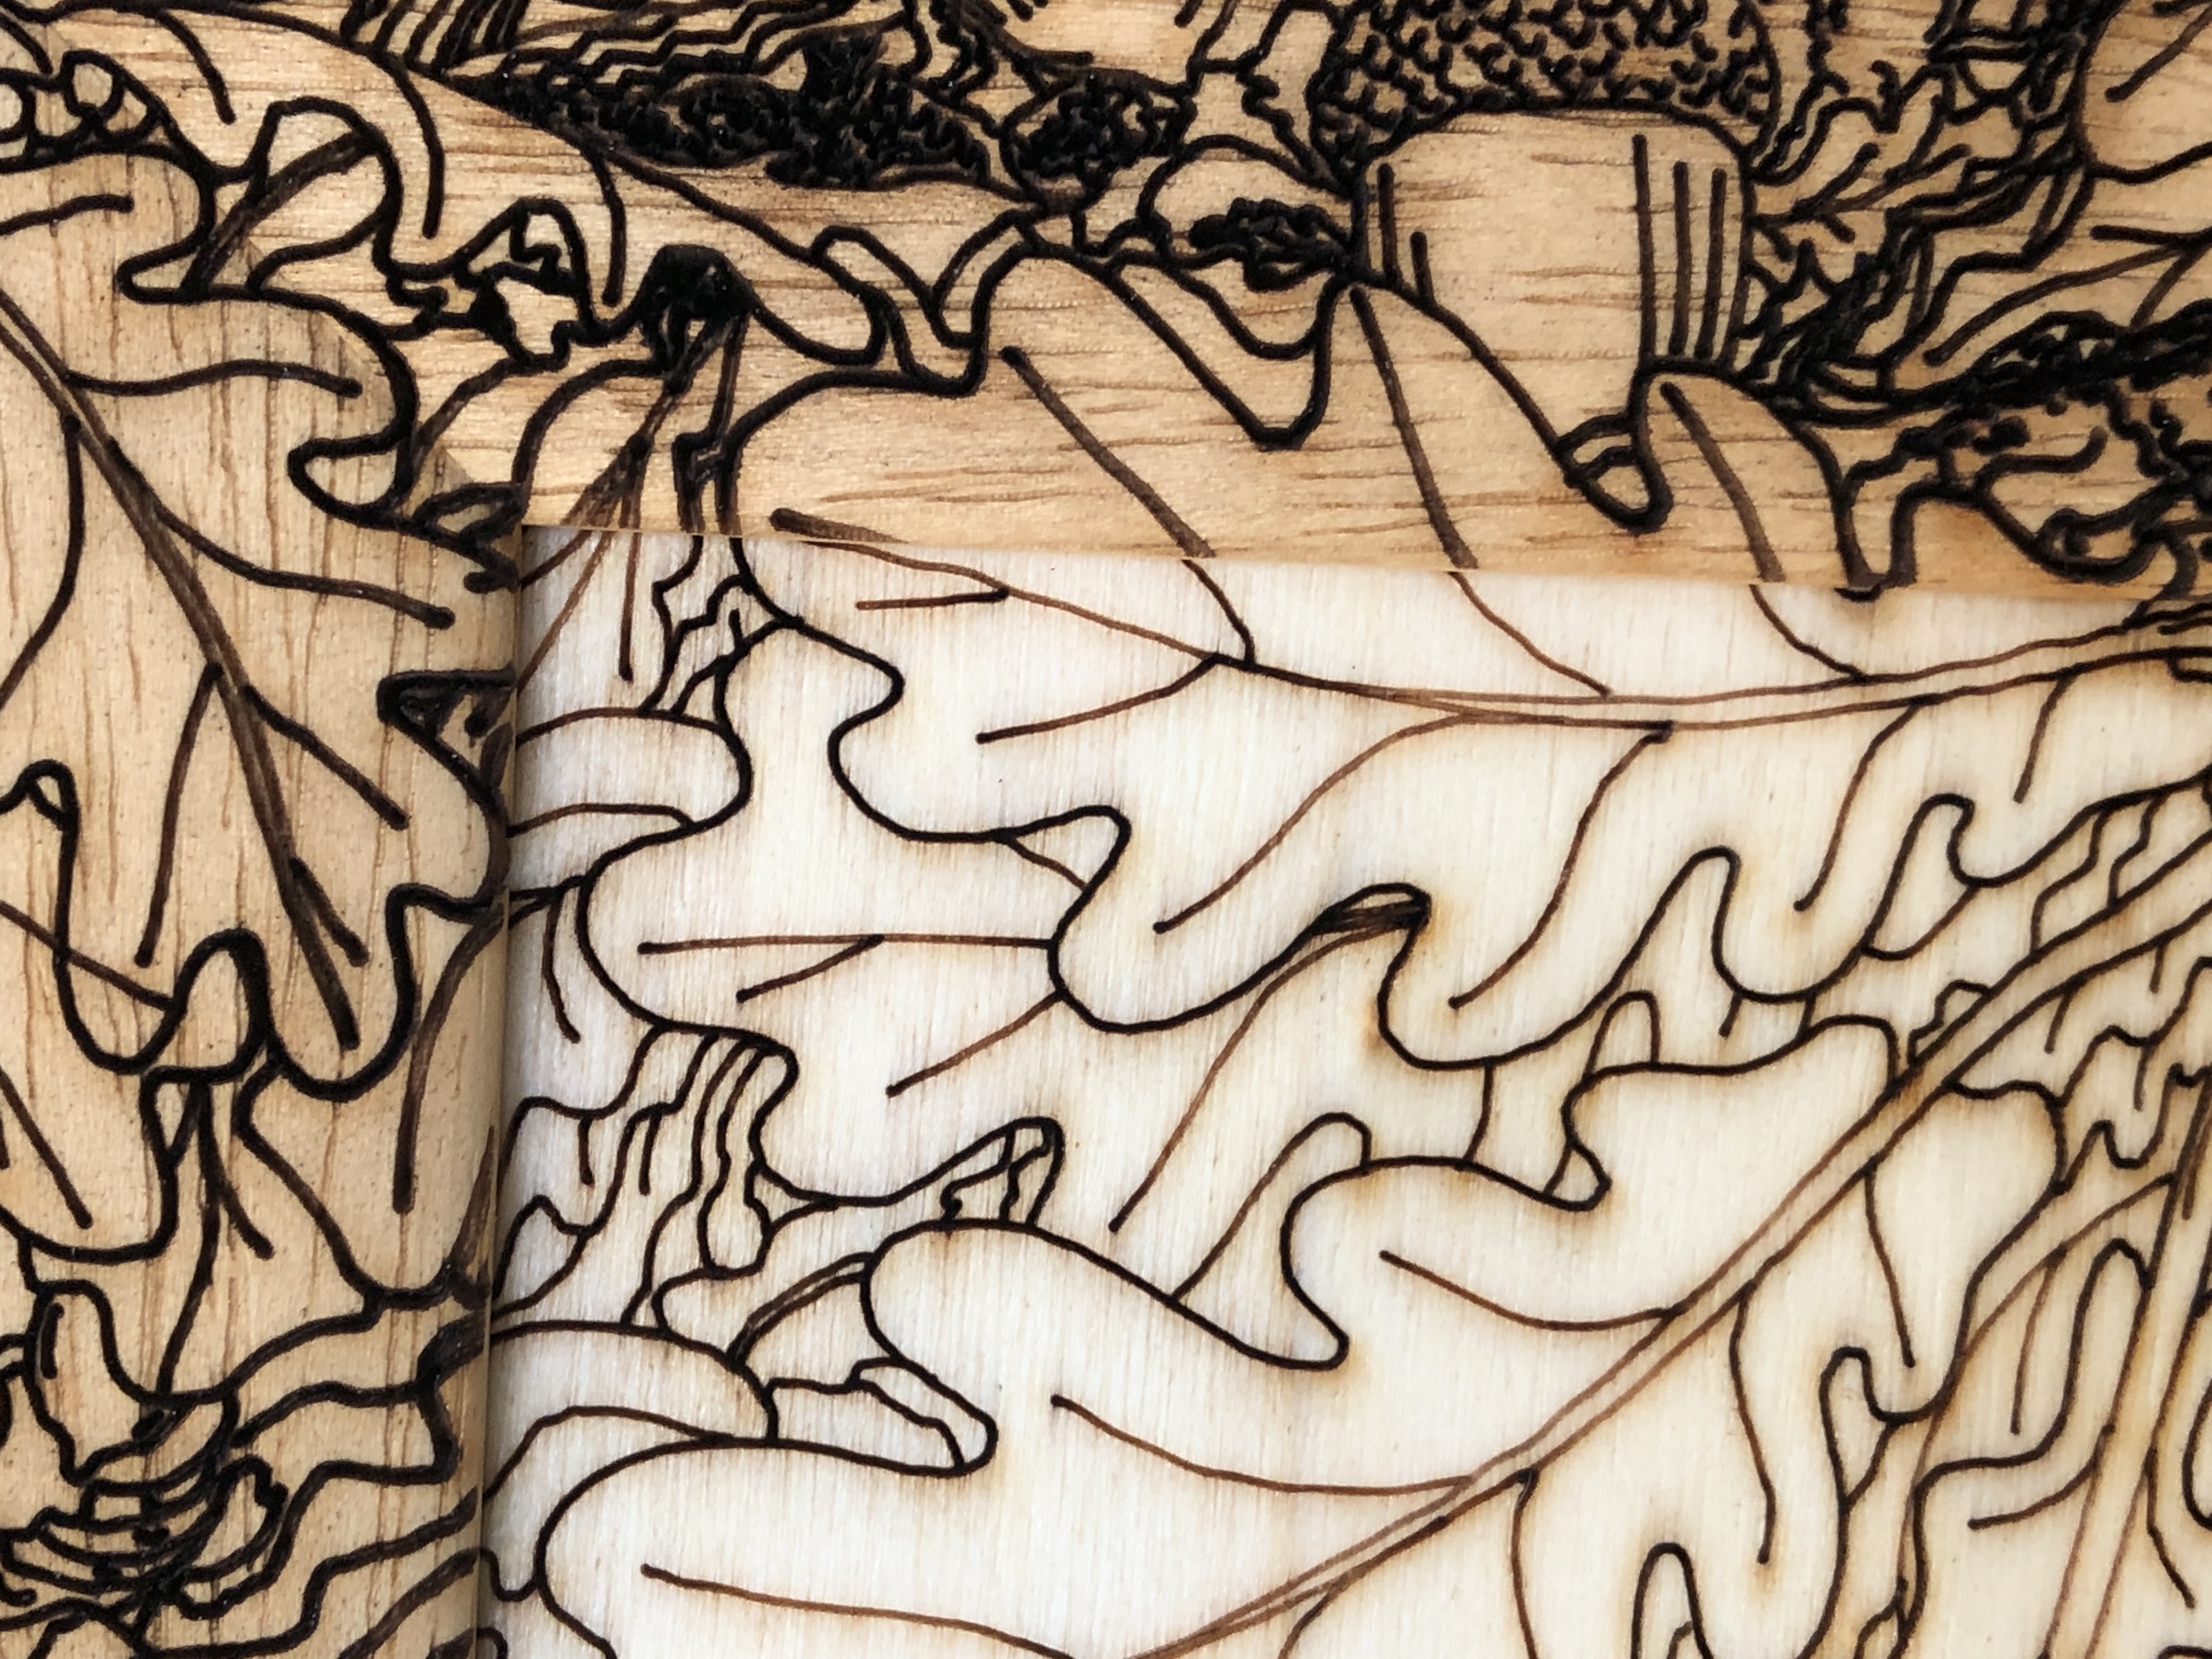
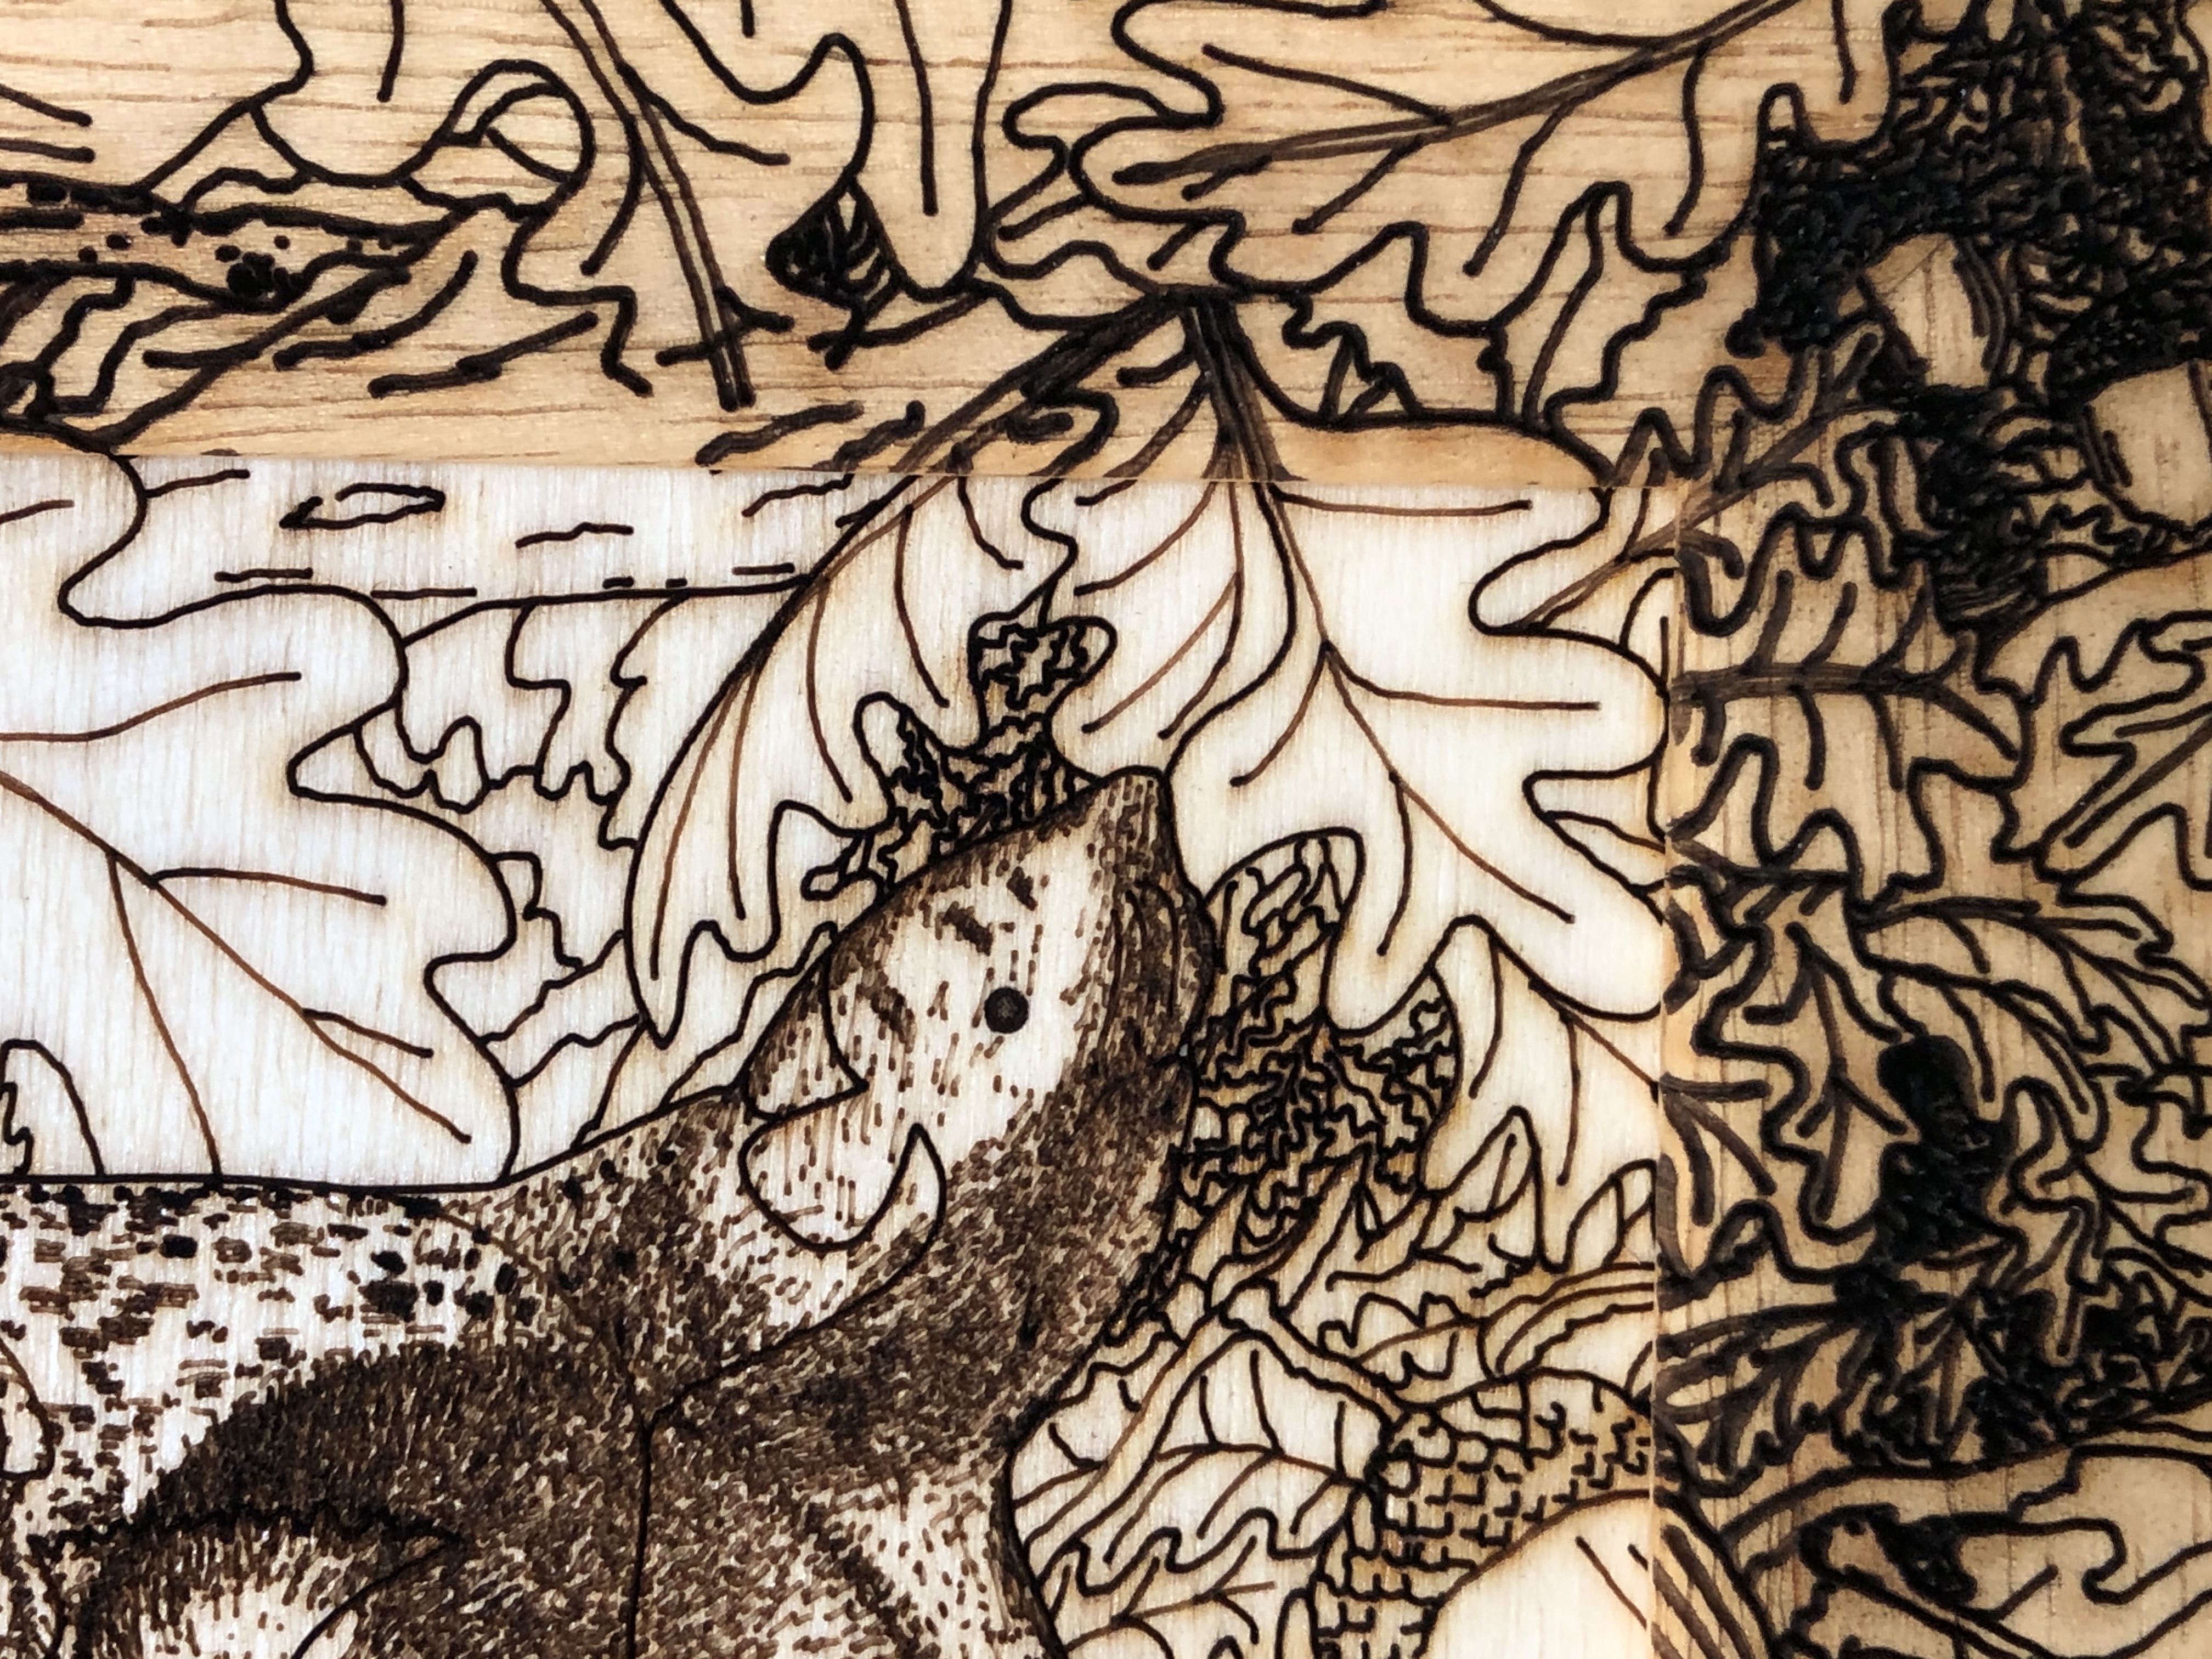
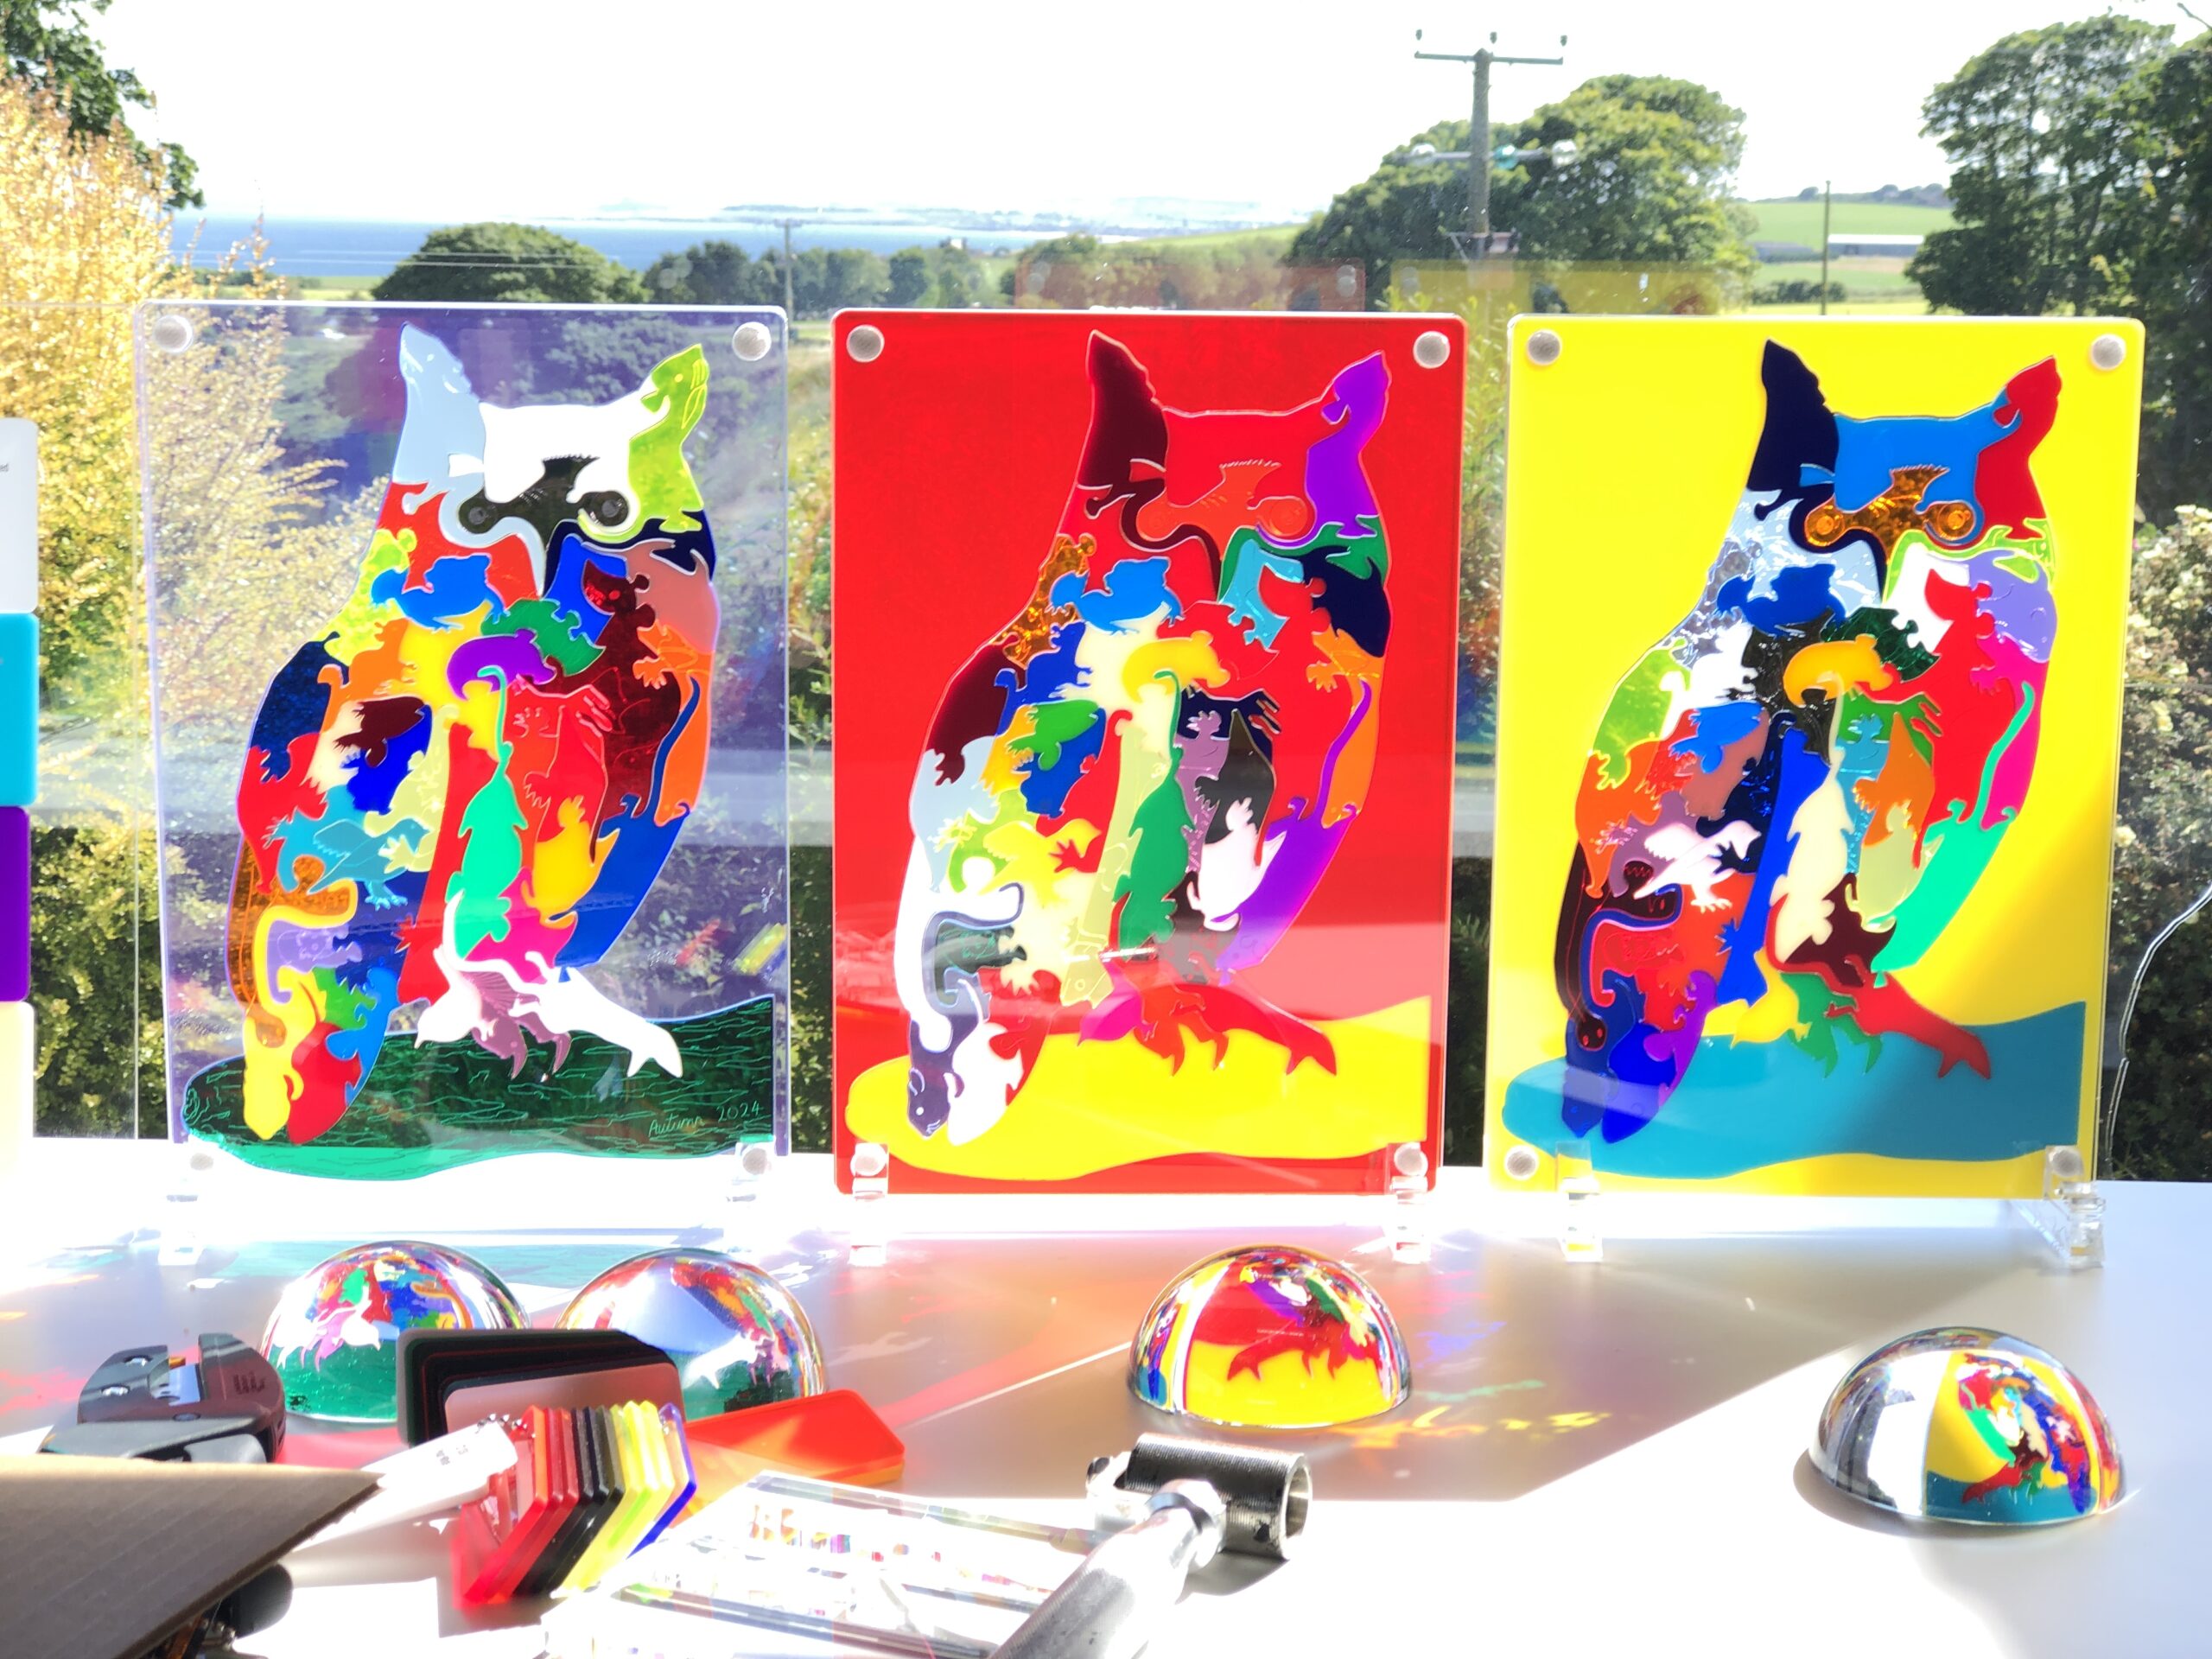
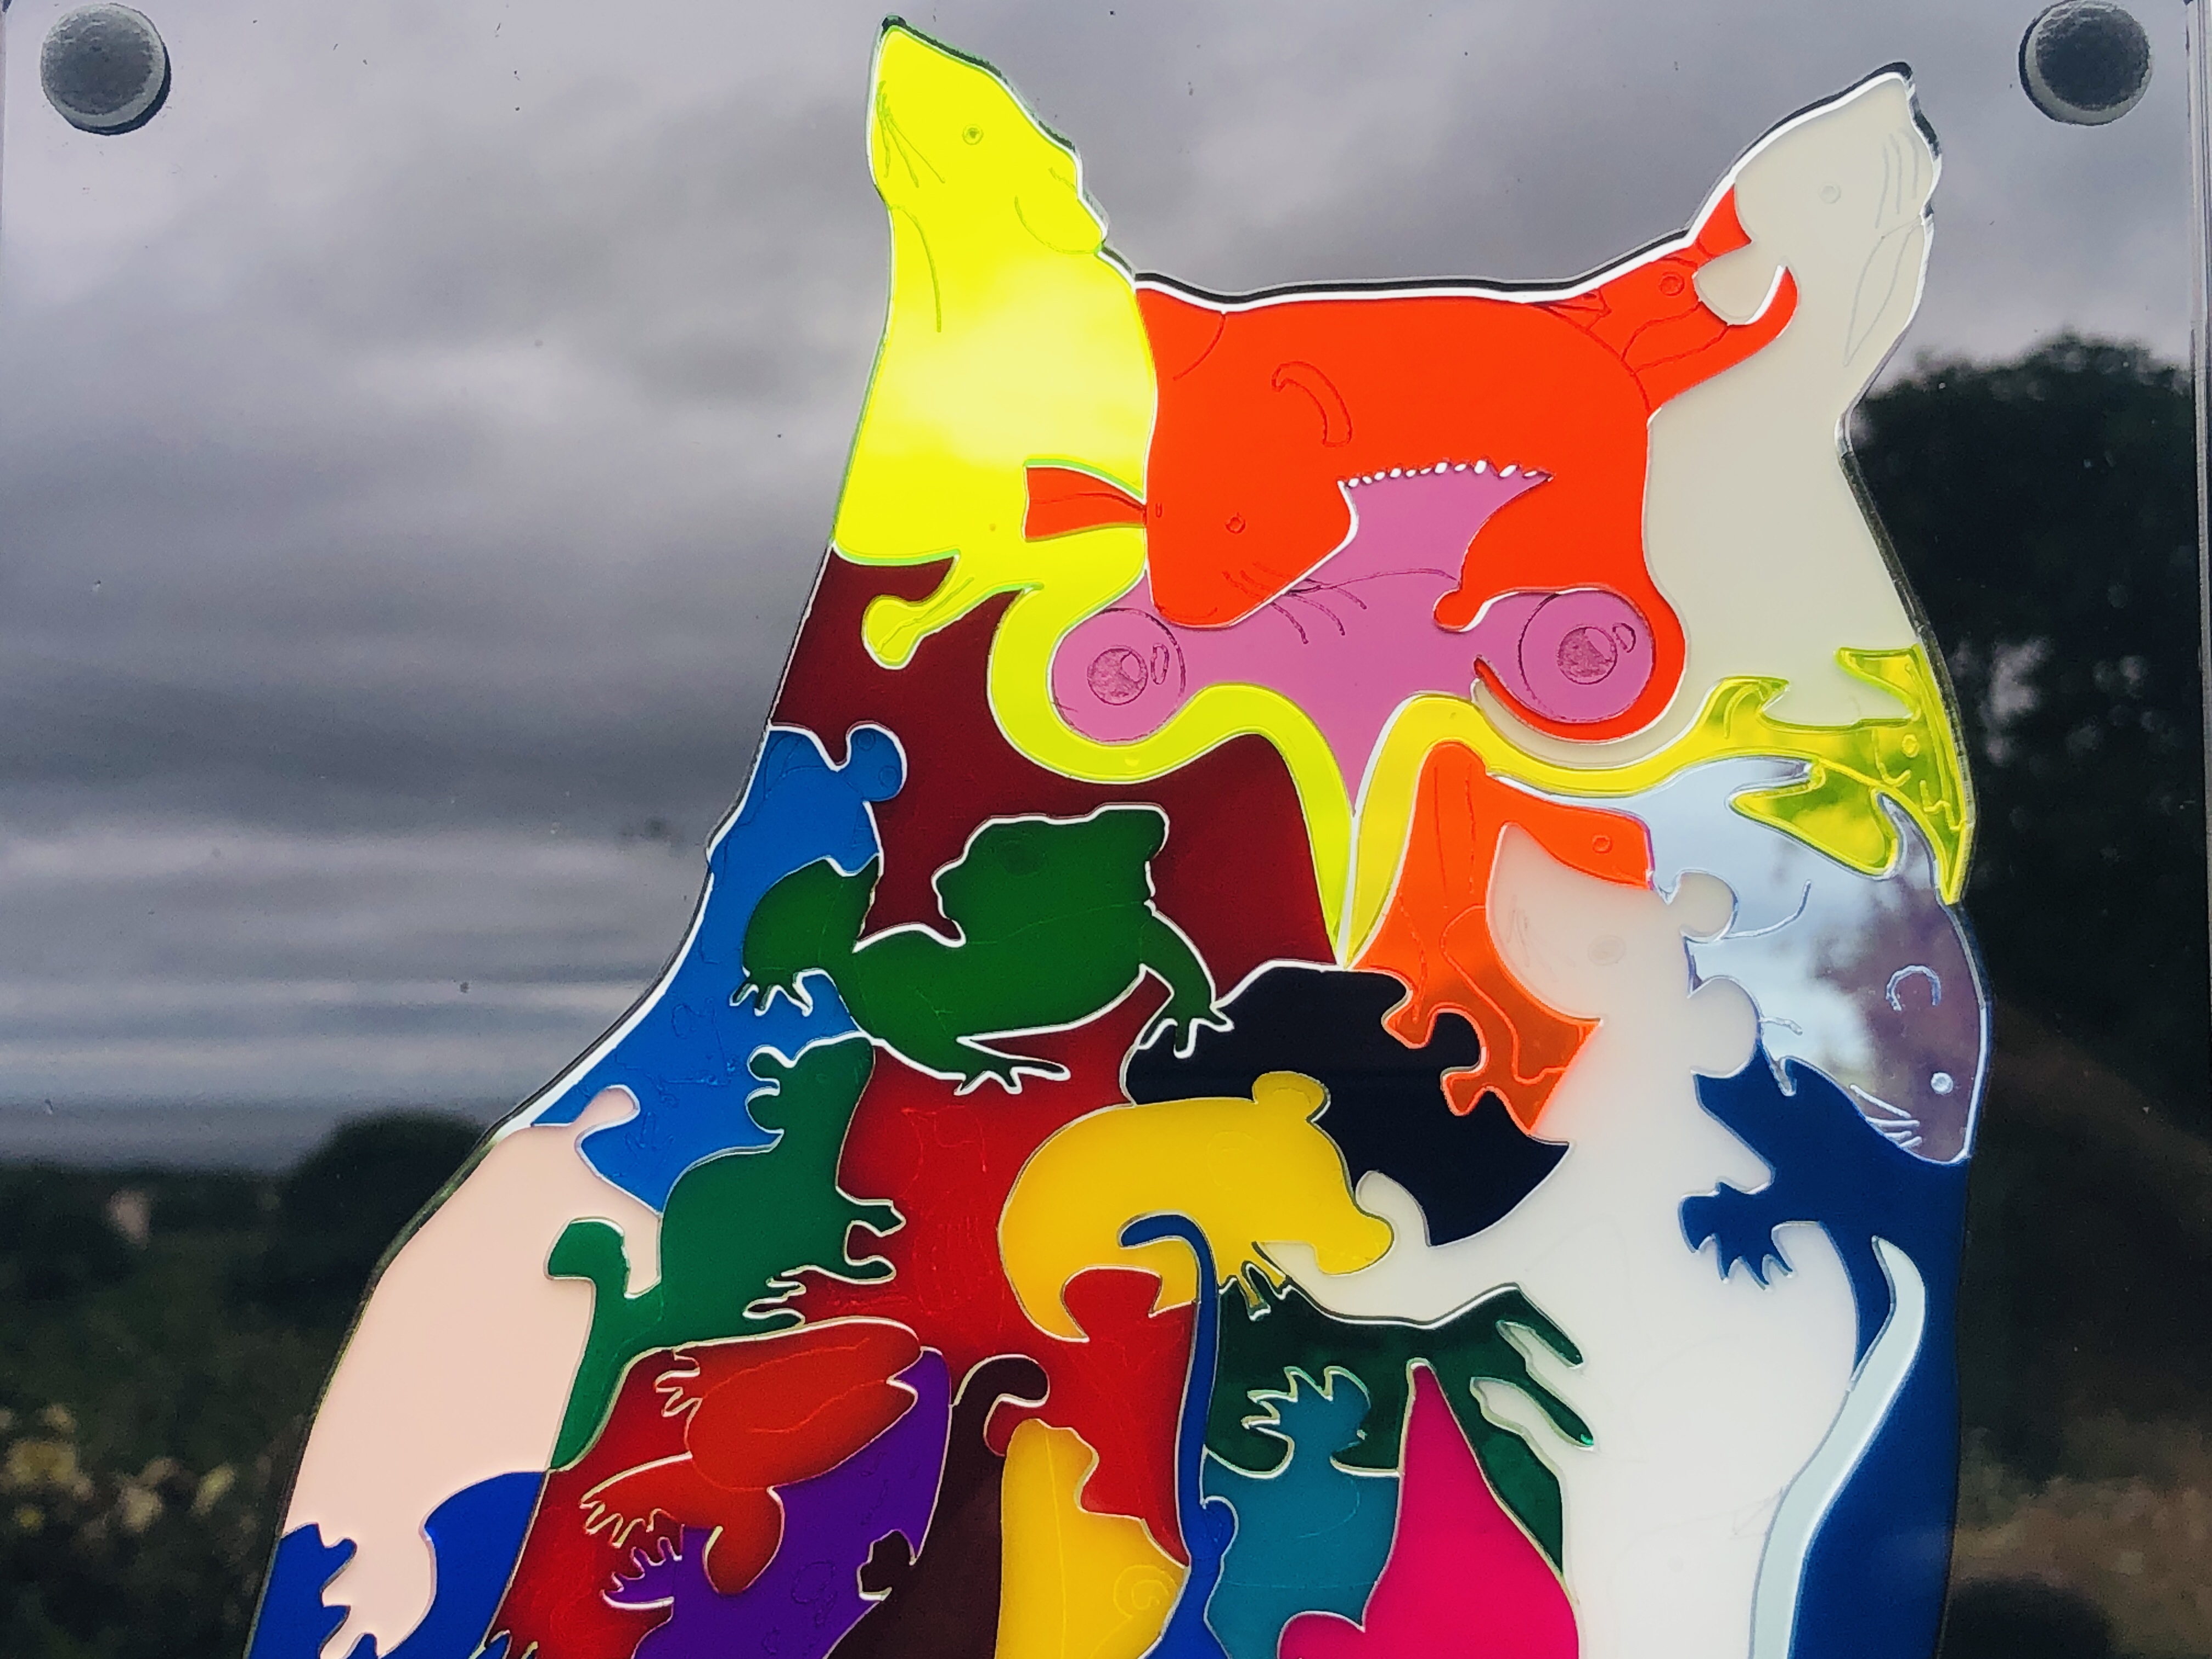
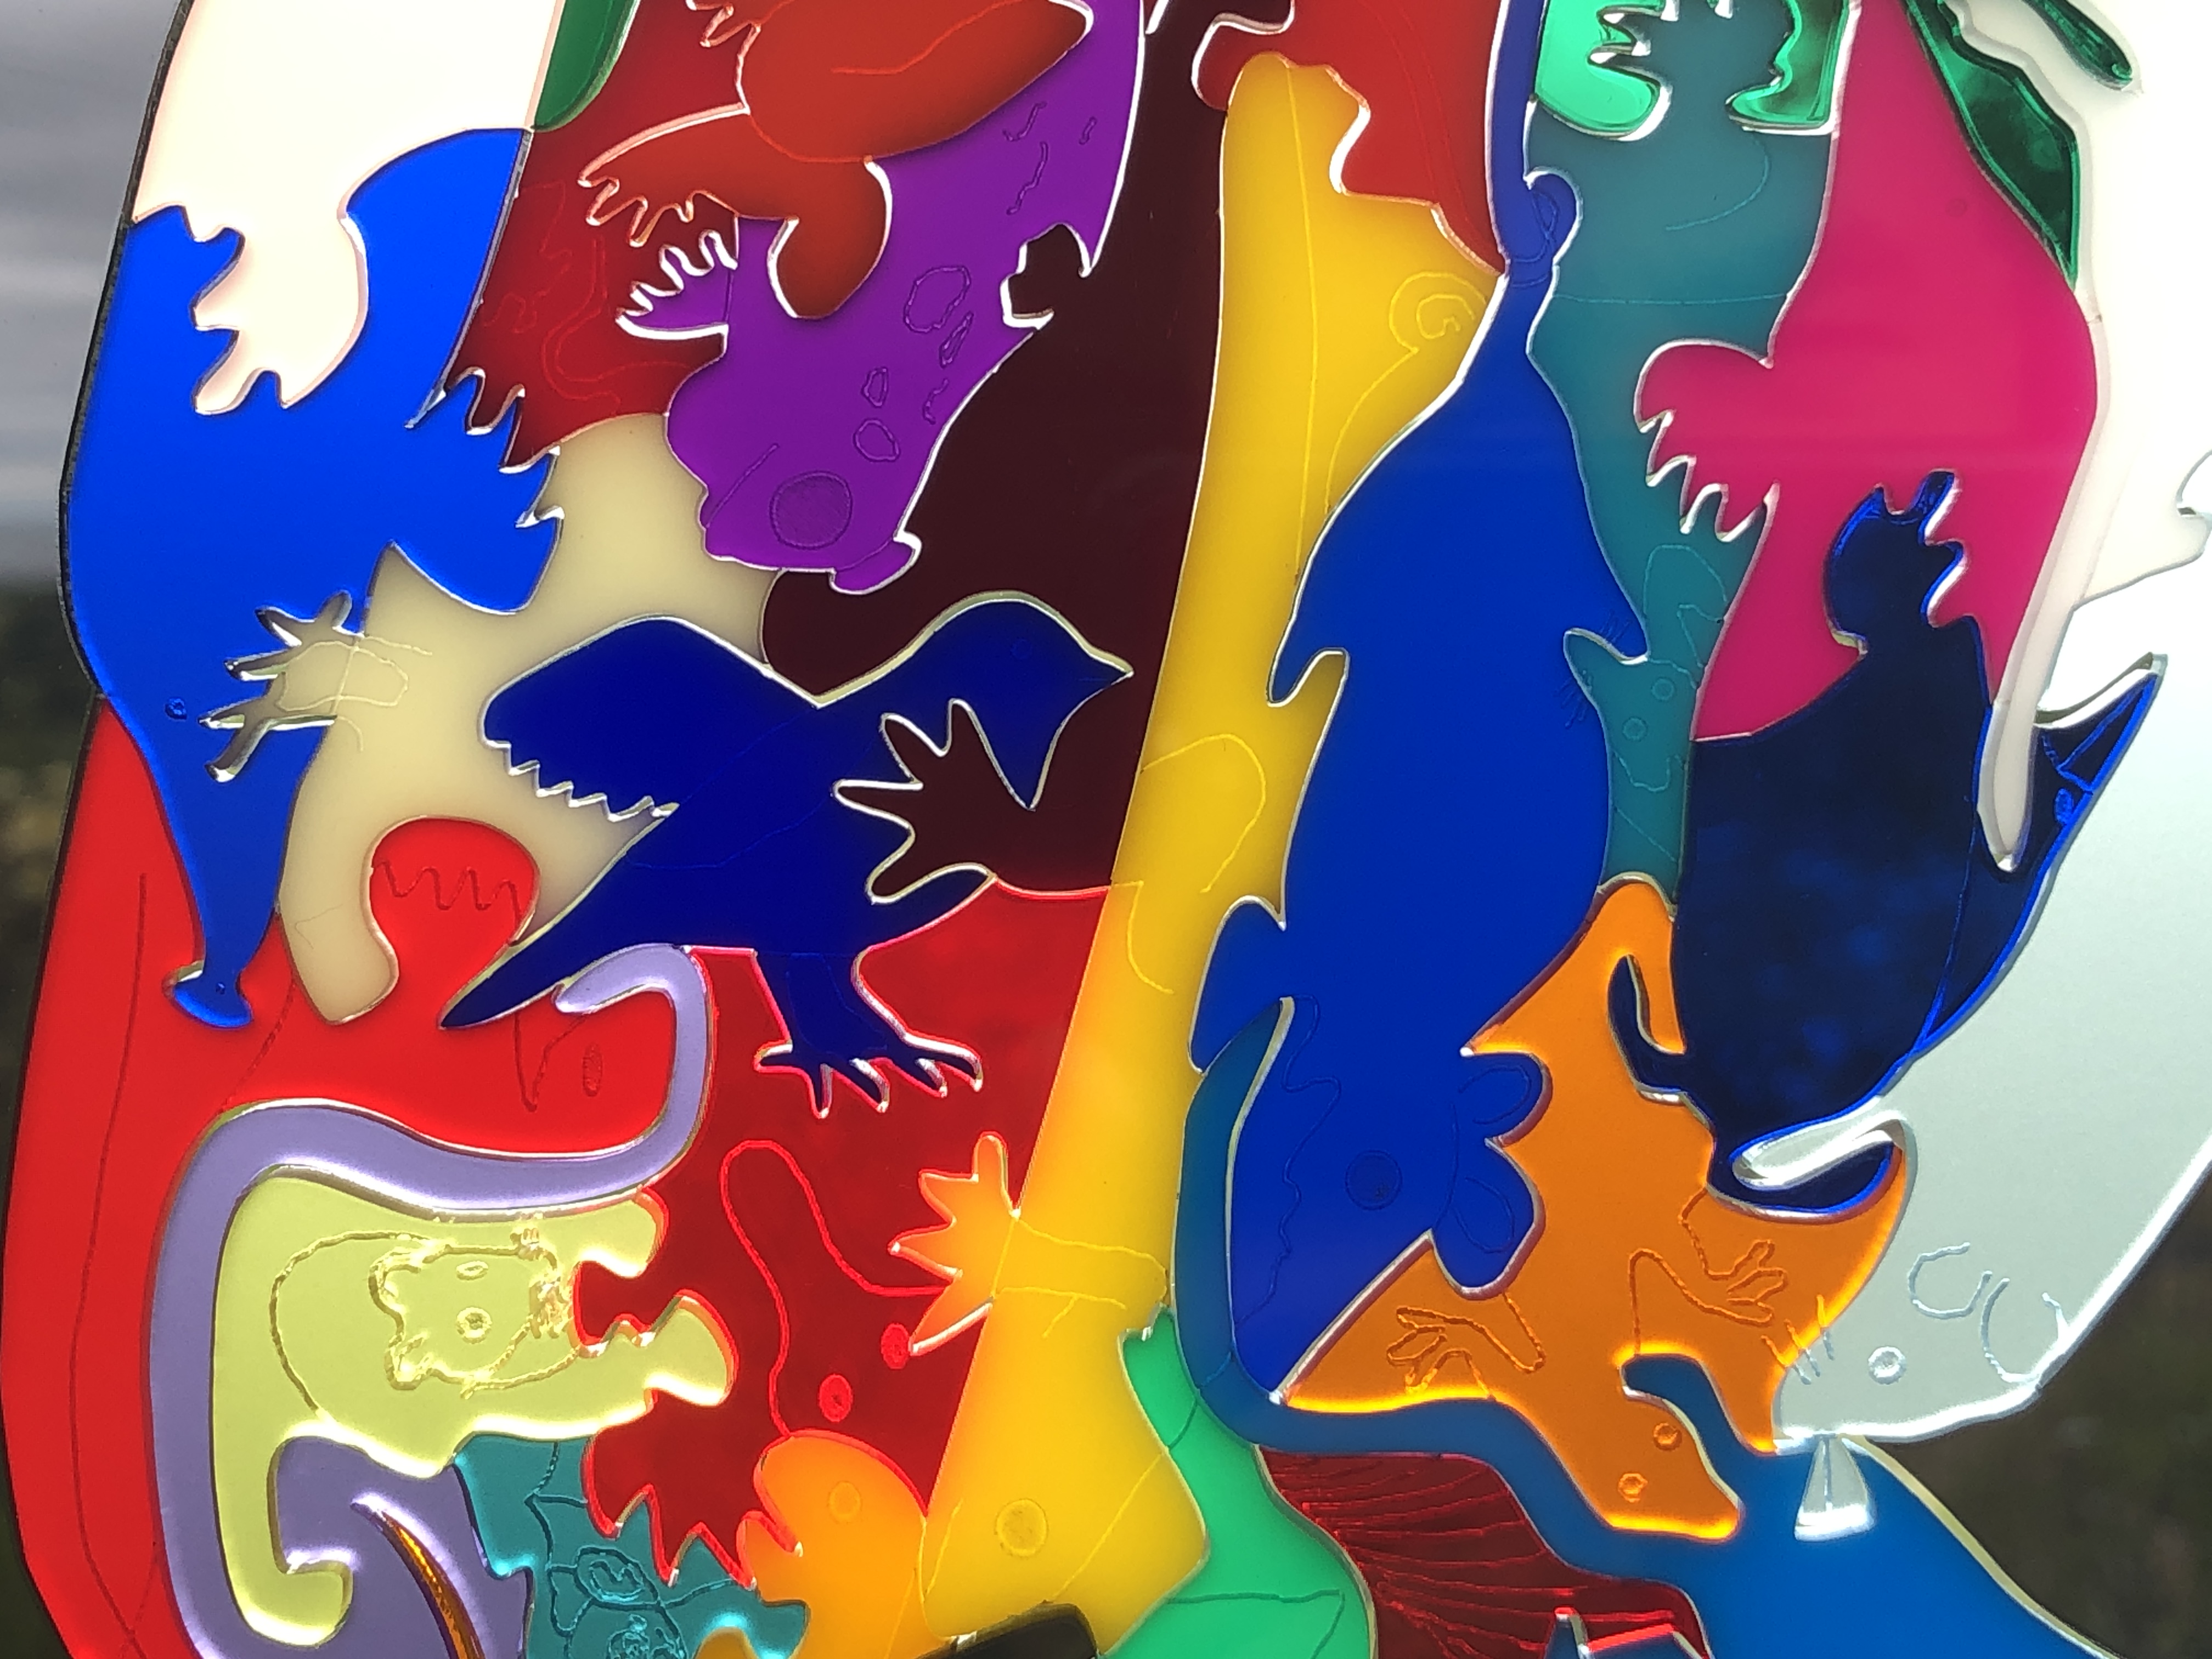
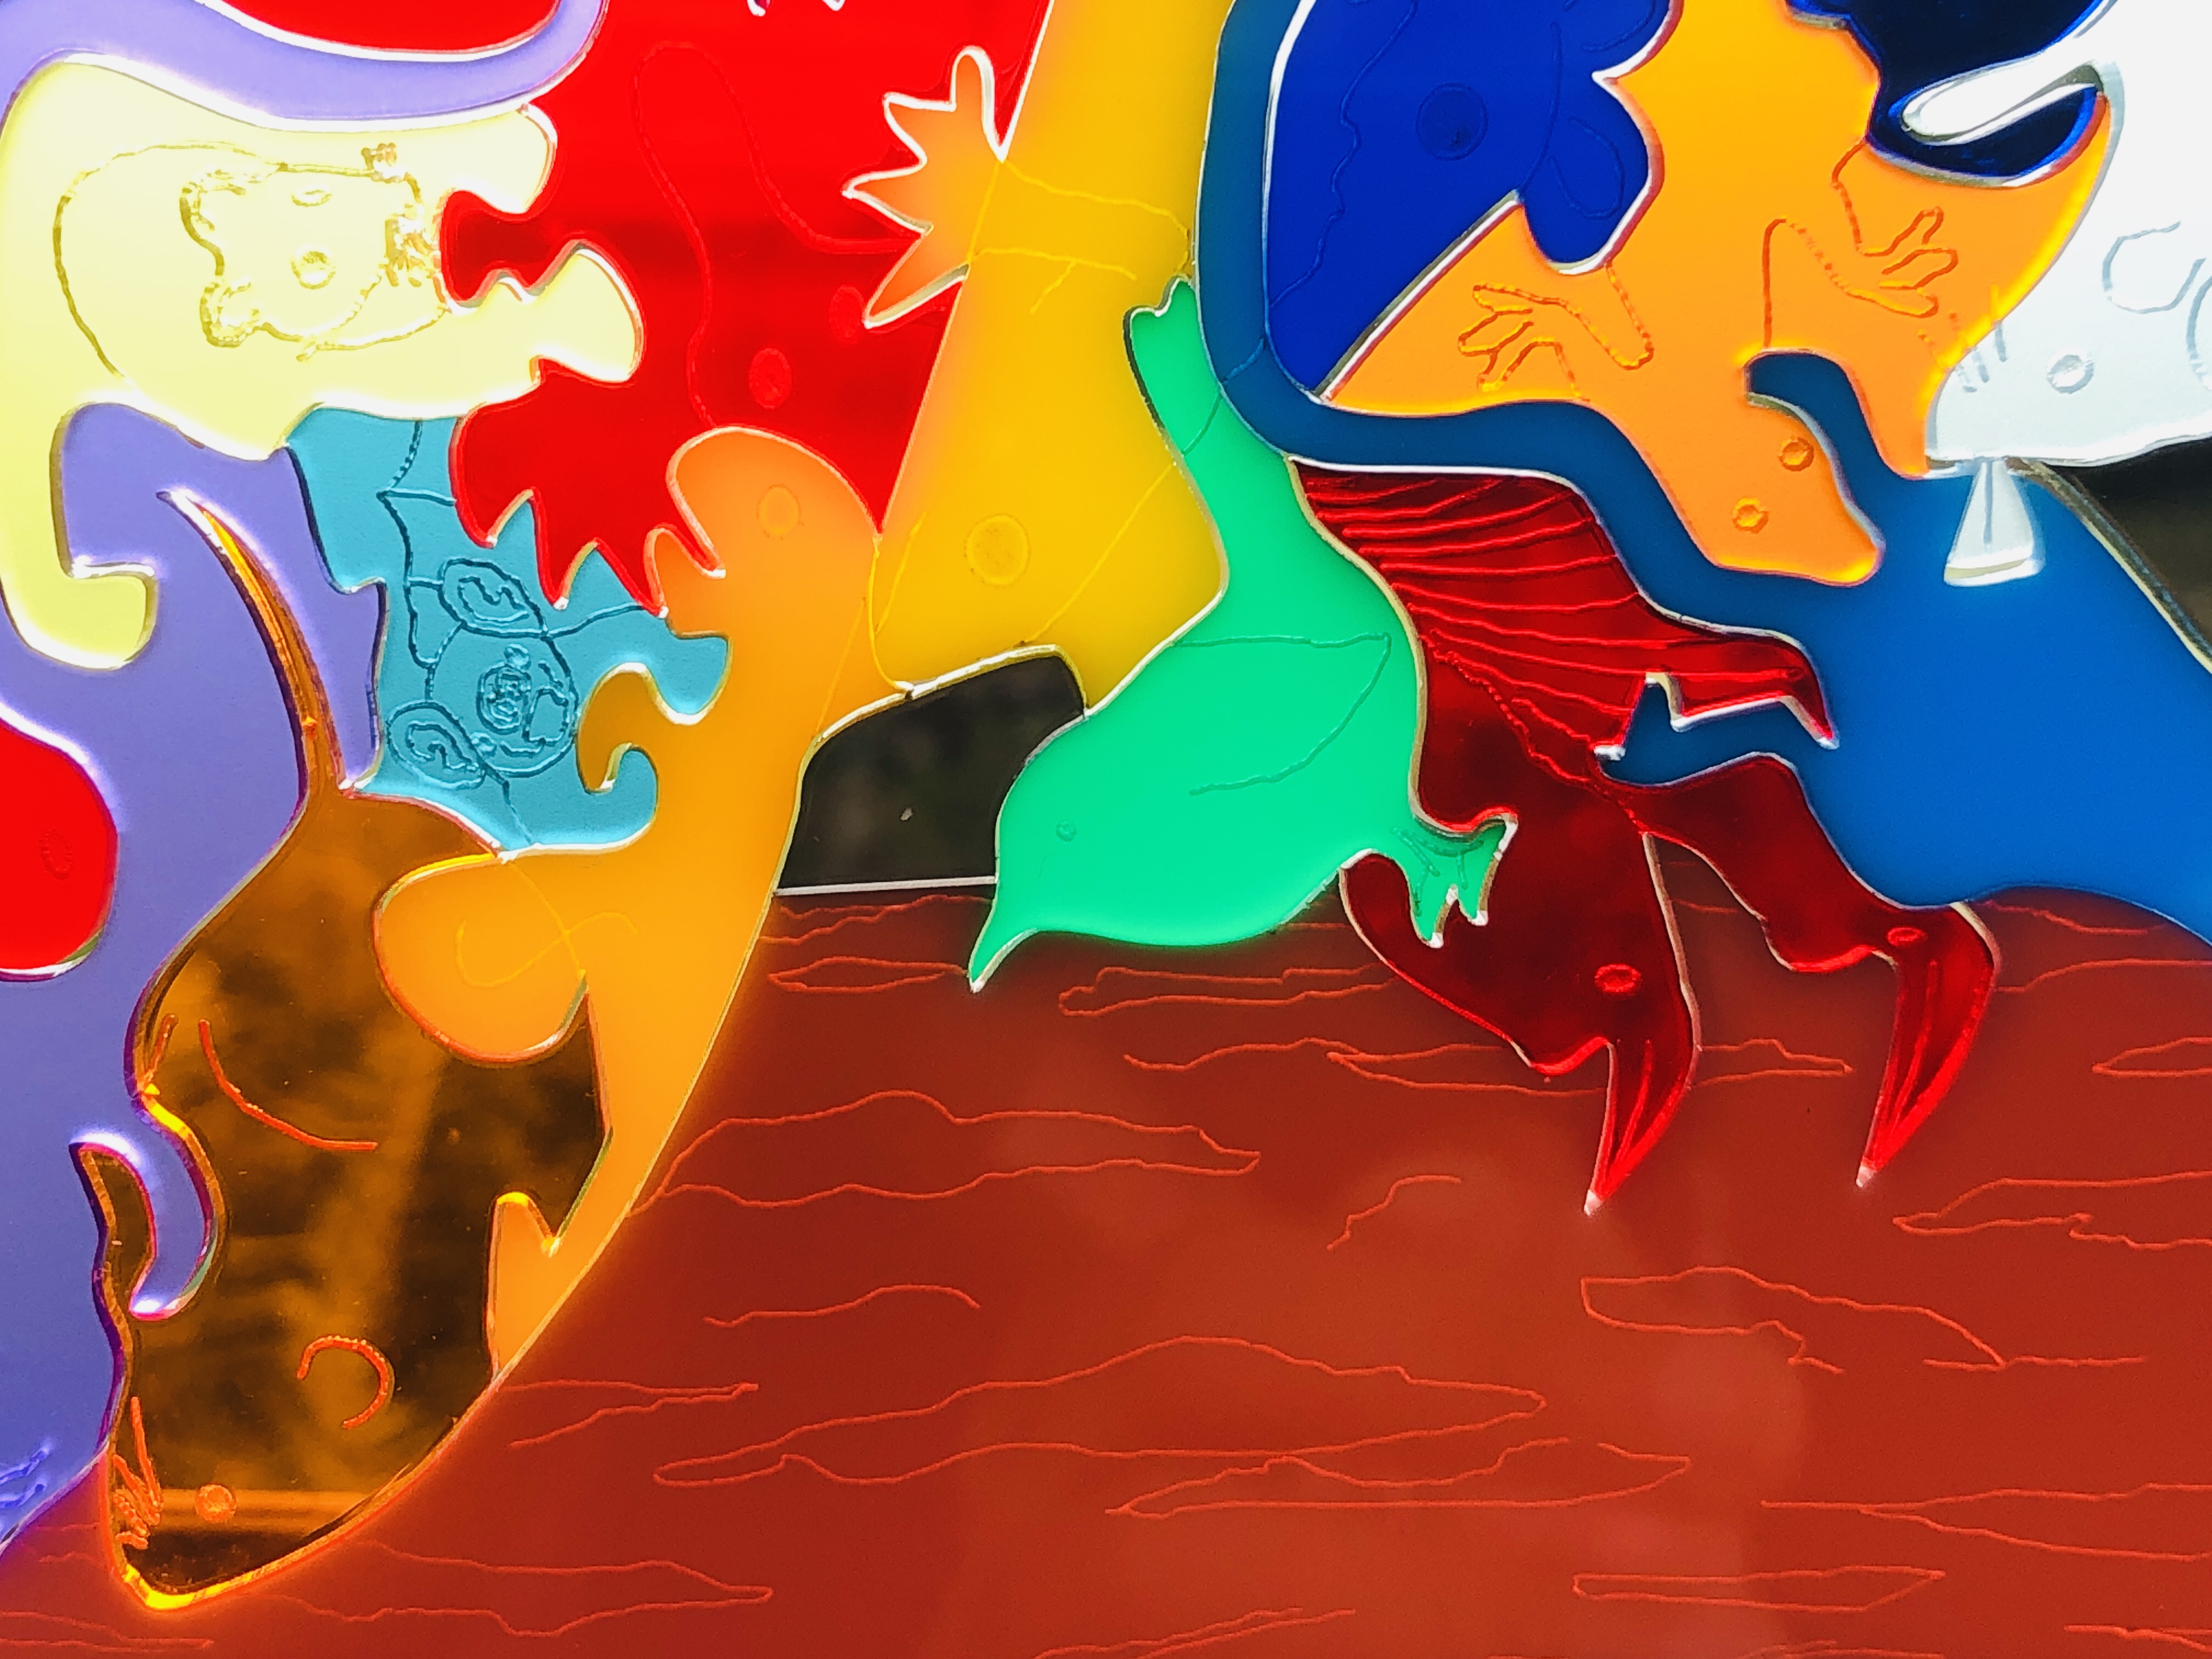
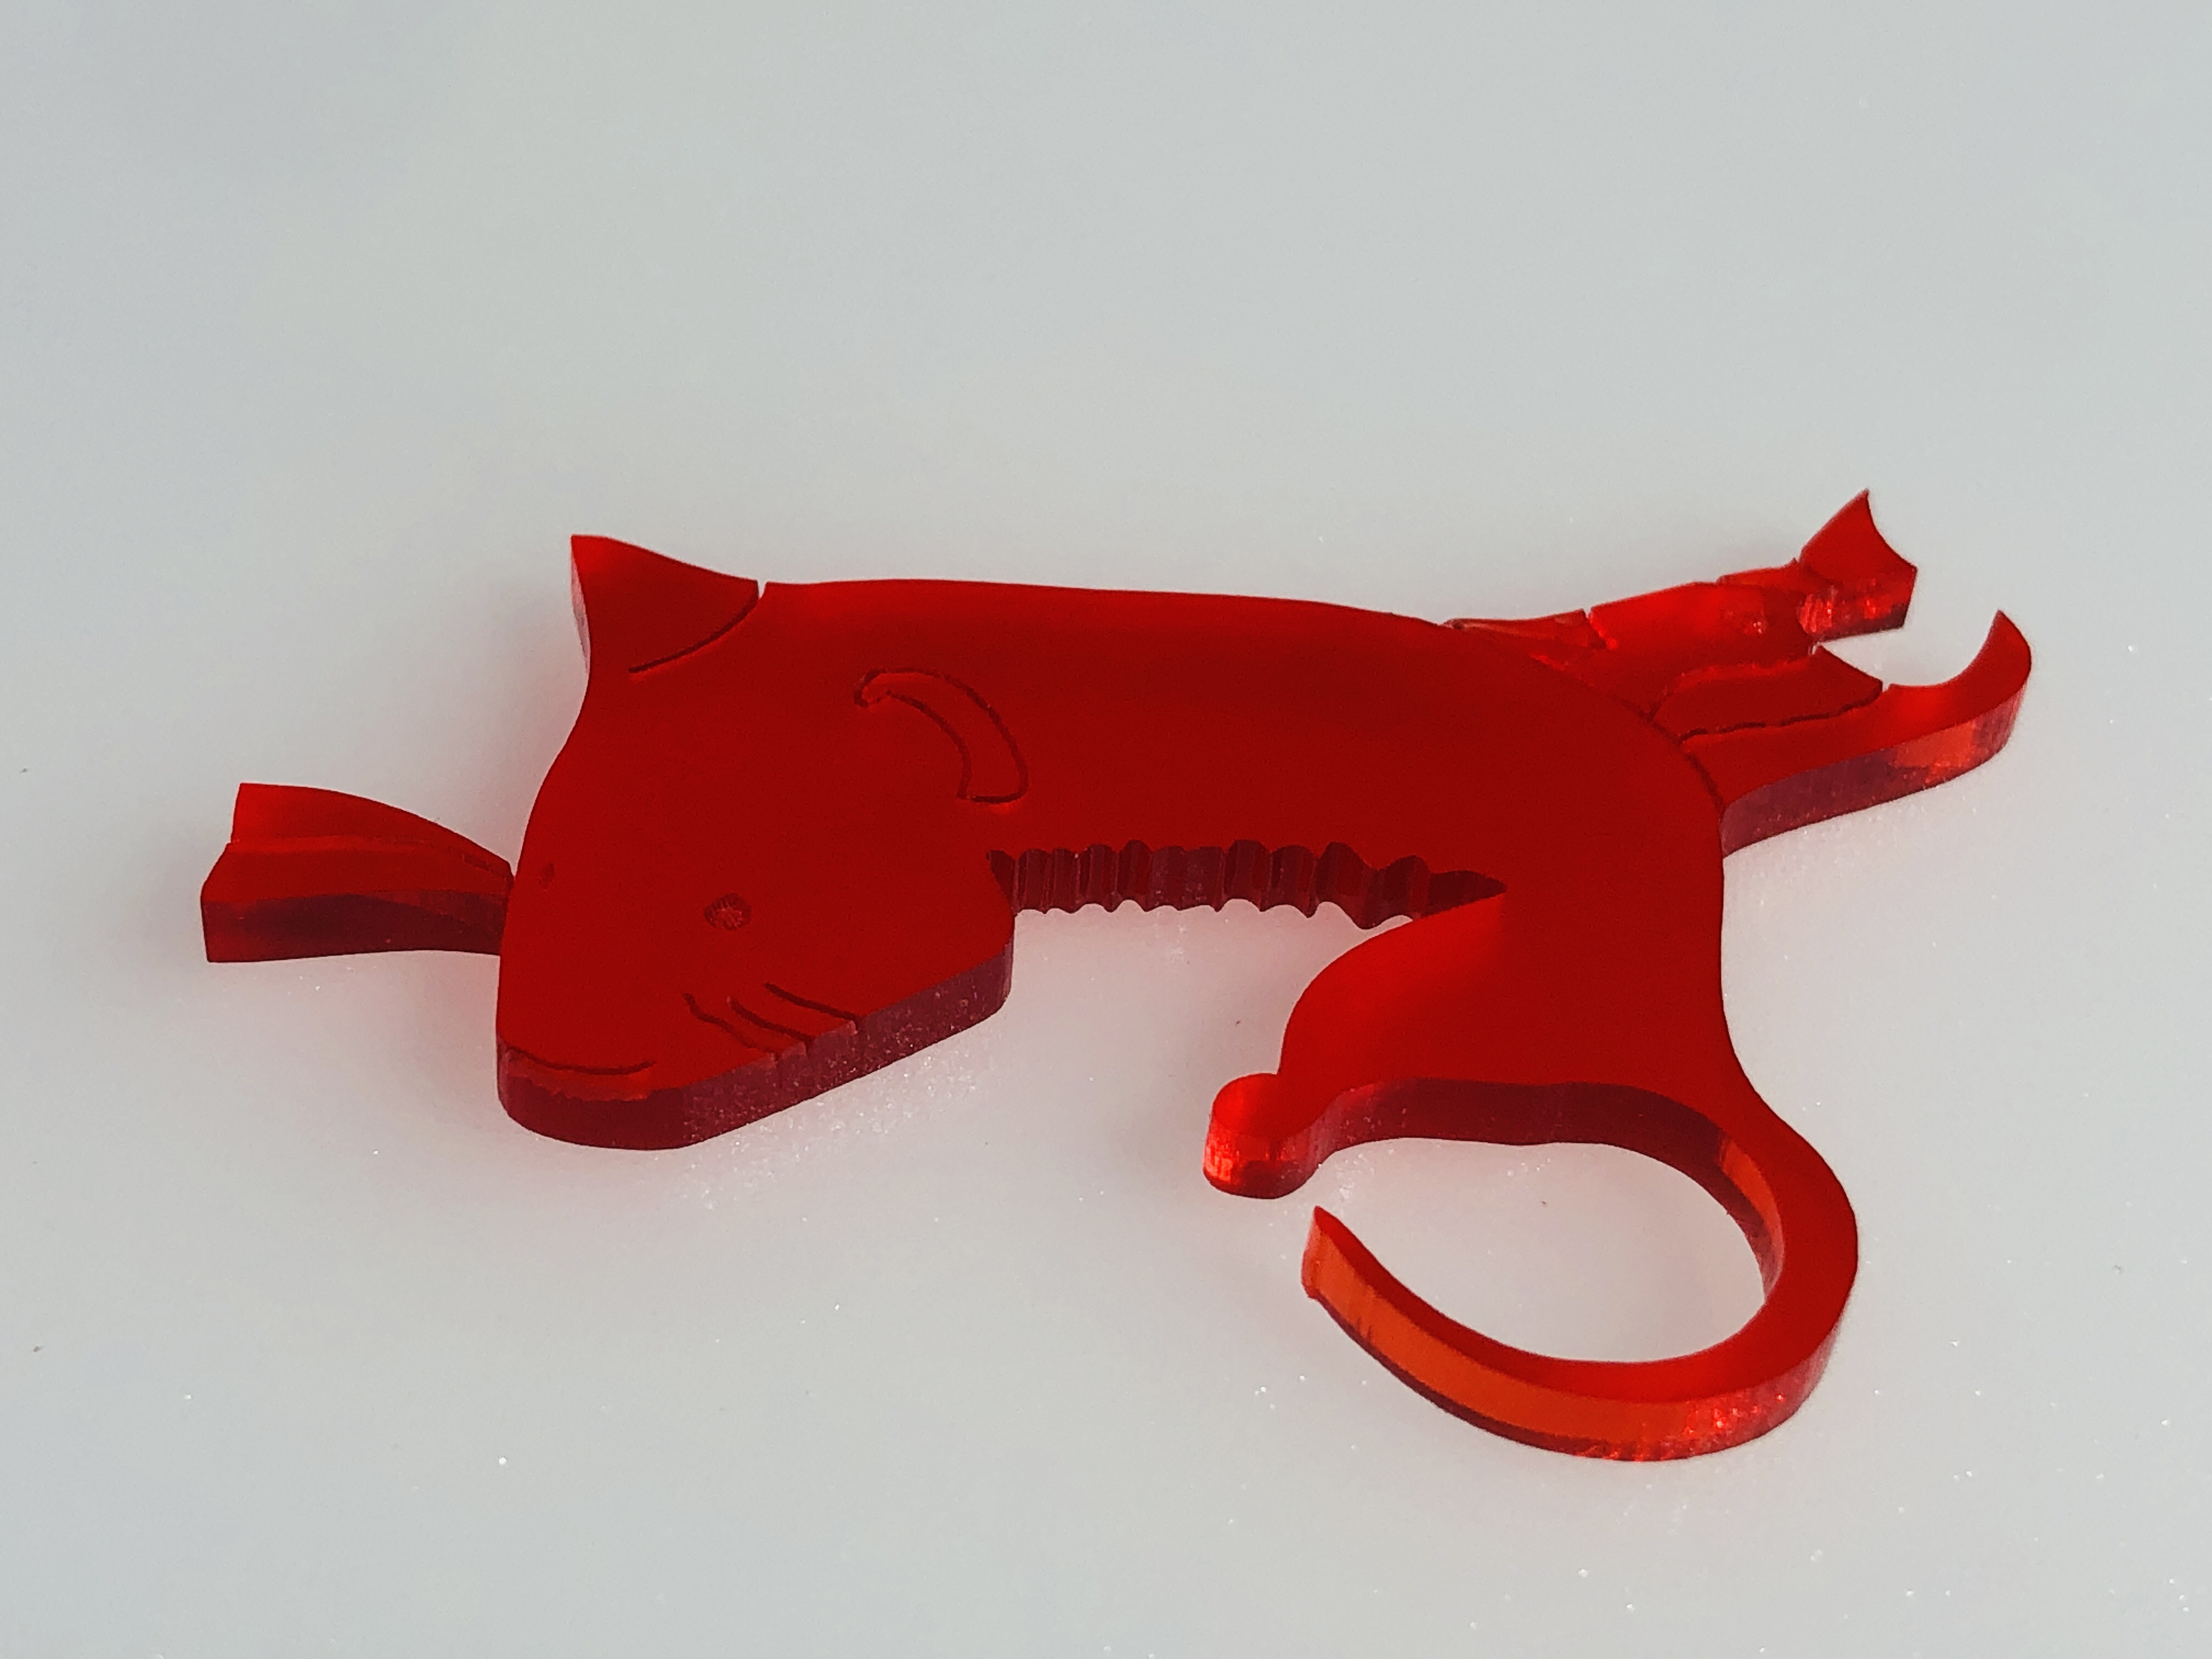
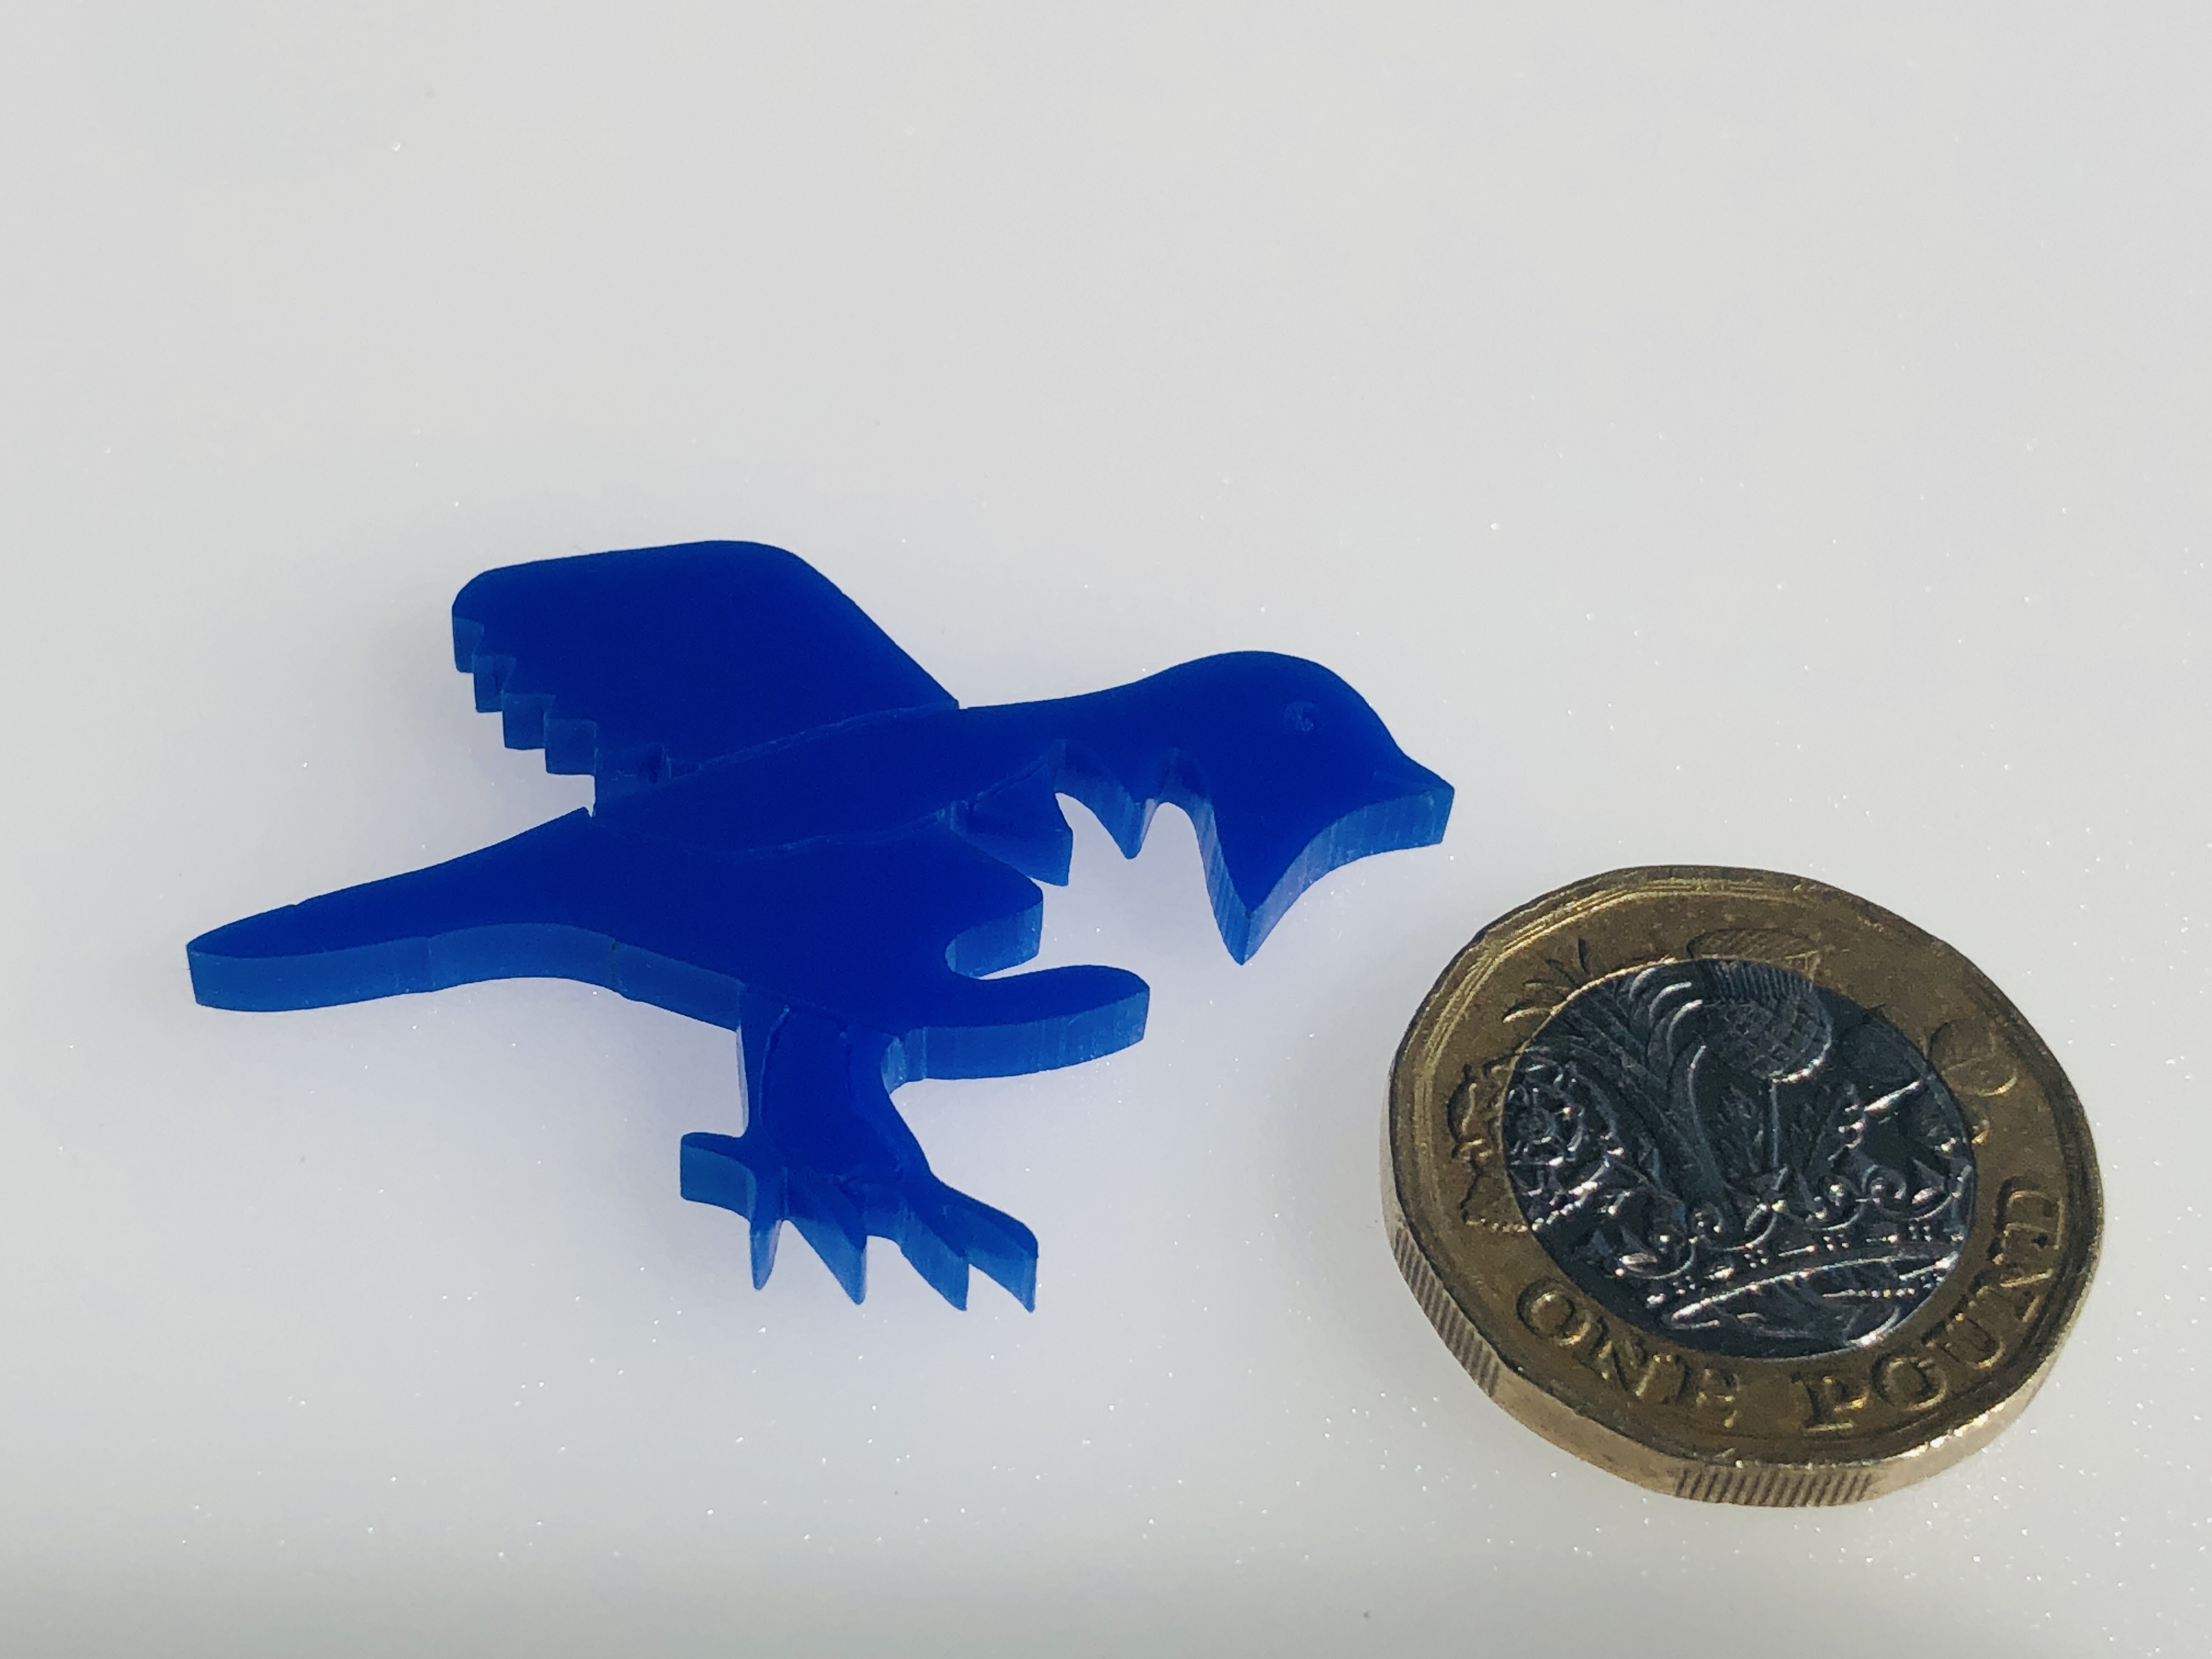
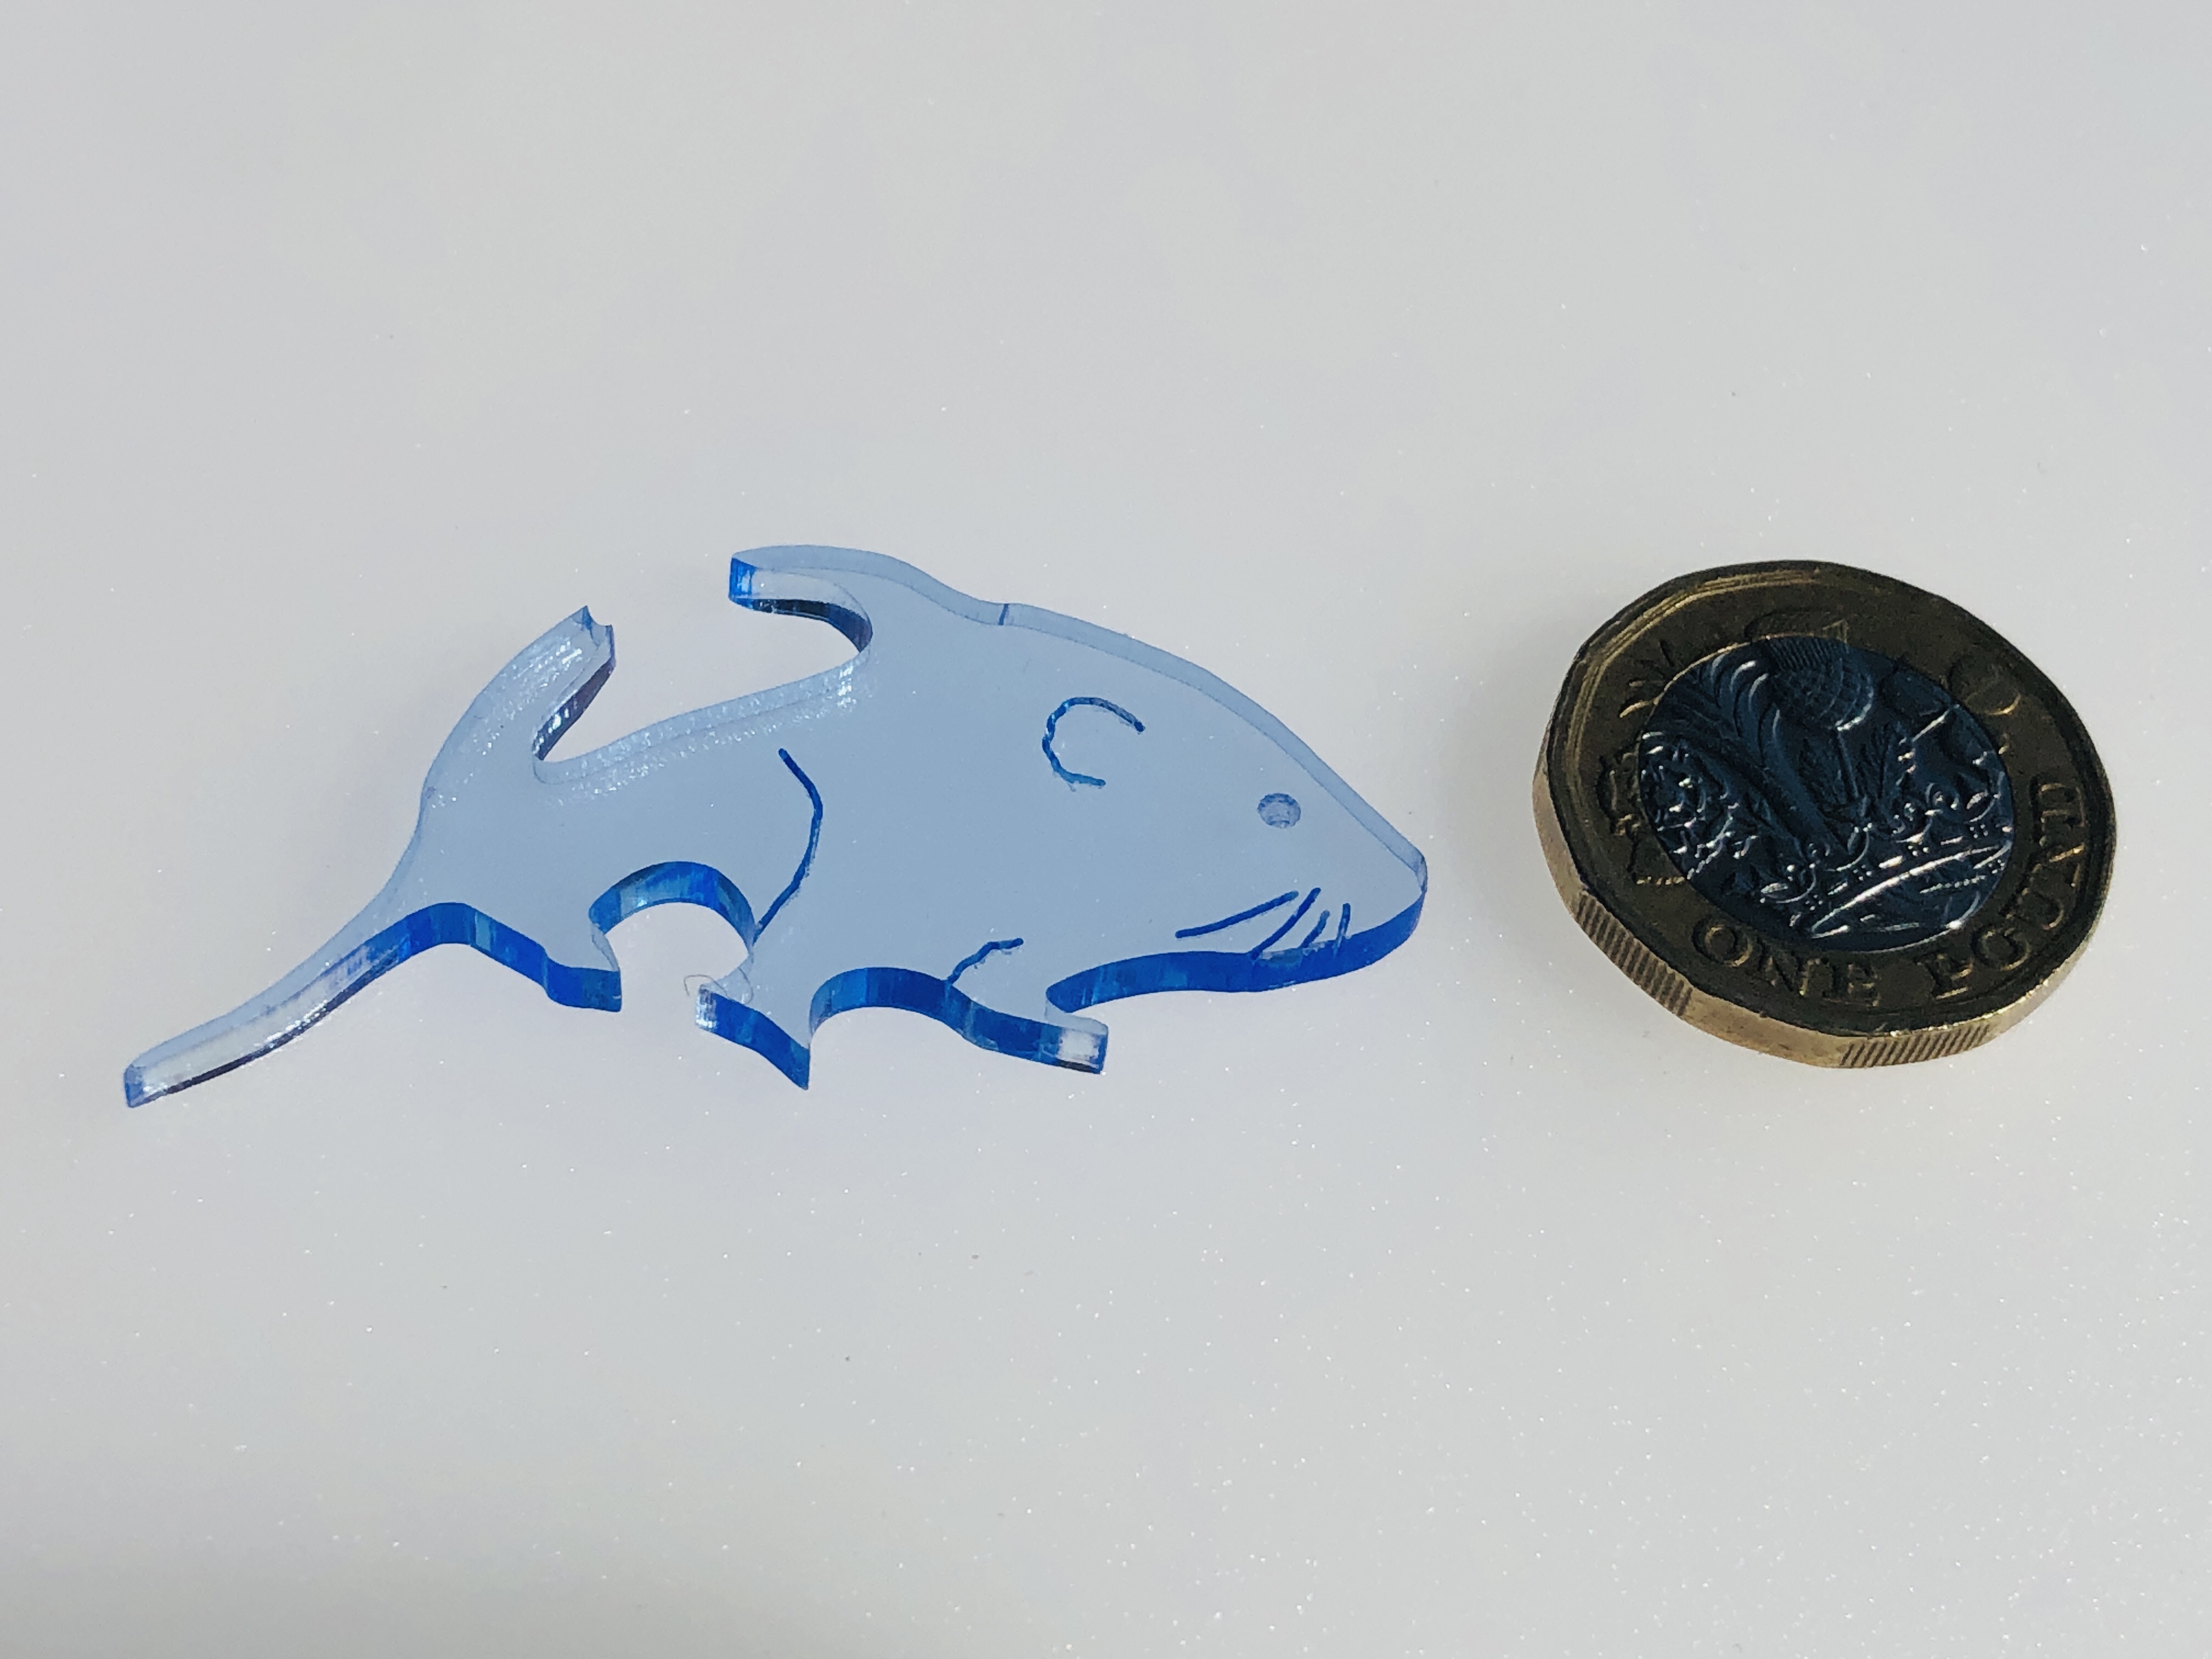
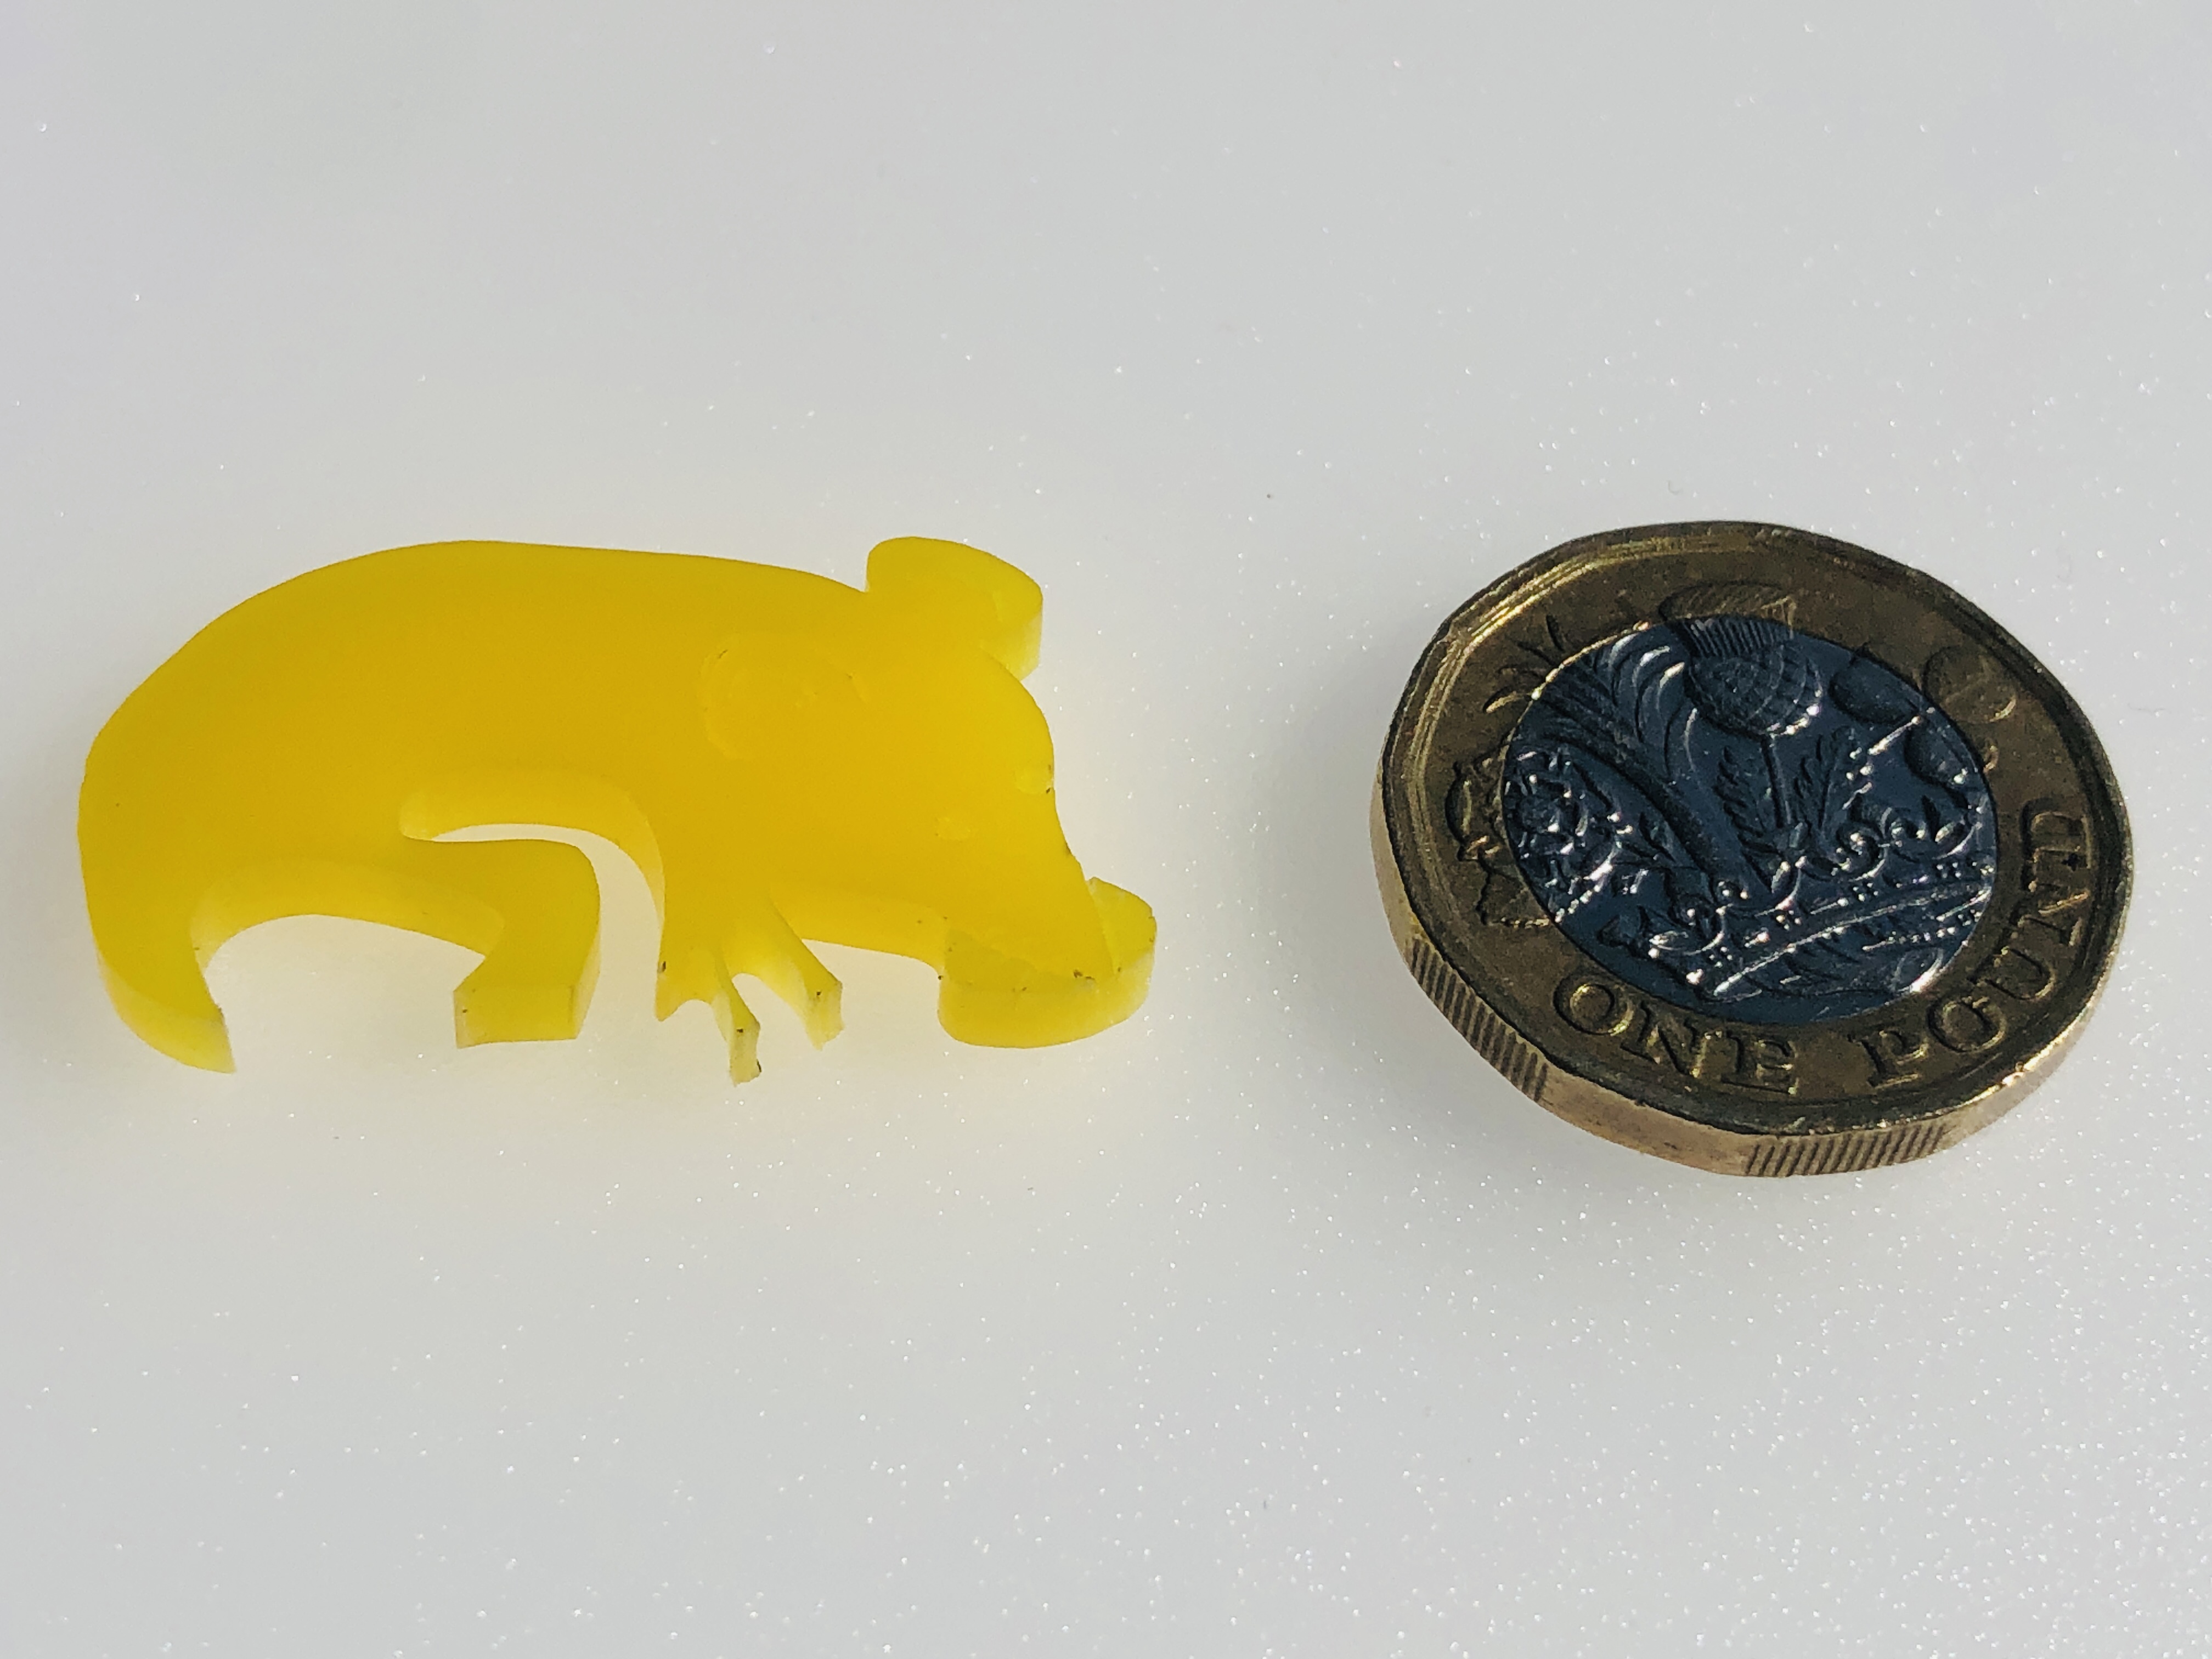
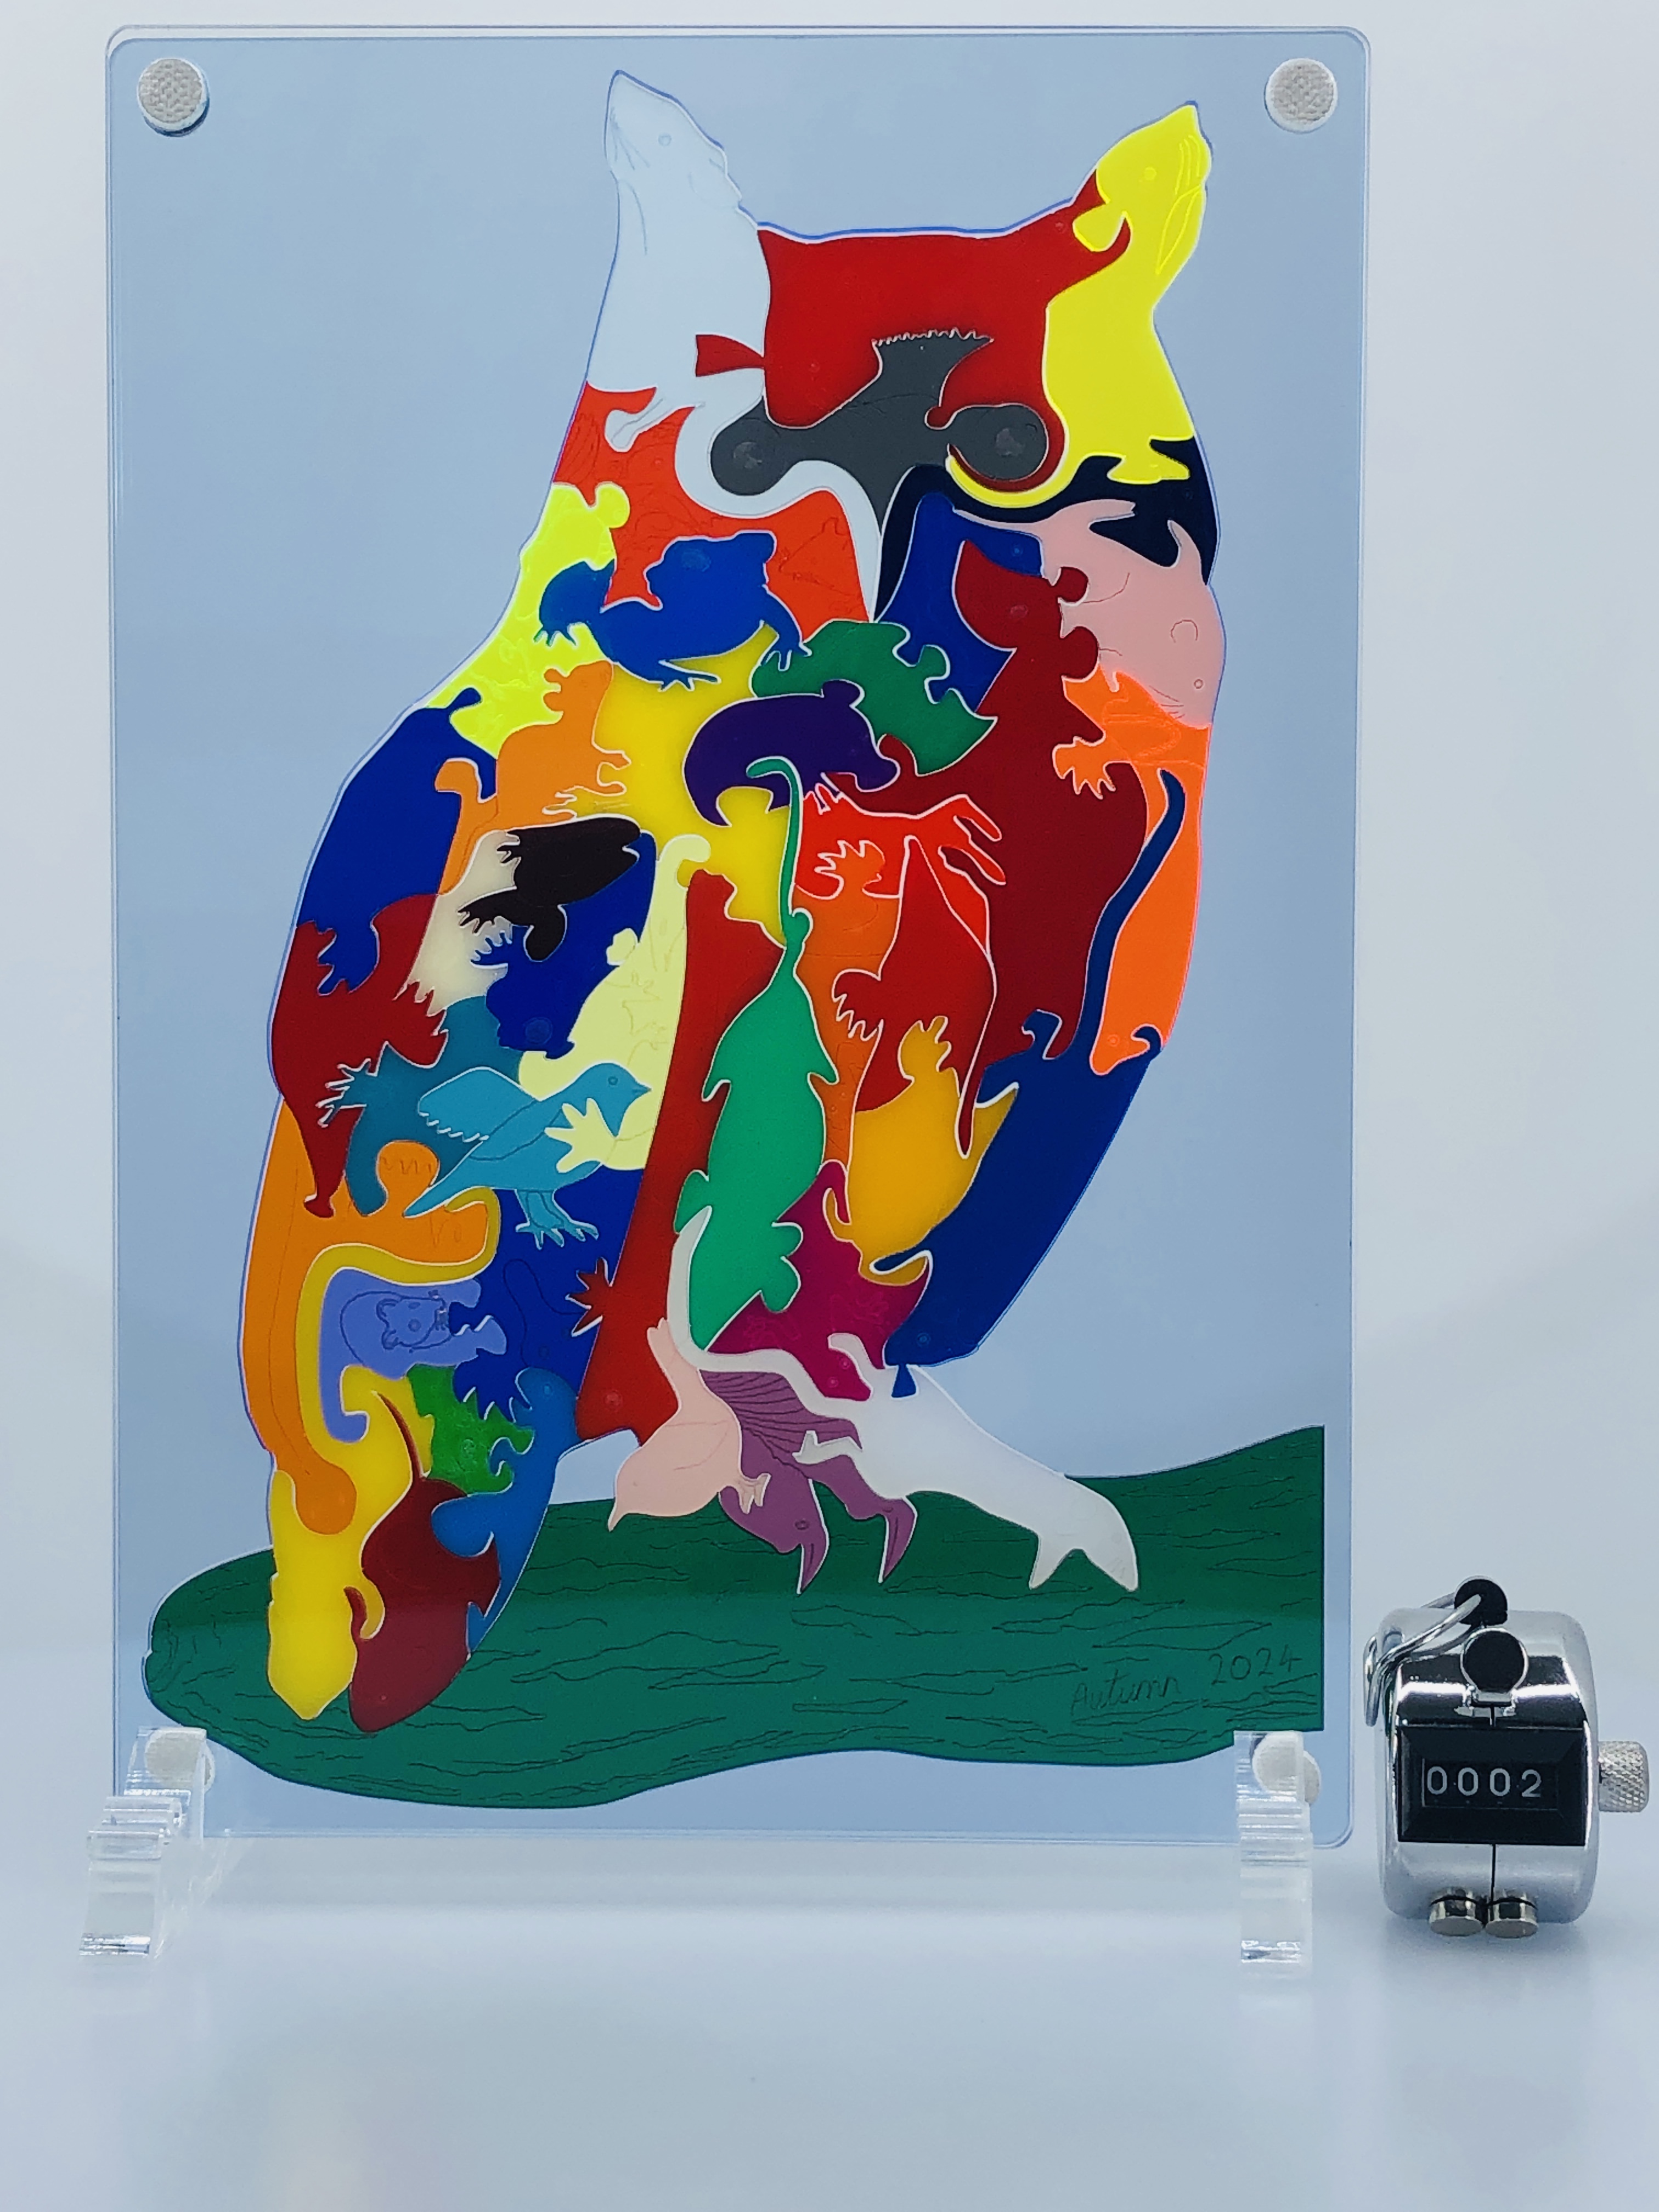
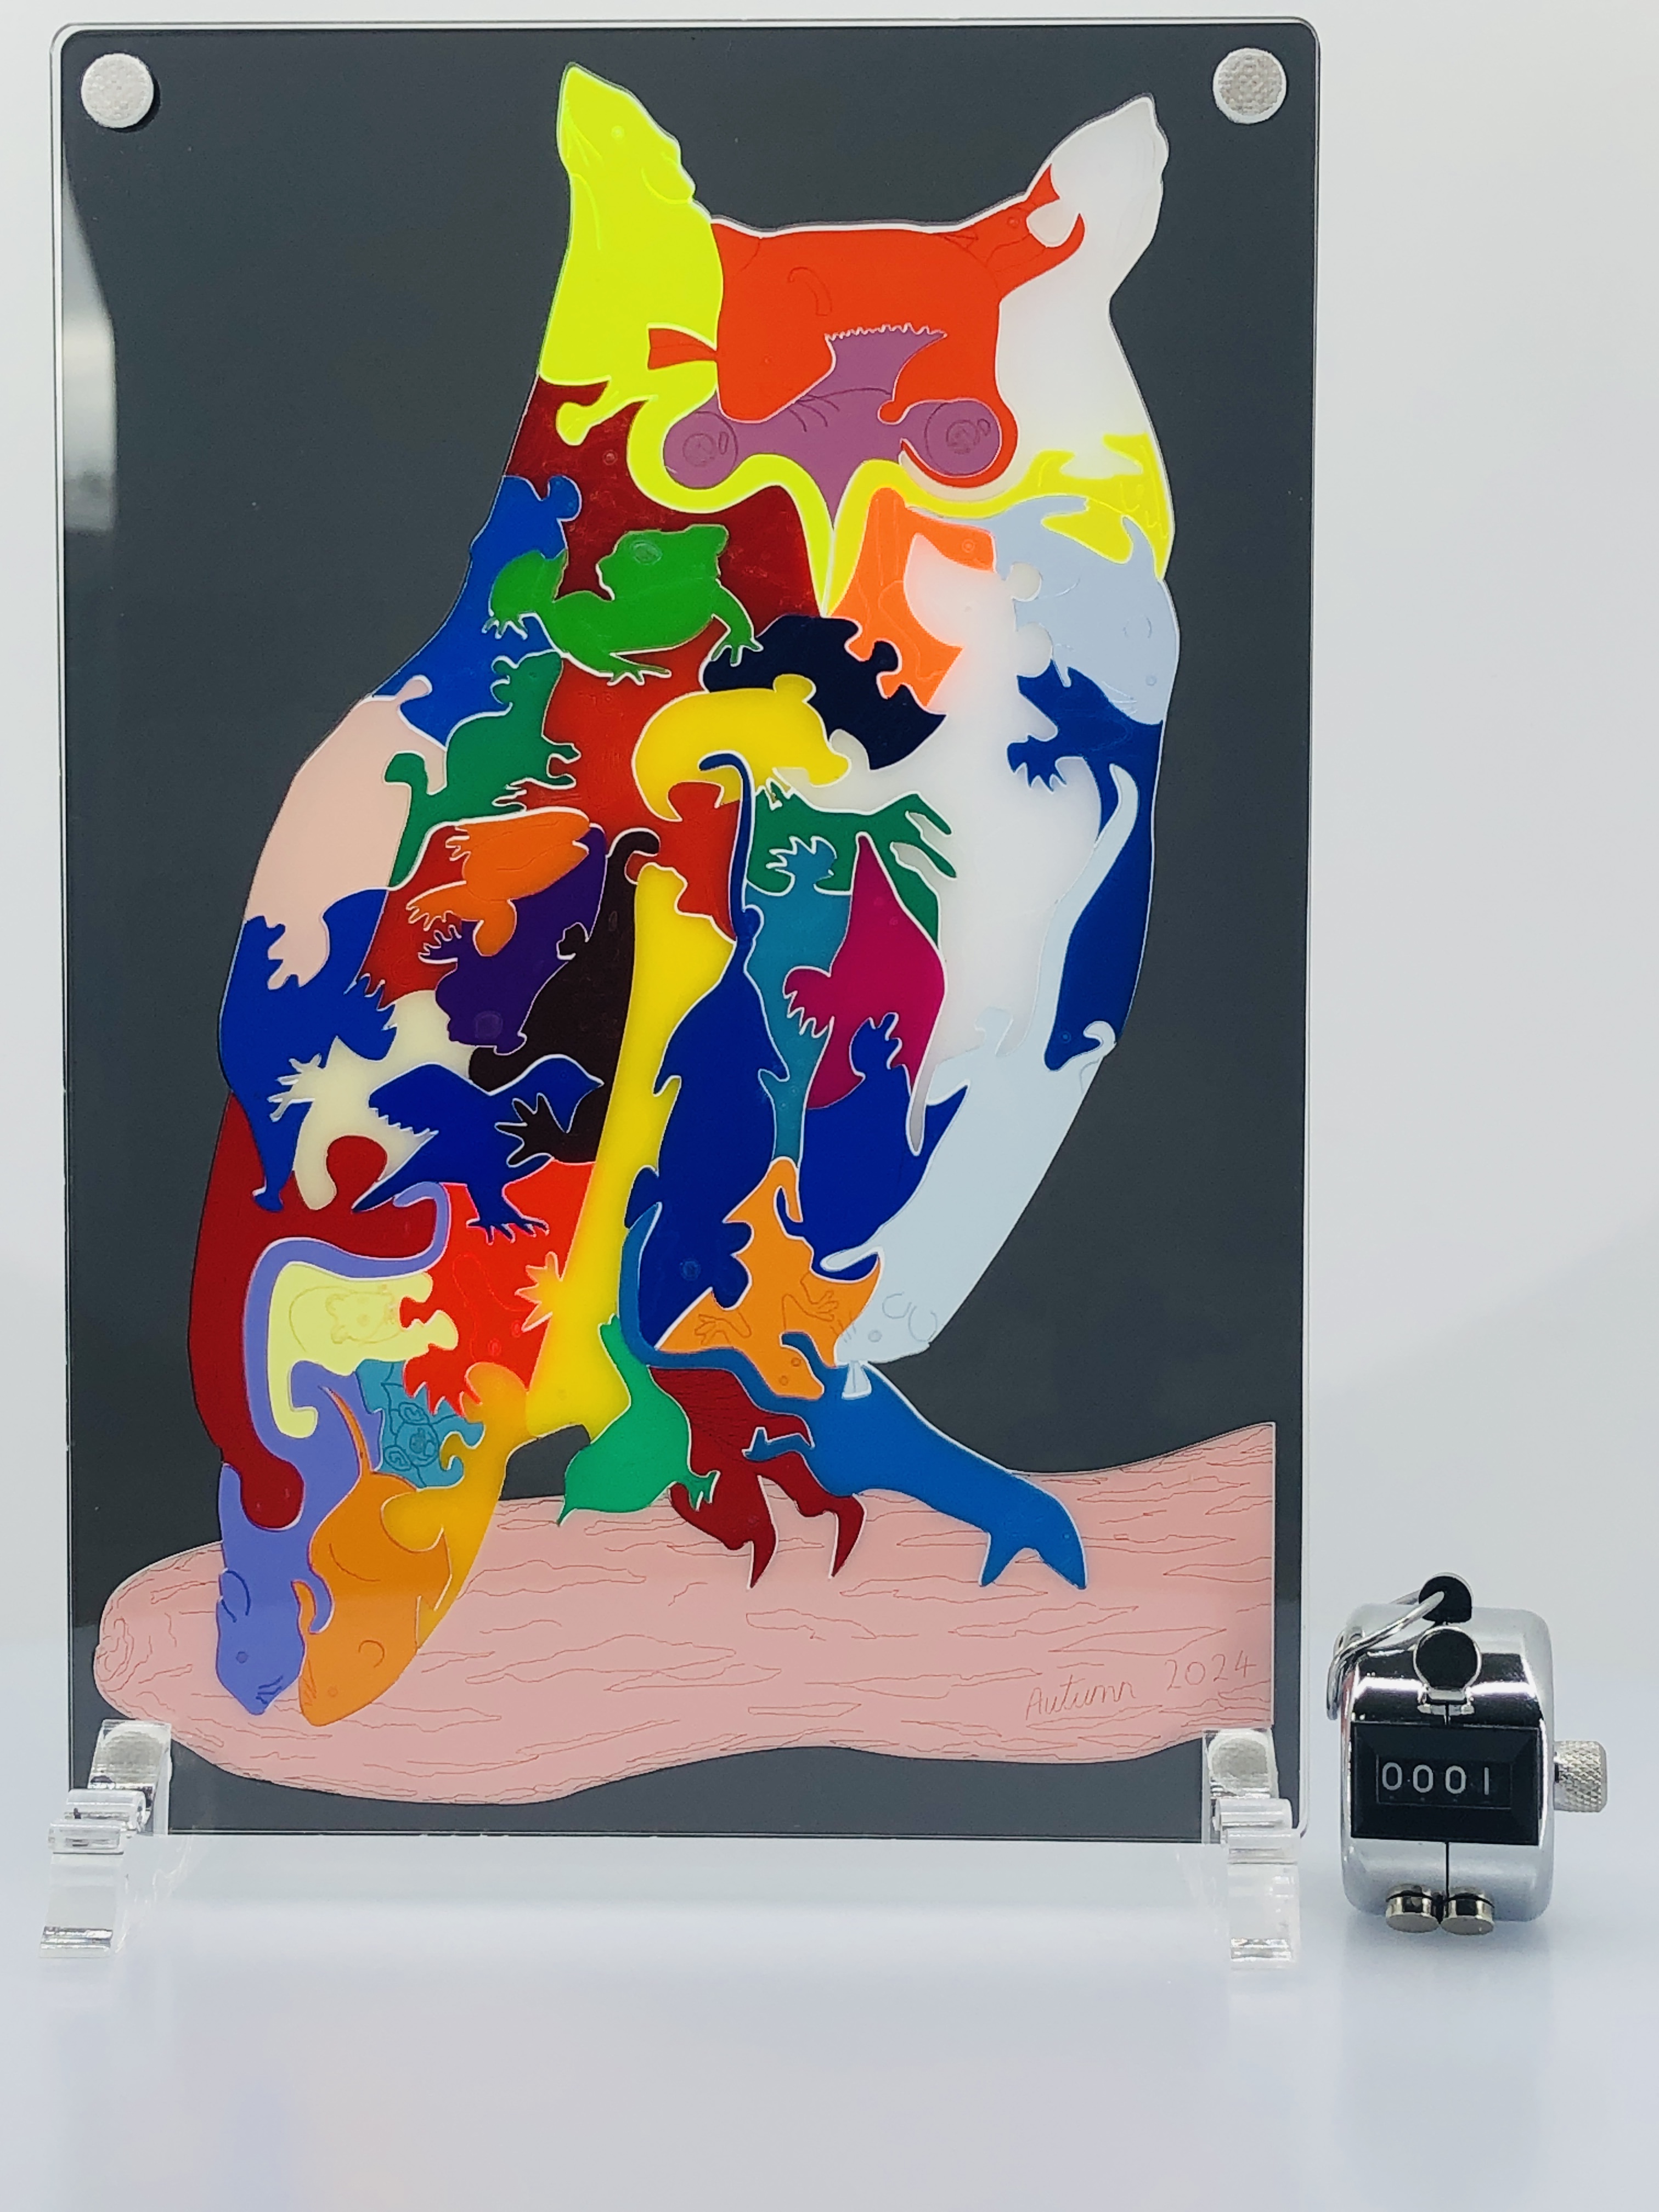
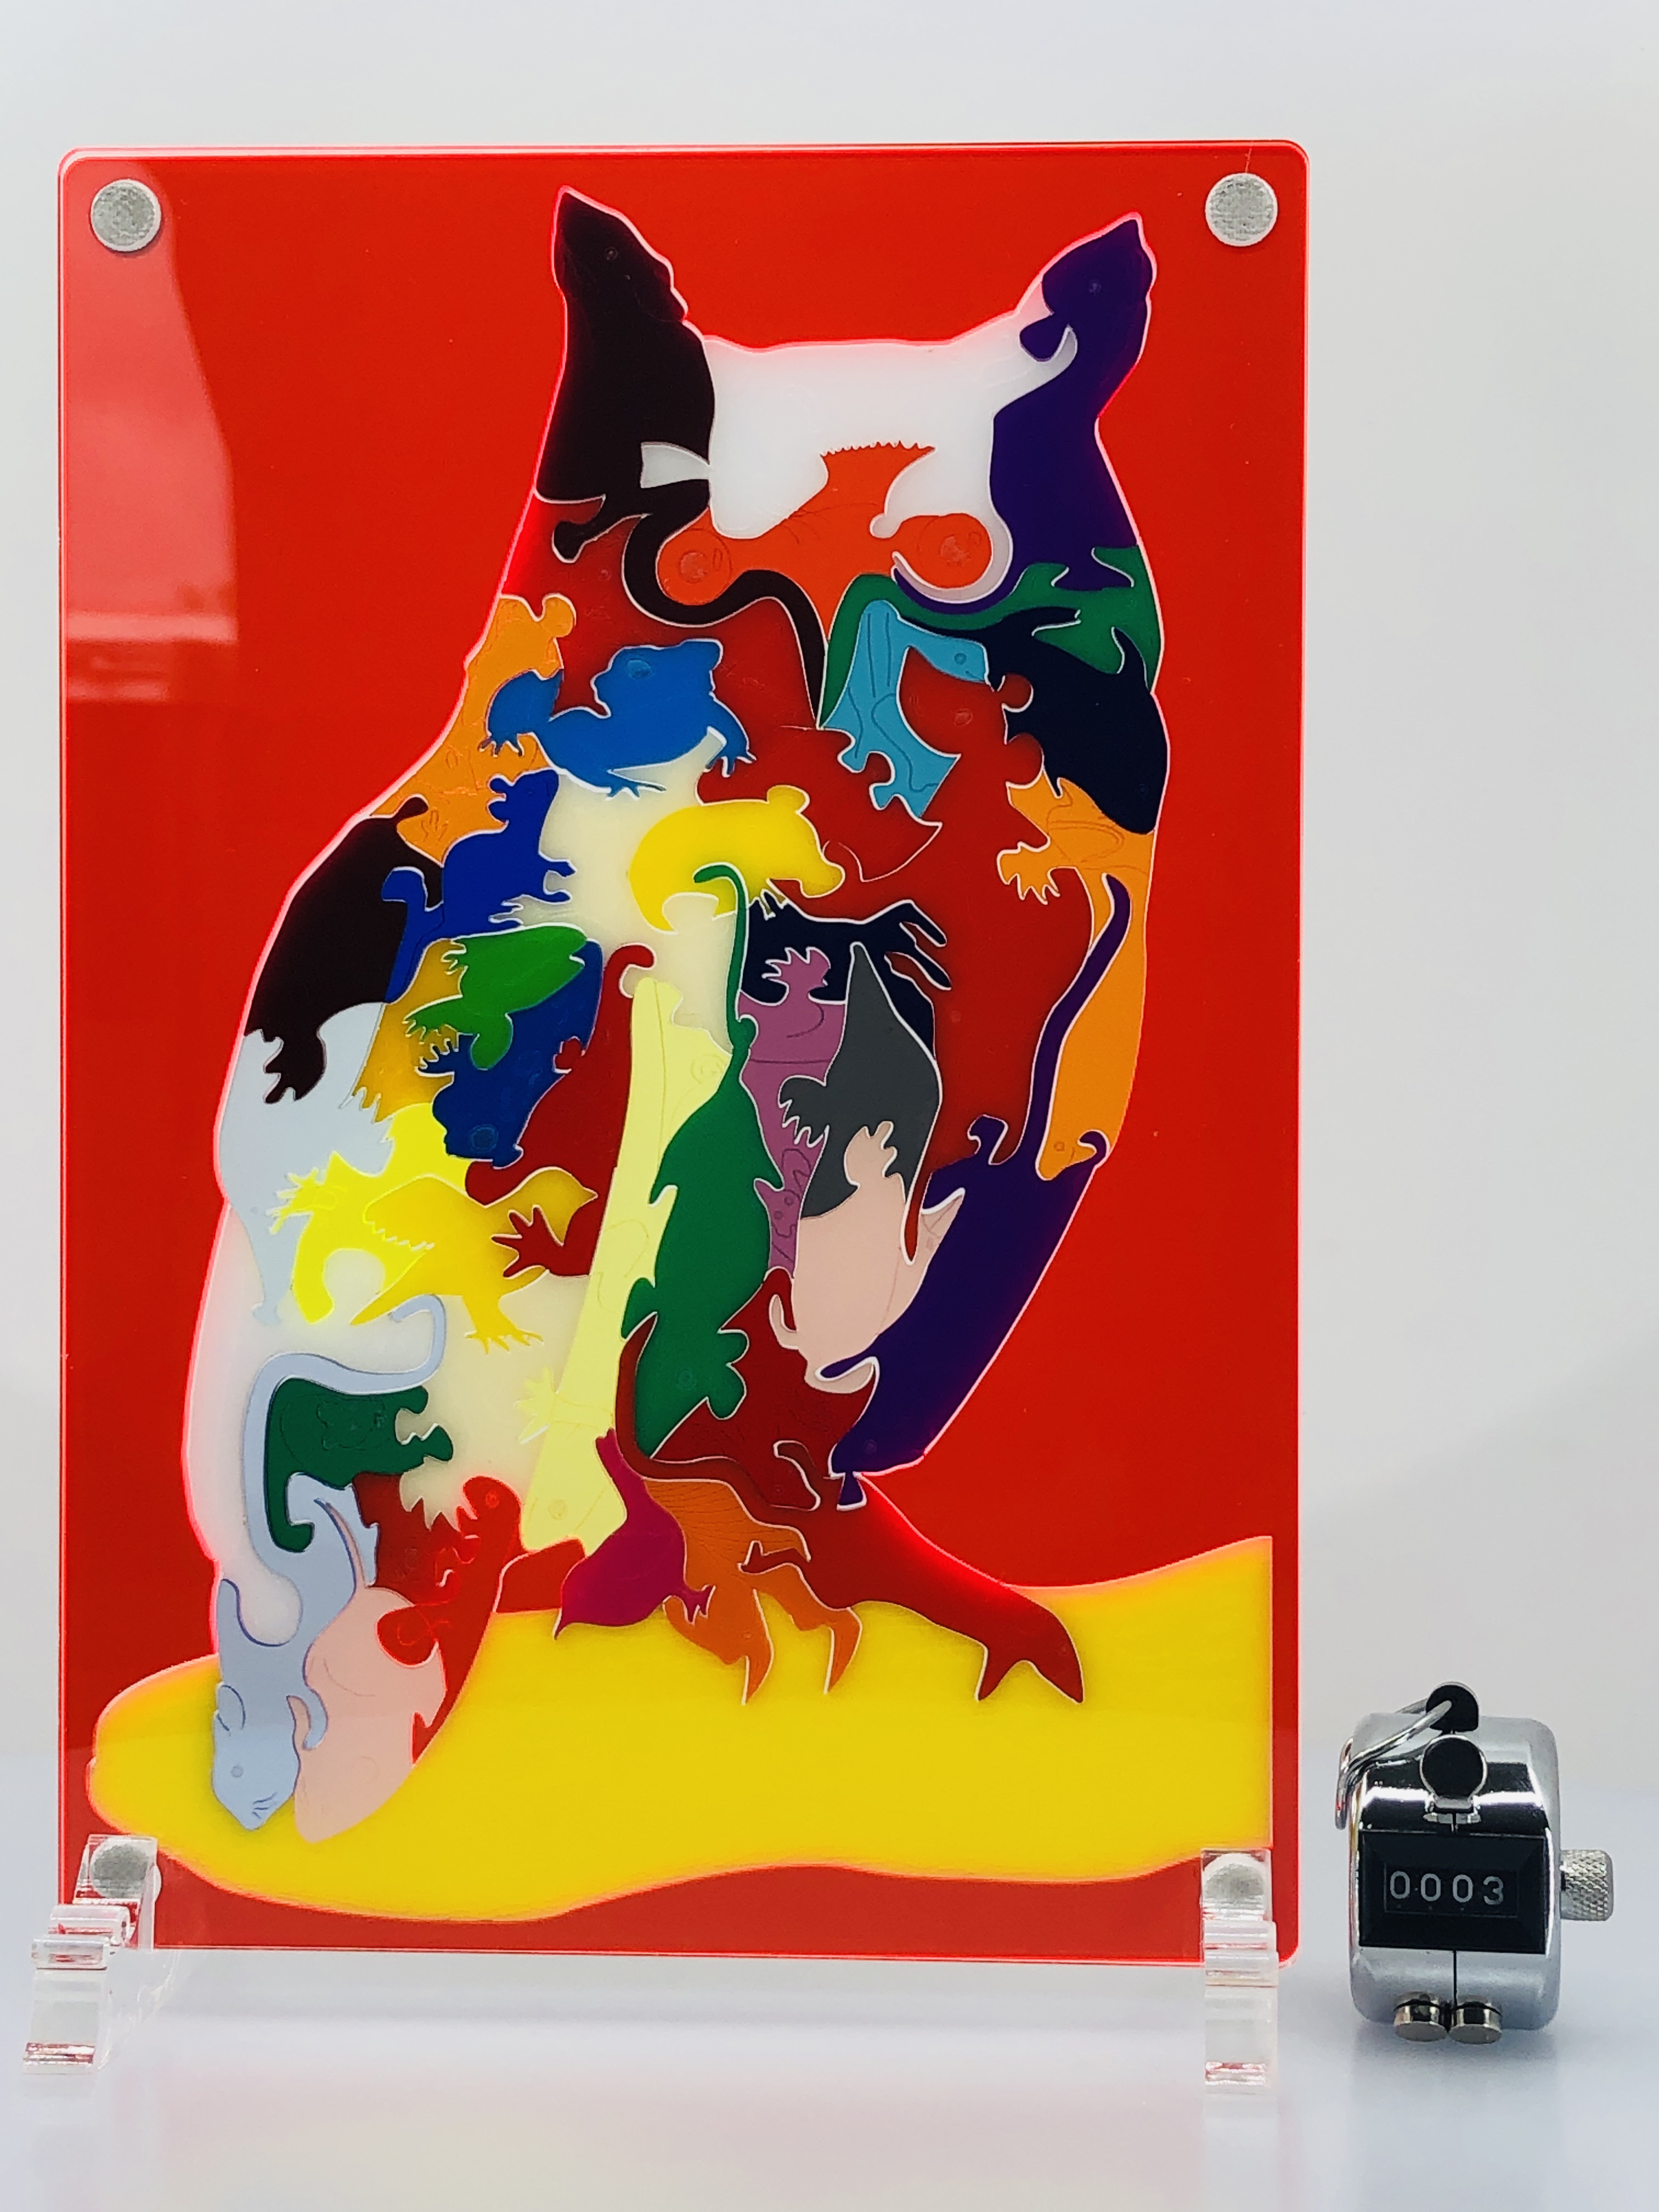
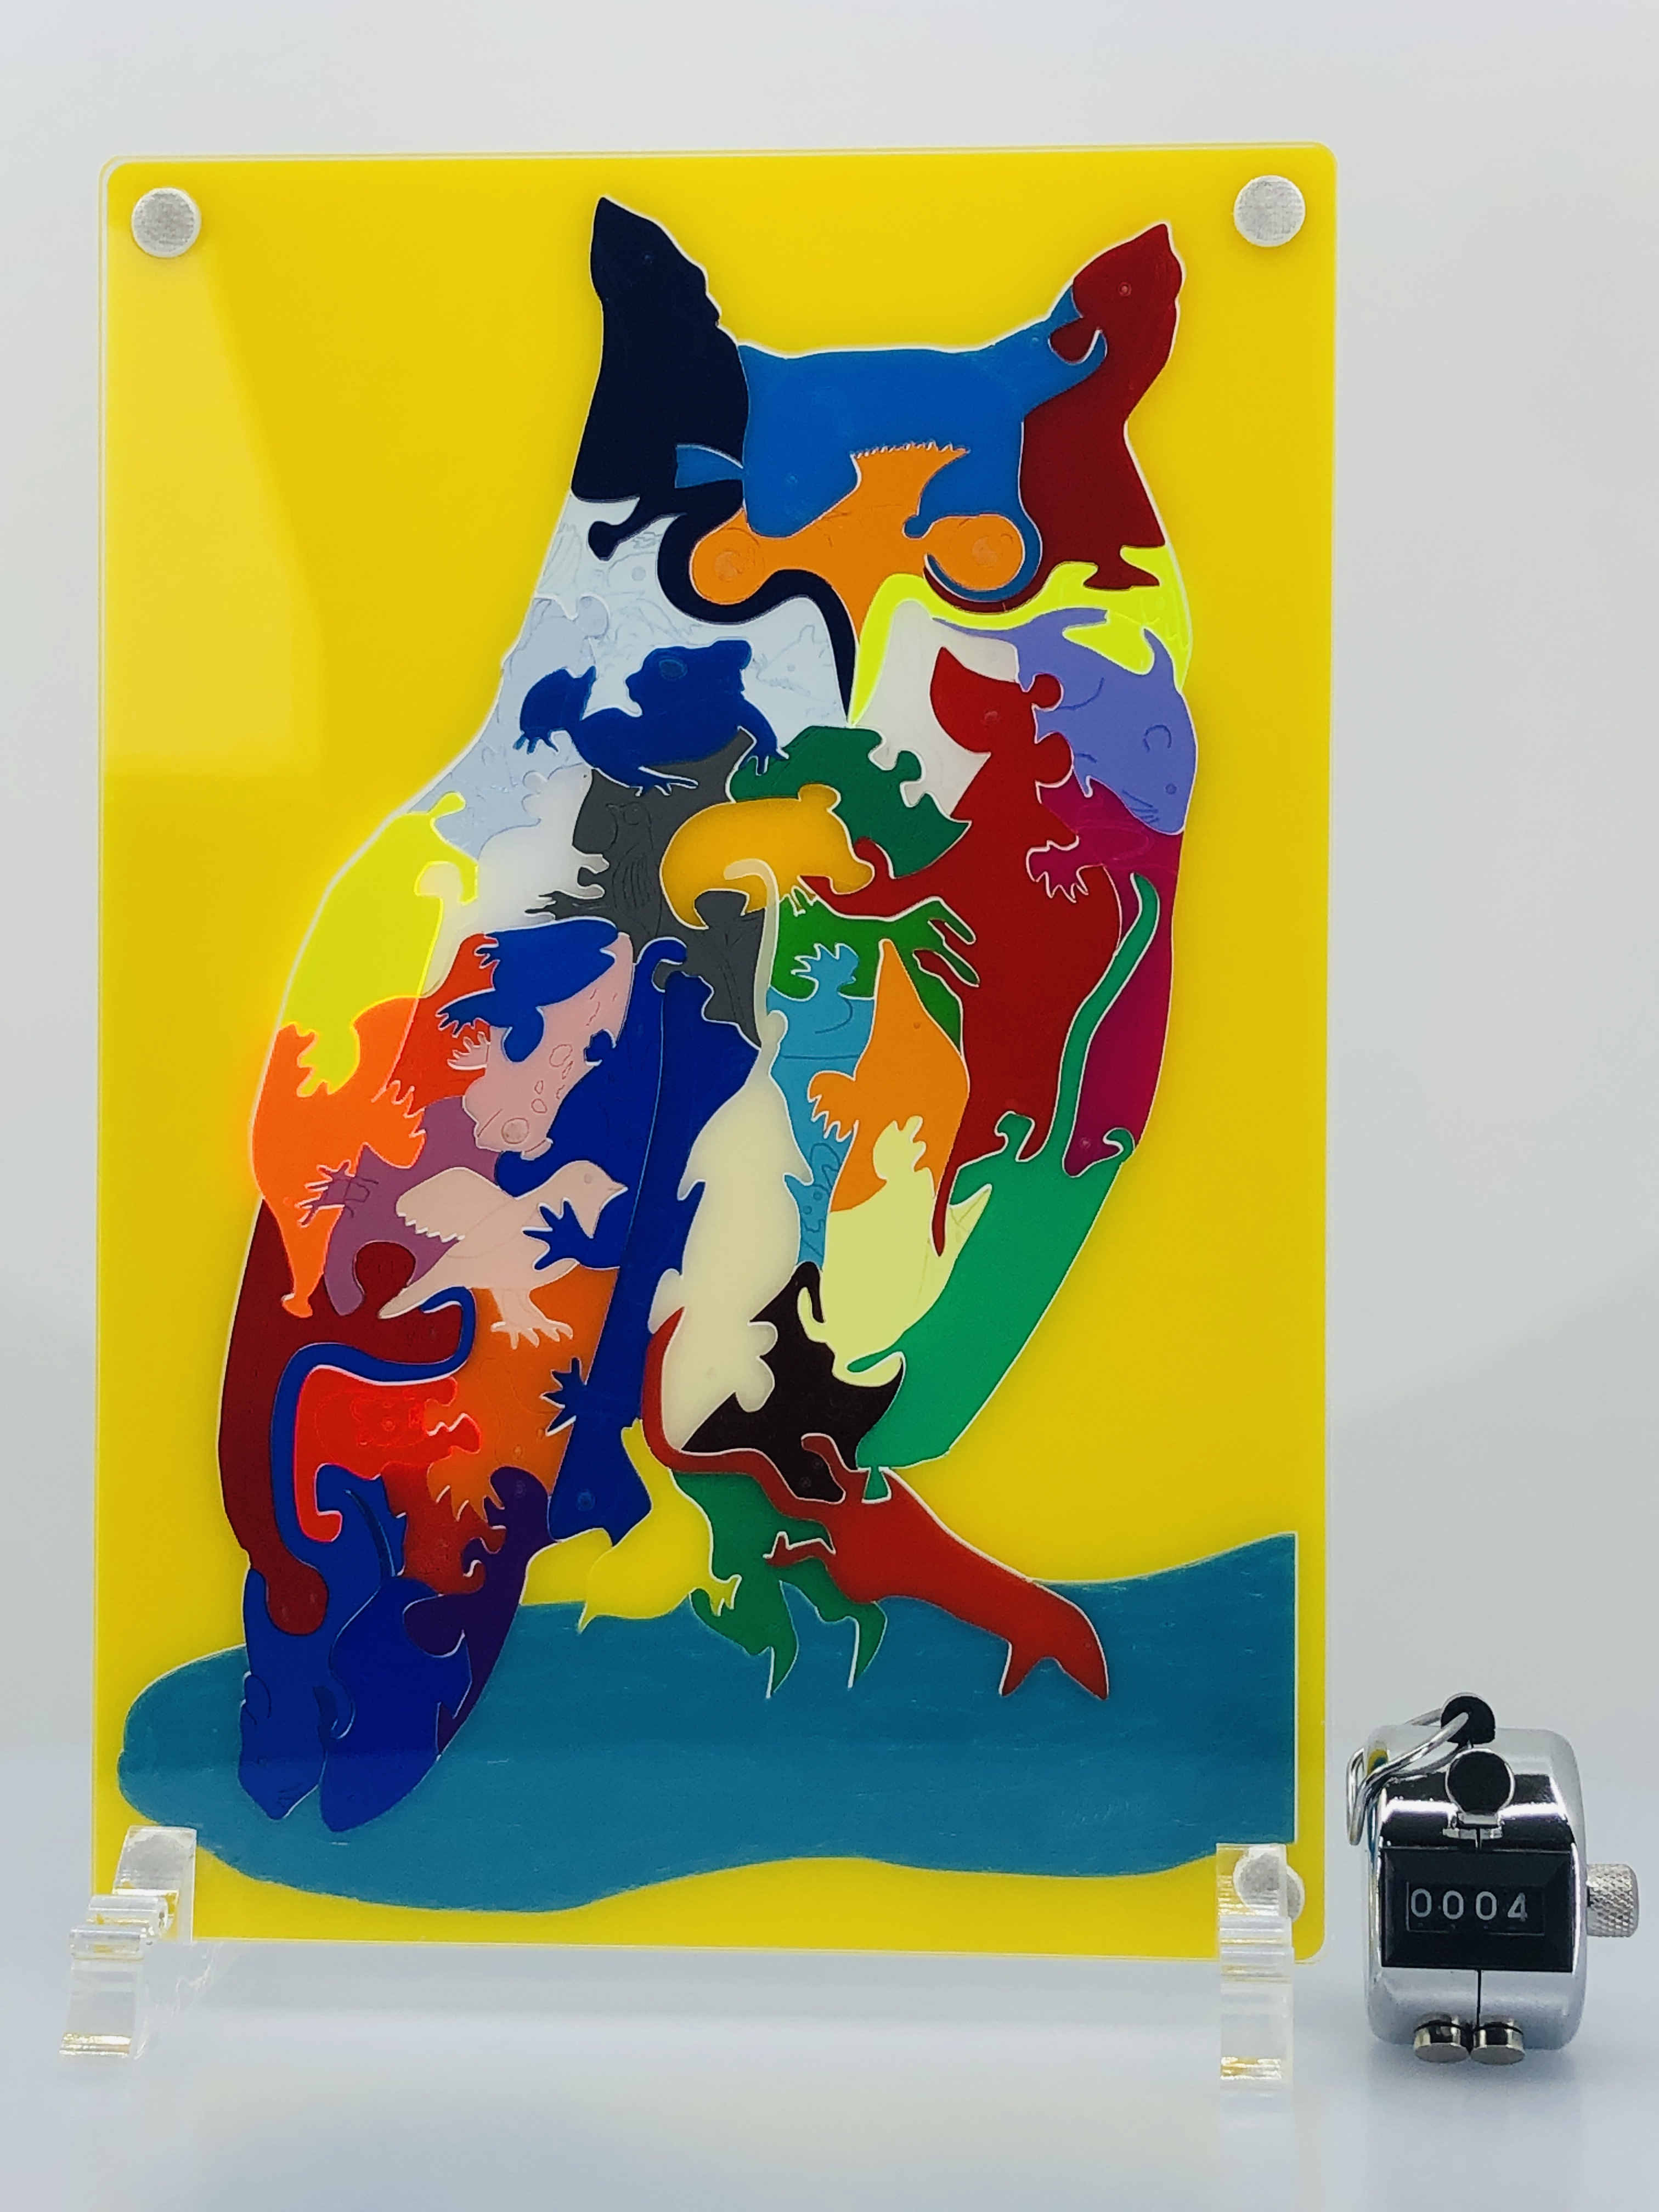
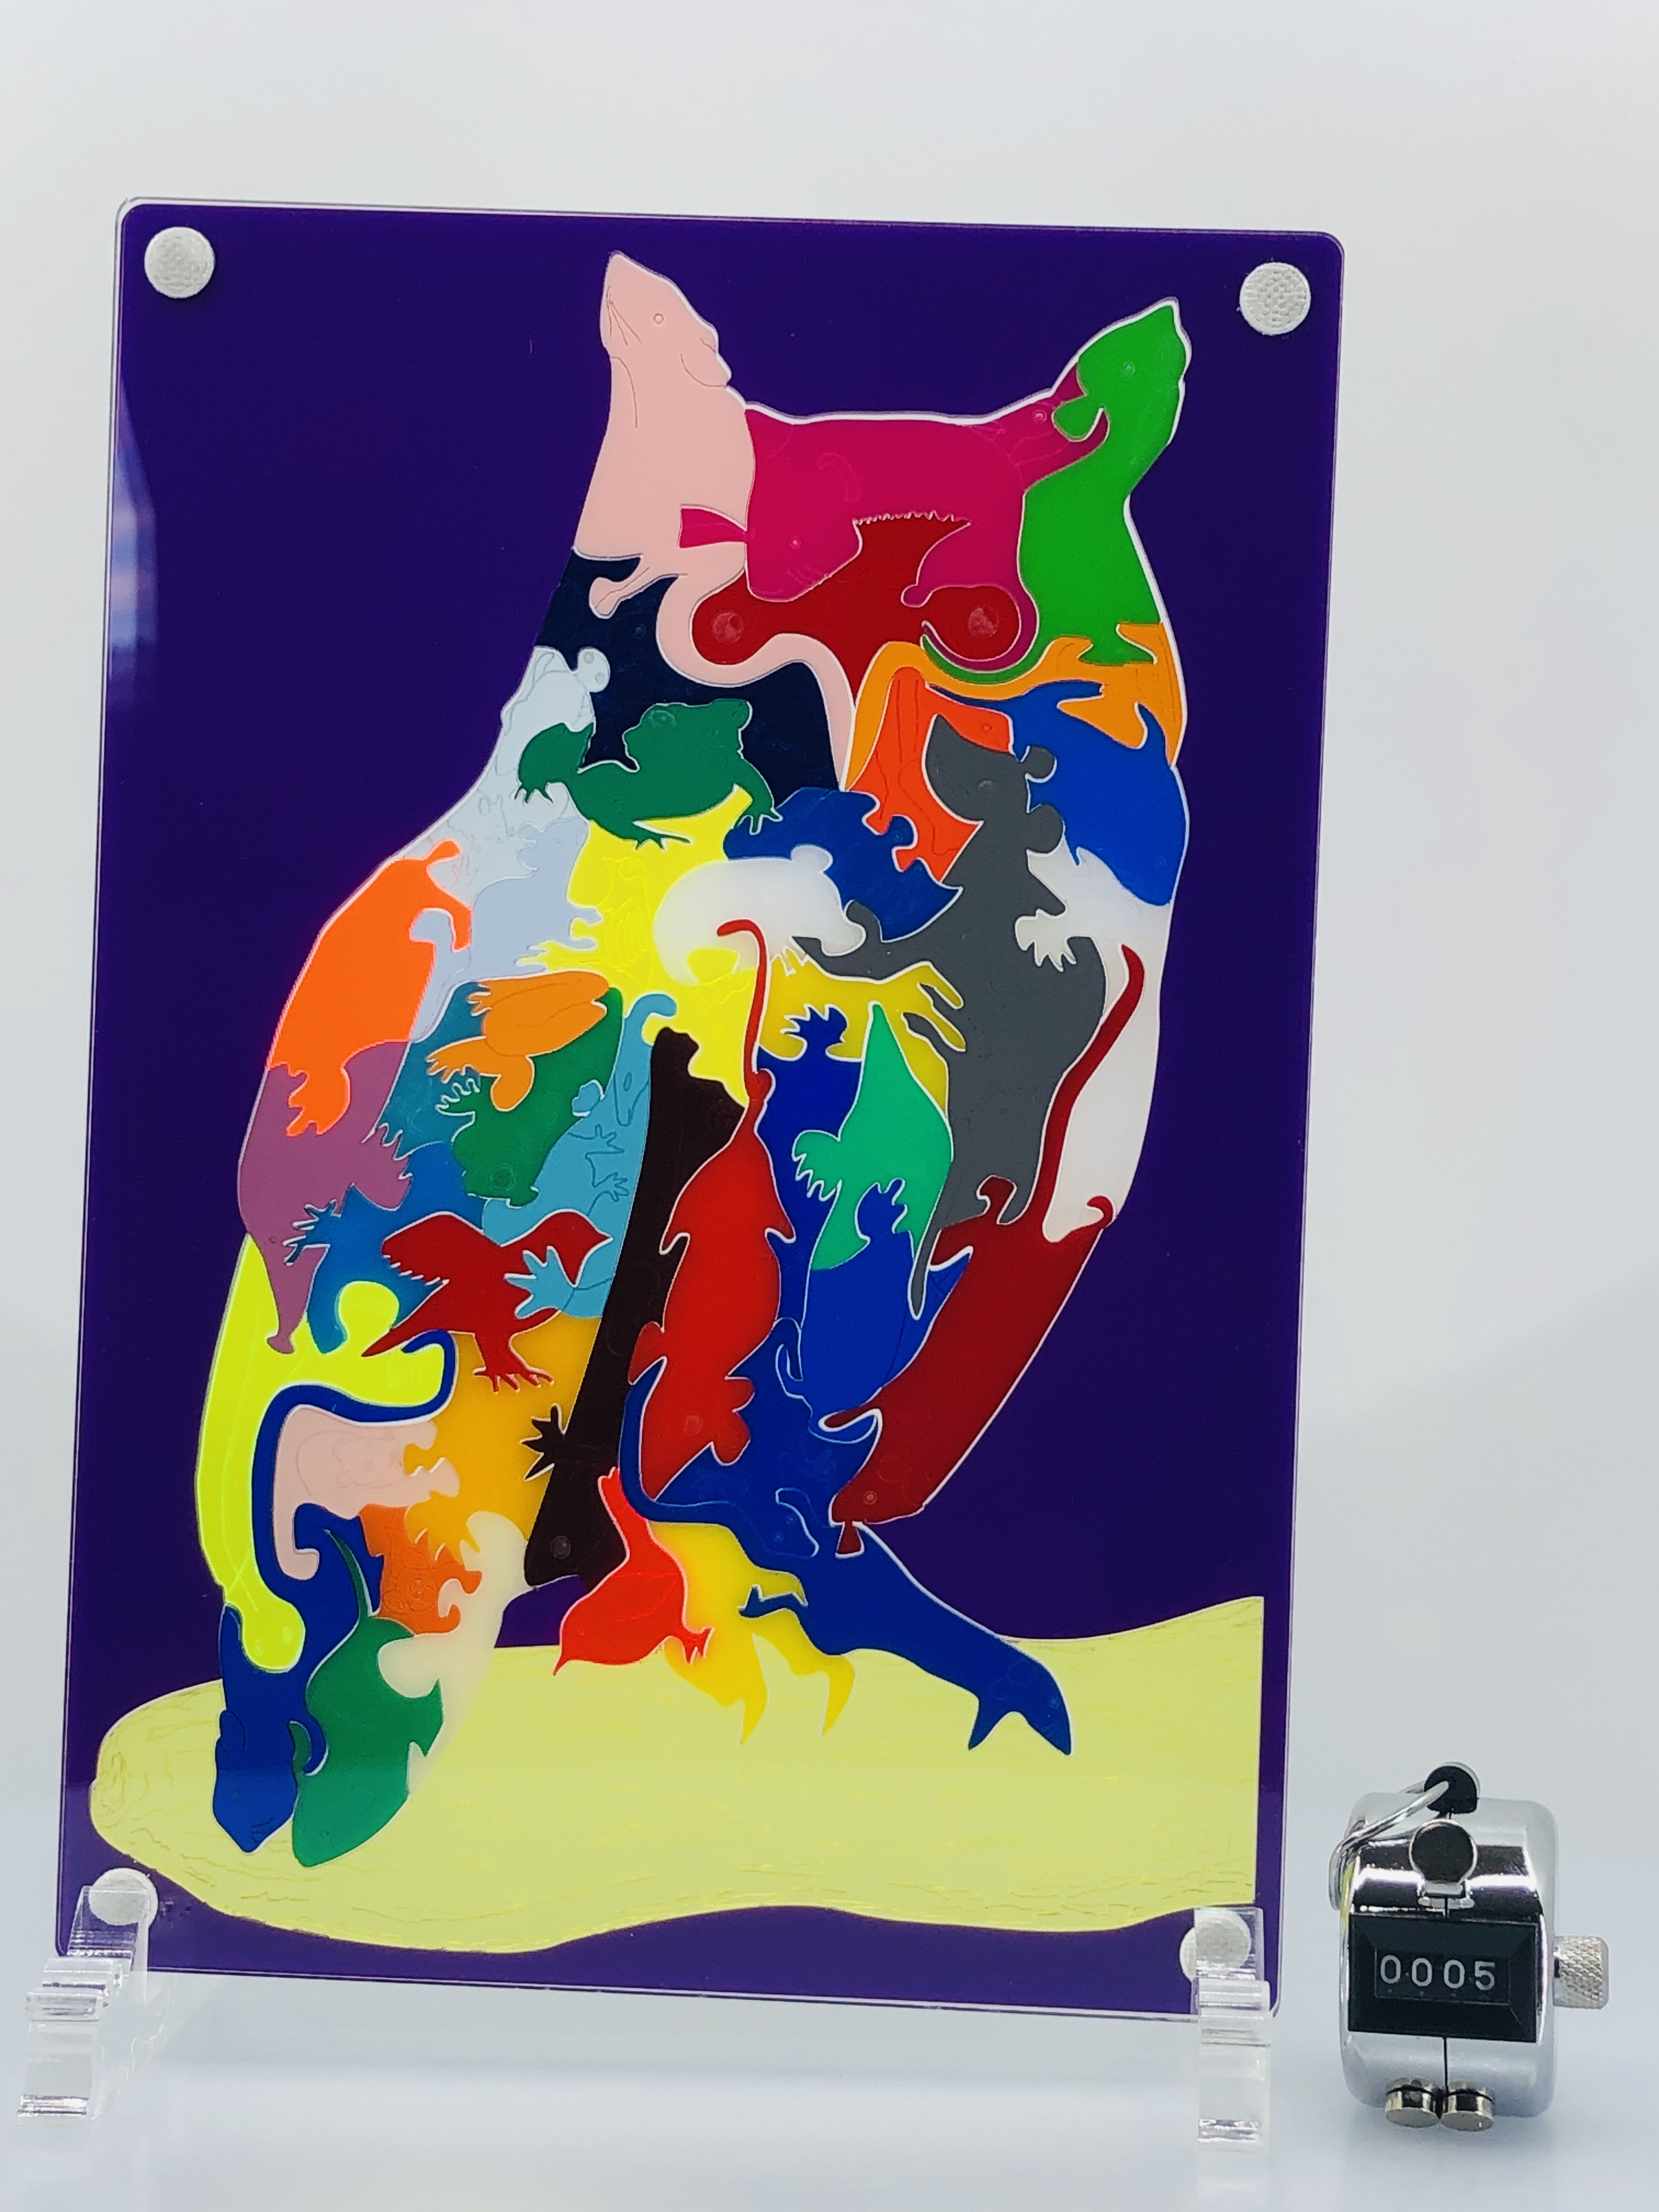
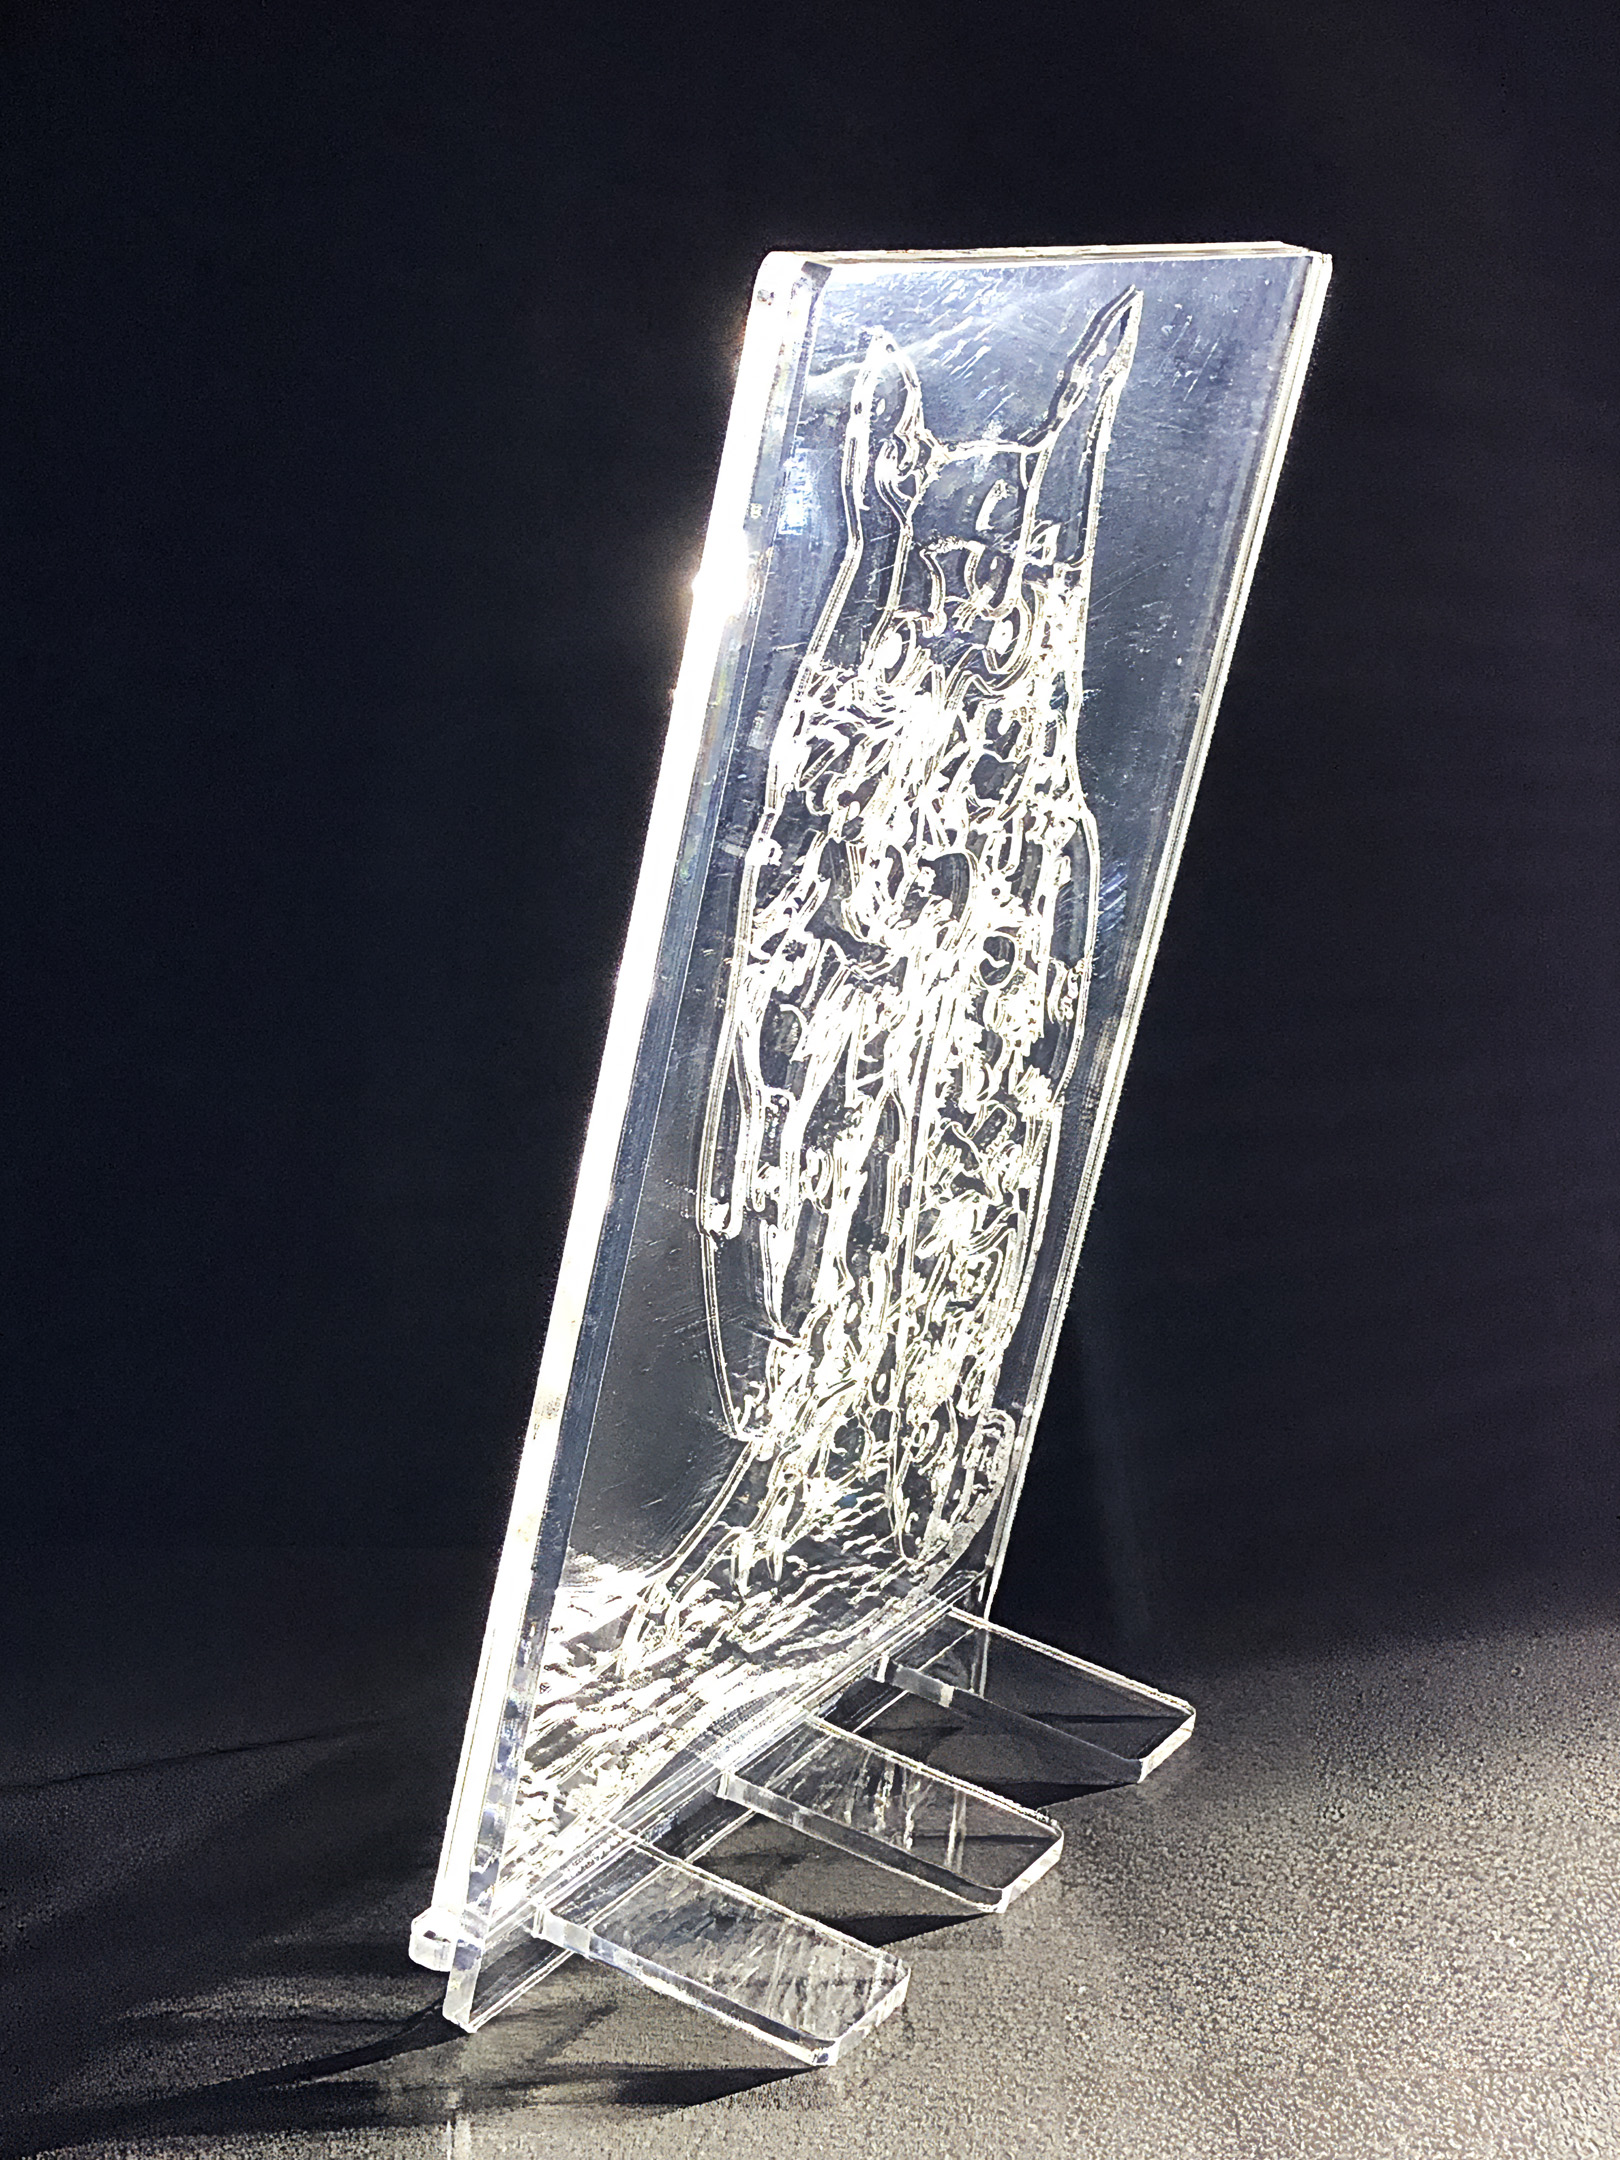
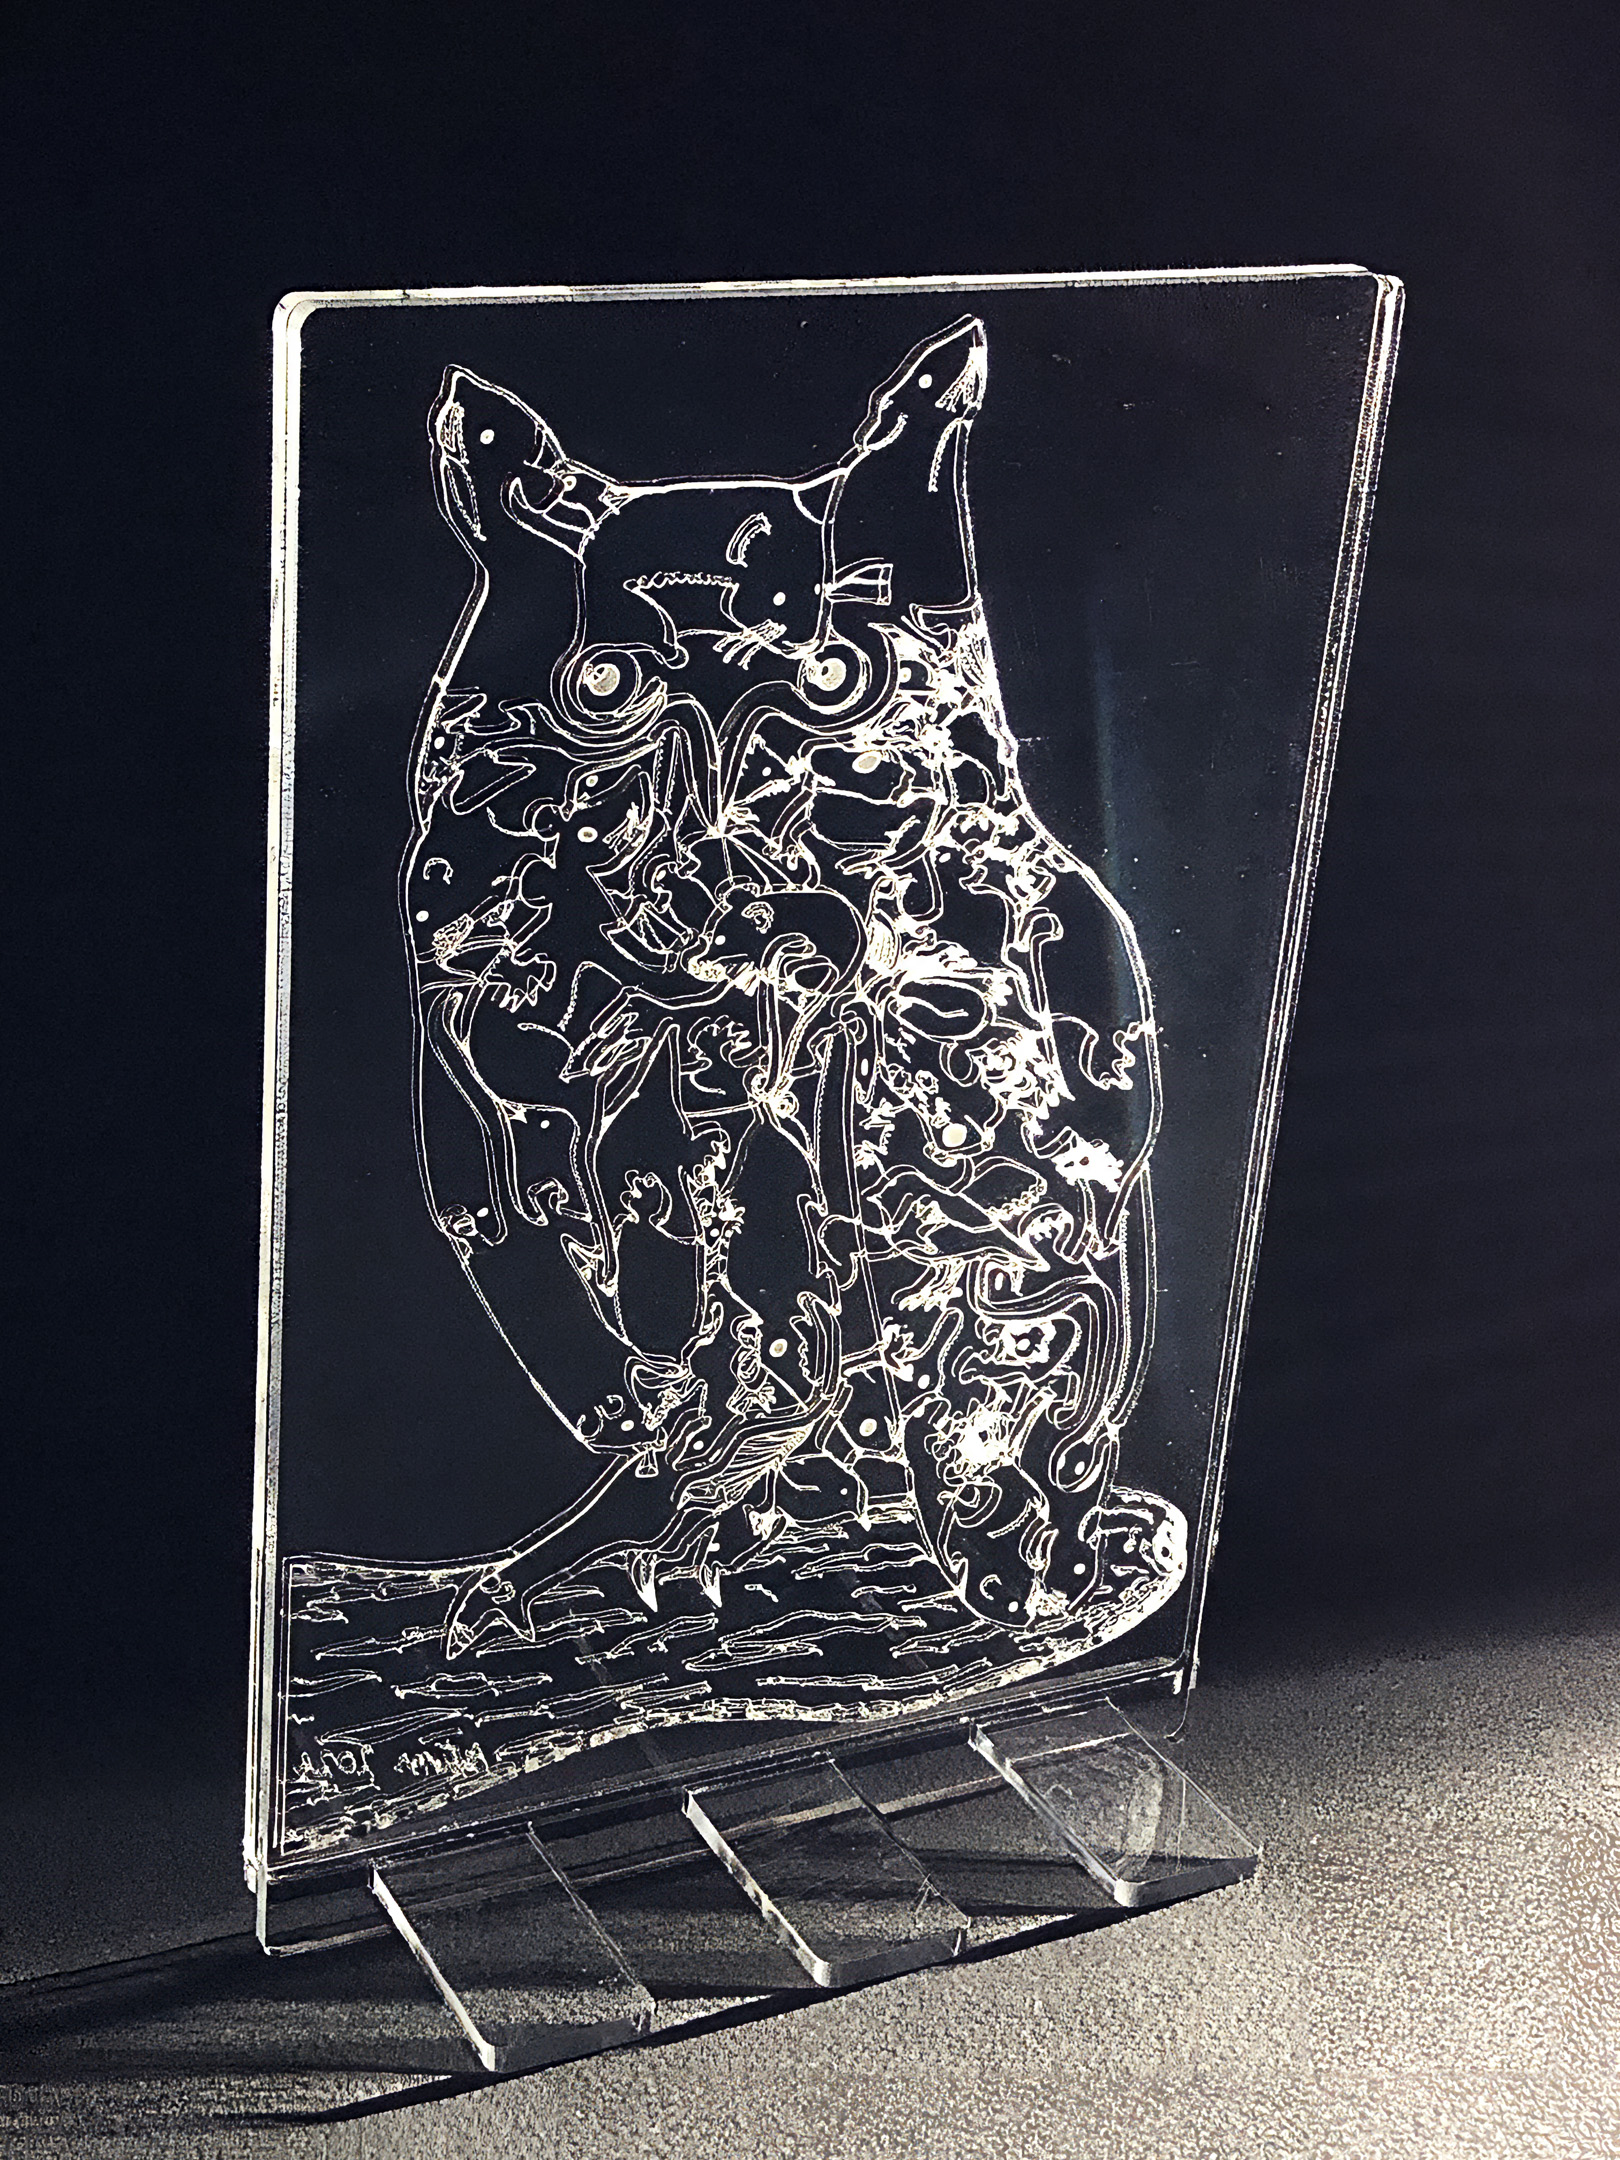
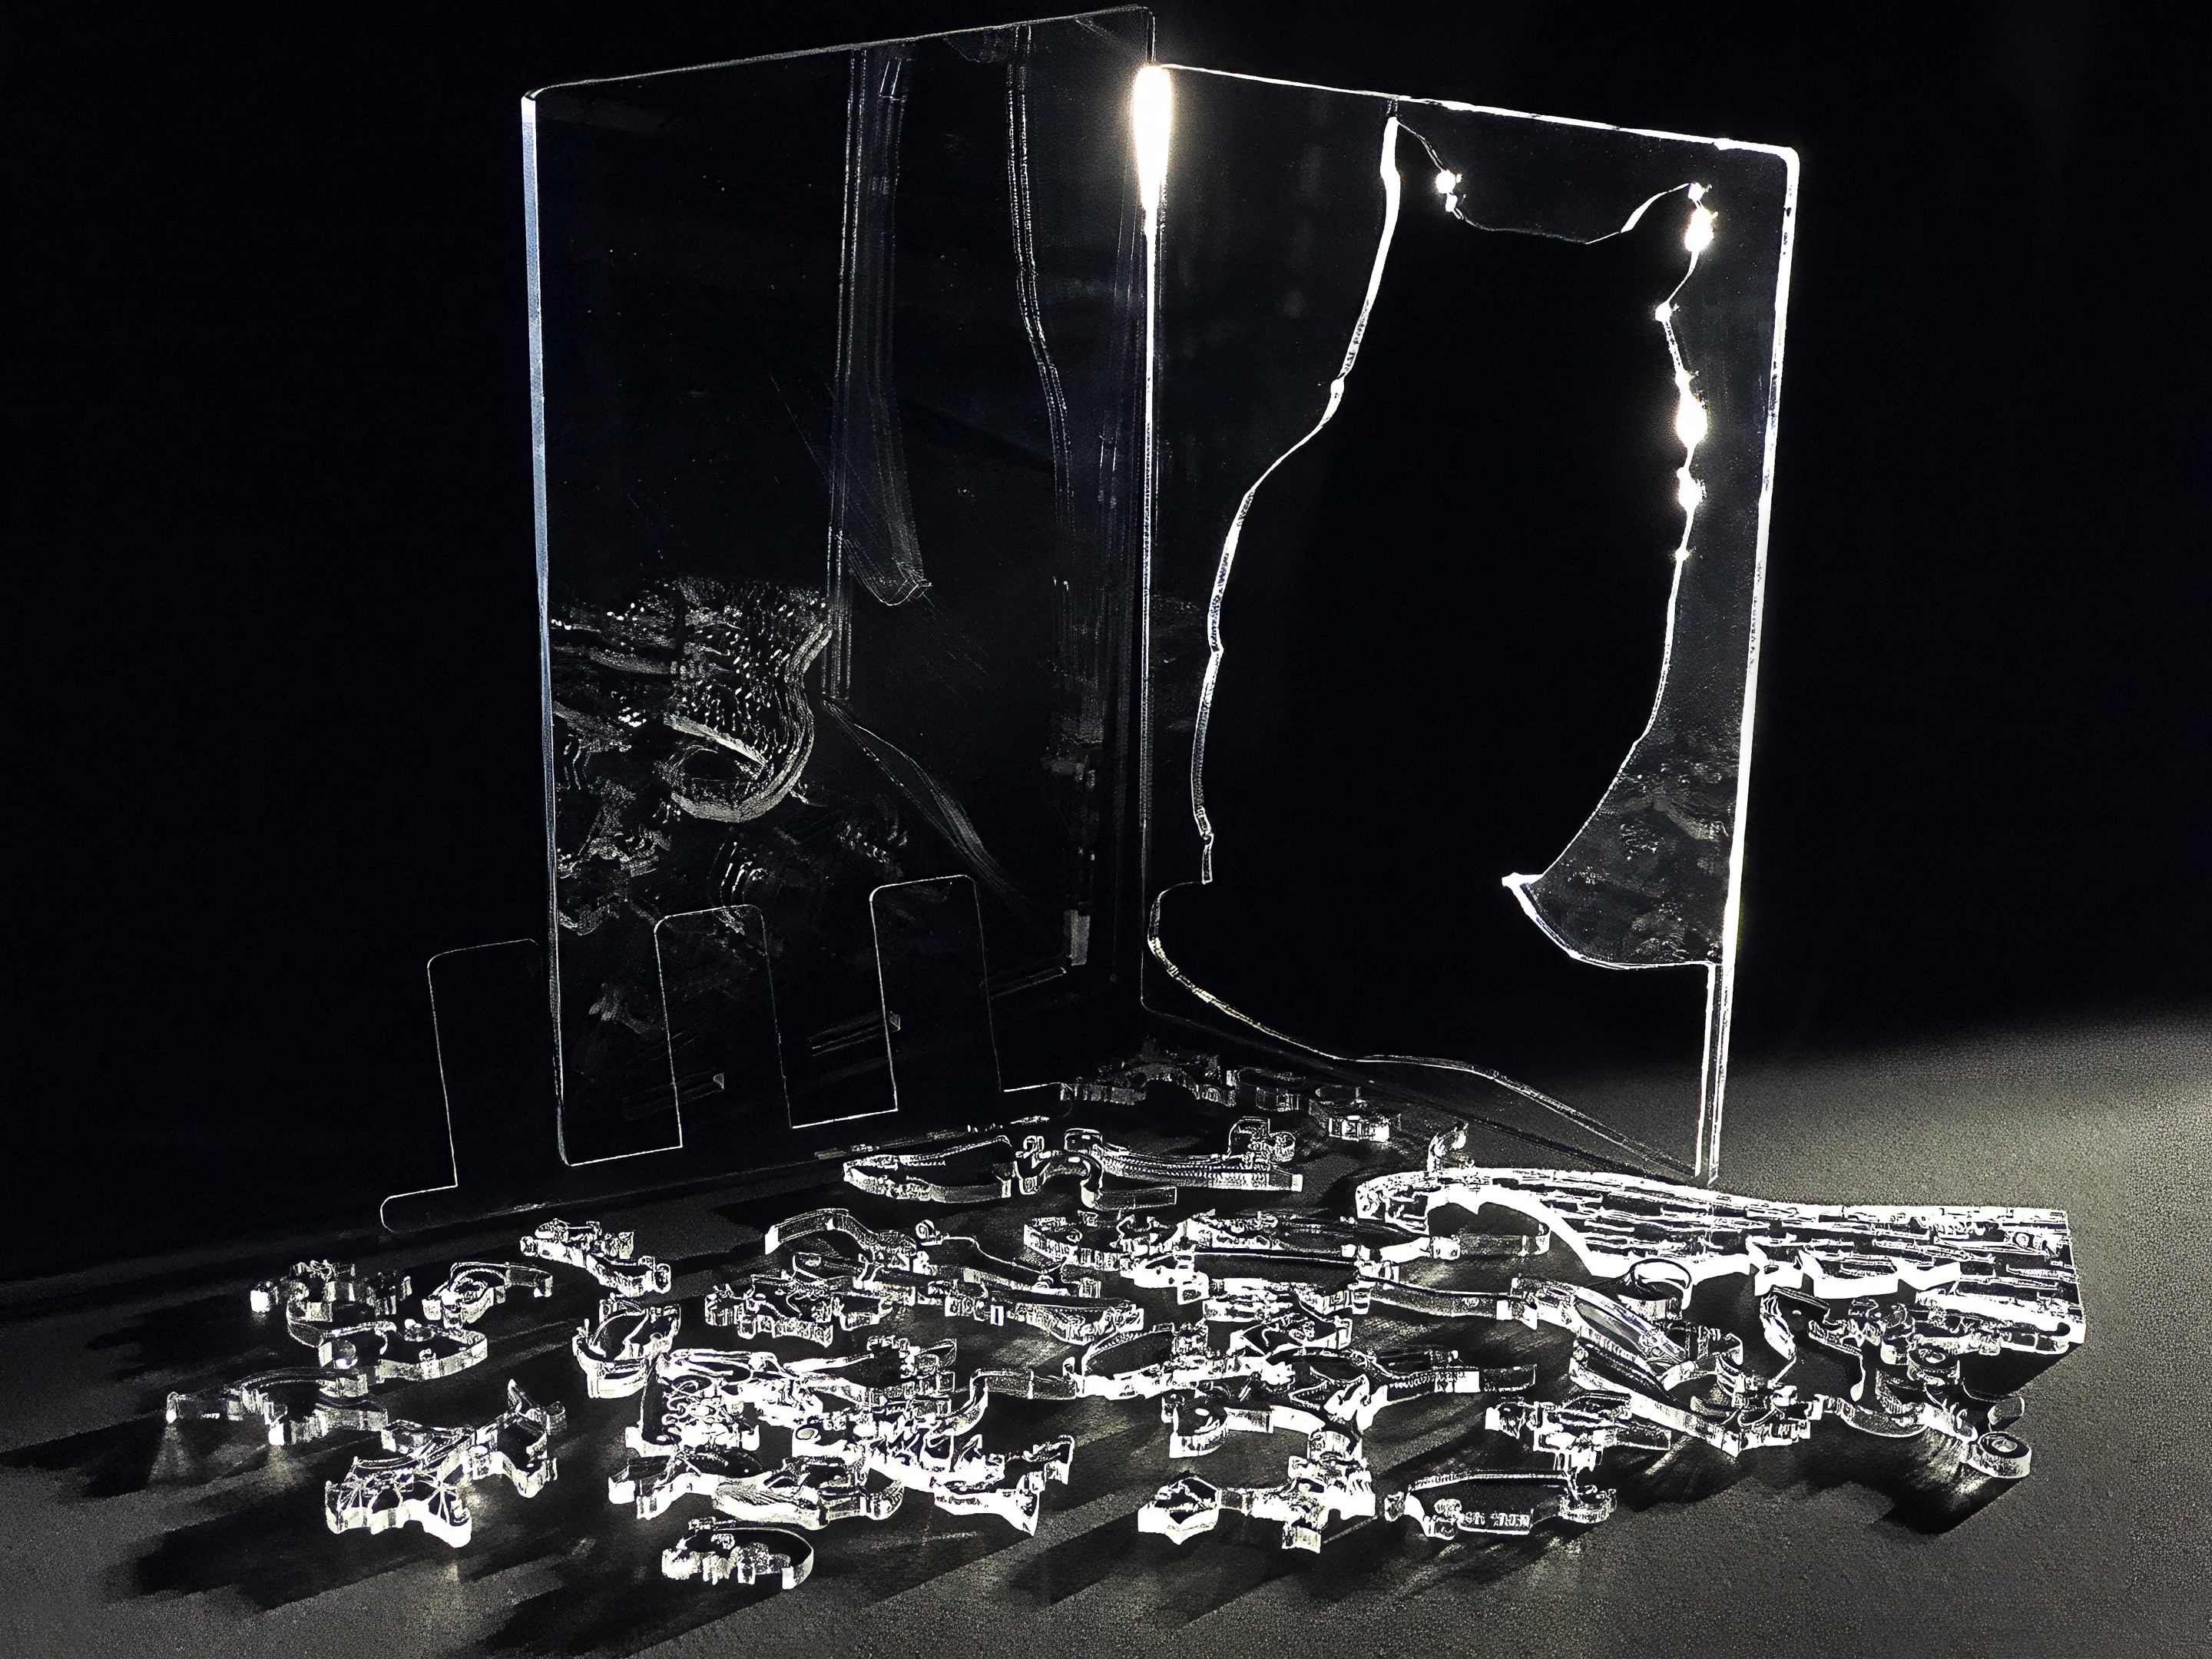
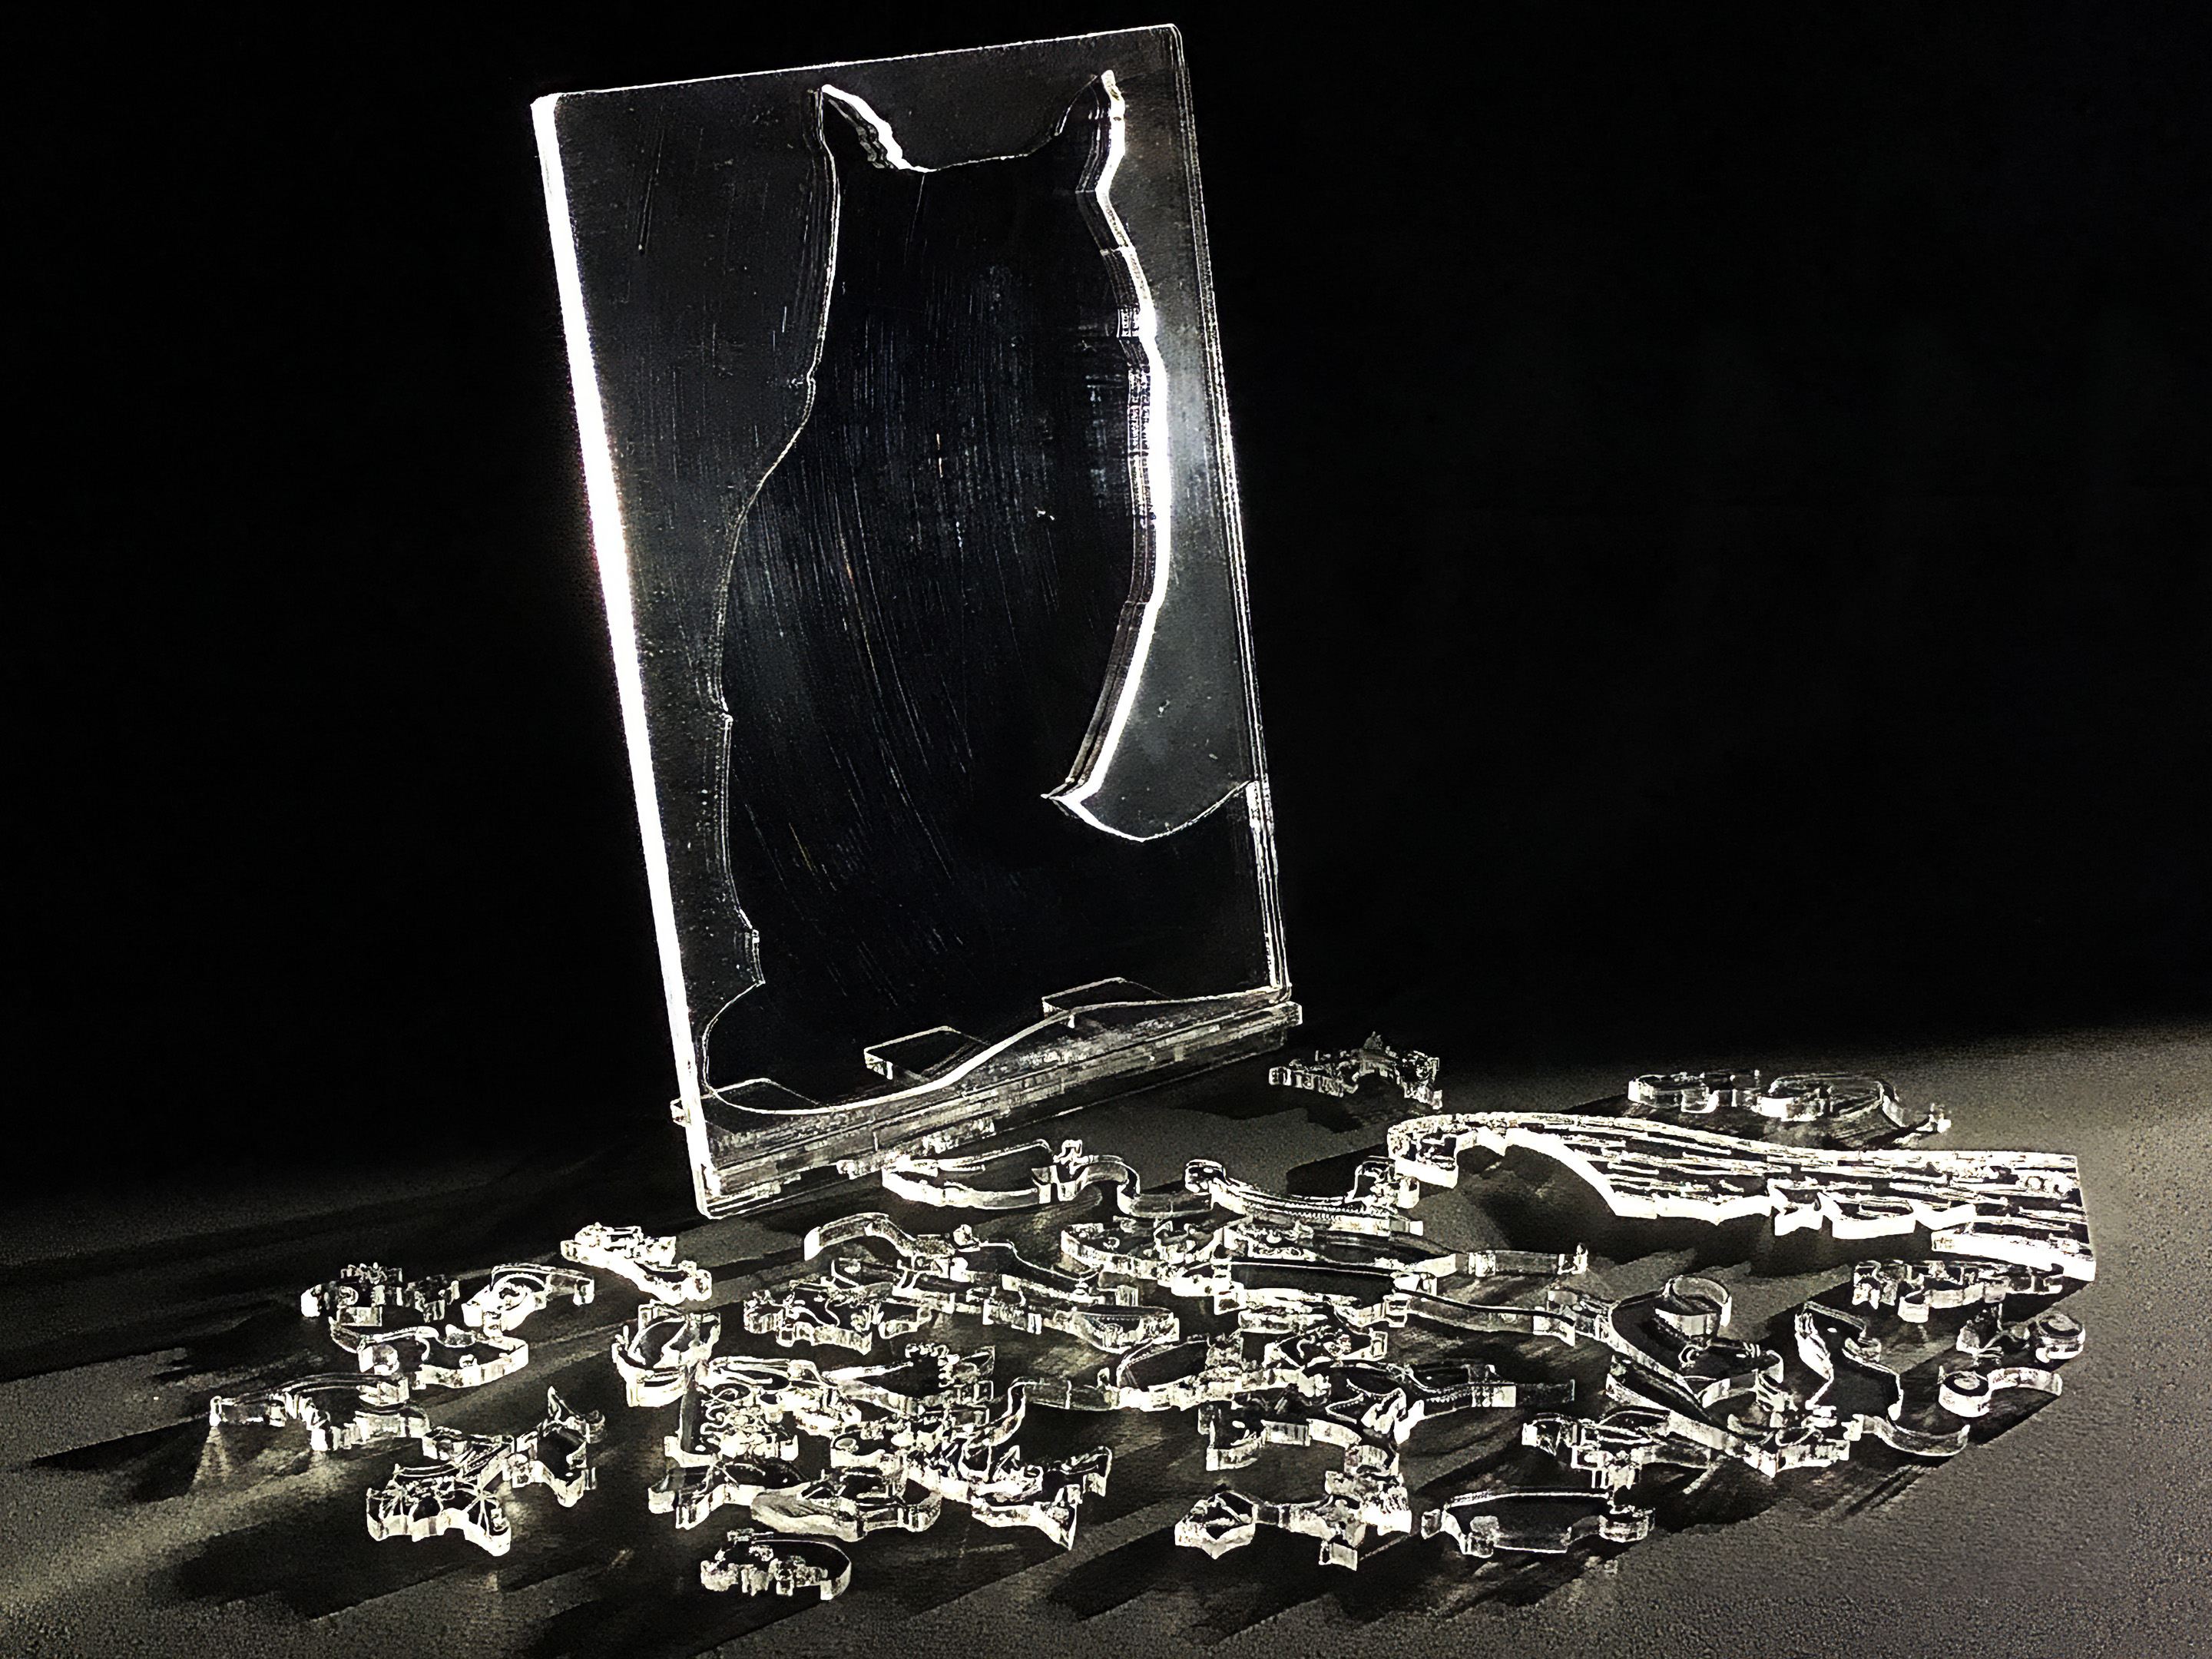
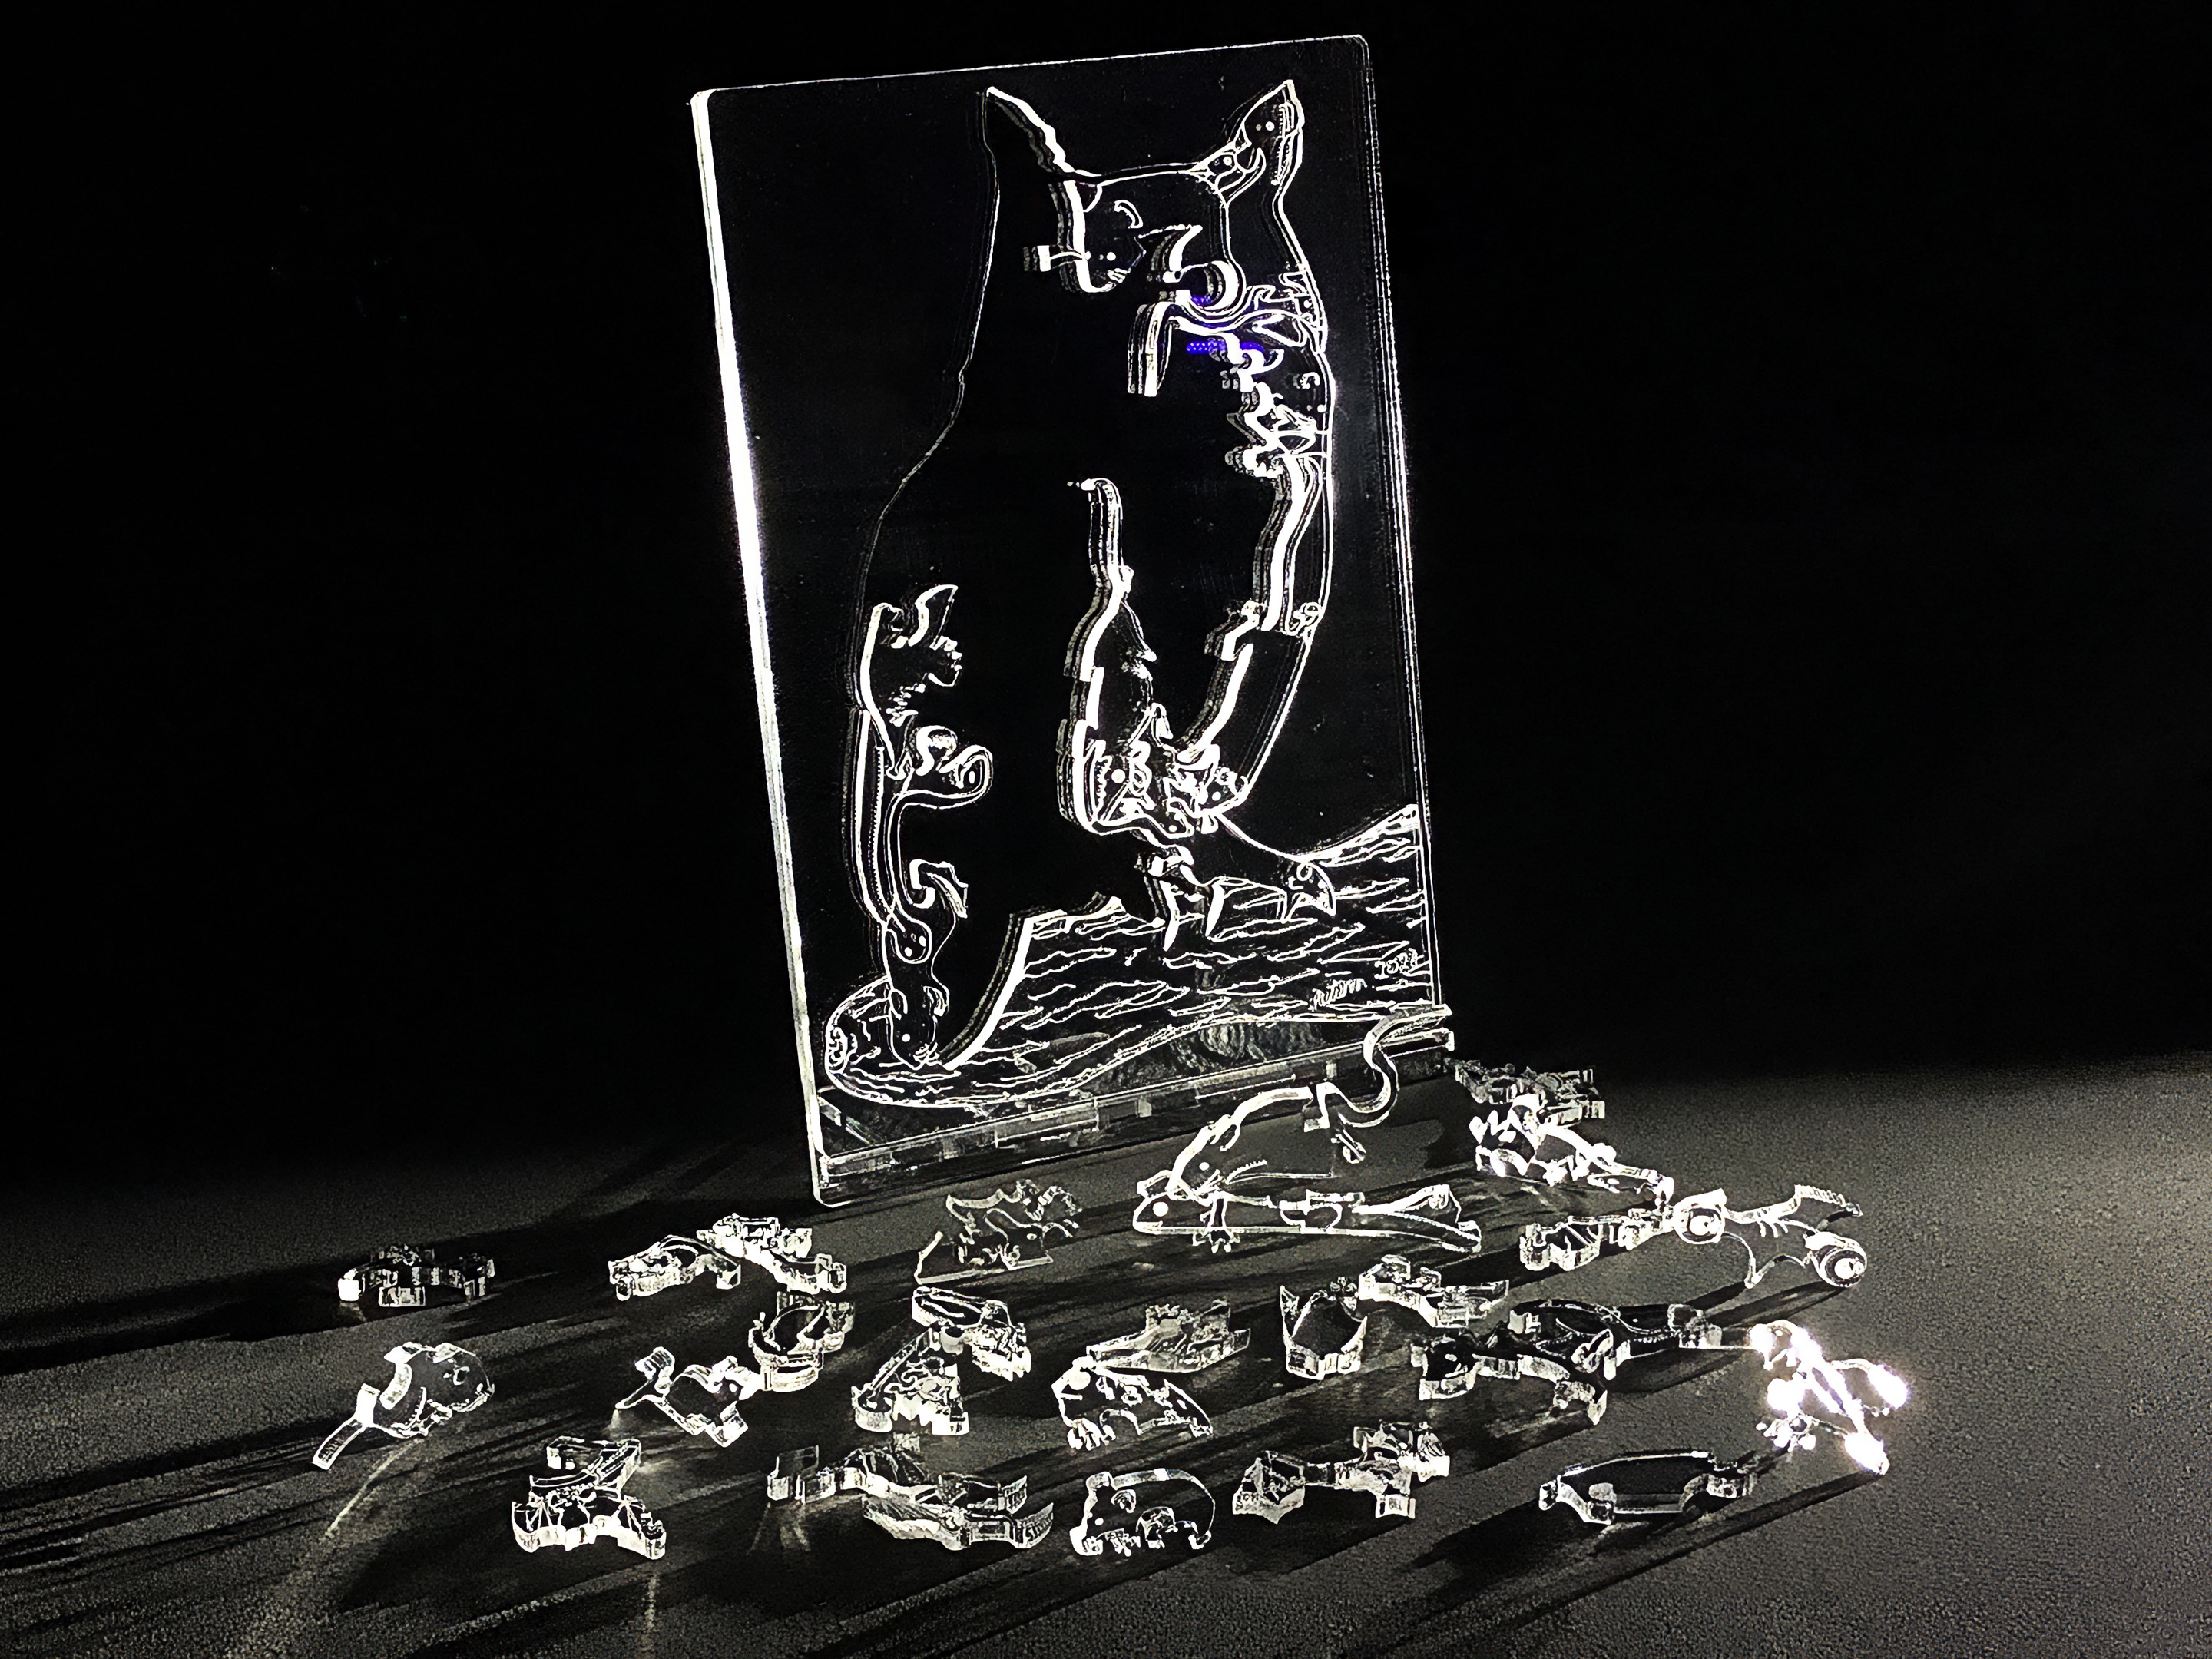
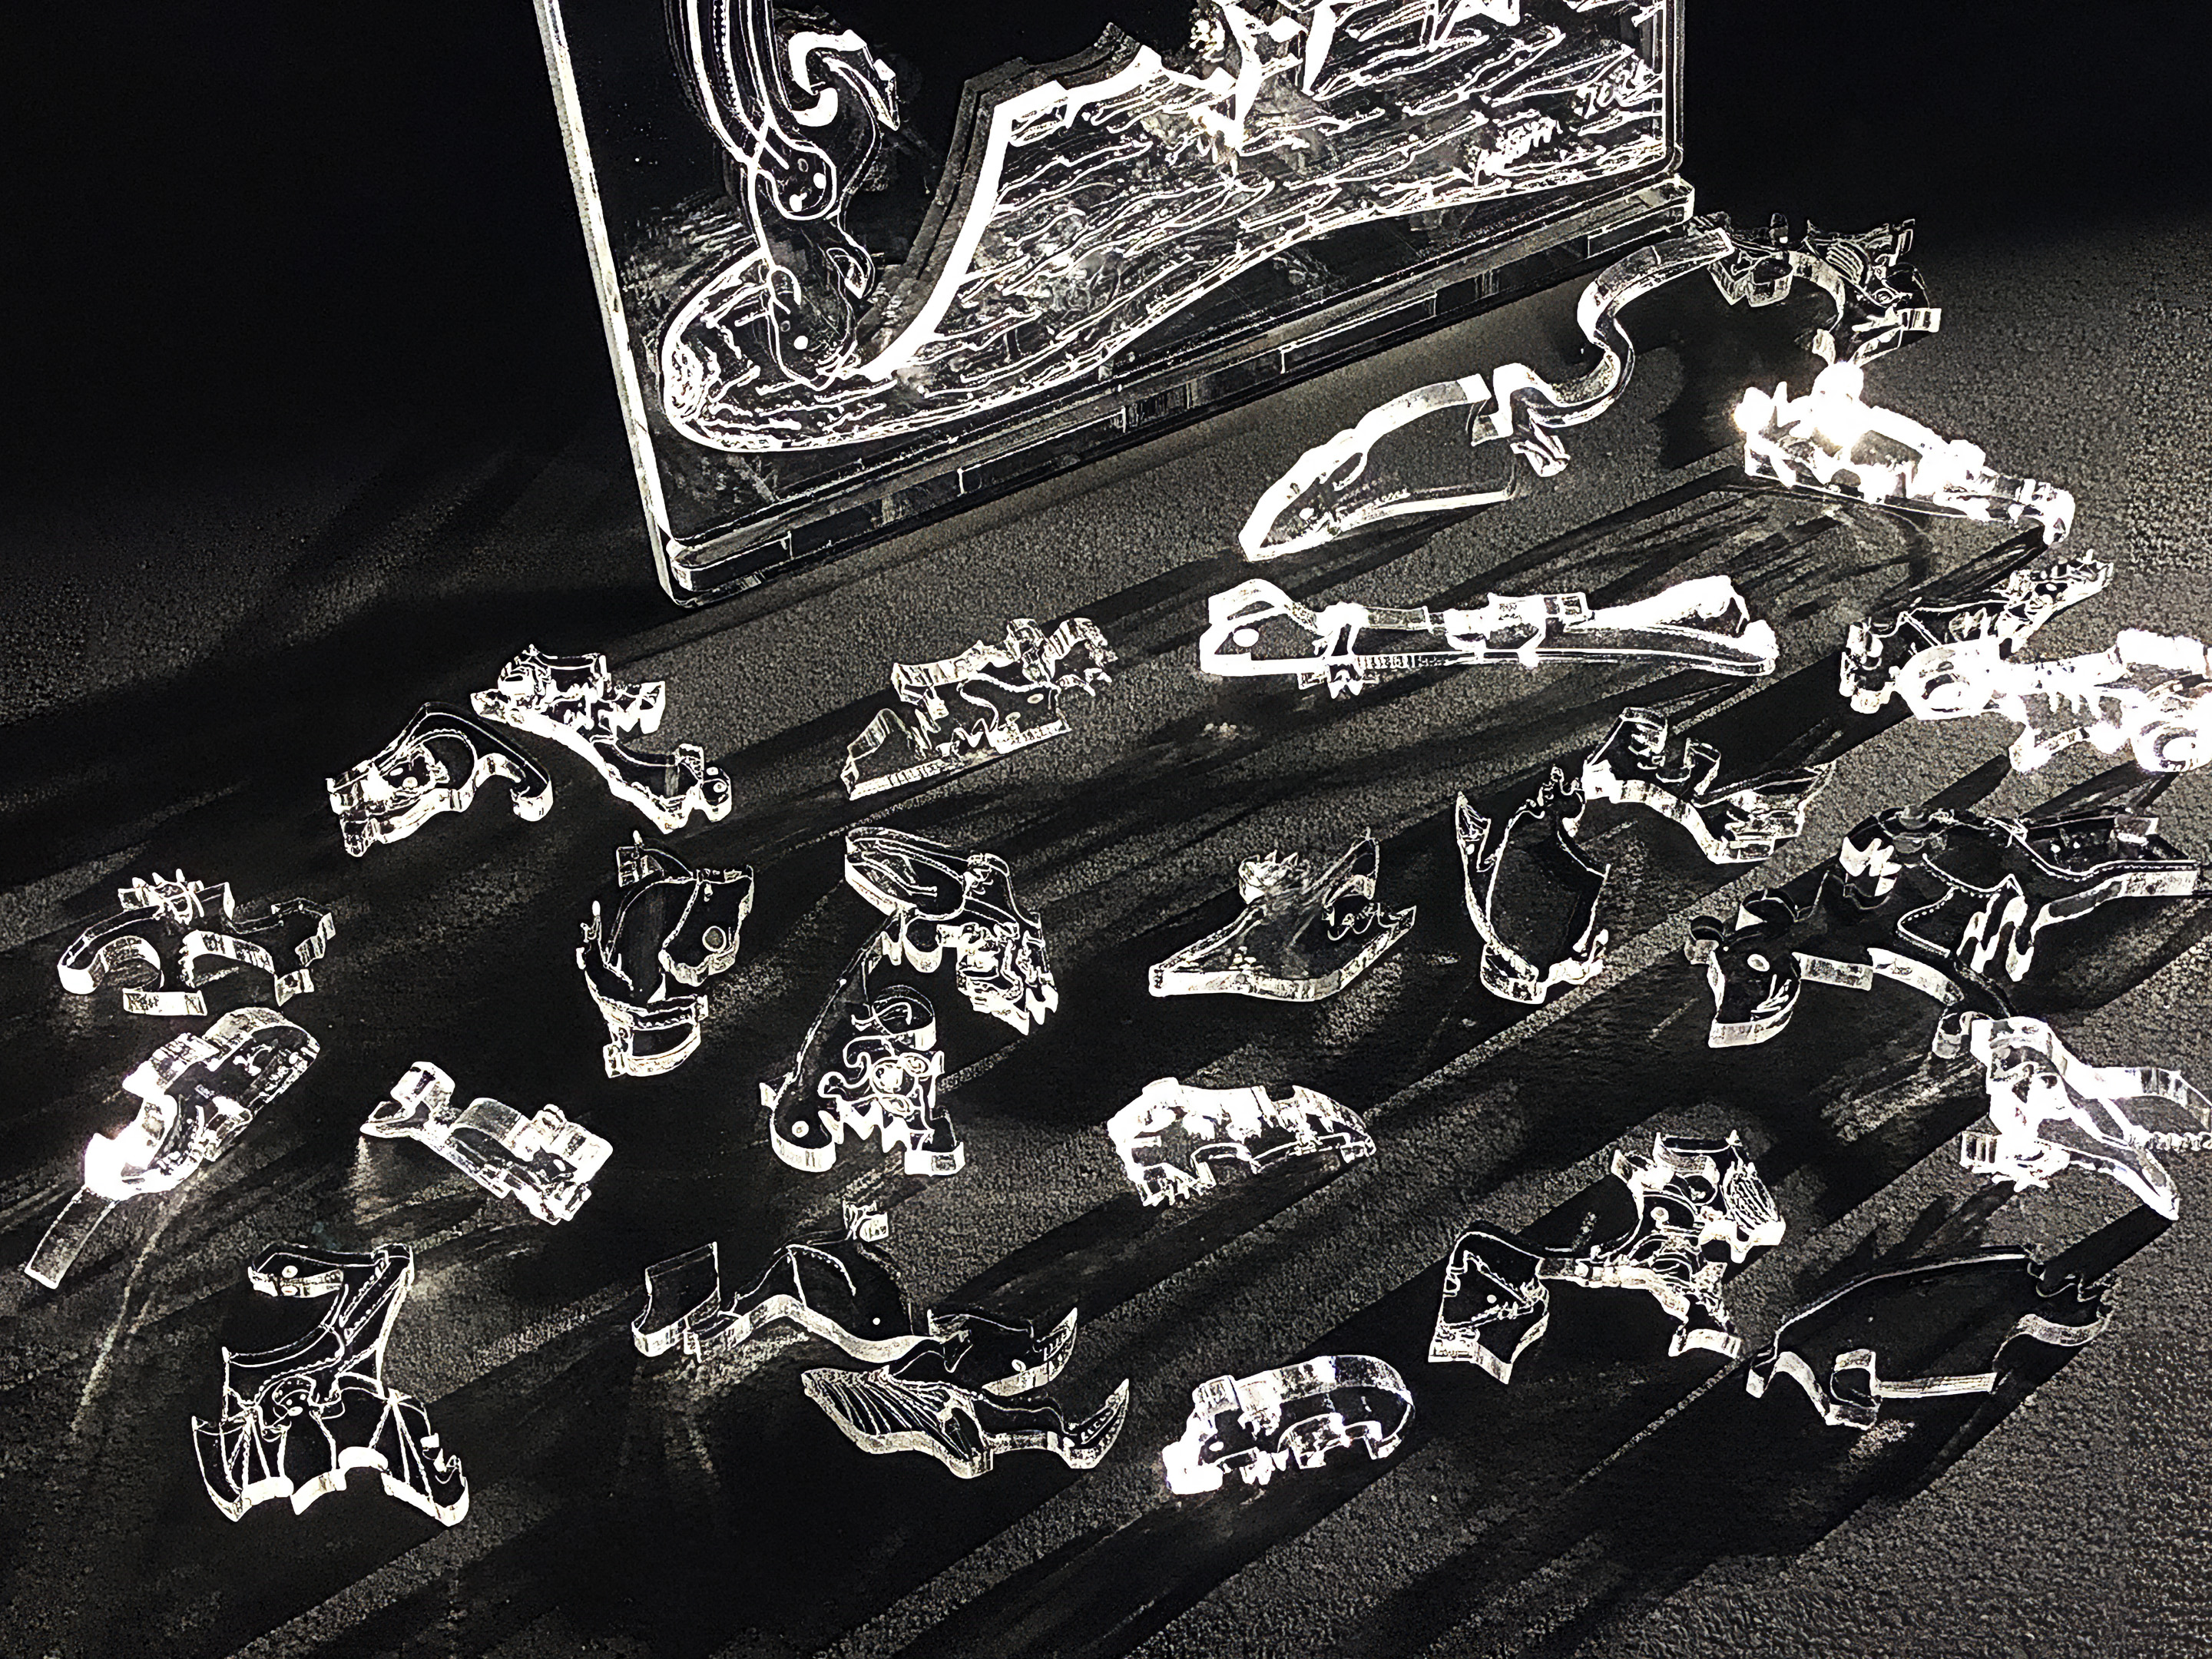
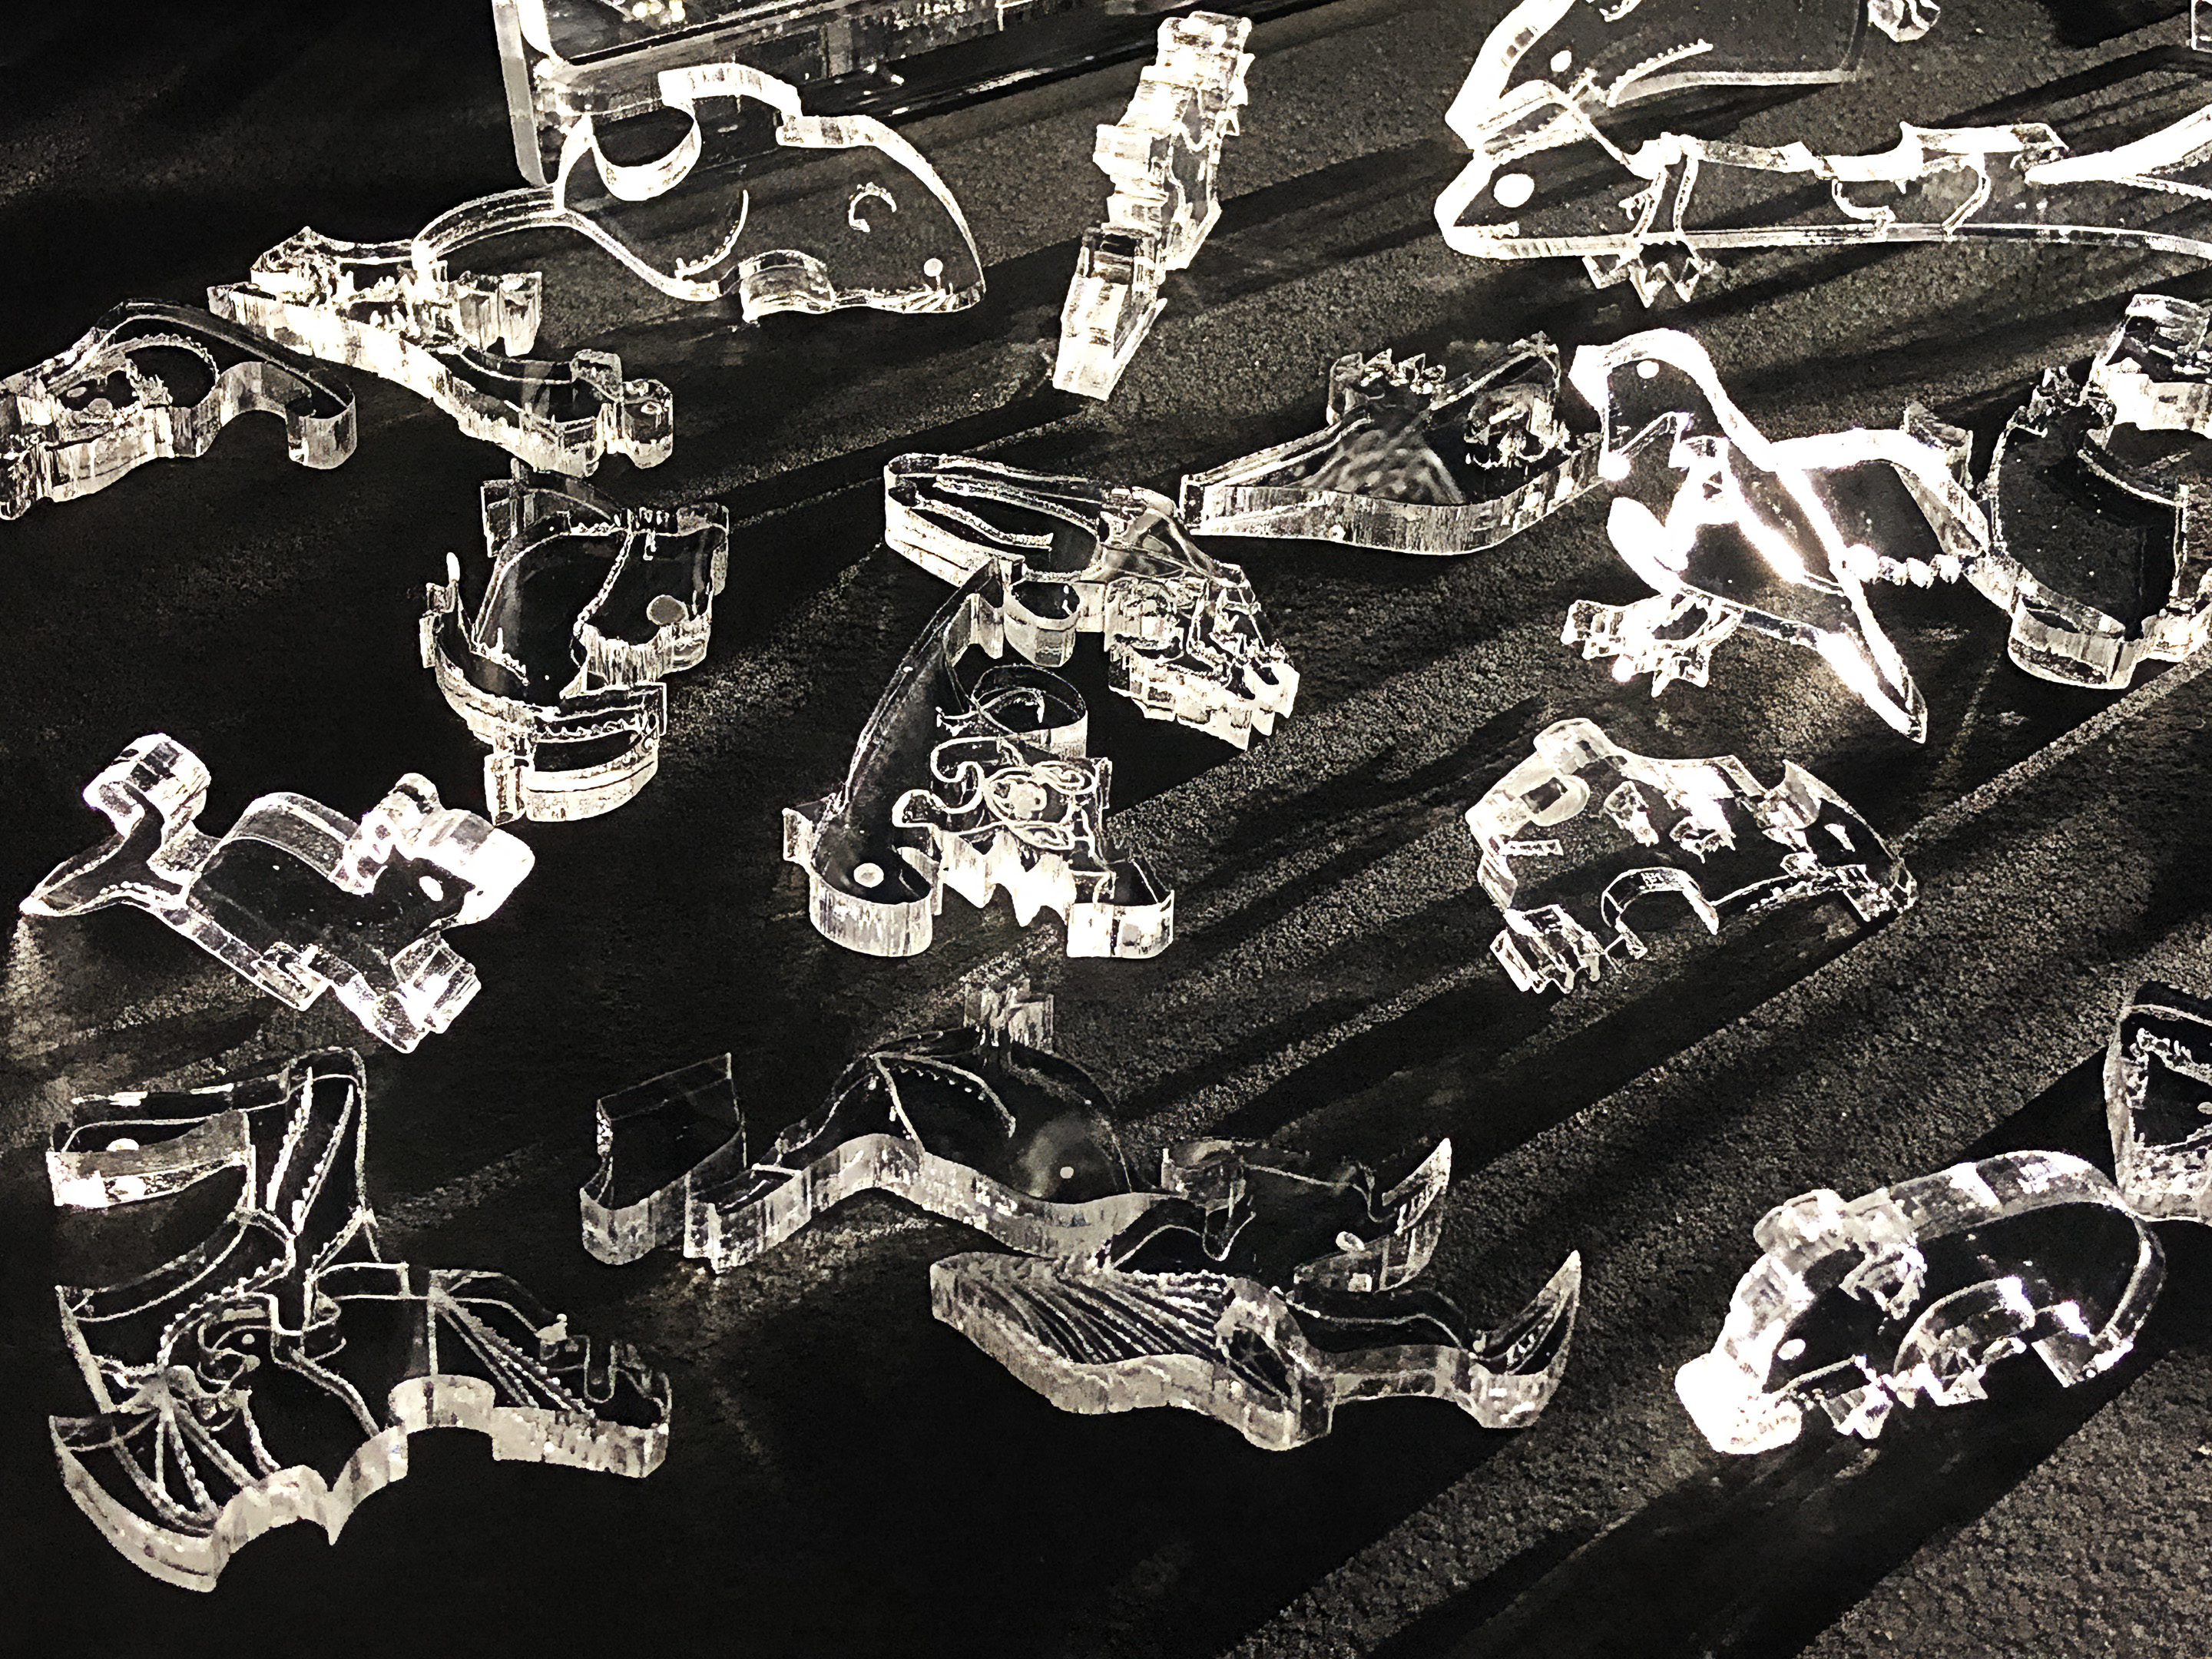
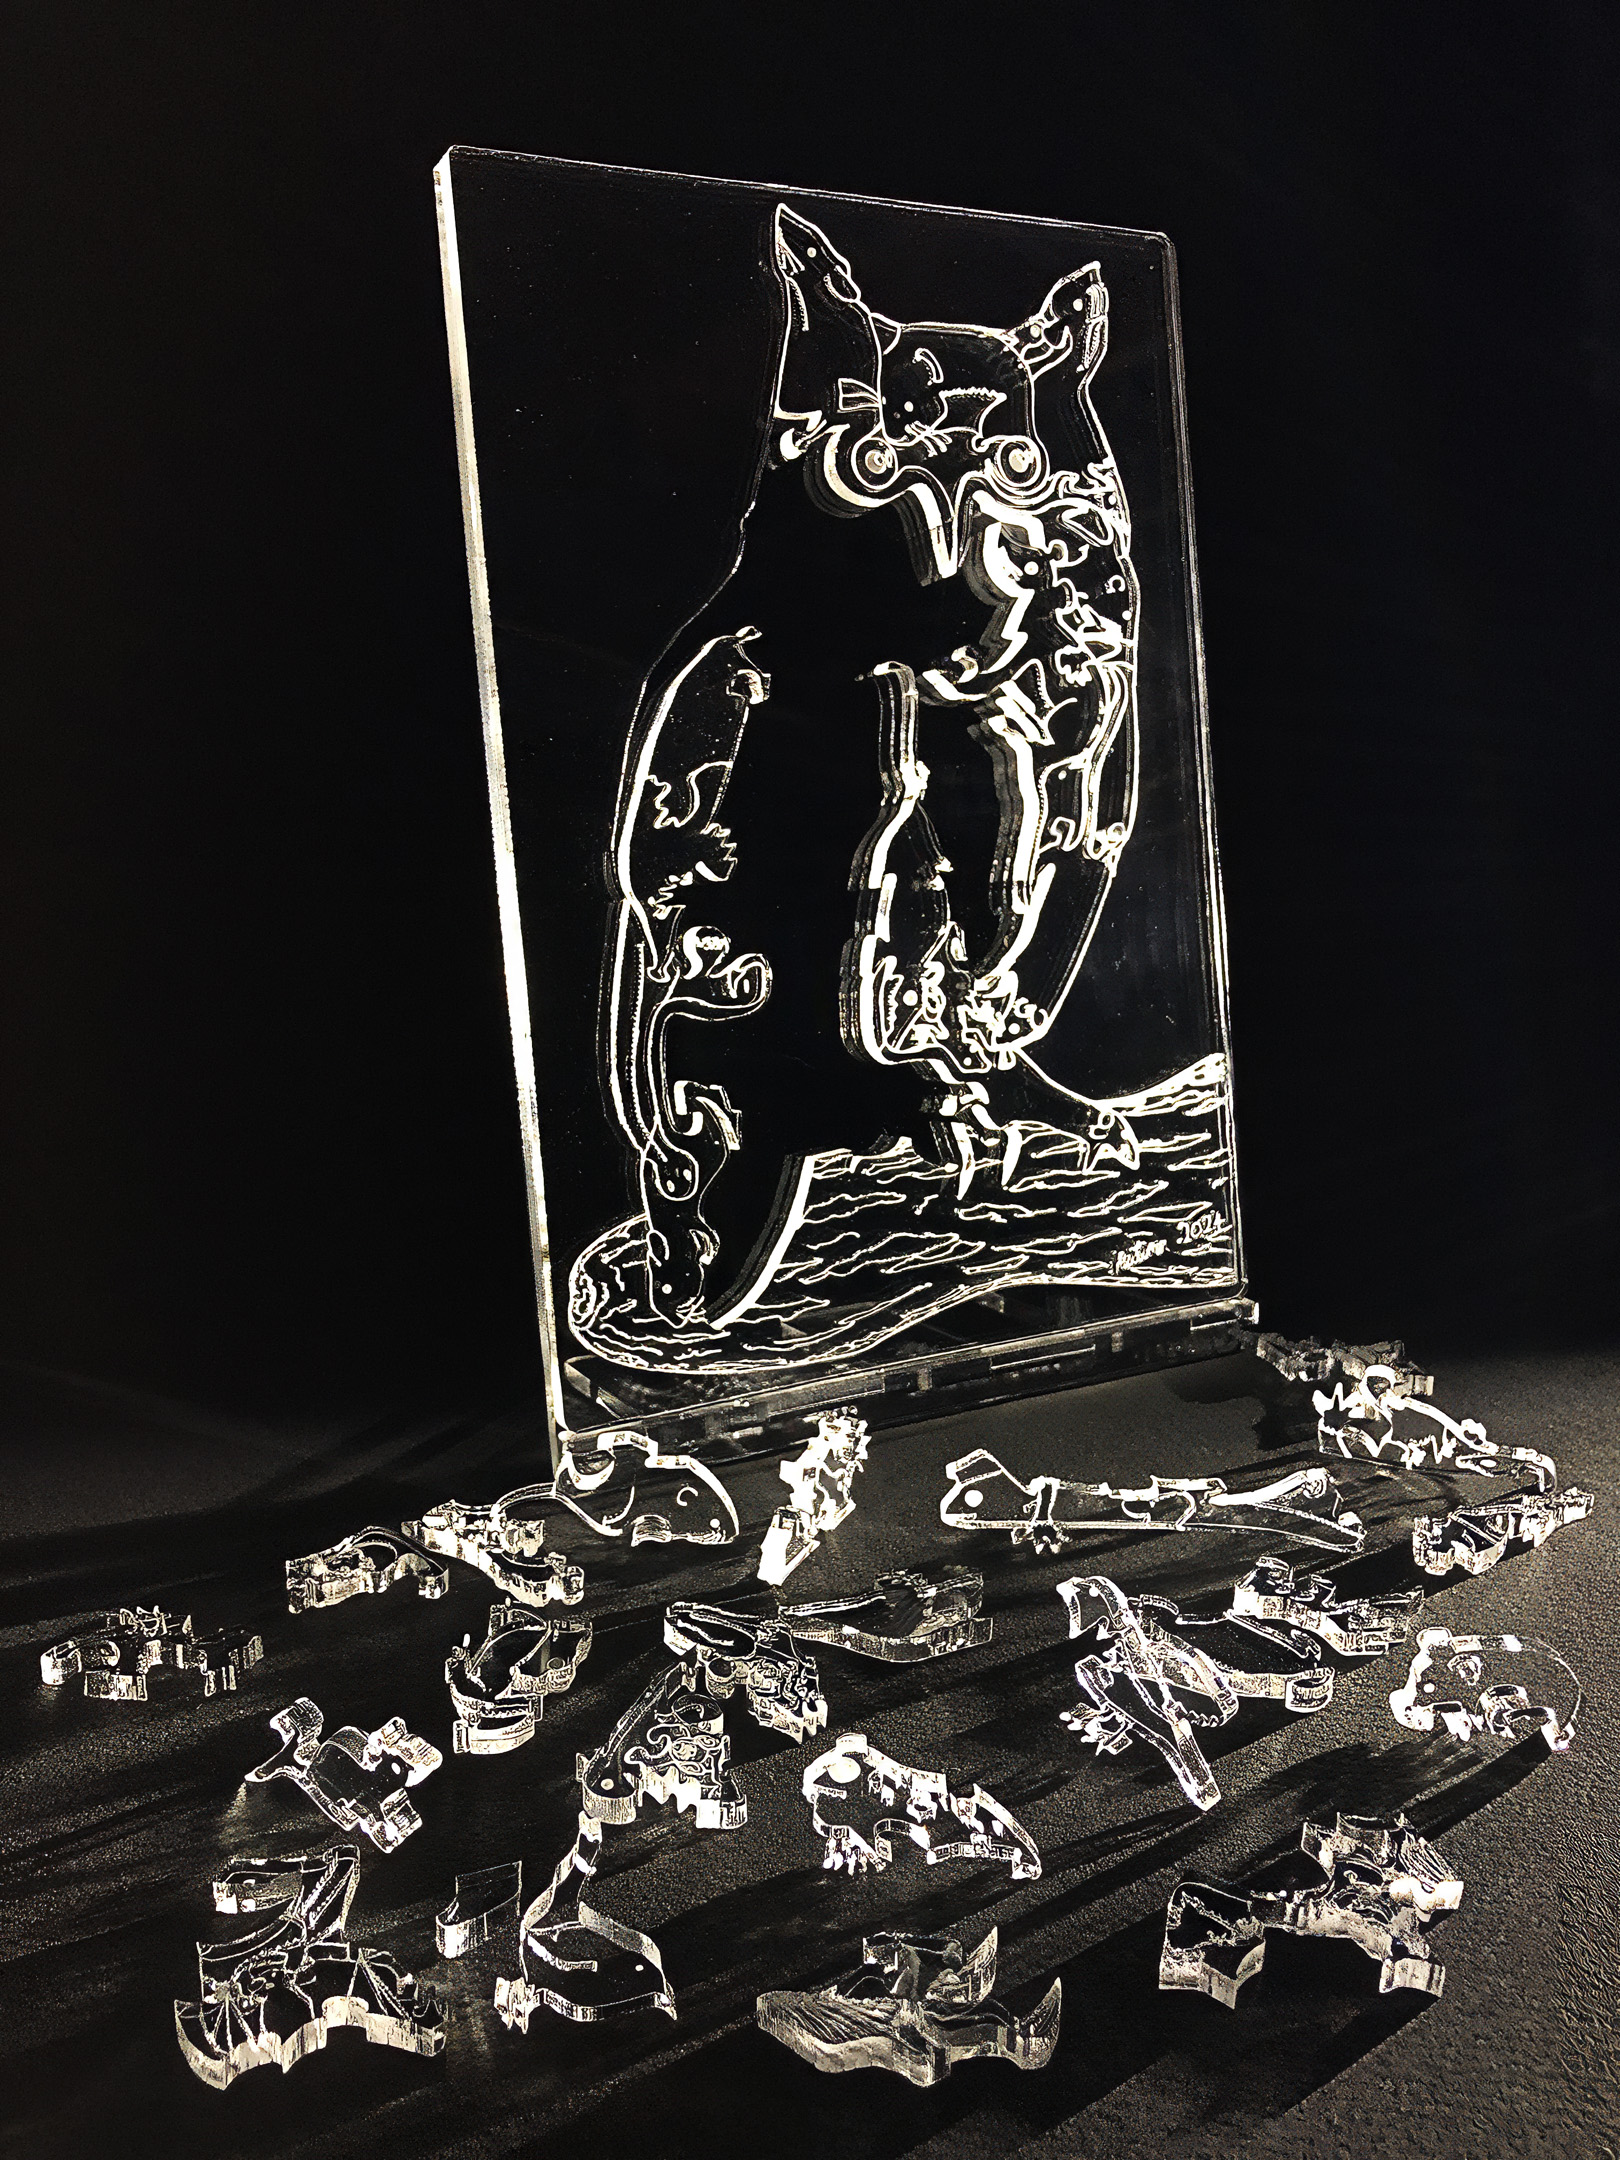
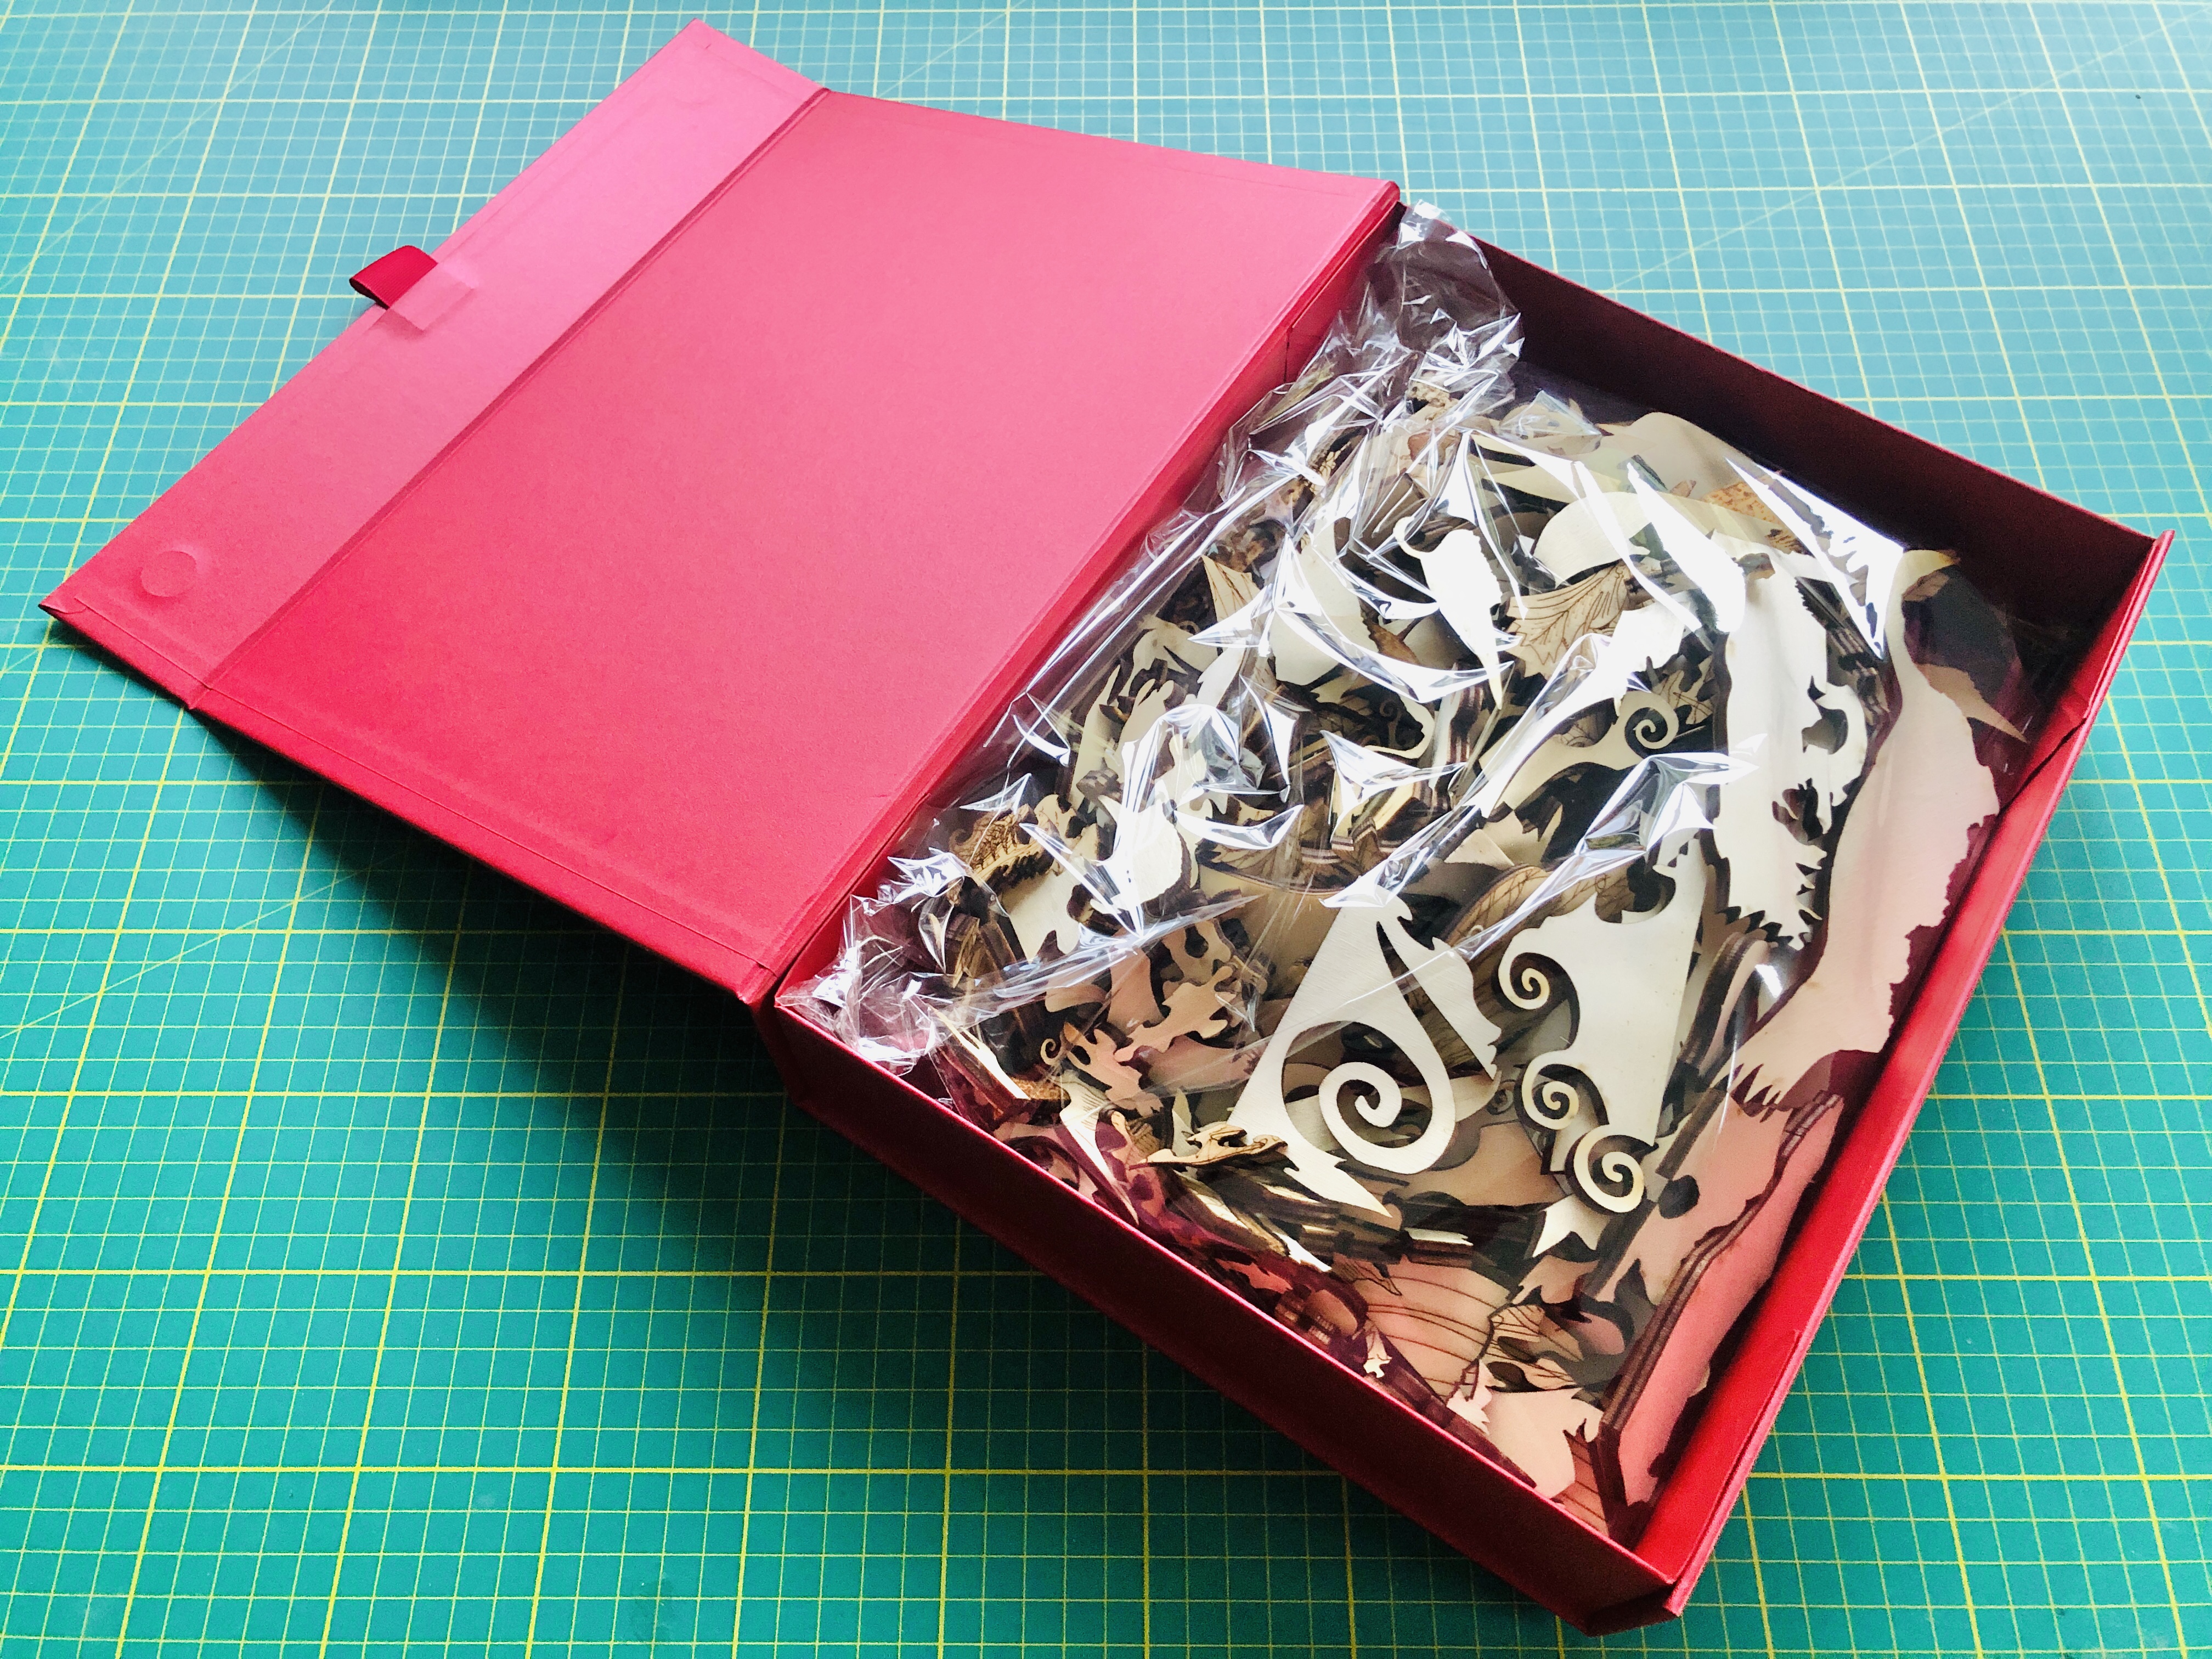
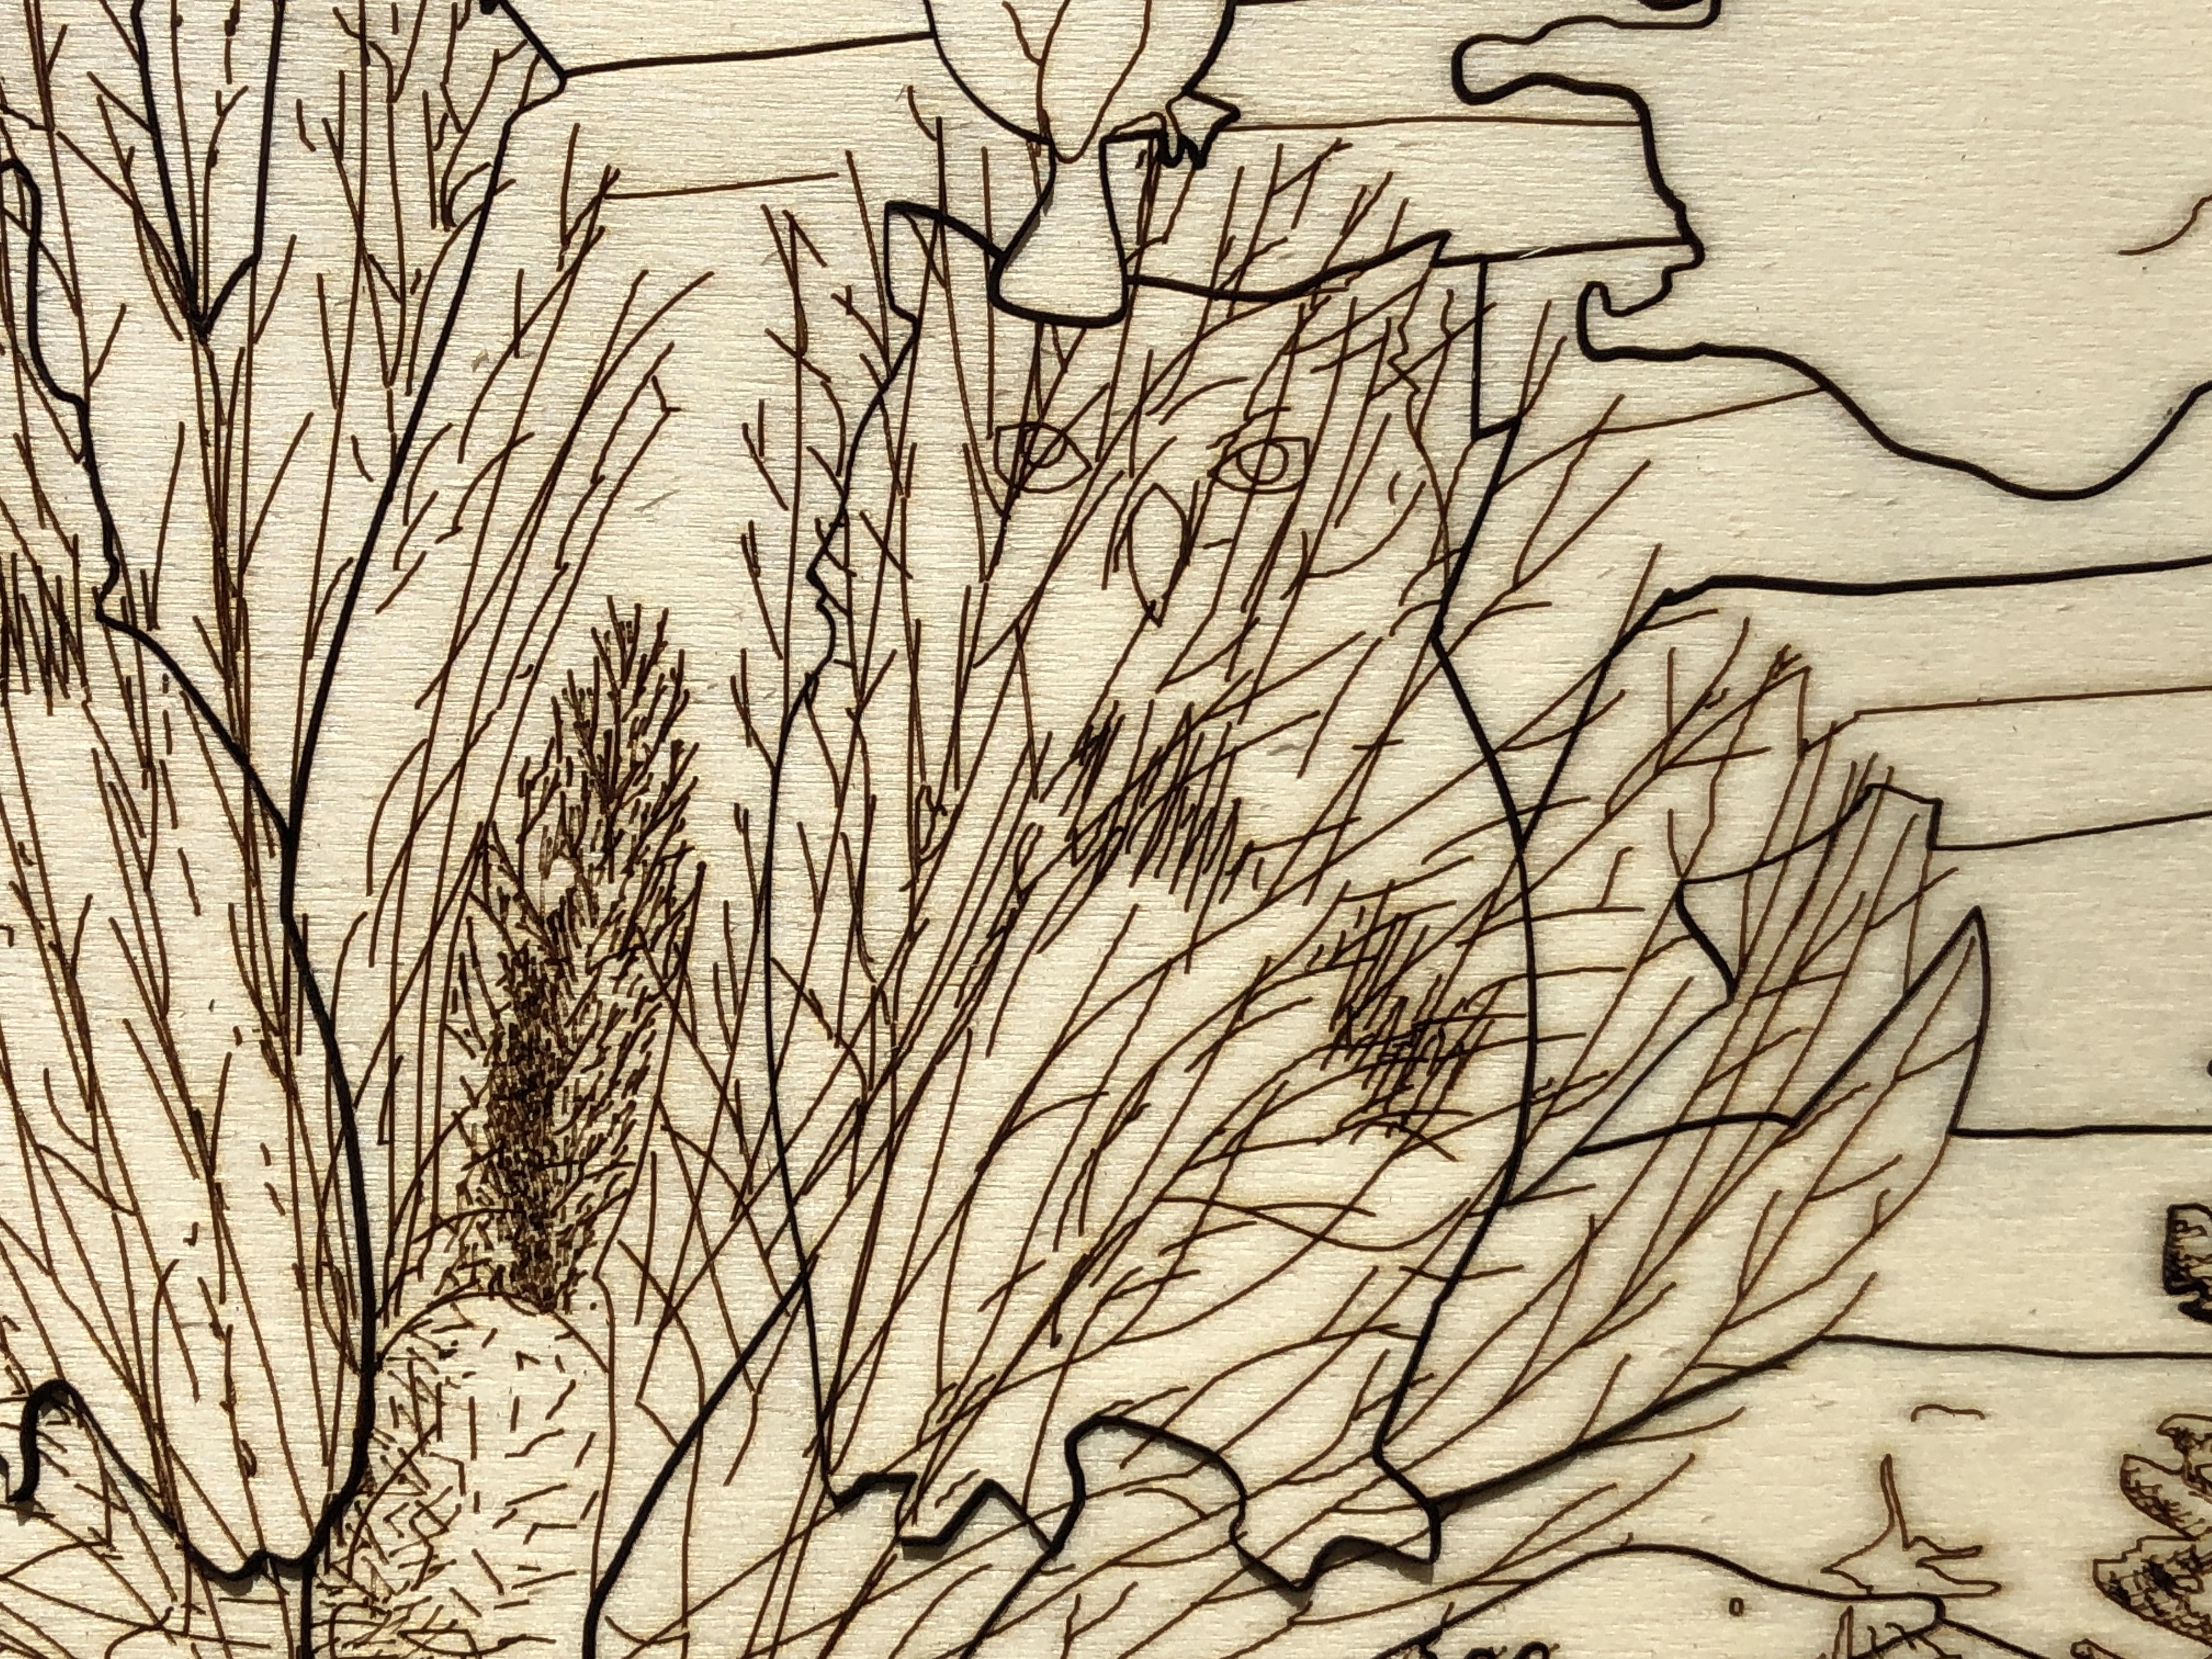
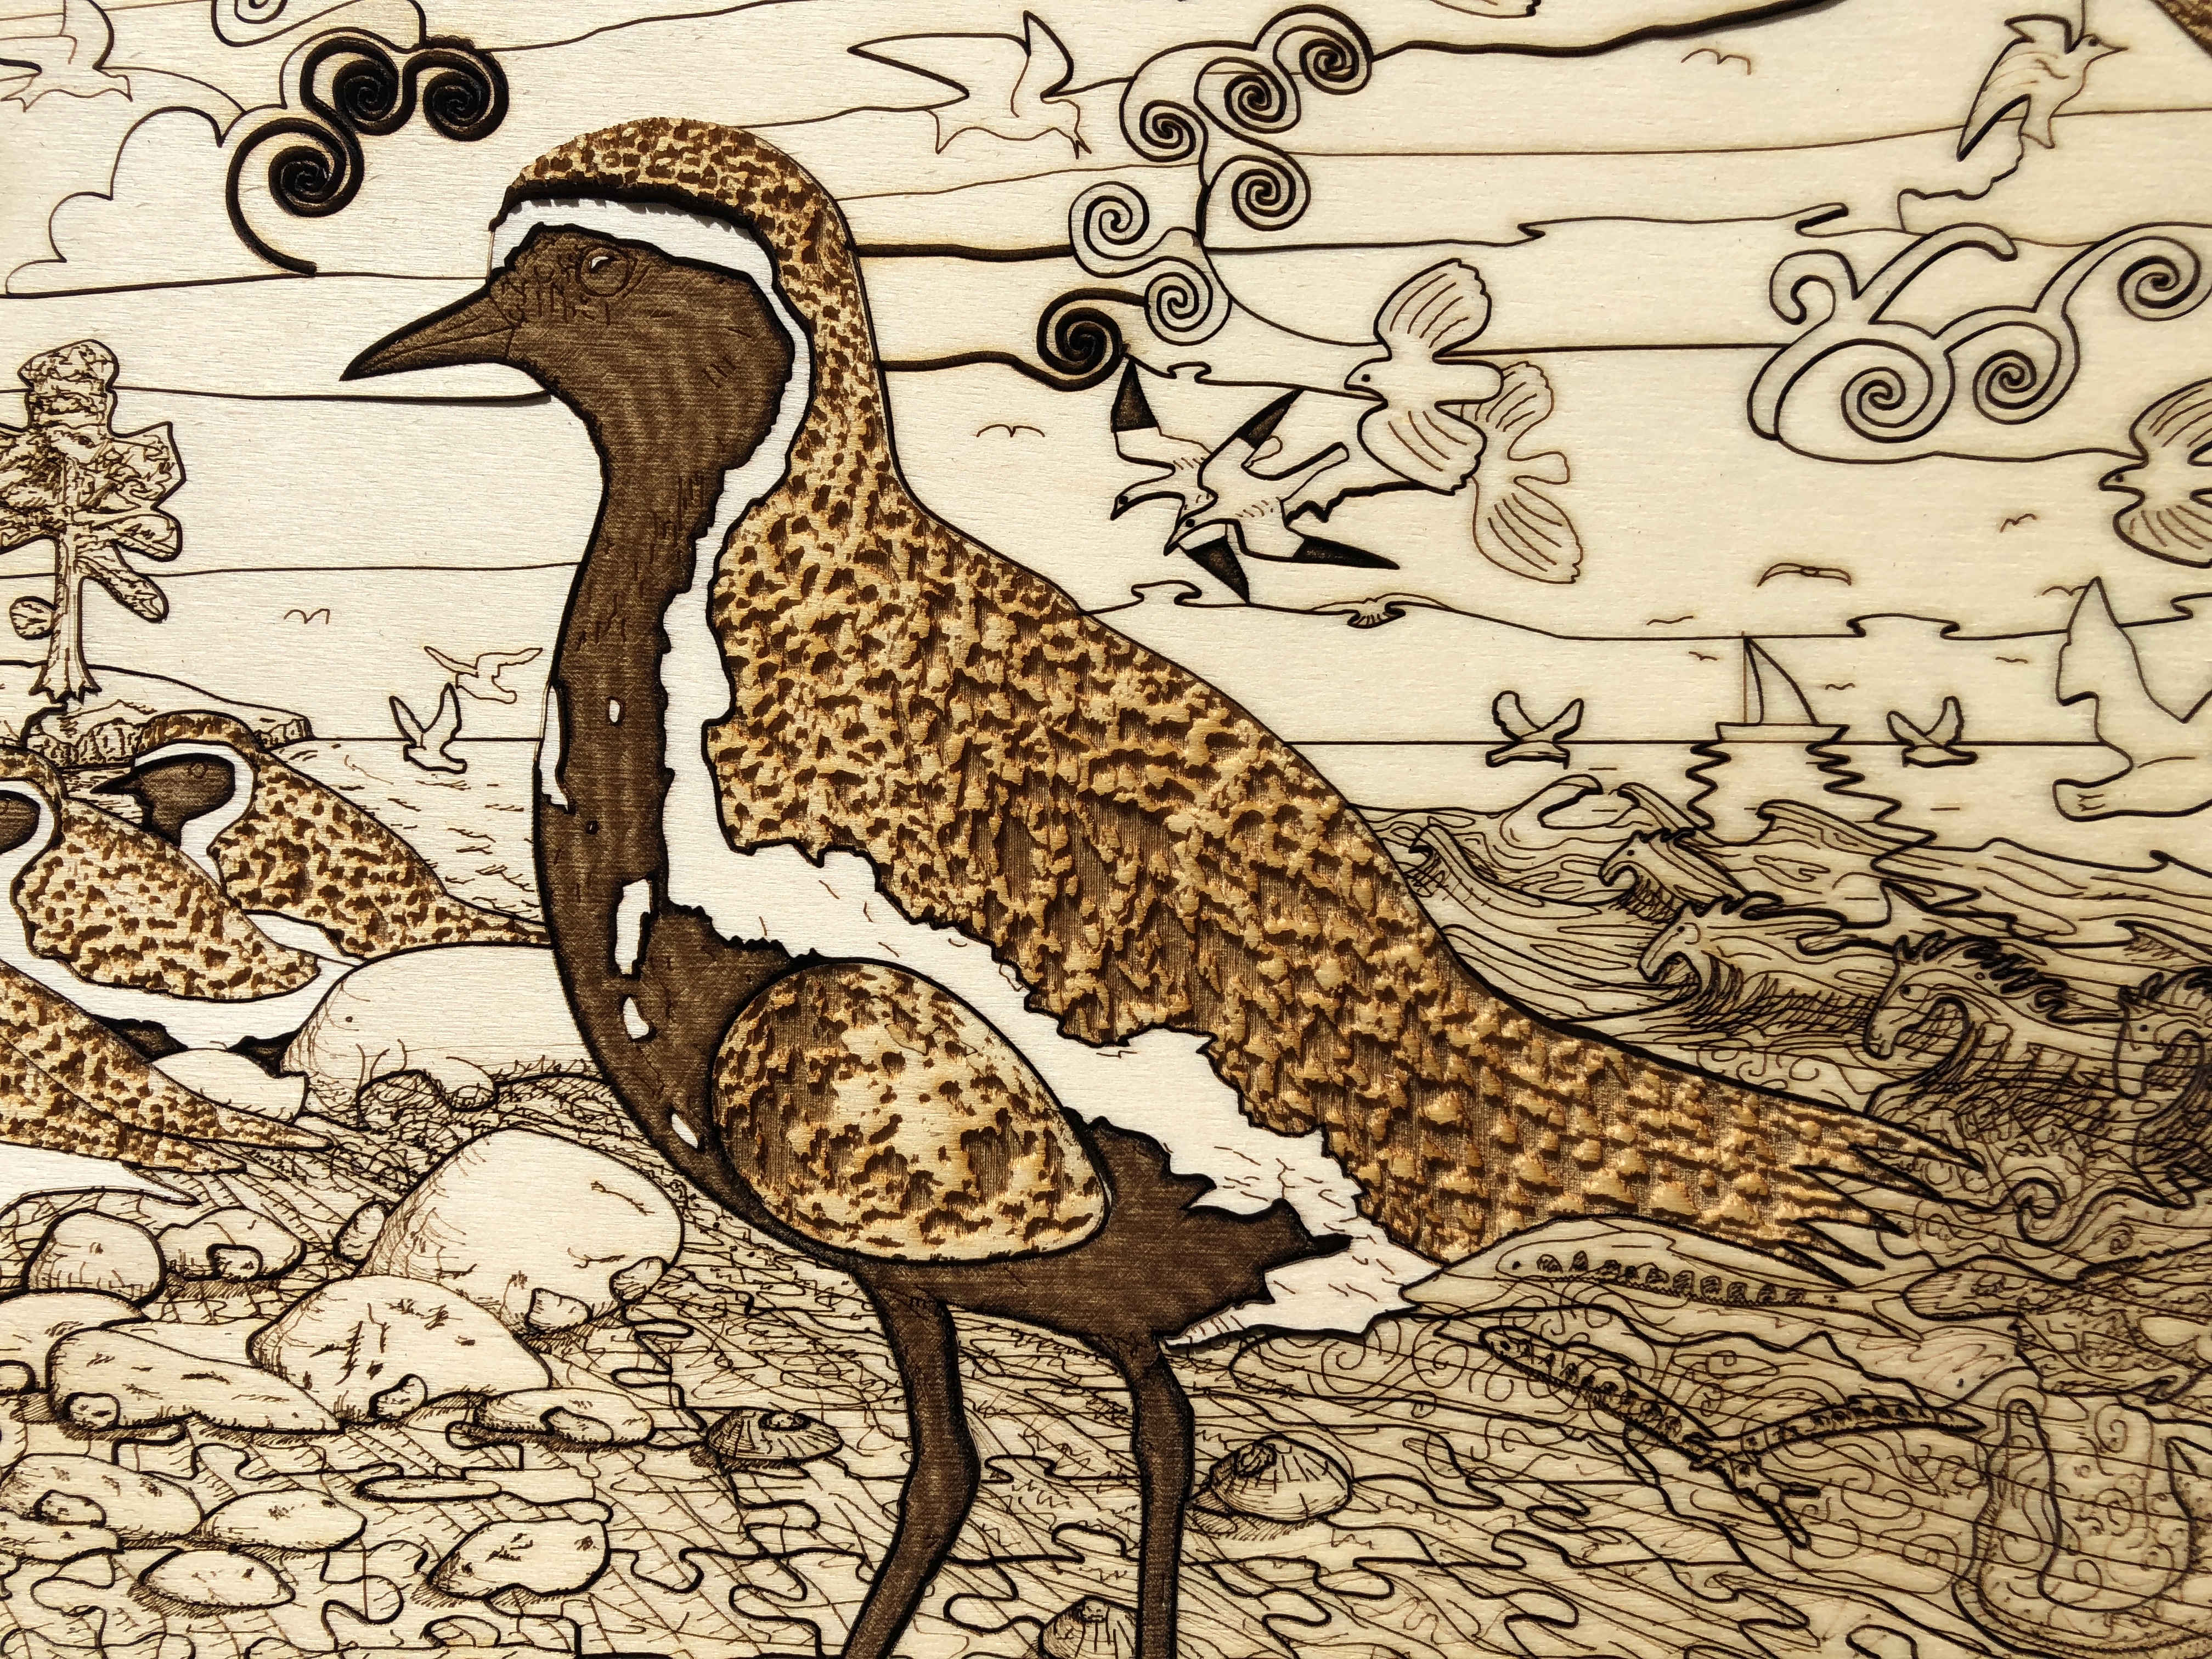
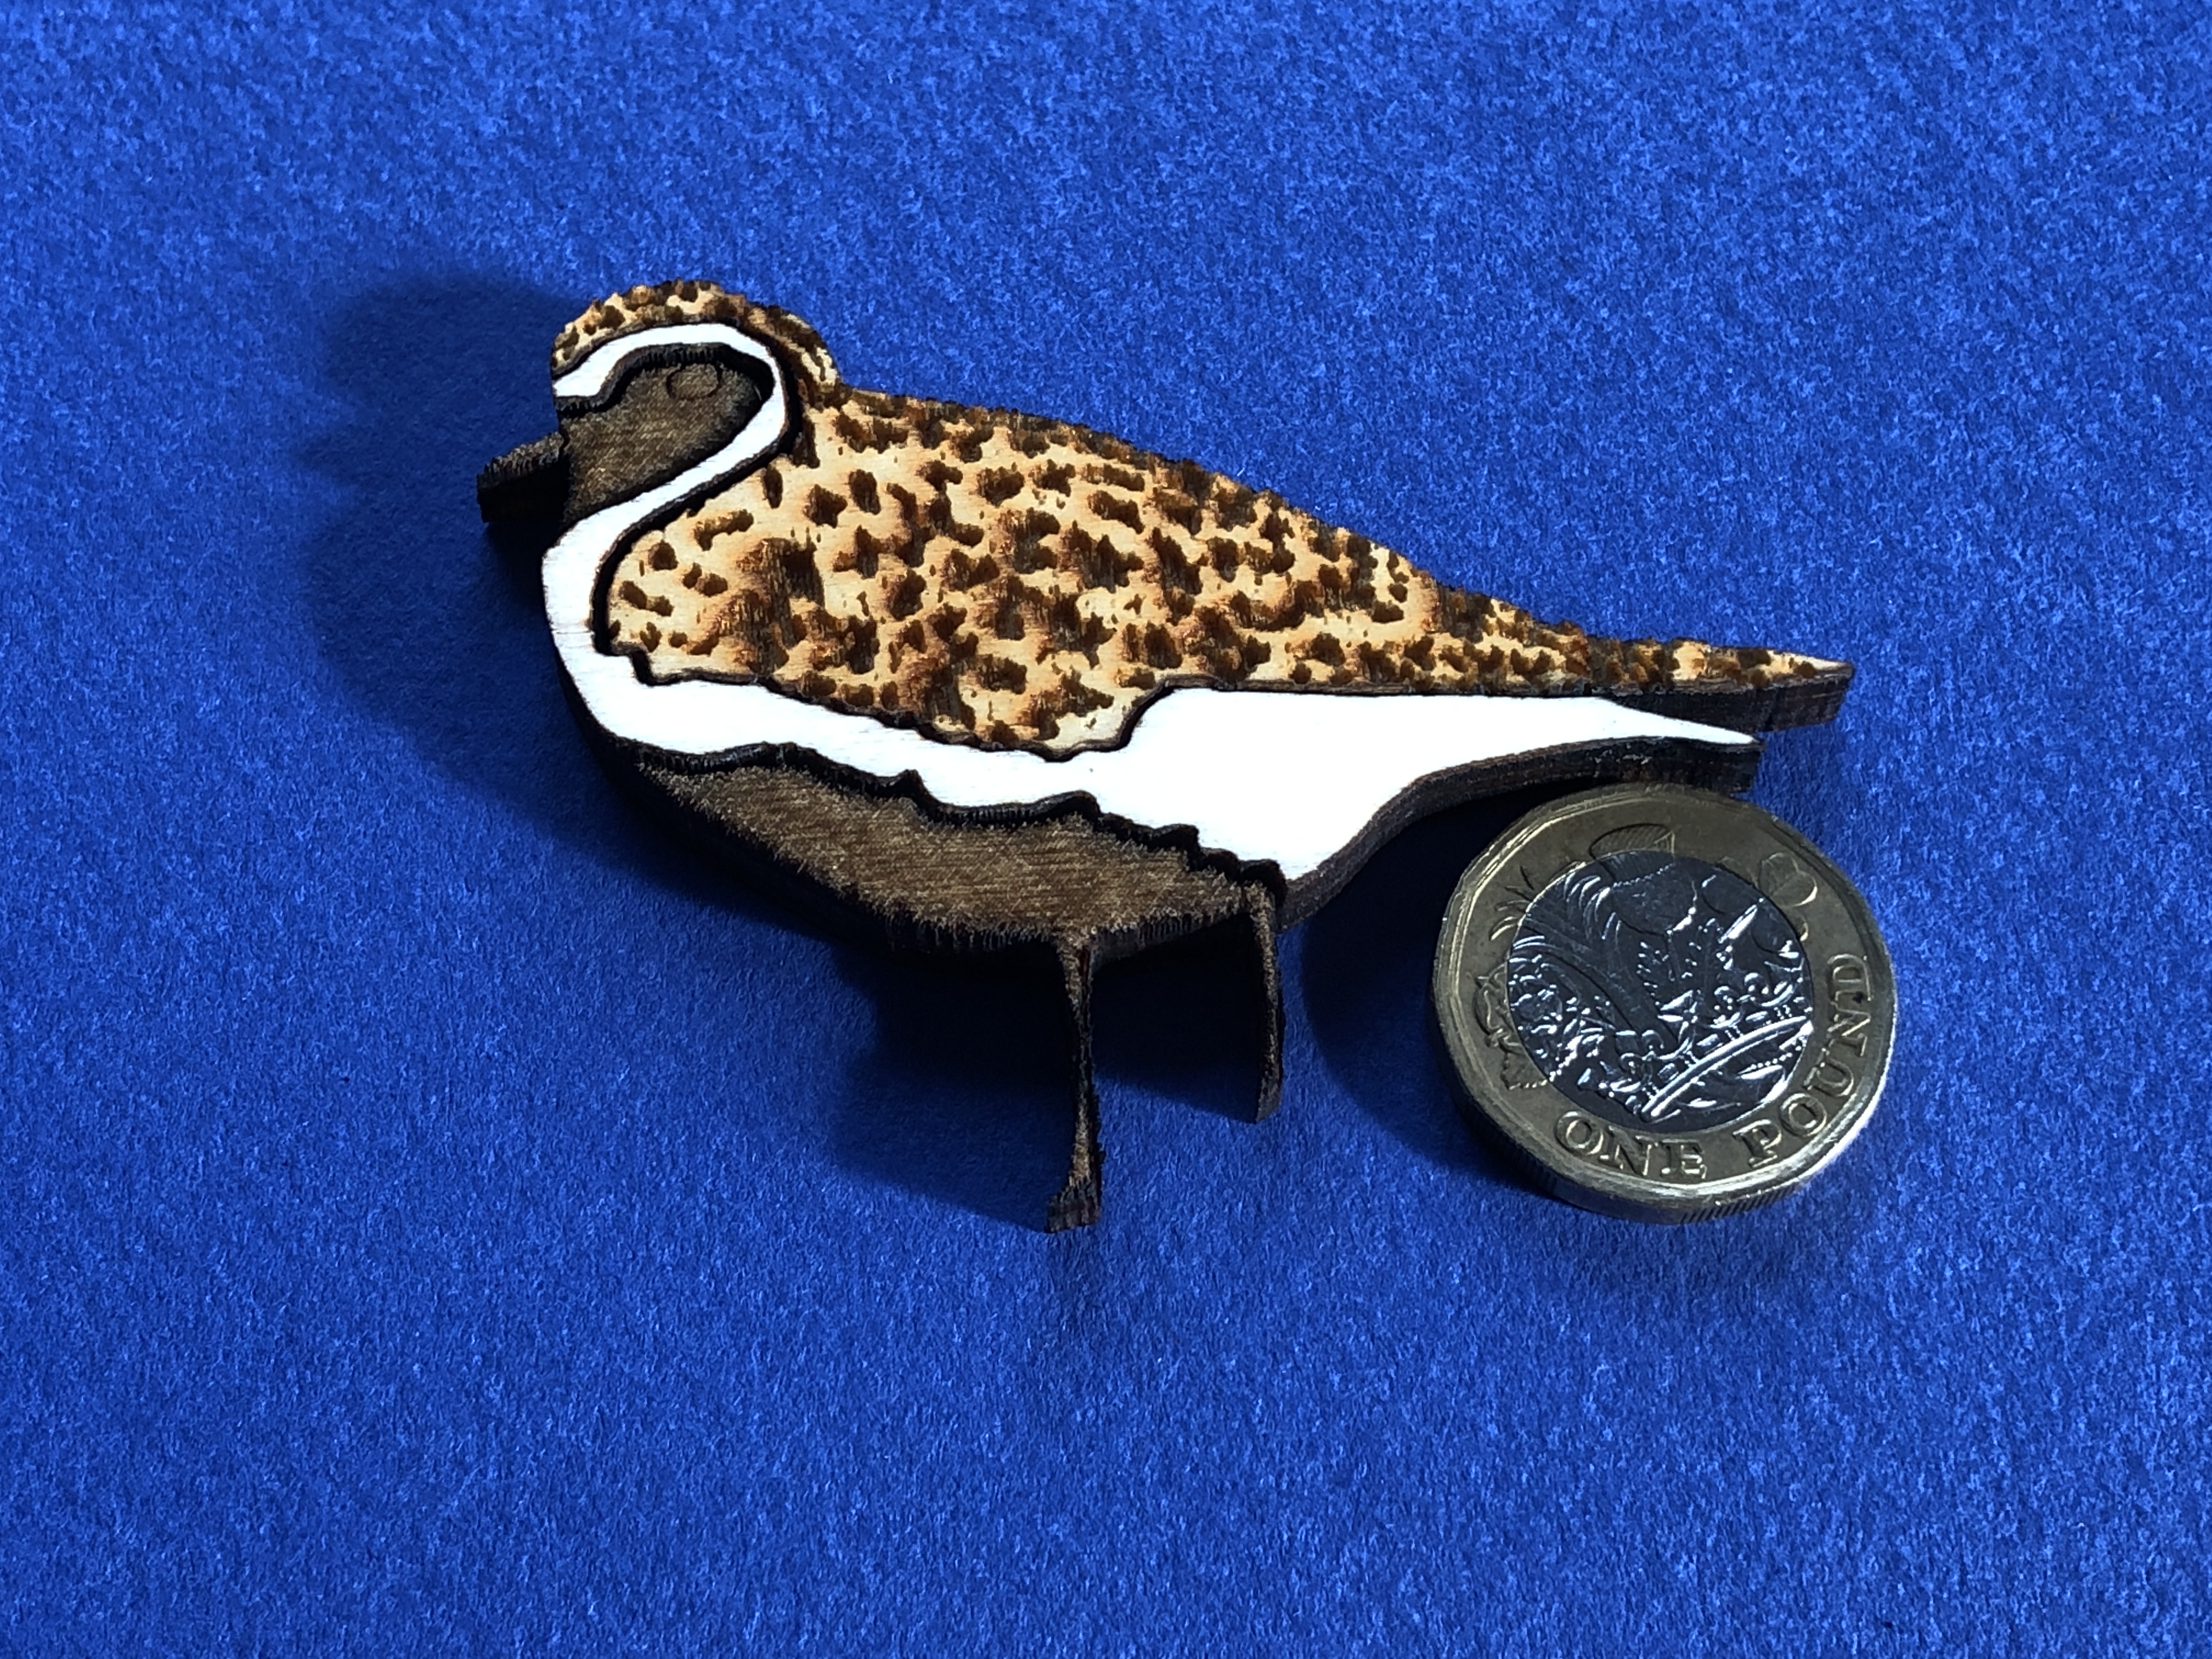
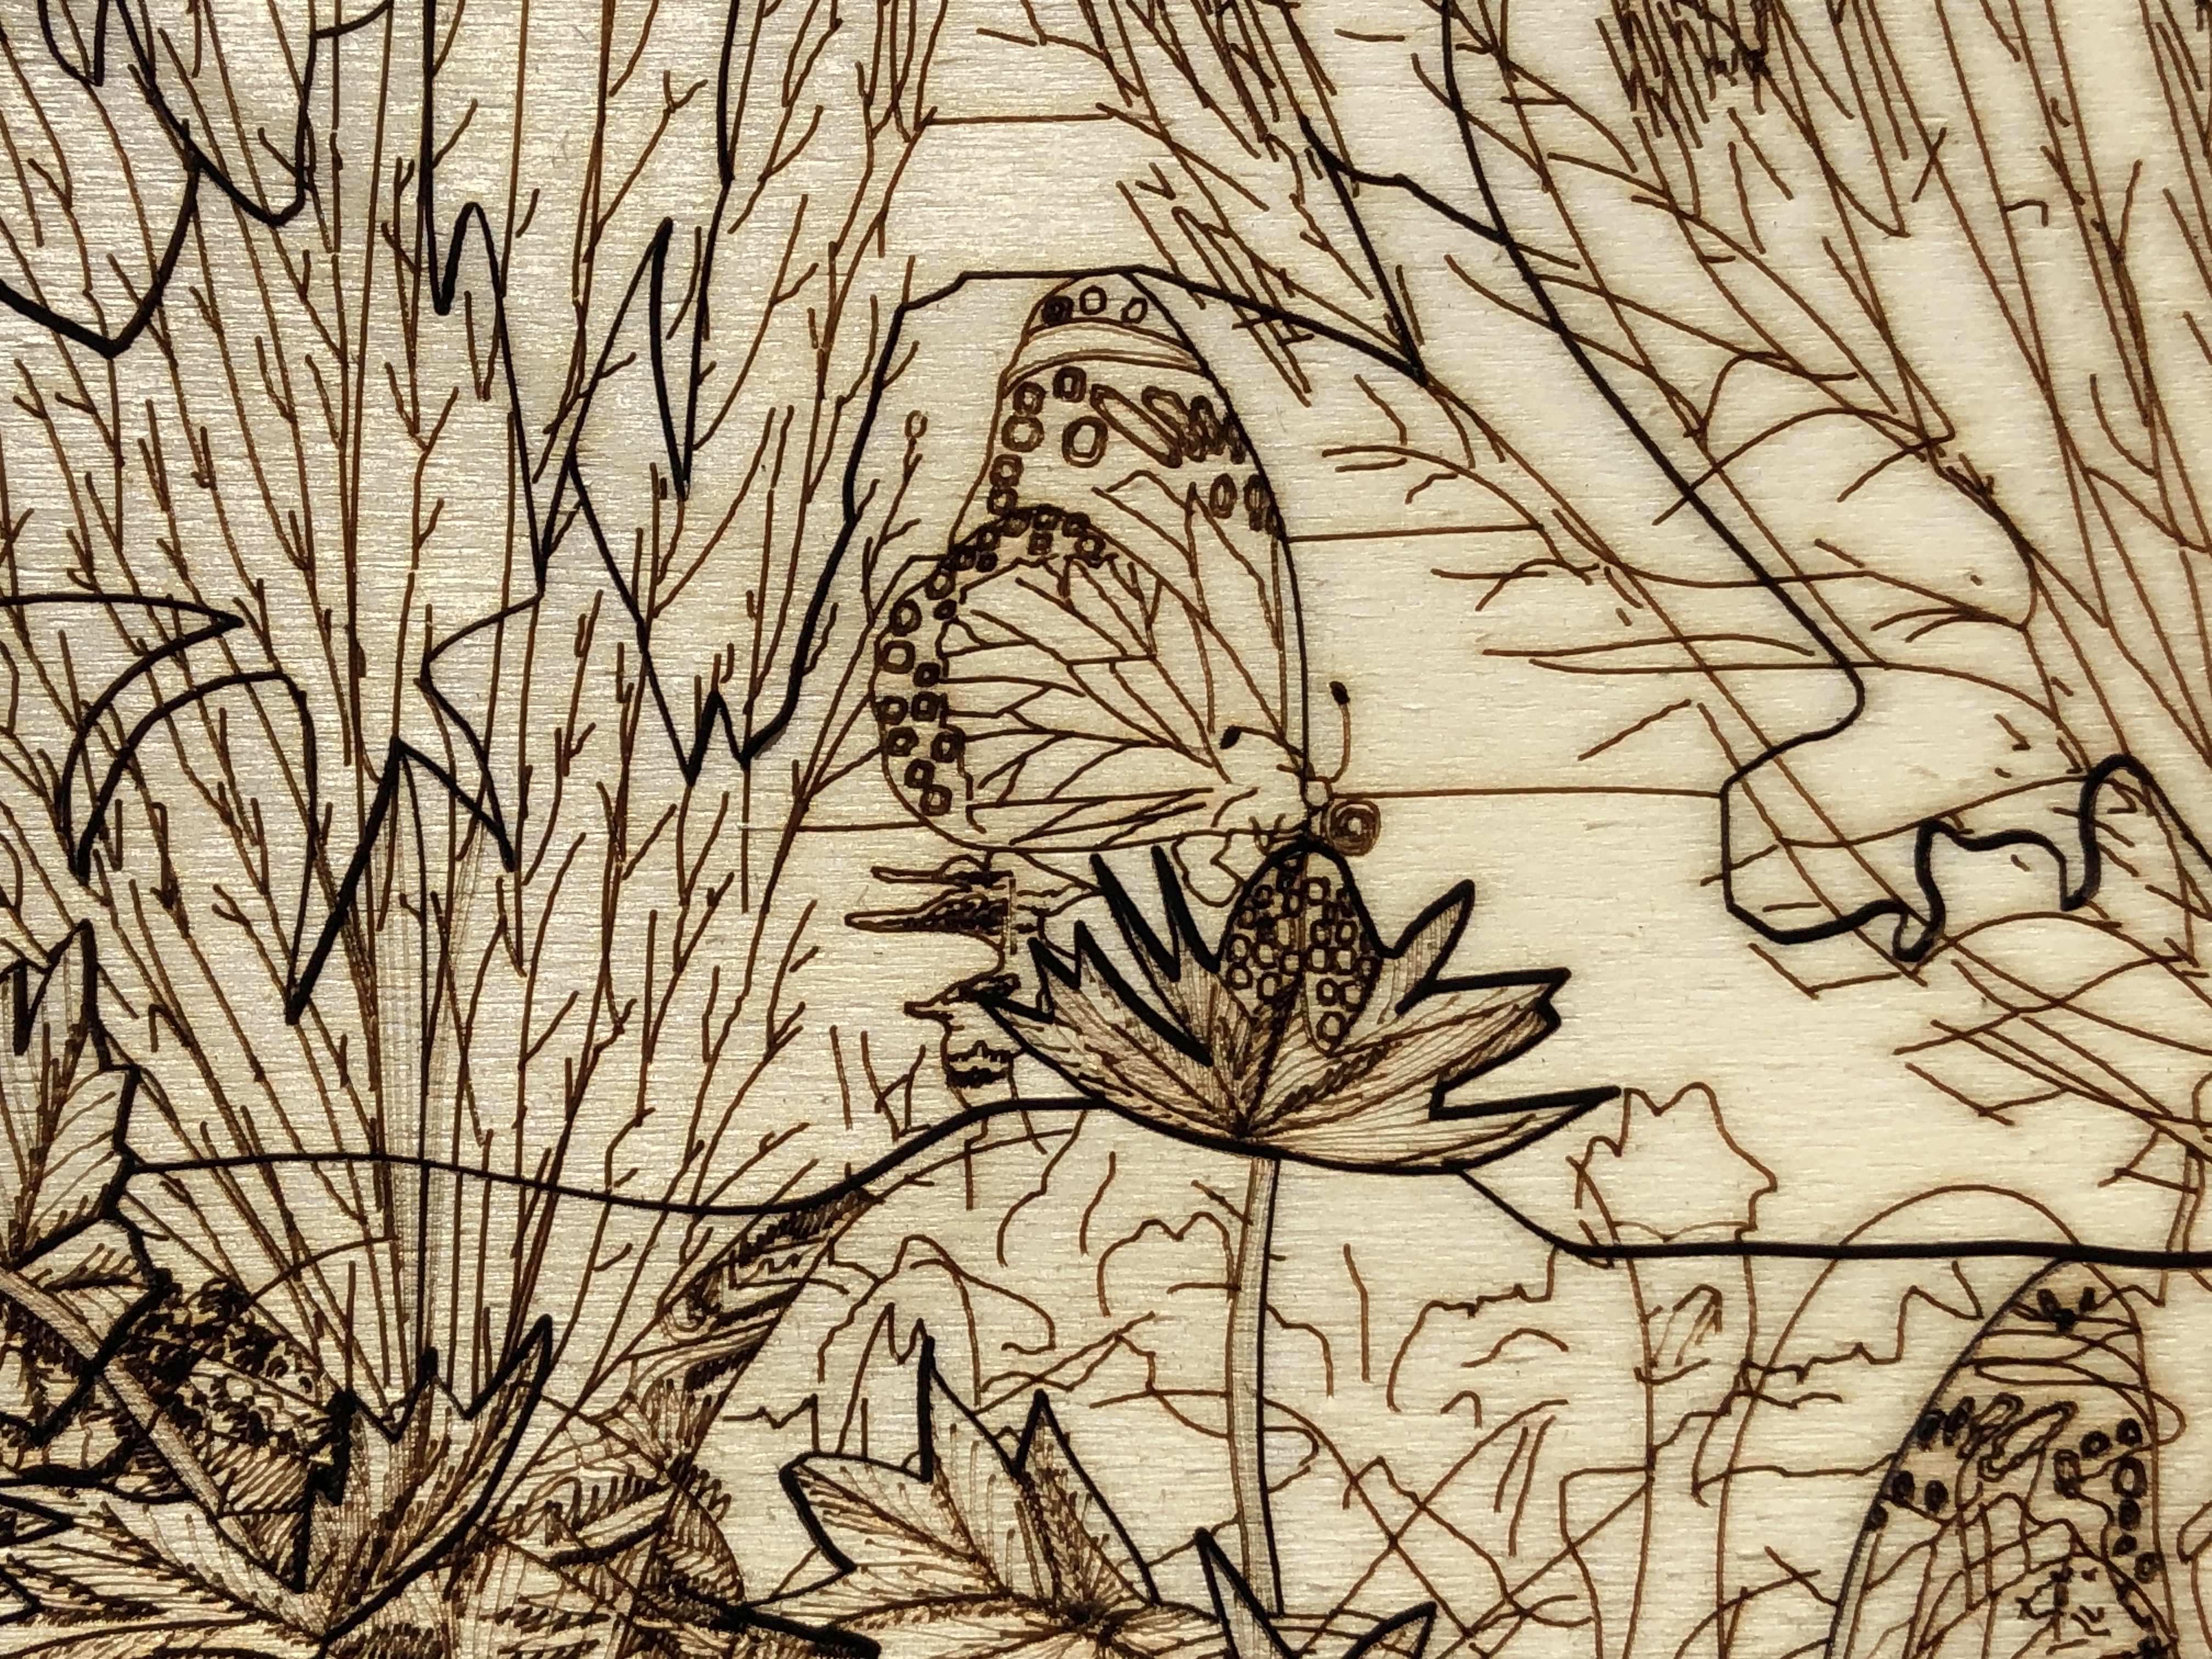
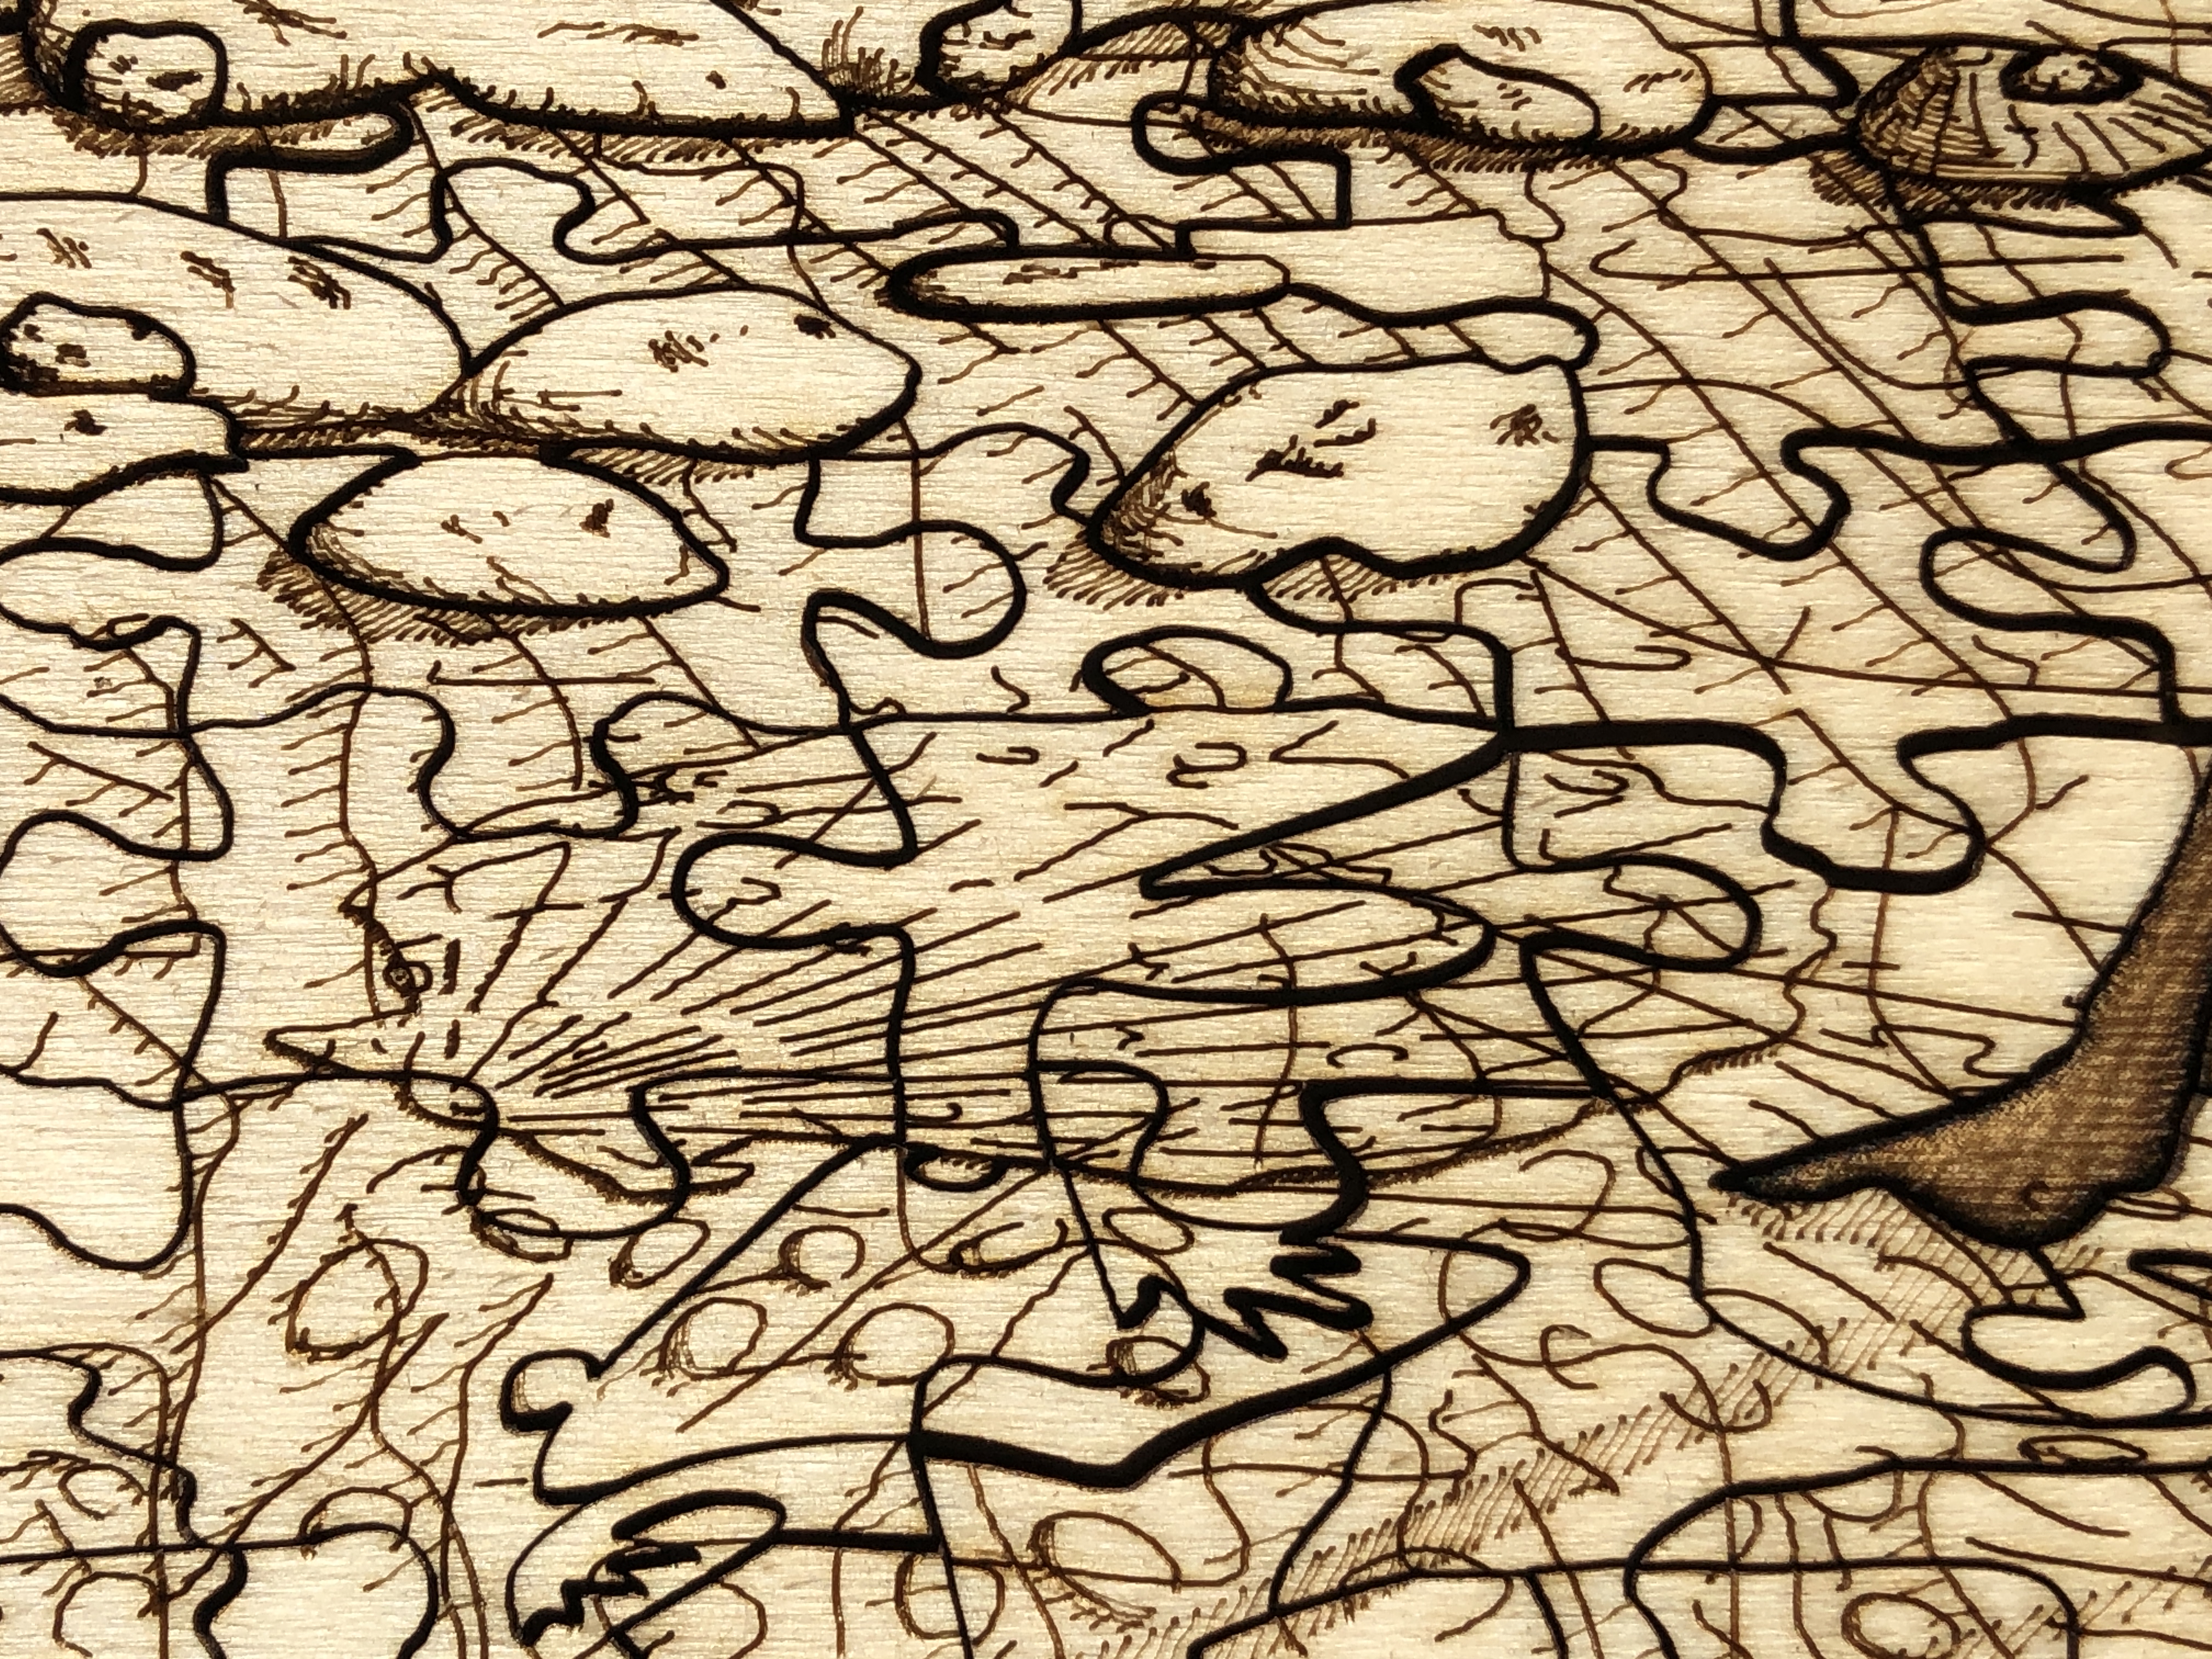
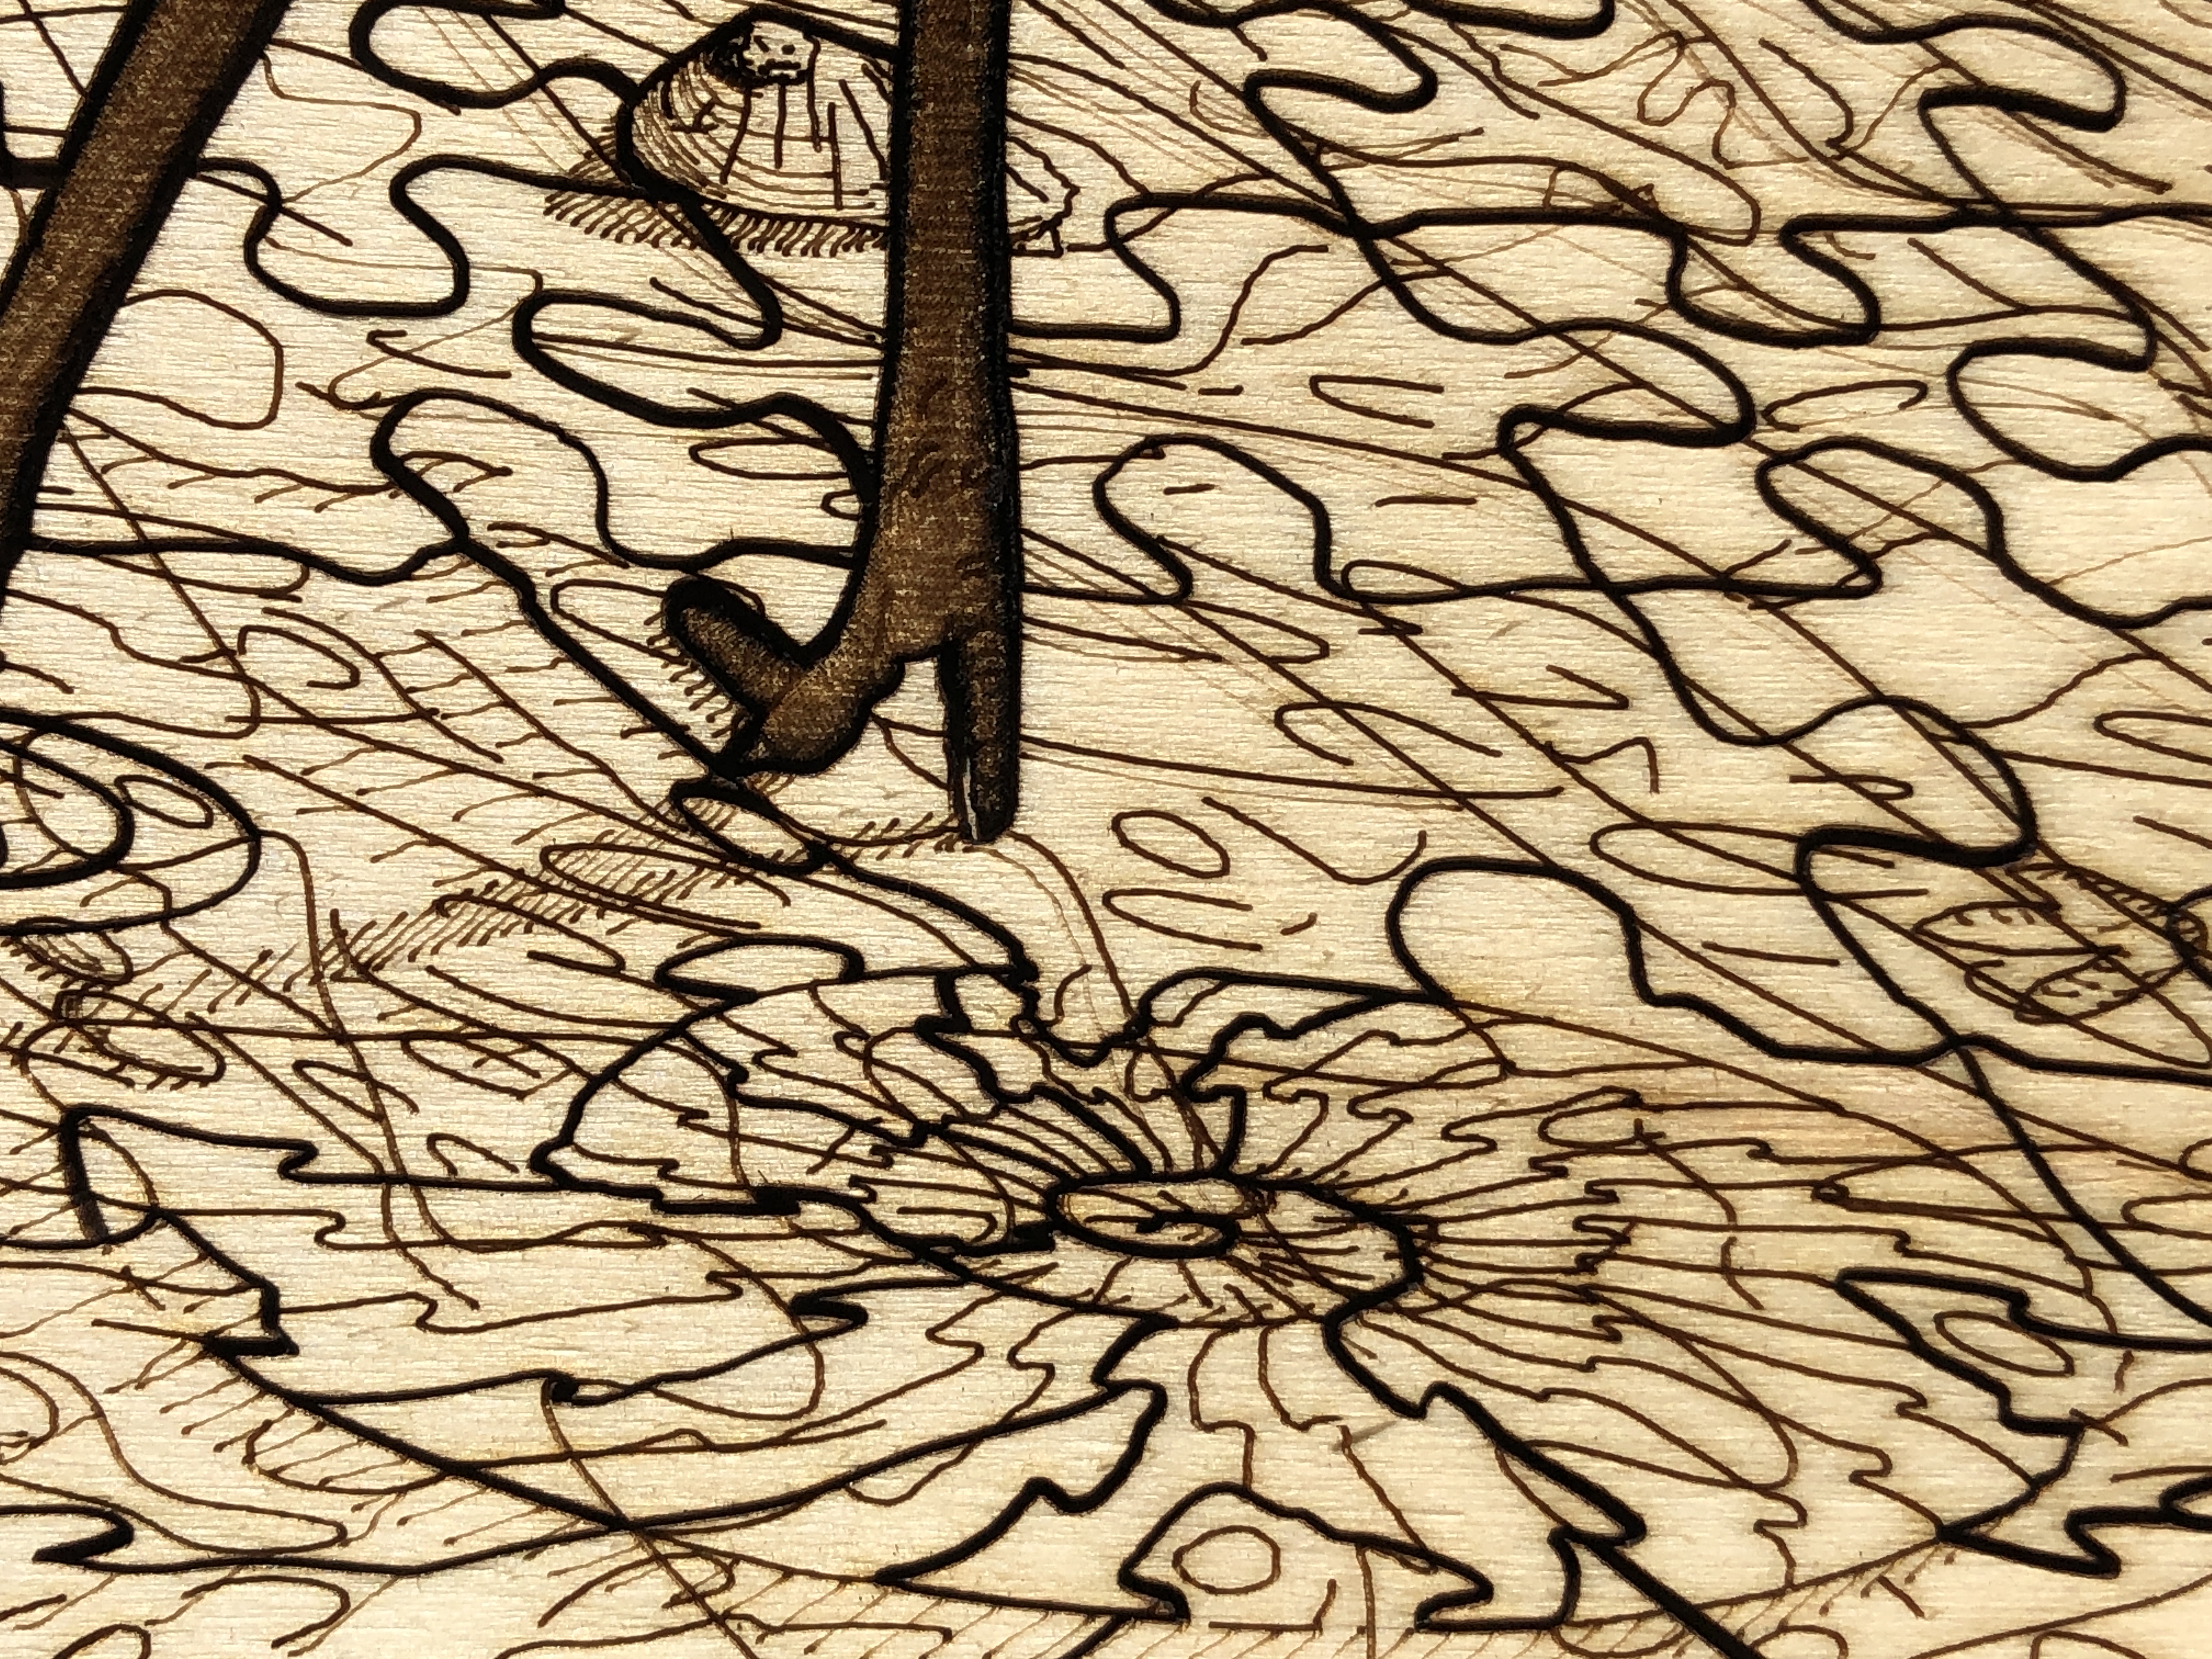
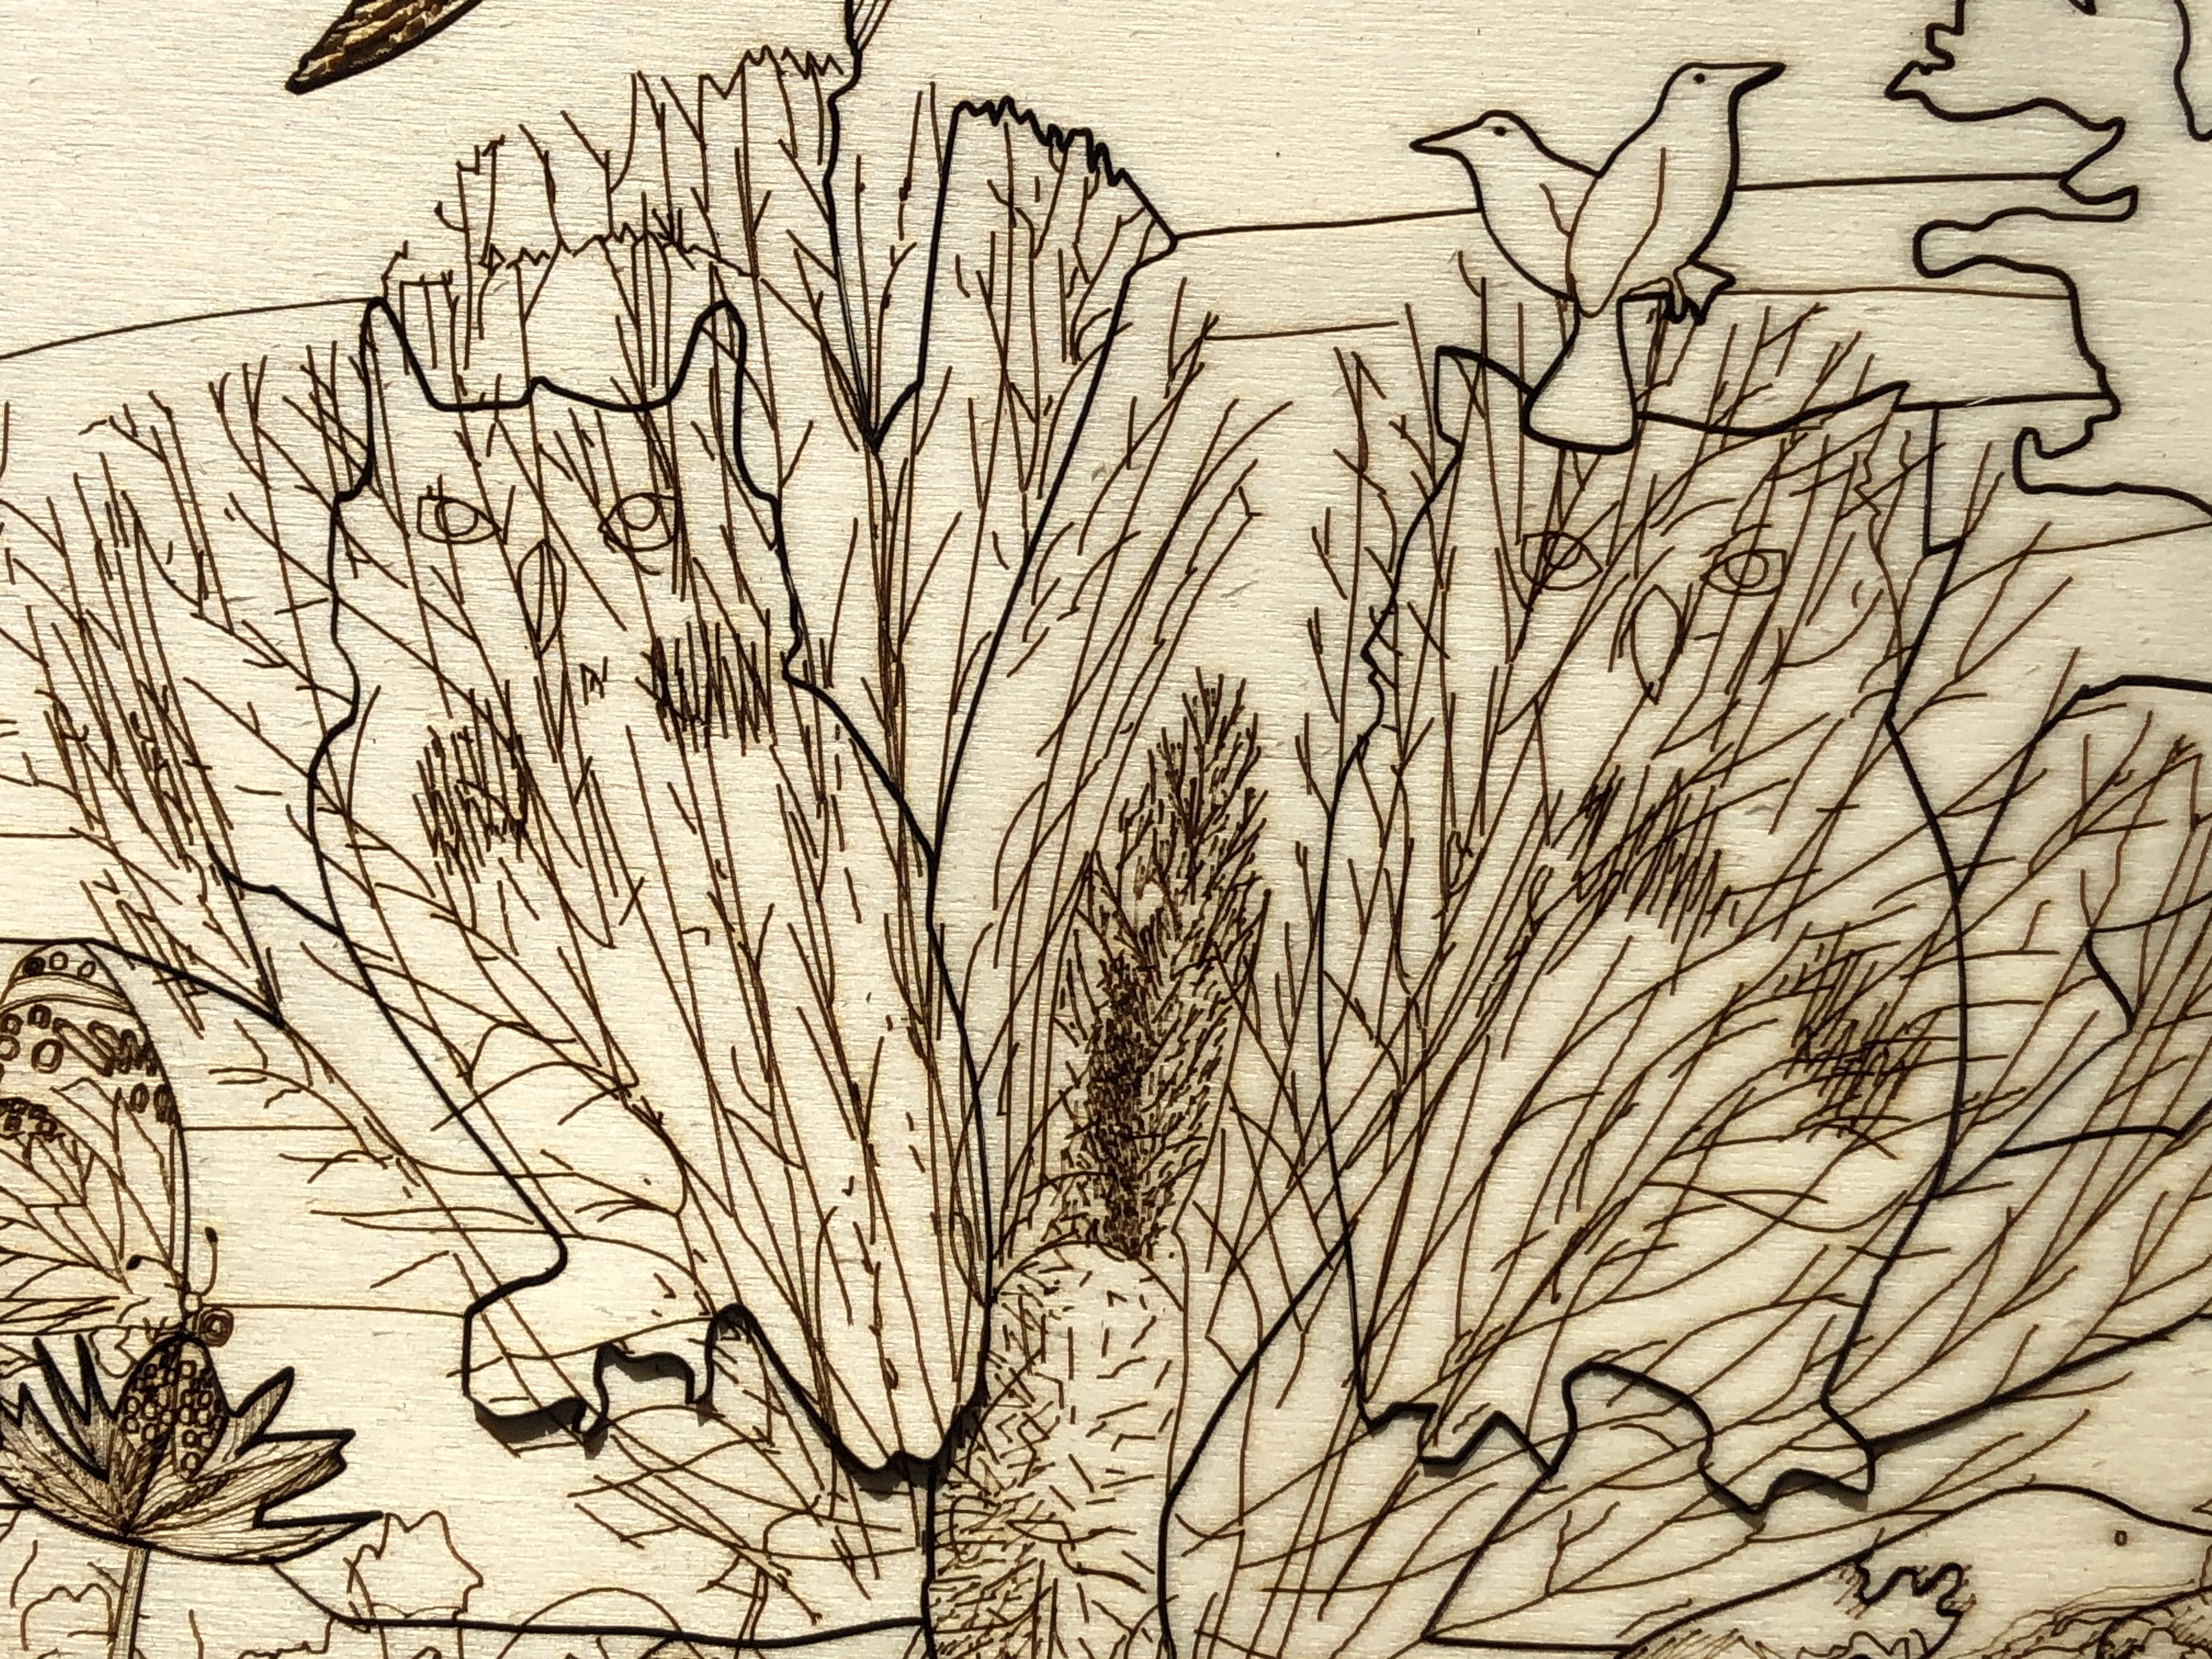
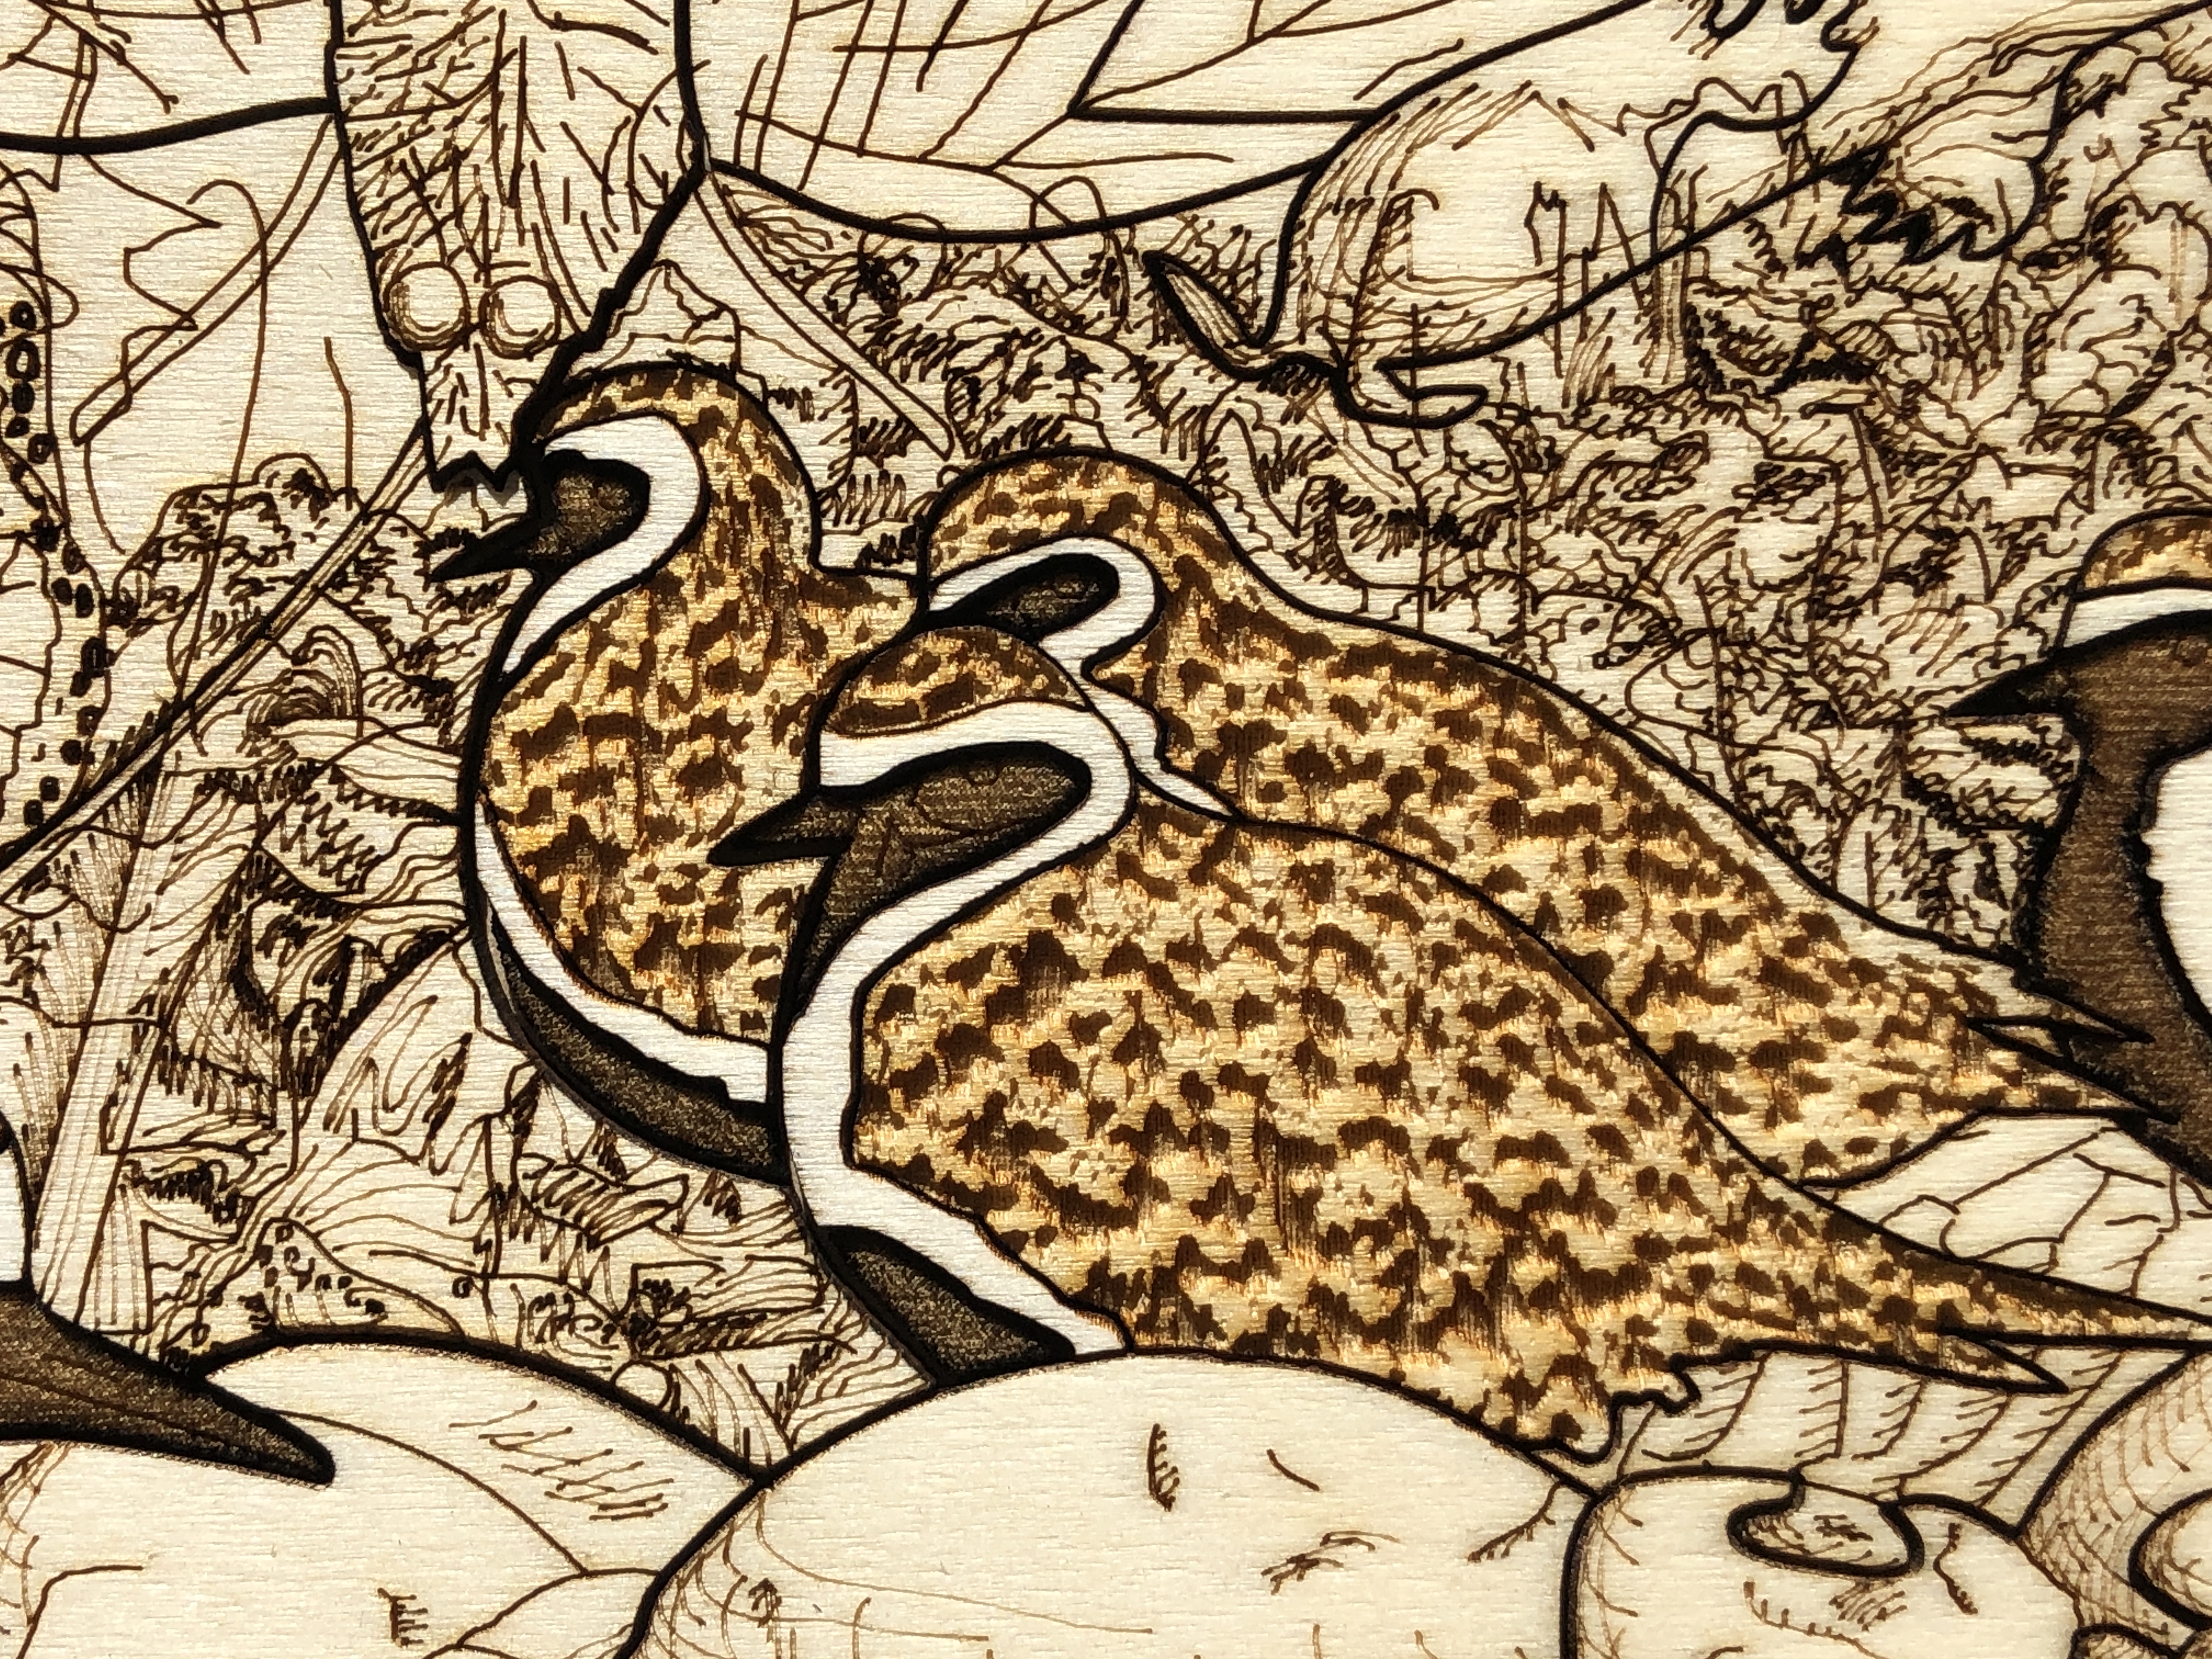
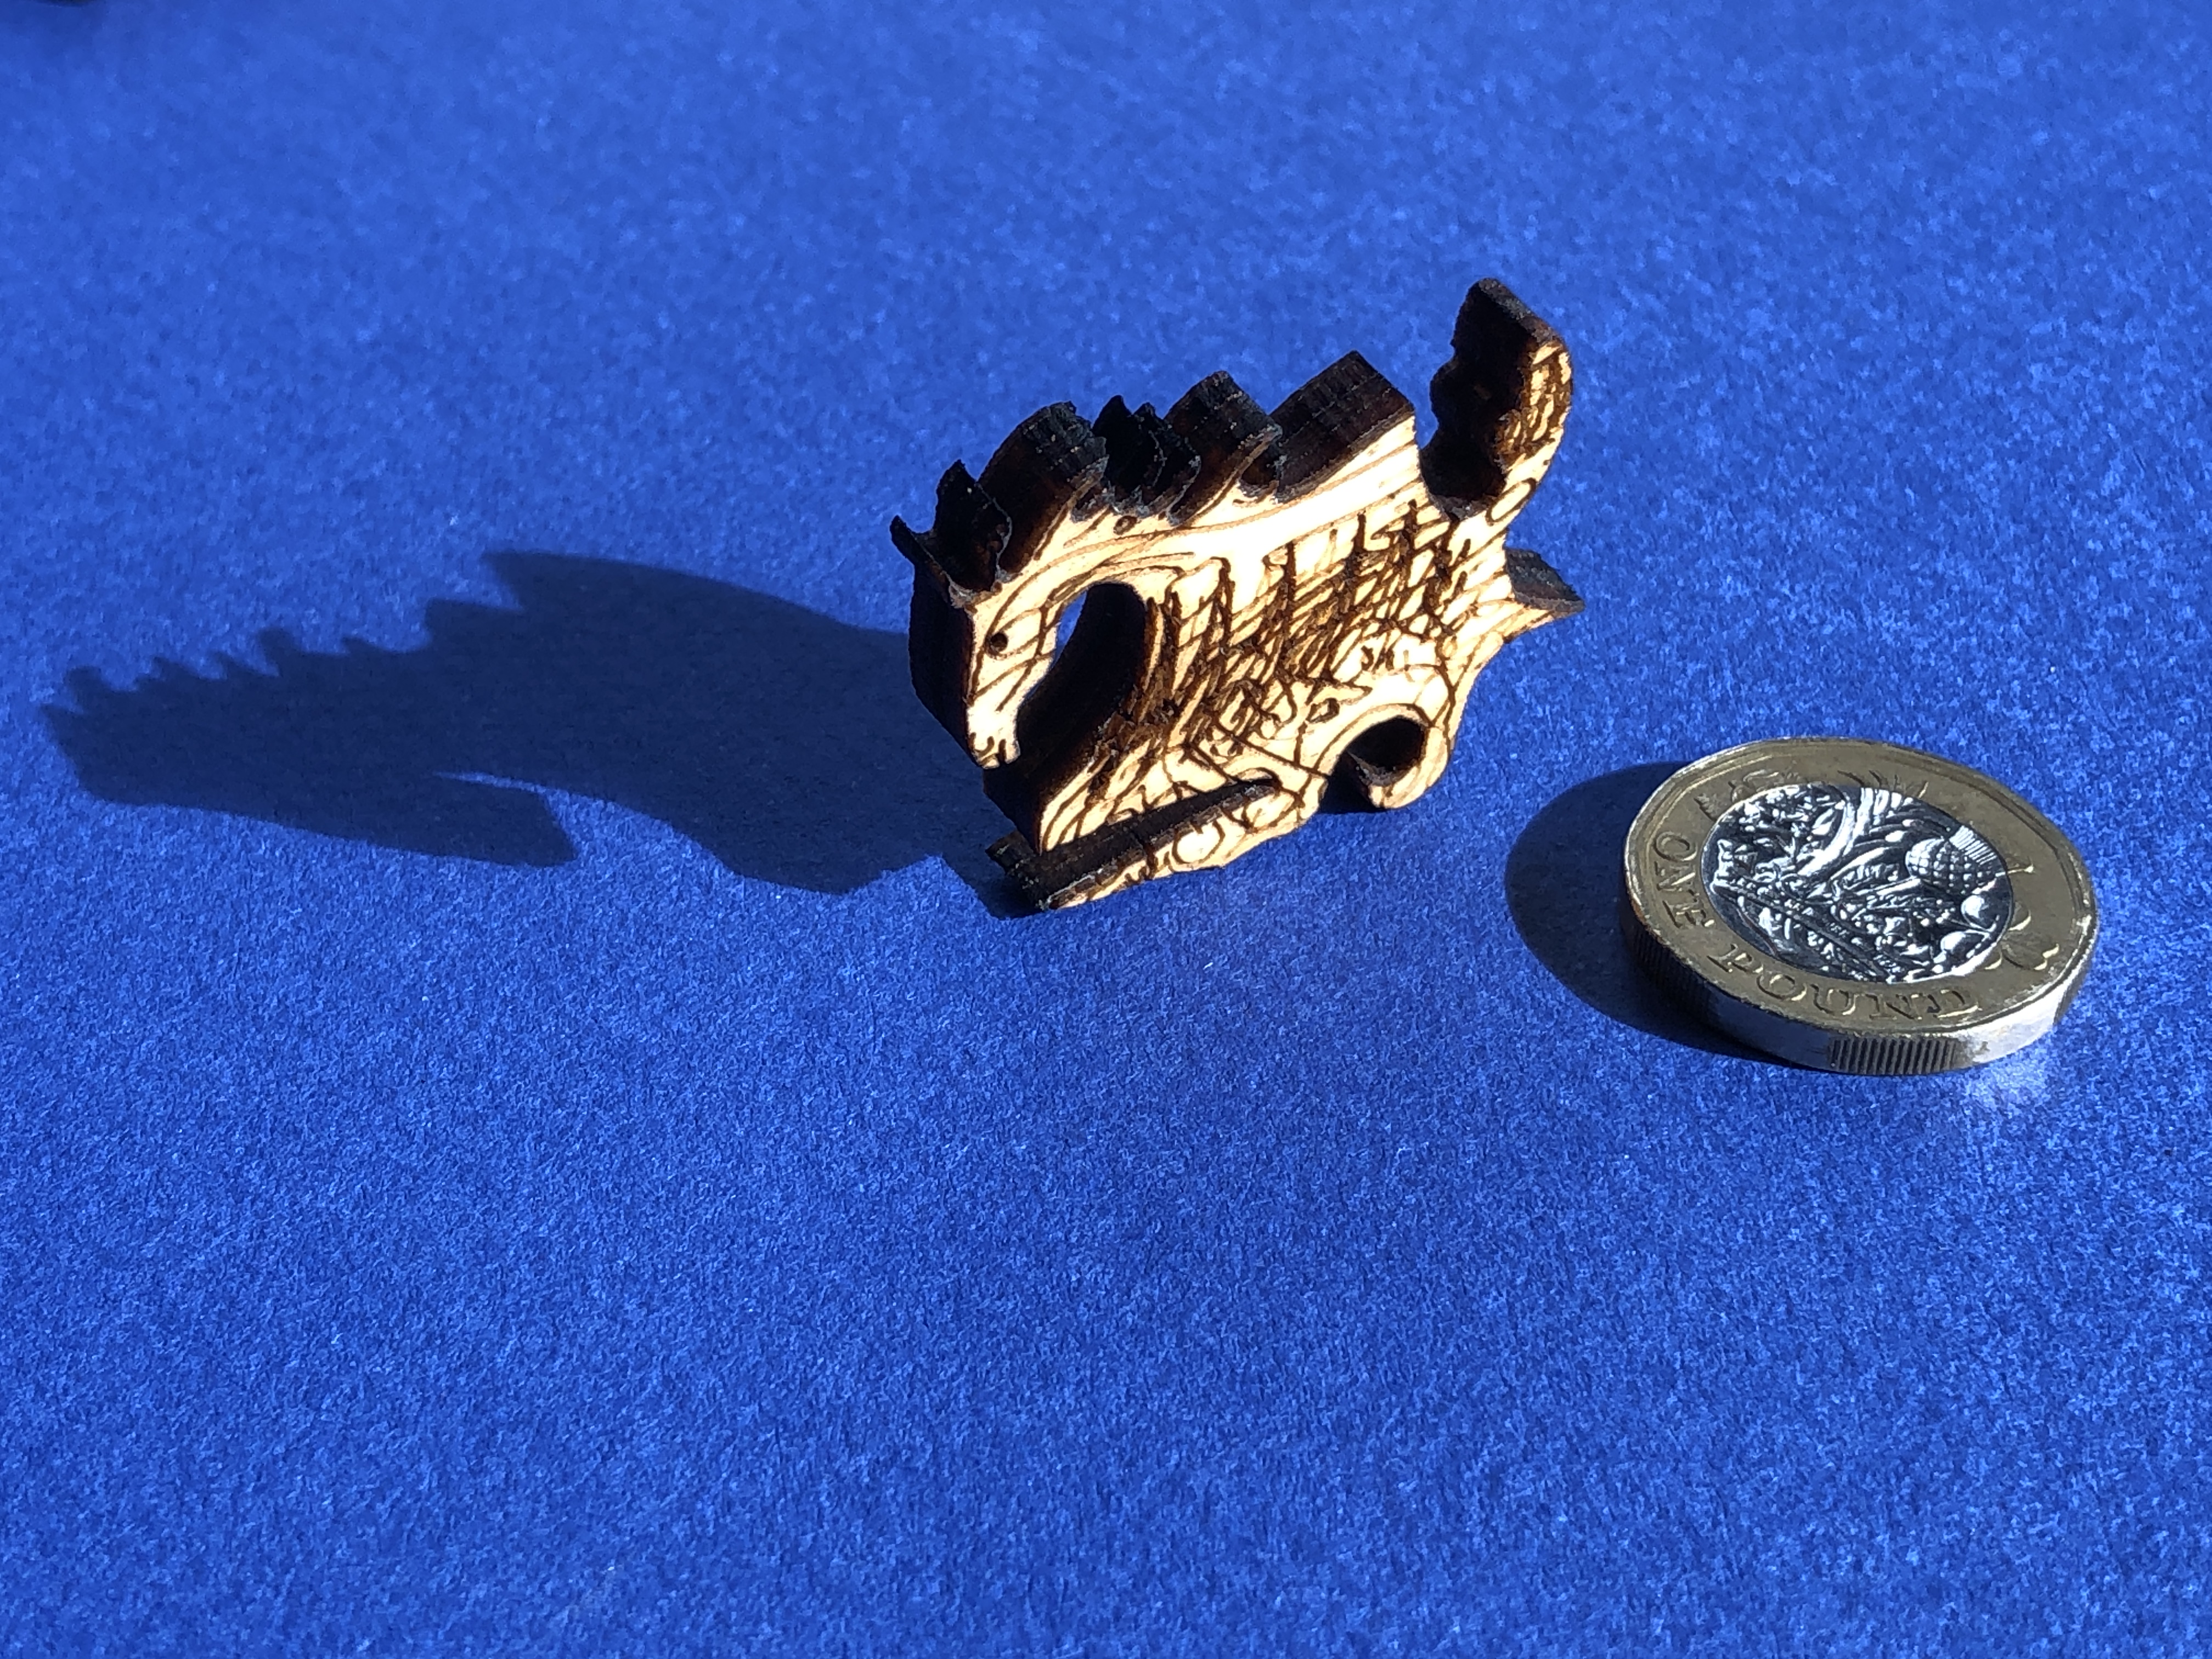
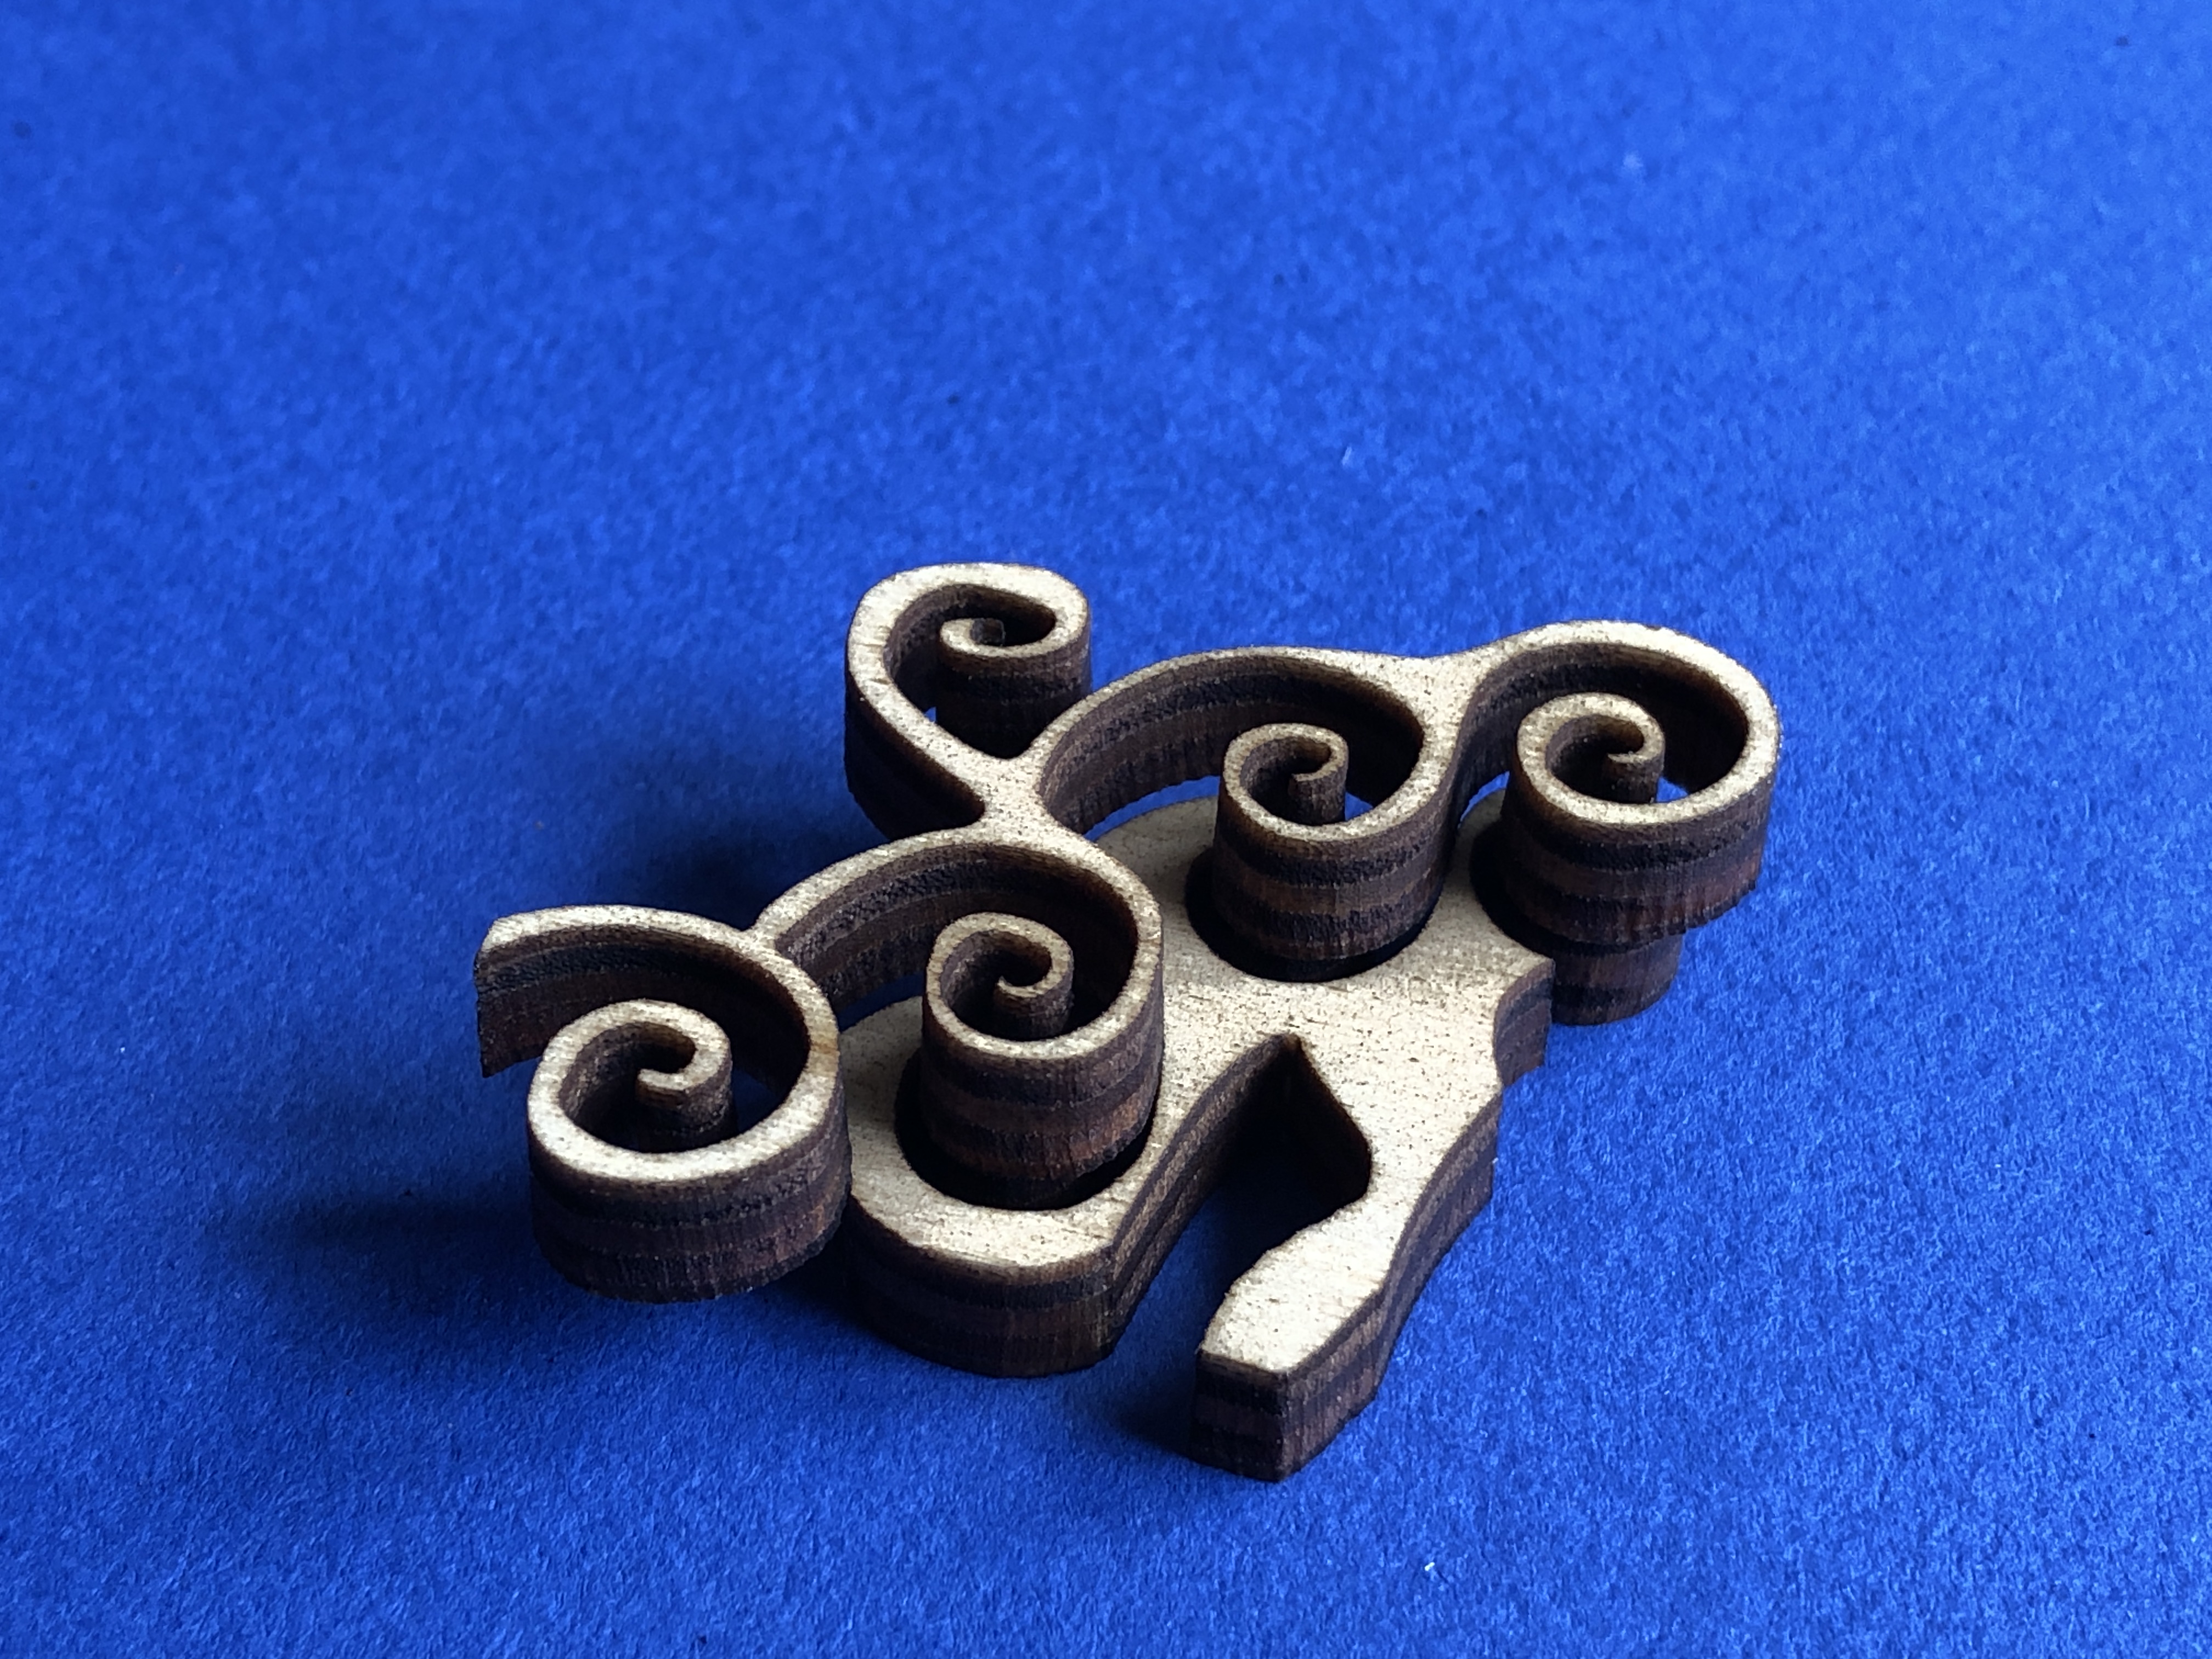
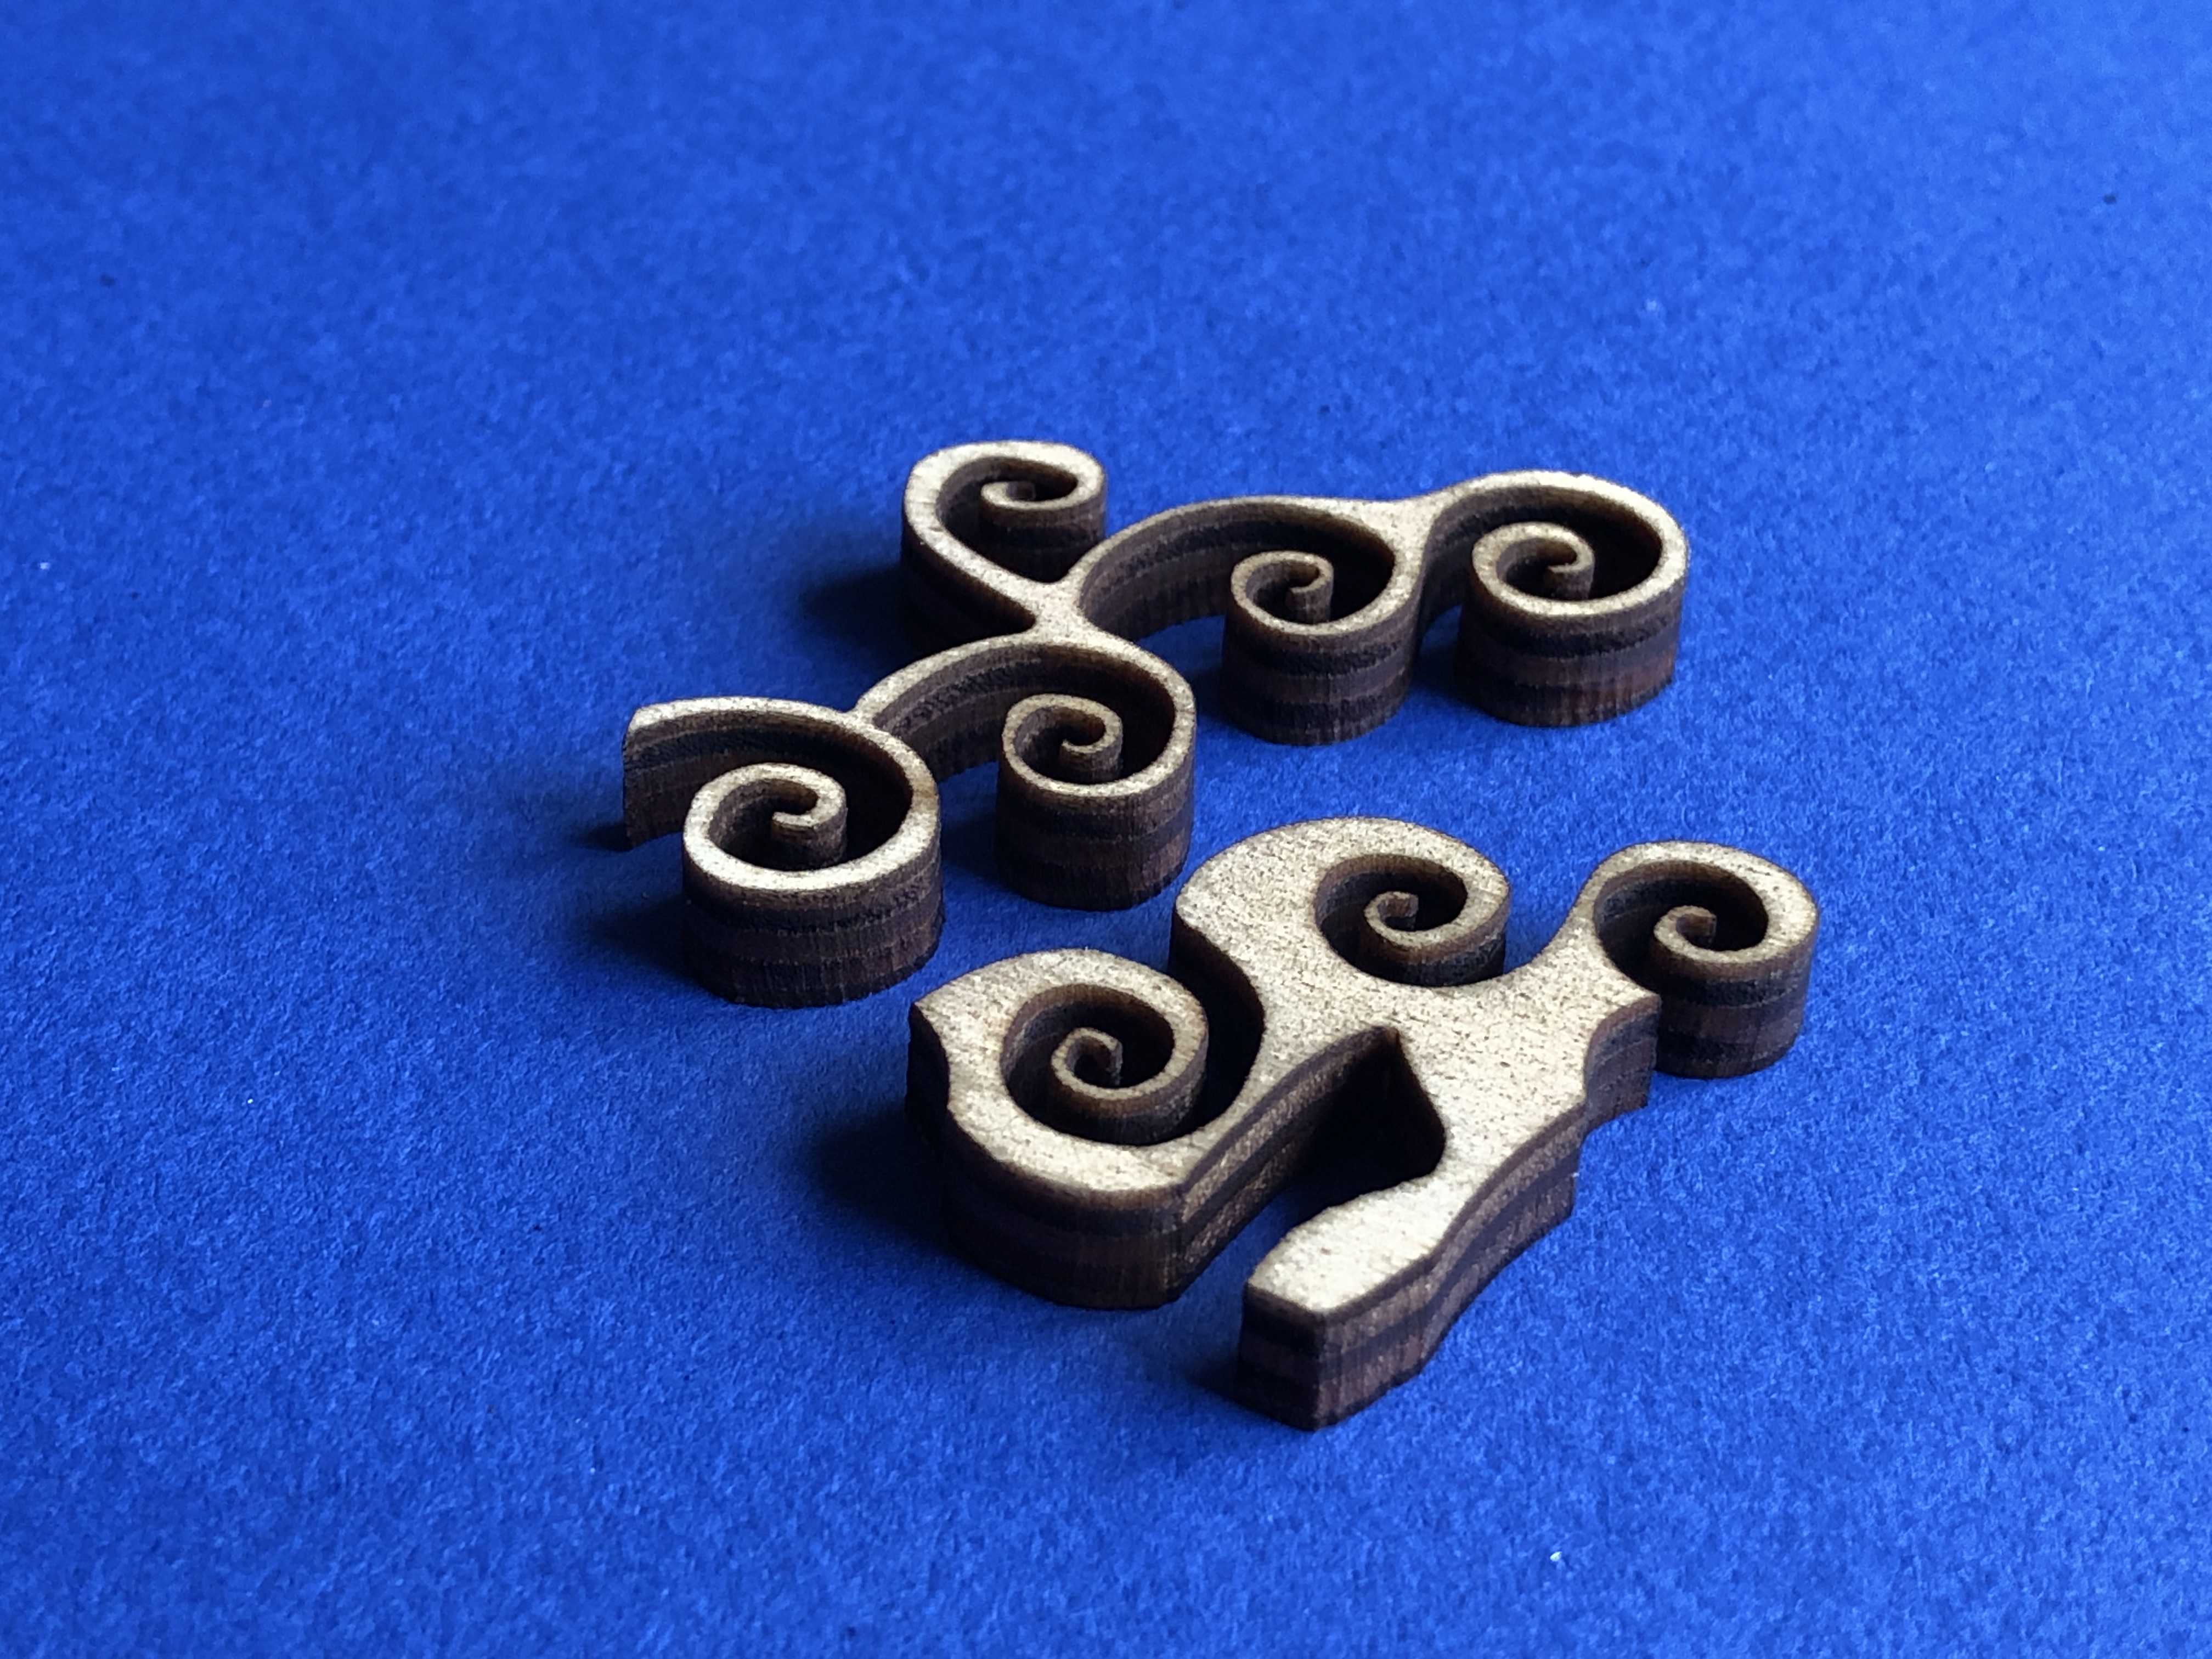
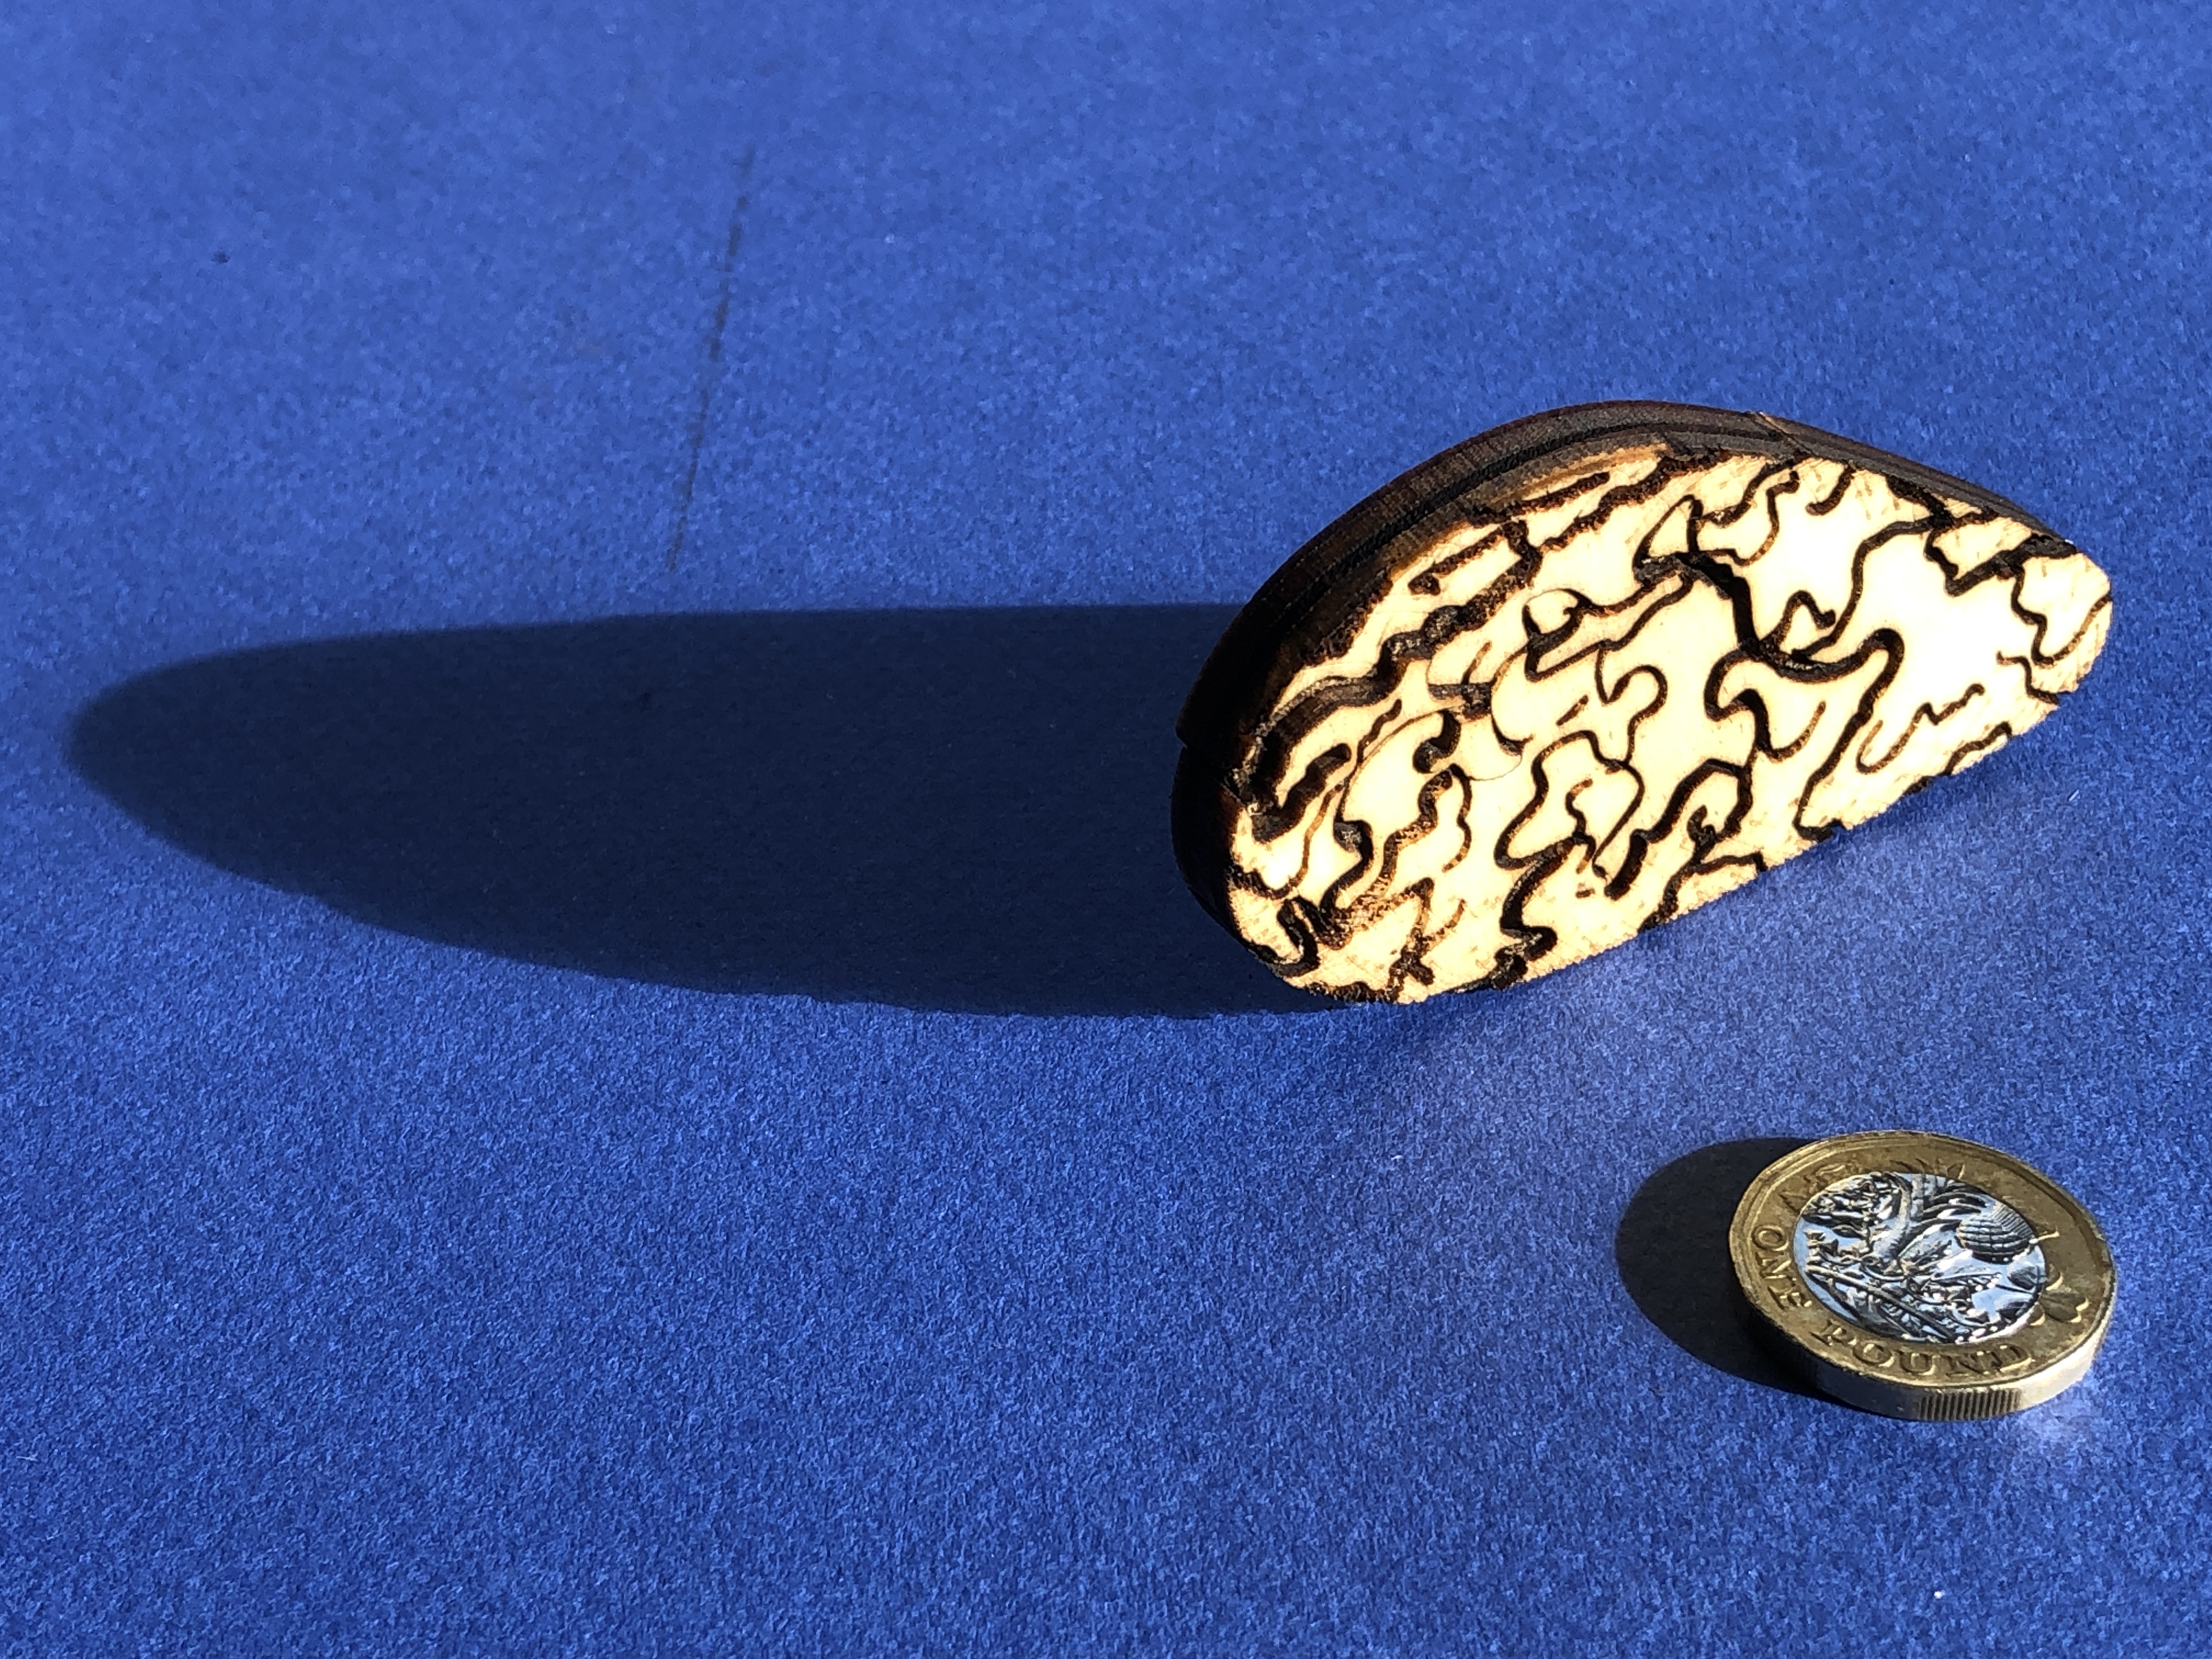
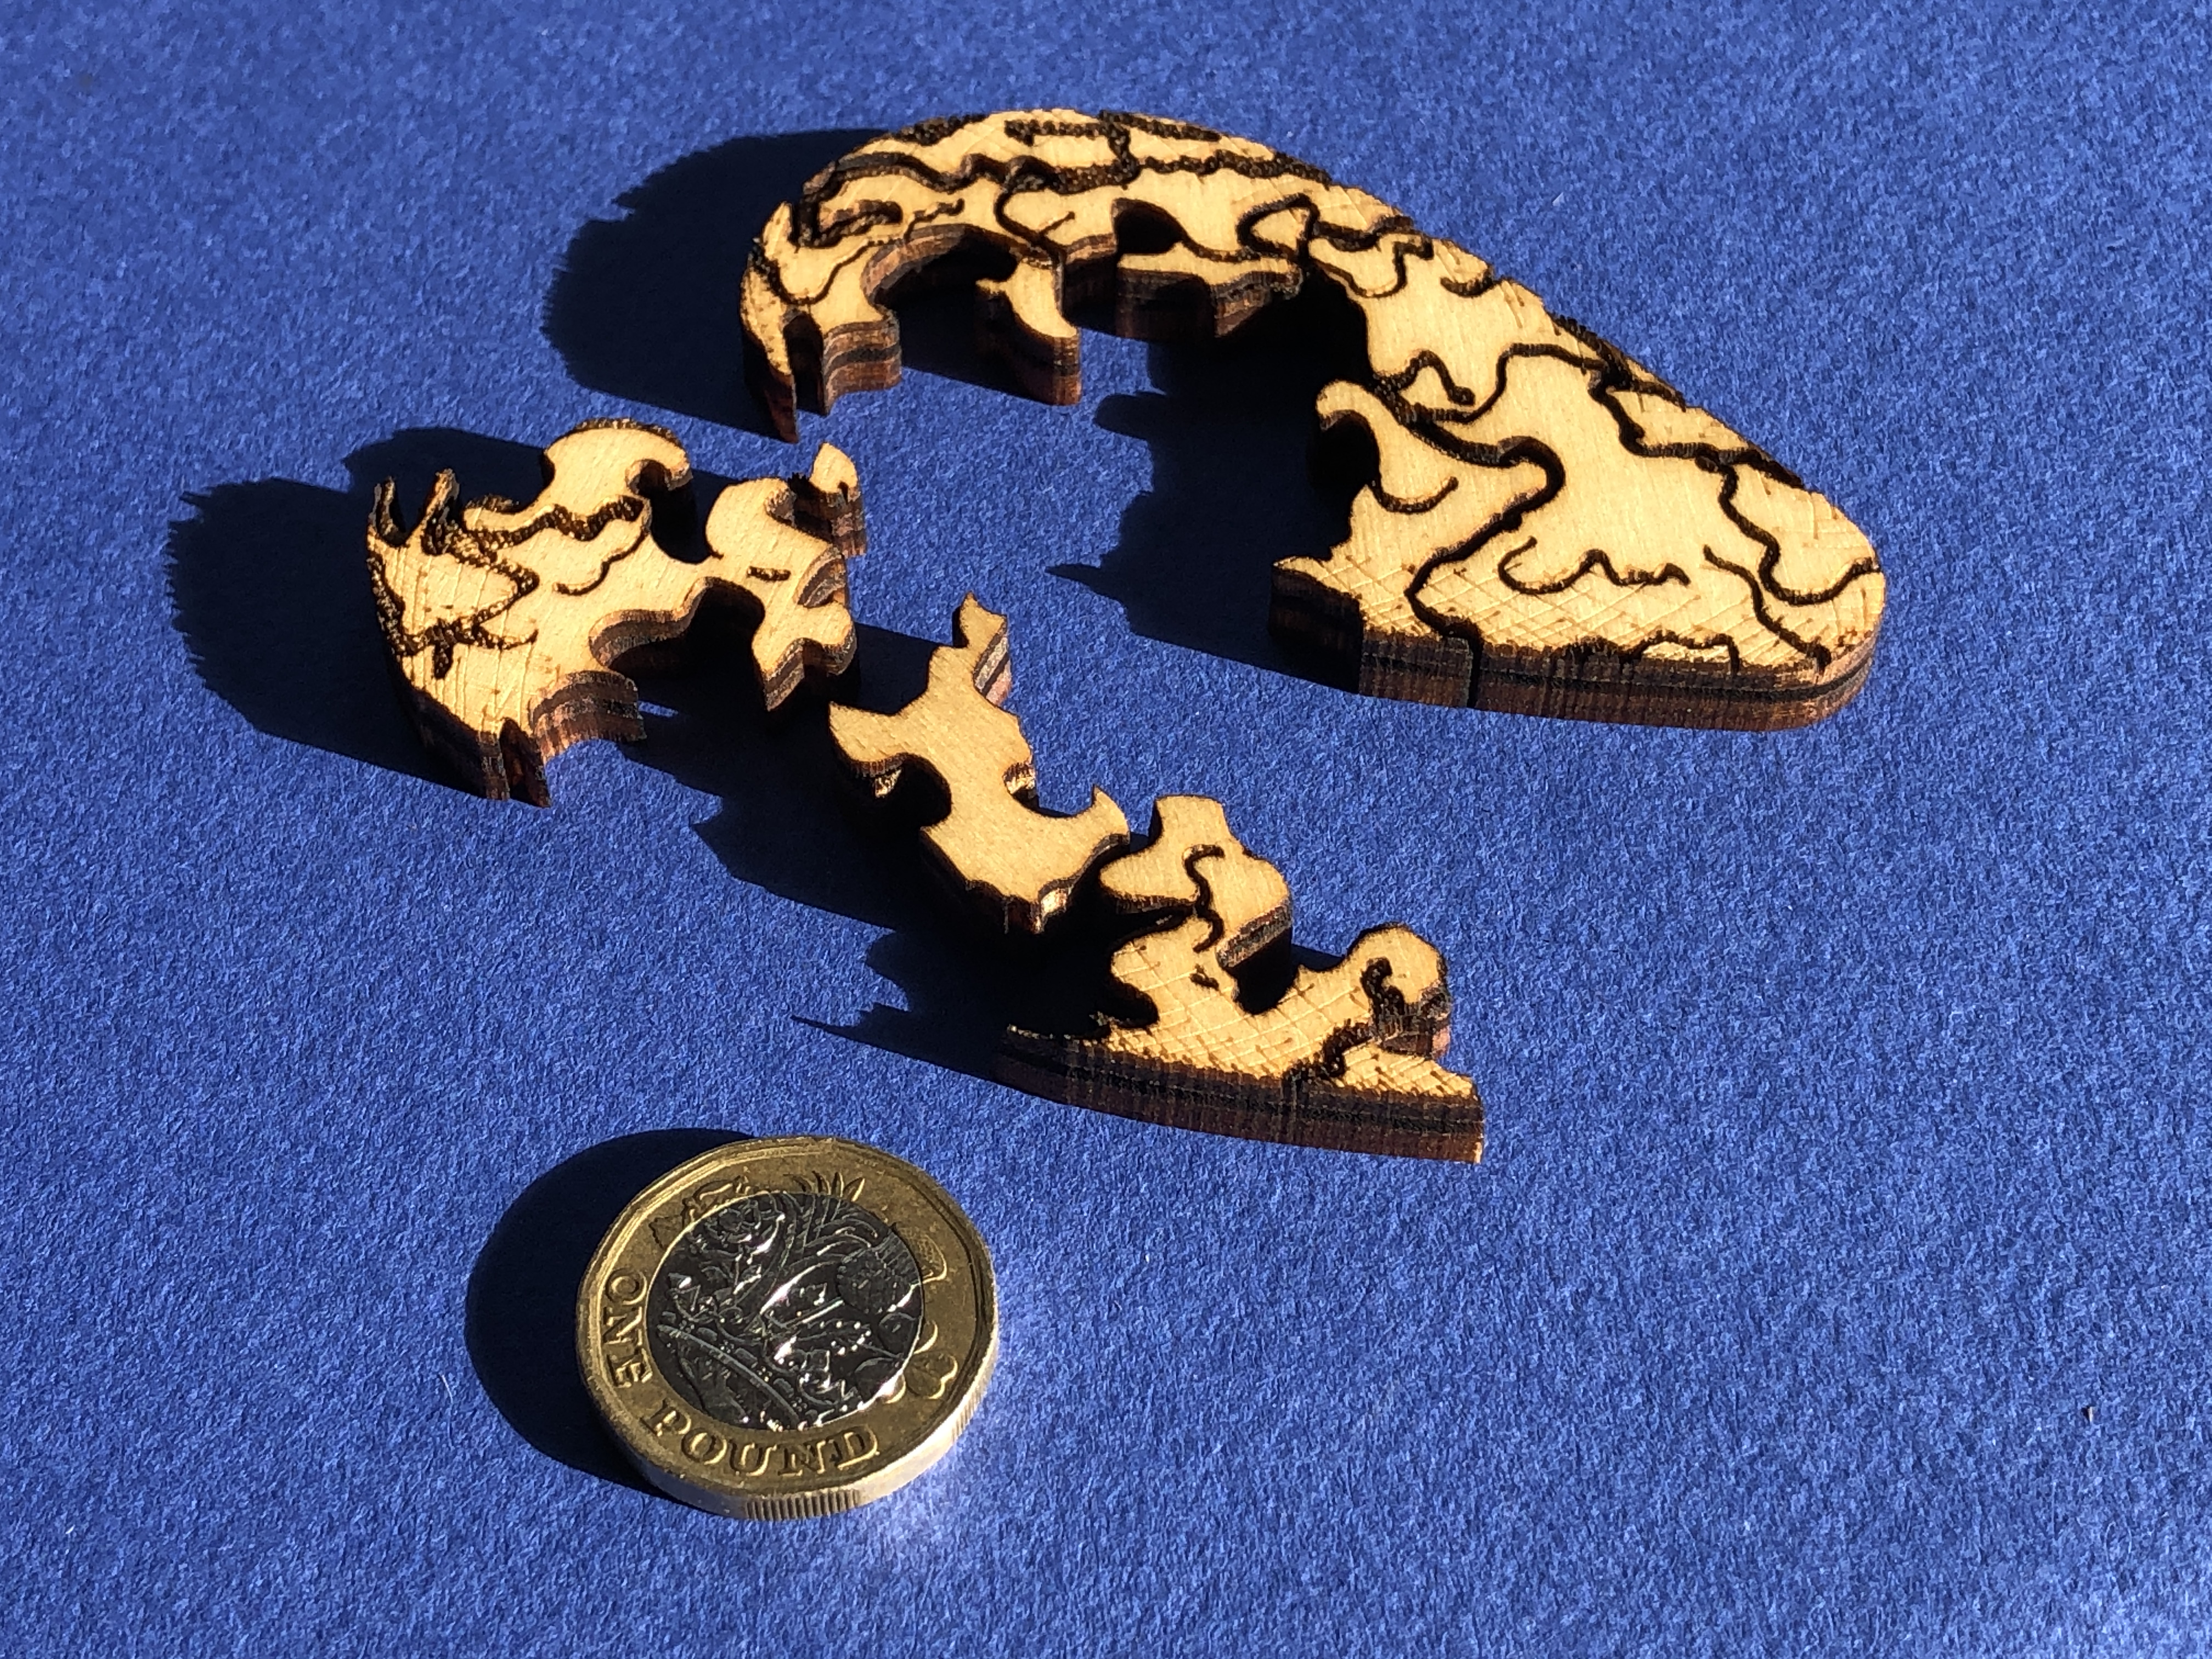
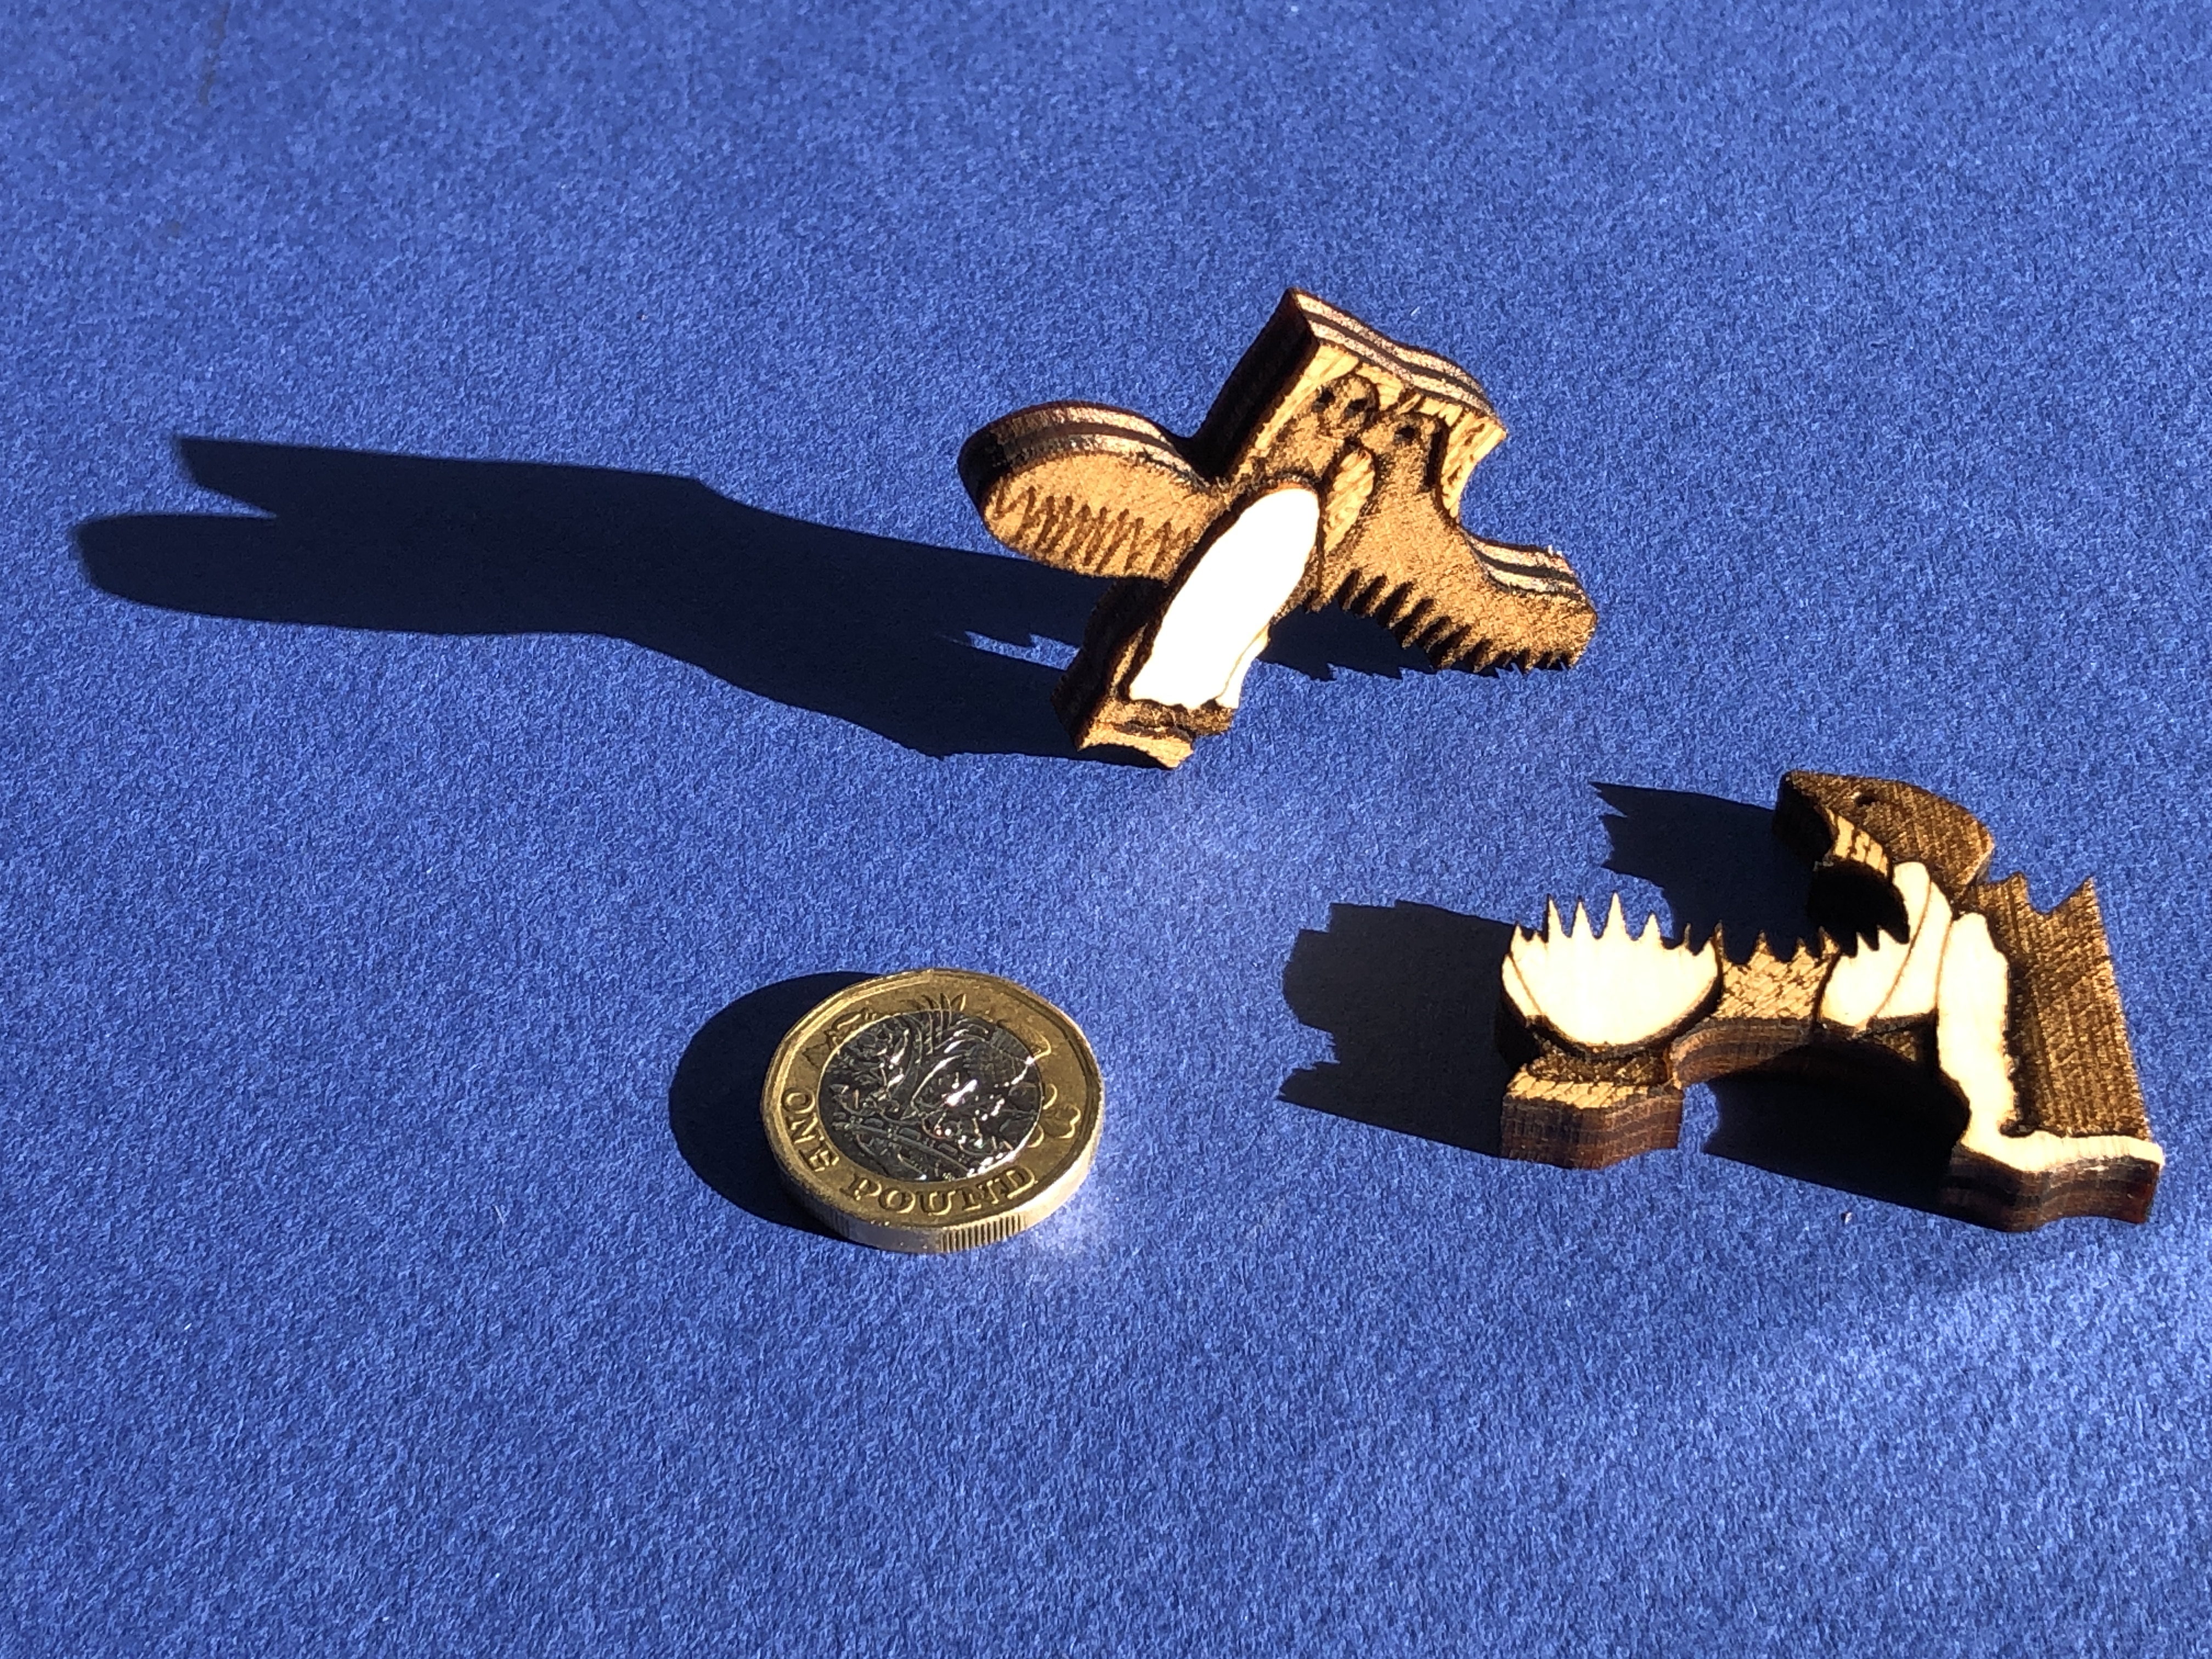
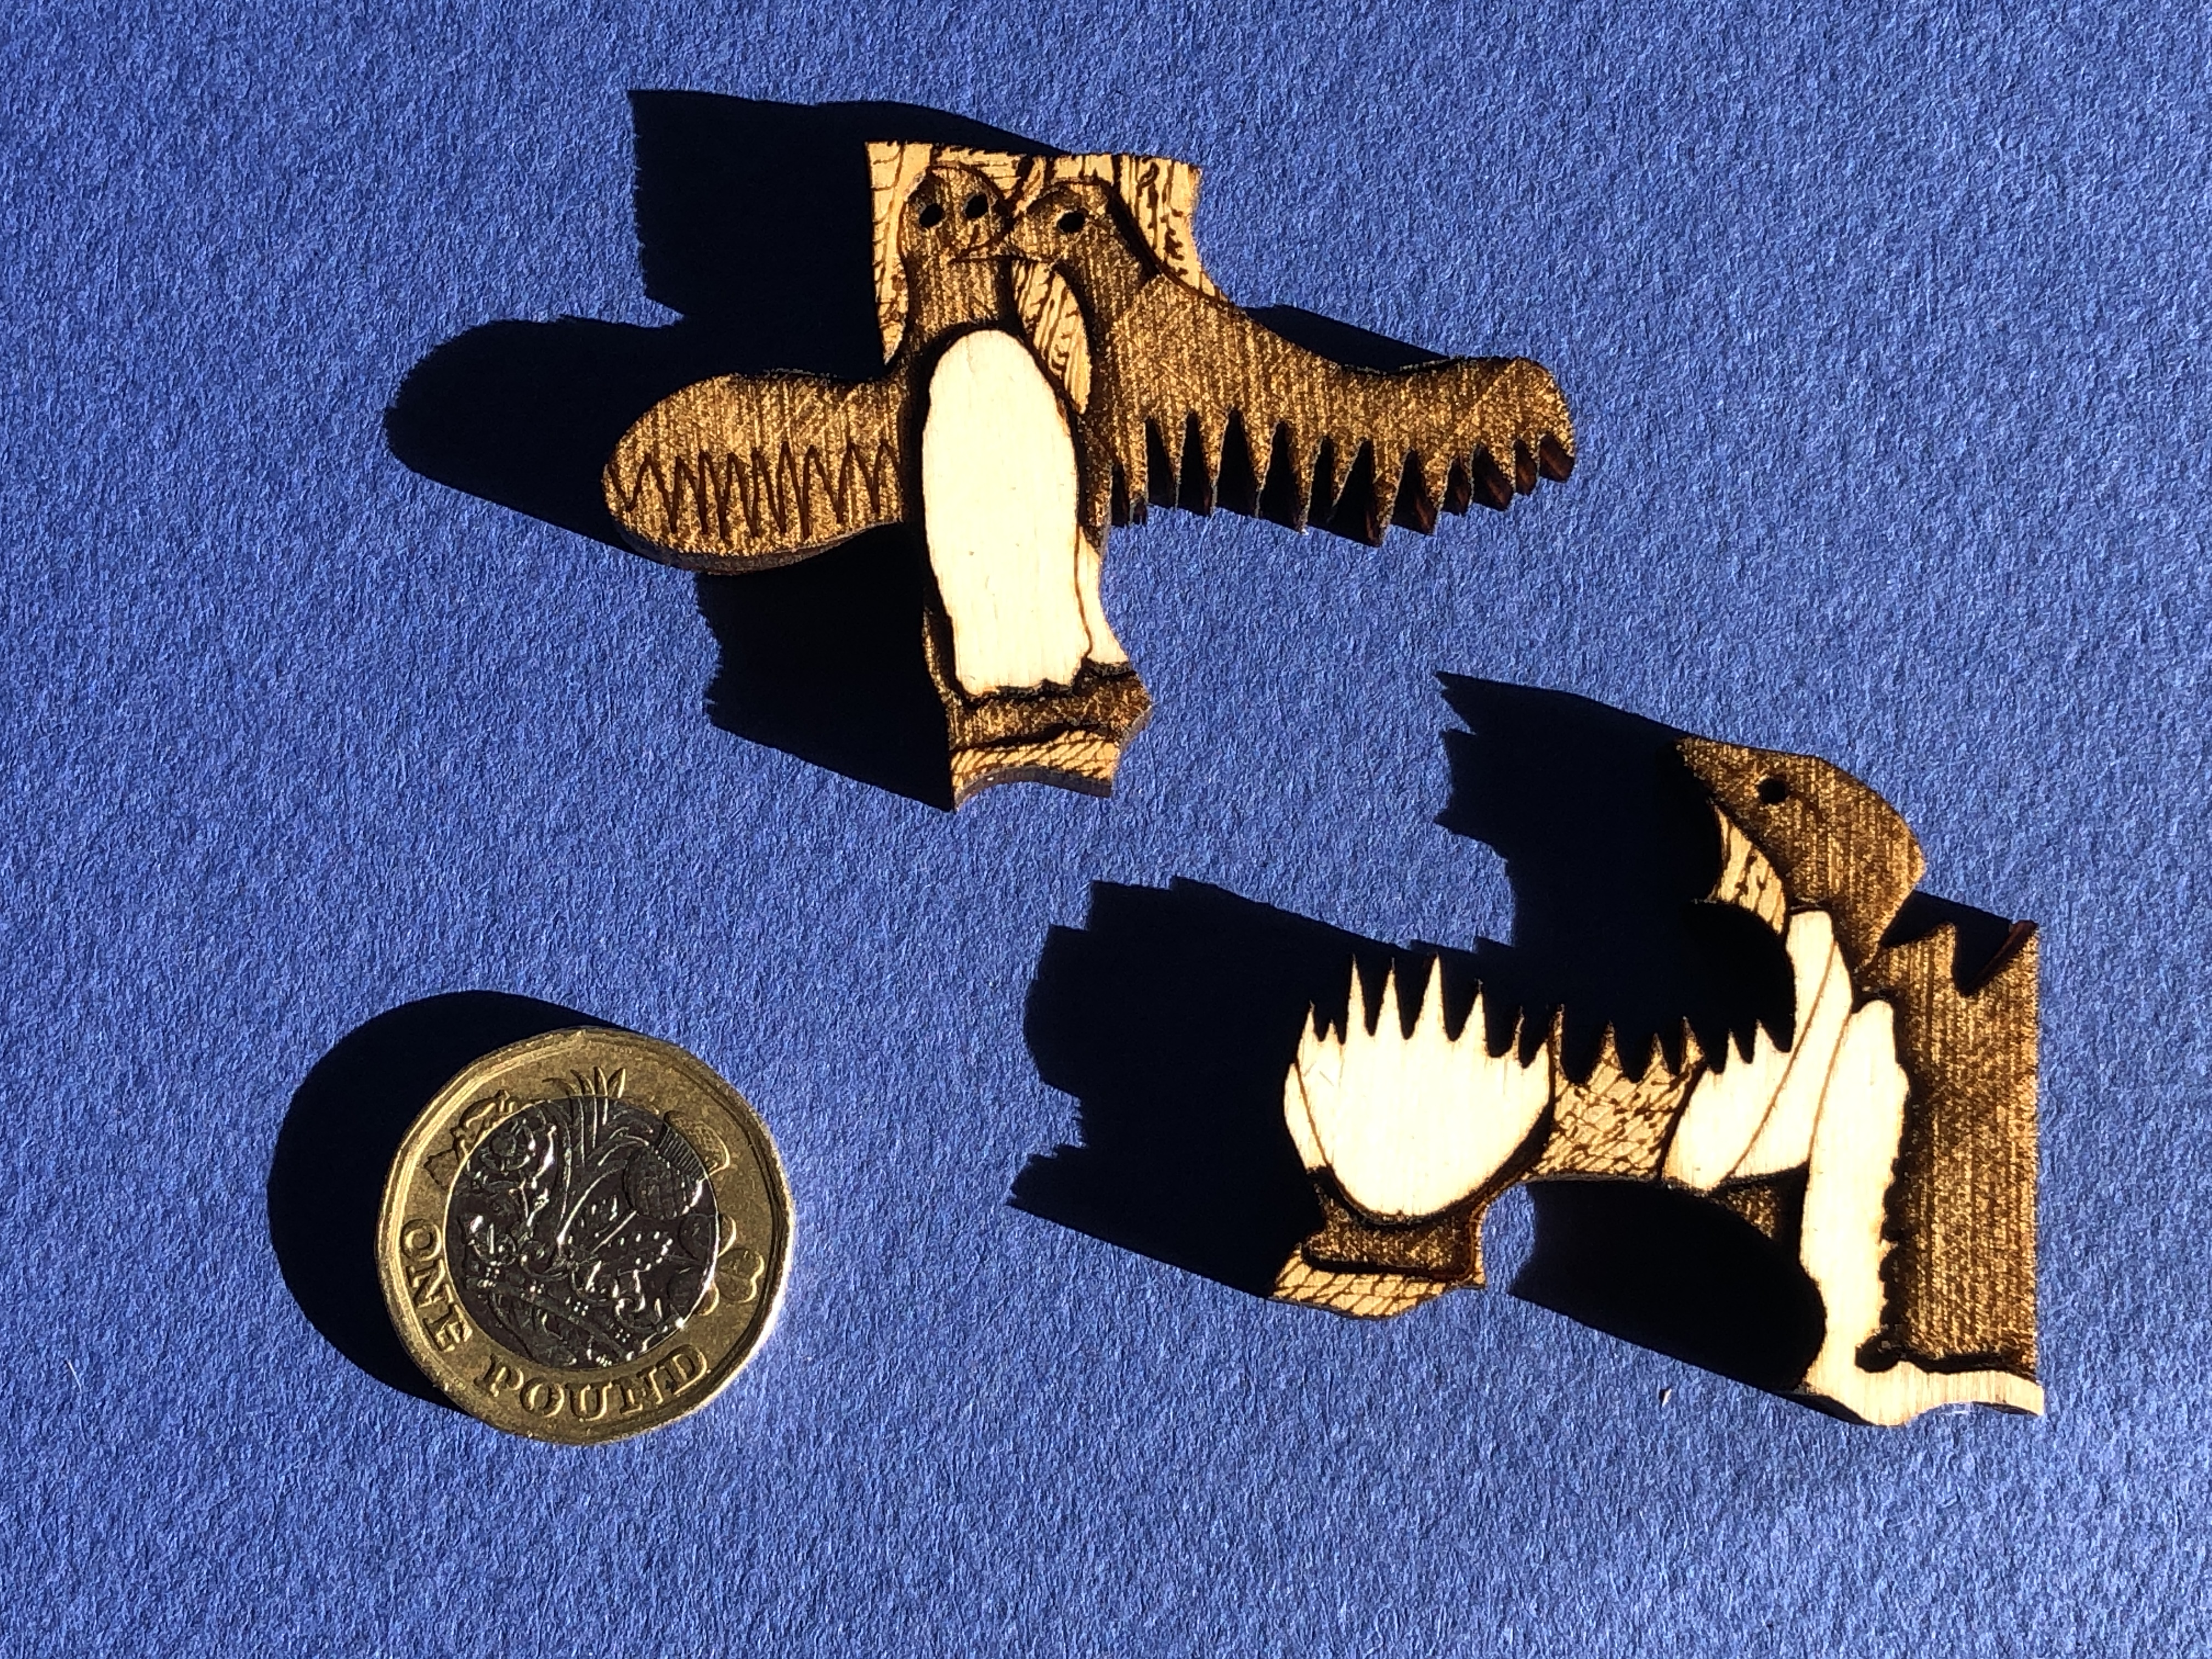
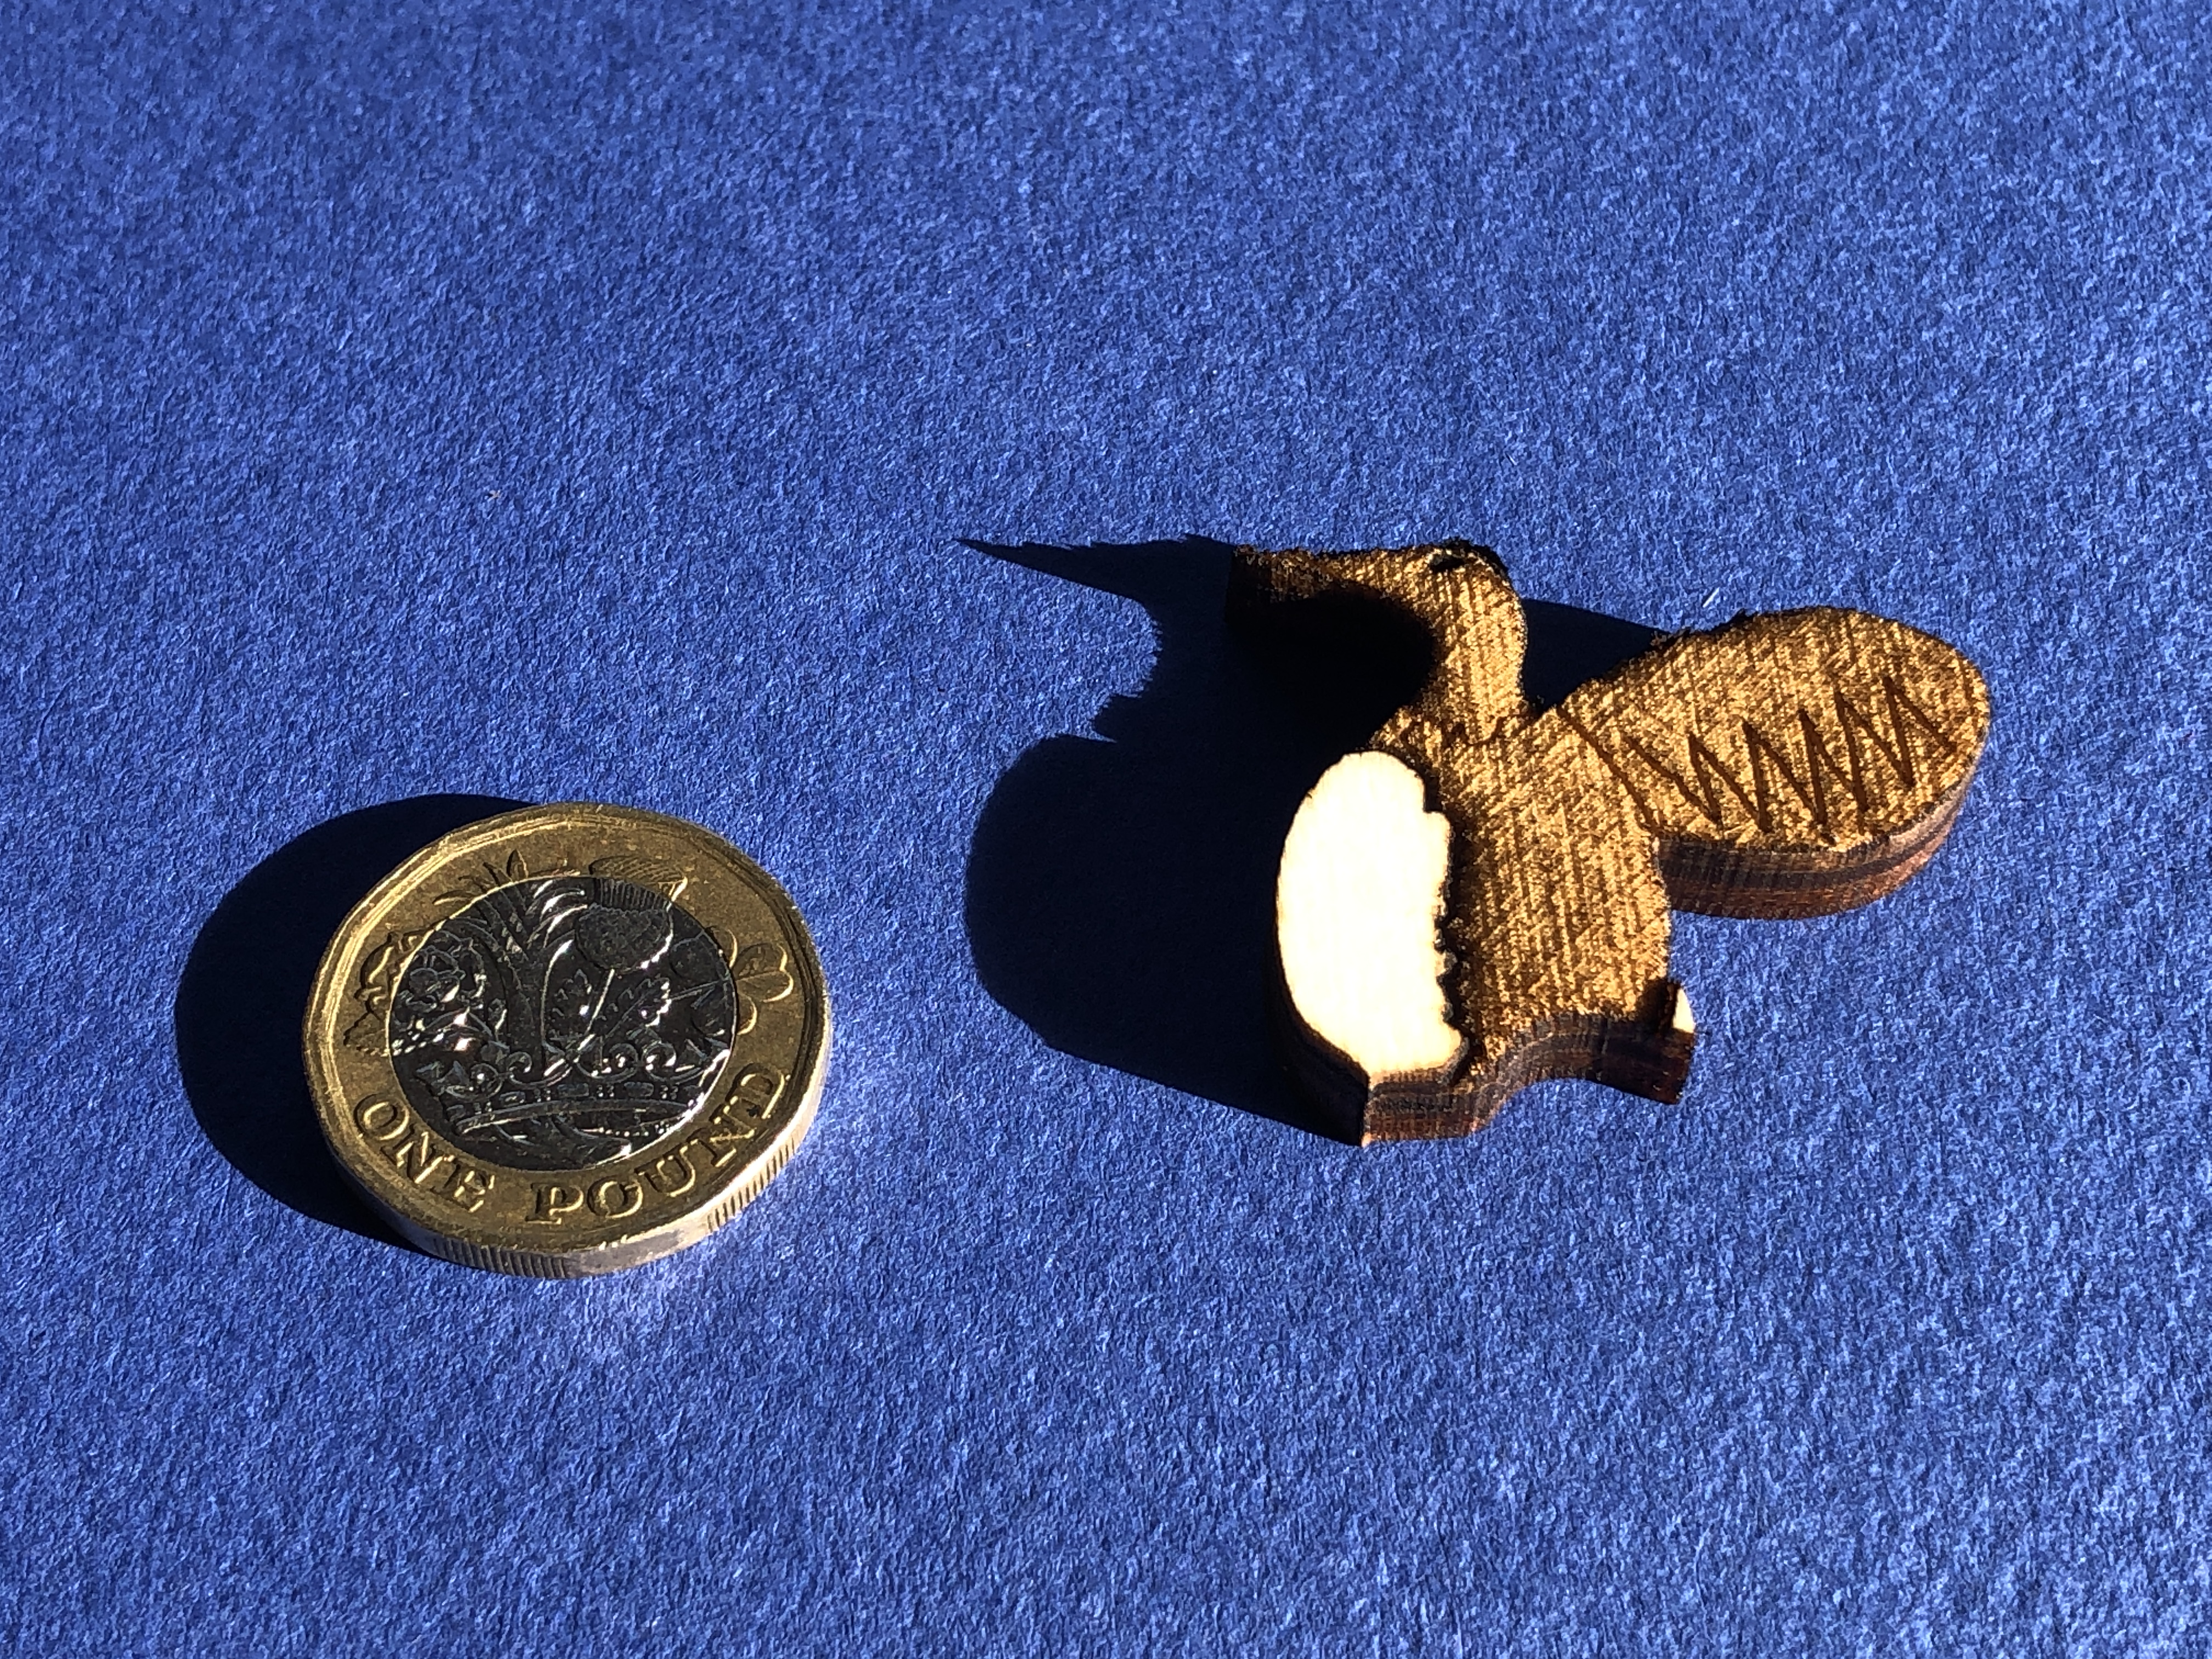
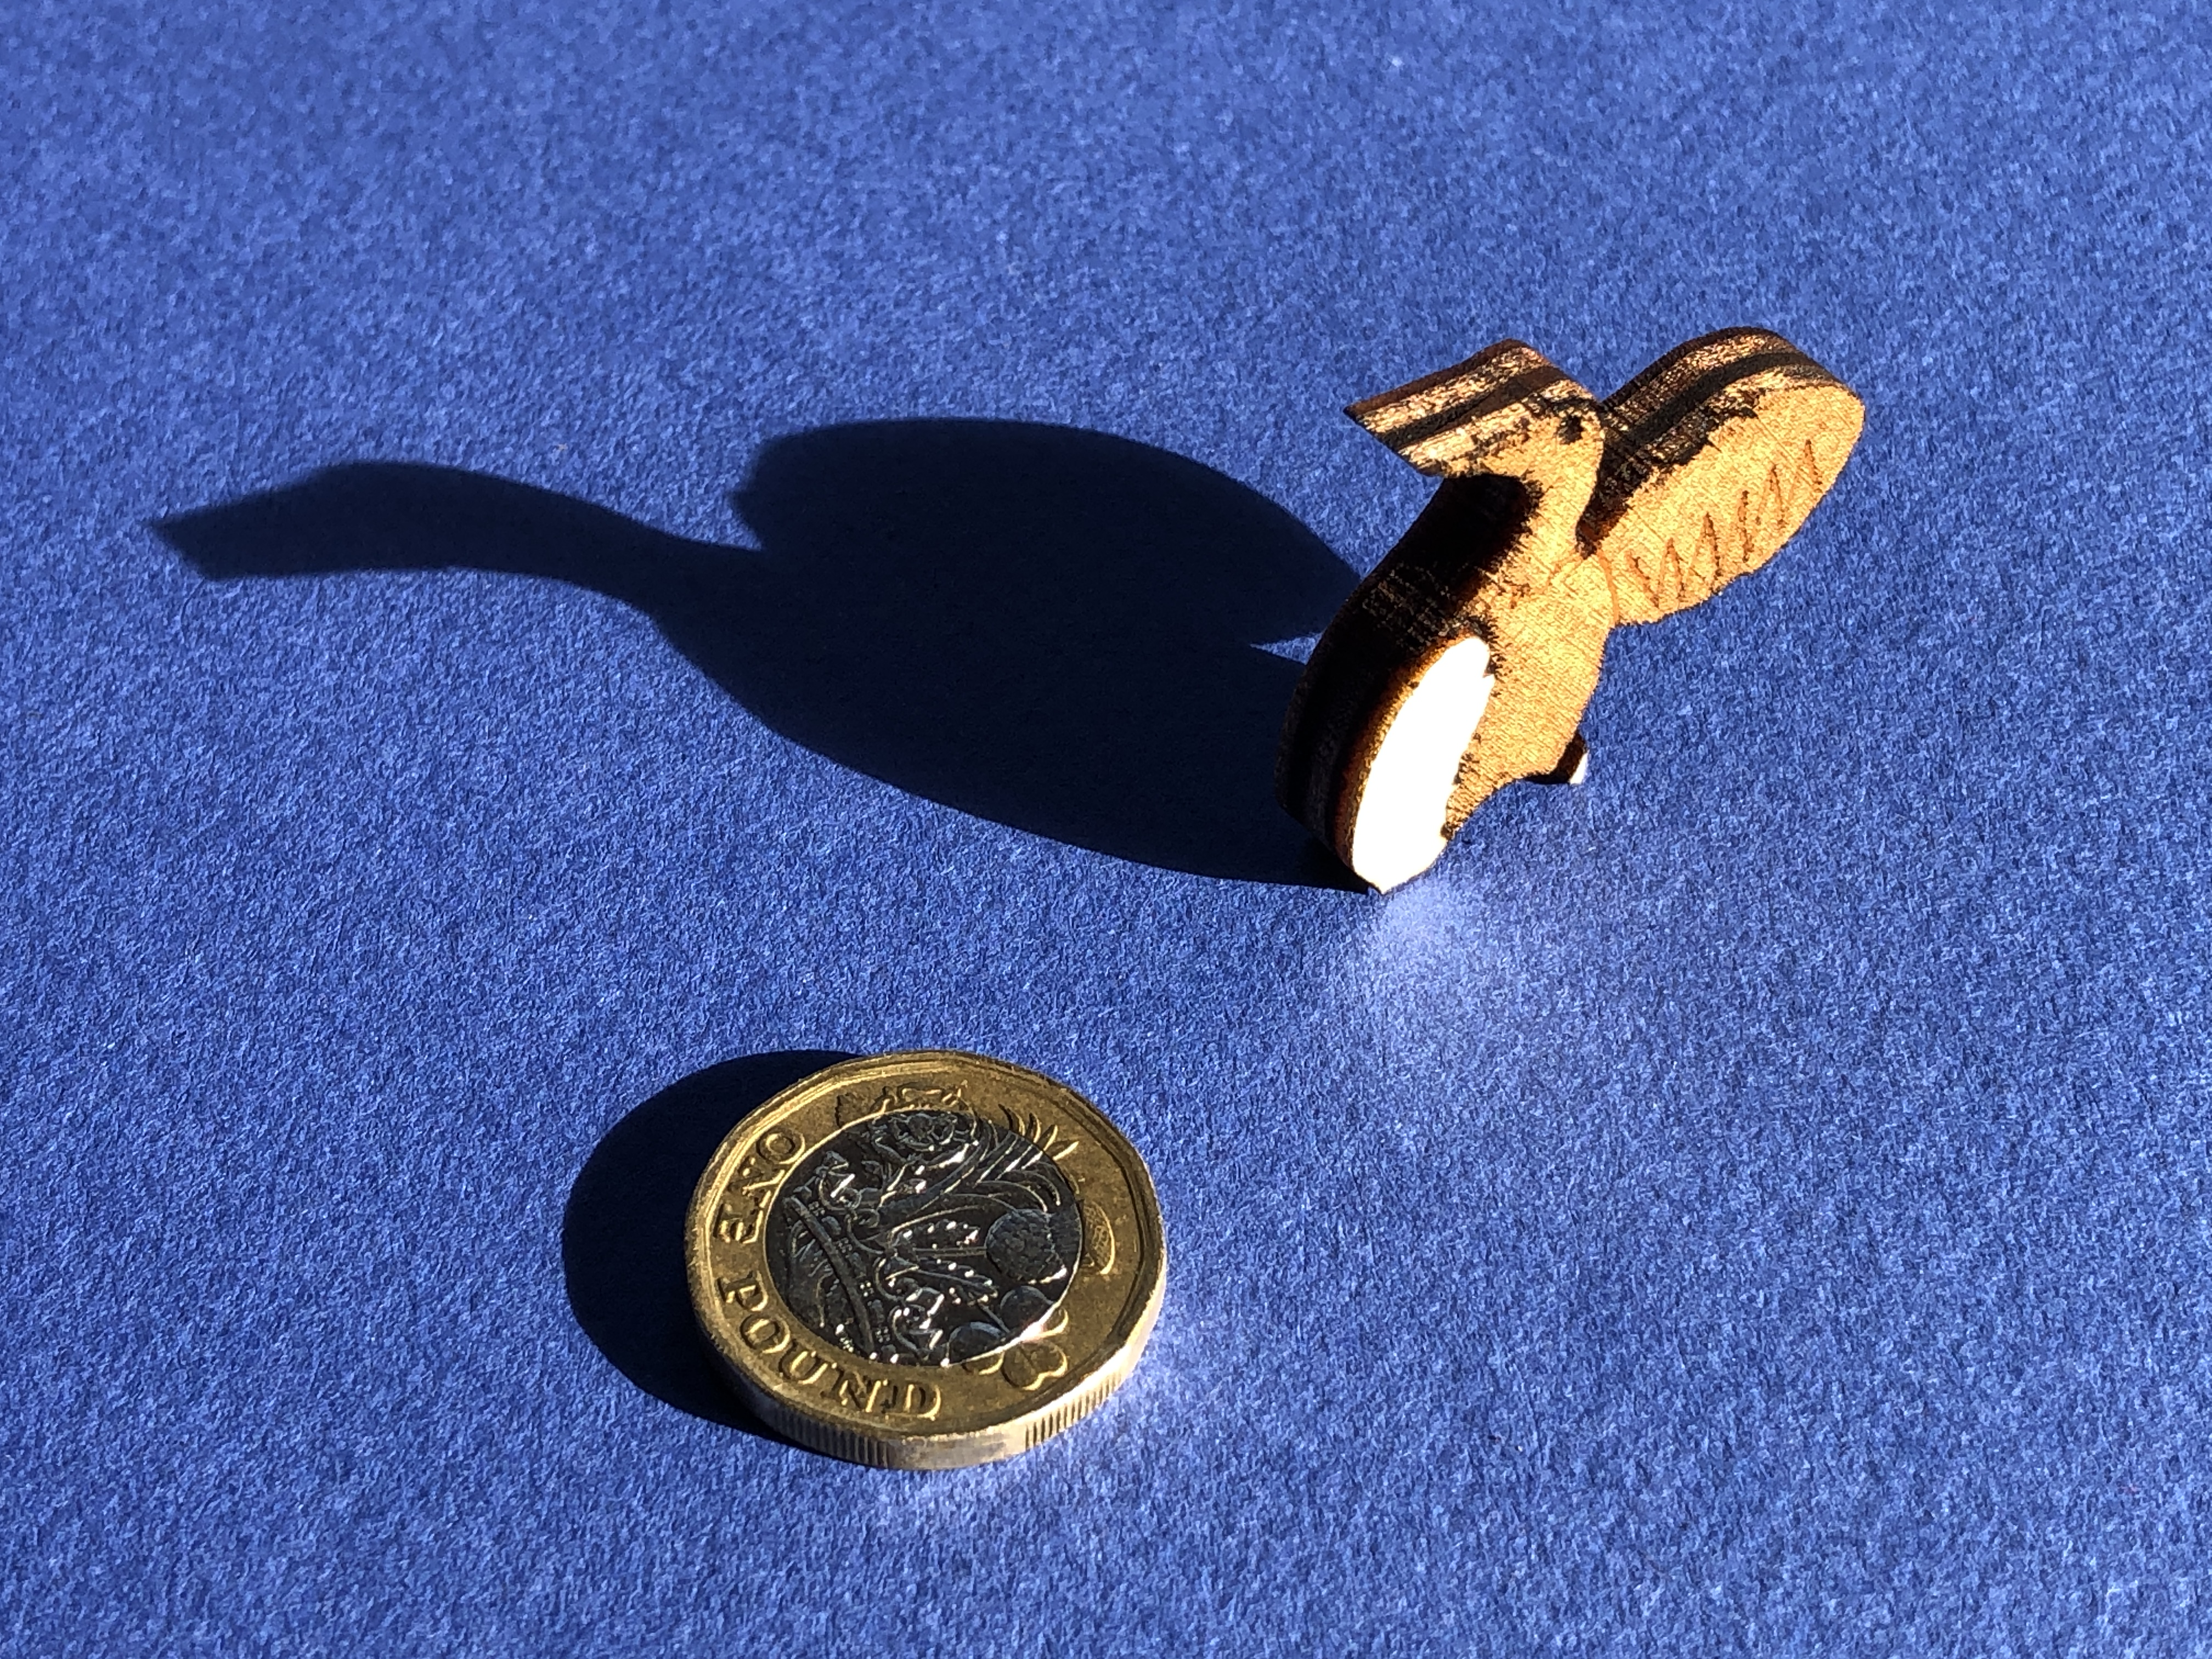
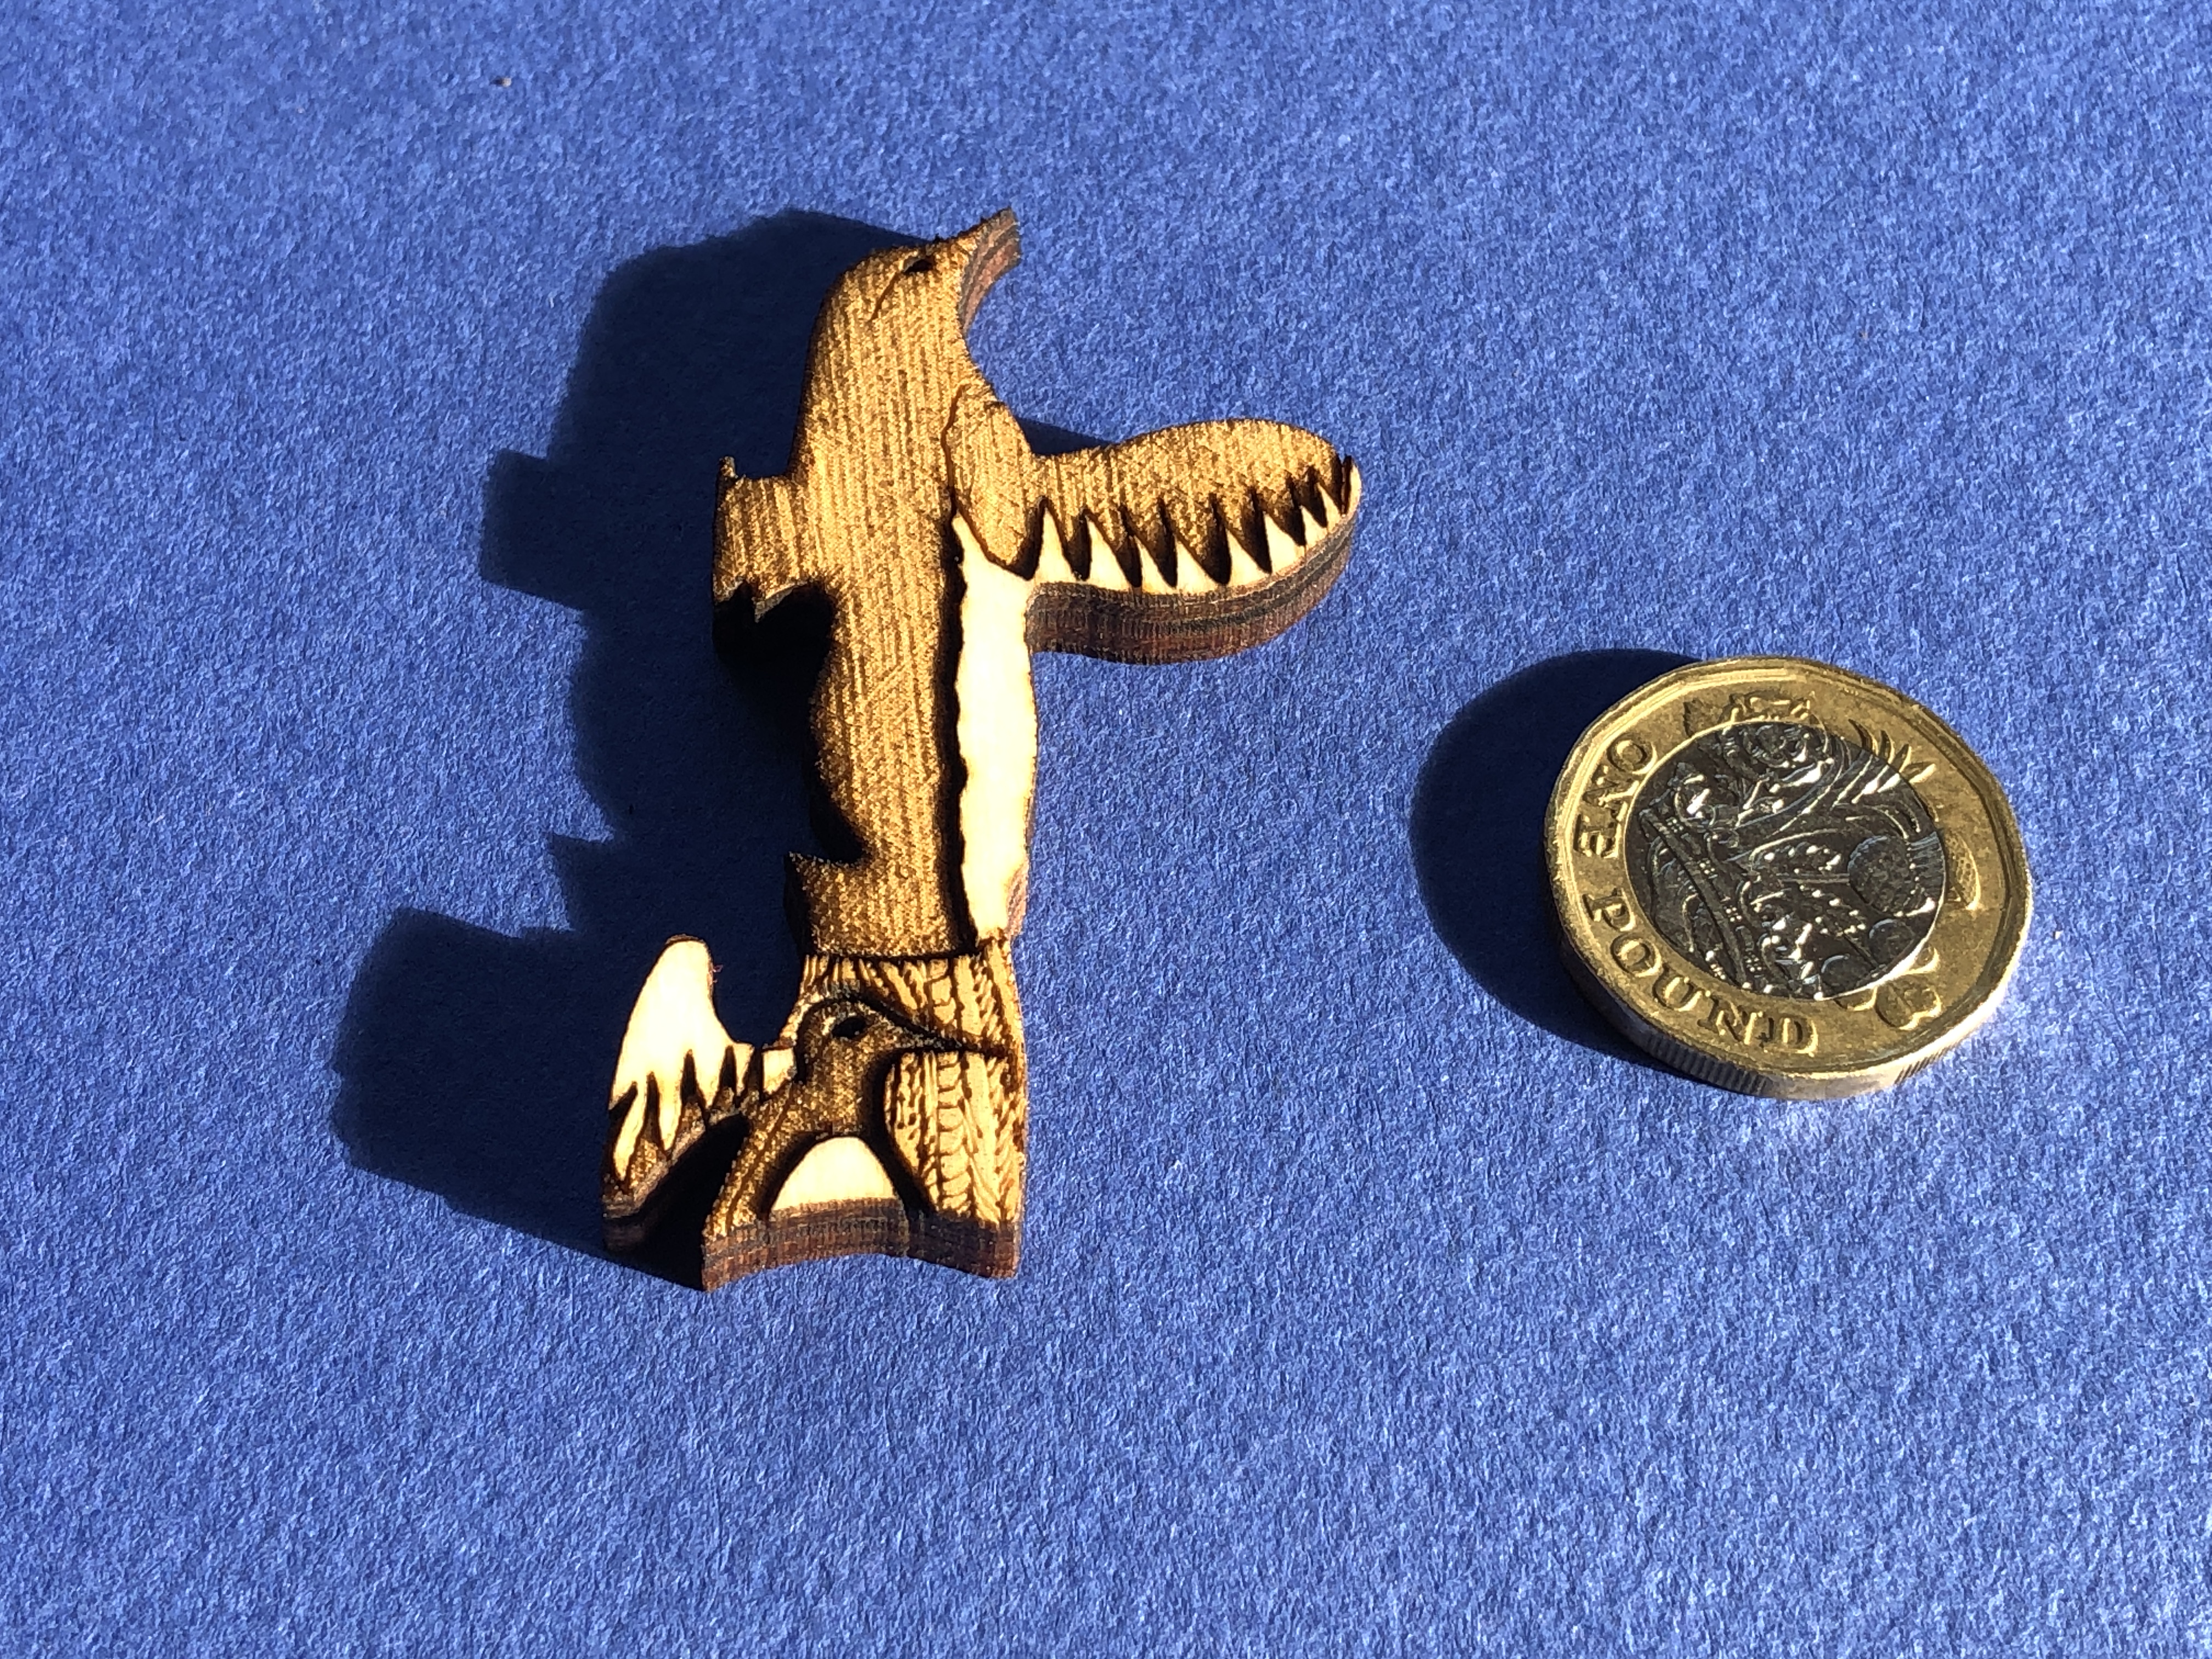
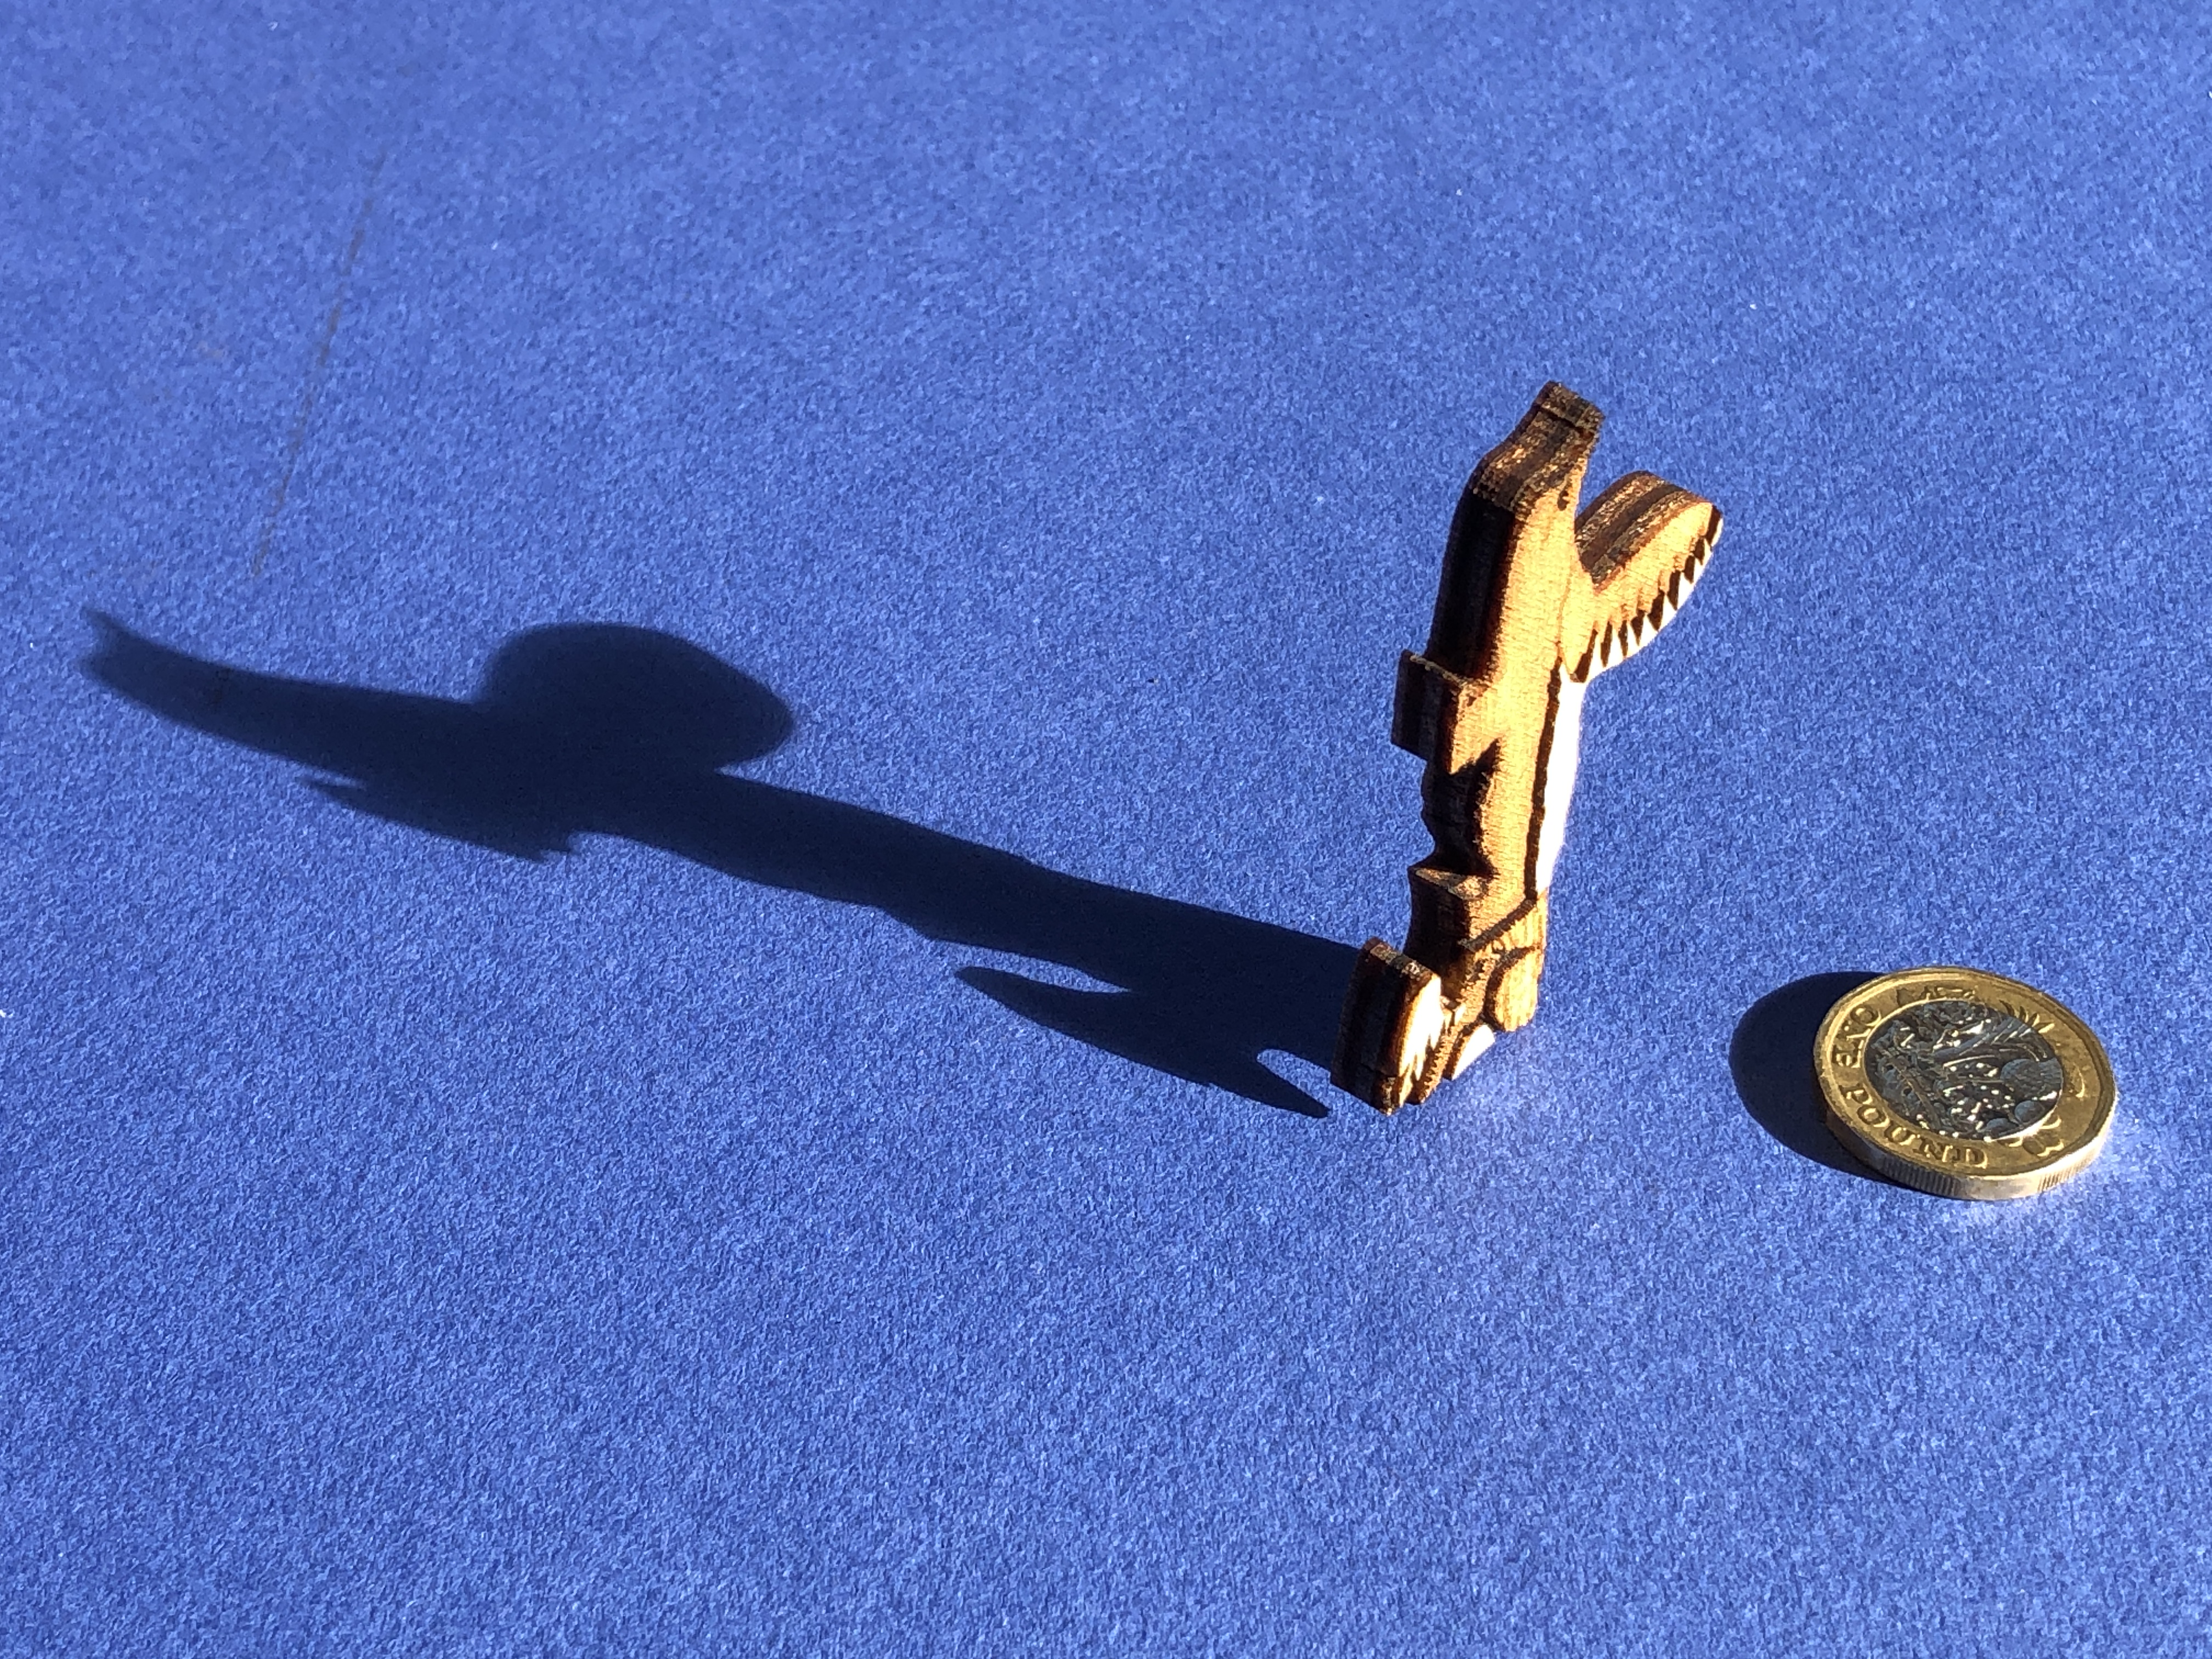
This artwork is my homage to the lines, trapeziums, and animistic geoglyphs of the Nazca desert in Peru – using liquid “stained glass” paints on my pre-cut fretwork design – fixed to a thick sheet of cast clear acrylic – and covered with a glass-smooth layer of non-yellowing clear resin.
Some years back I was lucky enough to tour a lot of Peru and take a plane ride over some of the Nazca lines and geoglyphs. I found them incredibly beautiful, intriguing, mysterious, simple, yet complex. They’re spread over quite a large area (approximately 190 to 385 square miles) of the Nazca desert, and they’ve left a lasting impression on me. For a long time I was quite sceptical about them – thinking they may be fake tourist-bait – apparently only discovered when airplanes started flying over the area… However, I have since learnt a lot more about them – and more have since been discovered and been discovered about them – and I’m now convinced about their age and authenticity.
This is in fact my second stained glass artwork about the Nazca lines and geoglyphs. I did my first around about 2001 – for my then new house that I was improving. The house was quite dark so I replaced all the doors and windows with larger double-glazed units. I decided on double front doors to make it easy to get large things in and out (I always have an eye on transporting large artworks). But the double front doors presented a privacy problem because my house faced onto a busy road and there were clear views into the centre of my house! I wanted to have something to let in the light – and thought about mirrored film. I tried some, but it was far too dark. So that gave me the idea of designing a stained glass window…
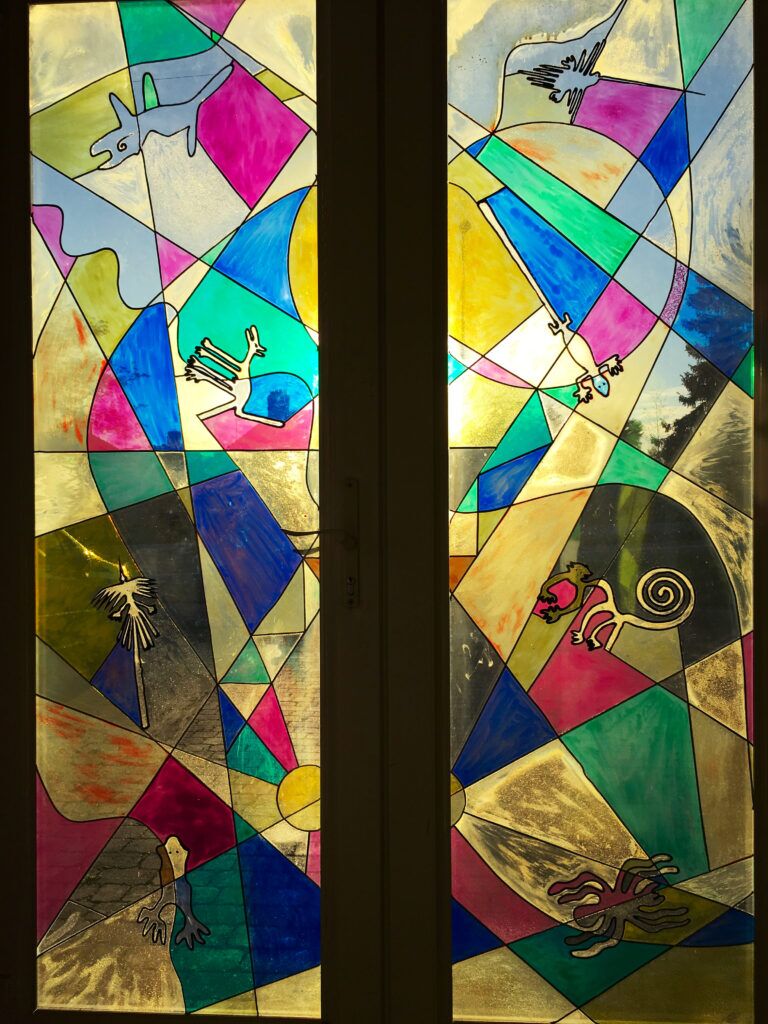
It was my first attempt at “stained glass”, and I come up with the idea of basing it on the Nazca lines and geoglyphs because I had recently travelled to Peru and made a special excursion to see them. For this artwork I tried to pay homage and condense their essence and aesthetics, and I wanted to express the relationship between the lines, trapeziums, and animistic geoglyphs. Sometimes if you stand too closely to something you can’t see it for what it is – and it helps if someone condenses it and shows you… I used glass paint (I can’t remember the brand) – and adhesive lead-effect strips. I designed it using line (vector) drawing software, printed it out, and used that at my template under the glass. The glass was precisely sized to fit in the frame recess of the double patio doors – so the design had to be split in half vertically (but I took no notice of this in my design).
Original stained glass design for my Cambridge house double front door.
Some twenty-five years later I revisited “stained glass” making – largely because I saw the huge potential for it with my recent interest in lasers. I got into lasers because I saw lots of creative possibilities using them – for example I could draw things – including very intricate things – and cut them out in various materials extremely precisely – and at any scale. My (new) idea for stained glass was to cut out the black “lead” lines of a stained glass design from a thin sheet of opaque plastic, stick that to a thick sheet of clear acrylic, simply pour coloured glass paint into the what-are-now-recessed shapes, and then cover the whole design with a protective layer of clear resin. Much easier than cutting glass and leading it…? My new design took into account the incredible detail and finesse I could achieve – compared to having to used fixed-width “leading”.
However, the sticking of a laser-cut fretwork design on to a sheet of acrylic proved to be more difficult than expected because, firstly, it’s very tricky to glue such a large, fine and delicate lattice evenly all over (many parts were a millimetre wide and very fragile), and, secondly, it’s difficult to get even pressure on it while the glue dries because the surface of the plastic proved to be not completely flat. The latter I only realised afterwards, was because the cuts in the plastic are not completely flat – the reason being the laser cuts by melting it, and that melting – from a close-up side-on view of the cut – is not completely even (top and bottom) – especially at corners – when the laser slows down approaching them, and speeds-up again moving away.
In practice, this imperfect join of the fretwork to the acrylic sheet meant that liquid glass paint poured into individual cells of the design could leak into adjacent cells – which are usually meant to be a different colour. To fix these mistakes required me waiting for the paint in those cells to dry, clean out all the unintended leakages in adjoining cells, before being able to pour paint in them. Naturally the painting process took much longer than anticipated. Big lesson learnt…!
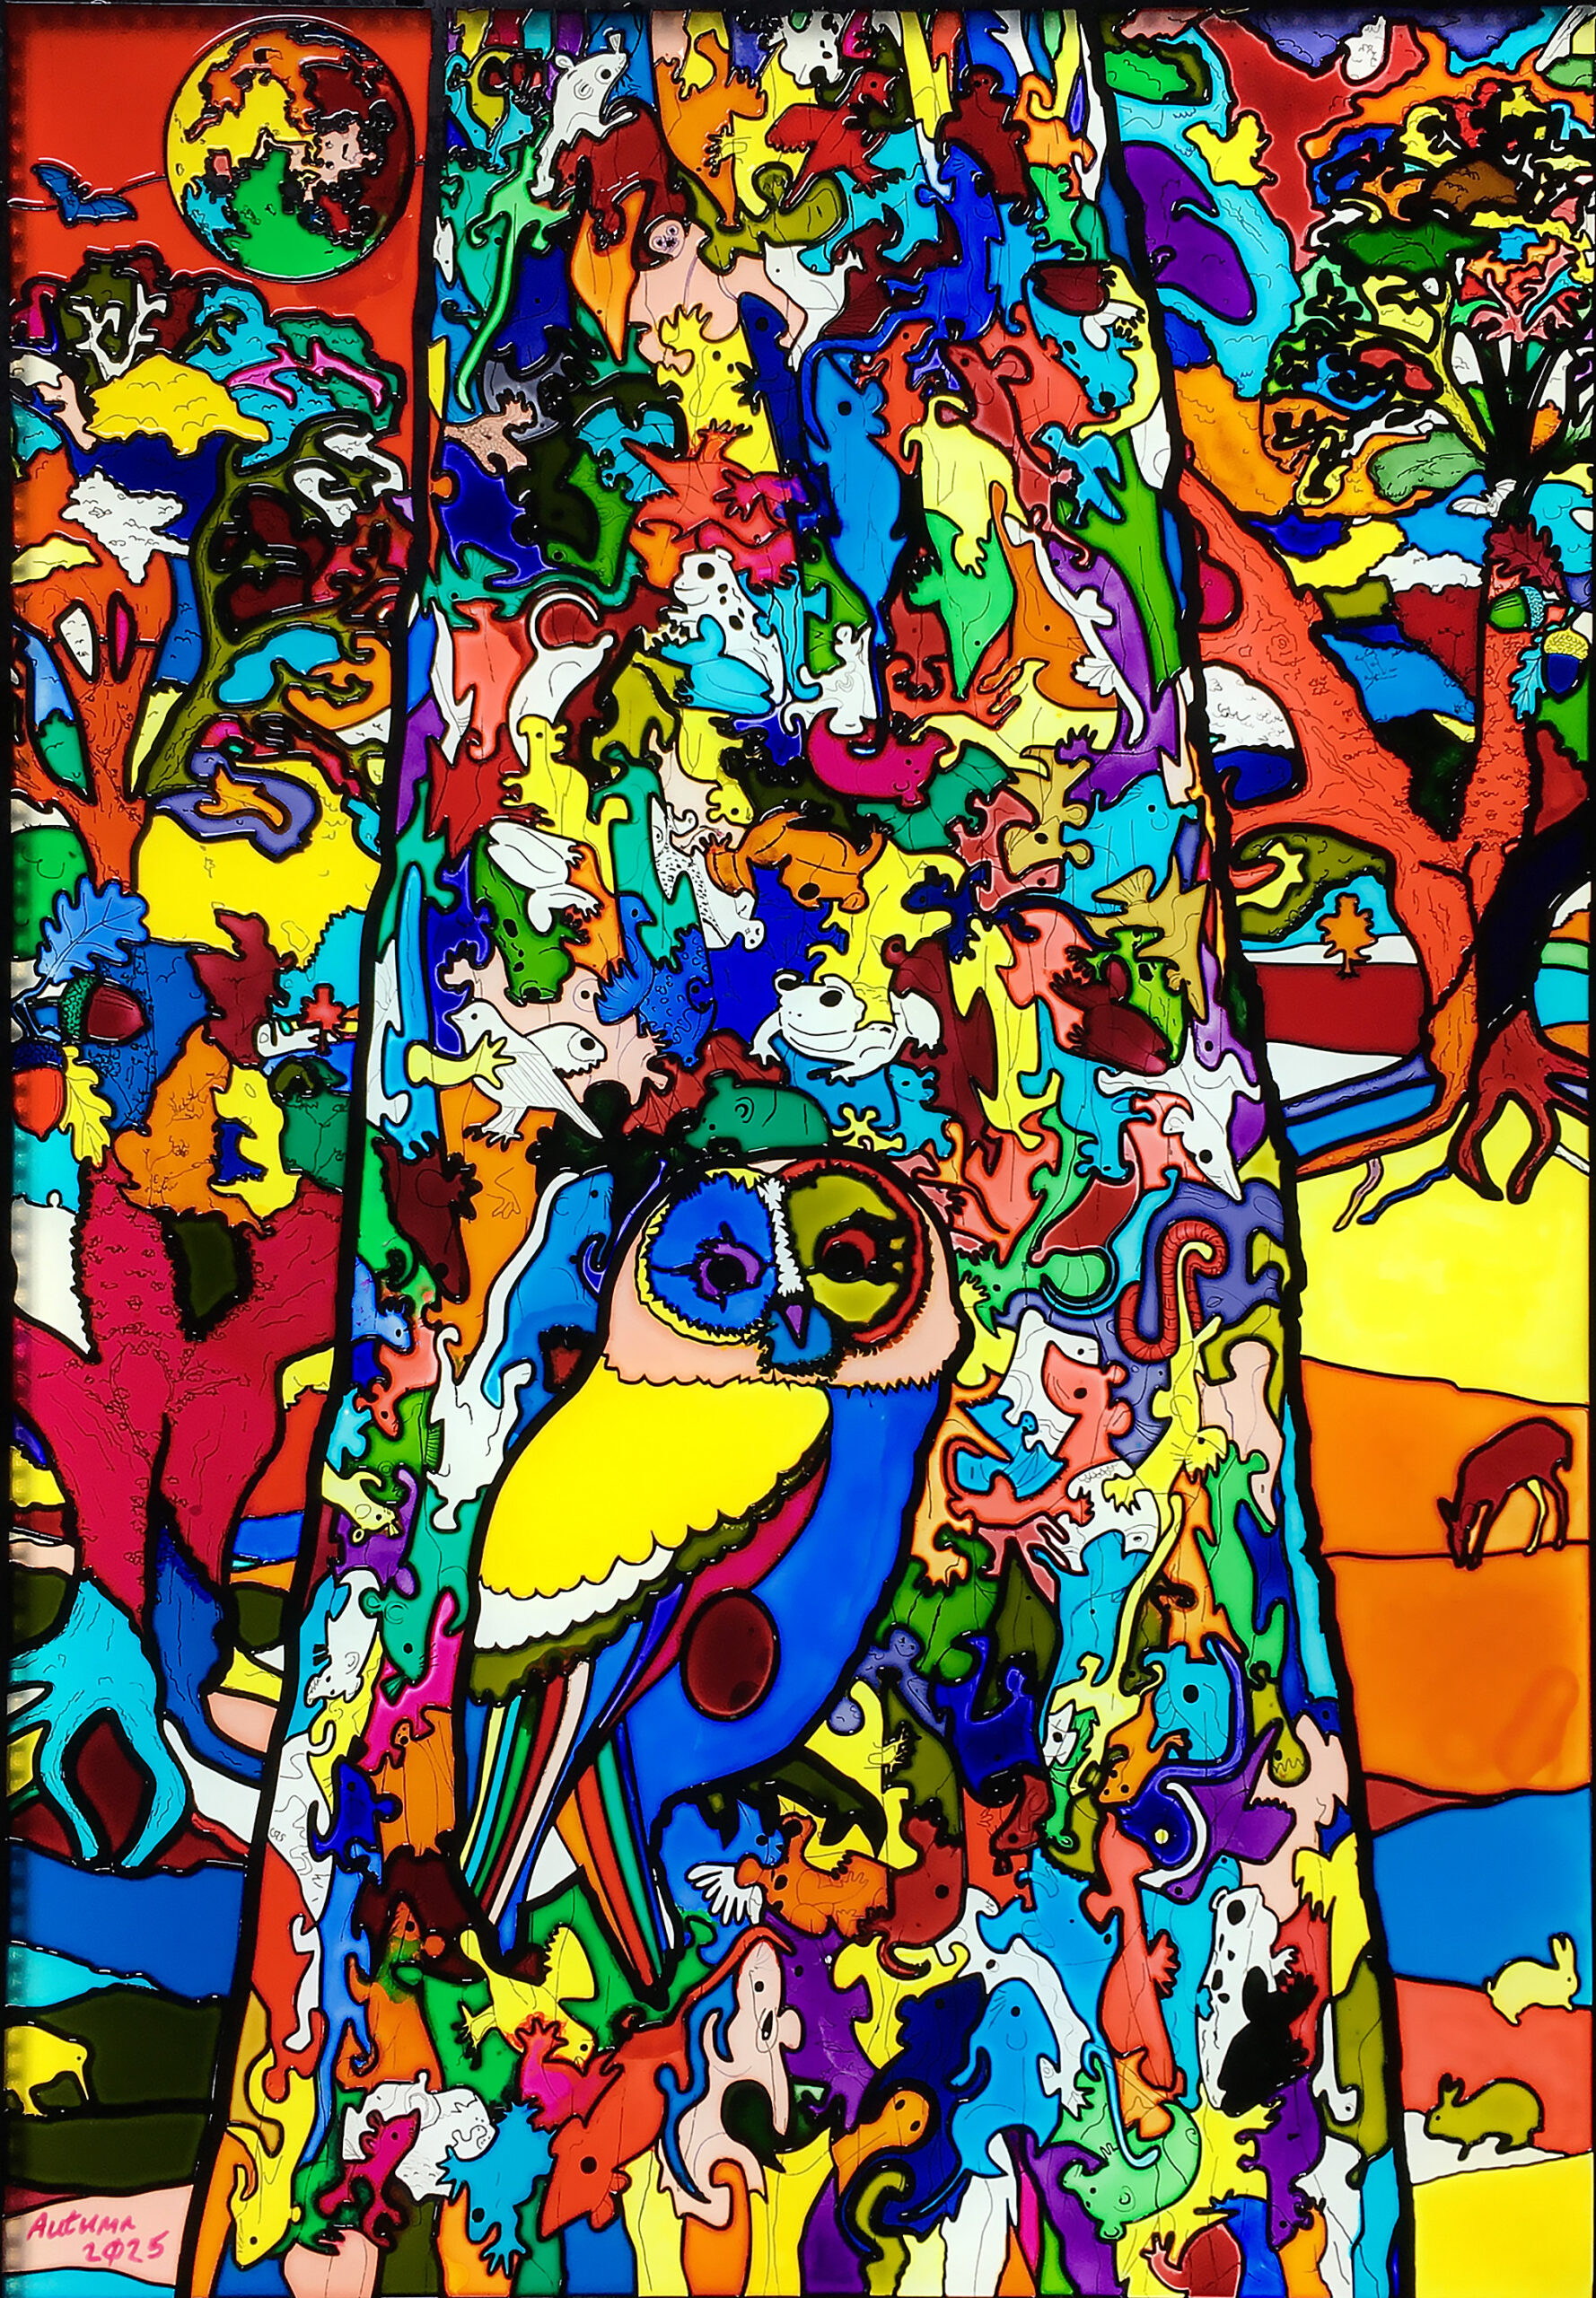
Title: “Tawny Owl in Landscape (Predator and Prey) (floral map)” Artist: Michael Autumn Medium: Resinous glass paints on faux leaded (composite plastic) clear cast acrylic sheet Size: 60cm (W) x 85cm (H) Edition: Original Authenticity: Hand-signed (bottom, far left) with purple glass paint on light pink painted cloisonné cell. Date: 02/2025
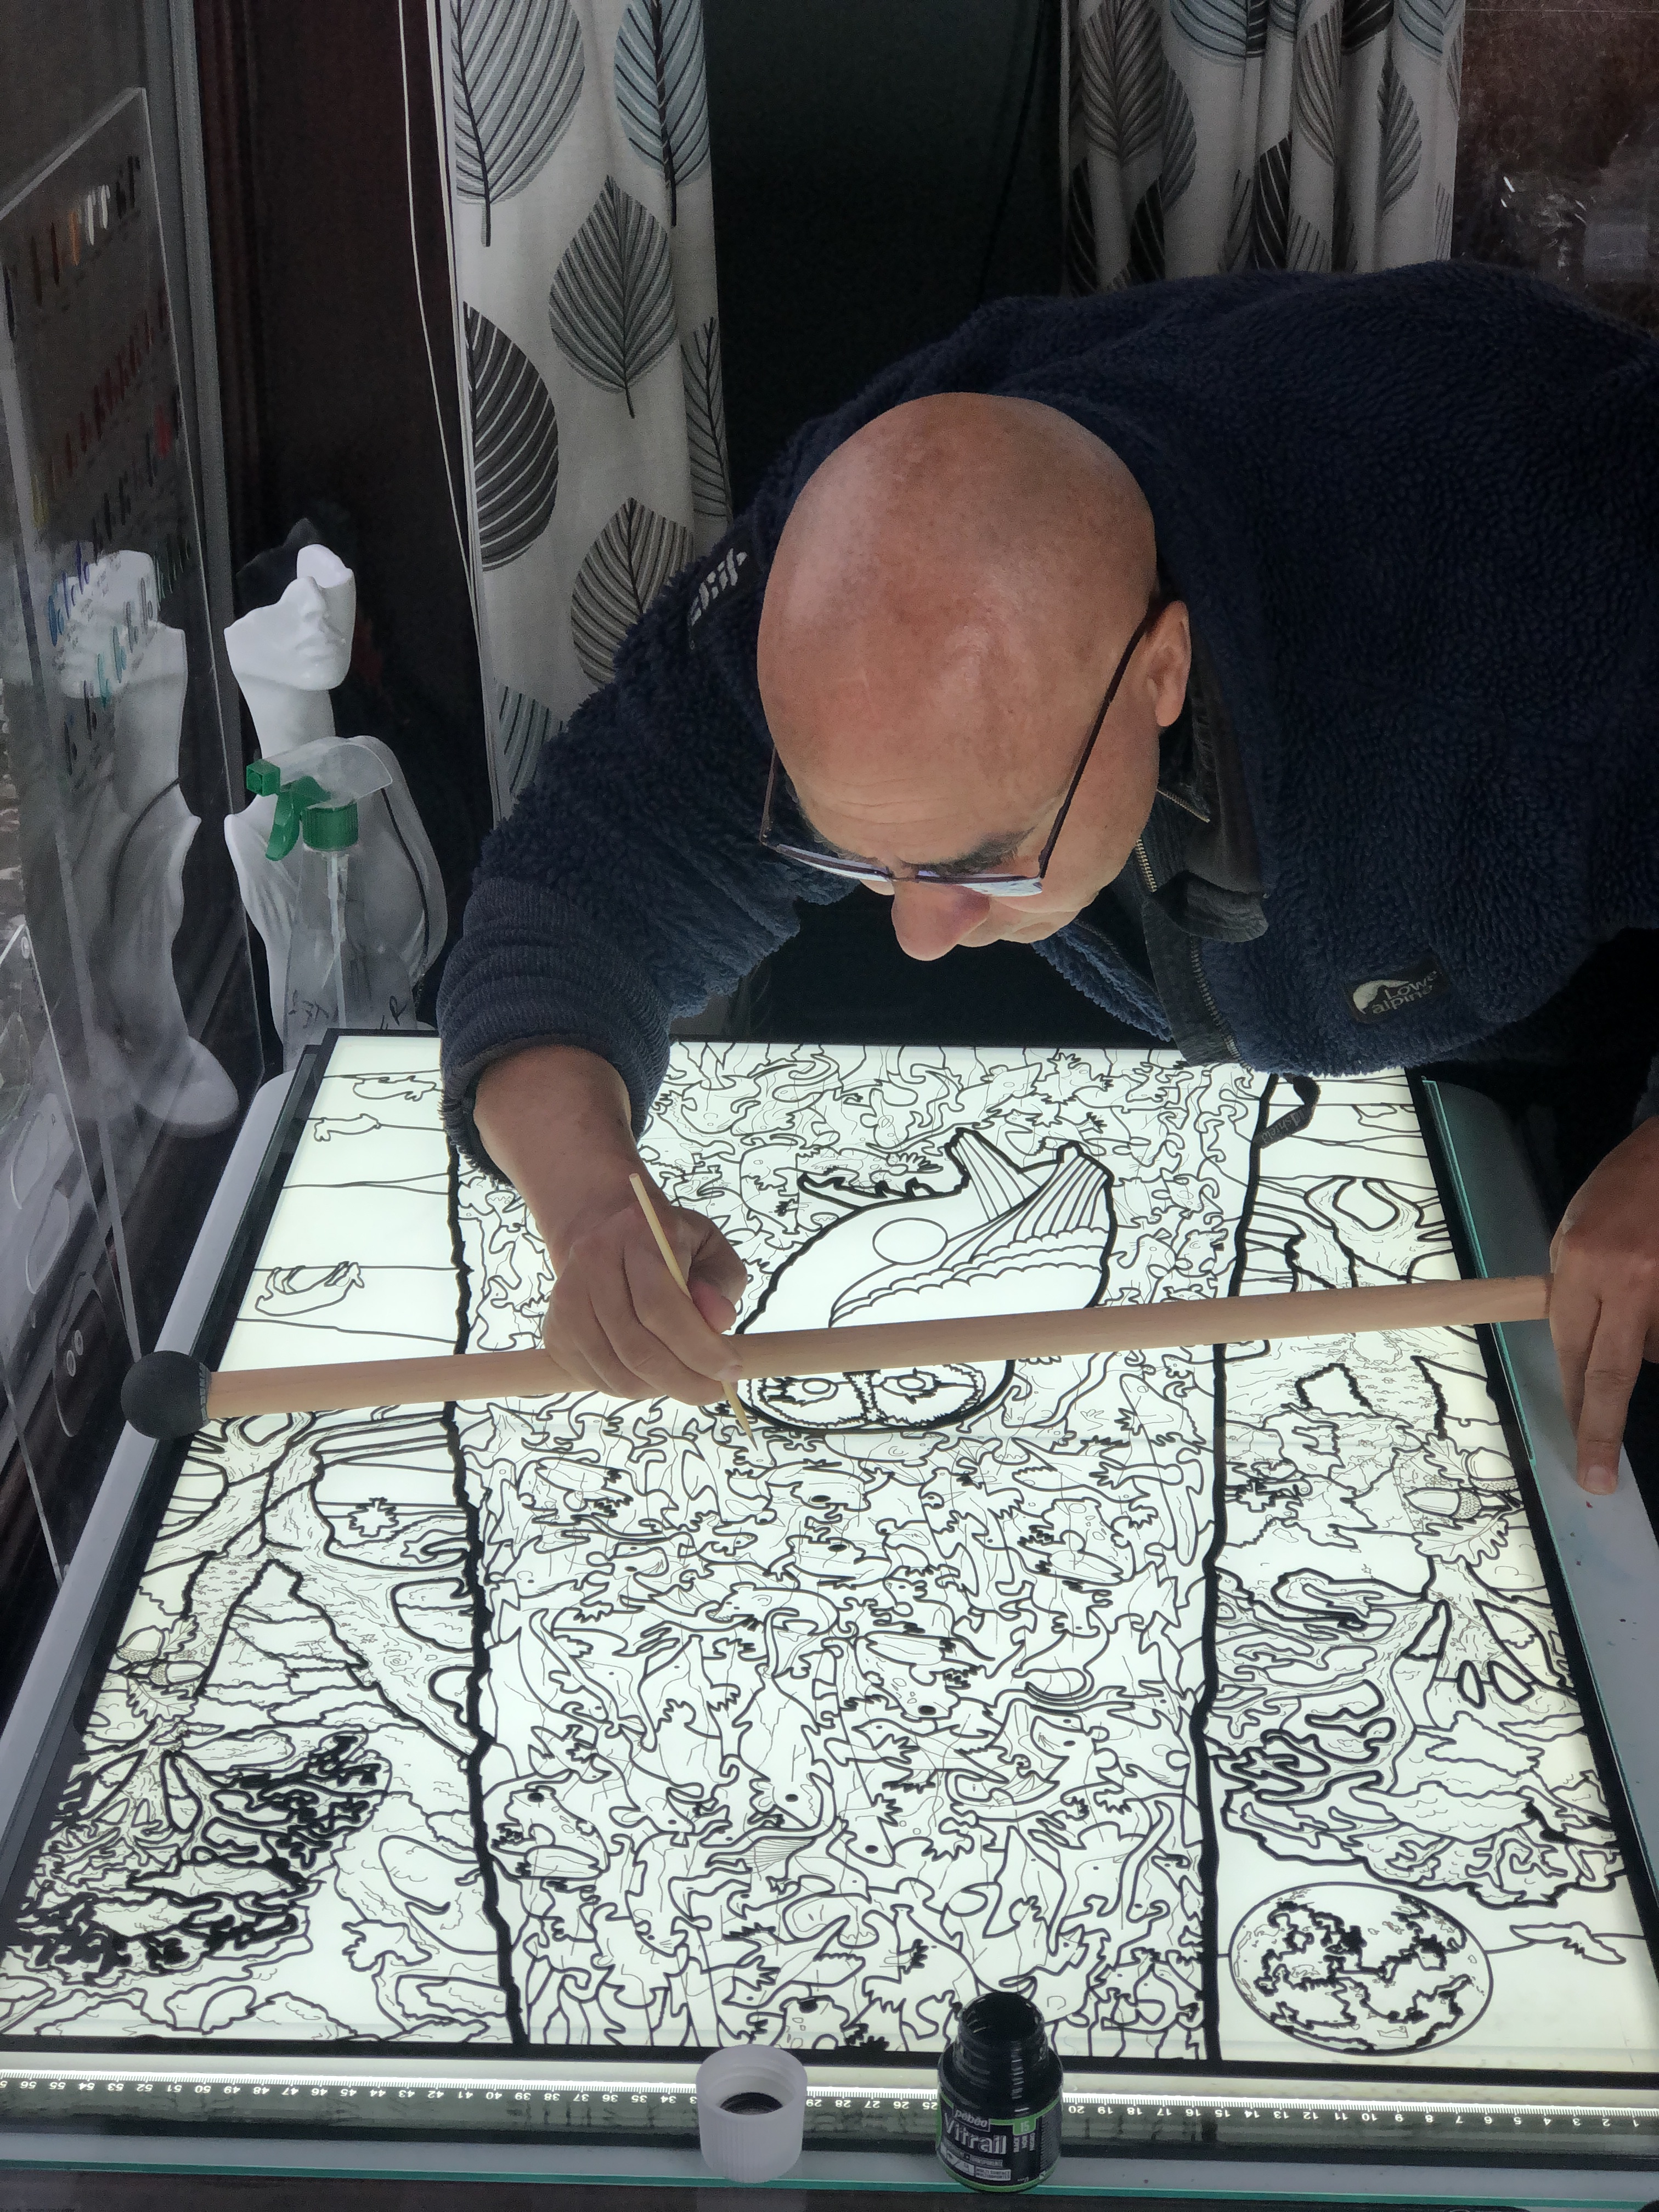
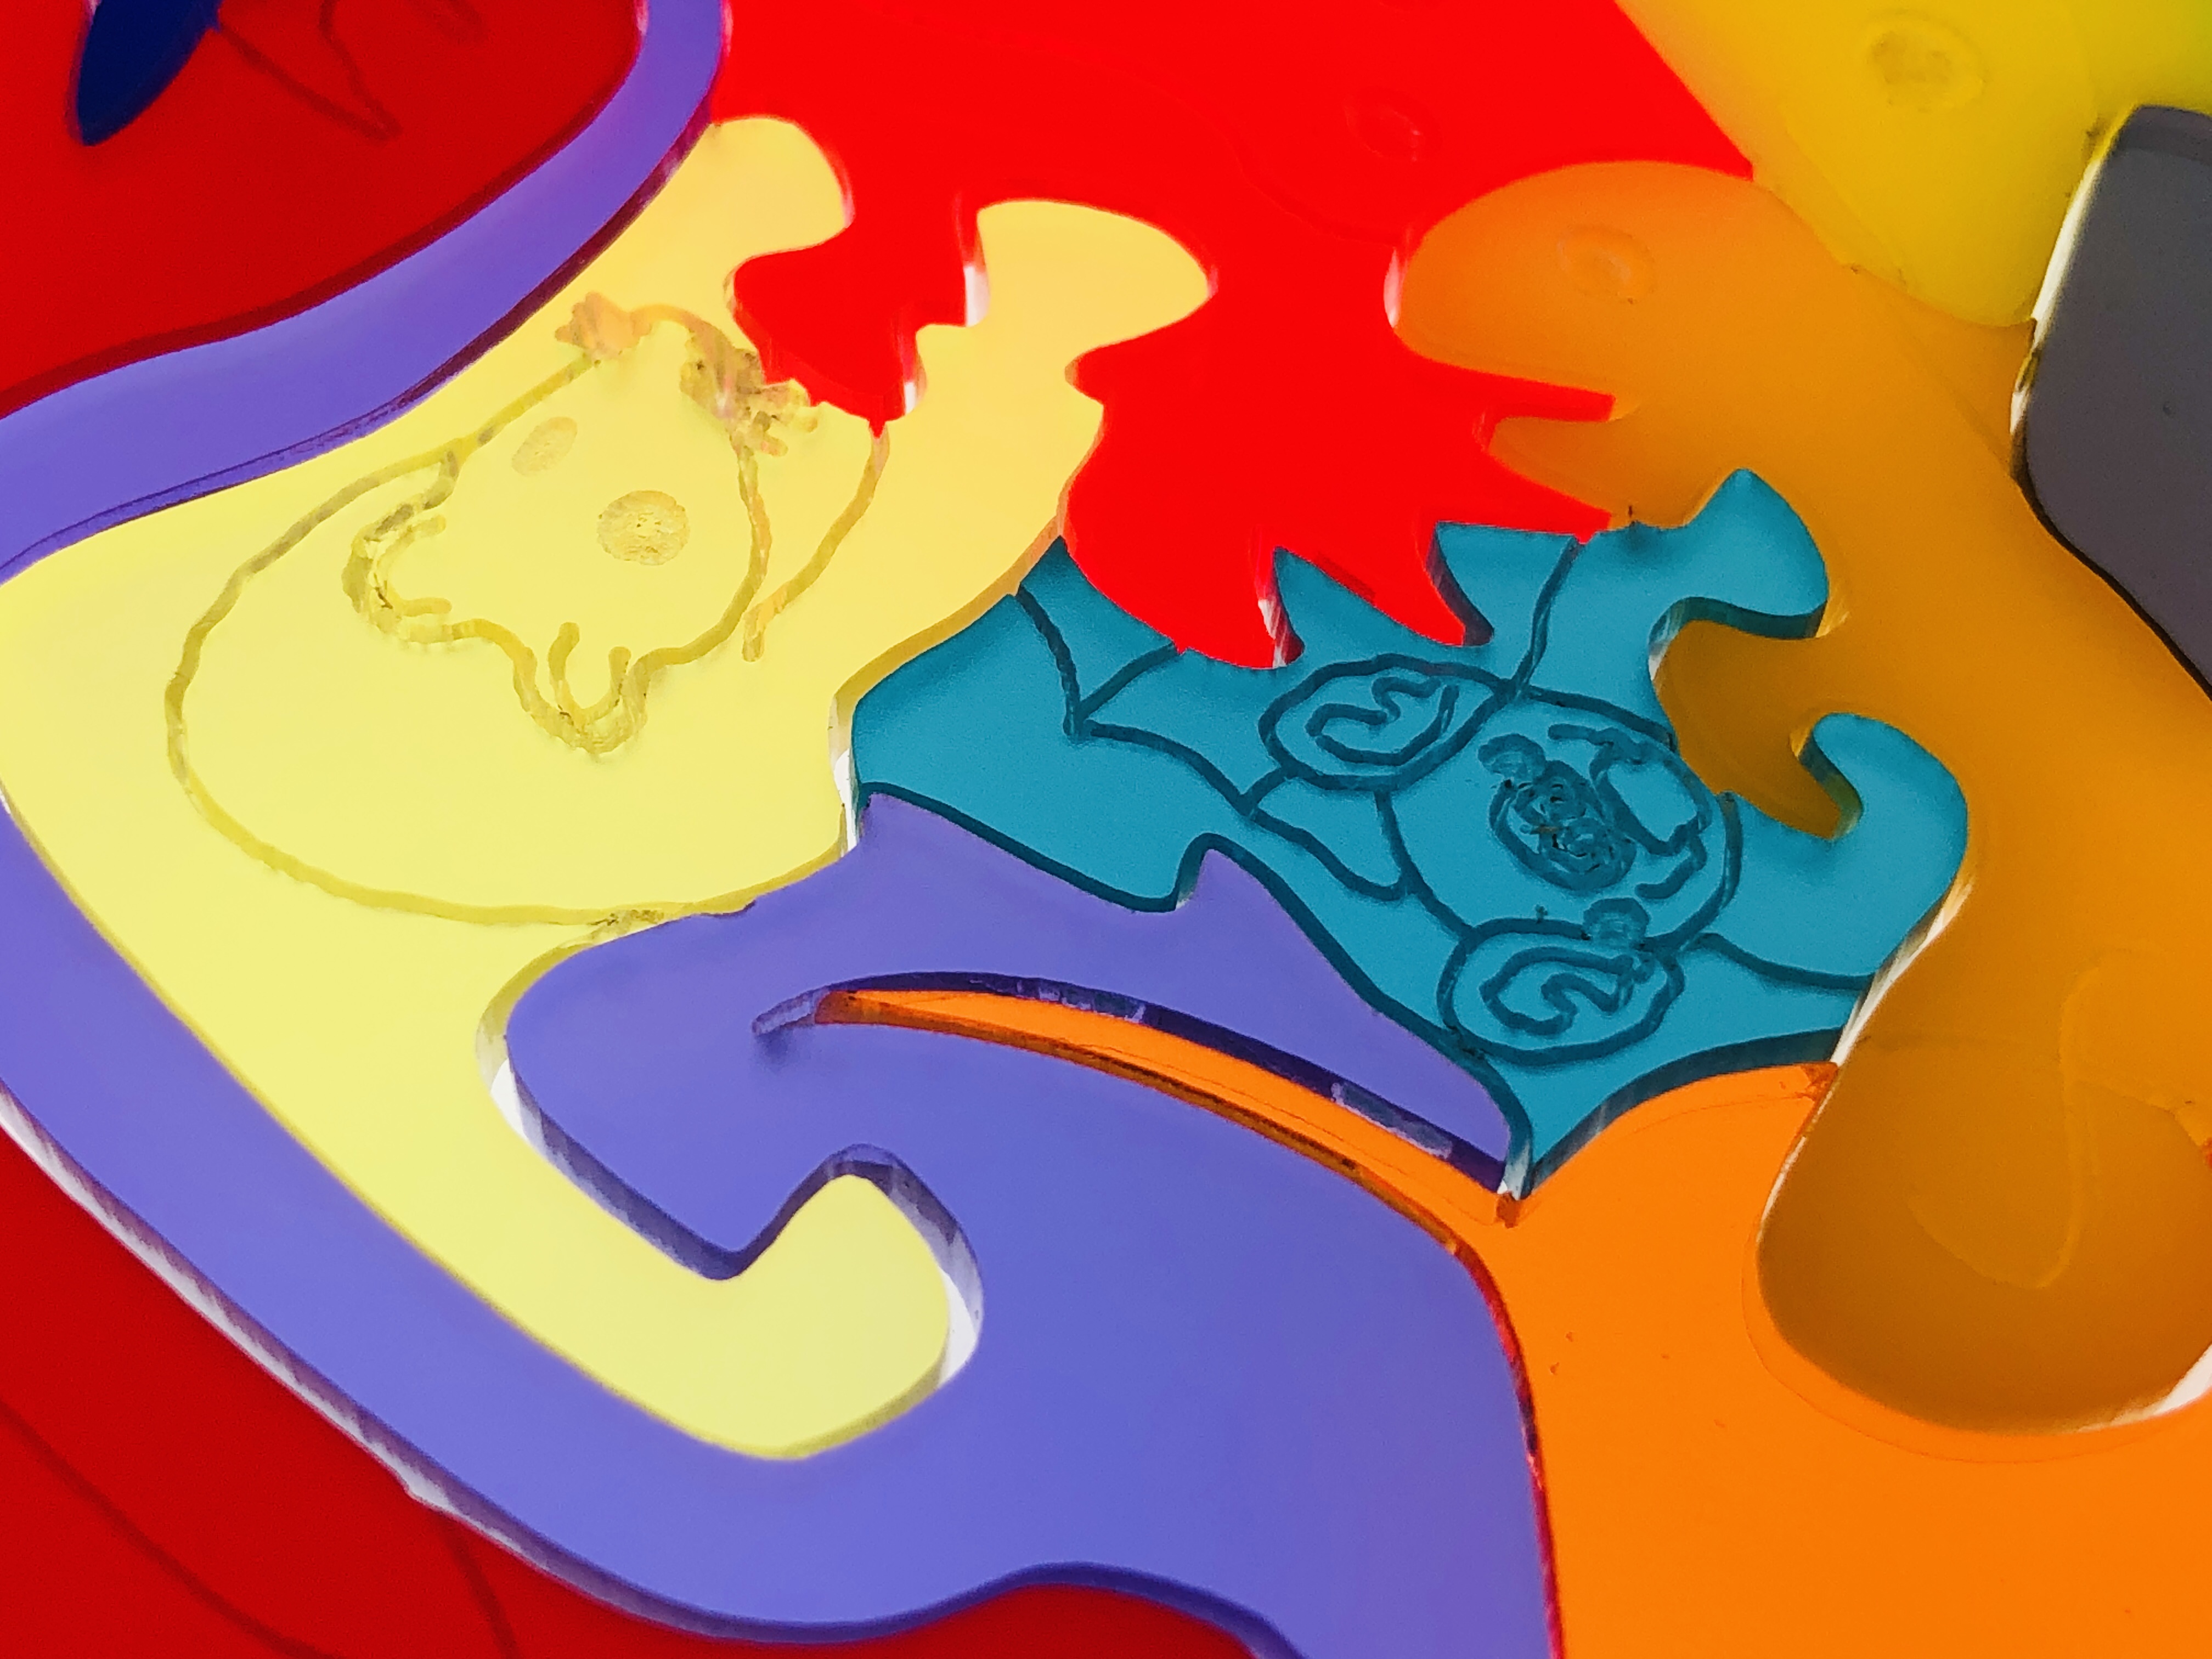
Michael Autumn drawing and painting black detail lines and spots amid the laser cut black composite plastic faux leading.
TL;DR
Not tied to any particular medium or technique, I have tried to devise a way of achieving a stained-glass look with much more detail than is conventionally possible – using a clear acrylic sheet, laser-cut black composite “leading” (aka “cames” – the “H”-shaped strips of lead holding the glass pieces together), and the coloured “glass pieces” are transparent resinous glass paint.
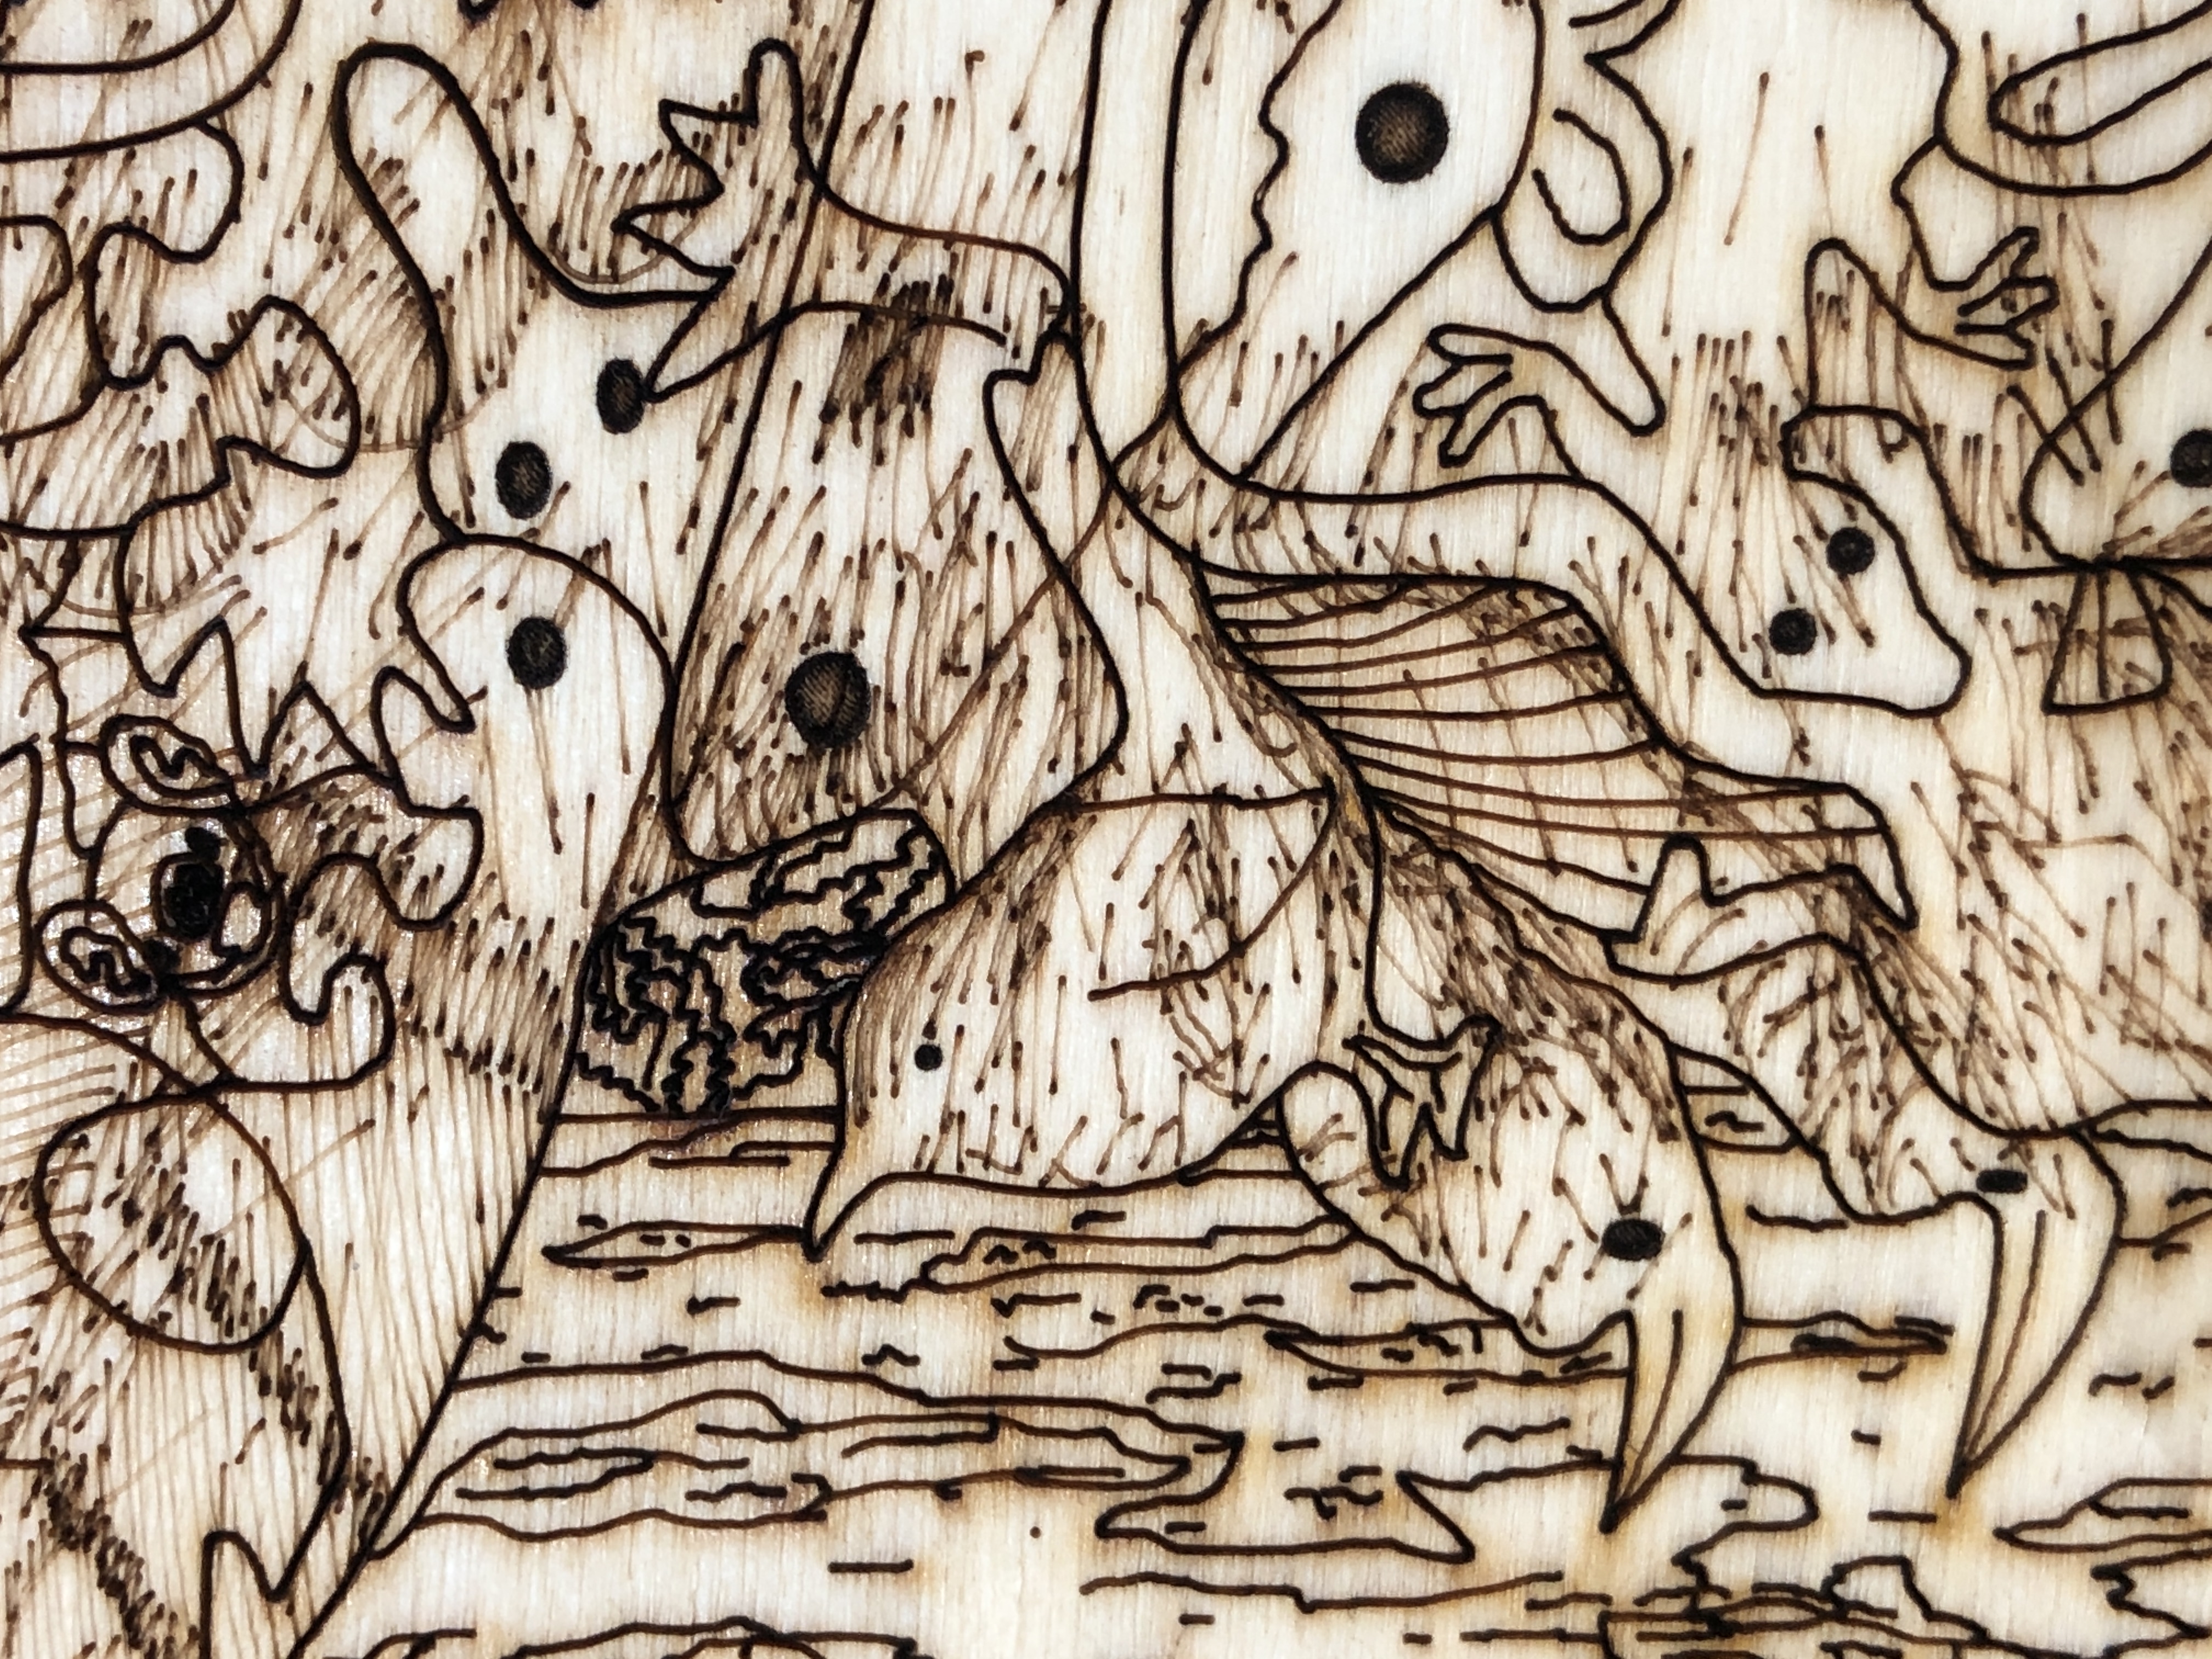
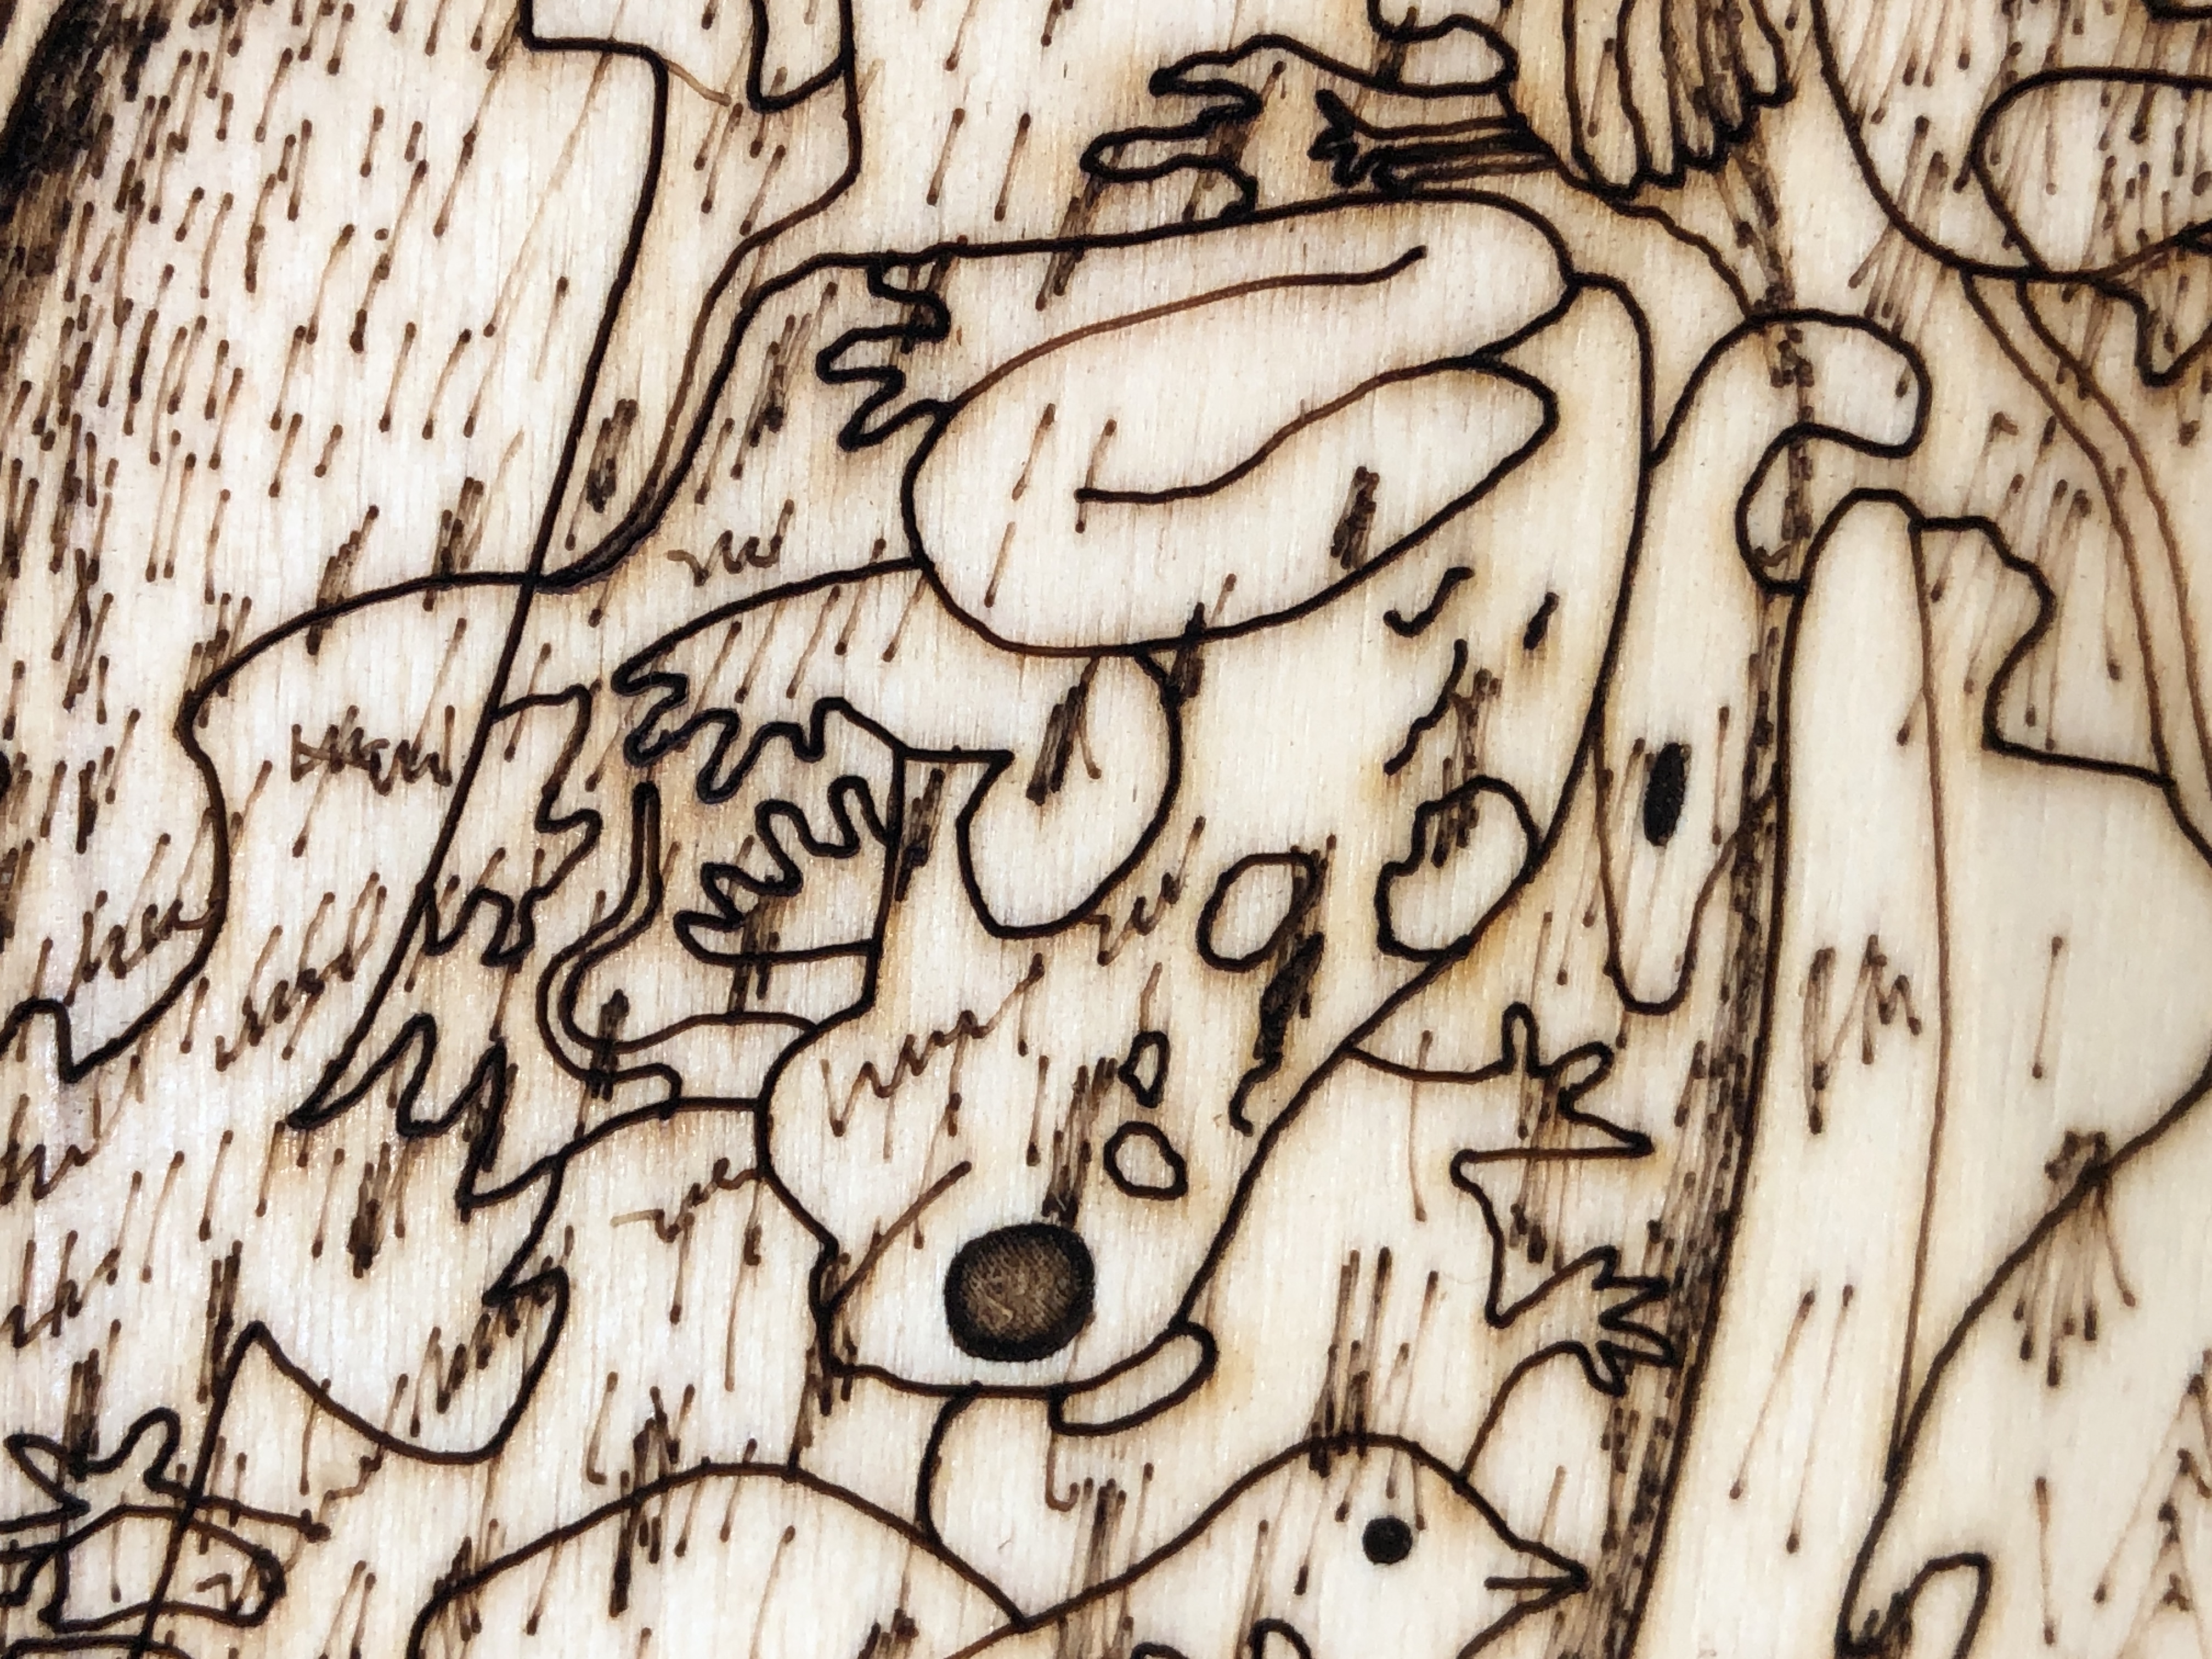
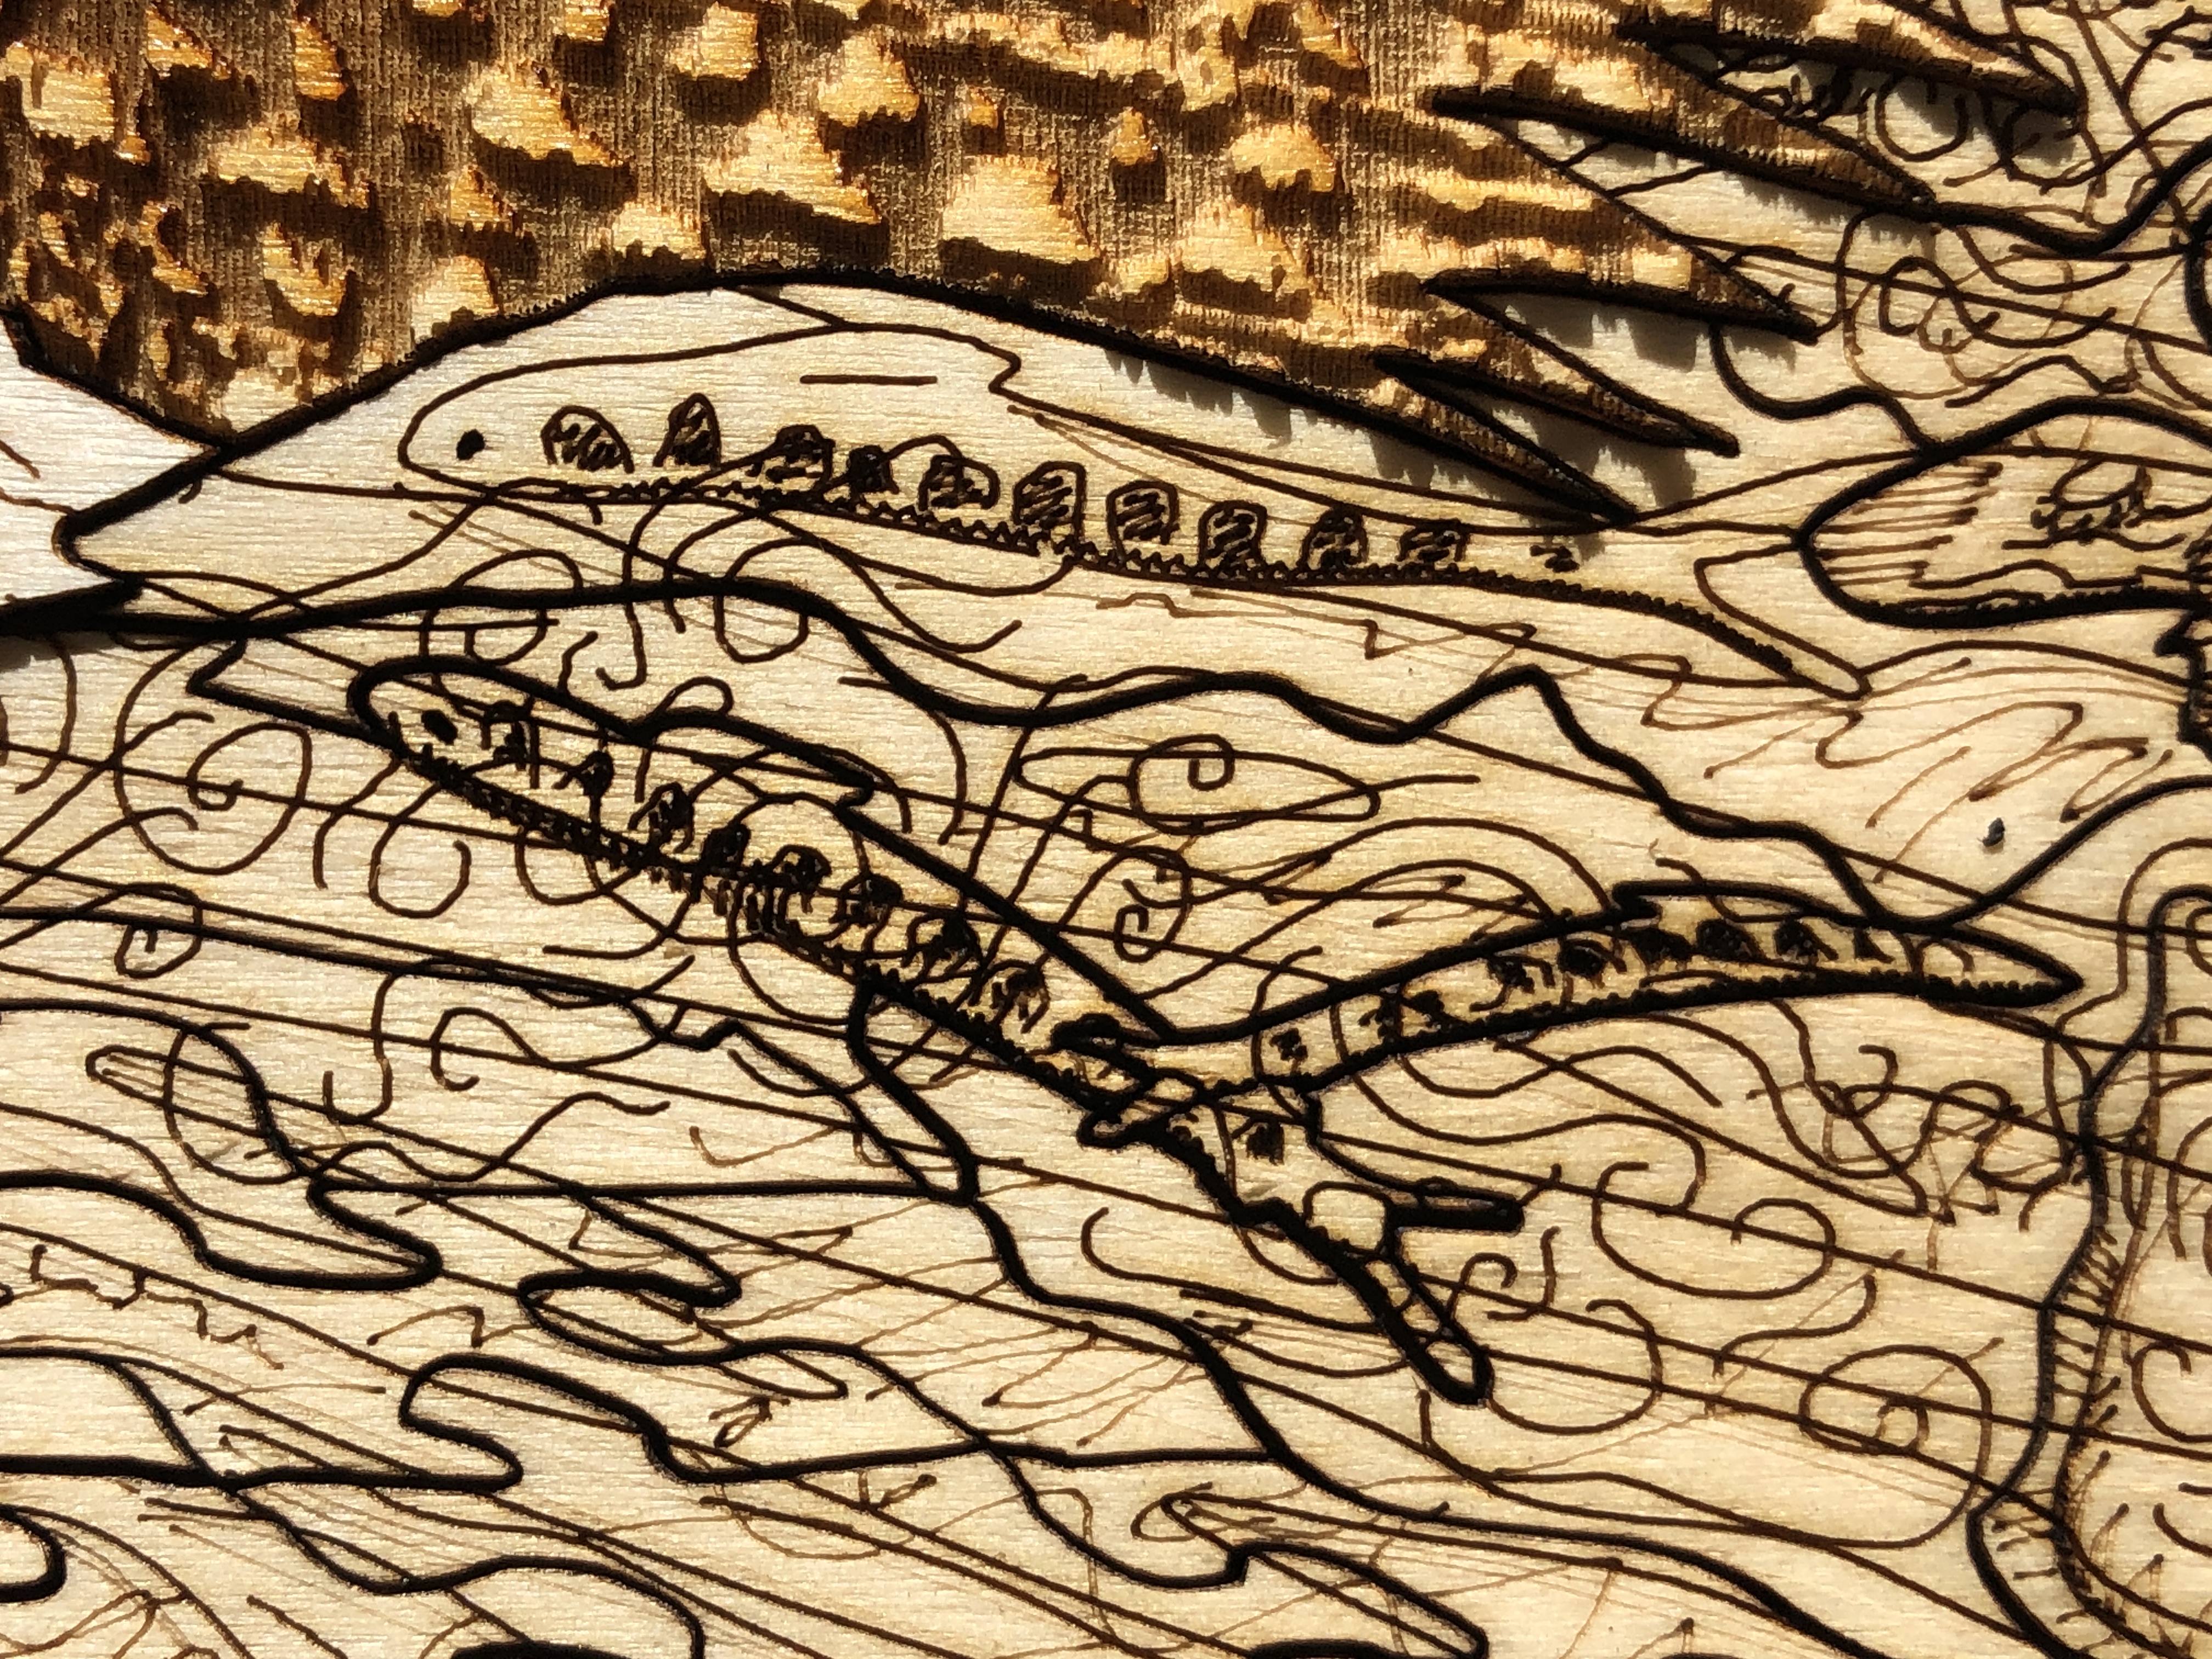
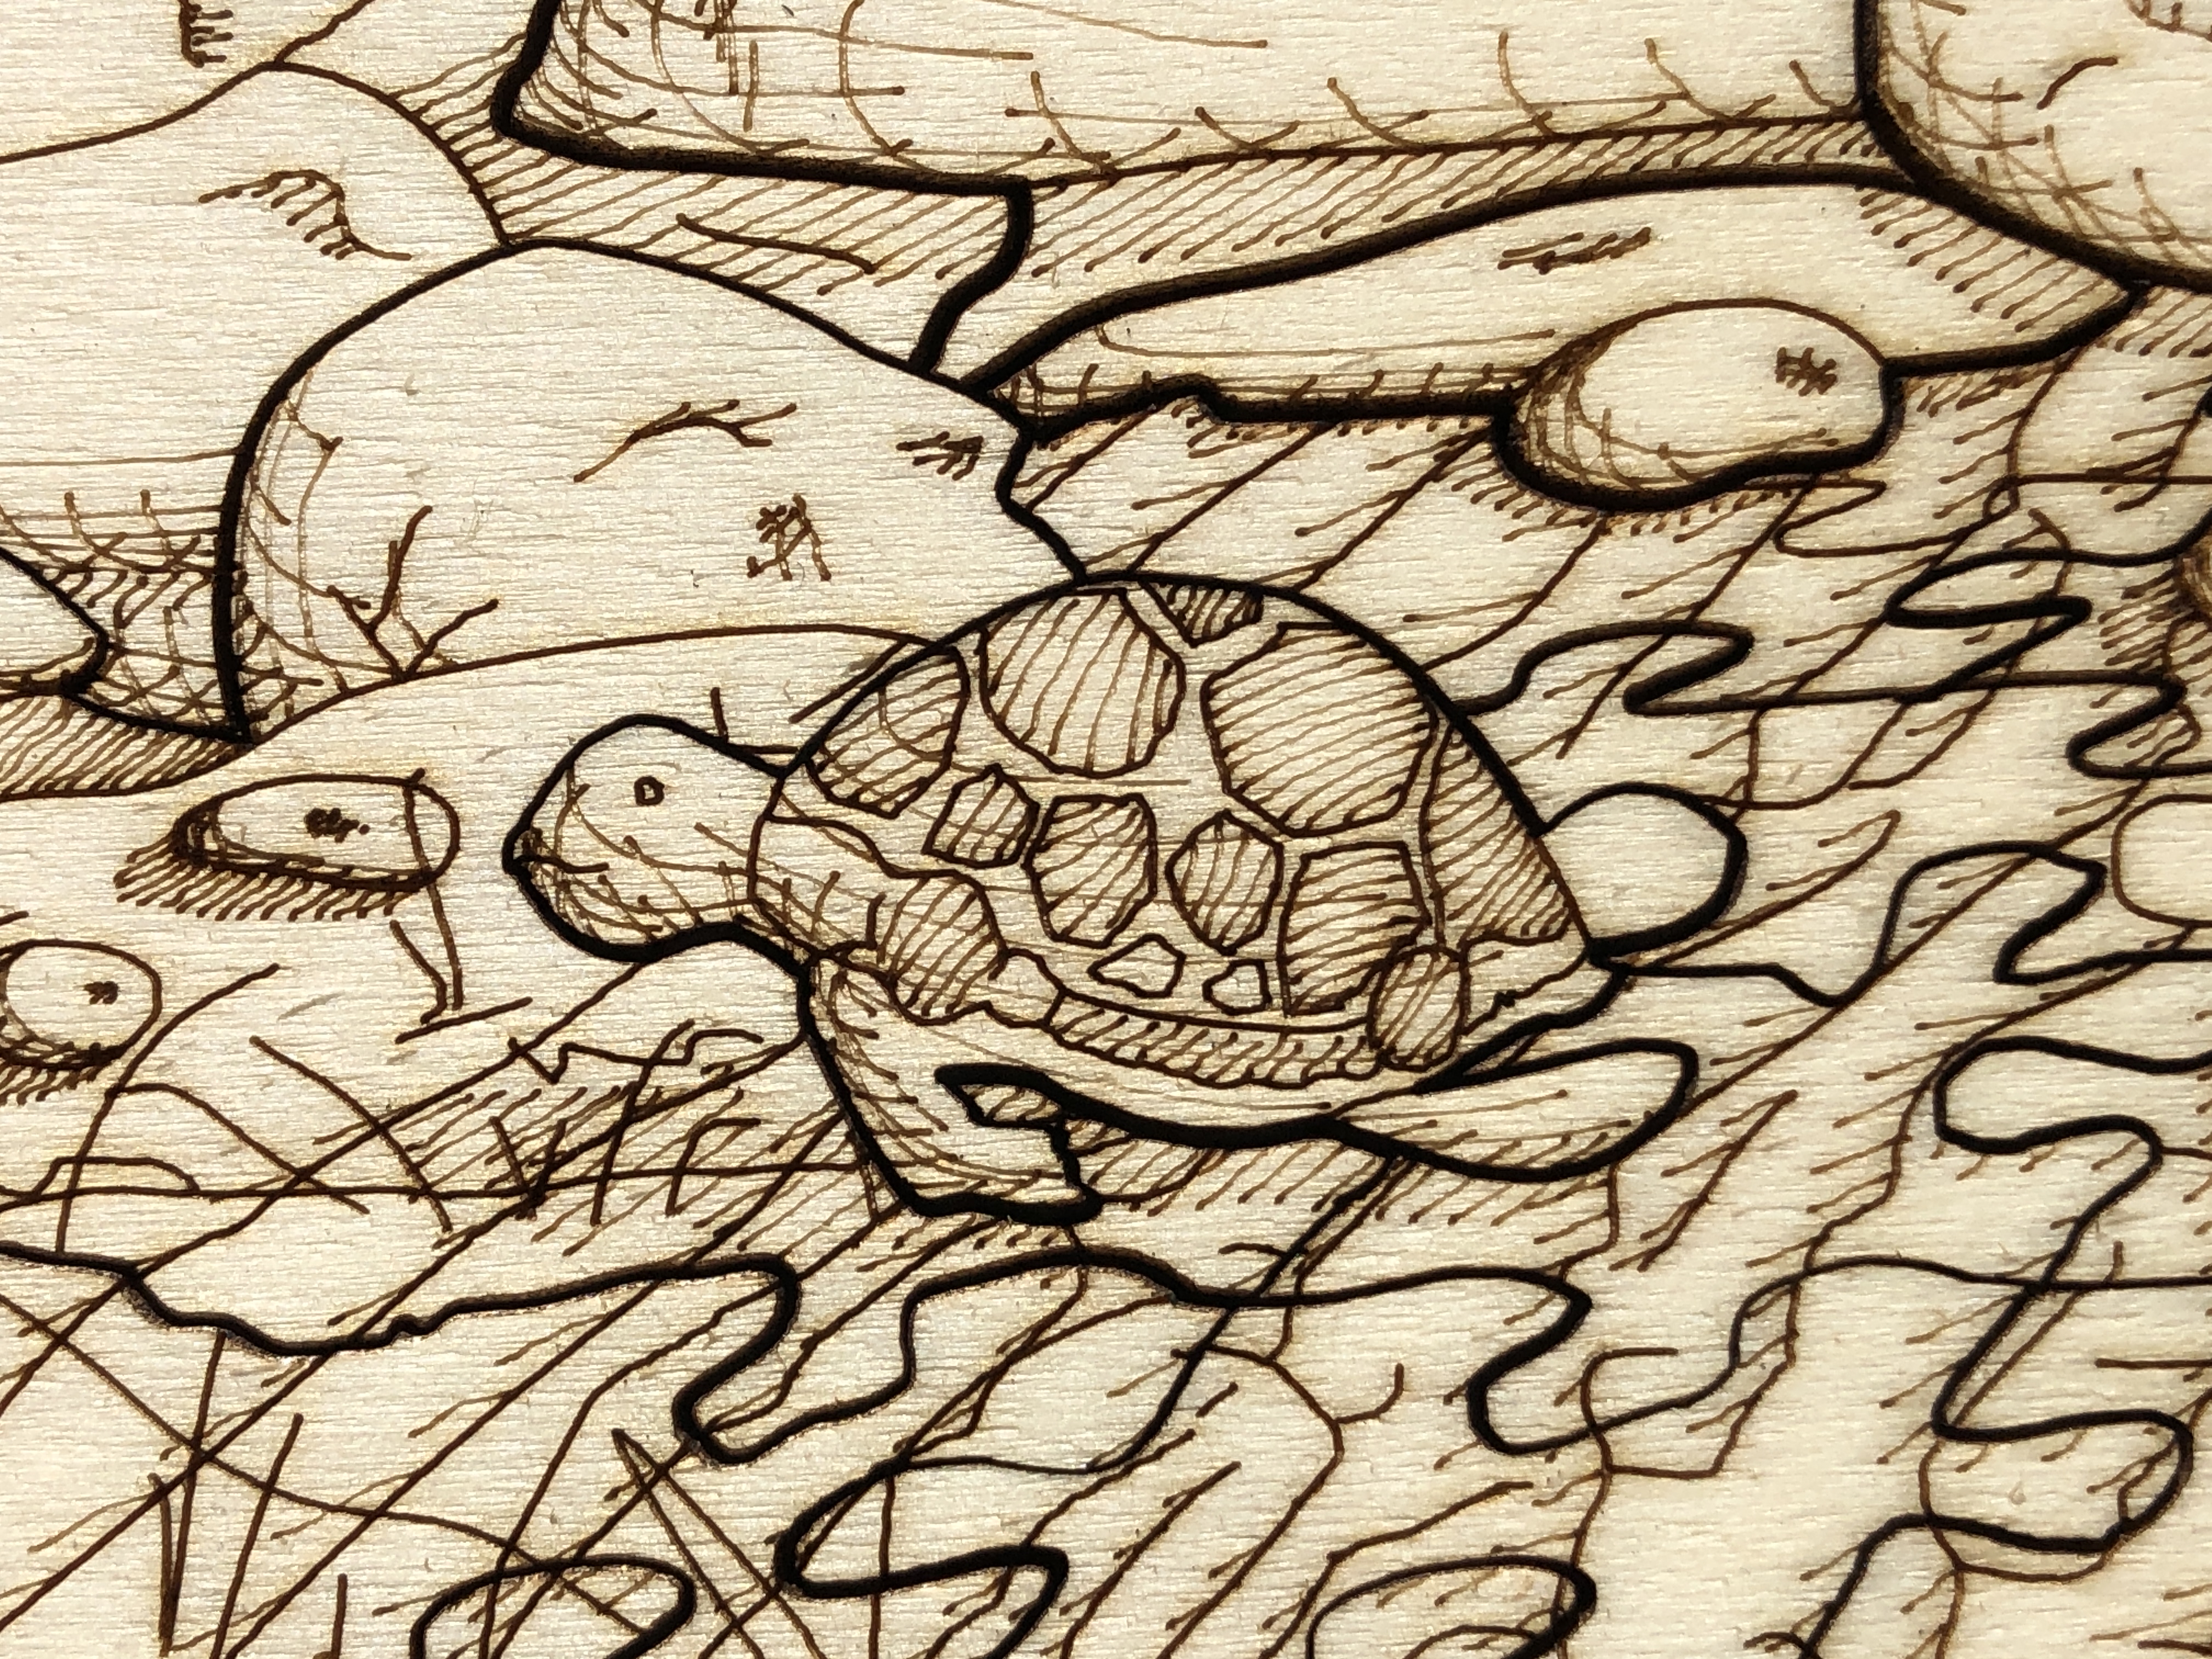
The scene is a tawny owl in a “tree”, in a landscape with animals, trees, bats, and the moon in the background. The main foreground “tree” trunk is actually made up of a variety of the owl’s prey creatures – and asks the question: if these owls eat 2-6 of these animals every day, and they live up to 24 years…?
The centre column (the main tree trunk) of this artwork comes directly from my original thick oak wooden art puzzle (see https://michaelautumn.wordpress.com/2023/05/03/tawny-owl-with-egg-art-puzzle/). That work is naturally quite dark and monochromatic because it is a nocturnal scene, and most of the prey animals (depicted in the main tree trunk) are also nocturnal, and therefore dark and dull coloured. So I thought it would be interesting to turn the idea upside-down and make it into a vibrant kaleidoscopic “stained-glass” landscape scene.
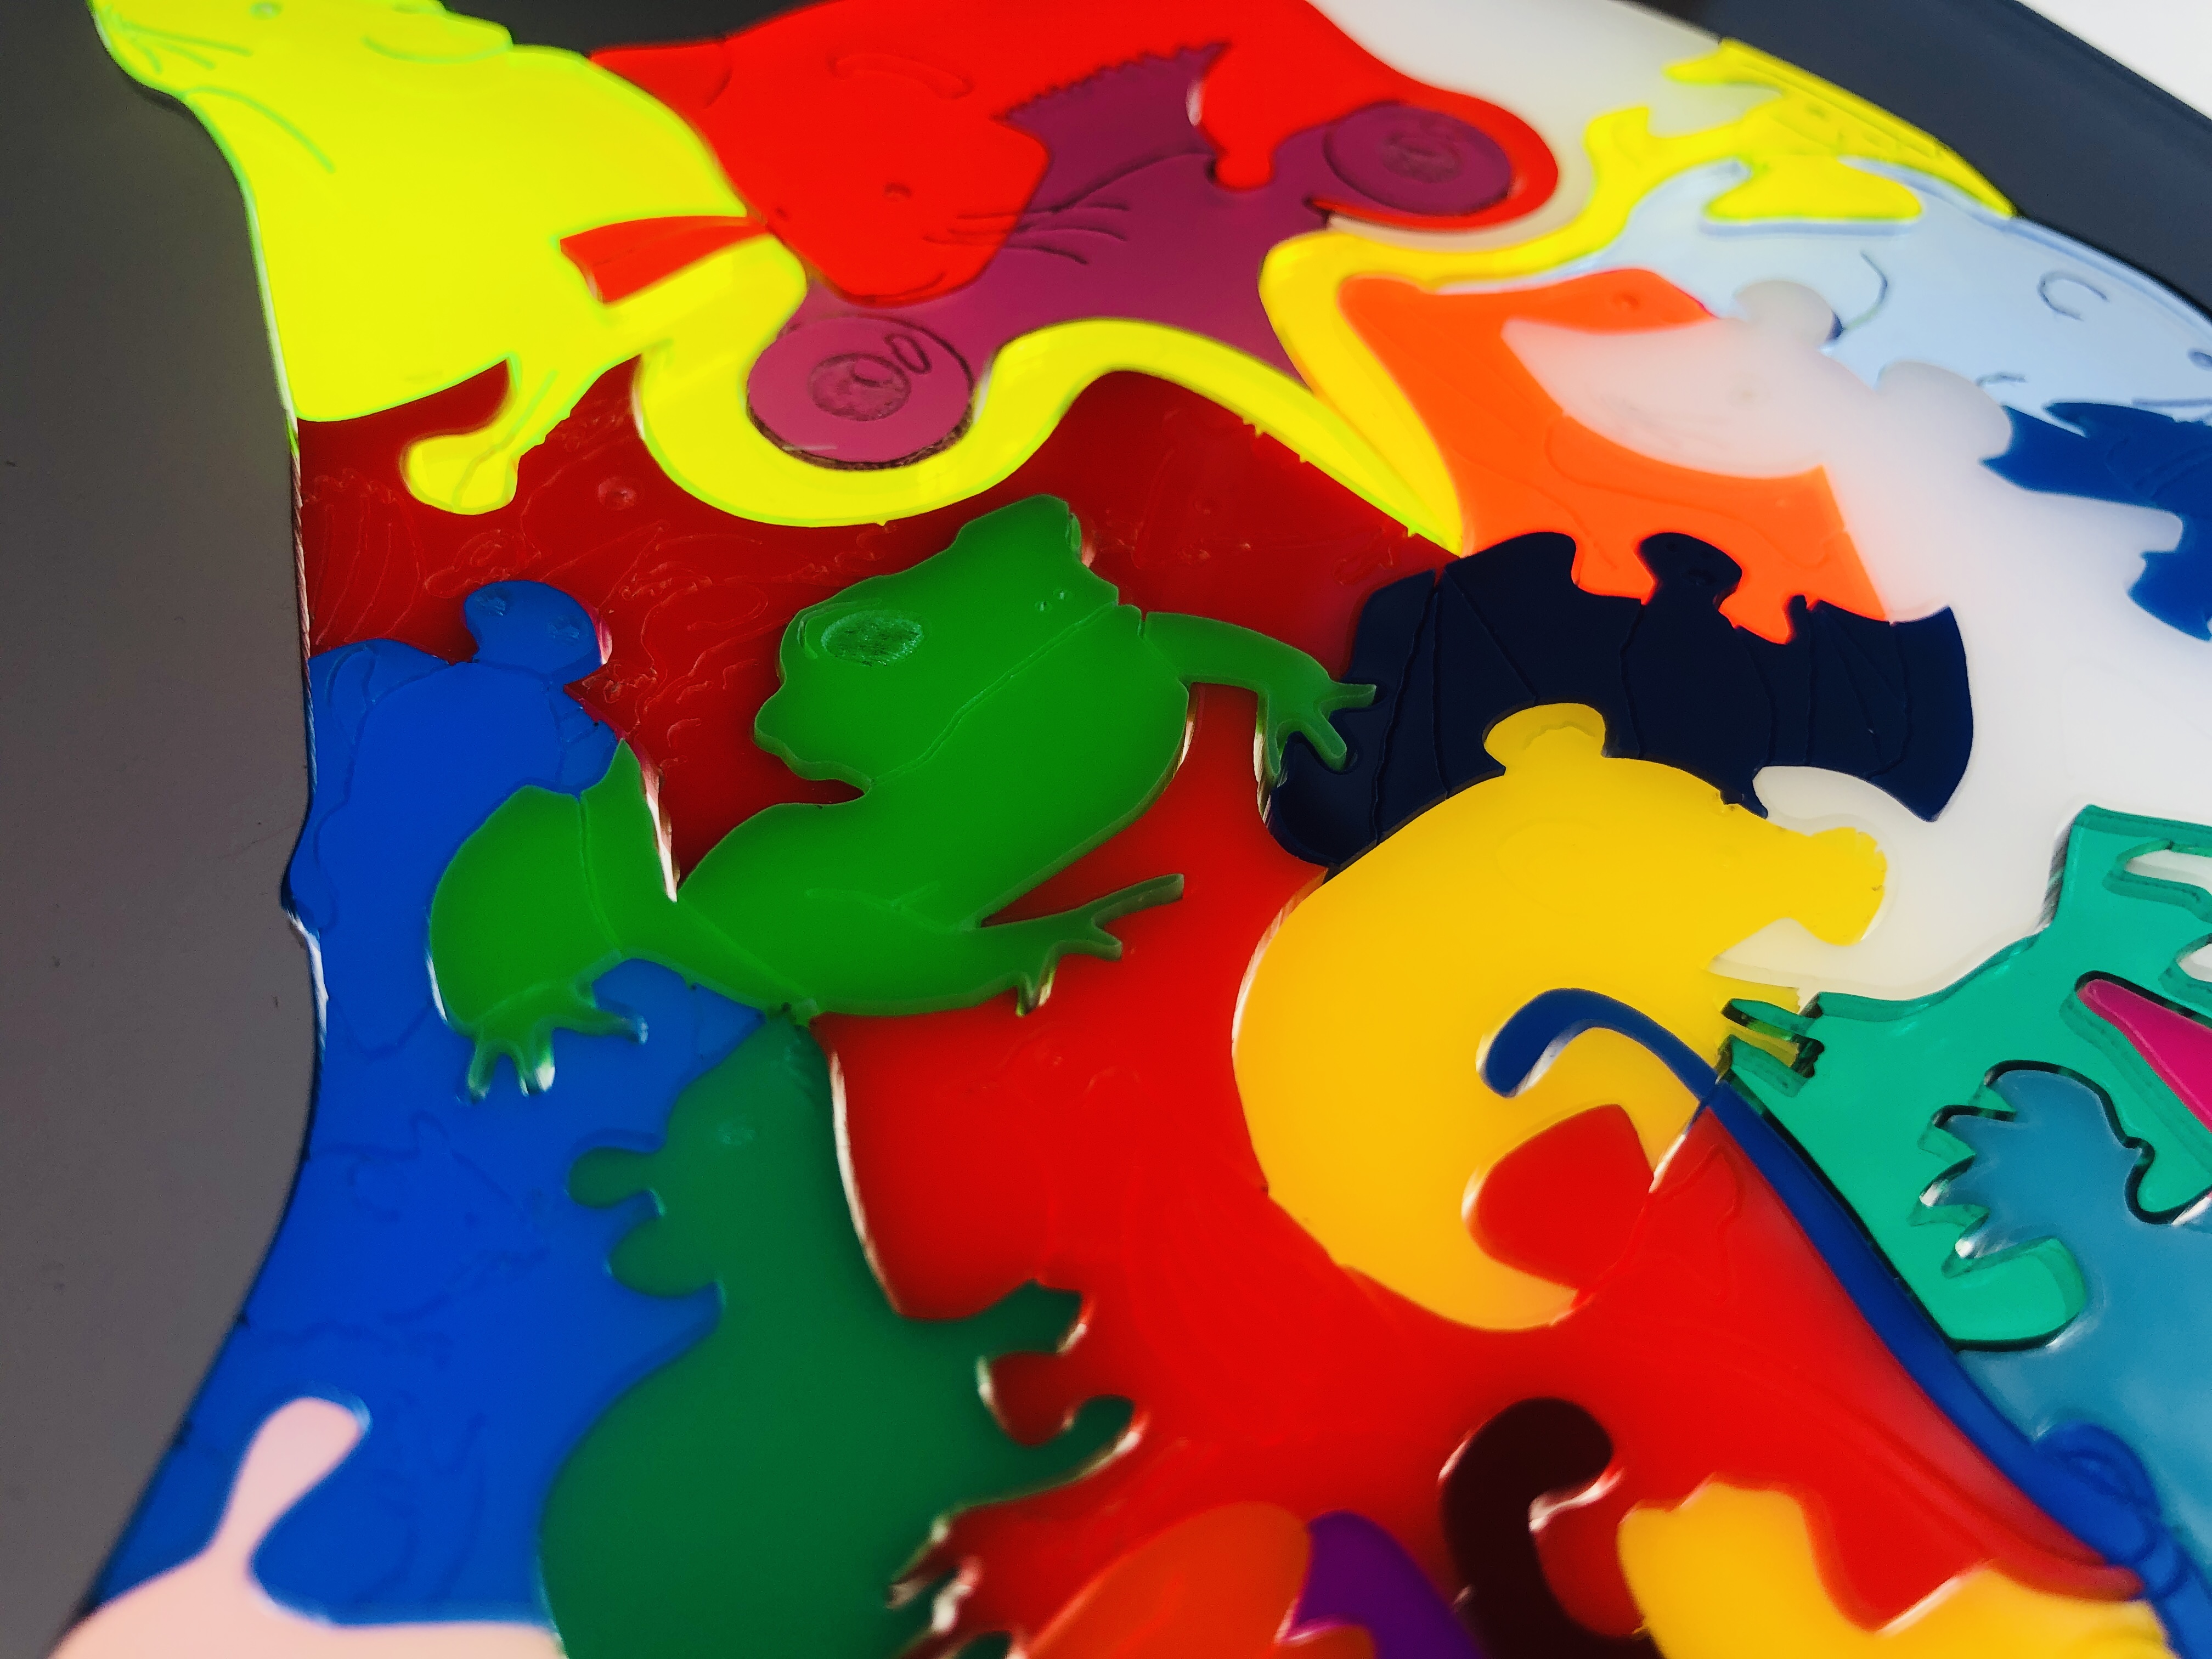
This imaginary landscape faux stained-glass artwork is my attempt to overcome some of the limitations of conventional stained-glass techniques. It’s hand drawn and hand painted (using transparent resinous glass paints) on a 10mm thick clear 850mm x 600mm acrylic base. The faux leading (aka “cames” – the “H”-shaped strips of lead holding the glass pieces together) (of different widths) is my devising: its hand-drawn, laser cut, black composite – glued to the acrylic base. The coloured glass effect is achieved with transparent resinous glass paint lasgely poured into each cell – an effect very much like cloisonné stained-glass.
I’m lucky to be a completely free artist – unaffiliated to any art movement, genre, or medium; and not tied to any particular materials, methods or techniques. My main interest is expressing my creativity and achieving my designs to the best of my ability – using any material/s or techniques I can think of to help me achieve my goals. I like exploring new materials, tools, and technologies: you might call me a tech geek. I’m very interested in pushing art forward – as opposed to continuing centuries-old traditions and techniques. In every historical medium I can think of, past masters in those mediums cannot be matched – let alone surpassed – and I think it’s pointless to try. All artists can do what they like, but I am keen on creating new things. I’m very interested in trying new materials and tools that give new and/or greater creative possibilities. While I like the look of stained-glass, I find that the centuries-old tradition of cutting glass and fusing pieces side-by-side with lead – is too restrictive, time-consuming, and cumbersome. Through my own research and tests I realised it’s possible to create the same look, but more easily and in much greater detail.
In this artwork I have simulated the opaque dark lead cames look of stained-glass using laser cut black plastic composite. I developed this idea through research and testing, and my design fully exploits the much greater detail possible. My most intricate laser can cut thin material and can readily cut 1mm latticework. The thinnest commercially available lead cames I can find are between 3.5mm and 5mm… The majority of the faux cames in this artword are 1mm, the widest is 8mm. This means not only that far greater detail in the design are achievable, but also more light can come through the window…
Lead cames have the function of binding pieces of transparent glass side by side. But I am using coloured transparent resinous glass paint – so I don’t need to bind pieces of glass together. Cames also have an aesthetic that I like that highlights shapes and colours. I use different widths giving me greater artistic freedom than with conventional cames.
Finally, the whole piece is covered in a thin layer of clear resin to seal everything and provide extra protection. So the actual stained-glass piece is a thin layer sandwiched between a sheet of clear cast acrylic and a clear resin topcoat. The base, or rear, acrylic sheet also acts as natural UV protection – filtering out up to 99% UV radiation. And, since this is the side facing the sun/daylight, means it is in the best position to protect the sandwiched coloured layer…
This is just the beginning of me trying this new technique…
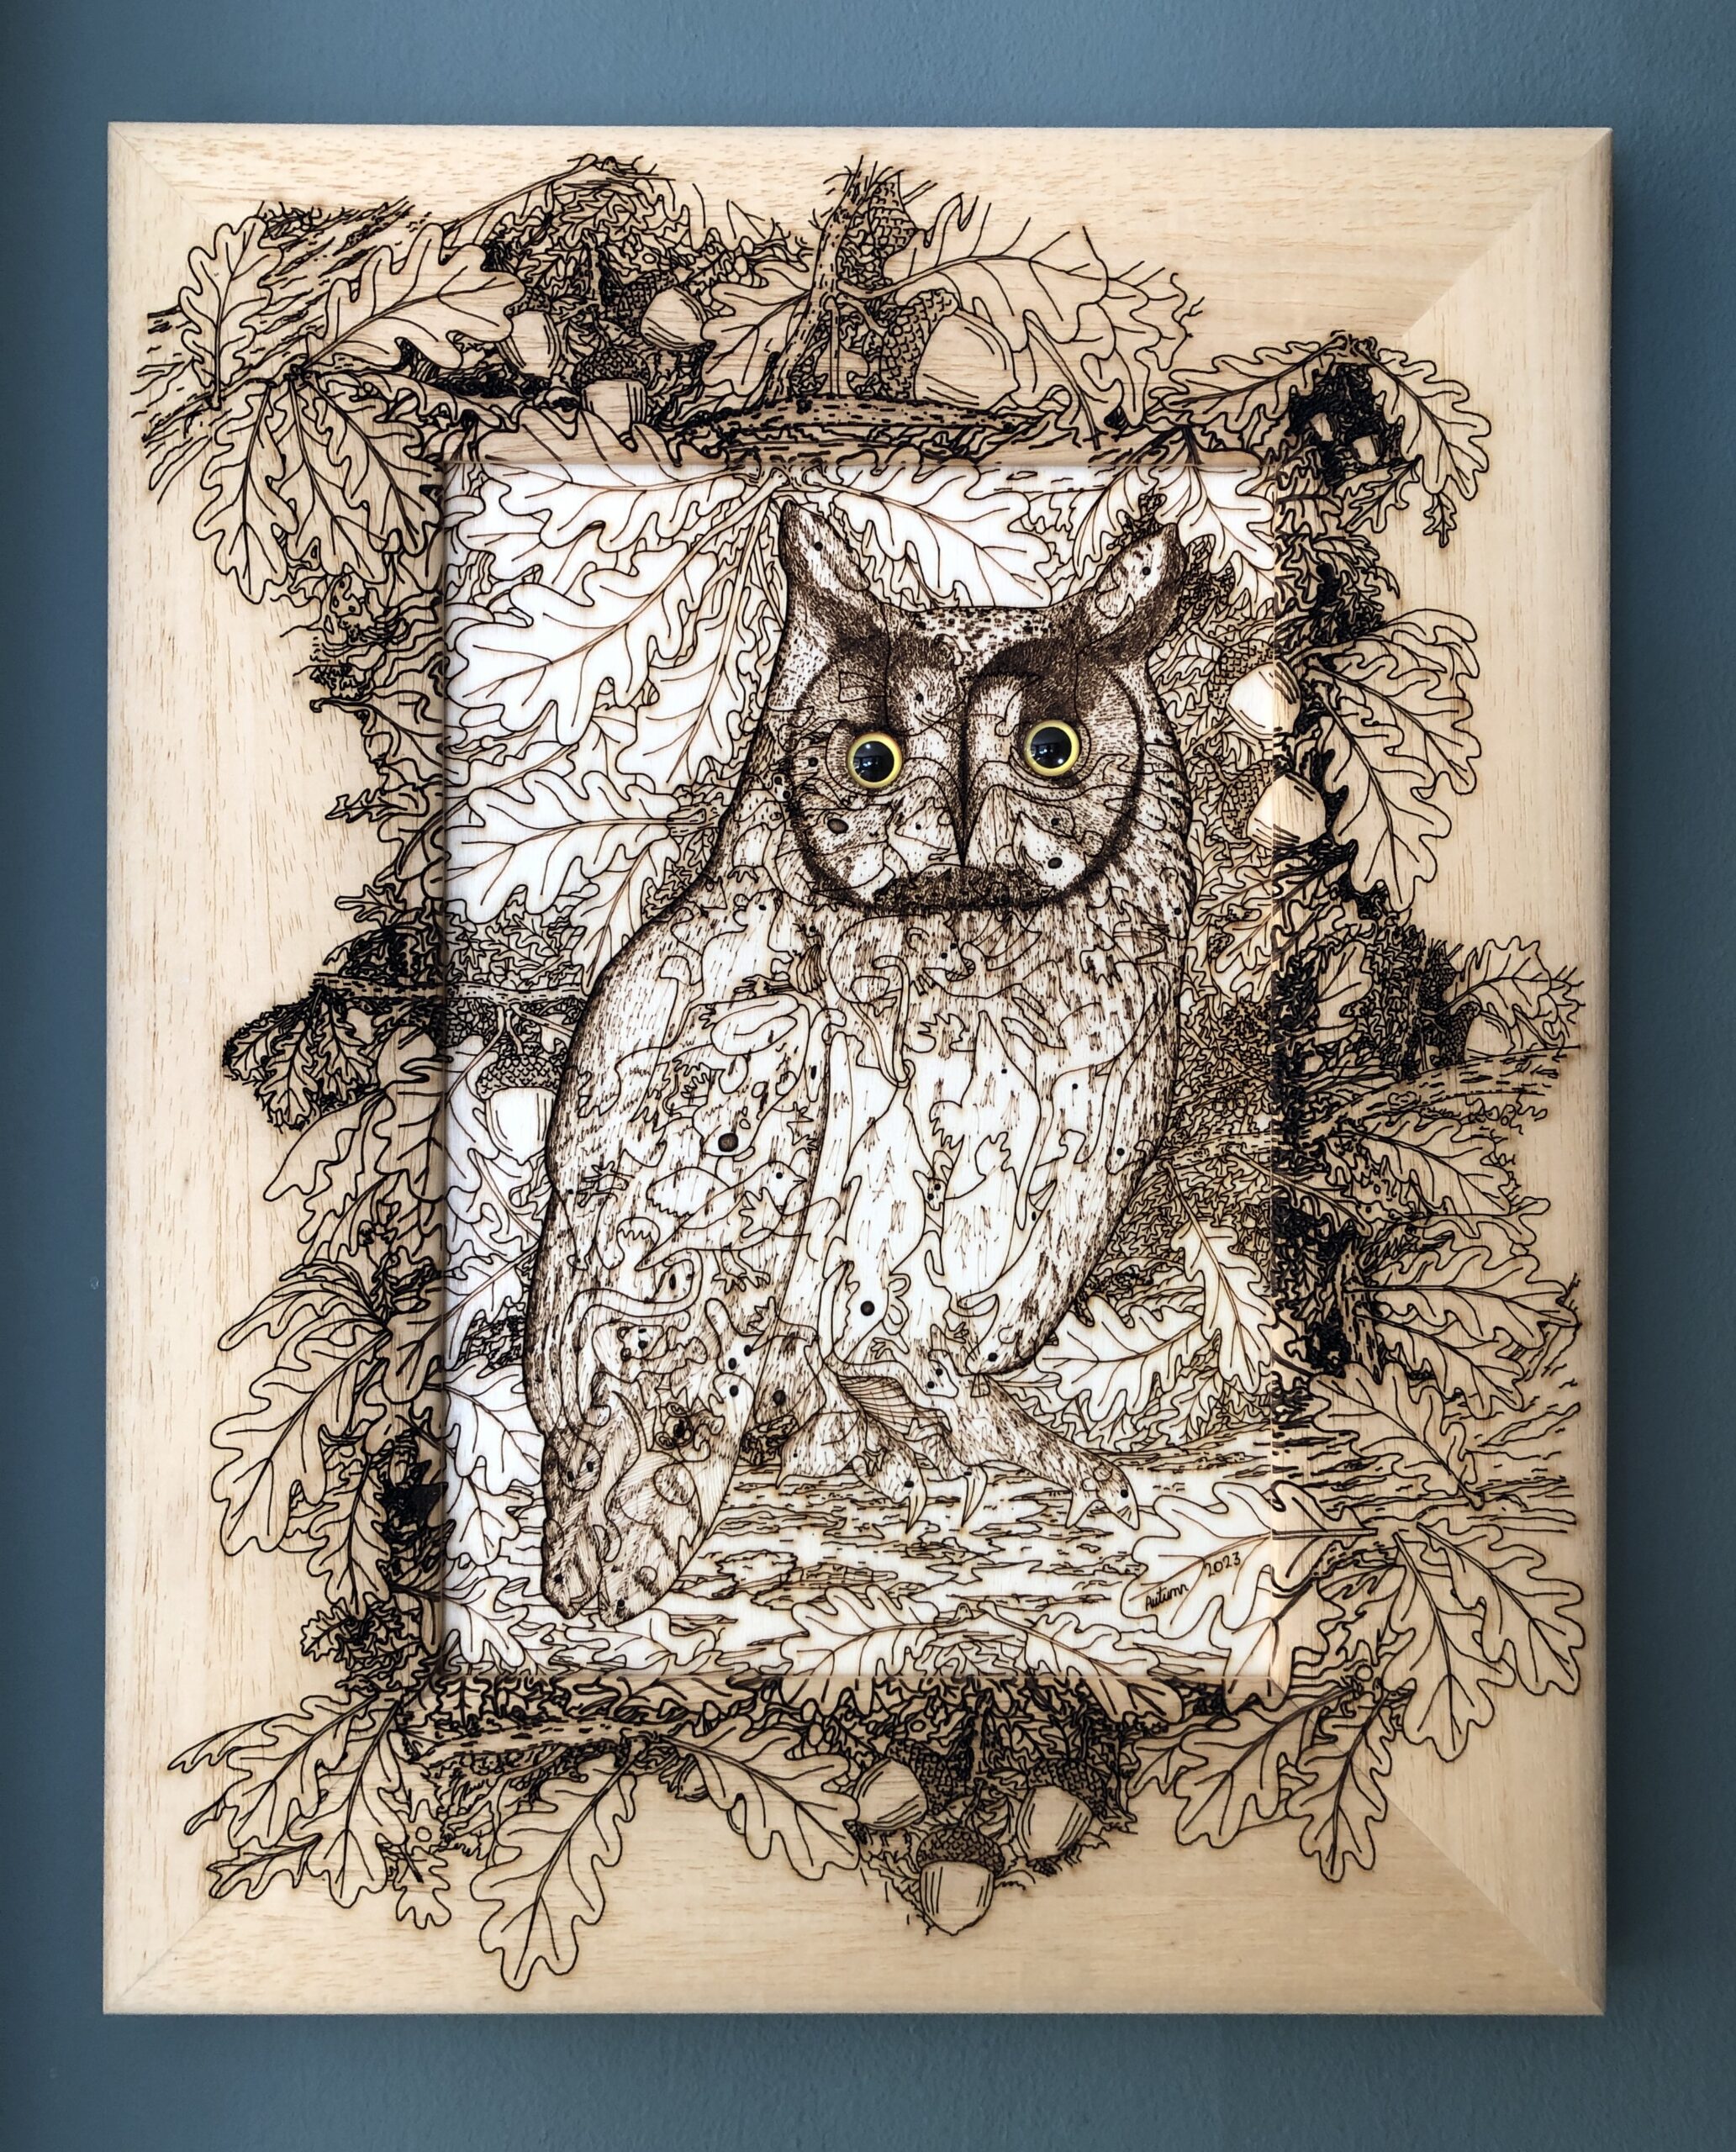
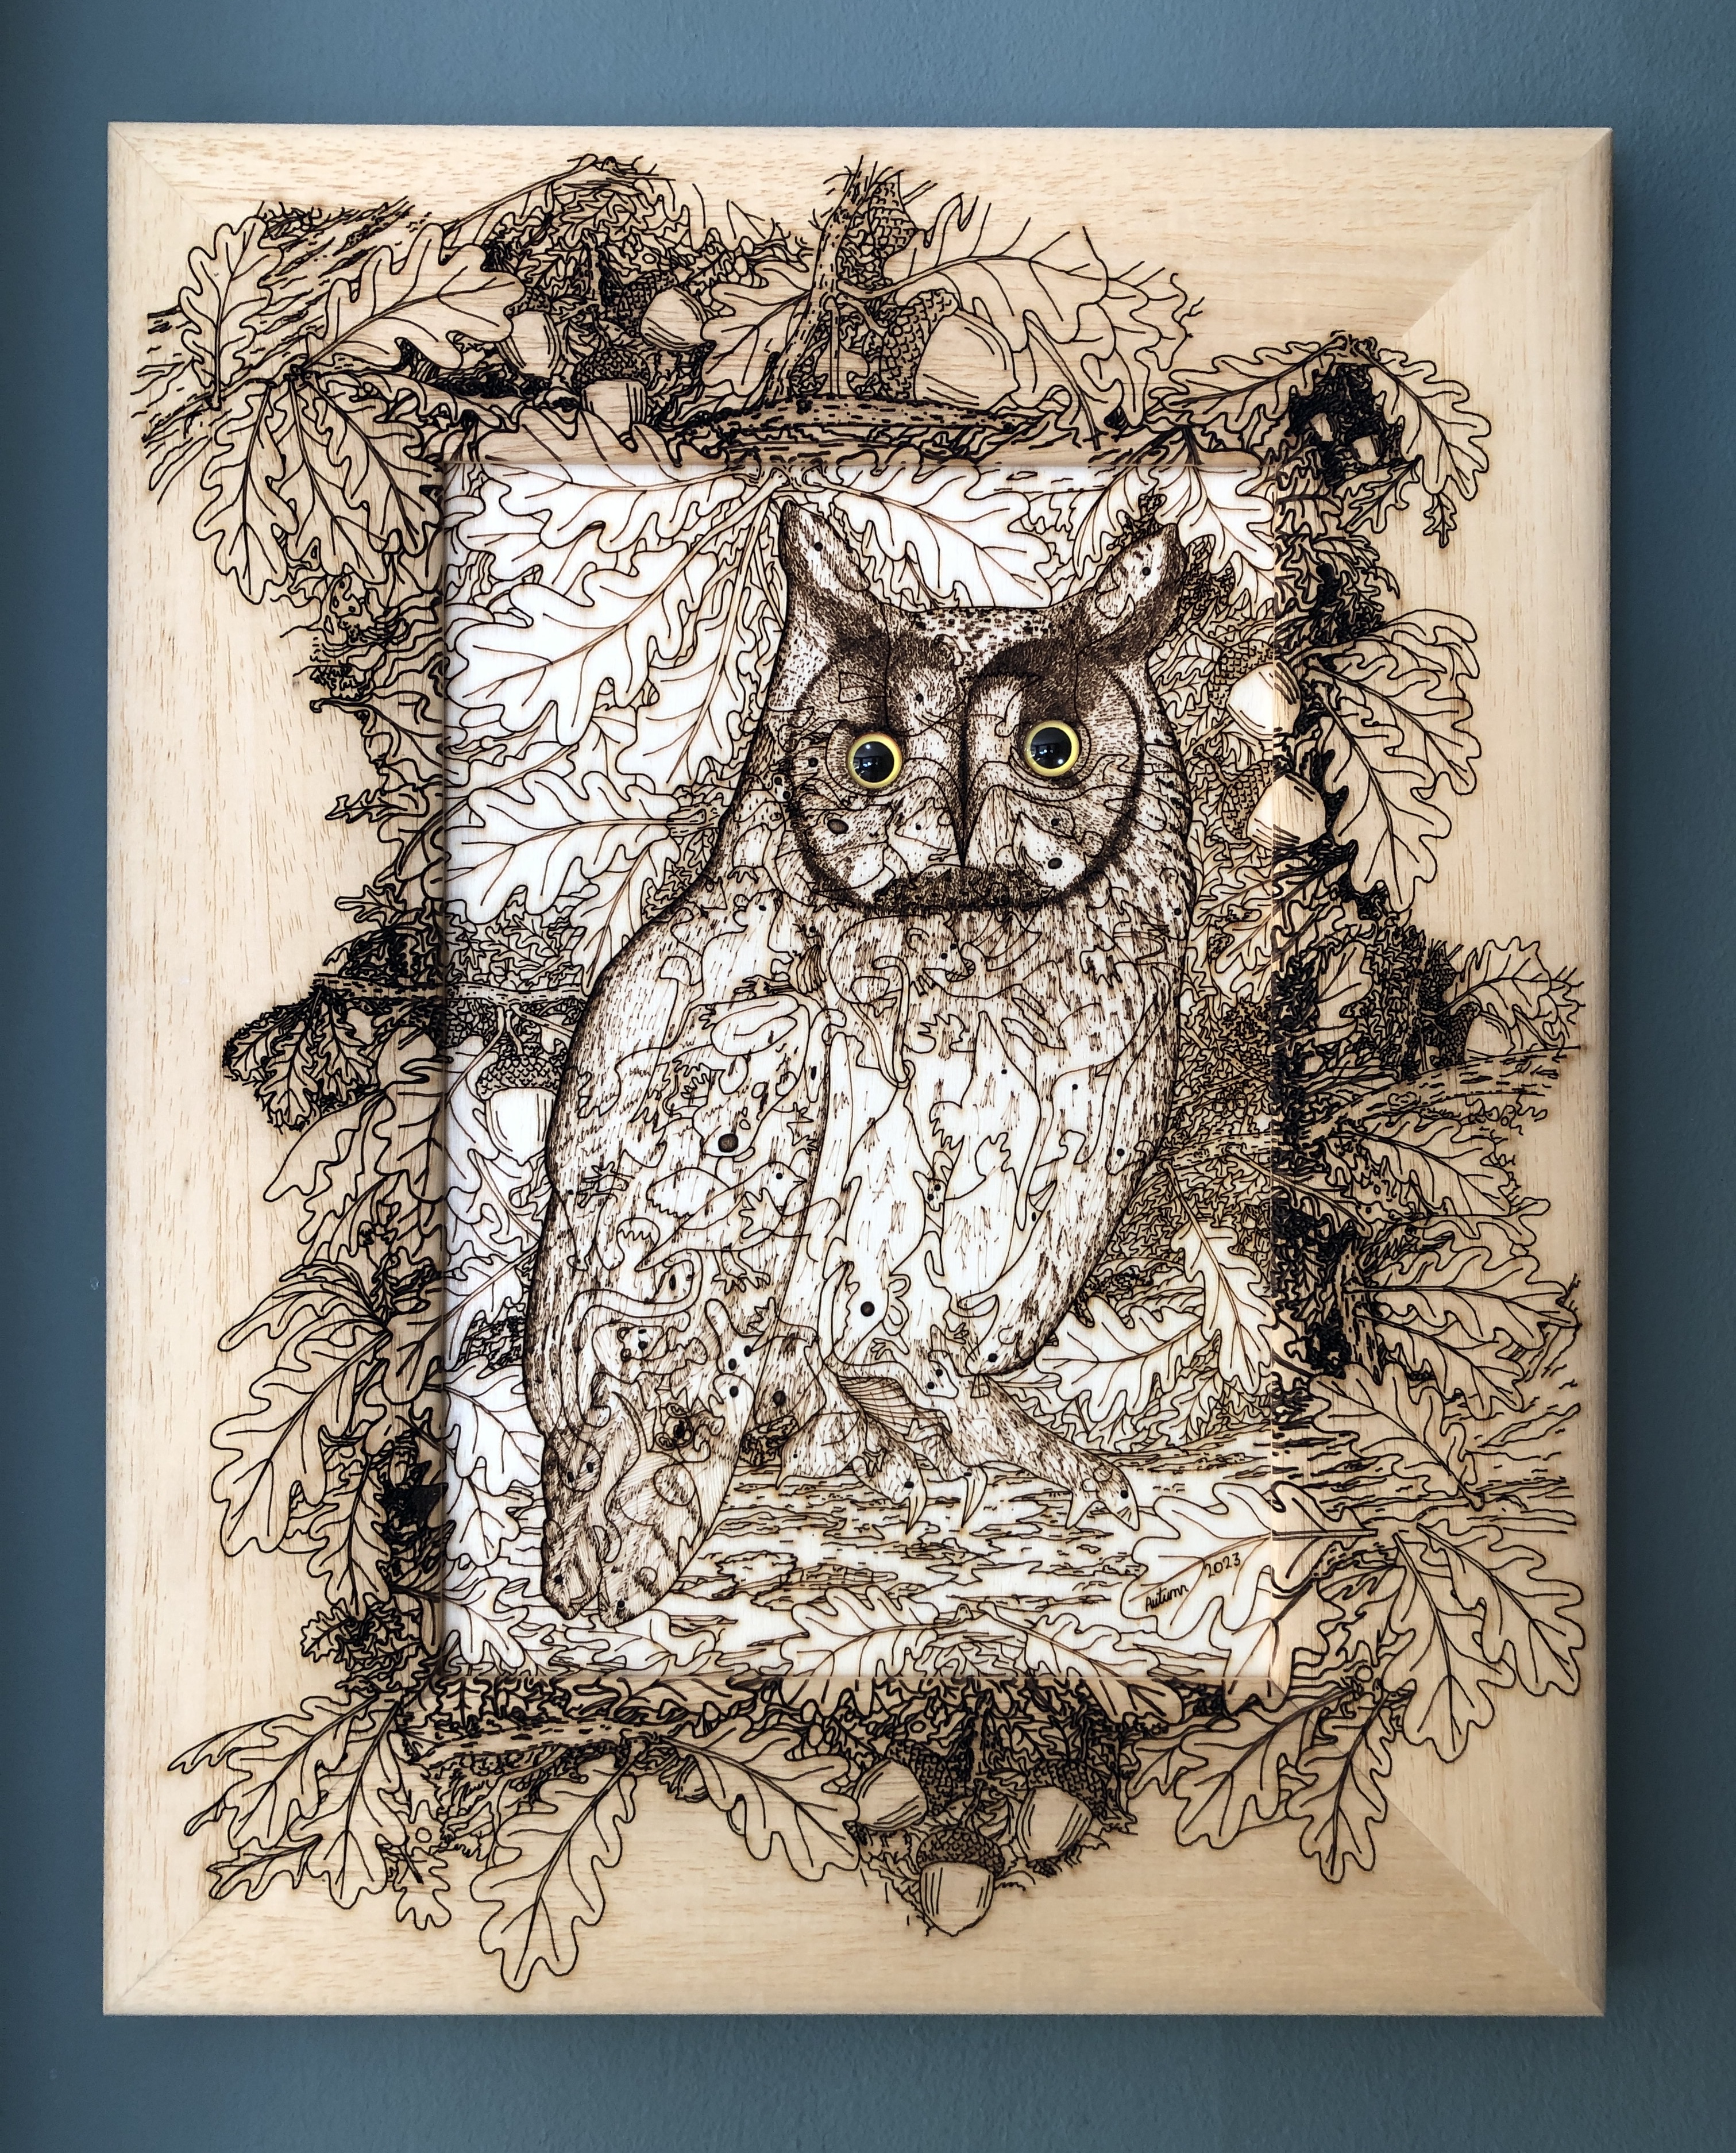
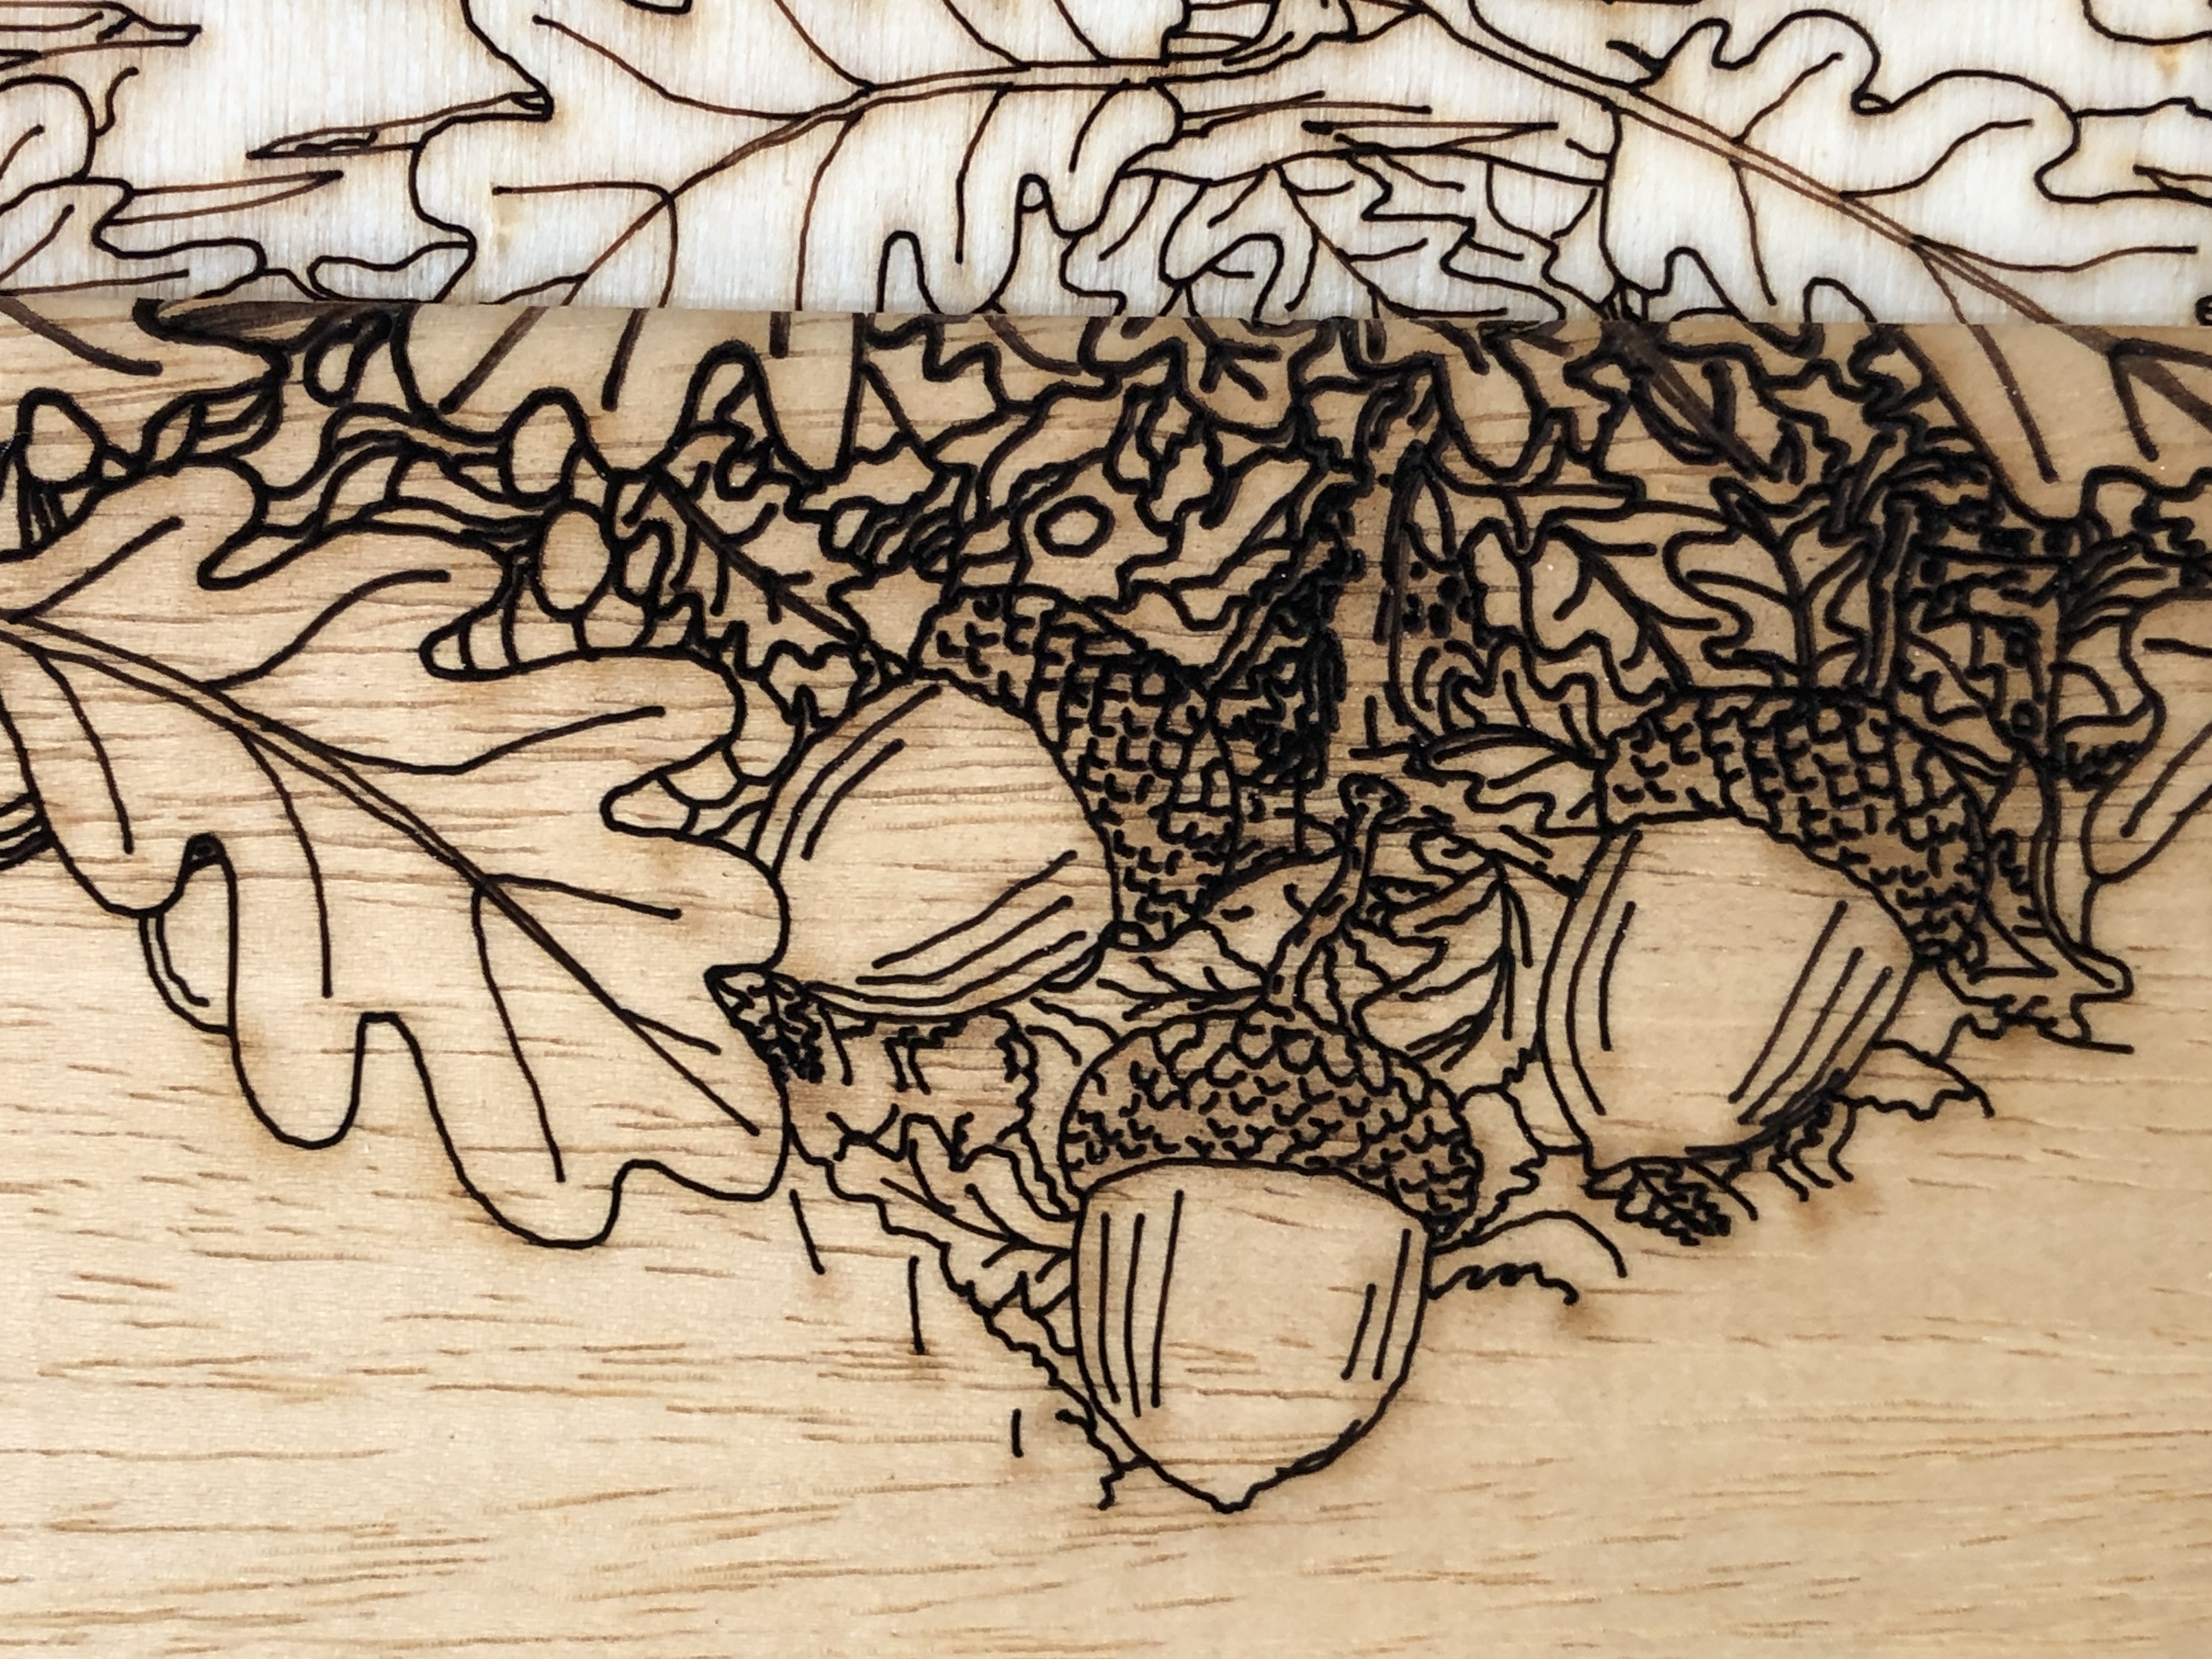
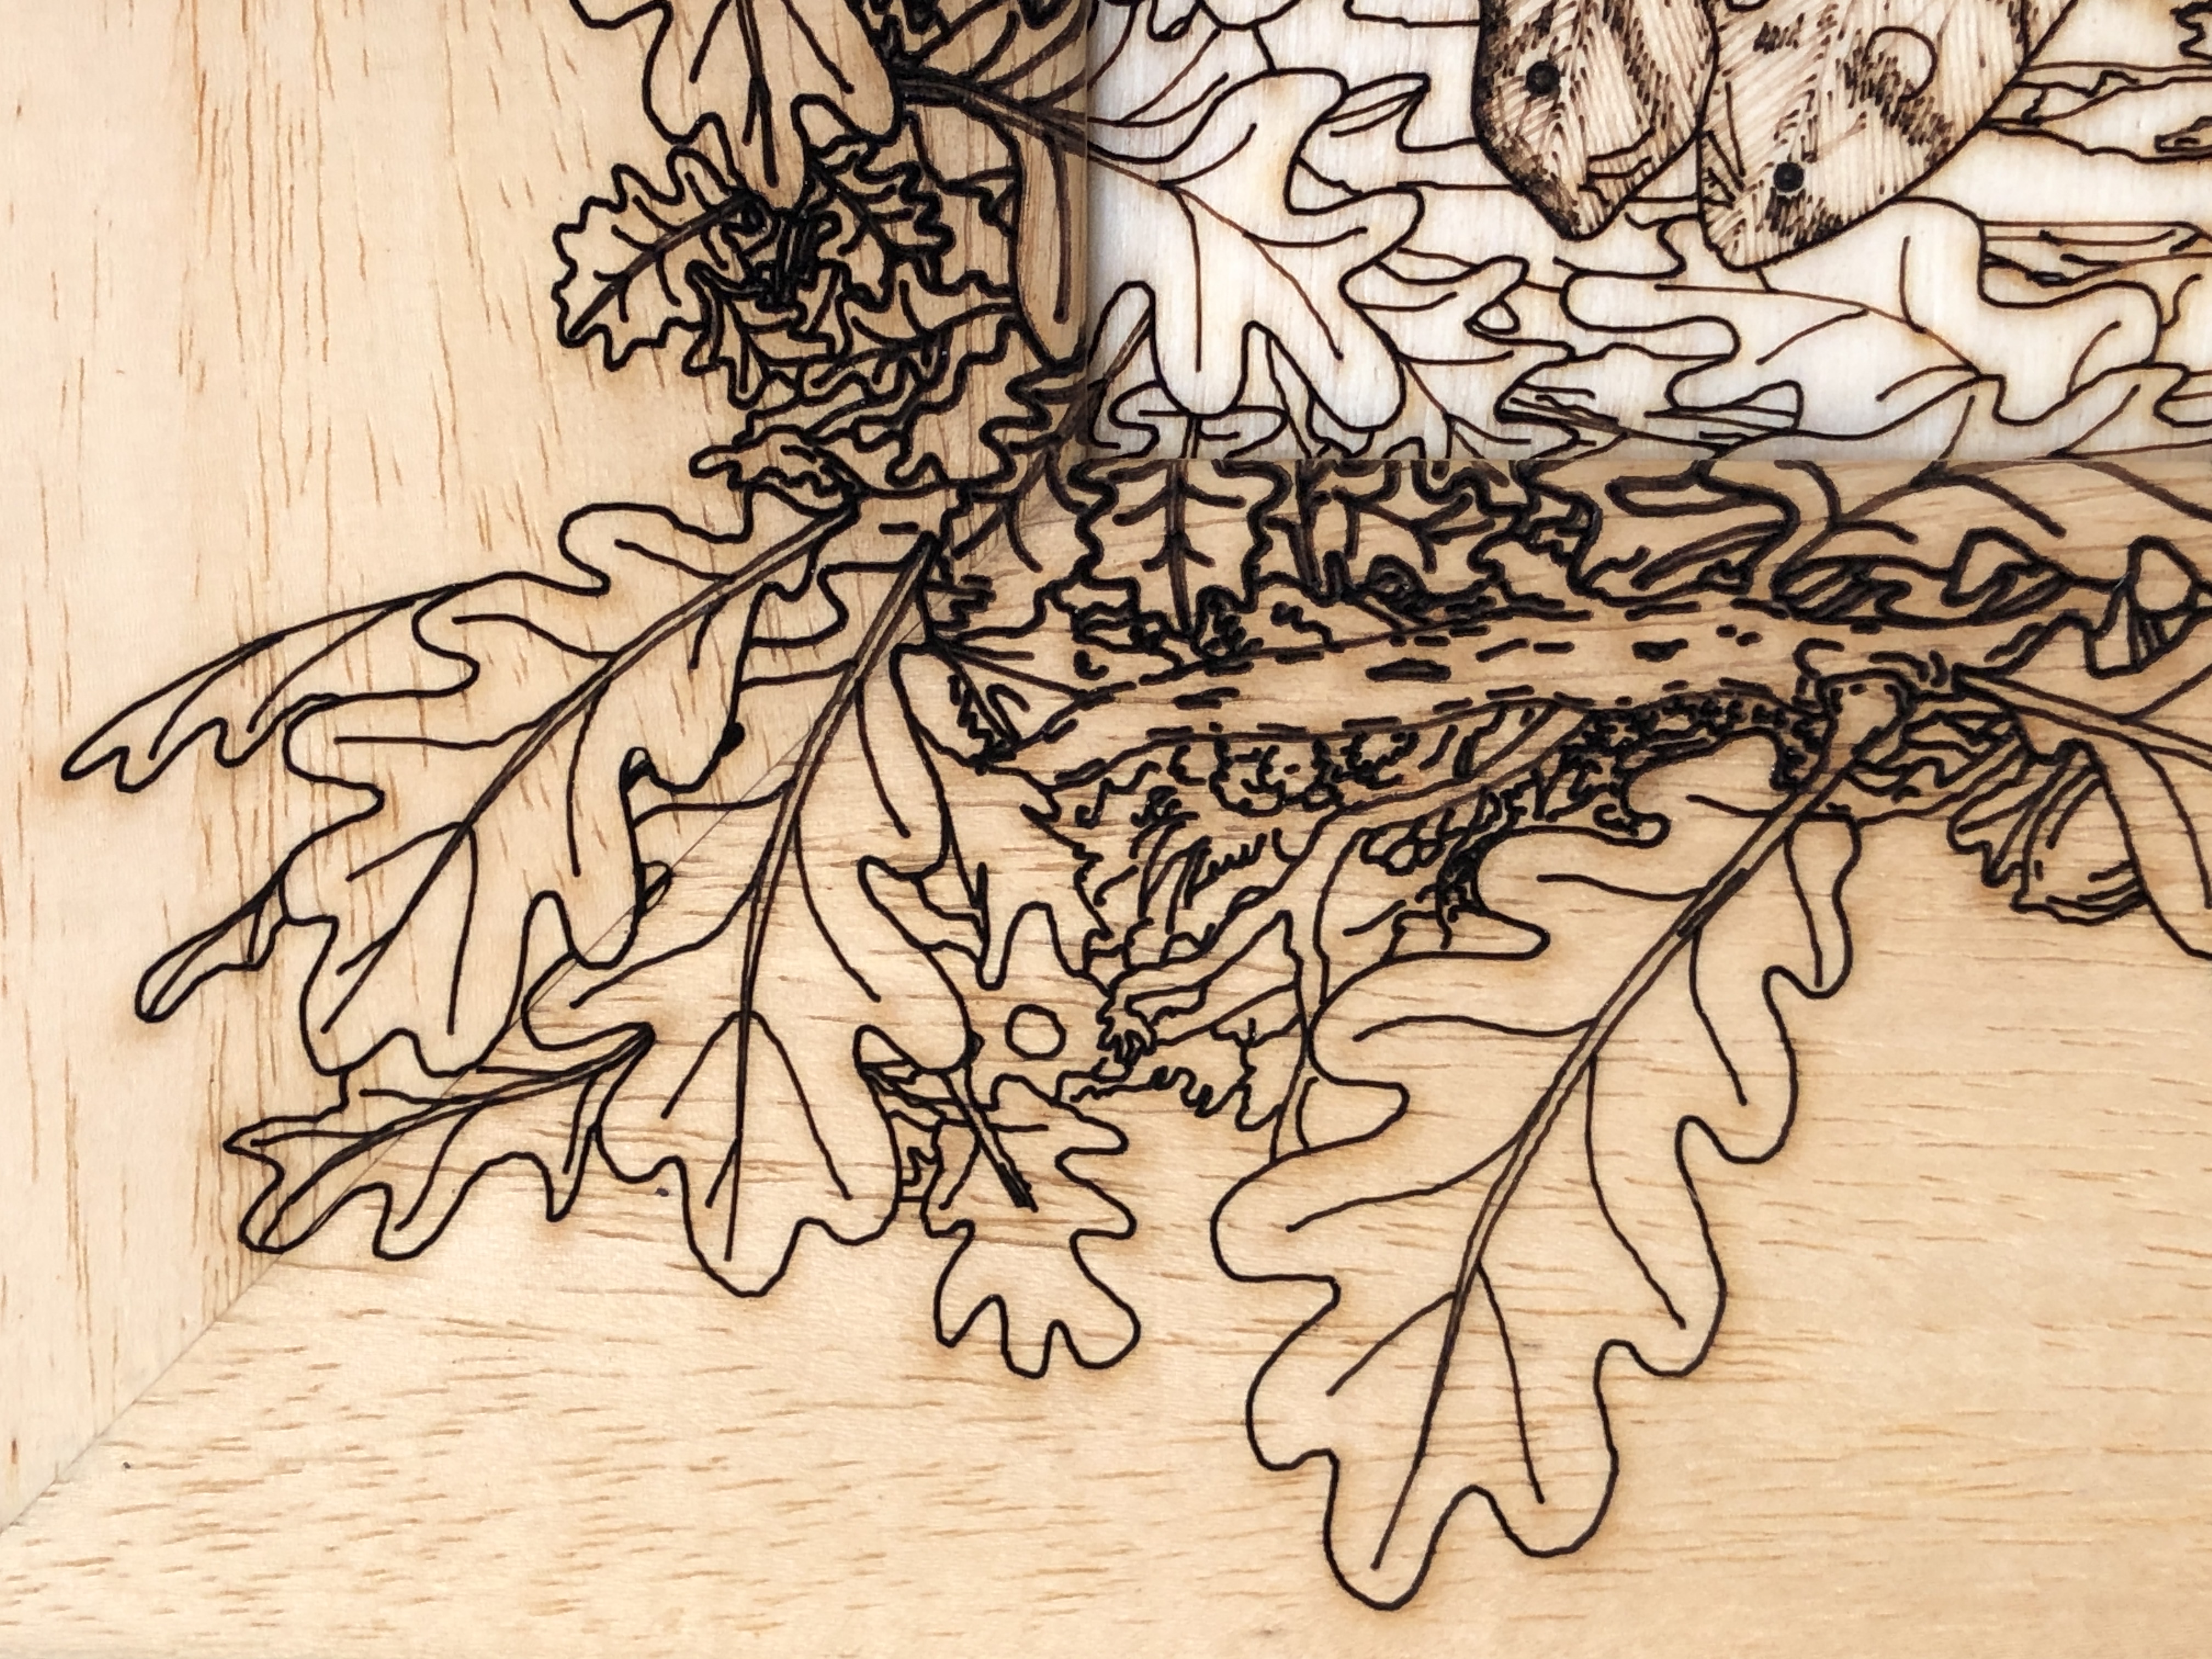
Title: “Long-eared Owl with Oak Foliage (Organically Framed)”
Artist: Michael Autumn Medium: Hand-drawing – laser cut & engraved premium 6mm AB/AB Italian Panguaneta Poplar plywood Size: 40cm (H) x 31cm (W) (including the frame) Date: 2023 Country: UK
Description: I have this little art puzzle that I sell on its own (see photo below),
The original “normally” framed version.
… but some people fed back to me that they would prefer to buy it framed. That’s fair enough – everyone has different tastes – and quite flattering in fact – that they like the design enough to want to put it on the wall – but not wanting to have to solve the puzzle and then go to the effort of getting it framed. So I simply adjusted the laser setting for the cut lines of this laser job so that it didn’t cut all the way through – just deeply scored. Et voila! An art engraving rather than an art puzzle!
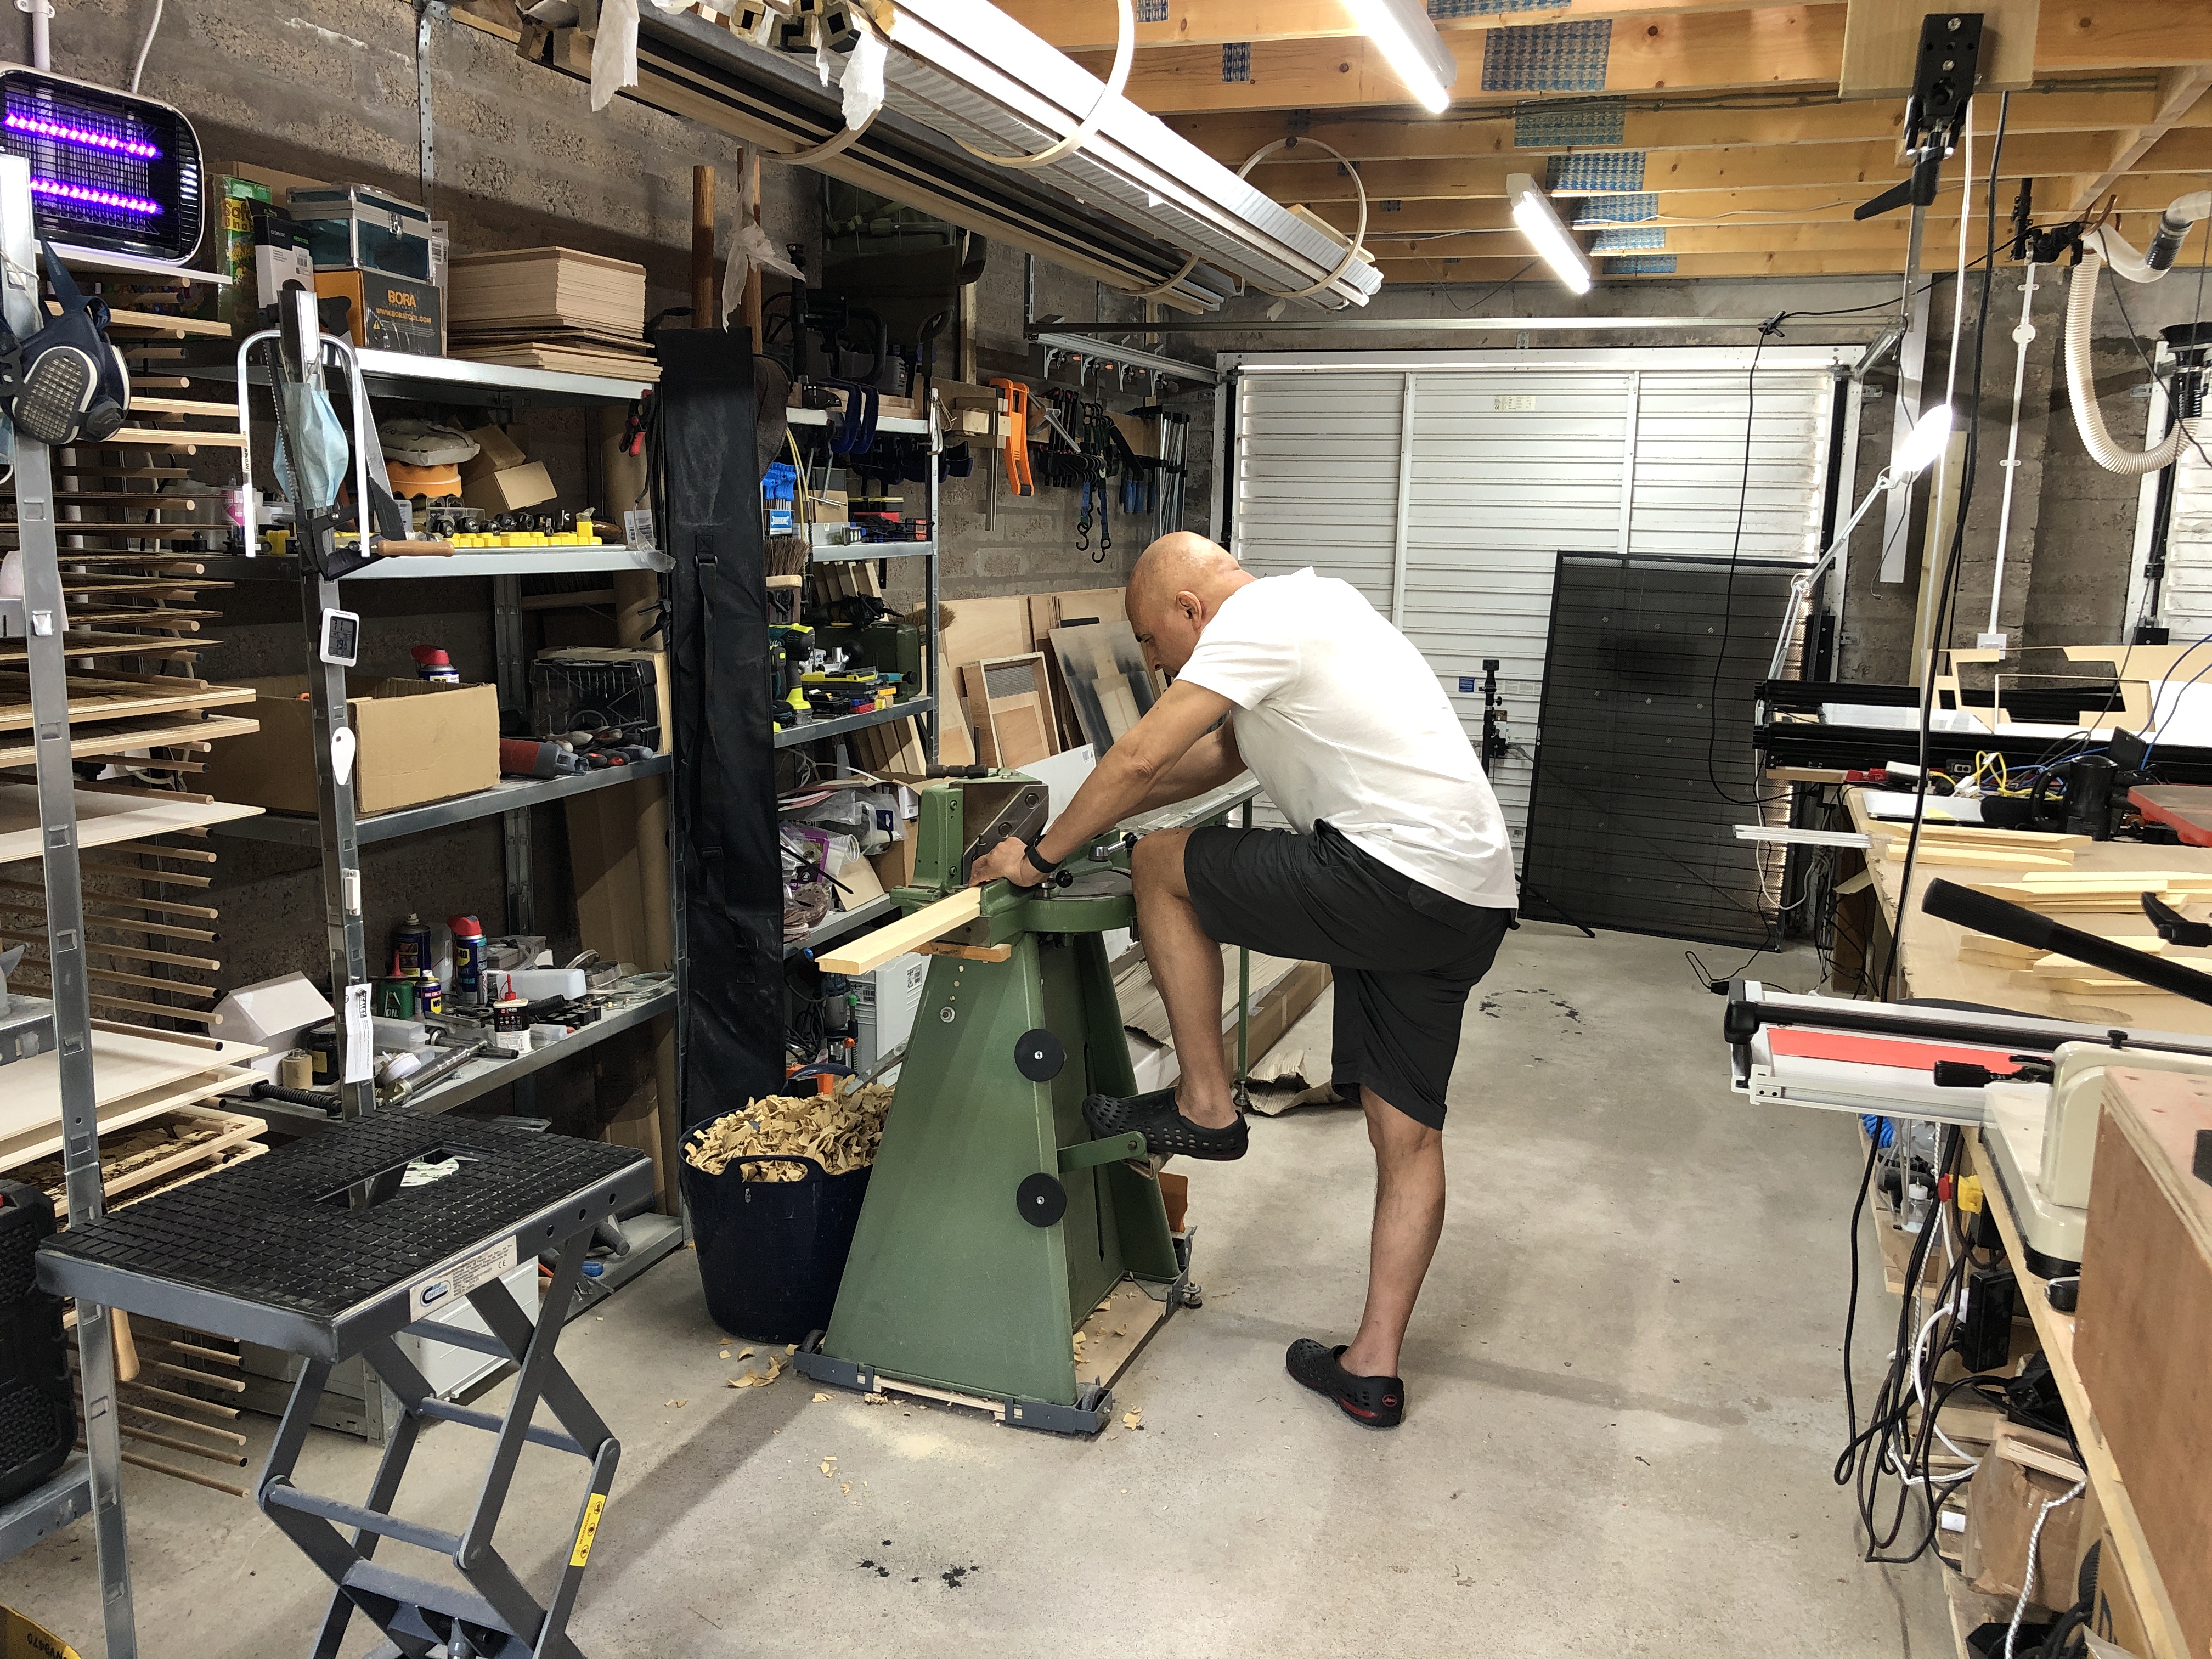
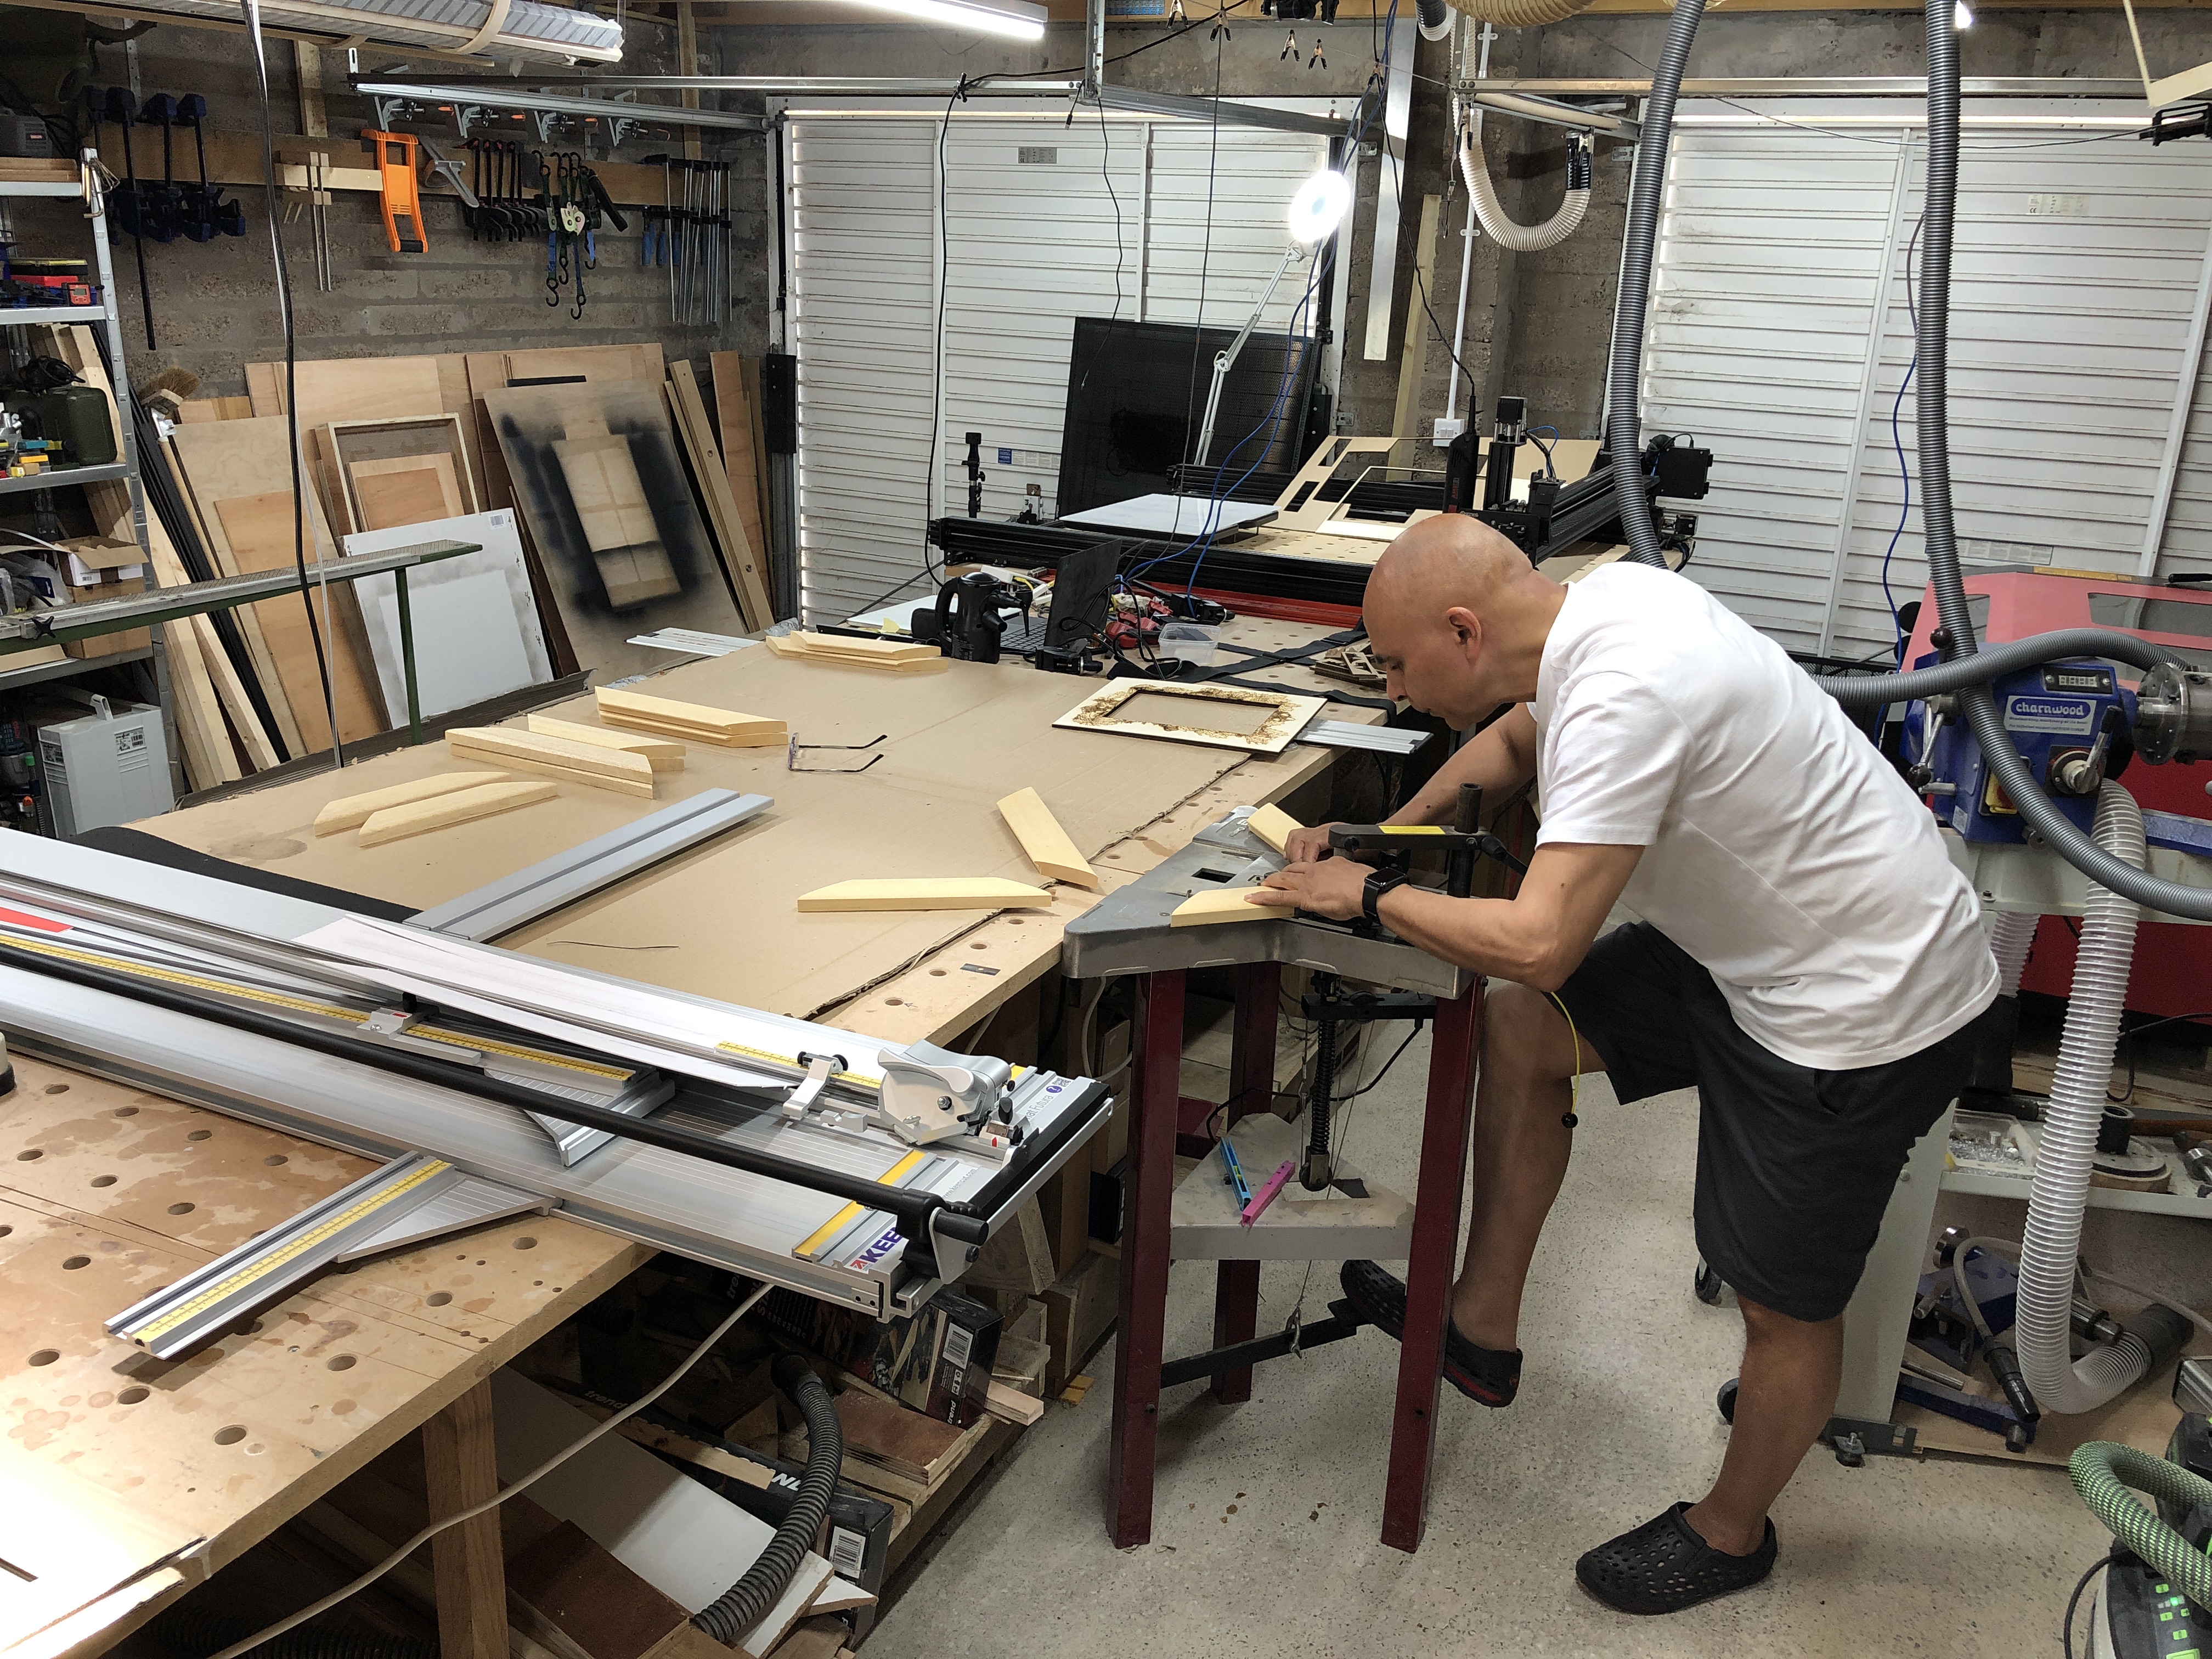
If the truth be said, I don’t really like framing. I’m an artist, and I don’t like spending my time manually making frames – especially many of the same ones. And I really don’t like cutting mounts and glazing, cleaning the glass, etc – it’s quite mundane. But I do like designing frames – and making one-offs – frames that bring out the best of my artwork.
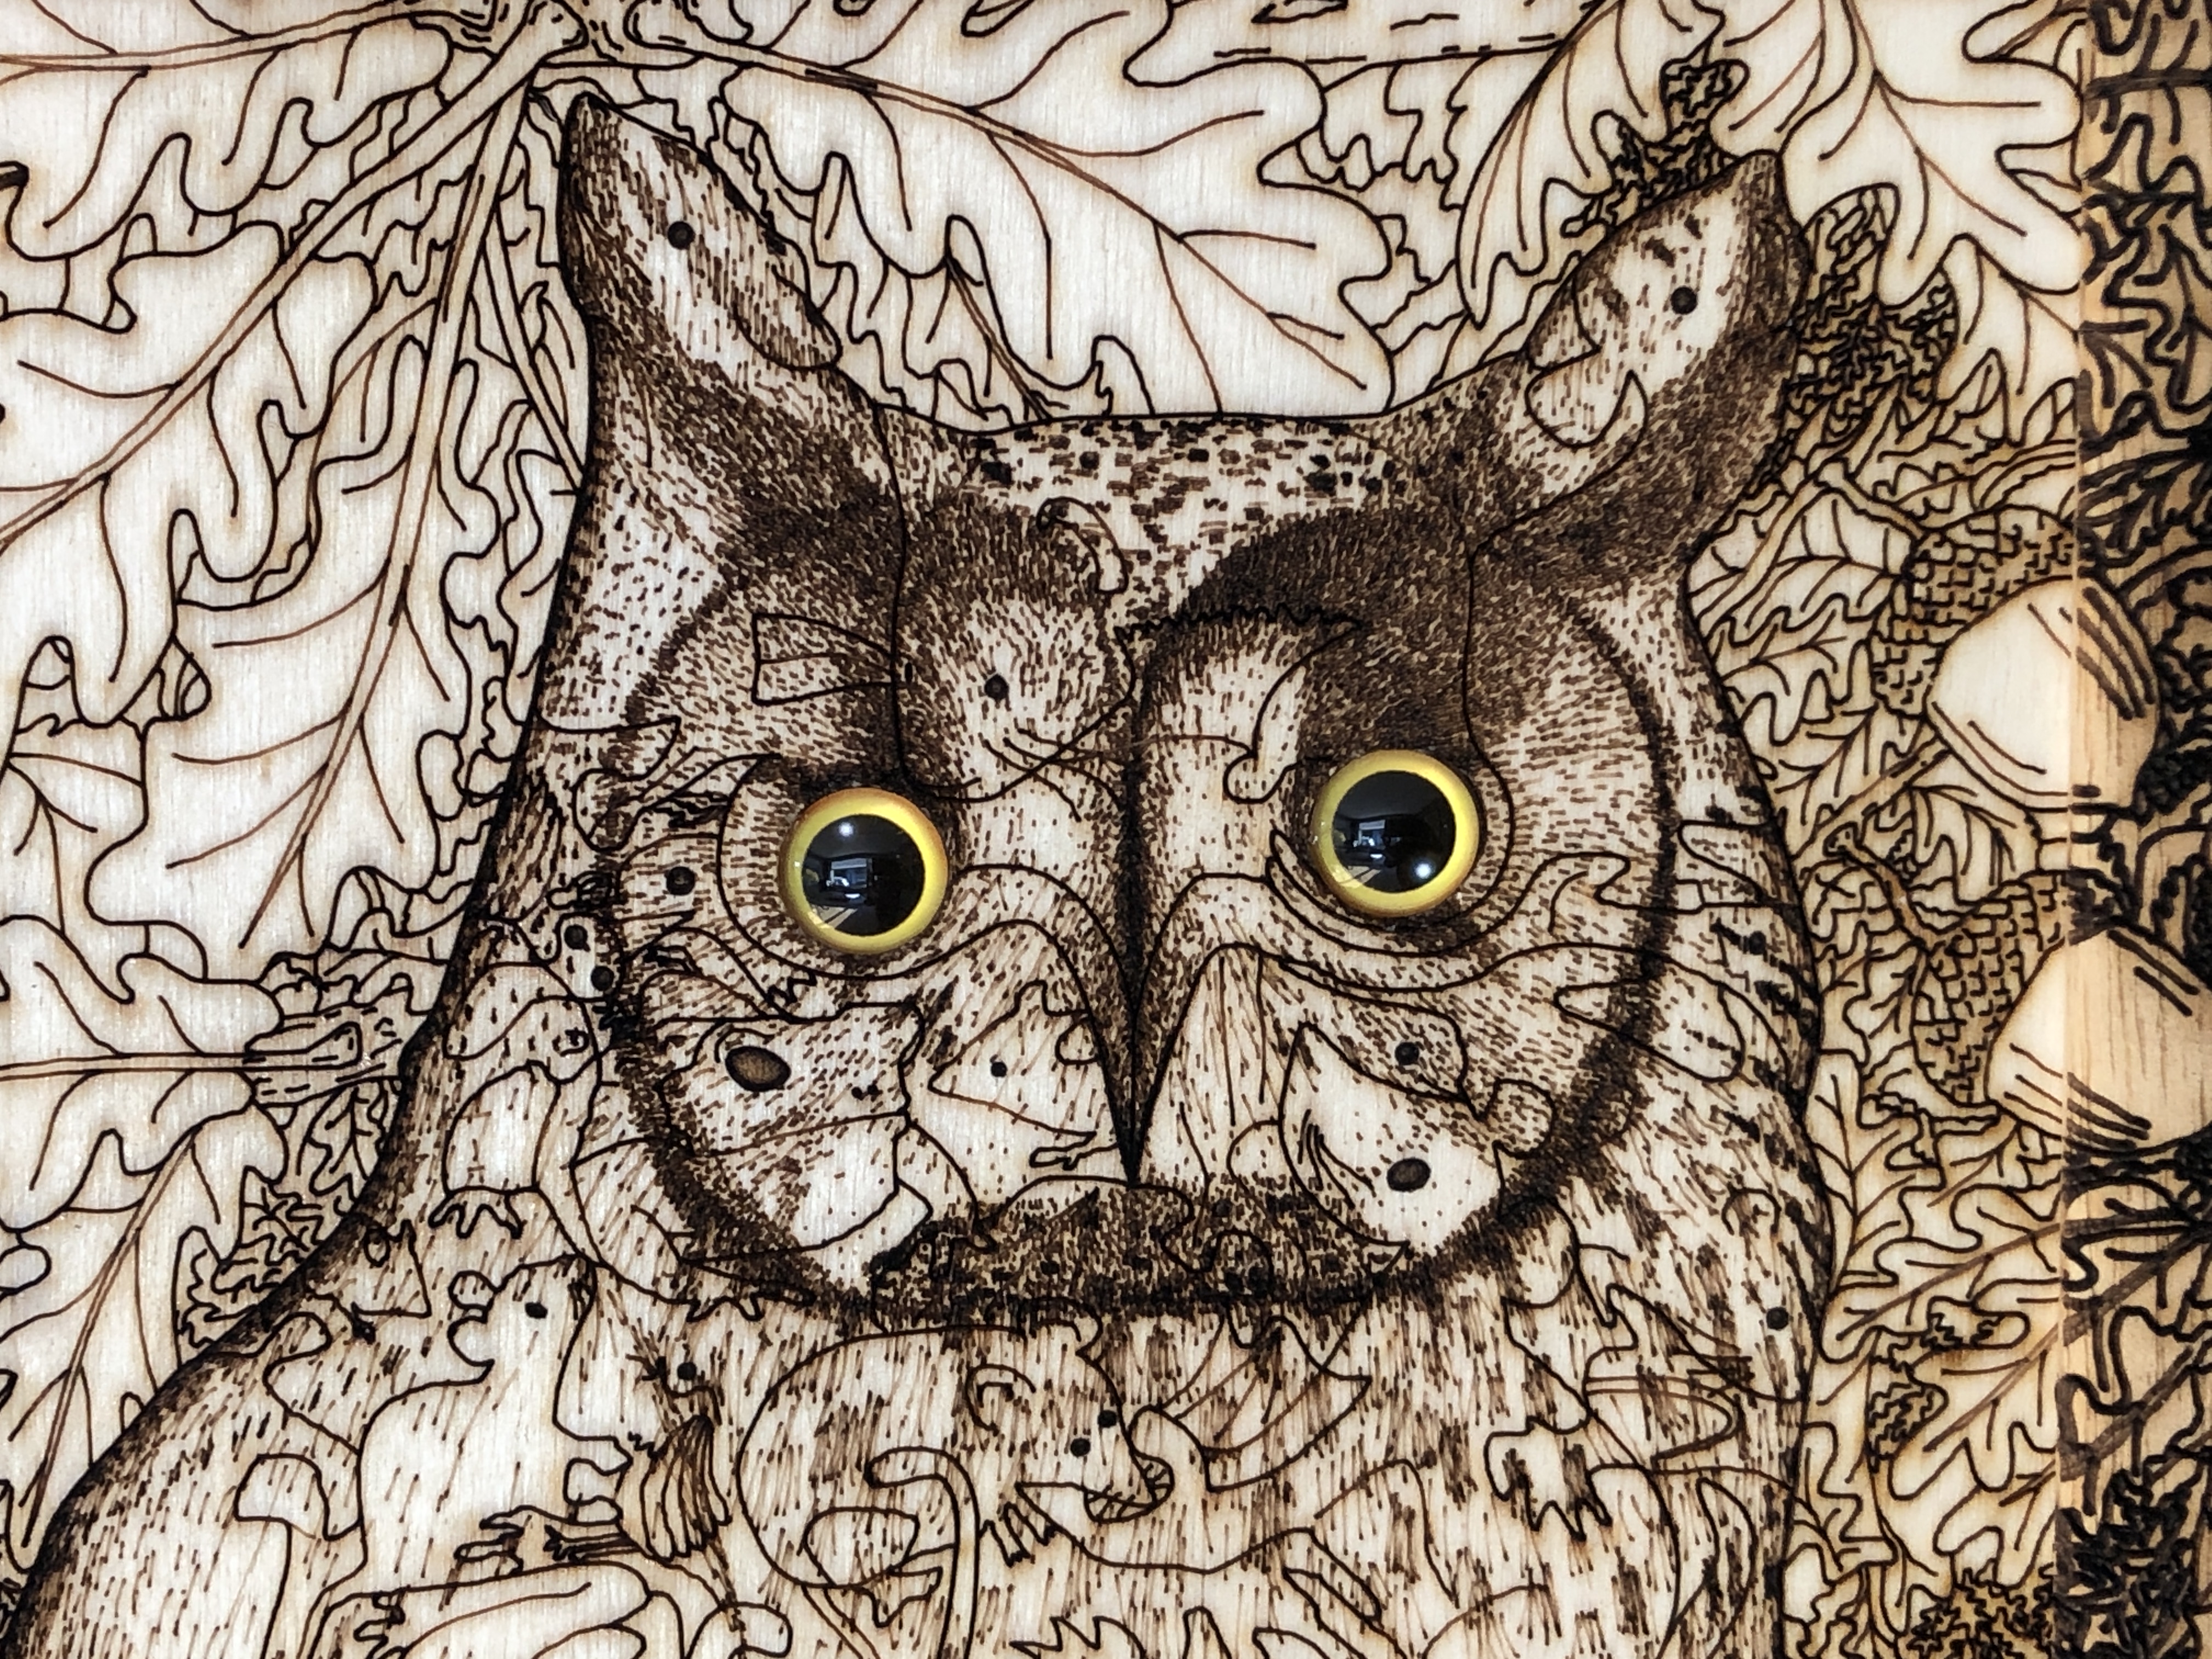
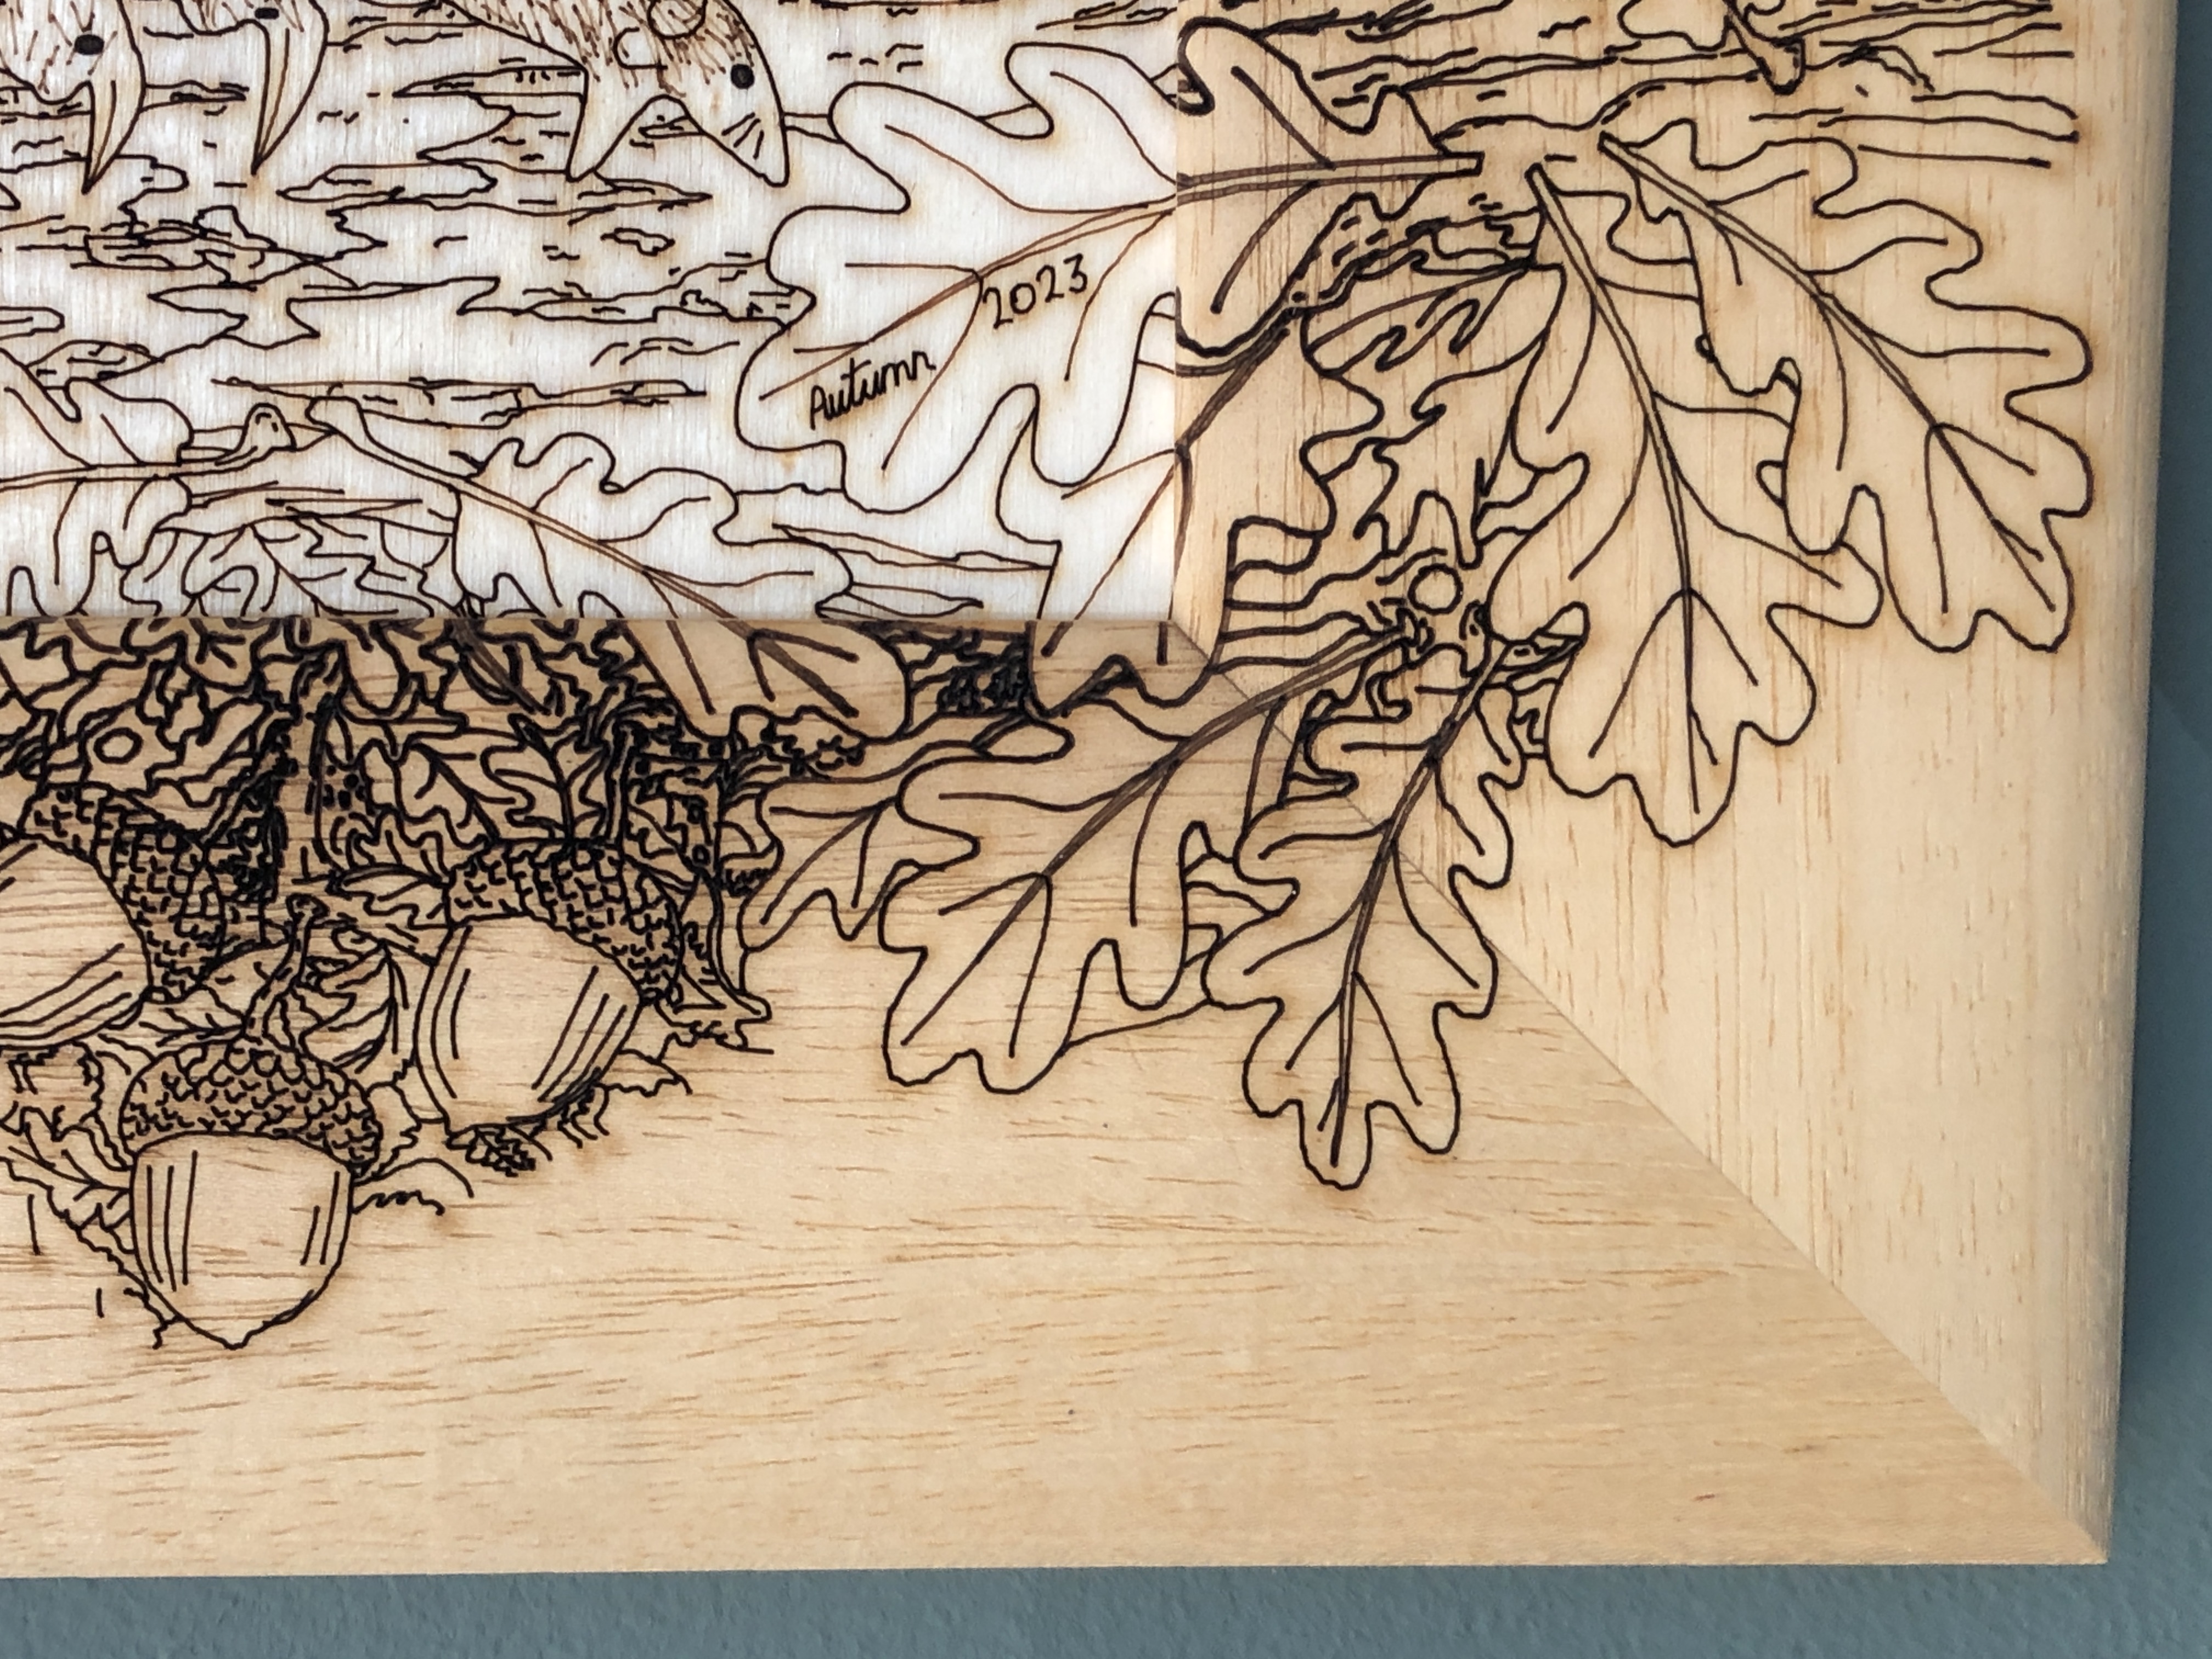
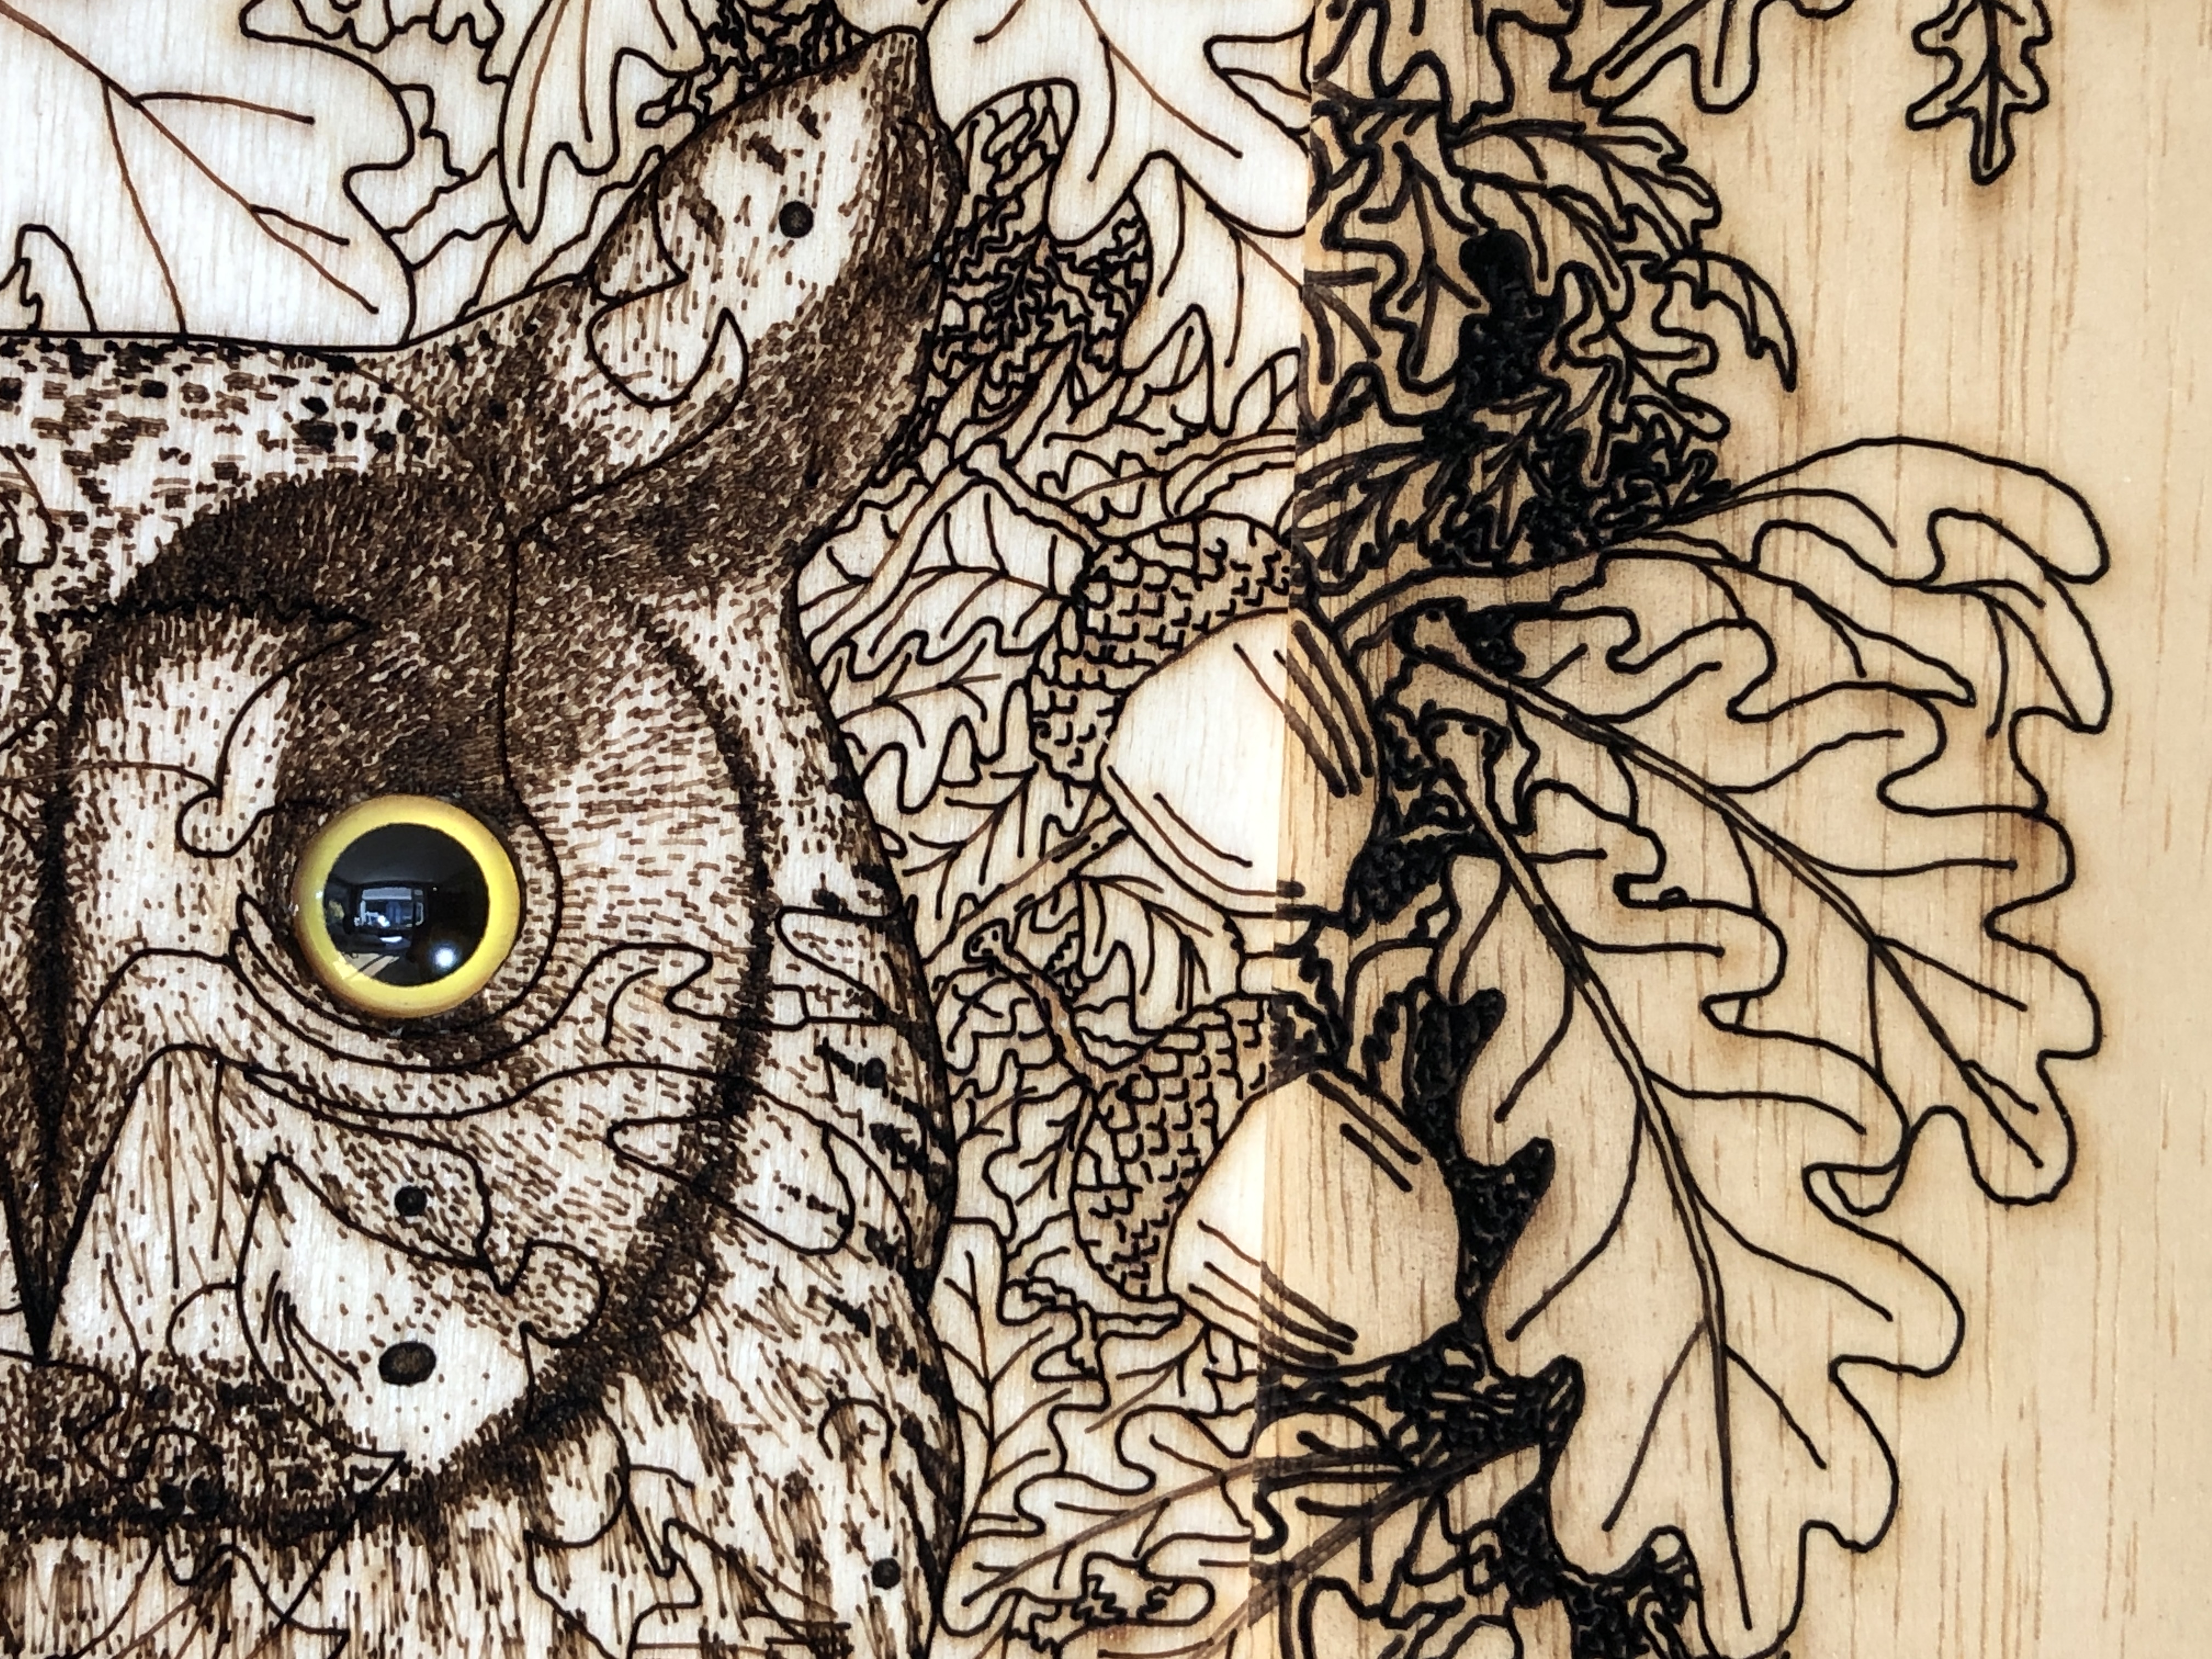
Thinking about framing this artwork I looked to see if there was a suitable readymade frame, but unfortunately there wasn’t any of the exact size required. Resigned to having to frame it myself, I thought about how I could make it more special – or interesting. My first thought was to put realistic and accurately-sized glass eyes in the owl – that would give it a central focus (no pun intended!). Also I thought the eyes should be embedded a little – rather than simply stick them on top – because this would look more realistic. And if I engrave the “sockets” as part of the laser design then they would be very easily accurately positioned and consistent. I did a few trials, and managed to get them exactly as I wanted (see photo below).
Embedded glass eyes in this special version of “Long-eared Owl with Oak Foliage”
Back to the main challenge. I don’t really like small frames – they make the artwork look insignificant – and I thought a “normal” frame with a windowmount around this piece would make the artwork look even smaller…
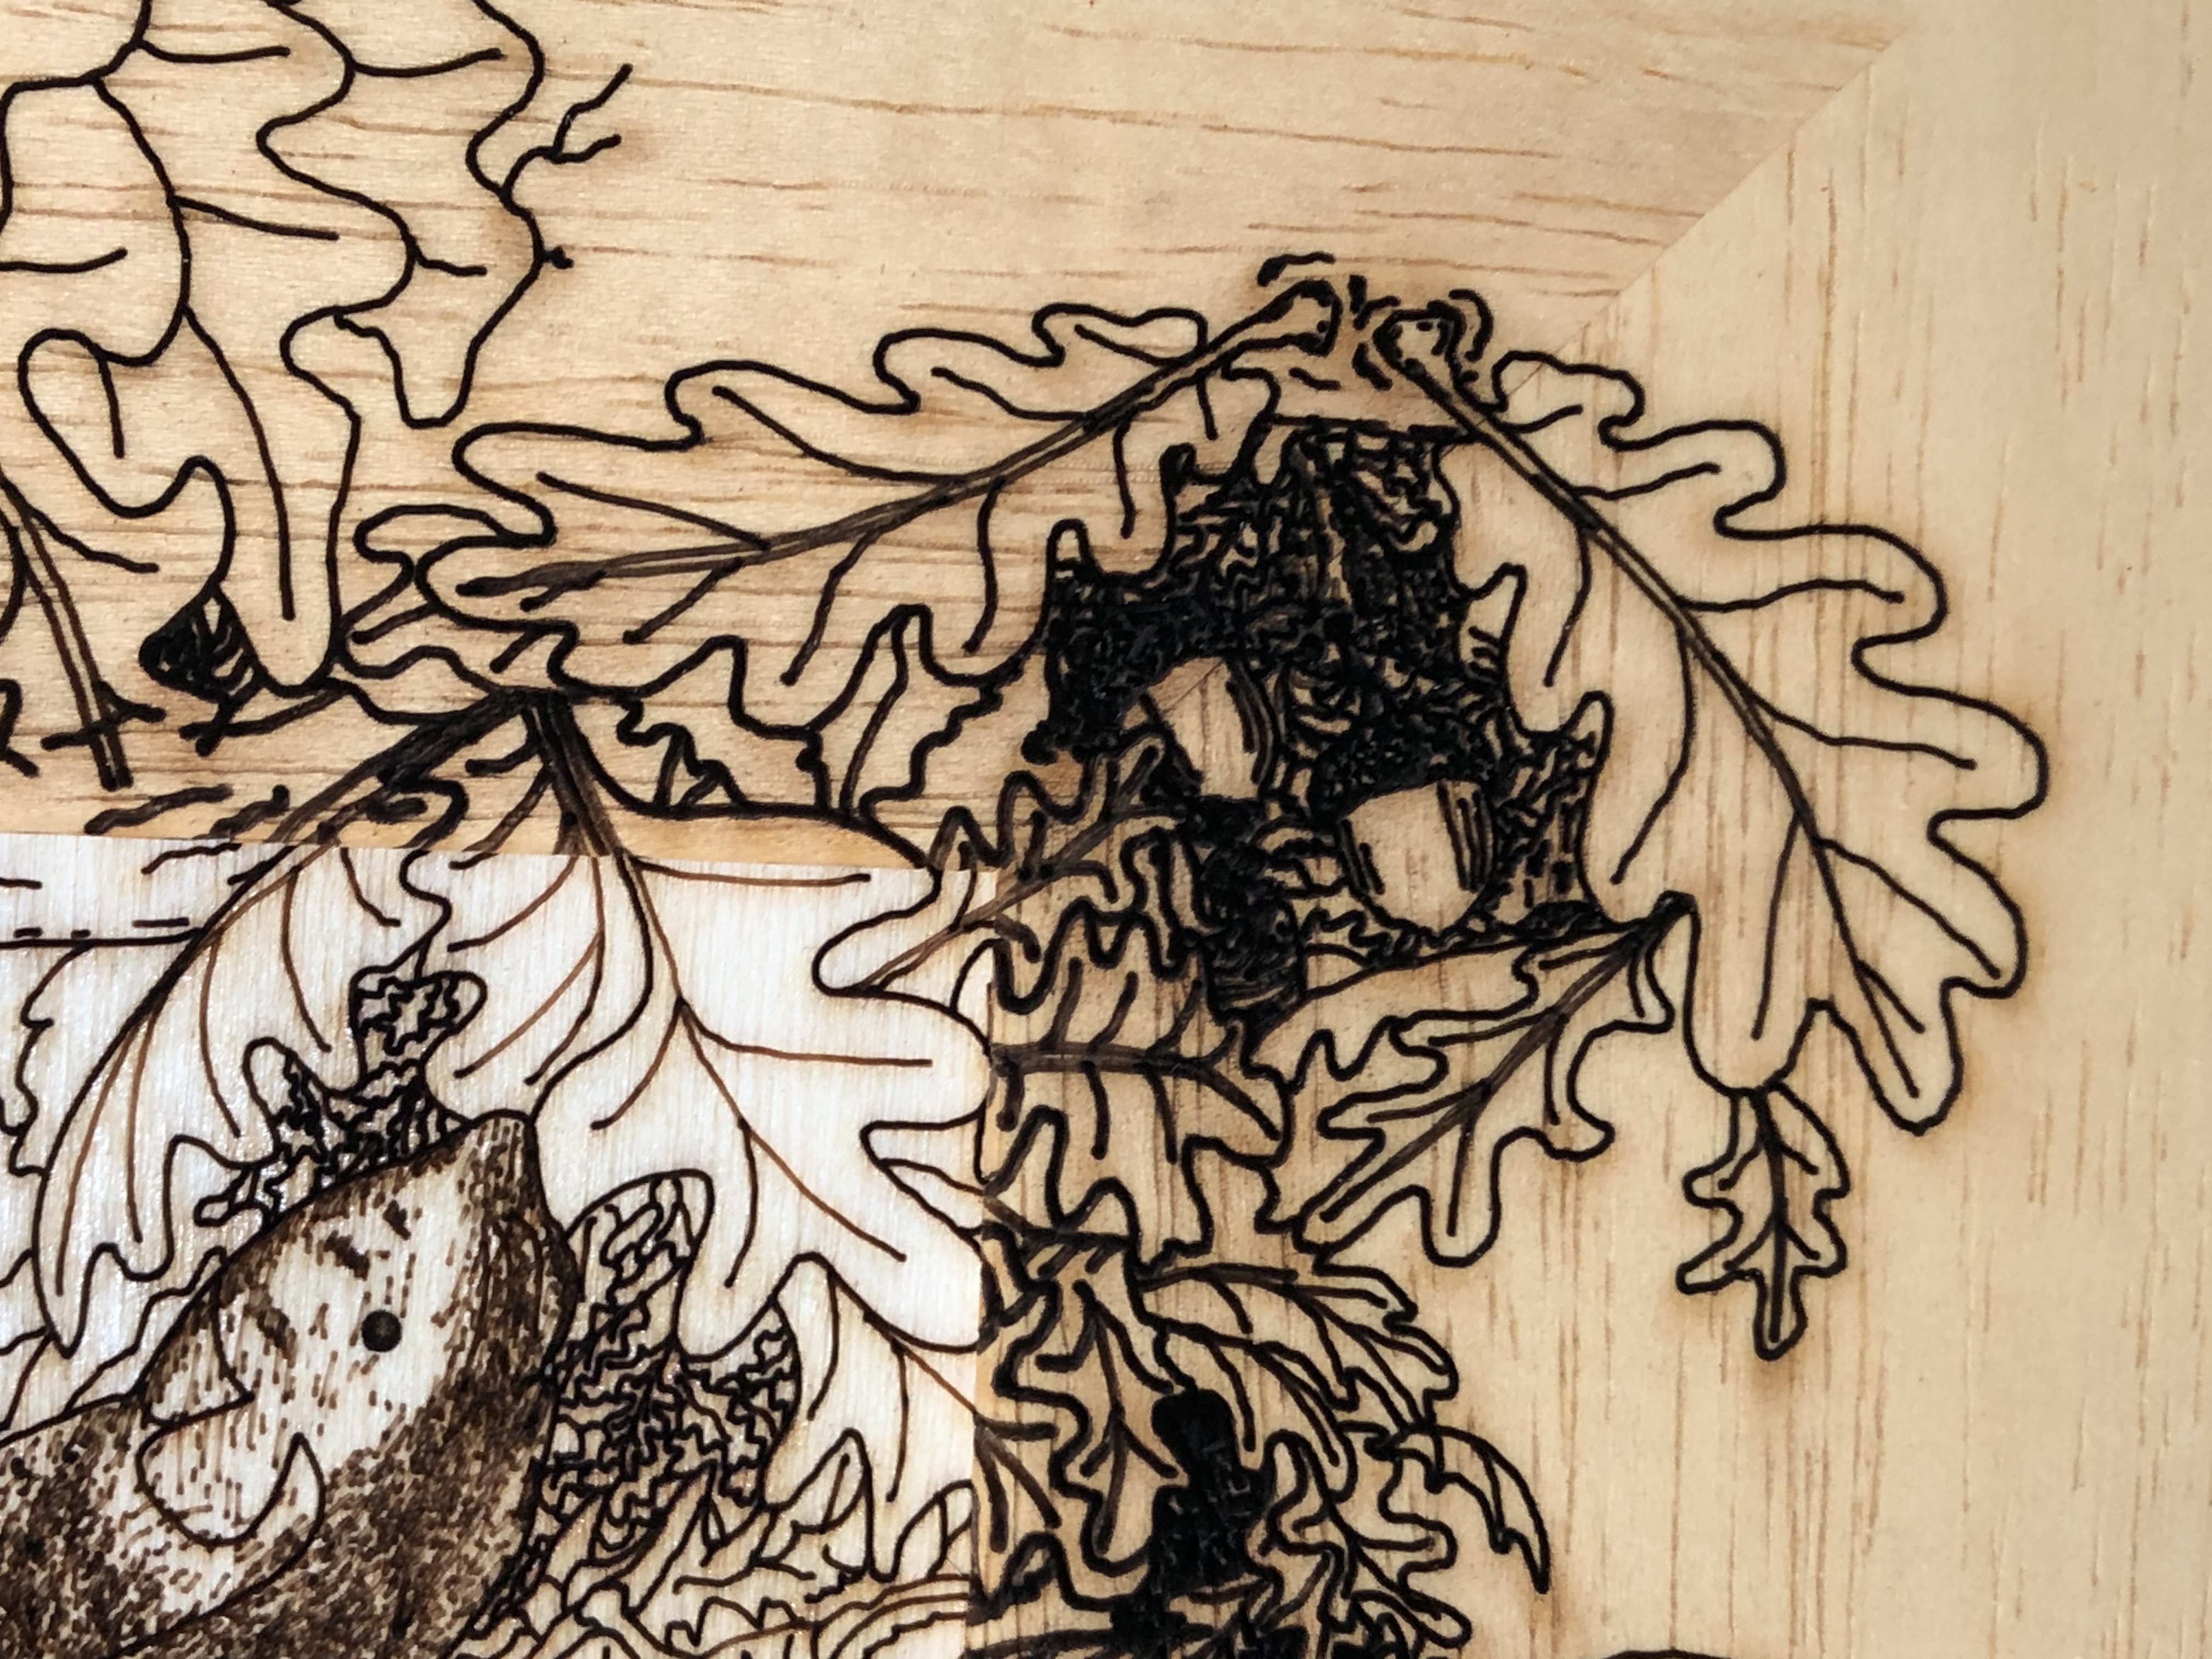
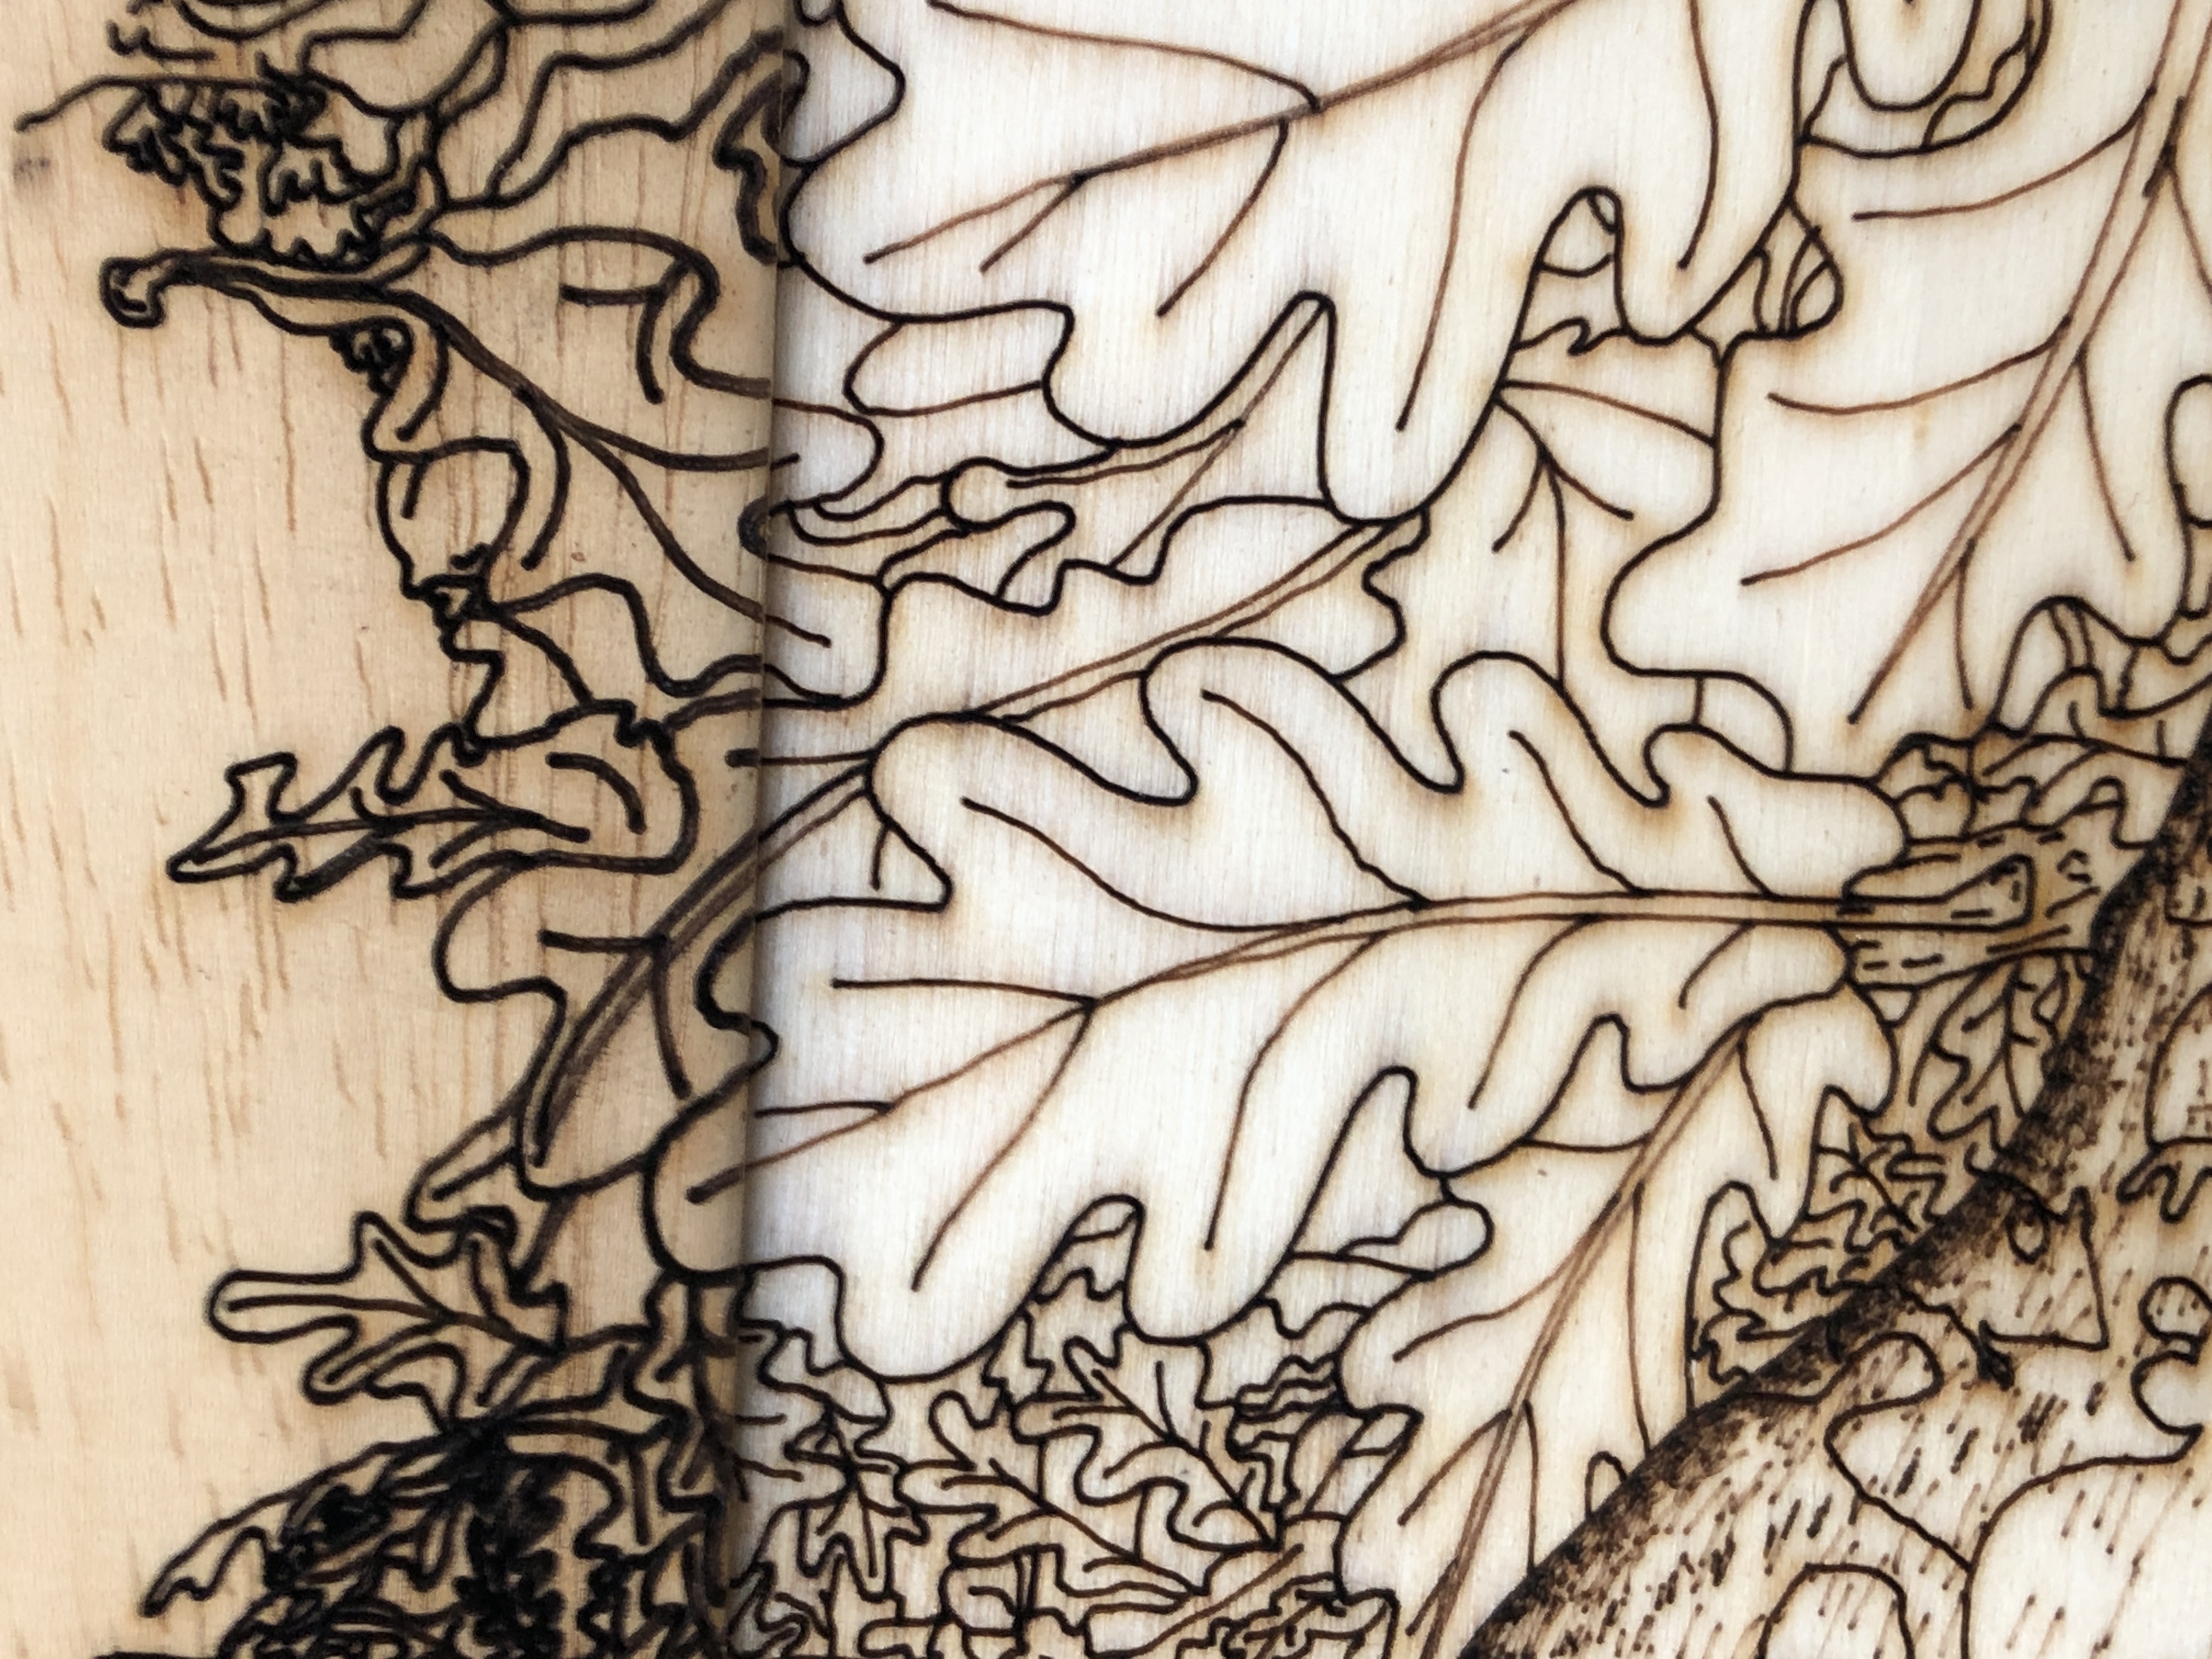
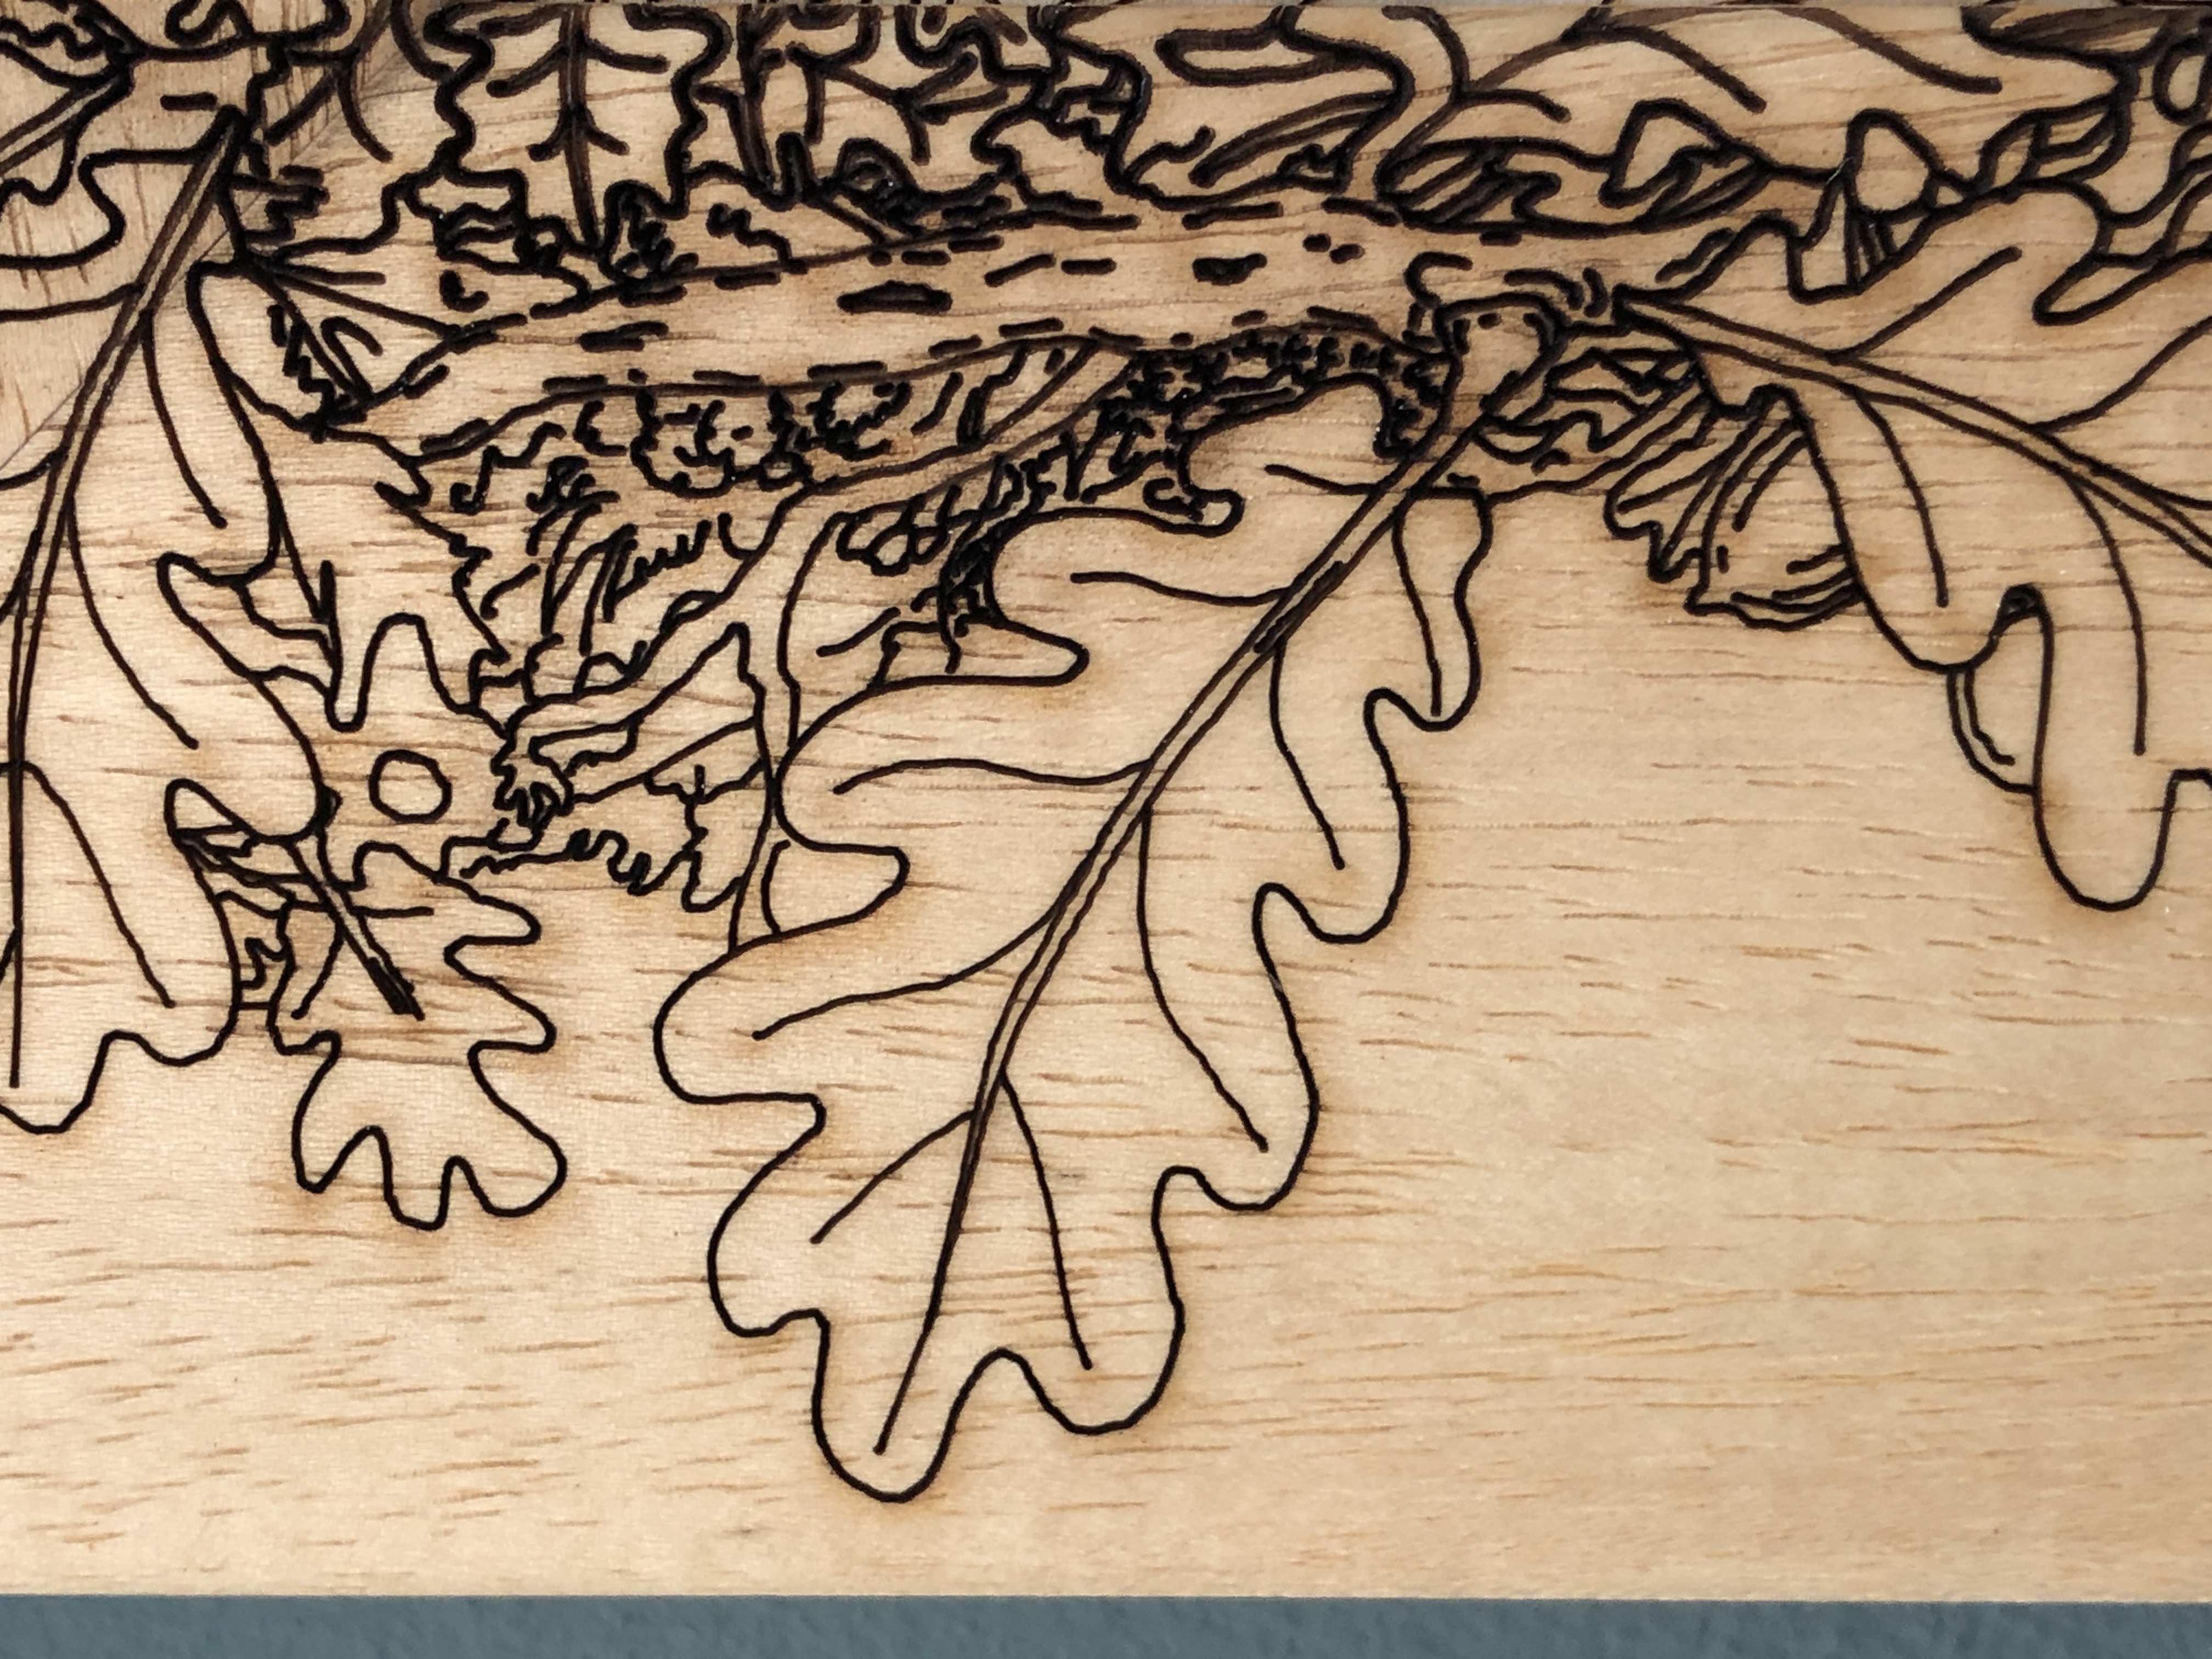
I also thought that a conventional rectangular frame feels is at odds with the artwork – where there isn’t a single straight line. Eventually I got the idea of extending the artwork out into a wide wooden frame – and not having any straight line edges – just a naturalistic “edge”… I could laser directly onto the frame in the same style as the artwork itself. I looked for a wide (to give a greater overall size impact), light-coloured, plane wood moulding. I didn’t really want a completely flat moulding profile – because that would look less like a frame. Eventually I found a suitable shallow “cushion” moulding – which subtly differentiates the artwork from the frame – and I think it works really well – what do you think…?
The advantage of this frame is that I can varnish it the same way the artwork is finished – with non-yellowing, UV-protective, varnish – and it doesn’t require a windowmount or glass.
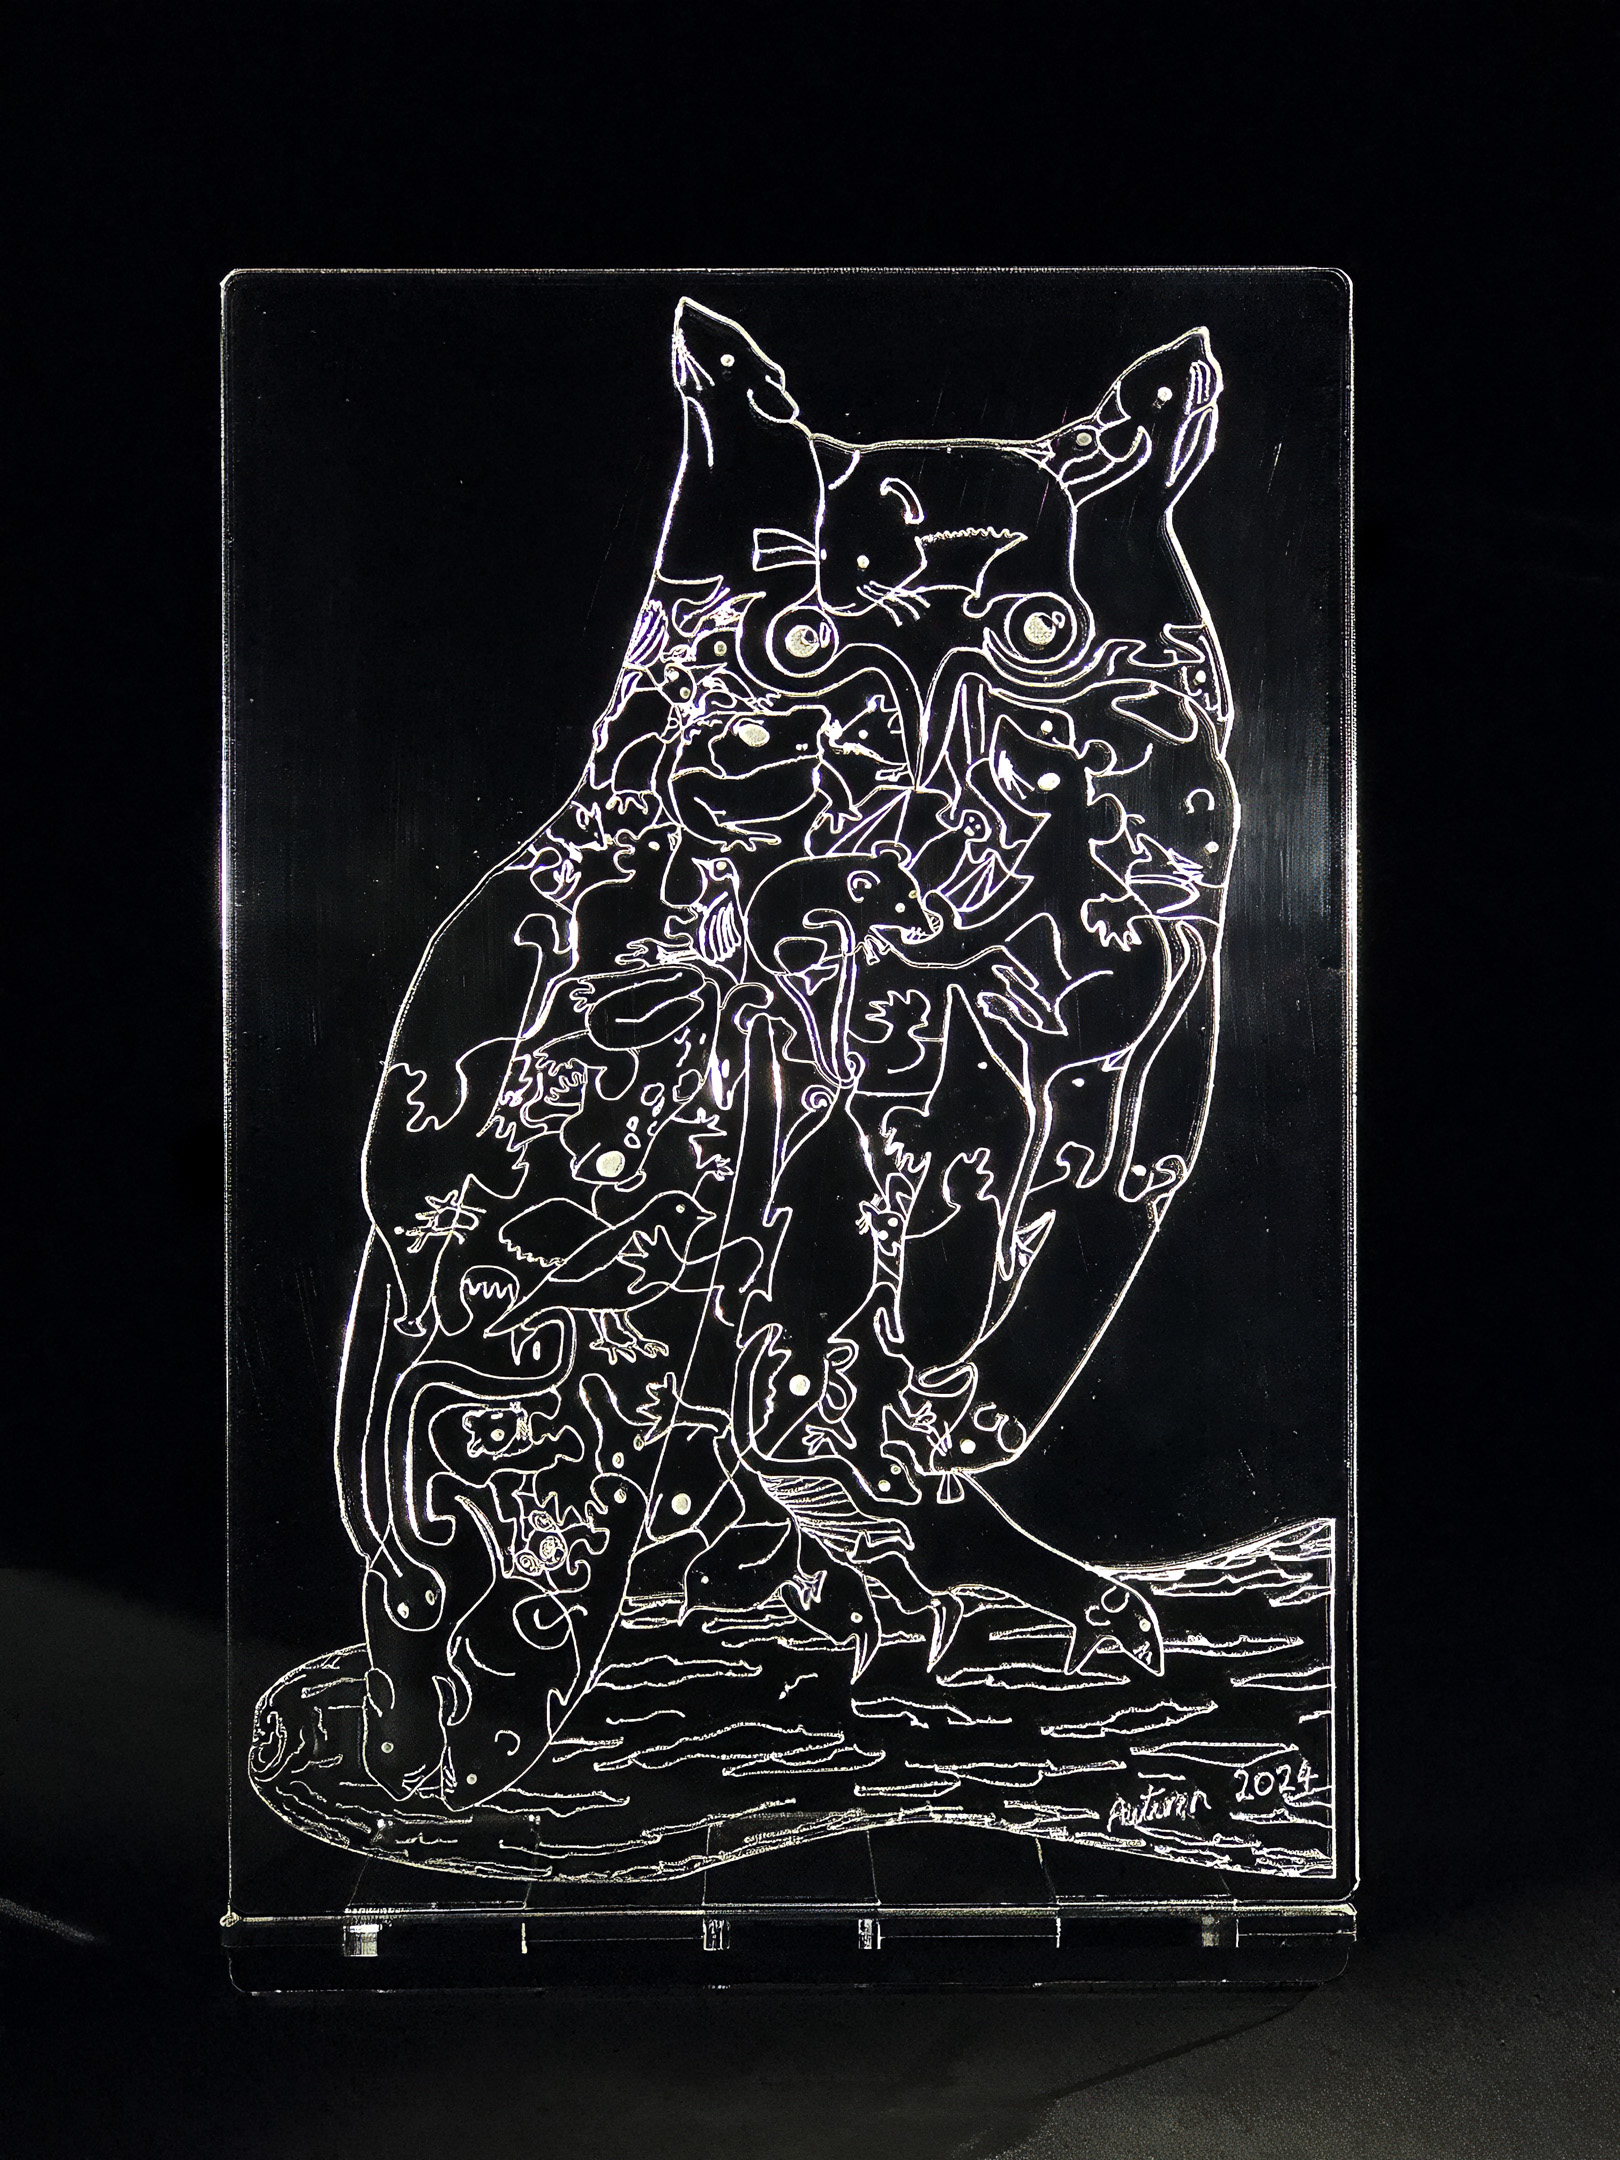
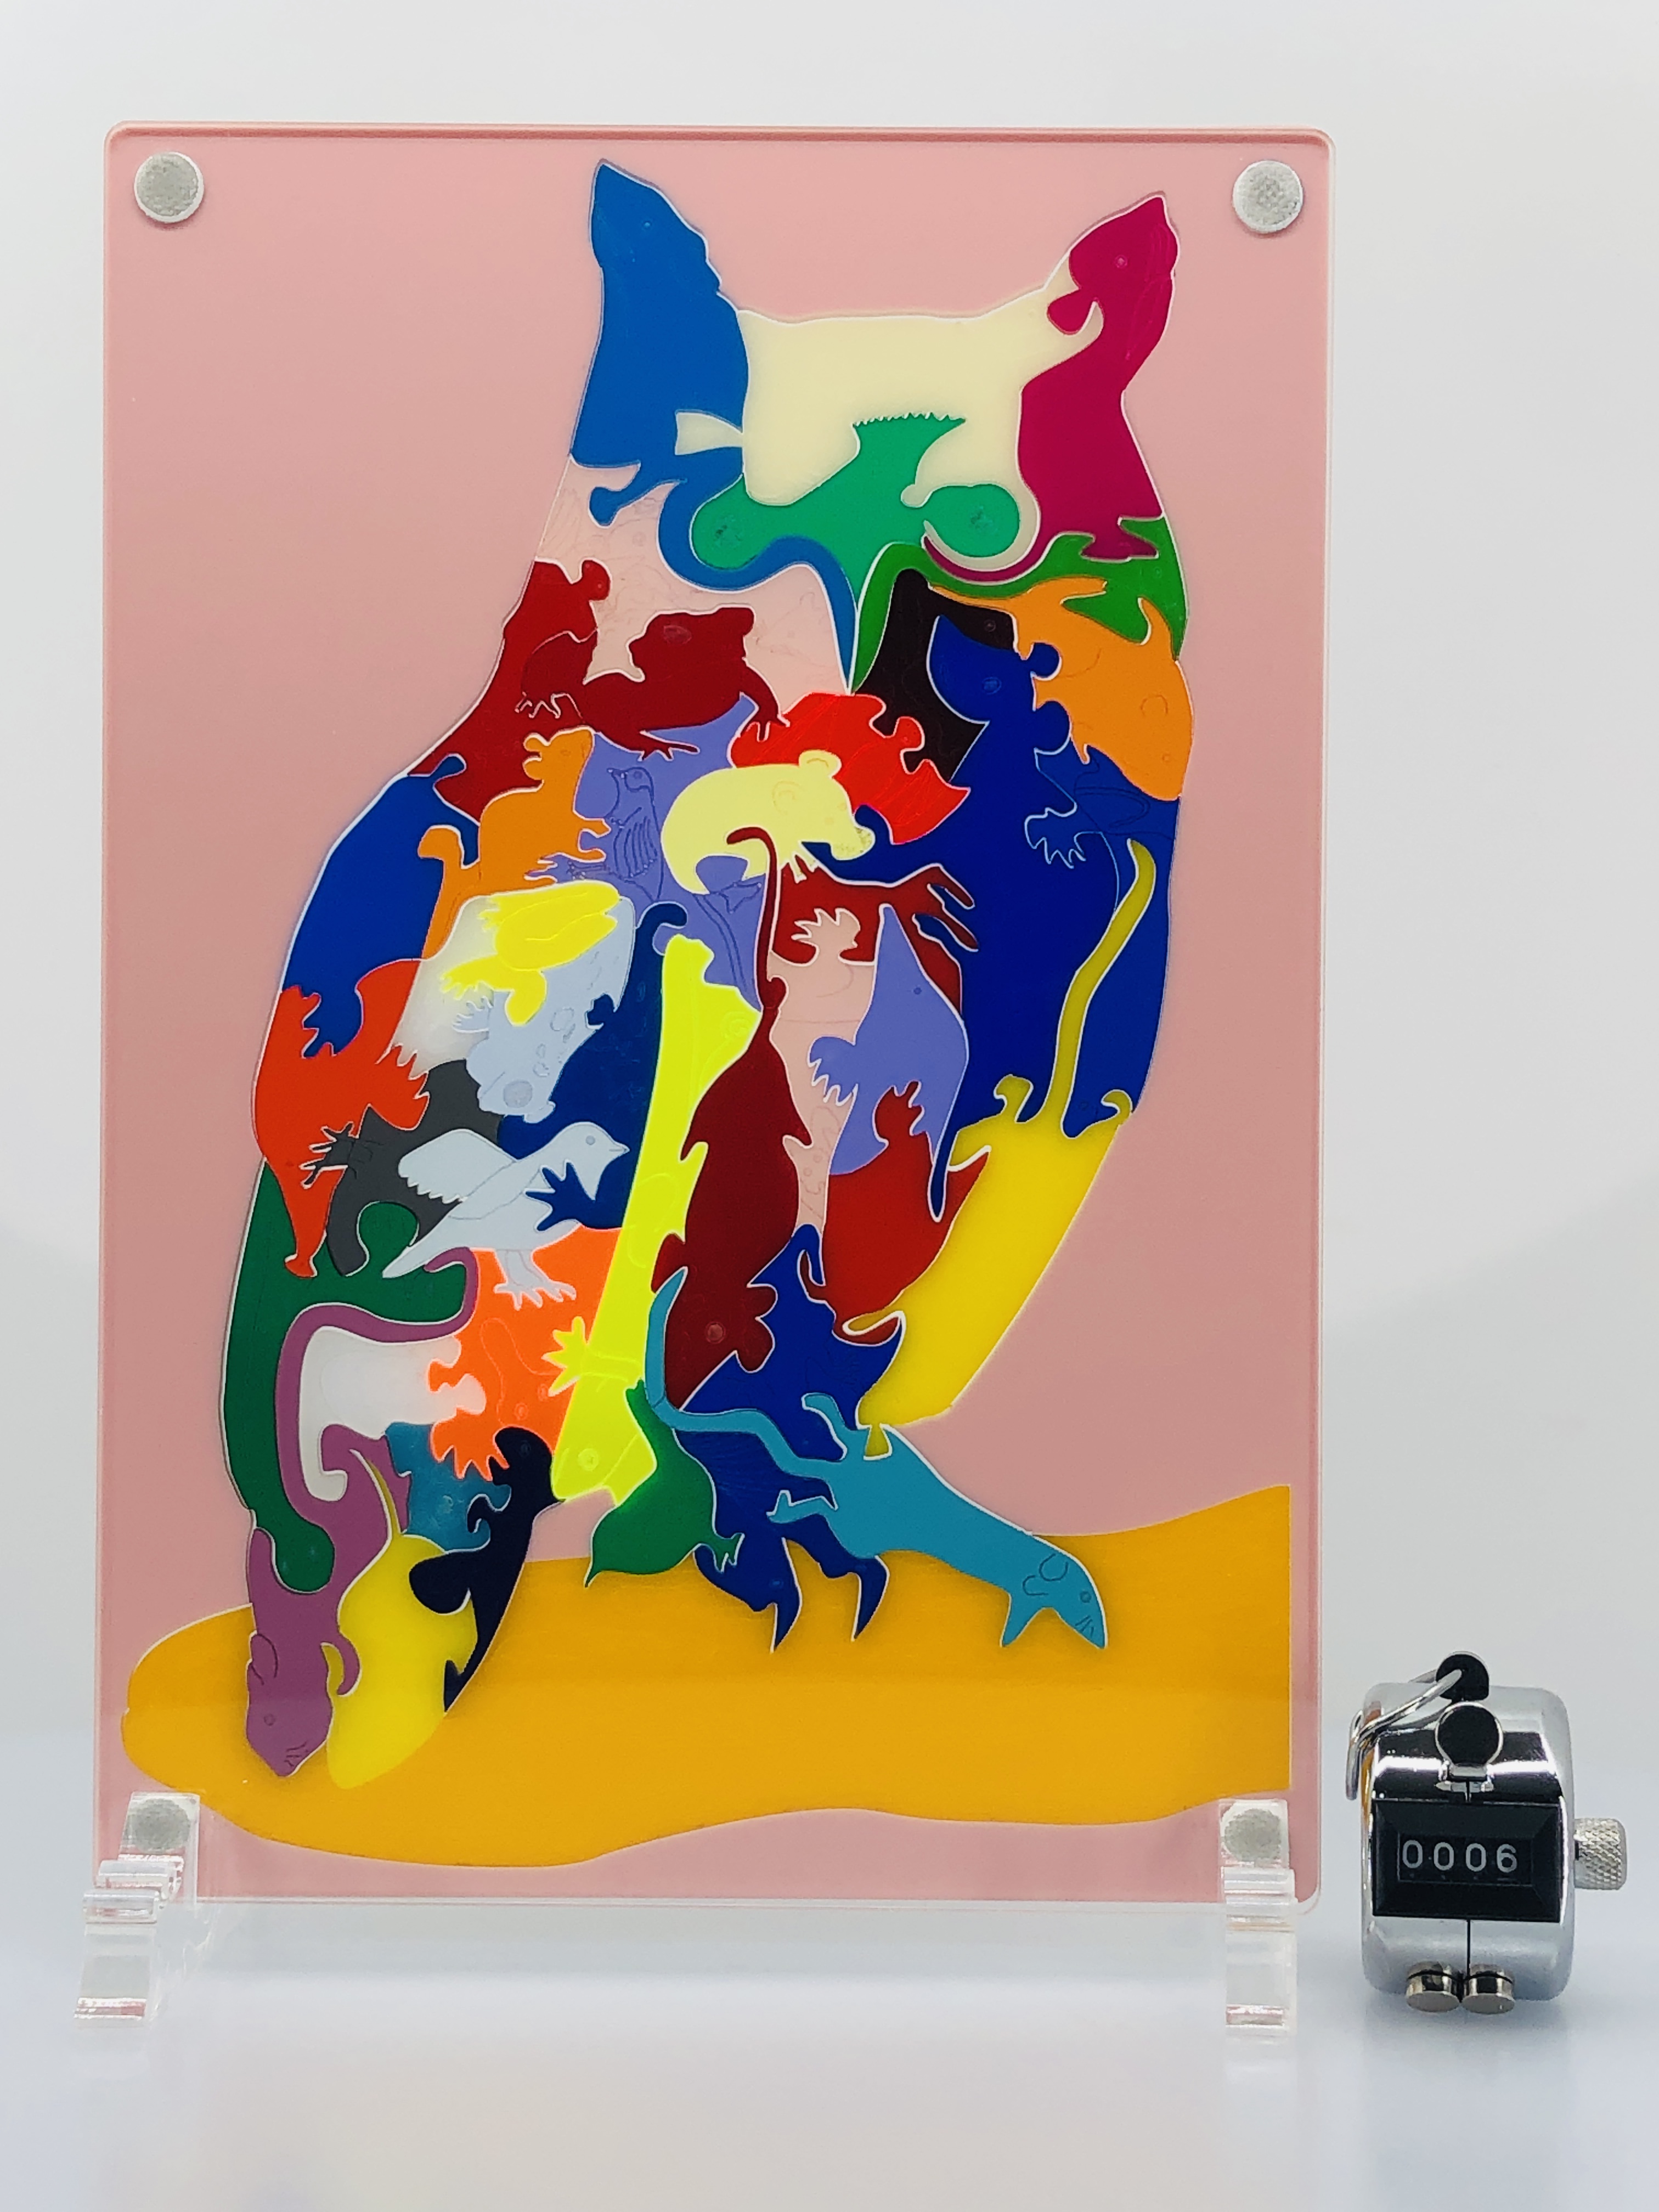
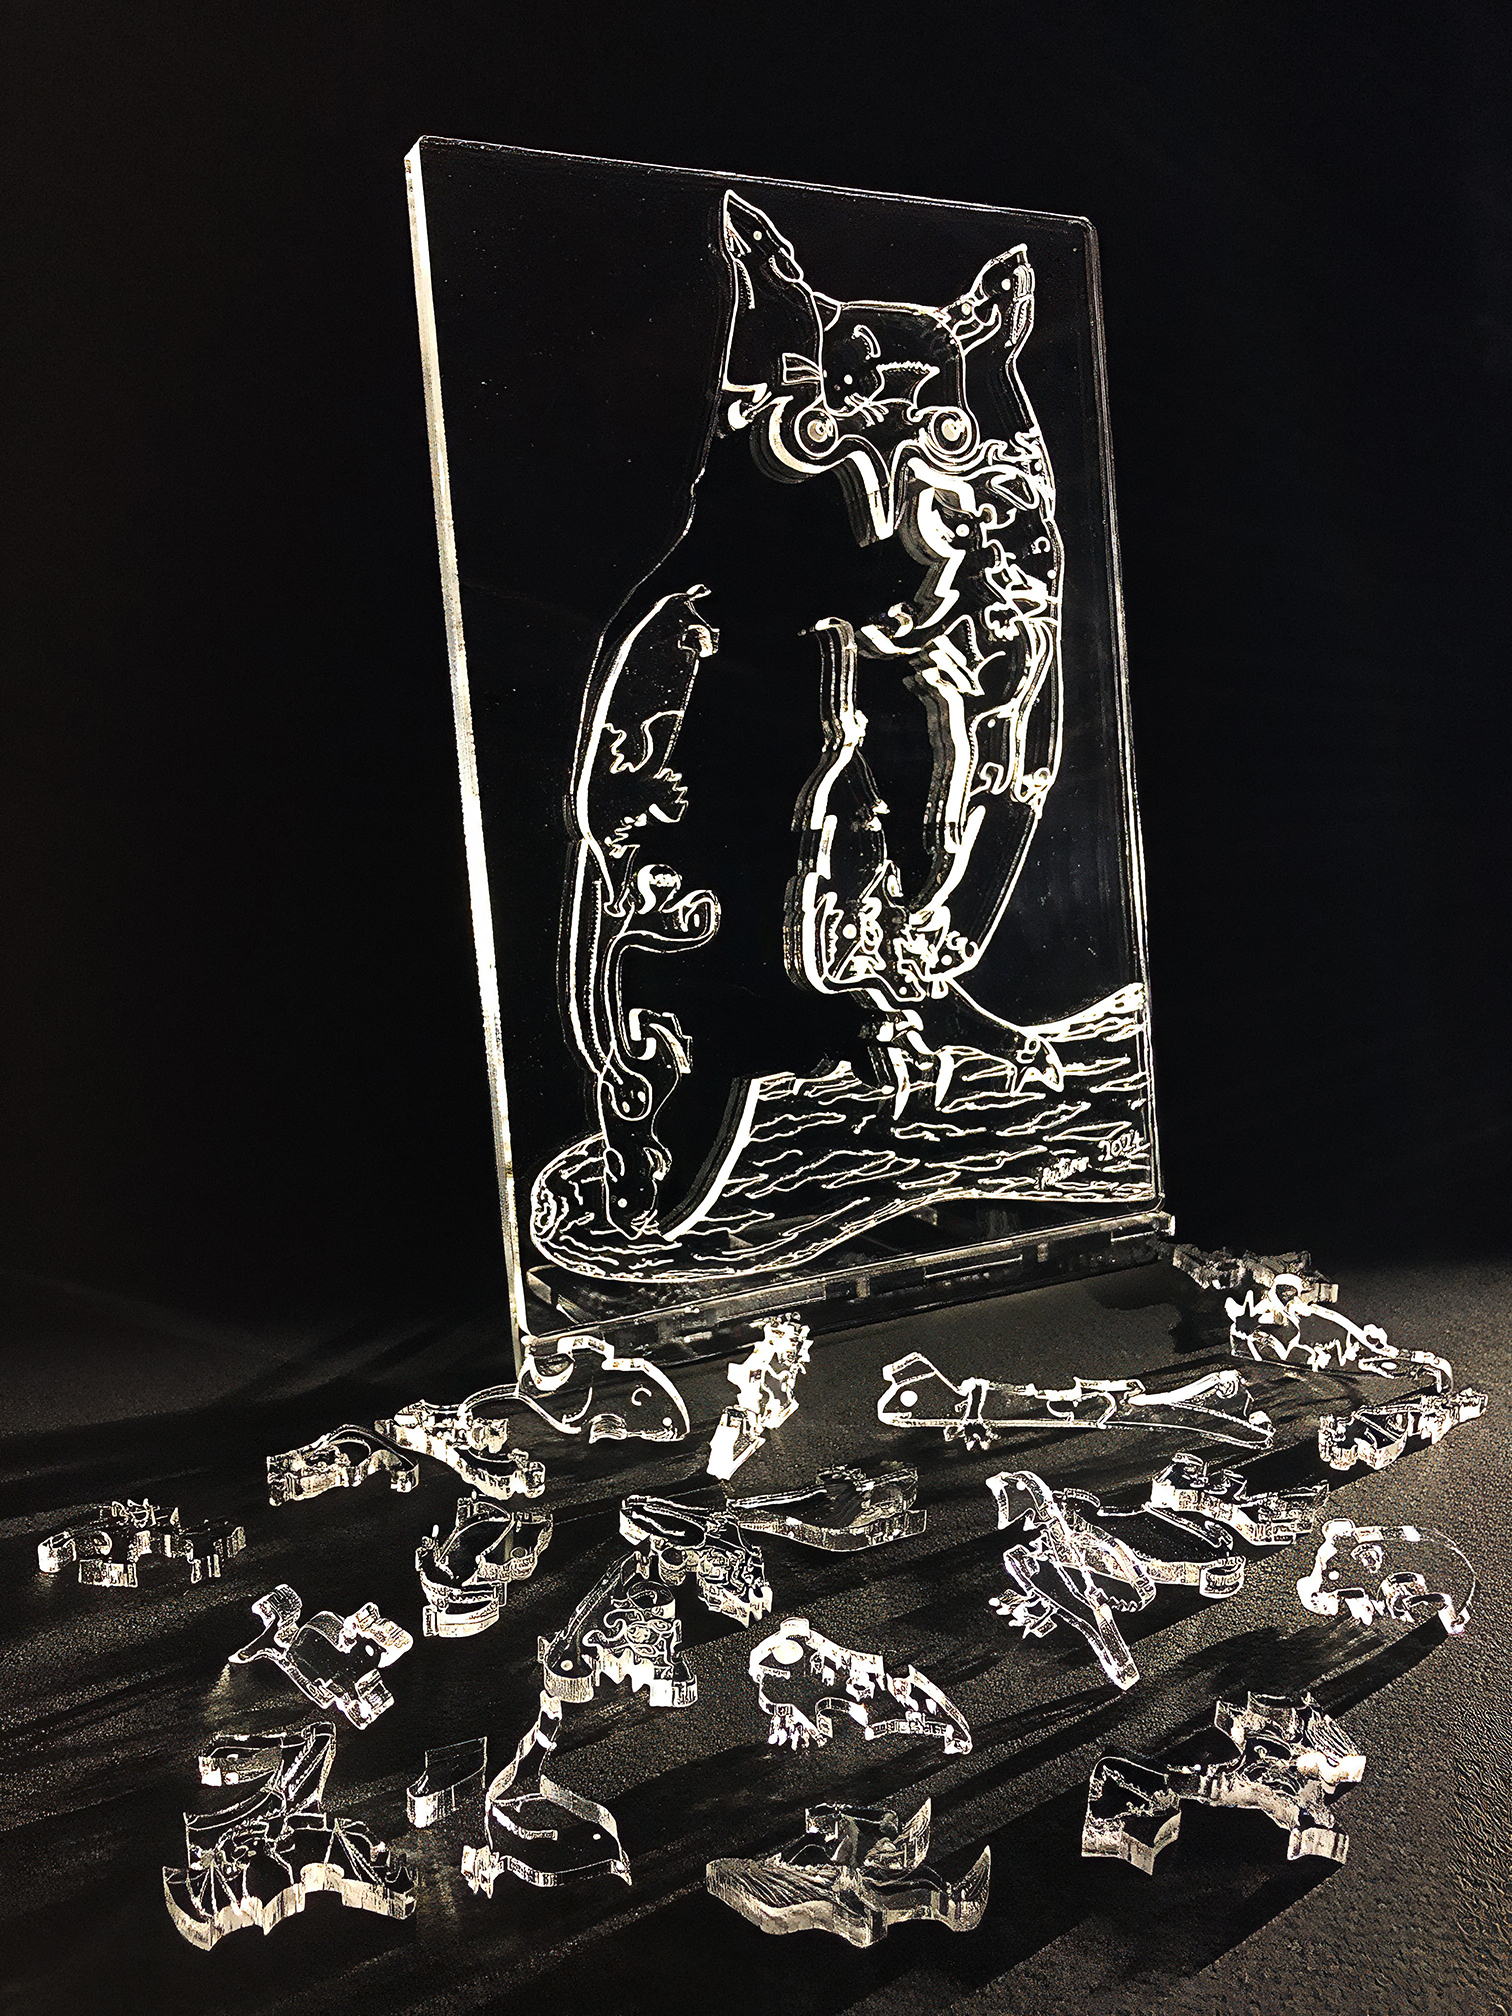
Artist: Michael Autumn Medium: Tinted/transparent/translucent/frosted/fluorescent, and opalescent cast 3mm Perspex® – laser cut & engraved from a hand-drawn digital design (with 3mm and 5mm crystal clear magnetised support panels) Size: 19cm (W) x 29cm (H) Edition: Unlimited Date: 07/2024 Country: UK For sale: A selection of colour variations is available to buy on Etsy – https://michaelautumnart.etsy.com
TL;DR
Using coloured acrylics for creating stained glass effects offers a great number of opportunities and there seems to be nothing that cannot be achieved using it compared to conventional stained glass techniques and real glass. I’m very encouraged by the future possibilities of using coloured acrylics, and have several designs already in mind. Watch this space…
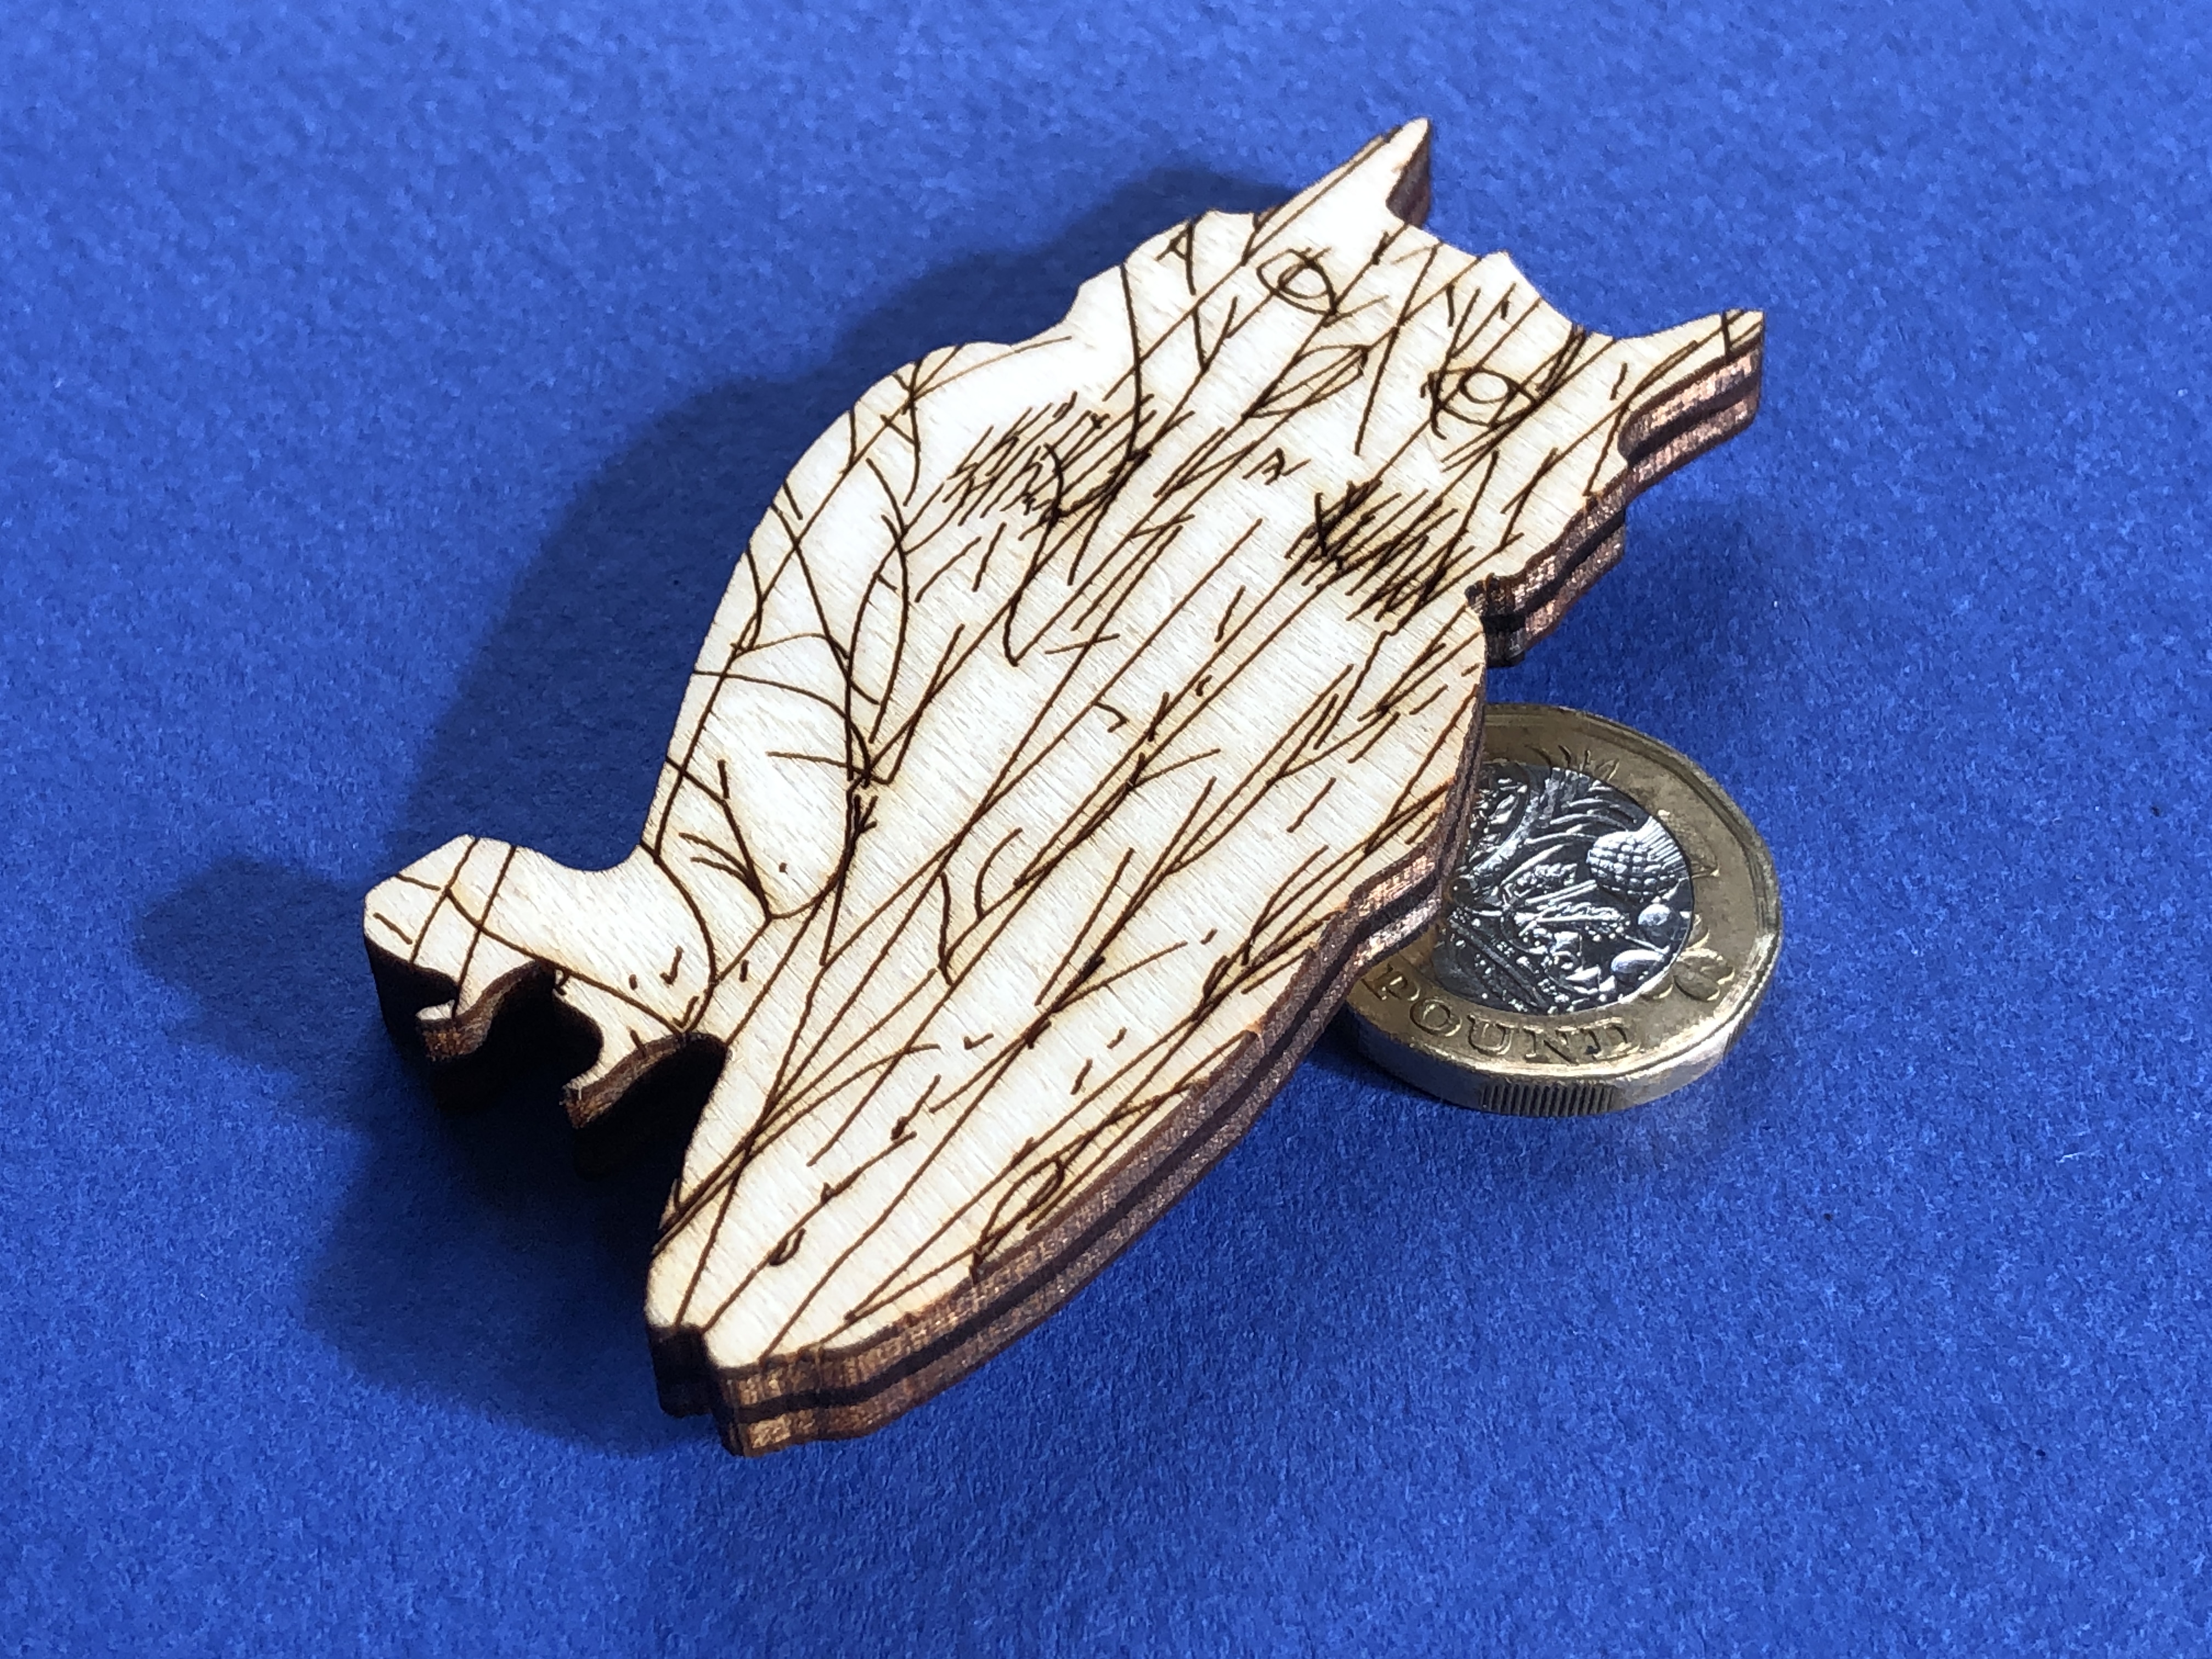
Description: The idea behind this artwork was to have a tactile, life-sized, long-eared owl, and to toy with the idea – “You are what you eat”. This is my first foray into using coloured acrylics as a modern stained glass substitute. Stained glass (windows) is a really beautiful medium – not least because, unlike most other art forms, it constantly changes with light and the colour of the (sun)light shining through it. However, just like buildings today don’t have to be made from the same building materials and techniques used by the cathedral-building Normans in the mediaeval period, stained glass windows don’t have to be made with silica, lime, and soda, coloured with metallic salts – and held together with strips of lead.
I personally don’t see the point in replicating materials and techniques that have been used – and mastered – for centuries. I don’t live in the past; I live in the present. Some artists and artisans of the past can, at best (and with extreme effort), be matched – but it’s exceedingly unlikely that they can be surpassed. I’m talking about the likes of Grinling Gibbons, Ingres, Peter Bruegel the Elder, Jan van Eyke, Albrecht Dürer, Gian Lorenzo Bernini (sculptor) – not to mention the often anonymous mediaeval stained-glass window artists.
I can learn from the past, but learning is not the same a replicating. As an artist, I’m always looking to create something new – or say something new. And a constant challenge is to create something different – something that stands out from the crowd, and hasn’t been done before. In my opinion, in the art world it’s a waste of time to do what someone has done before… That is what an artisan does – not an artist…
Glass is a truly wonderful, diverse, and lovely material – particularly with its ability to be coloured (tinted) – but it has its limitations. The old severe limitations of cutting it have been completely overcome by the use of modern day lasers, but it’s very brittle, sharp, and dangerous! This leaves one with the option to work within glass’s limitations, resort to cast moulding (and its limitations), or look for alternative materials that achieve similar results…
Poly(methyl methacrylate) (PMMA) is the synthetic polymer derived from methyl methacrylate. It is used as an engineering plastic, and it is a transparentthermoplastic. PMMA is also known as acrylic, acrylic glass, as well as by the trade names and brands Crylux, Hesalite, Plexiglas, Acrylite, Lucite, and Perspex, among several others (see below). This plastic is often used in sheet form as a lightweight or shatter-resistant alternative to glass. It can also be used as a casting resin, in inks and coatings, and for many other purposes. It is often technically classified as a type of glass, in that it is a non-crystalline vitreous substance—hence its occasional historic designation as acrylic glass.
Wikipedia
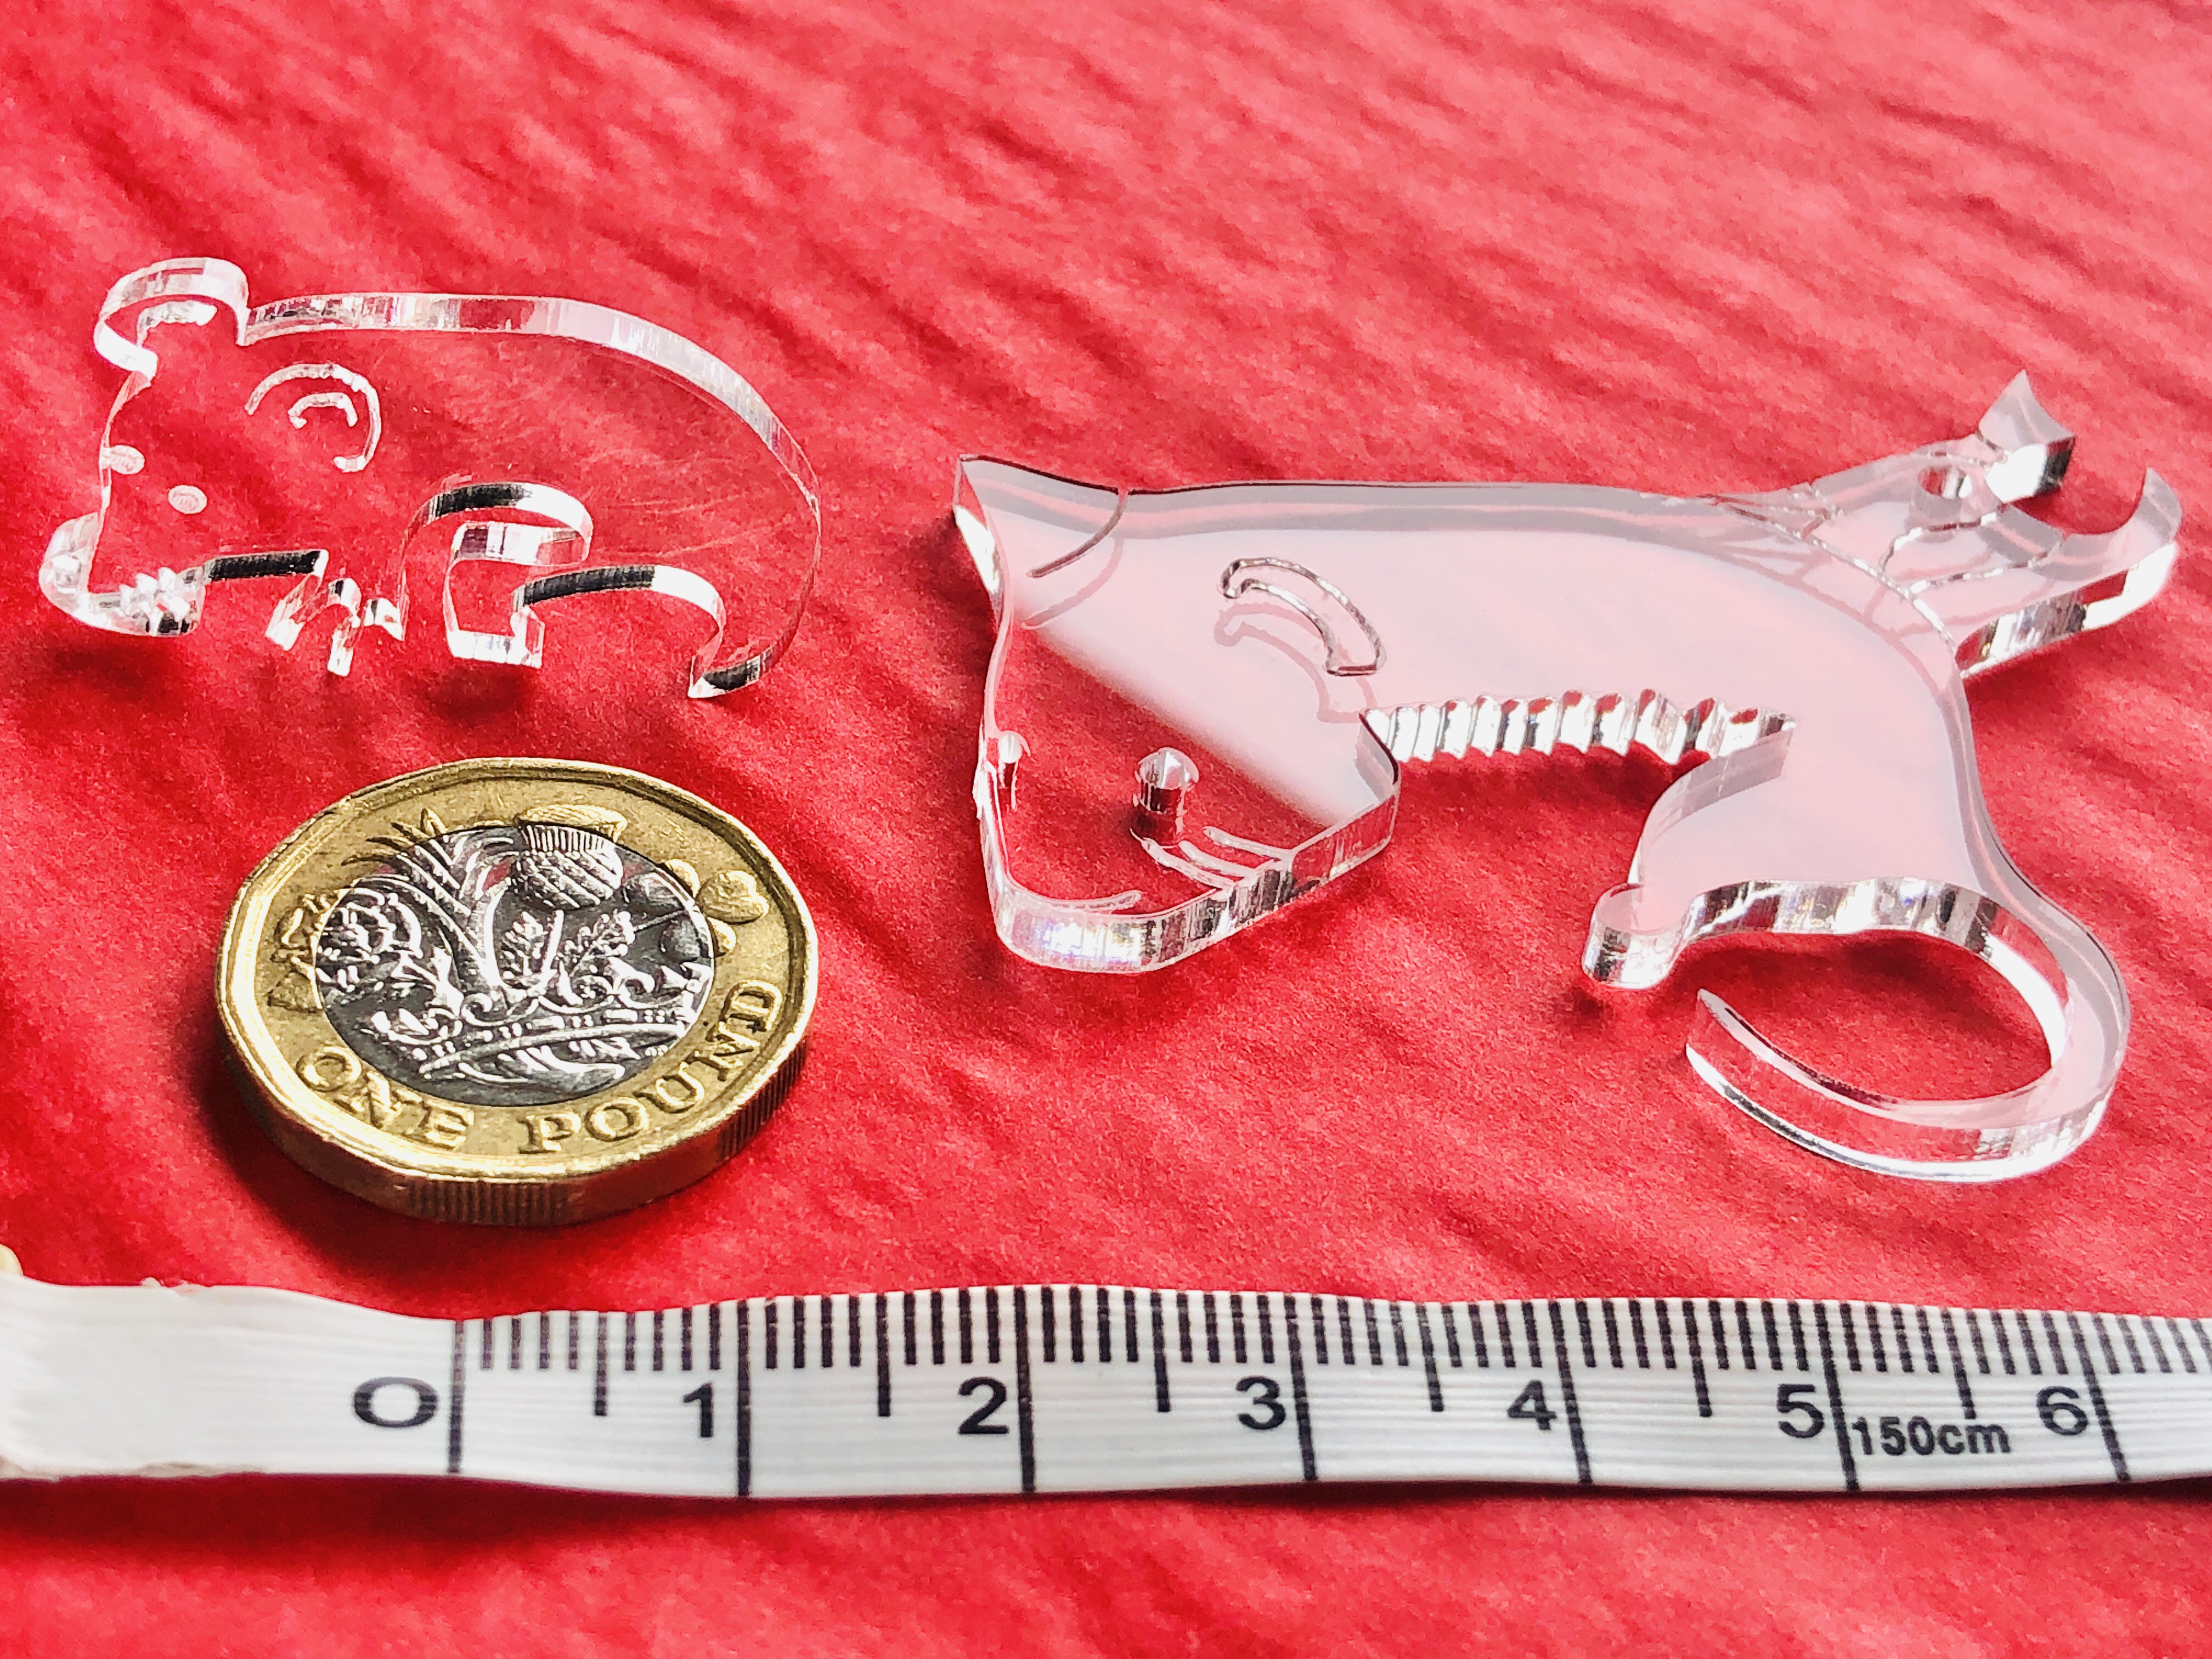
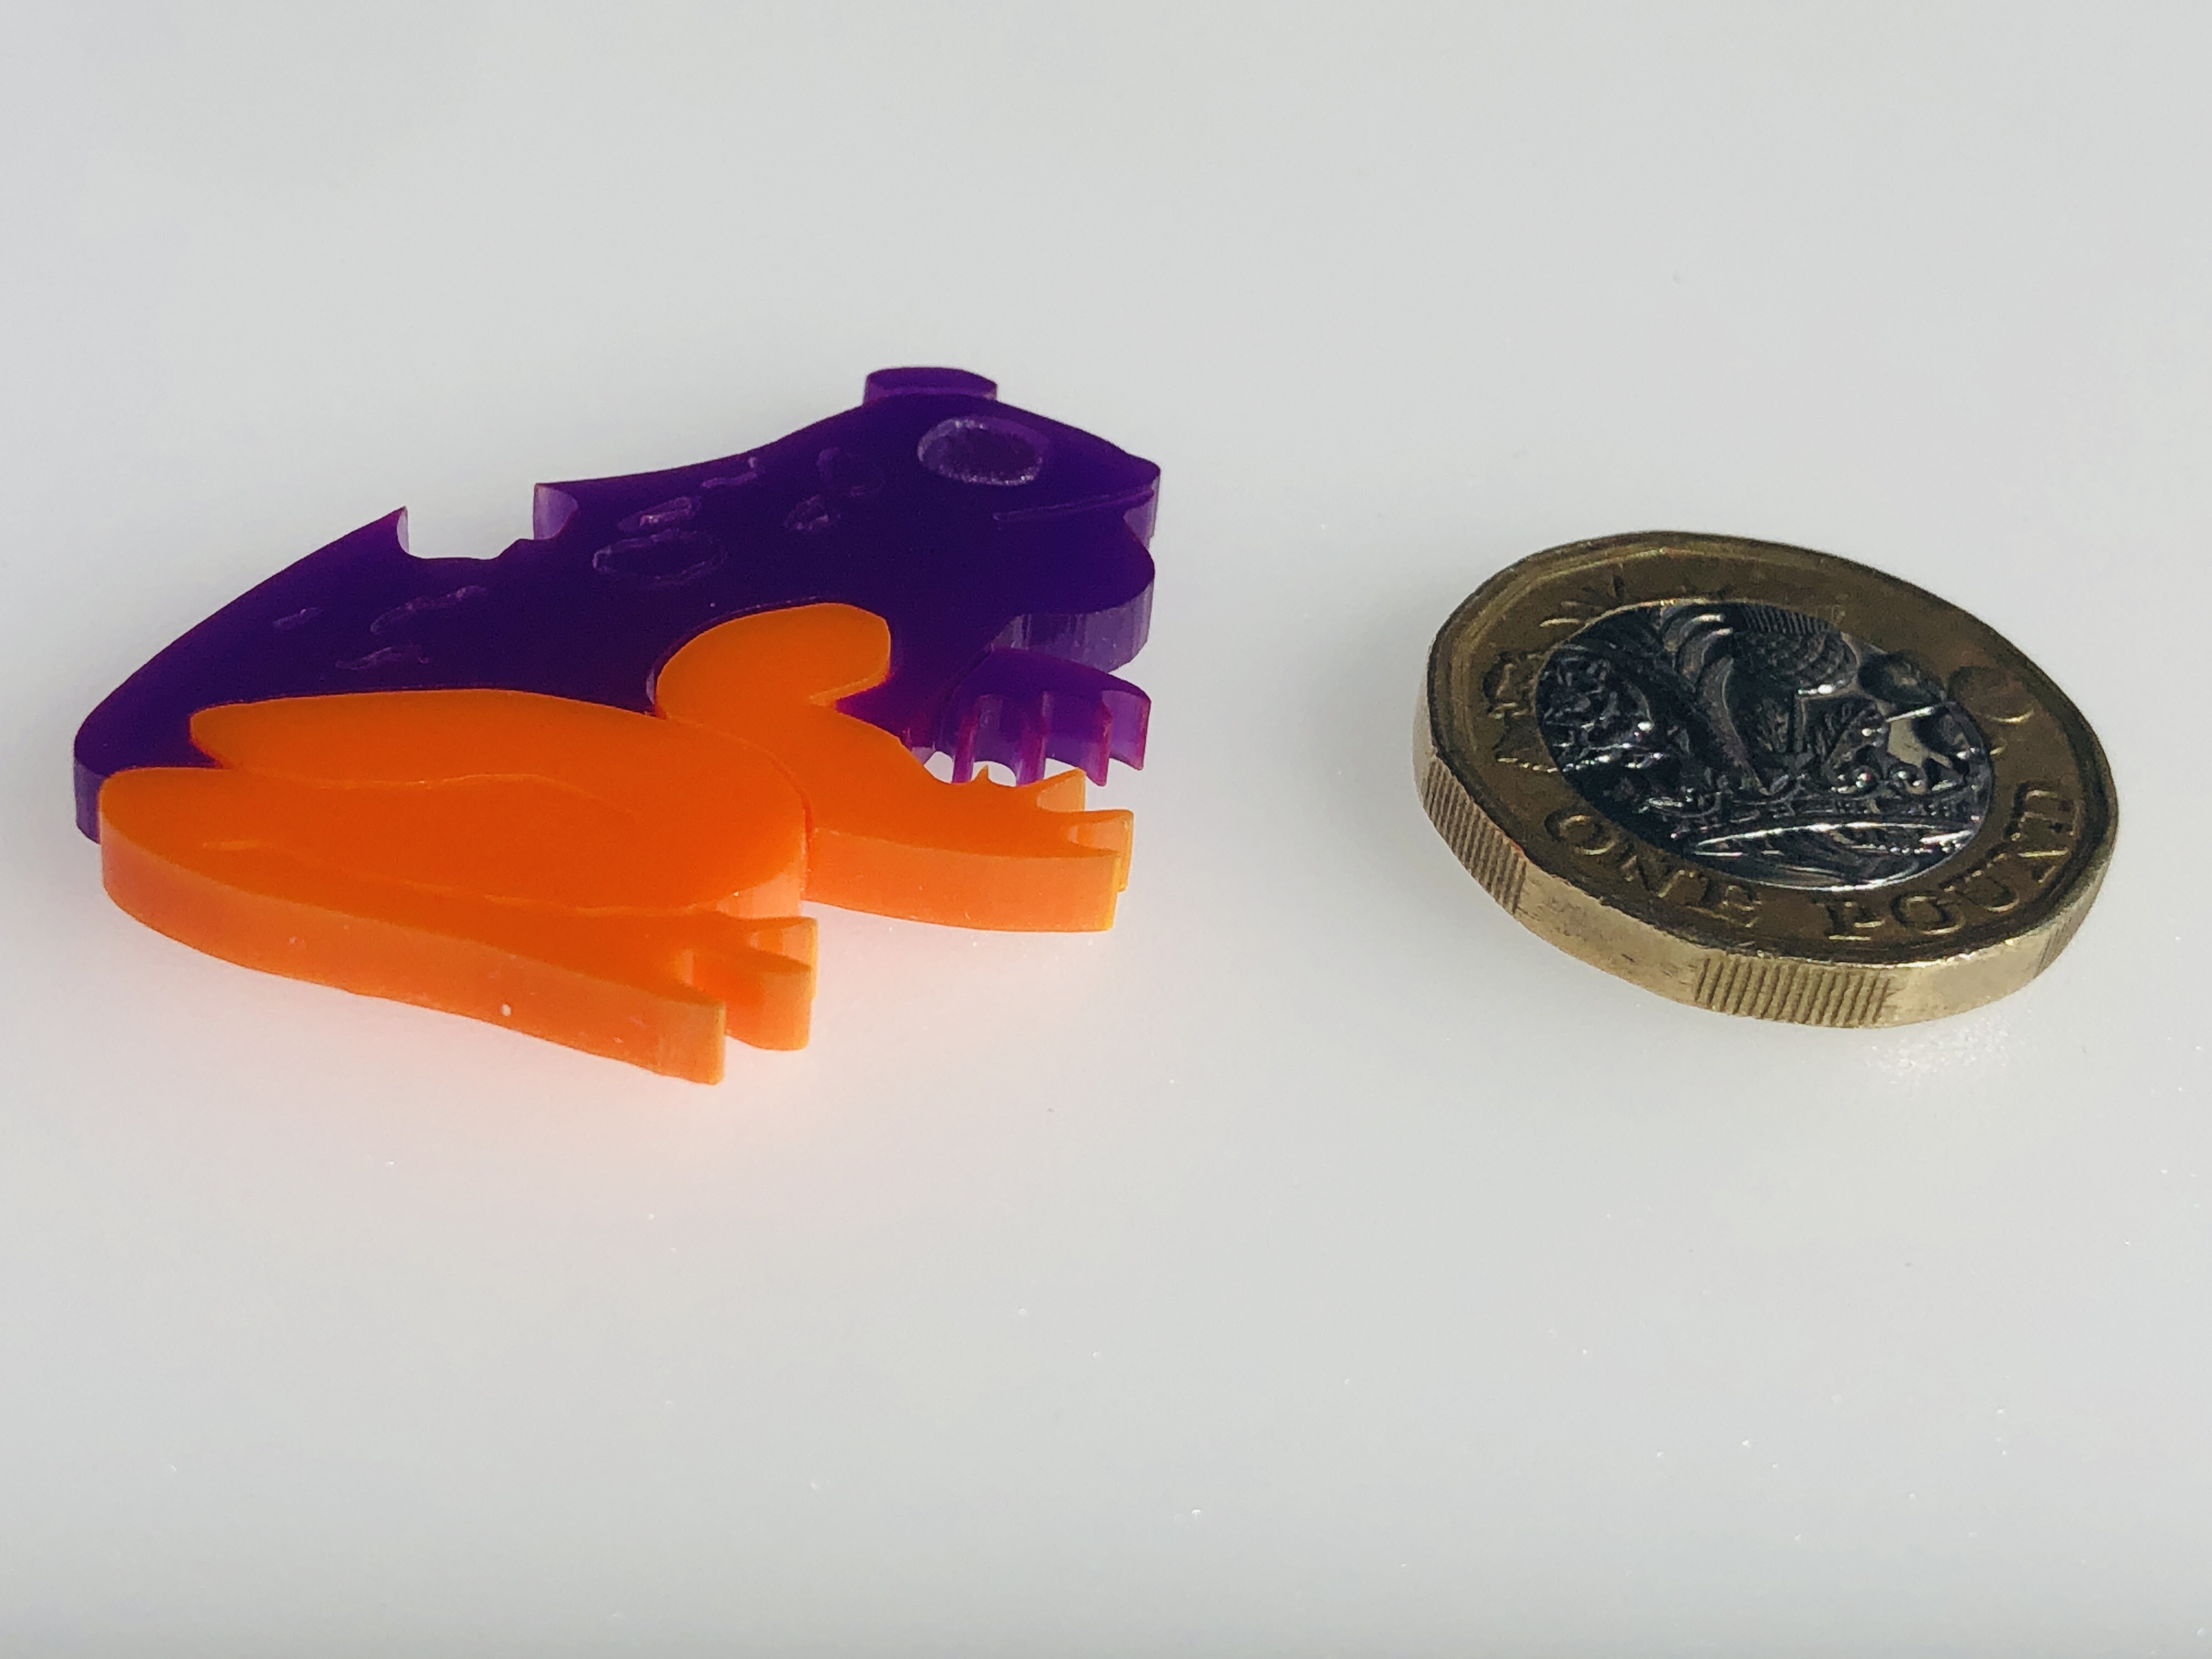
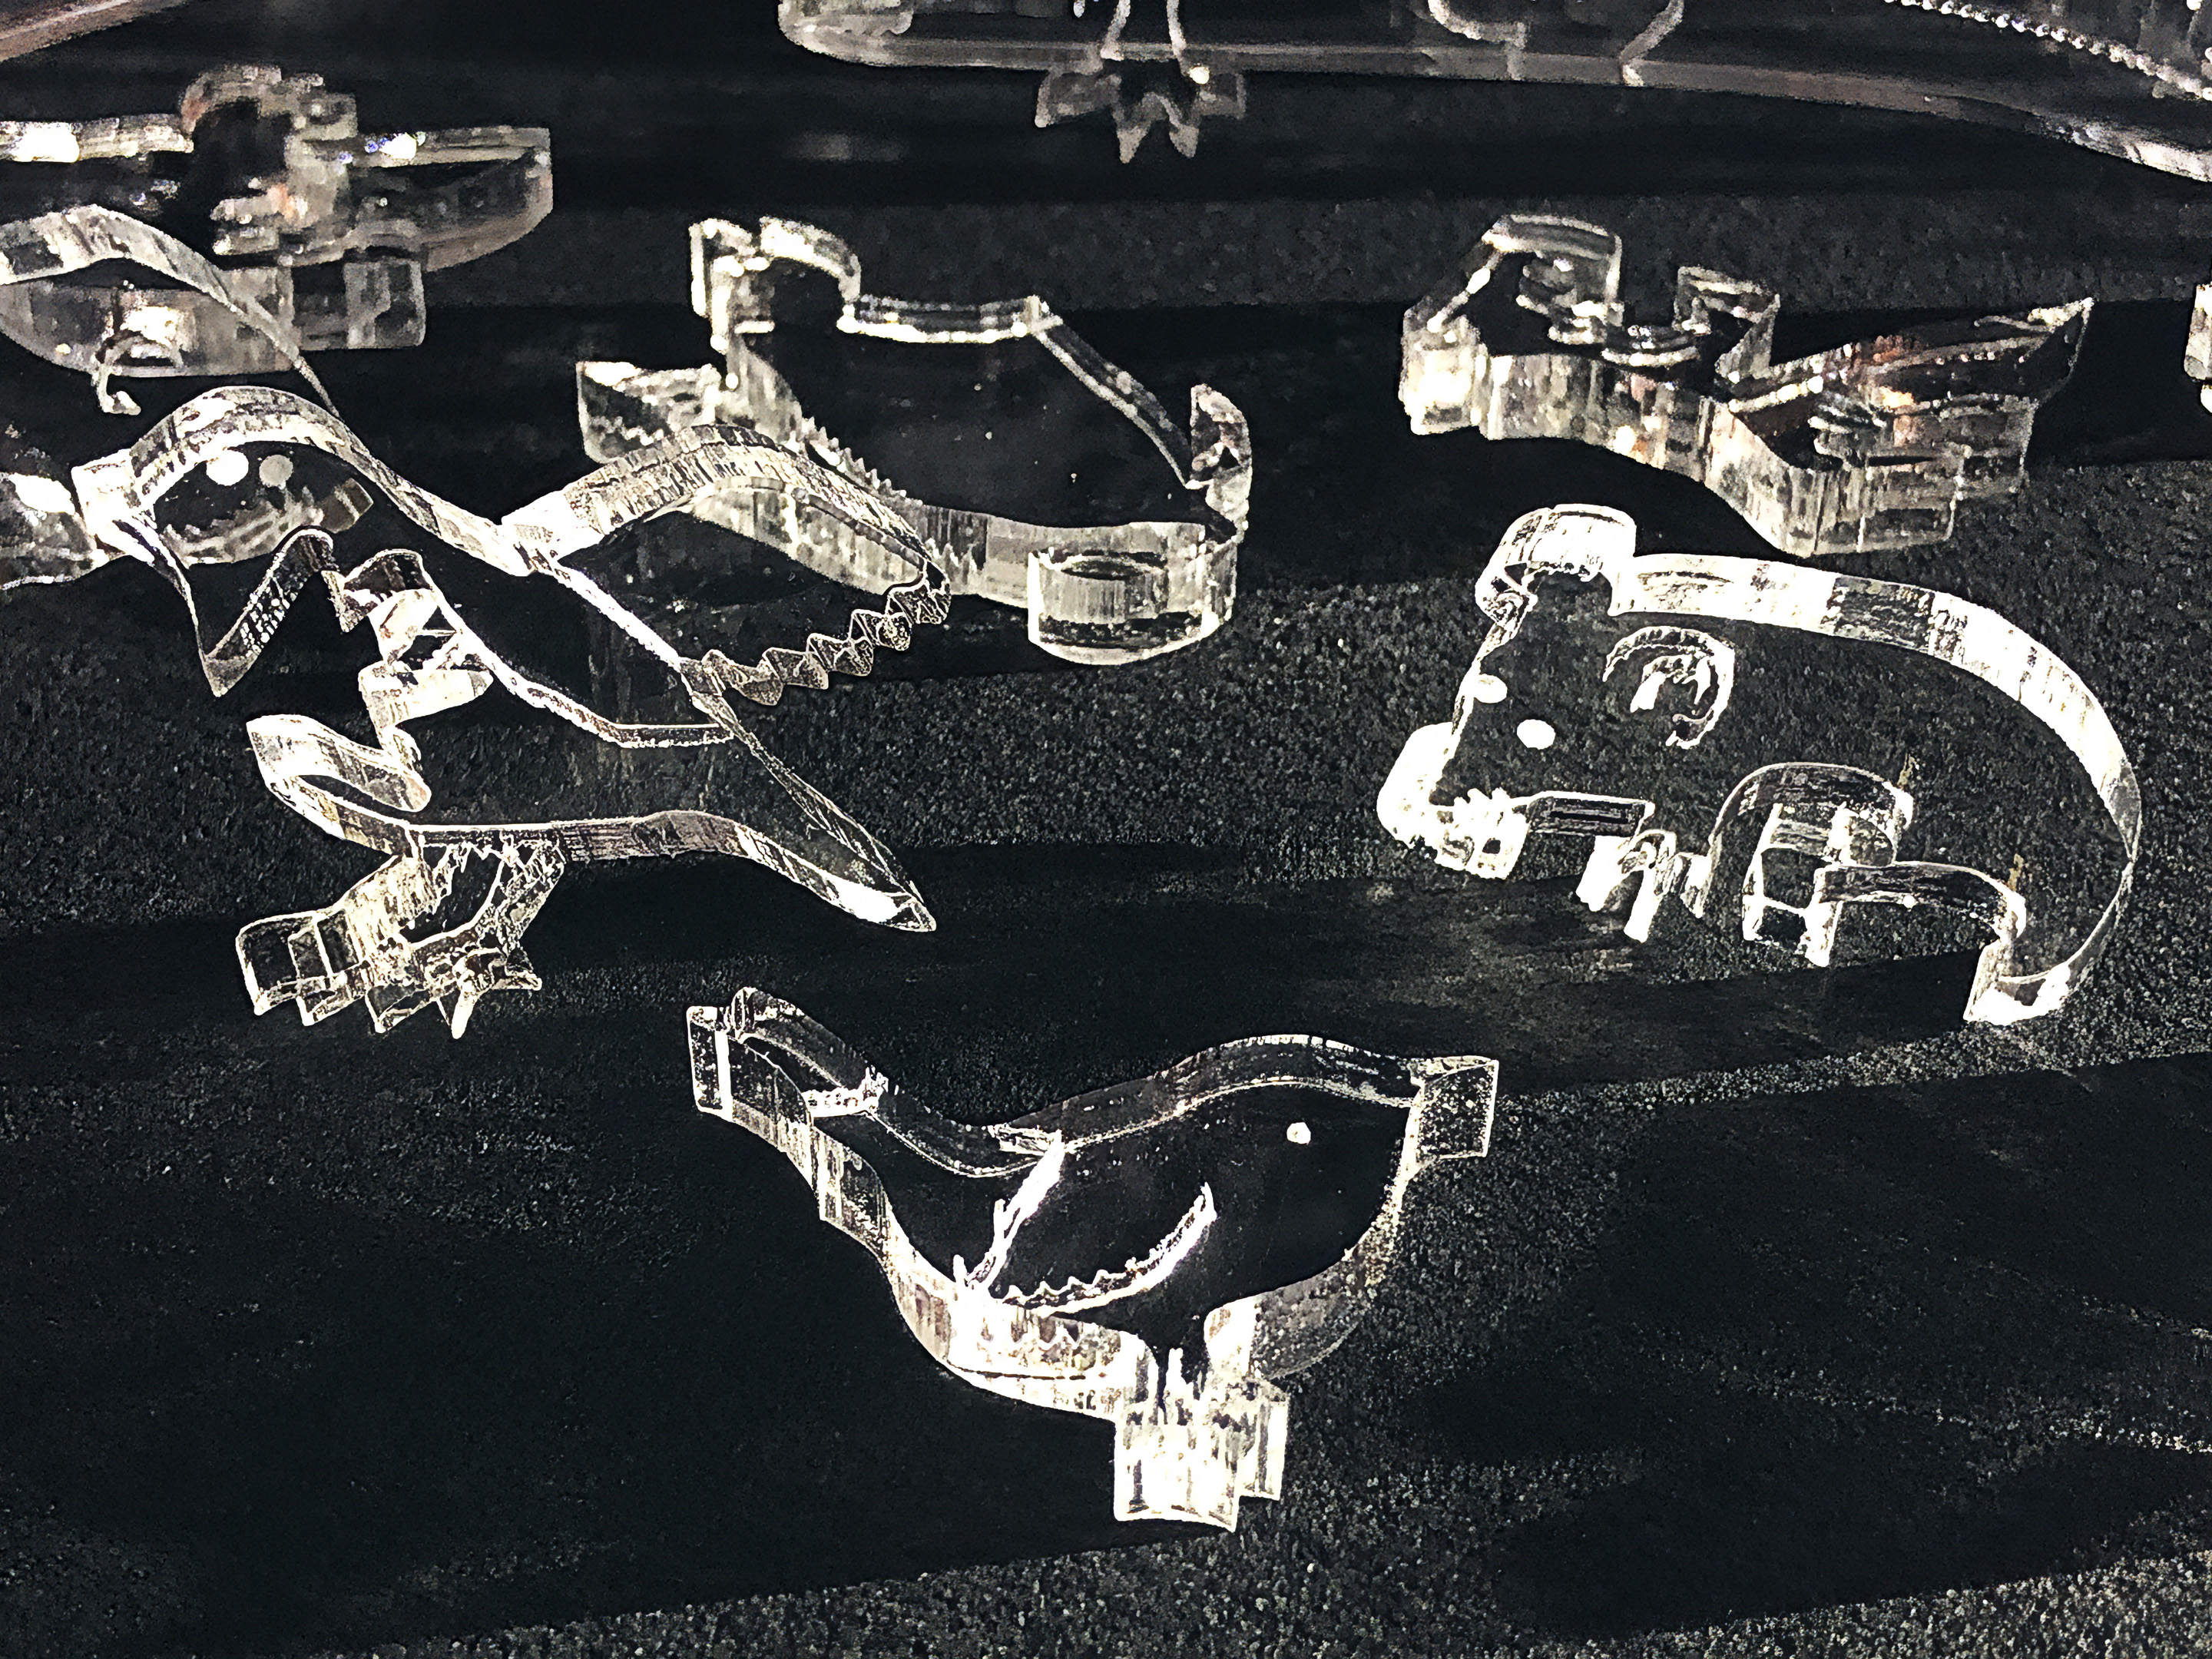
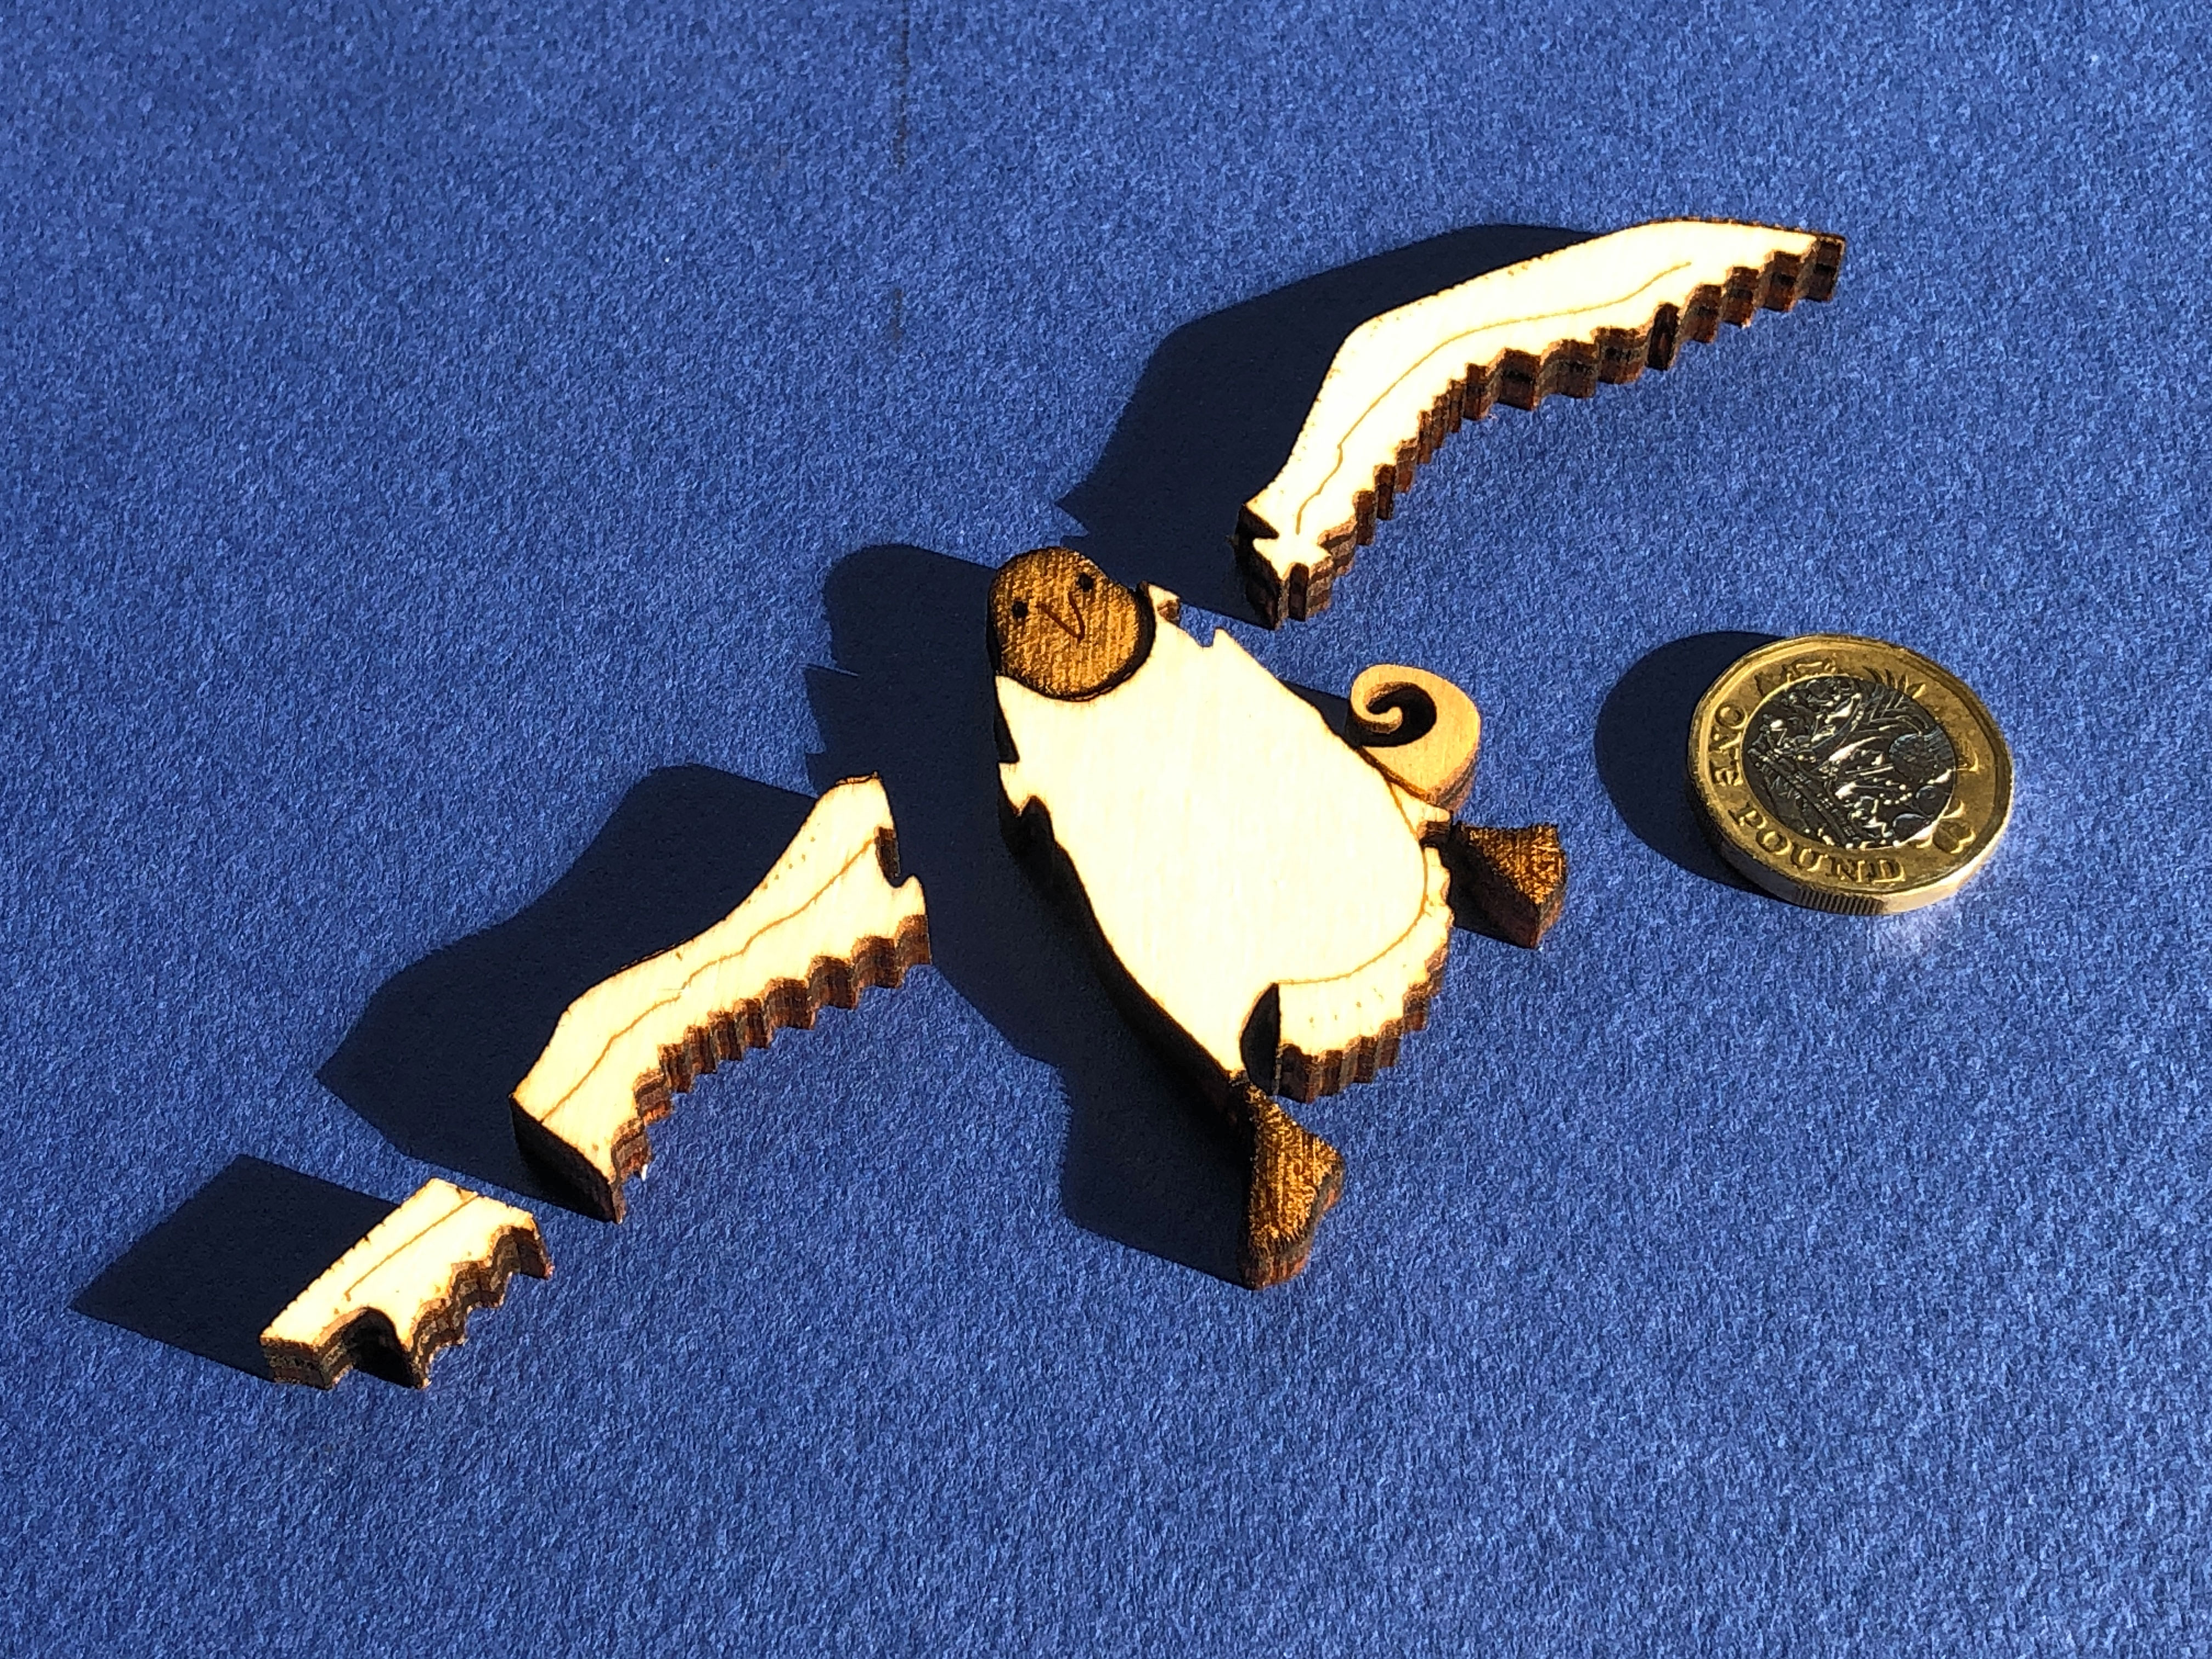
Clear cast acrylic already matches conventional glass in many respects – and in some cases surpasses it. Clear acrylic can transmit up to 97% of light passing through it (compared to more like 90% in normal glass), it’s less dense (and therefore lighter for the same volume) than glass (but up to 20 times stronger), doesn’t shatter like glass, is nowhere near as sharp – and therefore much safer to handle. Acrylic, like glass, can be cut with a laser. This last point is extremely important because the laser literally vaporises the acrylic in its very narrow path. This allows for extremely intricate cutting. I’ve achieved approximately 1mm wide cuts in a 3mm thick sheet – see below :-
I do quite a lot of museum-level picture framing, and it’s noteworthy that acrylic glass is the “glass” of choice for practically every museum. Like glass, it can be painted on, and it’s naturally more UV blocking than glass. So the only downside to using acrylic that I can think of is that it’s much softer, and therefore more easily scratched, than glass – and so it needs to be handled very carefully (but so does glass…!).
After successfully managing to very intricately and smoothly cut and engrave clear 3mm & 5mm acrylic in this artwork –
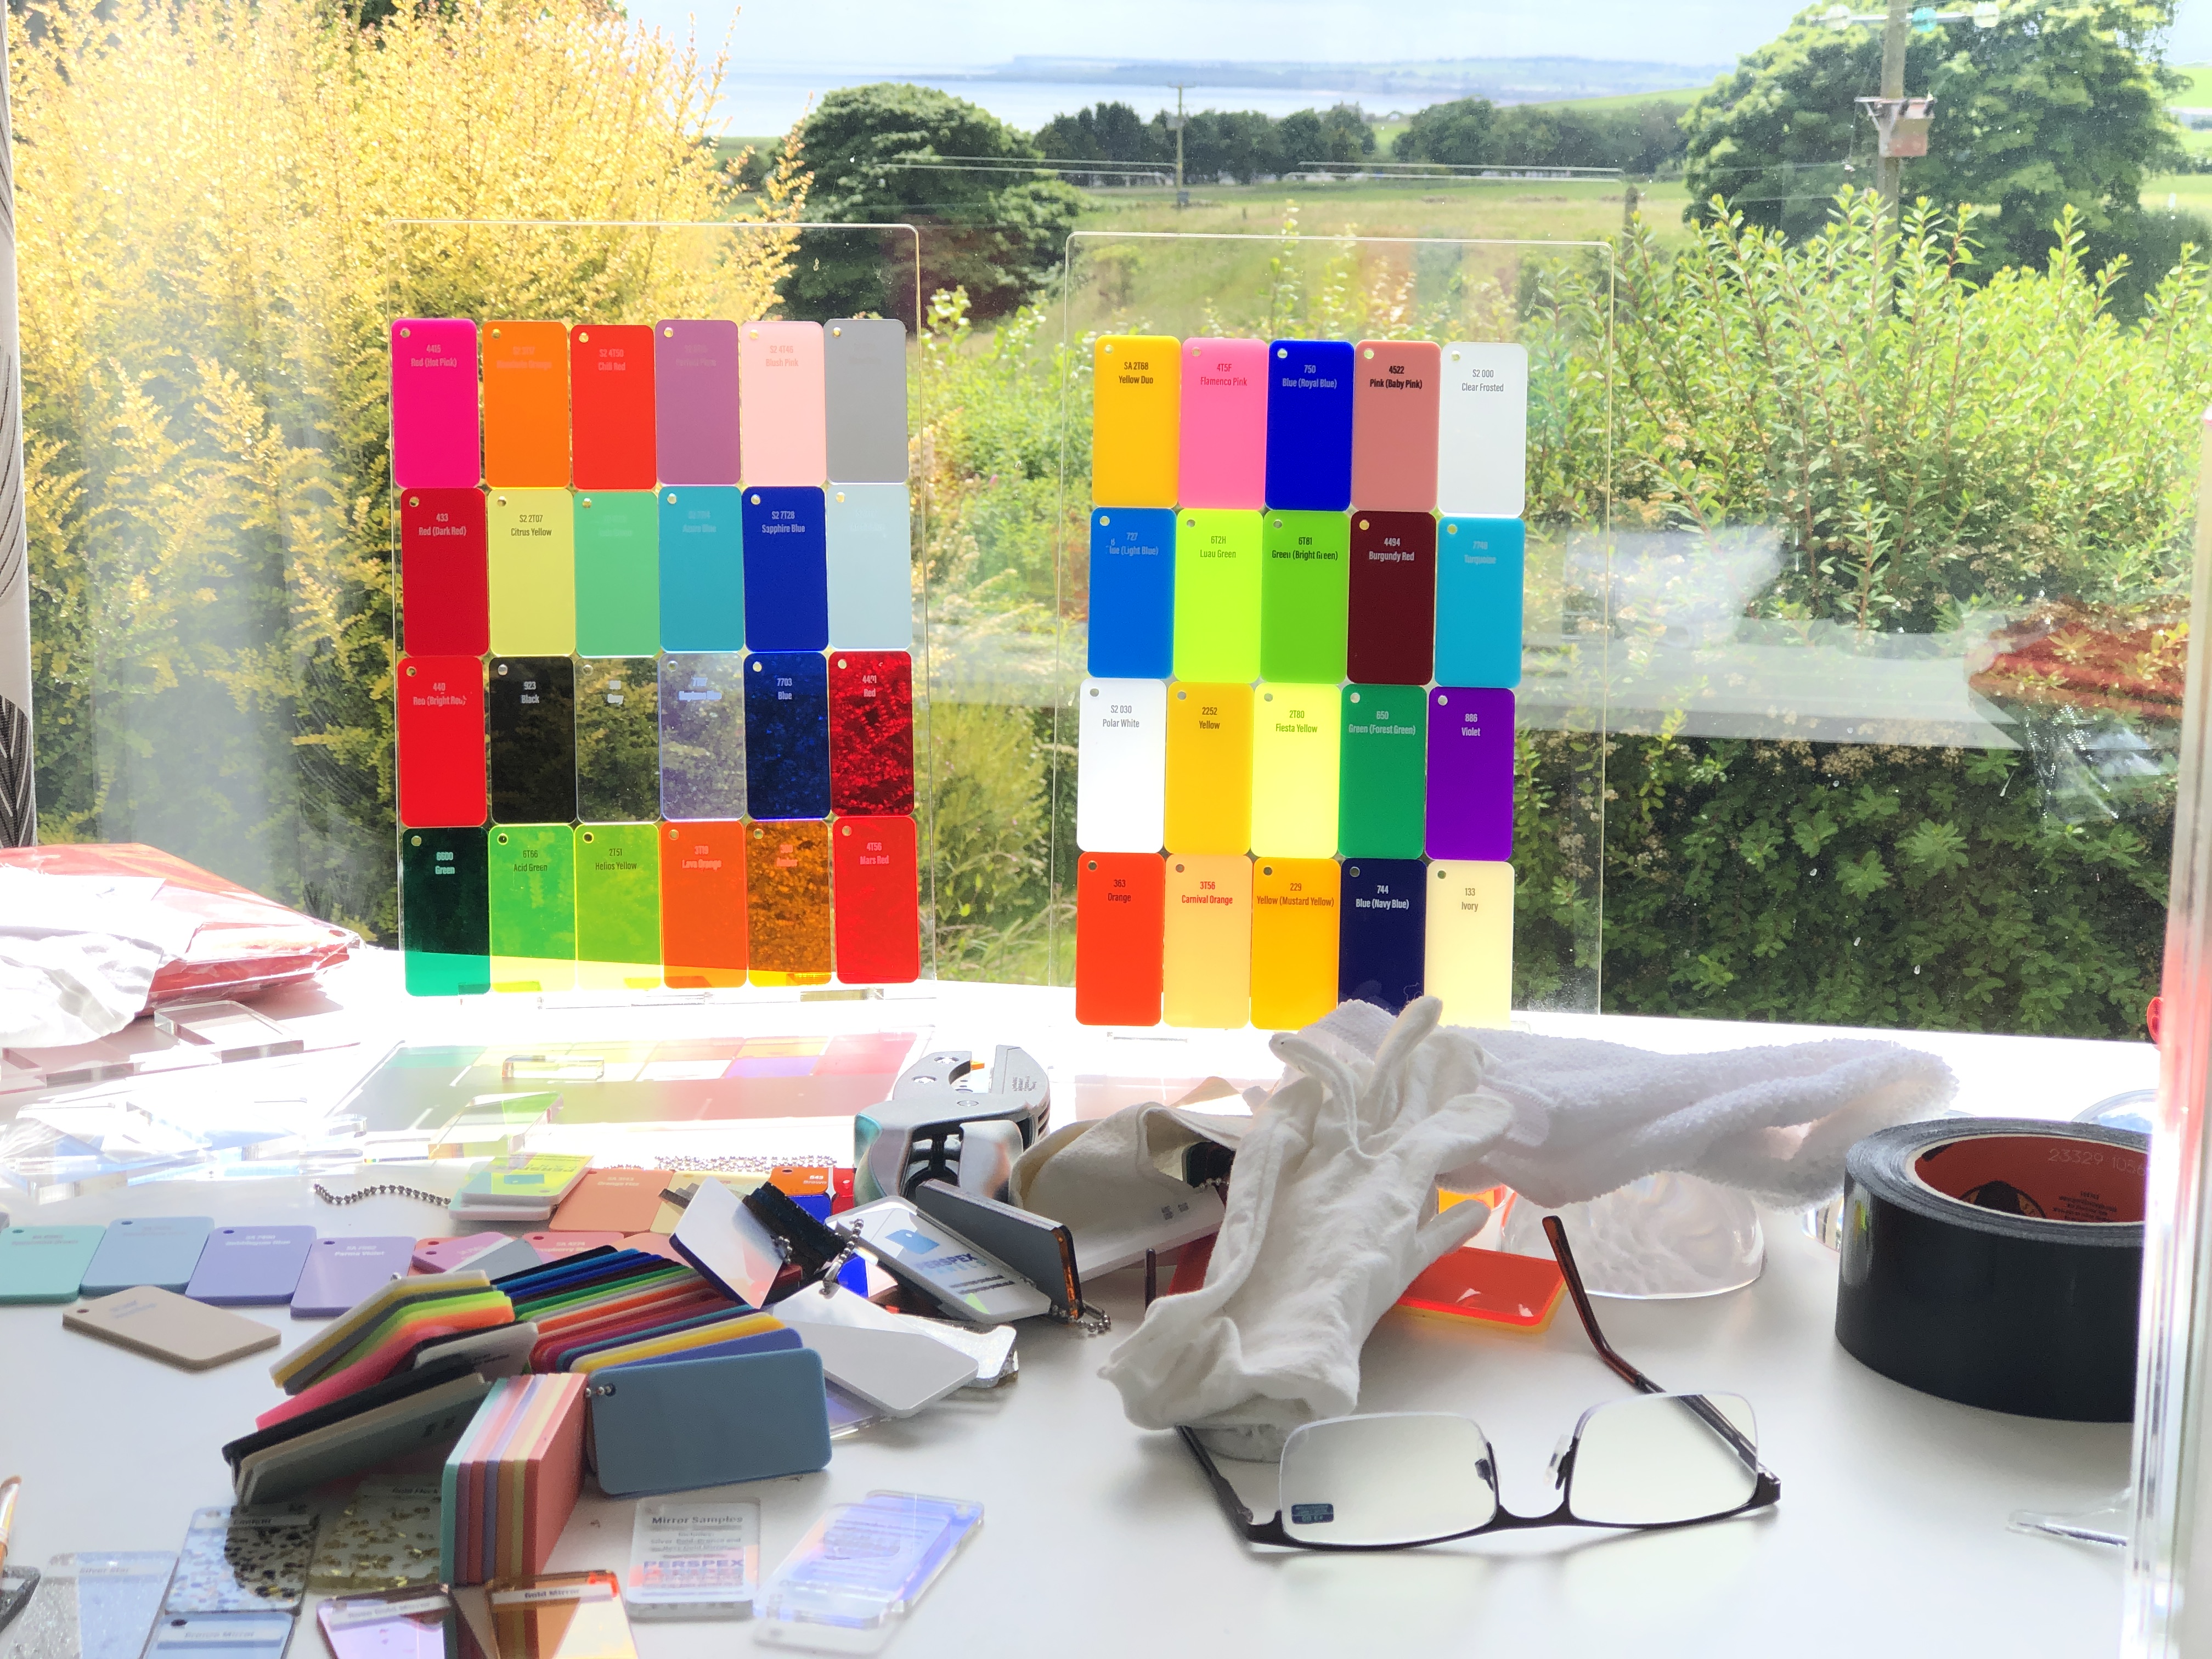
…I thought it would be extremely interesting to try cutting and engraving coloured 3mm acrylic sheets (this is the thickness with the widest range of colours available) – to see how it performs as a stained glass substitute.
Most of the range of colours of acrylic available
I didn’t envisage any problems – except perhaps that some colours may require more cutting power than others (greater reflectance of bright colours verses albedo effect of dark colours). But this turned out not to be the case, and the cutting was a breeze.
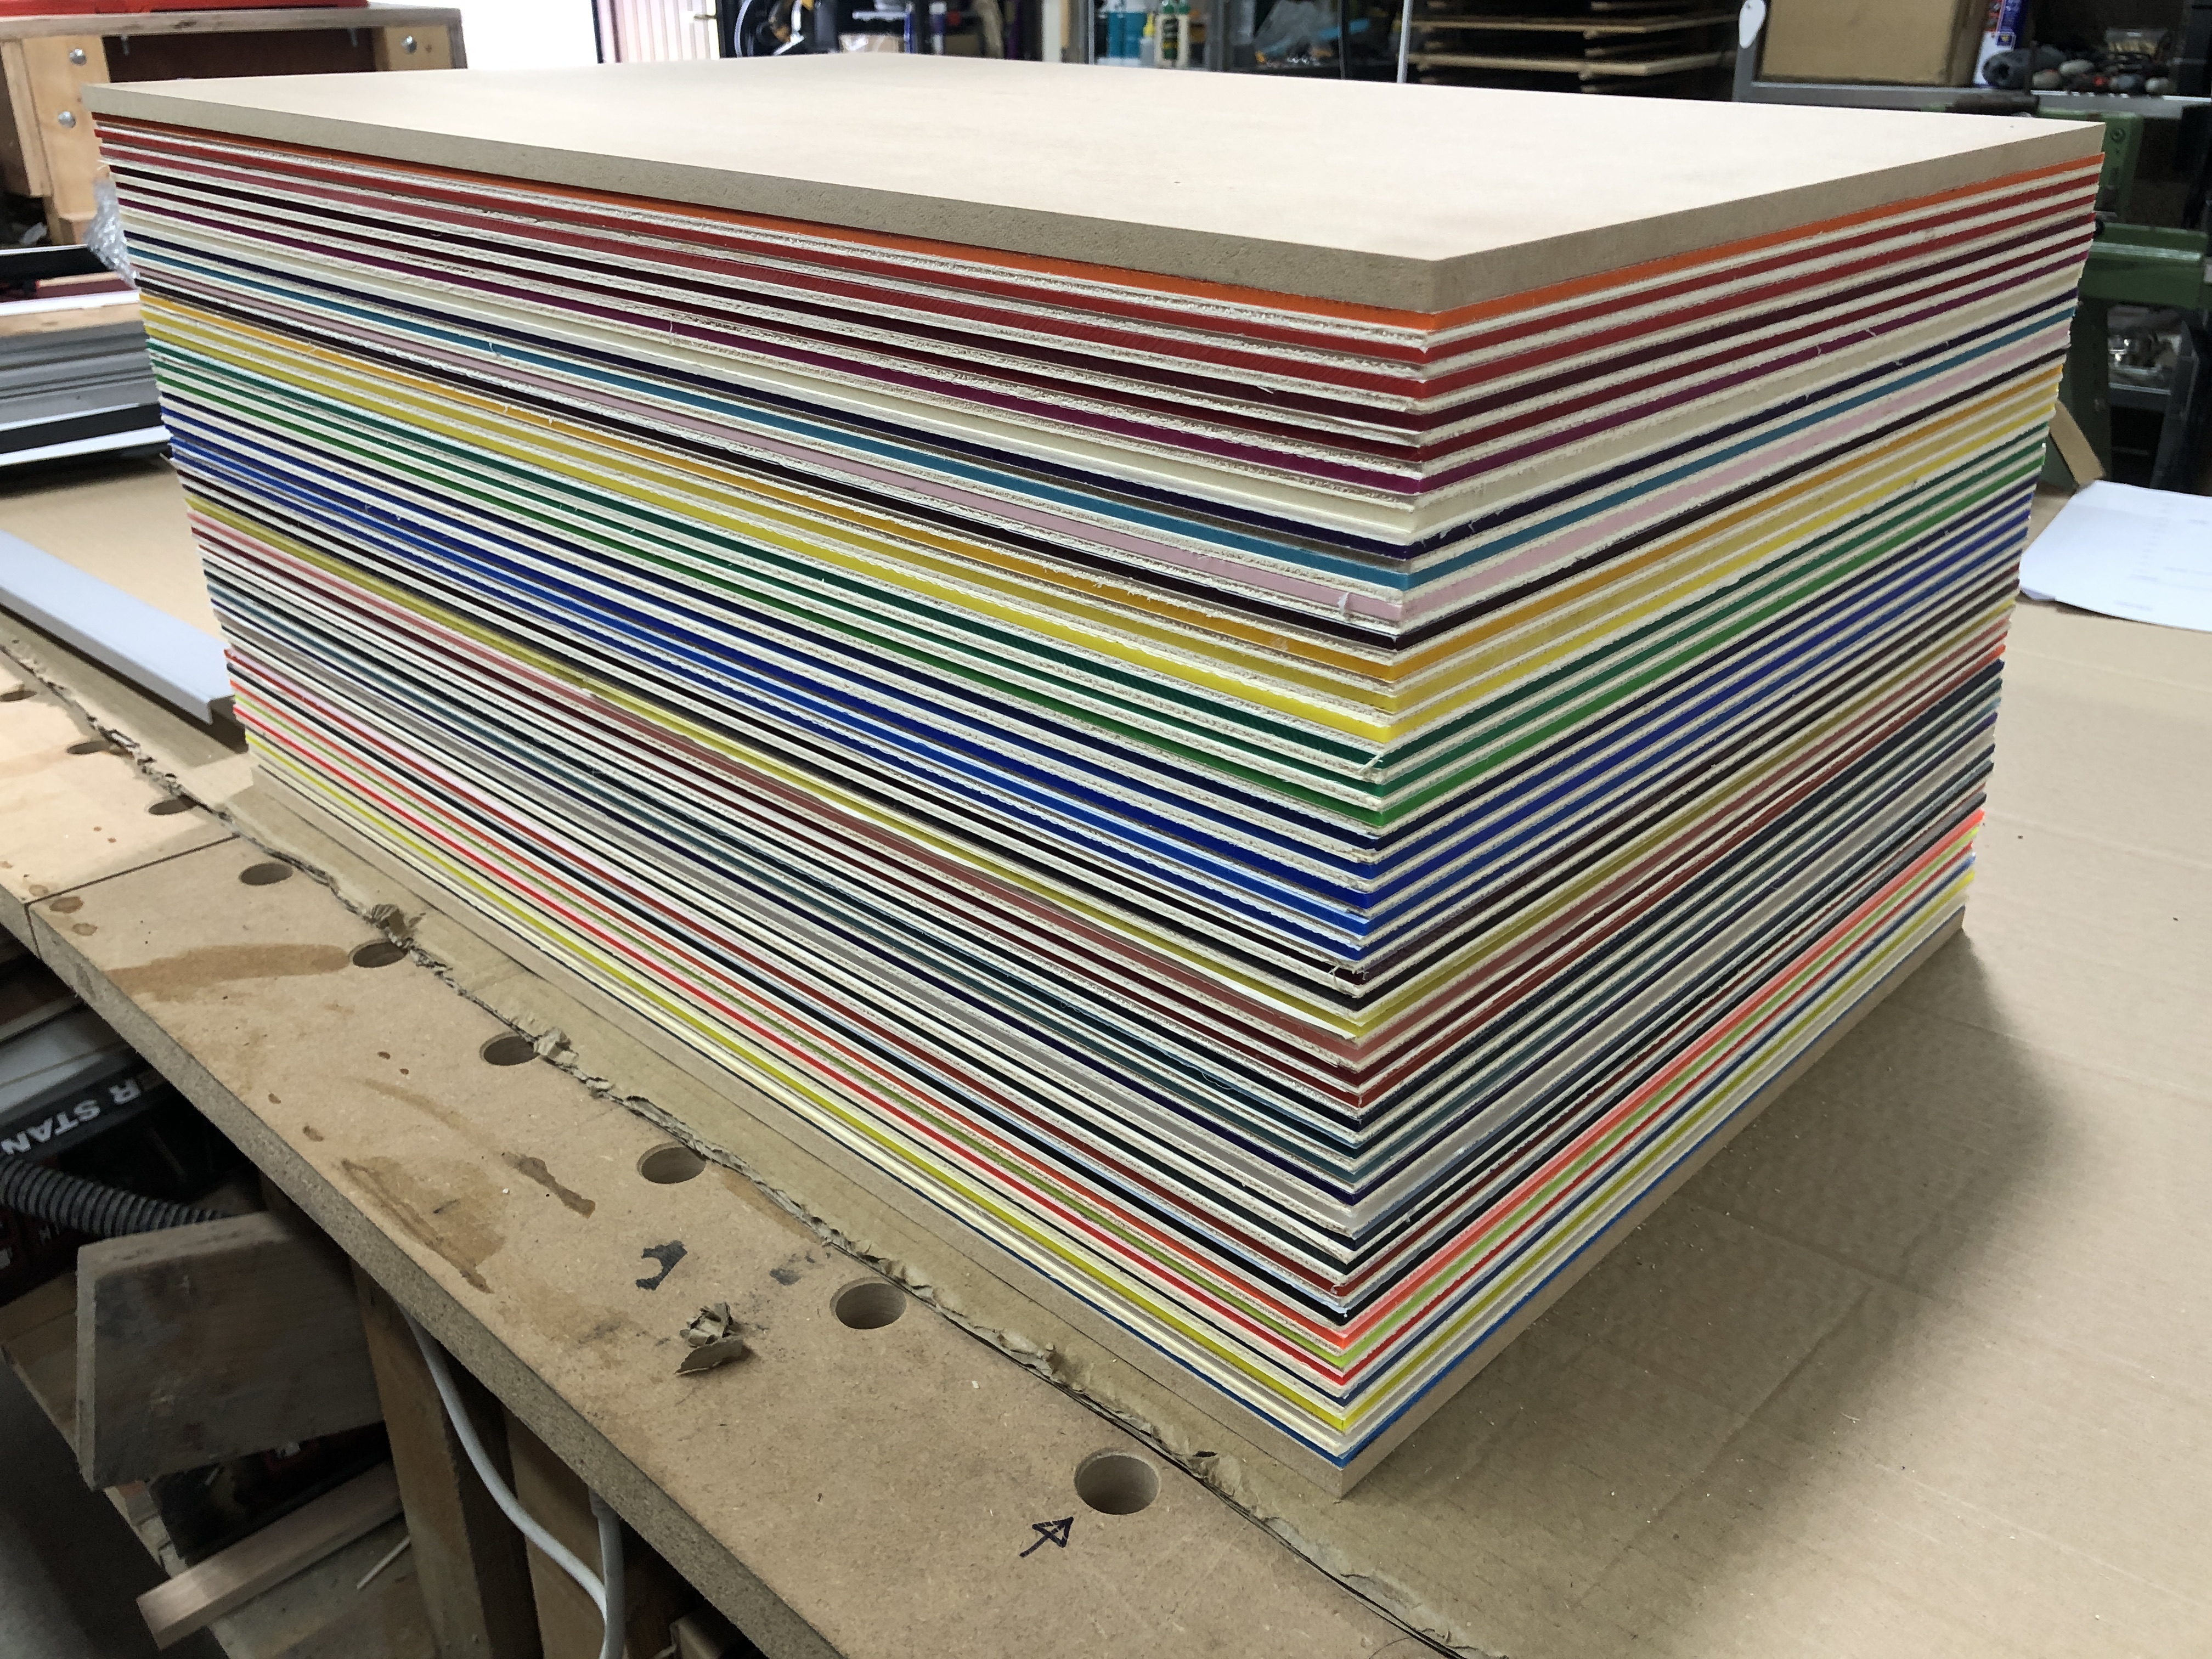
In fact I was confident enough that cutting coloured acrylic would be doable (having gotten comfortable with cutting 3 & 5mm clear acrylic), that I decided to go full in, and bought 44 different colour/tint/frost/florescence/opalescence sheets (at not inconsiderable expense) – one for each of the pieces of the long-eared owl art puzzle!
44 sheets of different colour/tint/frost/florescence/opalescence sheets of acrylic
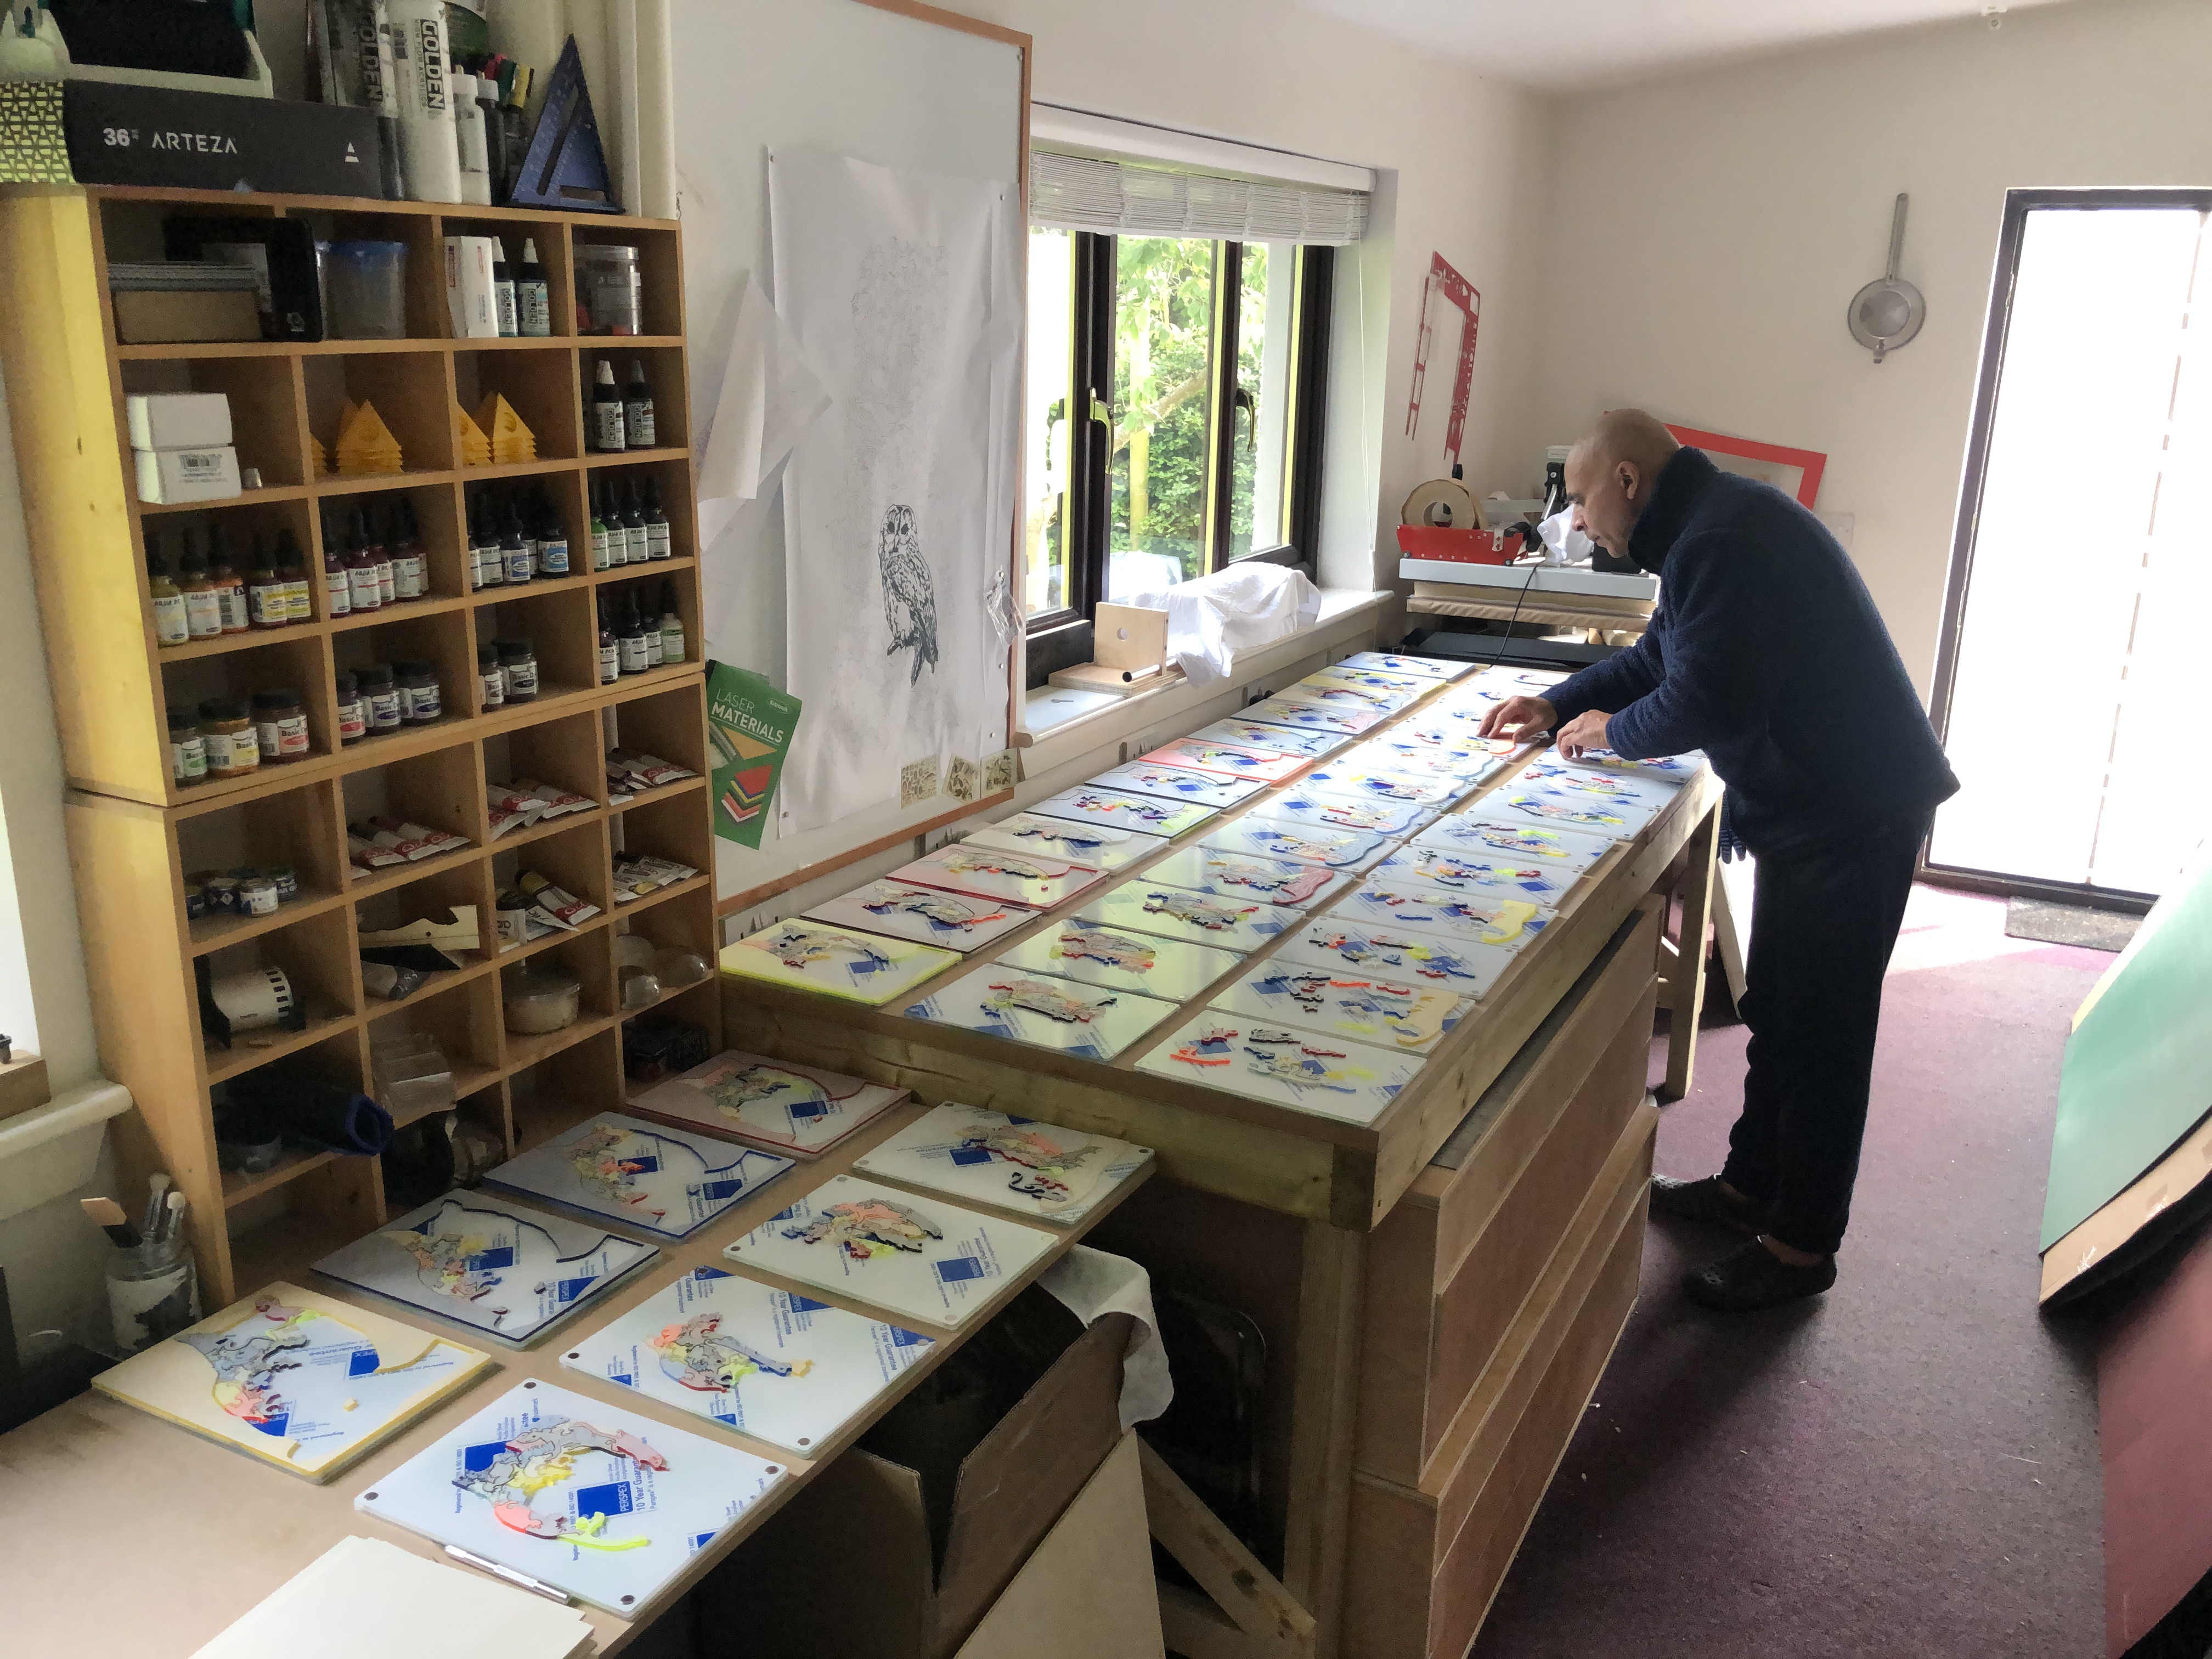
I thought it would make a great artwork for each of the 44 pieces to be a different colour and/or opacity. And I would be able to make 44 random-coloured/effects art puzzles… (I had to make do with some opaque colours because there simply weren’t enough transparent/translucent colours available – but I thought the variety of translucency in itself could be very different and interesting…)
Assembling 44 different art puzzles from 44 single-coloured puzzles took a long time and was very painstaking…
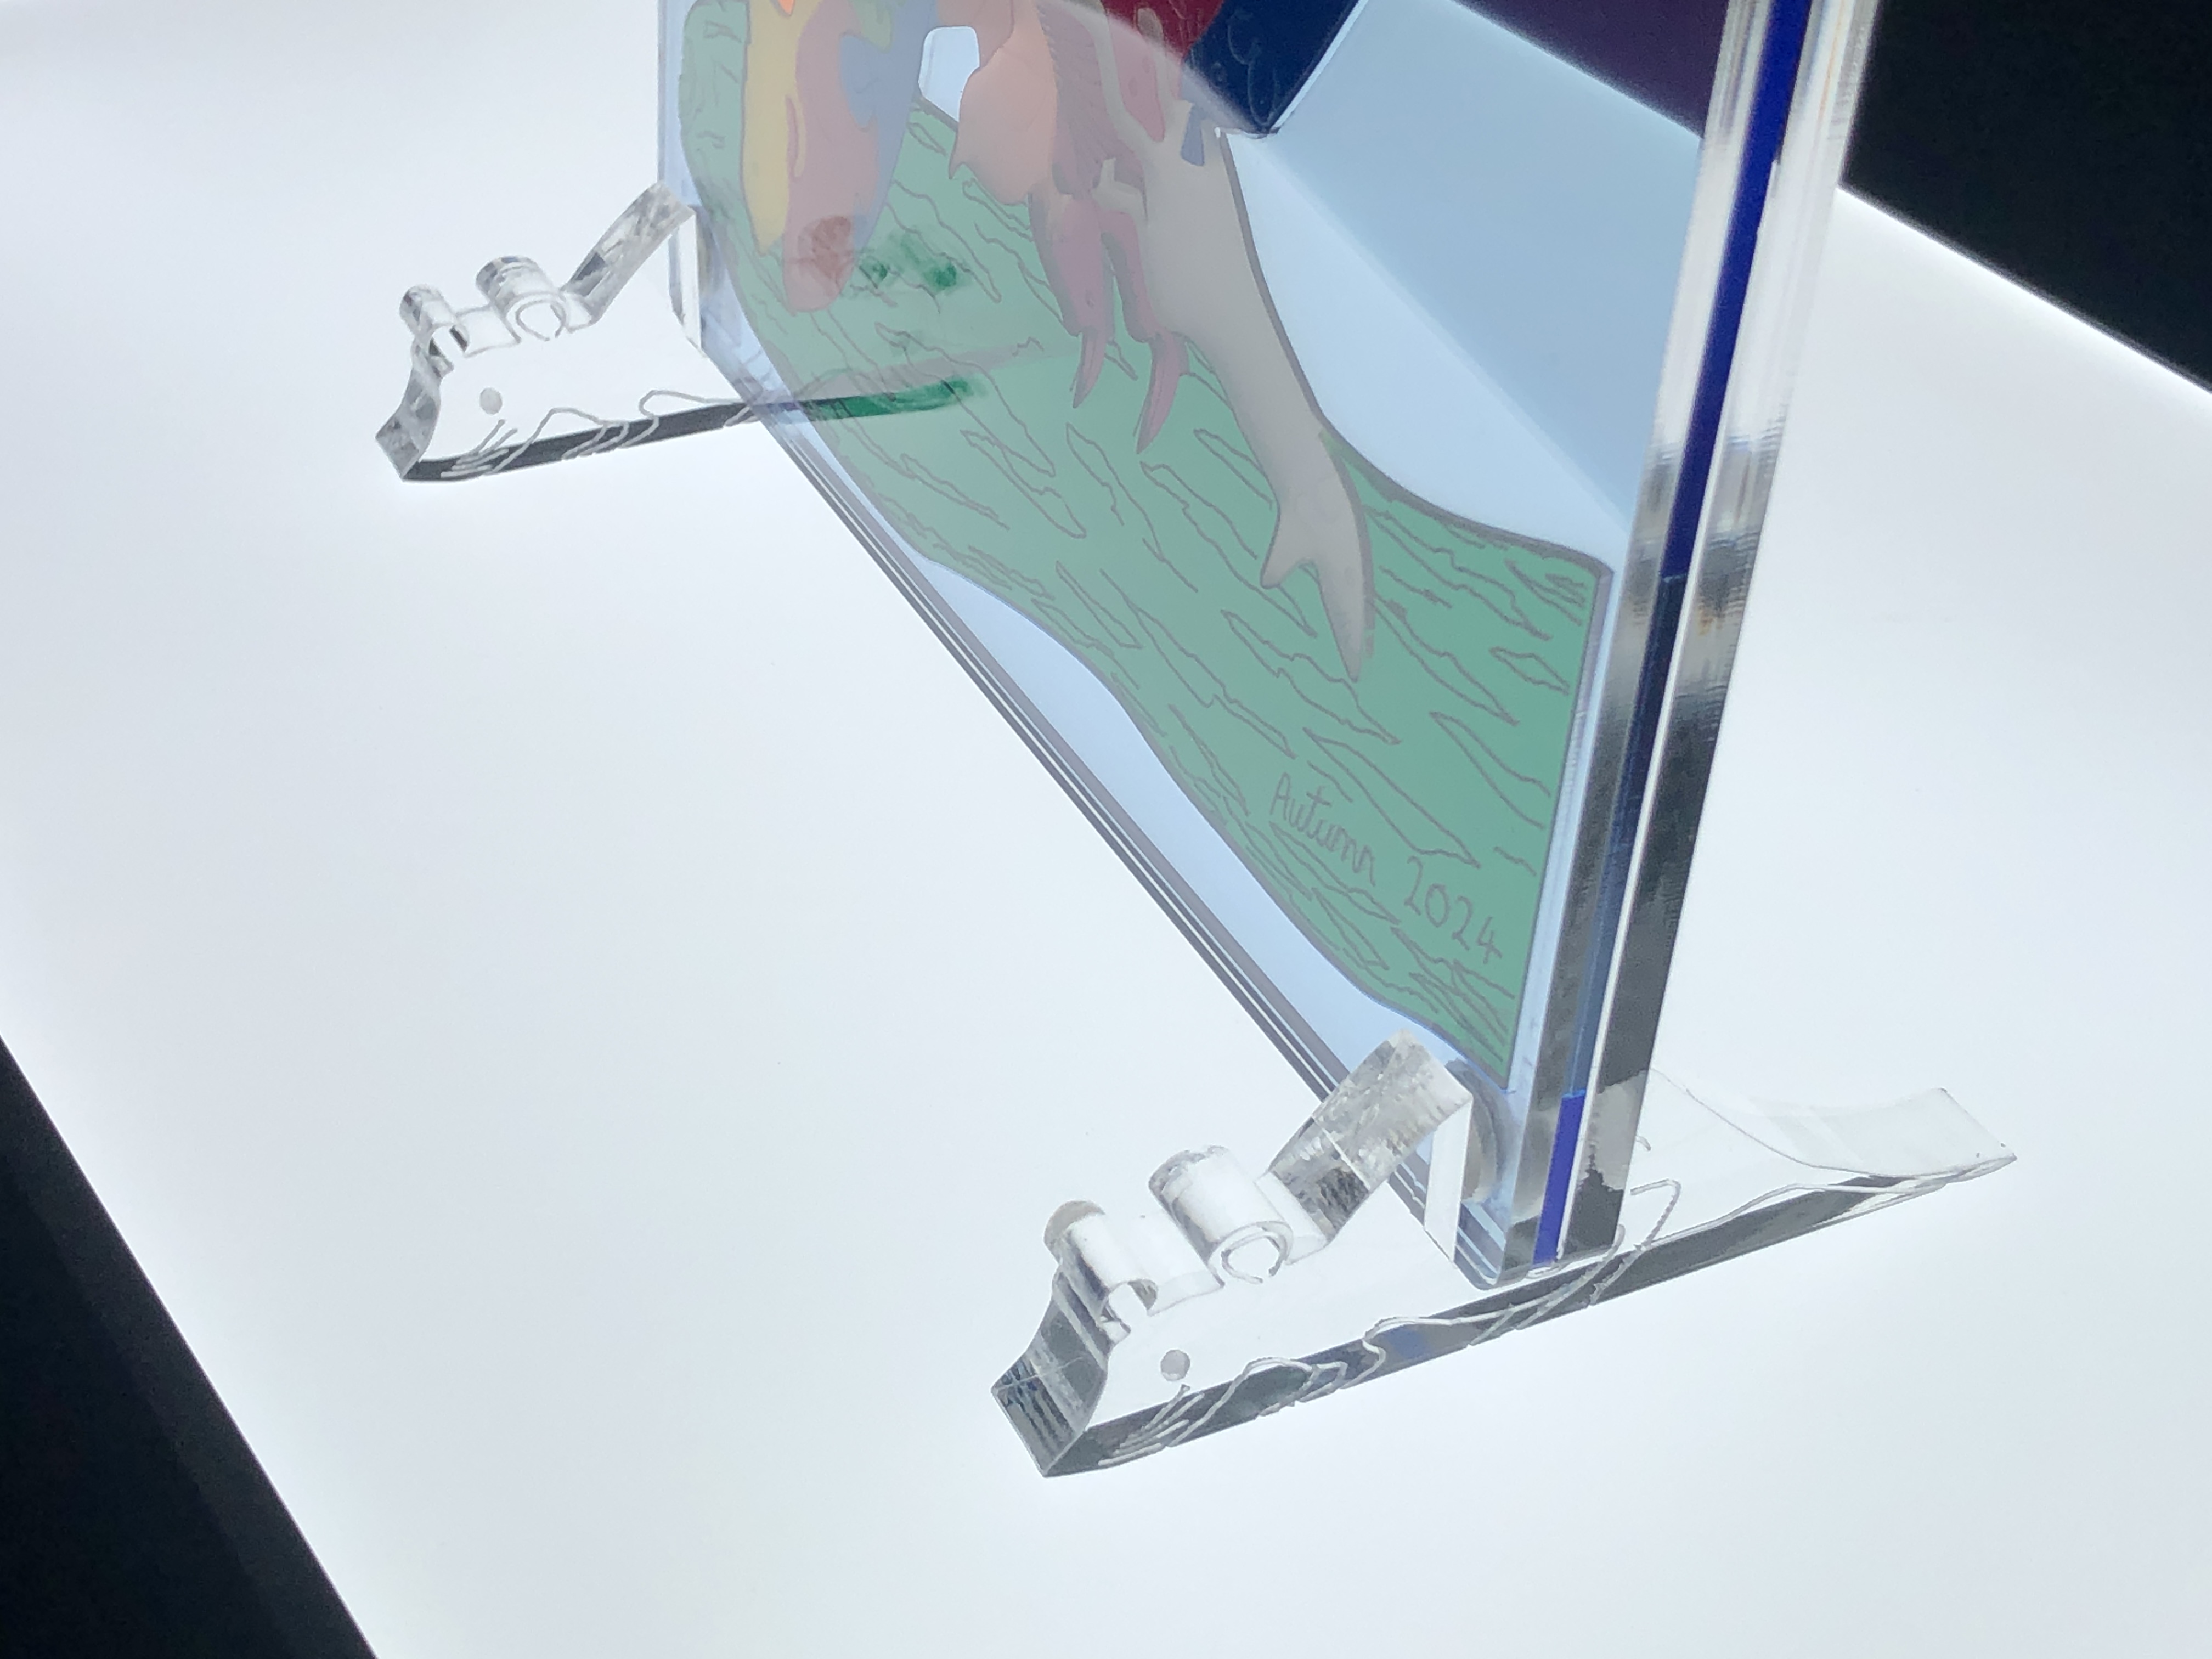
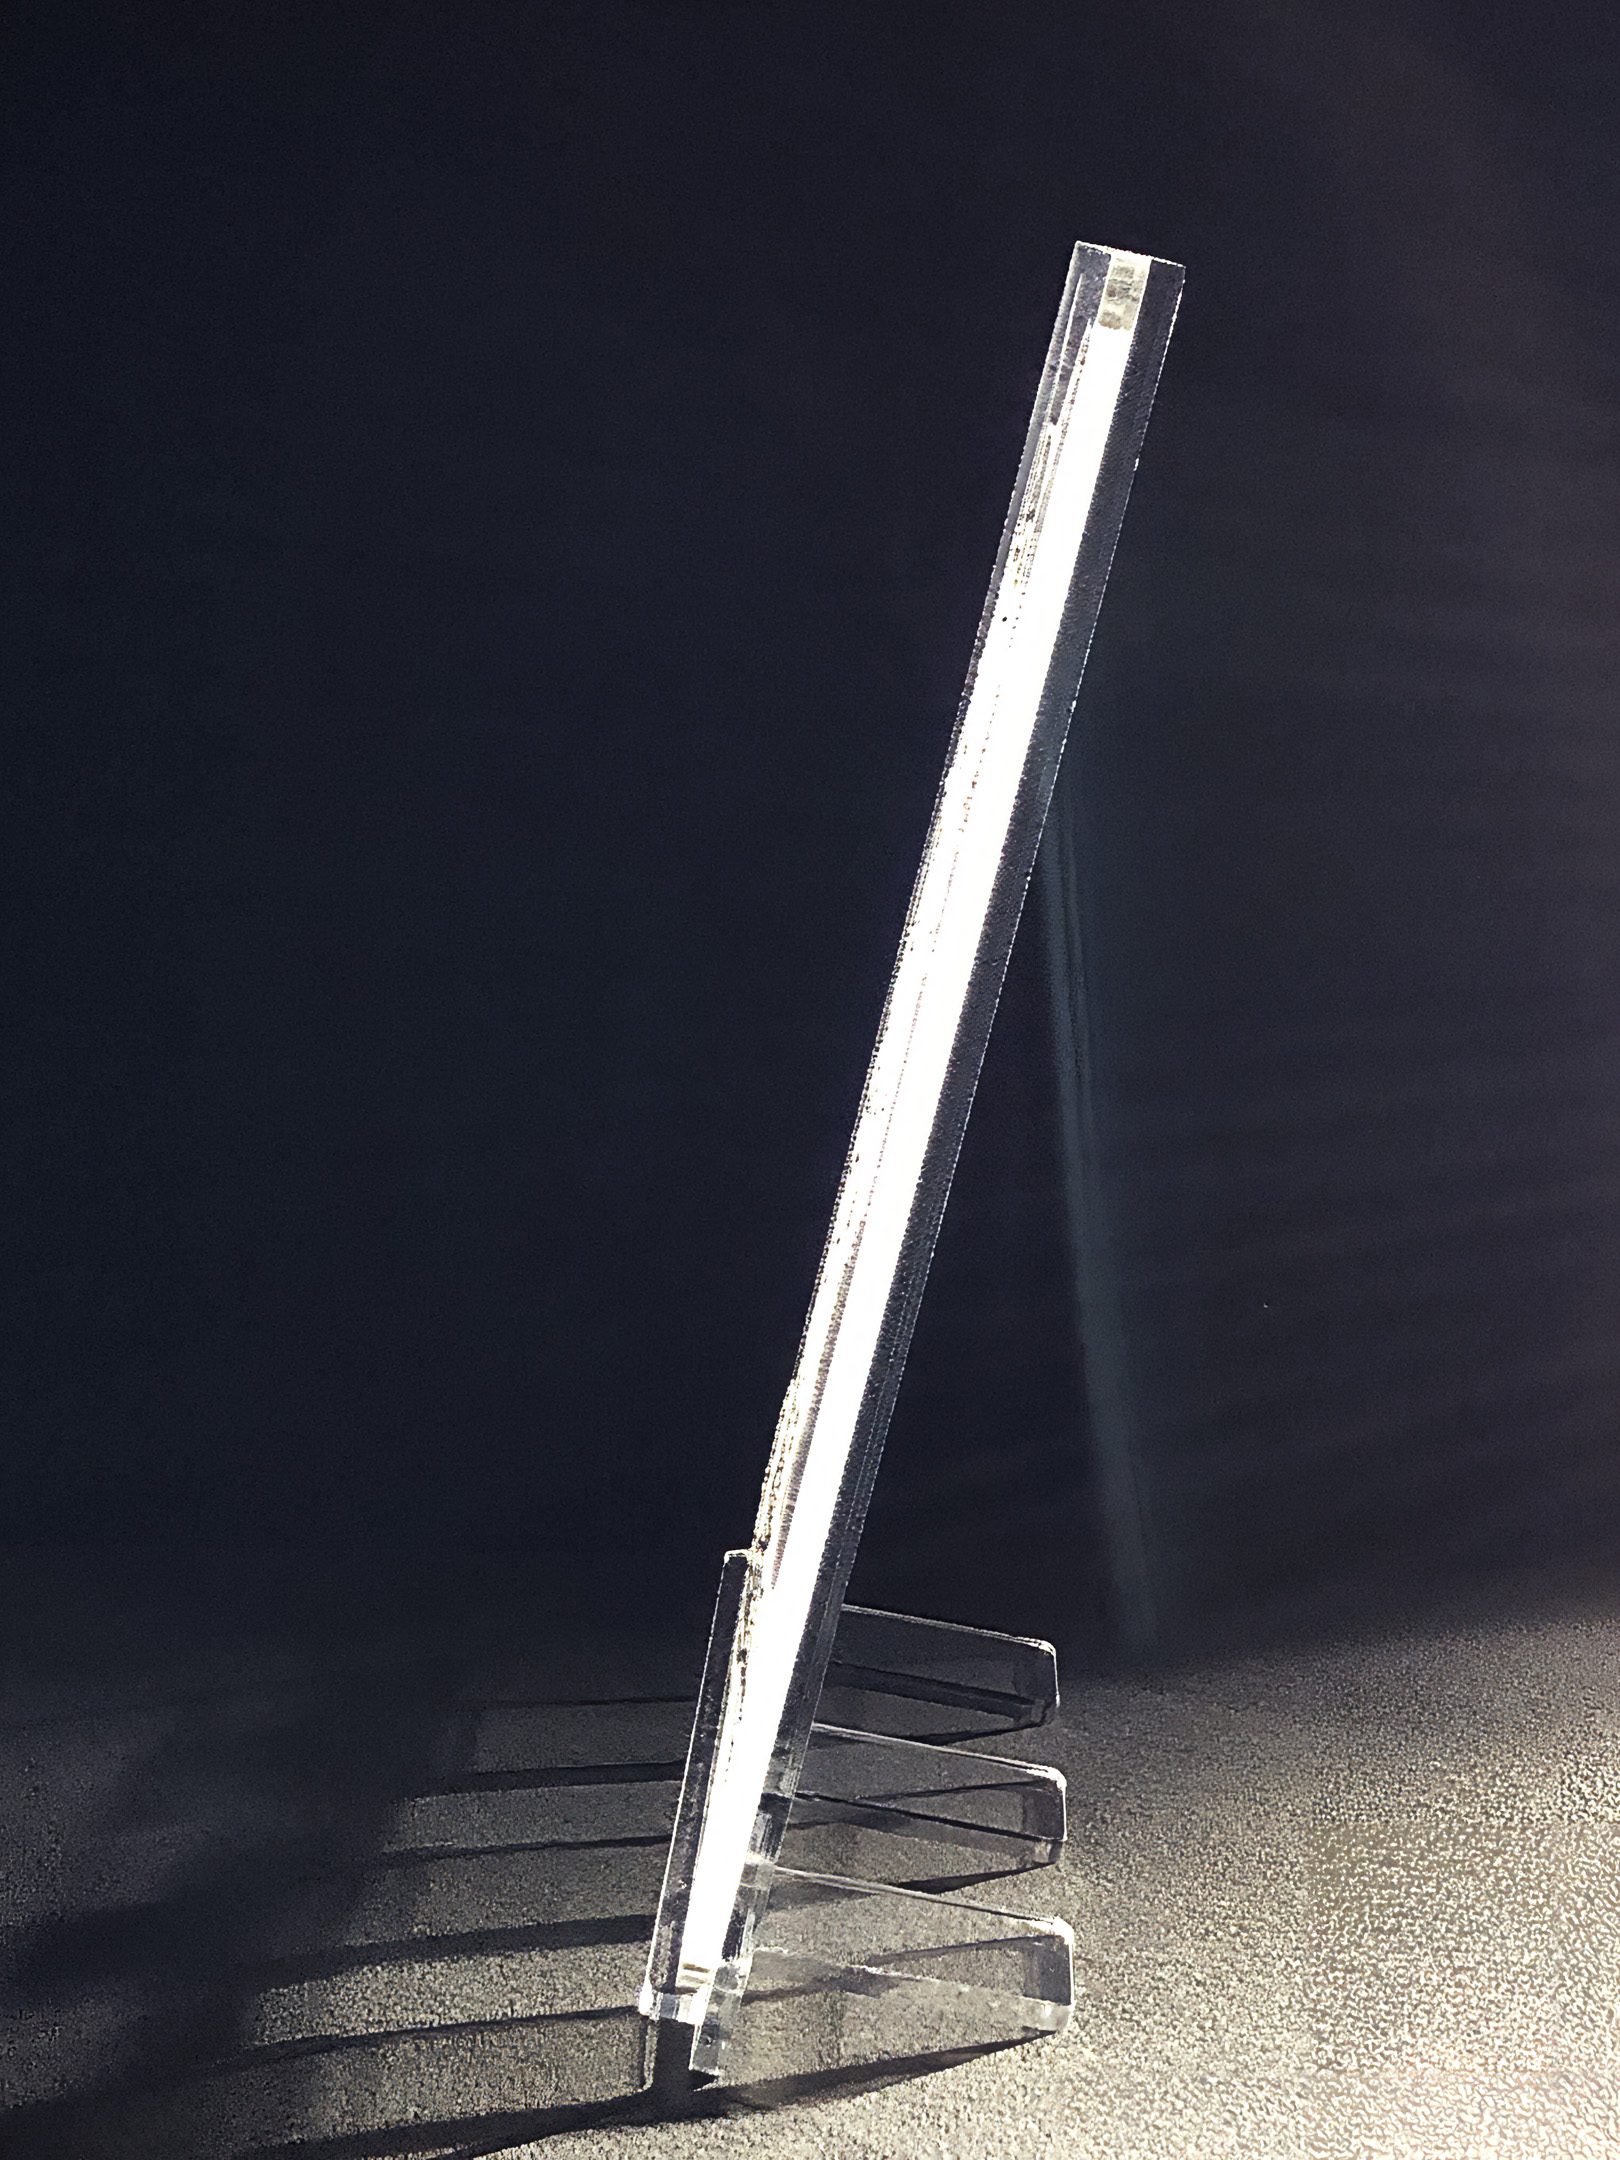
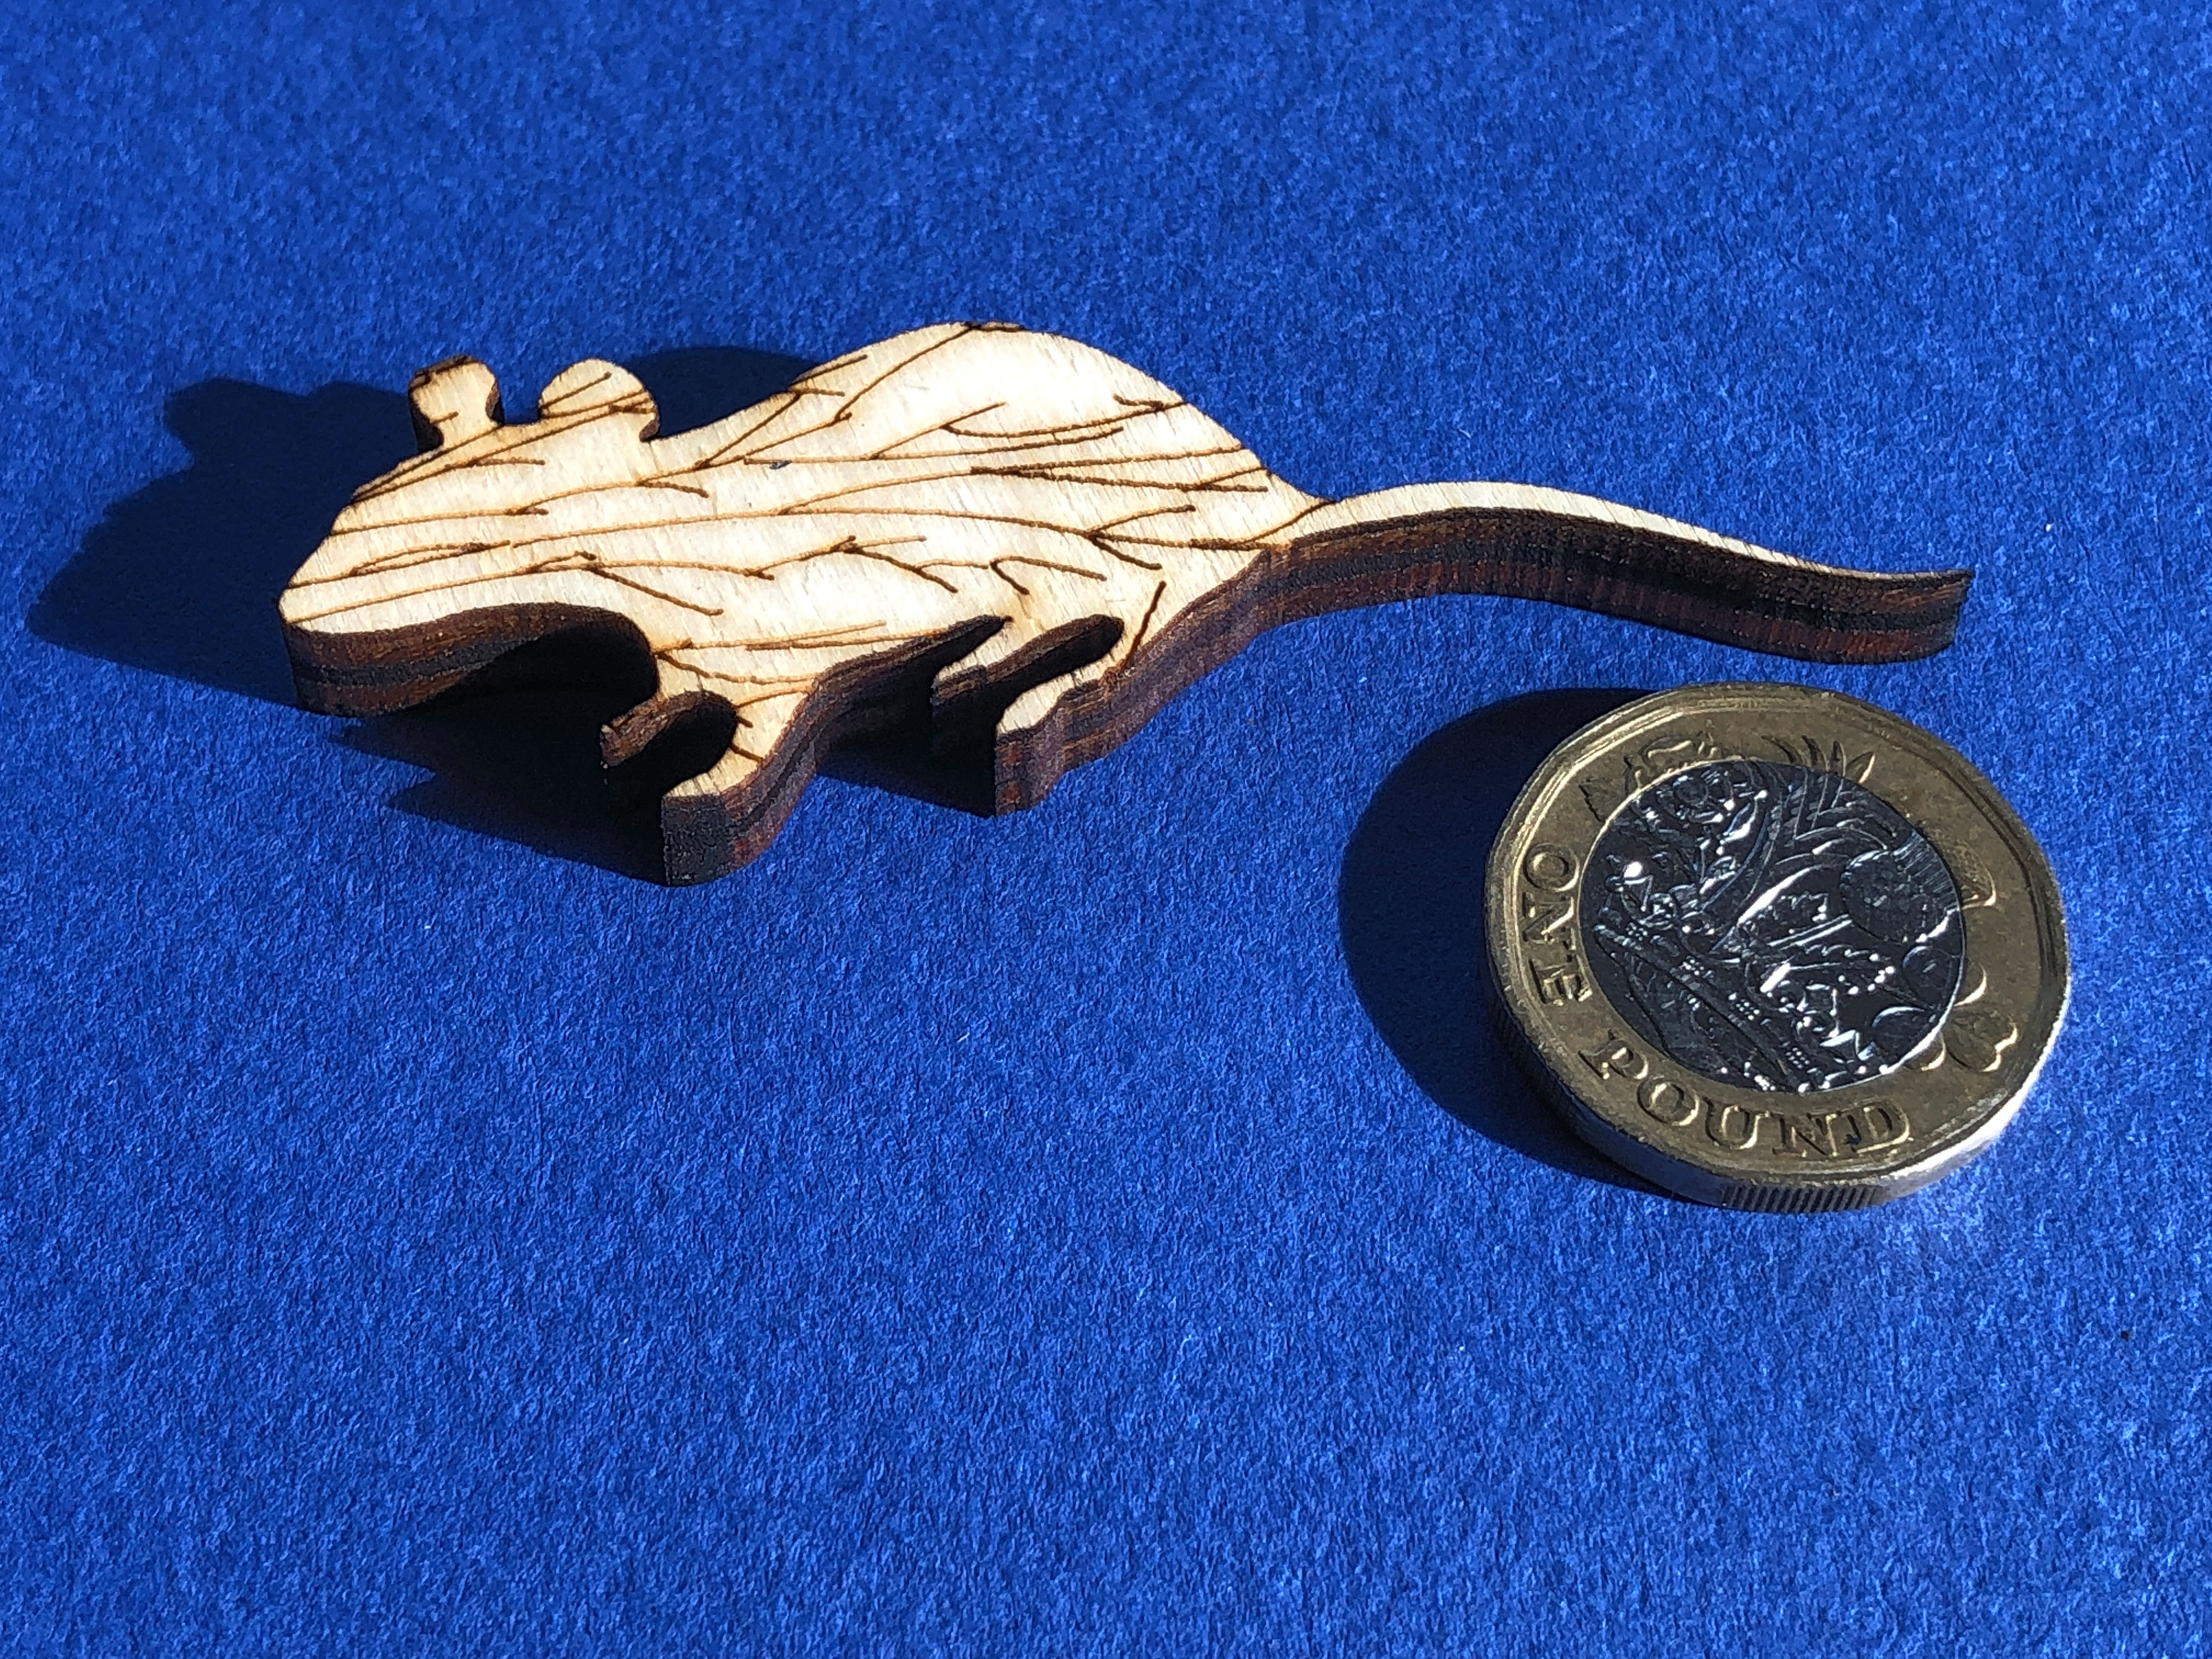
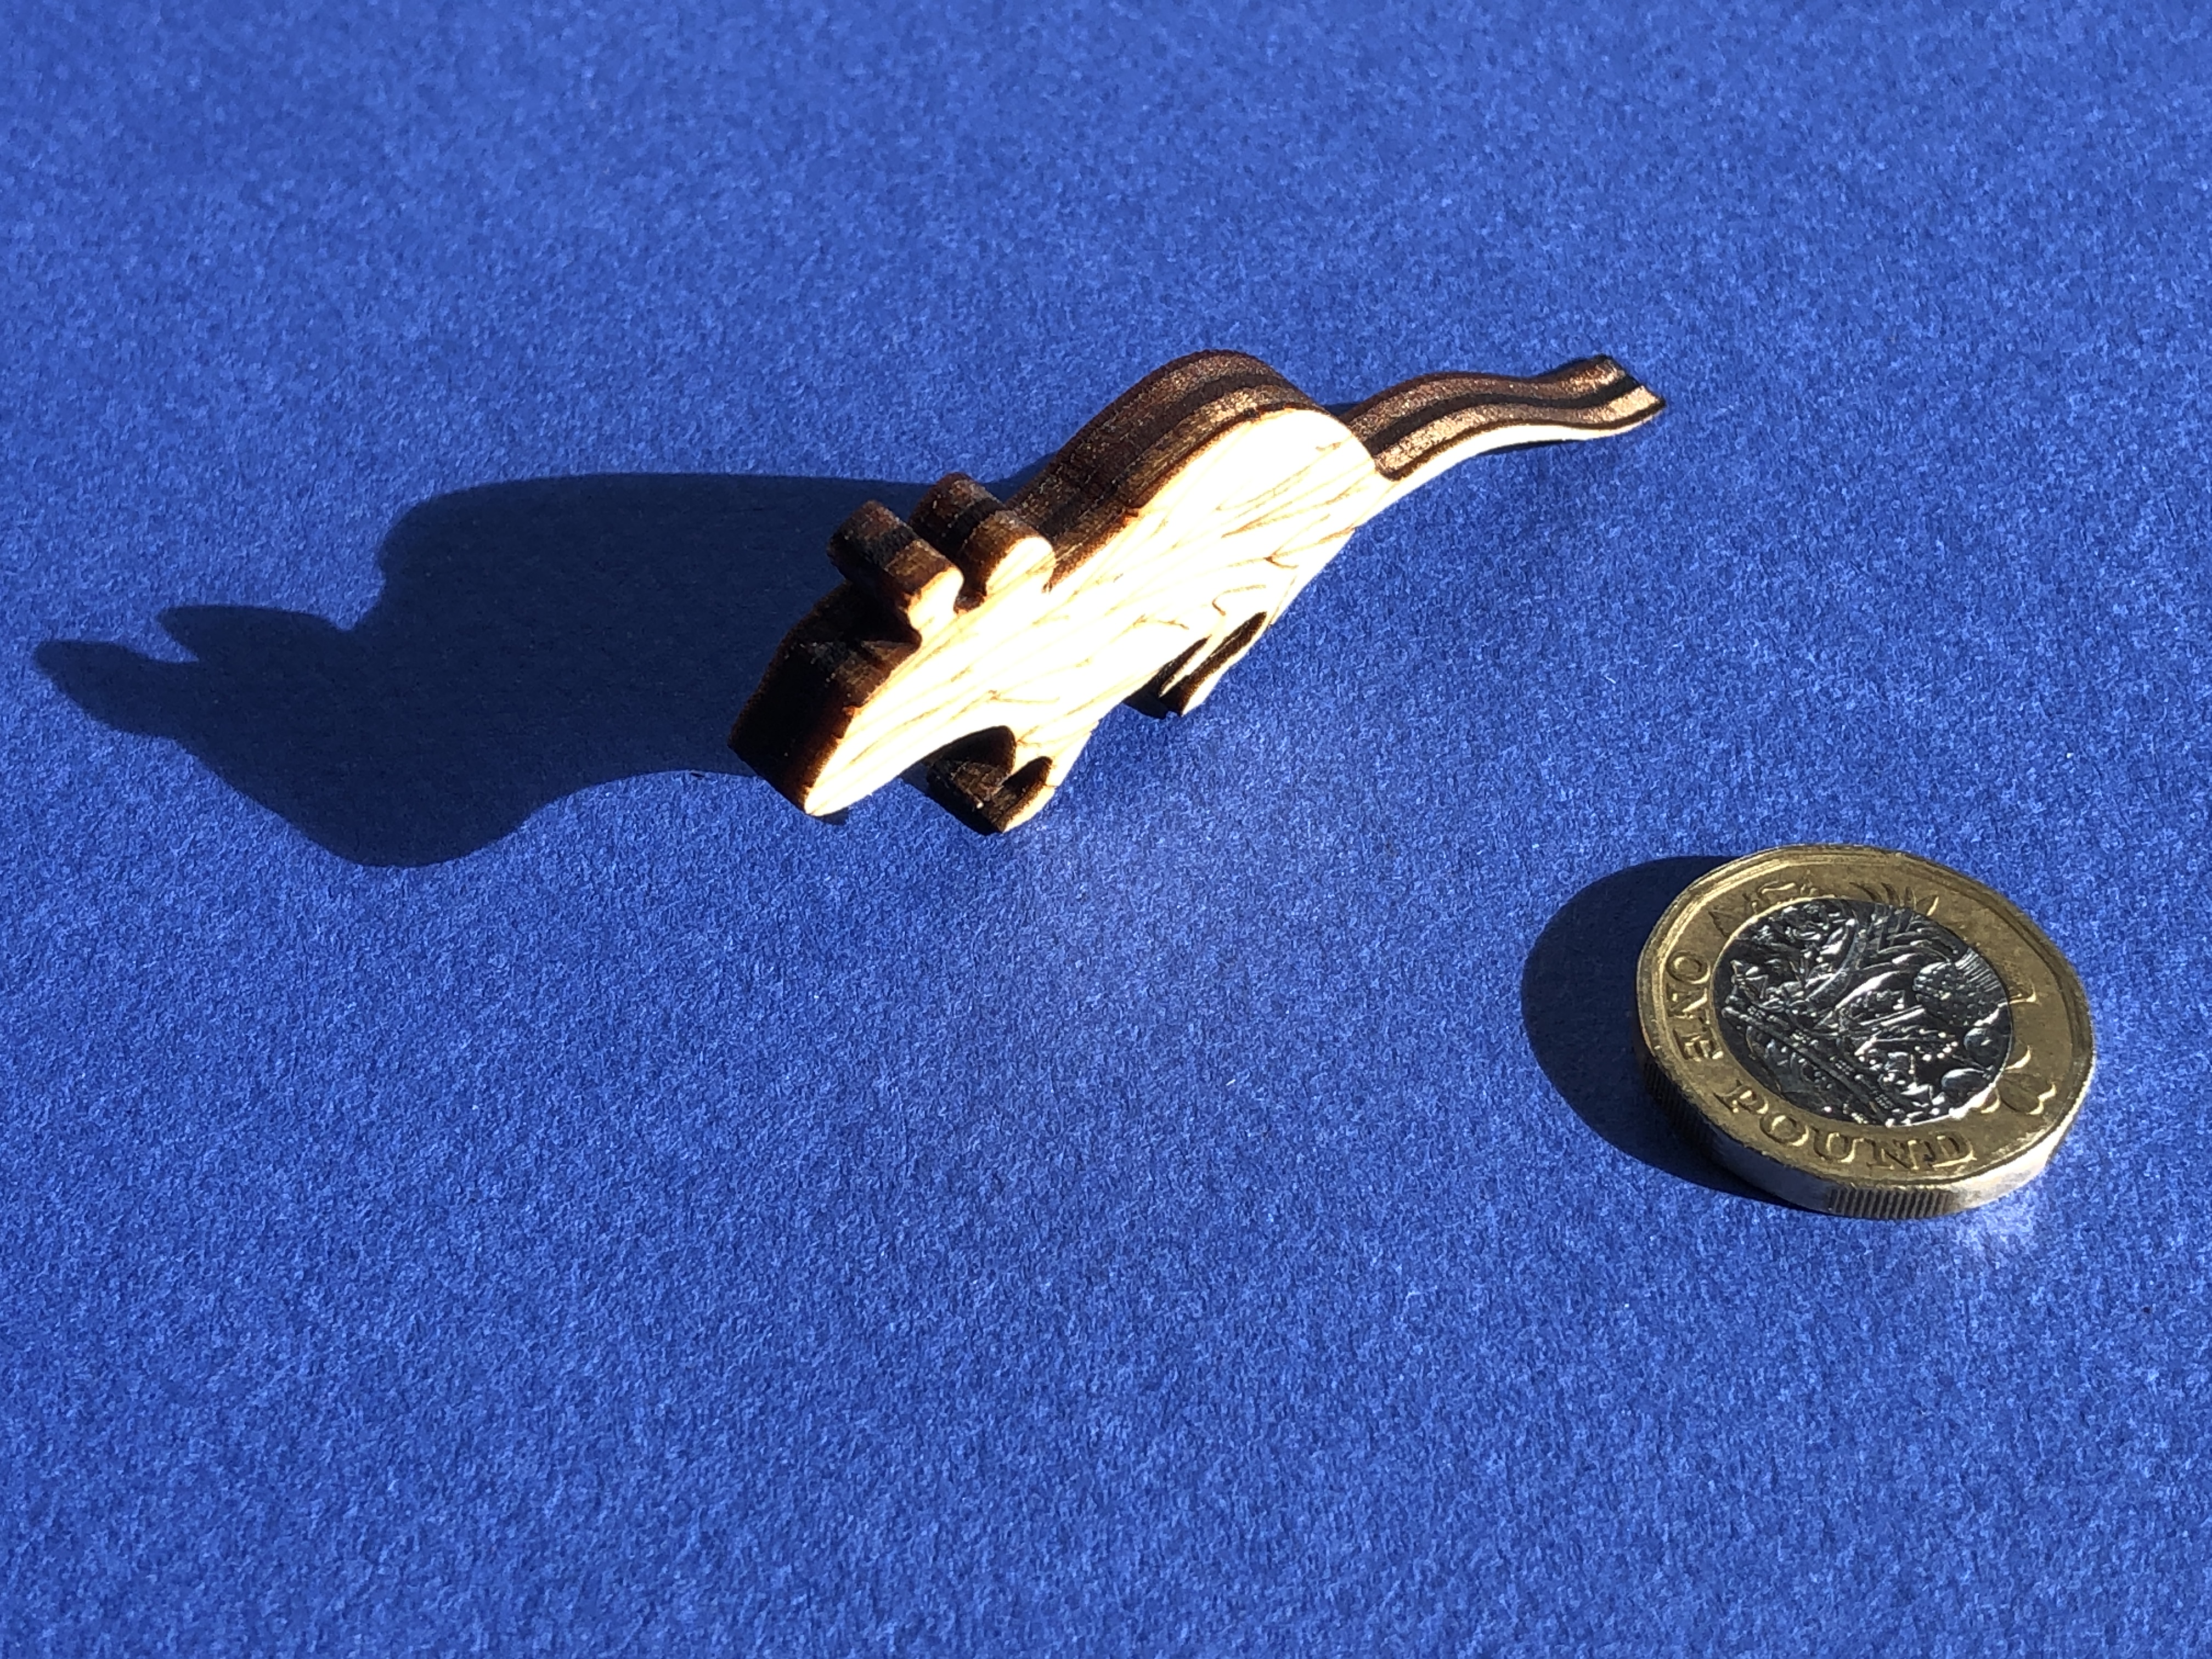
I envisioned that the “stained glass” art puzzle would look best on a windowsill (or similar), so I planned that the art puzzle(s) should be sandwiched between two sheets of magnetised clear panels (3mm for the front and 5mm for the back – the latter for greater stiffness), and stood on 10mm thick (for better stability) mice “feet” – so I also ordered in enough clear cast acrylic for these.
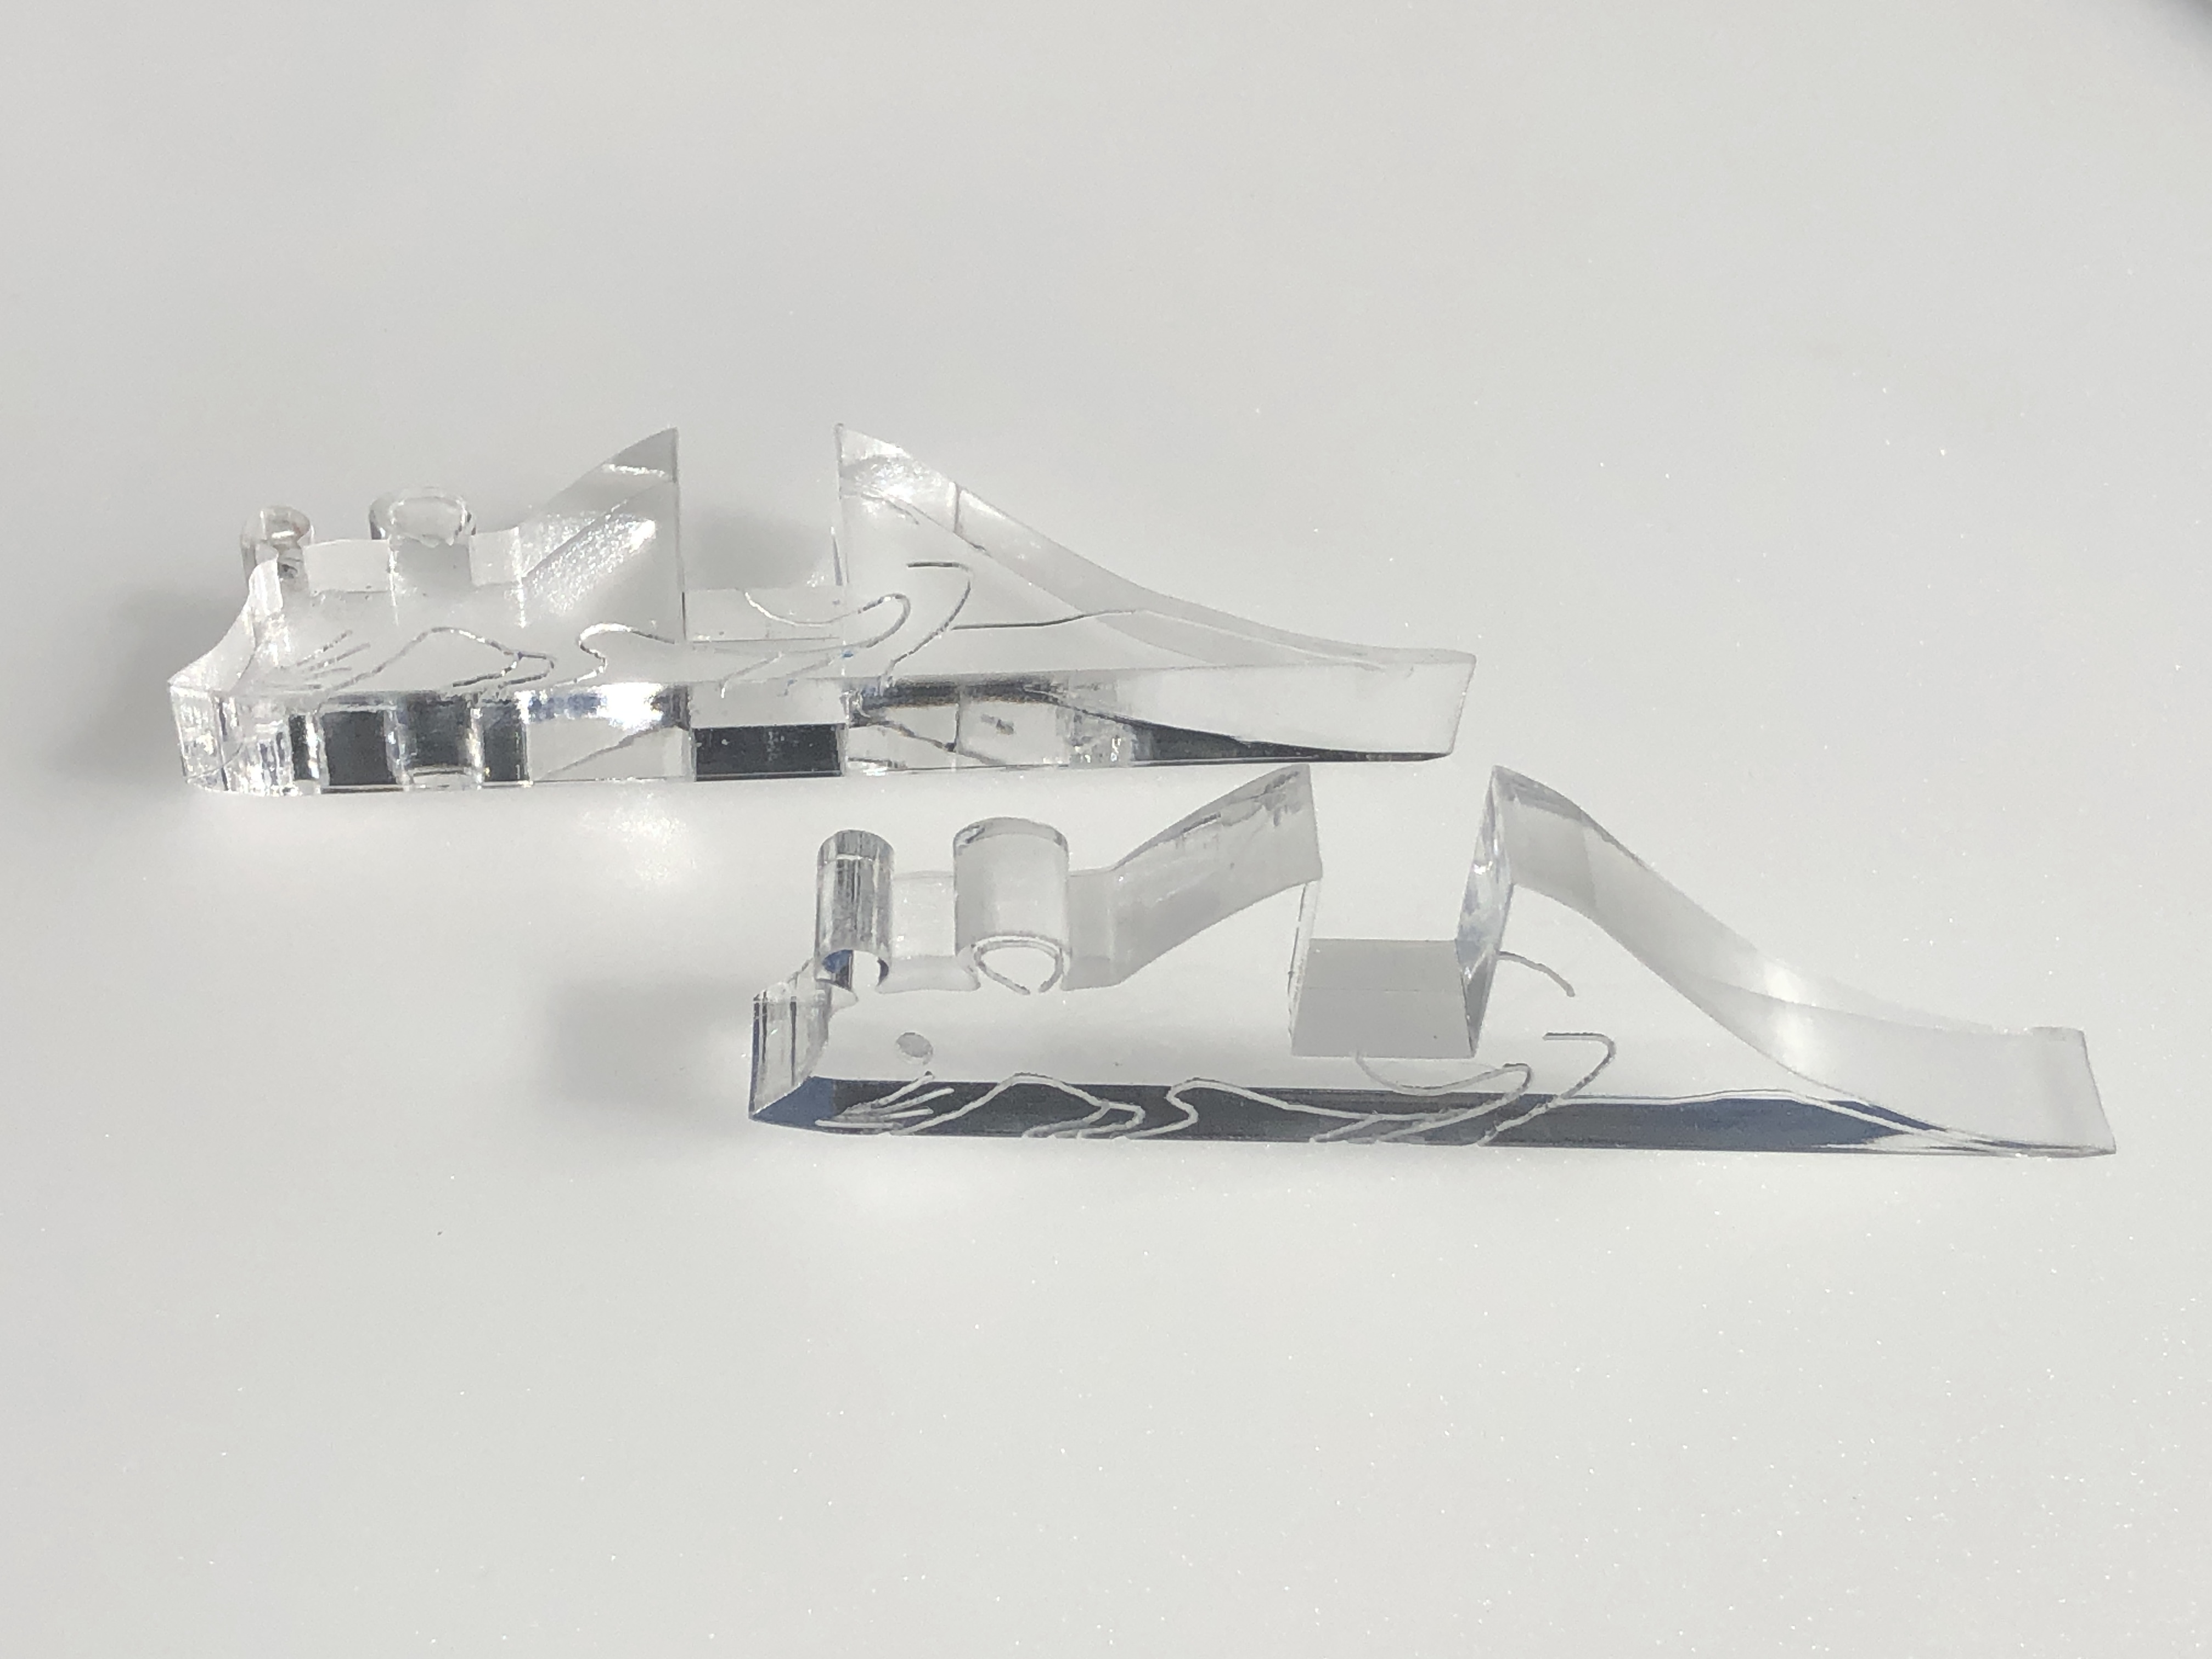
10mm thick custom cut and engrave crystal clear mice “feet” to display the art puzzle on e.g. a windowsill
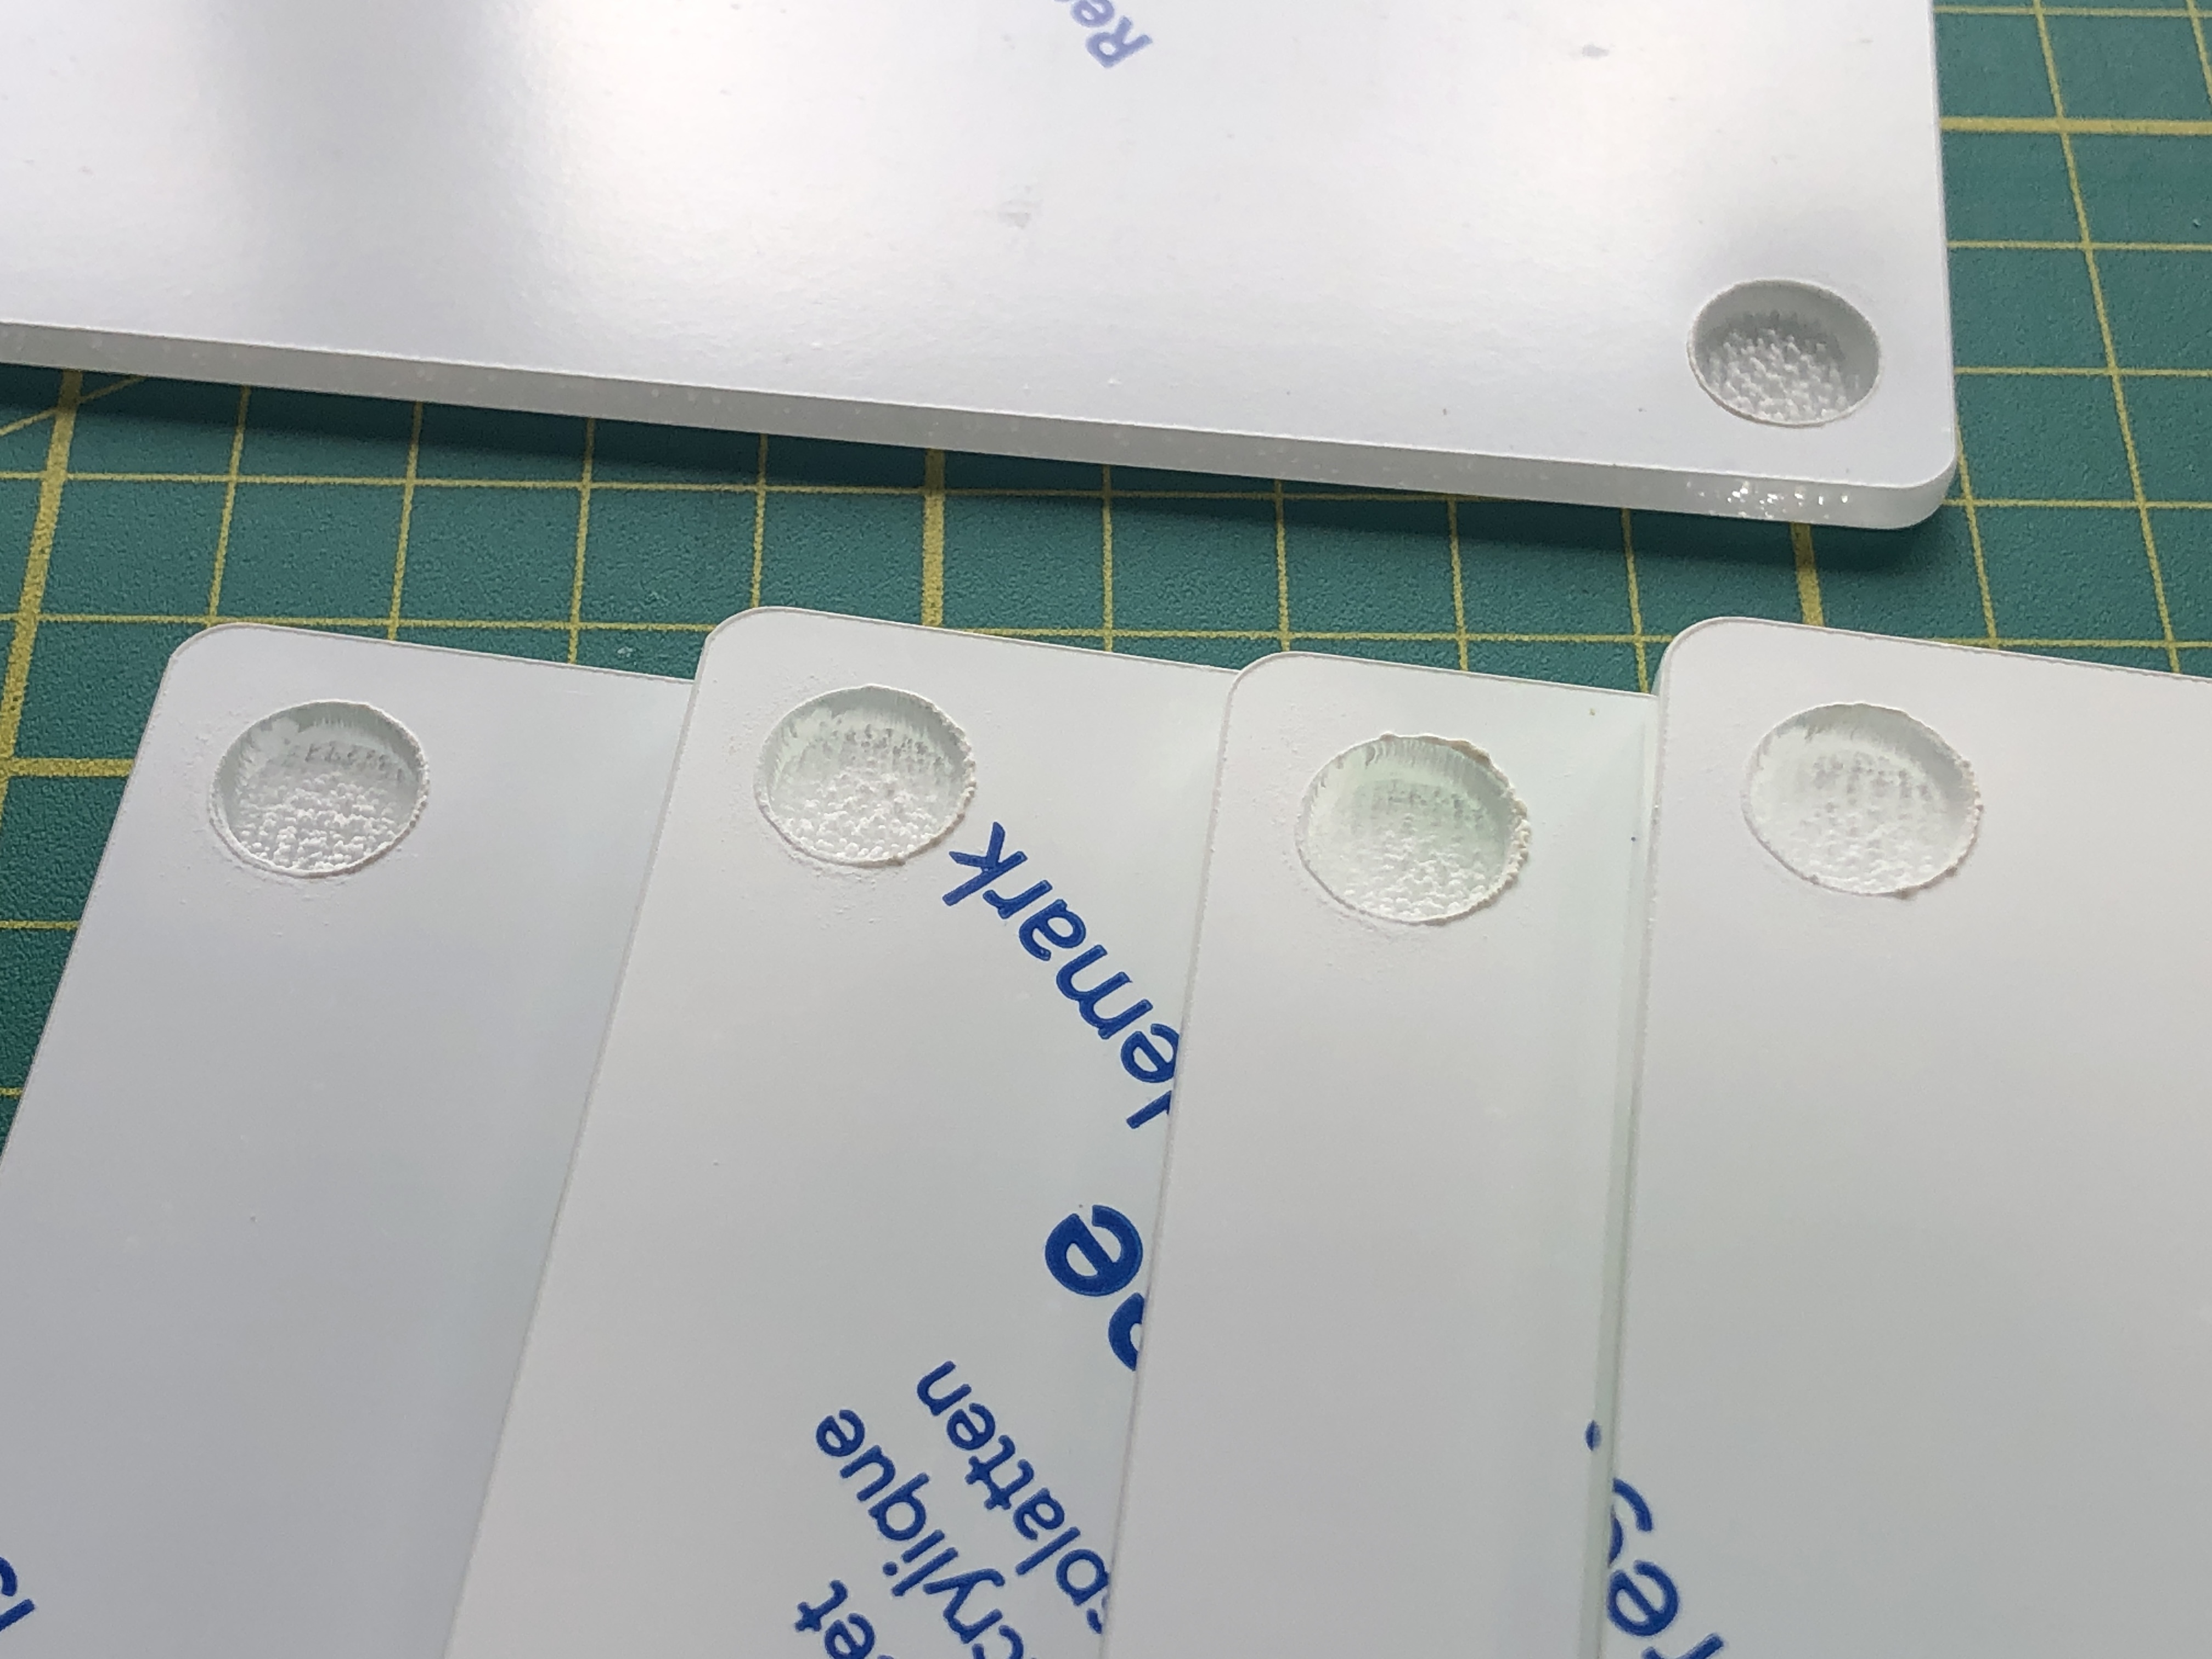
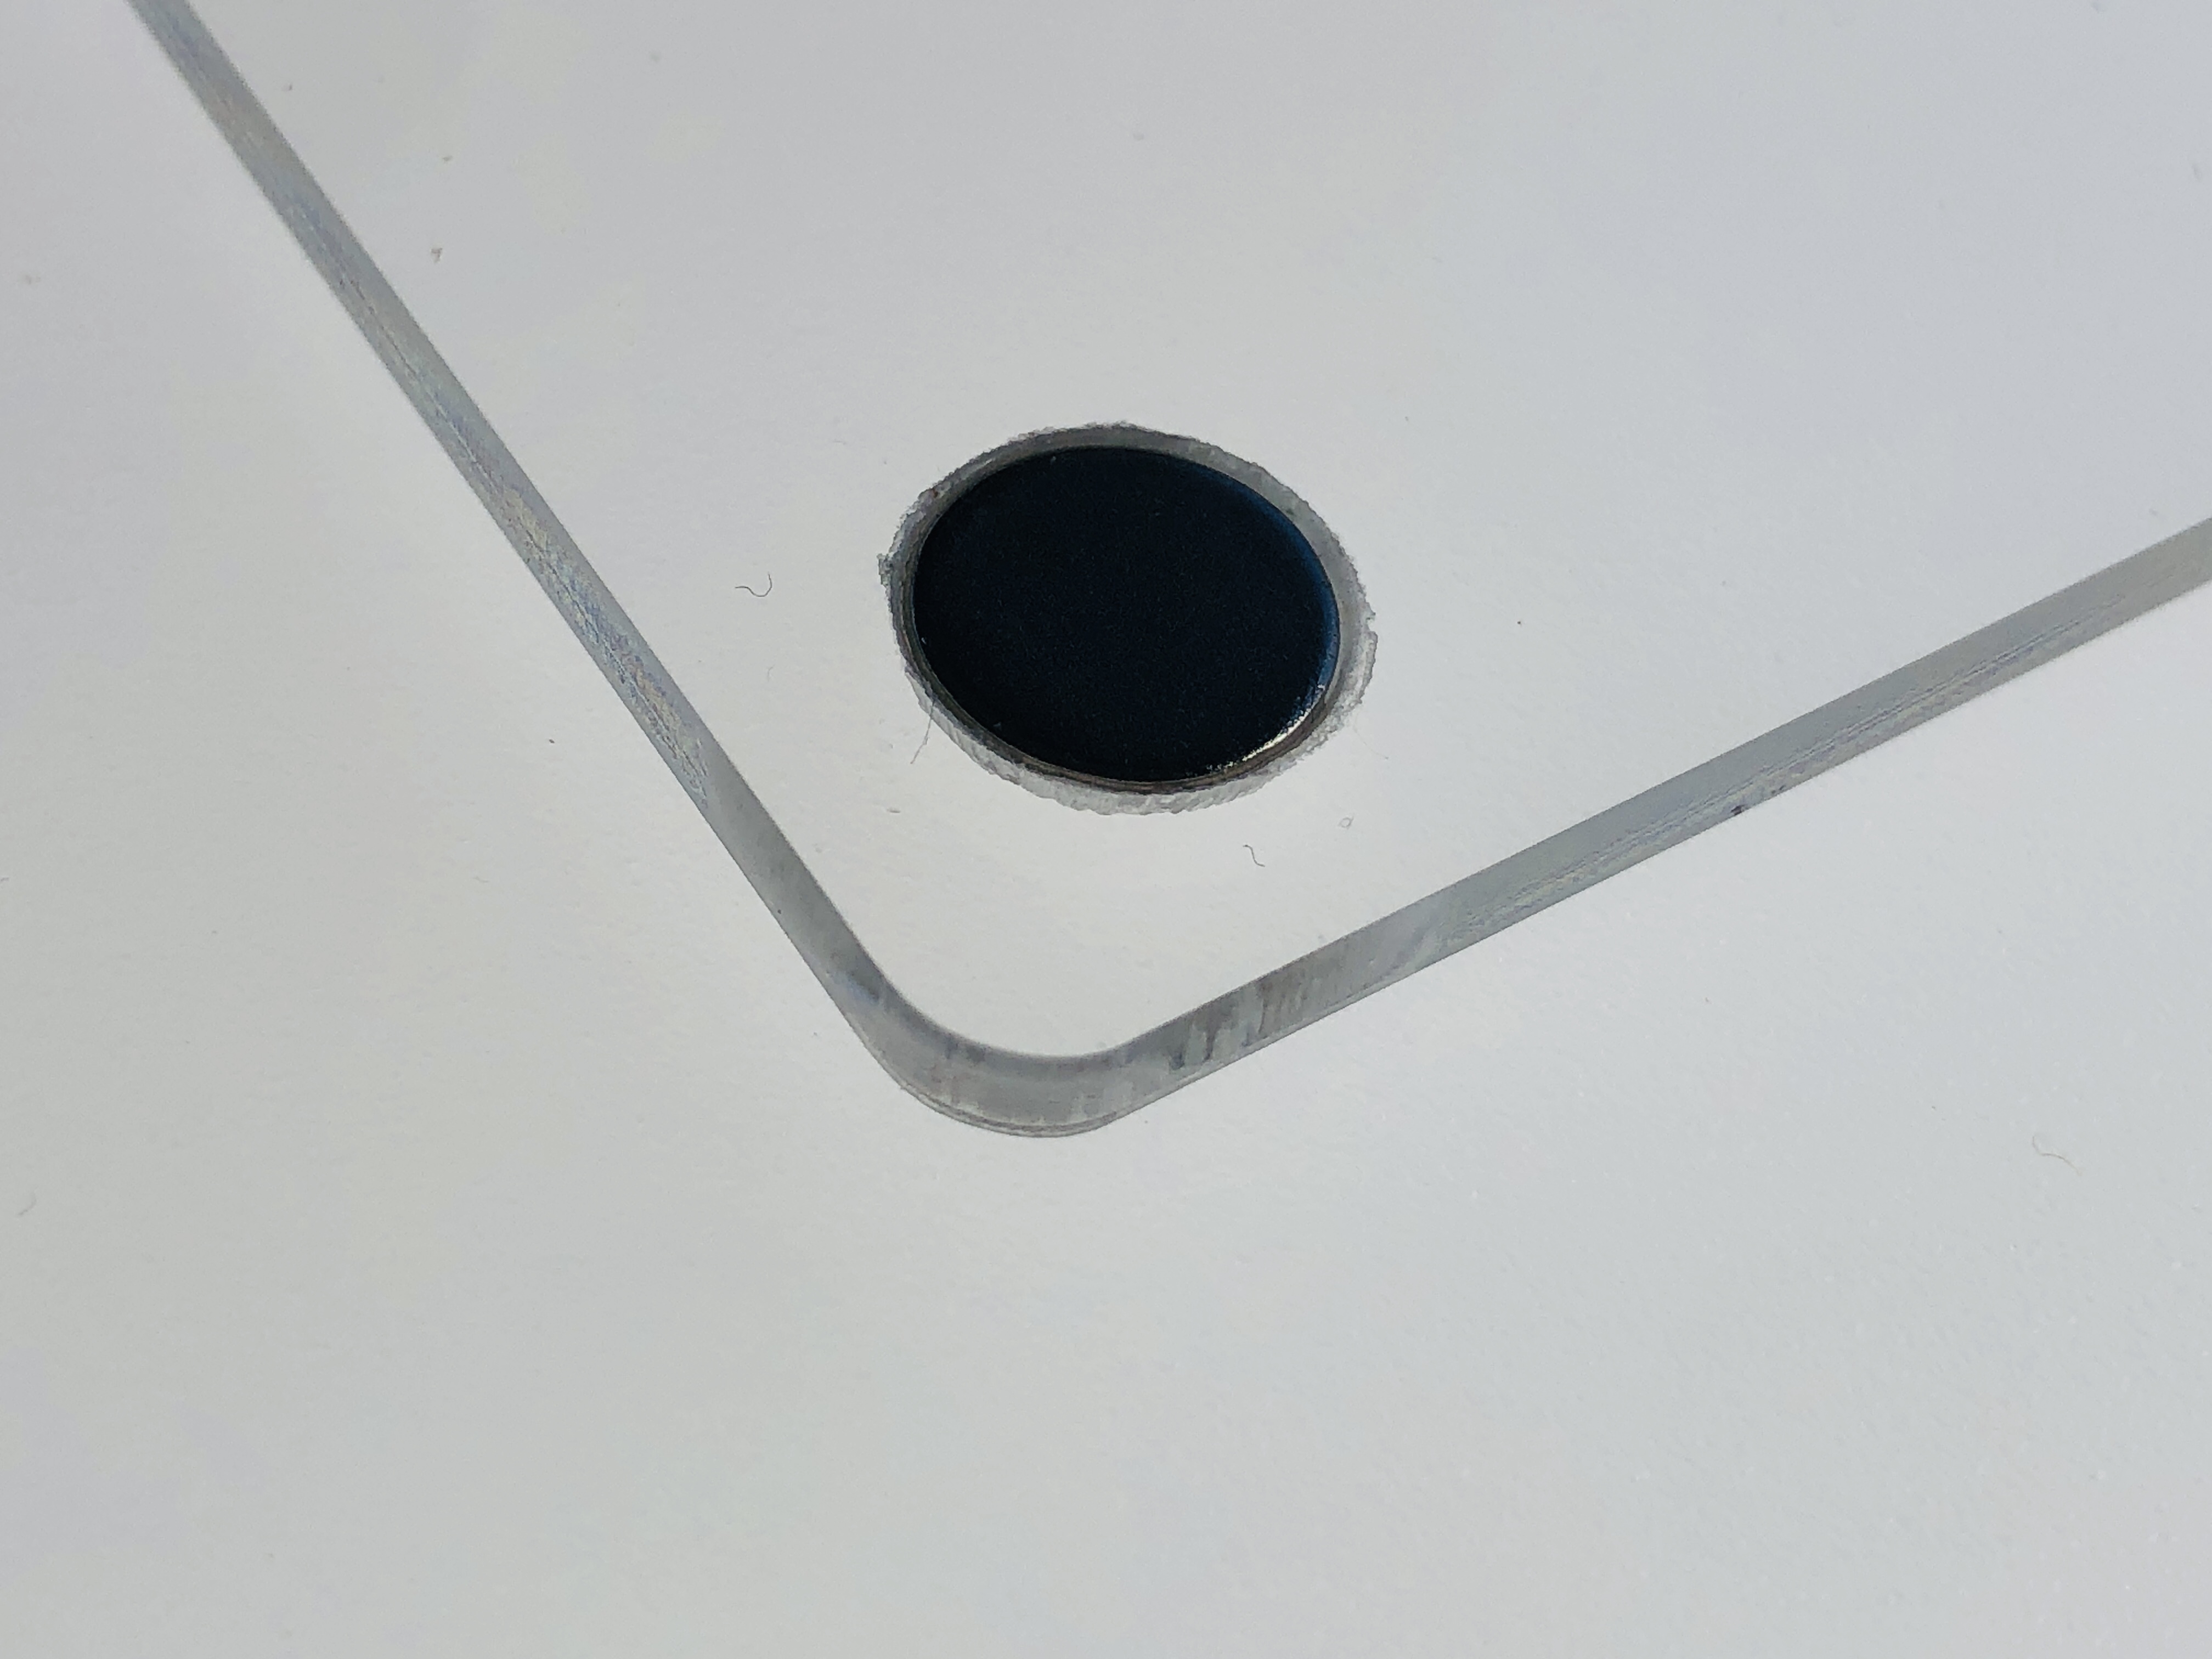
Cutting the circular recesses in both the sandwiching clear sheets of acrylic to snugly fit the 10mm diameter x 2mm thick neodymium magnets took a bit of working out and experimentation – particularly given that I was drilling into 3mm material and had to leave 0.5mm for glue – leaving only 0.5mm material left! I originally tried to use a bench drill and a positioning jig for the acrylic pieces, but that seemed too risky, and with 352 recesses to cut (2 x 4 x 44) – too time-consuming. I then tried to use a CNC router and a positioning jig. But that wasn’t accurate enough across all four corners – and getting perfect registration of the sunken recesses across two different thickness of acrylic seemed problematic. In the end I thought the easiest and most accurate way to bore out the recesses was to engrave them with the laser. This took a bit of experimentation to get the correct depth, but I got there in the end. Also, the rough bottoms made a good biting surface for the glue used to fix the magnets in place.
Recesses engraved into the corners of the clear acrylic support panels to hold the magnets in place.Magnet glued into a clear panel such that the top is level with the clear acrylic support panel’s surface
Conventional stained glass windows have to be strong enough to hold their own weight and withstand the worst weather they are likely to face, and to achieve this there is a great deal of strength built into, and around, them. All the individual glass pieces are welded together in the form of soldered H-sectioned lead strips. This relatively flimsy carcass is supported by being fixed to metal and/or masonry frame/s.
However, the approximately 10mm wide lead H-section strips are what on the one hand give conventional stained glass it’s traditional thick wire-frame look, but on the other hand means the stained glass pieces themselves are very basic and simple shapes. This low resolution can be largely overcome by over-painting, but the pronounced wire-frame effect of the lead strips is a given. Some people may like this effect, and, to be fair, the further away you stand away, the less intrusive it looks.
Coloured acrylic provides a completely alternative modern approach. The “stained glass” can be sandwiched between two clear sheets of acrylic (or glass), and optionally the whole design can be fixed in a frame and placed anywhere… There is no need for leading – or faux leading – at all. For practical purposes it’s useful to have a small gap between the pieces – if, for no other reason, to be able to assemble (and optionally disassemble) the pieces. This can be quite advantageous because on close inspection it provides for a halo of a thin gap of light between and around the pieces – see photo below :-
What’s more, unlike welded-in stained glass pieces, because the acrylic pieces are not fixed in position (they cannot move if supported around the sides), the whole design lends itself to be a (jigsaw) puzzle as well as a decorative beautiful “stained glass” artwork… This simply requires that there be some way to easily open the framed sandwich – hence why I chose to use simple magnets to hold the three panels together…
Not having leading means literally more light comes through, but, on the positive side, leading more clearly defined the edges of shapes – and so may be preferred for that reason. However, there is nothing to stop you using leading, faux leading, piping, or indeed a purpose-cut lattice of opaque black (or any other colour) acrylic – if a shape-outlining effect is desired…
In conclusion, using coloured acrylics for creating stained glass effects offers a great number of opportunities and there is seems to be nothing that cannot be achieved using it compared to conventional stained glass techniques and real glass. I’m very encouraged by the future possibilities of using coloured acrylics, and have several designs already in mind. Watch this space…
Long-eared owls are ferocious predators (as are all owls) – and will basically eat anything that moves that is smaller than them. They often swallow their prey whole, and regurgitate a large pellet of the undigestible parts – such as bones, teeth, hair, feathers. Indeed, examining their pellets is how ornithologists know so much about what they eat.
This is a precision laser-cut and engraved “art” puzzle – directly cut and engraved in premium 3mm coloured cast acrylic from an original digital hand-drawing. The design is a specially modified version of my original hand-cut 40mm thick solid oak artwork entitled “Long-eared Owl (Art Puzzle) (You are what you eat)” (2022)
I have created a few stained glass designs in the past – using stick-on lead piping and coloured glass inks. At the time I was happy enough with them, but they weren’t very good. The solidity of the colours wasn’t there, and the colours faded over time. I do find there is something magical about transparent materials – as well as them being beautiful because their appearance changes dramatically from different angles, and by the changing light falling on them.
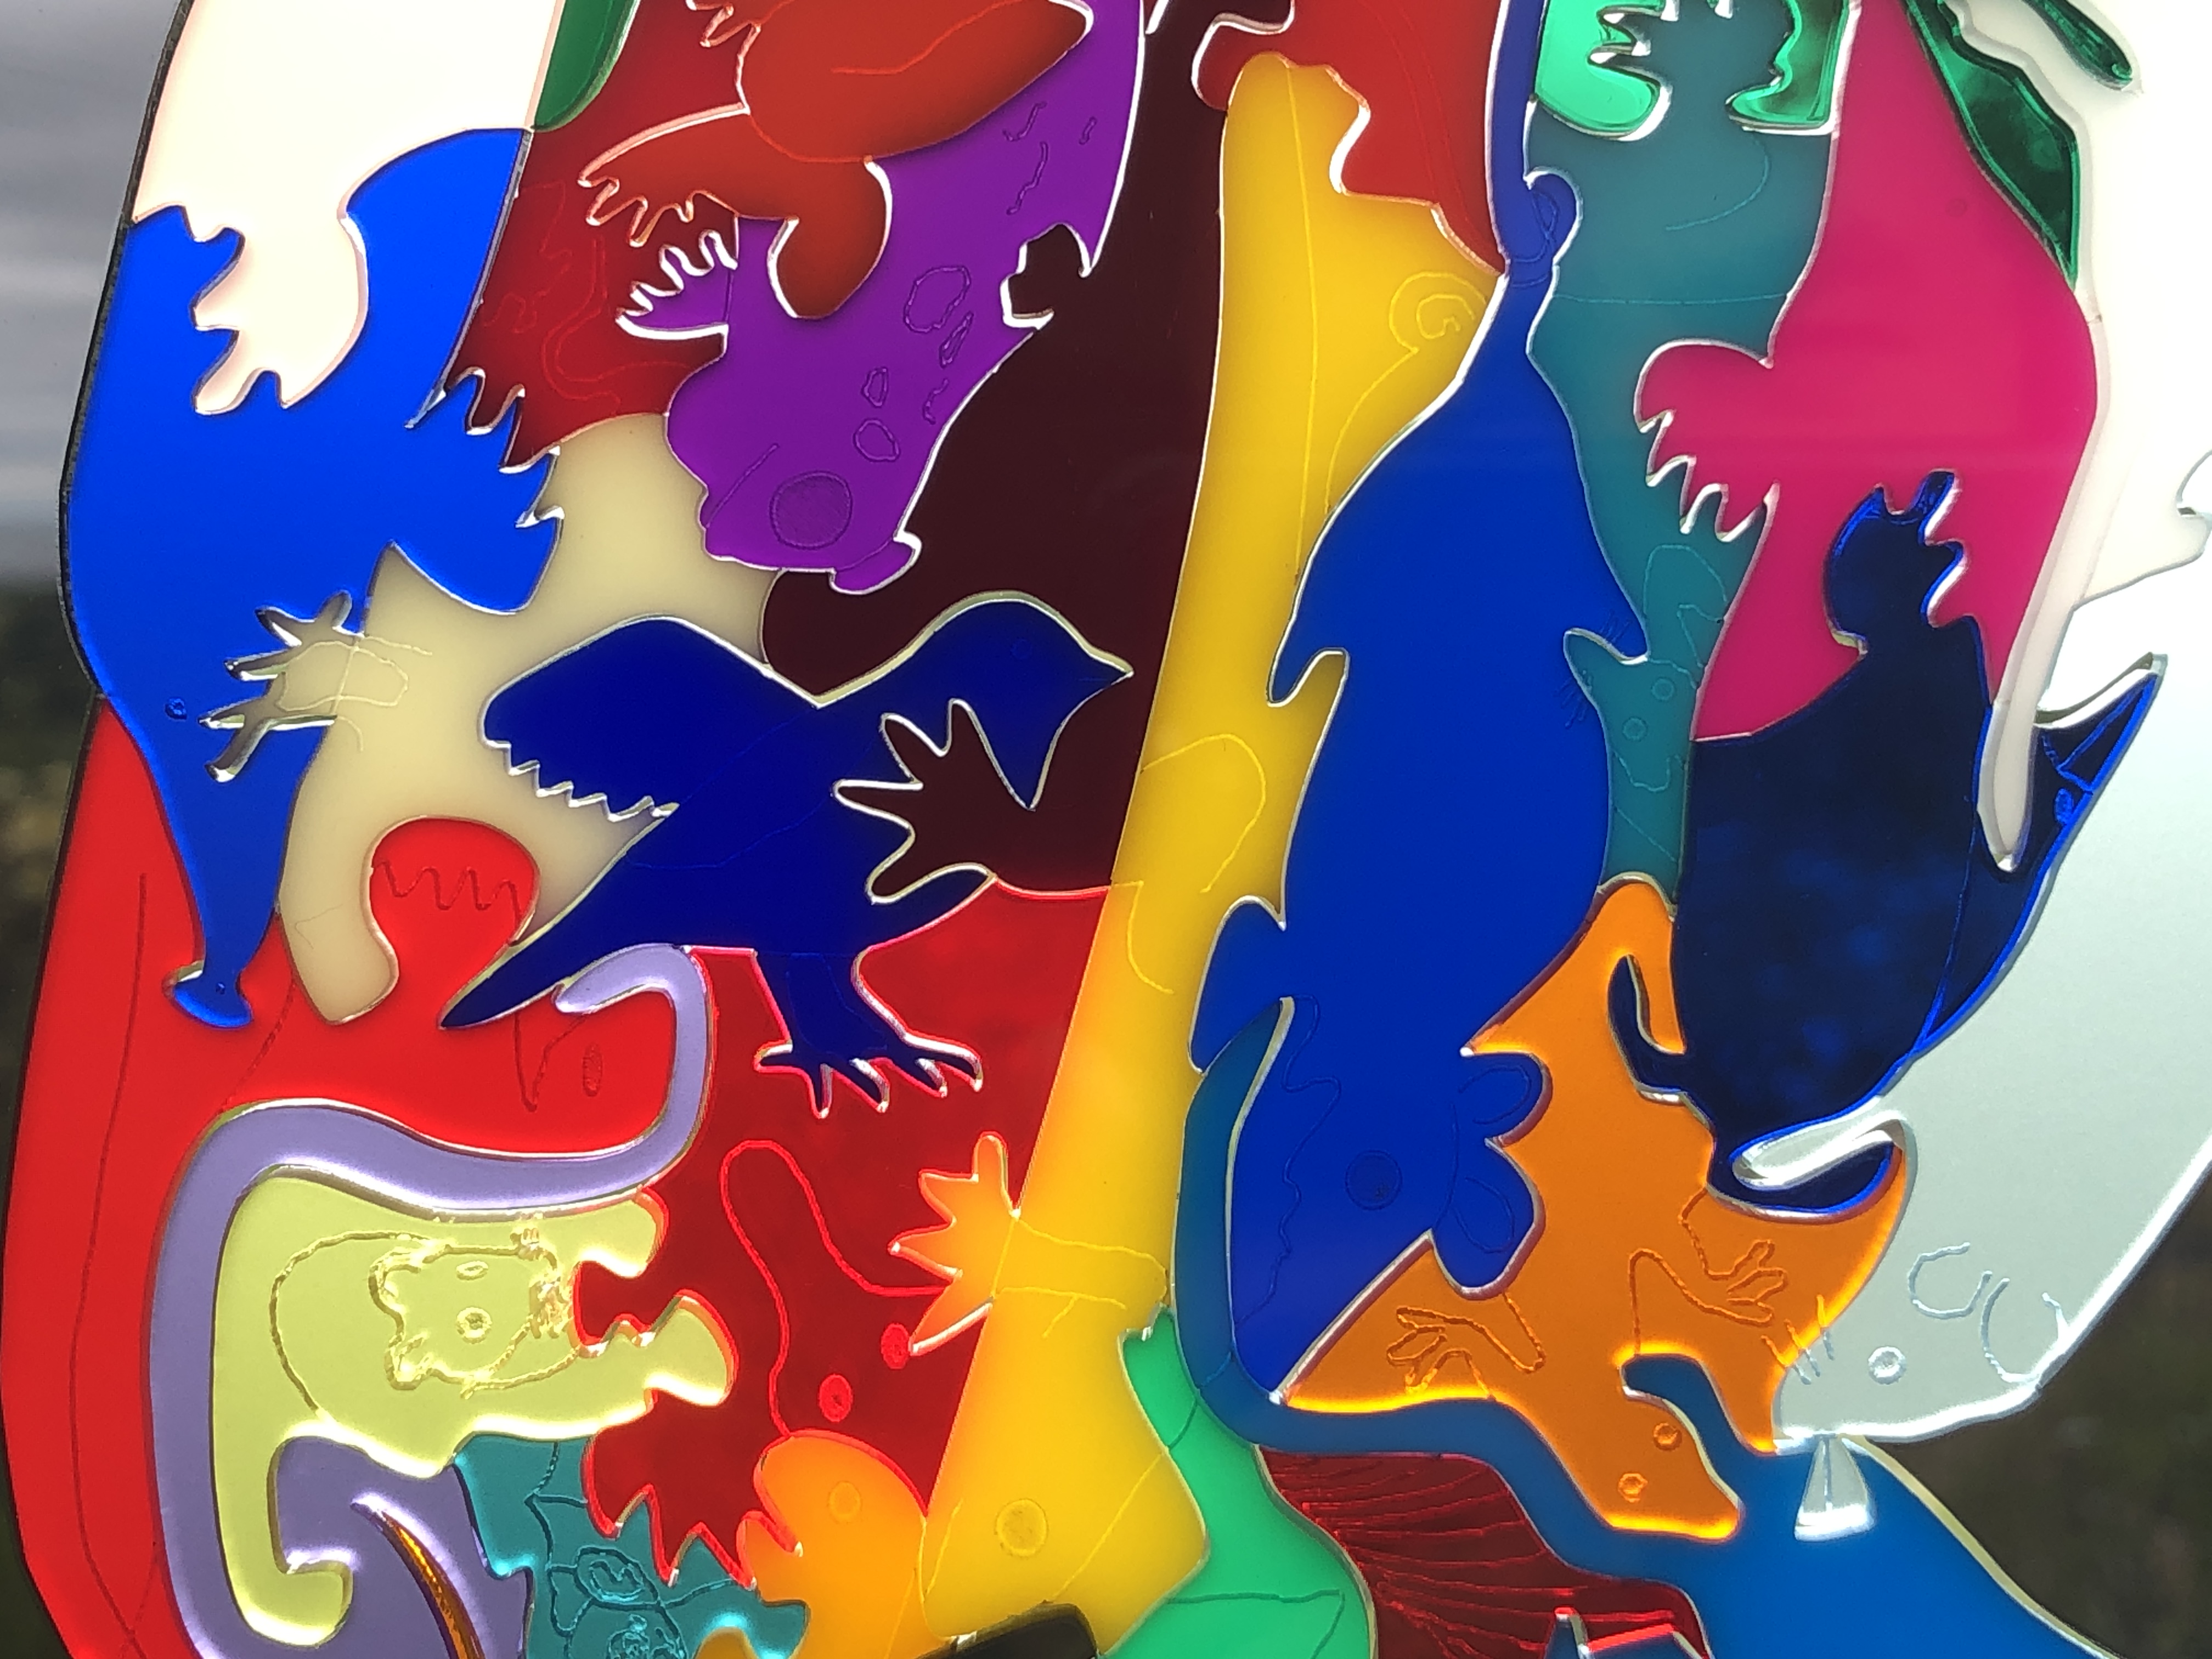
Here are a few of the many varieties I have made :-
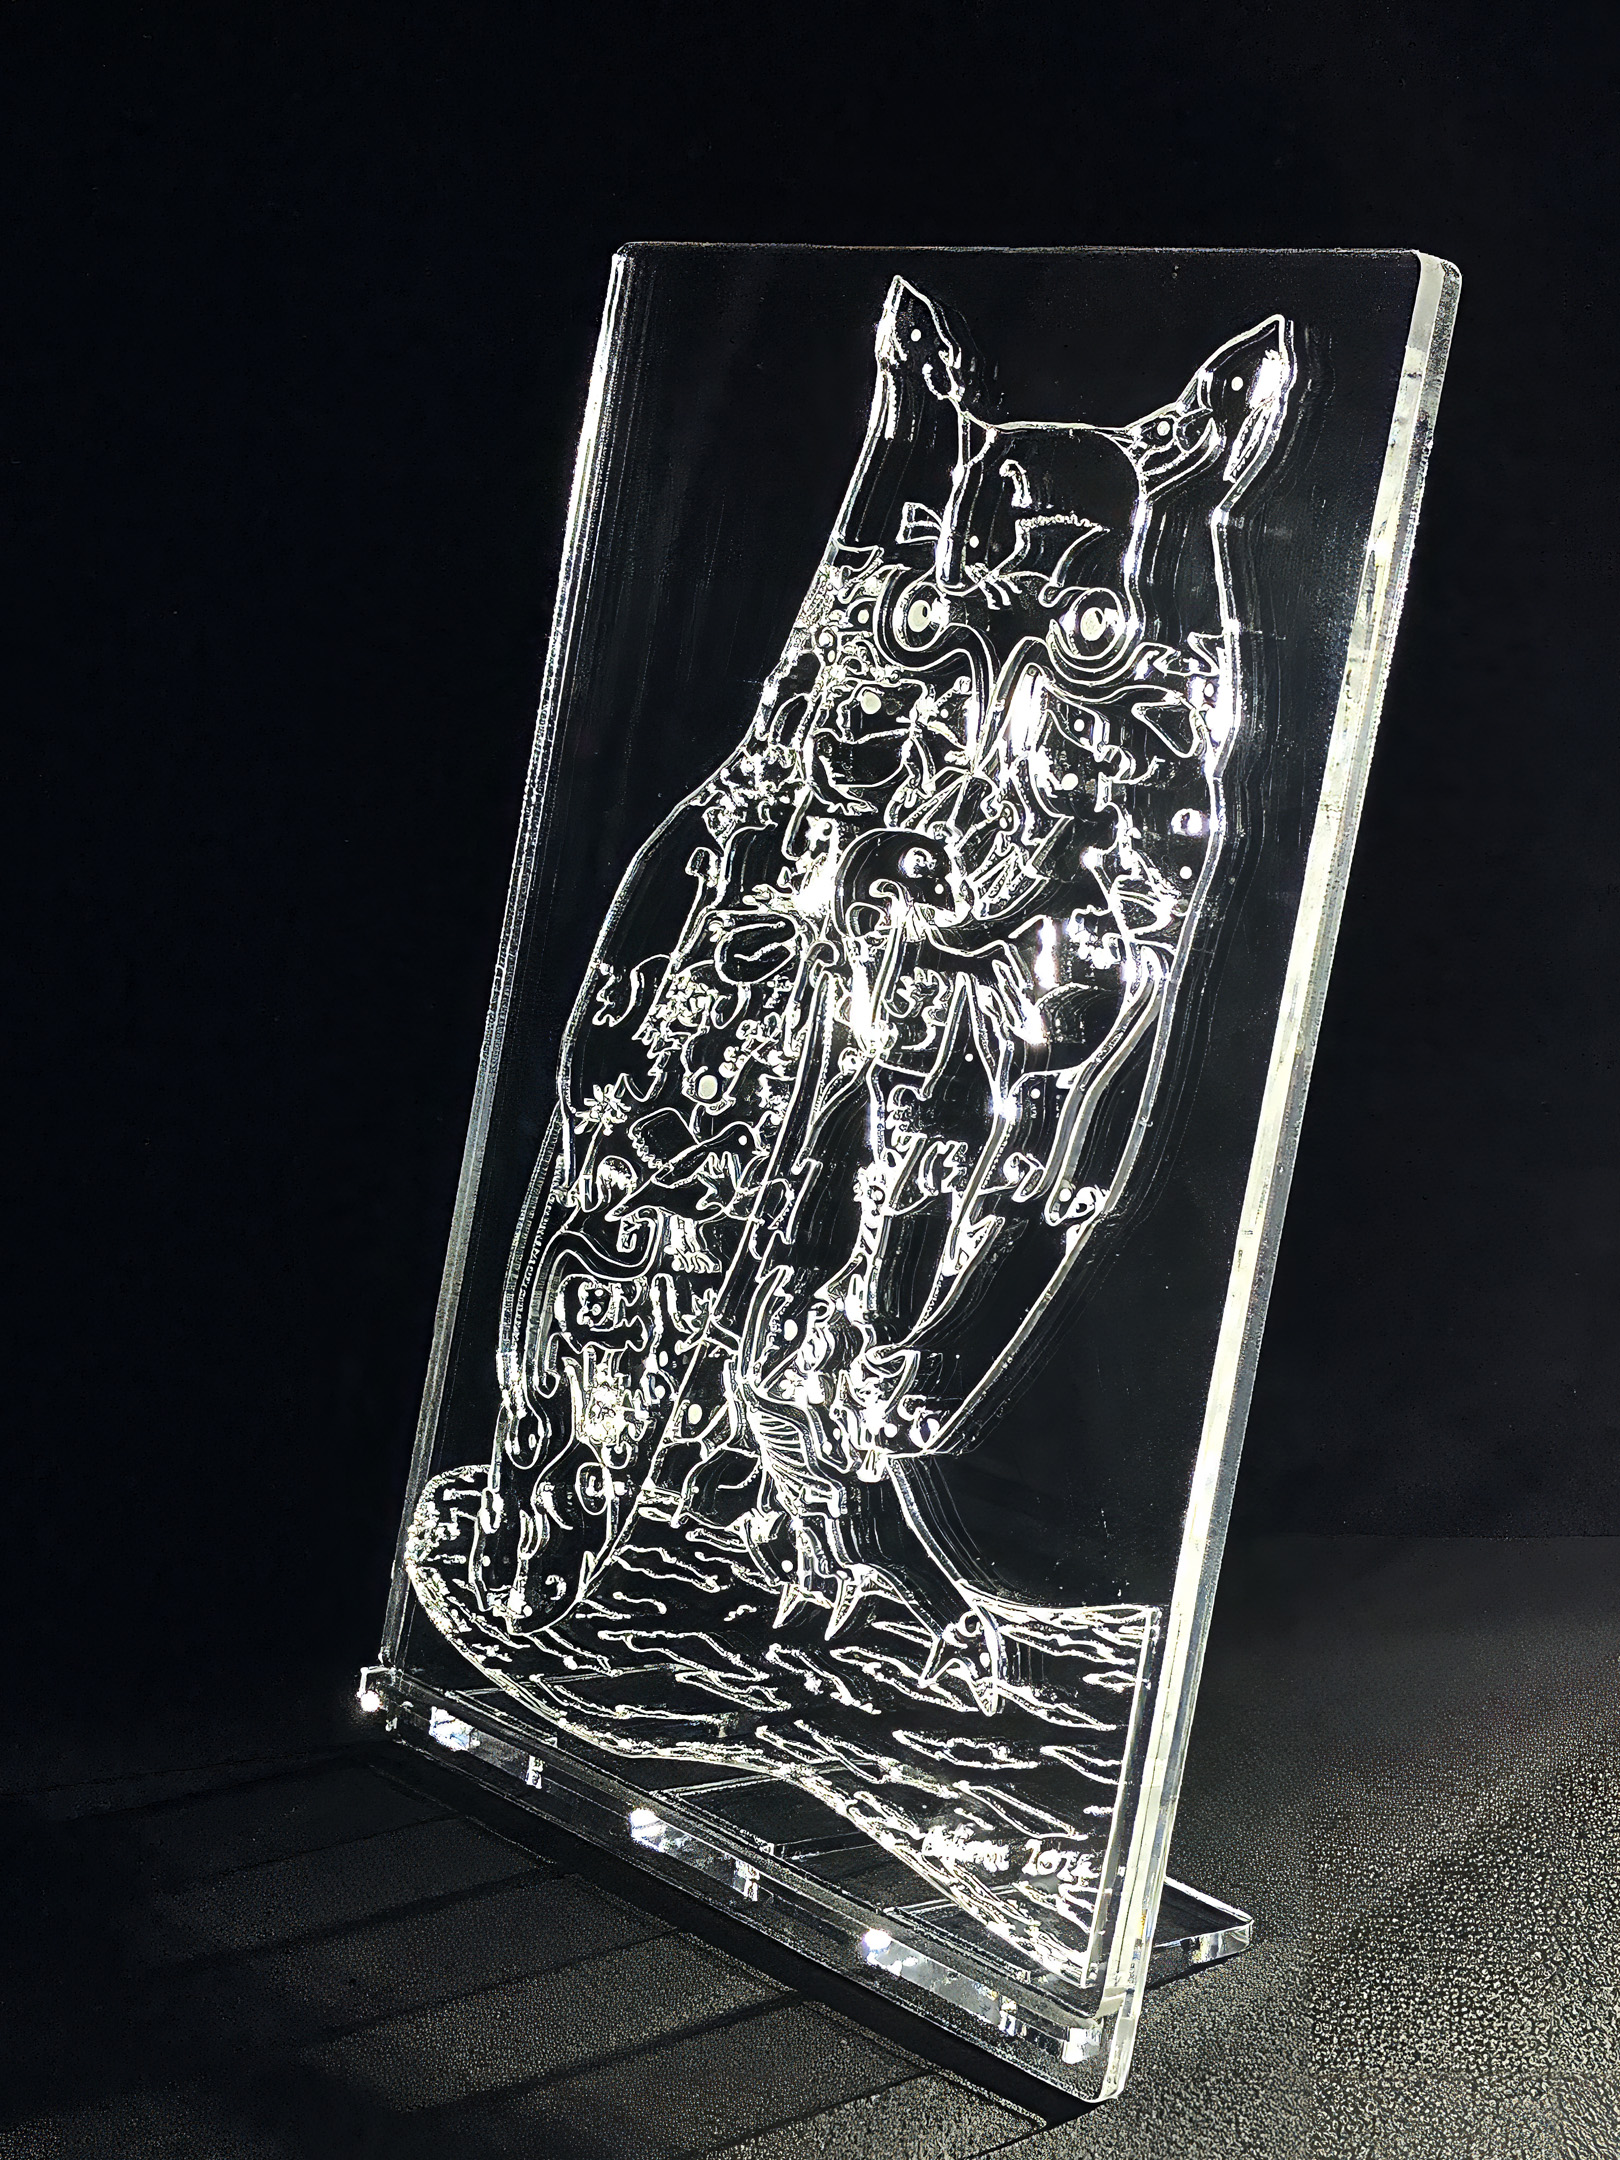
Artist: Michael Autumn Medium: Clear cast 5mm Perspex® – laser cut & engraved from a hand-drawn digital design Size: 19cm (W) x 29cm (H) (including stand) Edition: Unlimited Date: 05/2024 Country: UK For sale: Available to buy on Etsy – https://www.etsy.com/uk/listing/1741855133/long-eared-owl-you-are-what-you-eat
Description: The idea behind this artwork was to have a tactile, life-sized, long-eared owl, and to toy with the idea – “You are what you eat”. Long-eared owls are ferocious predators (as are all owls) – and will basically eat anything that moves that is smaller than them. They often swallow their prey whole, and regurgitate a large pellet of the undigestible parts – such as bones, teeth, hair, feathers. Indeed, examining their pellets is how ornithologists know so much about what they eat.
This is a precision laser-cut and engraved “art” puzzle – directly cut and engraved in premium 5mm clear cast acrylic from an original digital hand-drawing. The design is a specially modified version of my original hand-cut 40mm thick solid oak artwork entitled “Long-eared Owl (Art Puzzle) (You are what you eat)” (2022)
I’ve been longing to create something in clear glass or acrylic for many years because I find there is something magical about transparent materials – as well as them being beautiful because their appearance changes dramatically from different angles, and by the changing light falling on them.
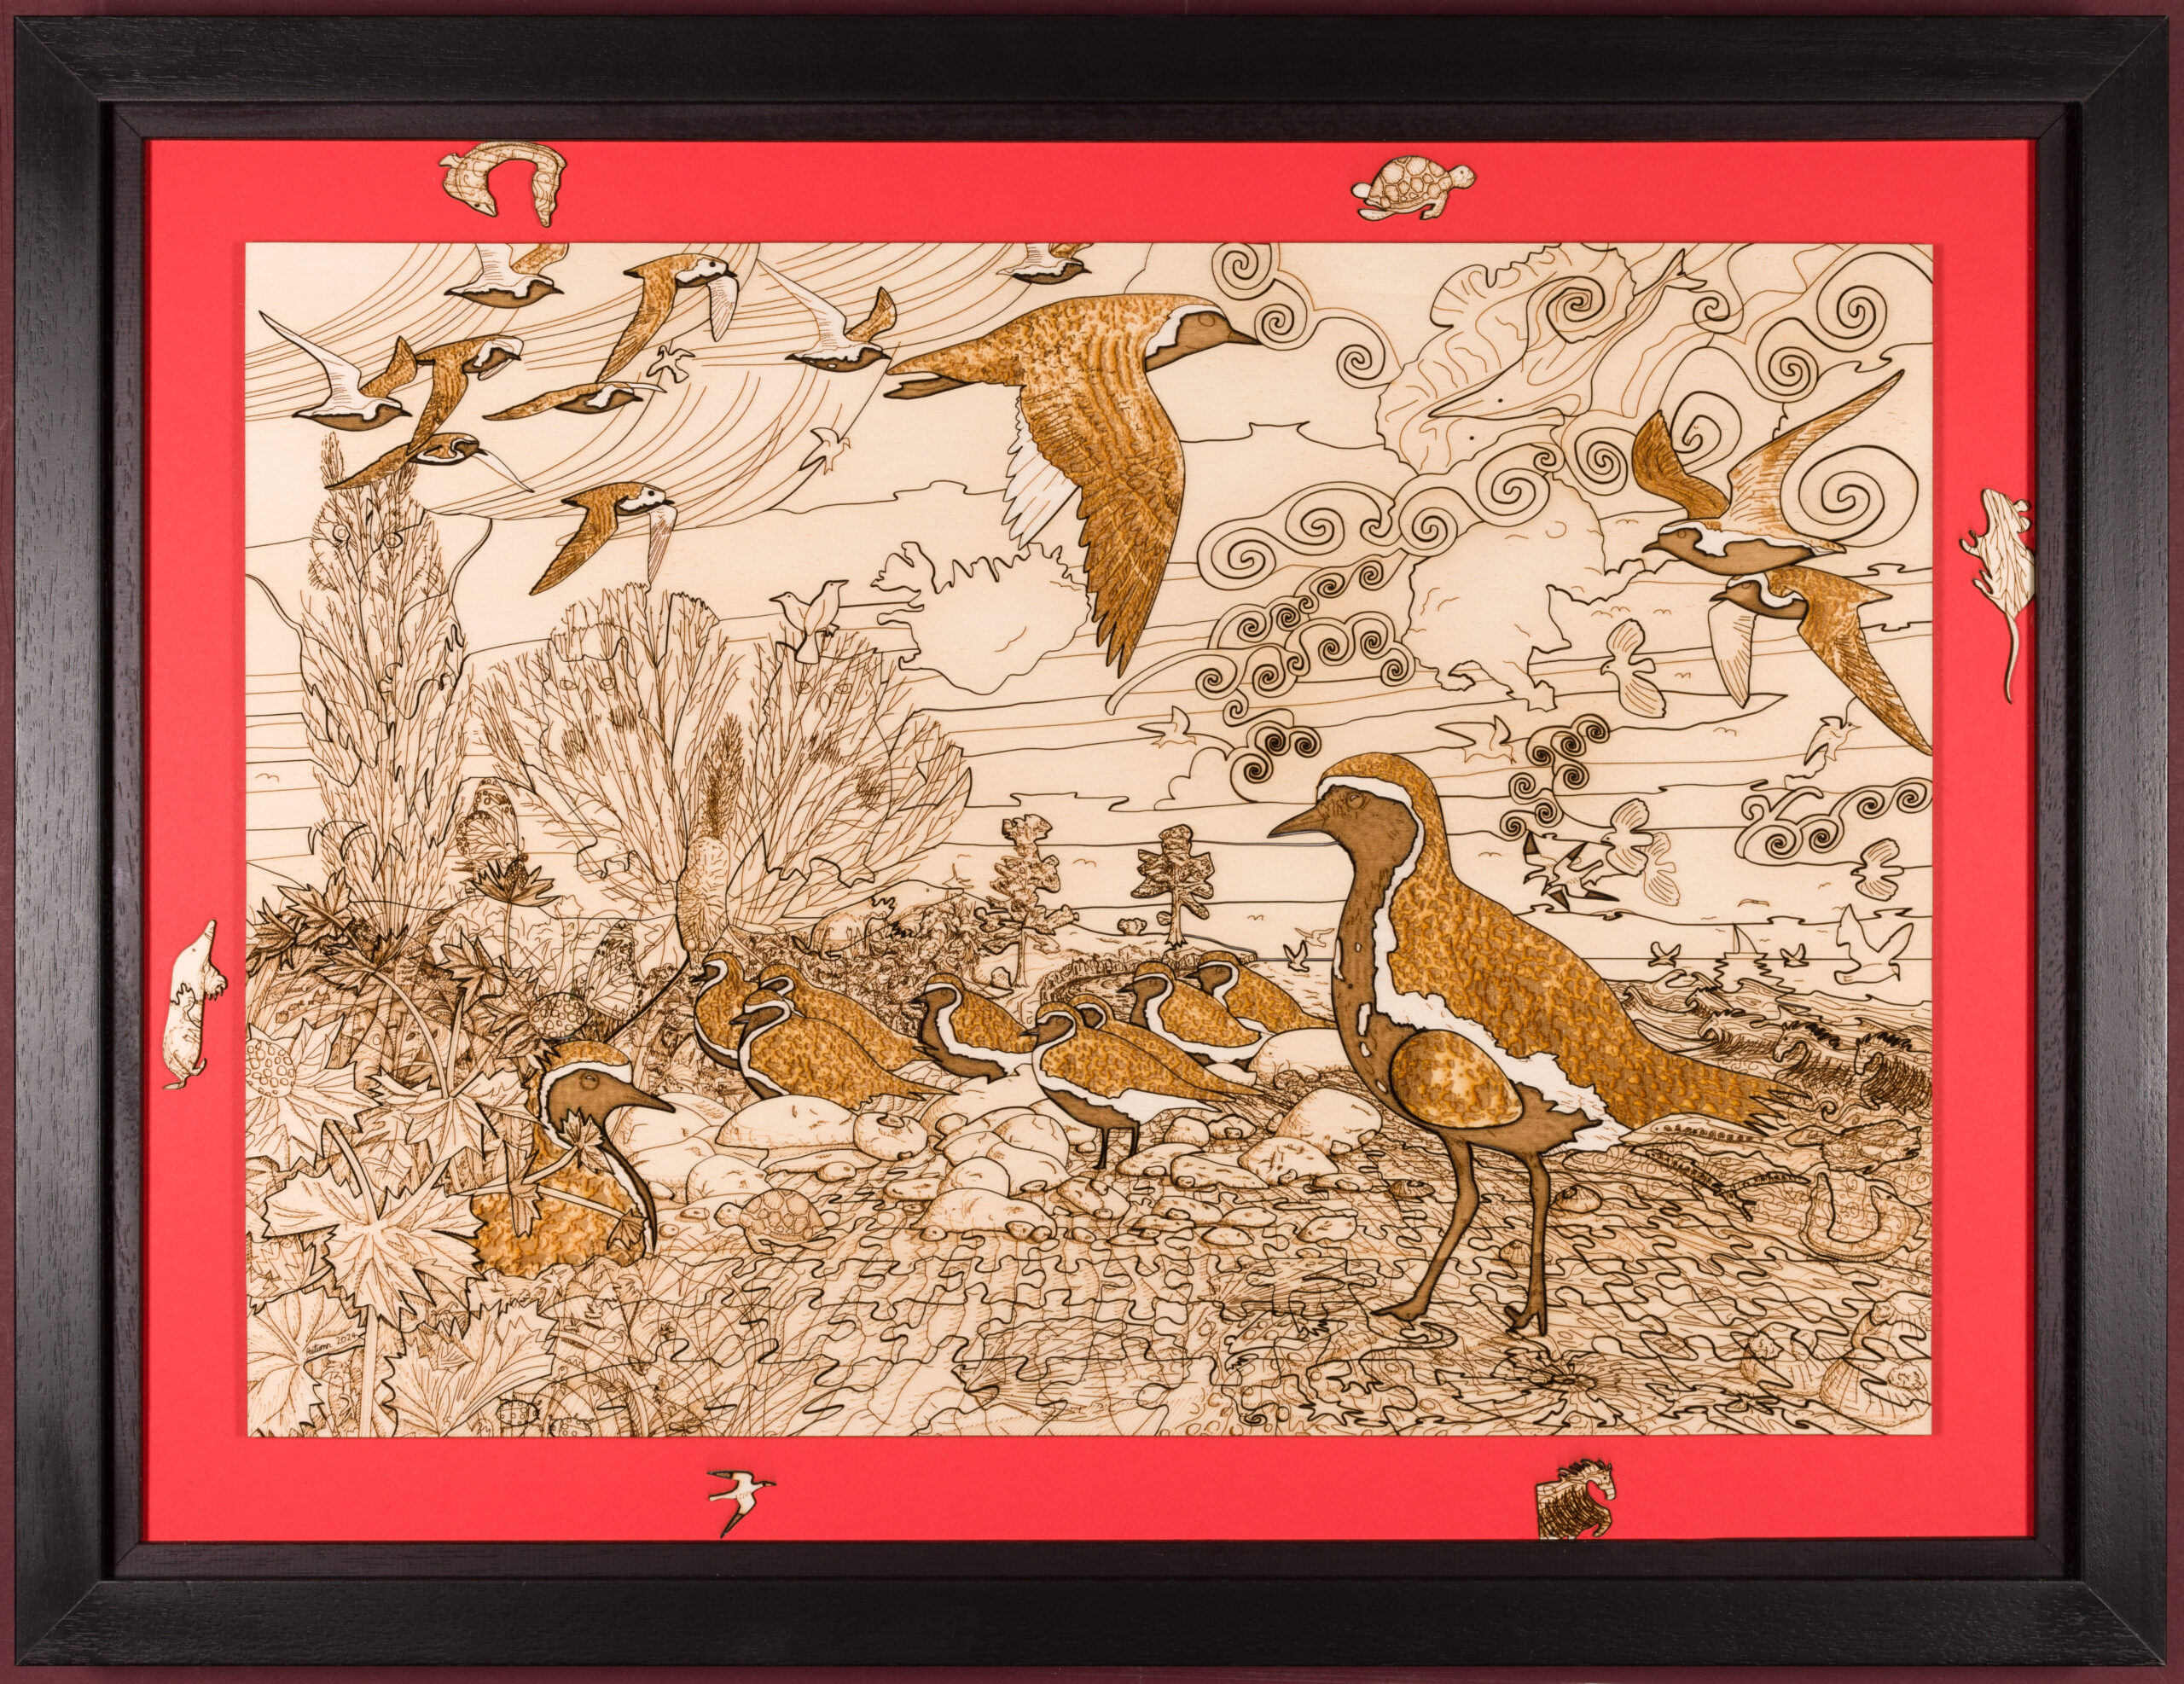
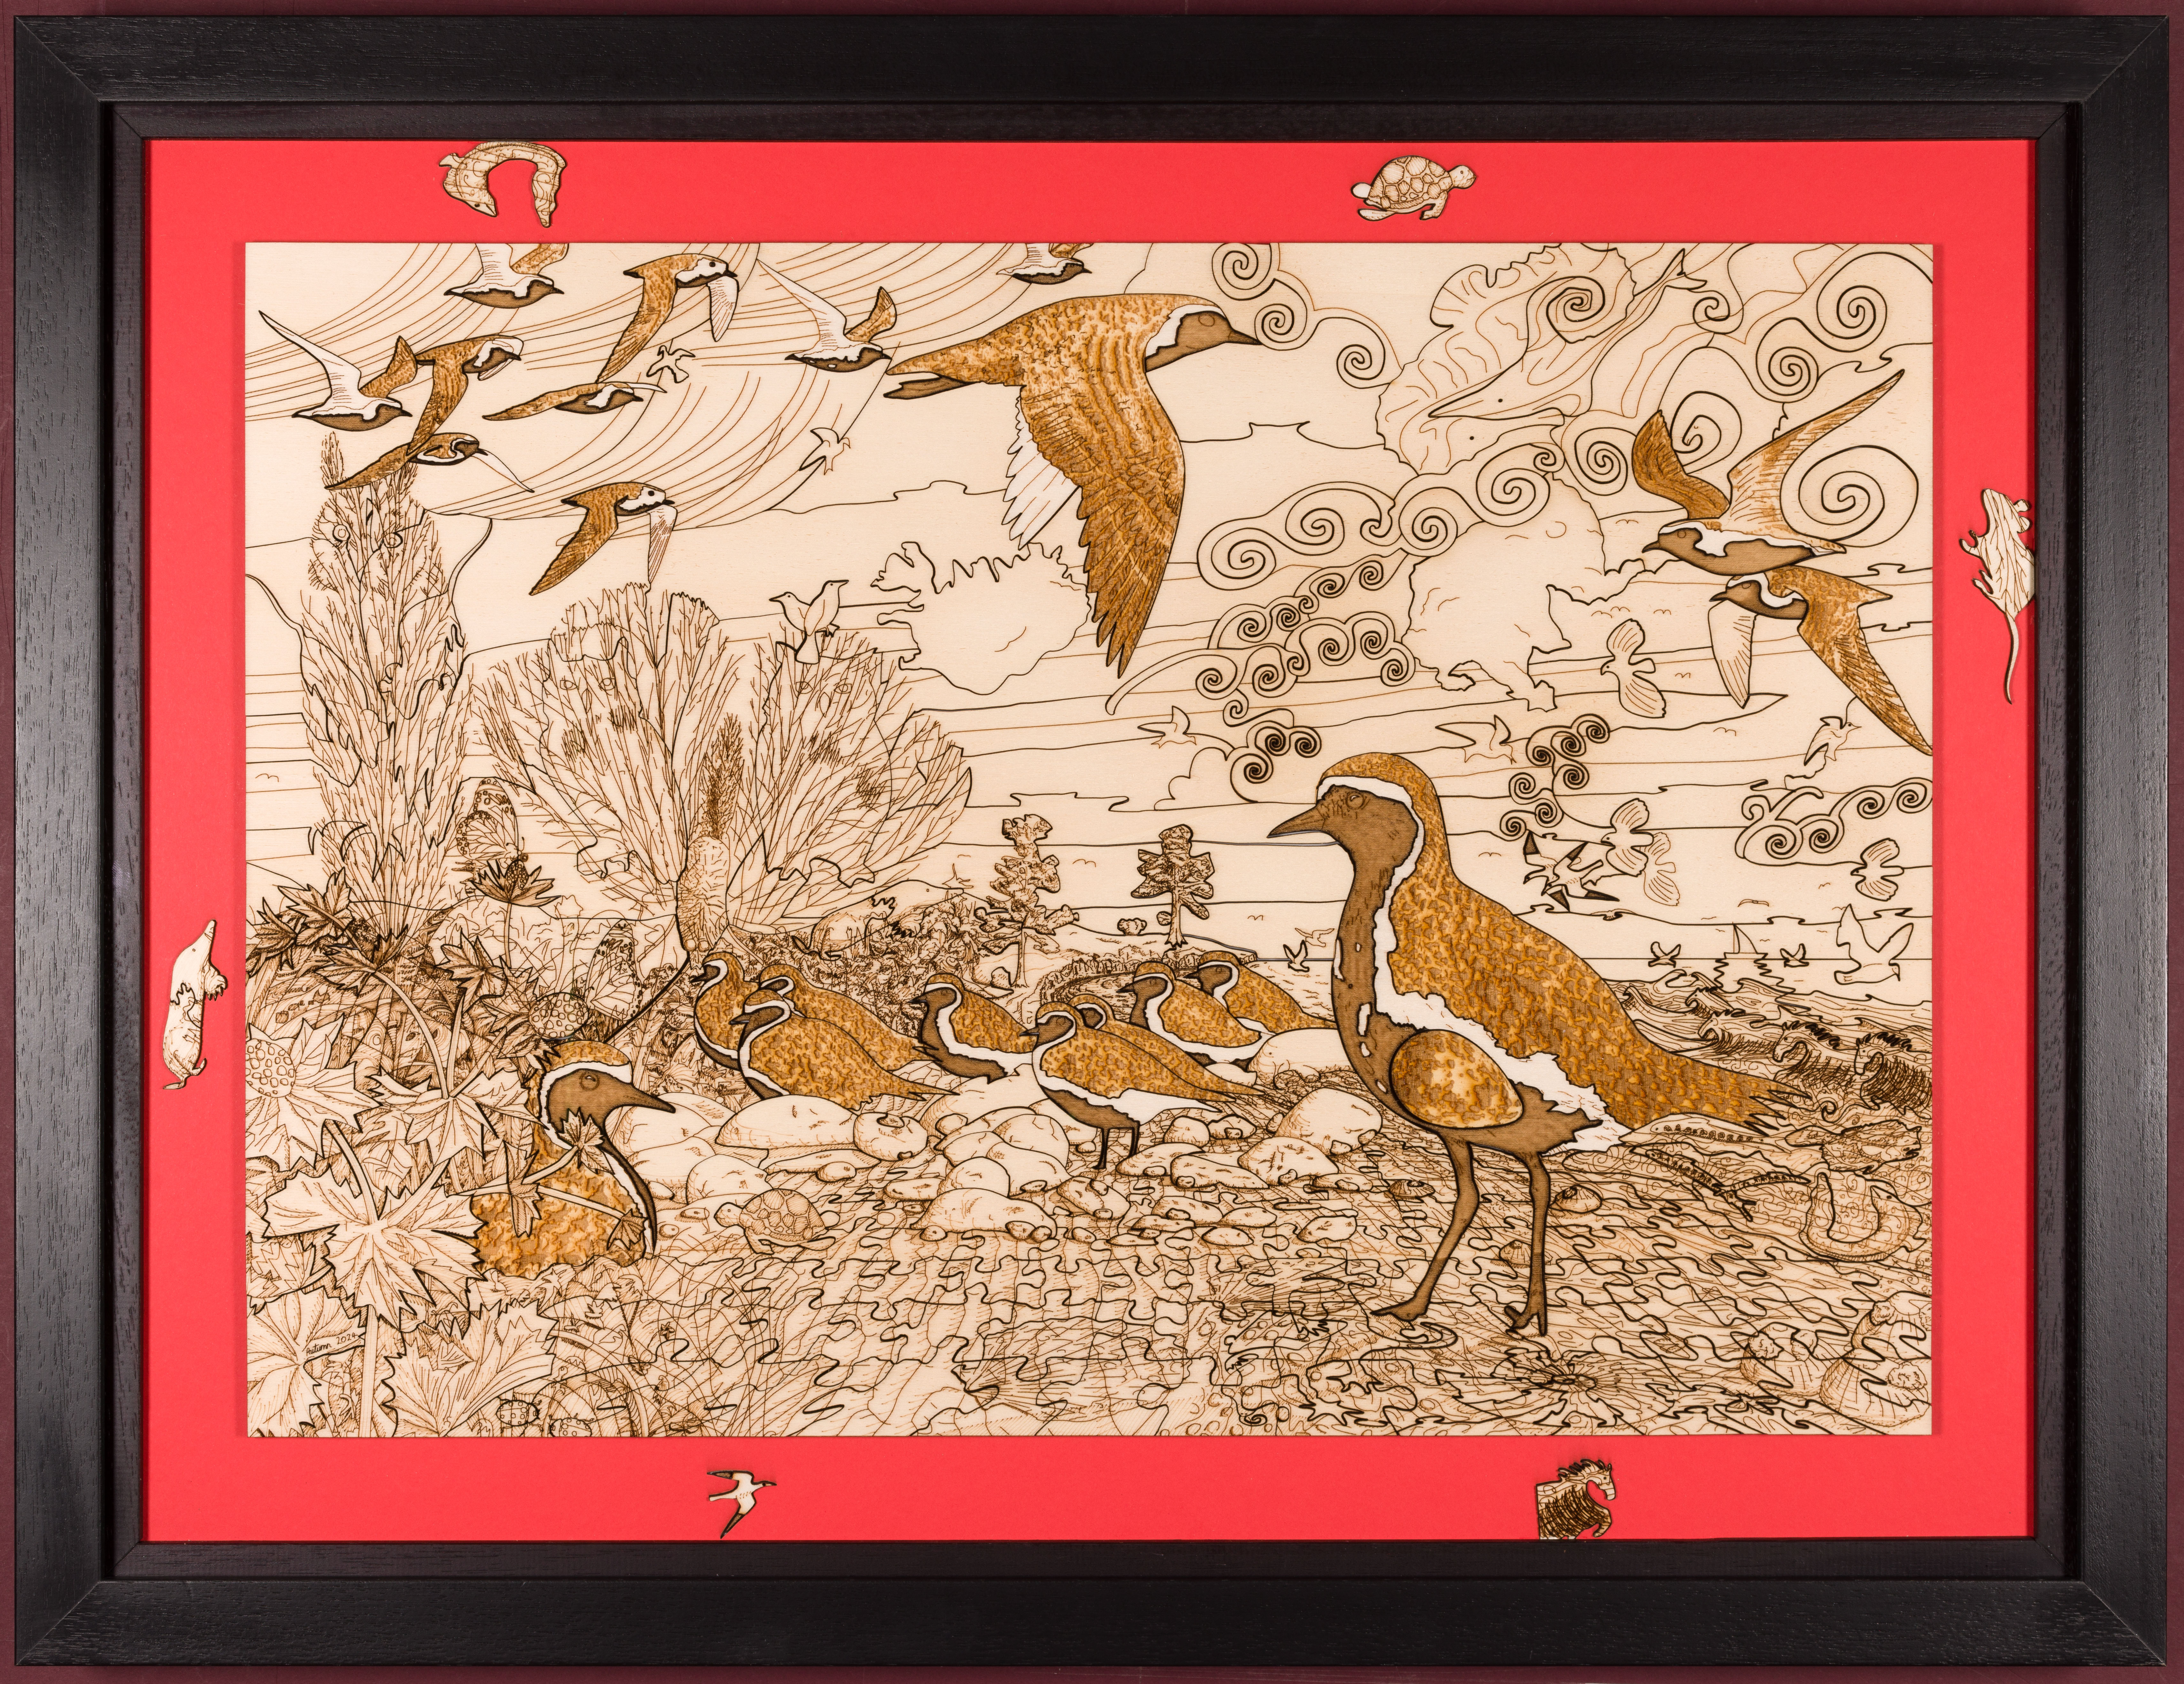
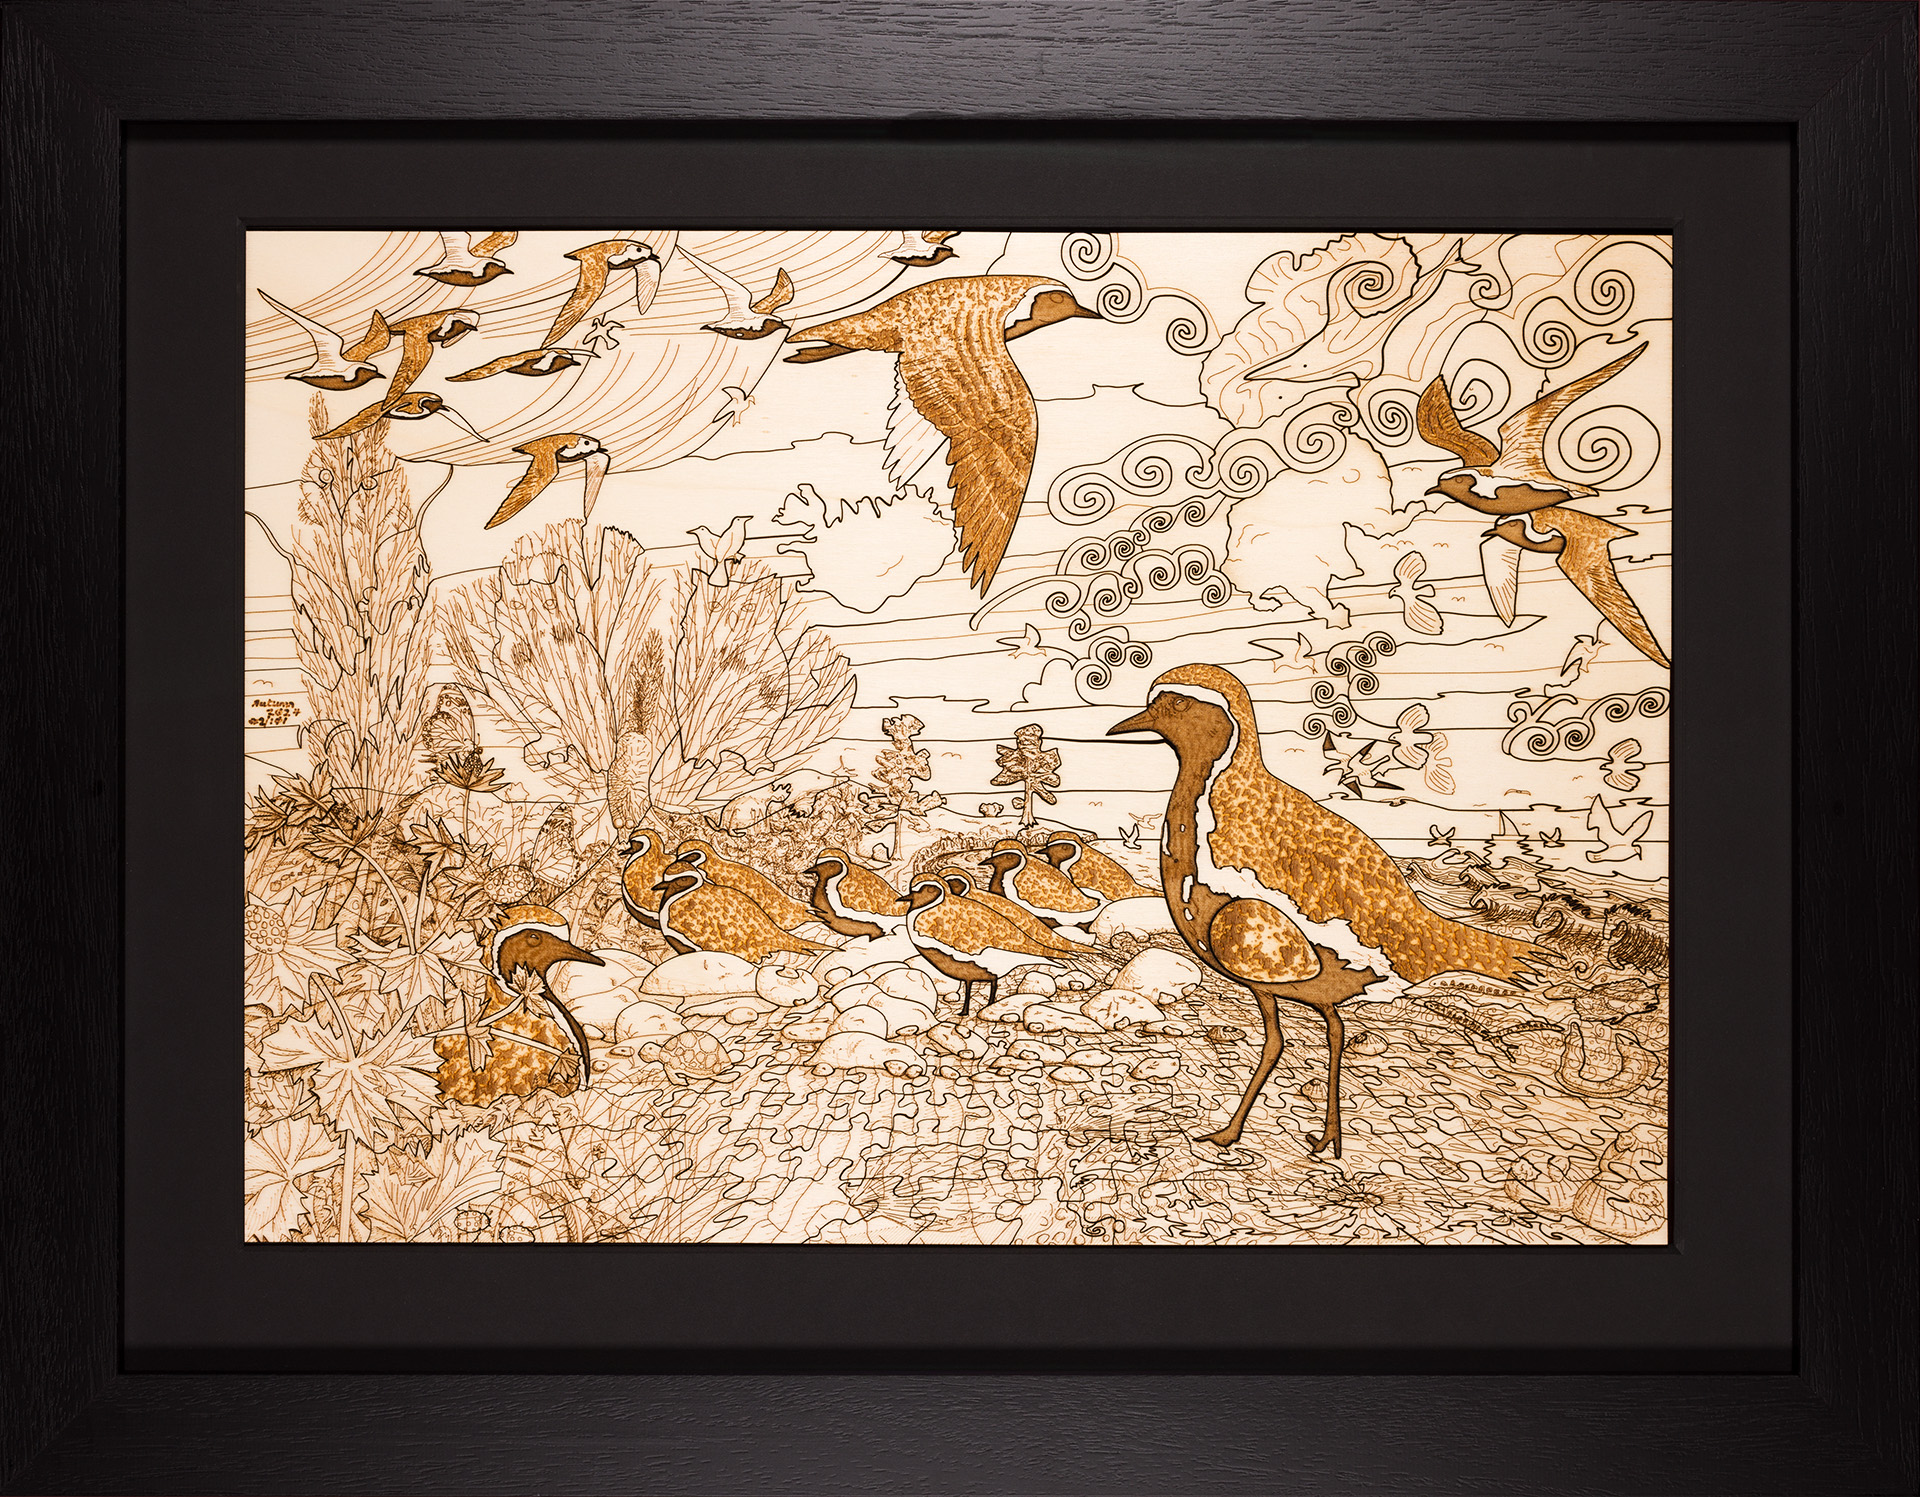
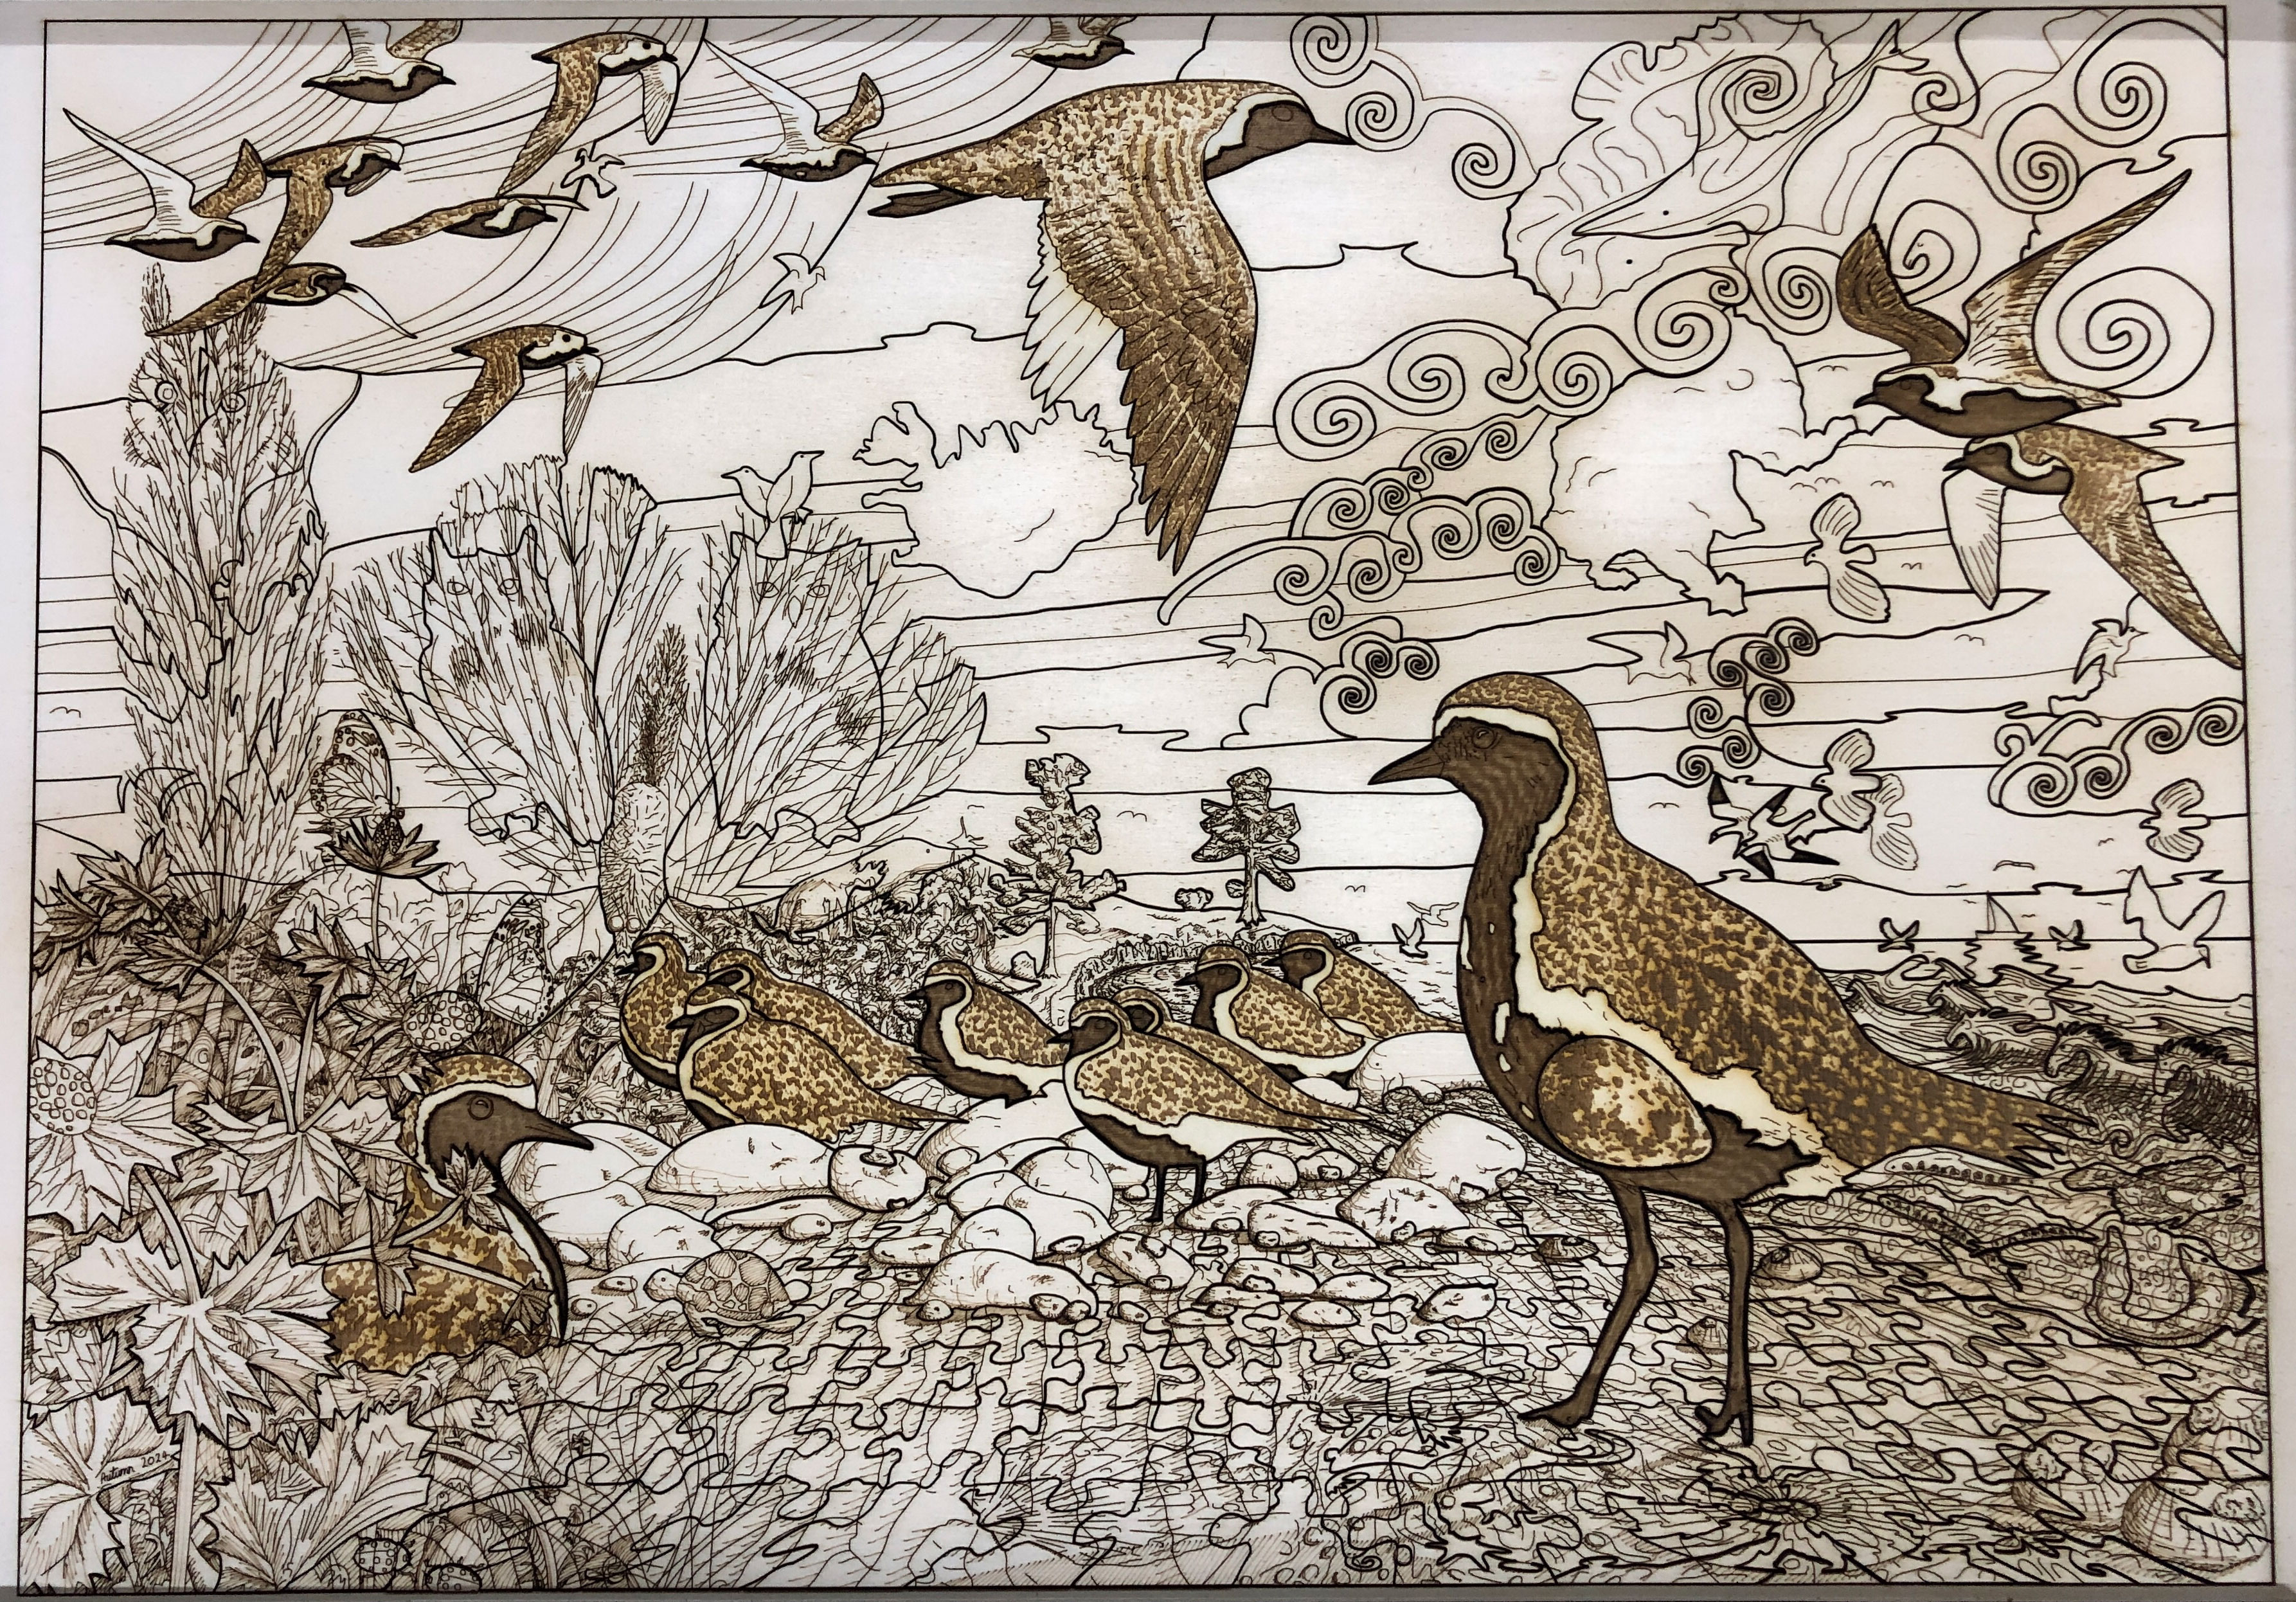
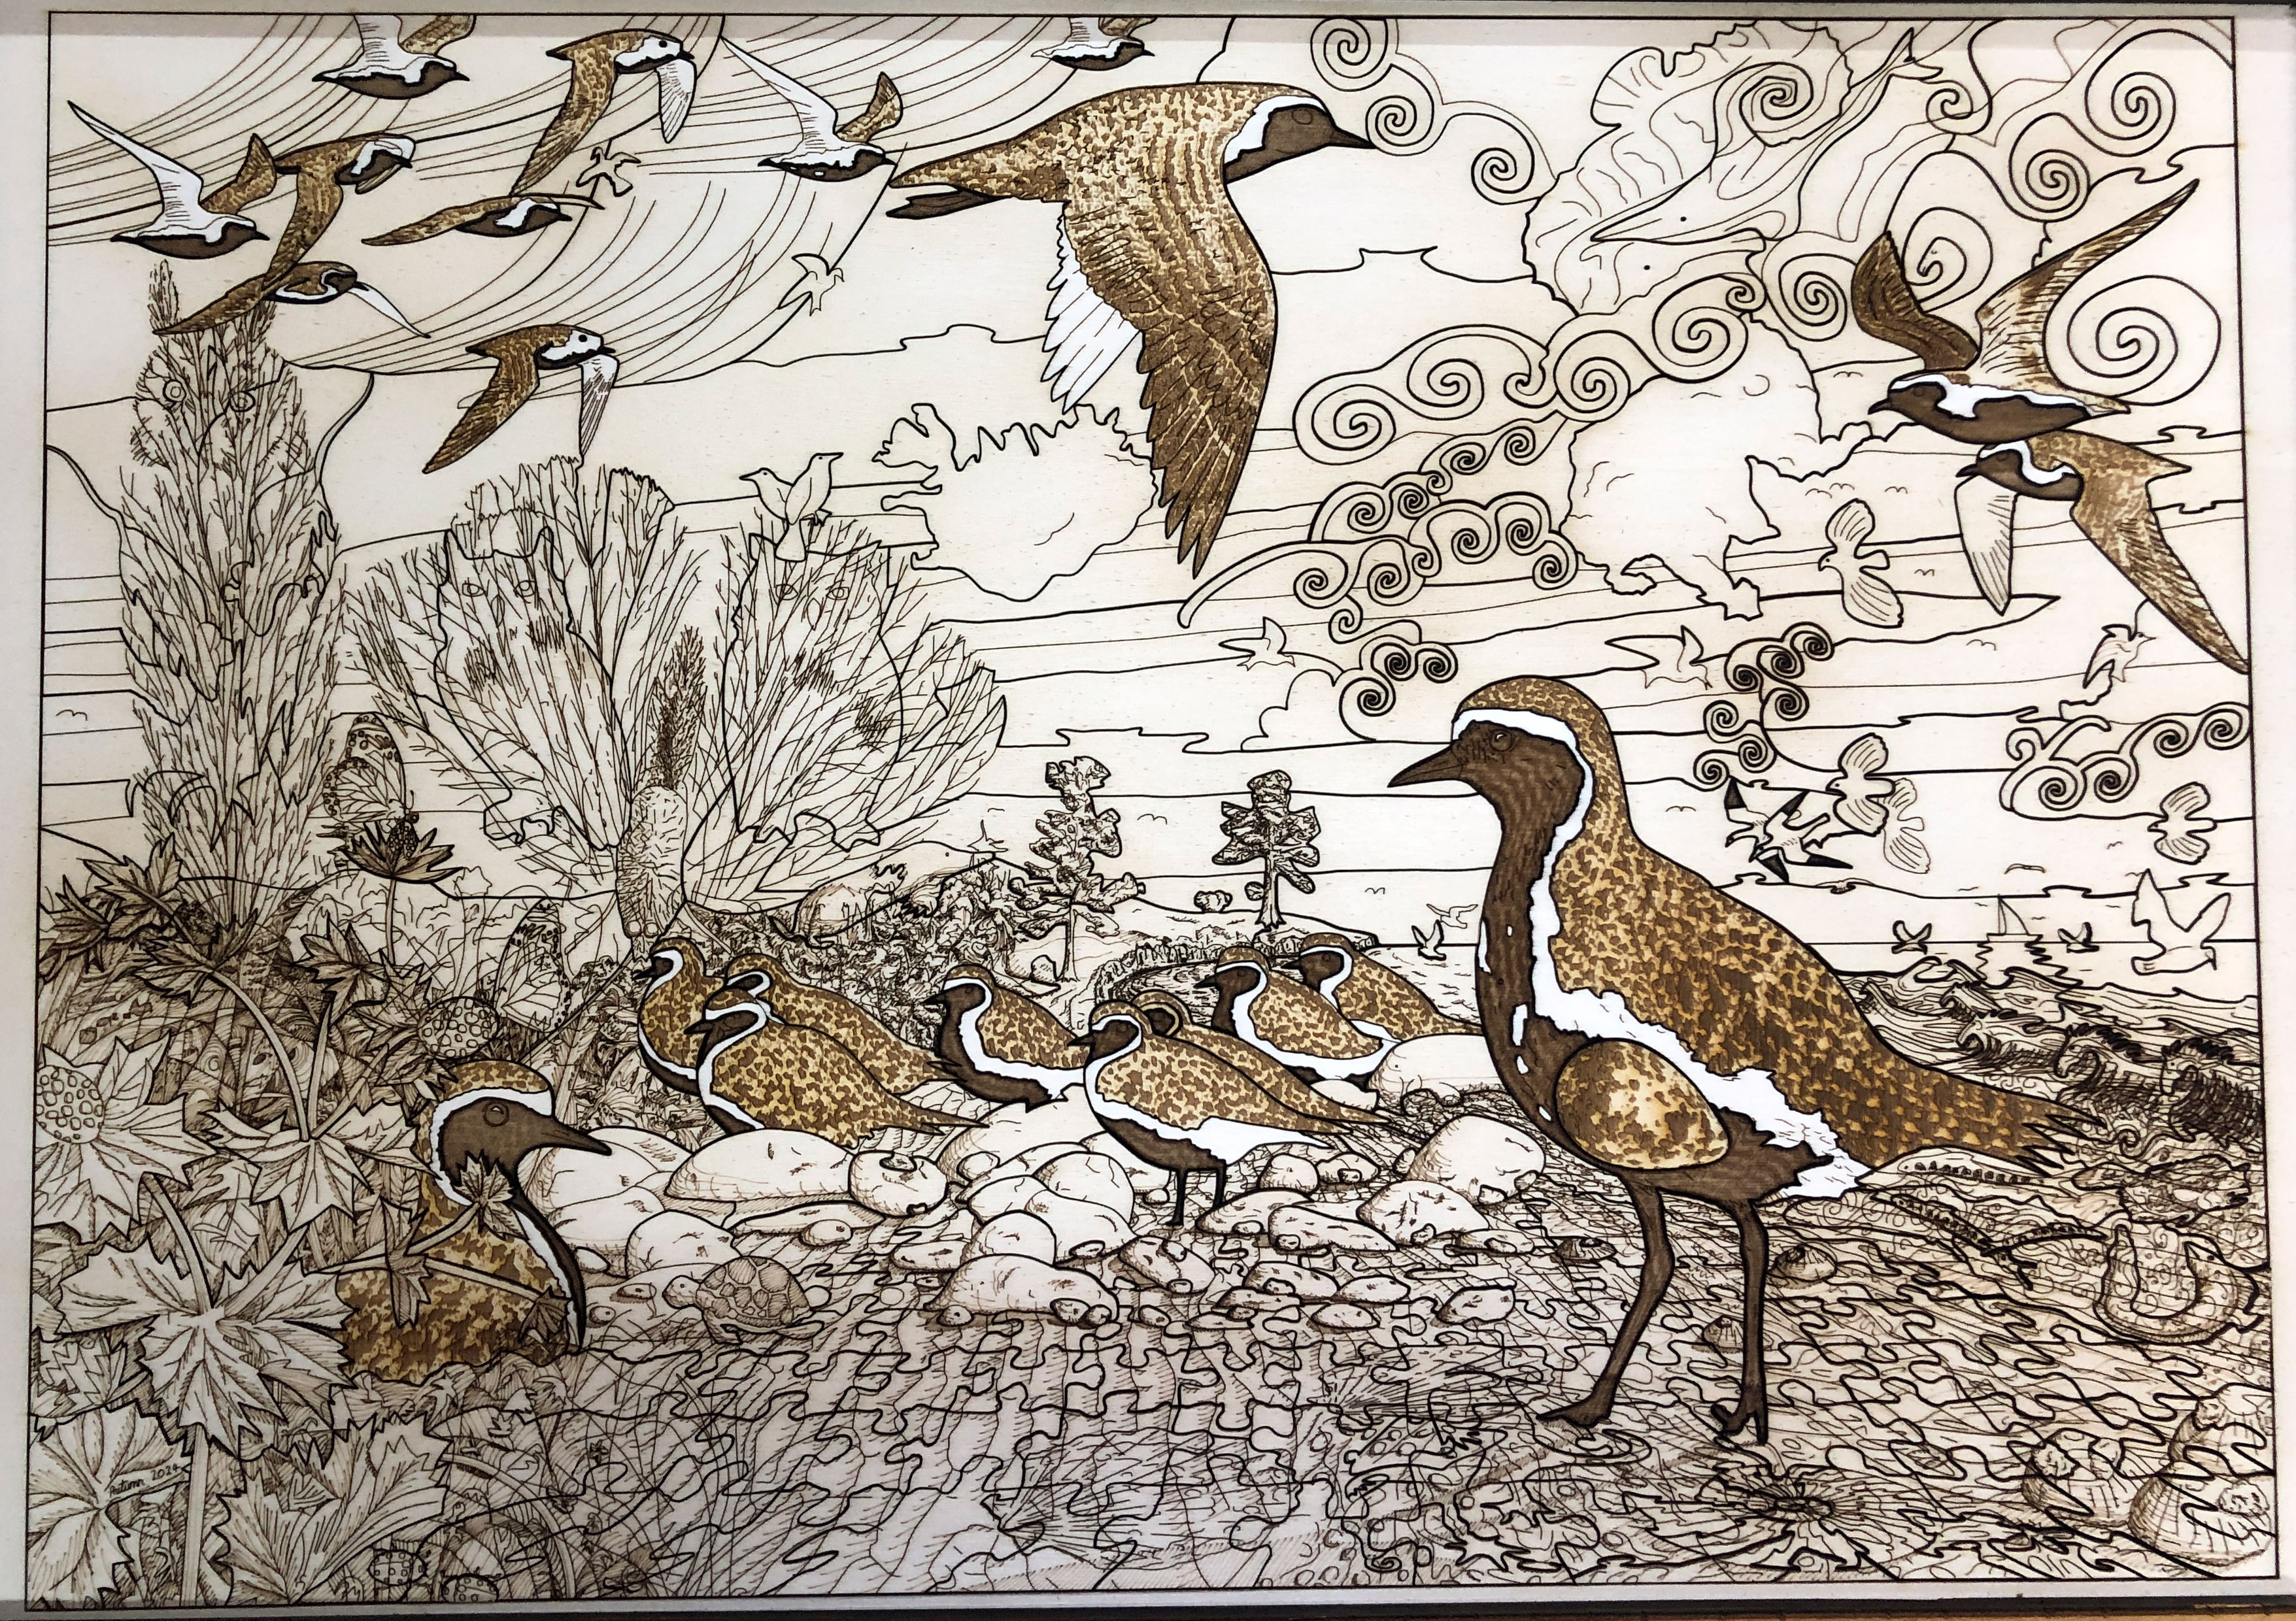
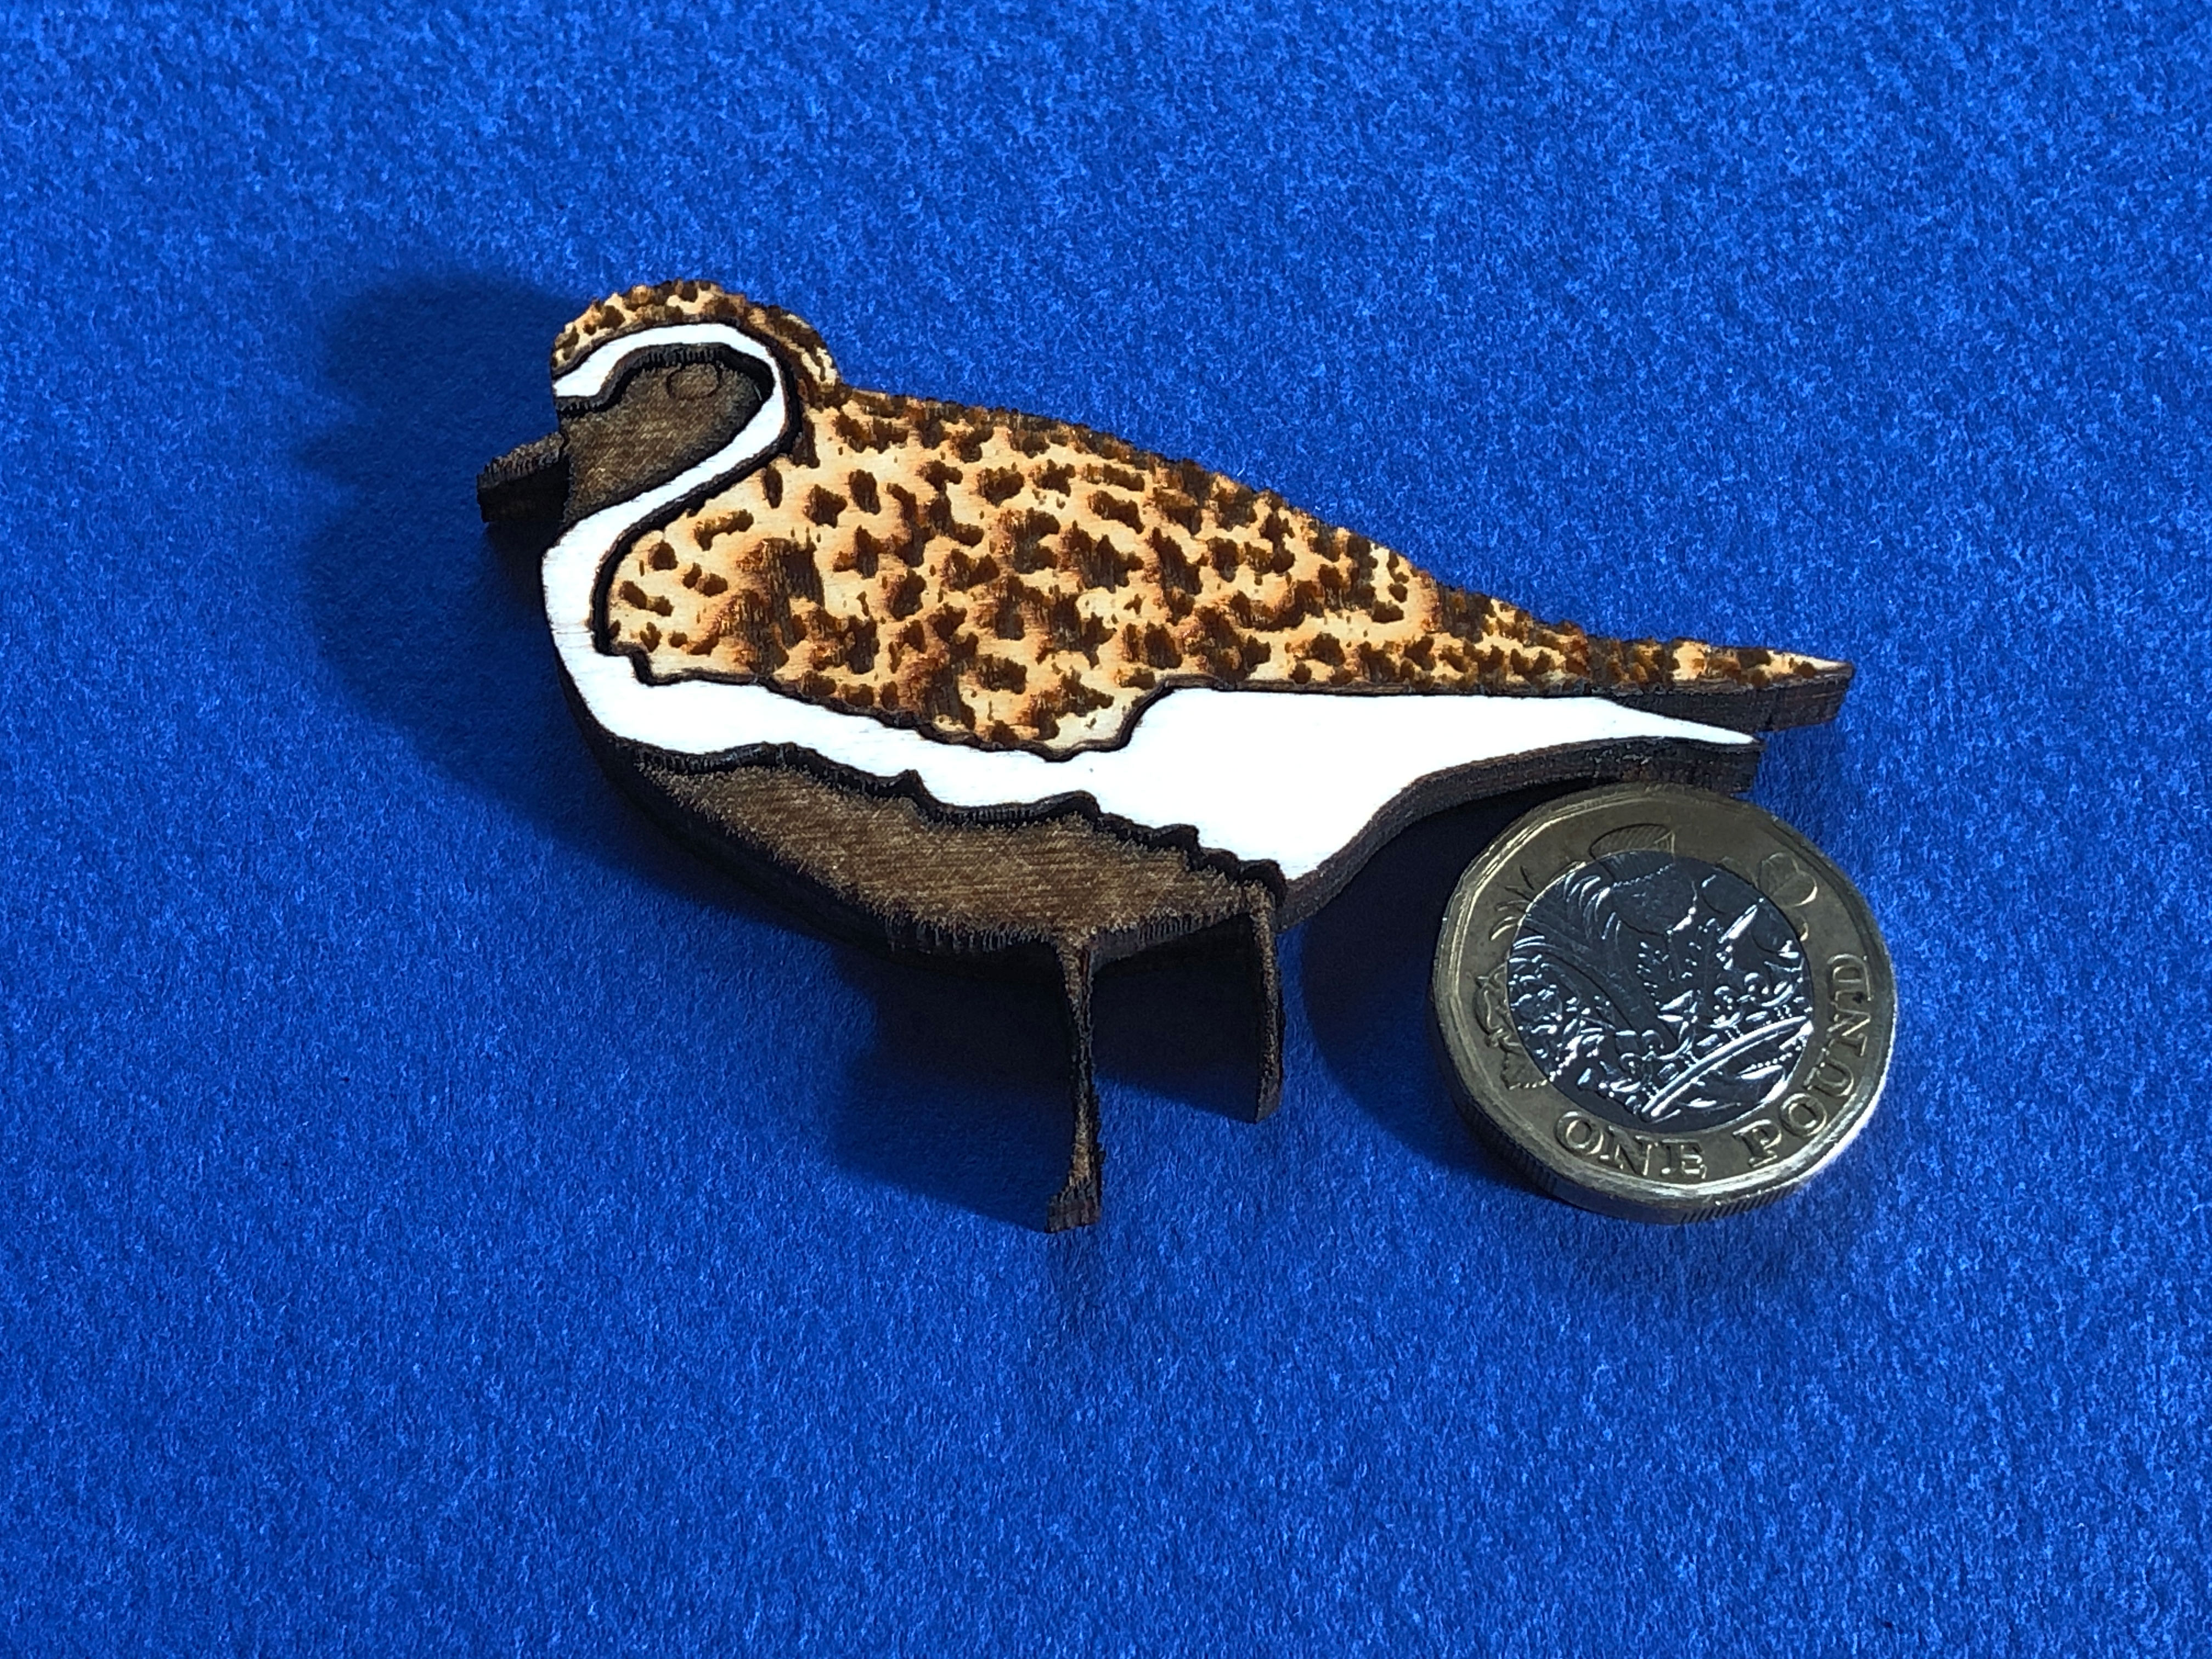
Title: “Golden Plover with Egg (Art Puzzle) – Laser” Artist: Michael Autumn Medium: Hand-drawing – laser cut & engraved Giclée archival laser cut & engraved on premium 6mm AB/AB Italian Panguaneta Poplar plywood (produced responsibly, sustainably, and to the highest of standards), child-safe, moisture-repelling, varnish Size: 39.0cm (W) x 55.1cm (H), framed 53.2cm x 69.5cm Edition: Limited Edition of 101 – individually signed and numbered, and museum-level (FATG Level 1) :-archival and bespoke framed; and Unlimited Edition, lasered signature, unframed. Date: 02/2024 Options: Available as a puzzle (338 unique pieces actually cut) OR left as a single engraved wooden panel. N.B.: The cut-outs in the frame above are to draw attention to the fact that the artwork is a wooden puzzle. – otherwise it could be mistaken for a simple drawing…
This is the framed limited edition version (museum grade – FATG Level 1) :-
Framed limited edition
The art of simply burning wood with light
This is an attempt to create high quality art using the medium of simply burning wood with light – and nothing else. From the concept of a magnifying glass burning paper, technology has progressed enormously to the modern day laser – where a beam of light can be very finely controlled in terms of intensity and speed of movement. Where sophisticated software can very precisely translate vector- and pixel-based drawings into computer-controlled movement of a laserbeam over your chosen material. But there is a real art to doing this successfully…
I was hoping to create a mass-produceable wooden laser cut & engraved version of my 40mm thick solid oak “Golden Plover with Egg (Art Puzzle)”
Golden Plover with Egg (Art Puzzle)
(see https://michaelautumn.wordpress.com/2020/07/30/golden-plover-with-egg-jigsaw-puzzle/) because hand-cutting the latter took far too long and caused serious RSI and/or rheumatoid arthritis in my hands/fingers. But in order to achieve the quality I wanted, it turns out (after considerable effort!) that mass-production is simply not possible. It has been a long journey to get to a standard I’m happy with. Along the road I have researched a great deal about materials, wood, lasers (obviously! – but this is a big topic…), and lasering techniques. I have developed some of my own techniques and built some special tools because there were clear limitations in the best techniques, tools, and materials available. Suffice to say, I haven’t come across any individual or company who can produce my designs to the quality I do. But it comes at a significant cost. I can only produce one per day – so in any definition of the phrase mass production, this definitely is not!
Putting aside the weeks it took me to complete the design (in addition to the weeks it took me to design the original, I spent about another four weeks enhancing it to take advantage of laser capabilities) – and may trials, adjustments, custom tooling, and more trials…
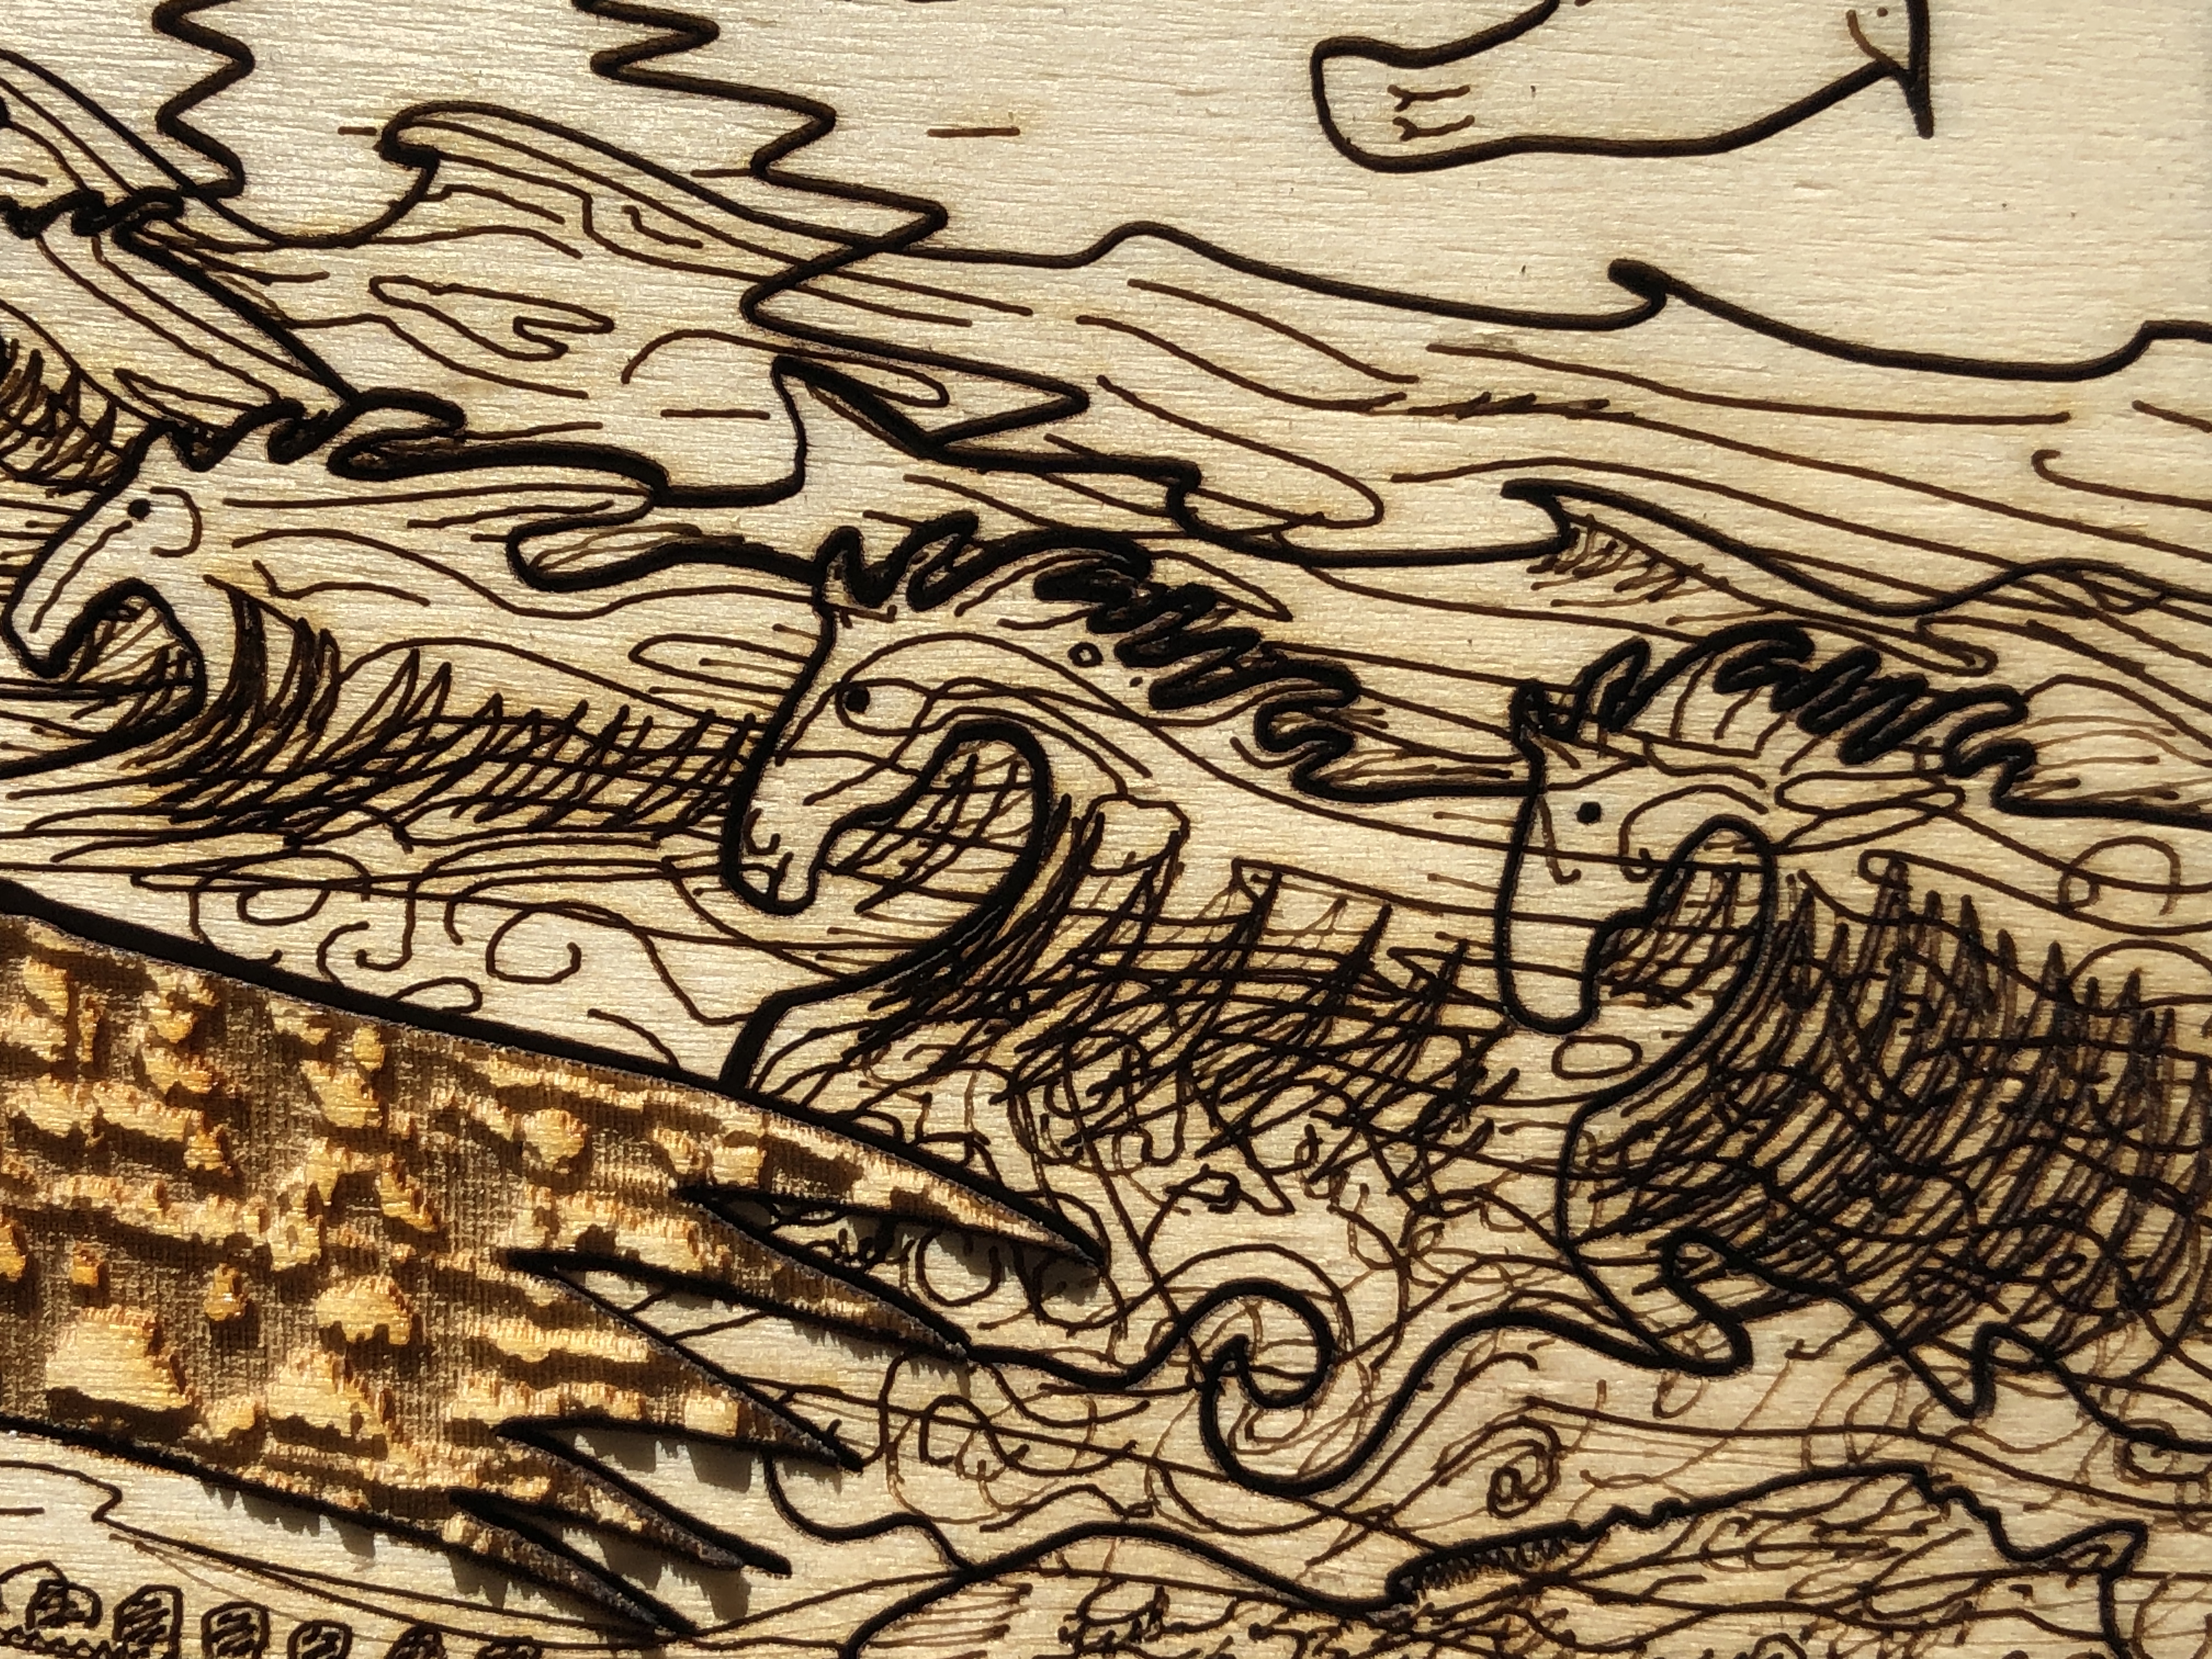
The design uses multiple lasering and layering techniques – cut-throughs, scoring, light scoring, engraving, deep engraving – which all have to be done in a specific sequence. For example, in places in the design, I have score marks on top of some deep engraved areas – so obviously the deep engraving has to be done before the scoring.
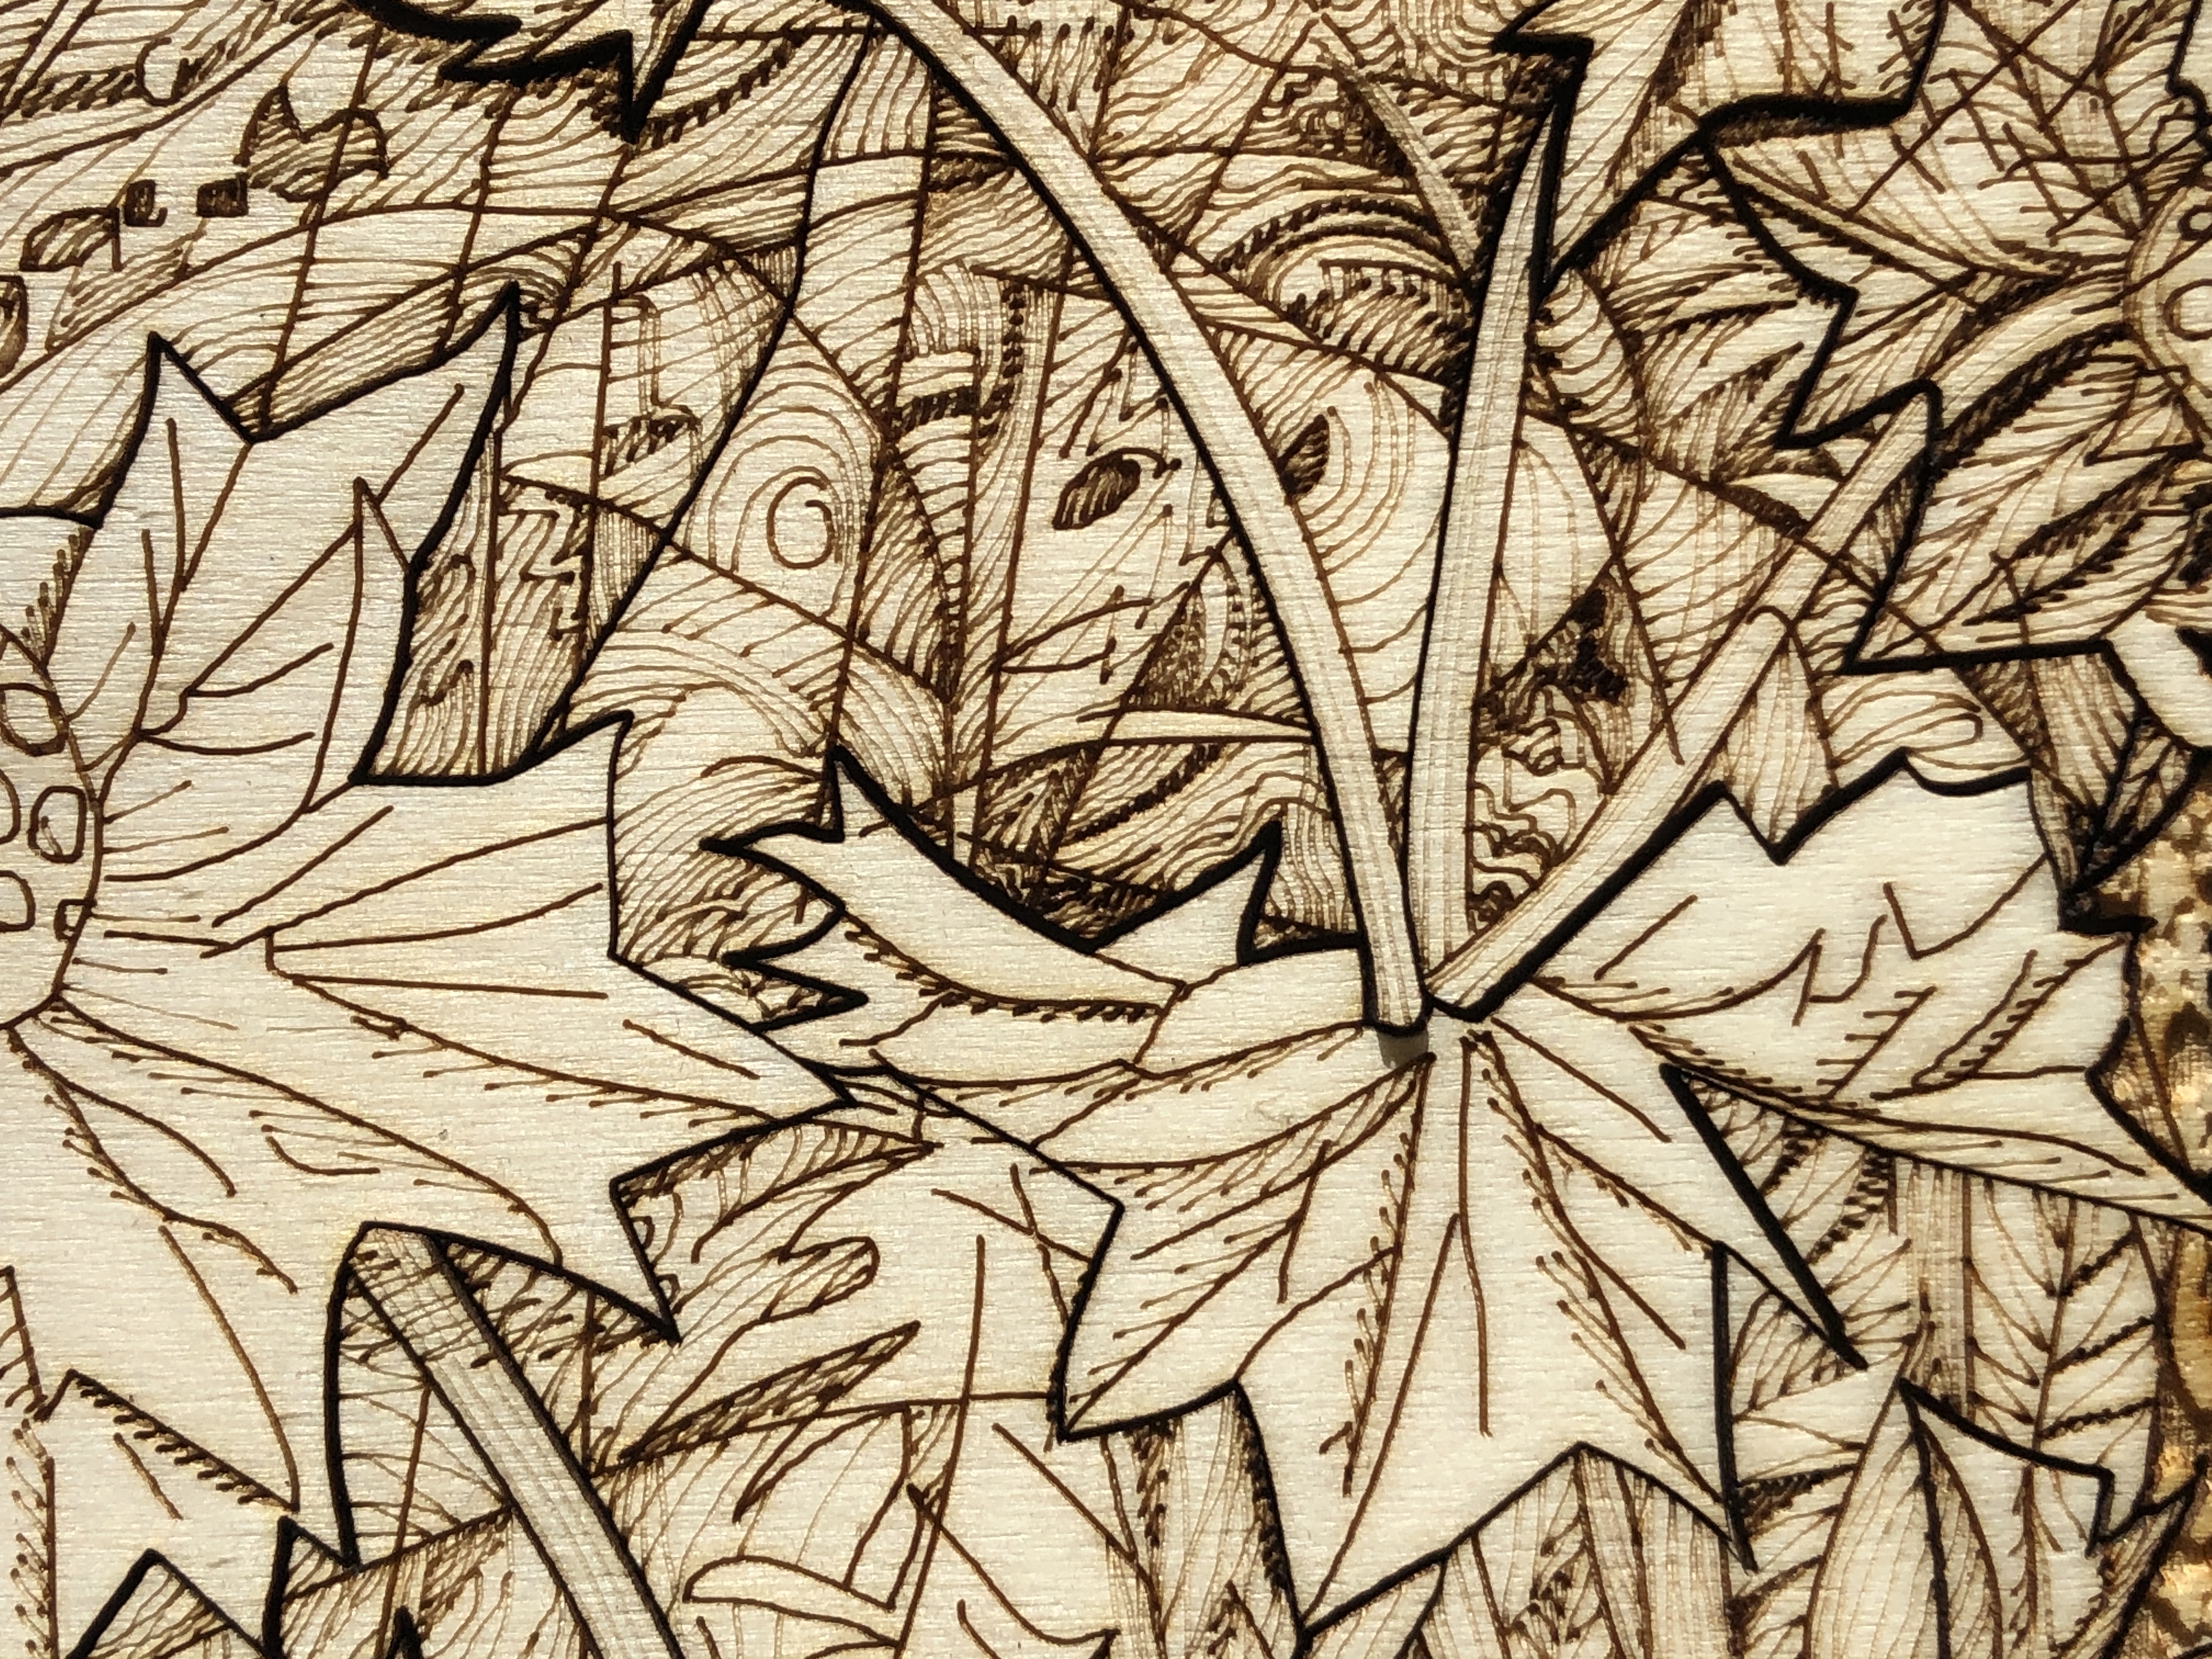
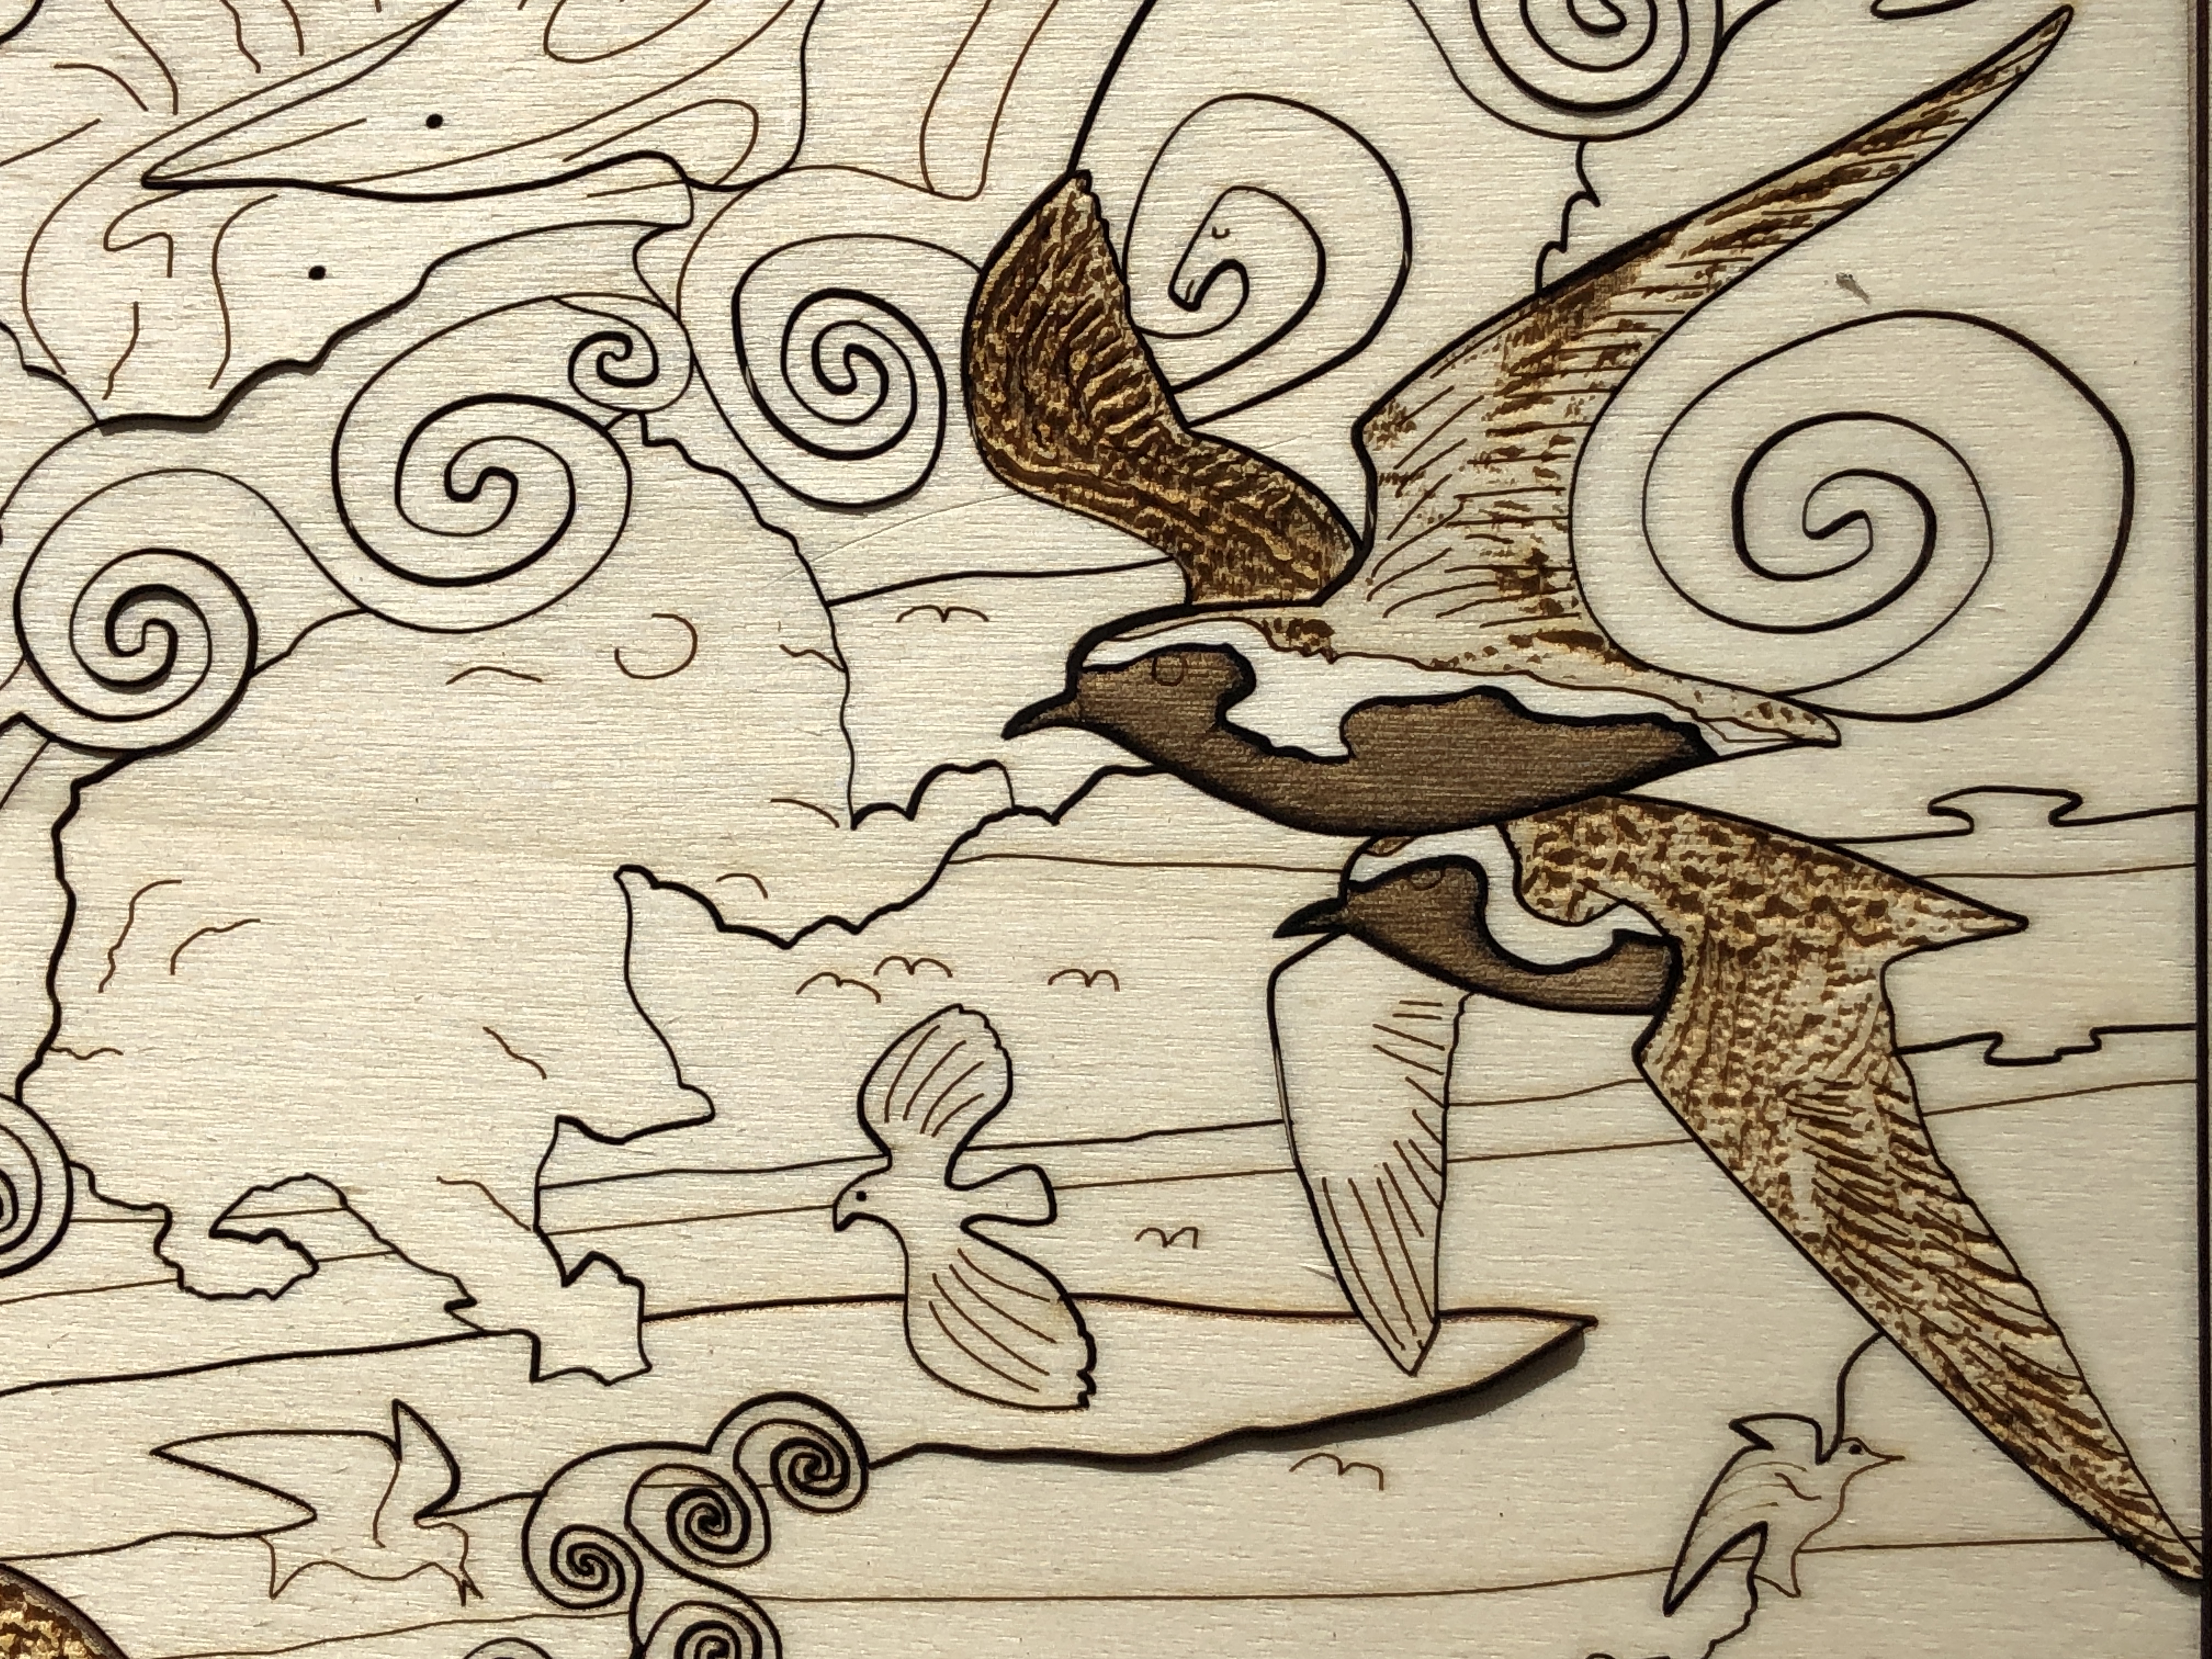
Detail showing a mix of cut lines, scoring, light scoring, and different types of engraving.
Also, I use the flattest, smoothest, least porous, best quality plywood I can (and do special preparations to achieve this – see below) – so I can achieve the subtle effects I’m looking for with the minimum of laser power (basically more power equals less precision).
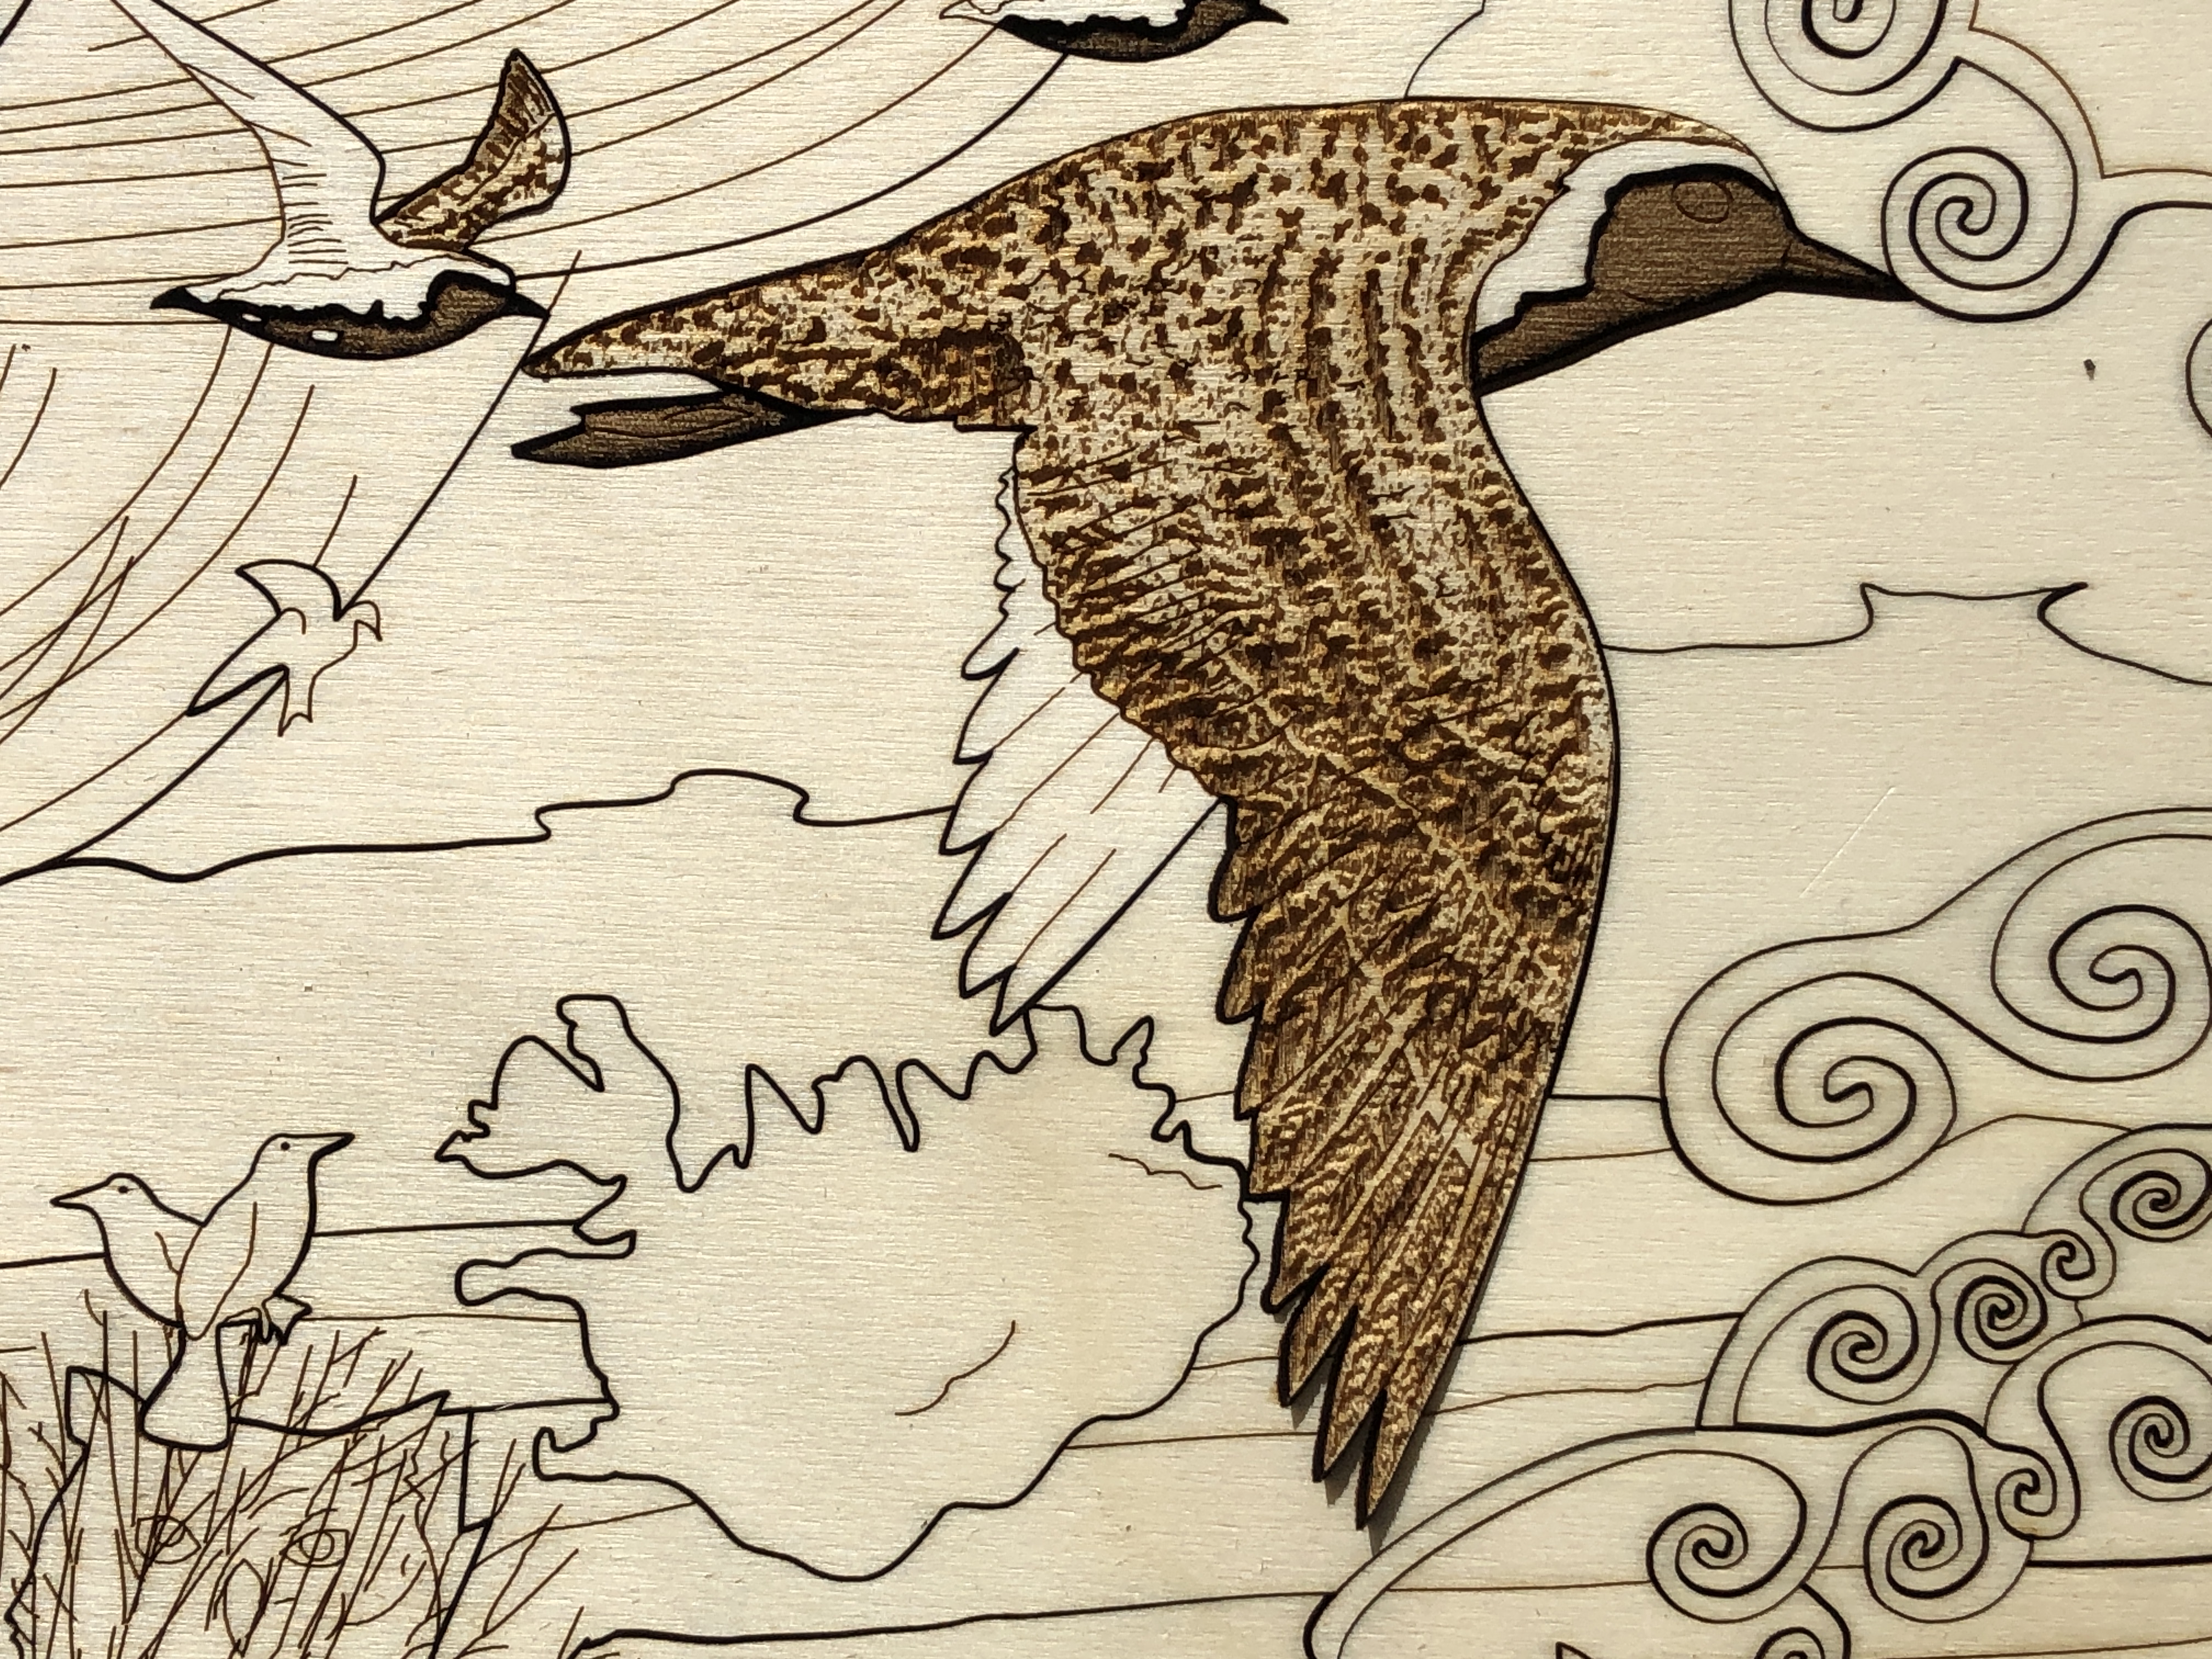
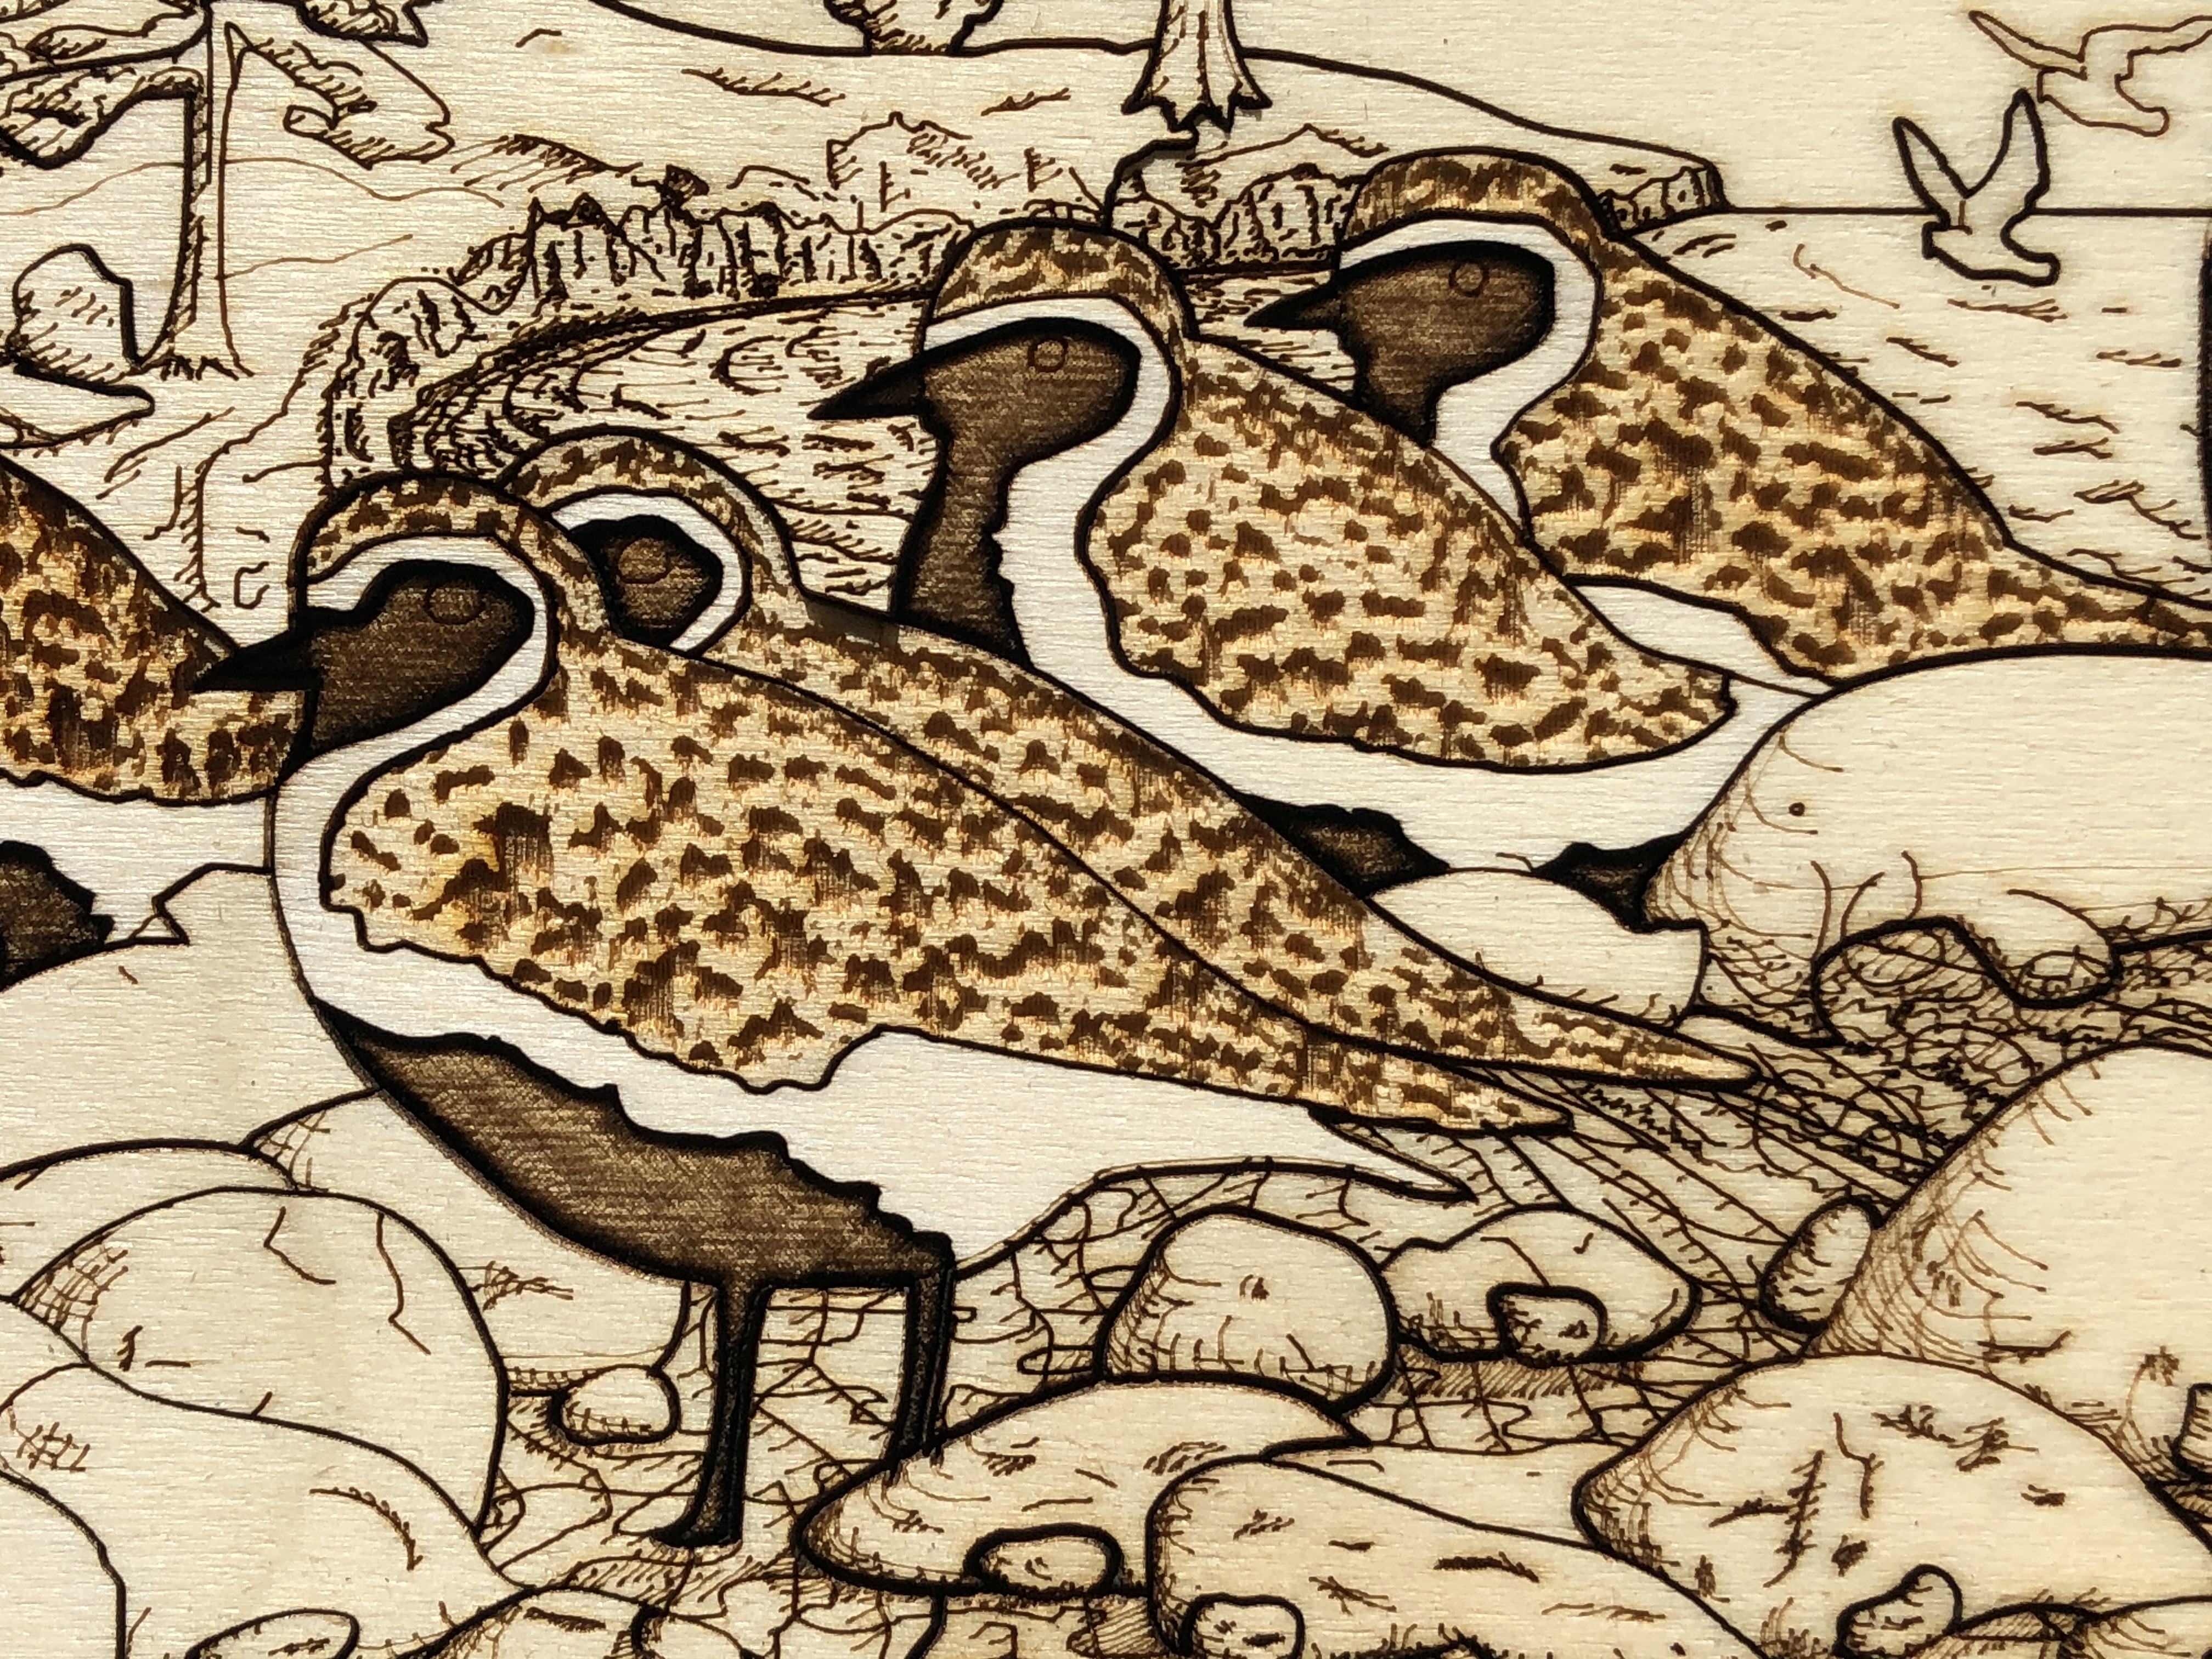
In this artwork I particularly wanted to reproduce, using light-burning alone, what is for me the three important colours of the golden plover in its magnificent summer plumage: the white fringe to their mainly black bellies, and especially the goldentones of their back – from where they get their name. So what is white in terms of lasering wood? It’s the absence of any burning and scorch marks on very pale, smooth, wood. But the crux of the matter is avoiding getting any discolouration/contamination in these areas – especially as they are sandwiched between very dark areas. It’s very hard to control smoke and scorch marks with lasers. It’s like the challenge of white in watercolour painting – where the white areas are usually the colour of the paper itself, the absence of paint – and in detailed areas masking is often used to exclude surrounding colour seeping into where it is not wanted.
These are the steps :-
Spray water on the raw plywood panels to raise the grain, let them dry.
Very fine (400 grit) orbit sand the dry plywood, wipe clean.
The plywood panels are then varnished and left to dry for up to three days (depending on time of year – humidity and temperature). This is to minimise the effects of laser burning and makes it easier to clean specific areas afterwards (see step 8).
The plywood panels are then flattened in a special press for several days.
A single plywood sheet is put in a custom-made flat panel laser bed holder (I designed).
The lasering itself takes a little over five hours on my 130W CO2 laser (for a single artwork). I do it in two steps because I find the results are better. Clean the “white” engraved areas (which I want as pale as possible) after engraving the “golden” areas – and before doing the black areas, scoring, and cuts.
Step 1 – the “golden” areas. The following two images show the “golden” engraved areas before and after cleaning :-
Step 2 – the black engraving, scoring, and cuts.
After lasering, I do a detailed quality check. Wood, being organic with glued layers, varies from sheet to sheet – and some lasered artwork doesn’t make the grade – or needs fixing in some way.
Then very carefully lighten the brightest/whitest, most important areas (that have been darkened by smoke) with cotton swabs and a mild acid – to make them stand out better. This seems very much like an art-restoration process – like removing the old varnish from an old masterpiece – to restore the original colours! (But I only do certain areas to make them stand out – not the whole thing.) This takes me about an hour and a half. The difference is subtle, but vital to me. It is the difference between a mechanically produced piece of art and a true piece of art I’m happy with.
The following two images show before and after selected cleaning (notice how the white margins of the golden plovers stand out better after this second cleaning) :-
The artwork then gets a final varnishing and left to dry for up to three days. This is especially important to protect the newly exposed wood surfaces.
I use pyrography to number each piece in the limited edition.
The special display mounts – with a selection of pieces cut of in order to highlight the work is in fact a puzzle – and not simply a drawing – are individually laser cut out of high quality mount board. This takes my precision laser about 40 minutes.
Finally I frame the artwork to using museum materials and techniques. I use anti-reflective, 99% UV filtering, ultra clear museum-grade glass to provide maximum protection to the piece.
I think the final work shows that lasers can be used to make real art – and are capable of very fine control – as much as lithographic printing, silk-screen printing, wood-block printing, lino-printing. Like any tool, the best results come with experience, knowledge, perseverance, patience, and finding ways around the natural limitations of the medium…
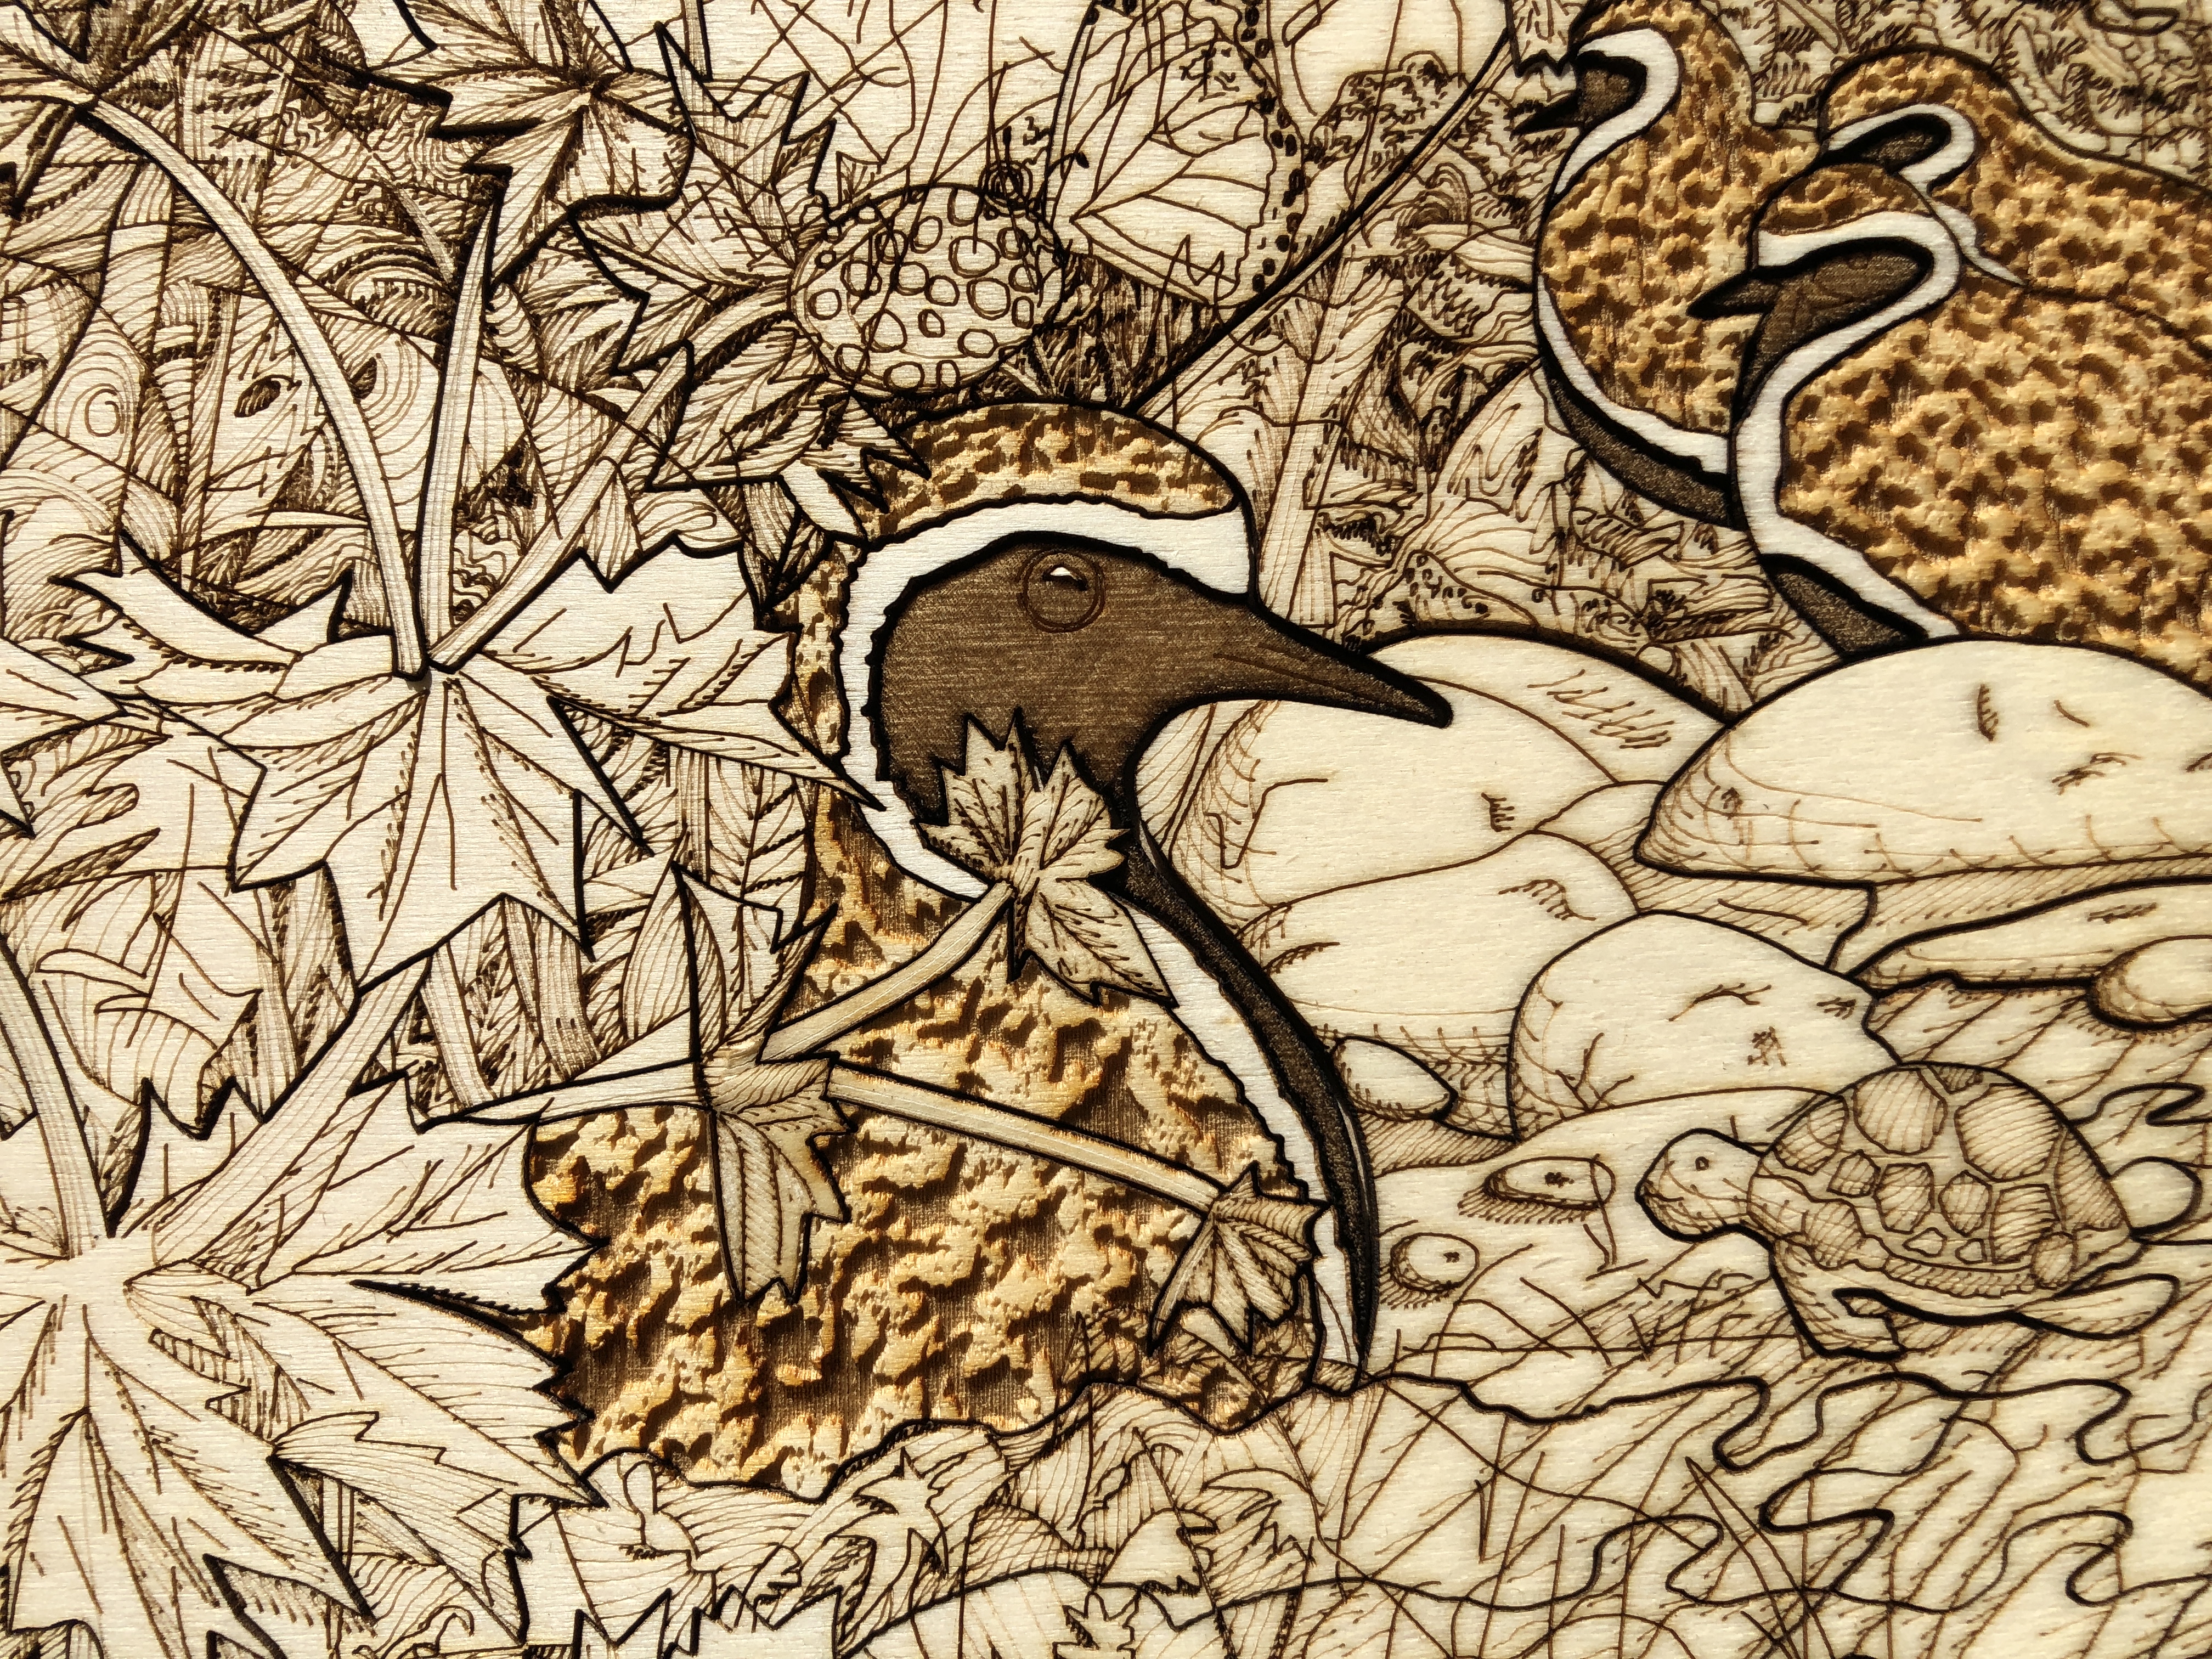
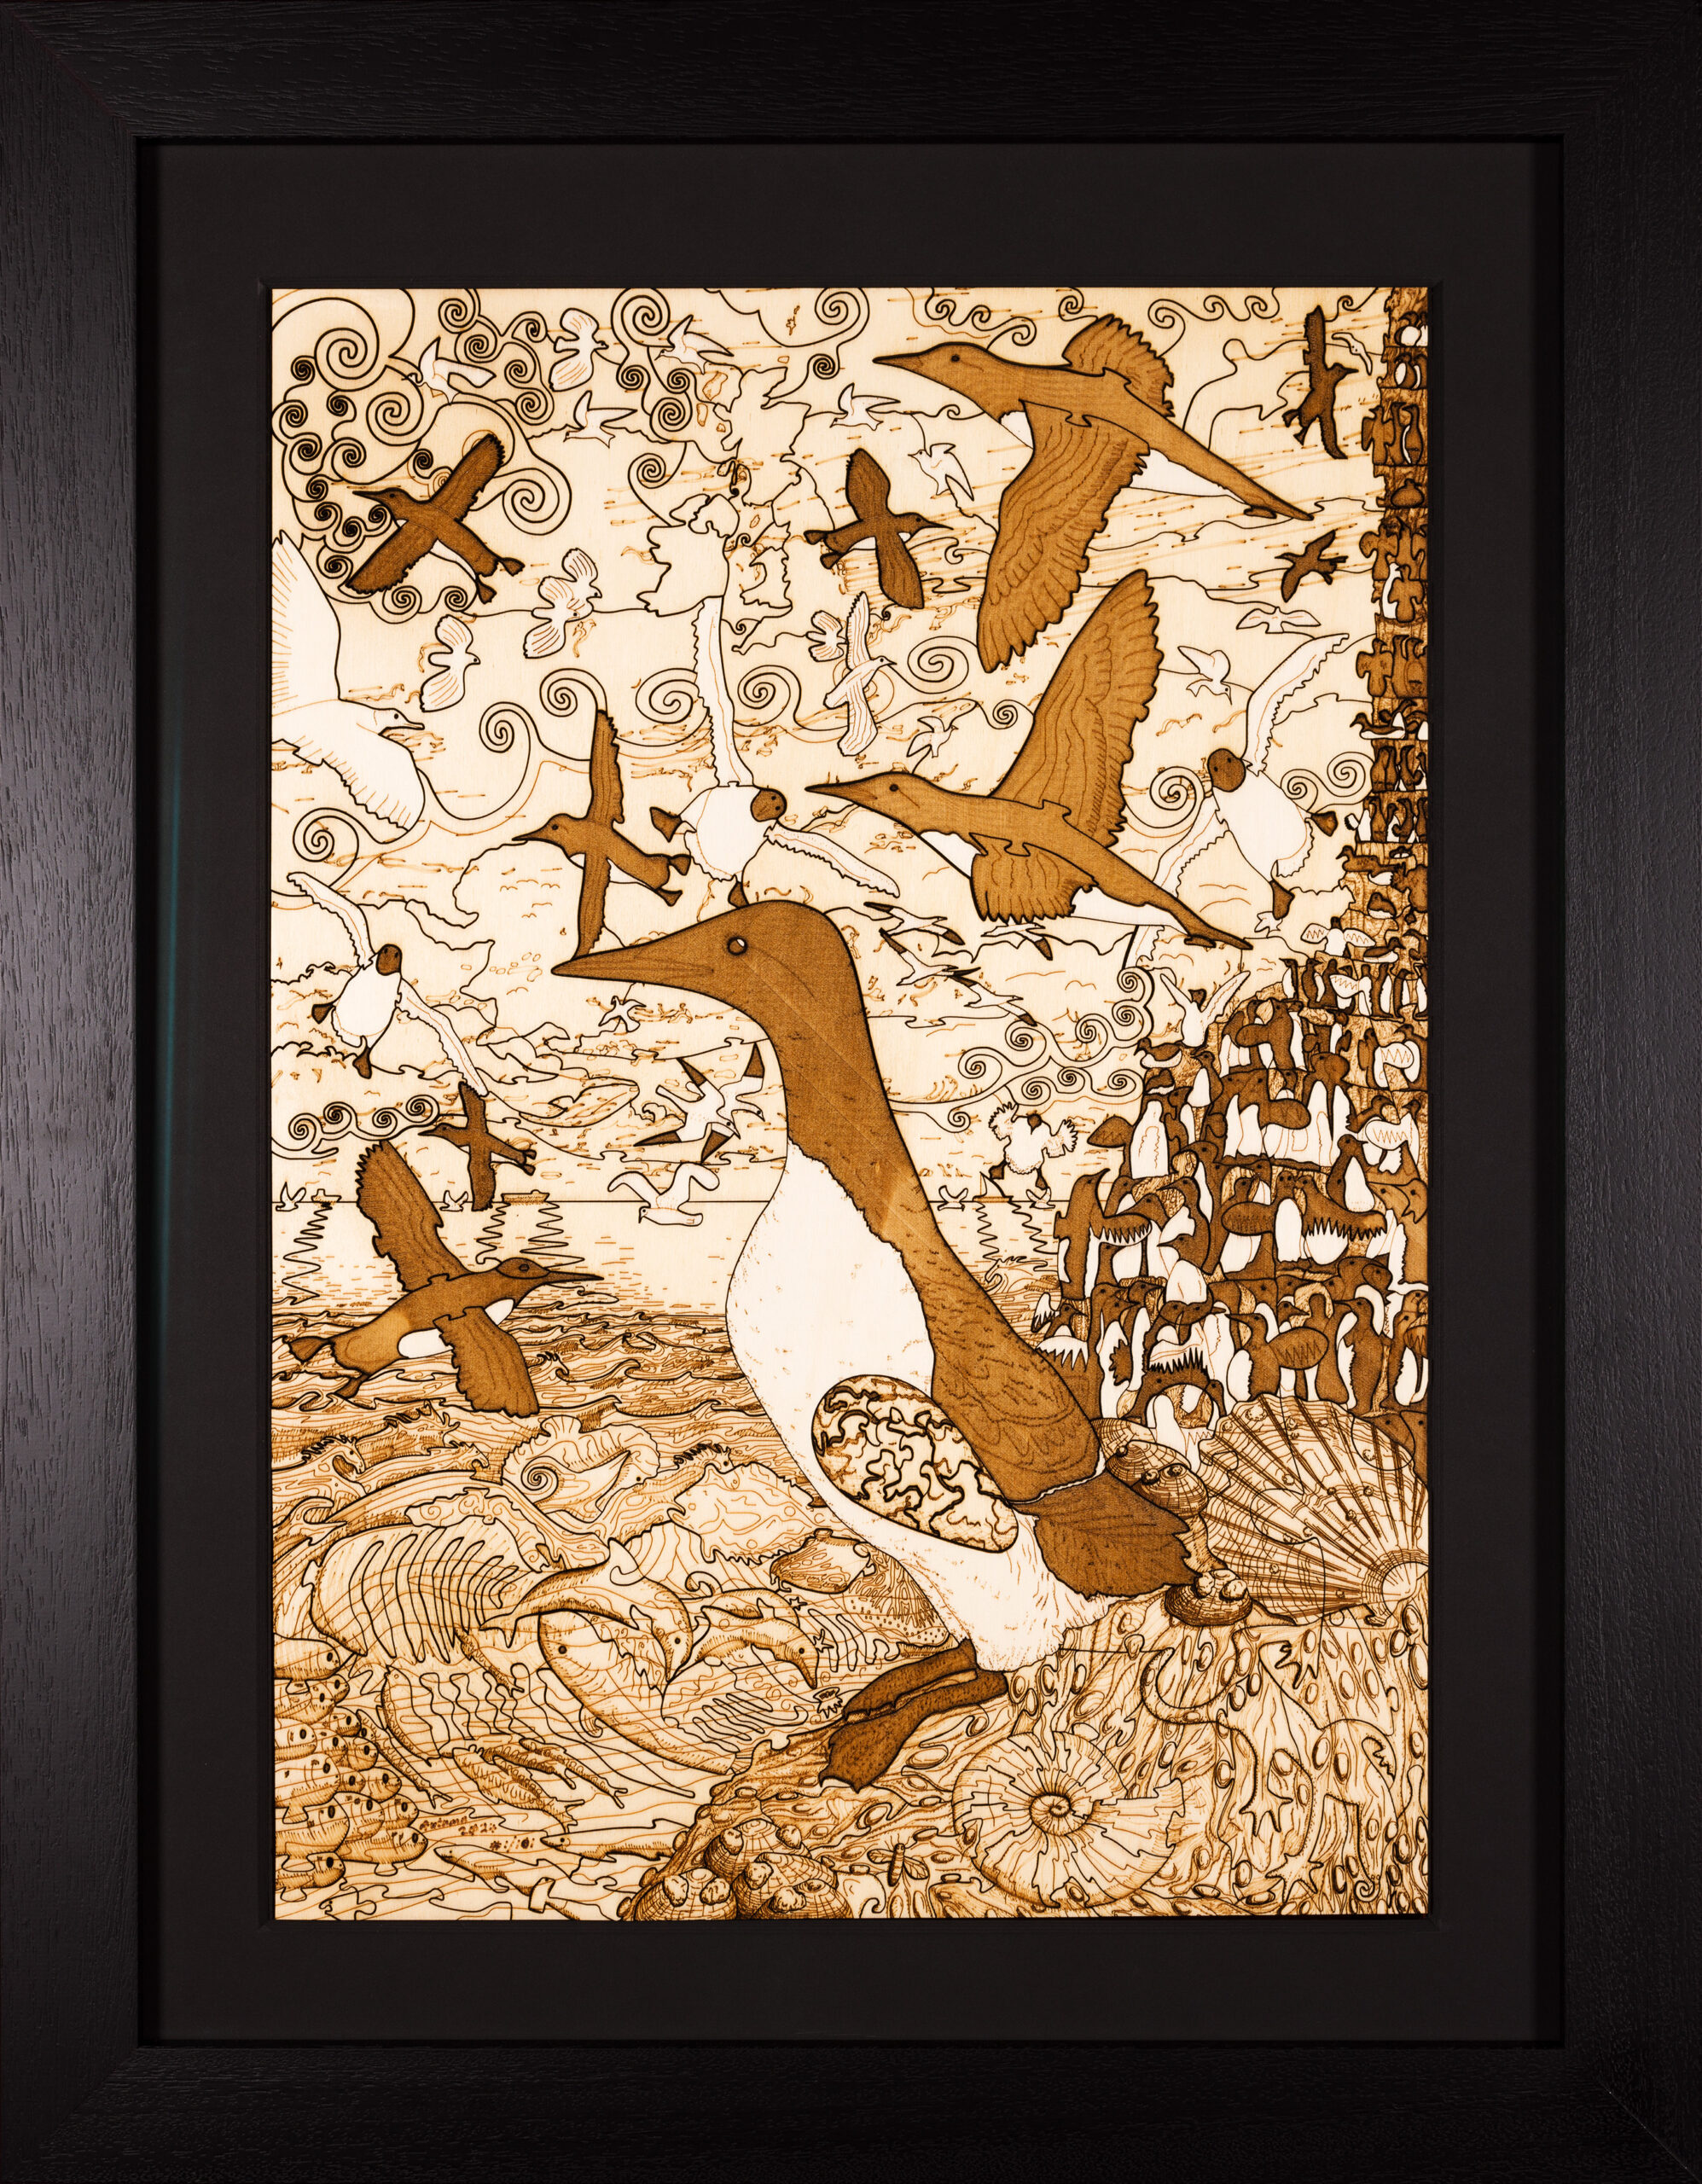
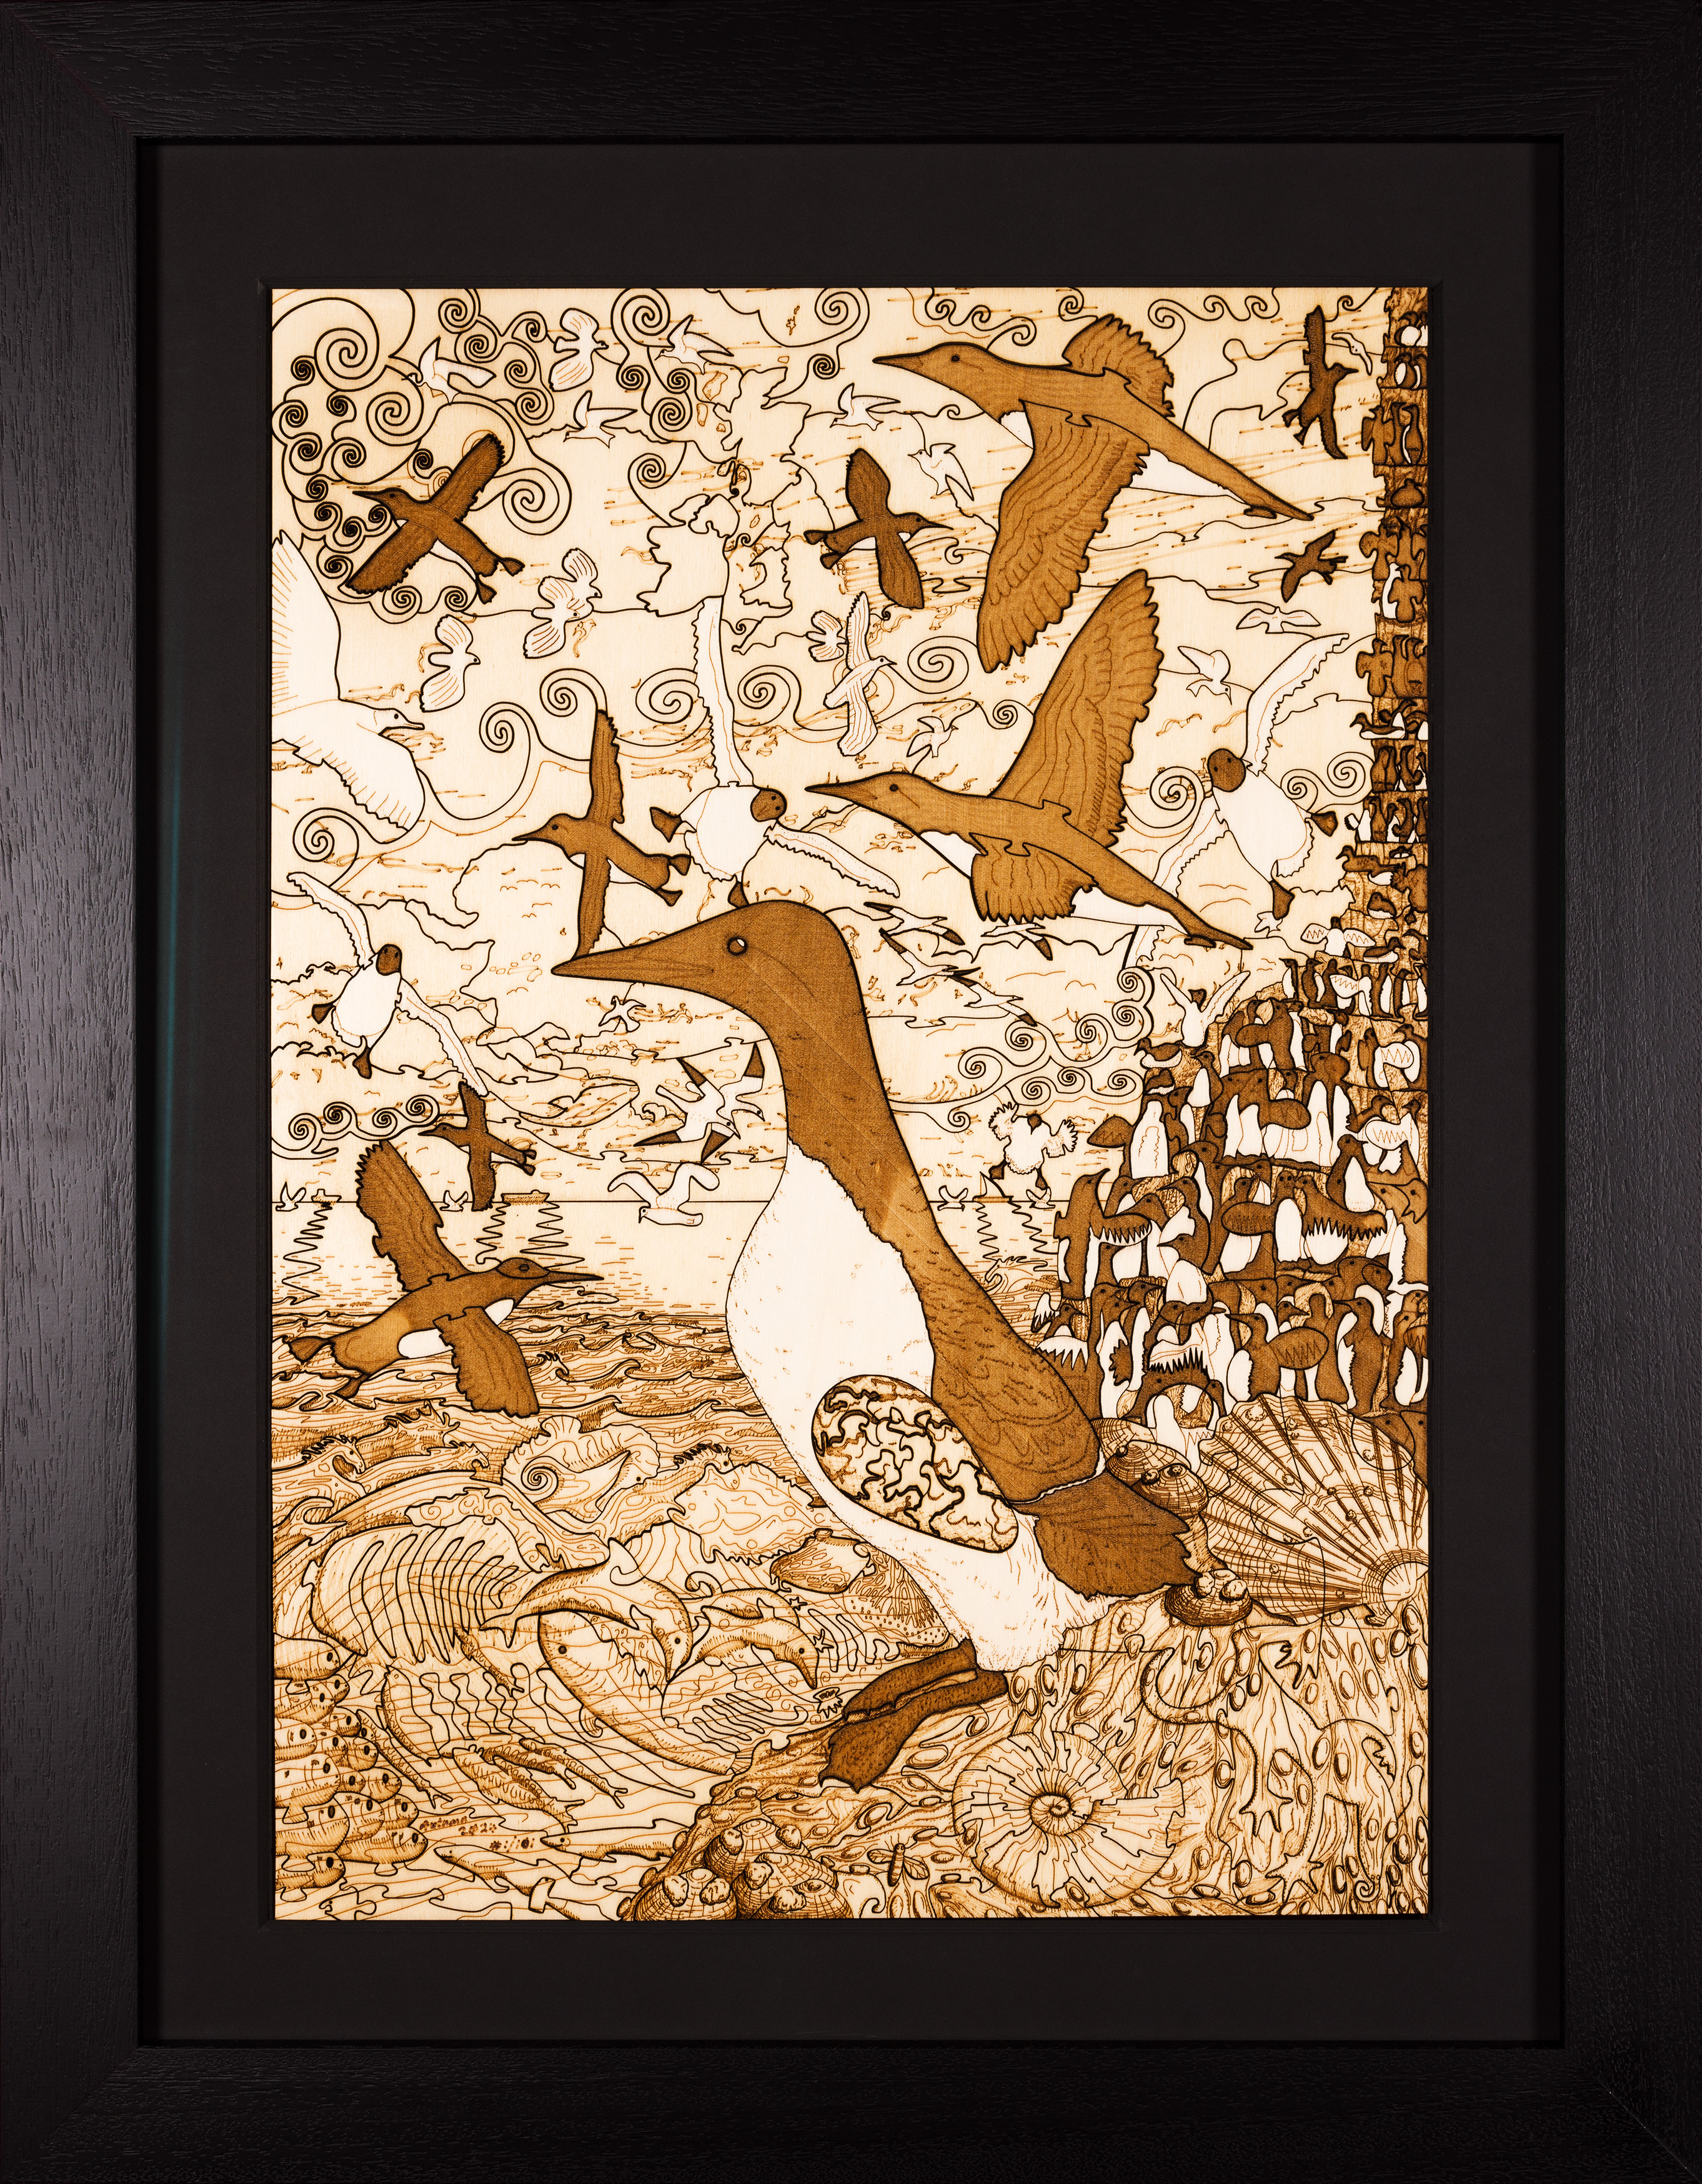
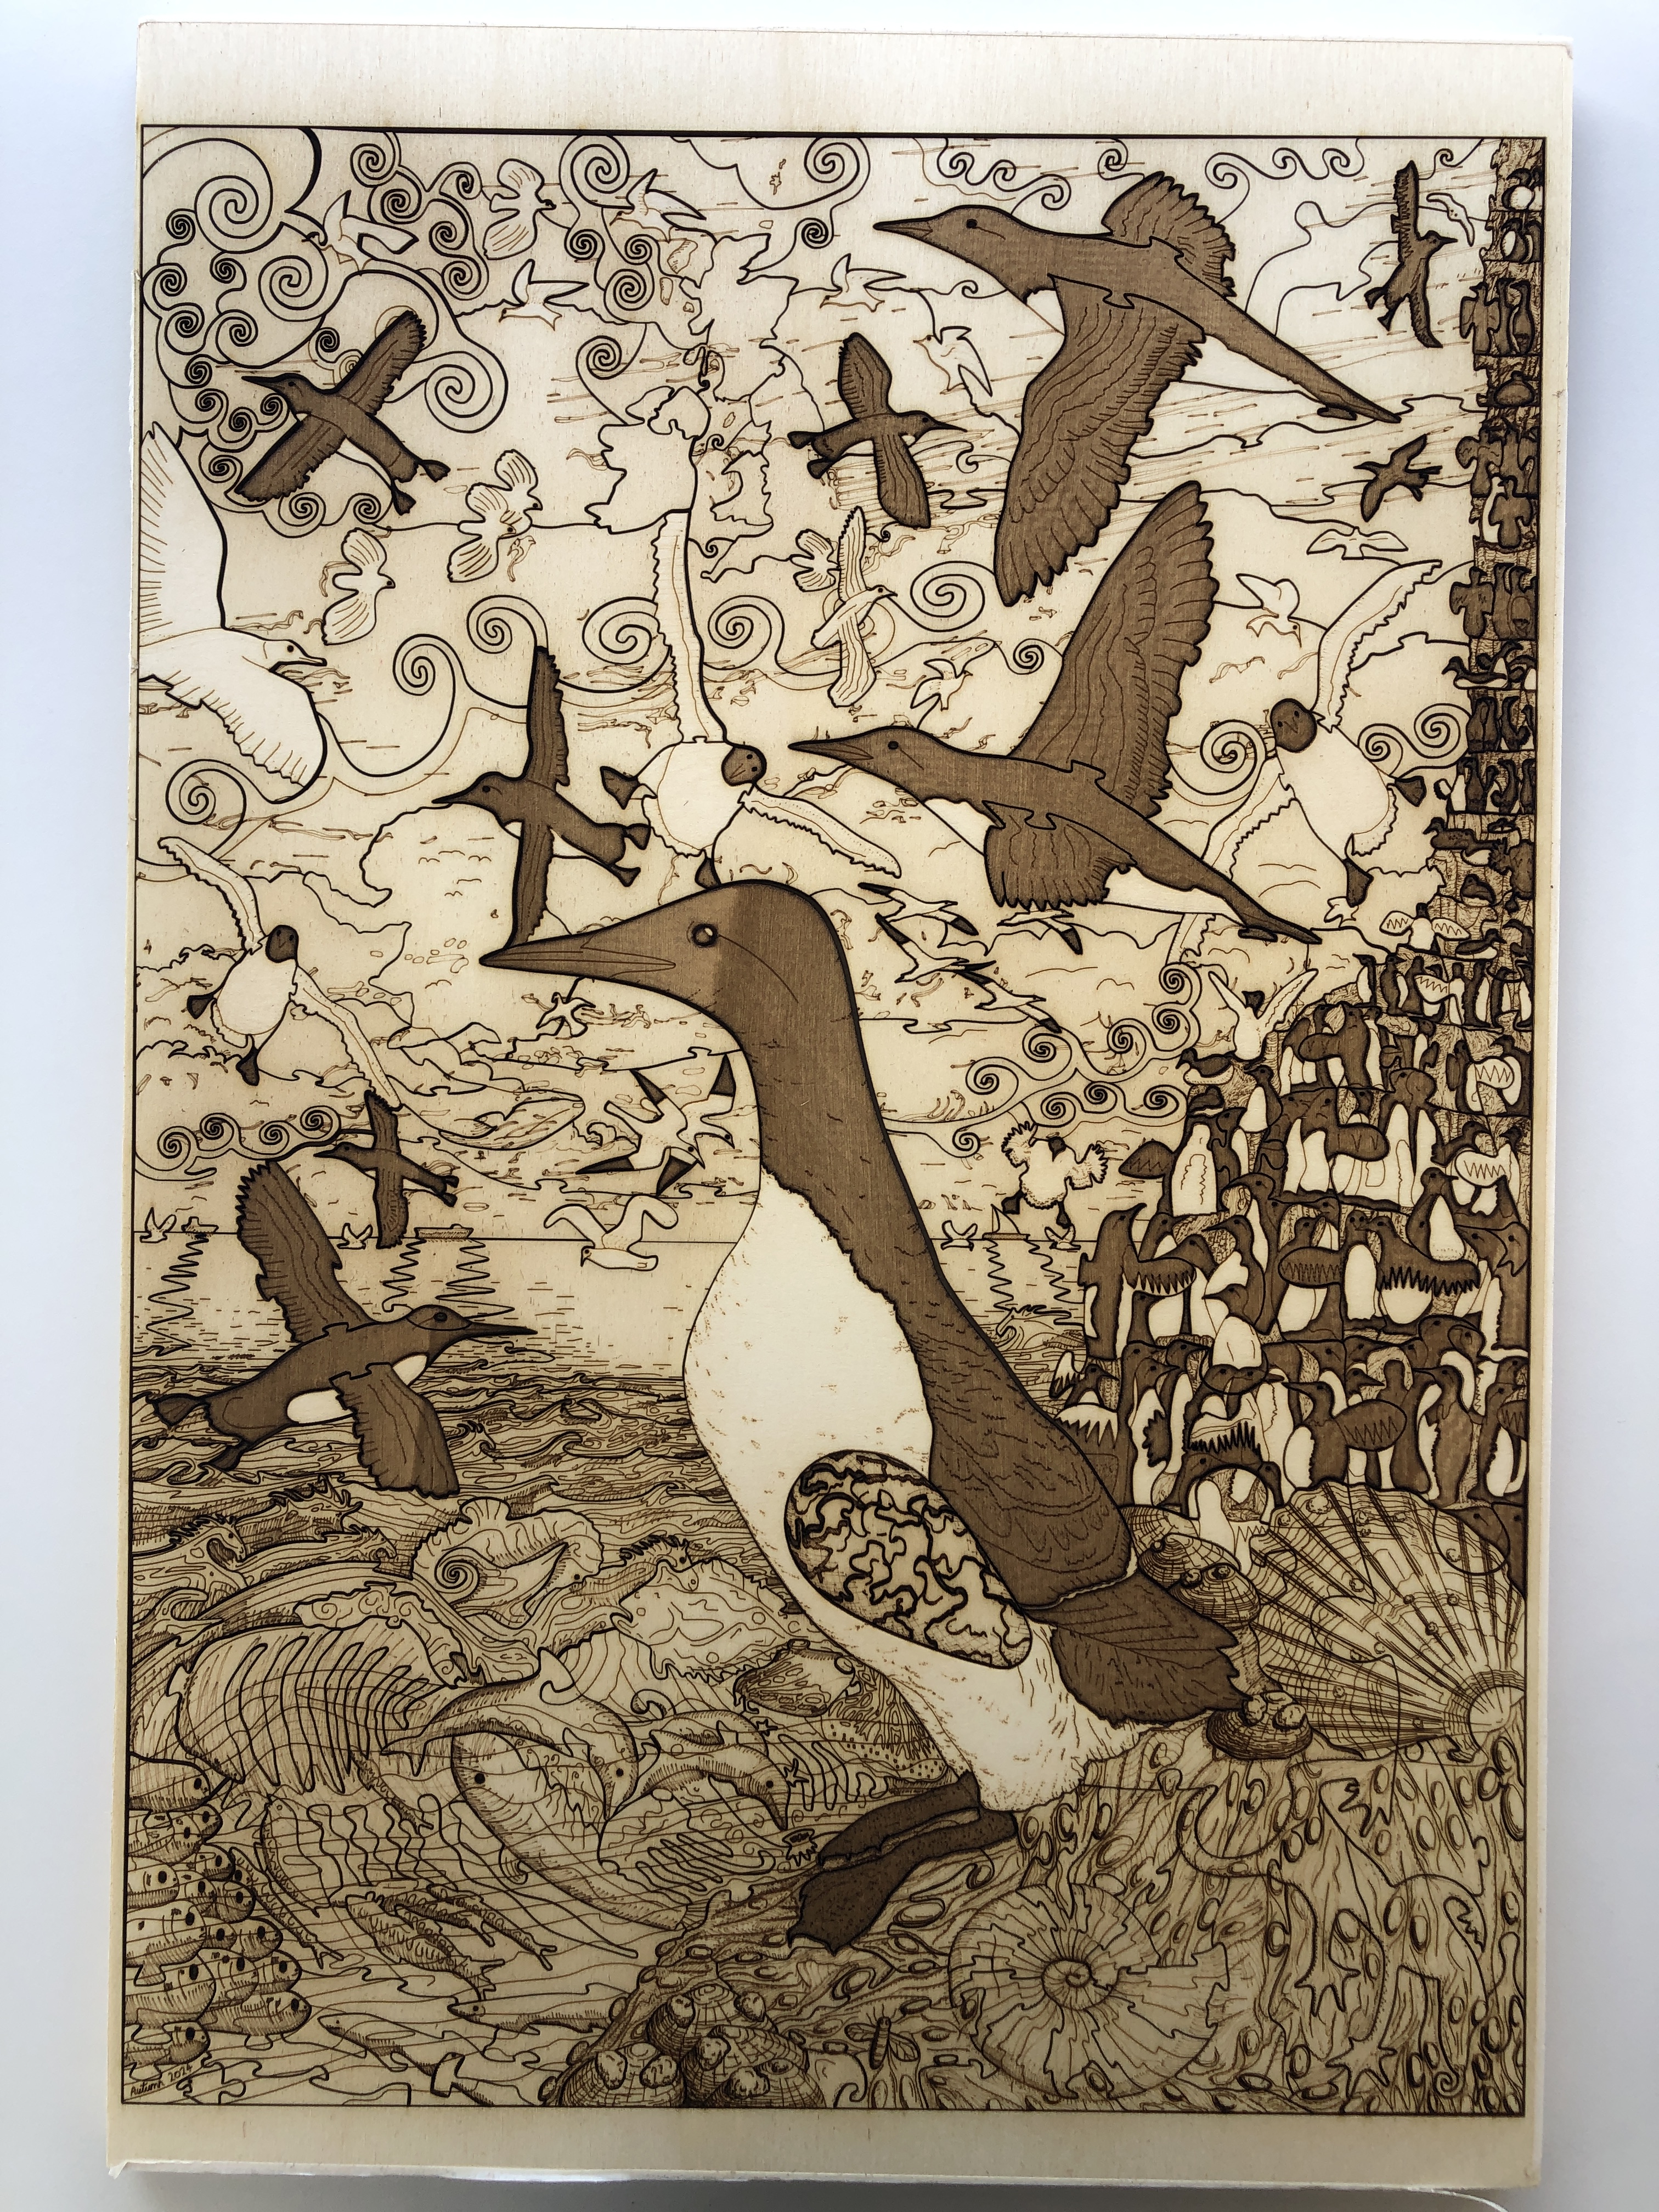
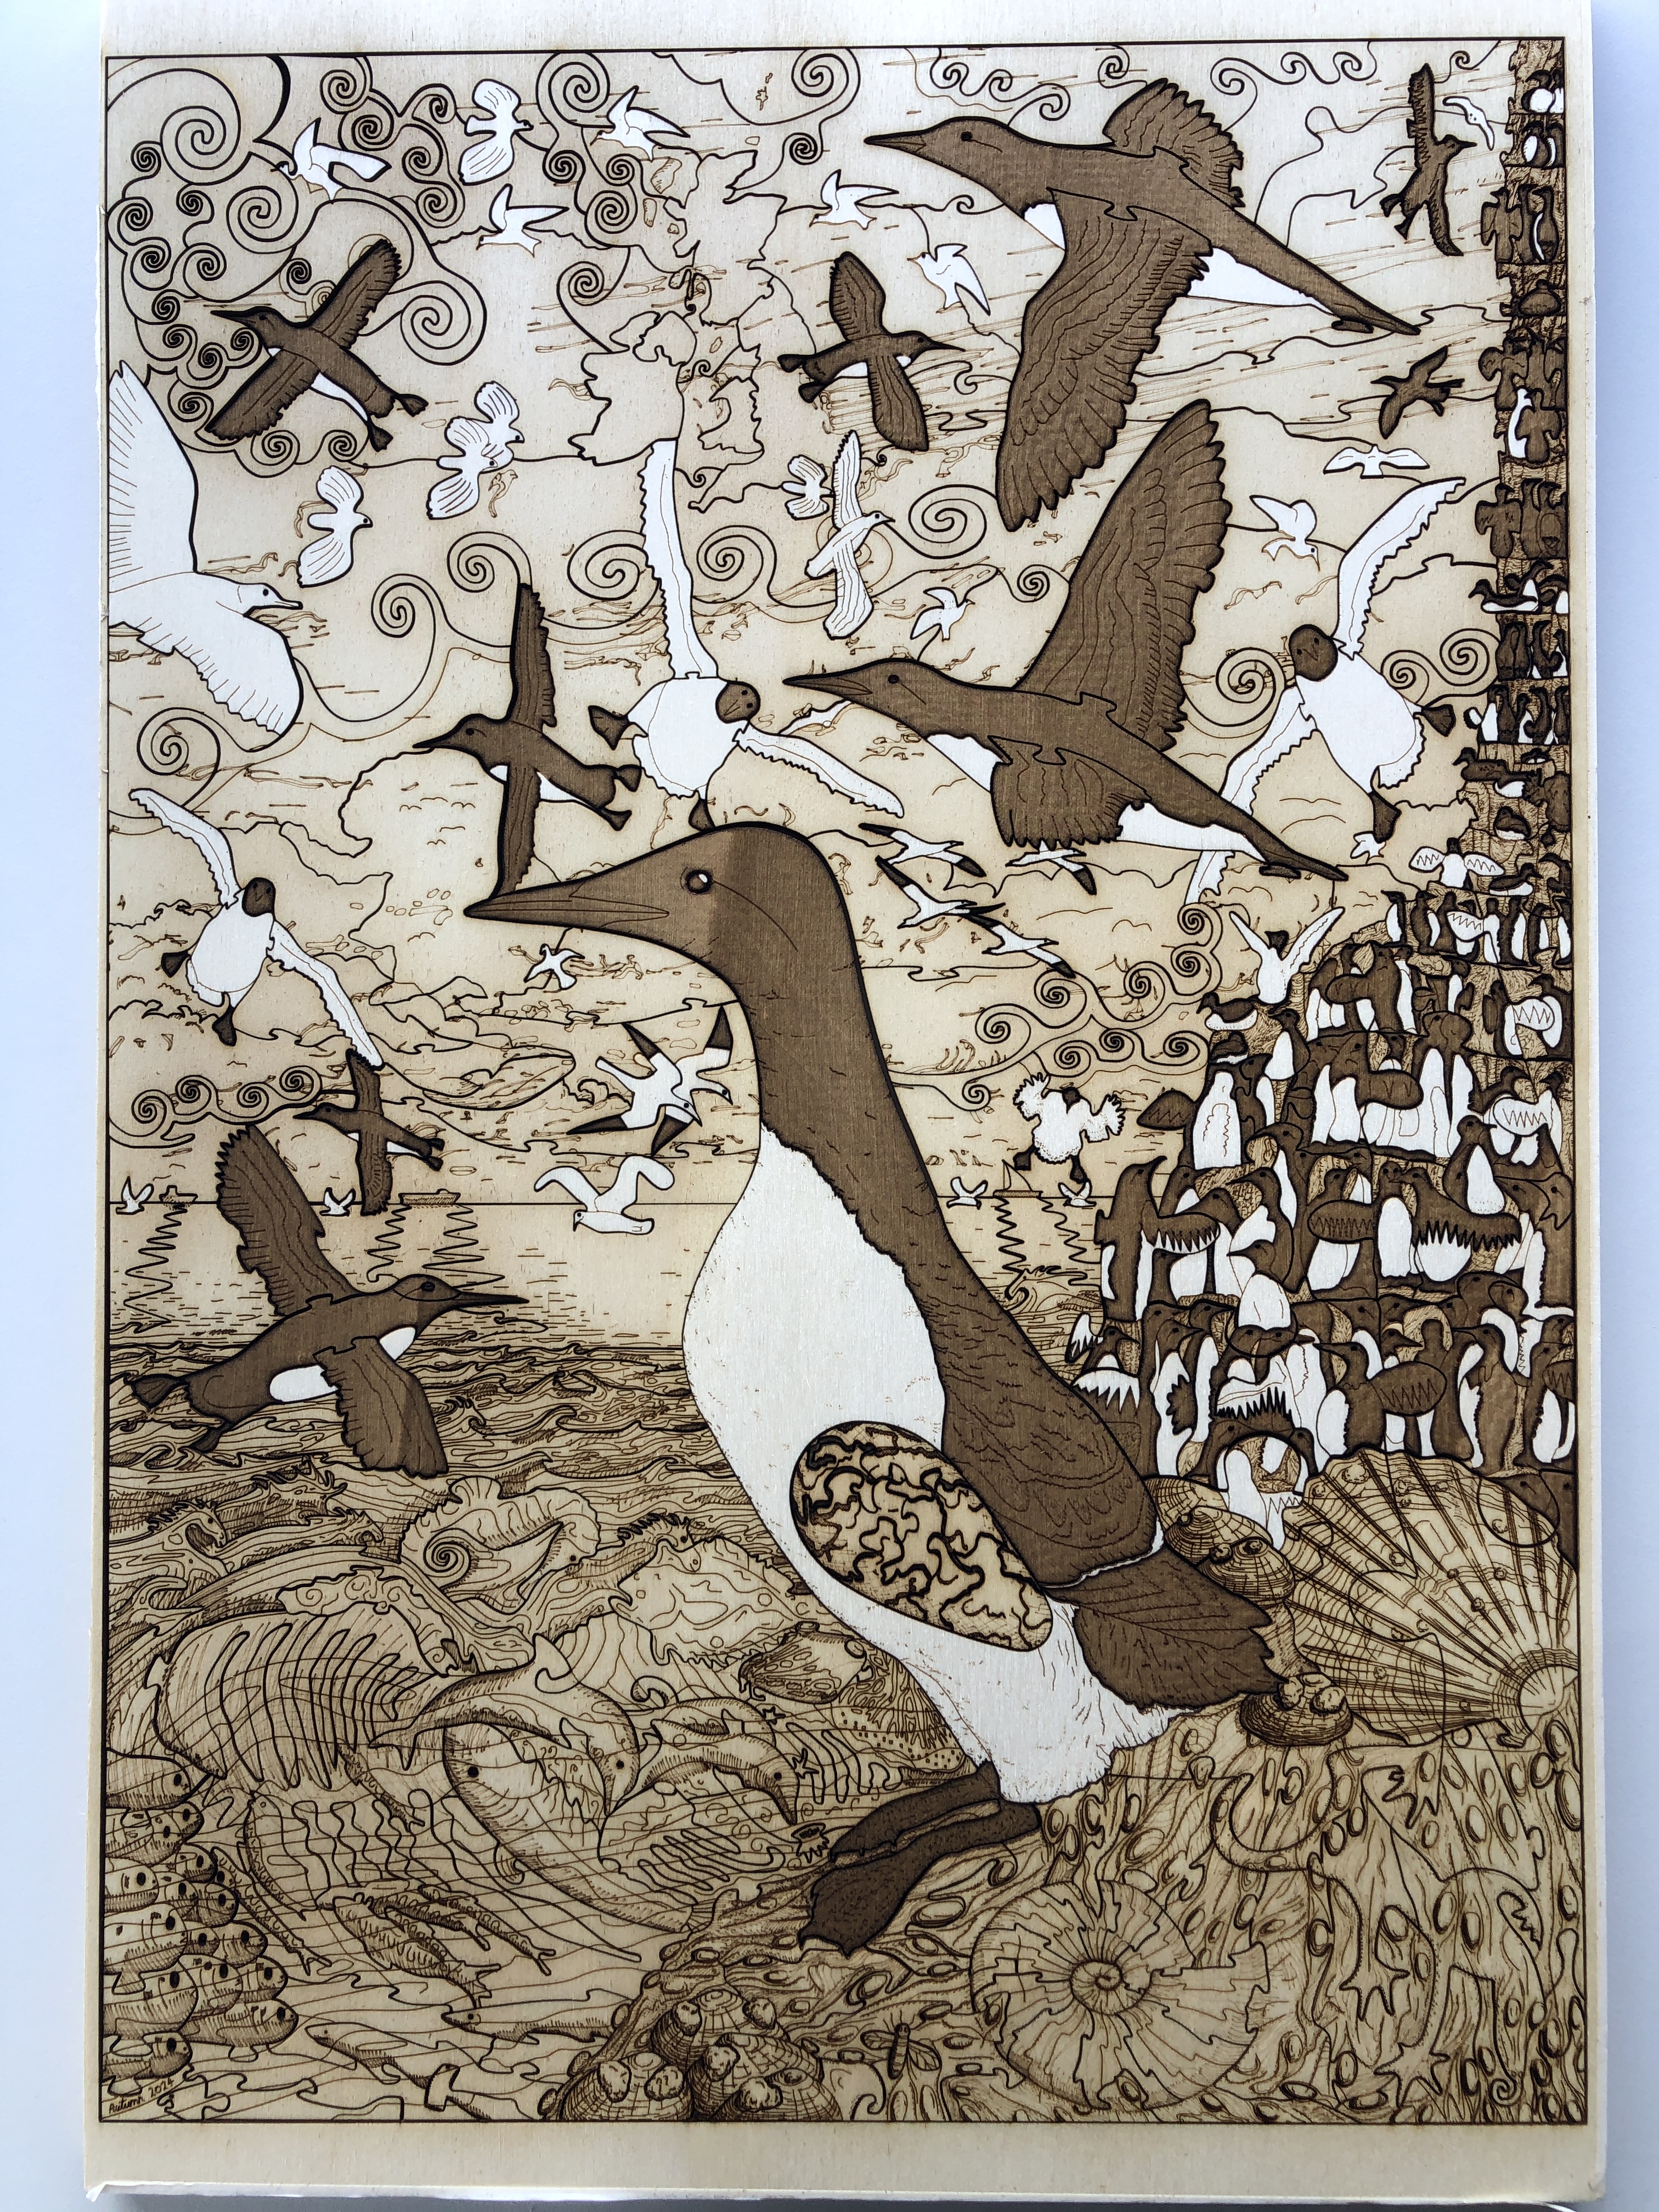
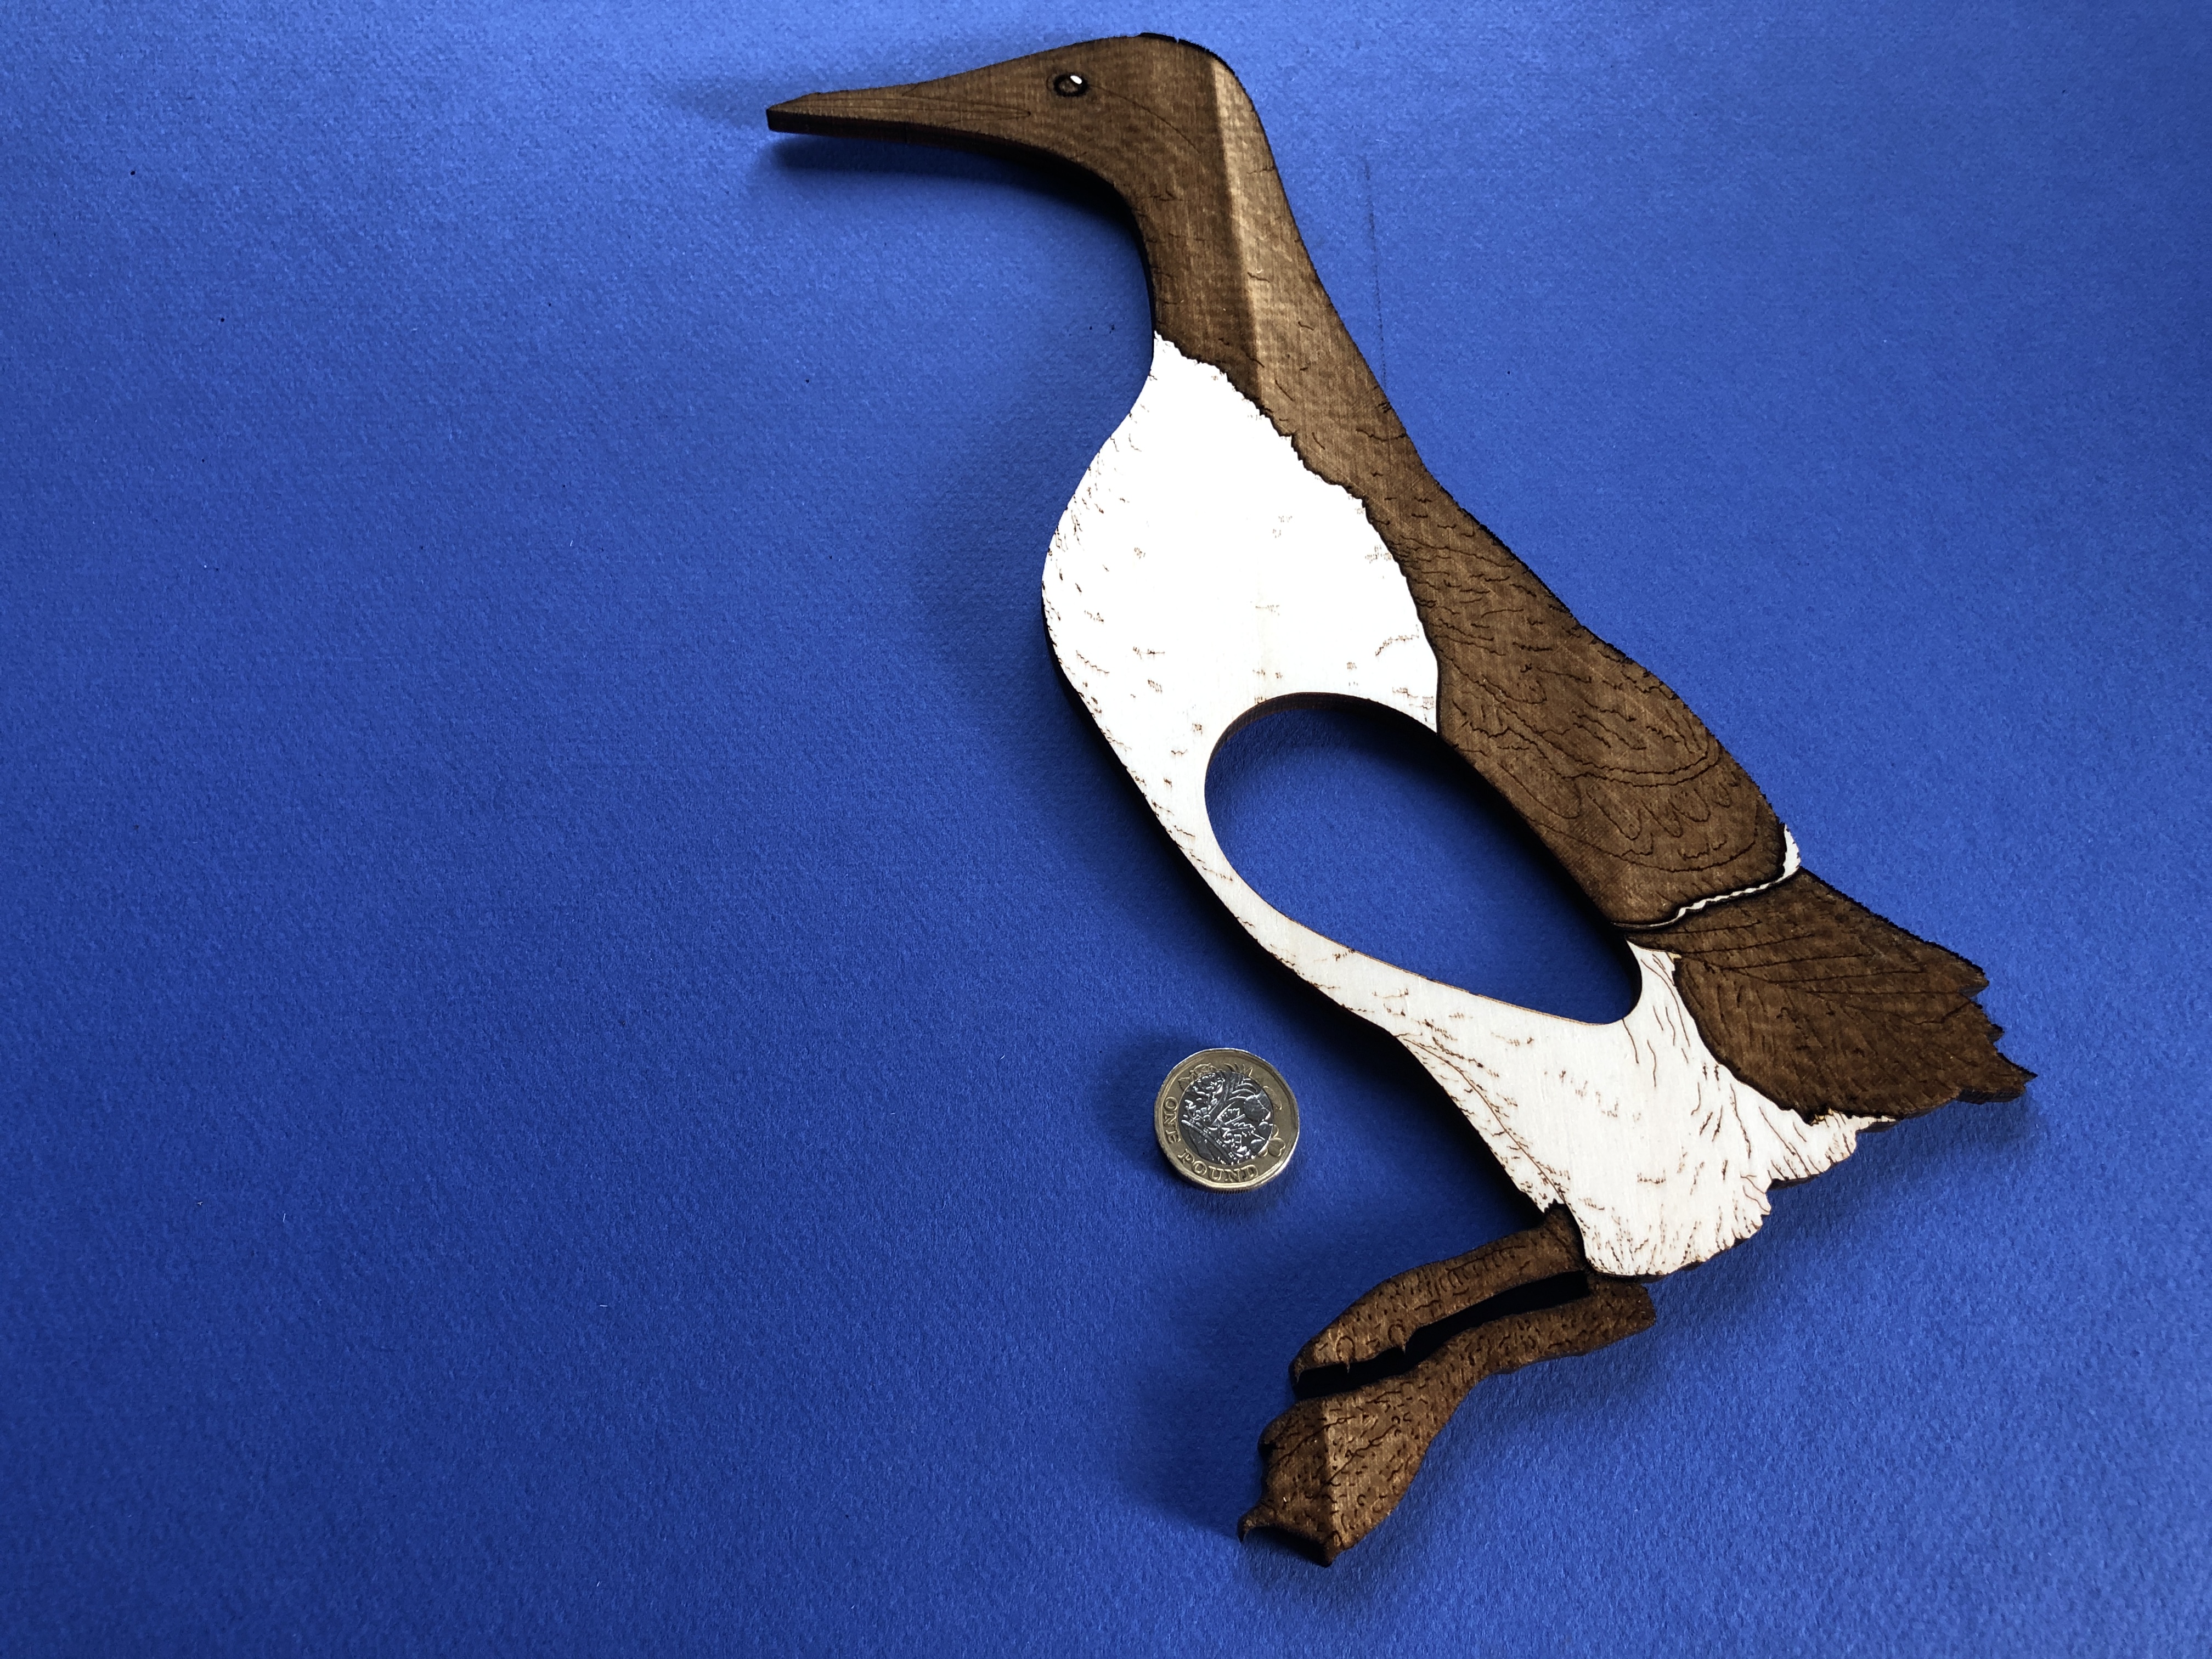
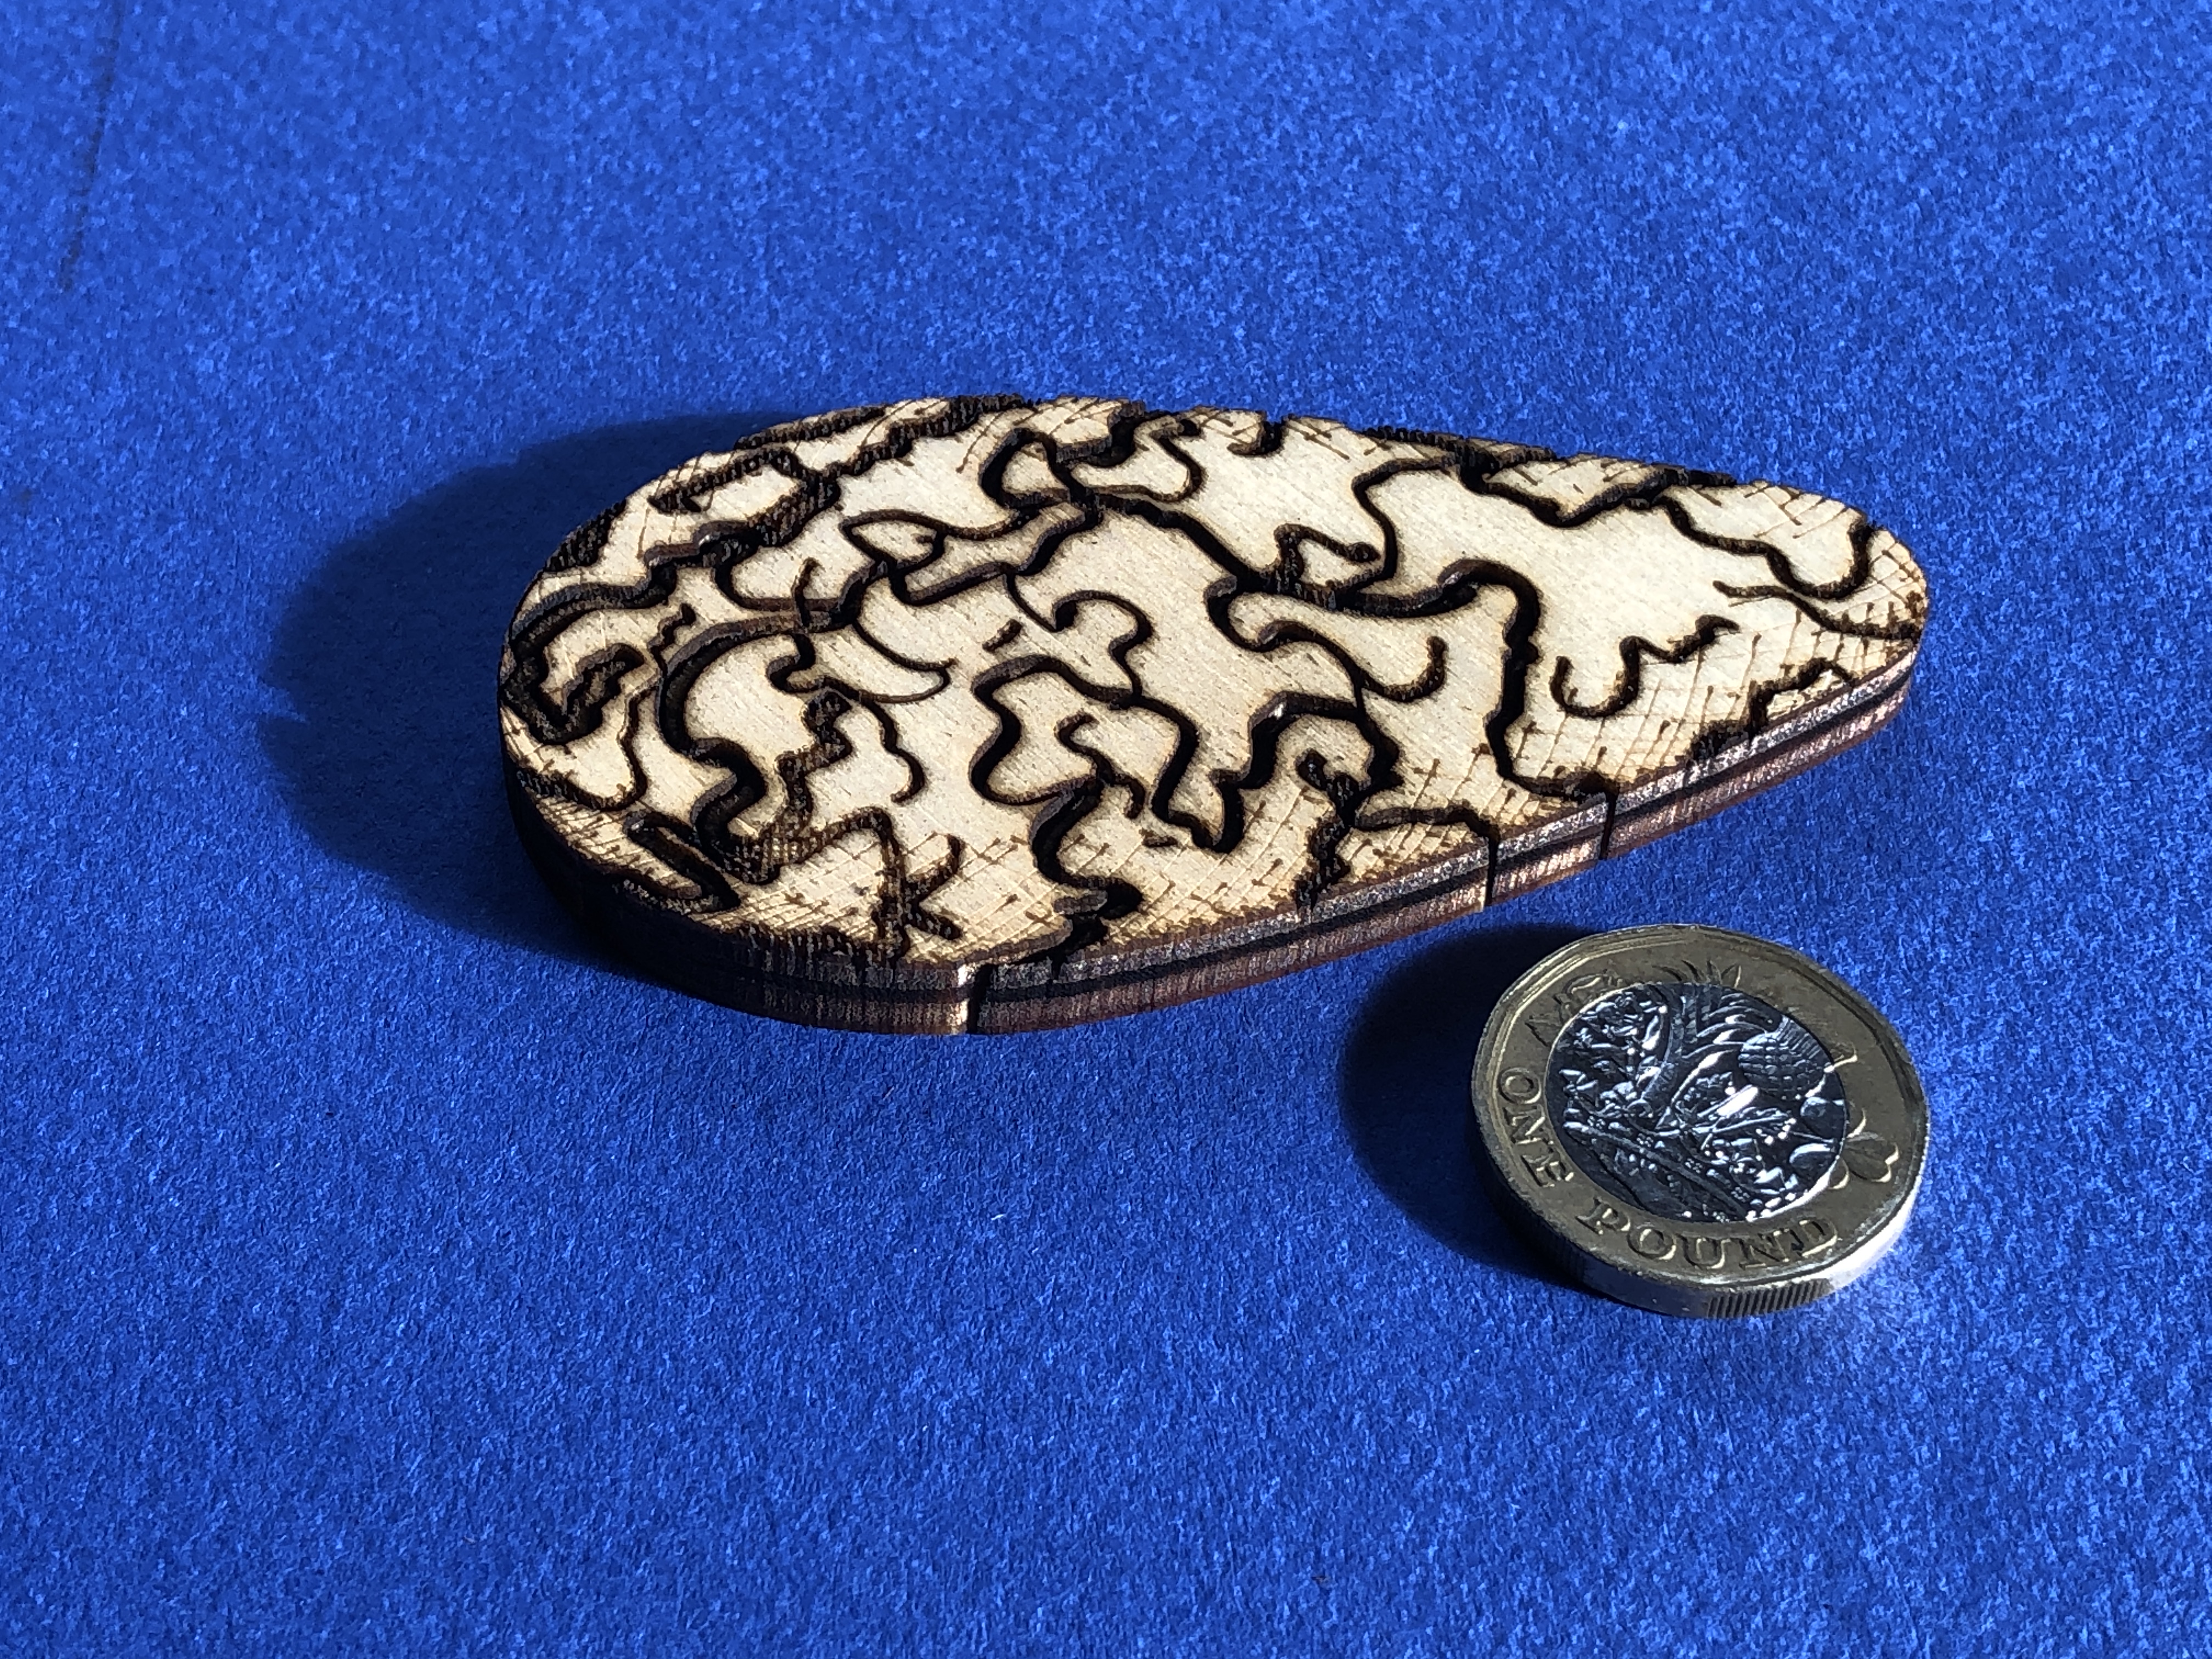
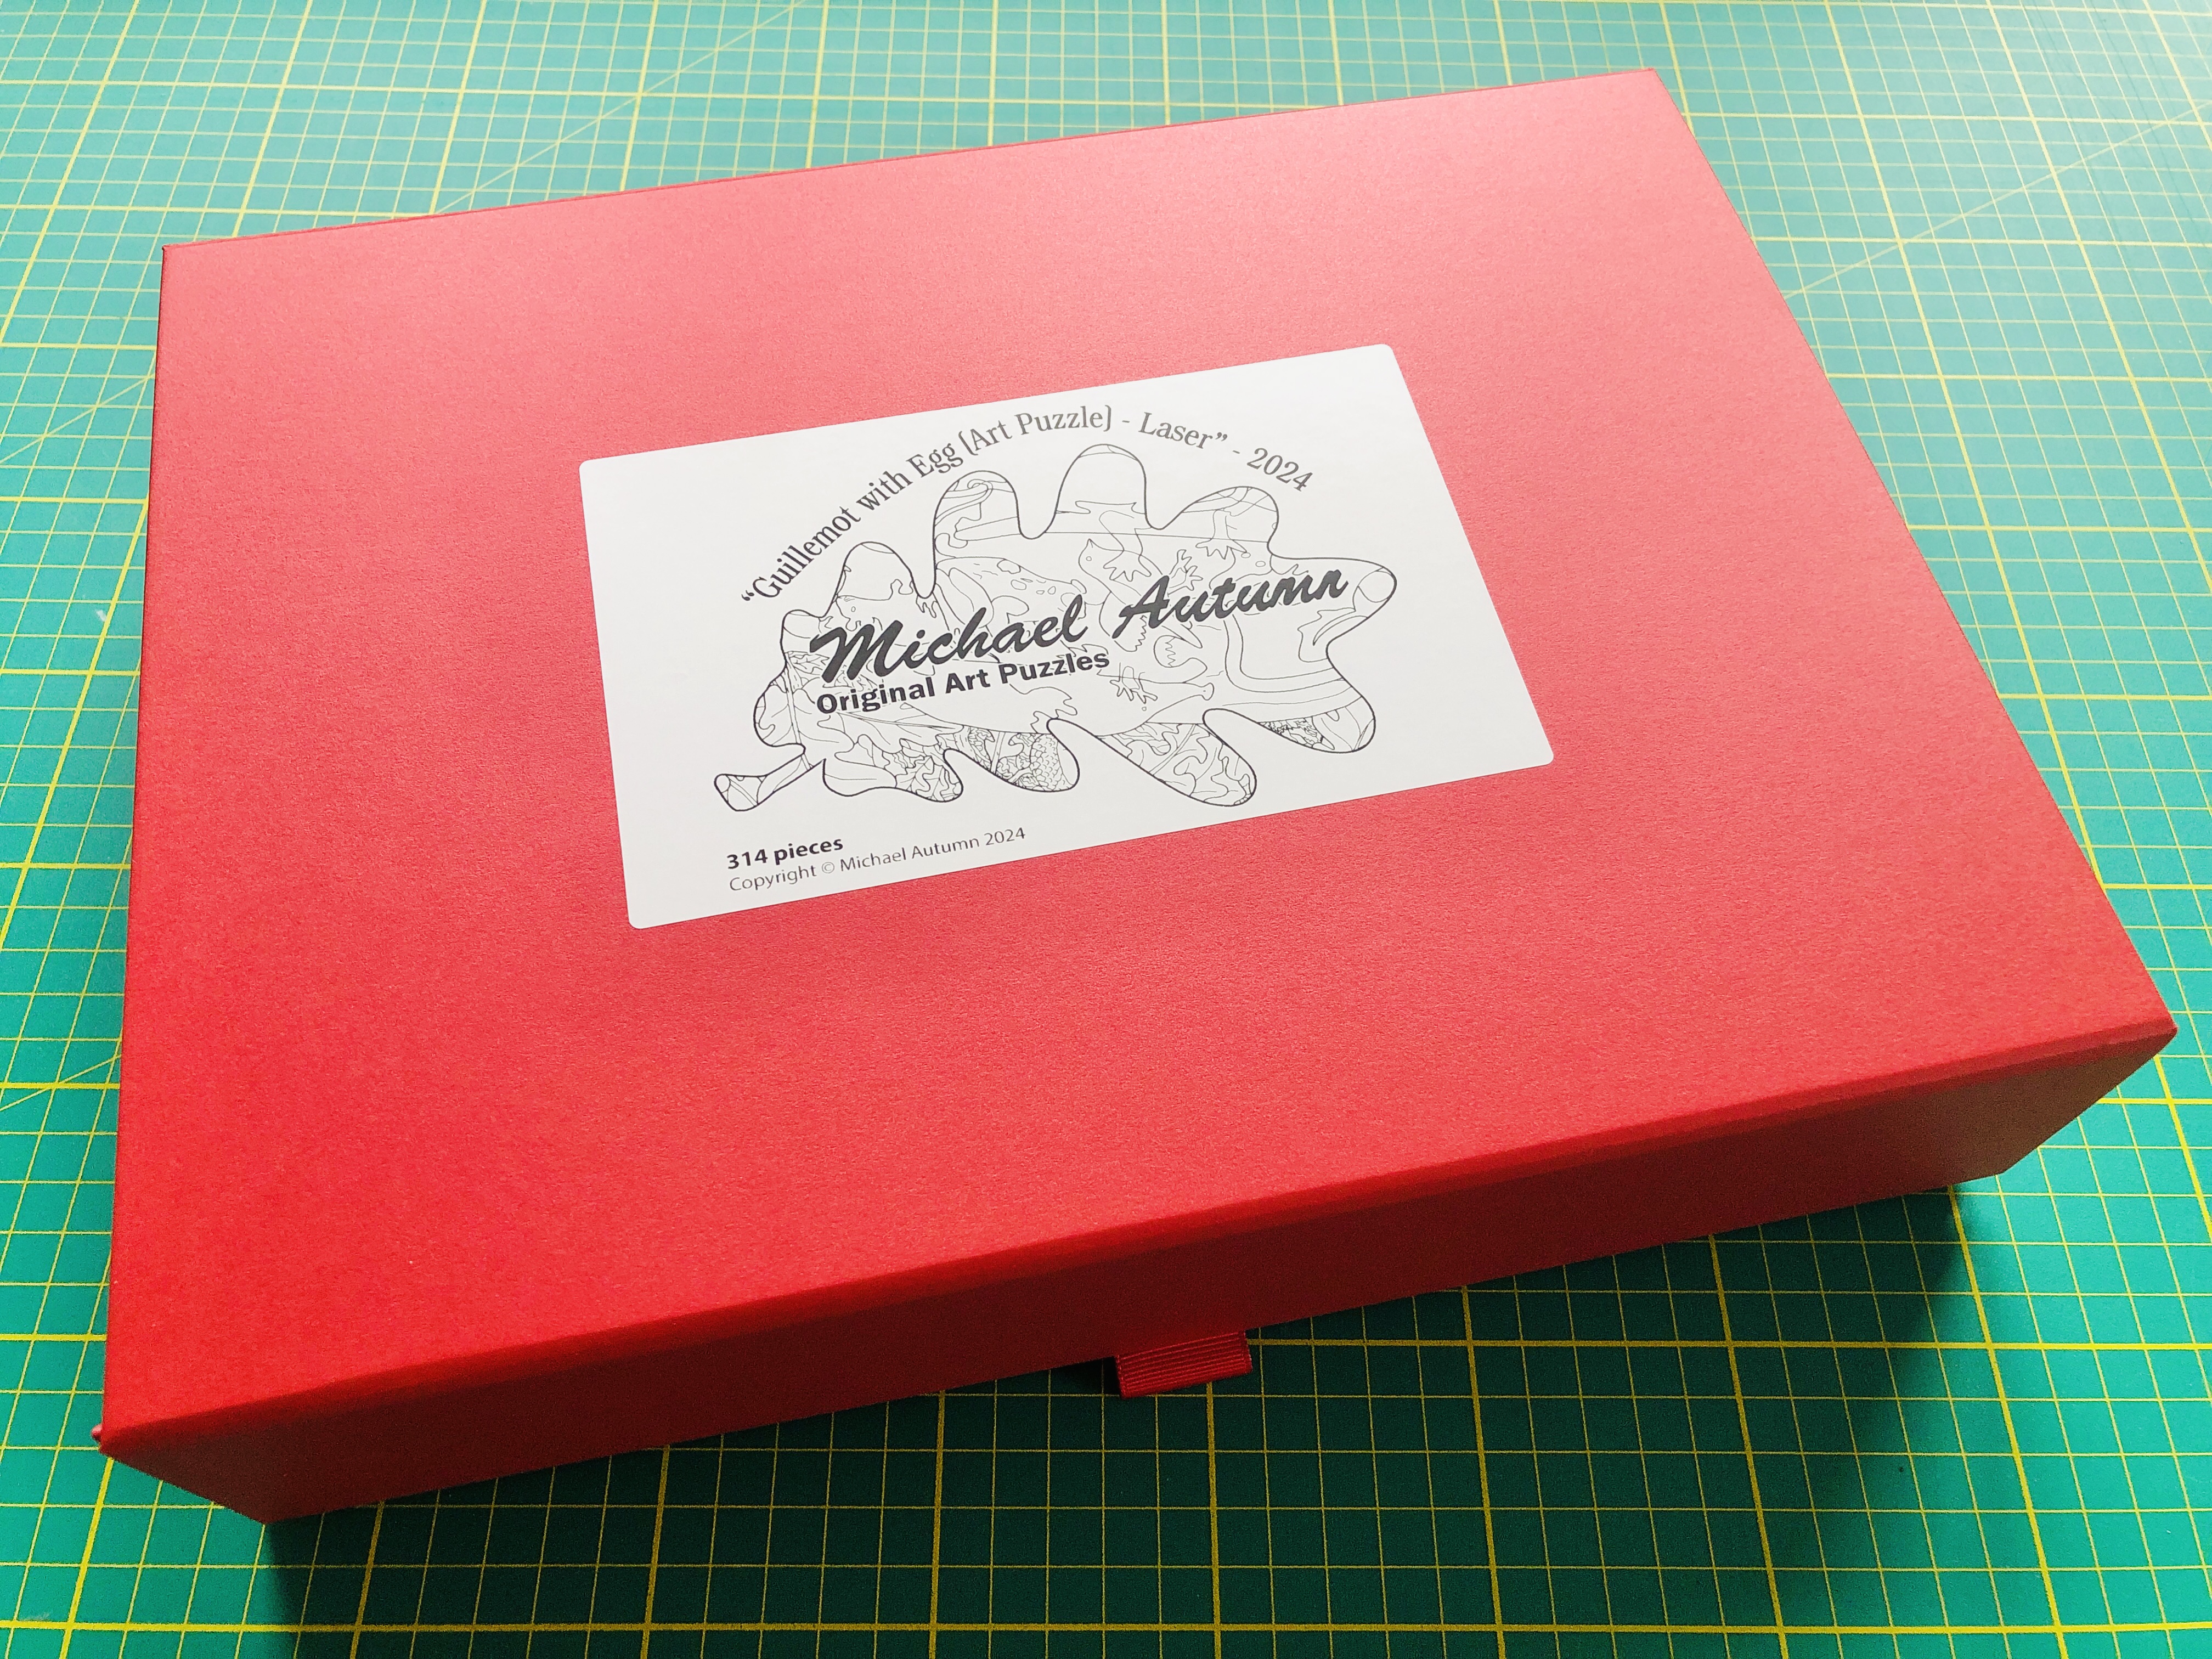
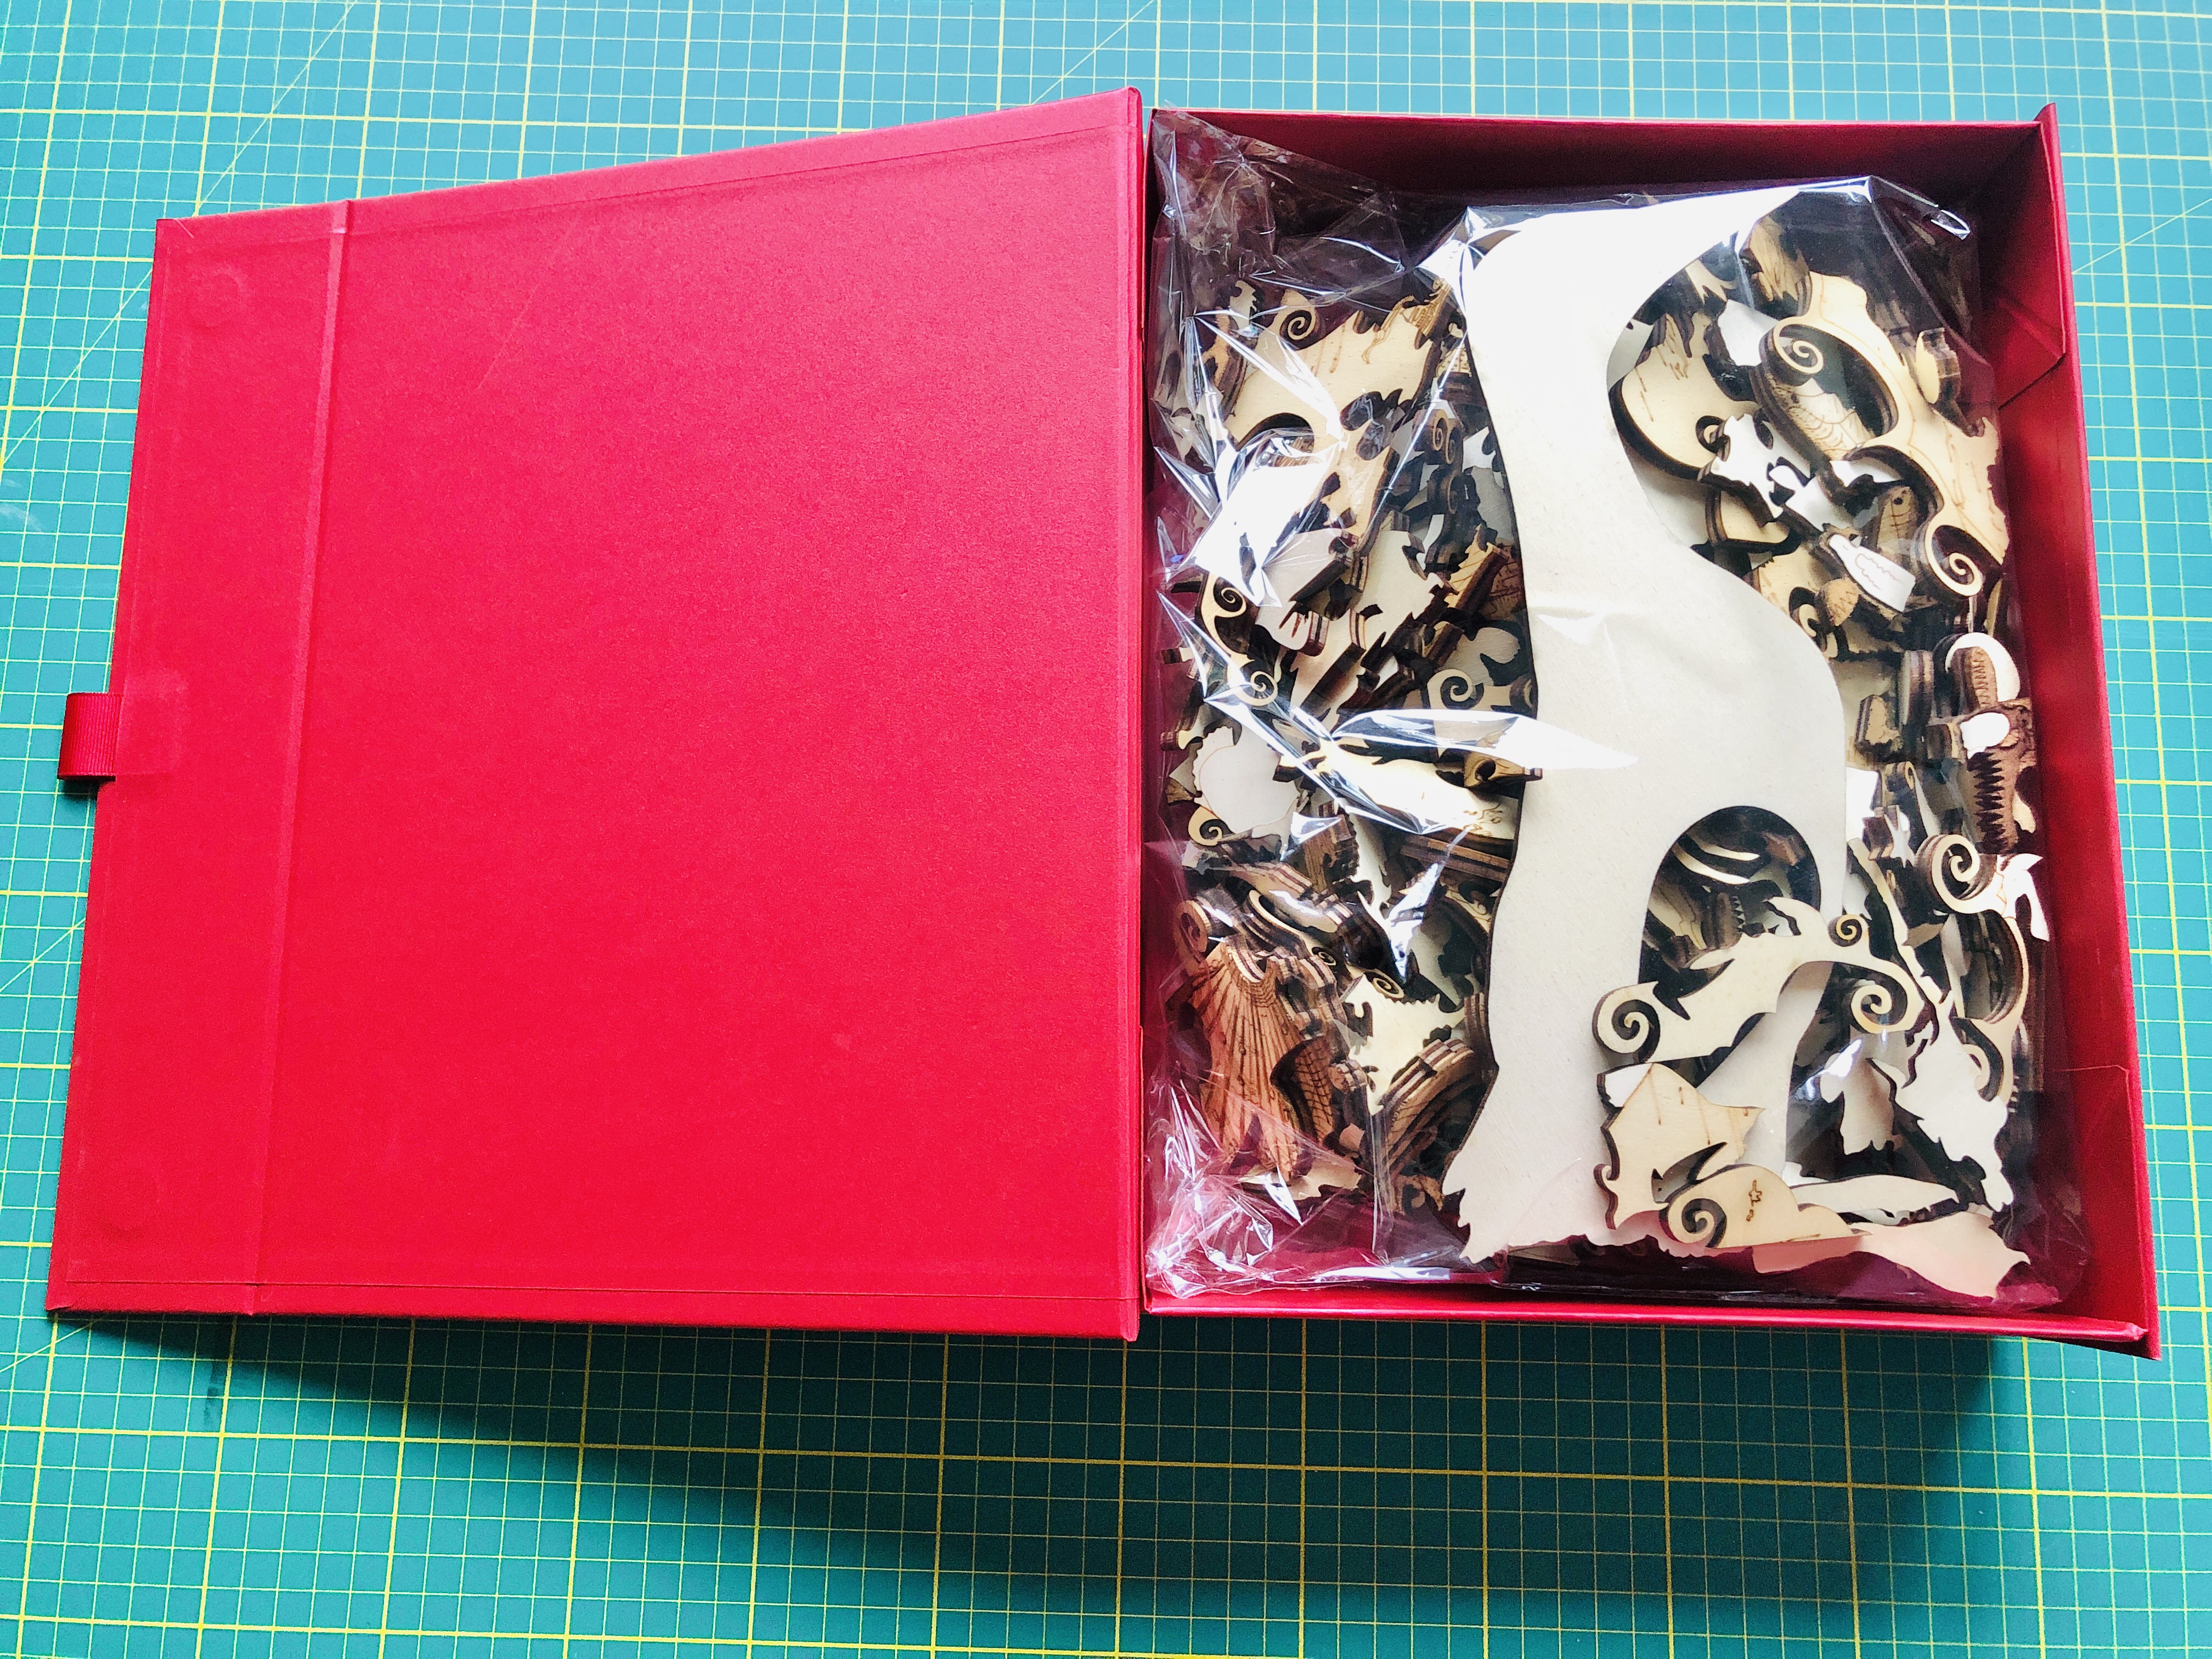
Title: “Guillemot with Egg (Art Puzzle) – Laser” Artist: Michael Autumn Medium: Hand-drawing – laser cut & engraved plywood Giclée archival laser cut & engraved on 6mm AB/AB Italian Panguaneta Poplar plywood (produced responsibly, sustainably, and to the highest of standards), child-safe, moisture-repelling, varnish Size: 39.0cm (W) x 55.1cm (H), framed 57cm (W) x 73cm (H) x 5cm (D) Edition: Limited Edition of 101 – individually signed and numbered, and museum-level (FATG Level 1) :-archival and bespoke framed; and Unlimited Edition, lasered signature, unframed. Limited editions come with highly respected, secure and verifiable Hahnemühle Certificates of Authenticity and are publicly trackable here – https://www.hahnemuehle.com/en/digital-fineart/my-art-registry/preview/14596.html Date: 02/2024 Options: Available as a puzzle (314 unique pieces actually cut) OR left as a single engraved wooden panel.
because hand-cutting the latter took far too long and caused serious RSI and/or rheumatoid arthritis in my hands/fingers. But in order to achieve the quality I wanted, it turns out (after much effort) that mass-production is simply not possible. It has been a long journey to get to a standard I’m happy with. Along the road I have researched a great deal about materials, wood, lasers (obviously! – but this is a big topic…), and lasering techniques. I have developed some of my own techniques and built some special tools because there were clear limitations in the best techniques, tools, and materials available. Suffice to say, I haven’t come across any individual or company who can produce my designs to the quality I do. But it comes at a significant cost. I can only produce one per day – so in any definition of the phrase mass production, this definitely is not!
Putting aside the weeks it took me to complete the design (in addition to the weeks it took me to design the original, I spent about another four weeks enhancing it to take advantage of laser capabilities) – and may trials, adjustments, custom tooling, and more trials…
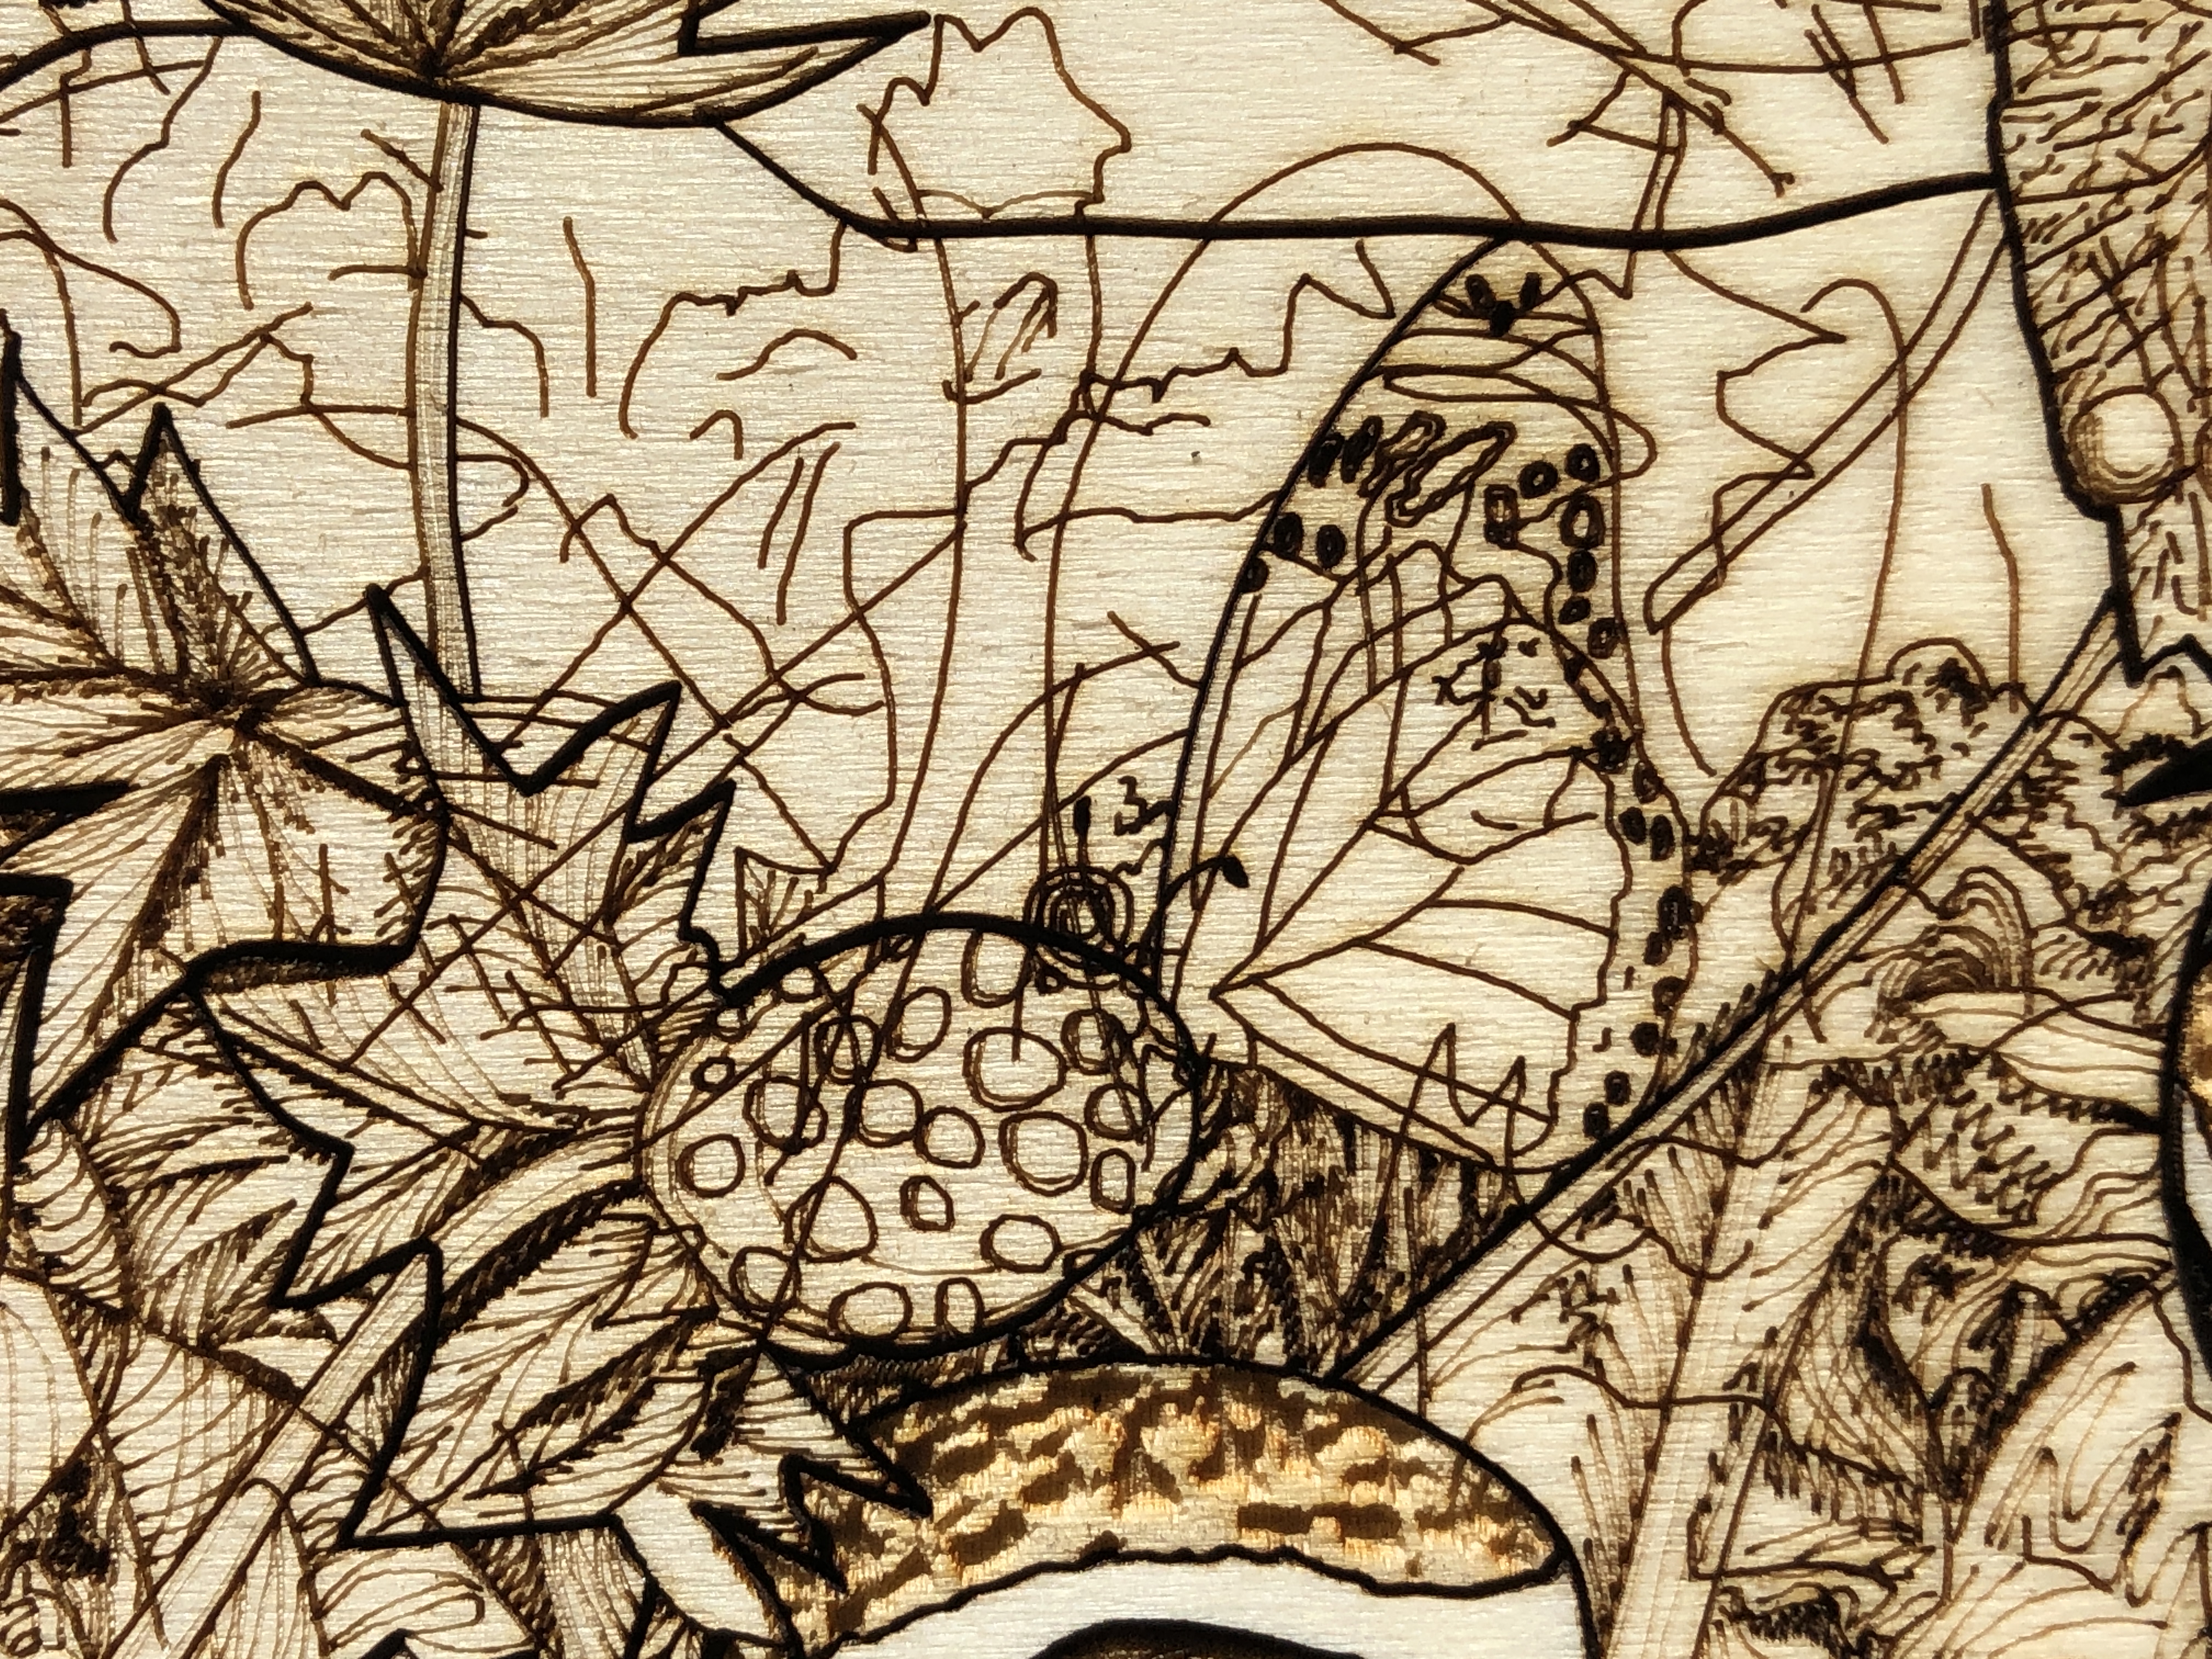
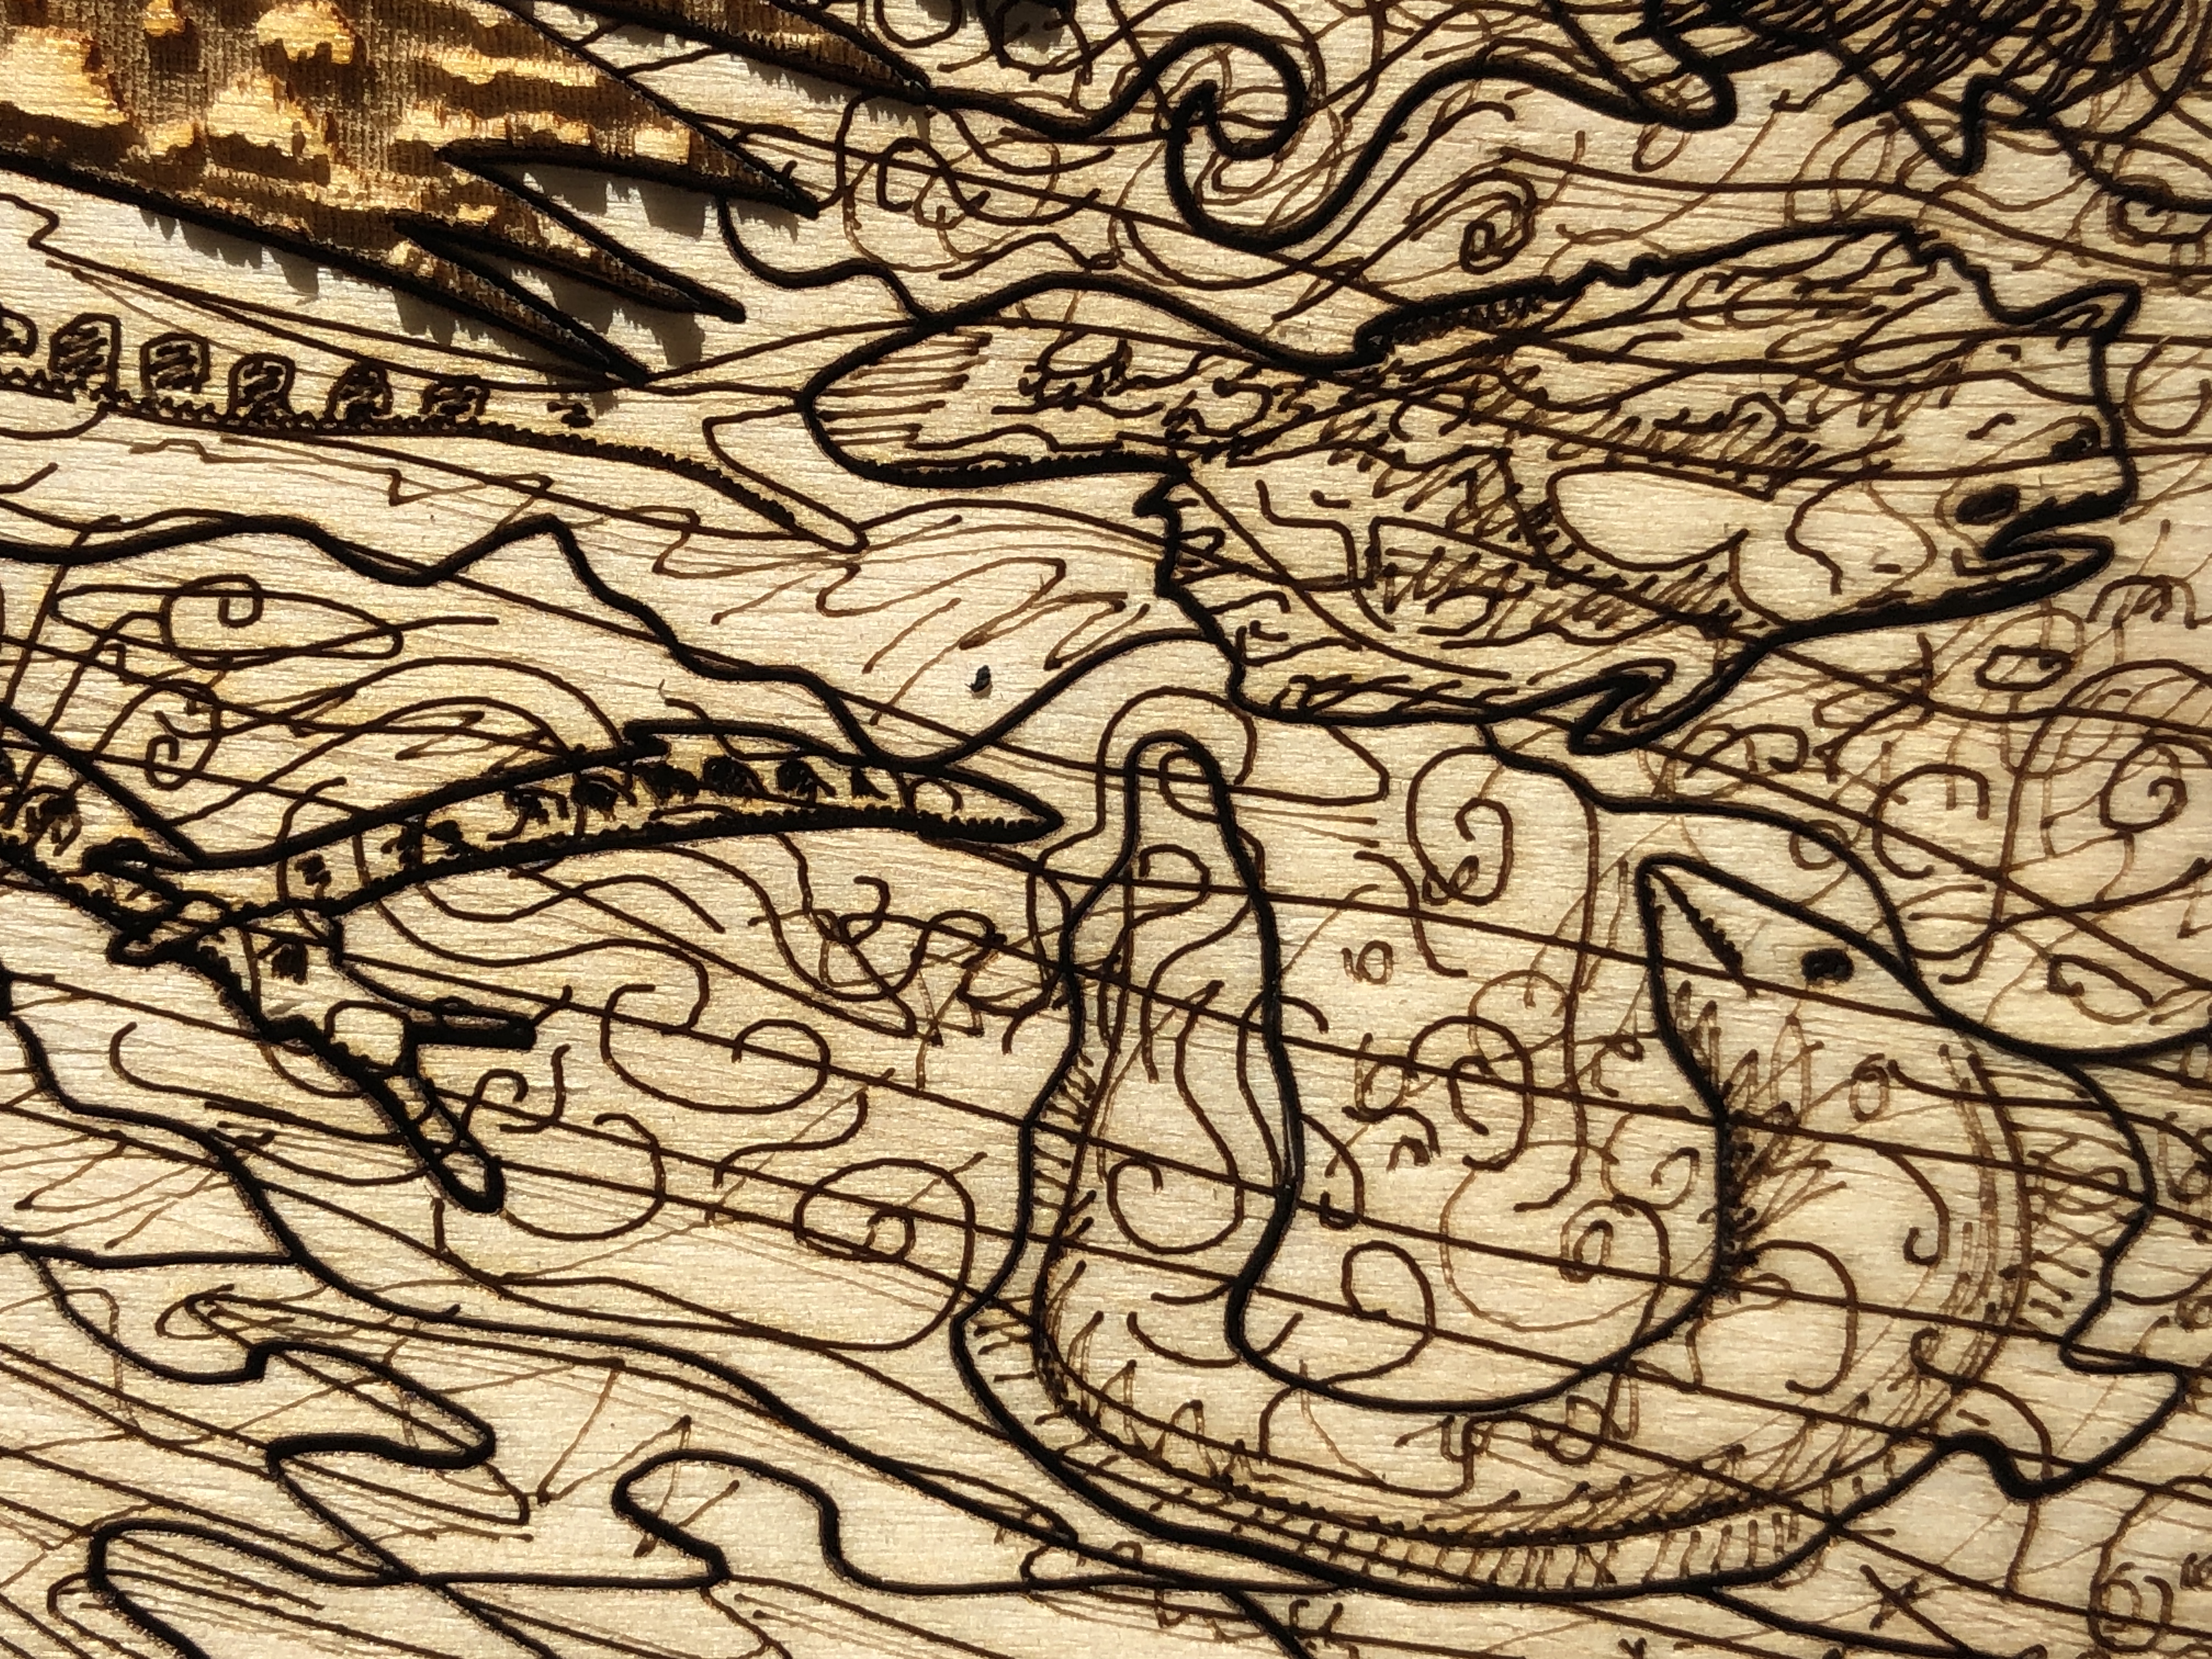
The design uses multiple lasering and layering techniques – cut-throughs, scoring, light scoring, engraving, deep engraving – which all have to be done in a specific sequence. For example, in places in the design, I have score marks on top of some deep engraved areas – so obviously the deep engraving has to be done before the scoring.
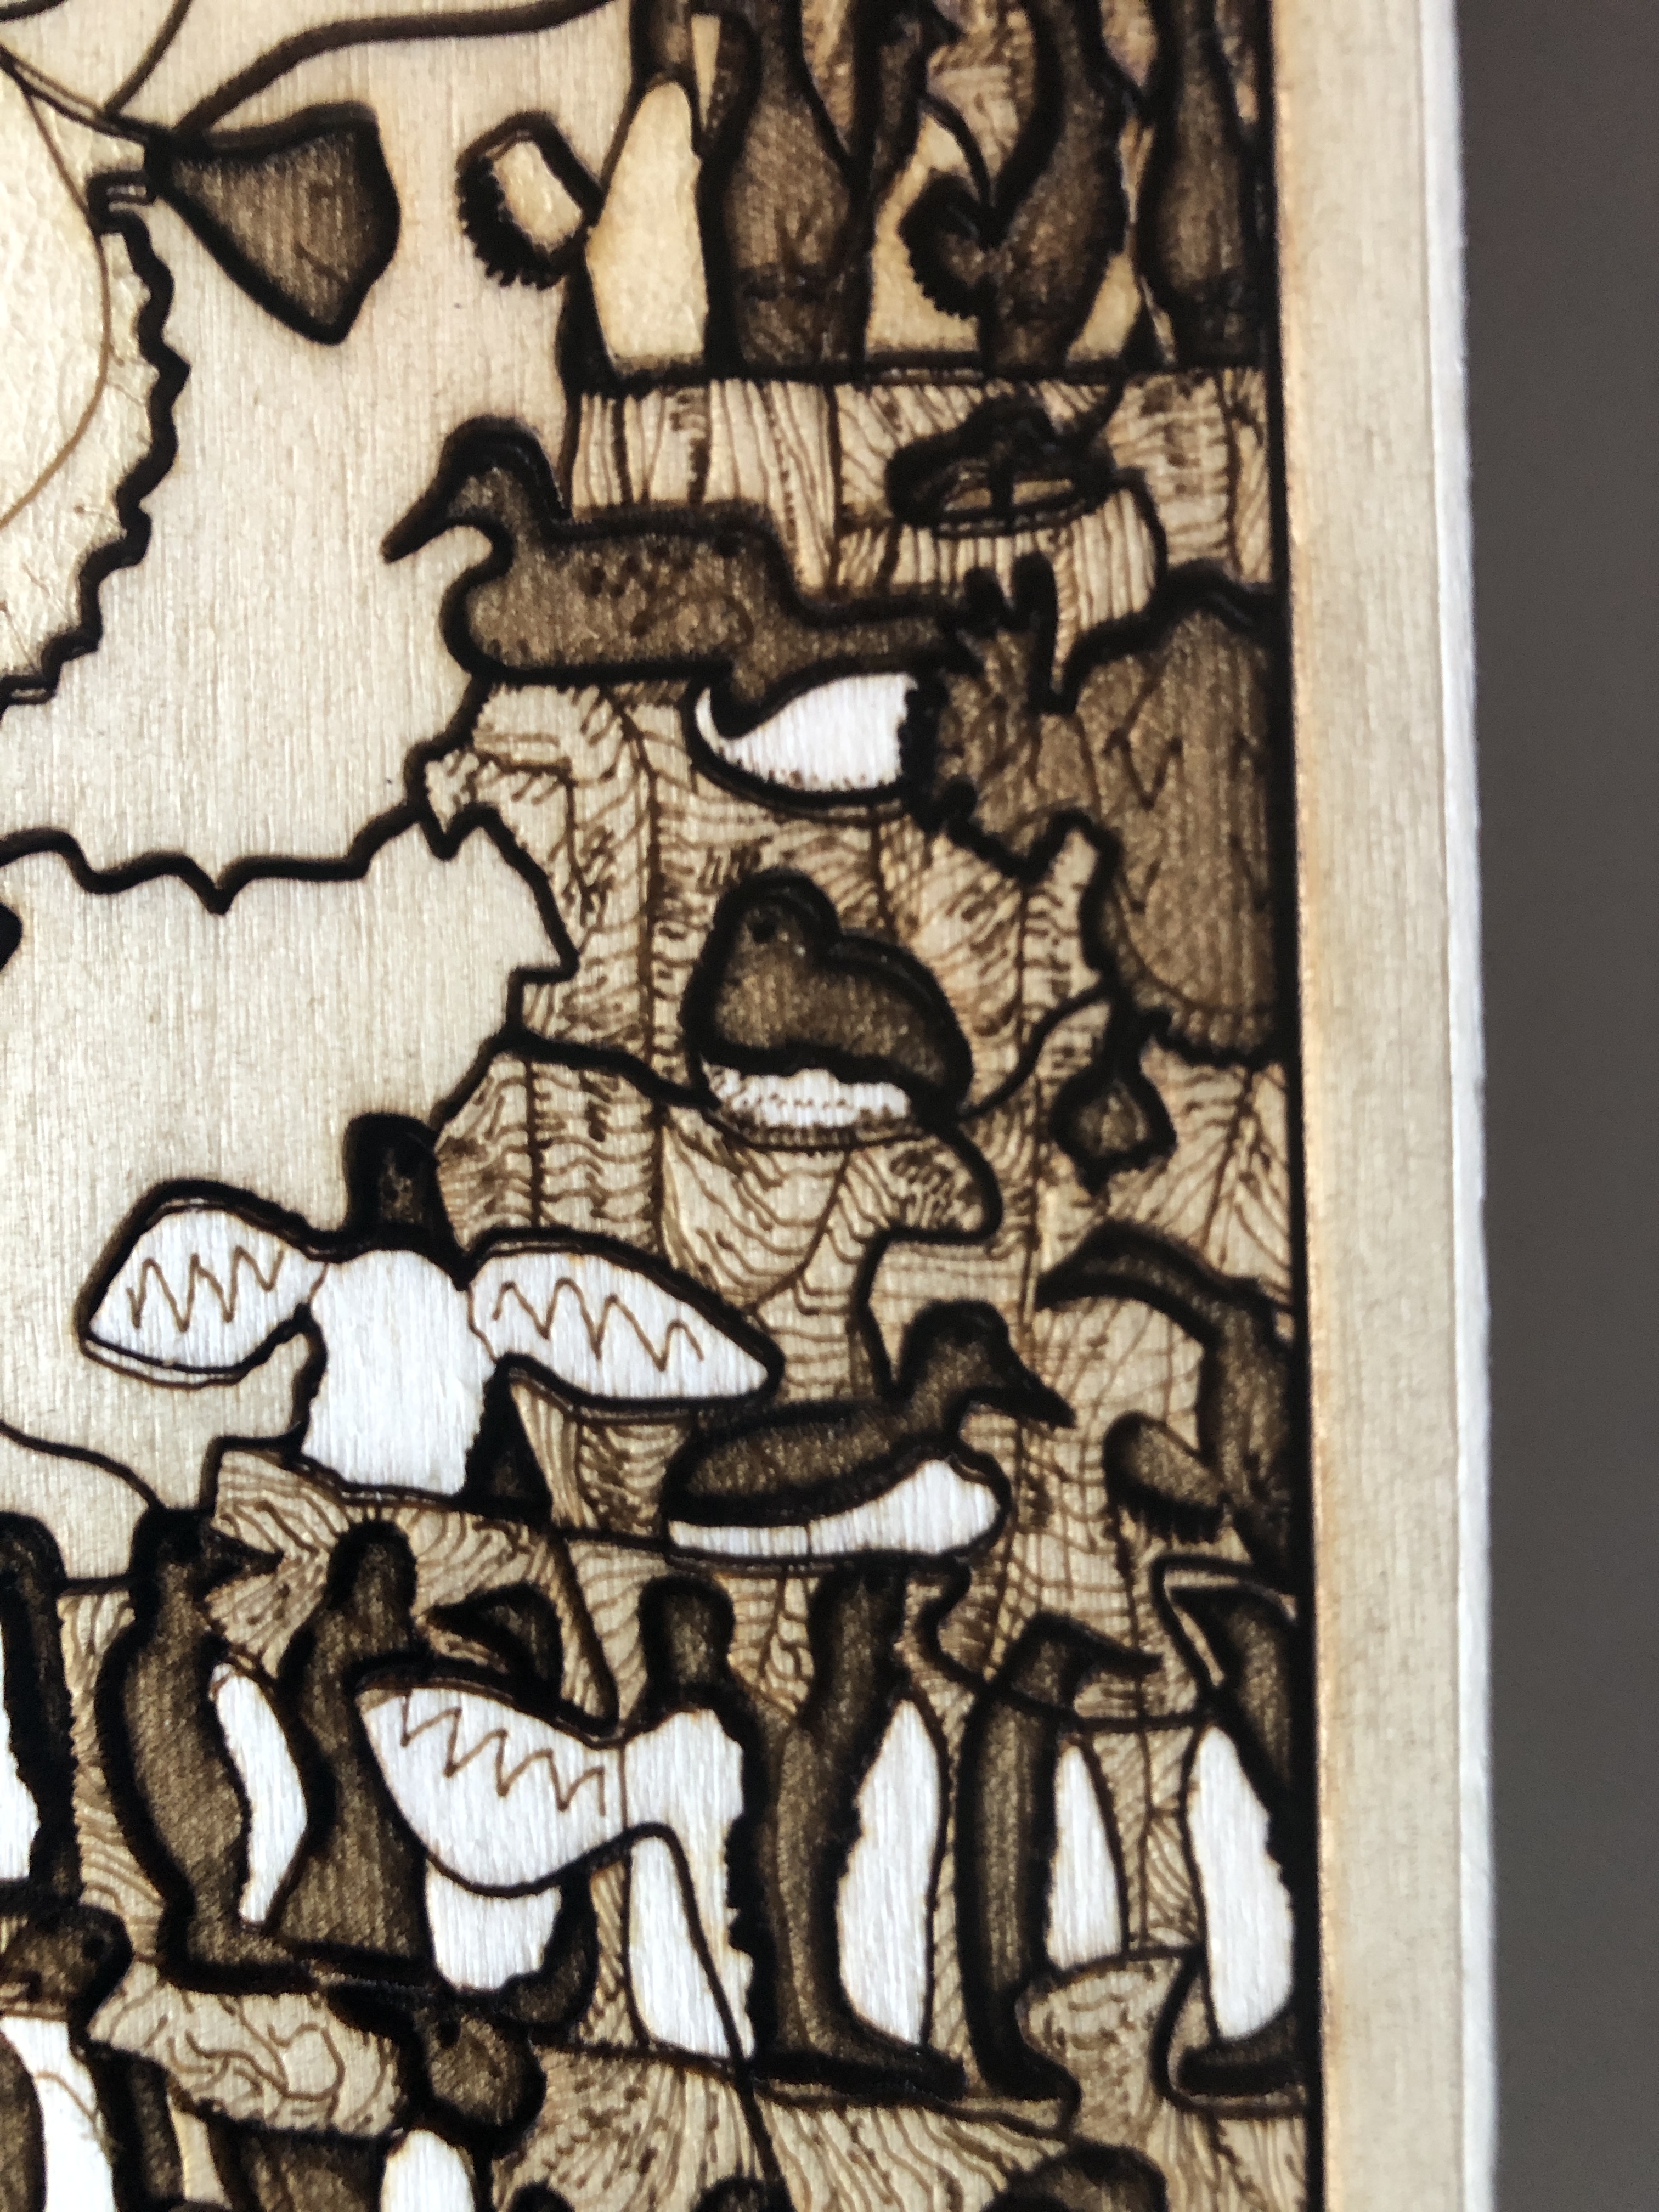
Detail showing a mix of cut lines, scoring, light scoring, and different types of engraving.
Also, I use the flattest, smoothest, least porous, best quality plywood I can (and do special preparations to achieve this – see below) – so I can achieve the subtle effects I’m looking for with the minimum of laser power (basically more power equals less precision).
These are the steps :-
Spray water on the raw plywood panels to raise the grain, let them dry.
Very fine (400 grit) orbit sand the dry plywood, wipe clean.
The plywood panels are then varnished and left to dry for up to three days (depending on time of year – humidity and temperature). This is to minimise the effects of laser burning and makes it easier to clean specific areas afterwards (see step 8).
The plywood panels are then flattened in a special press for several days.
A single plywood sheet is put in a custom-made flat panel laser bed holder (I designed).
The lasering itself takes a little over seven hours on my 130W CO2 laser (for a single artwork).
After lasering, I do a detailed quality check. Wood, being organic with glued layers, varies from sheet to sheet – and some lasered artwork doesn’t make the grade – or needs fixing in some way.
Then very carefully lighten the brightest/whitest, most important areas (that have been darkened by smoke) with cotton swabs and a mild acid – to make them stand out better. This seems very much like an art-restoration process – like removing the old varnish from an old masterpiece – to restore the original colours! (But I only do certain areas to make them stand out – not the whole thing.) This takes me about an hour and a half. The difference is subtle, but vital to me. It is the difference between a mechanically produced piece of art and a true piece of art I’m happy with.
The following two images show before and after the white masking has been removed (notice how the white bellies of the guillemots stand out better after cleaning, and the eye of the main bird) :-
The following image shows detail of a part-de-masked area (compare the guillemot bellies on the bottom and middle to those on the top row) :-
The artwork then gets a final varnishing and left to dry for up to three days. This is especially important to protect the newly exposed wood surfaces.
I use pyrography to number each piece in the limited edition.
The special display mounts – with a selection of pieces cut of in order to highlight the work is in fact a puzzle – and not simply a drawing – are individually laser cut out of high quality mount board. This takes my precision laser about 40 minutes.
Finally I frame the artwork to using museum materials and techniques. I use anti-reflective, 99% UV filtering, ultra clear museum-grade glass to provide maximum protection to the piece.
I think the final work shows that lasers can be used to make real art – and are capable of very fine control – as much as lithographic printing, silk-screen printing, wood-block printing, lino-printing. Like any tool, the best results come with experience, knowledge, perseverance, patience, and finding ways around the natural limitations of the medium…
Just to give you an artist’s insight into this piece, a video of me talking about a very similar artwork to this (“Golden Plover with Egg (Art Puzzle) – Laser”) and the making of it can be seen on YouTube :-
– with the main difference being this one takes twice as long to laser, and three times as long to remove the masking tape.