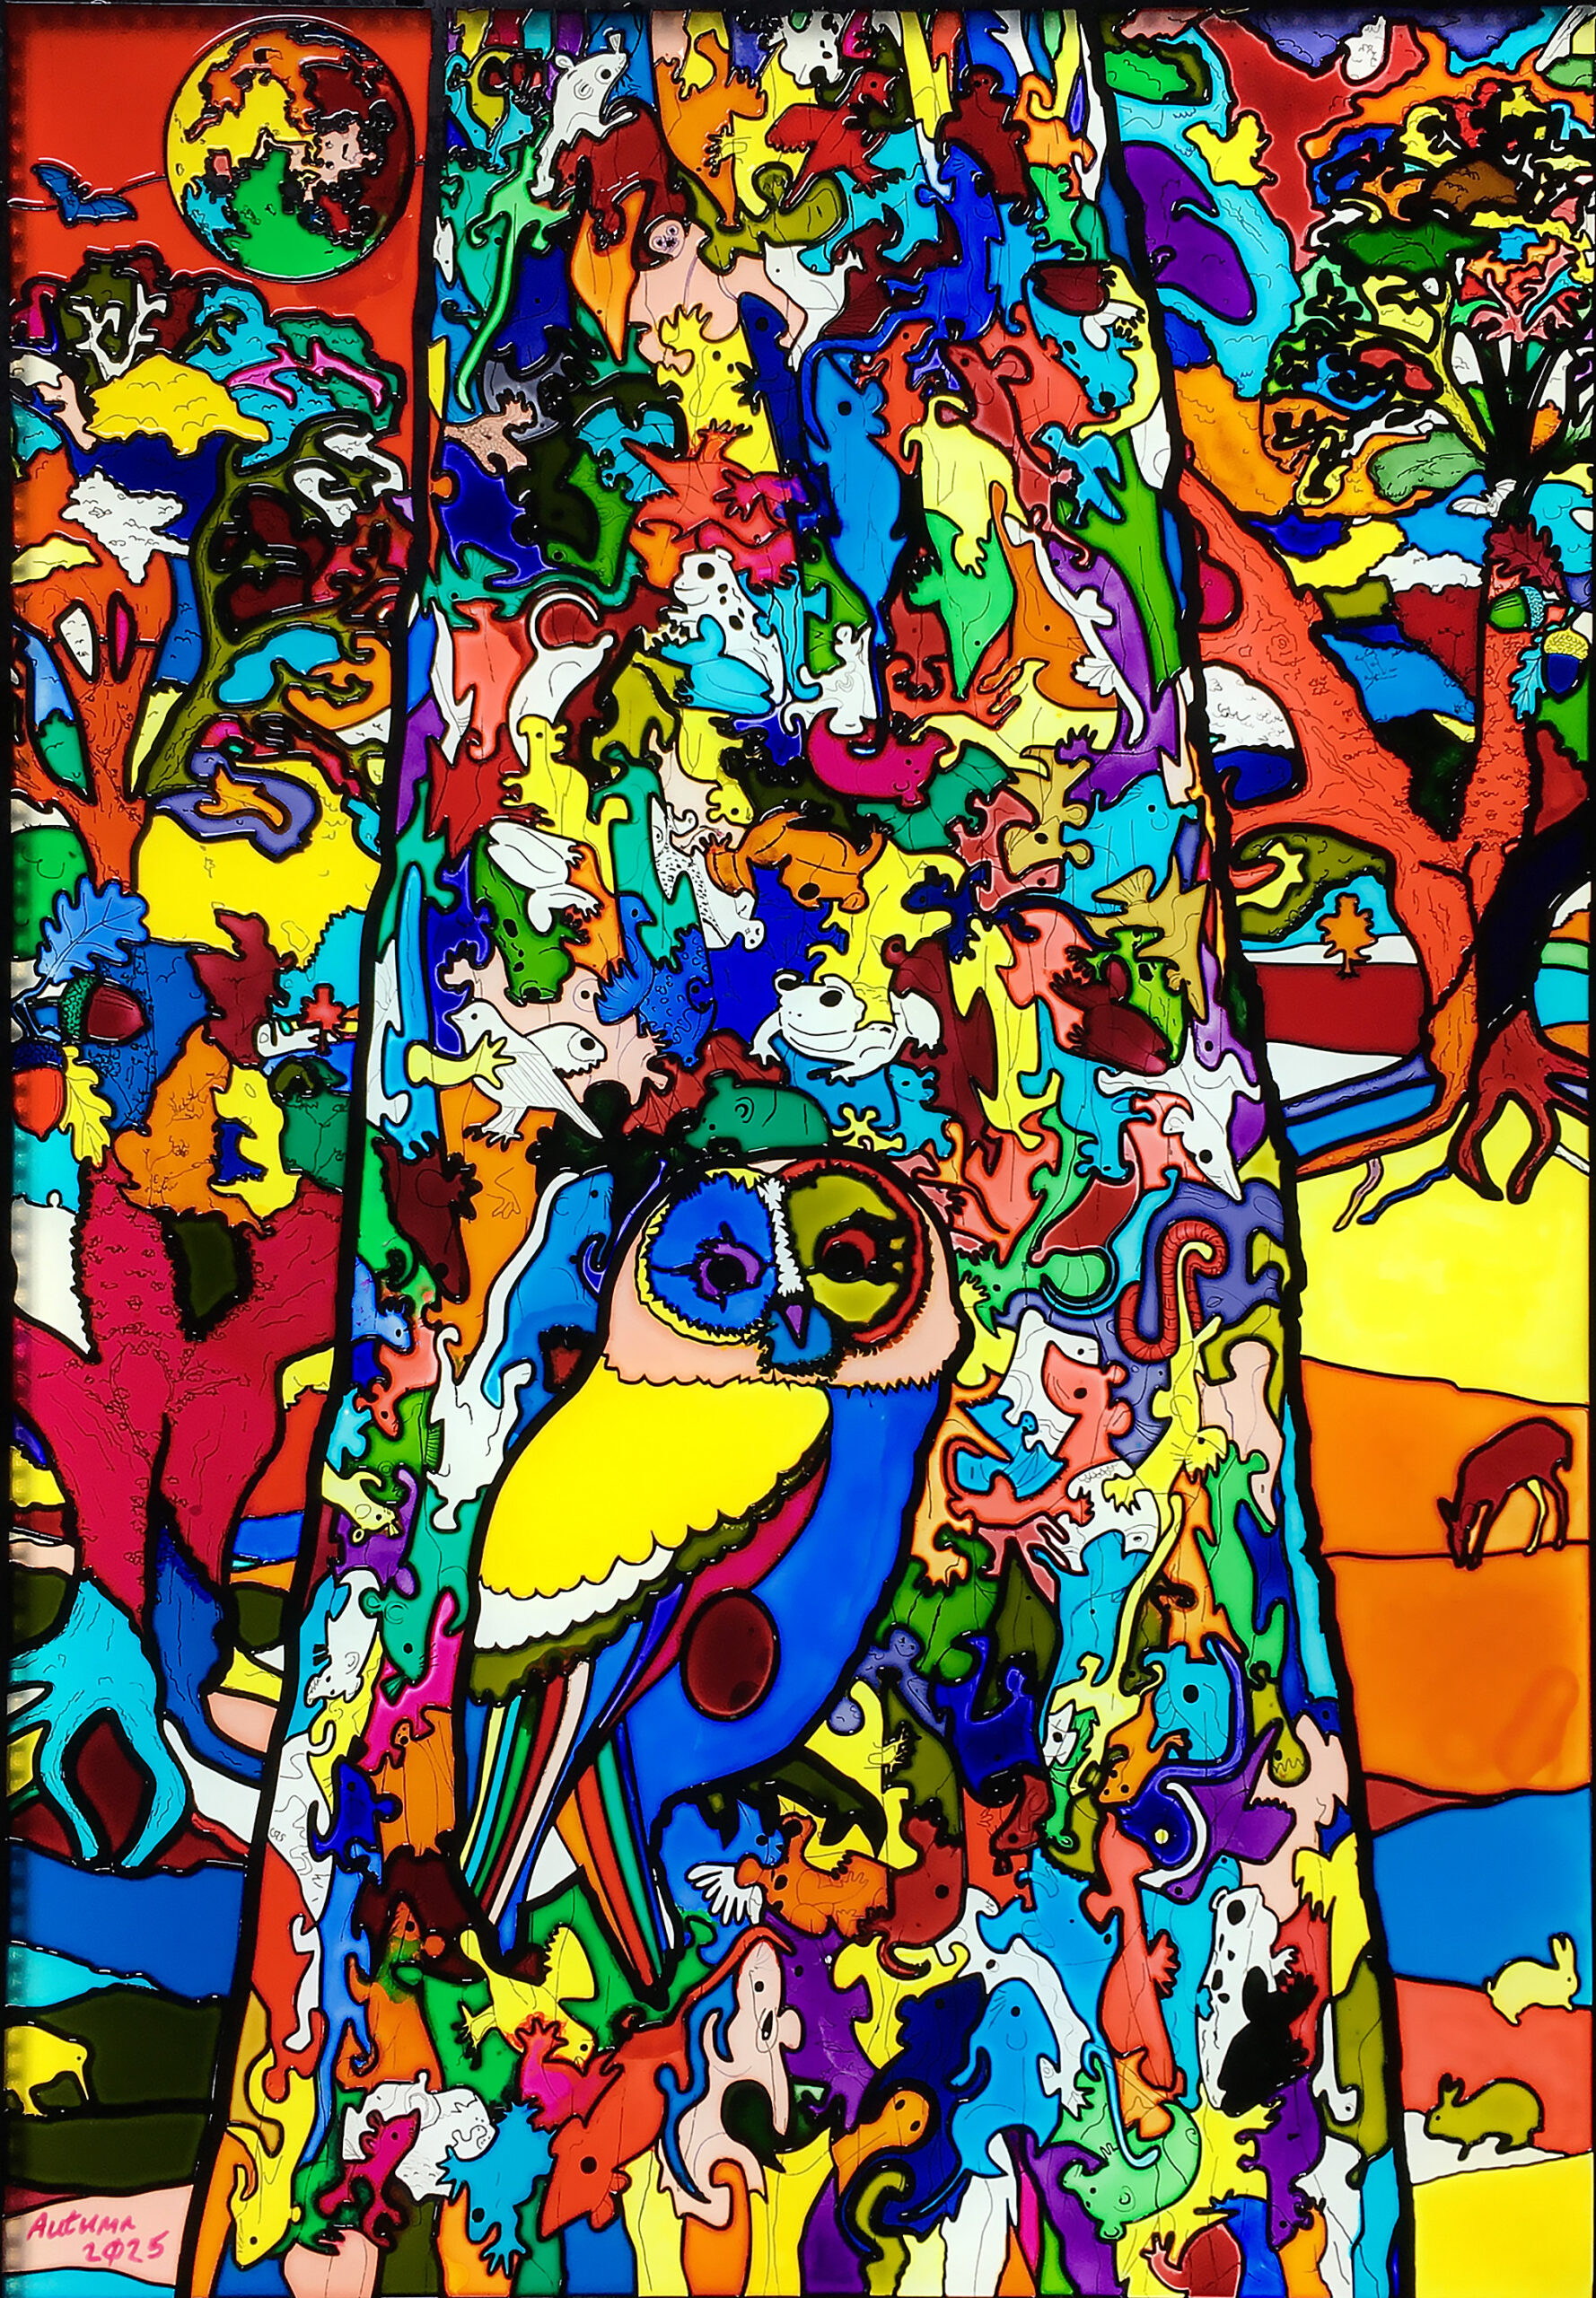
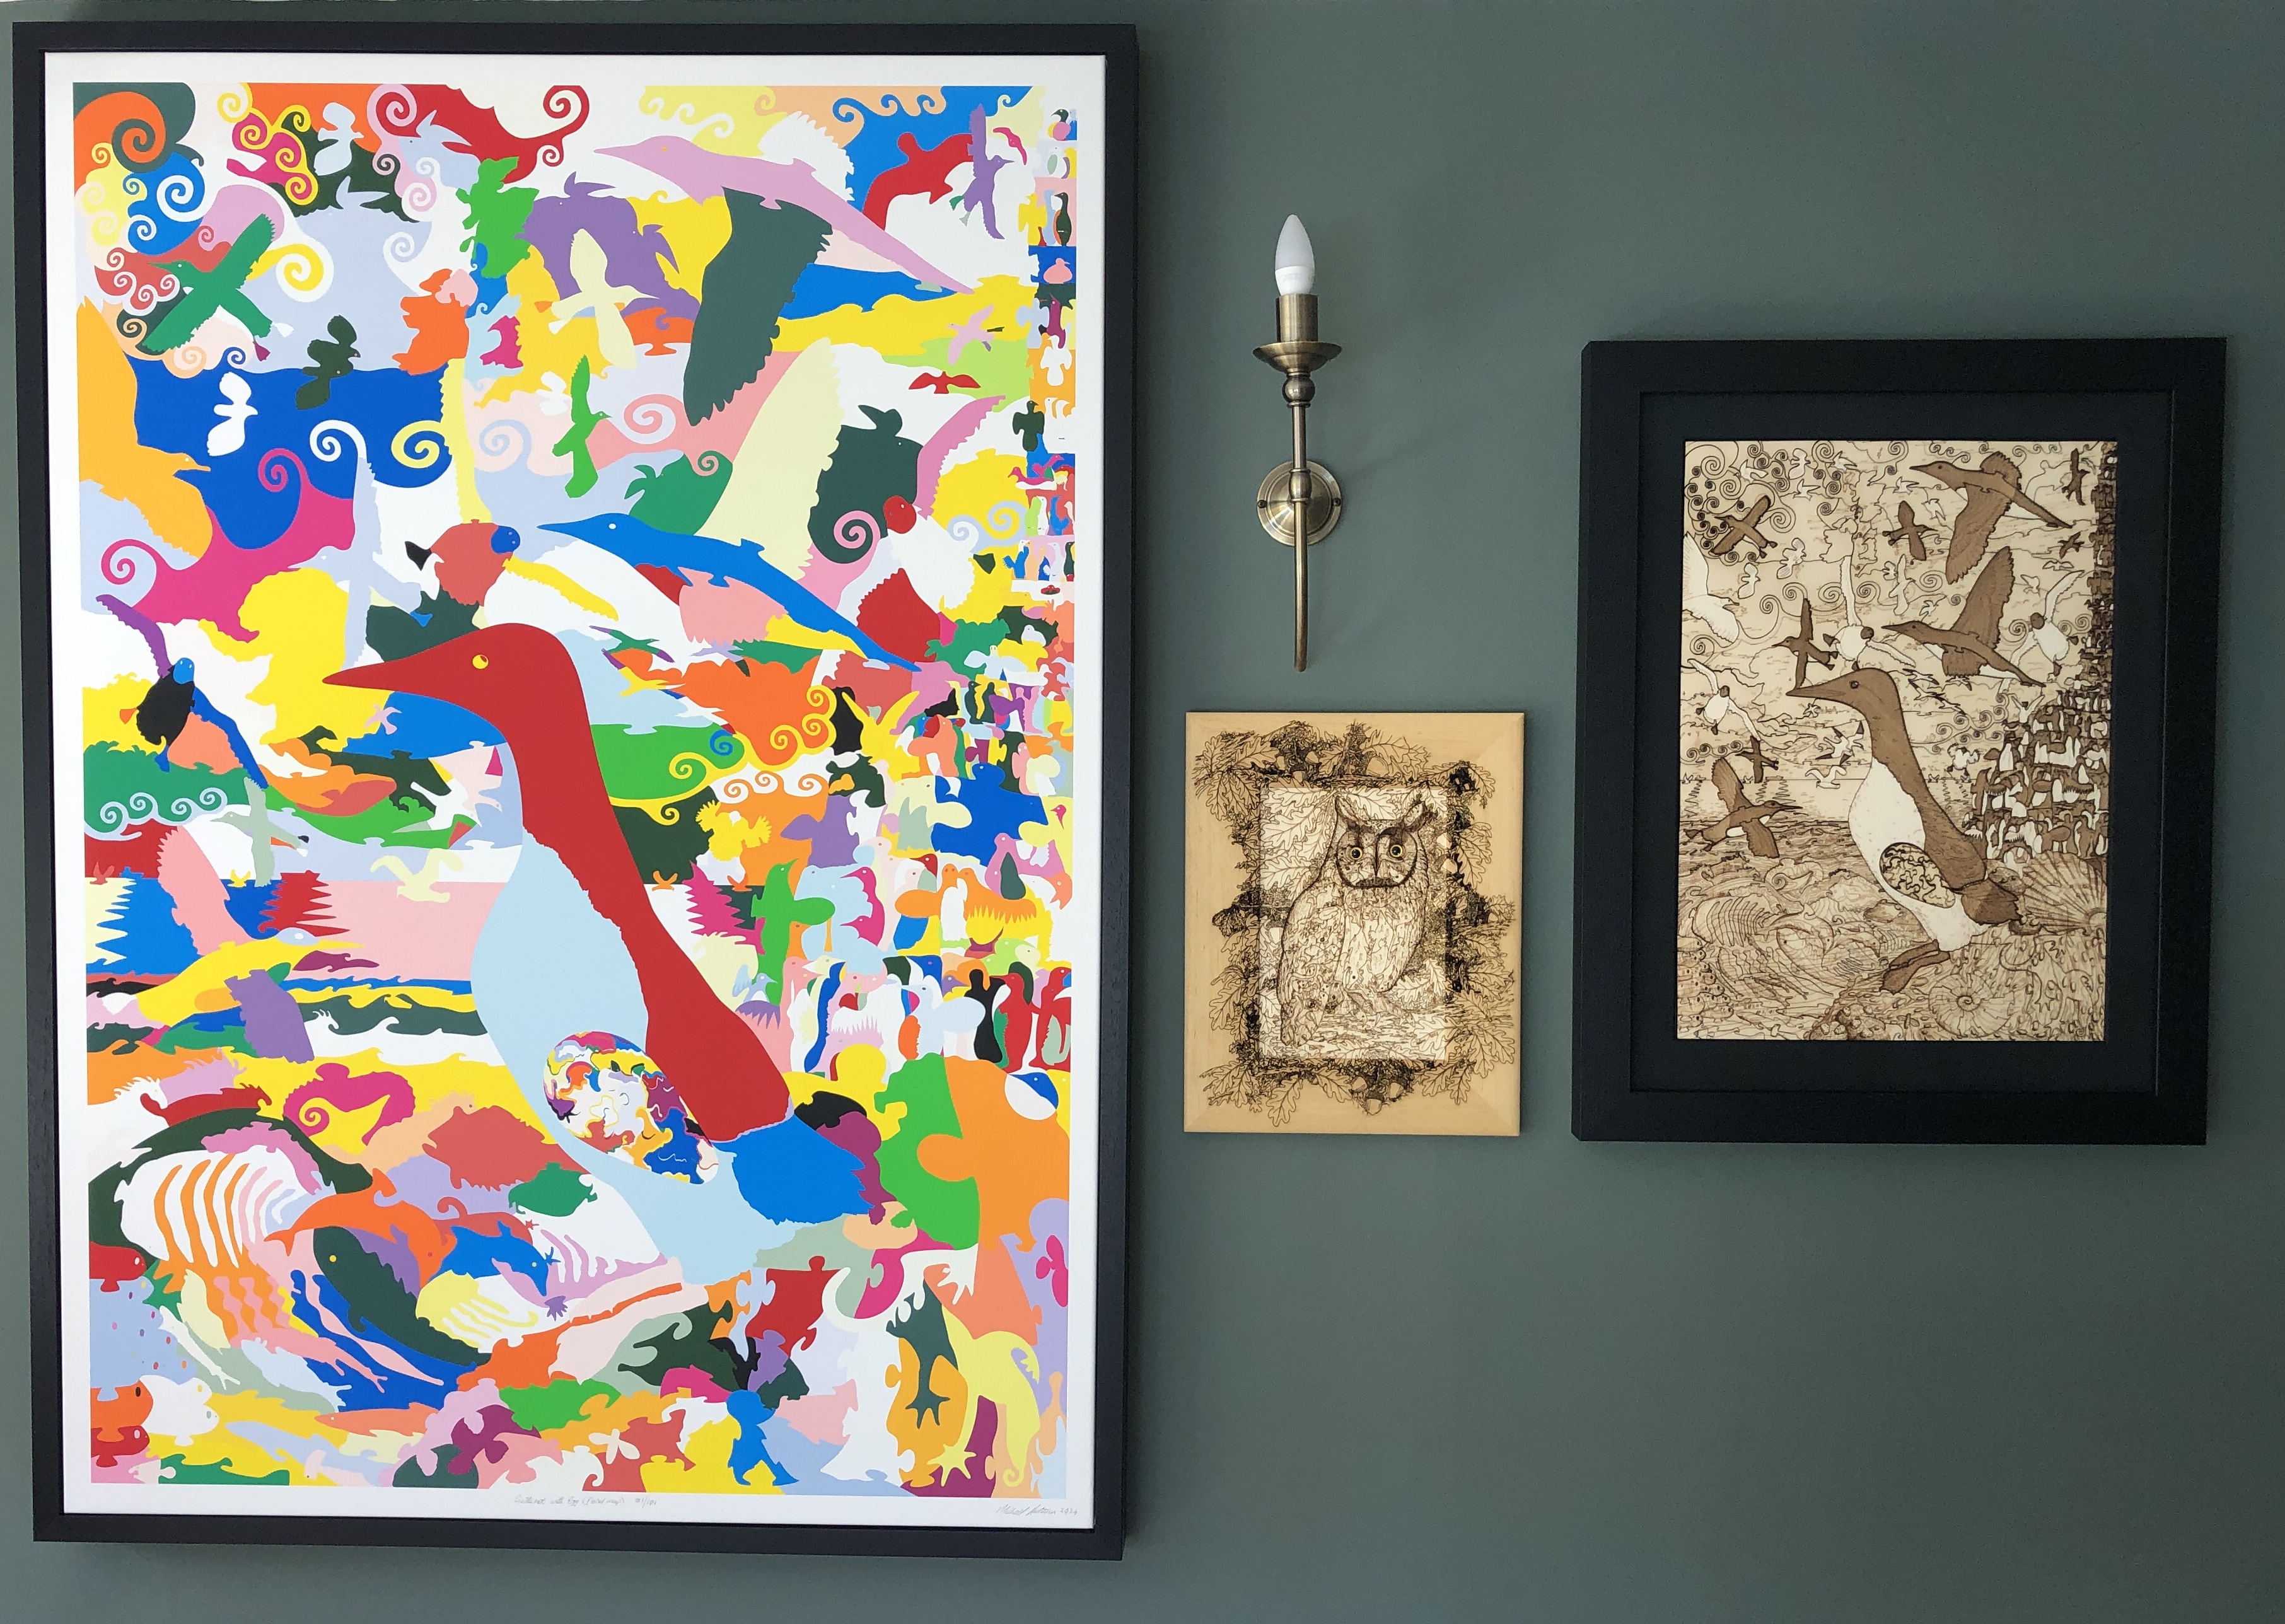
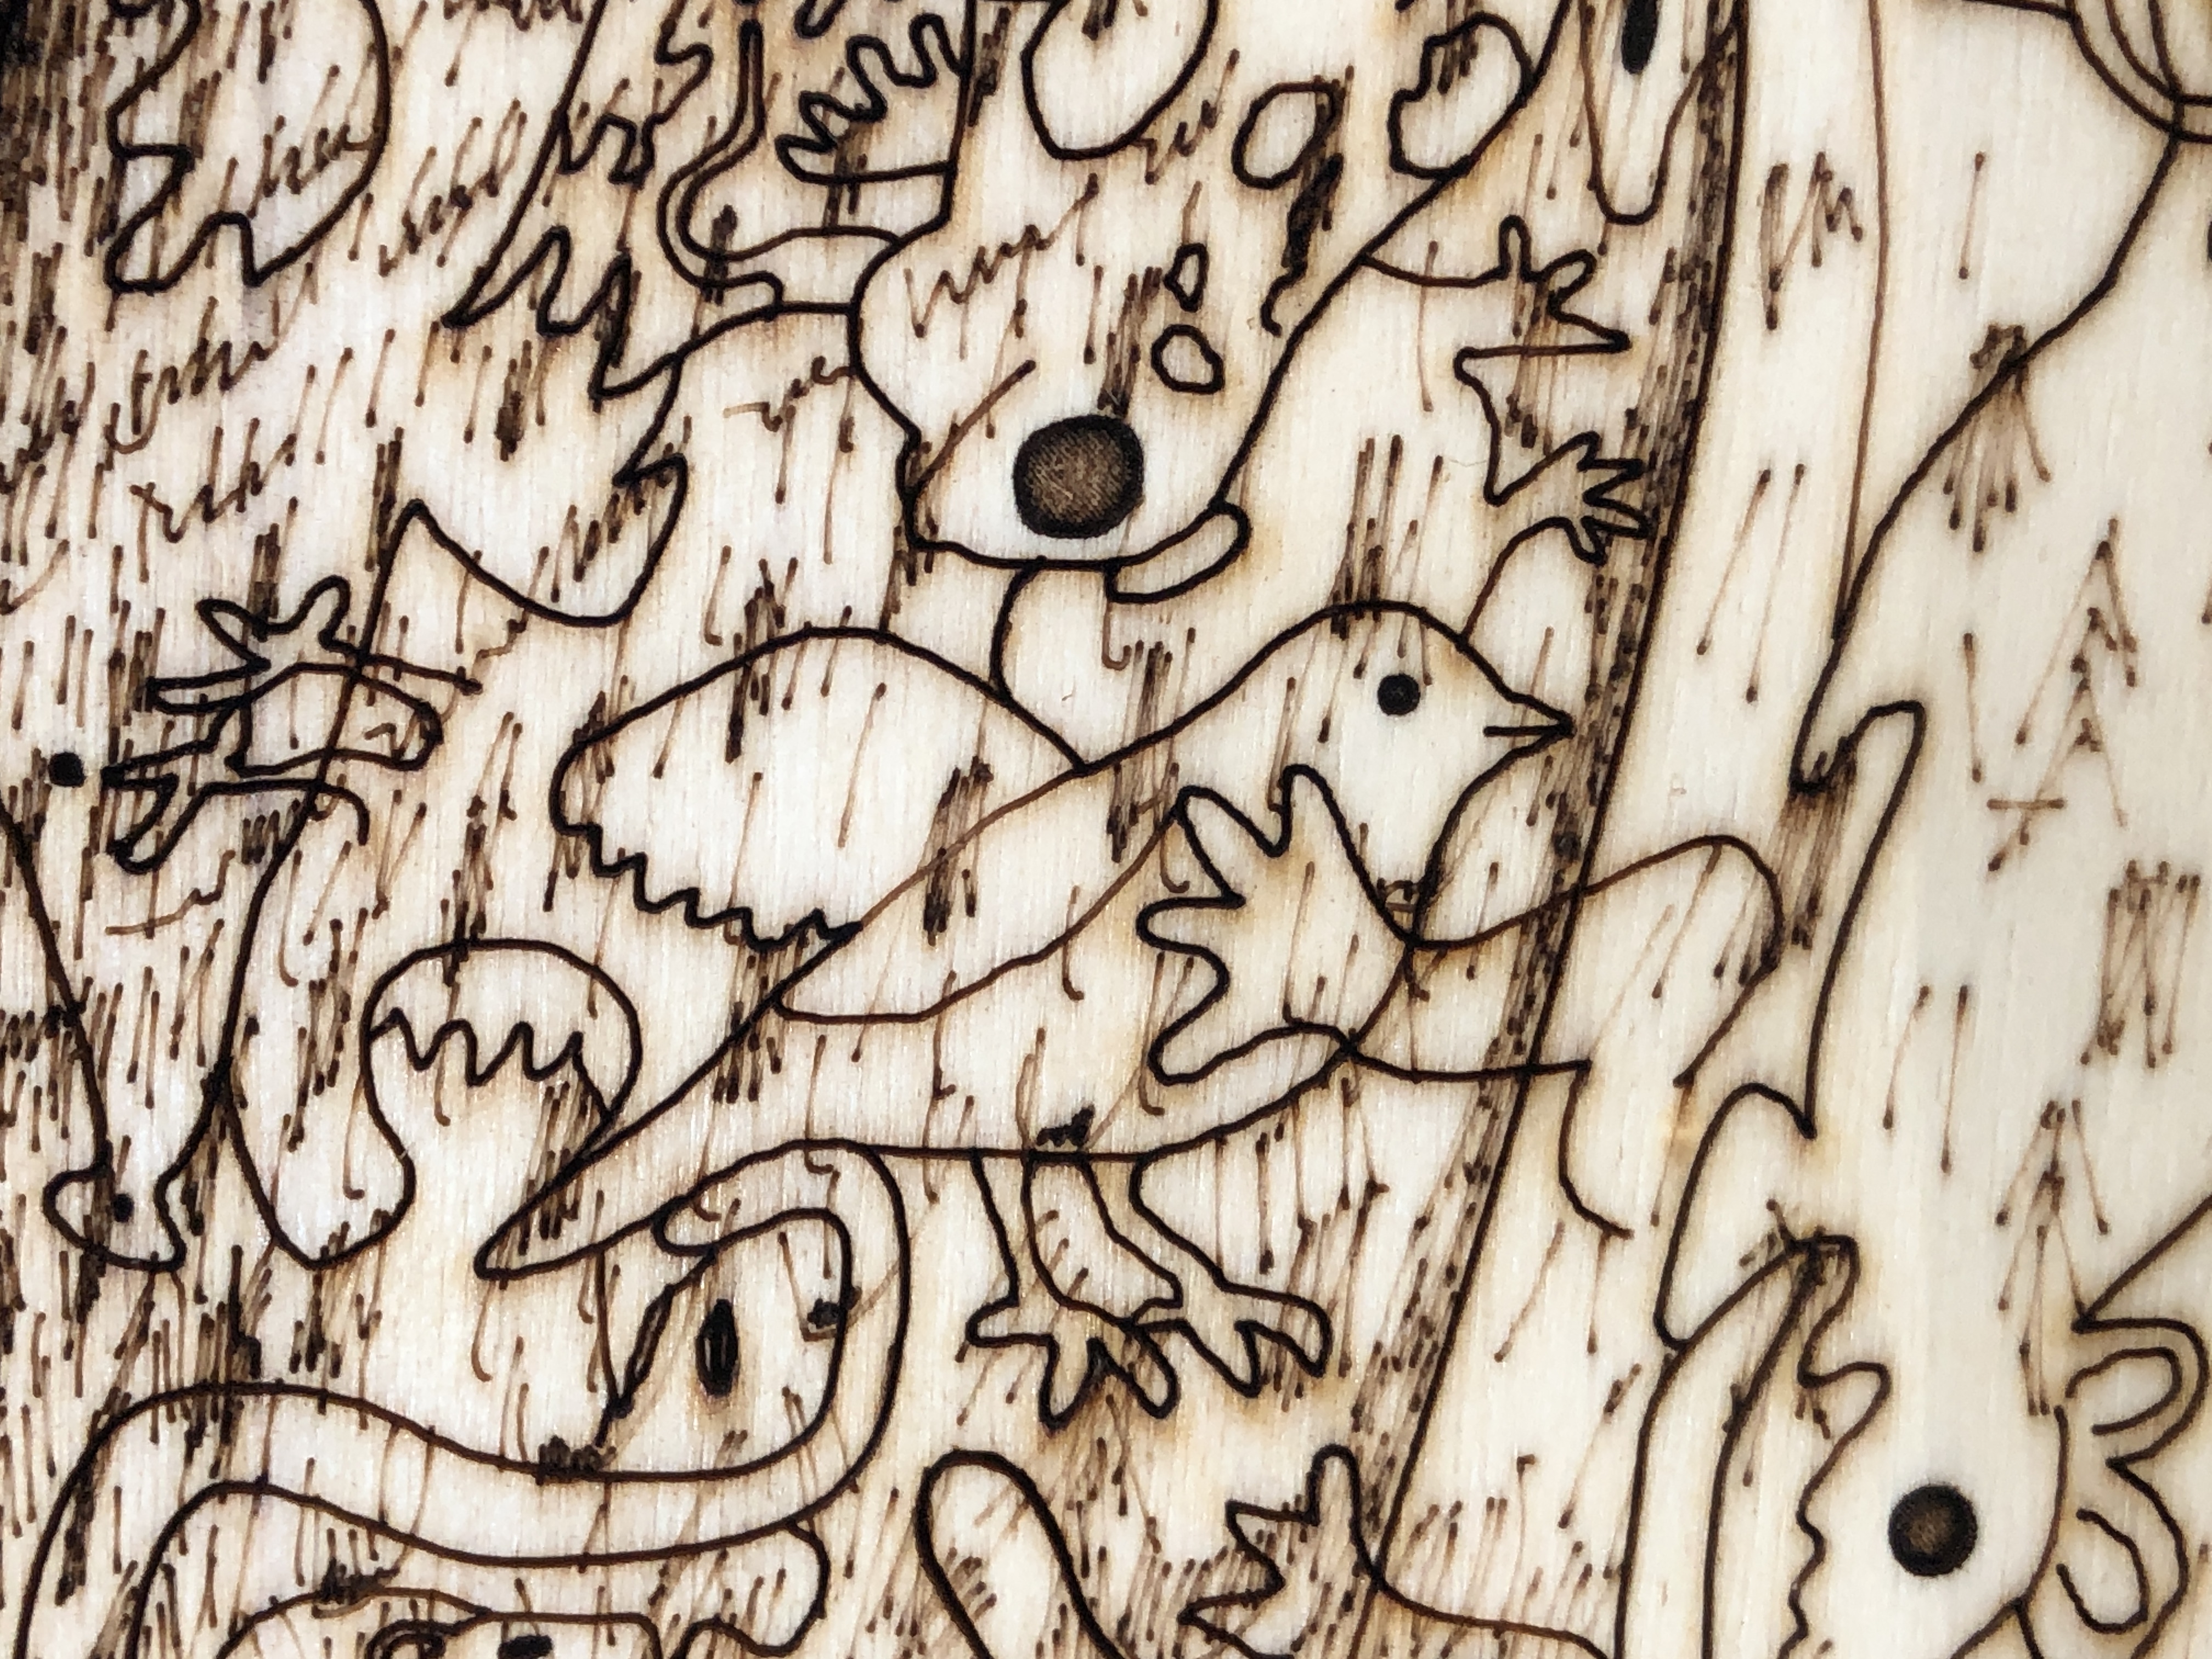
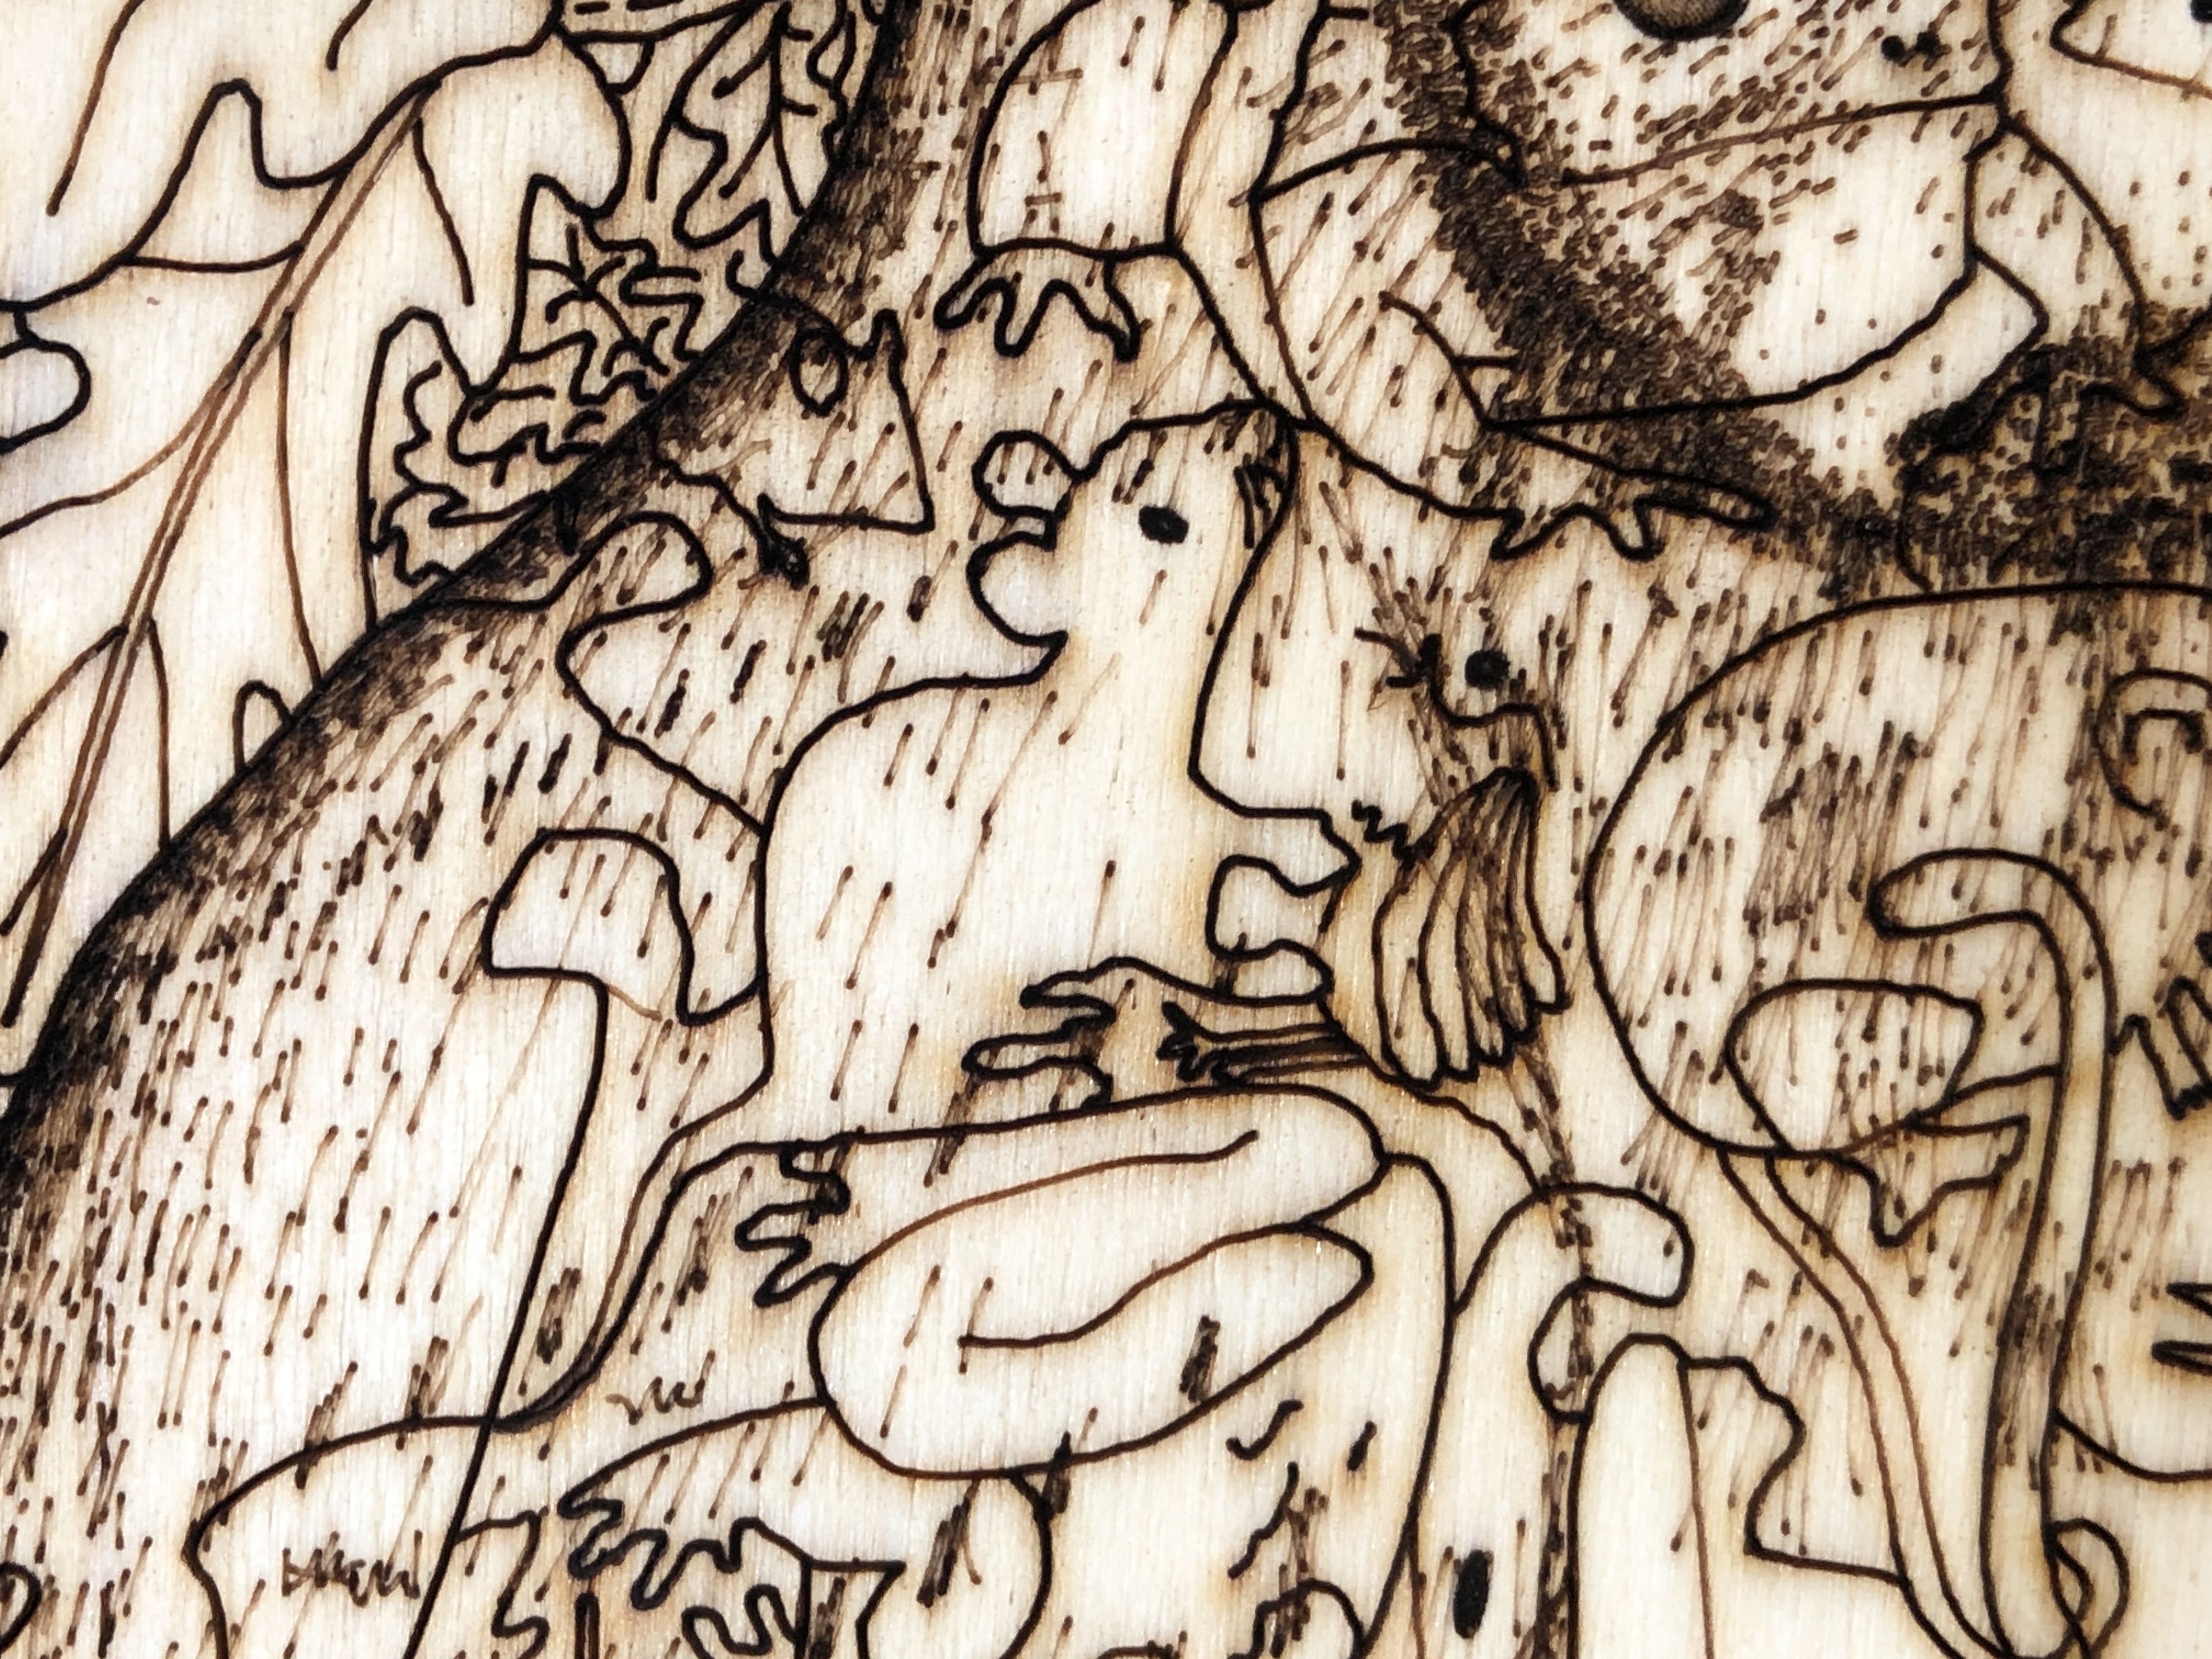
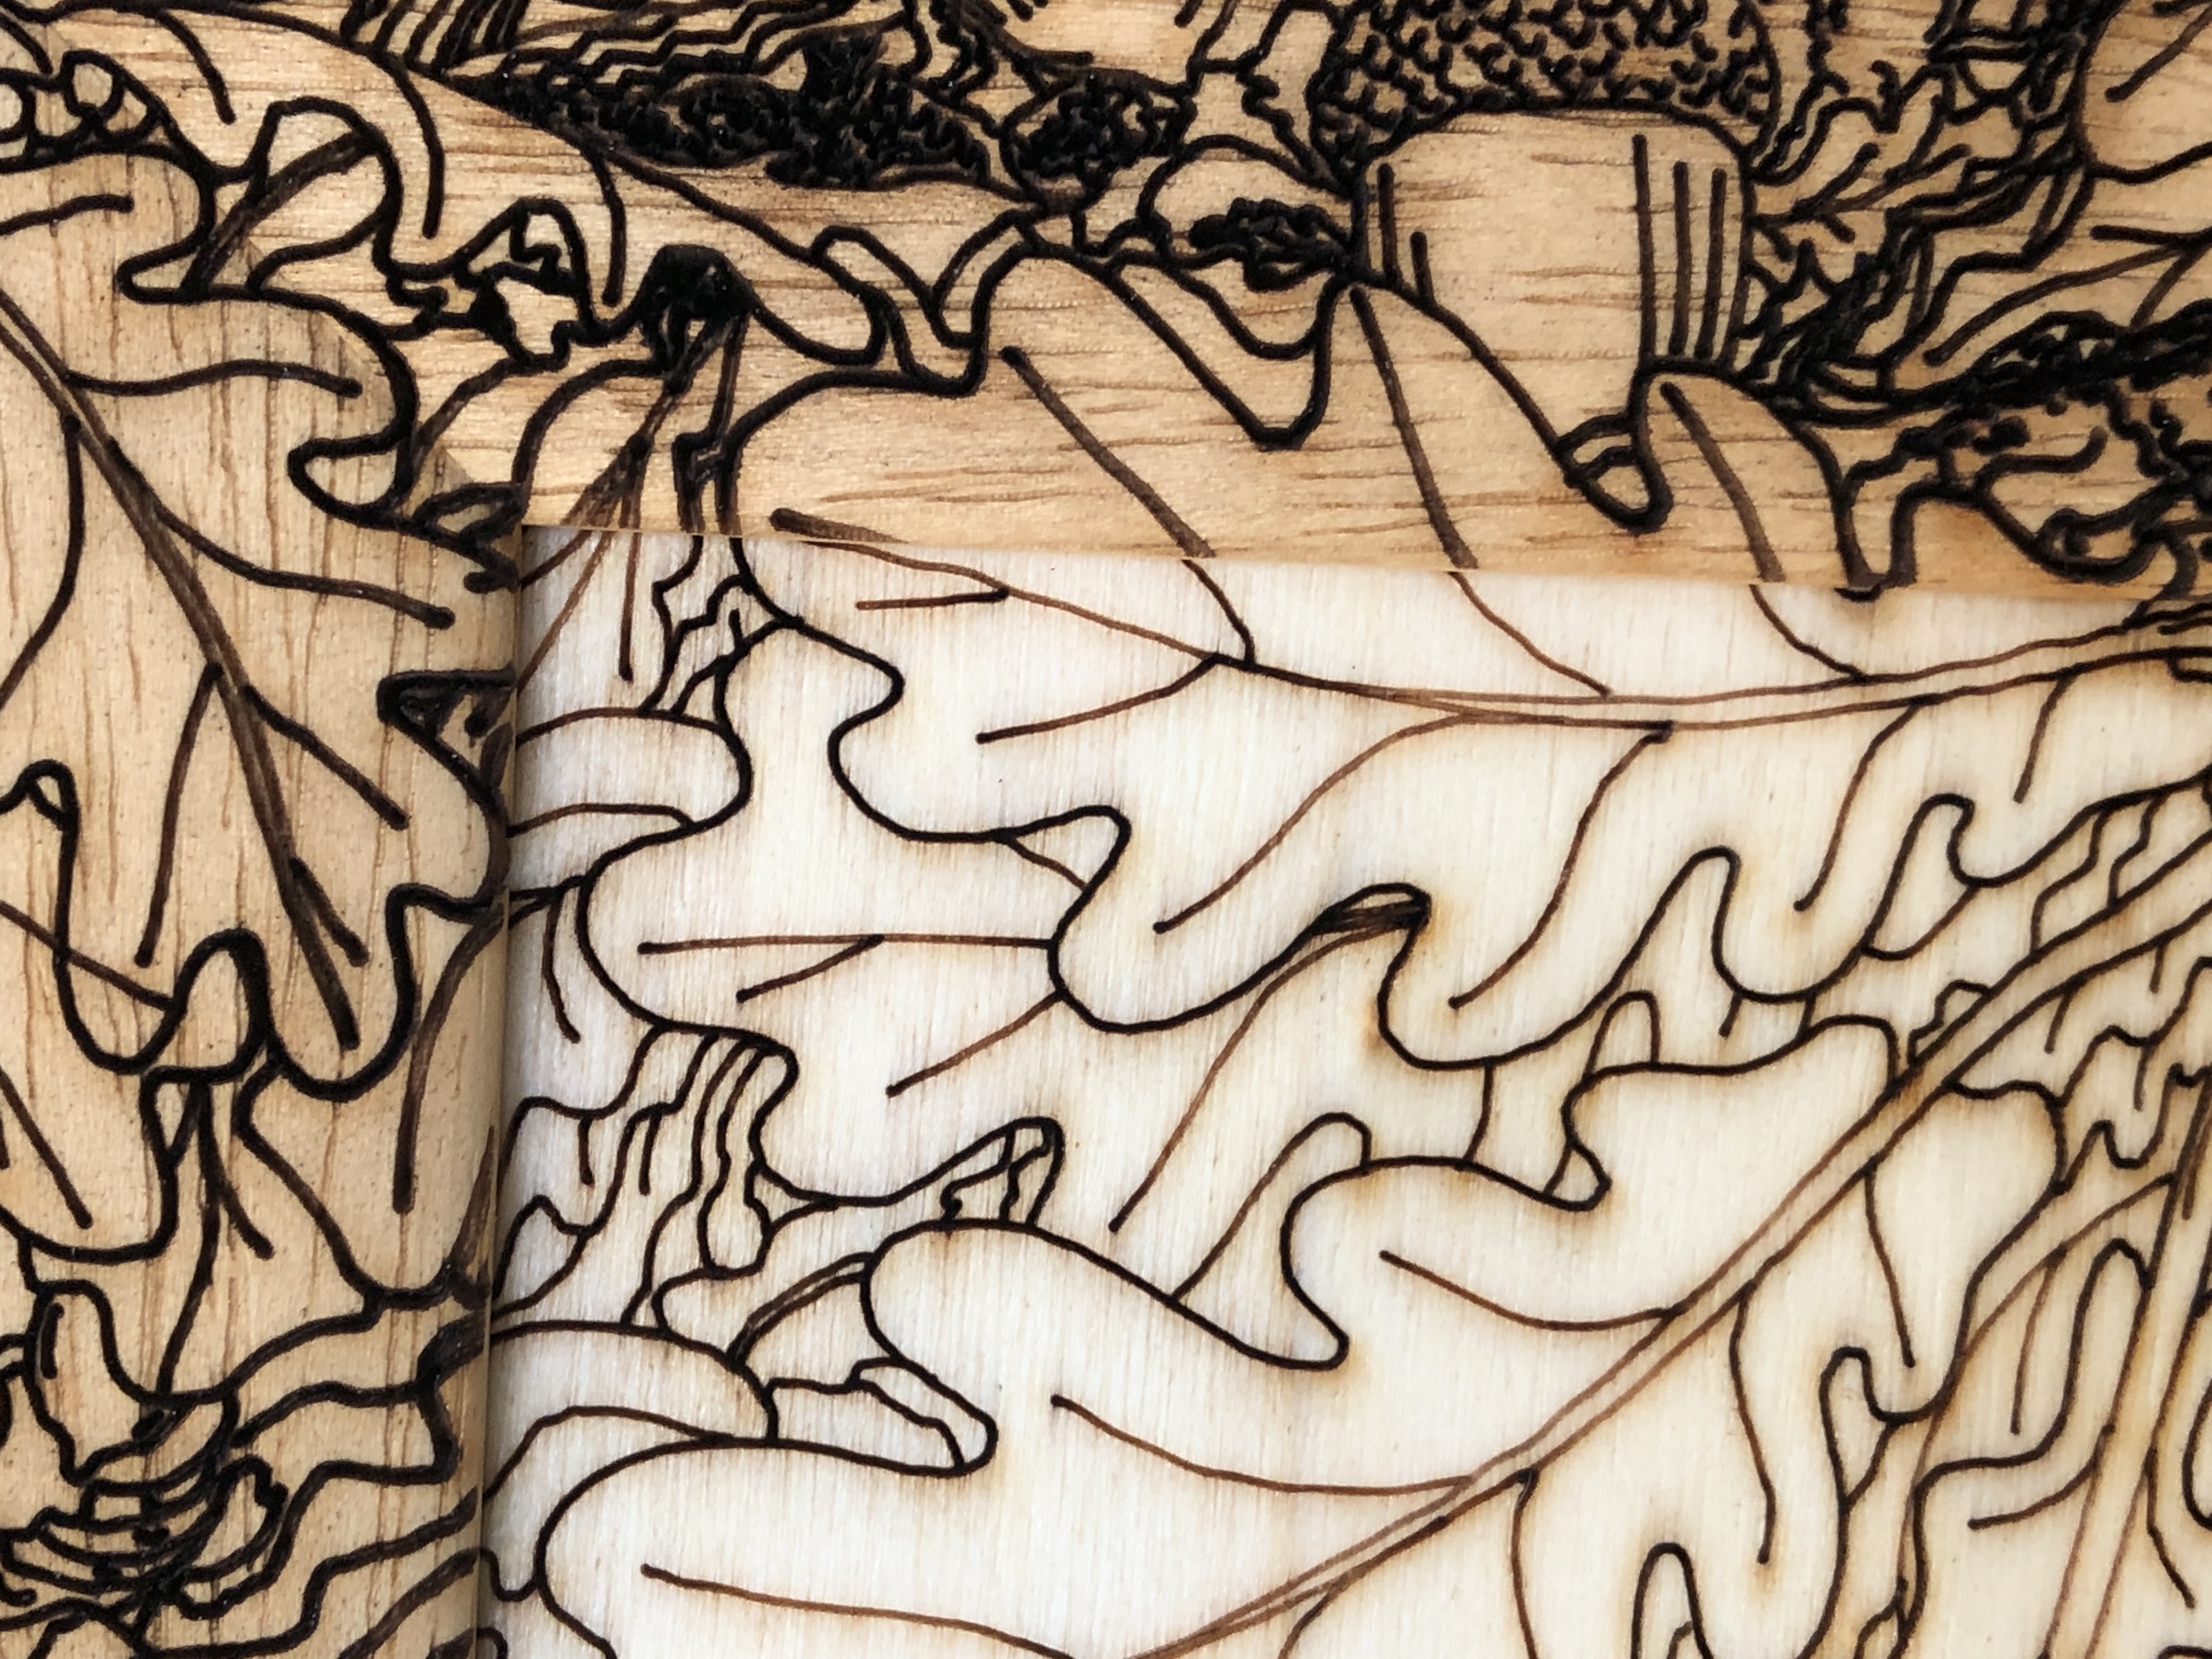
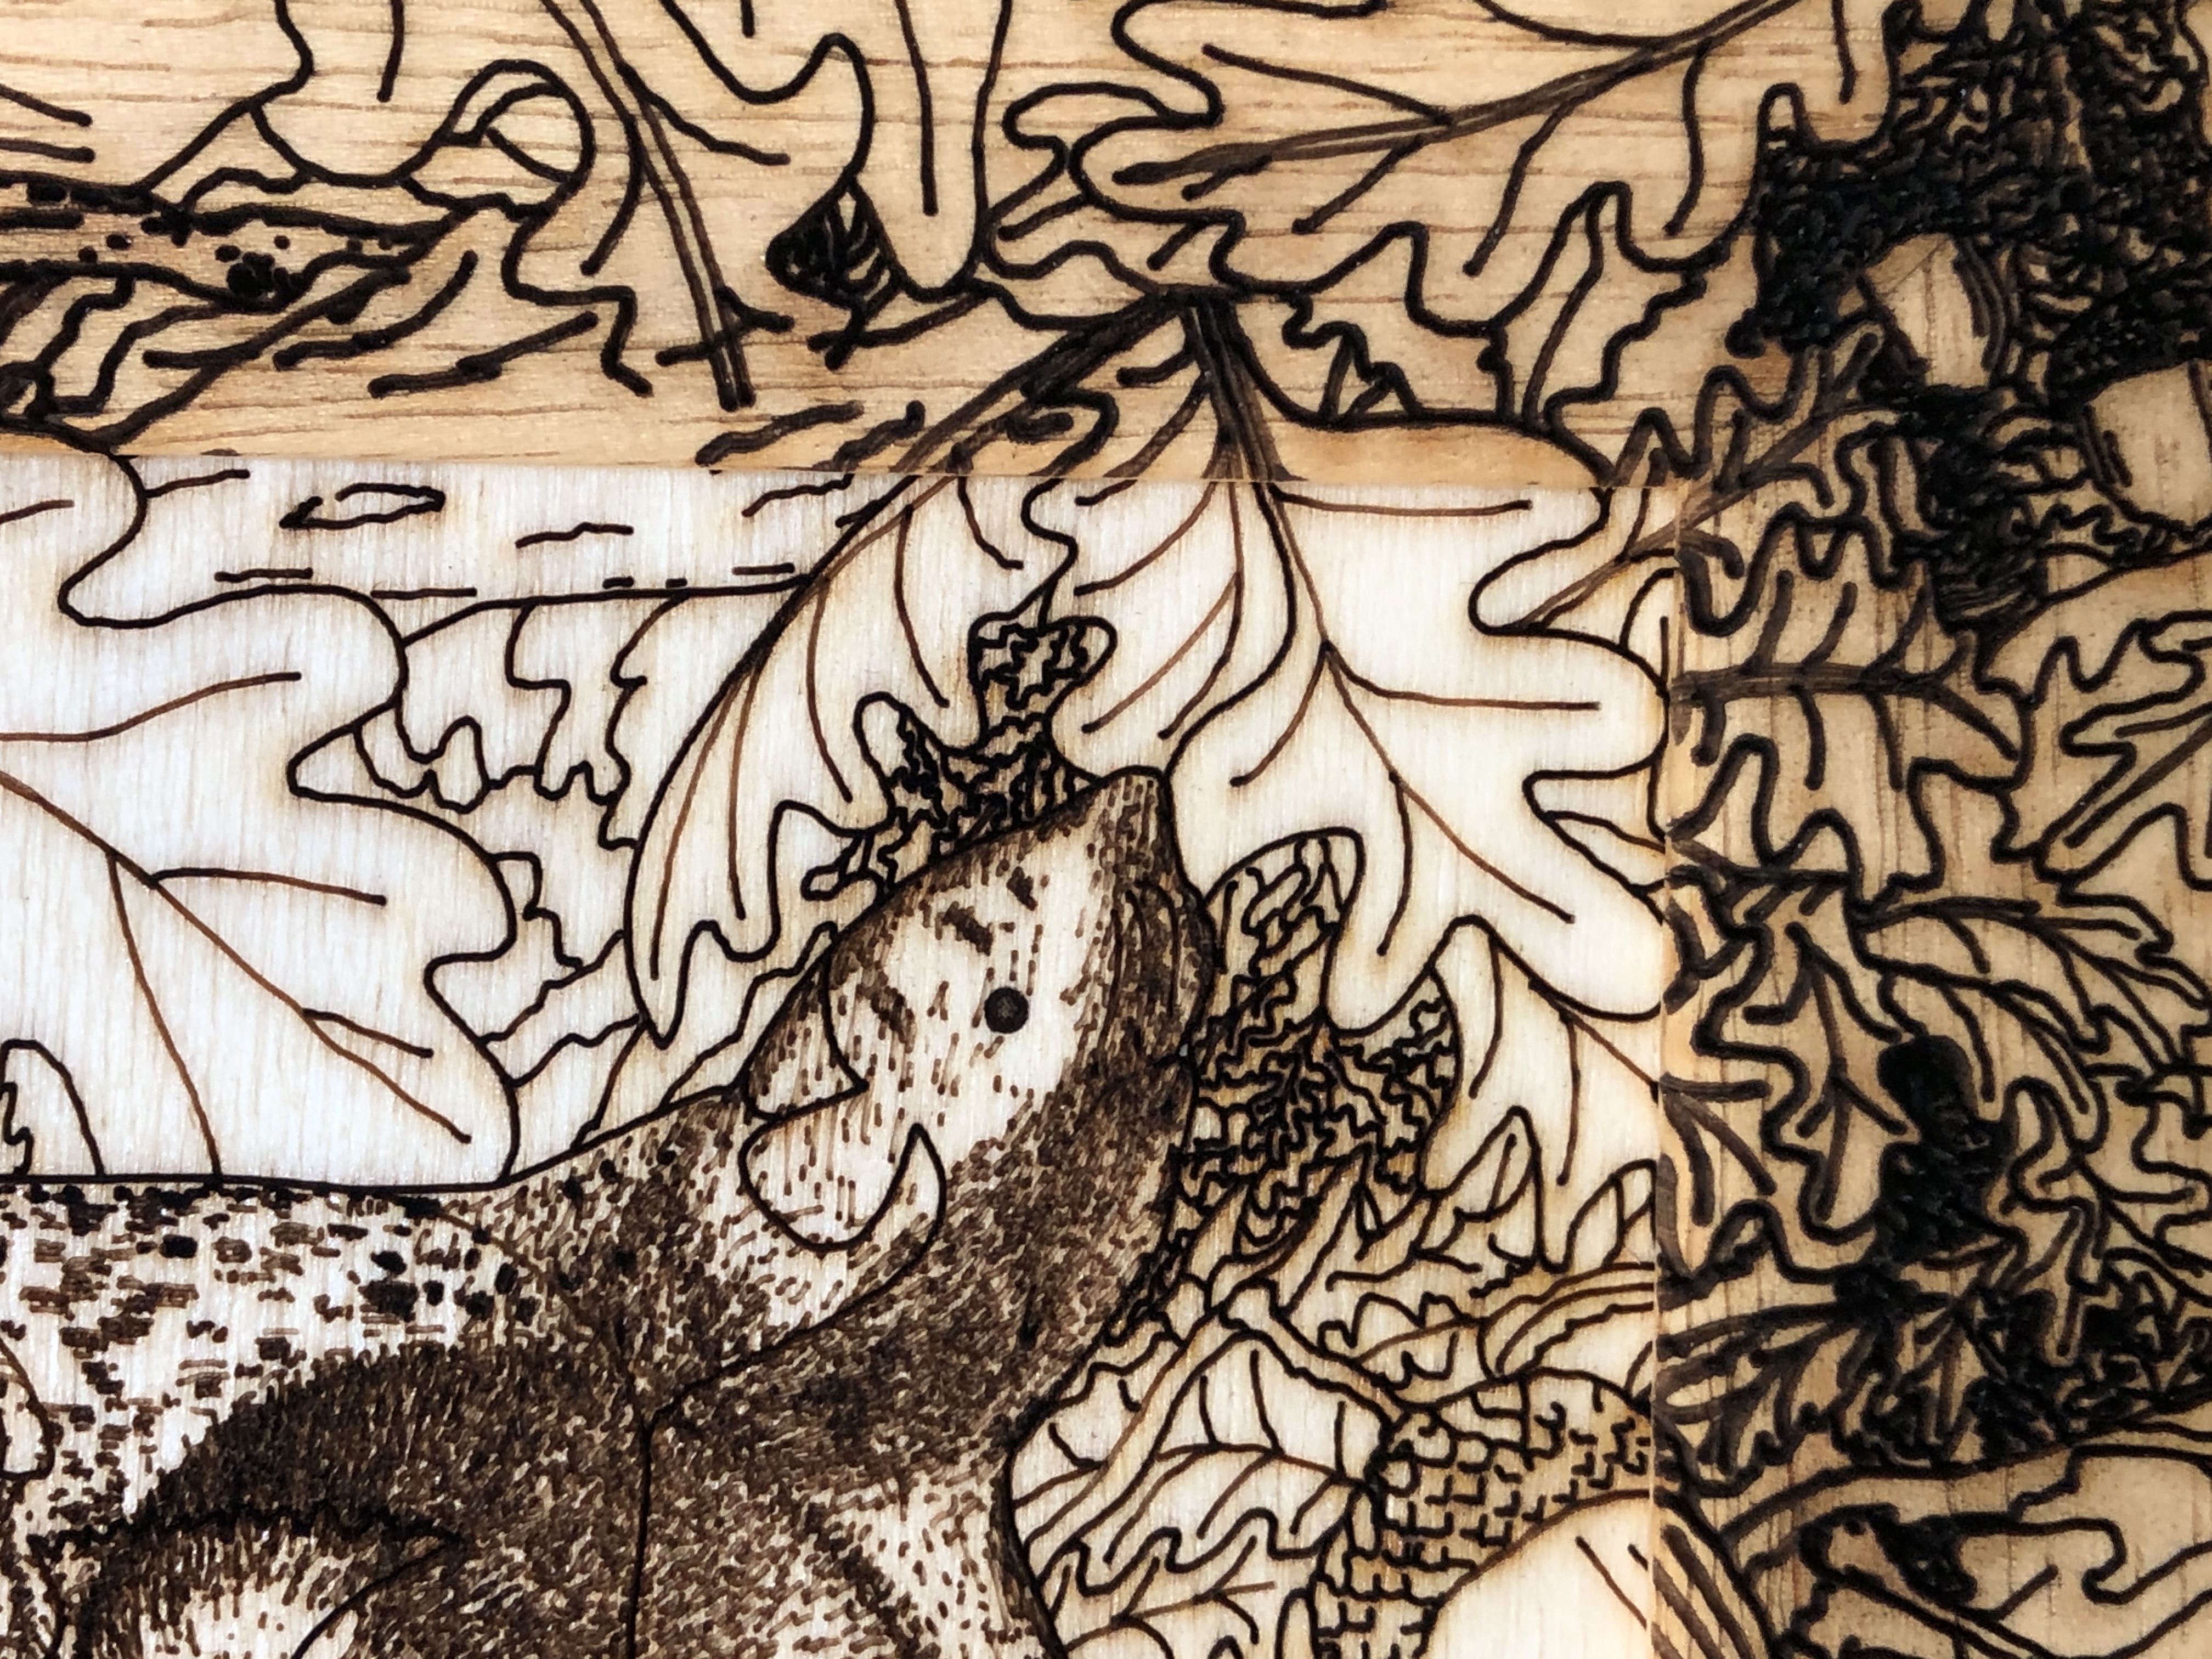
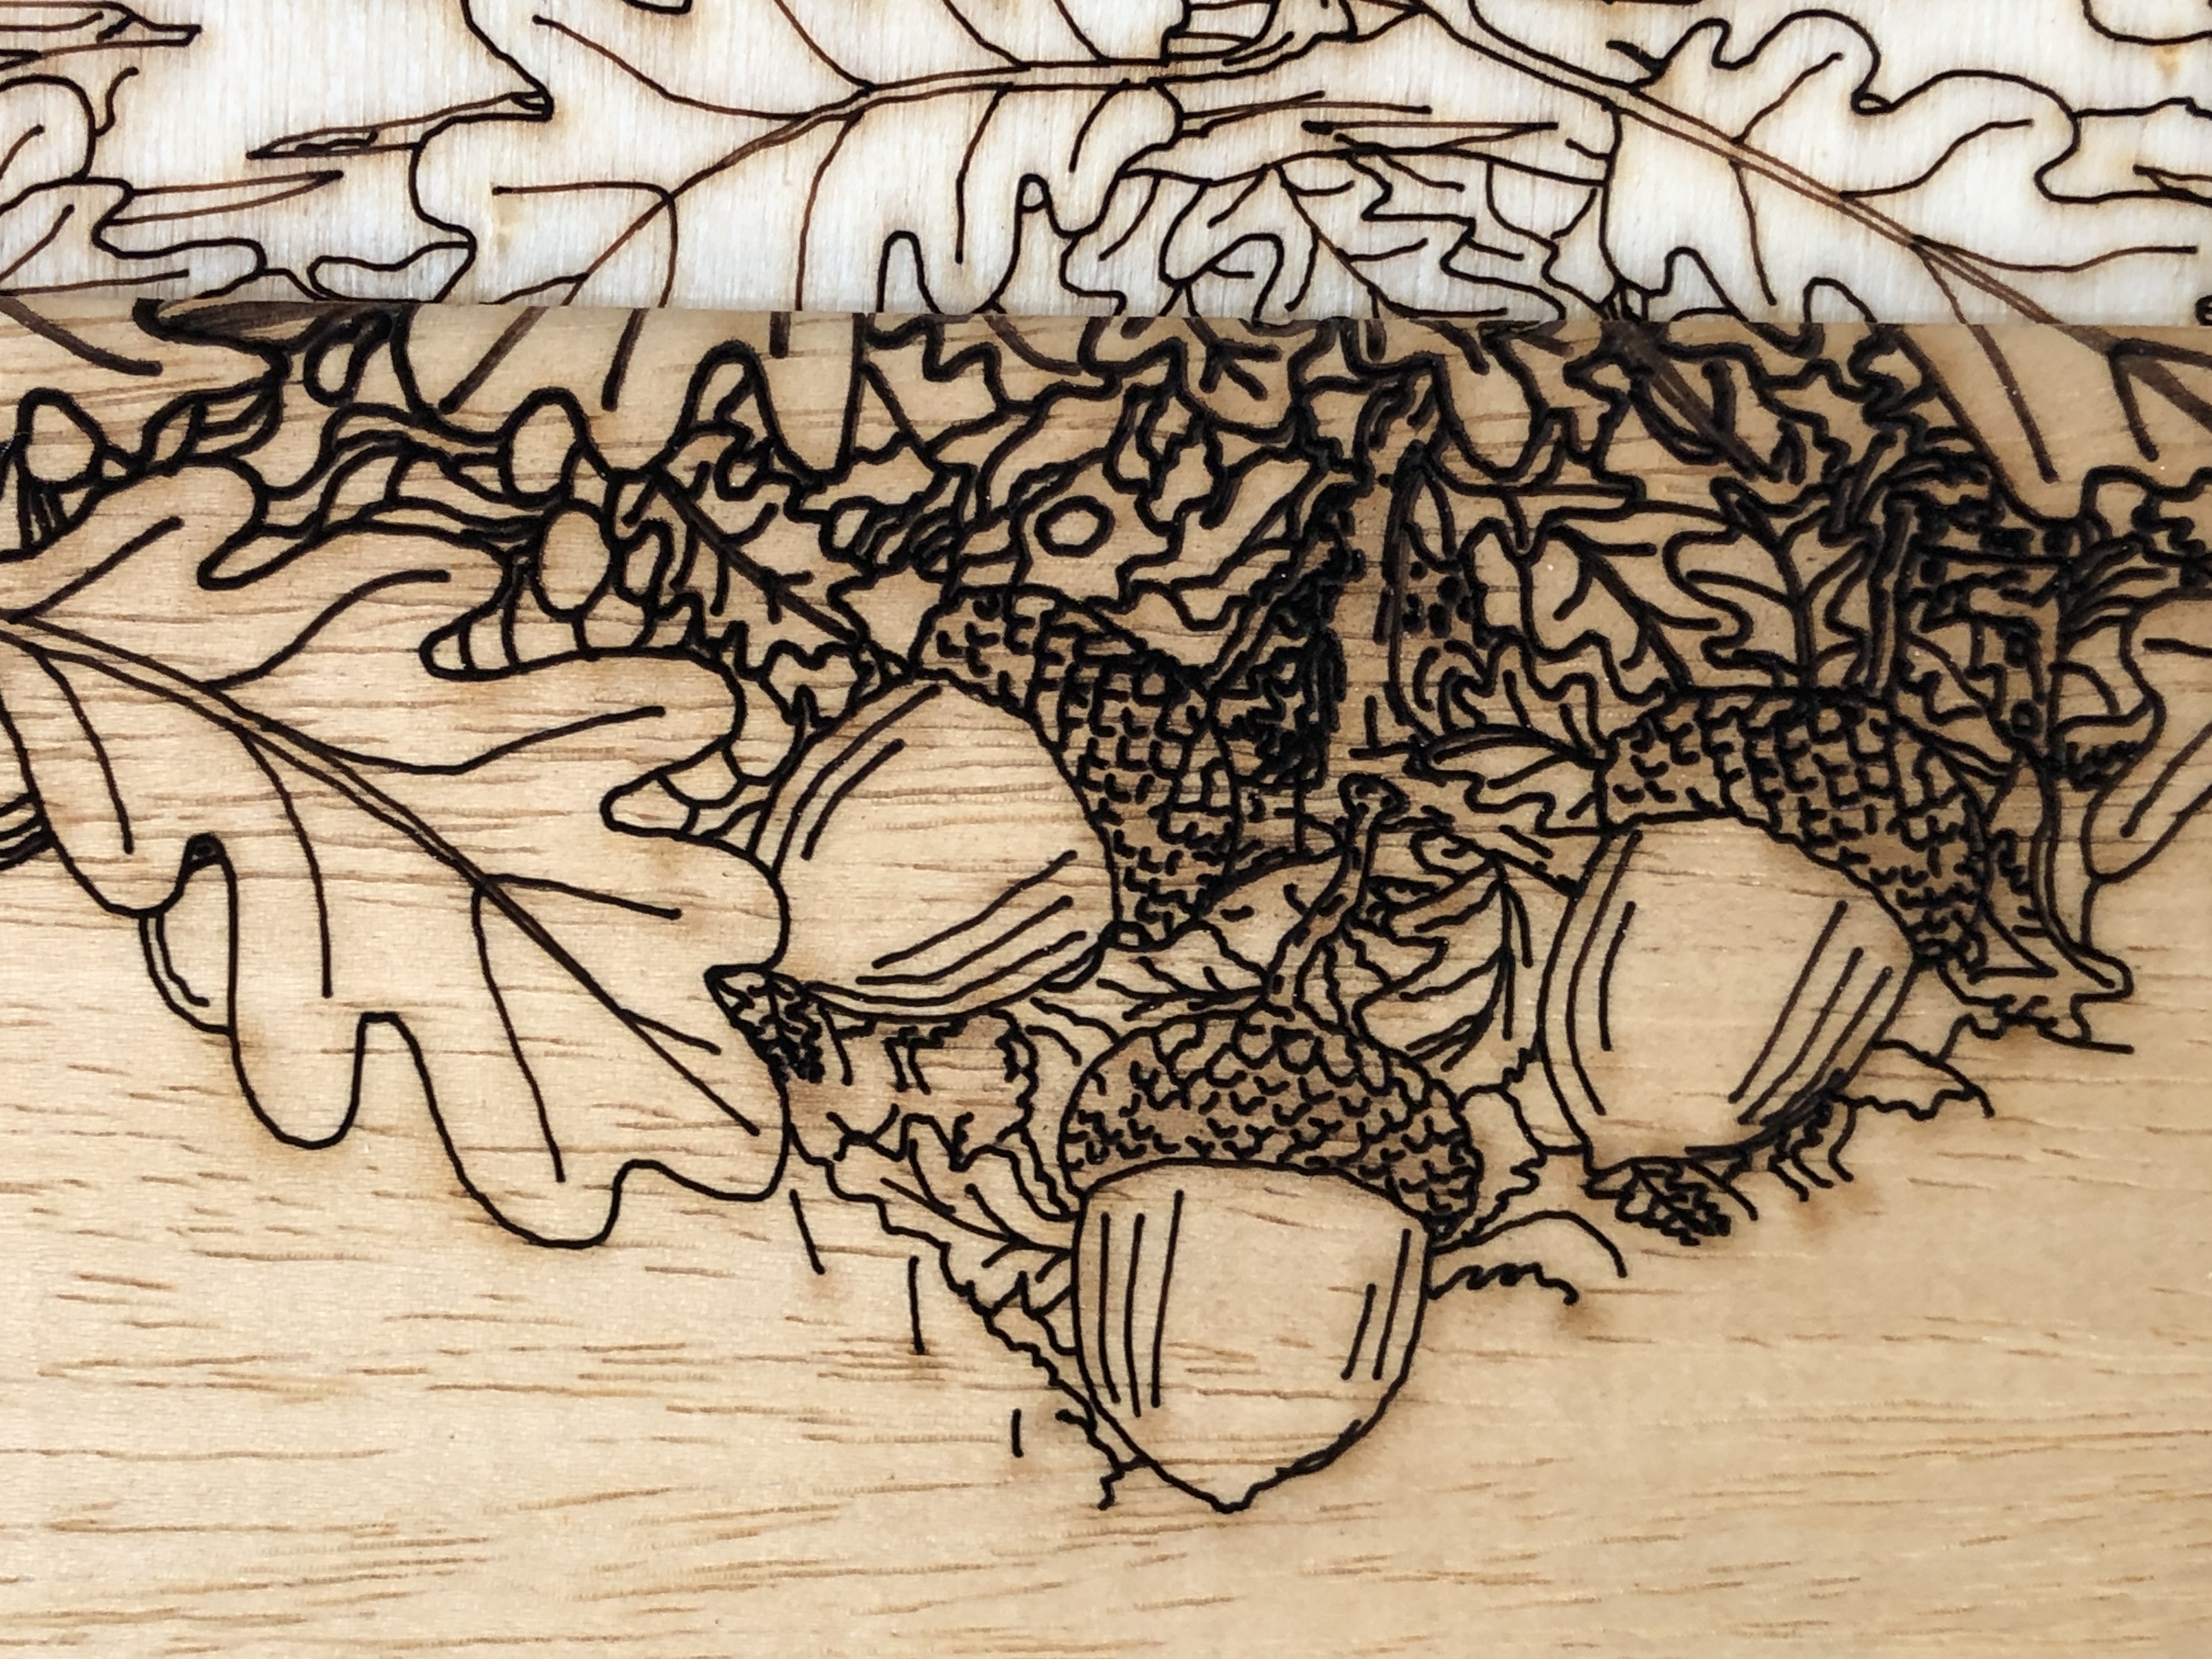
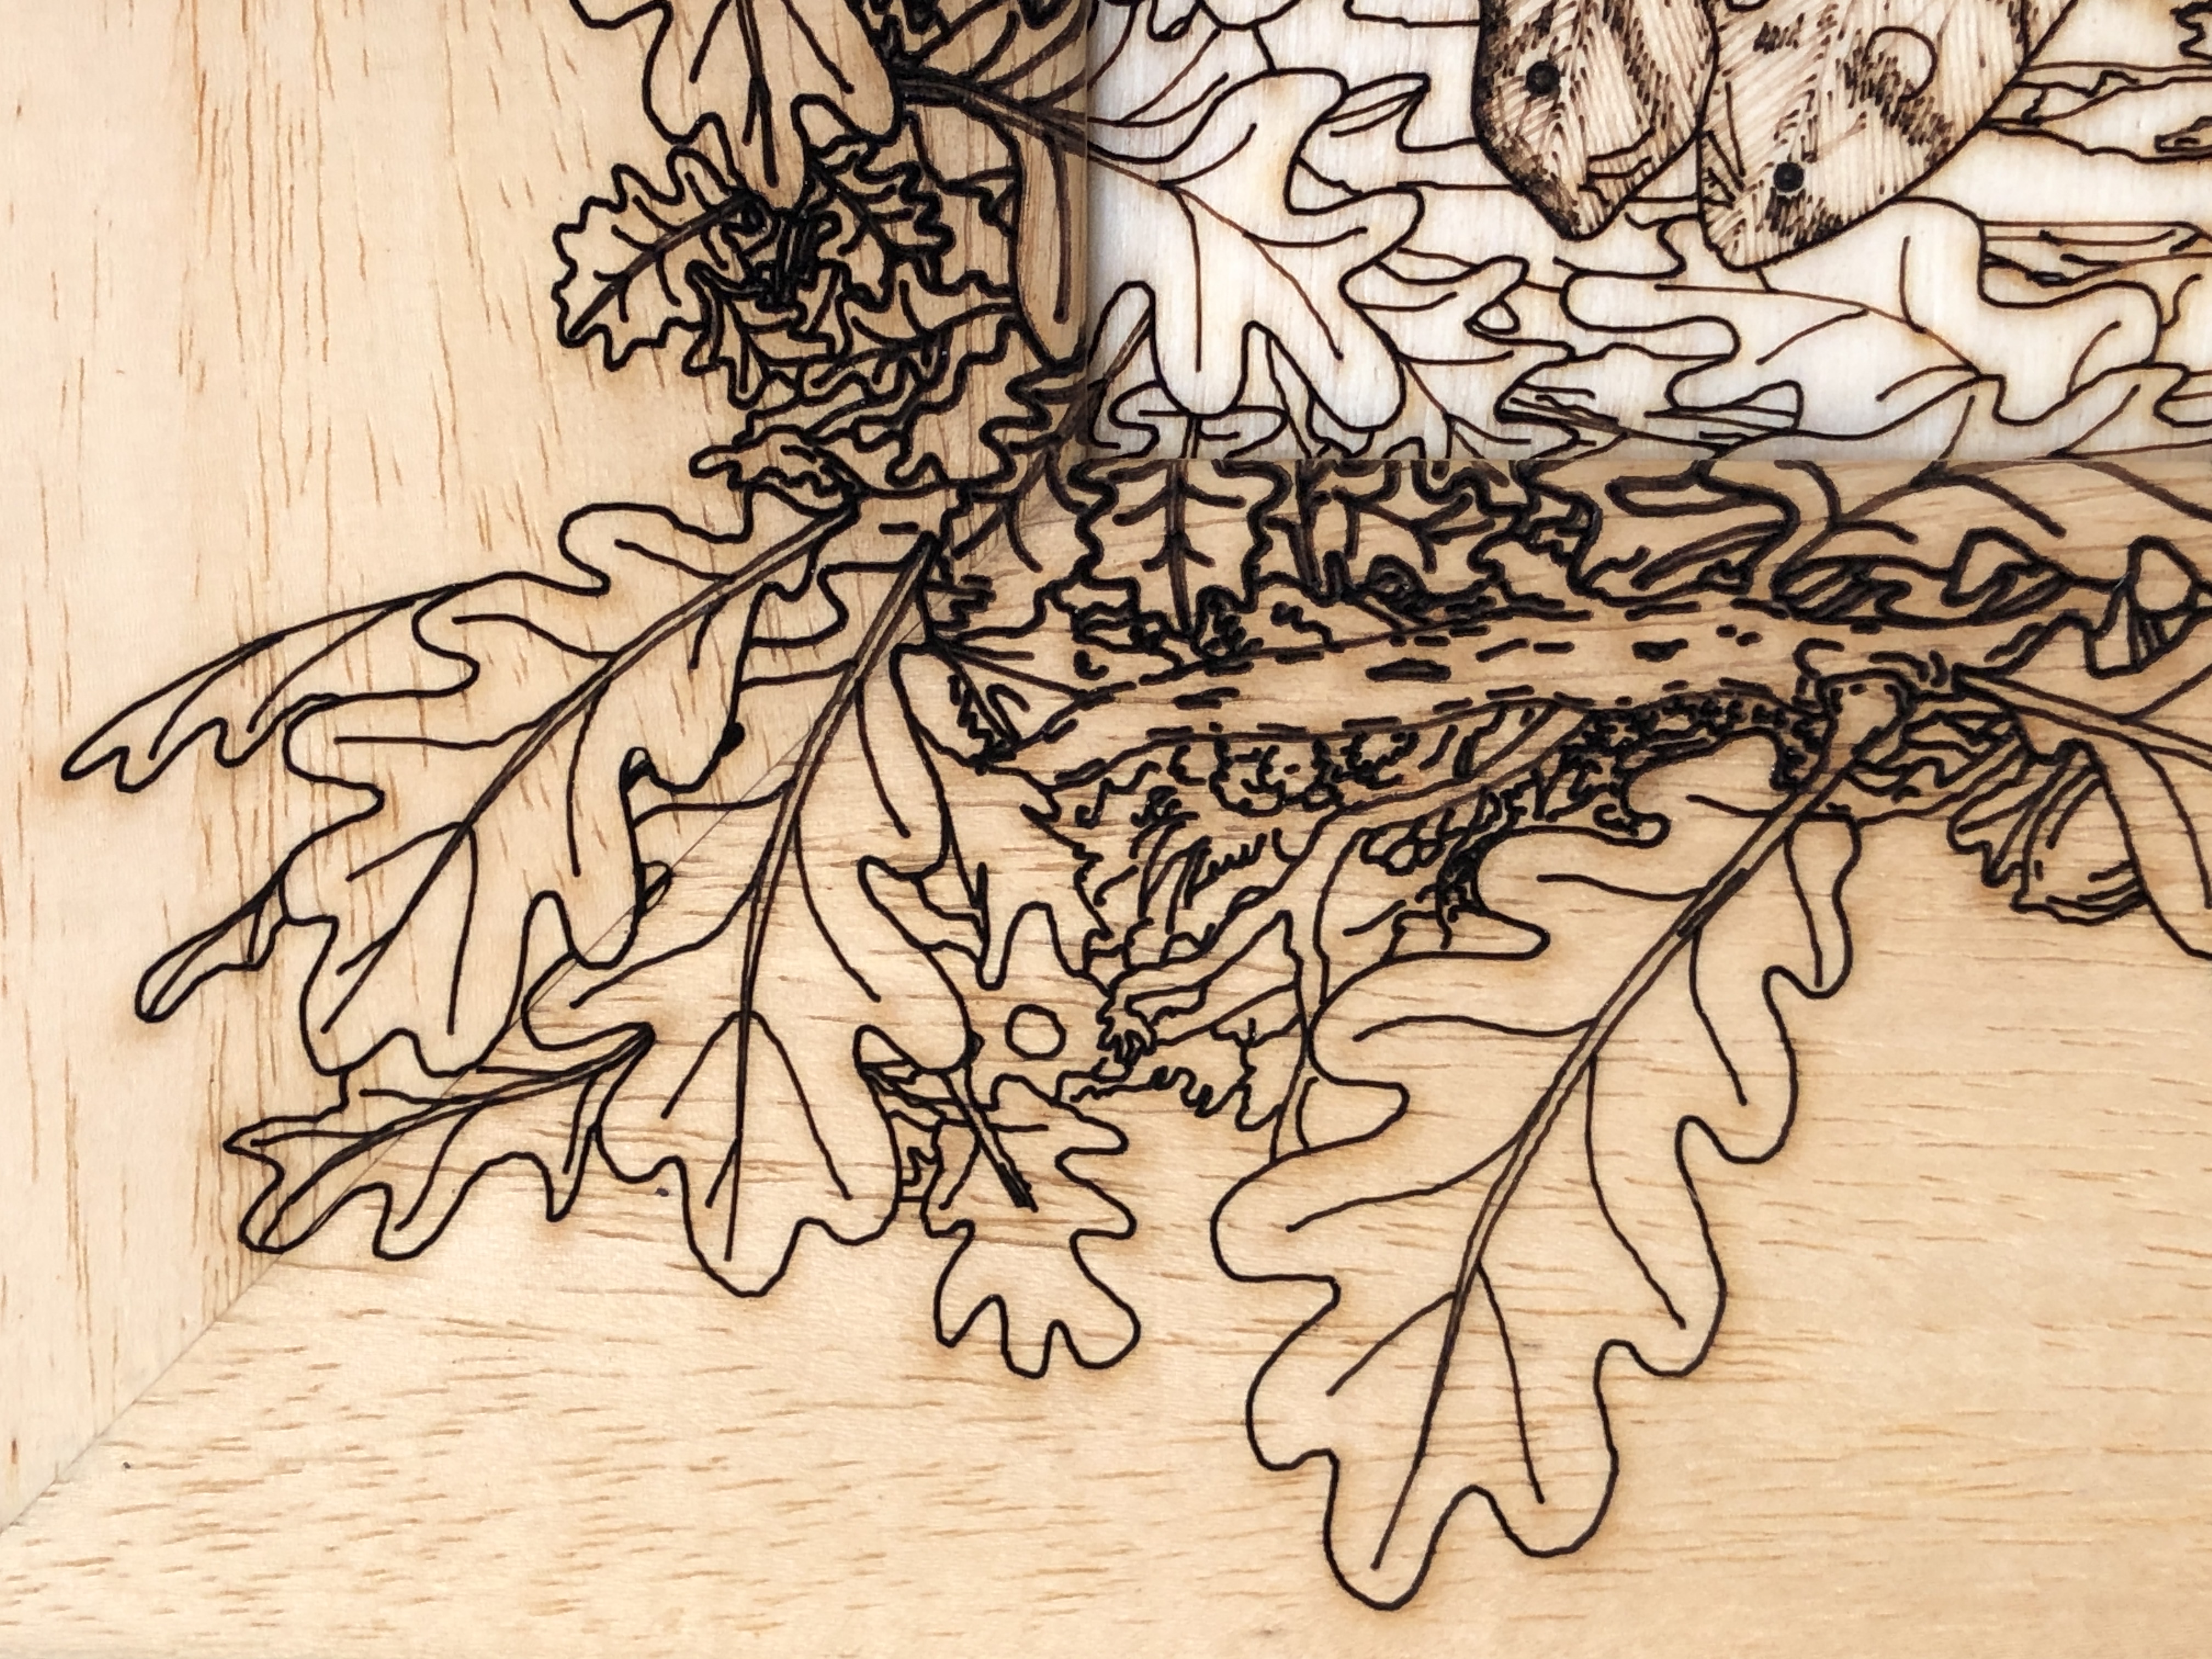
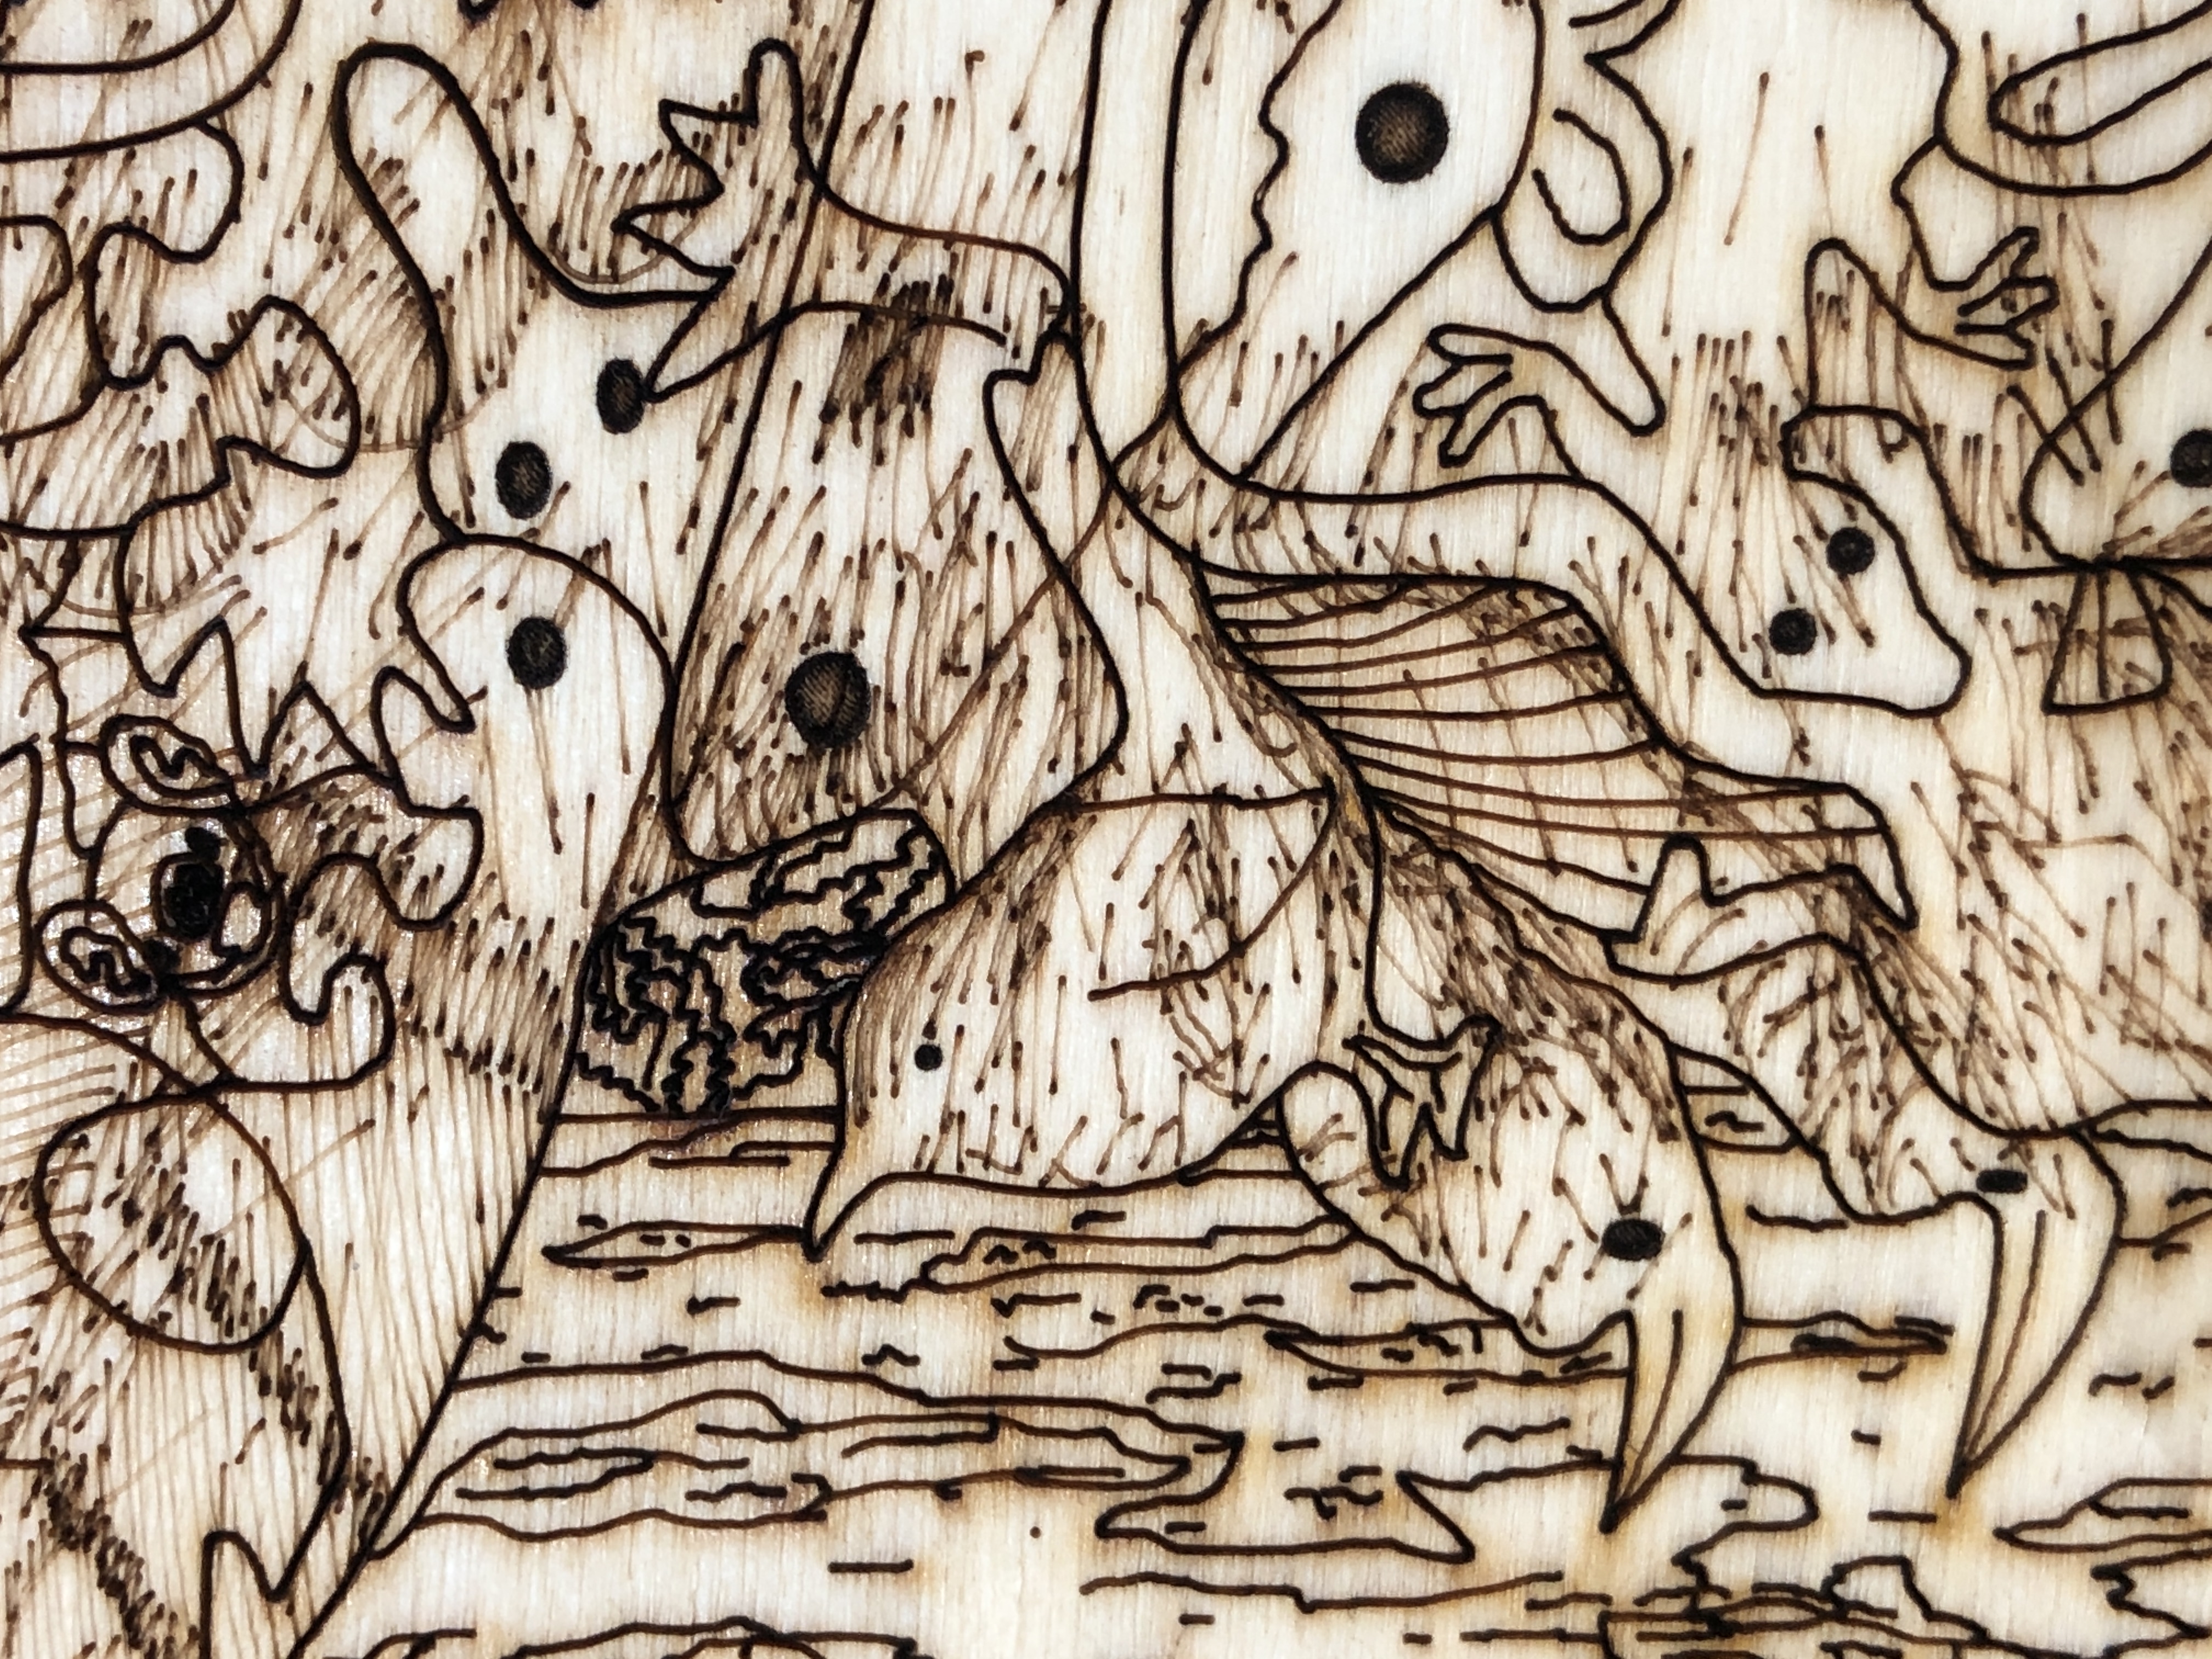
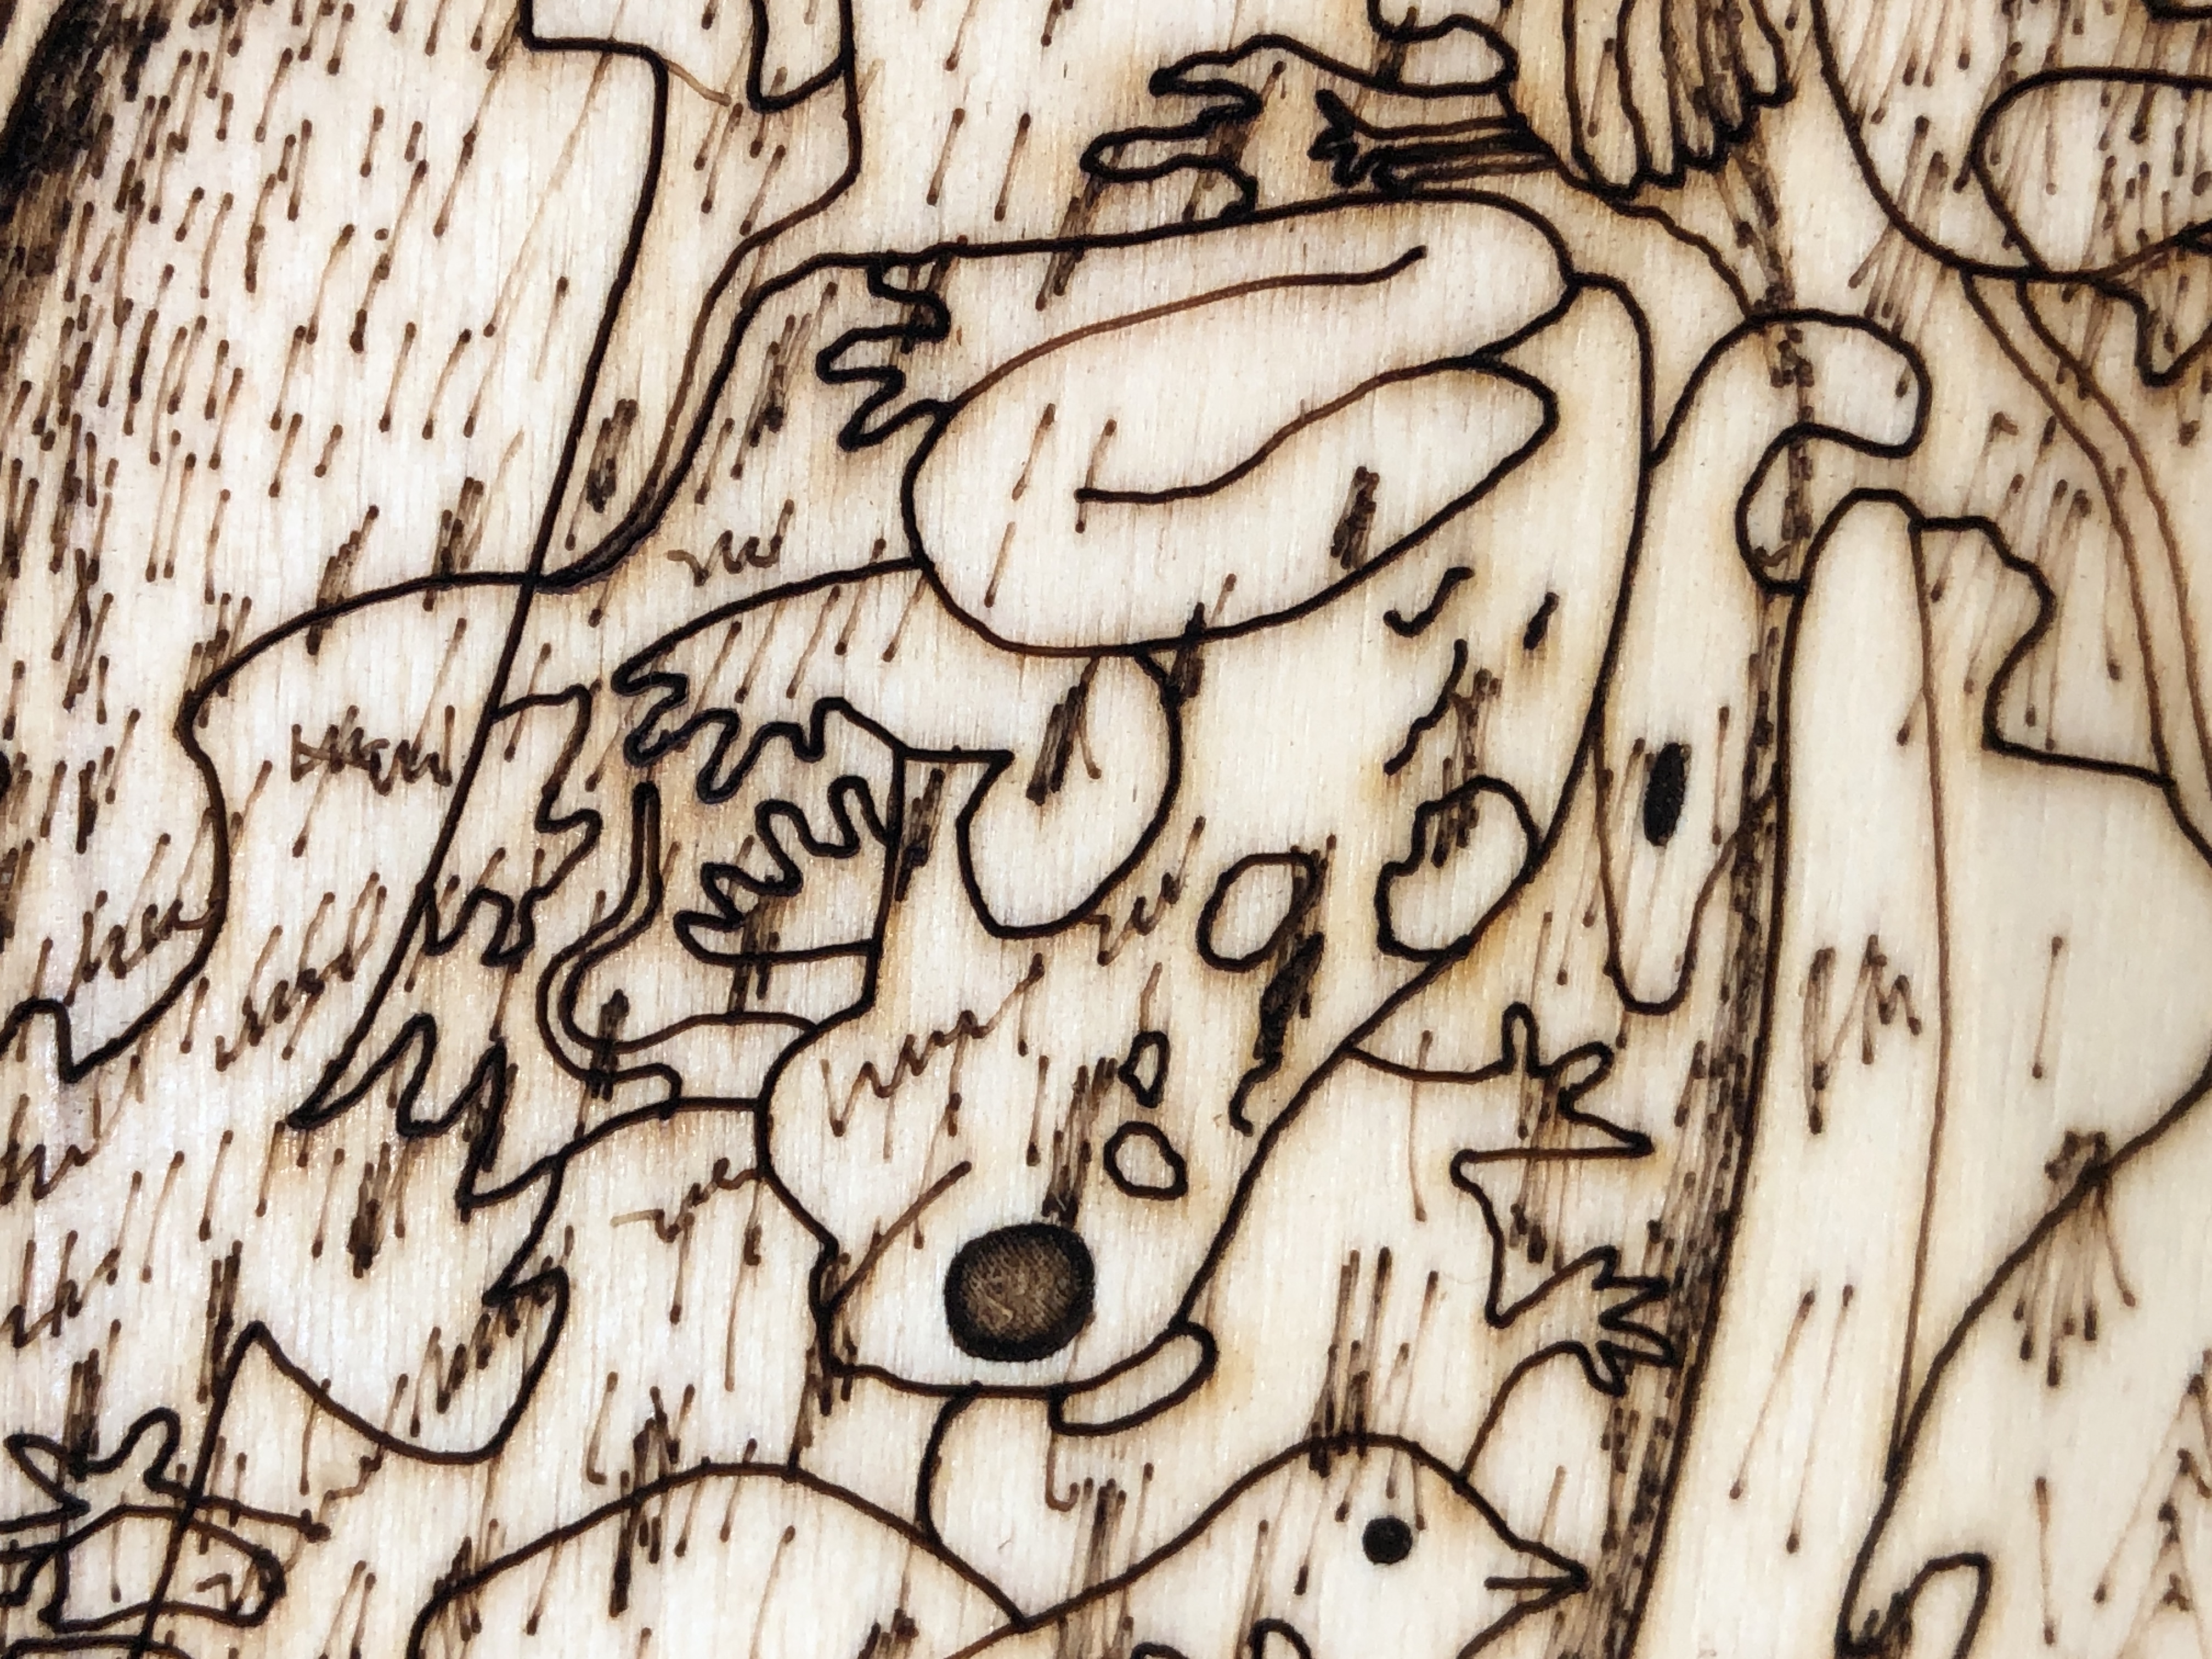
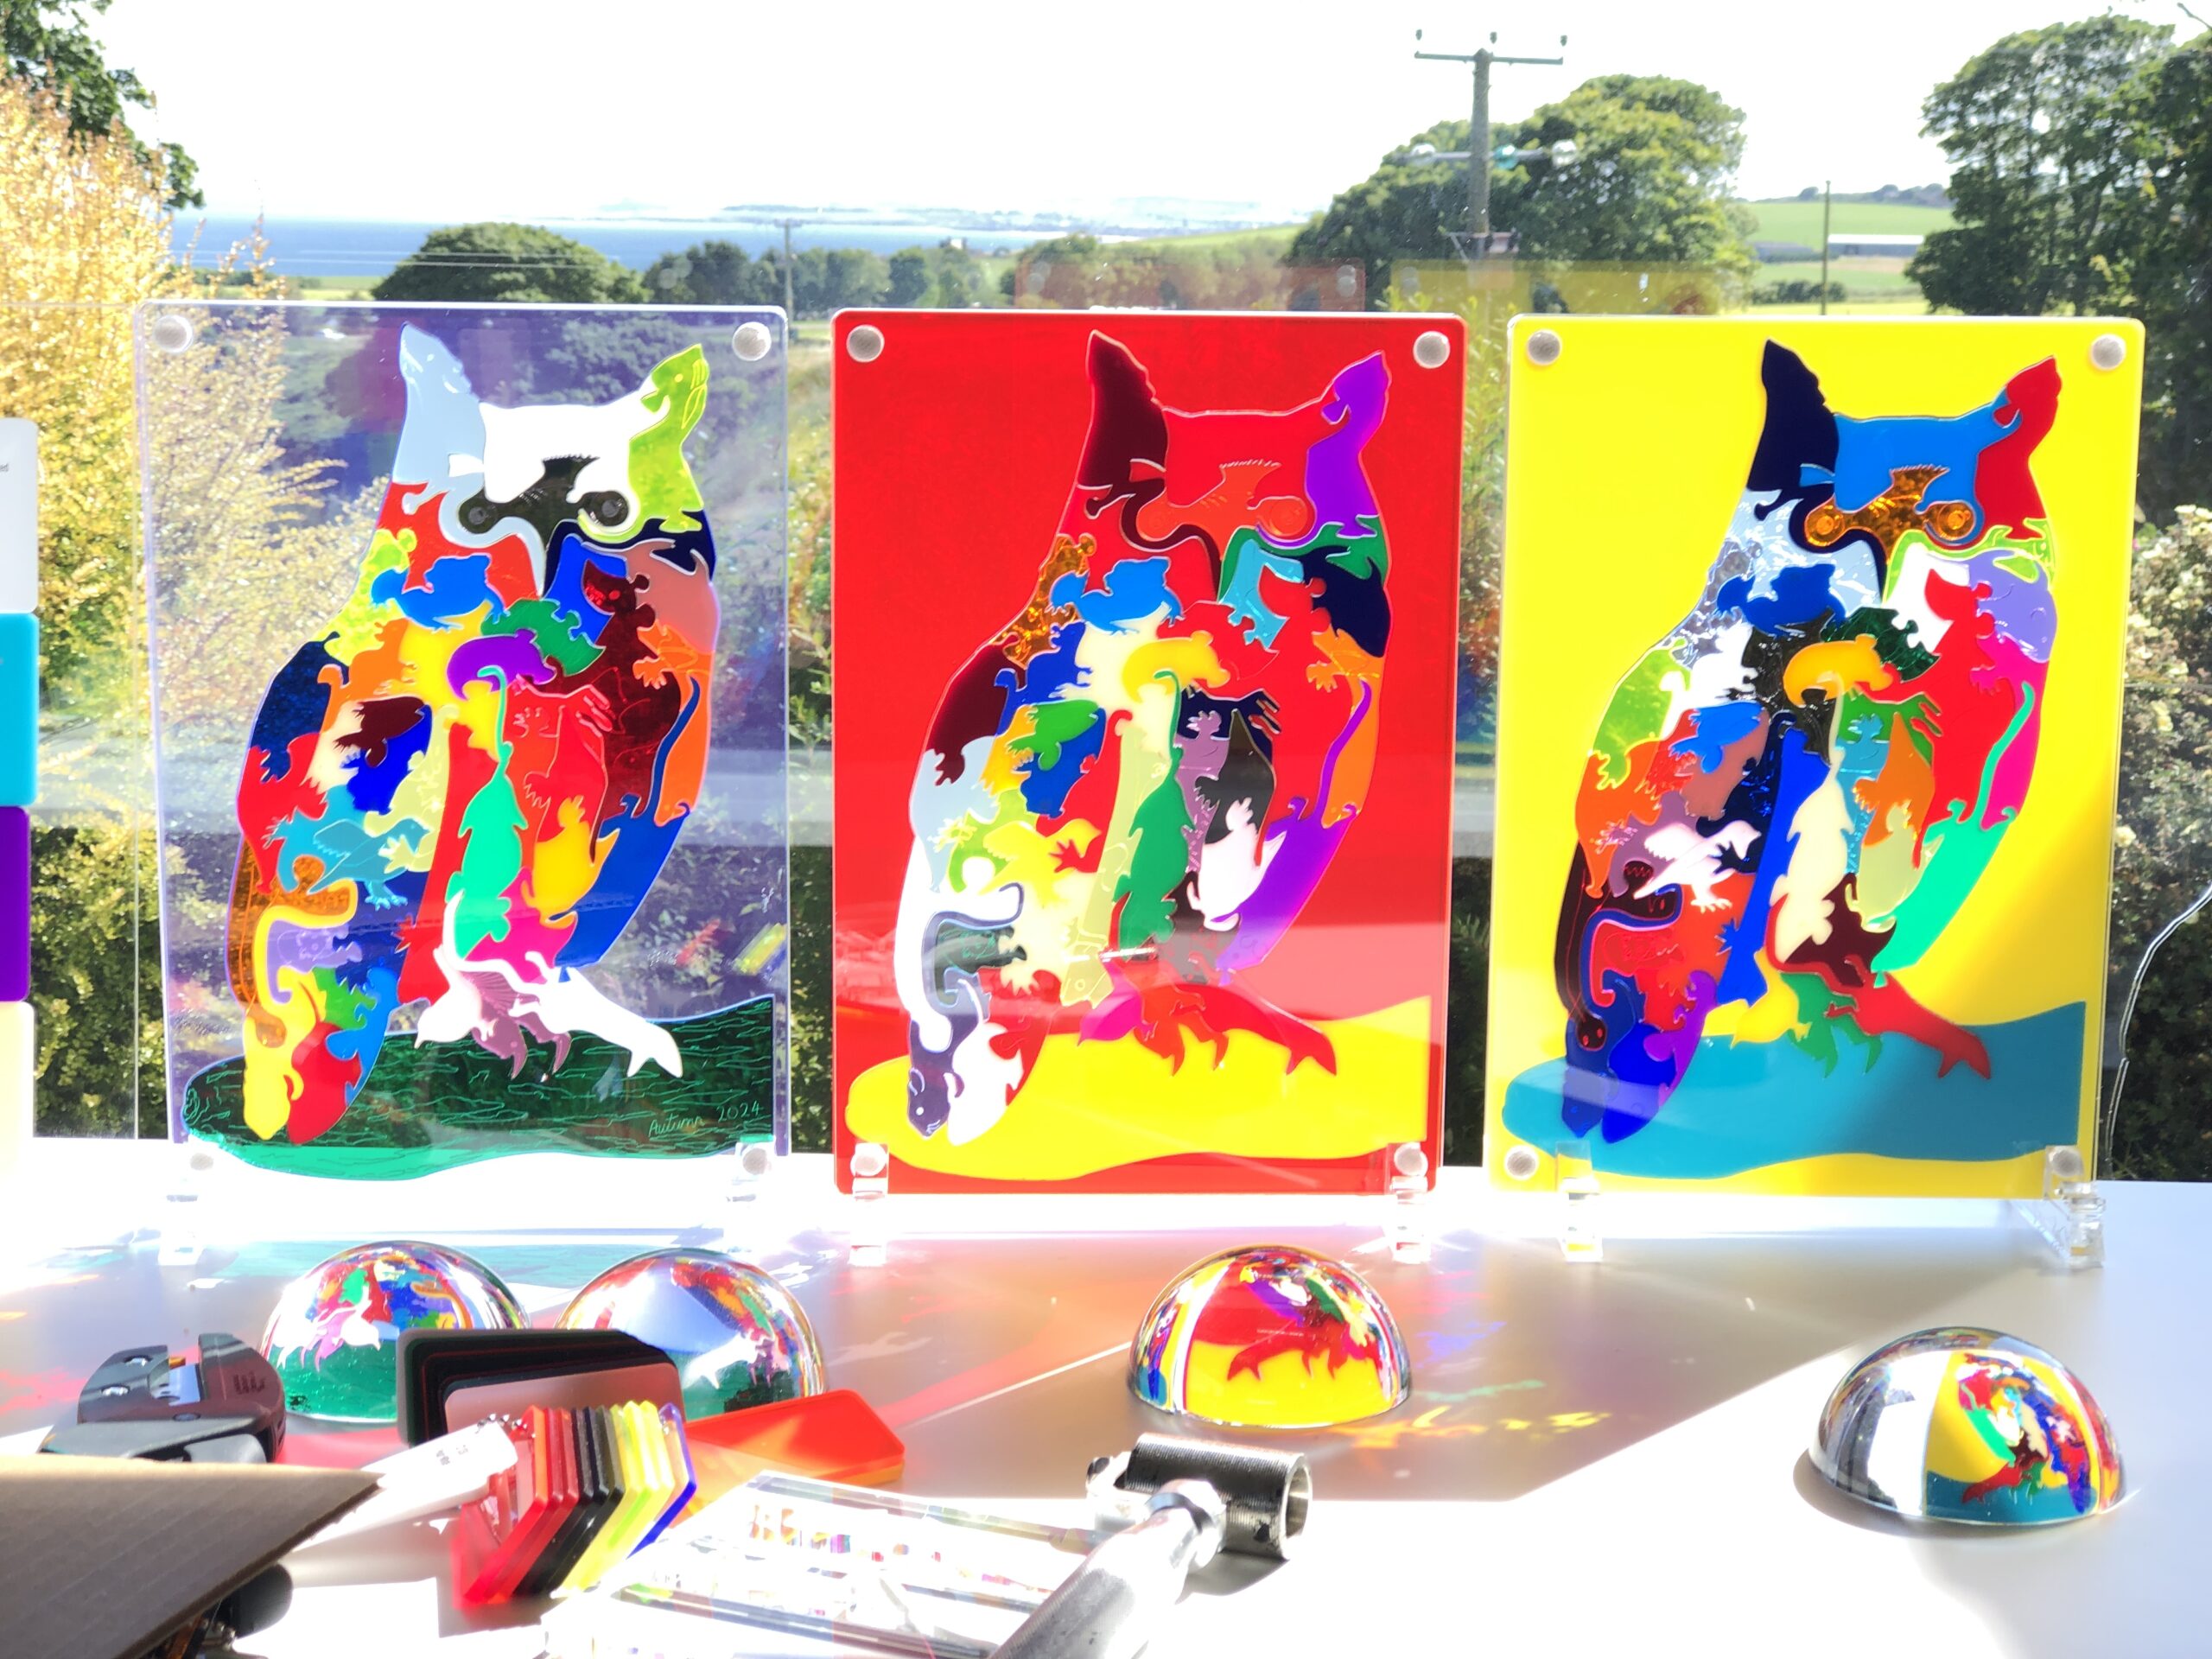
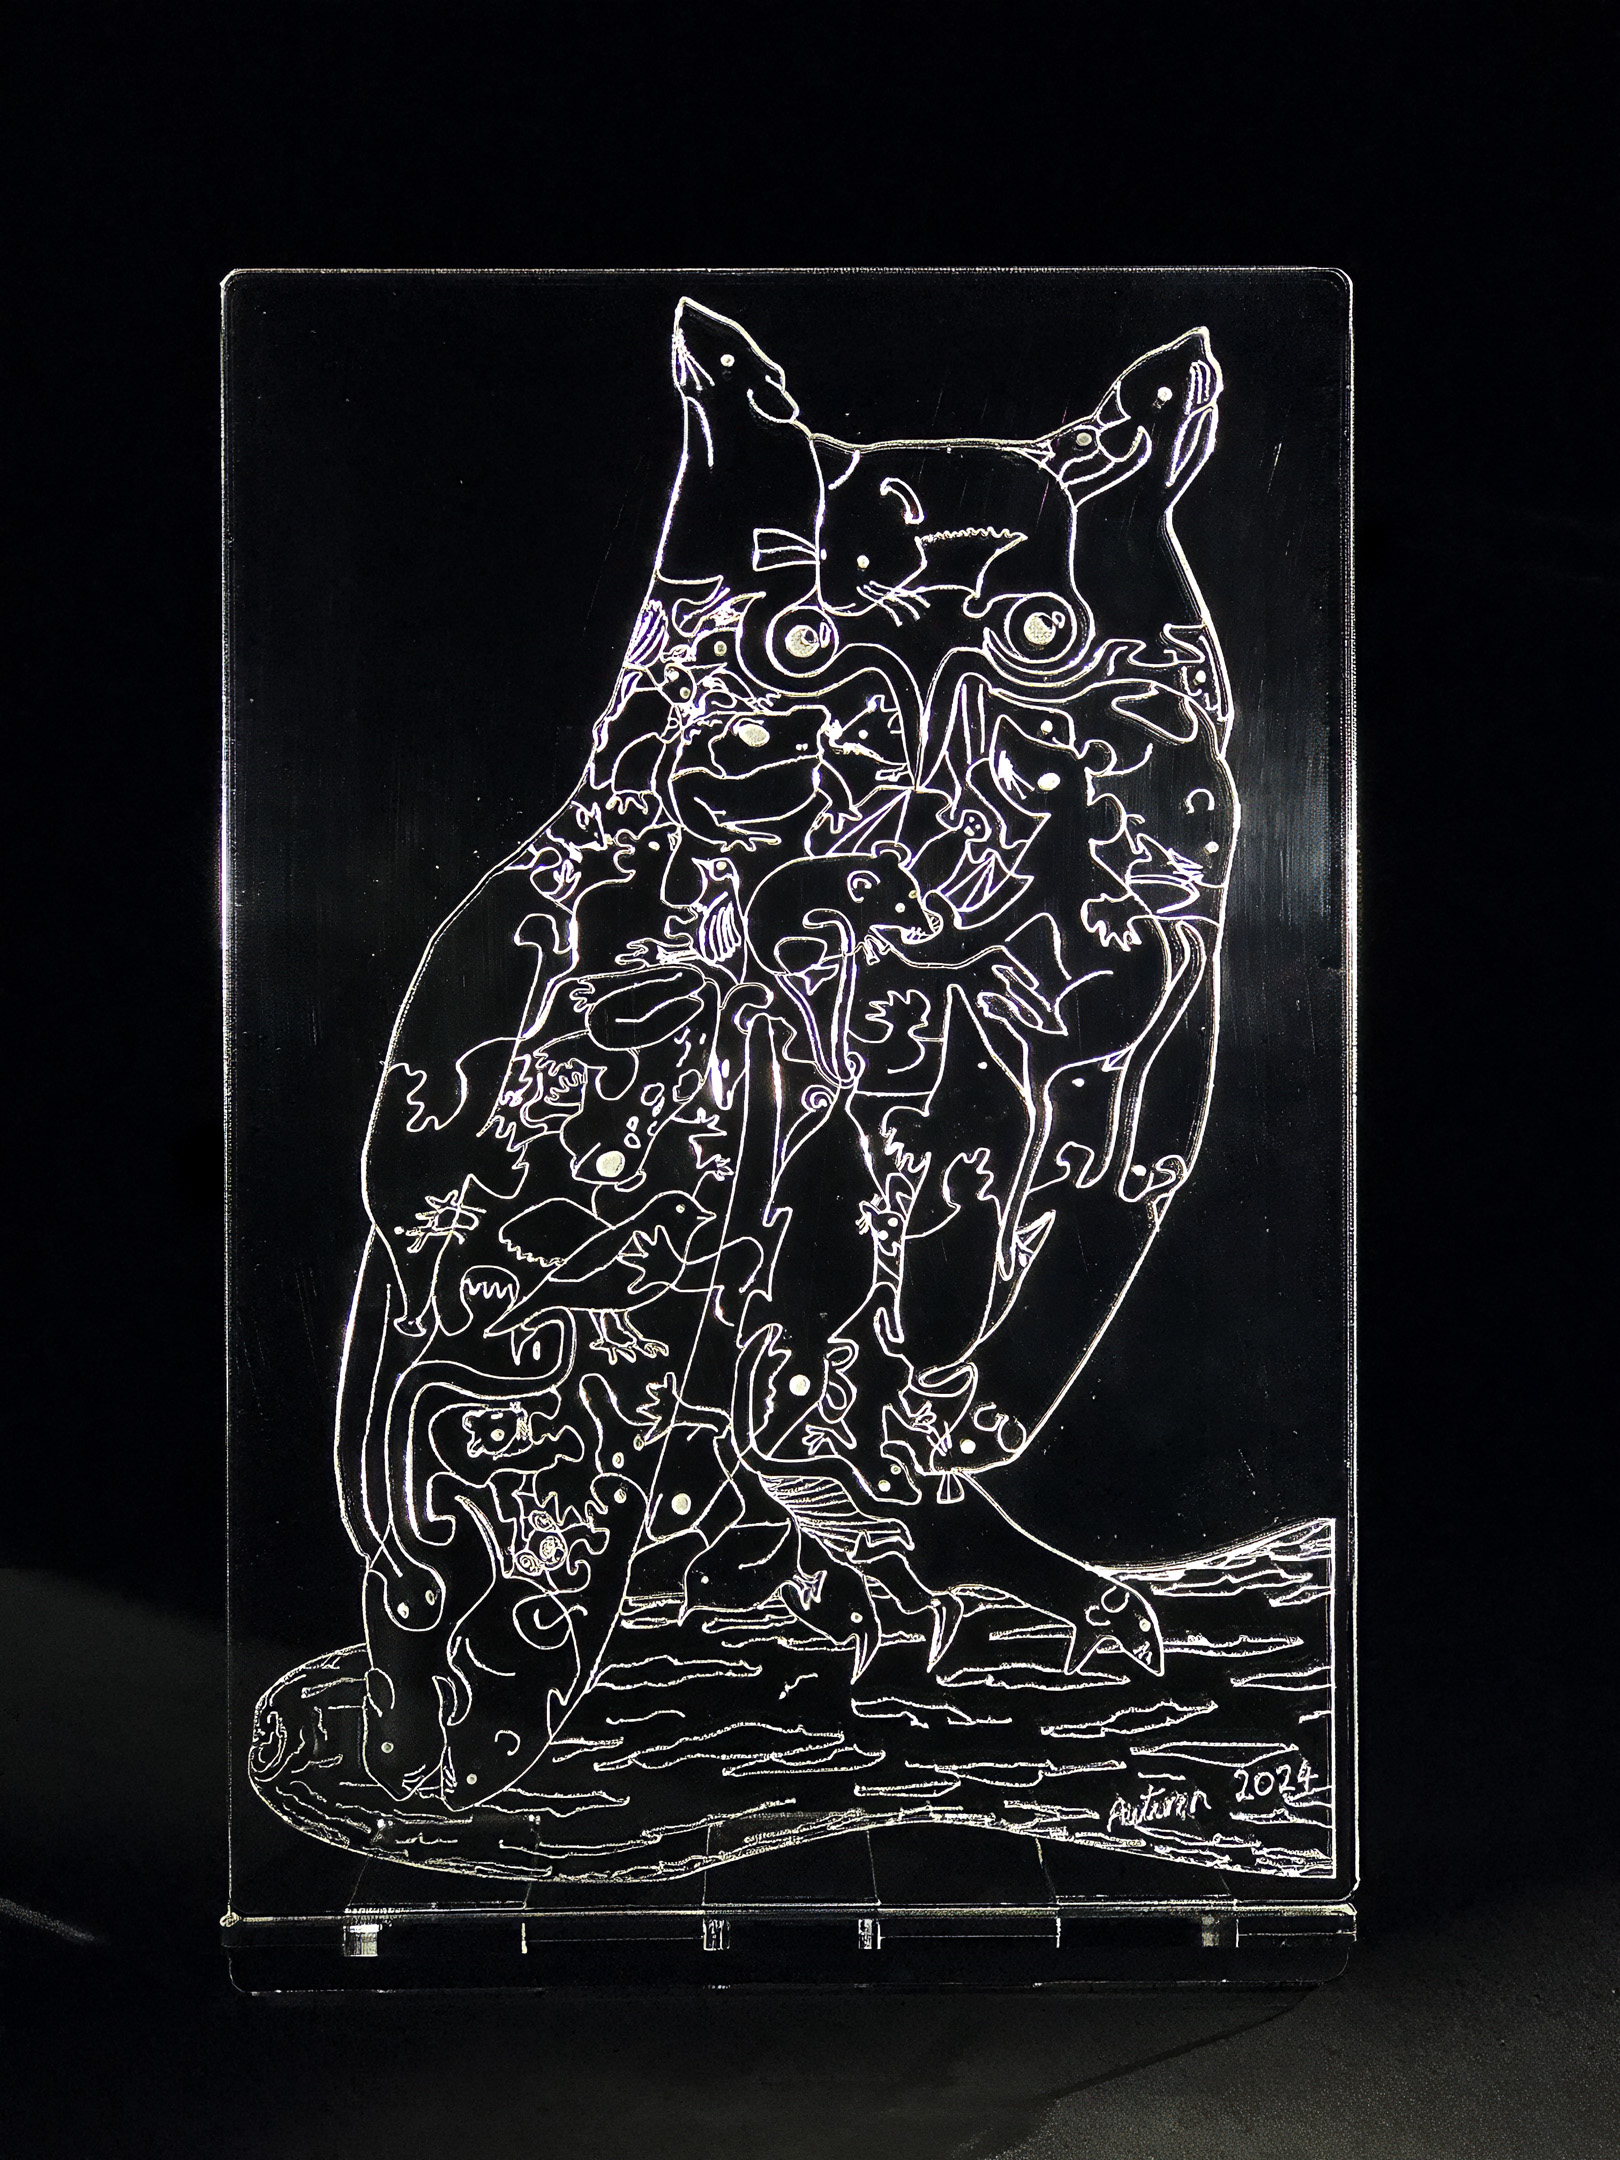
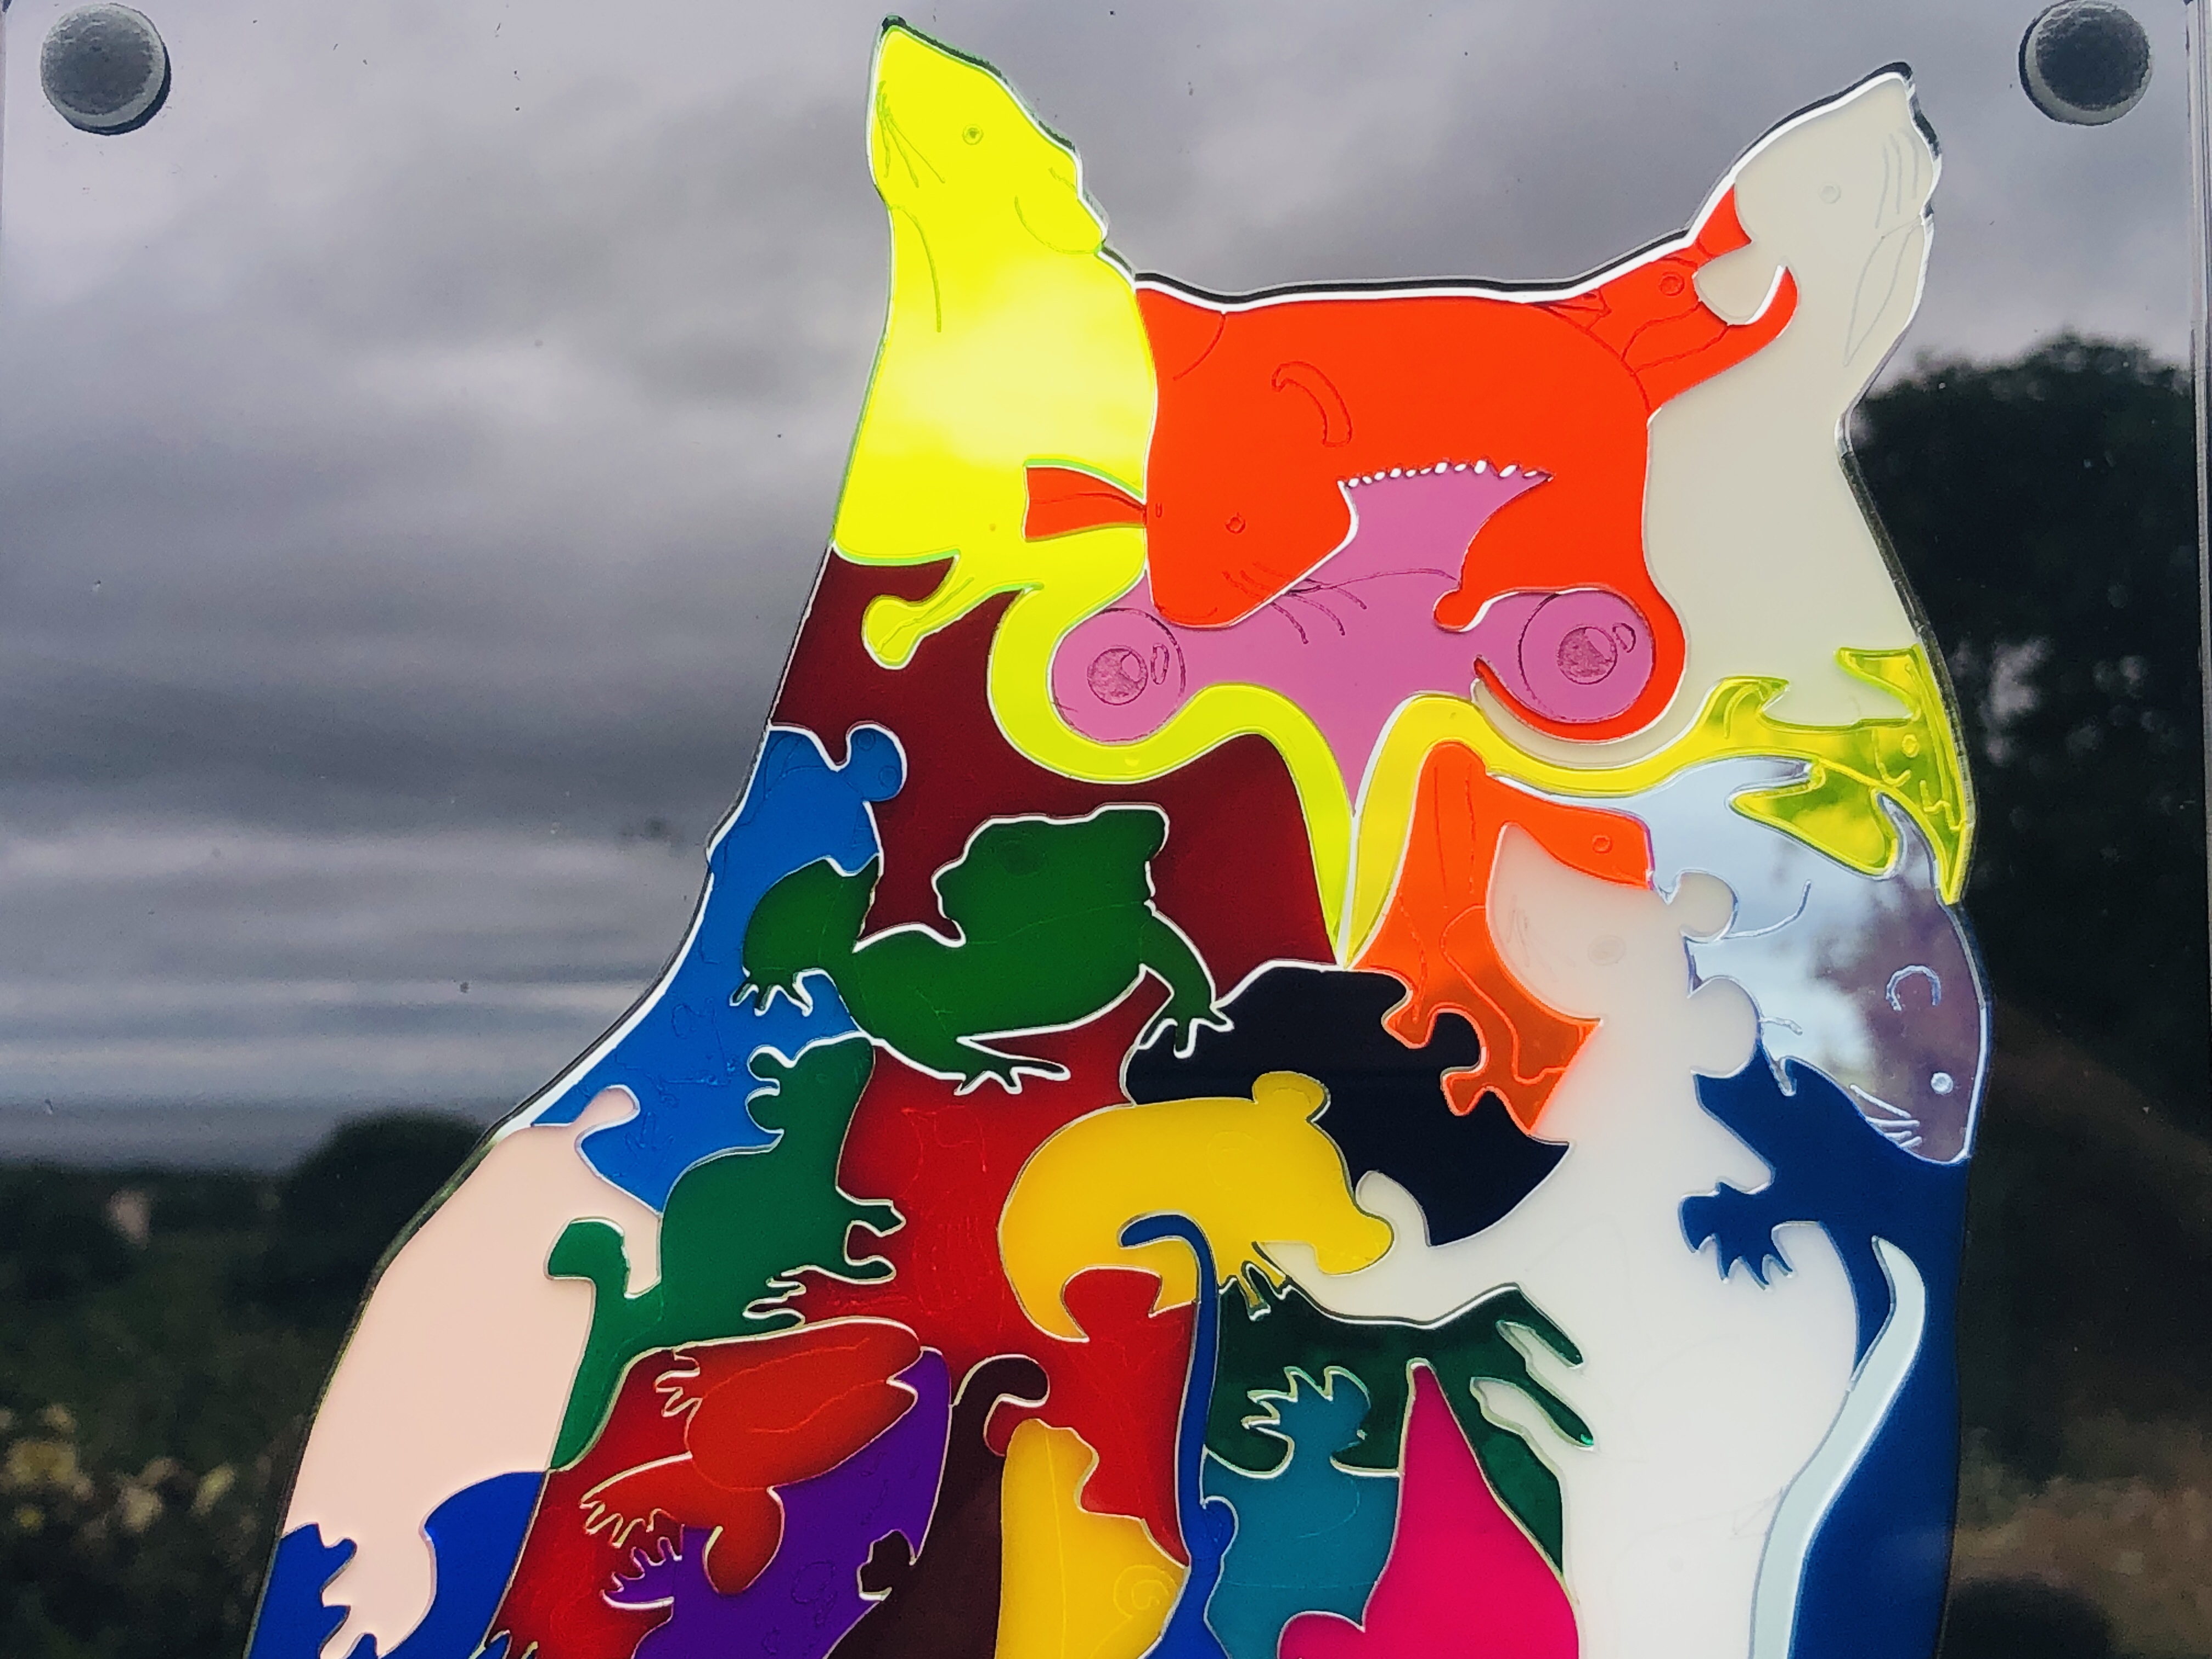
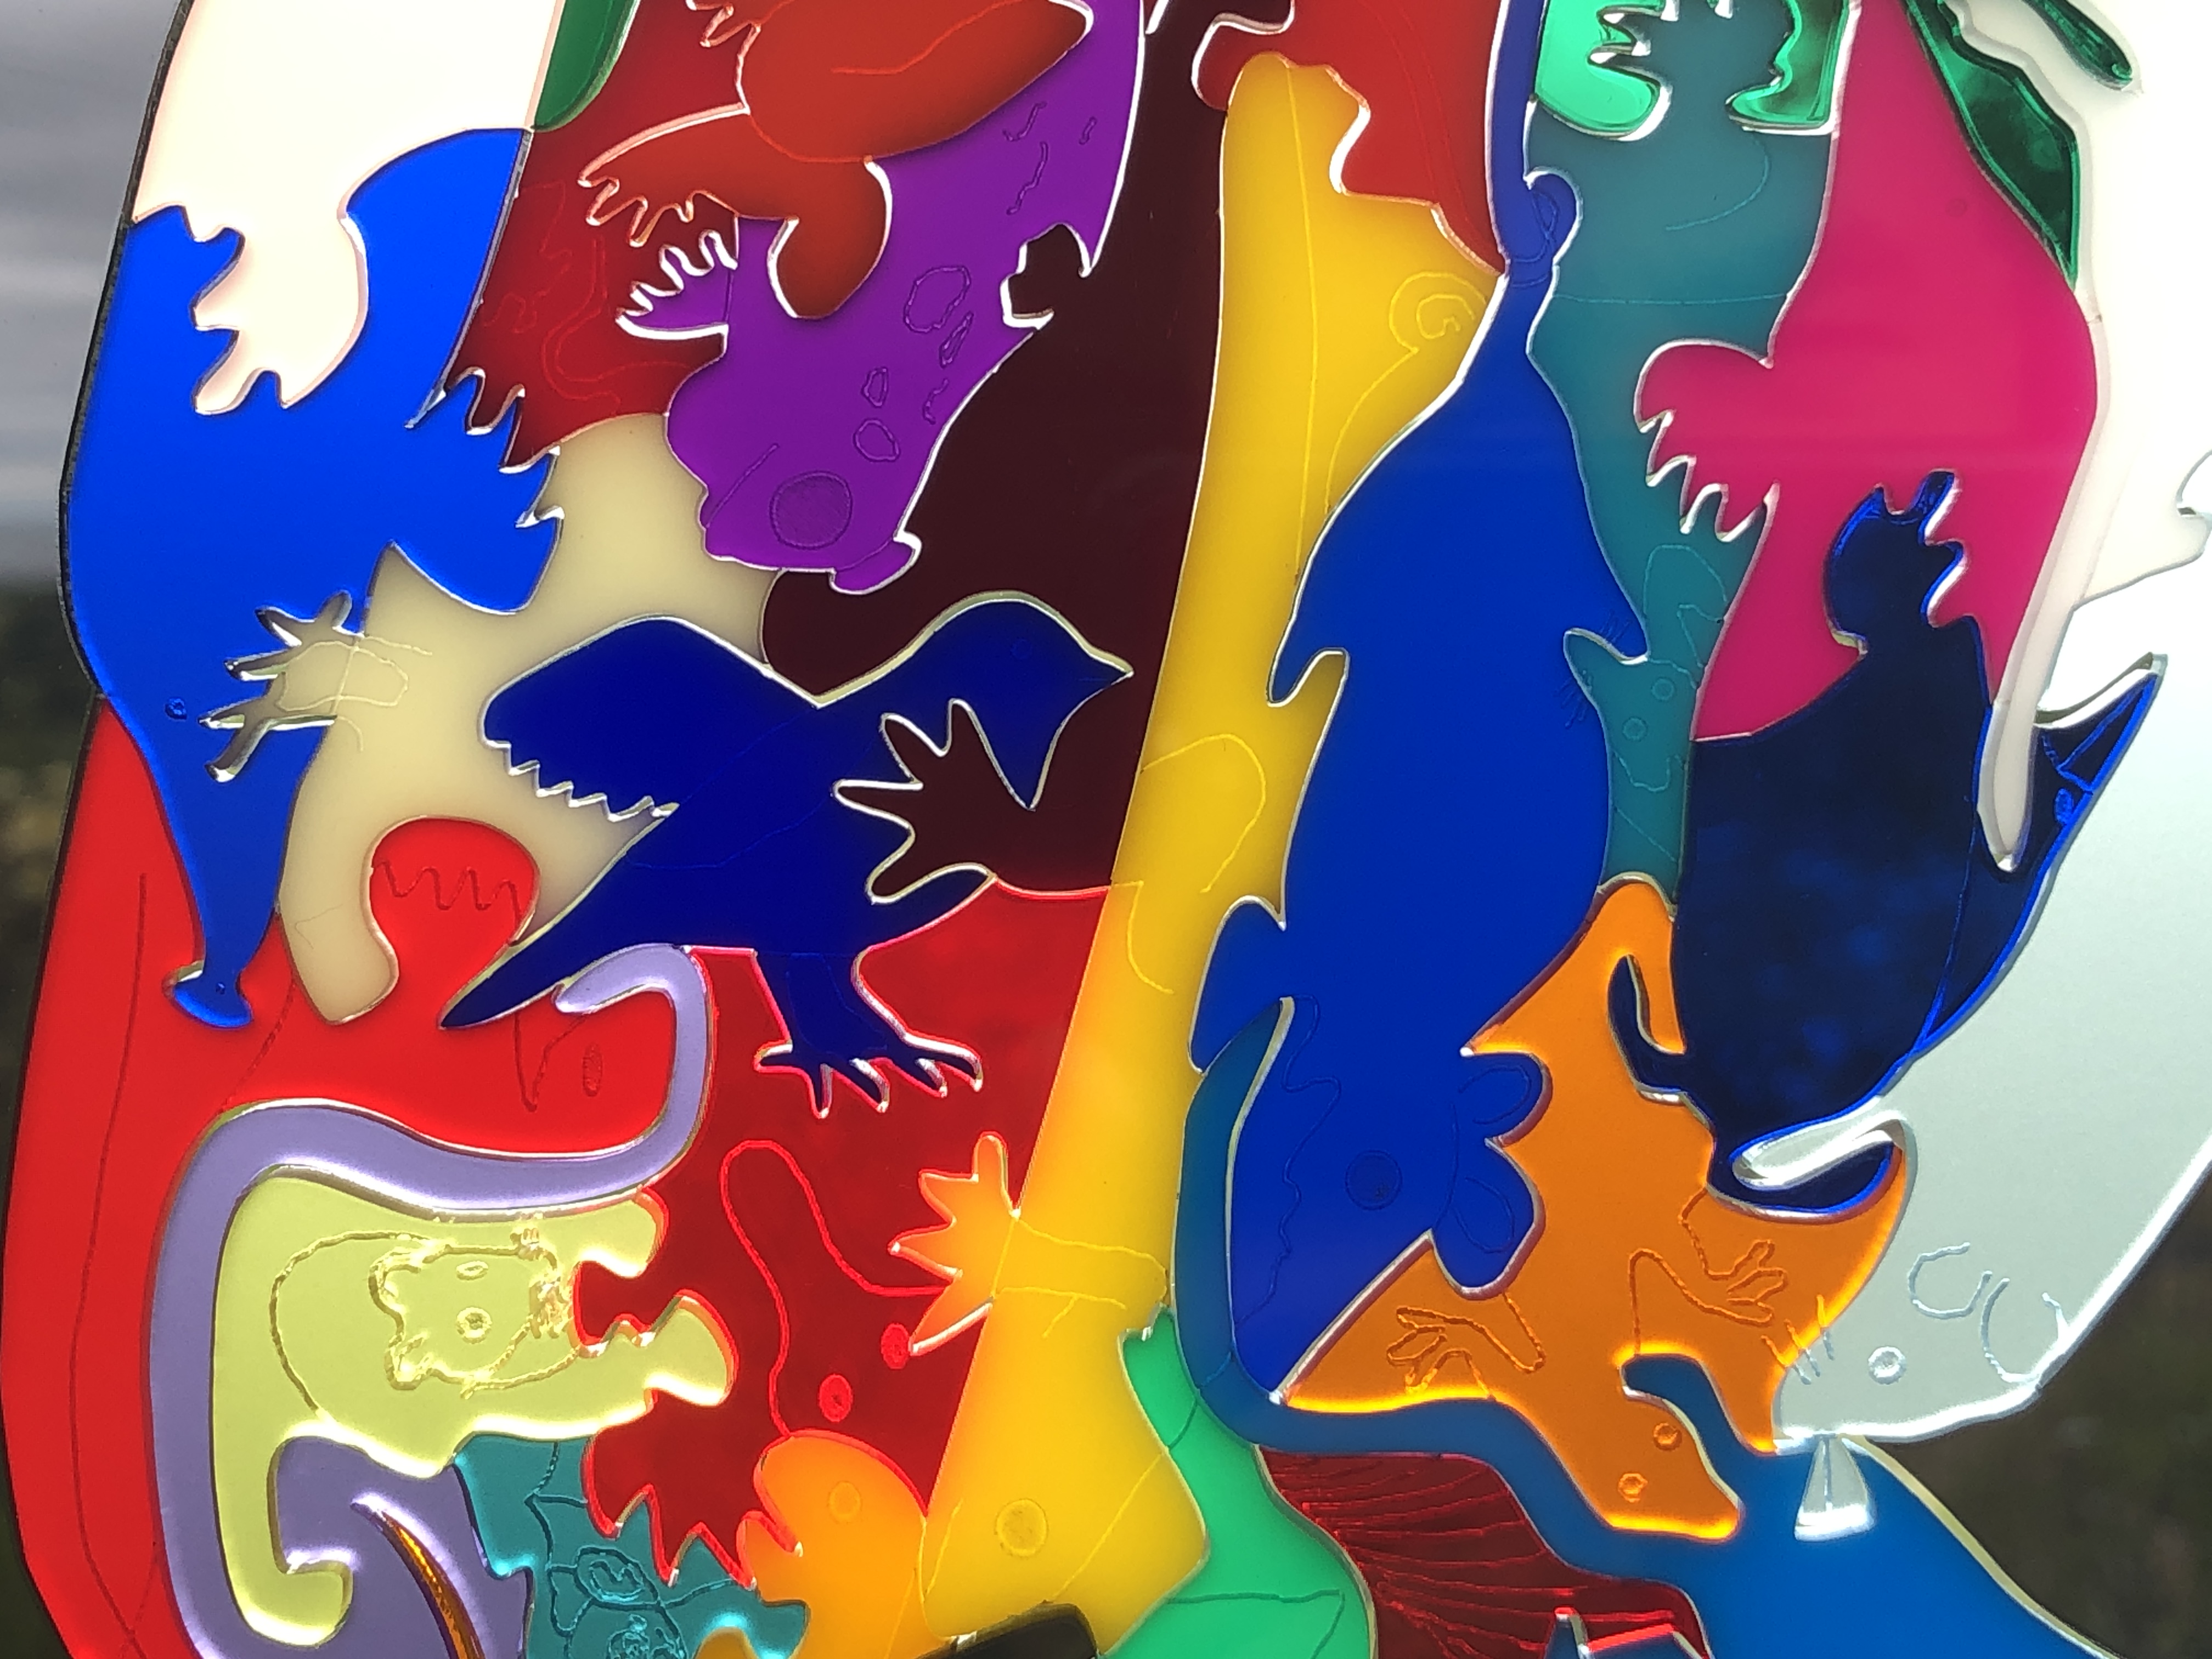
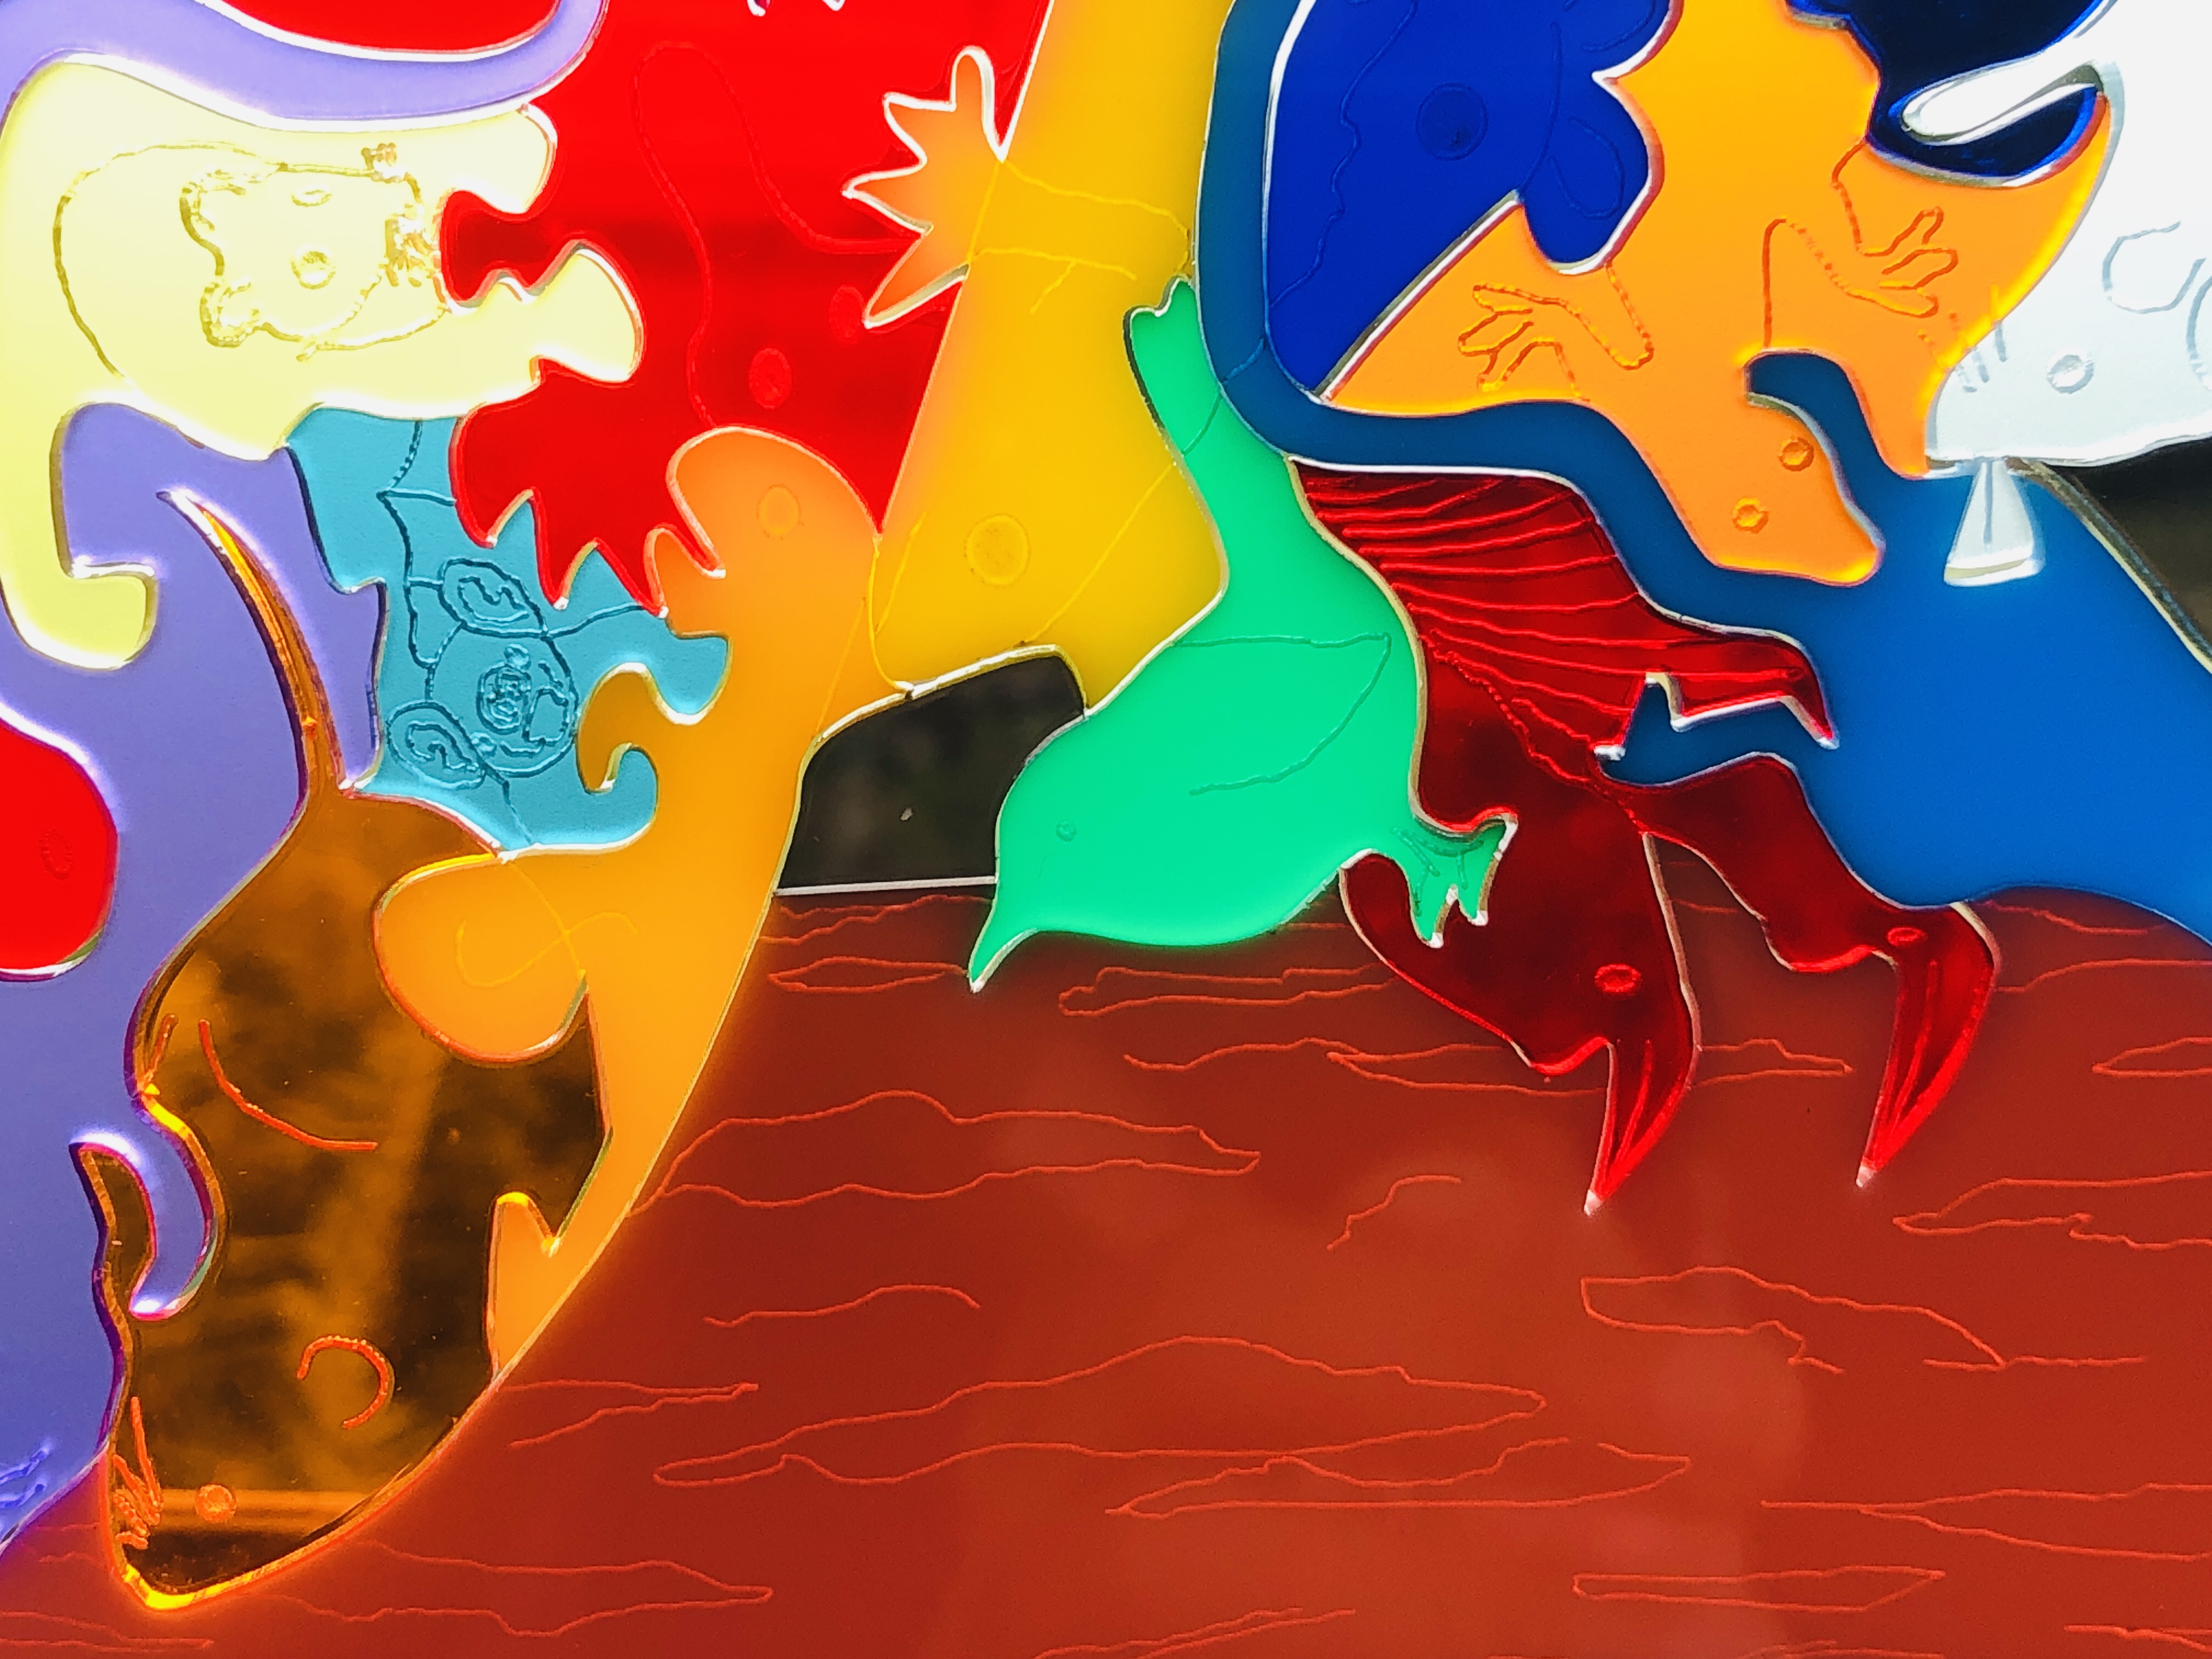
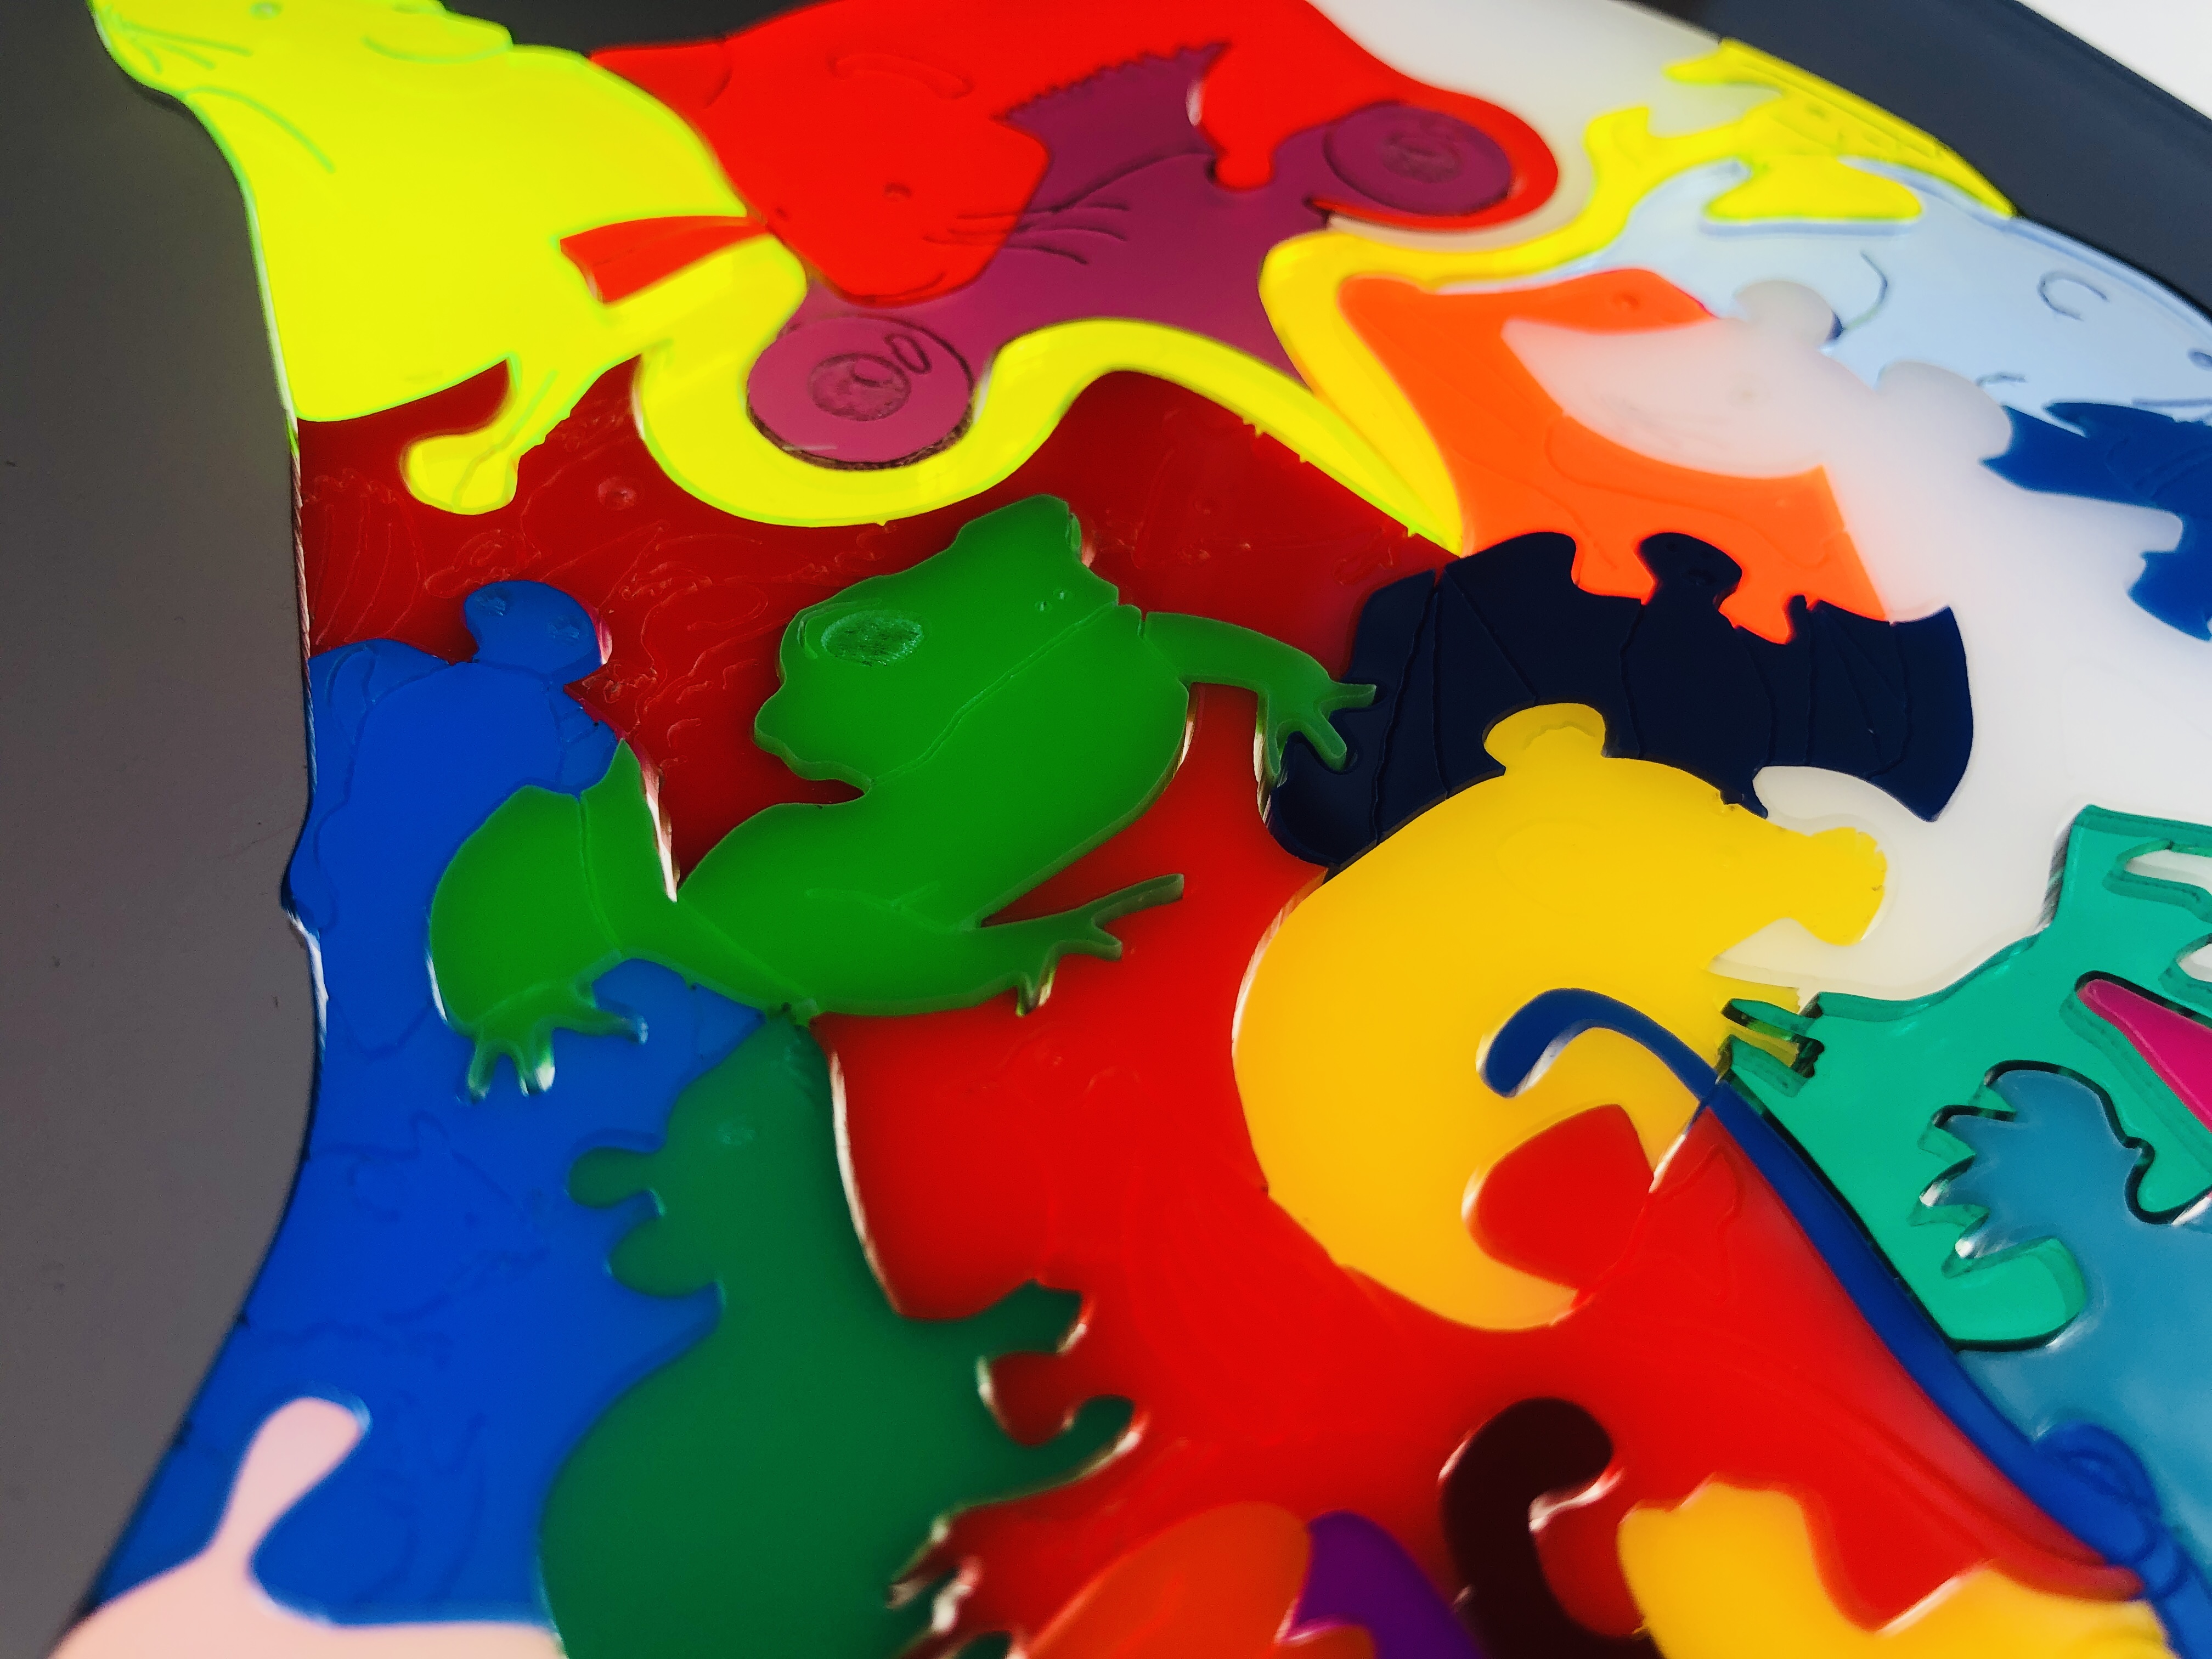
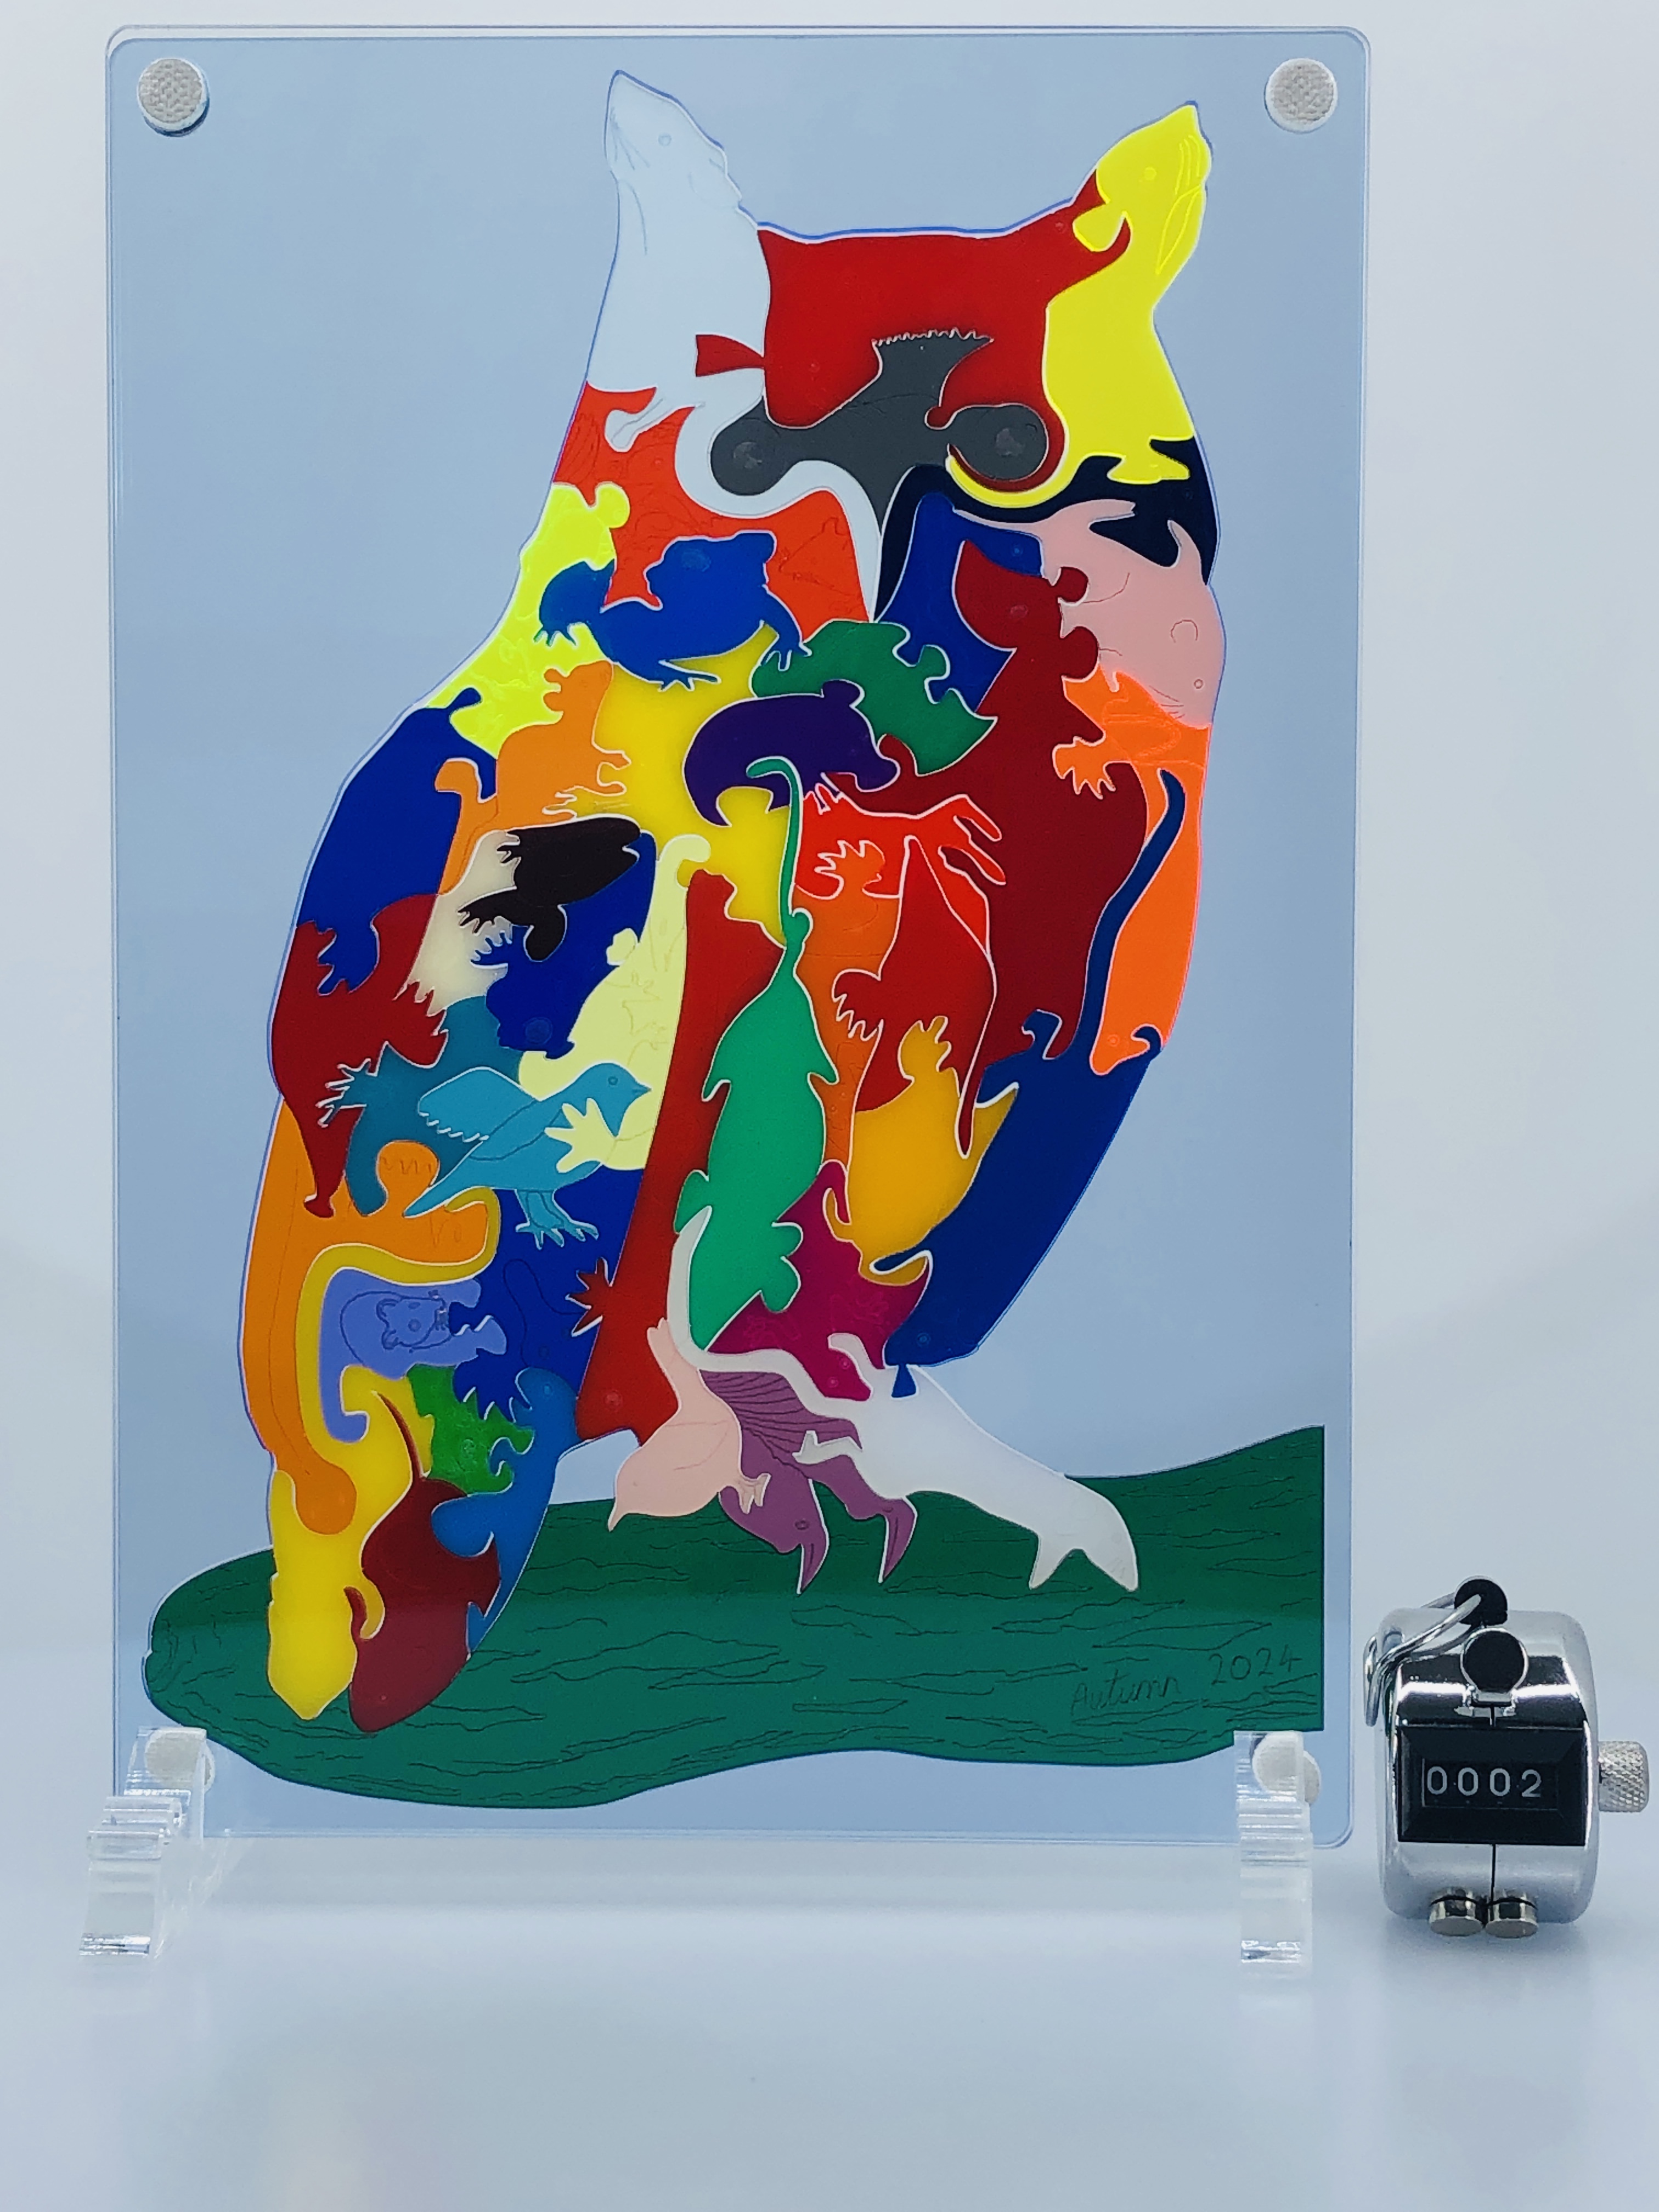
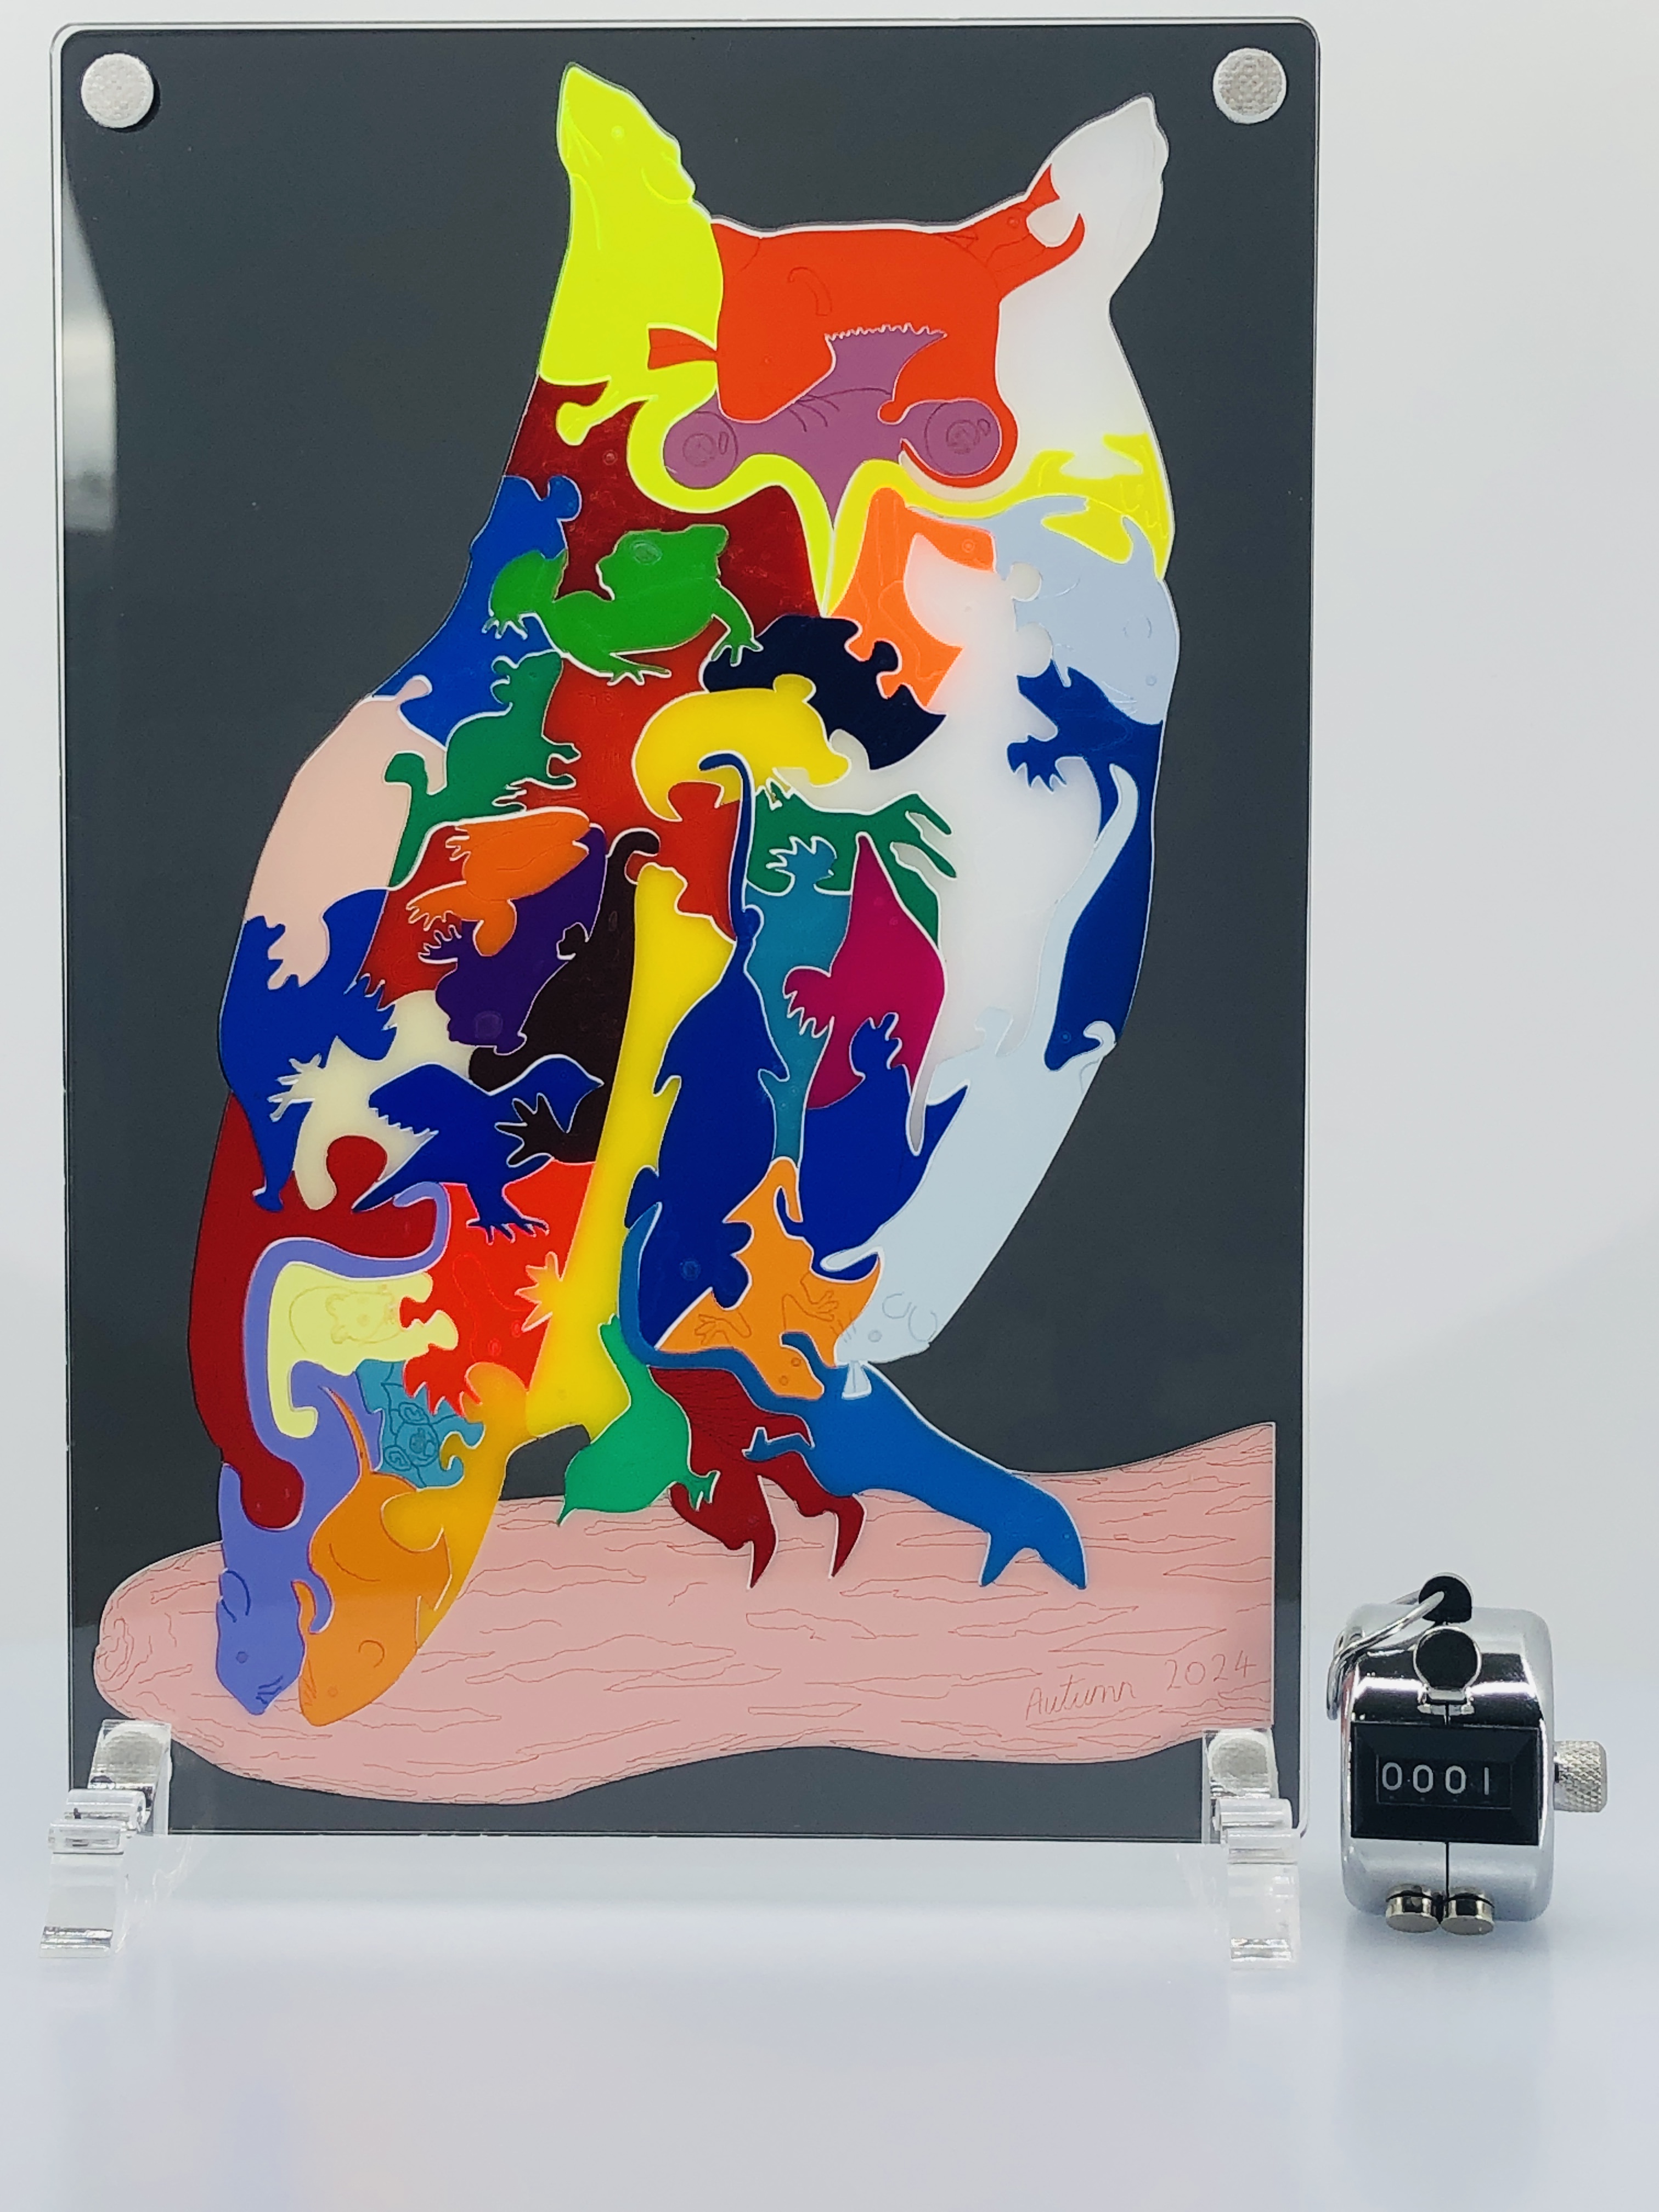
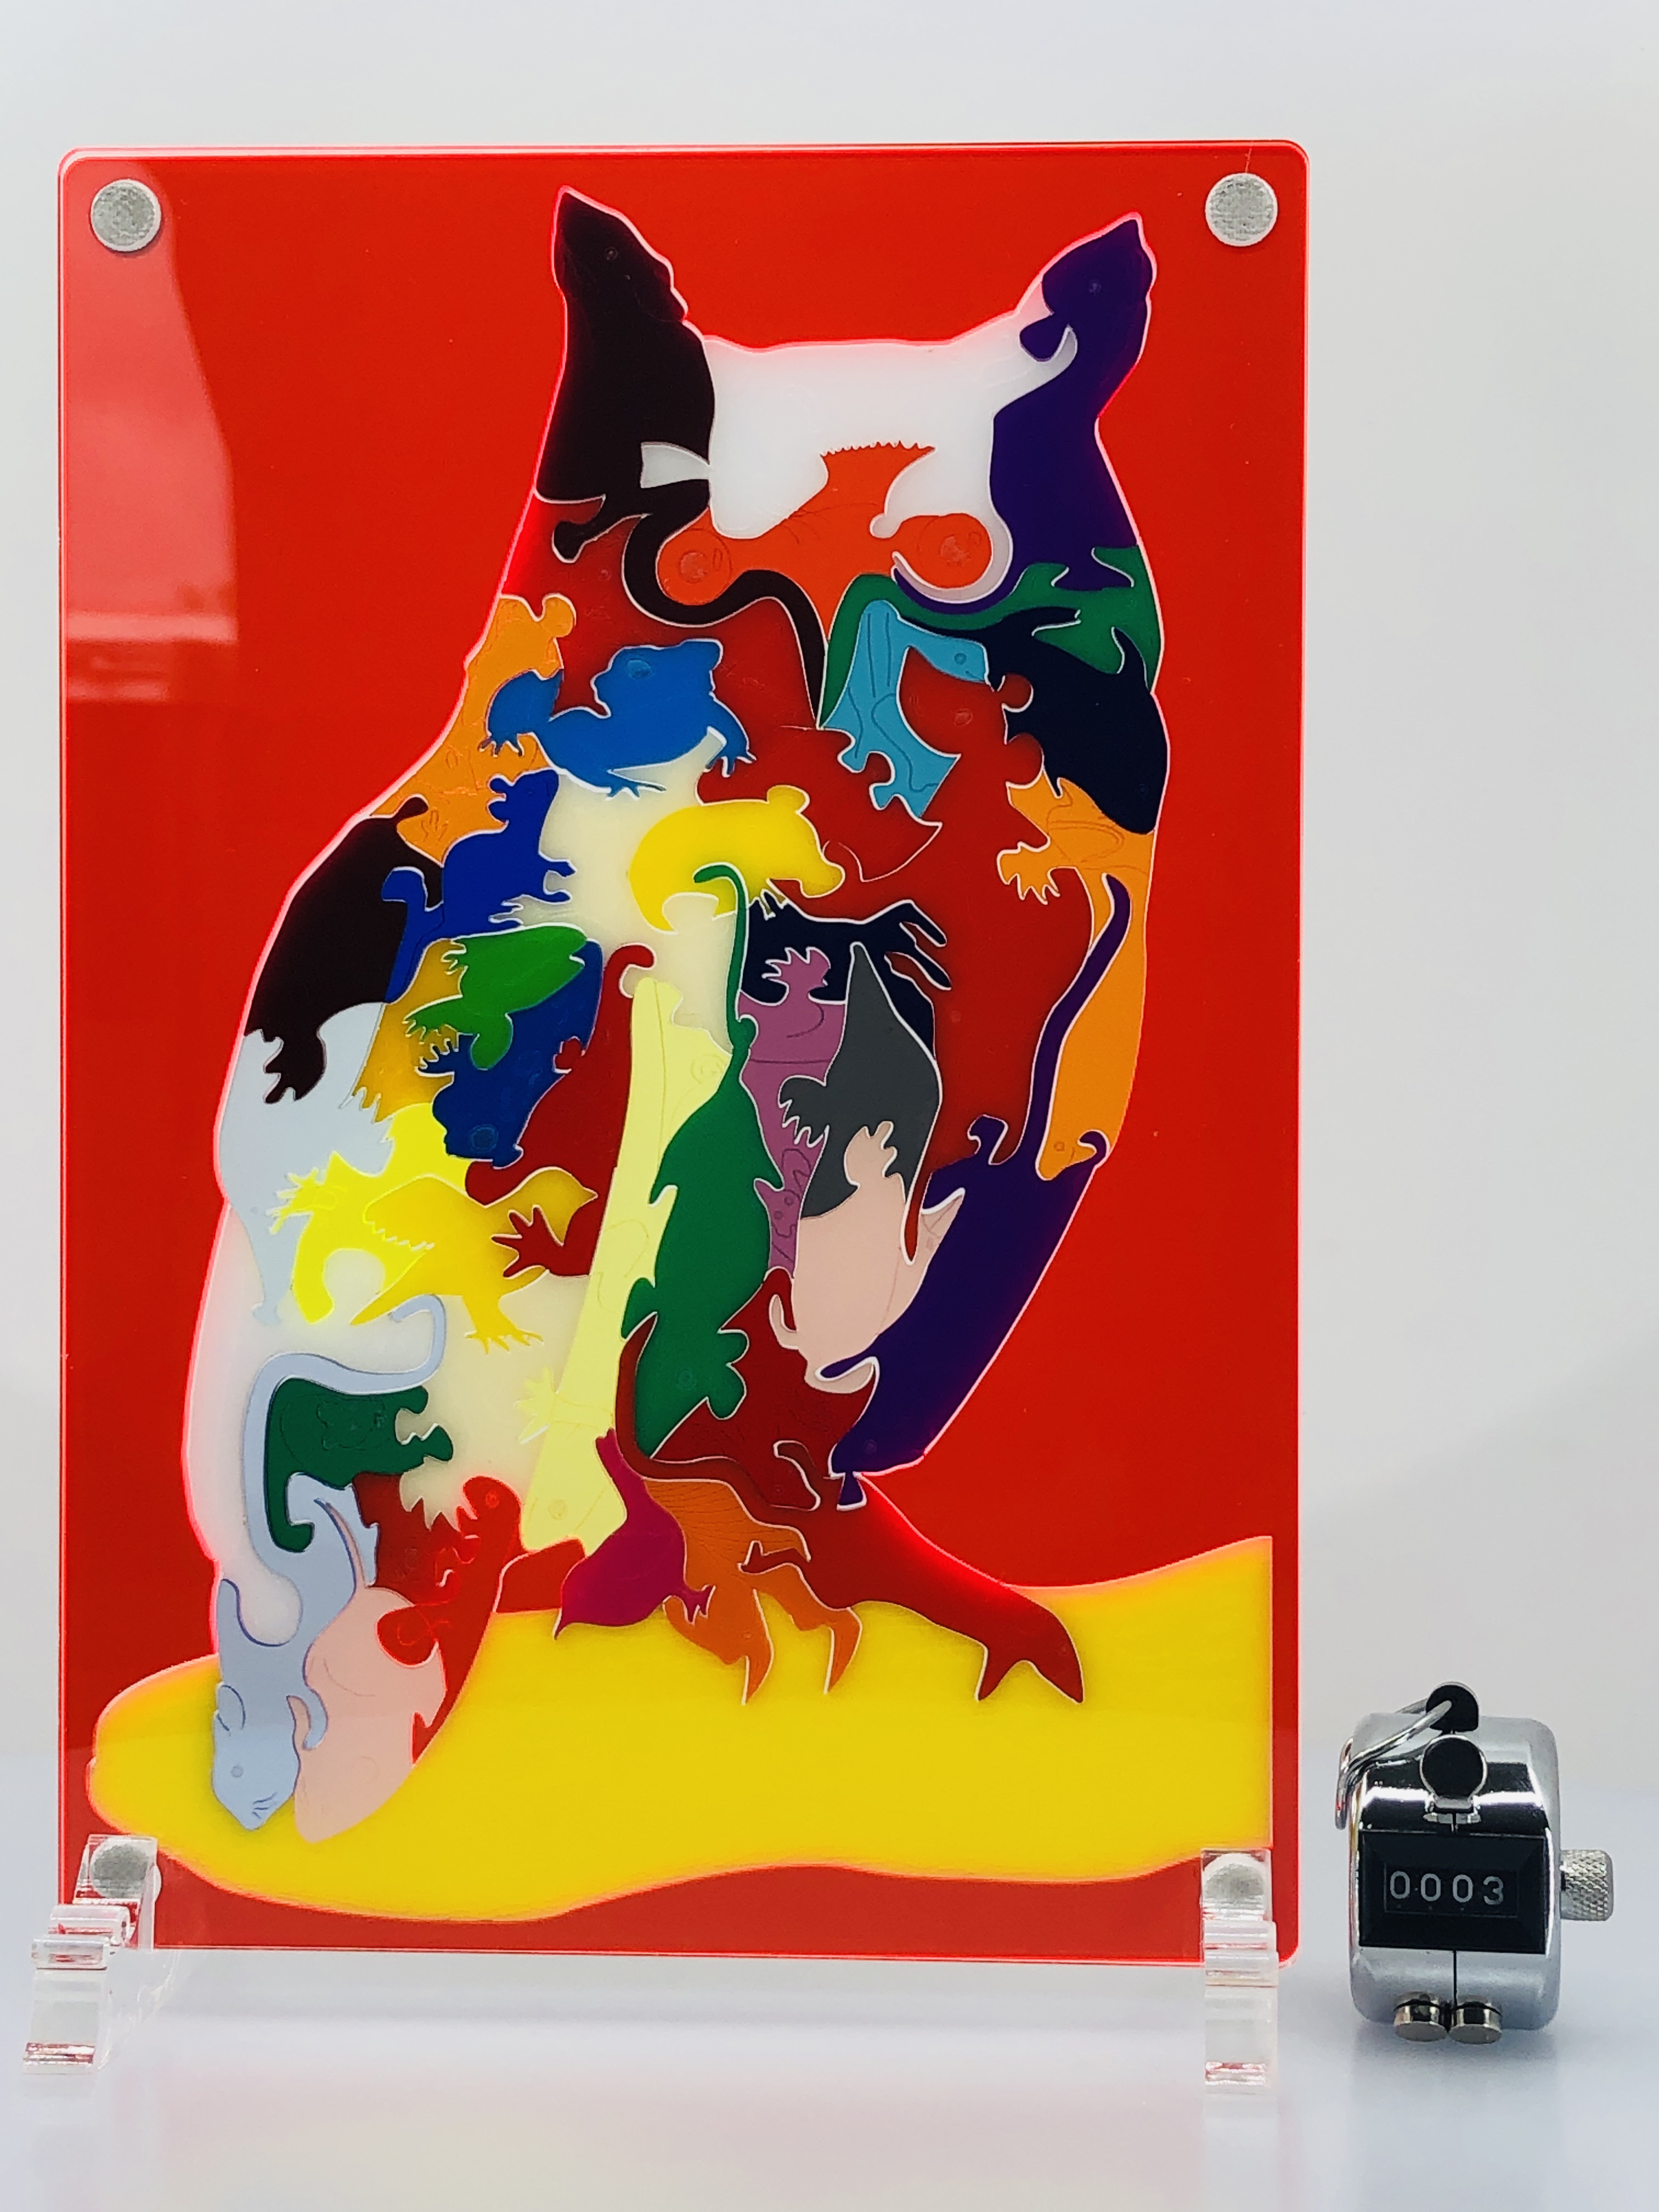
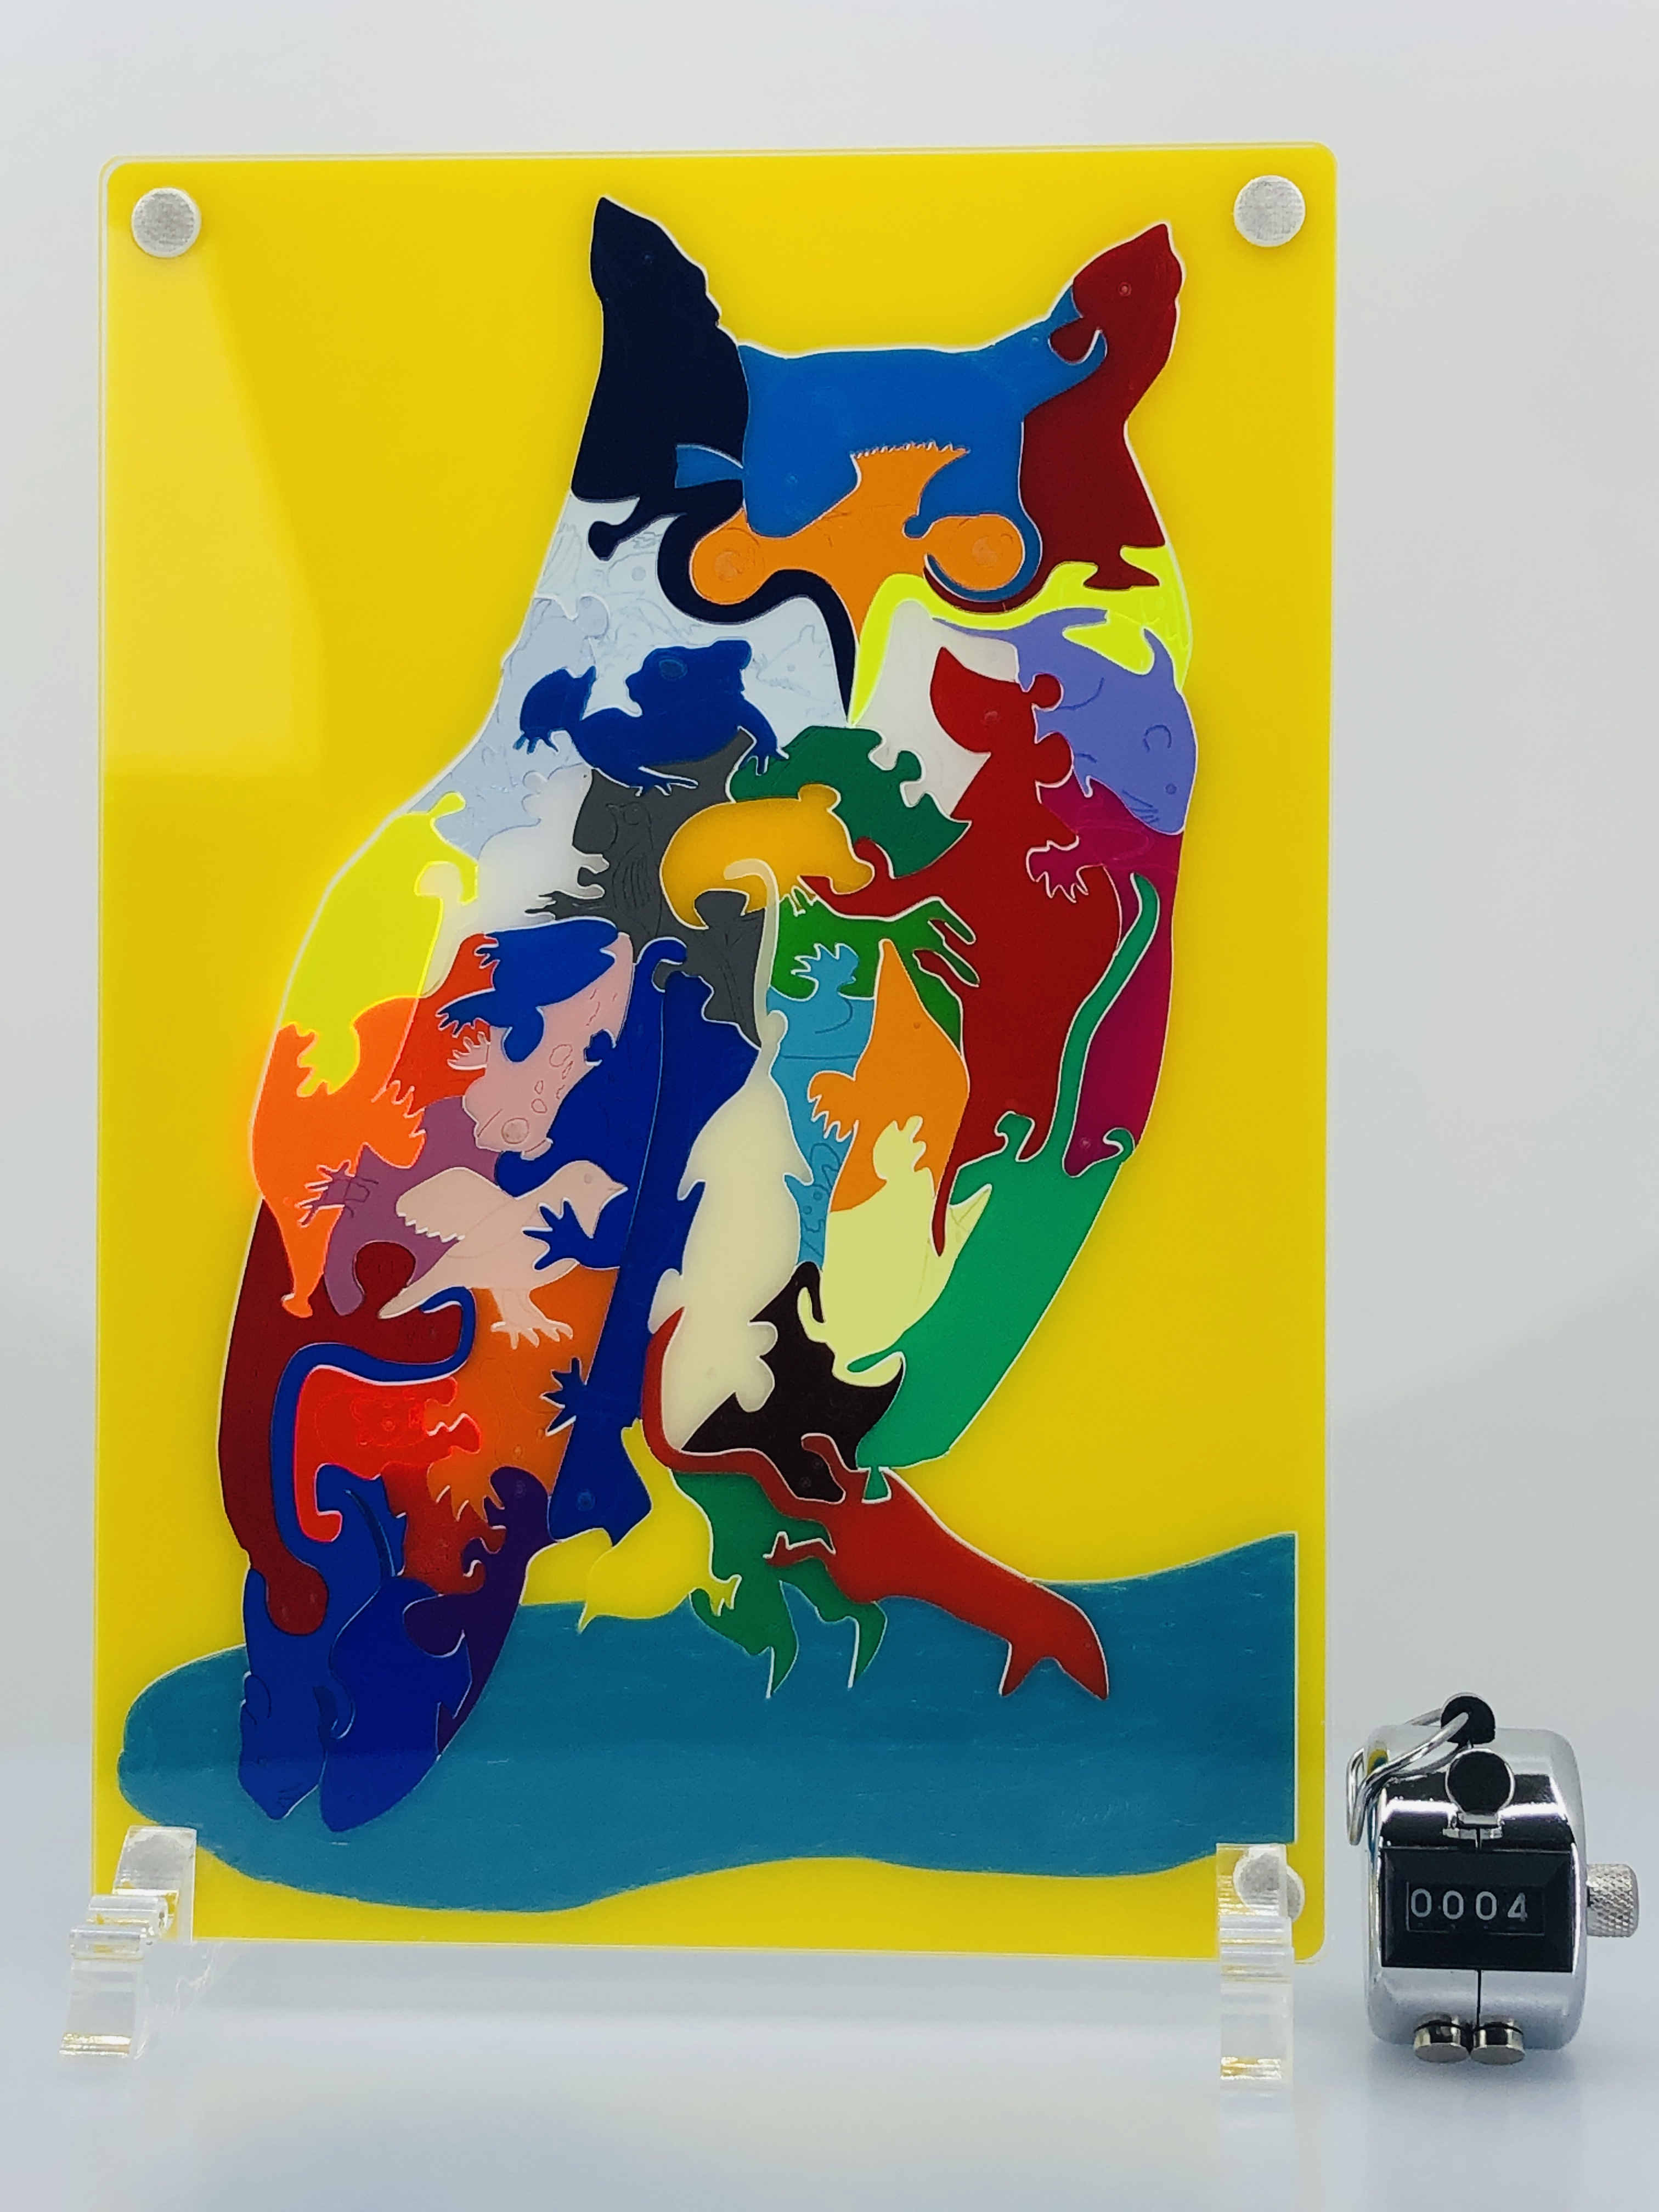
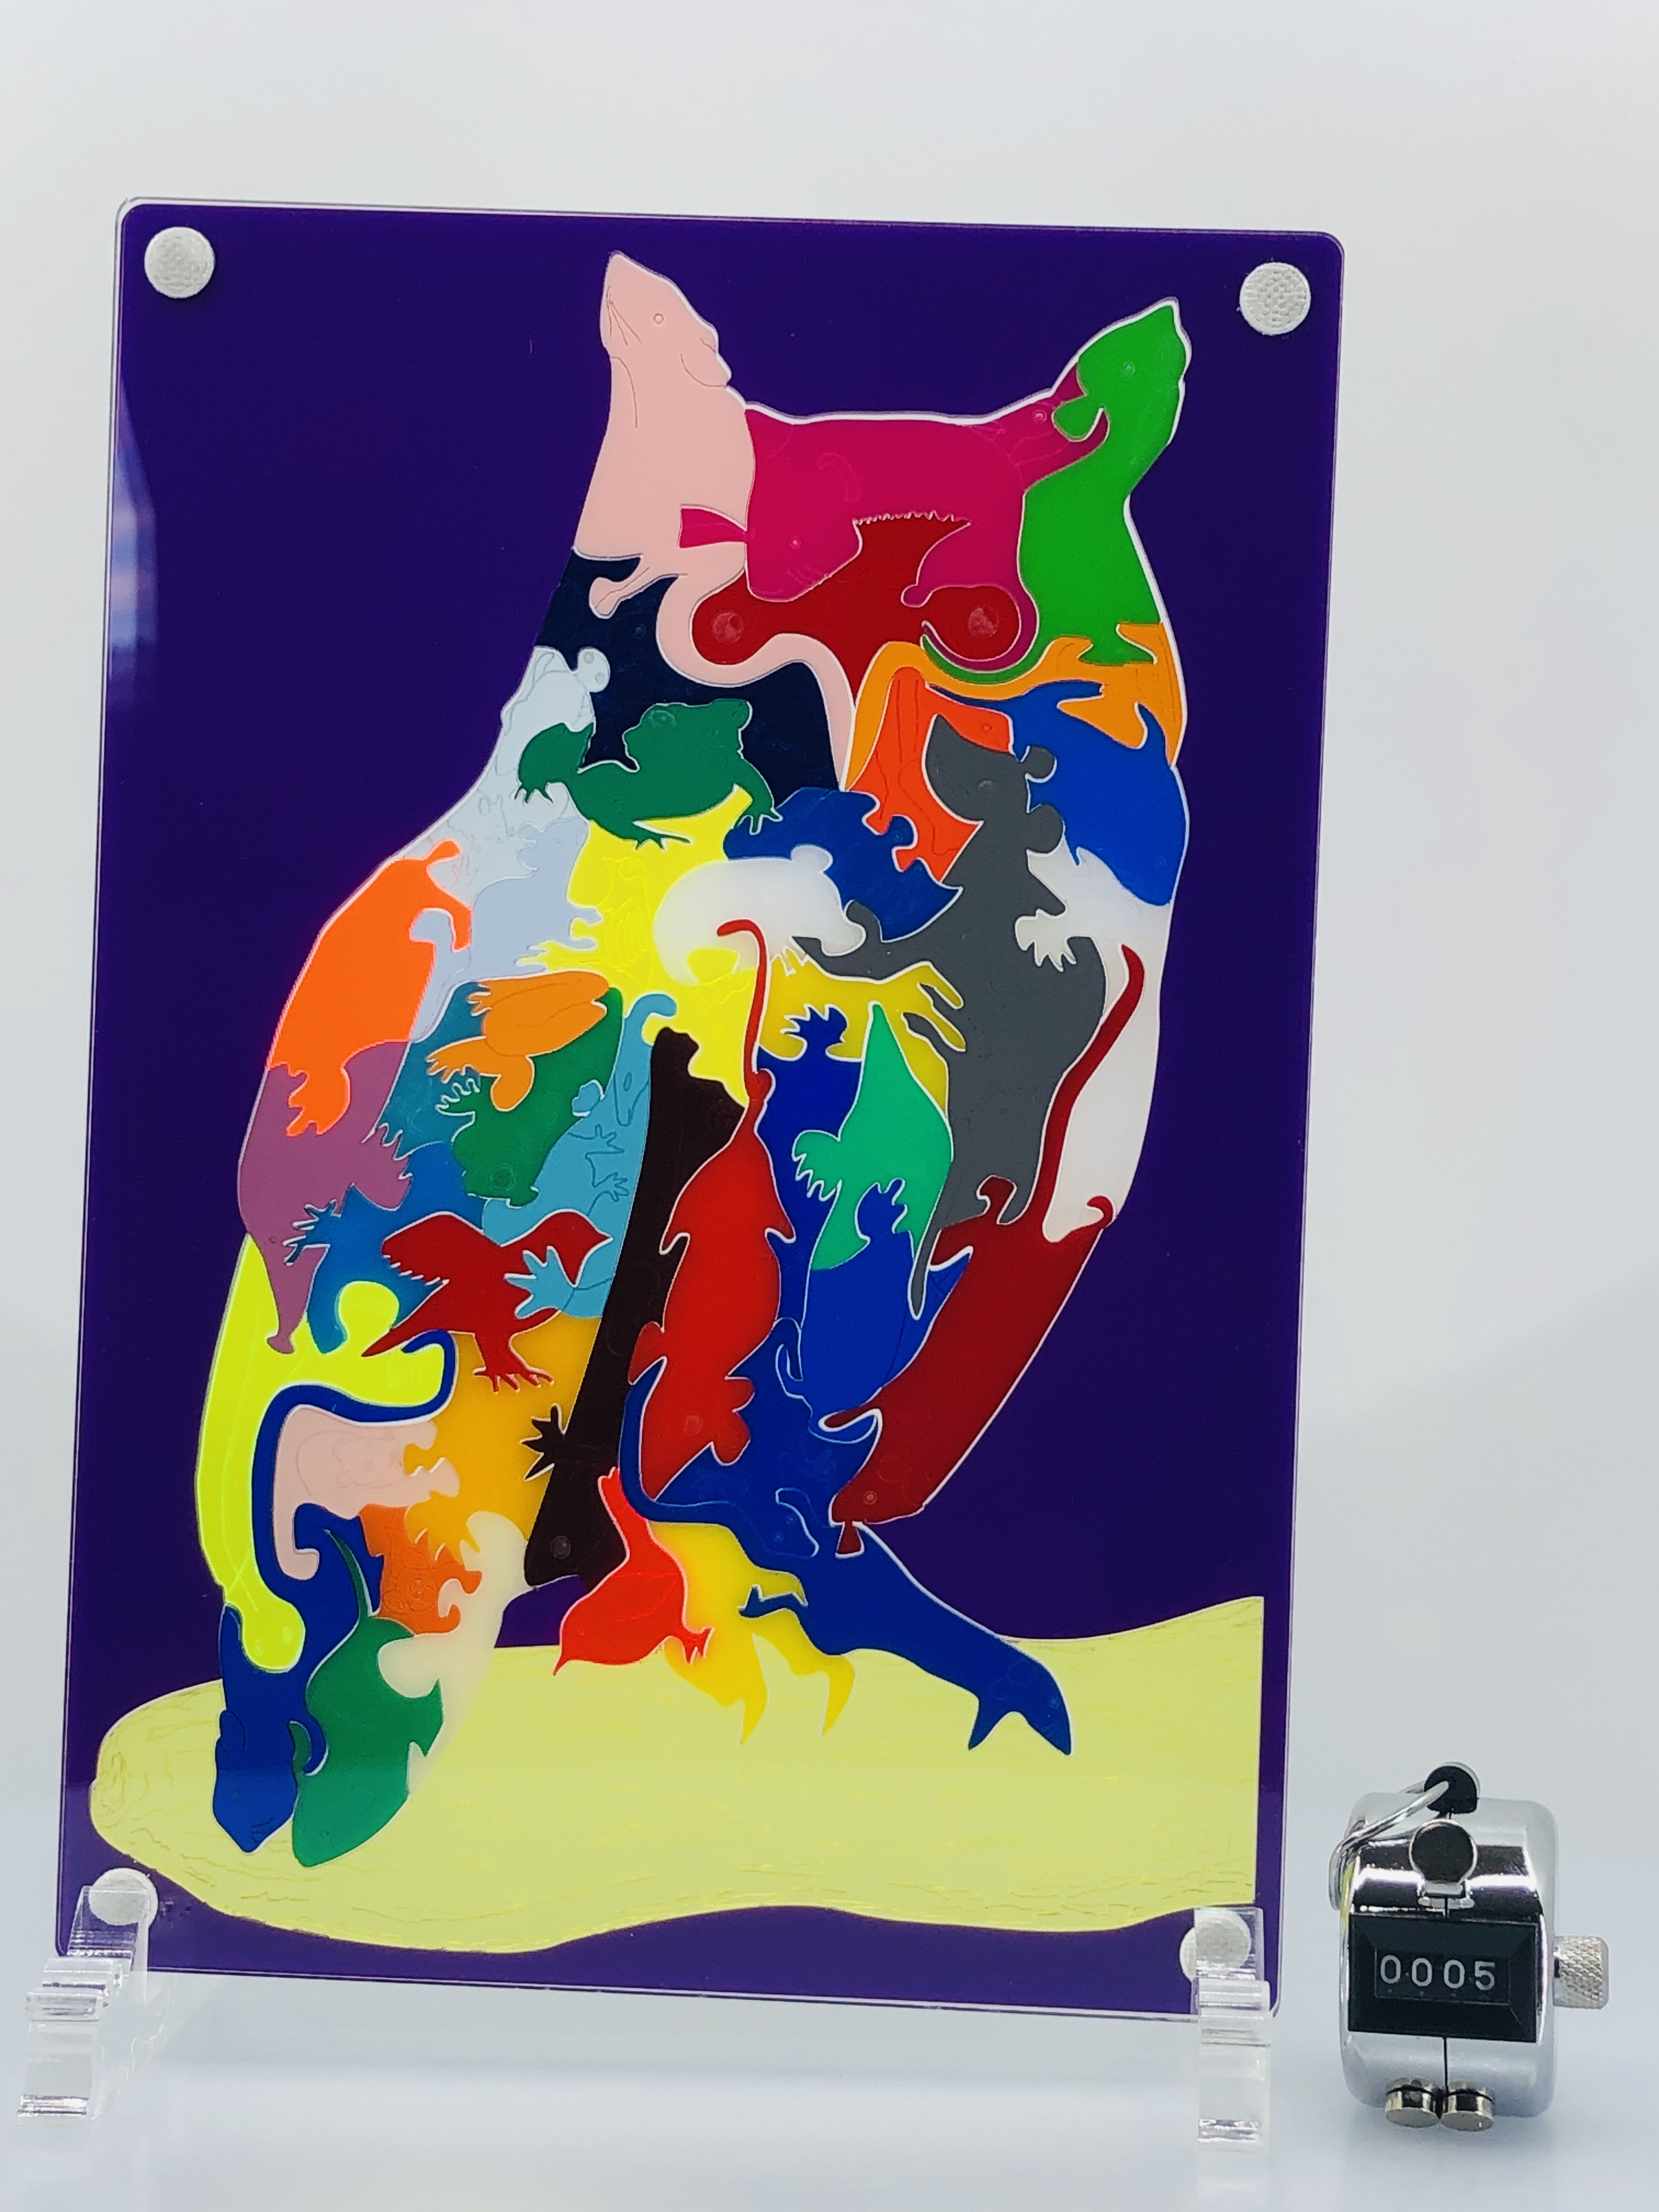
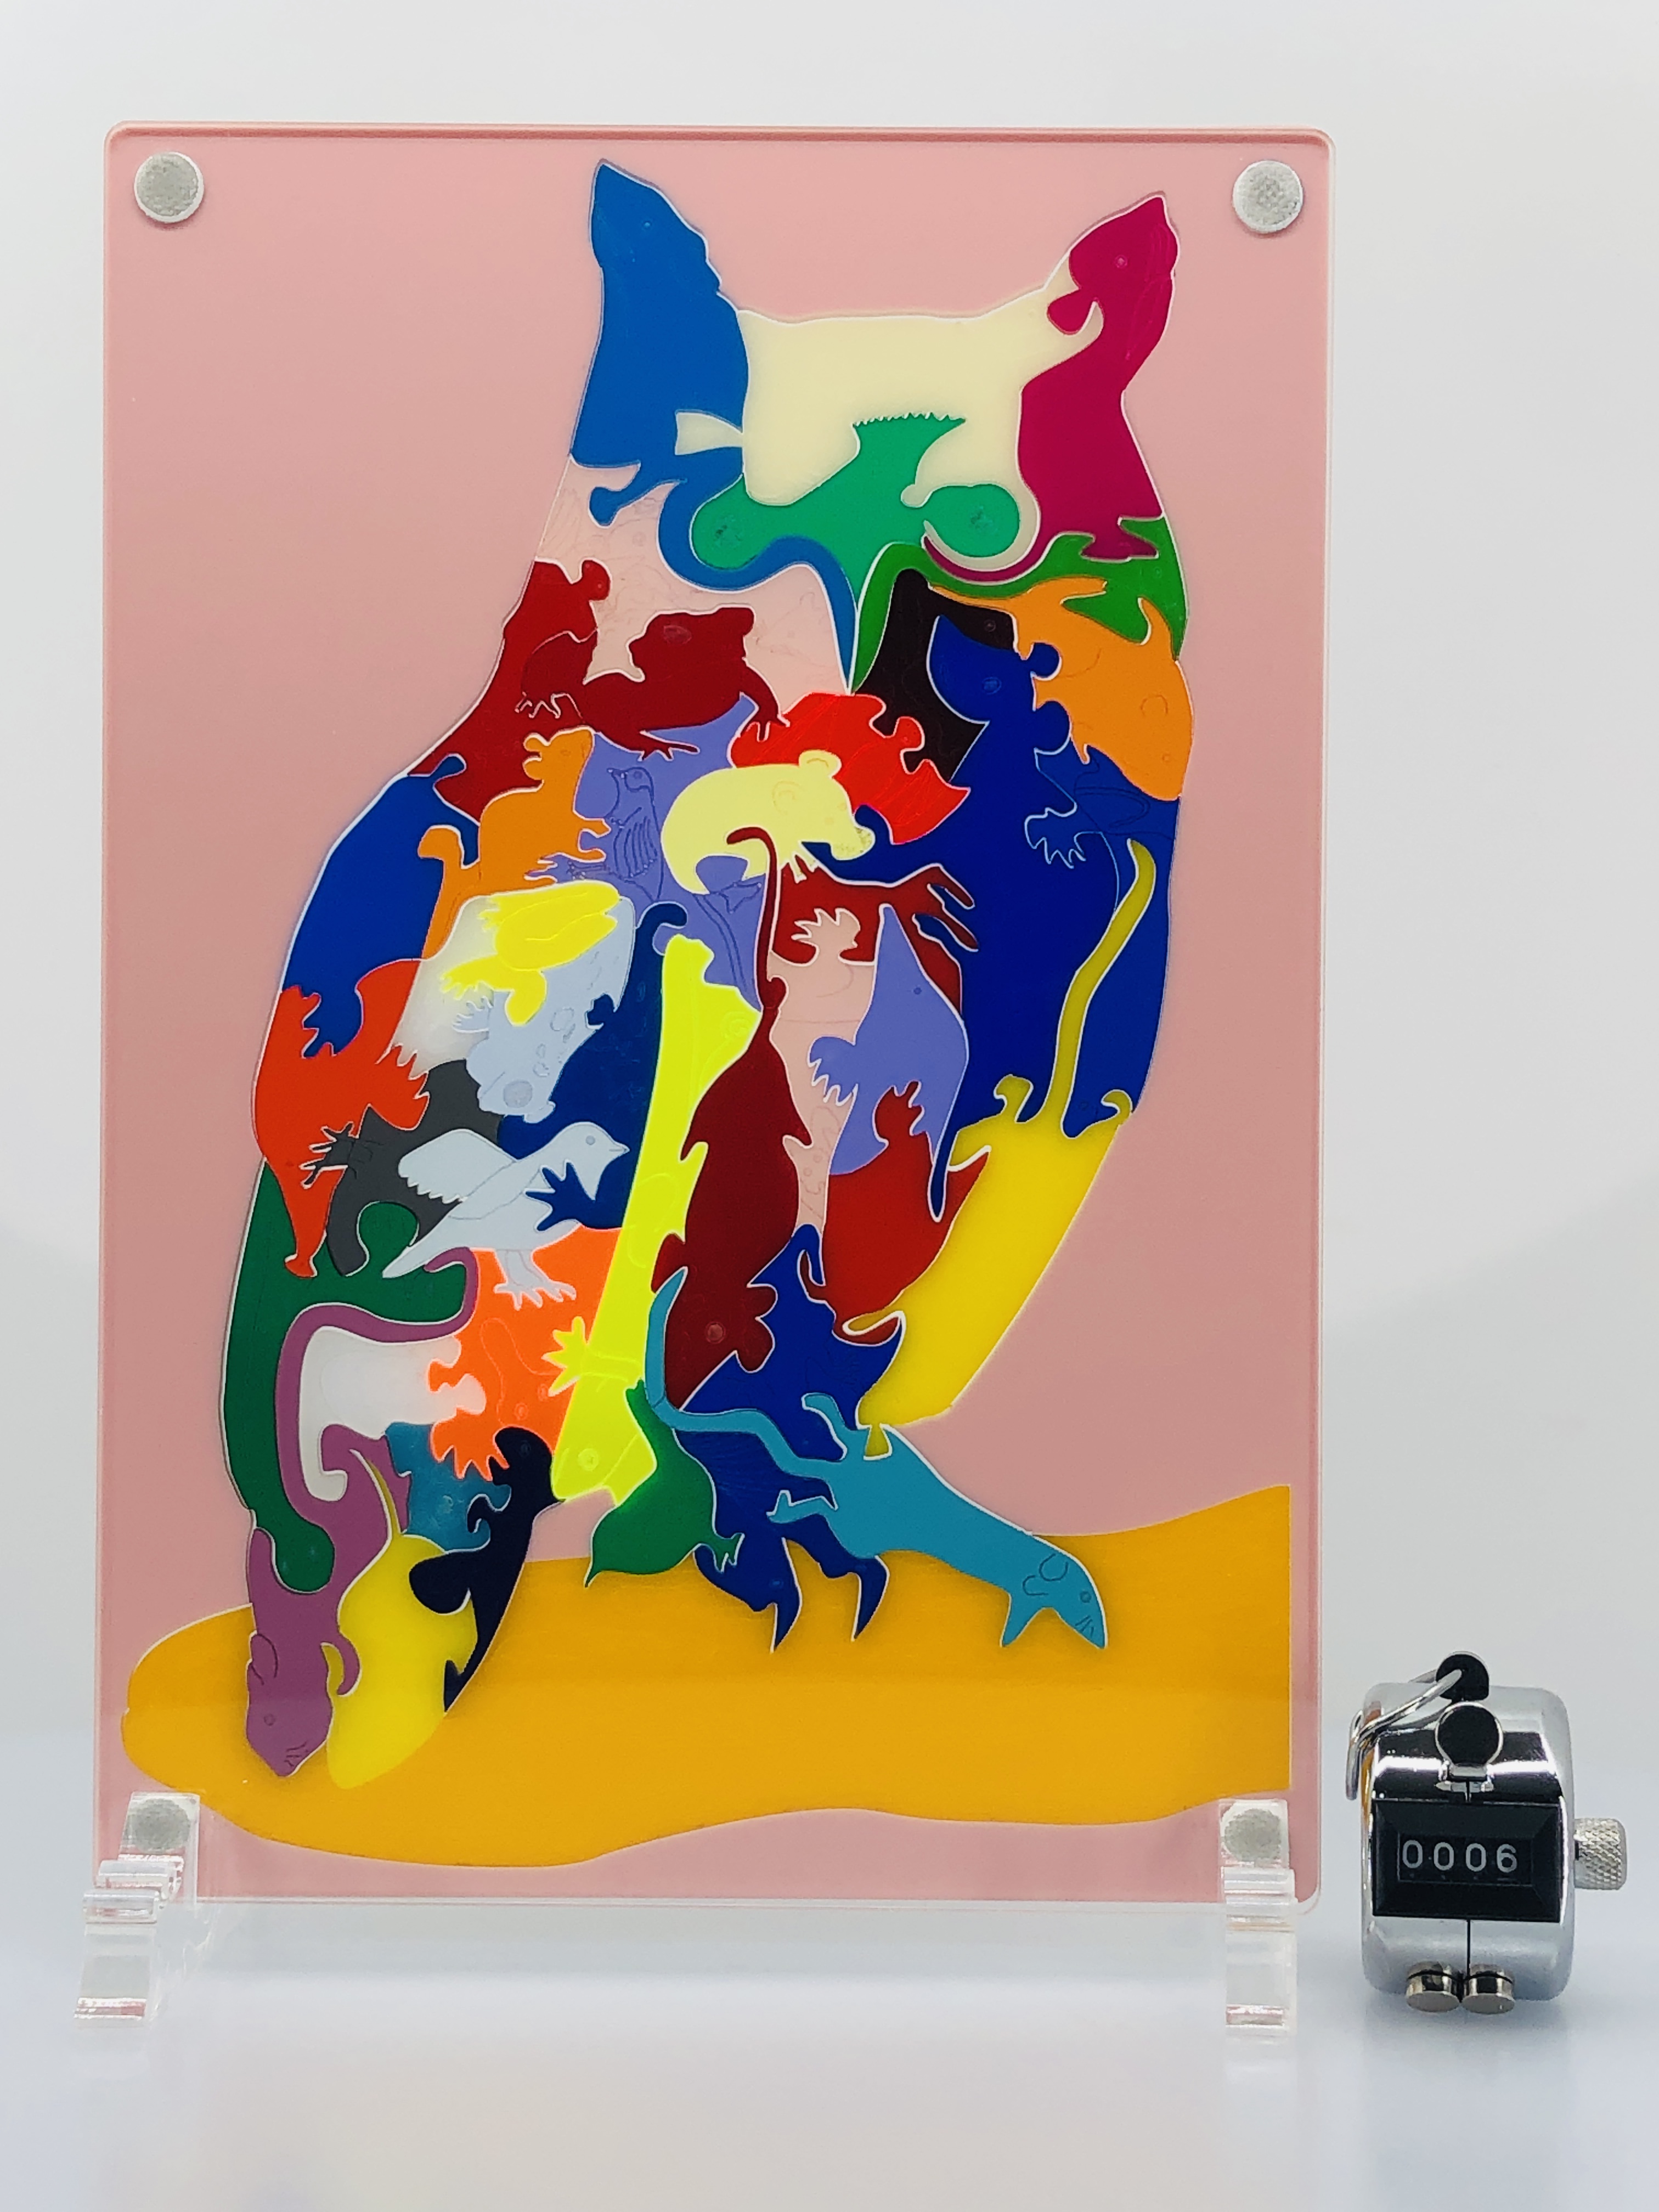
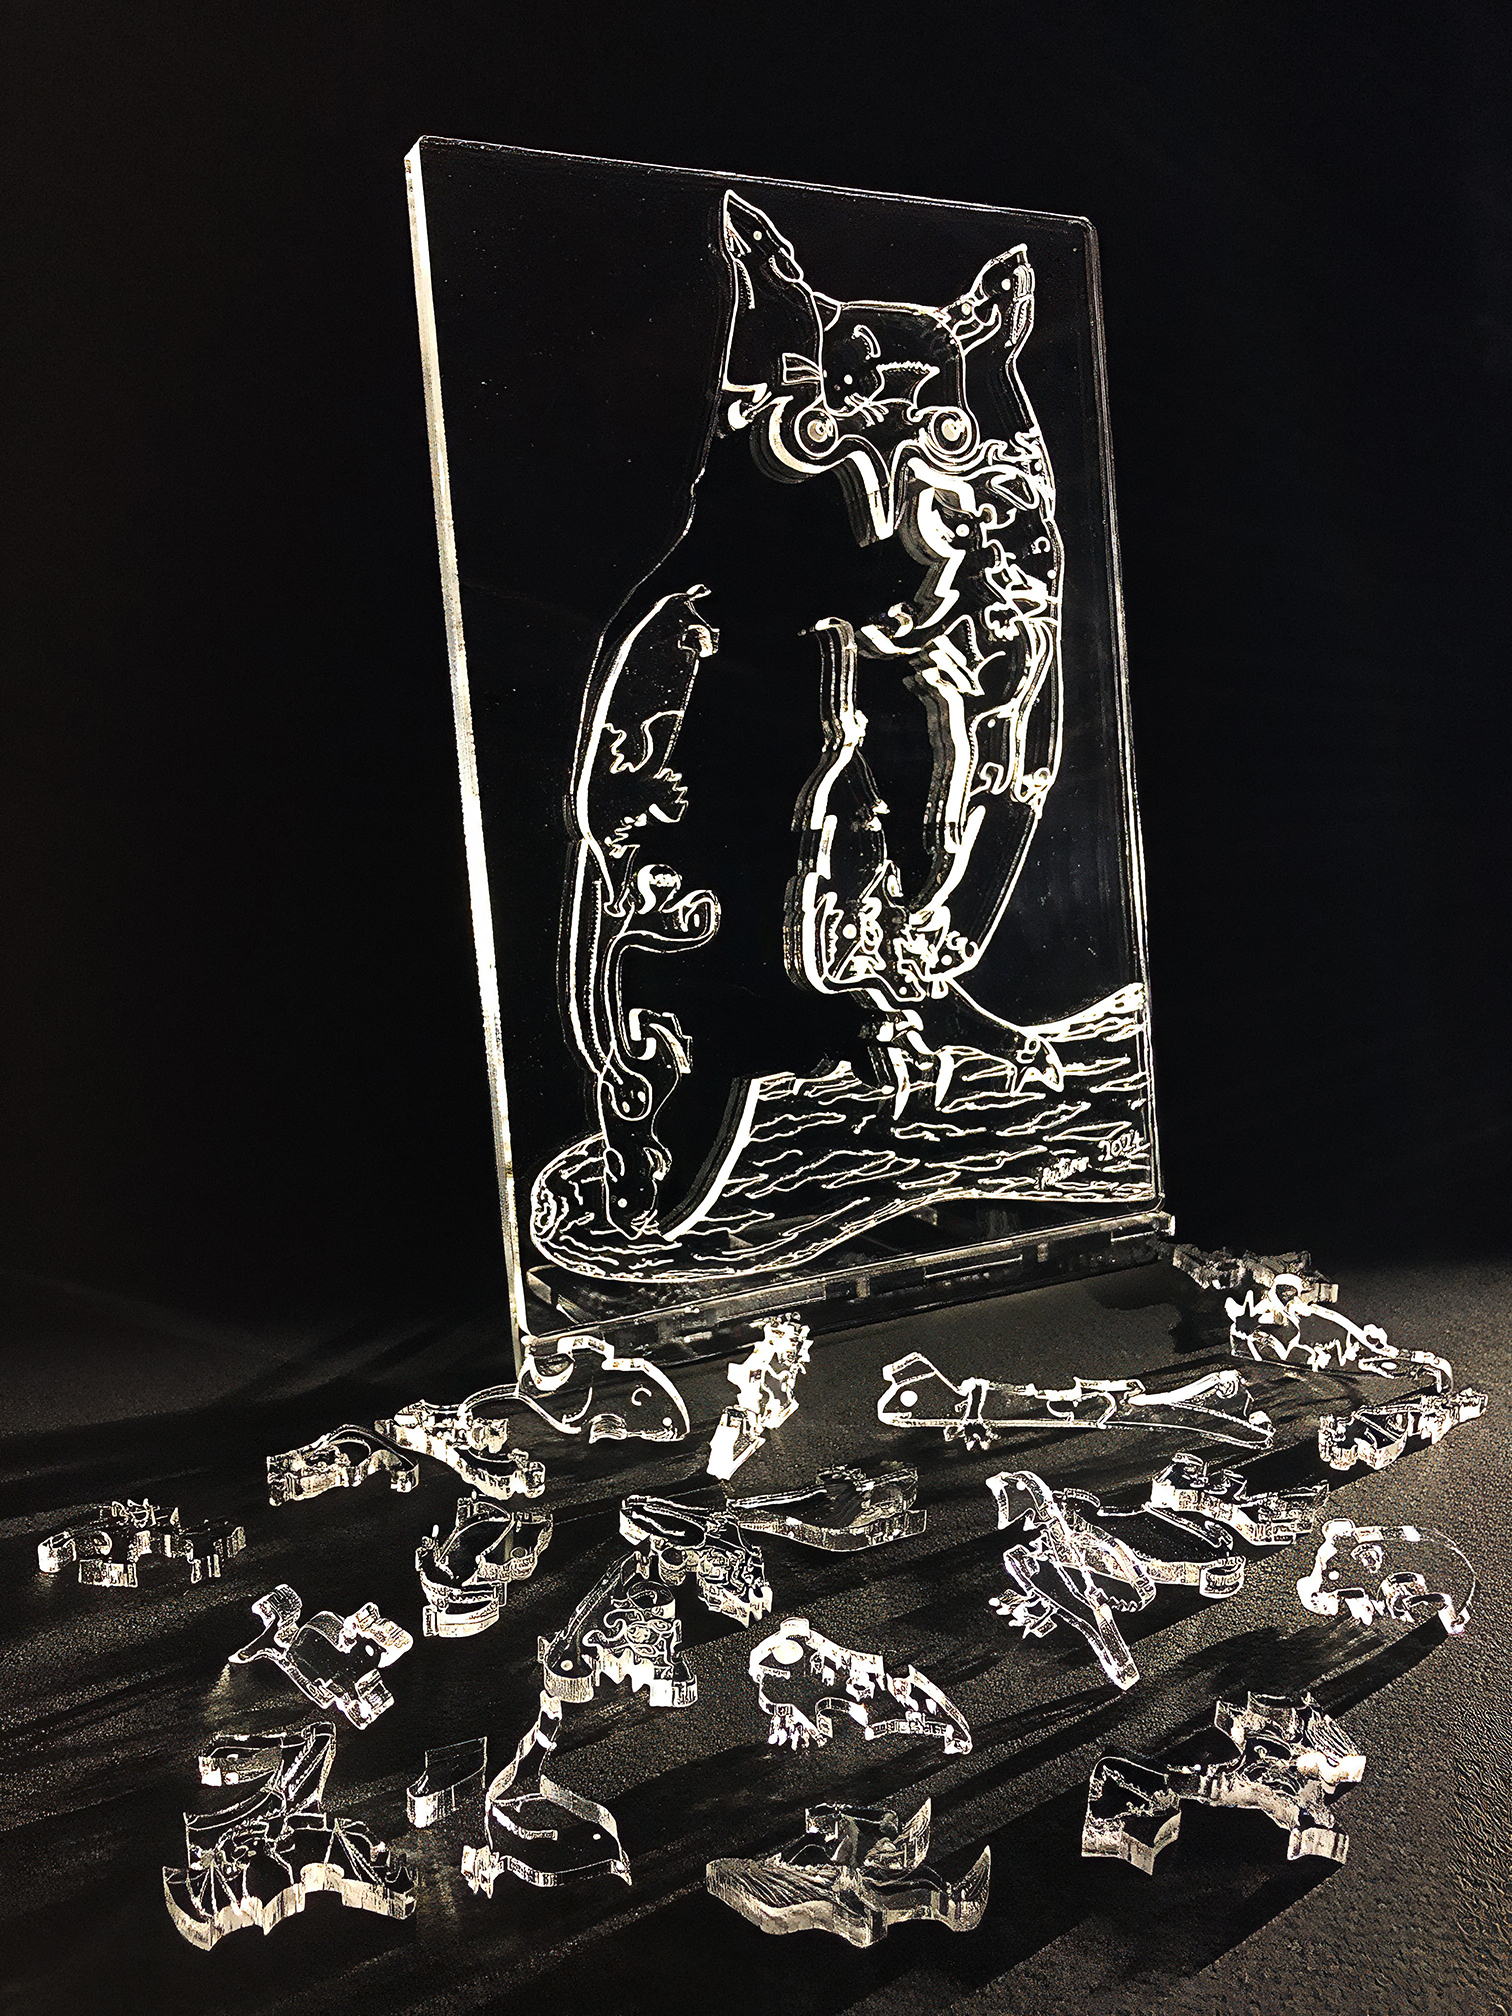
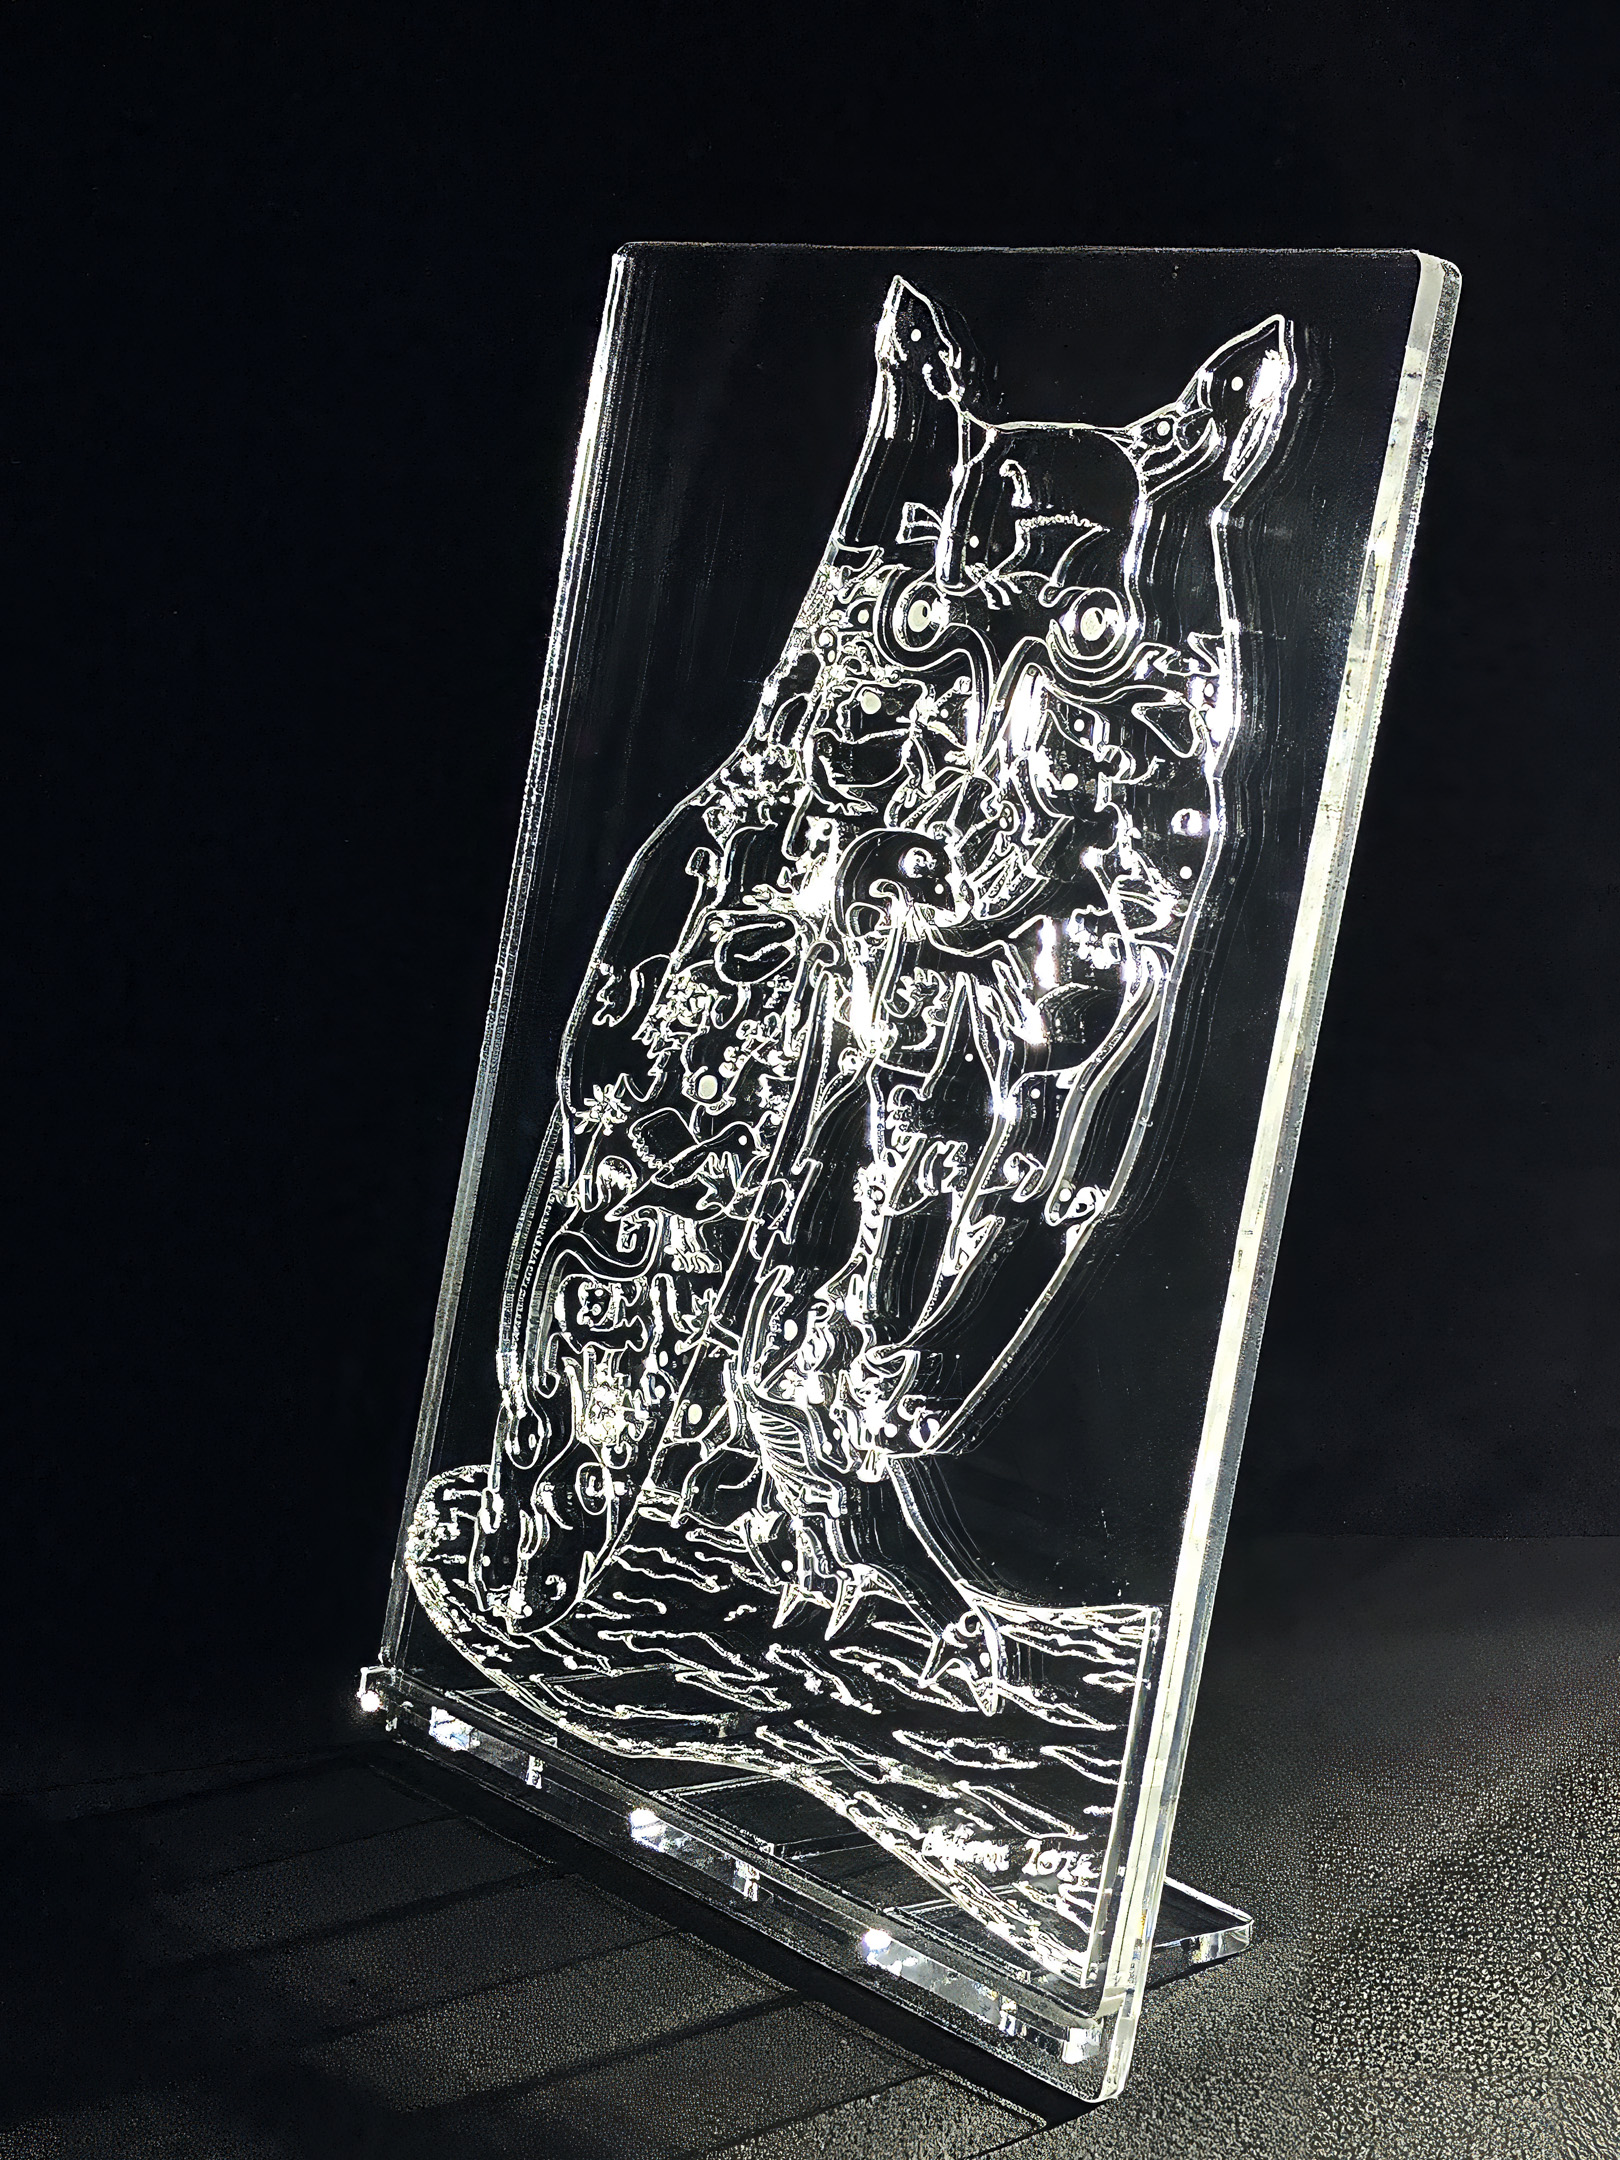
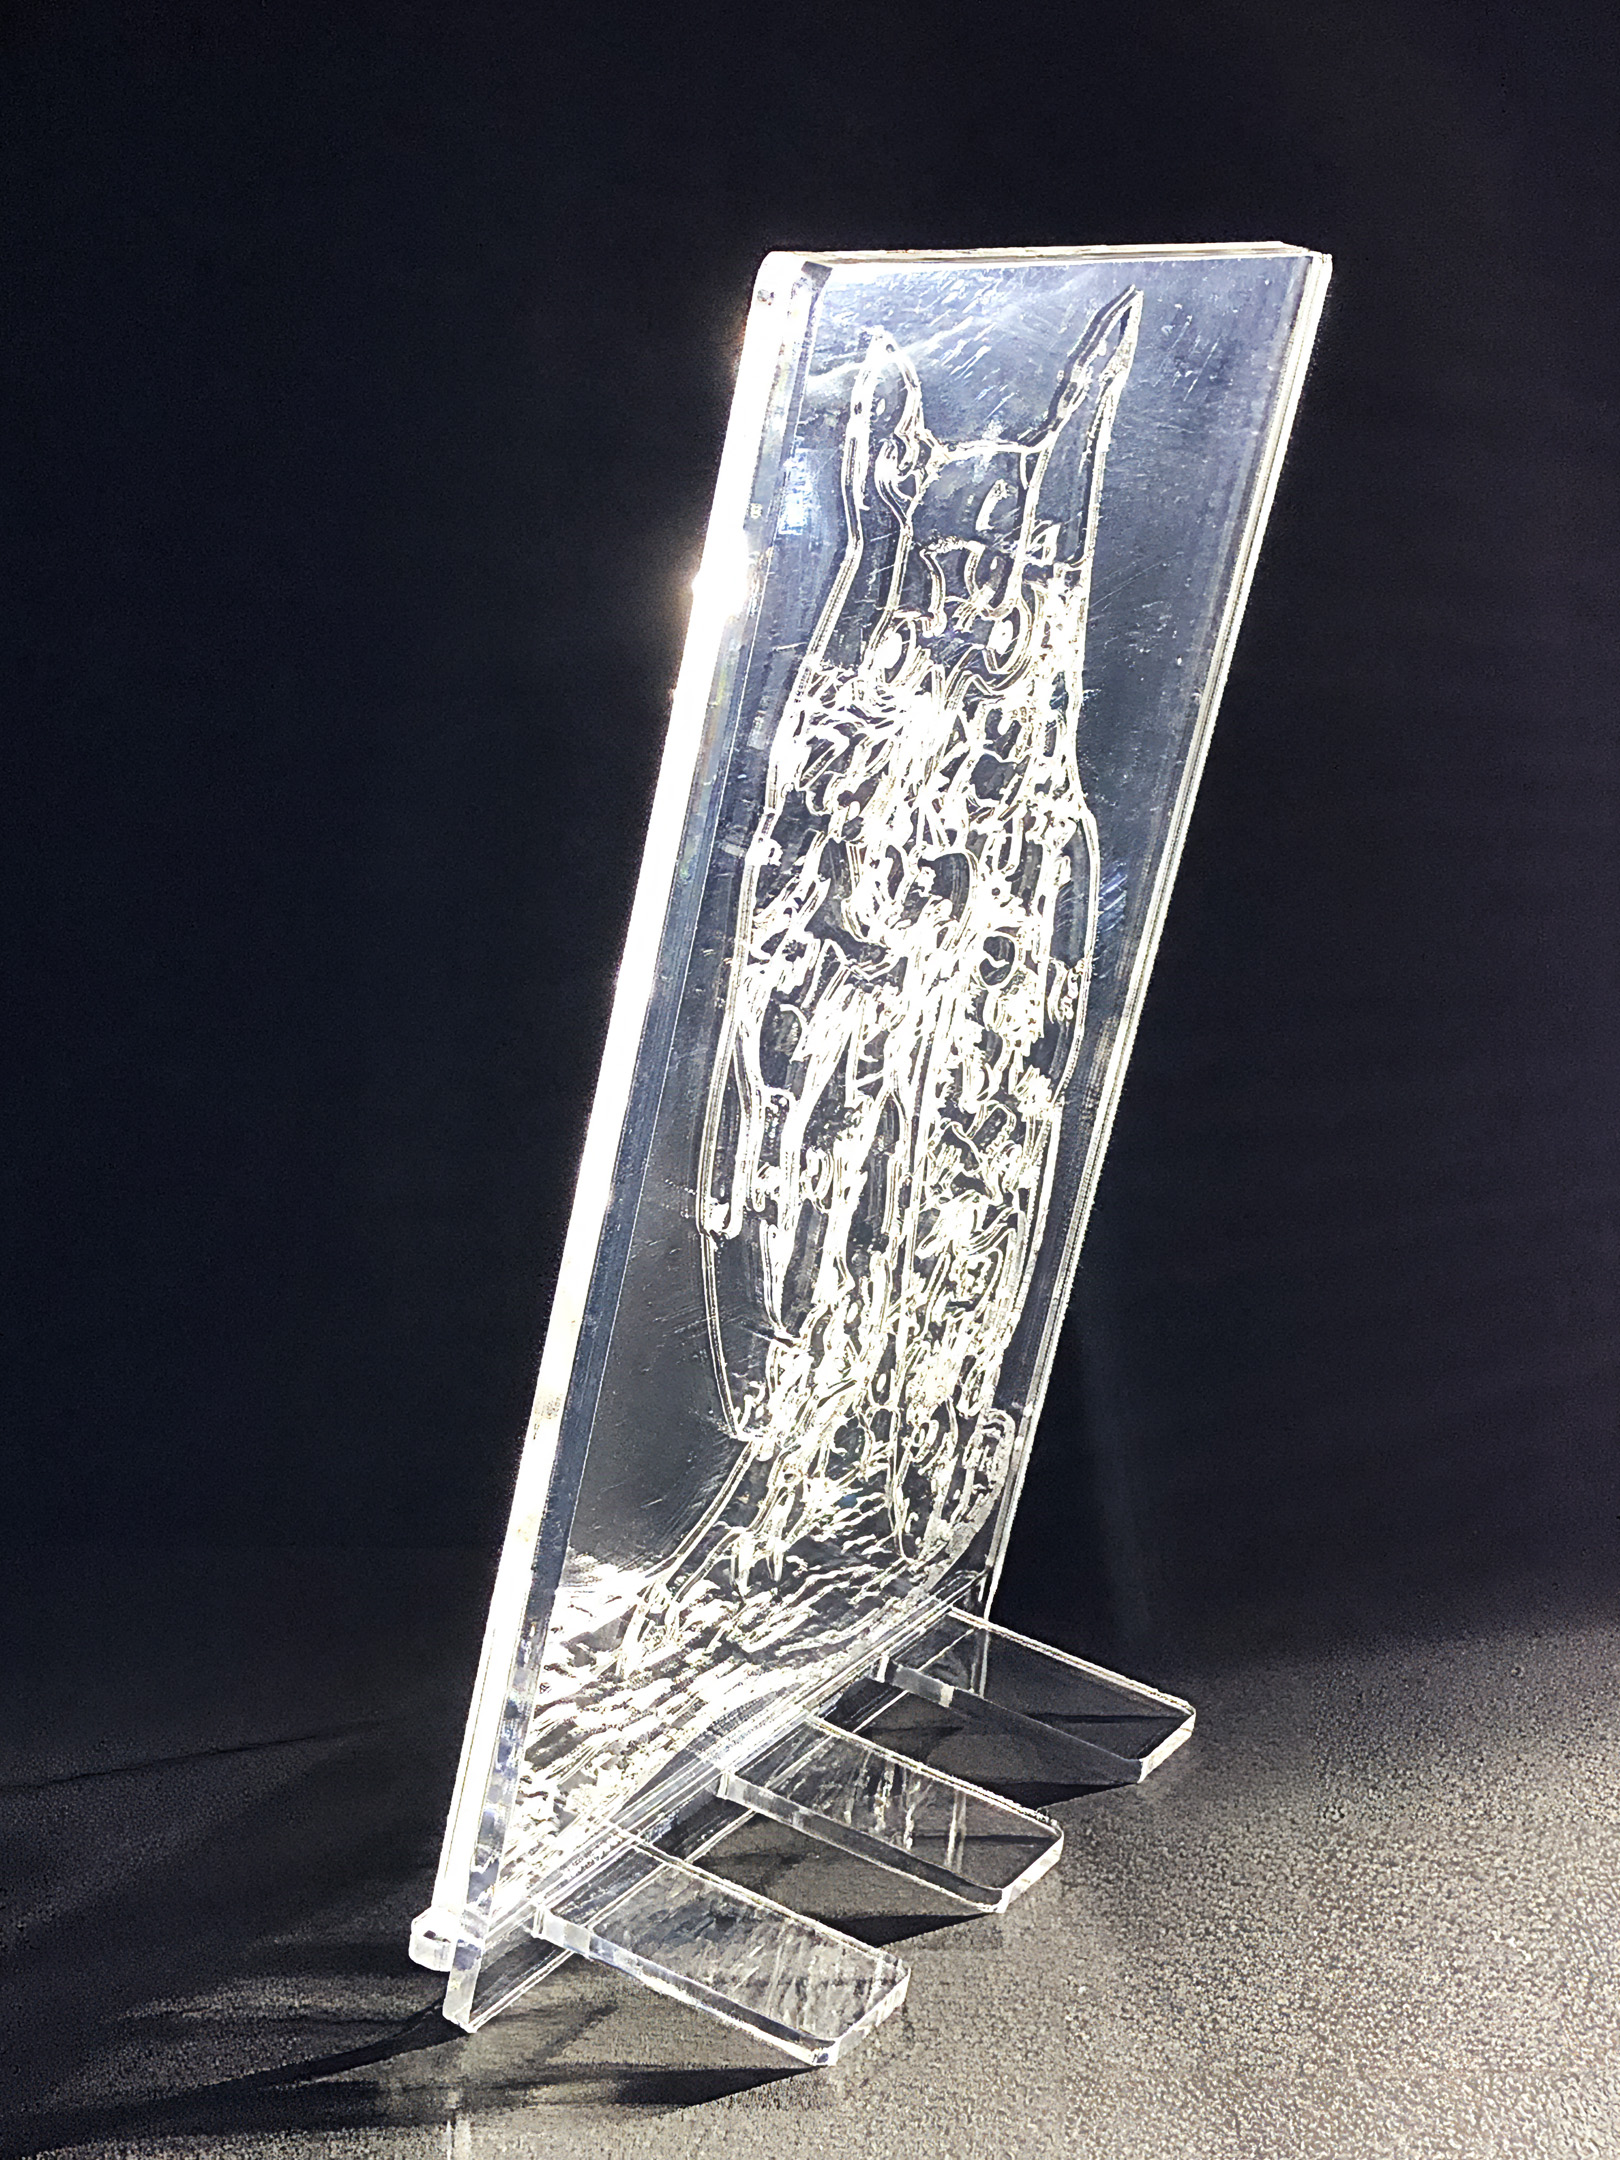
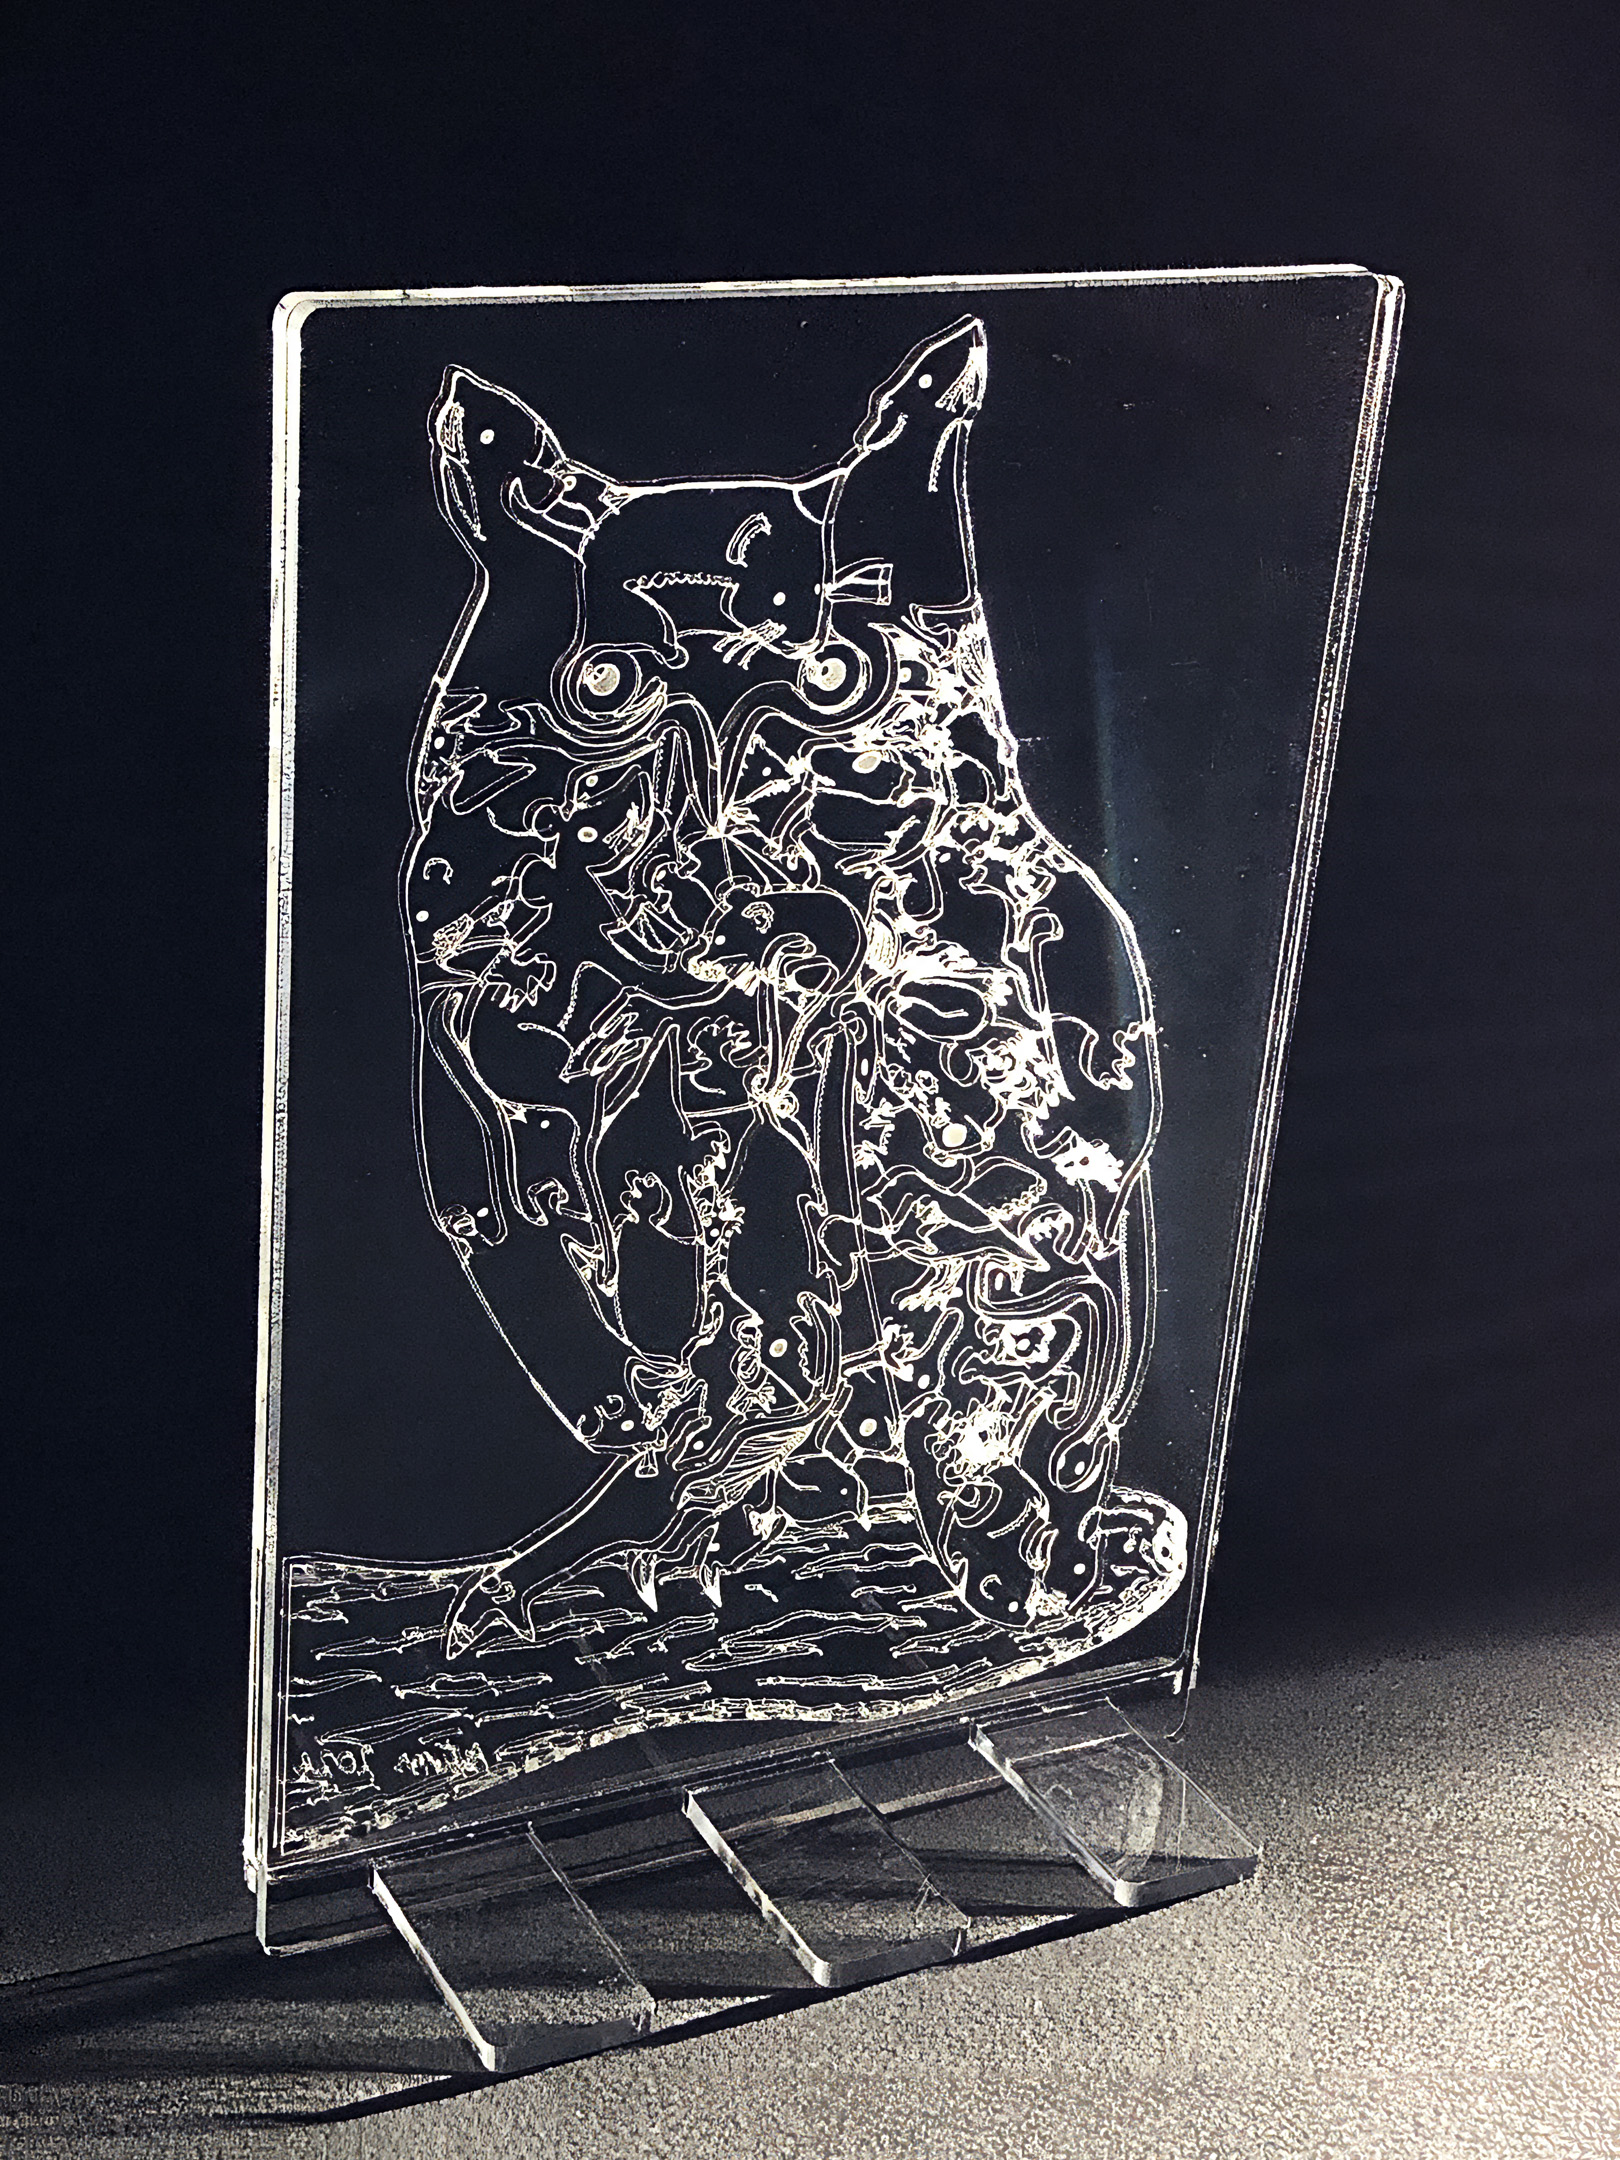
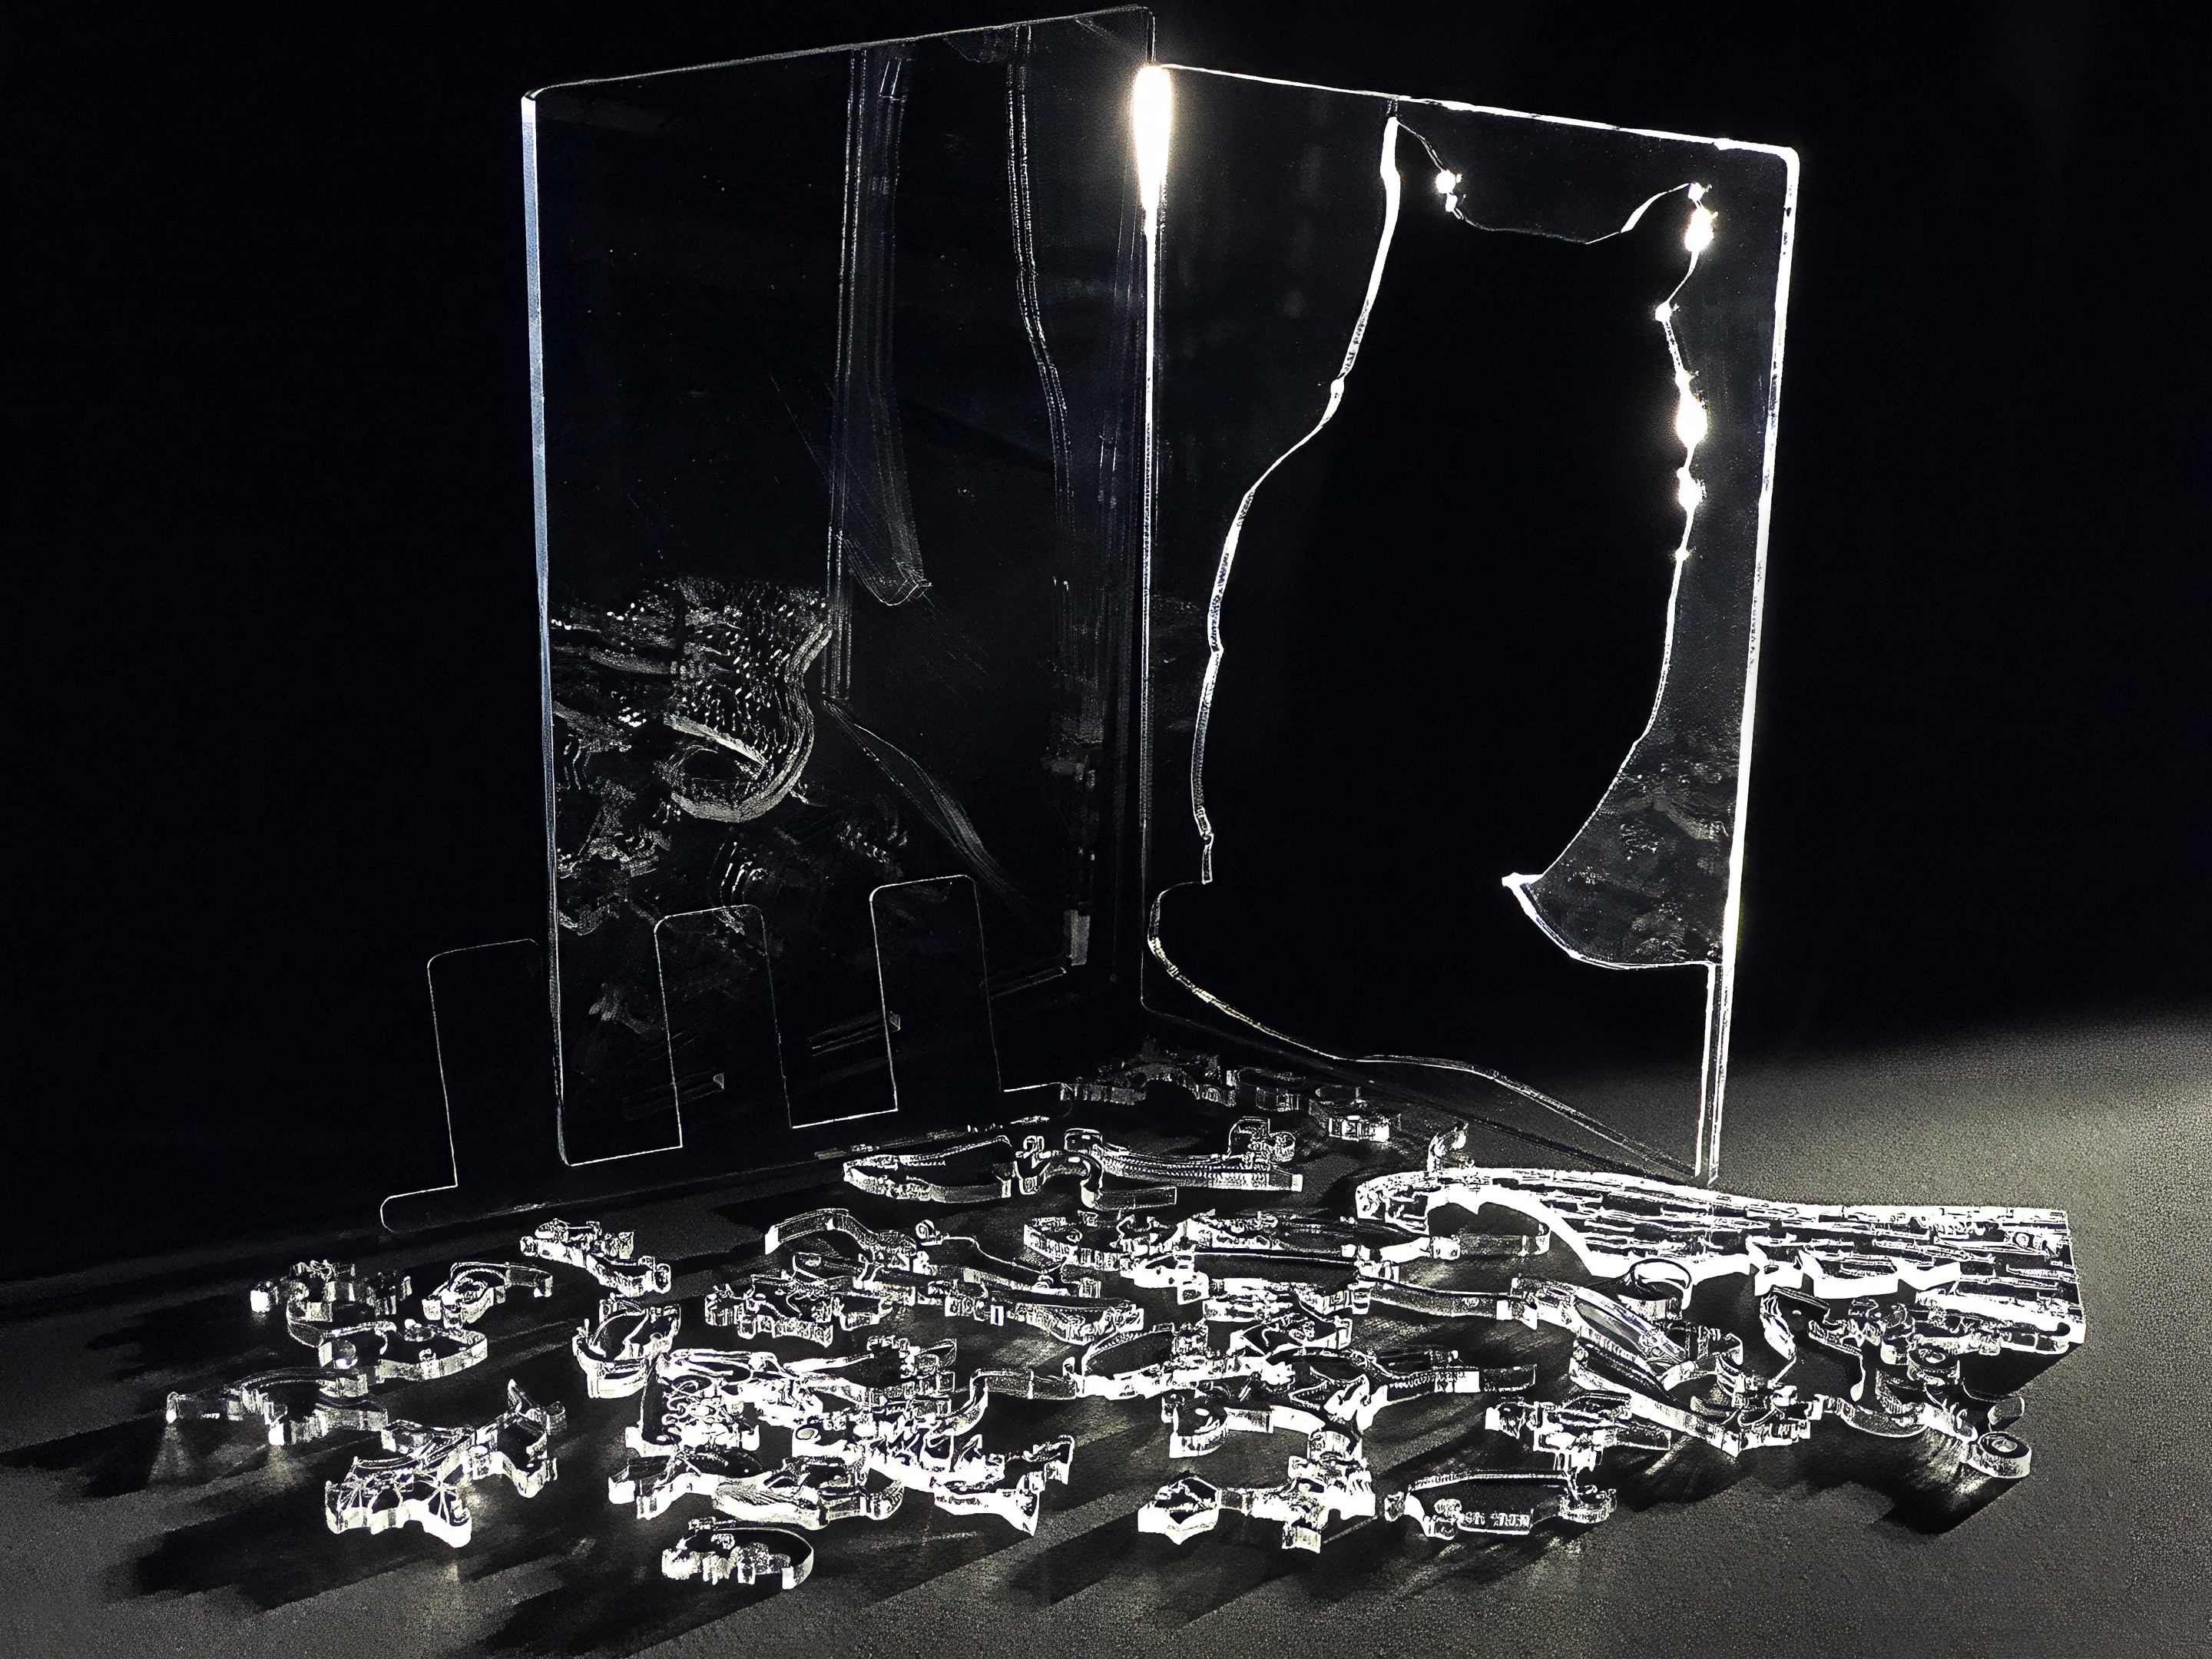
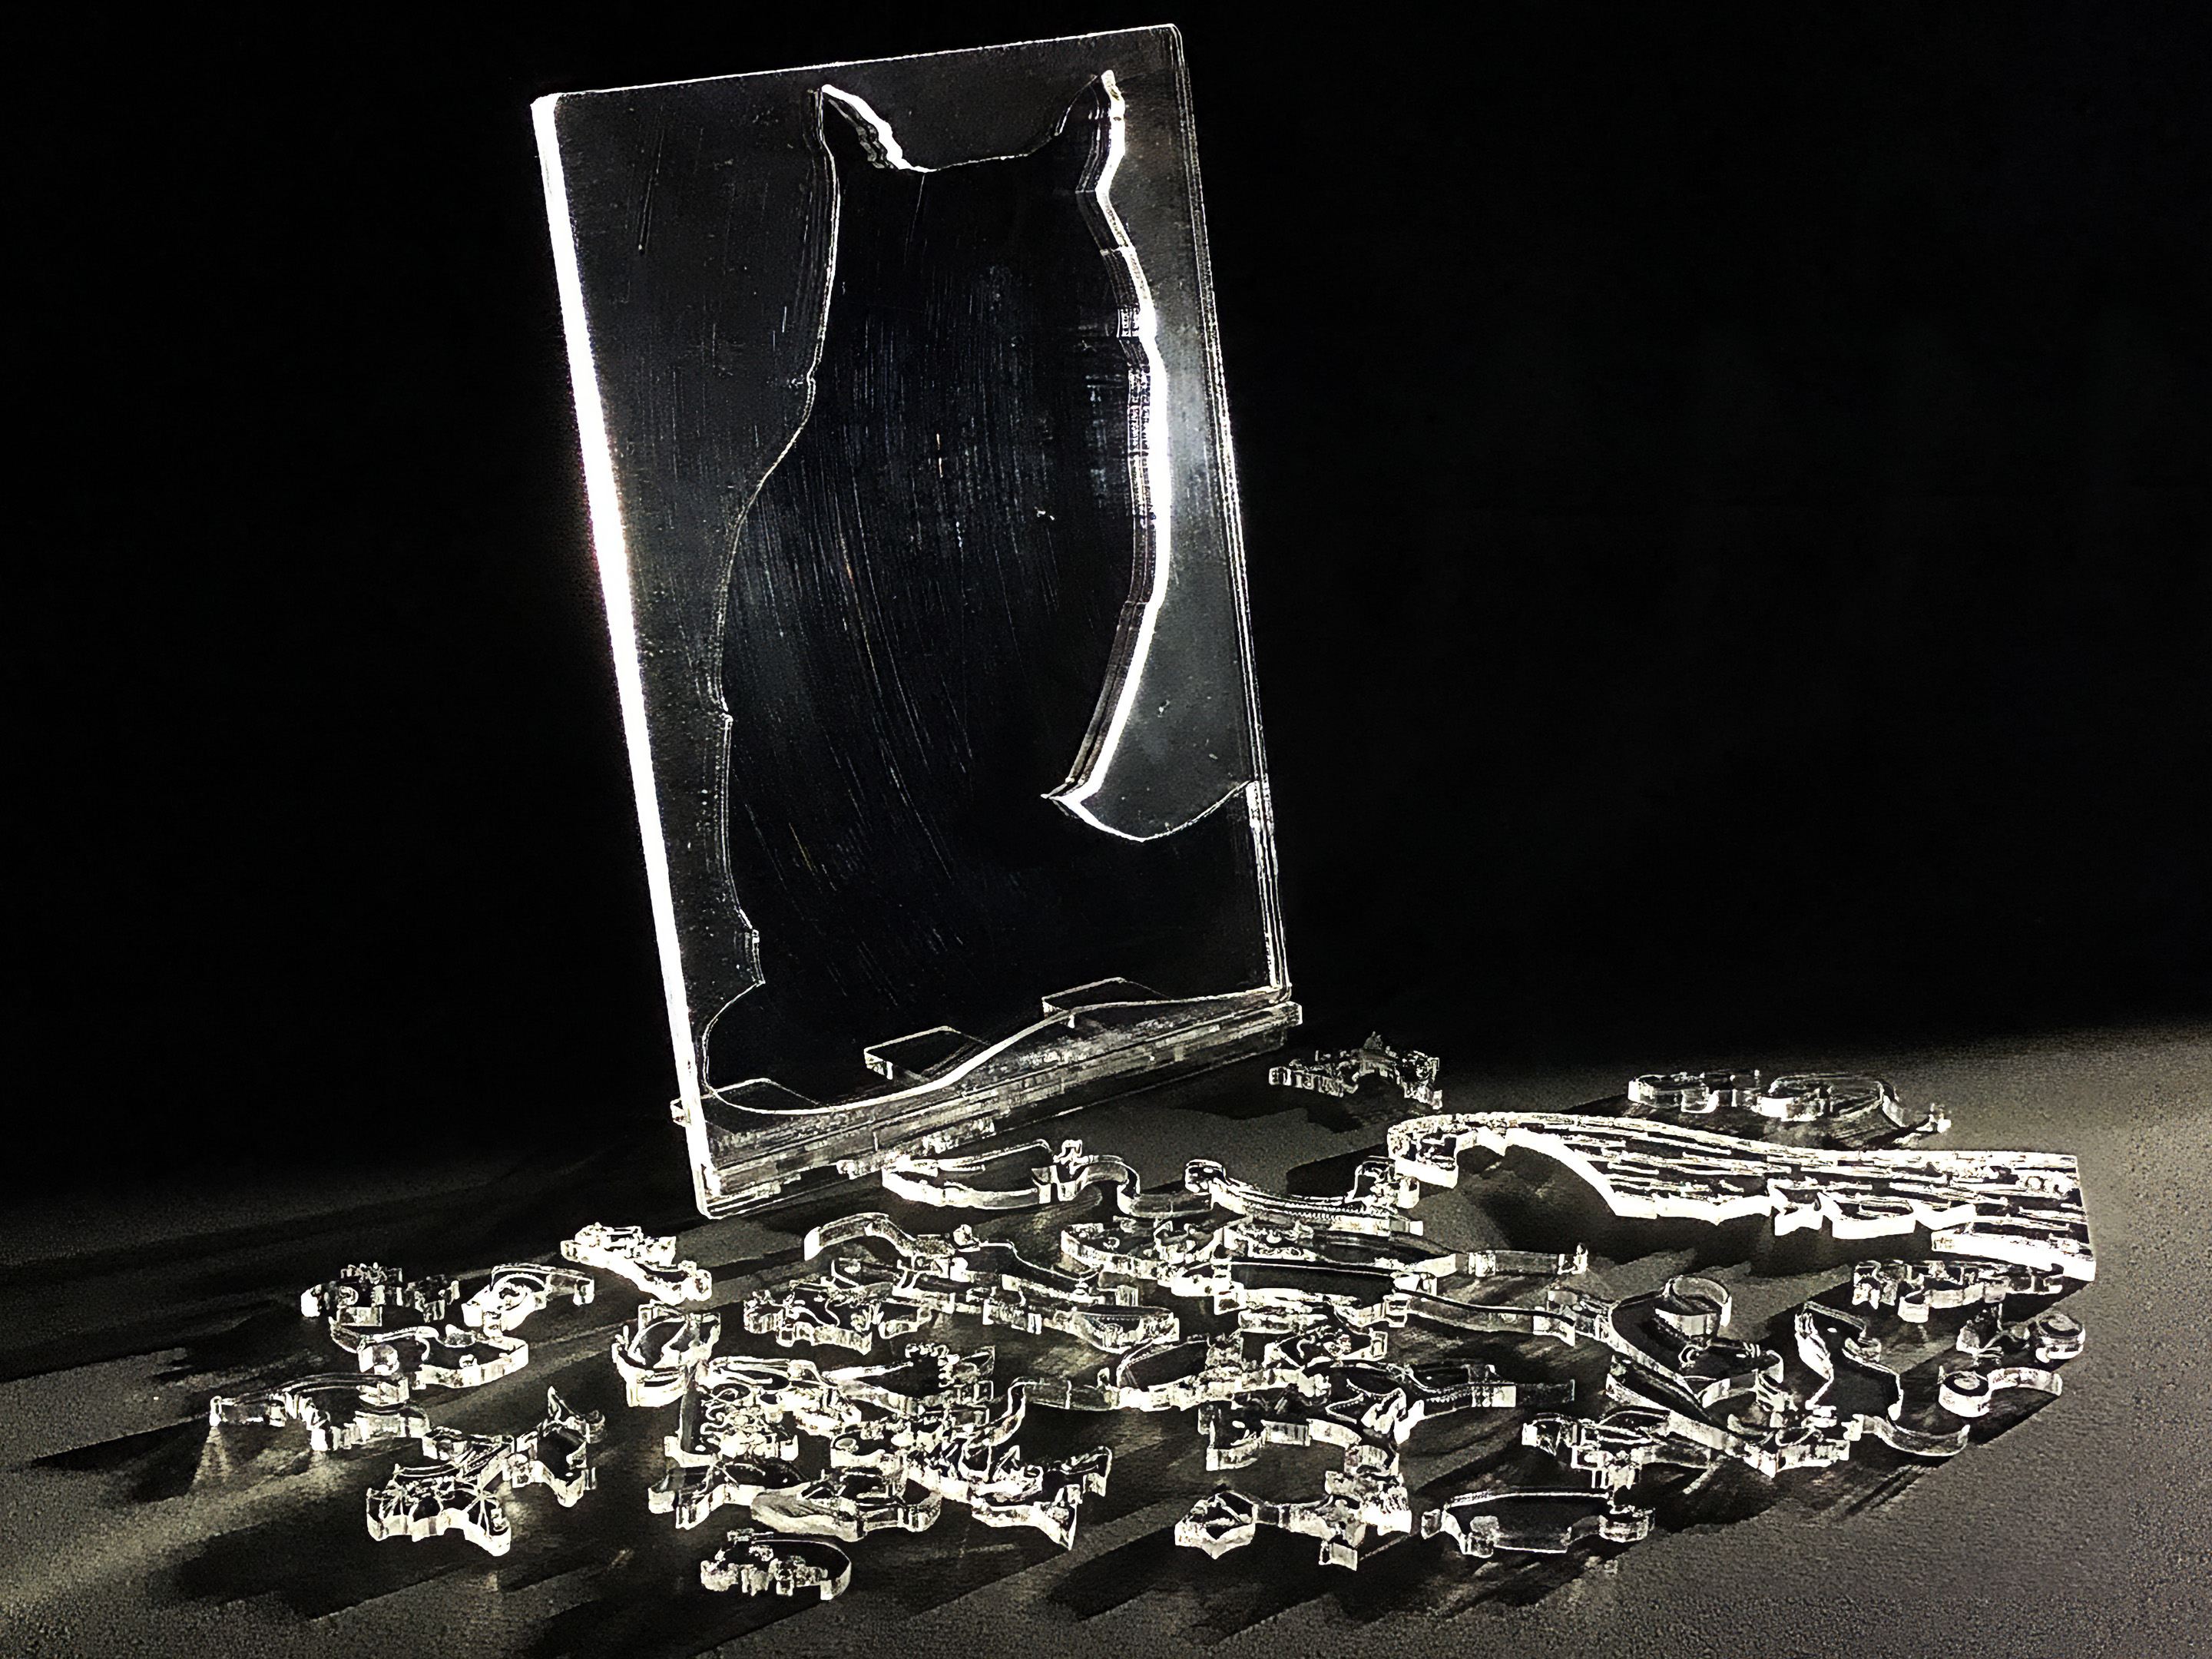
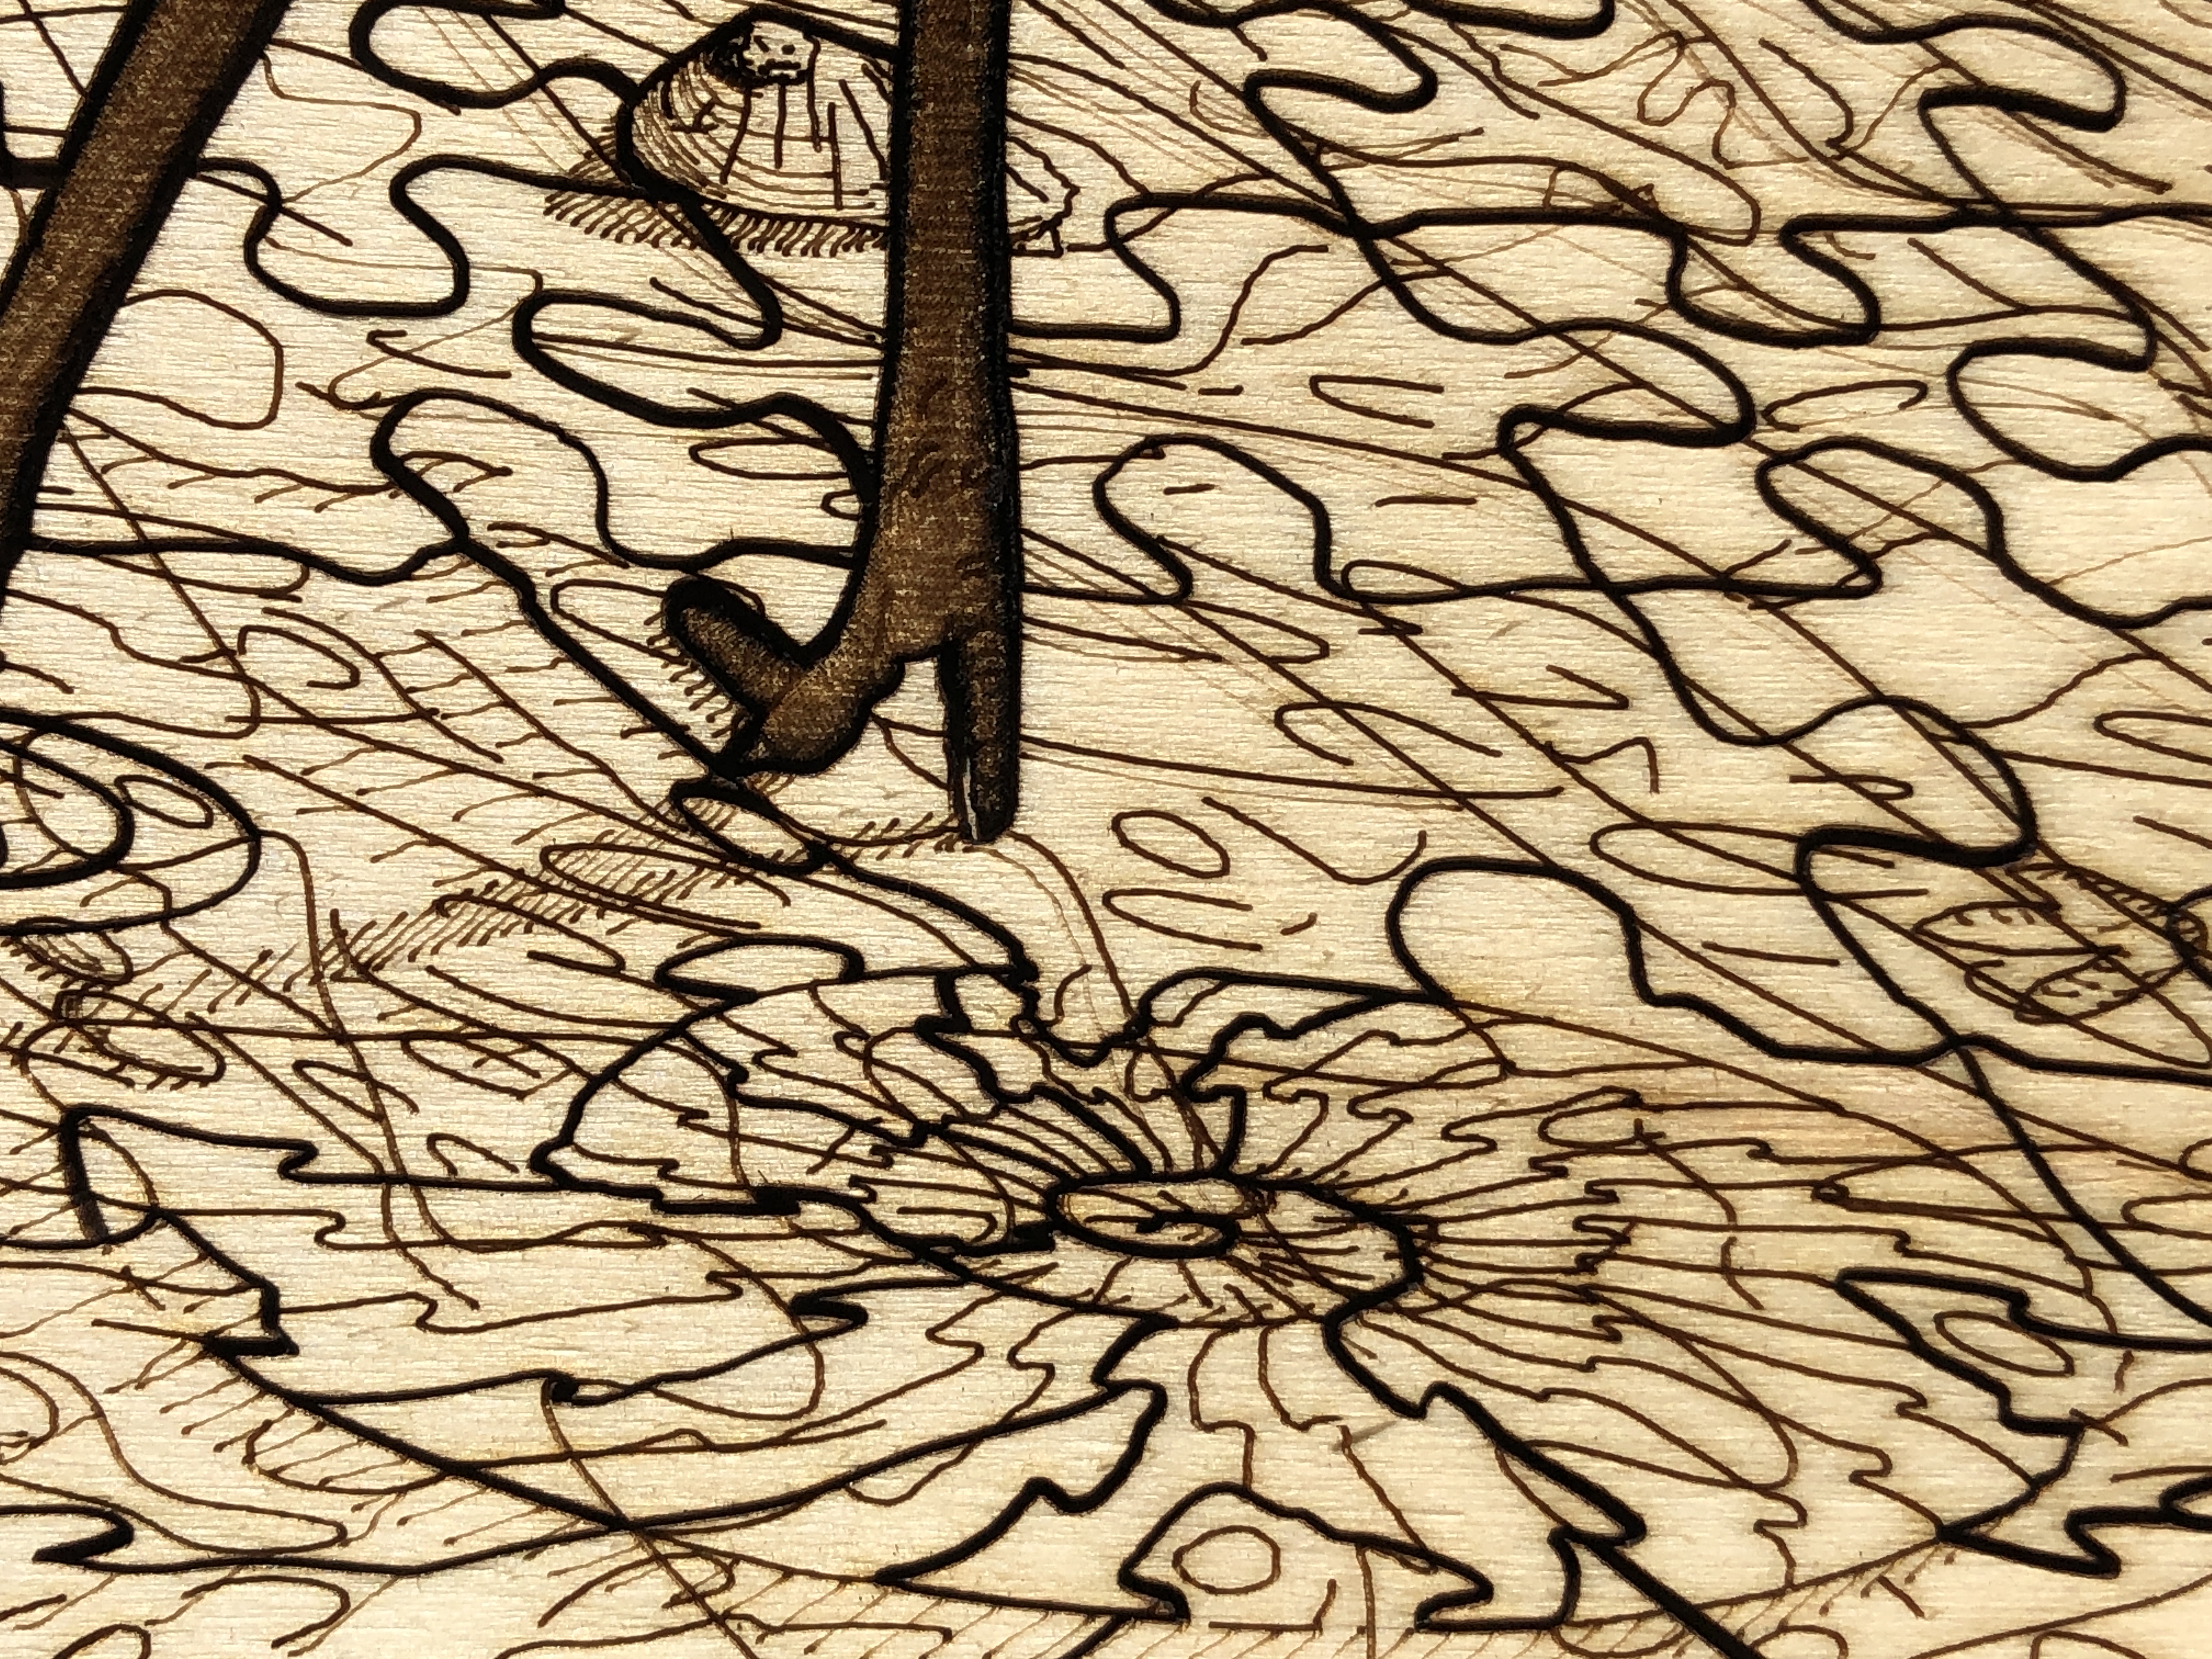
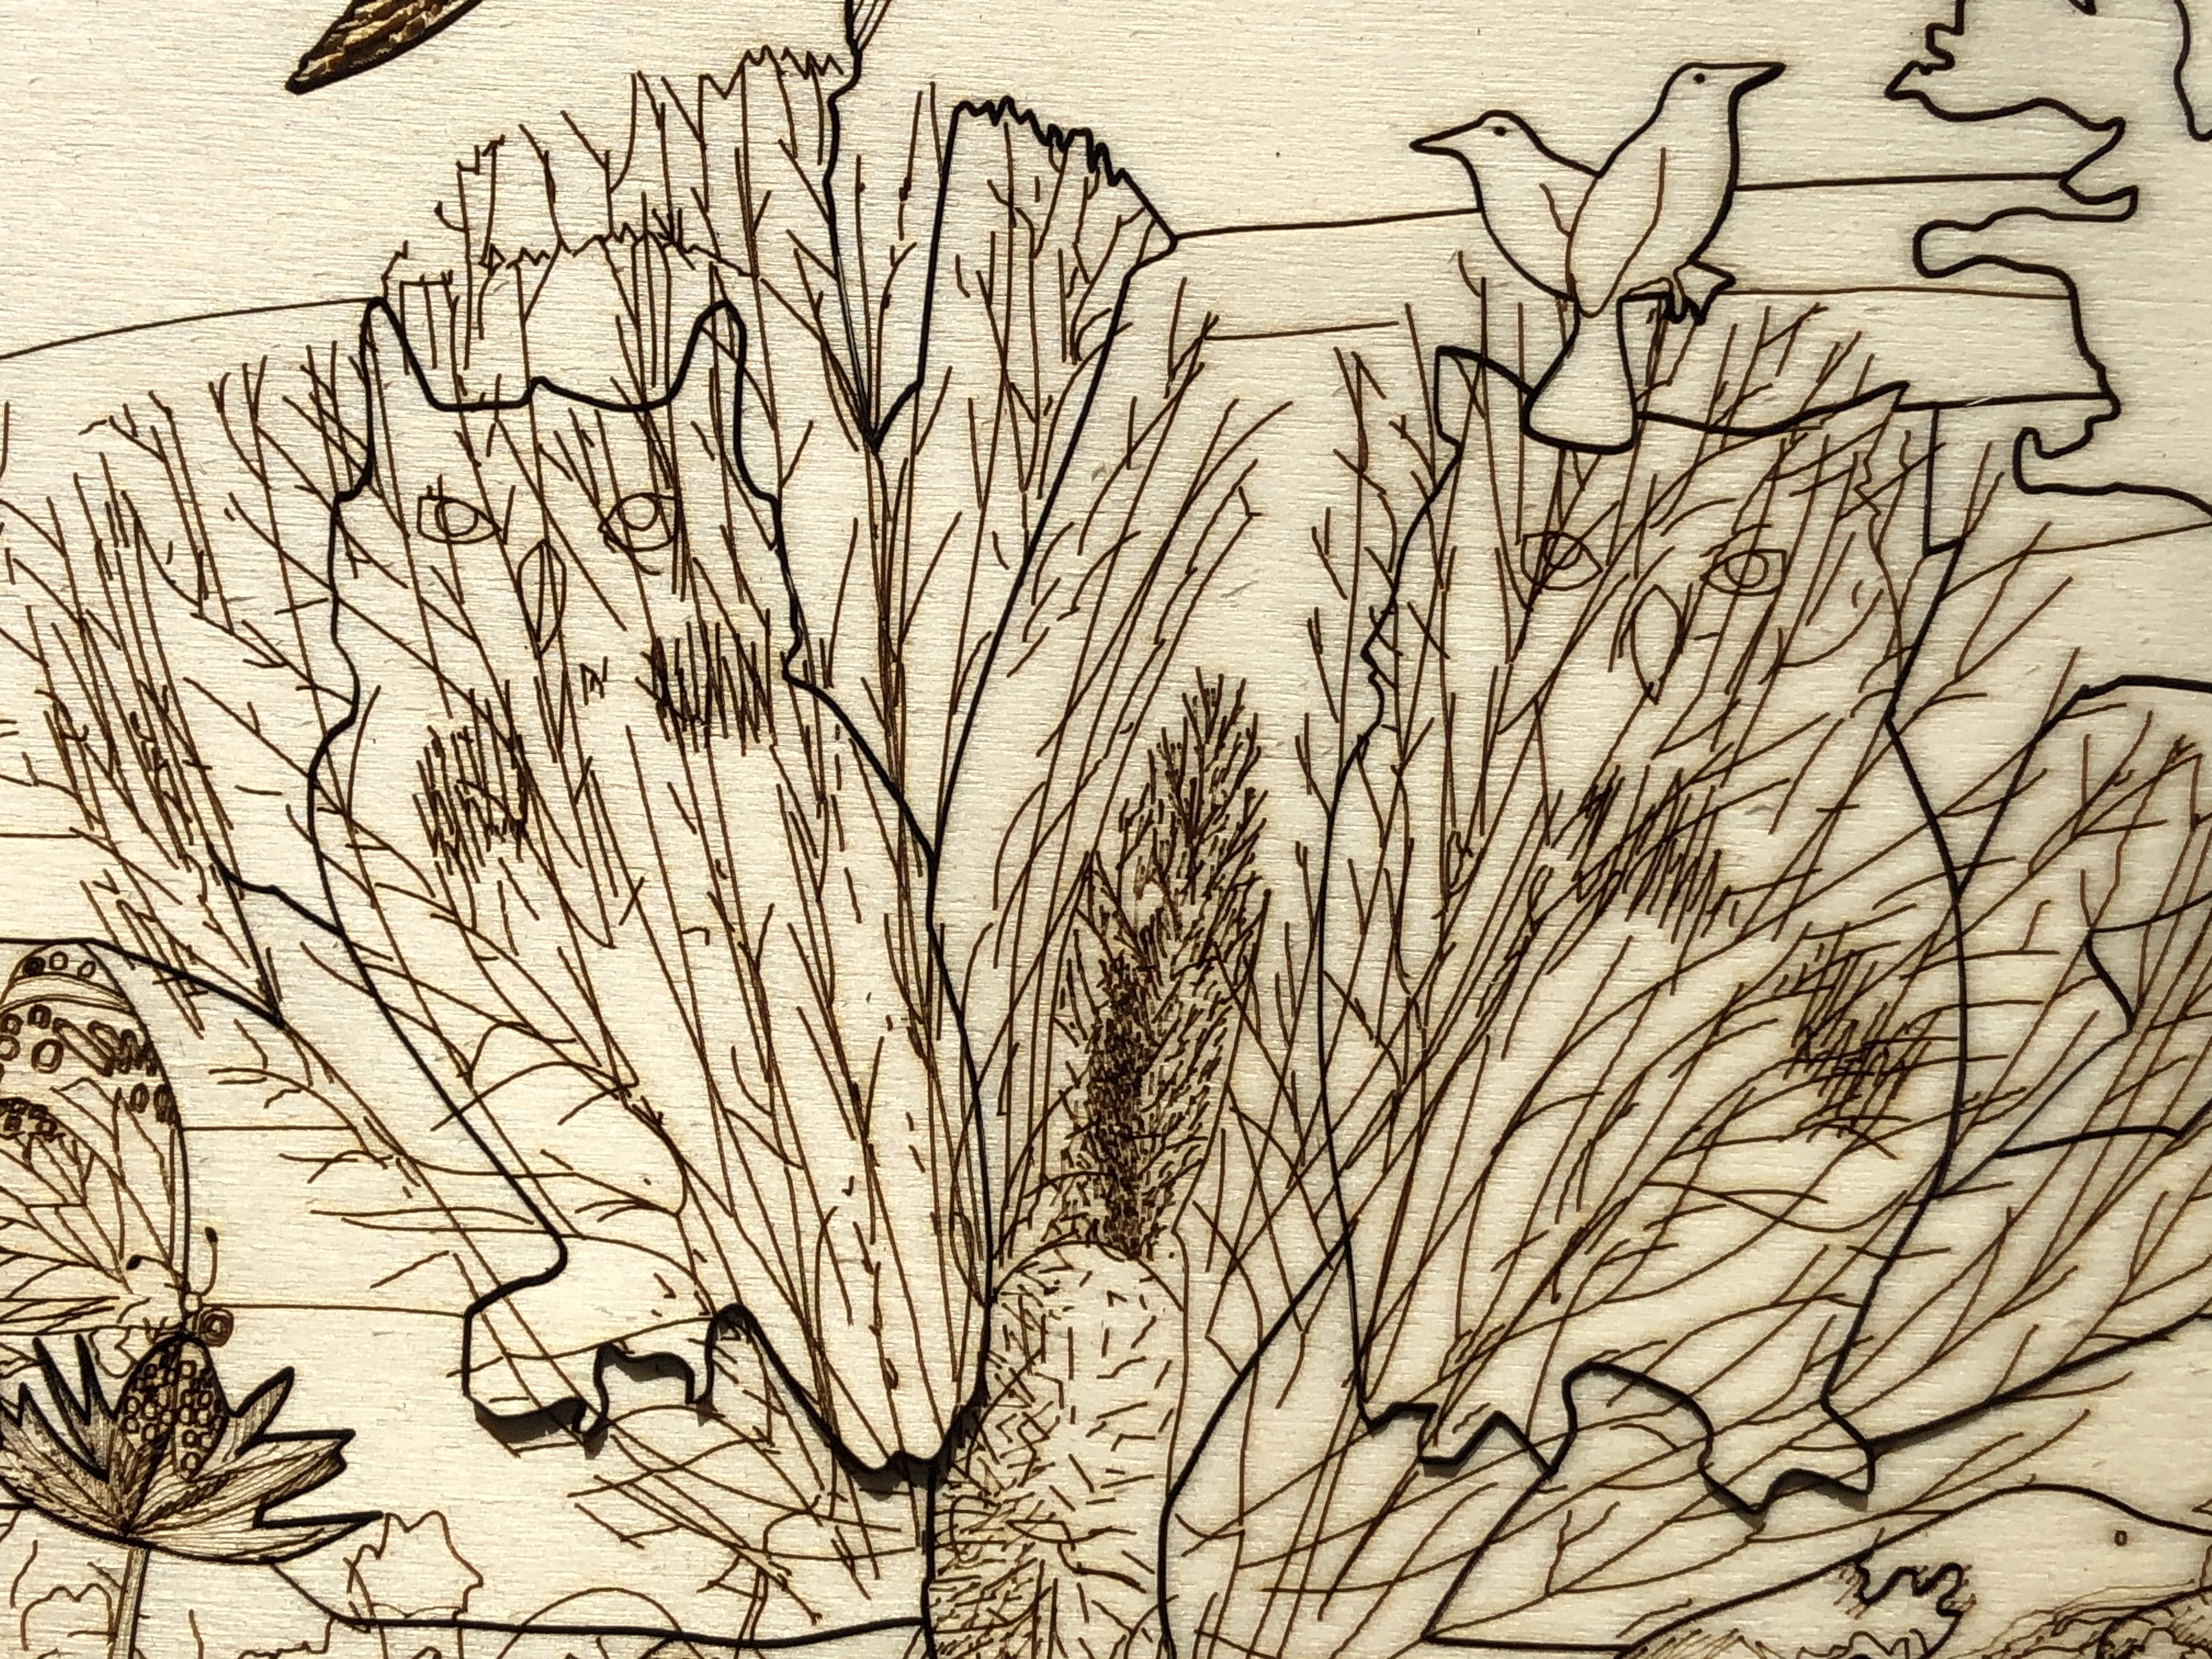
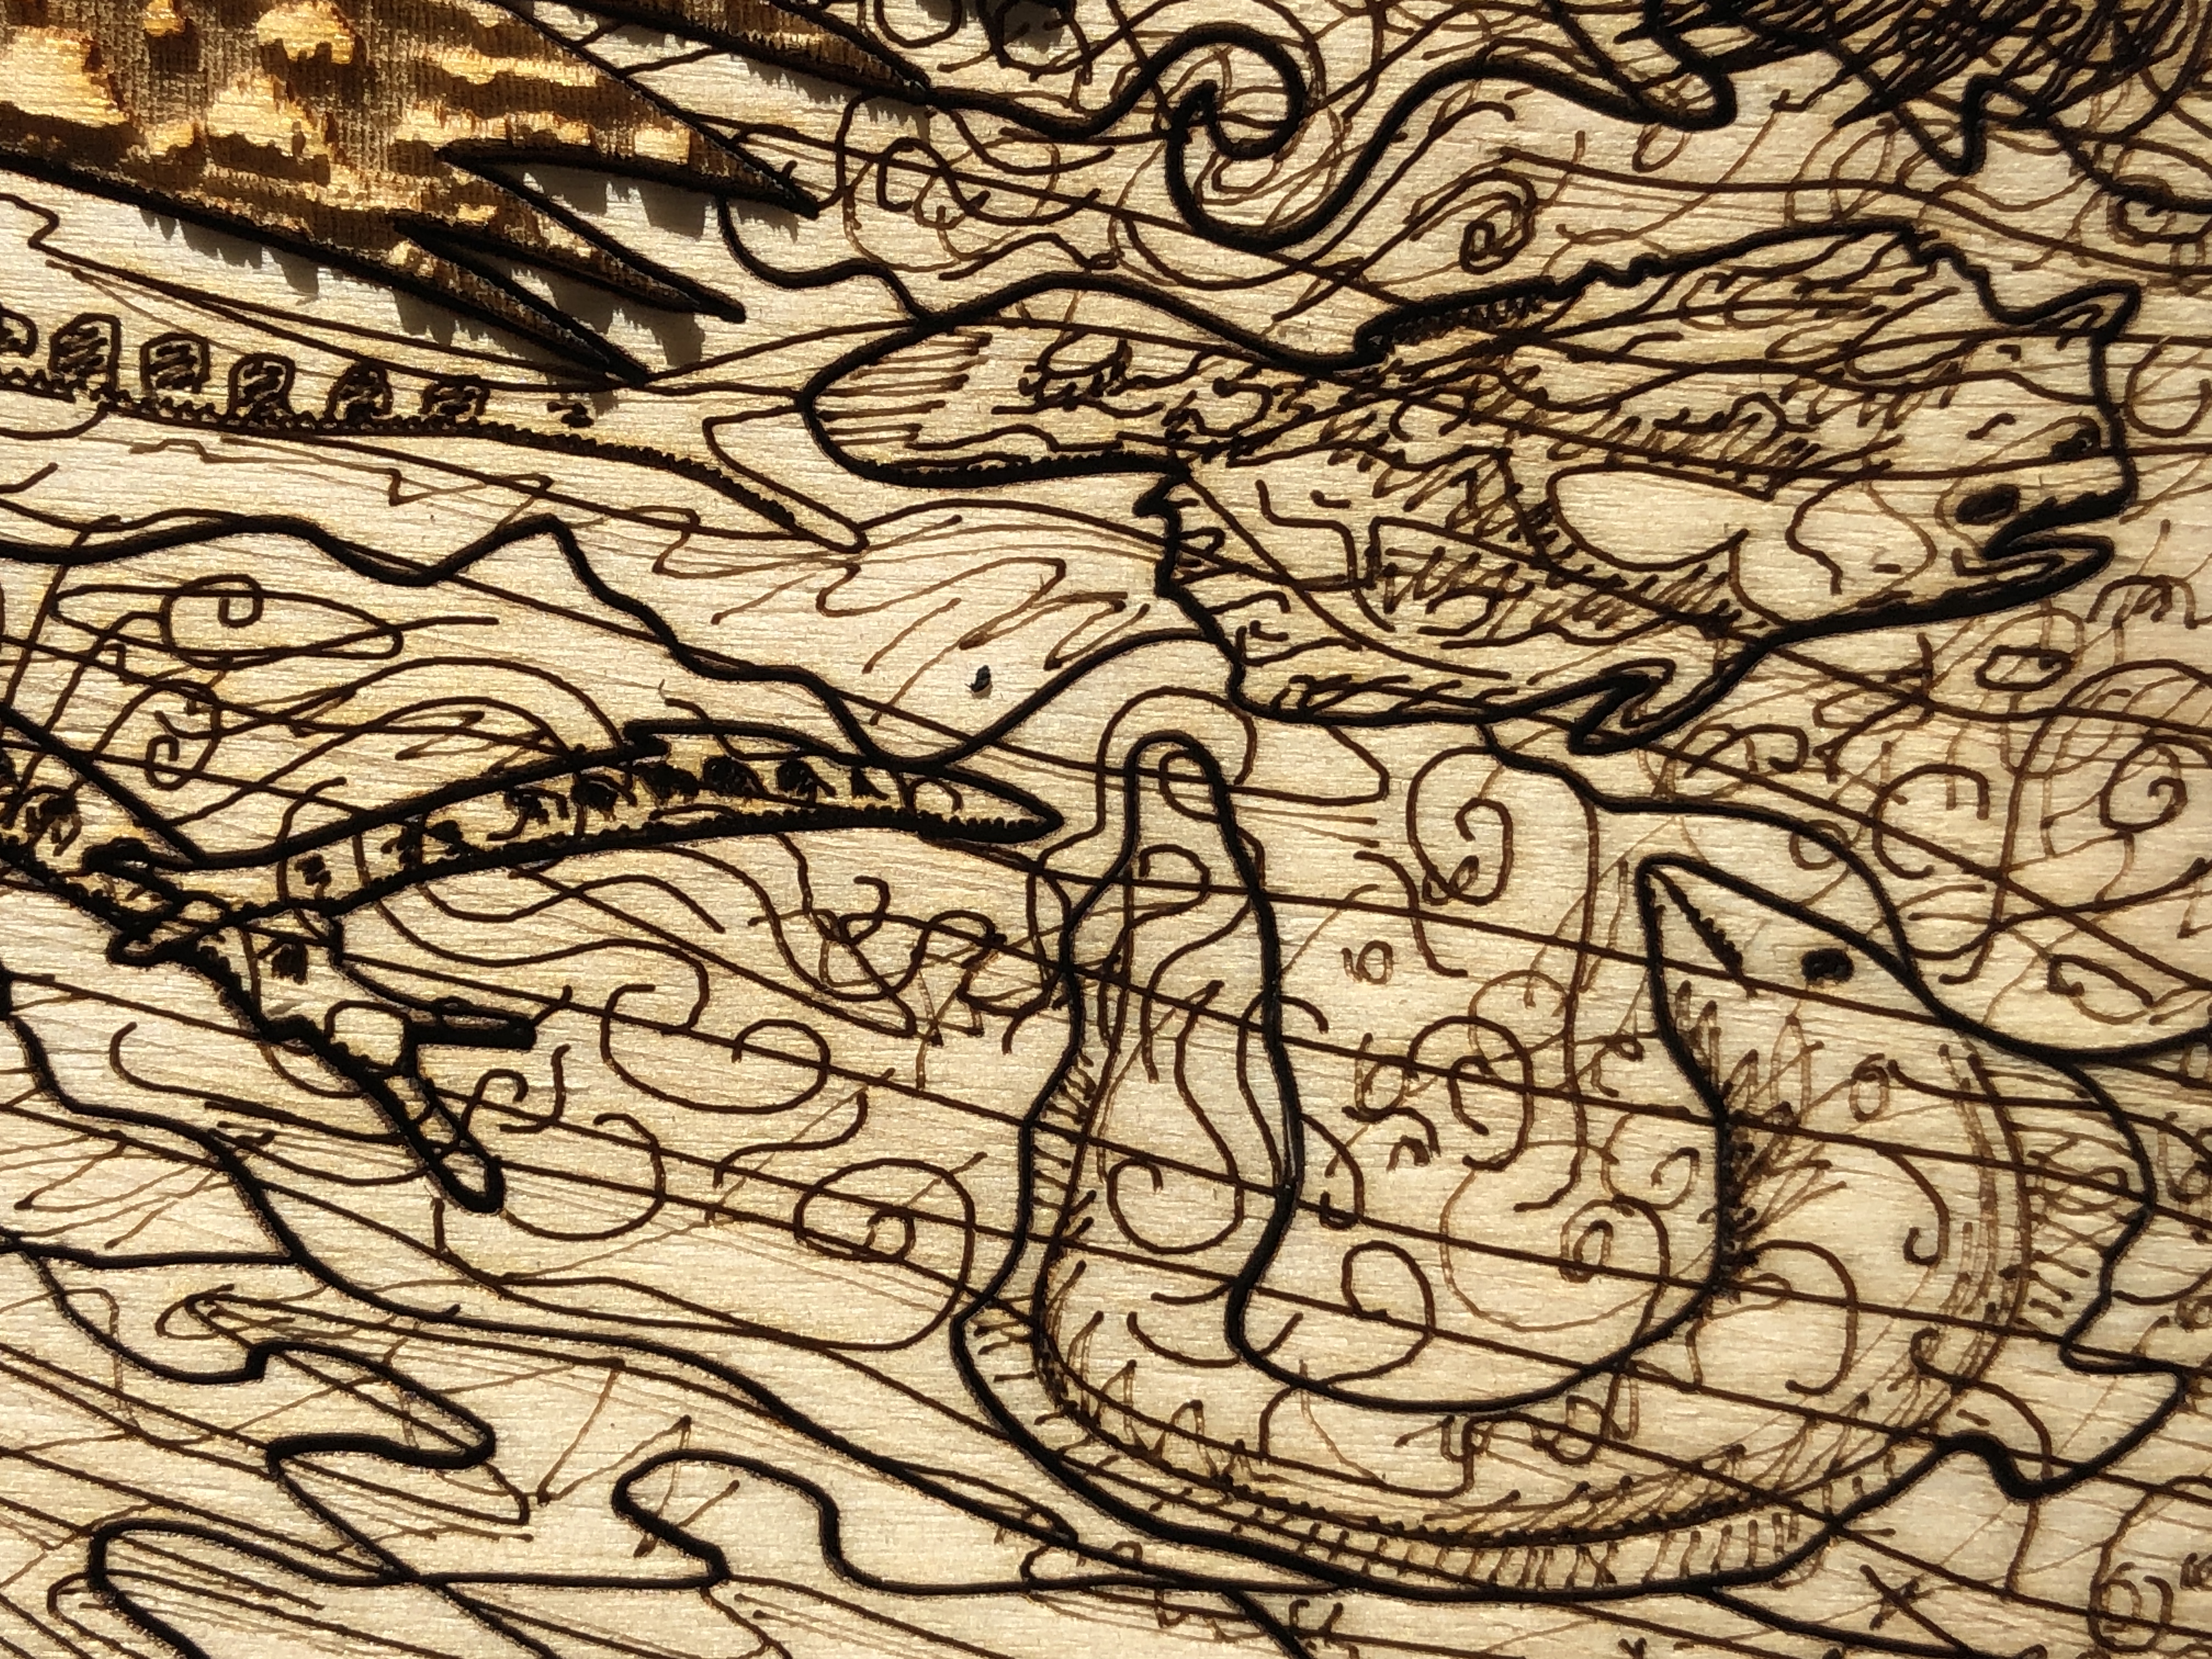
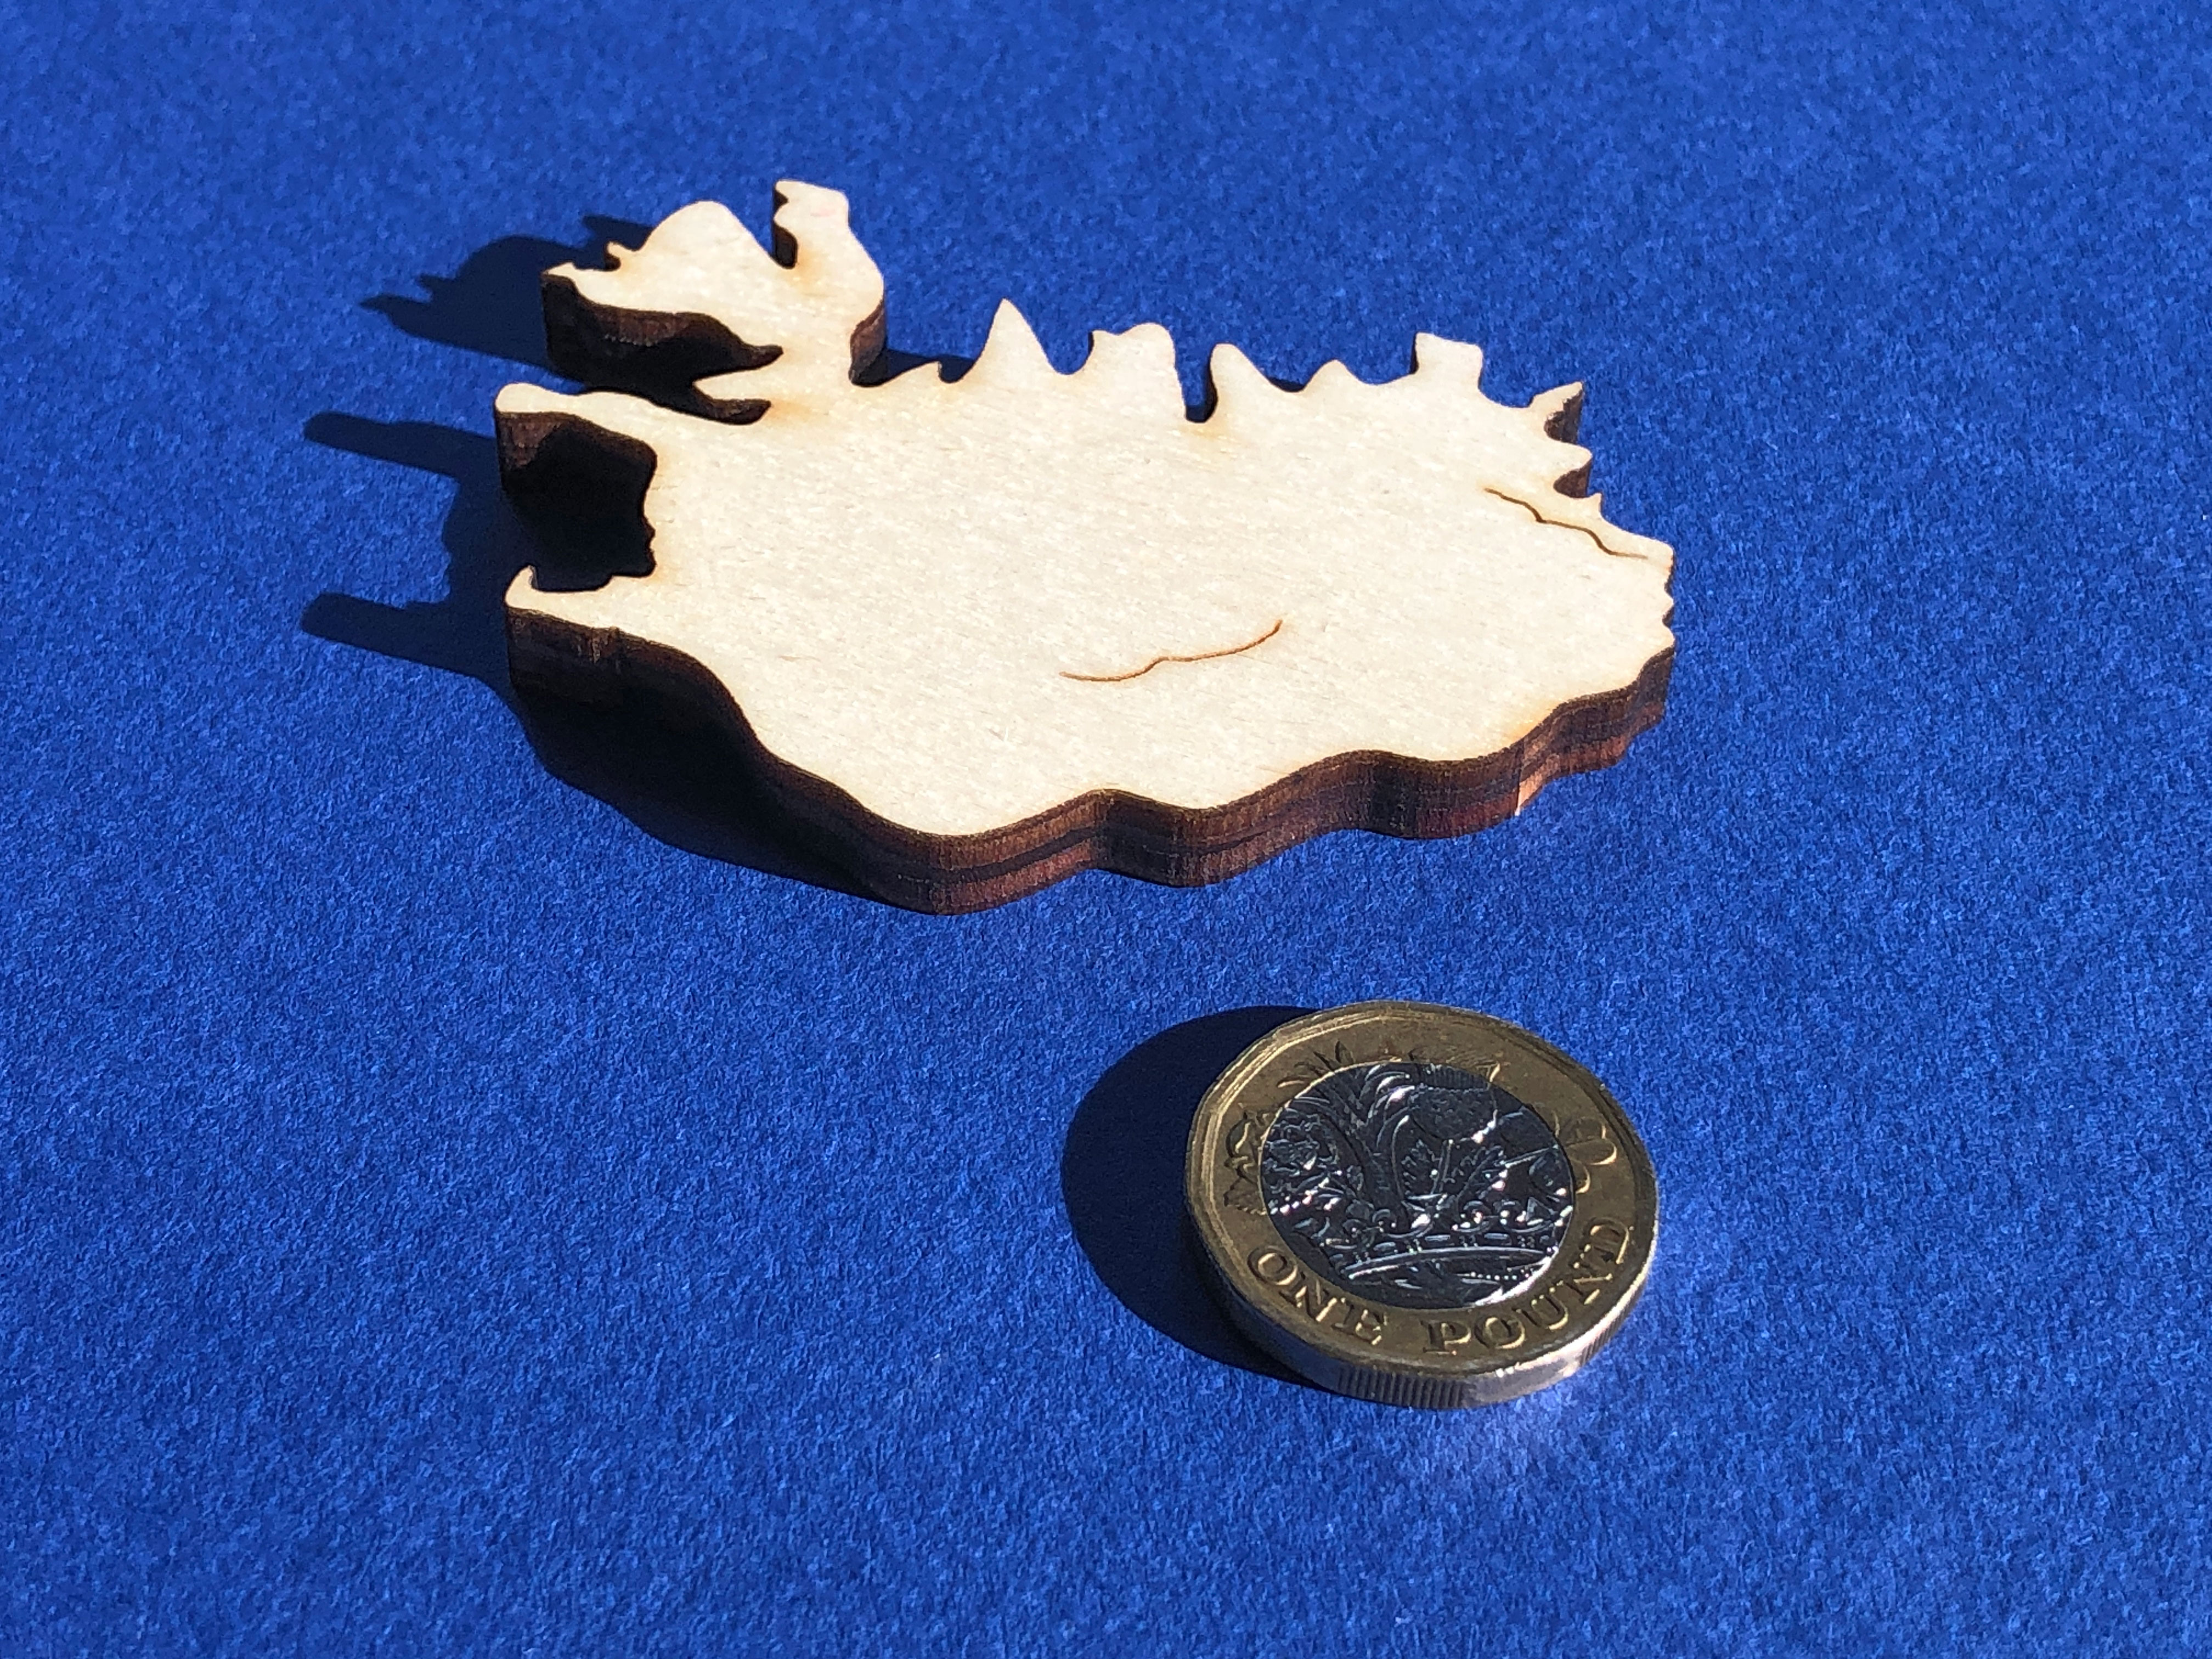
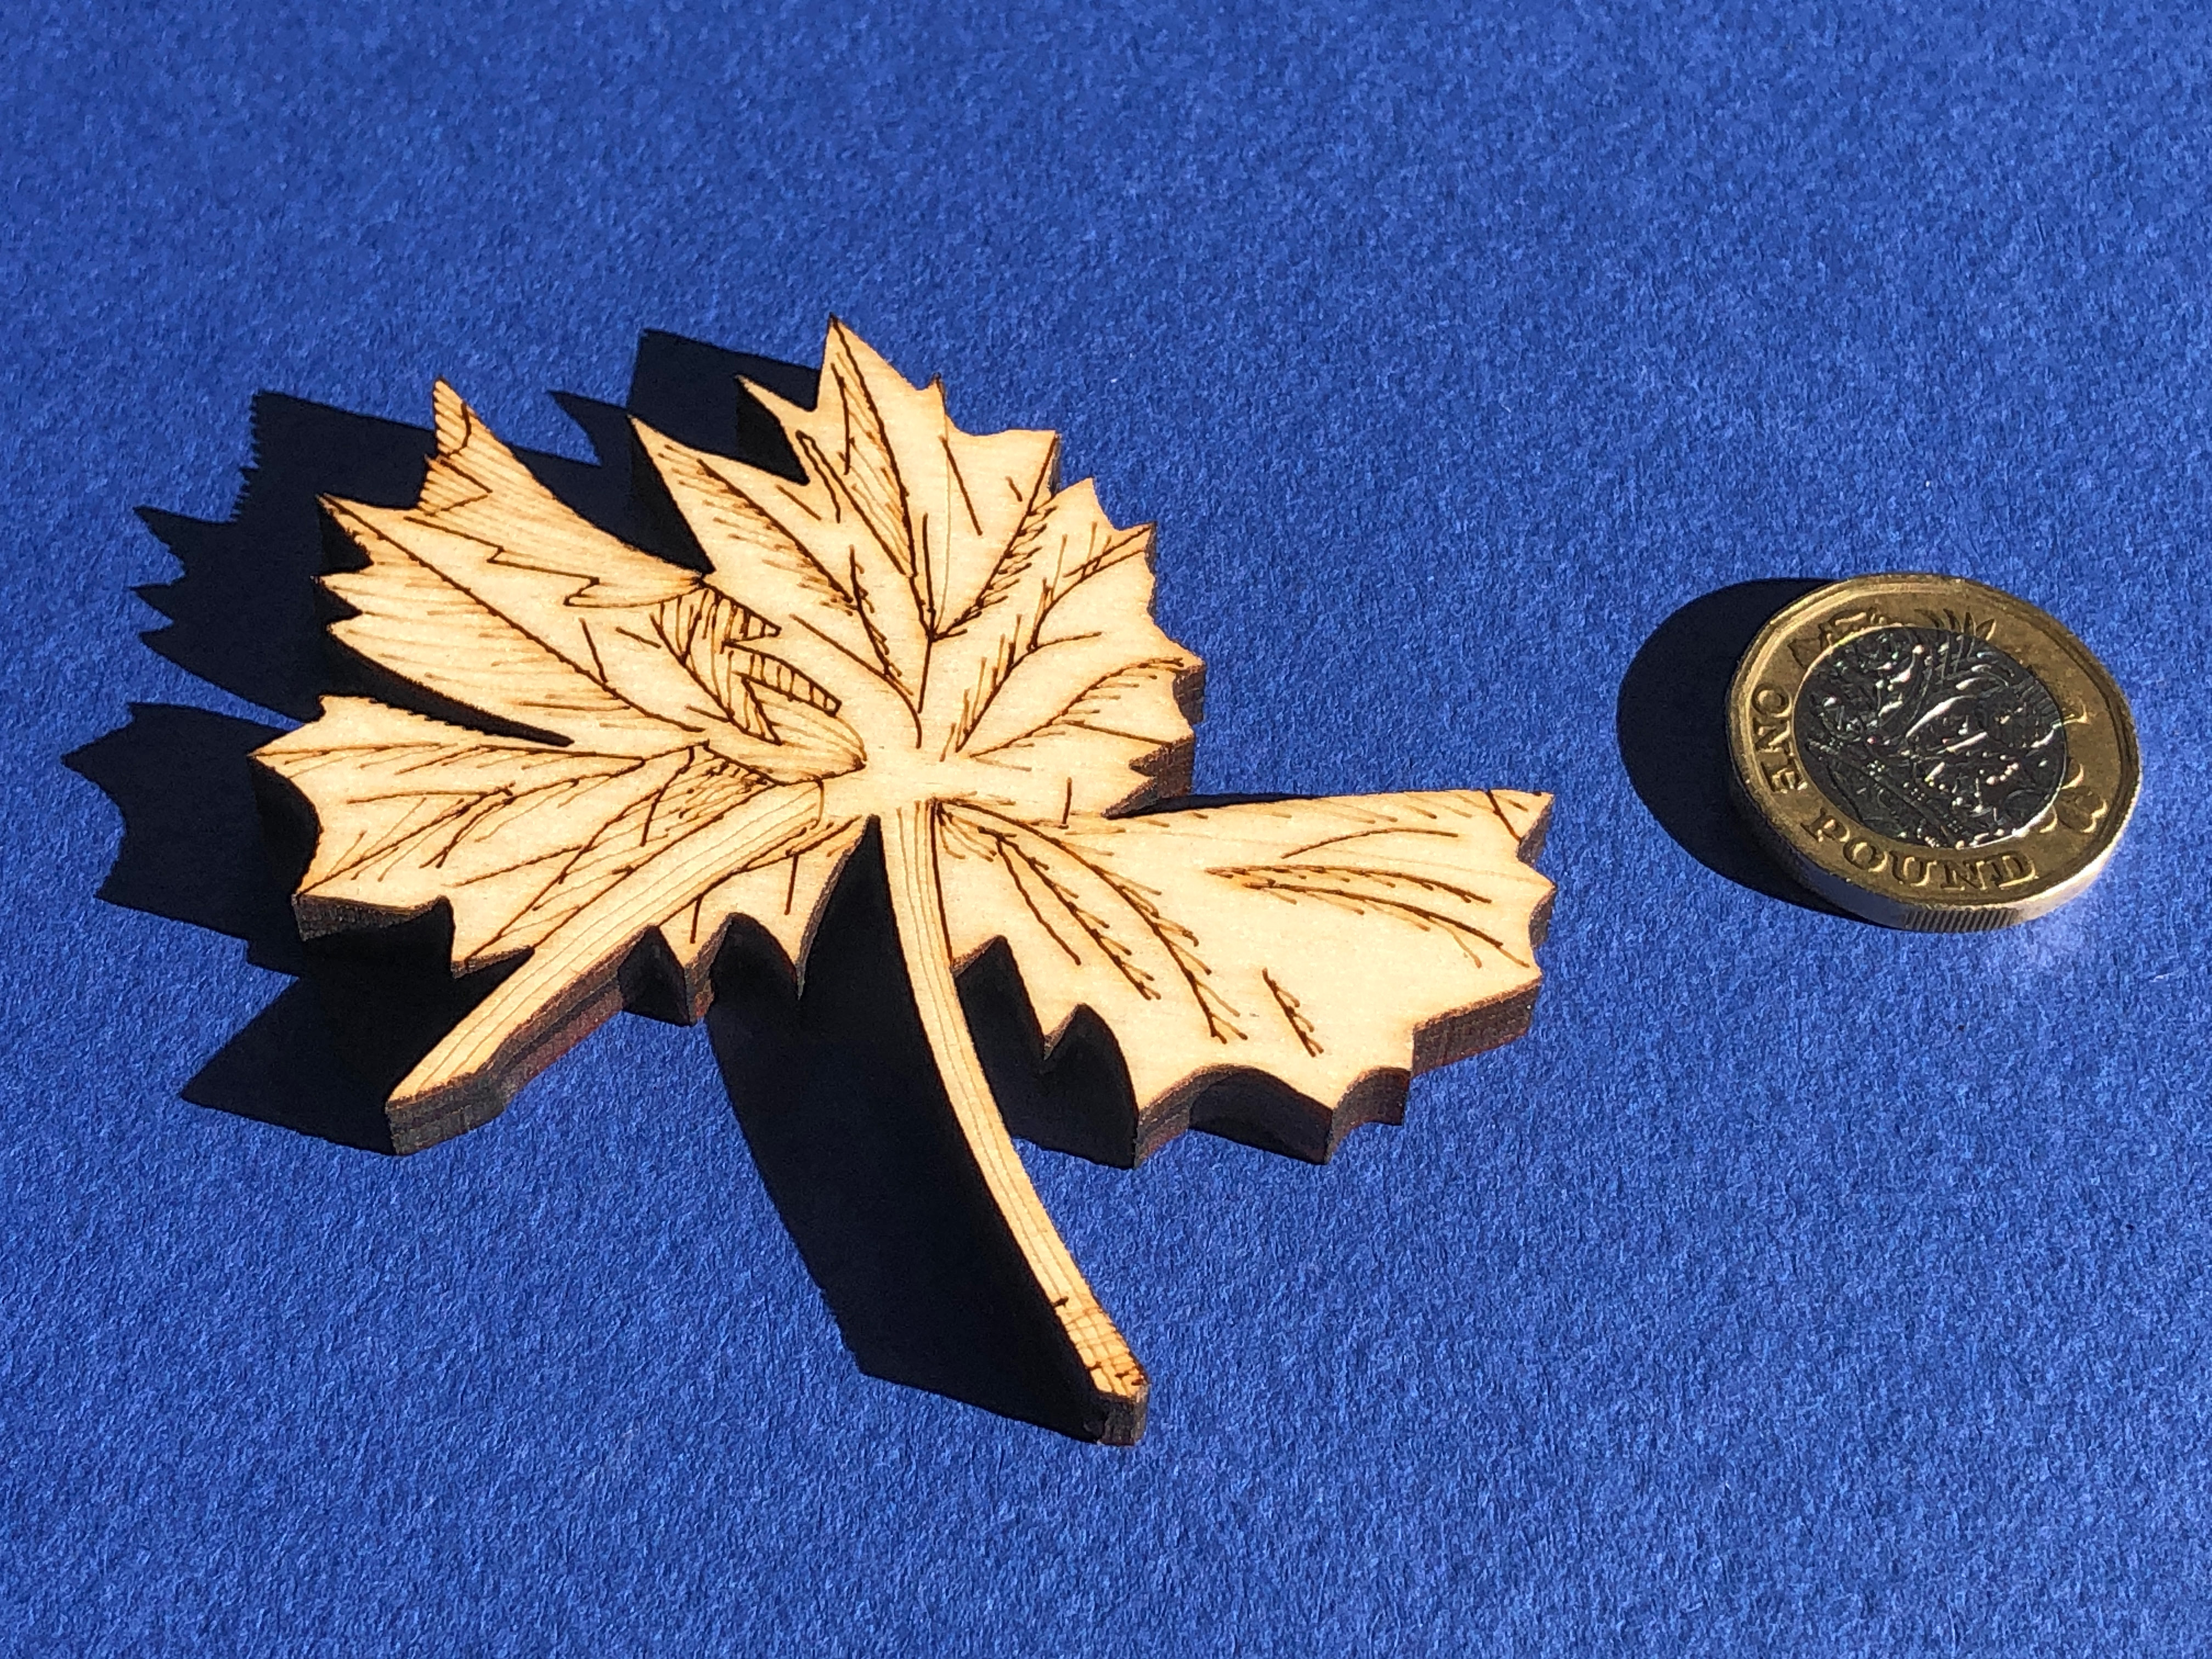
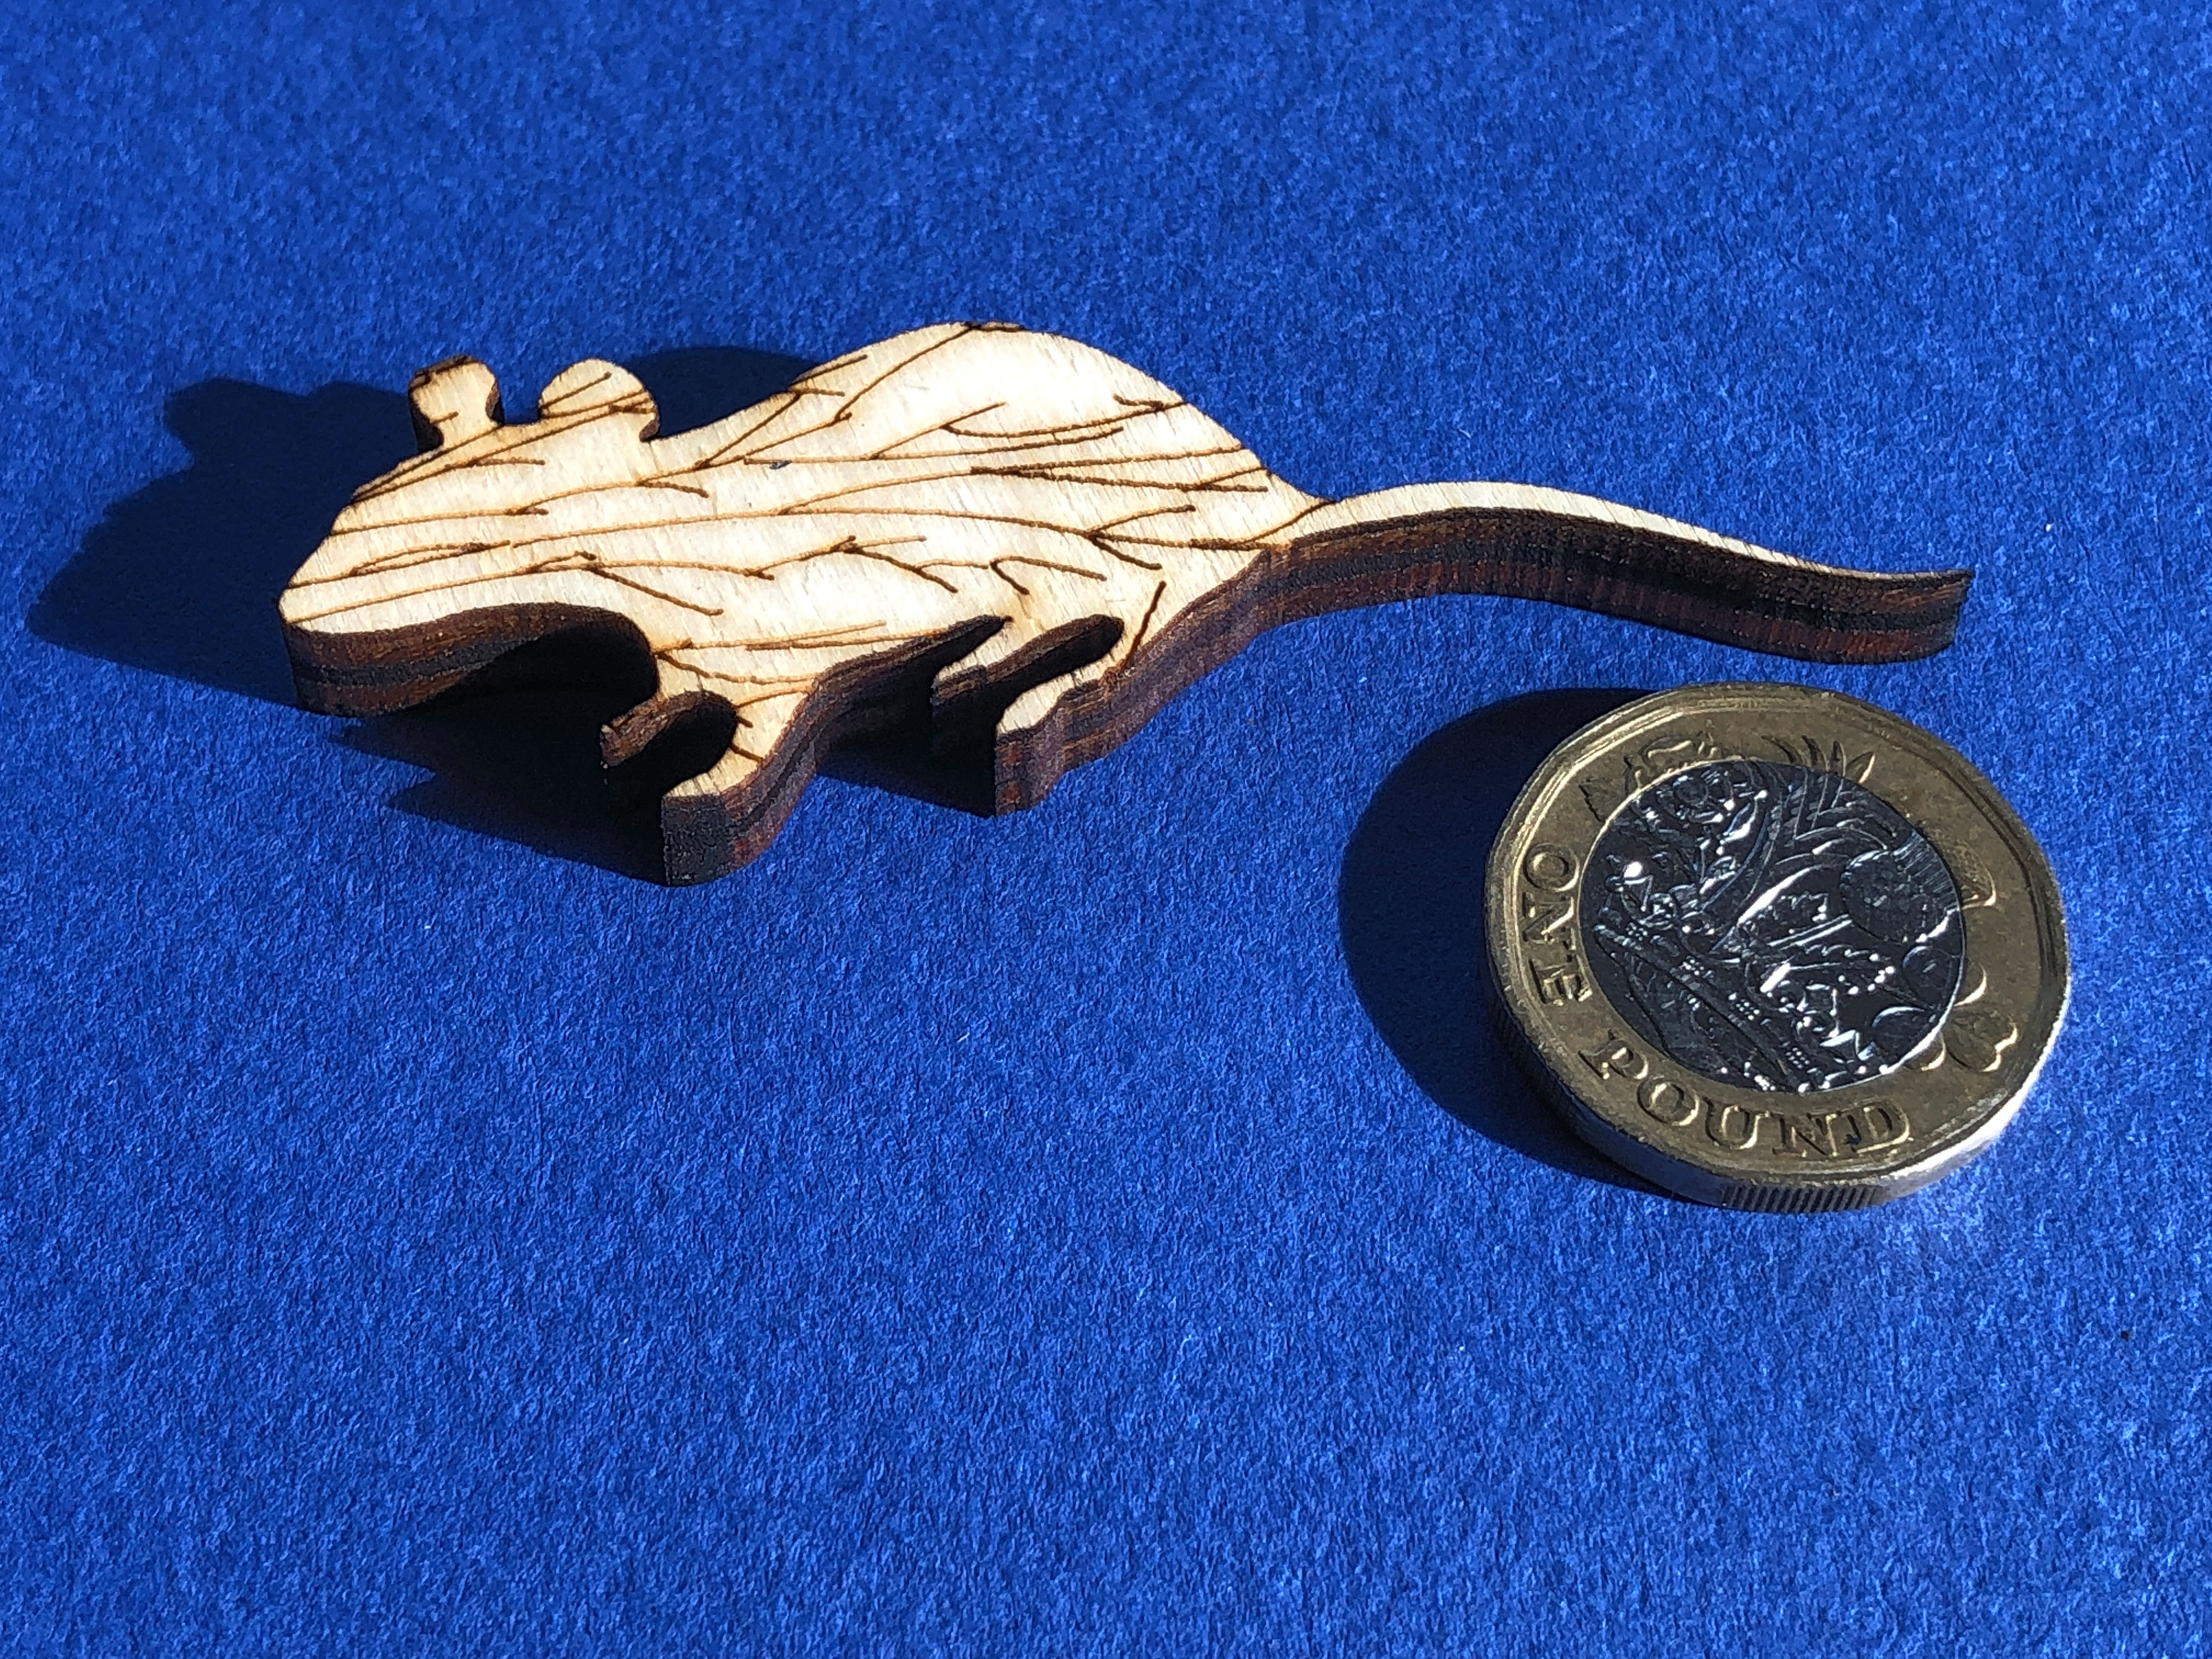
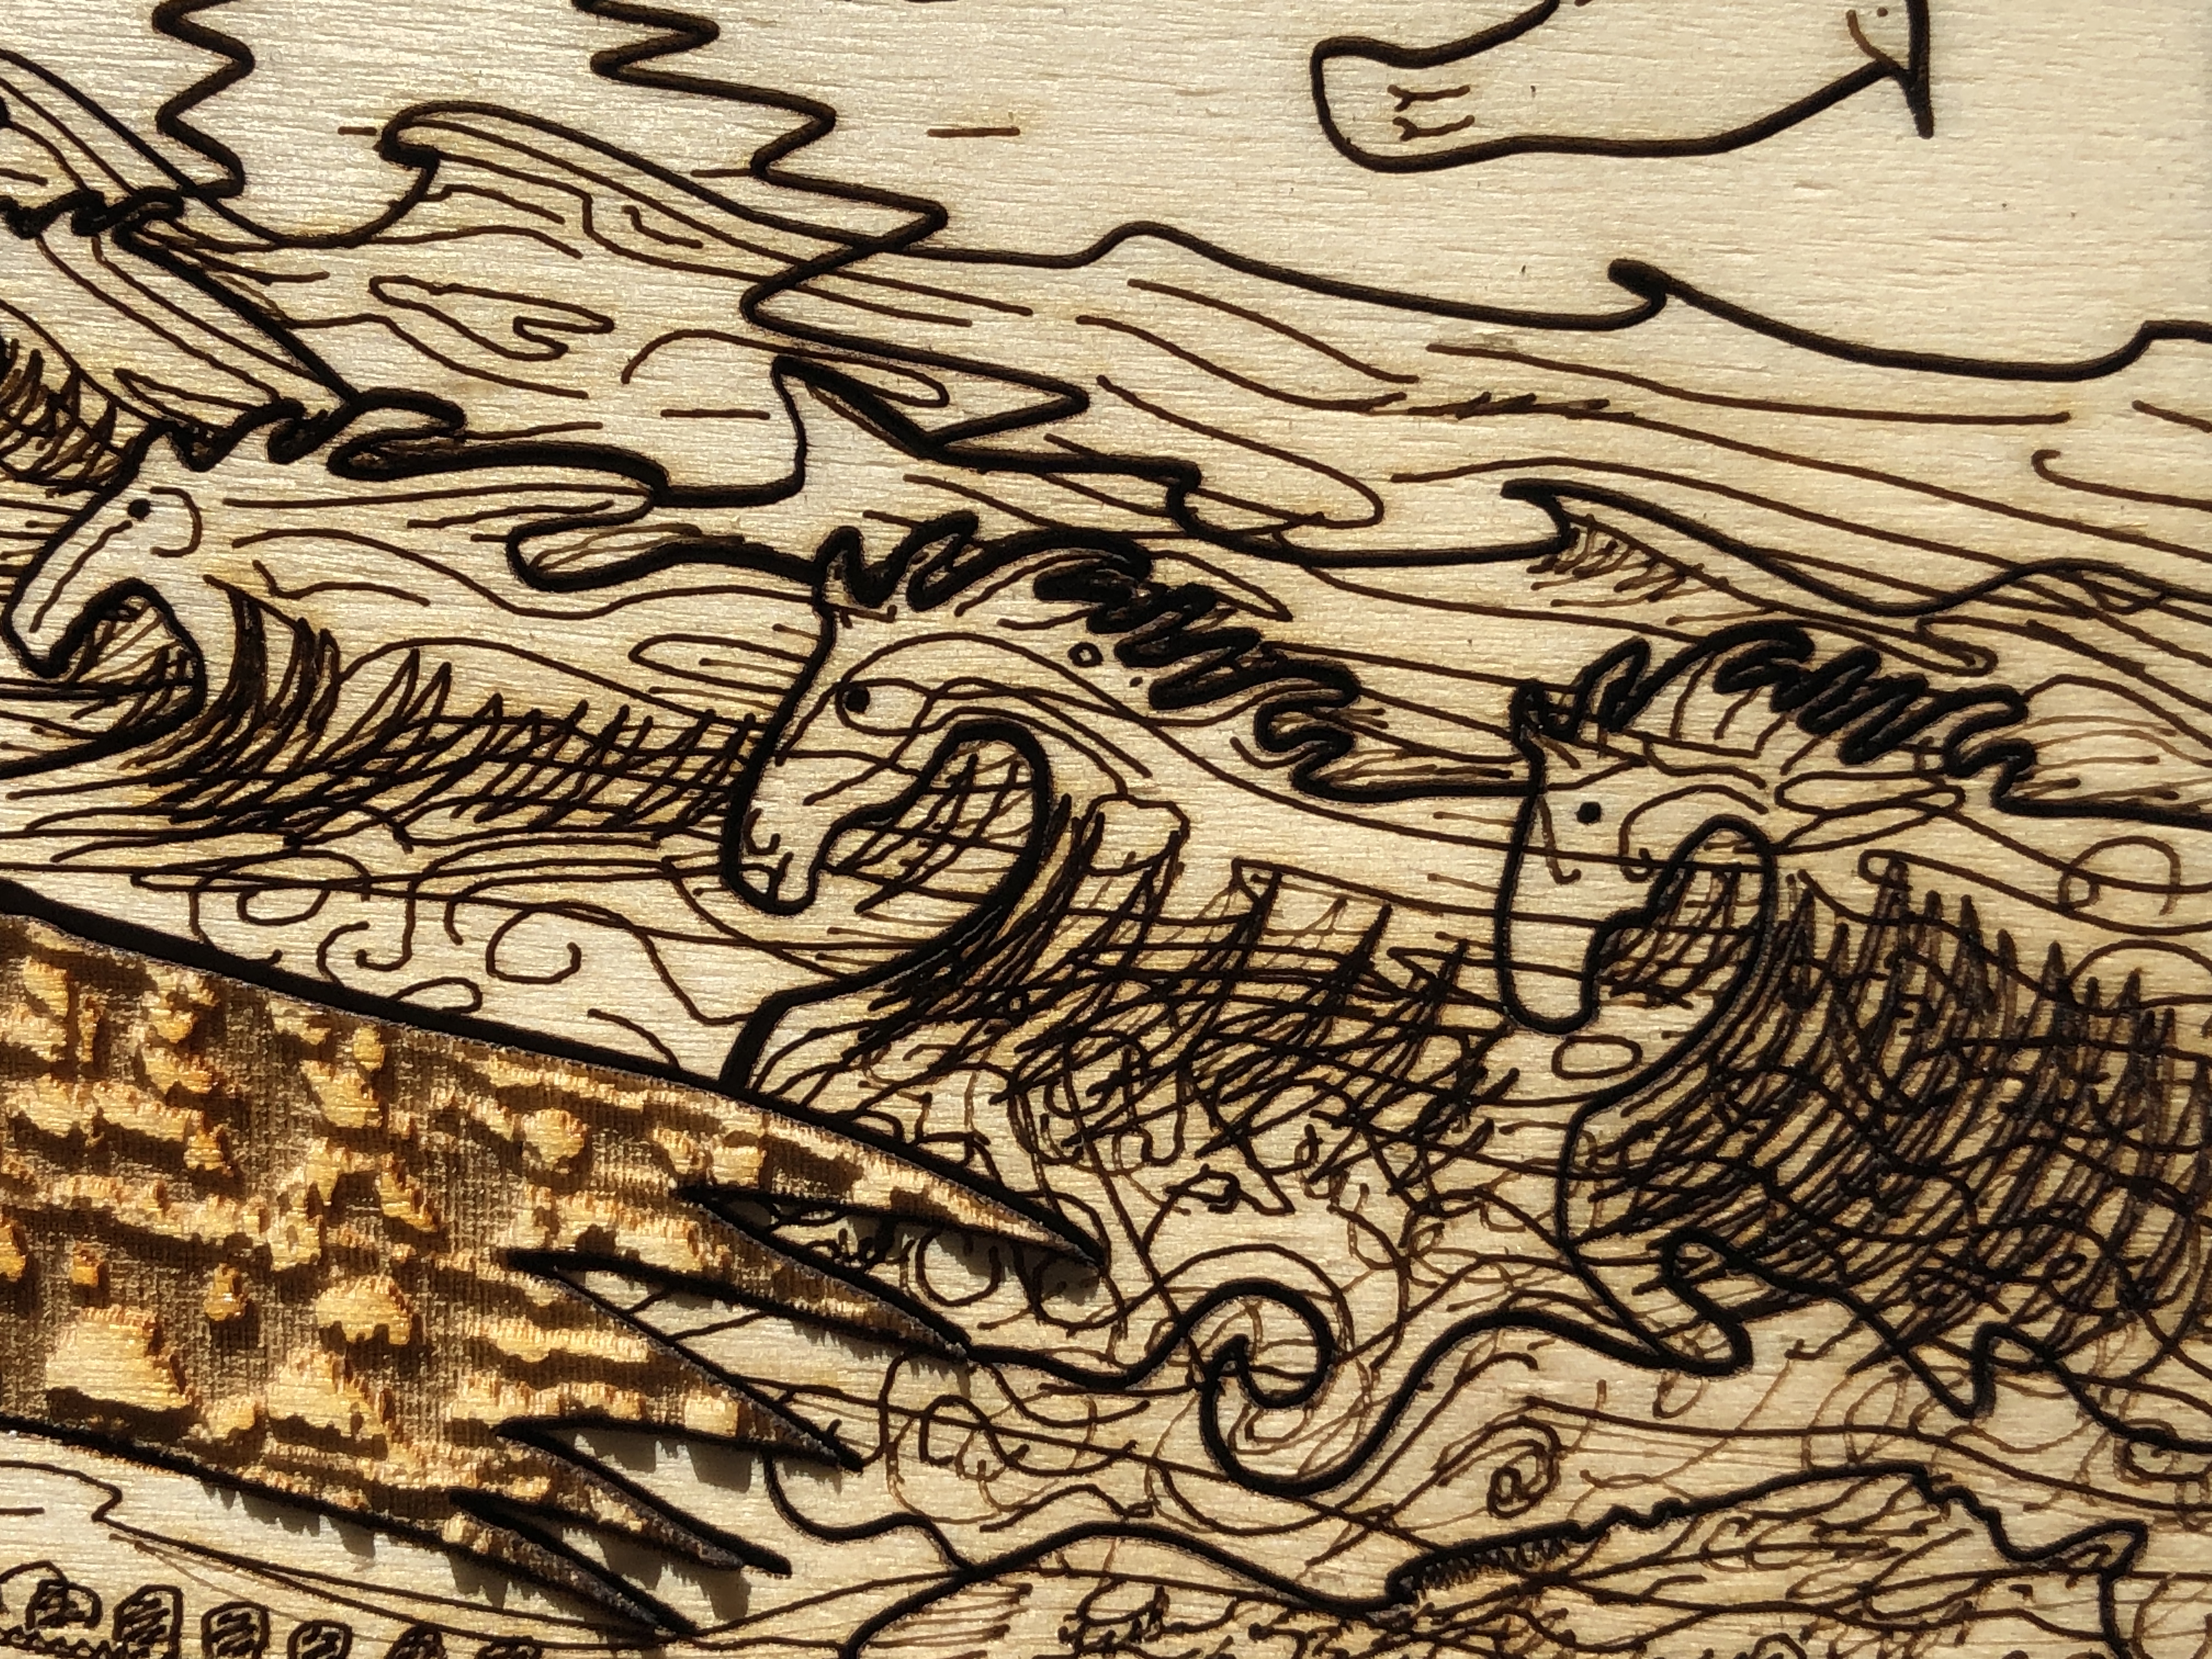
Title: “Tawny Owl in Landscape (Predator and Prey) (floral map)” Artist: Michael Autumn Medium: Resinous glass paints on faux leaded (composite plastic) clear cast acrylic sheet Size: 60cm (W) x 85cm (H) Edition: Original Authenticity: Hand-signed (bottom, far left) with purple glass paint on light pink painted cloisonné cell. Date: 02/2025
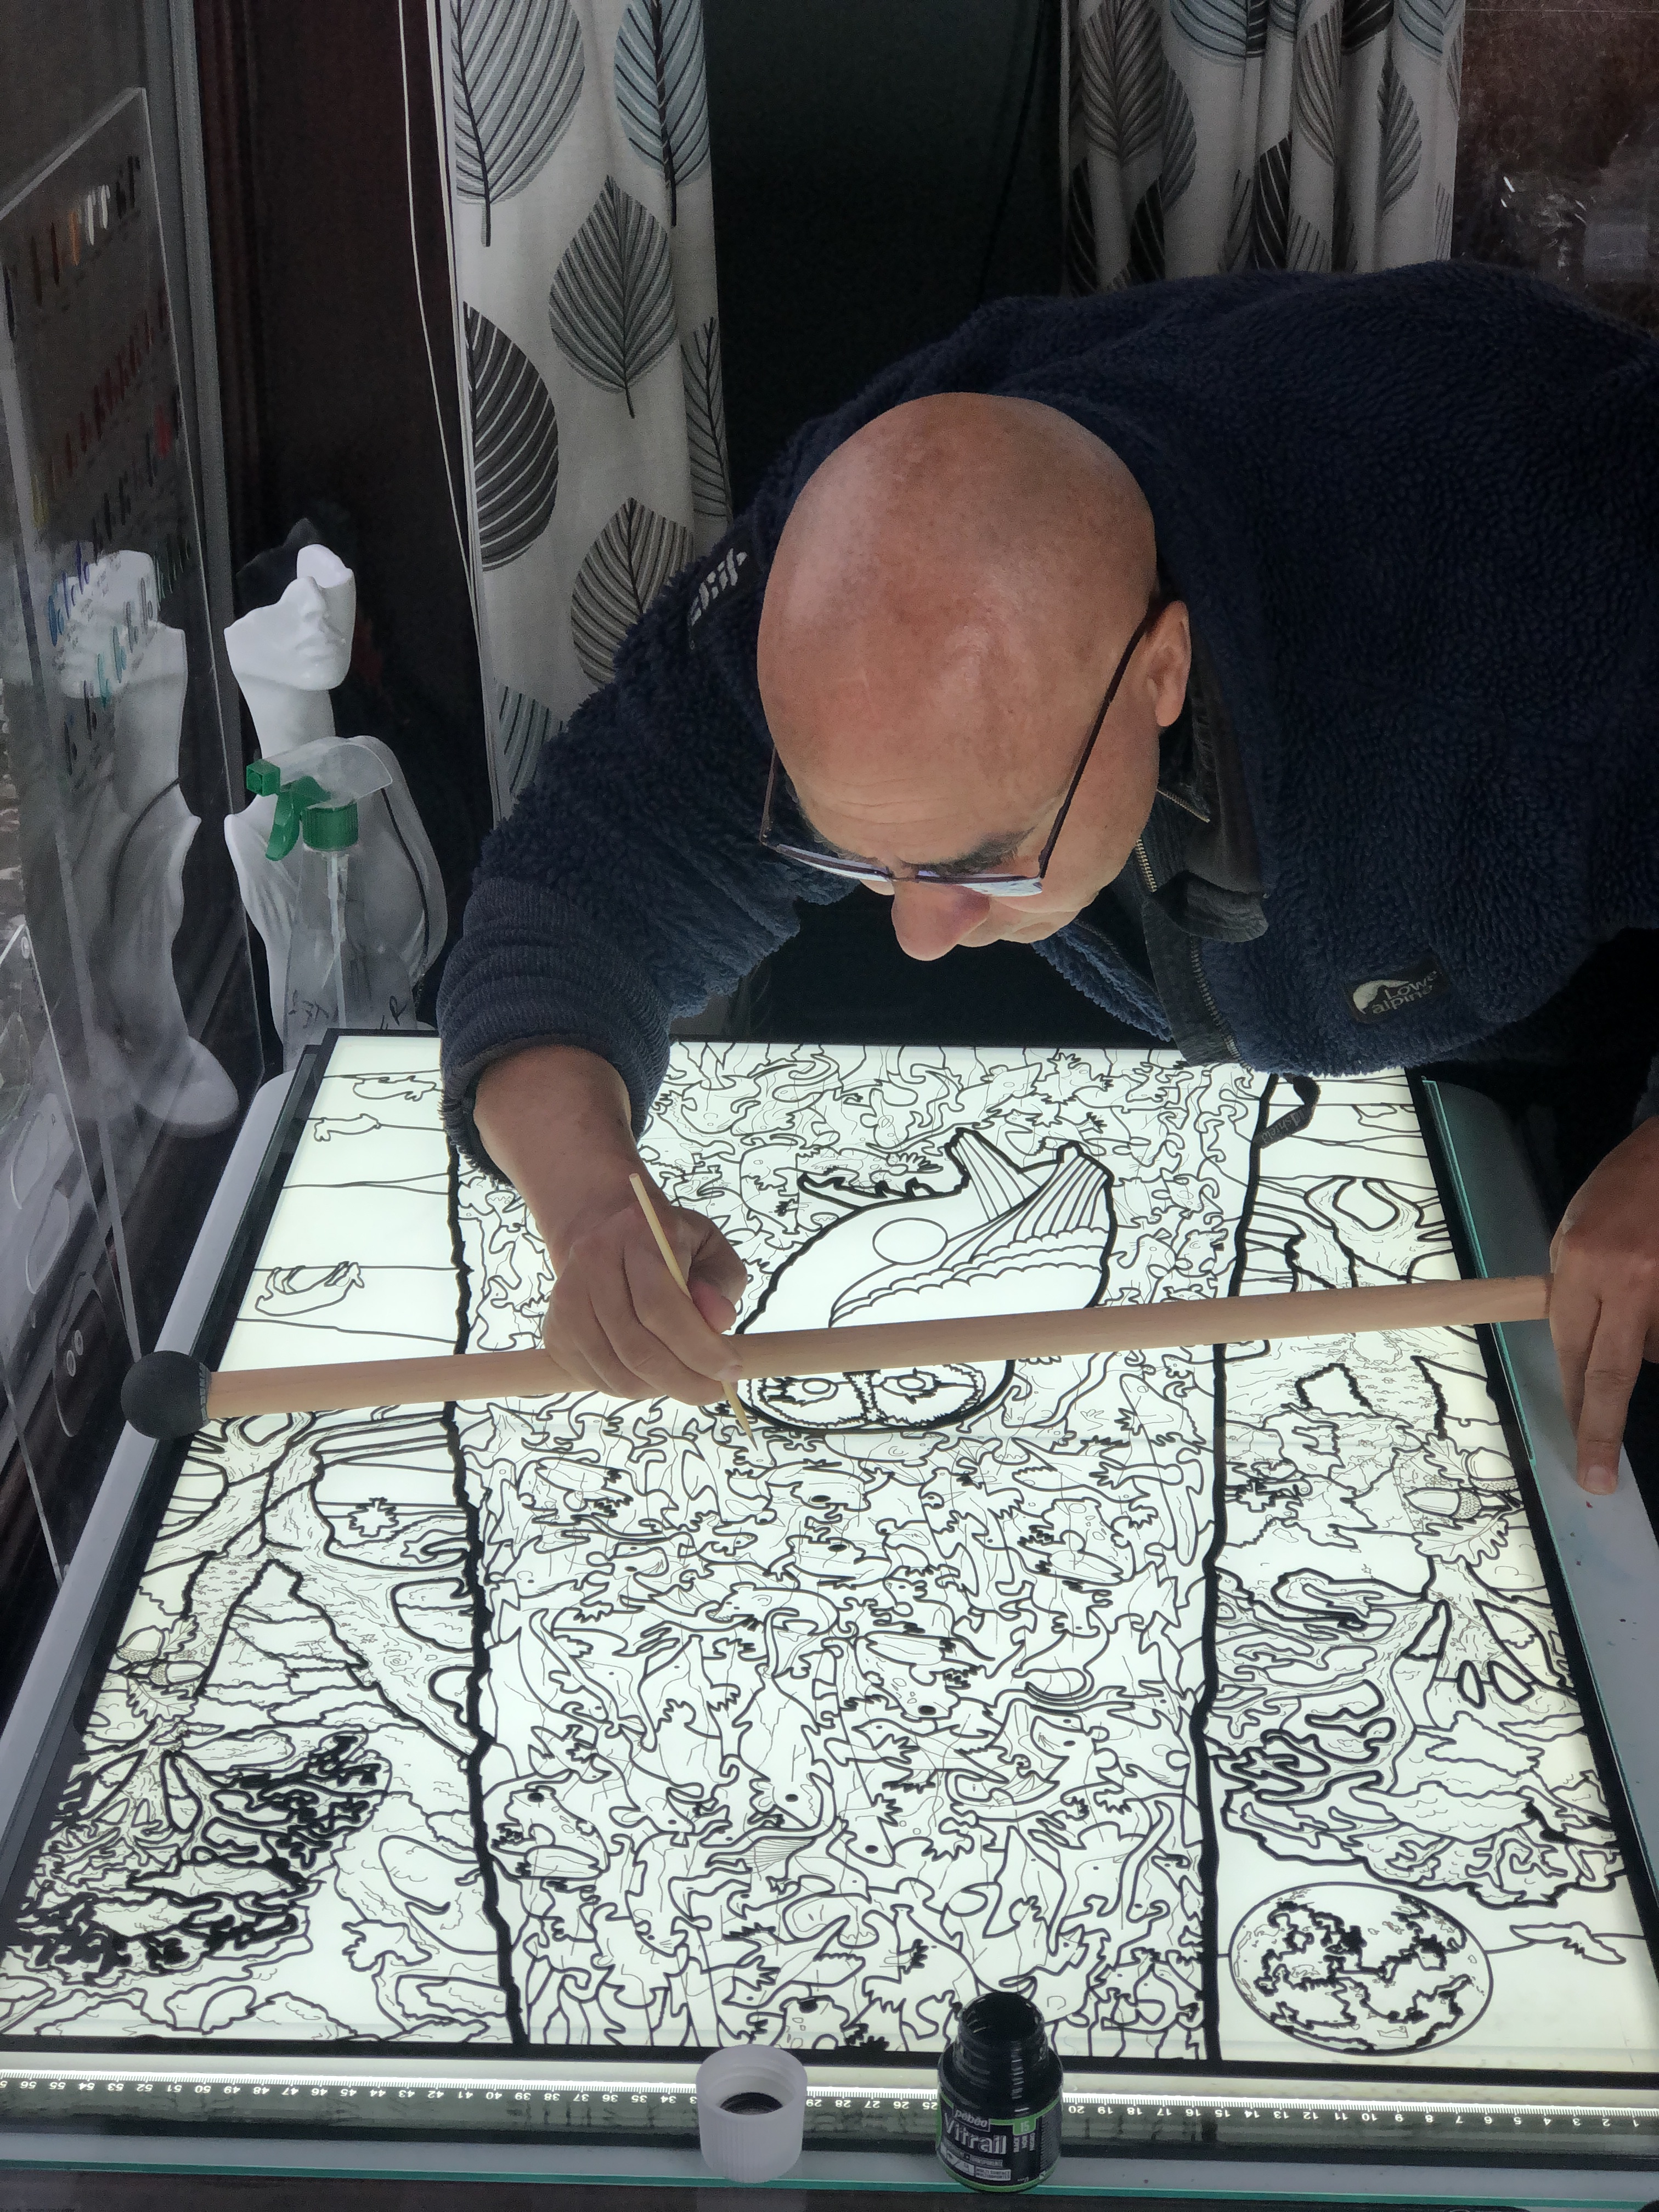
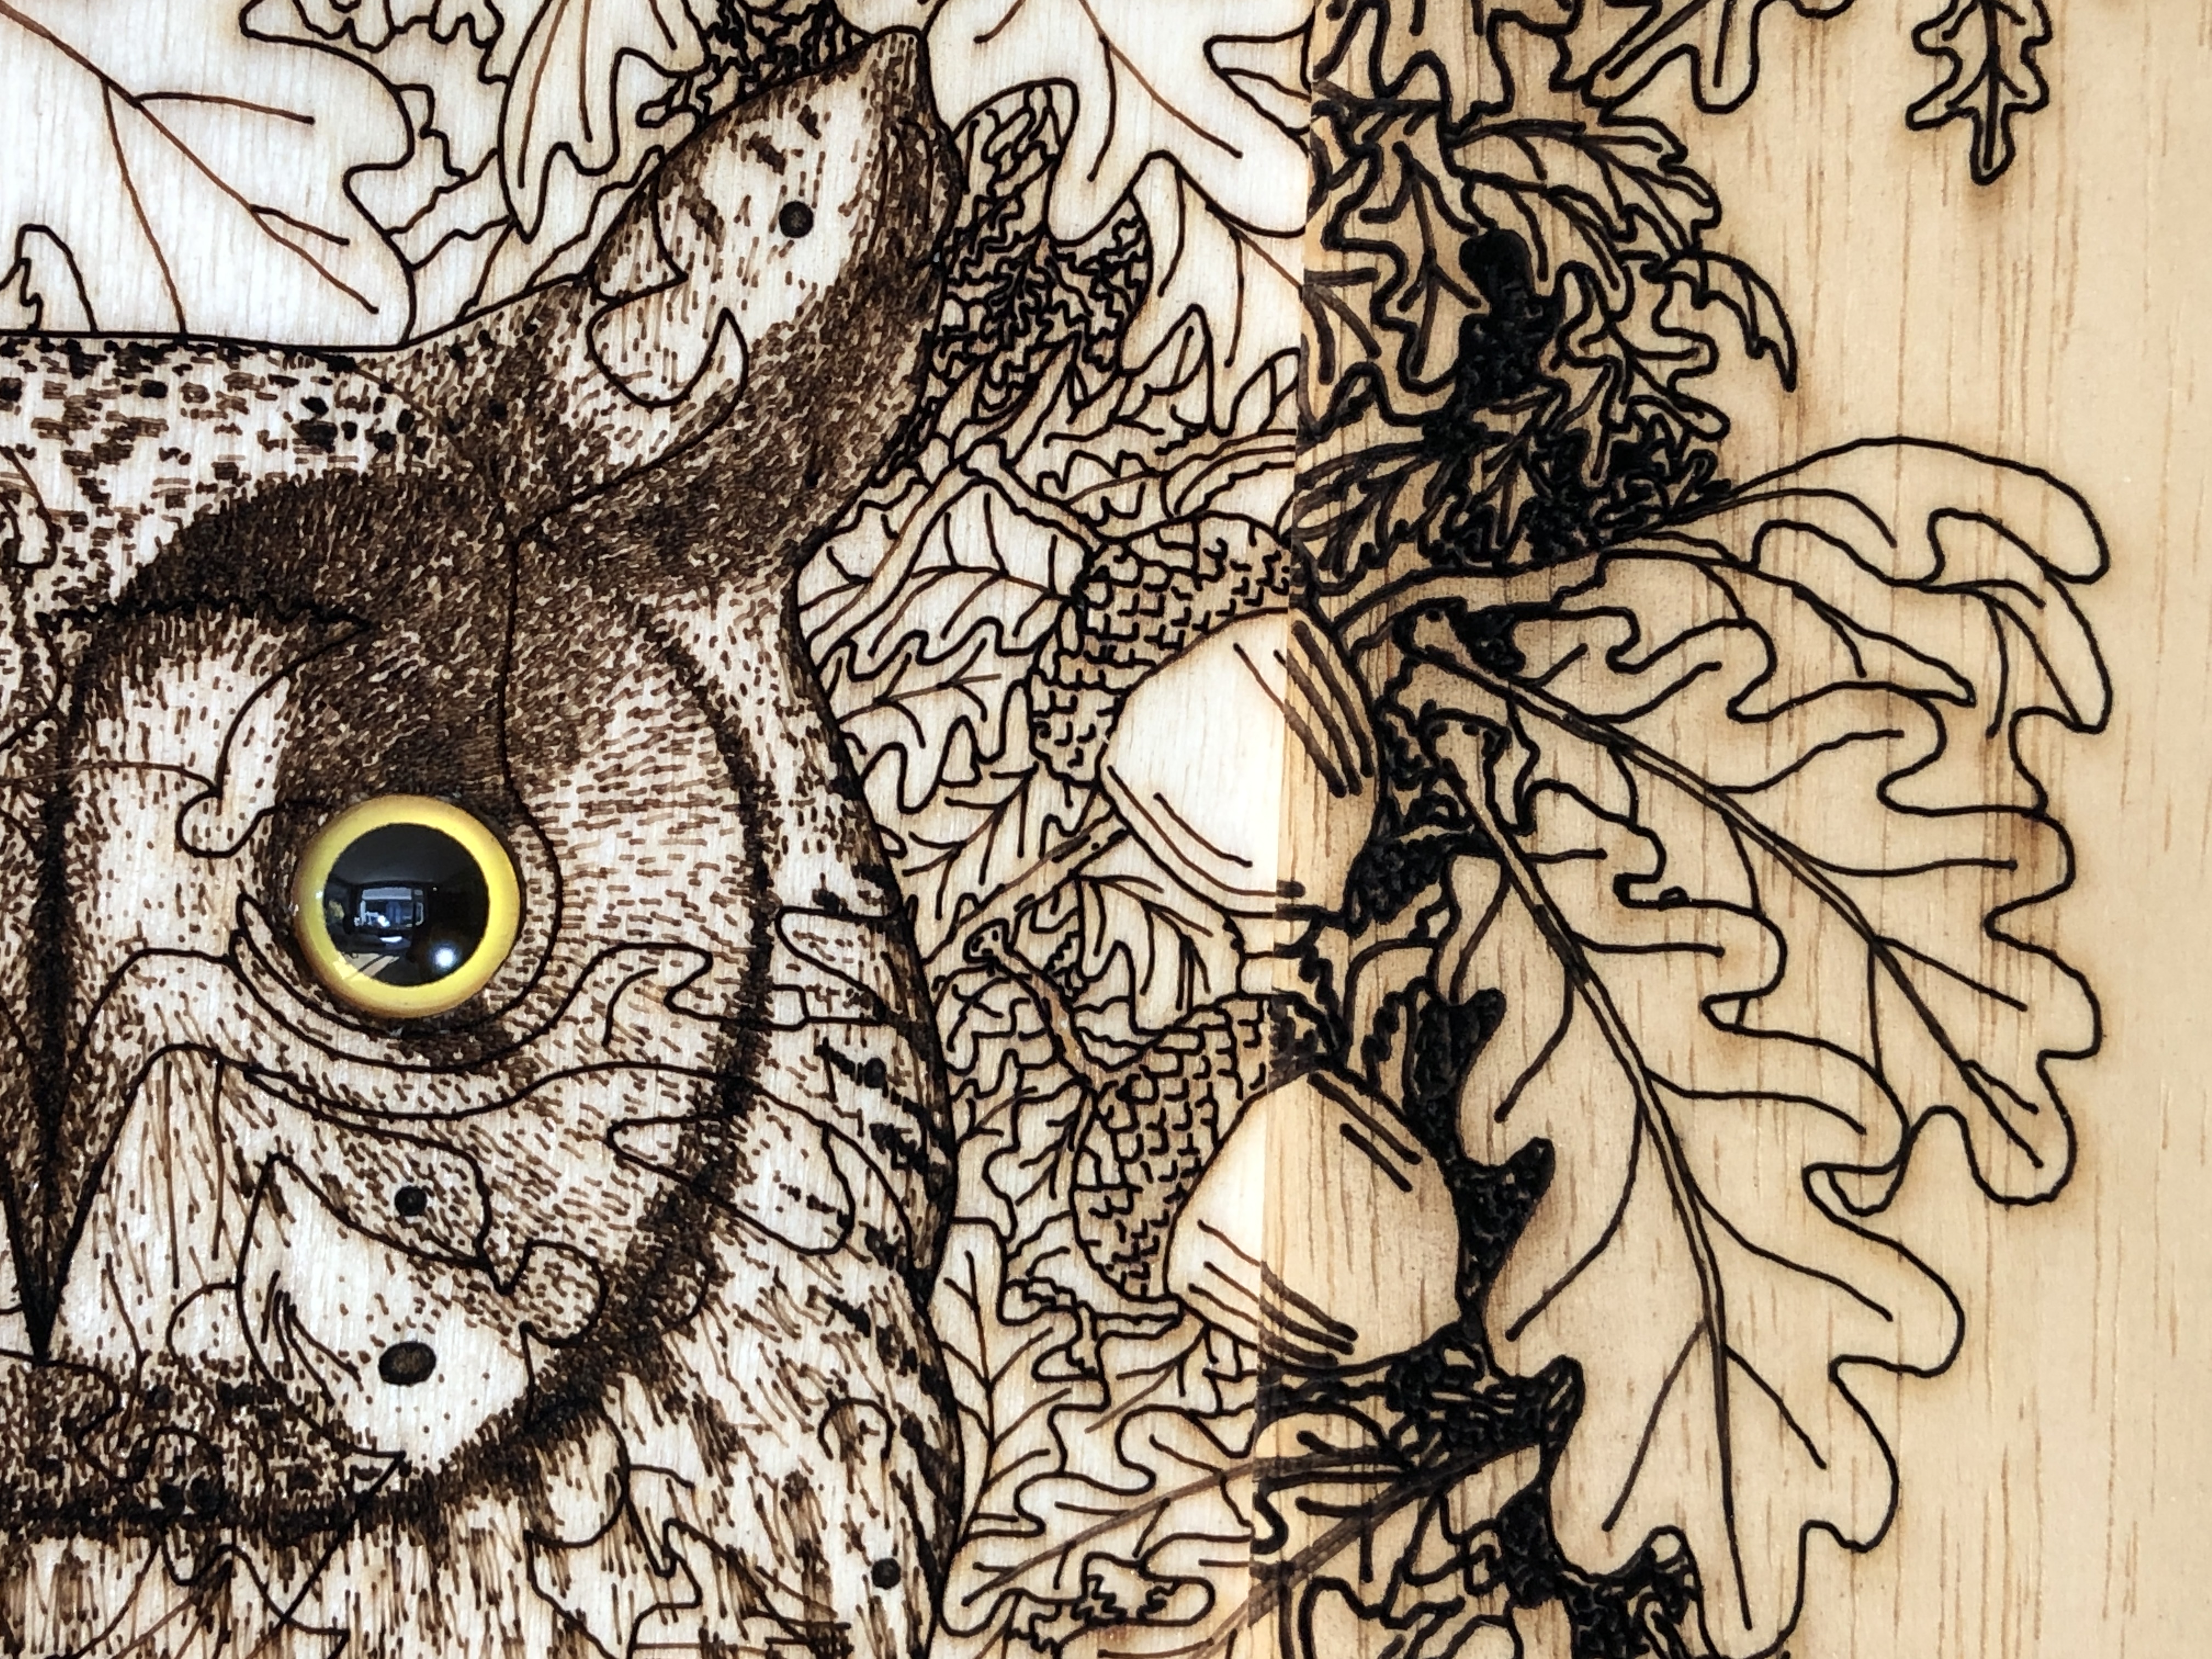
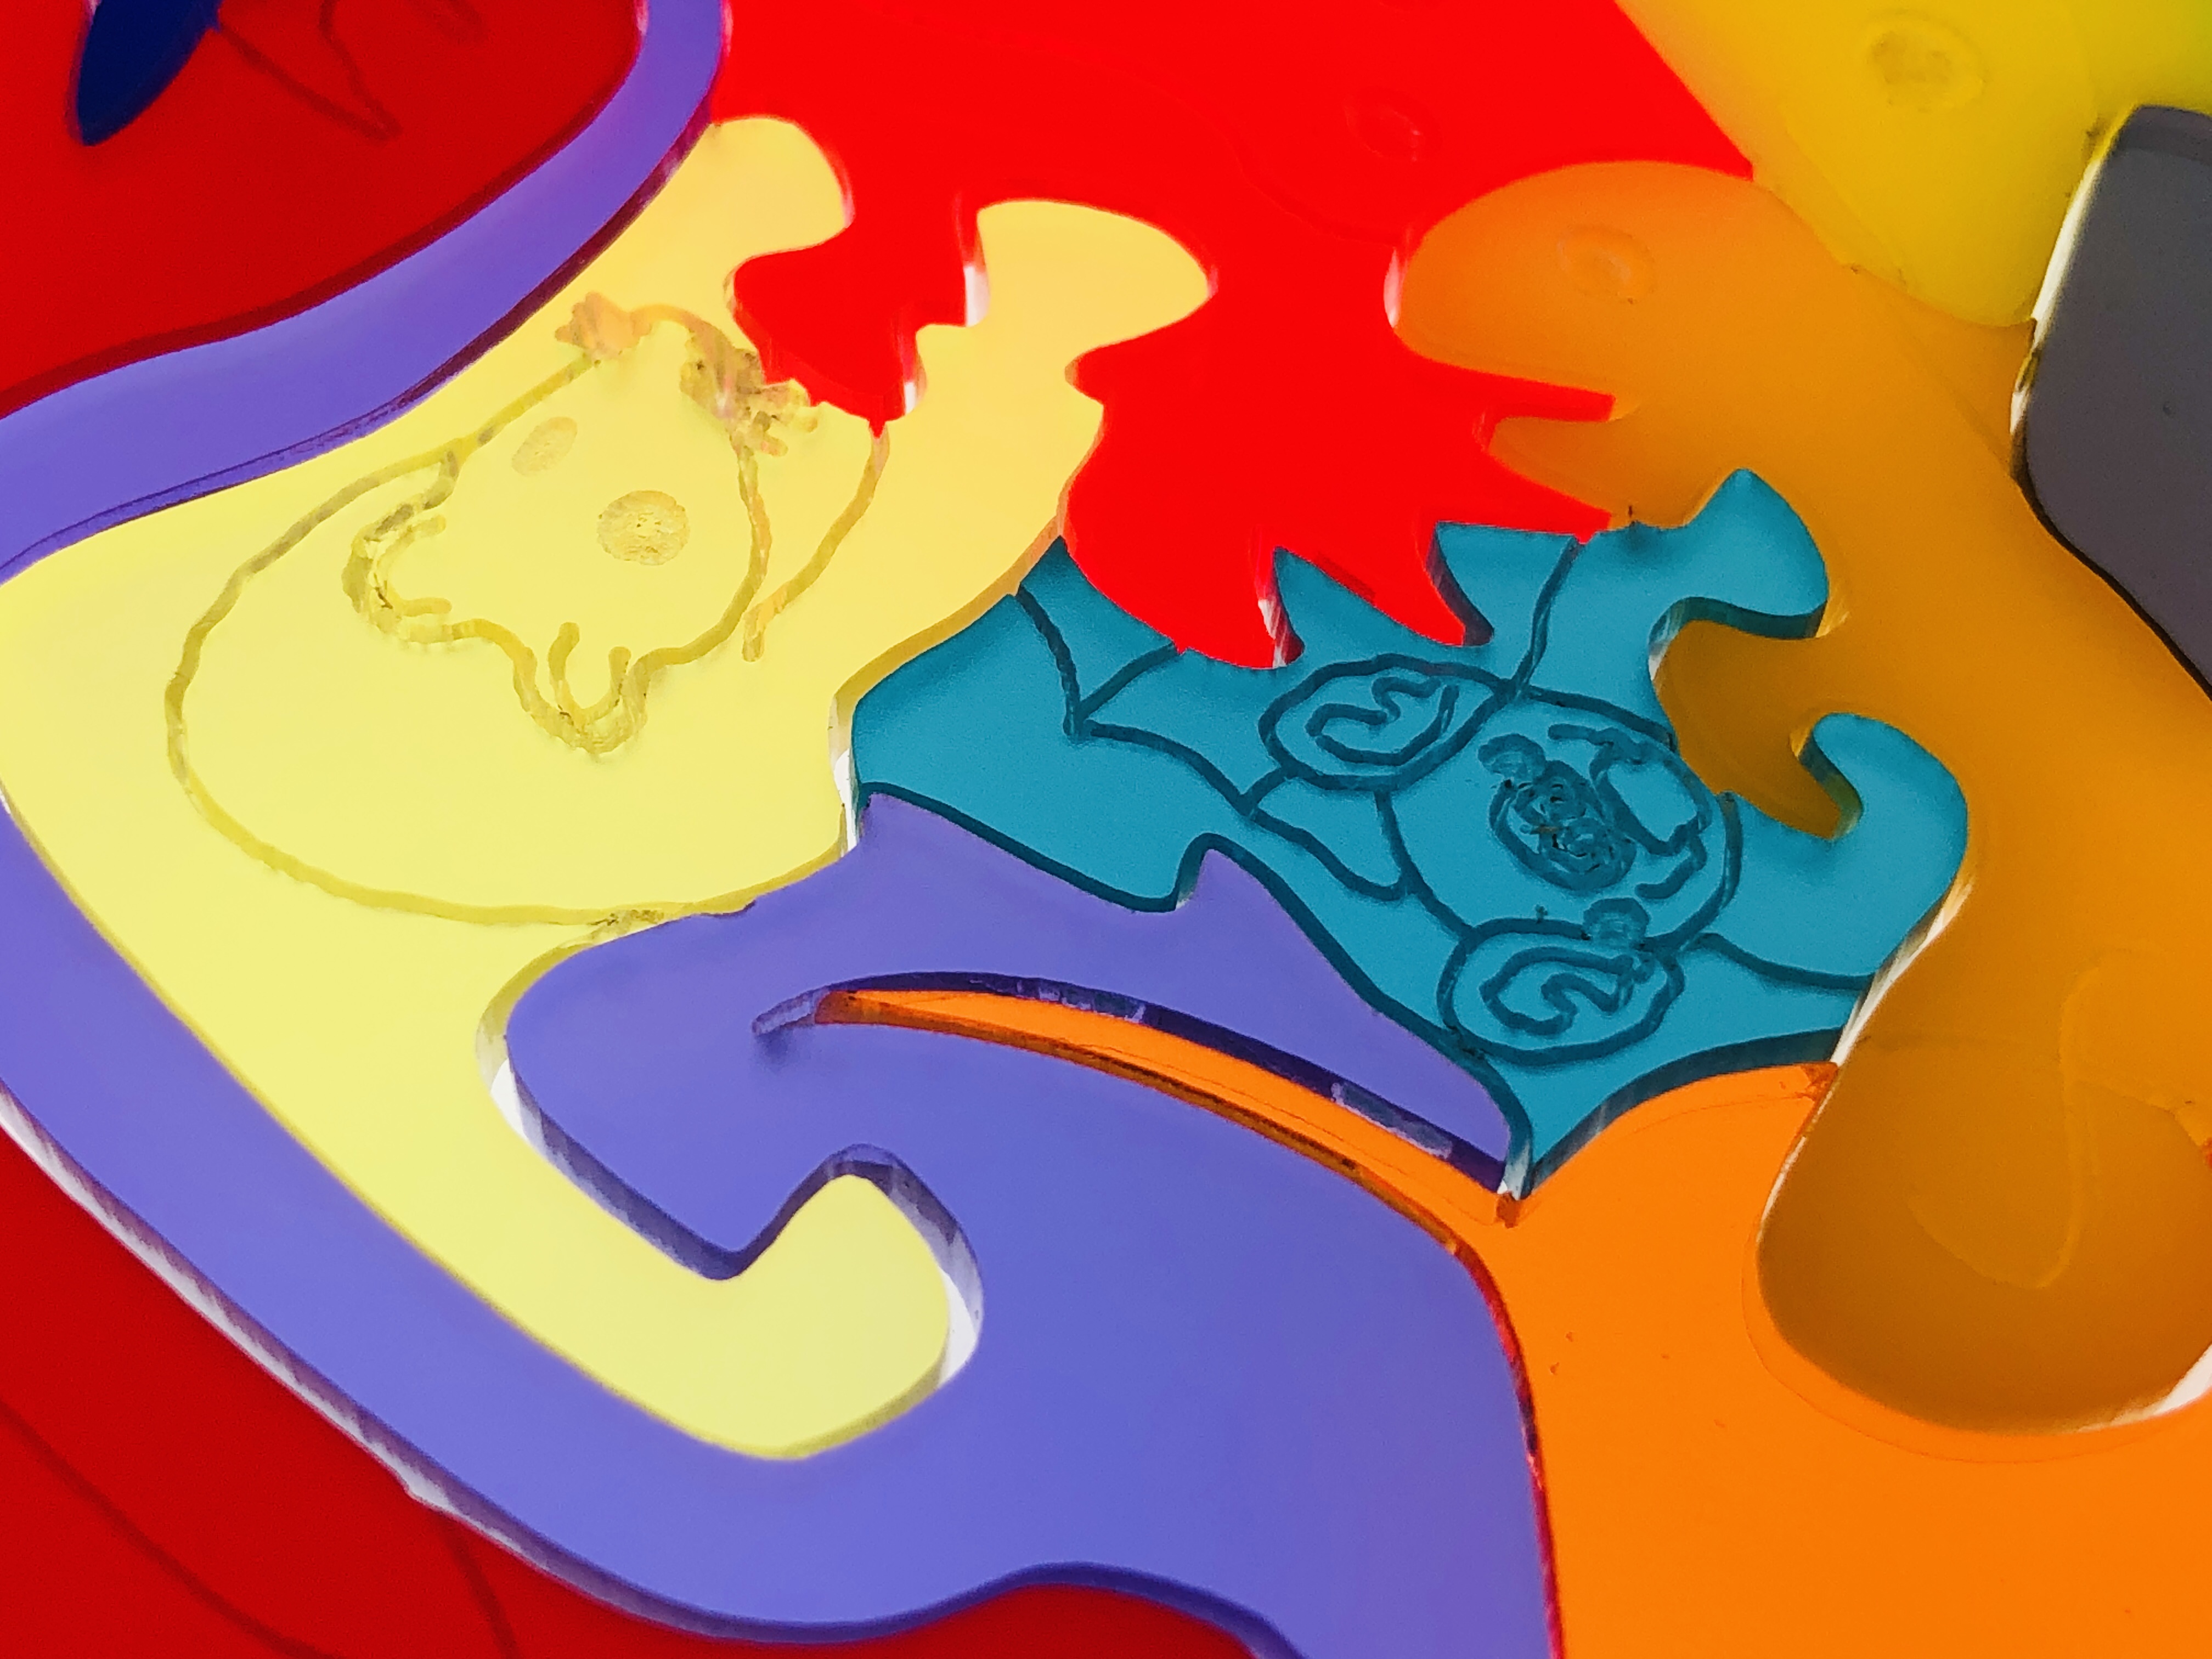
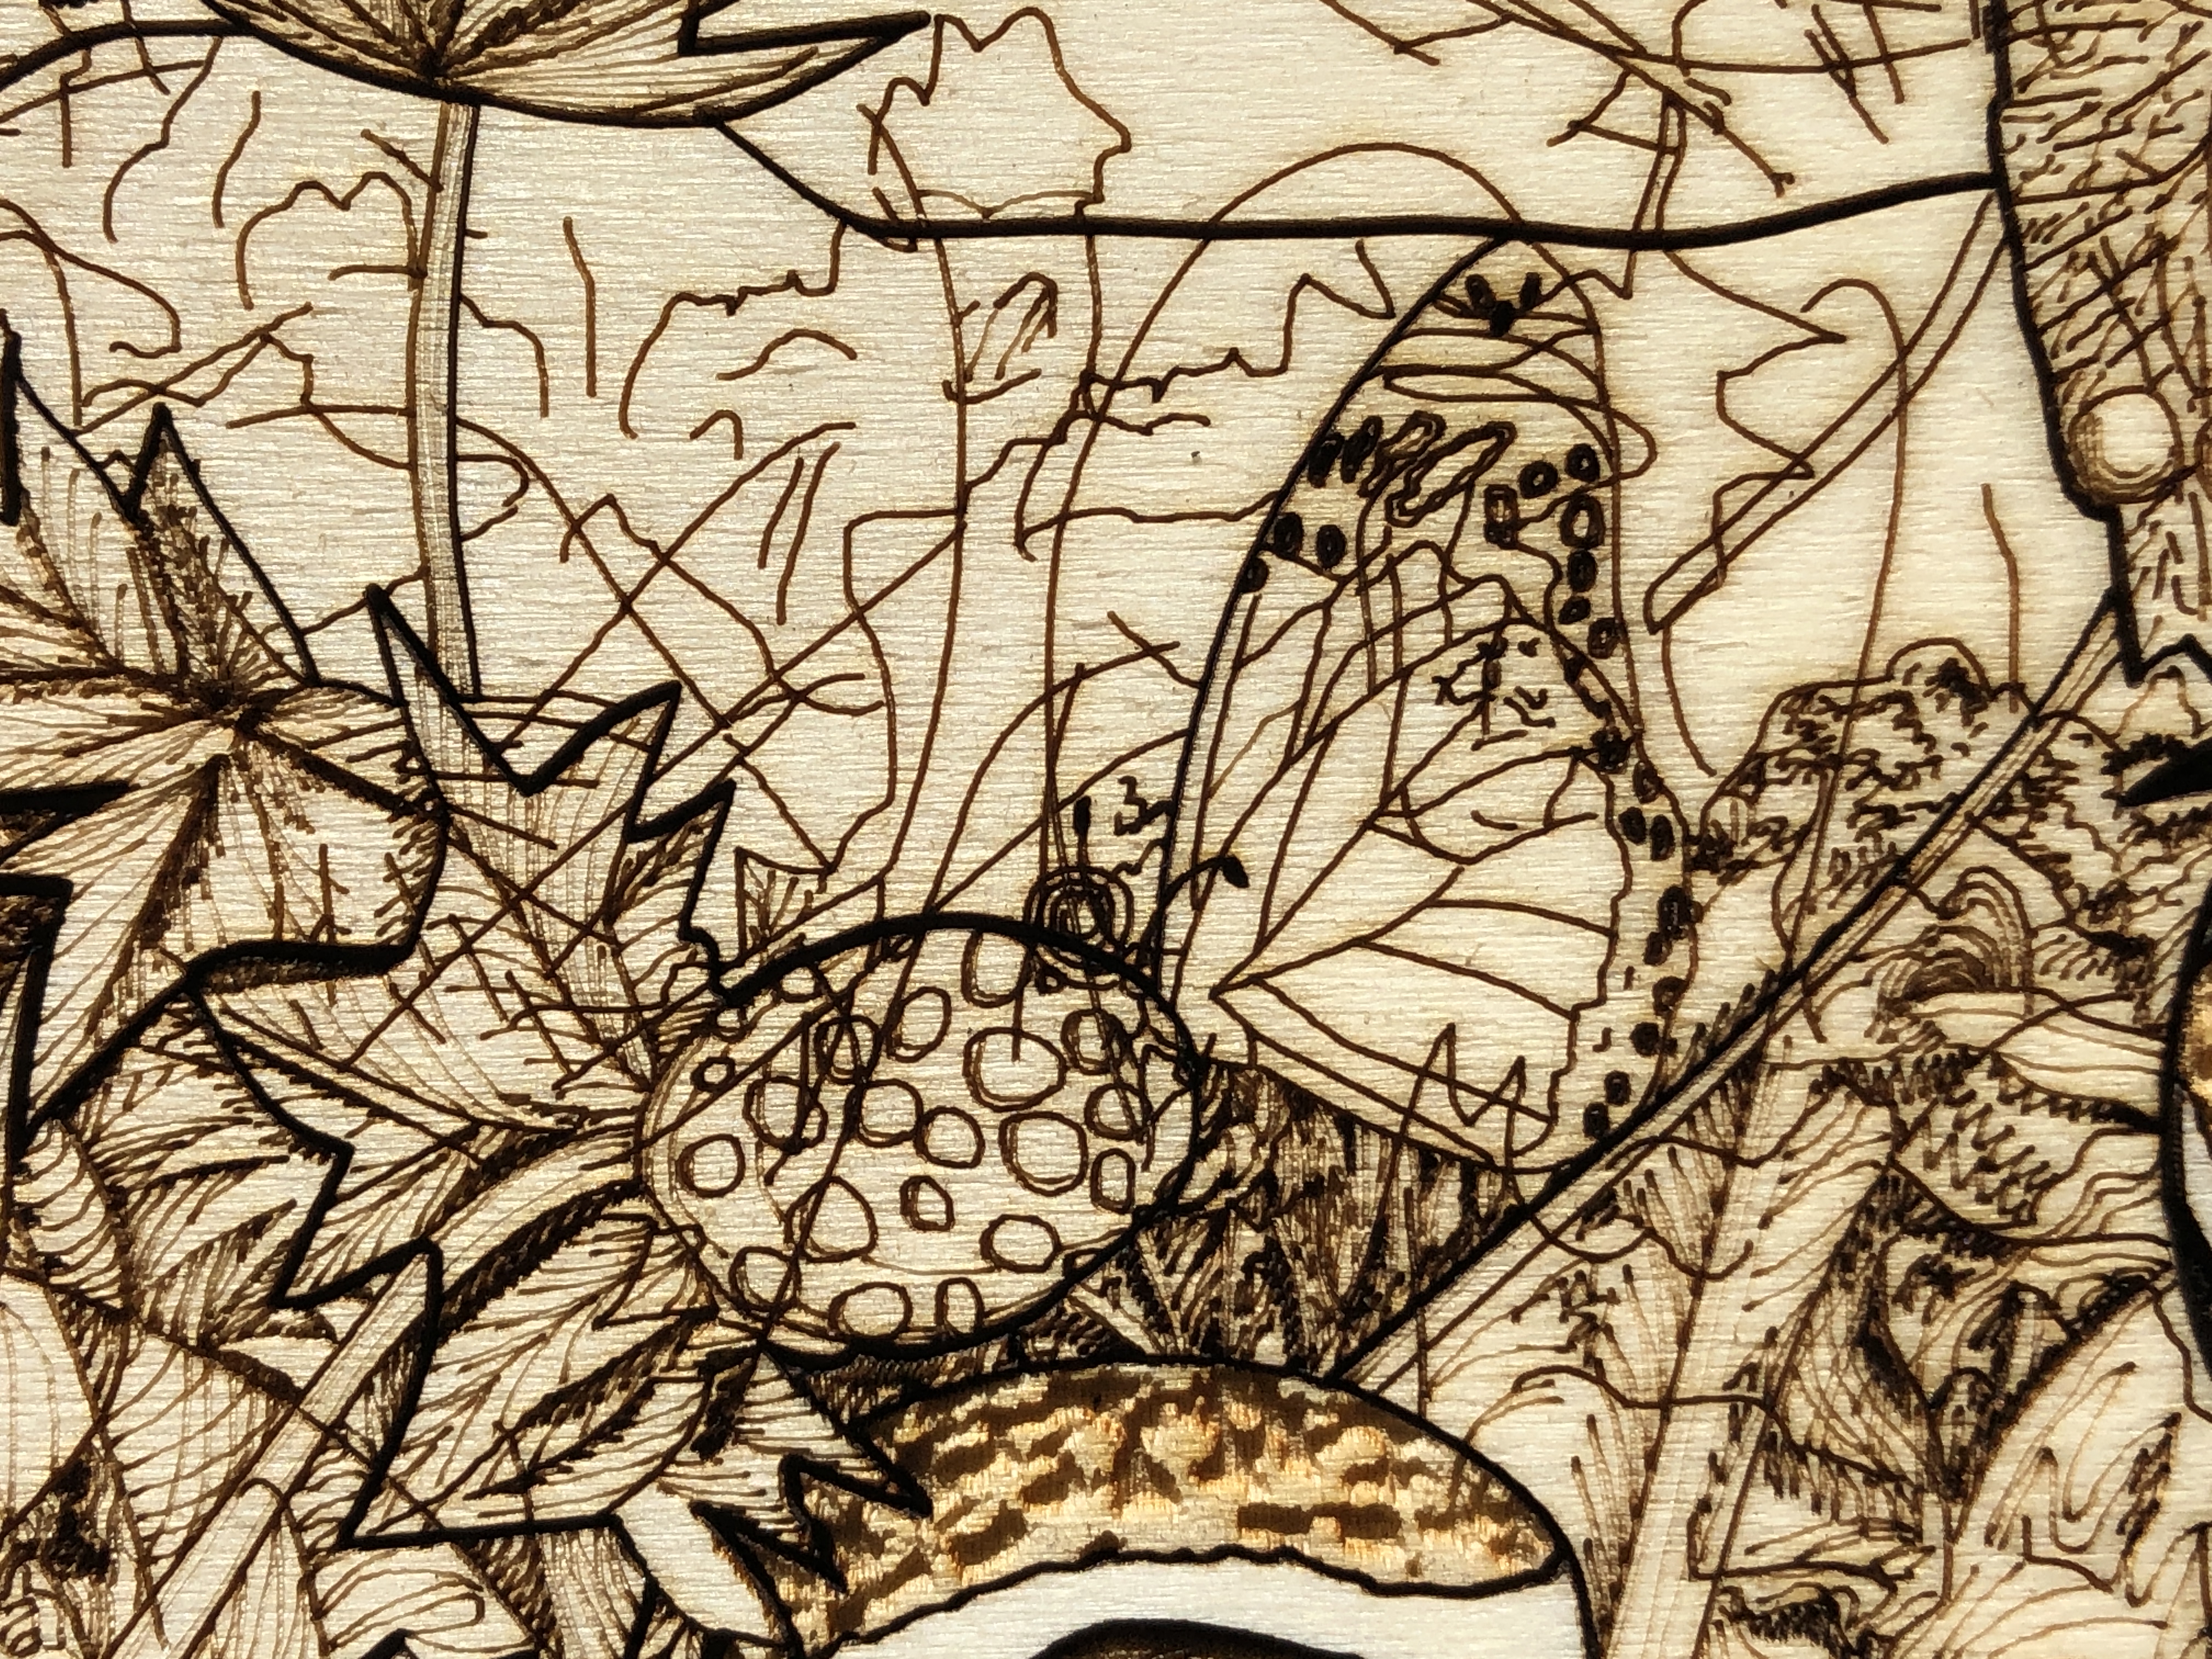
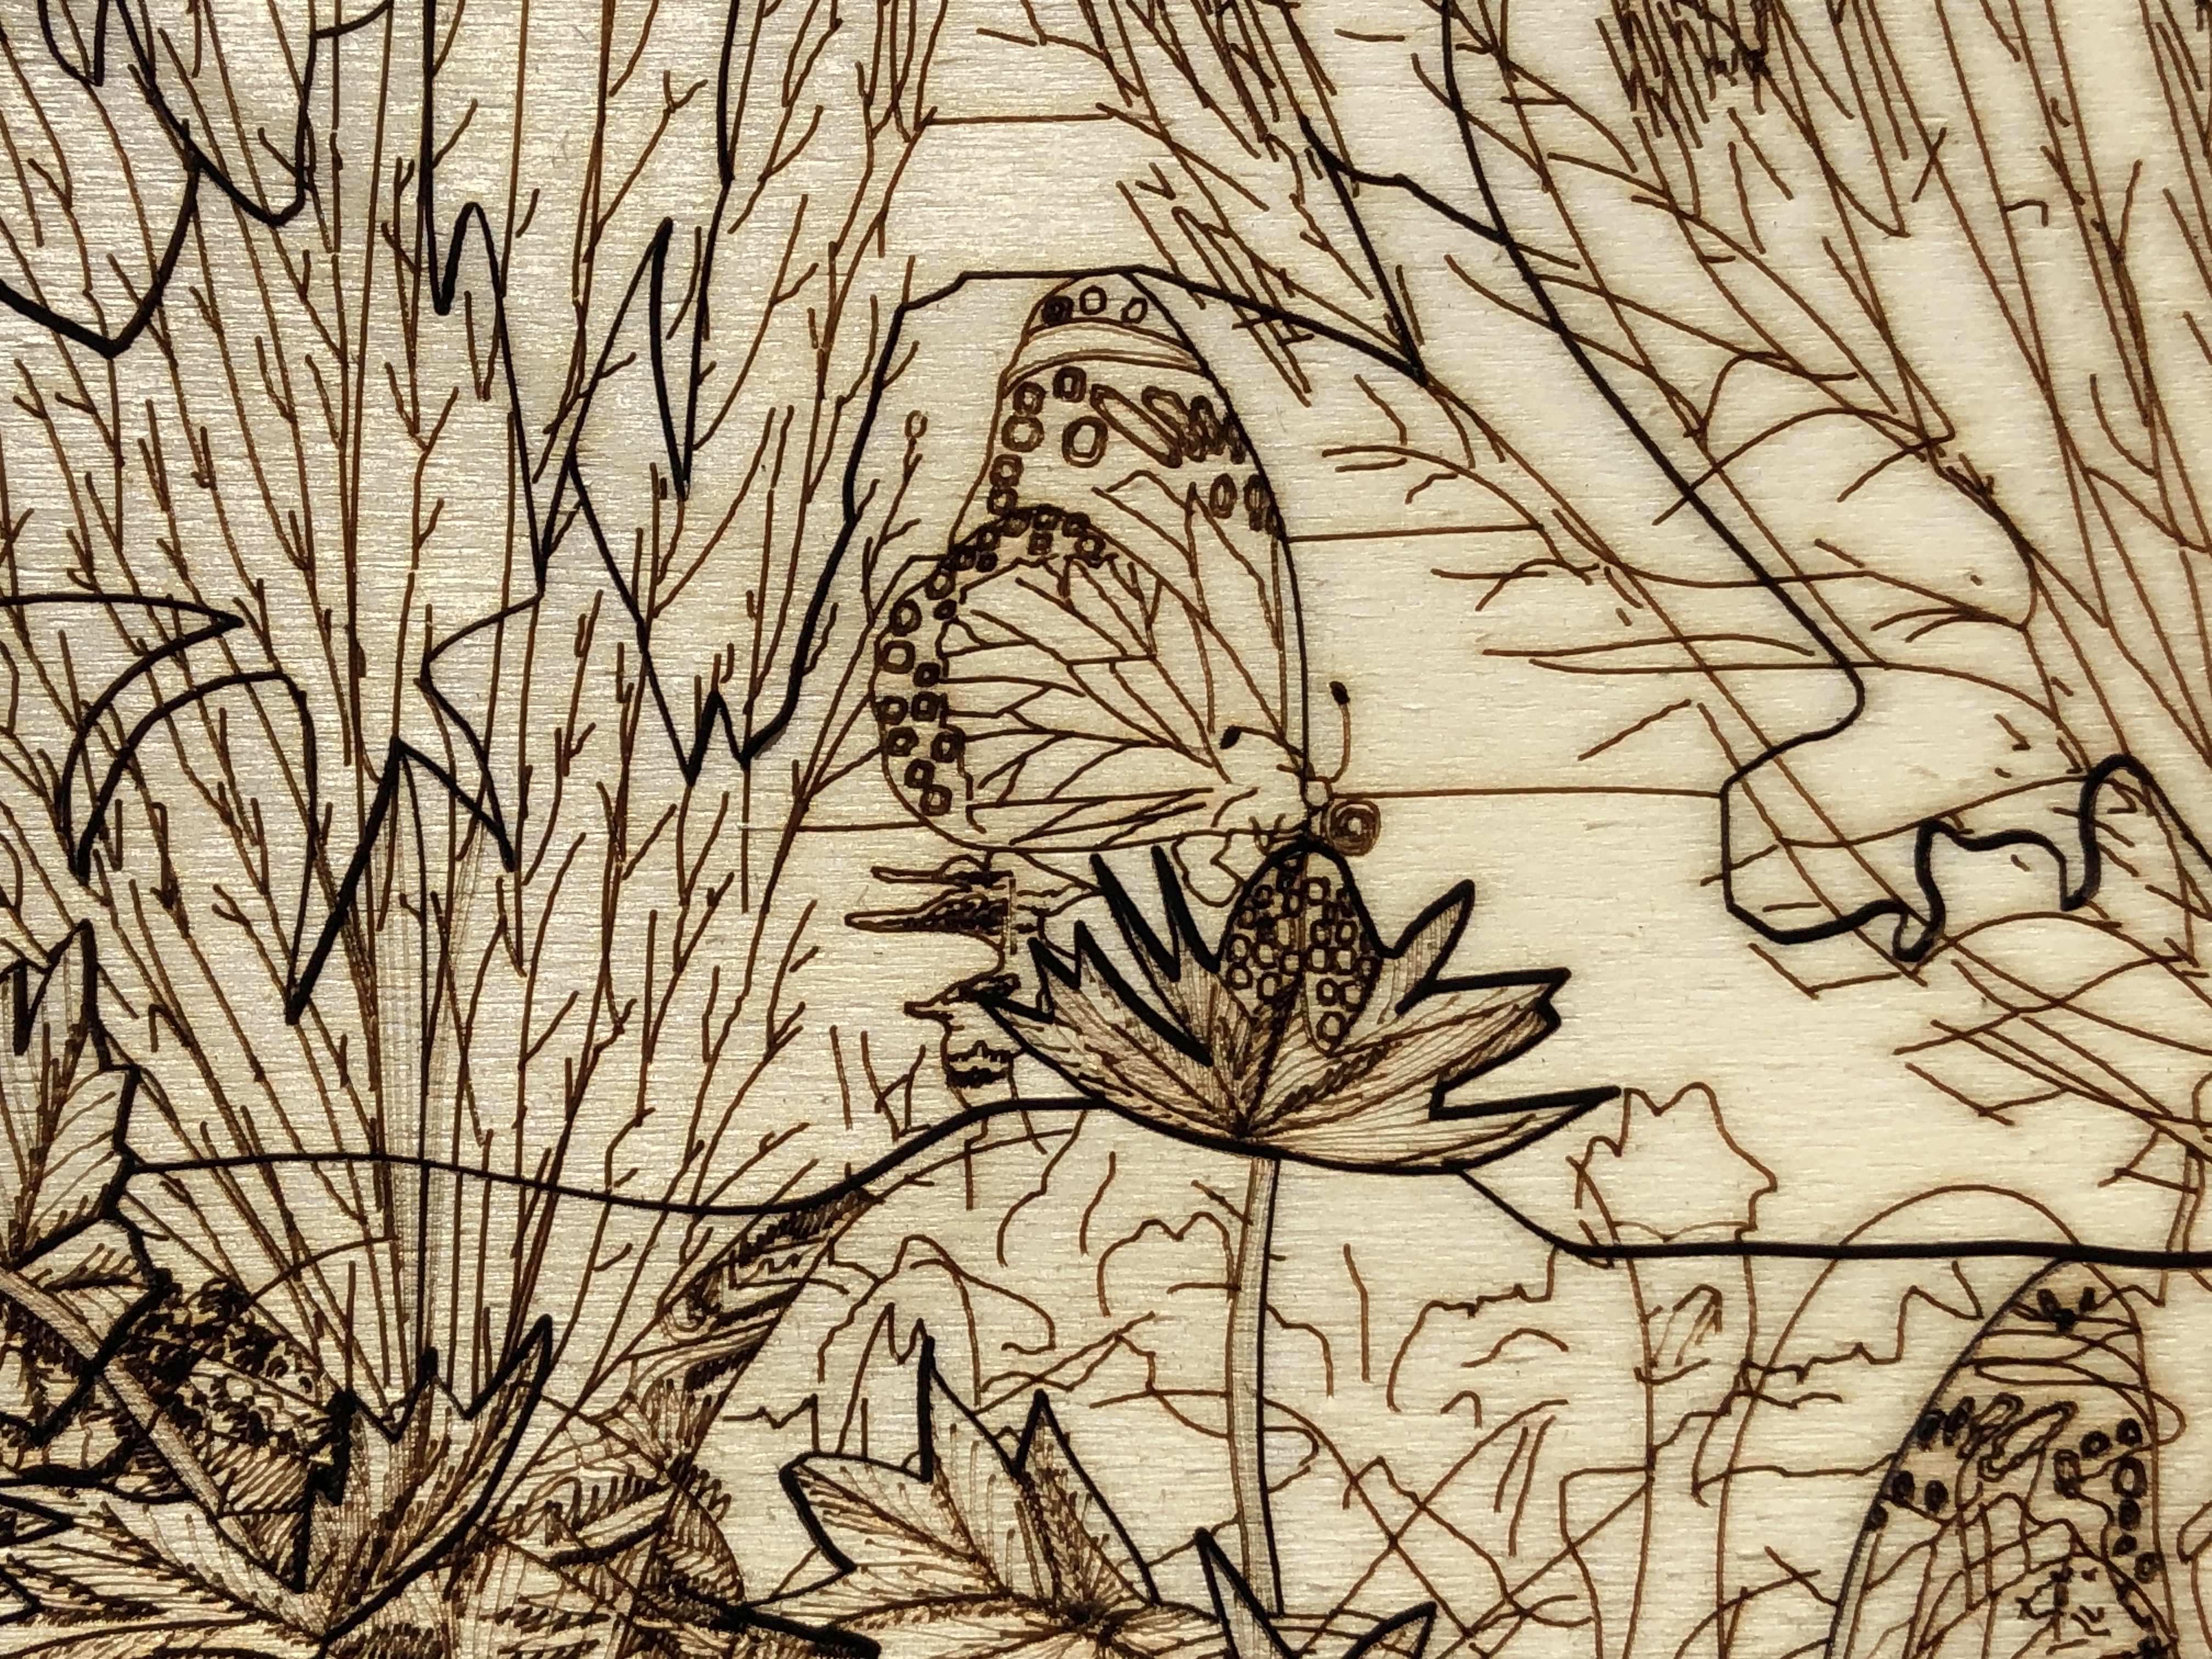
Michael Autumn drawing and painting black detail lines and spots amid the laser cut black composite plastic faux leading.
TL;DR
Not tied to any particular medium or technique, I have tried to devise a way of achieving a stained-glass look with much more detail than is conventionally possible – using a clear acrylic sheet, laser-cut black composite “leading” (aka “cames” – the “H”-shaped strips of lead holding the glass pieces together), and the coloured “glass pieces” are transparent resinous glass paint.
The scene is a tawny owl in a “tree”, in a landscape with animals, trees, bats, and the moon in the background. The main foreground “tree” trunk is actually made up of a variety of the owl’s prey creatures – and asks the question: if these owls eat 2-6 of these animals every day, and they live up to 24 years…?
The centre column (the main tree trunk) of this artwork comes directly from my original thick oak wooden art puzzle (see https://michaelautumn.wordpress.com/2023/05/03/tawny-owl-with-egg-art-puzzle/). That work is naturally quite dark and monochromatic because it is a nocturnal scene, and most of the prey animals (depicted in the main tree trunk) are also nocturnal, and therefore dark and dull coloured. So I thought it would be interesting to turn the idea upside-down and make it into a vibrant kaleidoscopic “stained-glass” landscape scene.
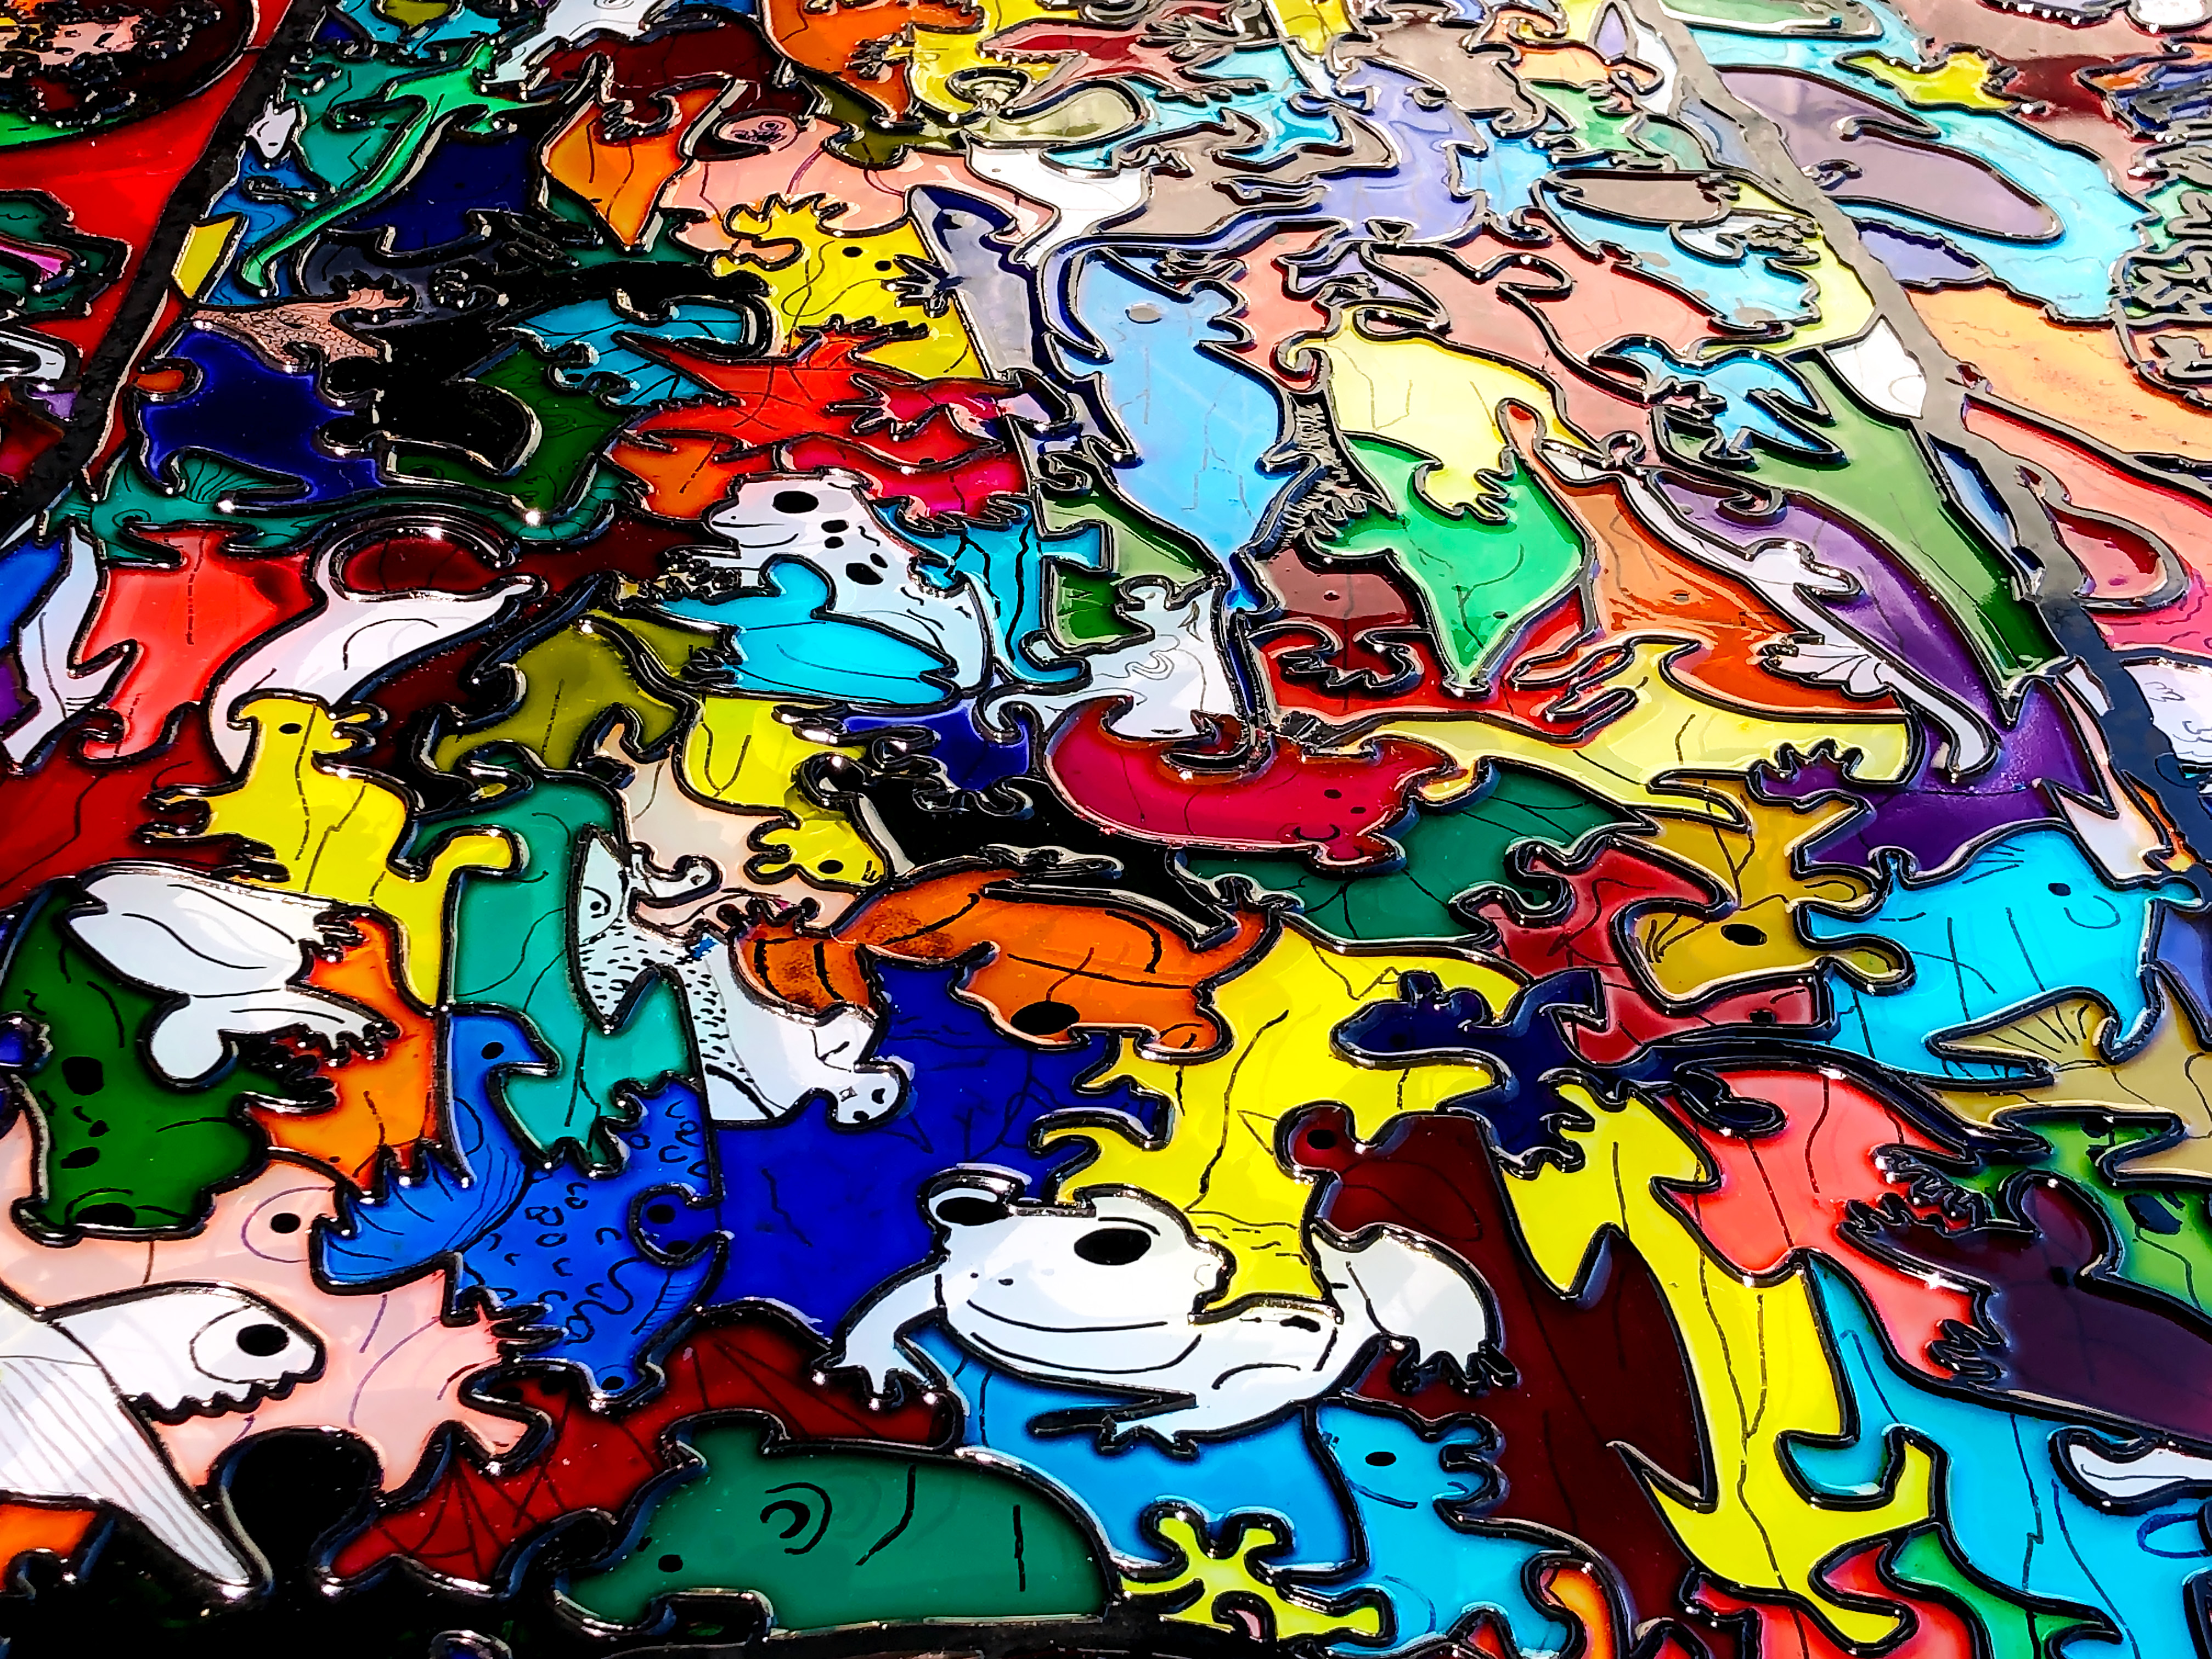
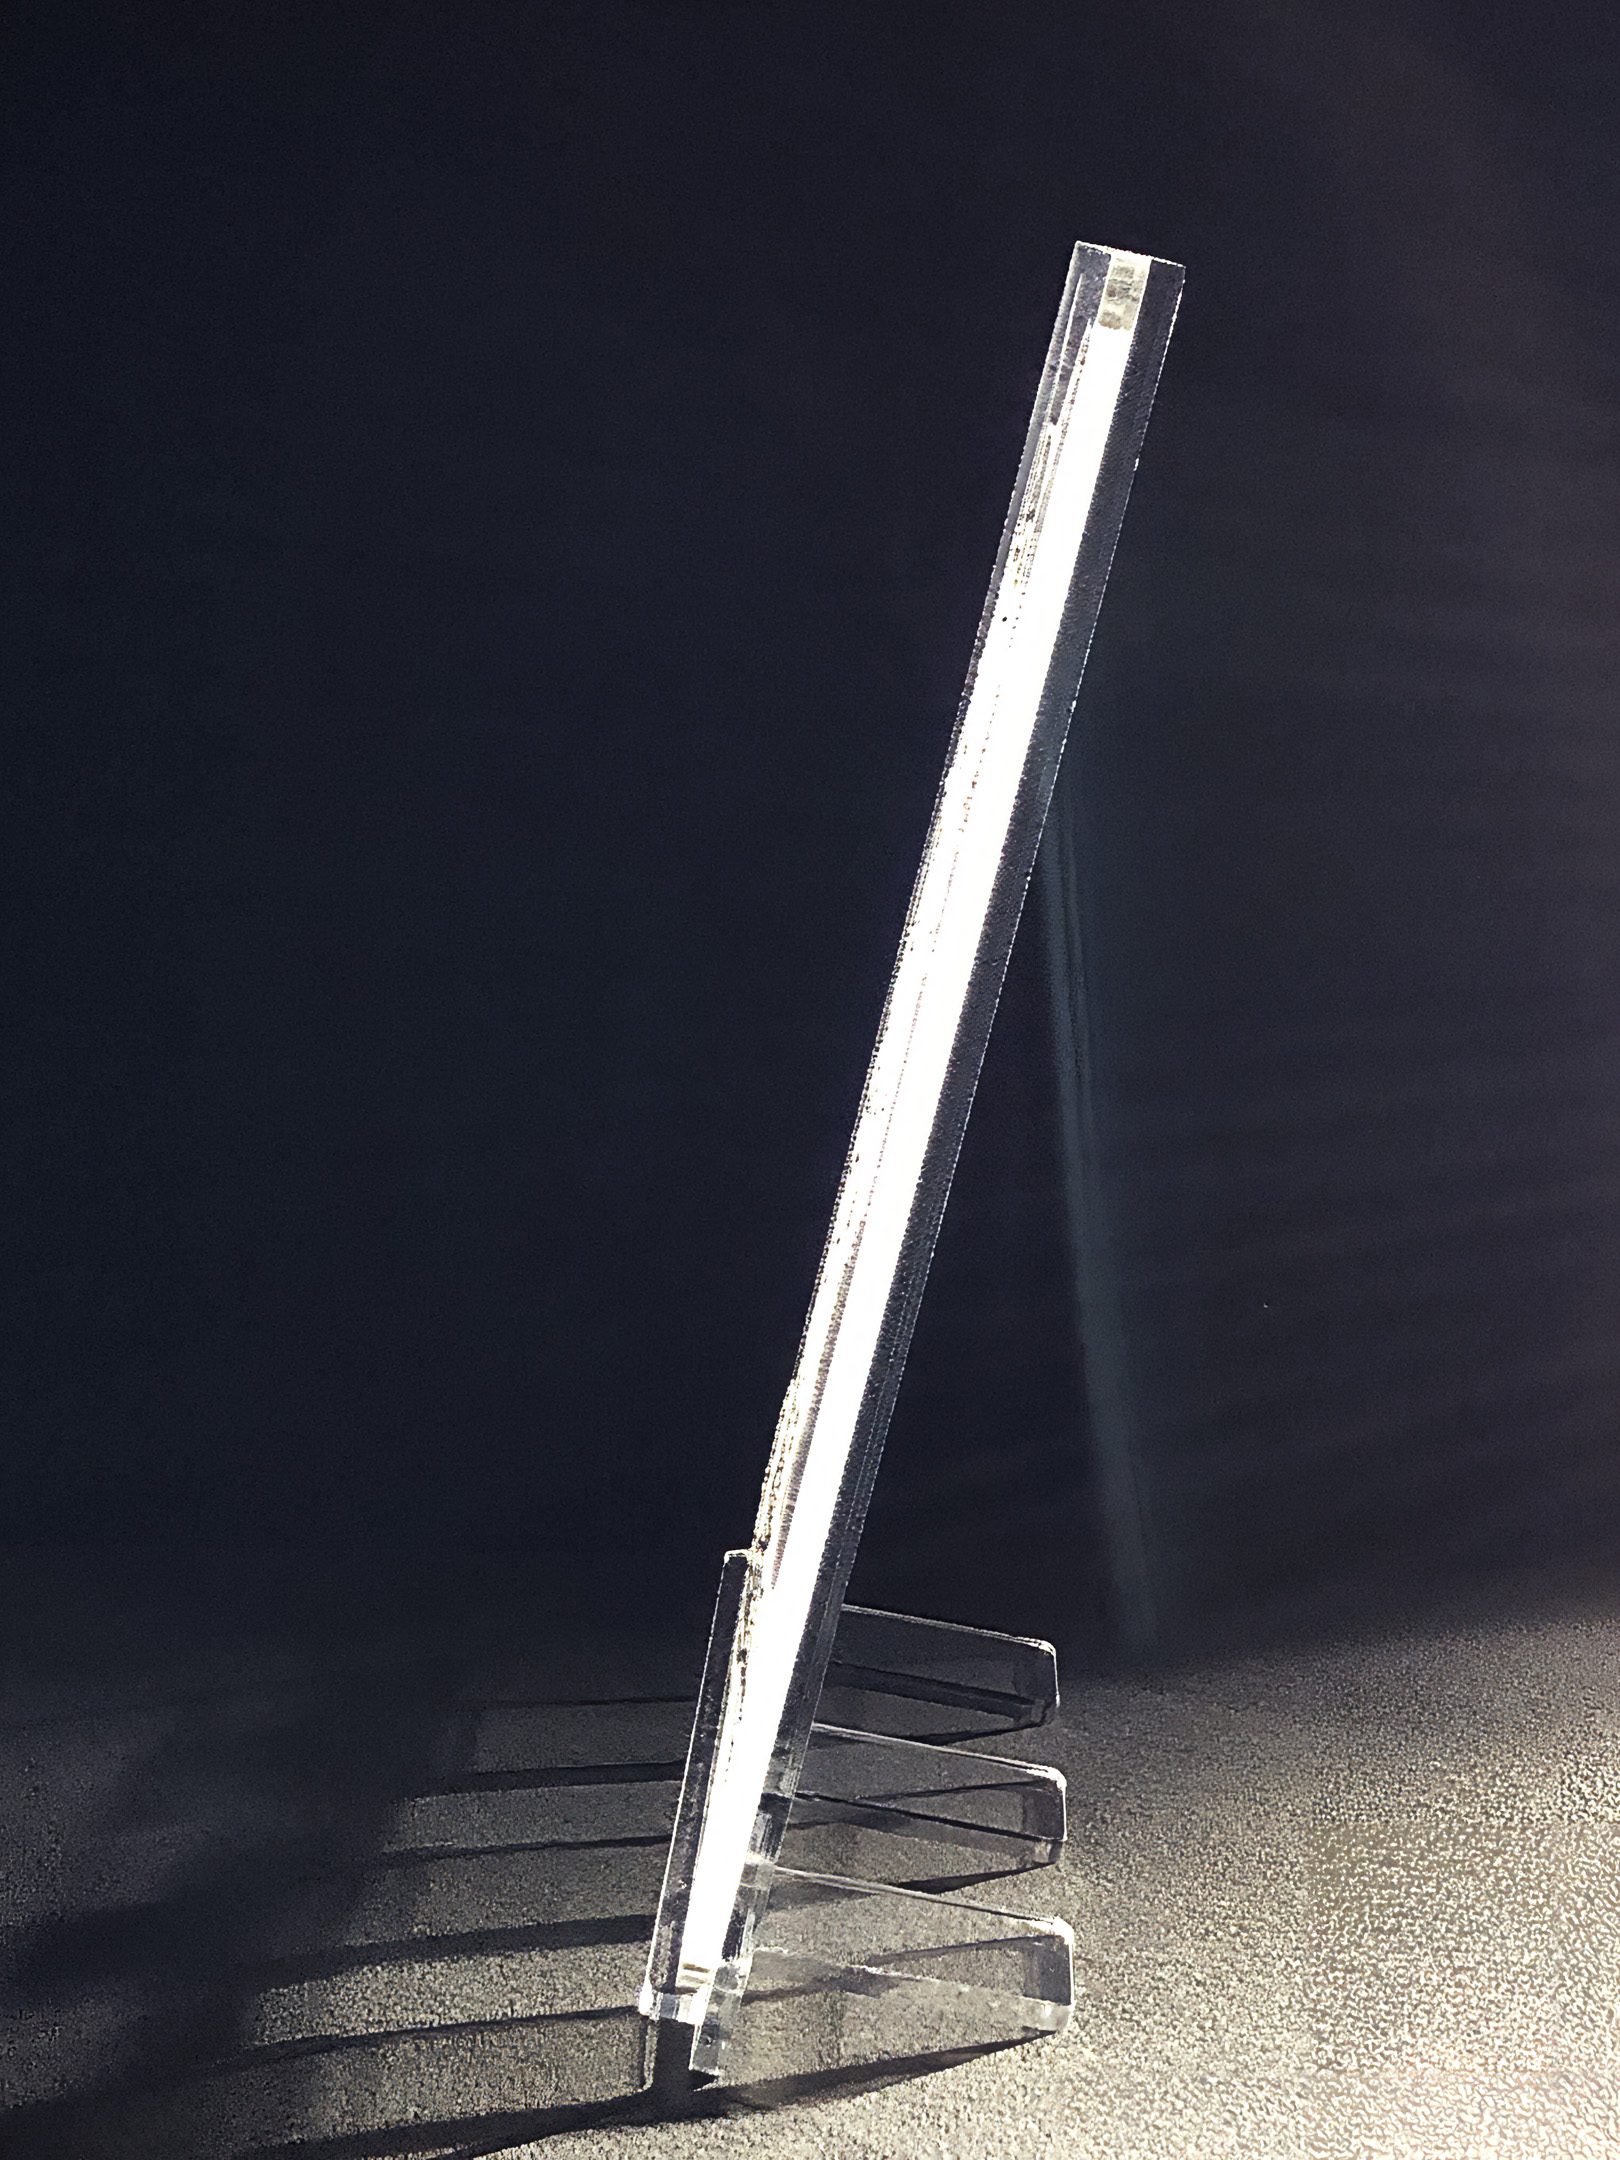
This imaginary landscape faux stained-glass artwork is my attempt to overcome some of the limitations of conventional stained-glass techniques. It’s hand drawn and hand painted (using transparent resinous glass paints) on a 10mm thick clear 850mm x 600mm acrylic base. The faux leading (aka “cames” – the “H”-shaped strips of lead holding the glass pieces together) (of different widths) is my devising: its hand-drawn, laser cut, black composite – glued to the acrylic base. The coloured glass effect is achieved with transparent resinous glass paint lasgely poured into each cell – an effect very much like cloisonné stained-glass.
I’m lucky to be a completely free artist – unaffiliated to any art movement, genre, or medium; and not tied to any particular materials, methods or techniques. My main interest is expressing my creativity and achieving my designs to the best of my ability – using any material/s or techniques I can think of to help me achieve my goals. I like exploring new materials, tools, and technologies: you might call me a tech geek. I’m very interested in pushing art forward – as opposed to continuing centuries-old traditions and techniques. In every historical medium I can think of, past masters in those mediums cannot be matched – let alone surpassed – and I think it’s pointless to try. All artists can do what they like, but I am keen on creating new things. I’m very interested in trying new materials and tools that give new and/or greater creative possibilities. While I like the look of stained-glass, I find that the centuries-old tradition of cutting glass and fusing pieces side-by-side with lead – is too restrictive, time-consuming, and cumbersome. Through my own research and tests I realised it’s possible to create the same look, but more easily and in much greater detail.
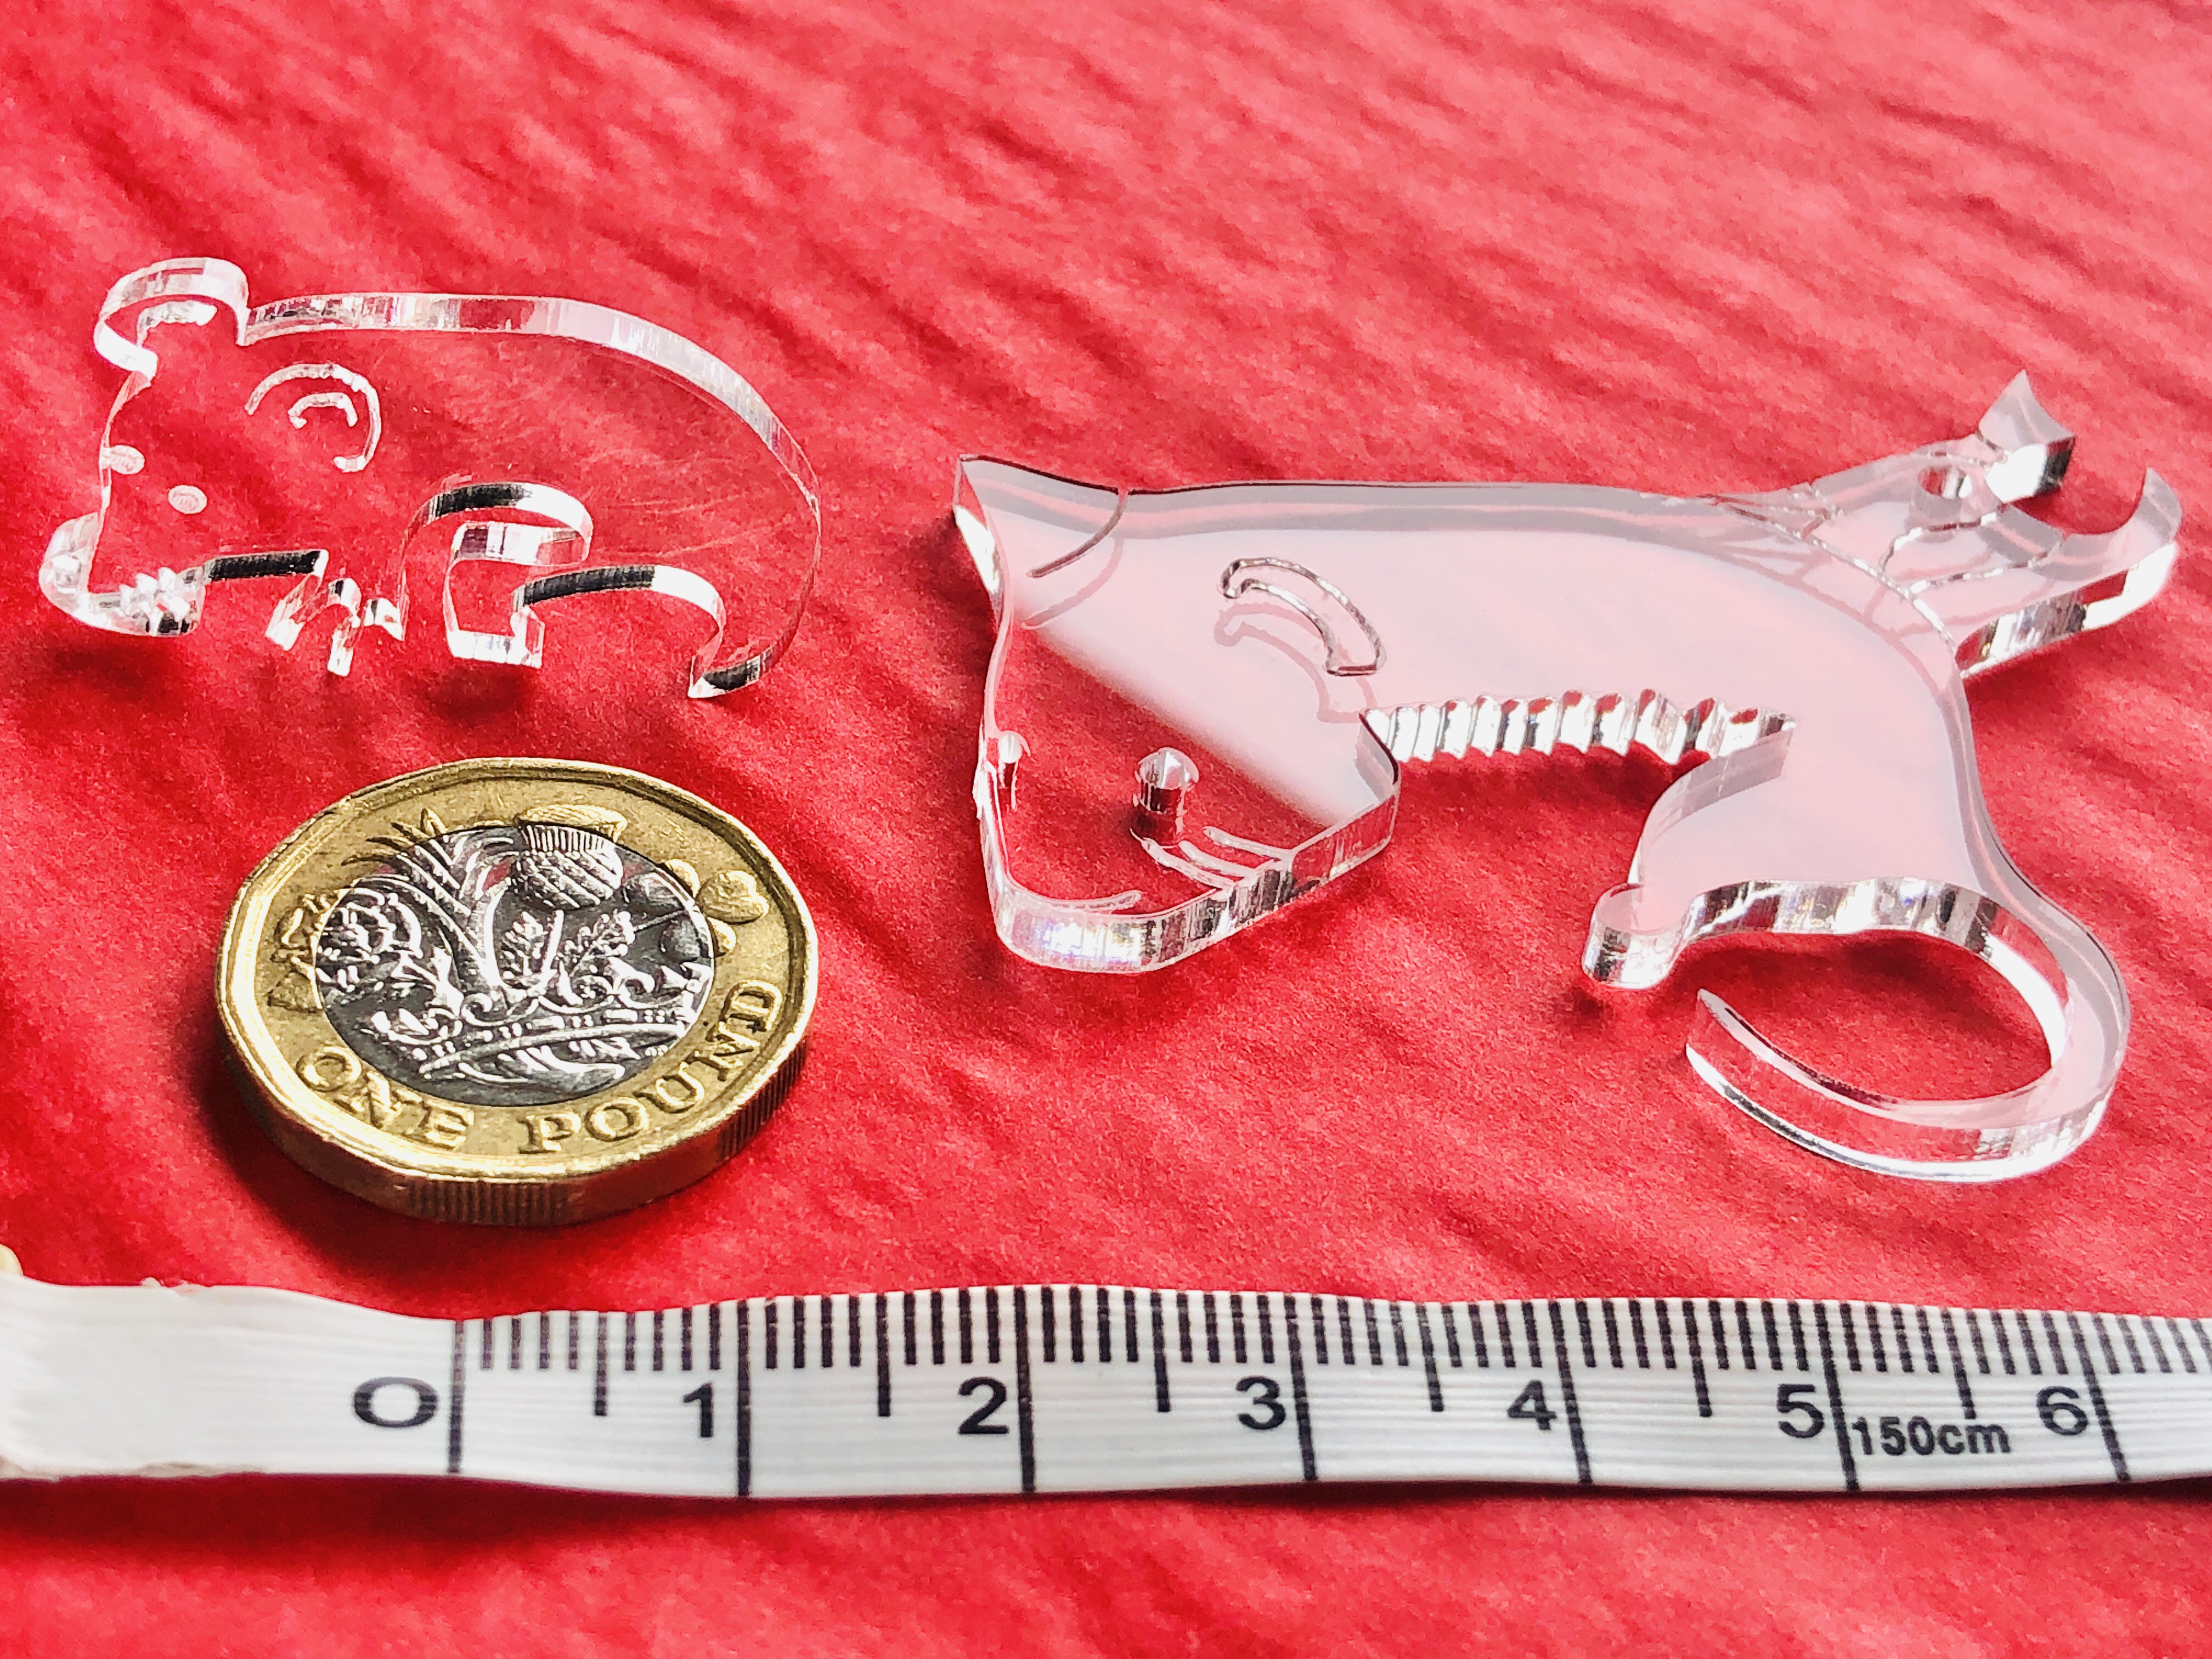
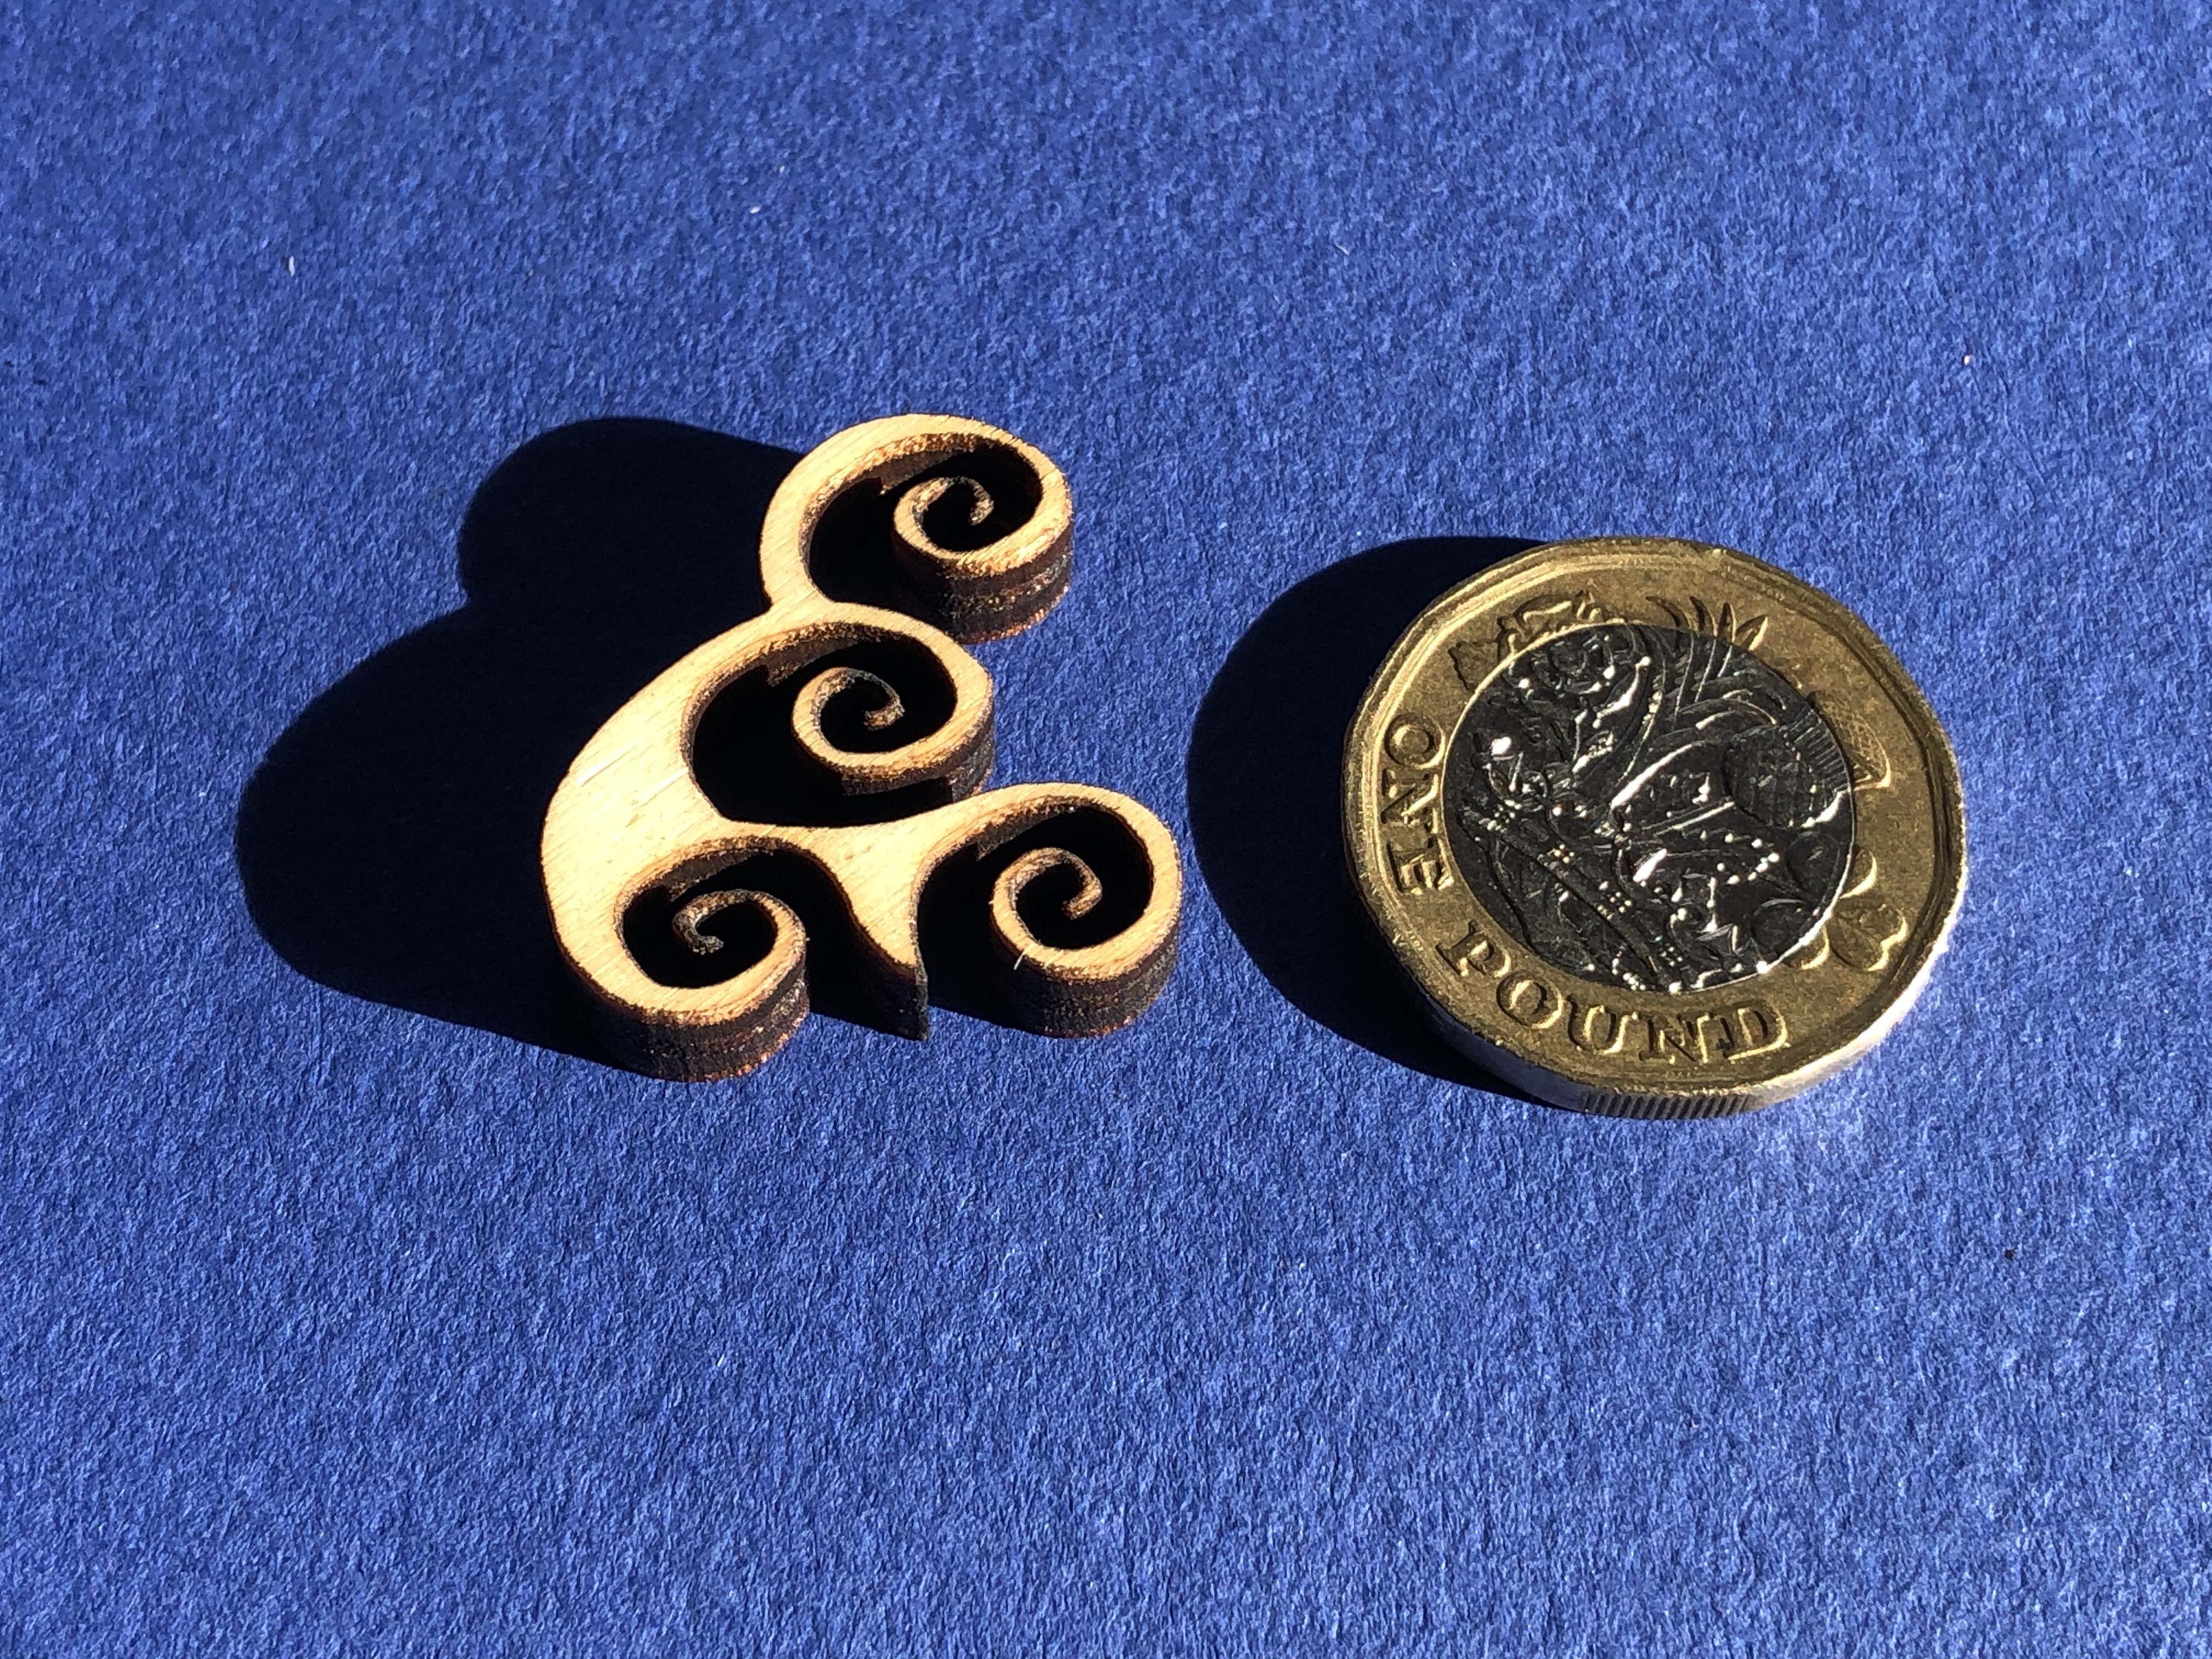
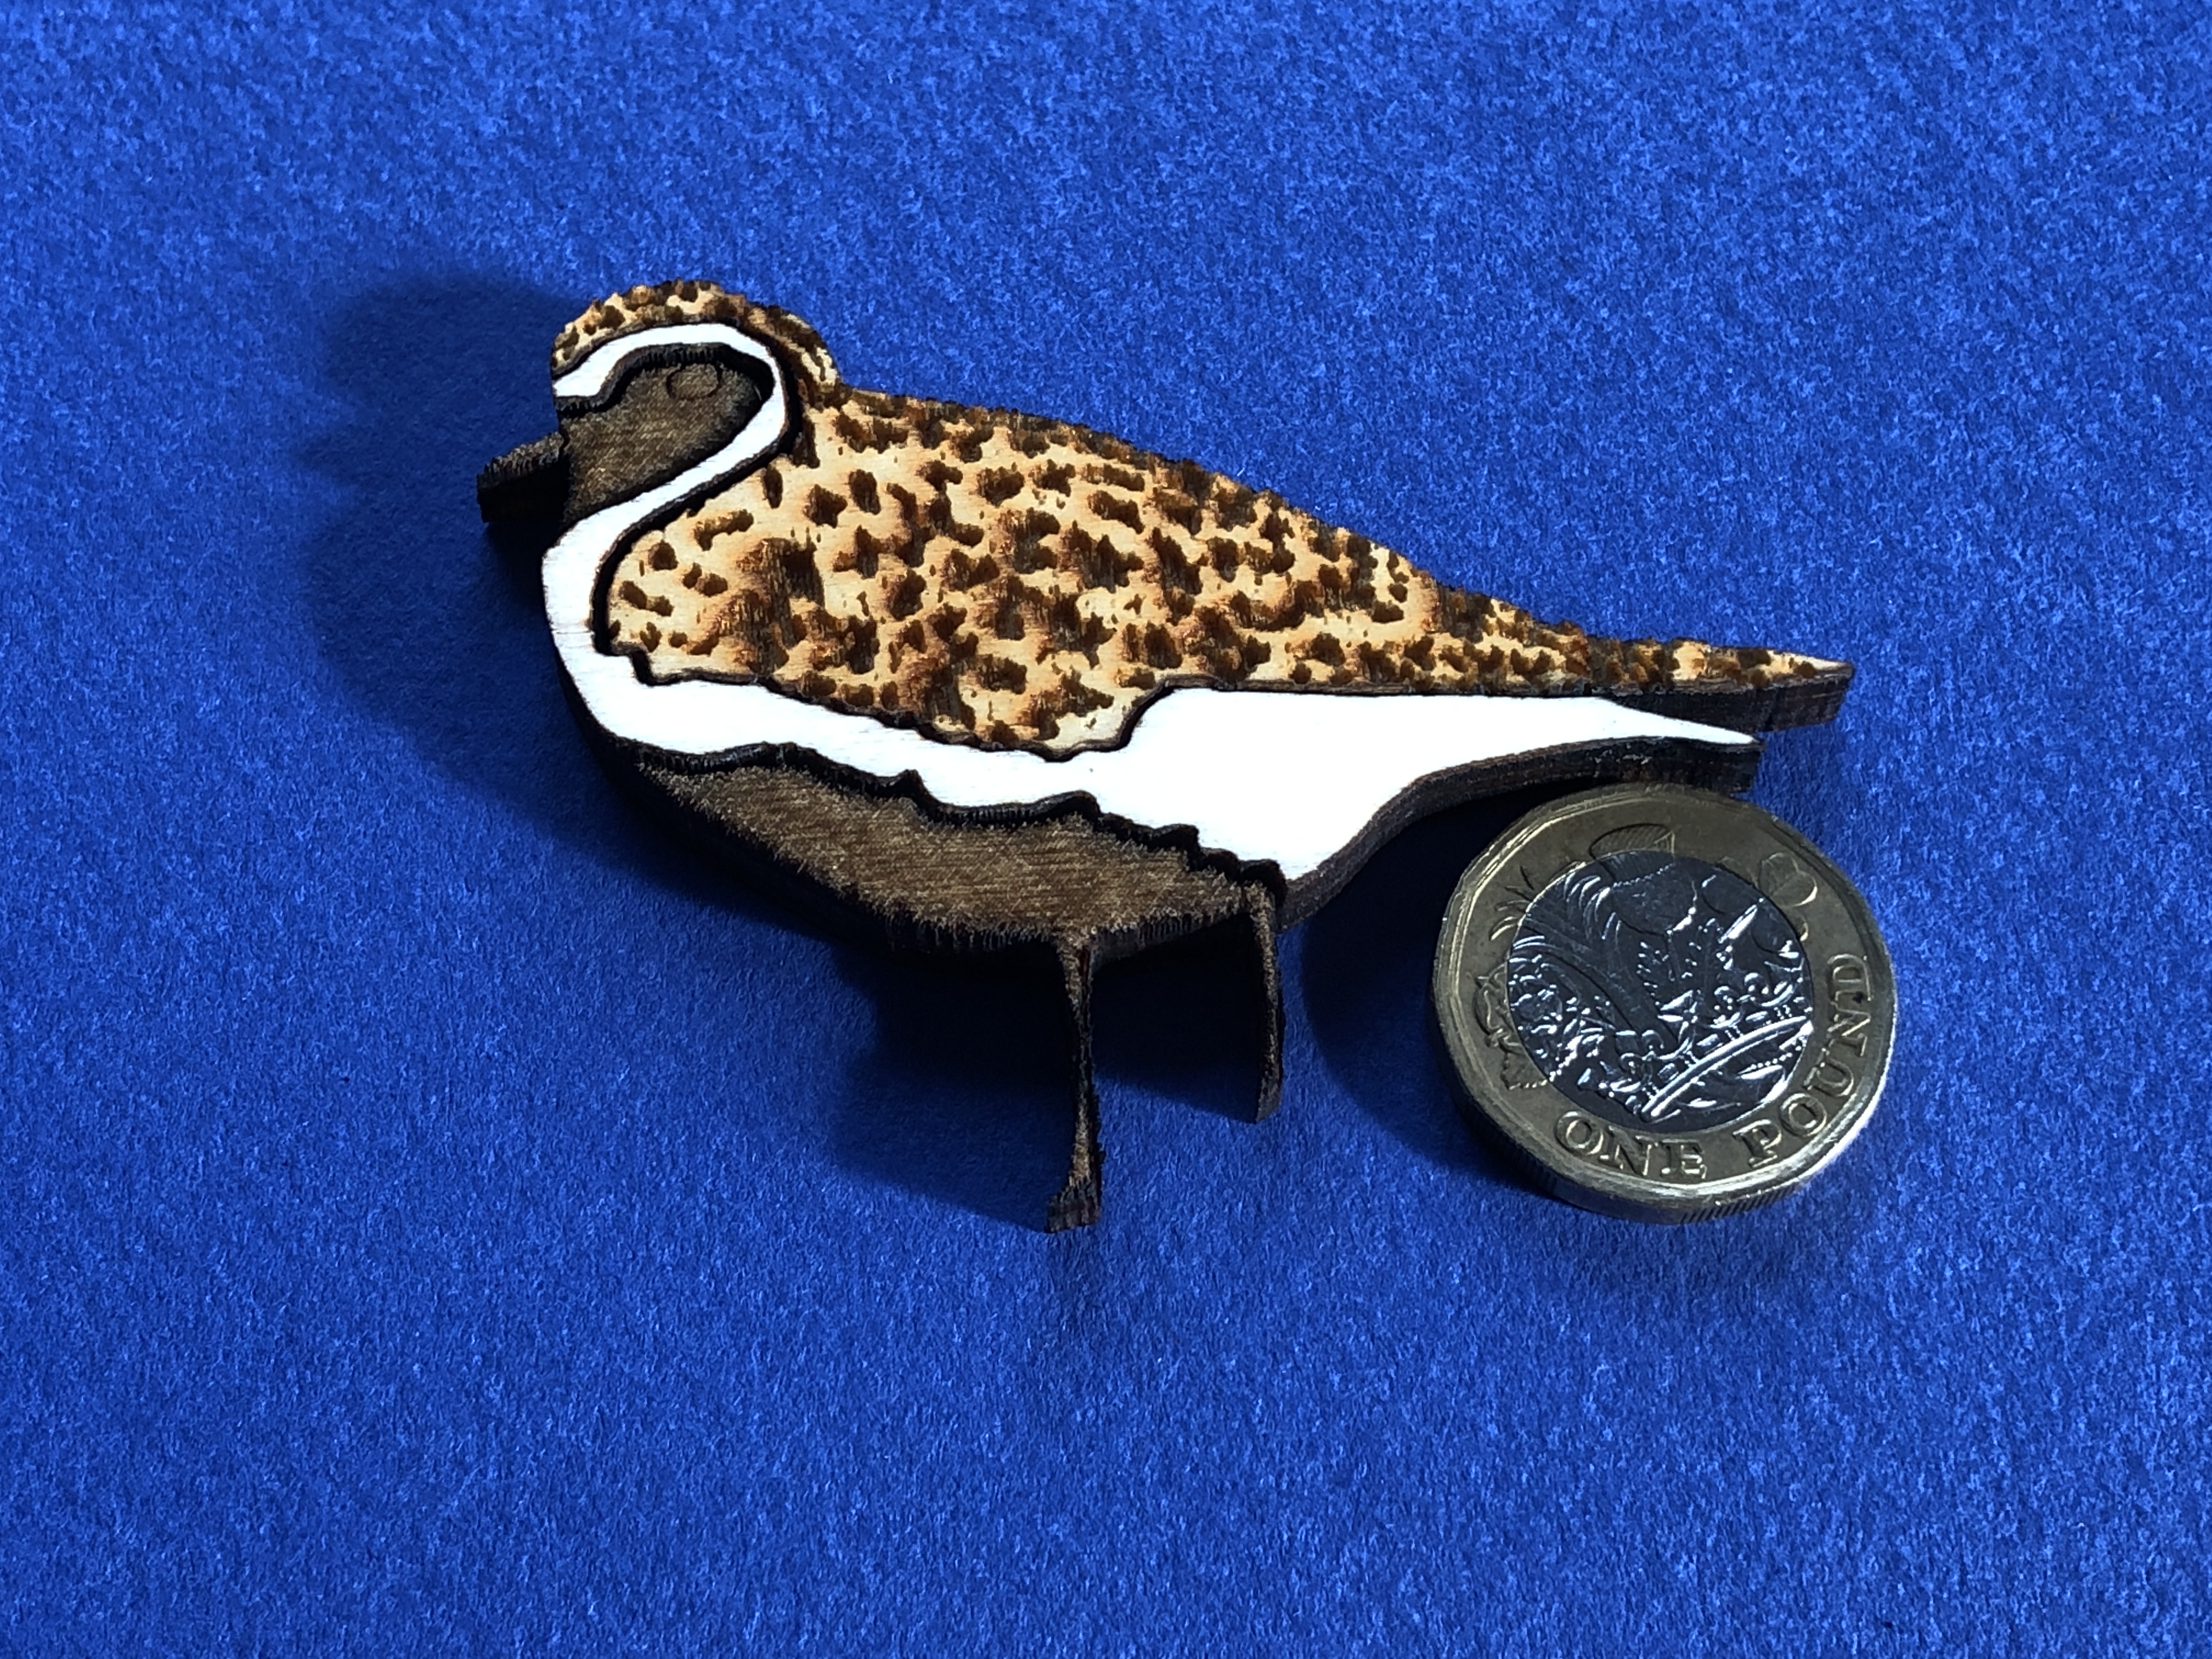
In this artwork I have simulated the opaque dark lead cames look of stained-glass using laser cut black plastic composite. I developed this idea through research and testing, and my design fully exploits the much greater detail possible. My most intricate laser can cut thin material and can readily cut 1mm latticework. The thinnest commercially available lead cames I can find are between 3.5mm and 5mm… The majority of the faux cames in this artword are 1mm, the widest is 8mm. This means not only that far greater detail in the design are achievable, but also more light can come through the window…
Lead cames have the function of binding pieces of transparent glass side by side. But I am using coloured transparent resinous glass paint – so I don’t need to bind pieces of glass together. Cames also have an aesthetic that I like that highlights shapes and colours. I use different widths giving me greater artistic freedom than with conventional cames.
Finally, the whole piece is covered in a thin layer of clear resin to seal everything and provide extra protection. So the actual stained-glass piece is a thin layer sandwiched between a sheet of clear cast acrylic and a clear resin topcoat. The base, or rear, acrylic sheet also acts as natural UV protection – filtering out up to 99% UV radiation. And, since this is the side facing the sun/daylight, means it is in the best position to protect the sandwiched coloured layer…
This is just the beginning of me trying this new technique…
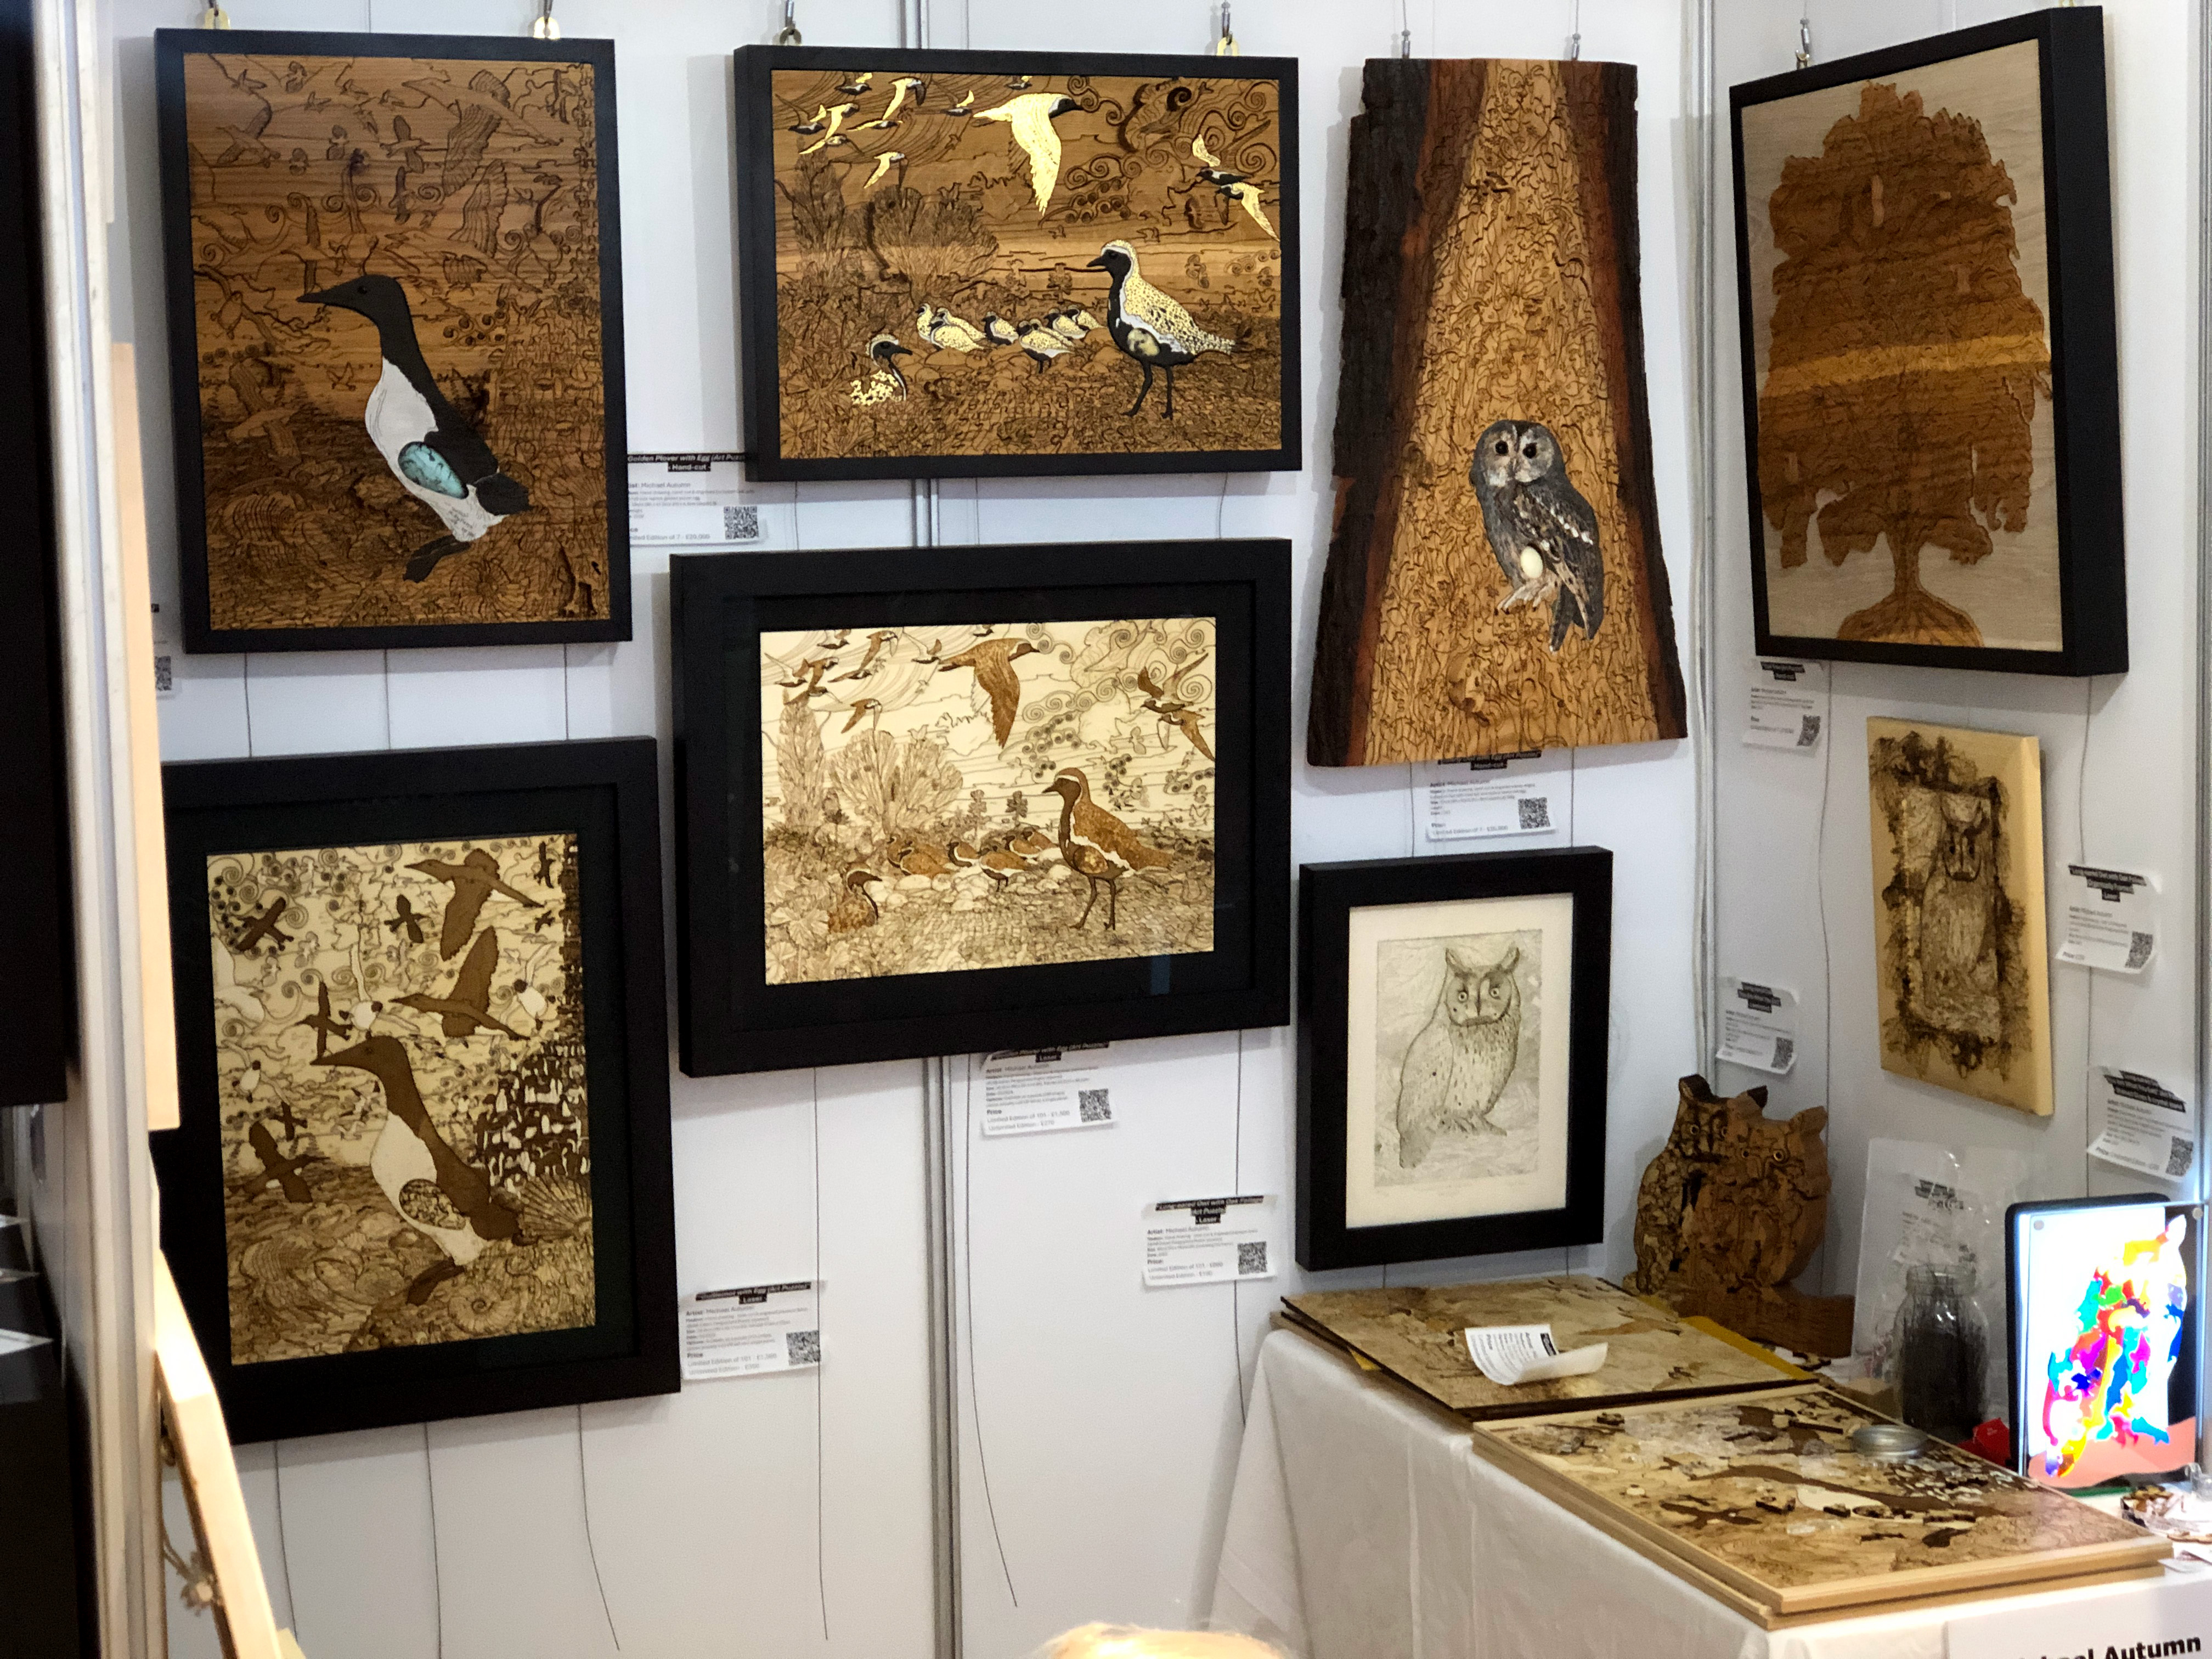
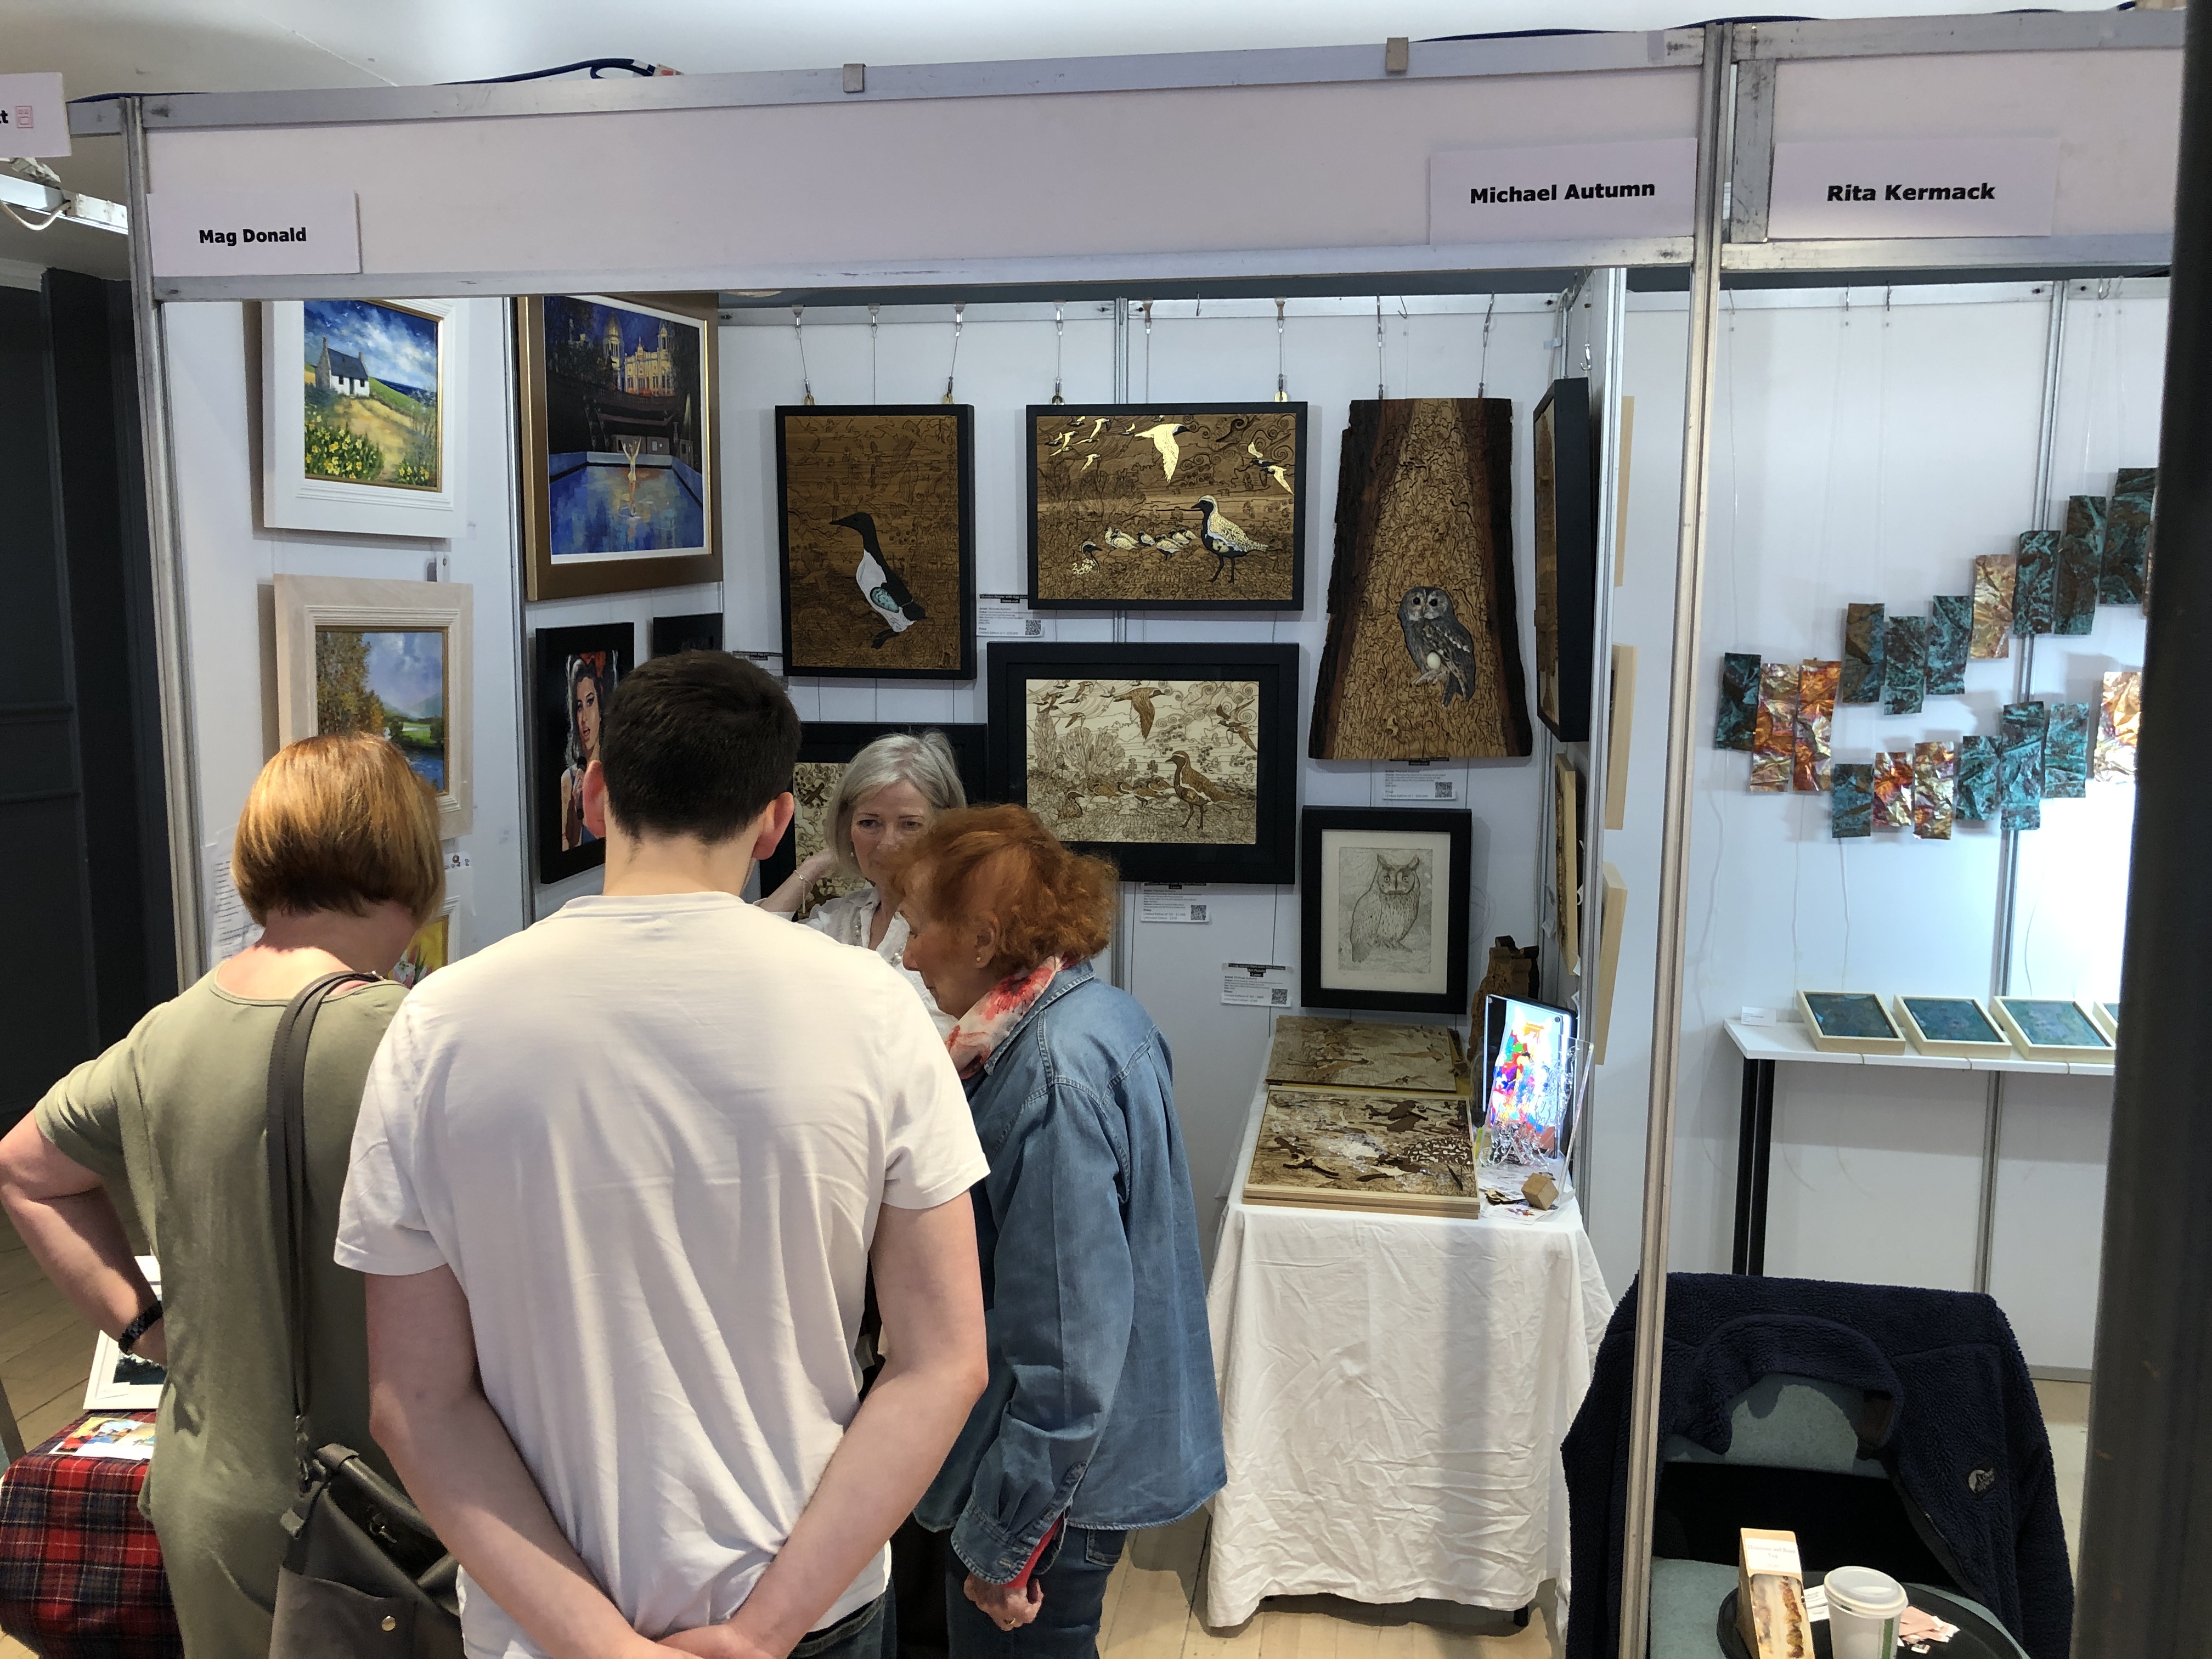
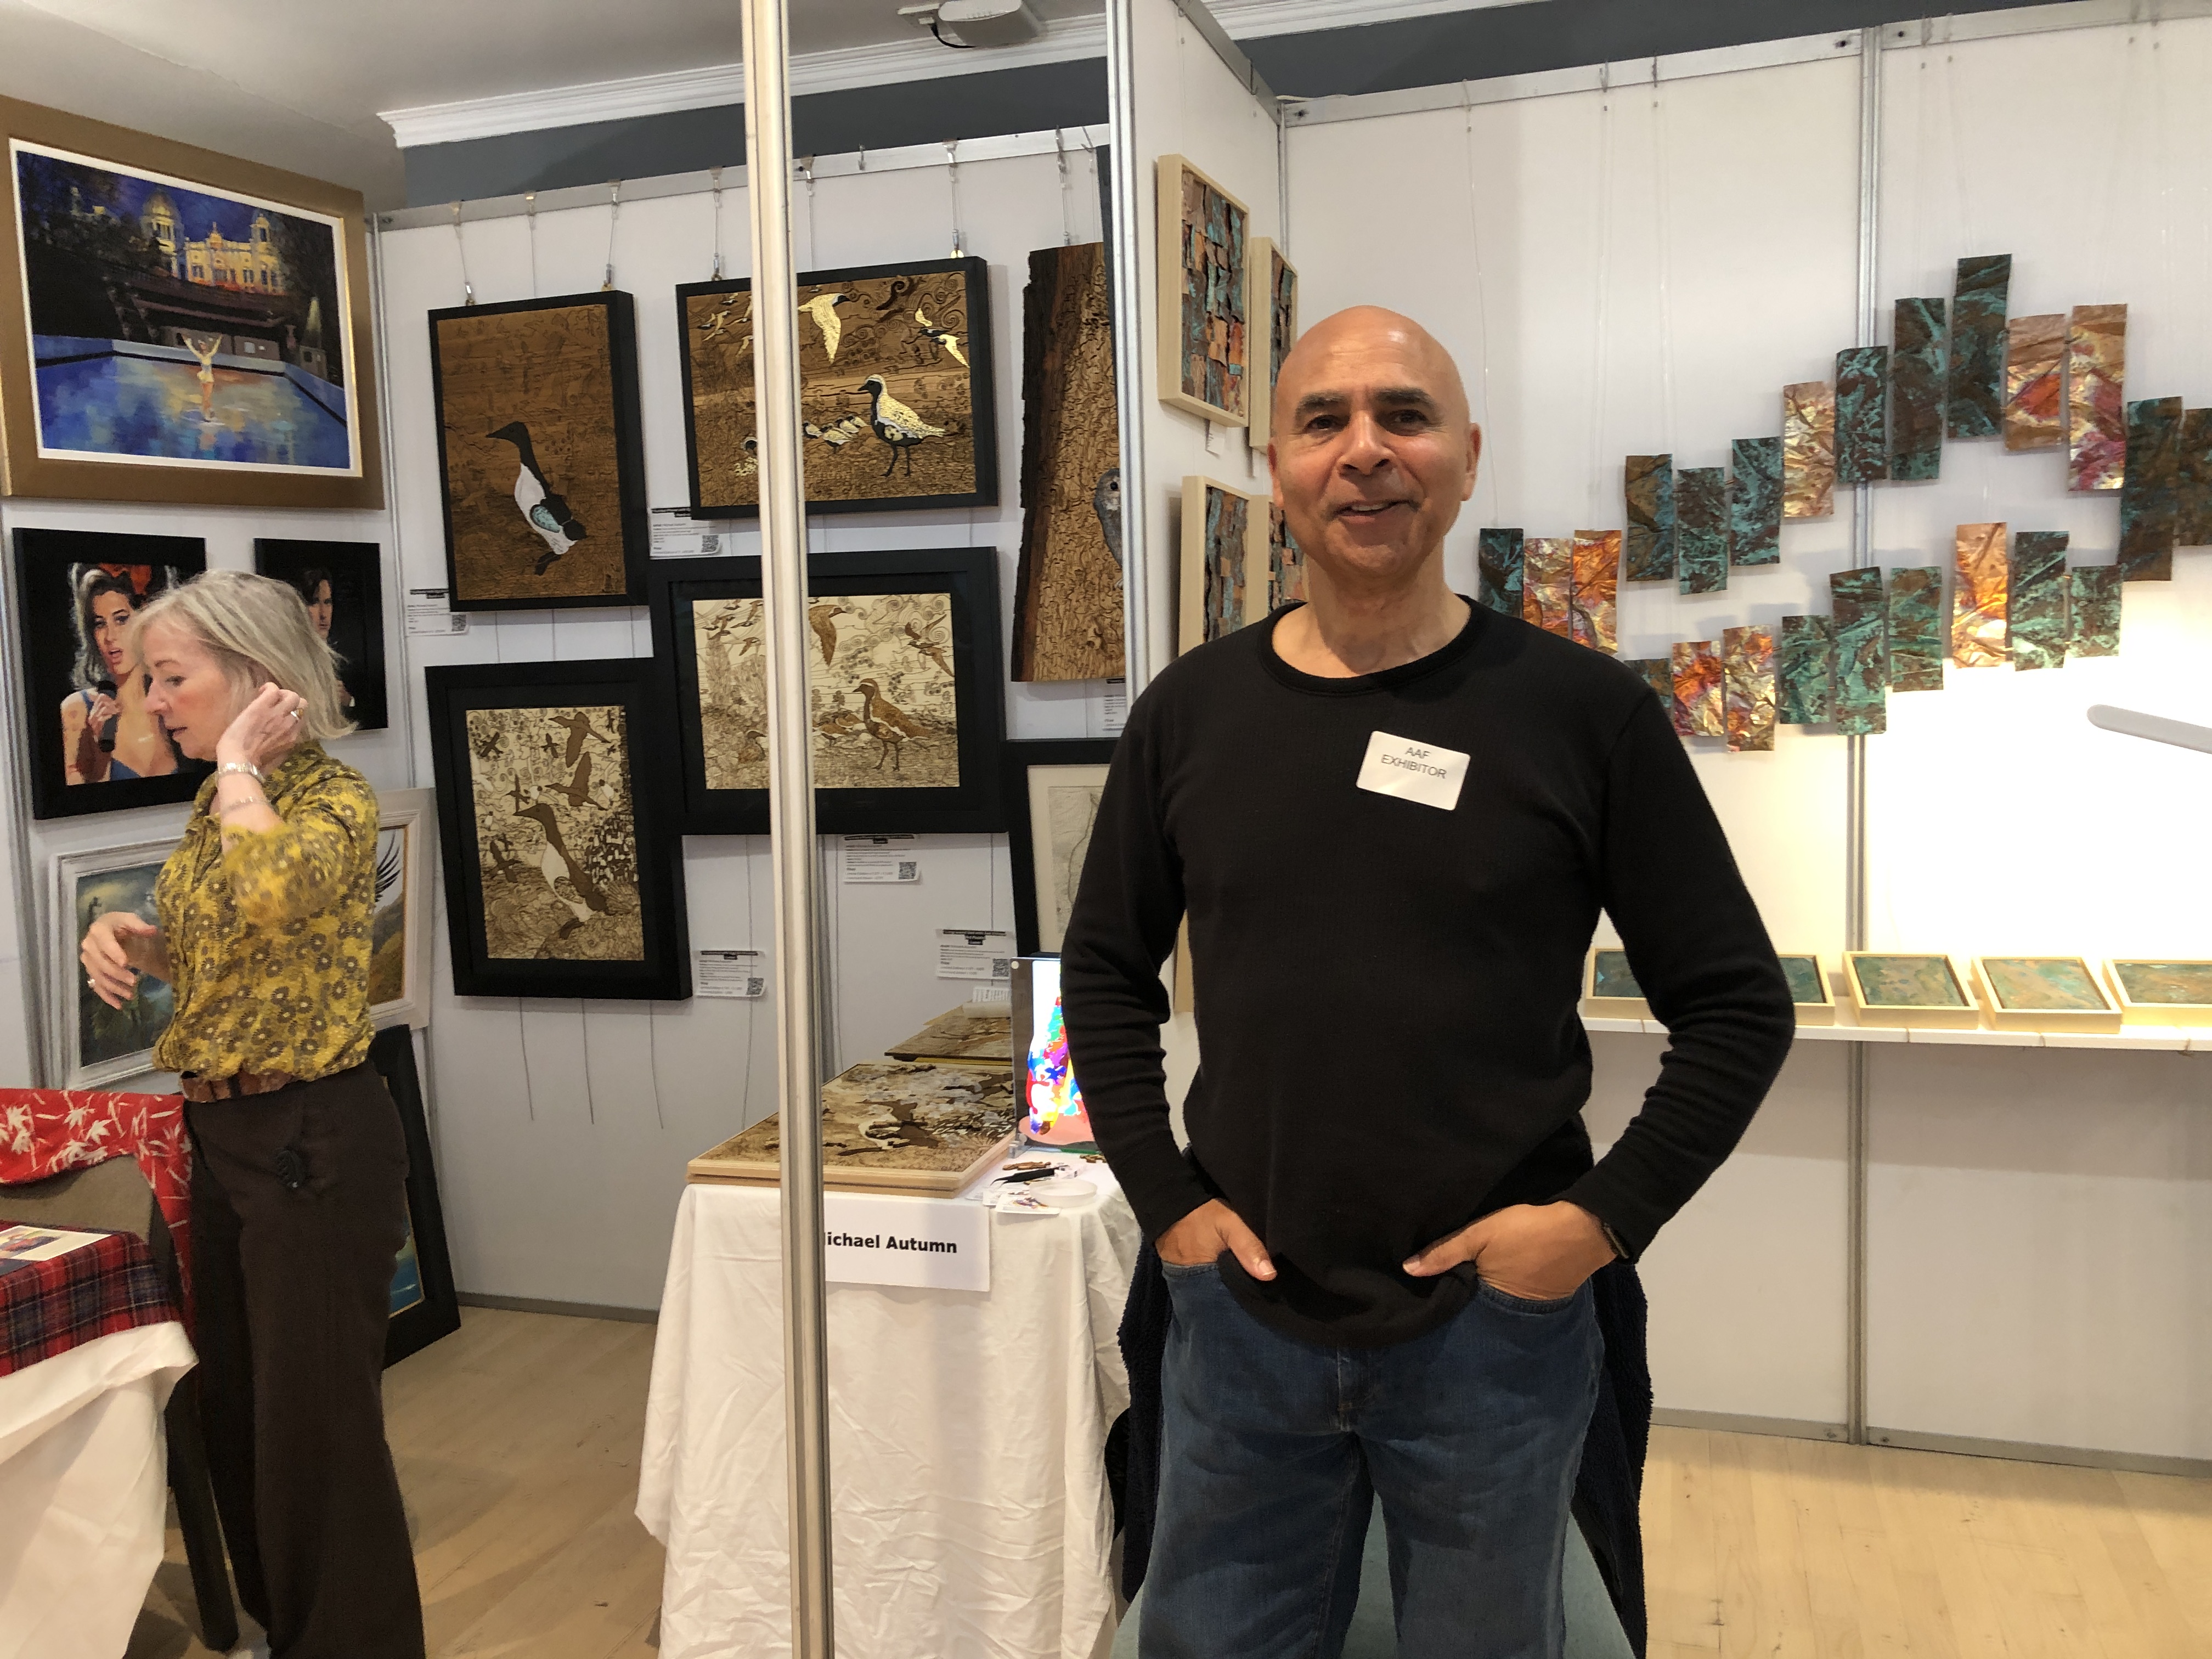
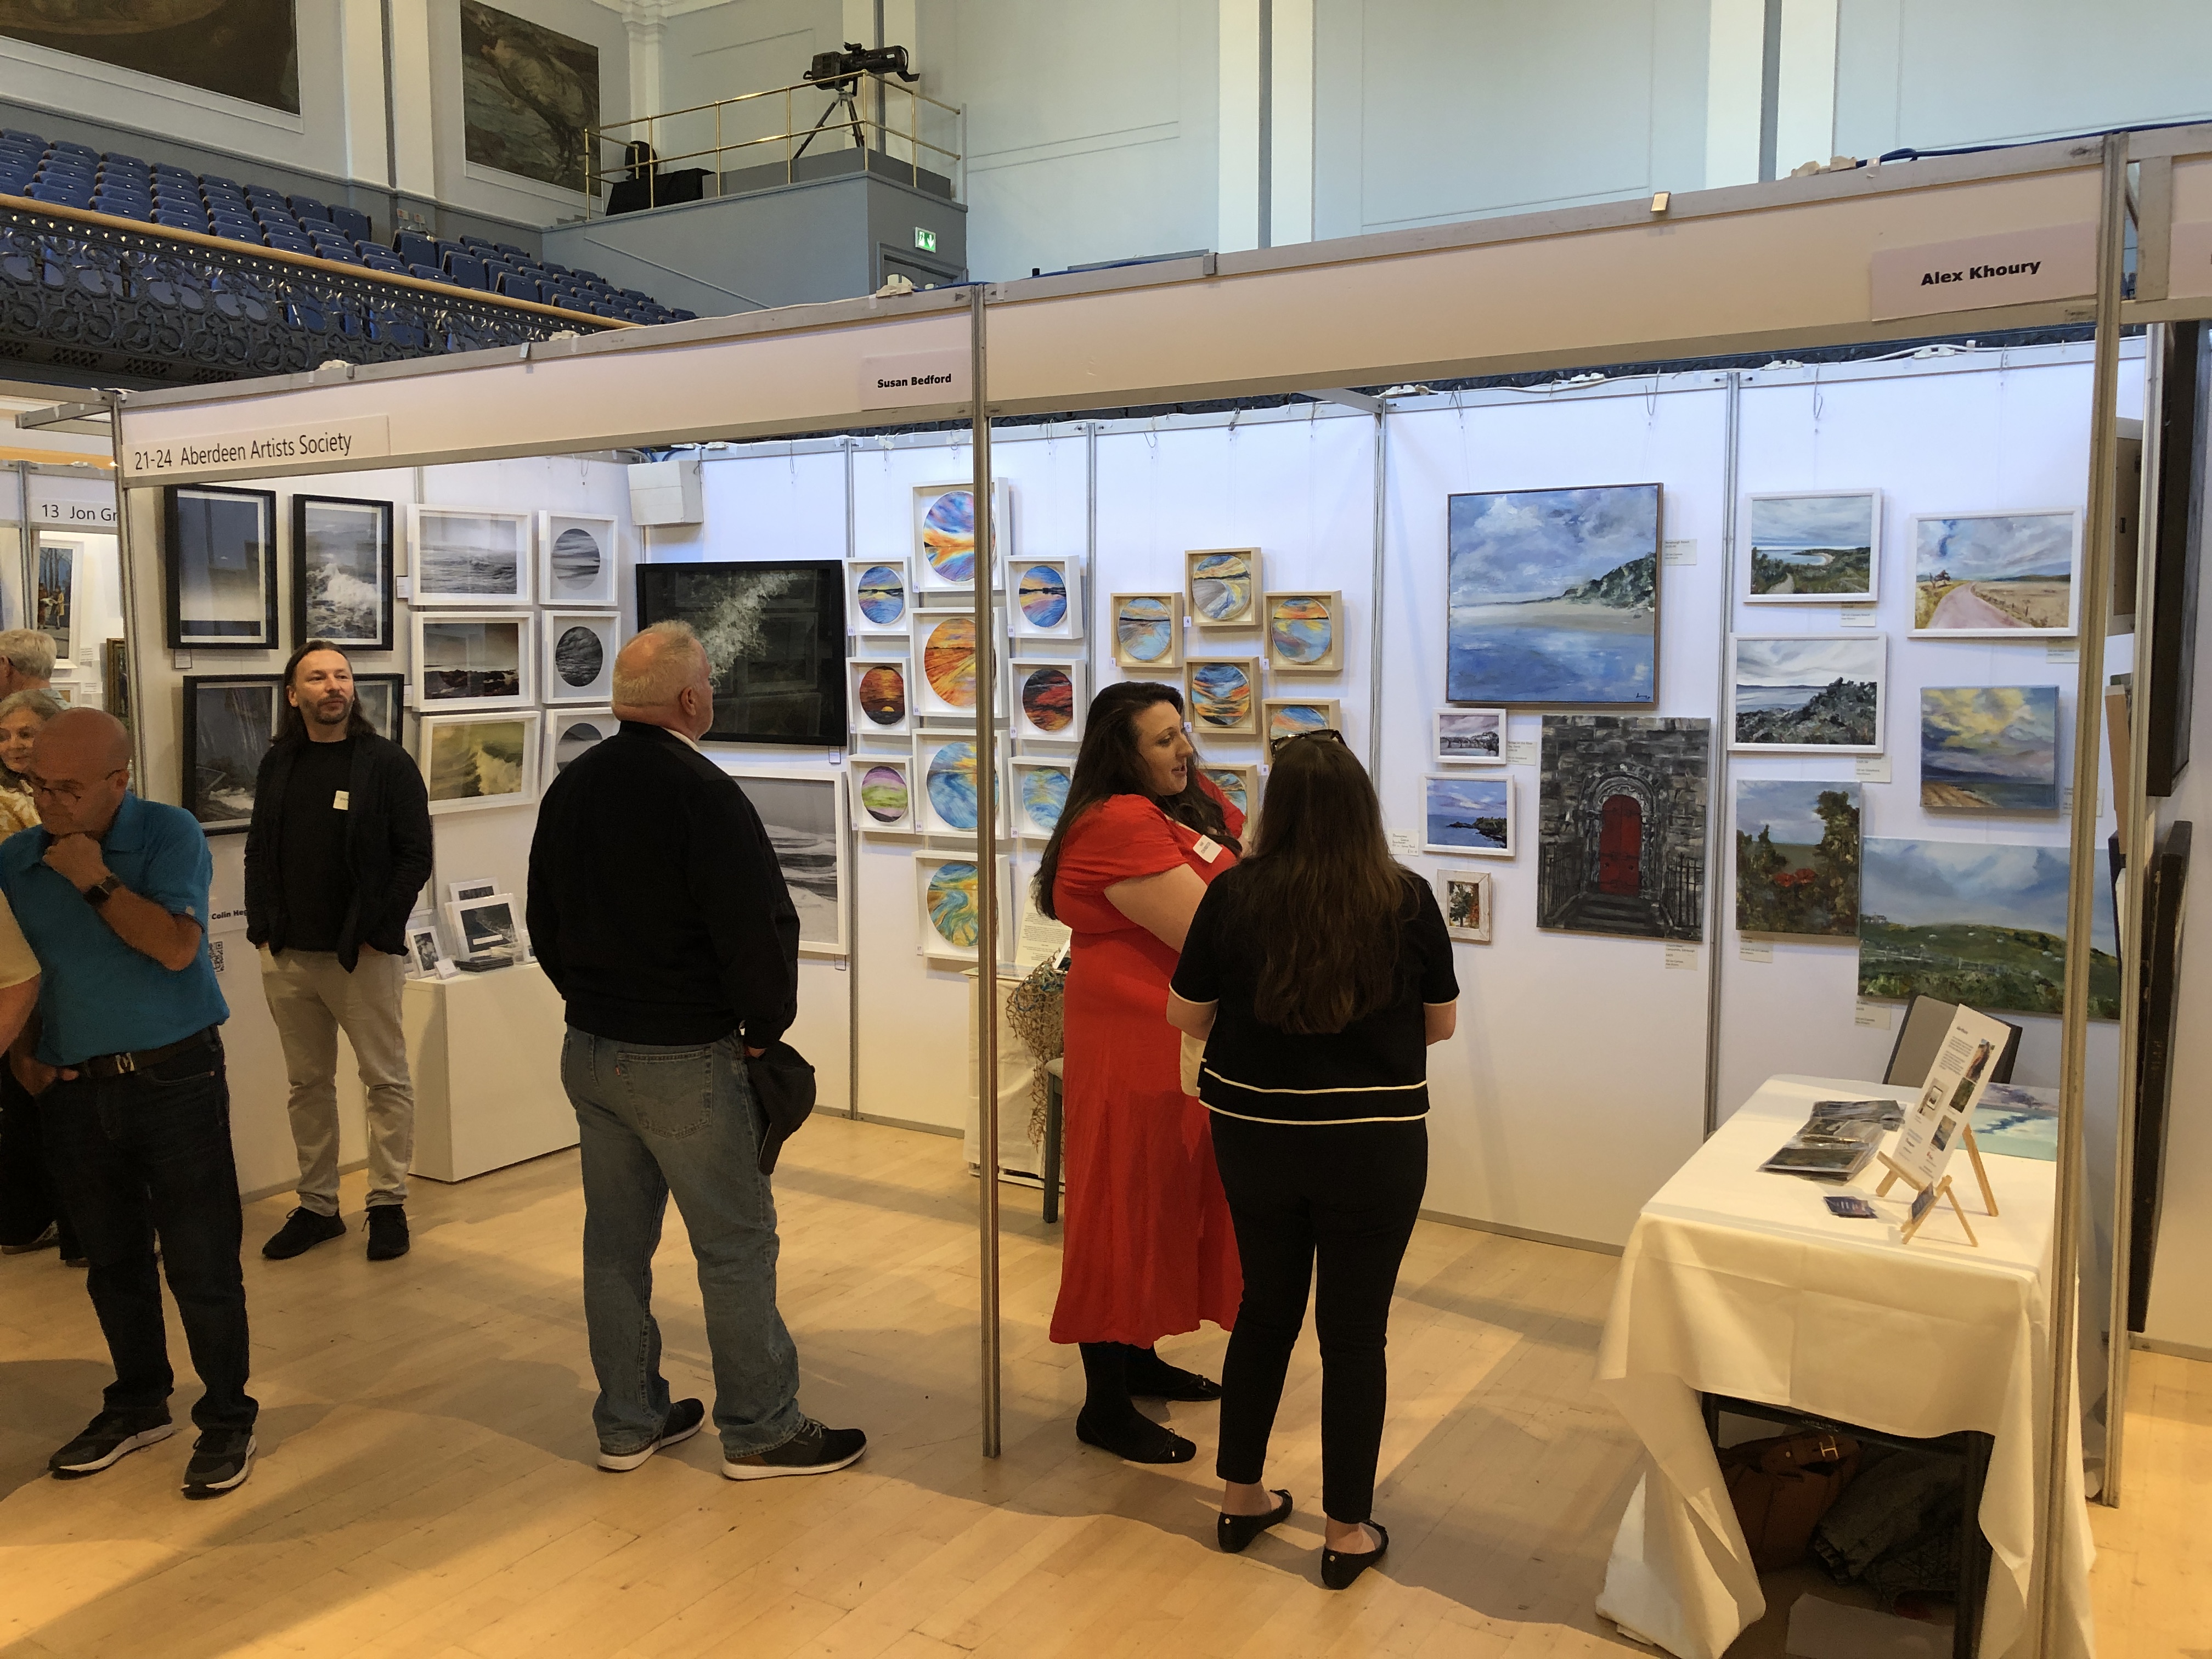
Being new to the area, on 11th August I joined the Aberdeen Artists Society (AAS). Several days later while looking for art fairs in Scotland to try to exhibit at, I discovered that there was an annual art fair in Aberdeen between 30th August and 1st September. However, the deadline for applications was in March(!), and all places were obviously taken. I was naturally disappointed that I was so late to the scene.
Since there was a block-booking by AAS for a number of the available stands at the fair, I thought I would just message them in the very remote chance that there was a cancellation. The following week, Sunday, I woke up to discover an email back from AAS admin that there had been a cancellation – and anyone interested in taking it should reply. I couldn’t believe my luck and responded immediately – and asked for further details. At this point in time, I didn’t know I would get it – but was excited to be at least in with a chance… Later in the day I learned I could have it – a 3-metre stand (@2.4m high) and snapped it up. I had less than two weeks to prepare what I was going take. I have some number-ones of limited-edition artworks – which I like to keep for myself – and so I set about making additional copies of them (with frames). And I researched and bought a portable LED light panel to illuminate my “Long-eared Owl (Art Puzzle) – (You Are What You Eat) – Stained Glass”. This worked really well at the exhibition – and help draw people to my stand (when it wasn’t completely blocked).
It was a very busy couple of weeks preparing for the exhibition, but I naturally wanted to make the most of this opportunity. I especially thought I should take all my hand-cut original thick solid oak art puzzles – that have never been seen in public before. These are large and heavy – too heavy for the provided hanging system – so I had to quickly source suitable ones of my own.
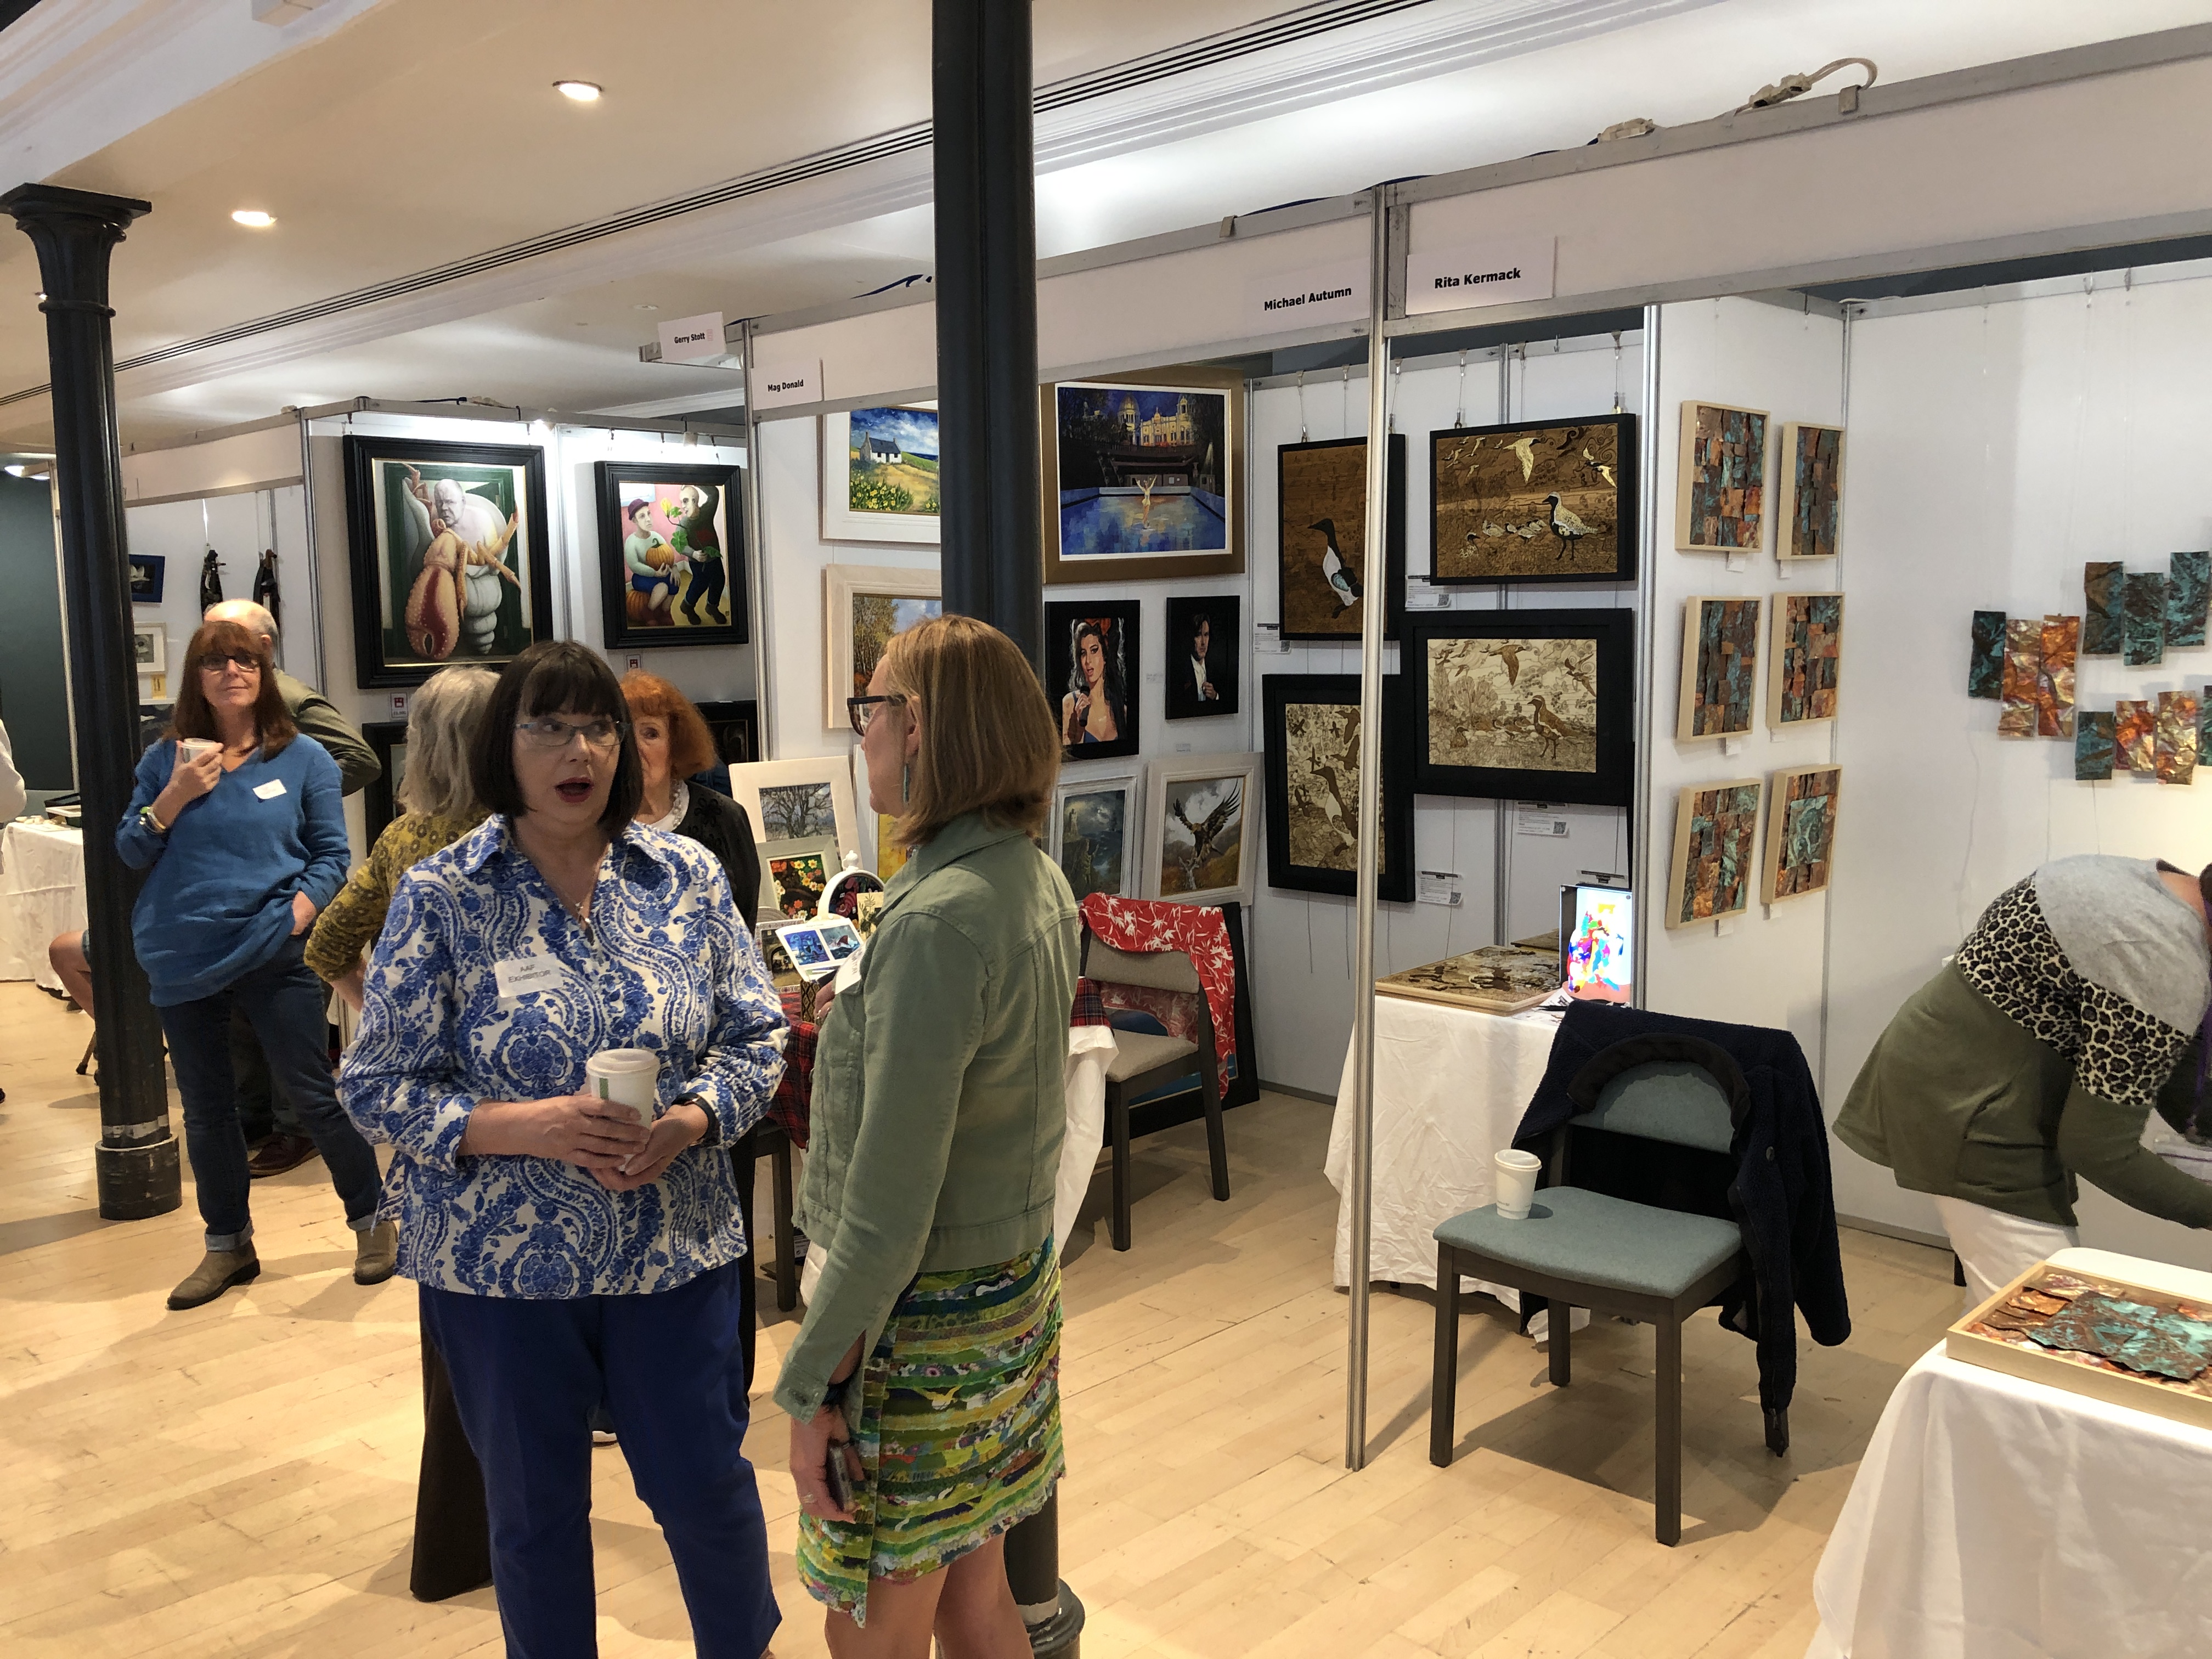
Friday afternoon of the 30th was the setting up time – with a private viewing scheduled between 6-9pm. I was a bit late in starting but managed to complete my stand just after 6pm – when the guests (and friends of exhibitors) starting to arrive…
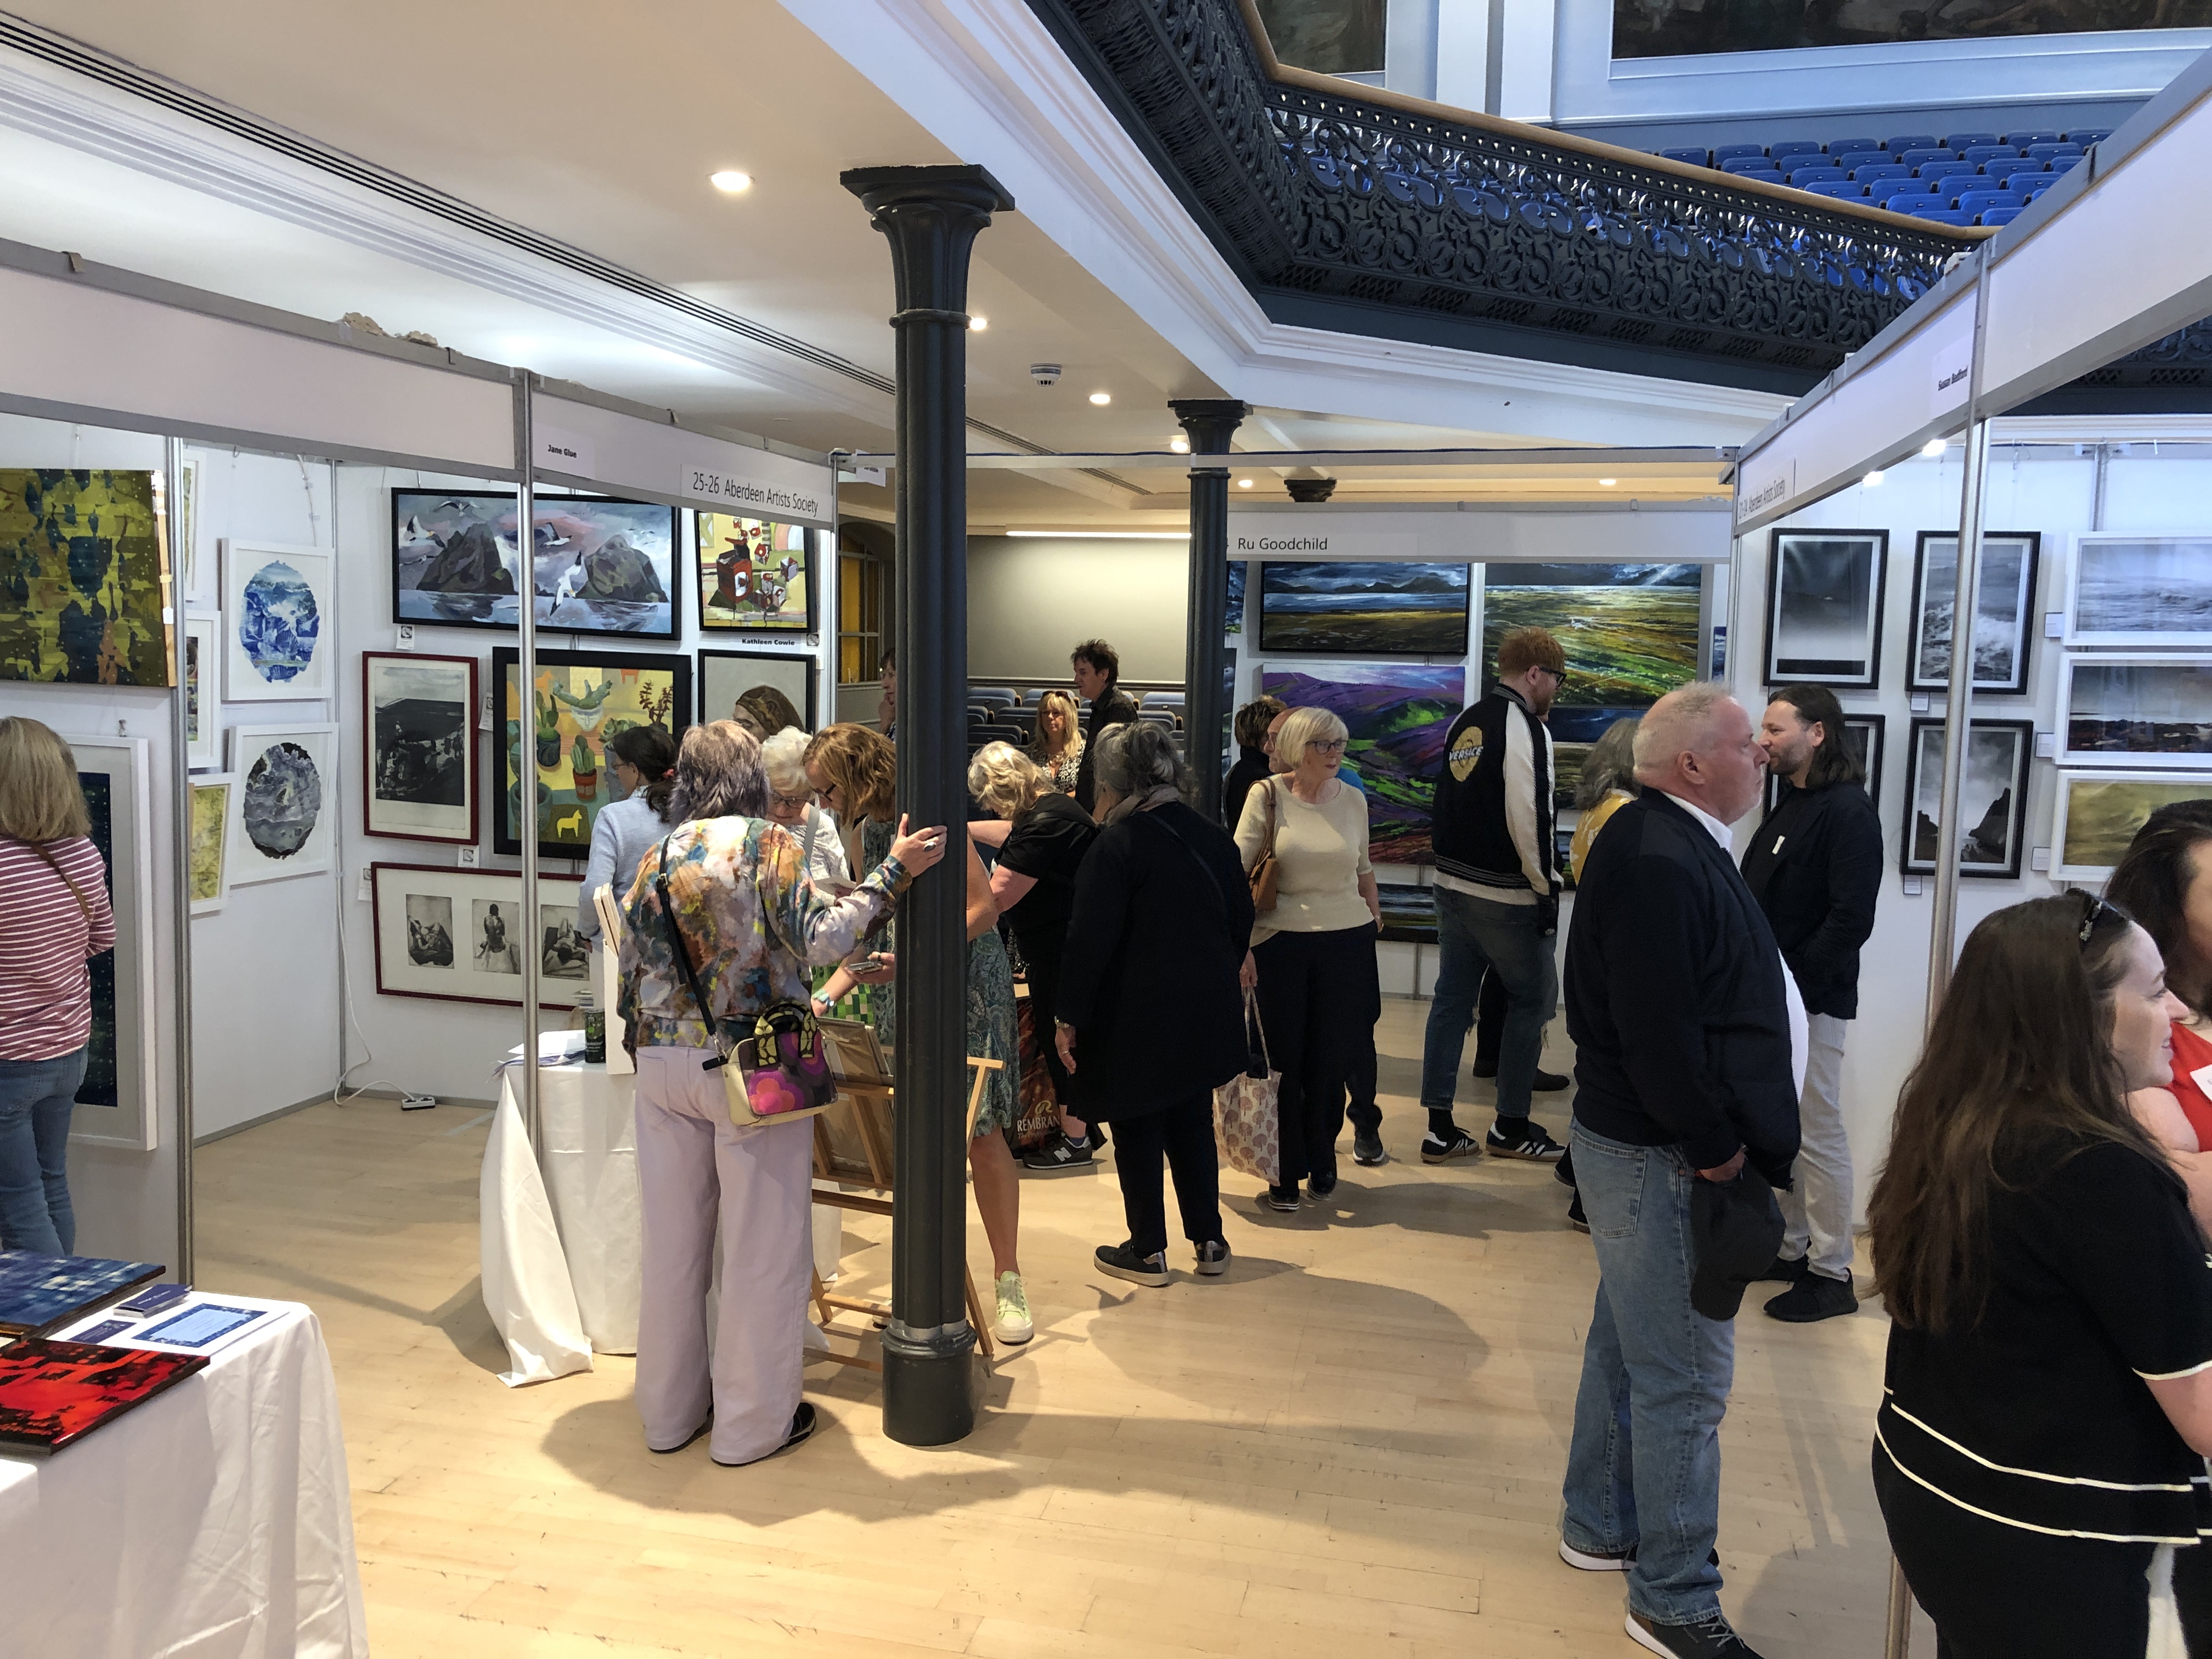
My L-shaped 3m space (2m + 1m) was adjacent to a 2m stand jutting out at a right angle – which made the space ridiculously tight – effectively walled on three sides. It made putting up and taking down the artworks difficult because we were in each other’s way. This, coupled with my neighbour having a table at the mouth of our pitches – and who seemed to know everyone – and they all stopped for a nice long chat – meant that my pod was practically completely blocked a lot of the time…
I sold some pieces – including one to a former art curator (who said quietly to me “…this is the best work here…”) – so that was very nice.
The genuine deep fascination of some people, very close inspection (by those who could get through!), and the very kind words – like “…these are absolutely incredible…”, “…it’s really made my day to come out and see your work…”, “…this is the best stand…”, “…this is my favourite stand…” – was incredibly, and indelibly, nice to hear – and extremely encouraging. I felt my artwork brought a little joy and thought-provocation to some of the people…
It was also really nice to share the experience with my fellow exhibiting artists, and to share stories of our journeys, trials, and tribulations. For so long I have worked in complete isolation of other artists – and so it was especially good to get feedback from my peers…
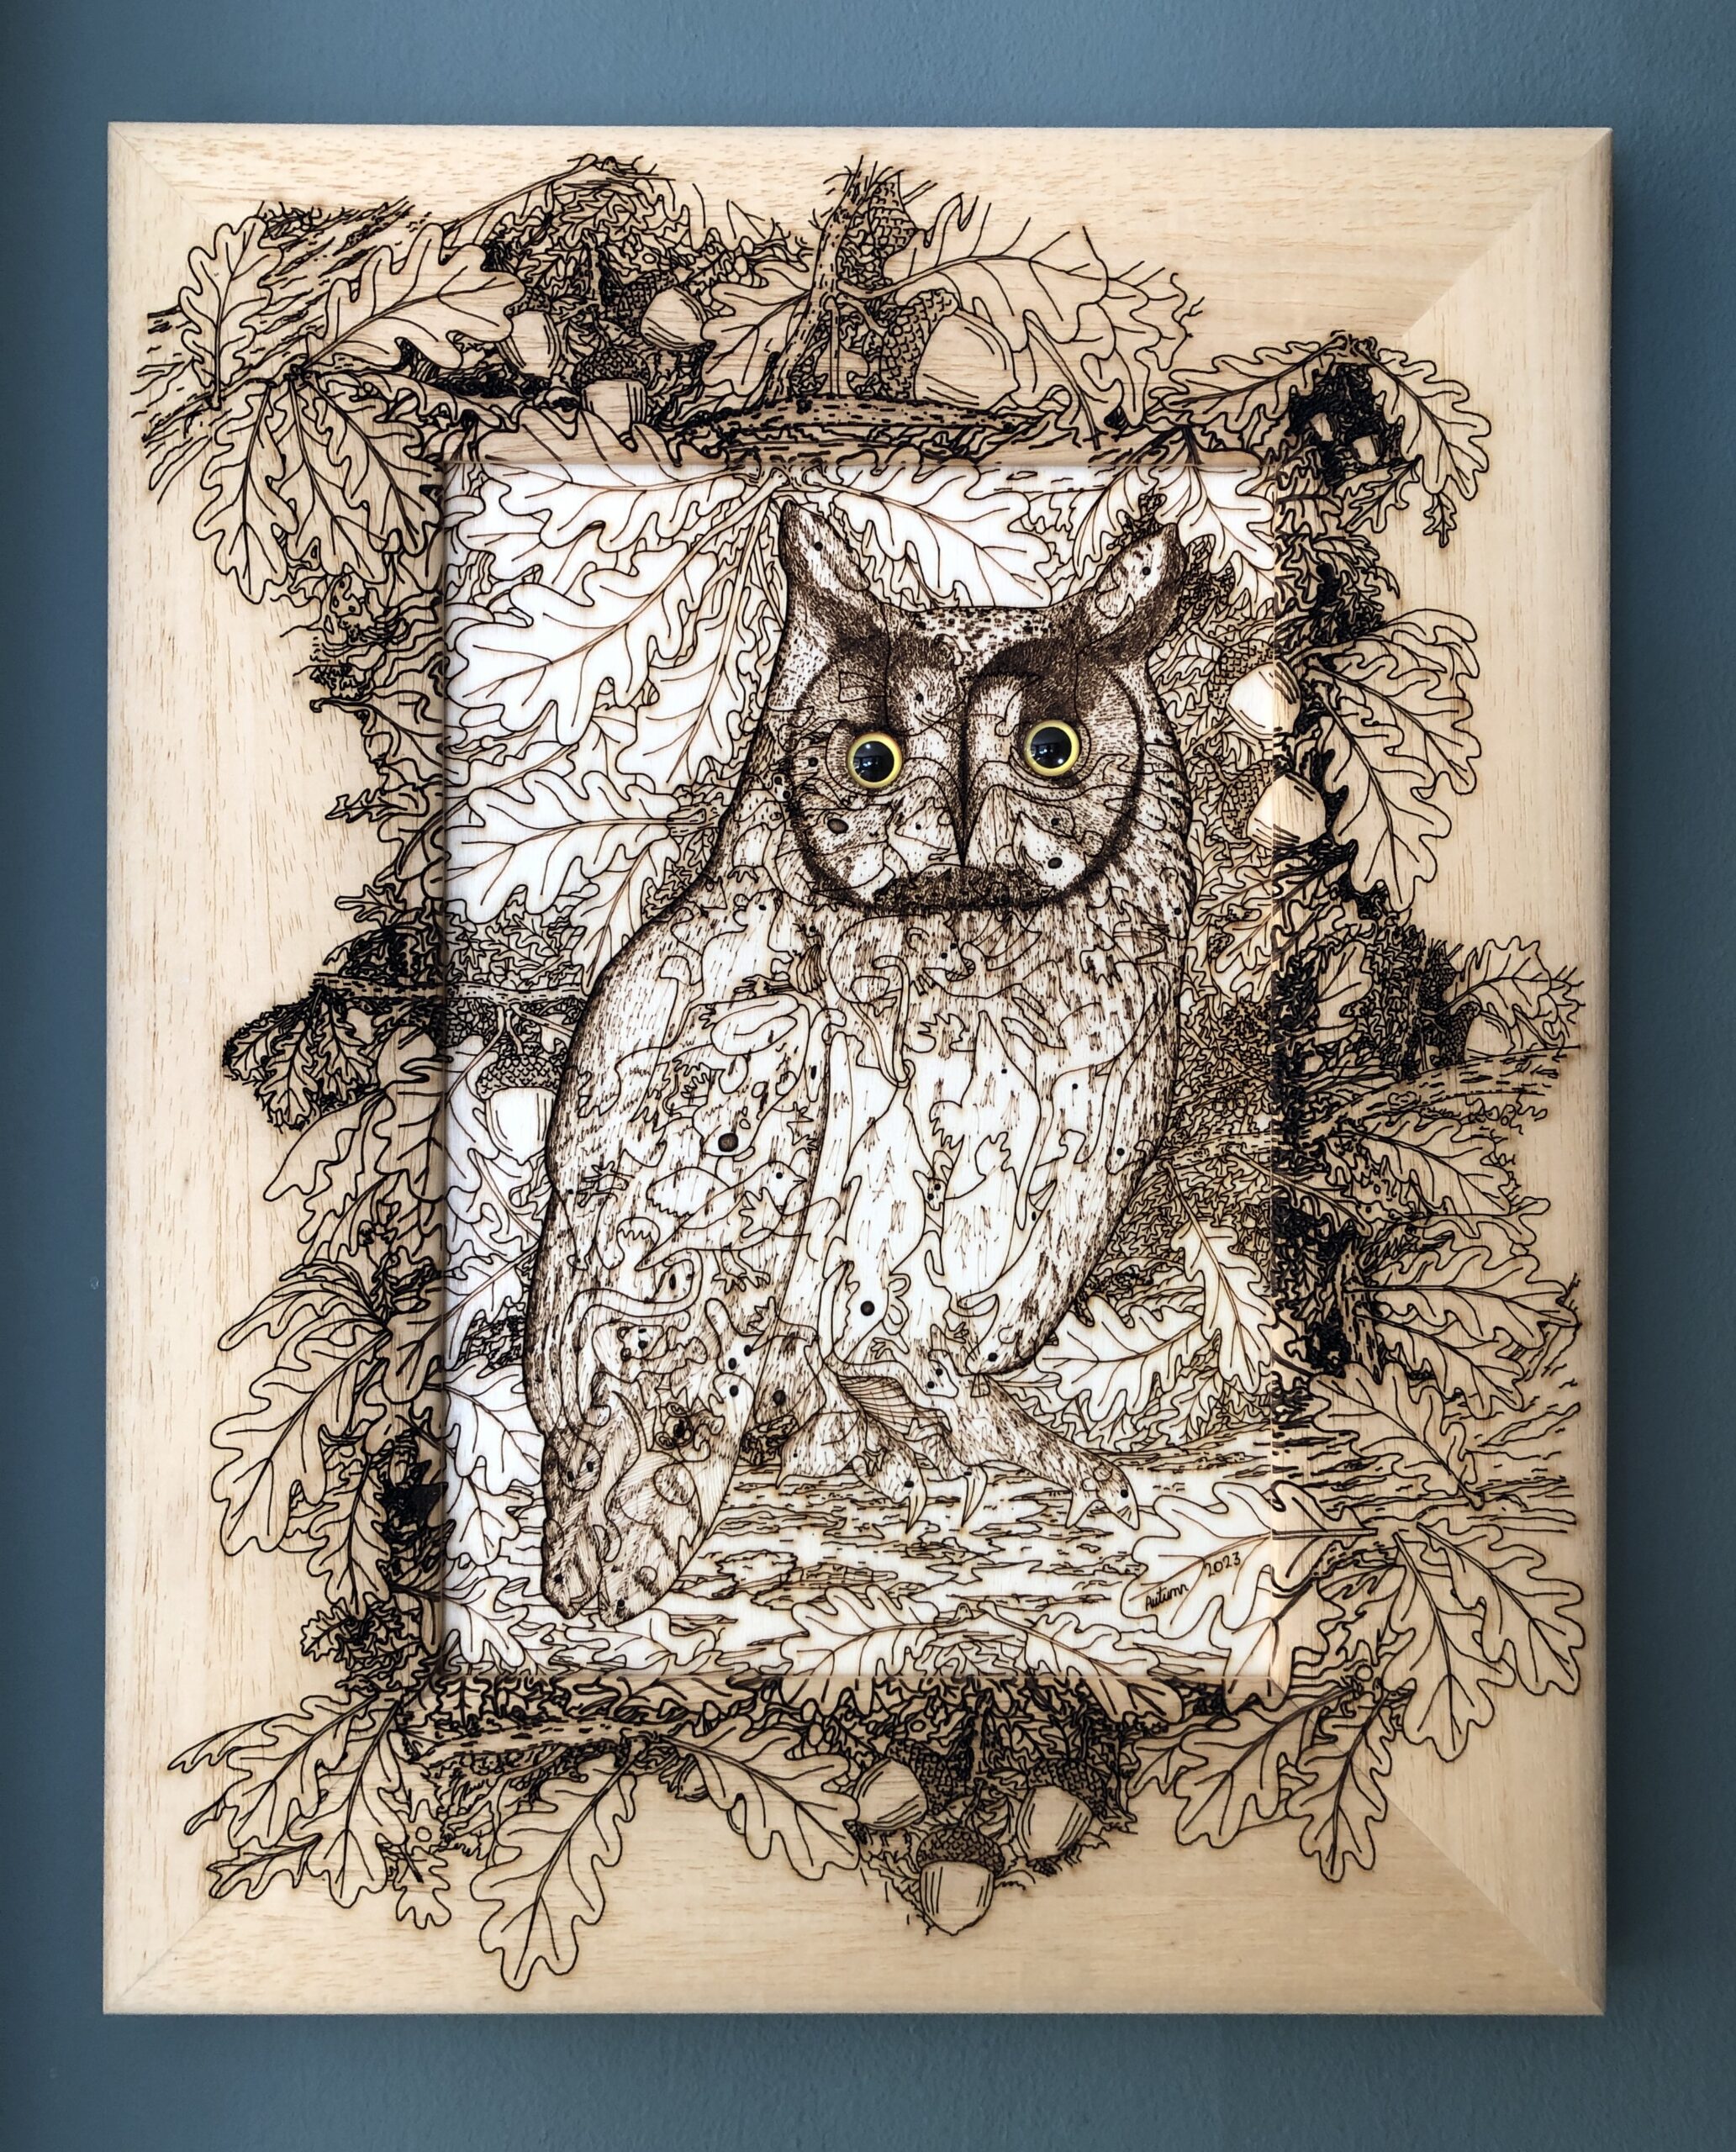
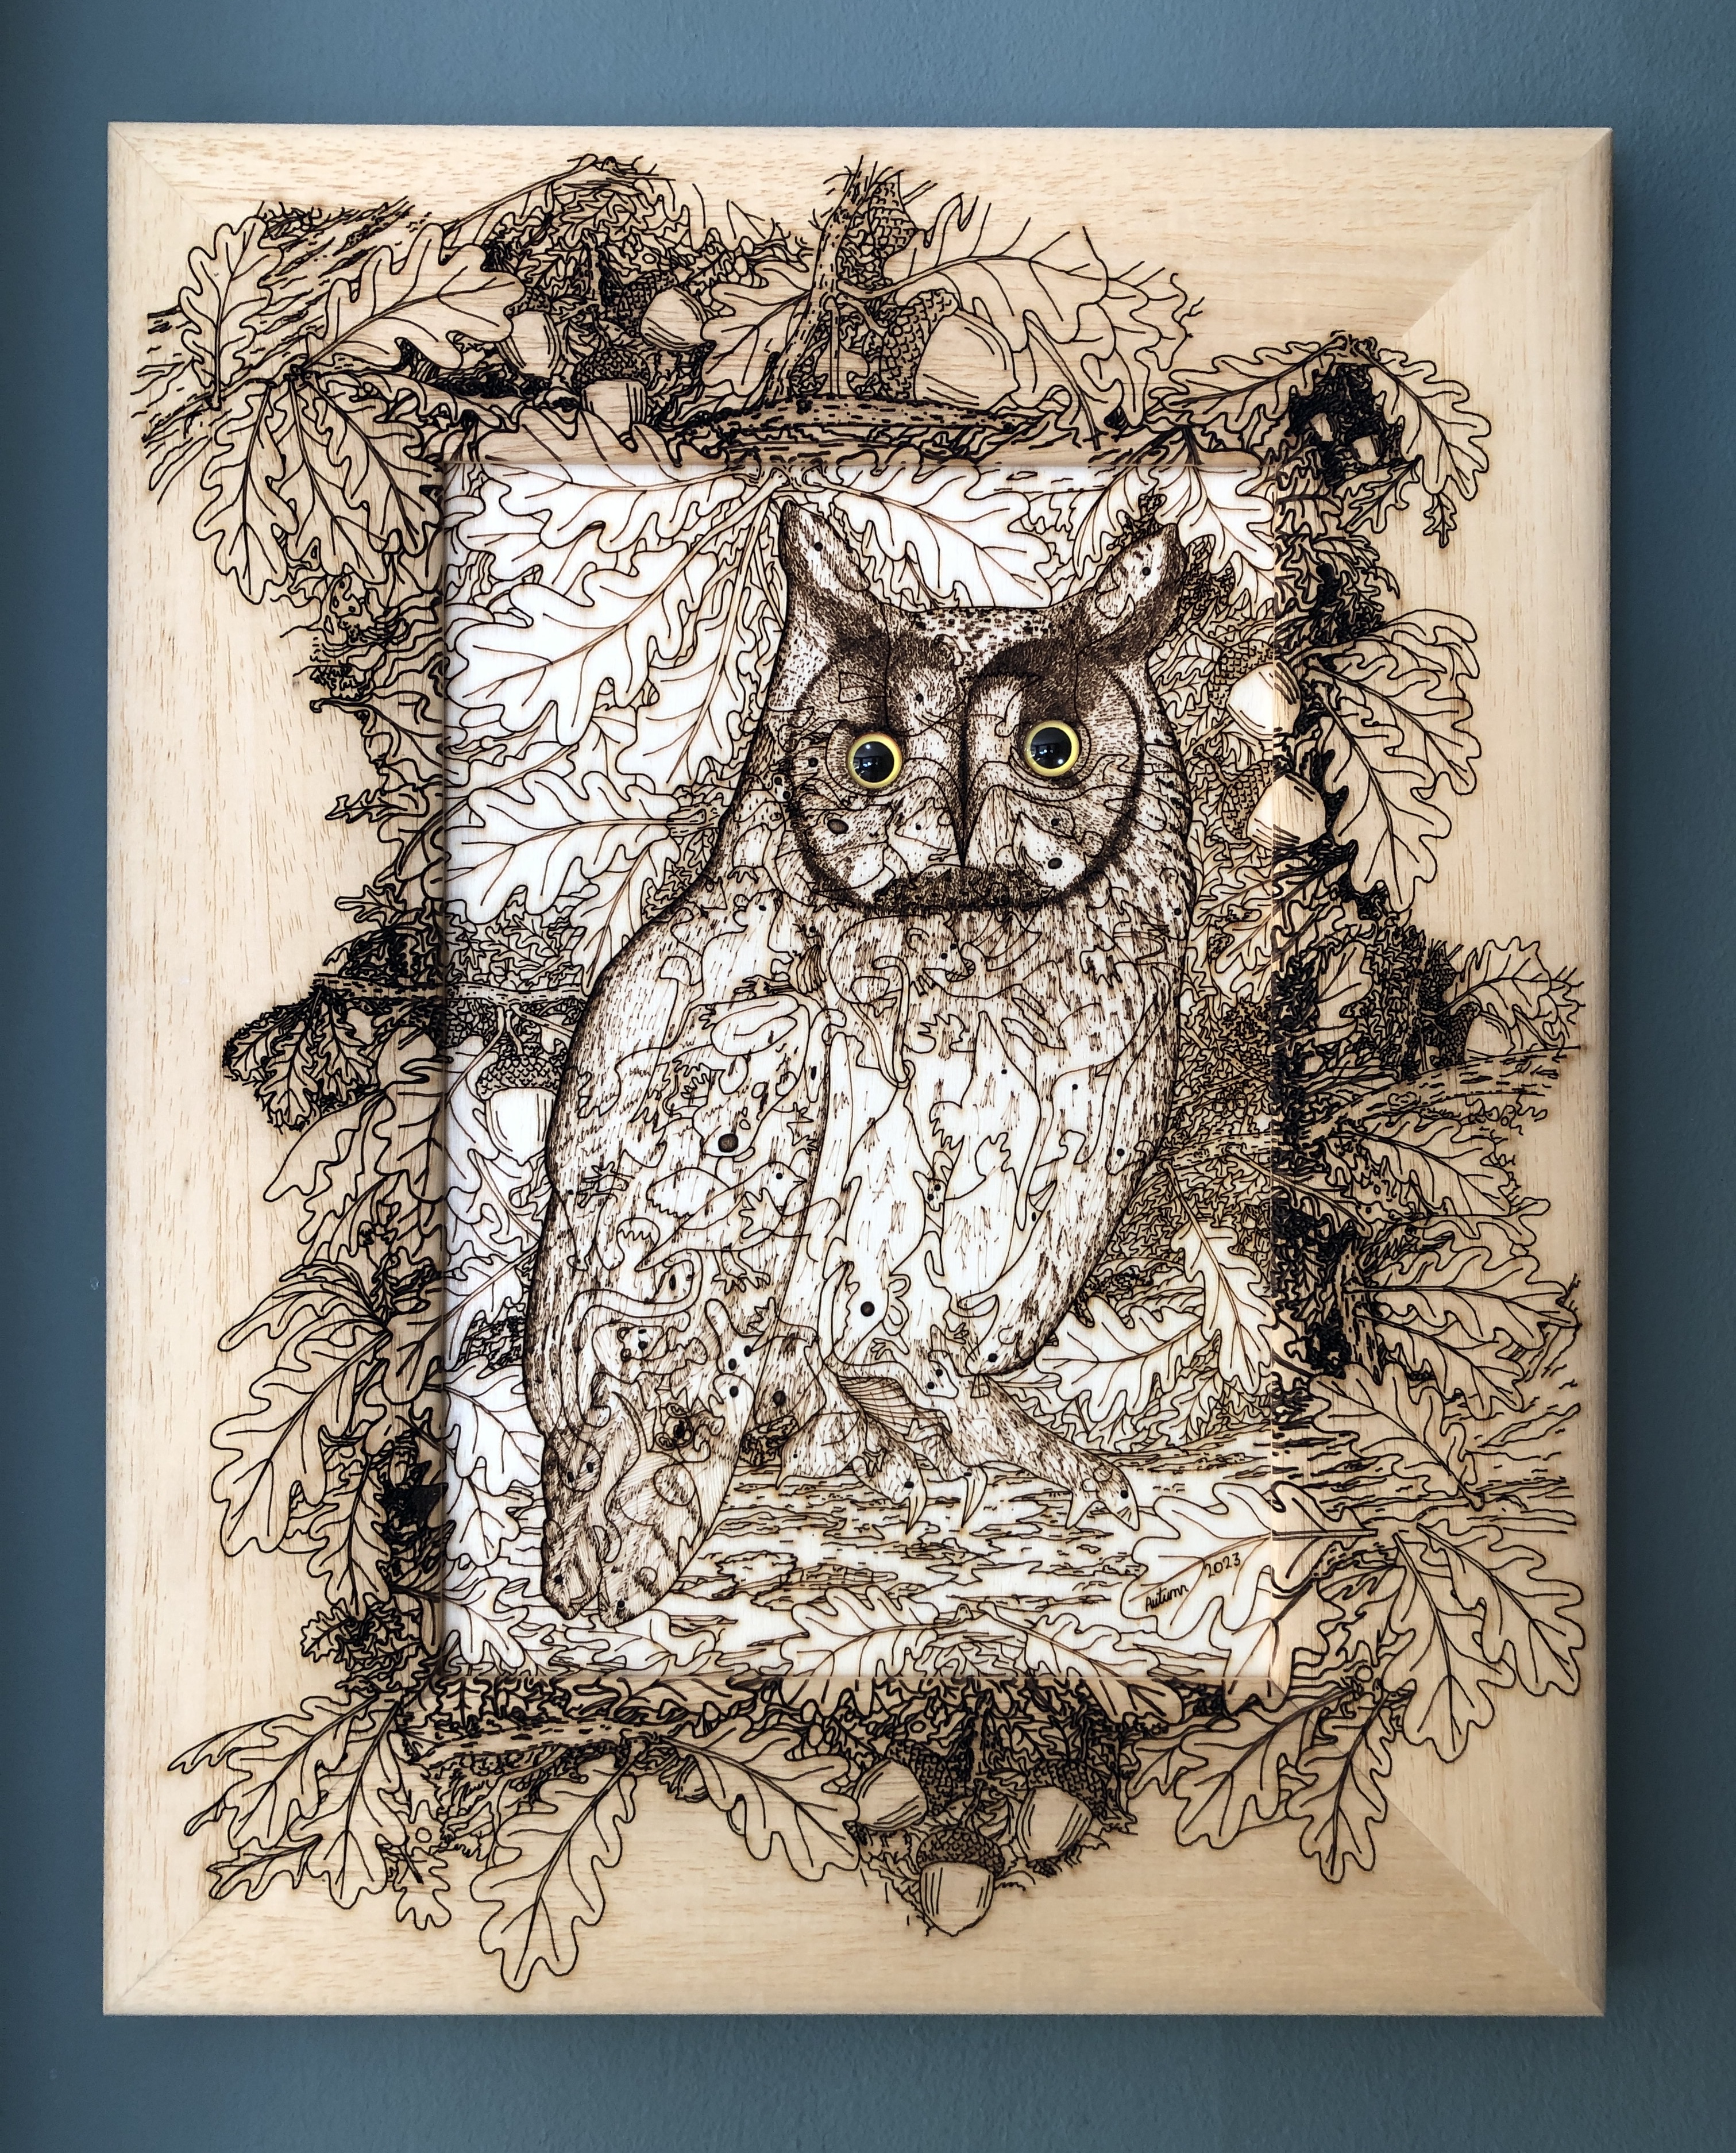
Title: “Long-eared Owl with Oak Foliage (Organically Framed)”
Artist: Michael Autumn Medium: Hand-drawing – laser cut & engraved premium 6mm AB/AB Italian Panguaneta Poplar plywood Size: 40cm (H) x 31cm (W) (including the frame) Date: 2023 Country: UK
Description: I have this little art puzzle that I sell on its own (see photo below),
The original “normally” framed version.
… but some people fed back to me that they would prefer to buy it framed. That’s fair enough – everyone has different tastes – and quite flattering in fact – that they like the design enough to want to put it on the wall – but not wanting to have to solve the puzzle and then go to the effort of getting it framed. So I simply adjusted the laser setting for the cut lines of this laser job so that it didn’t cut all the way through – just deeply scored. Et voila! An art engraving rather than an art puzzle!
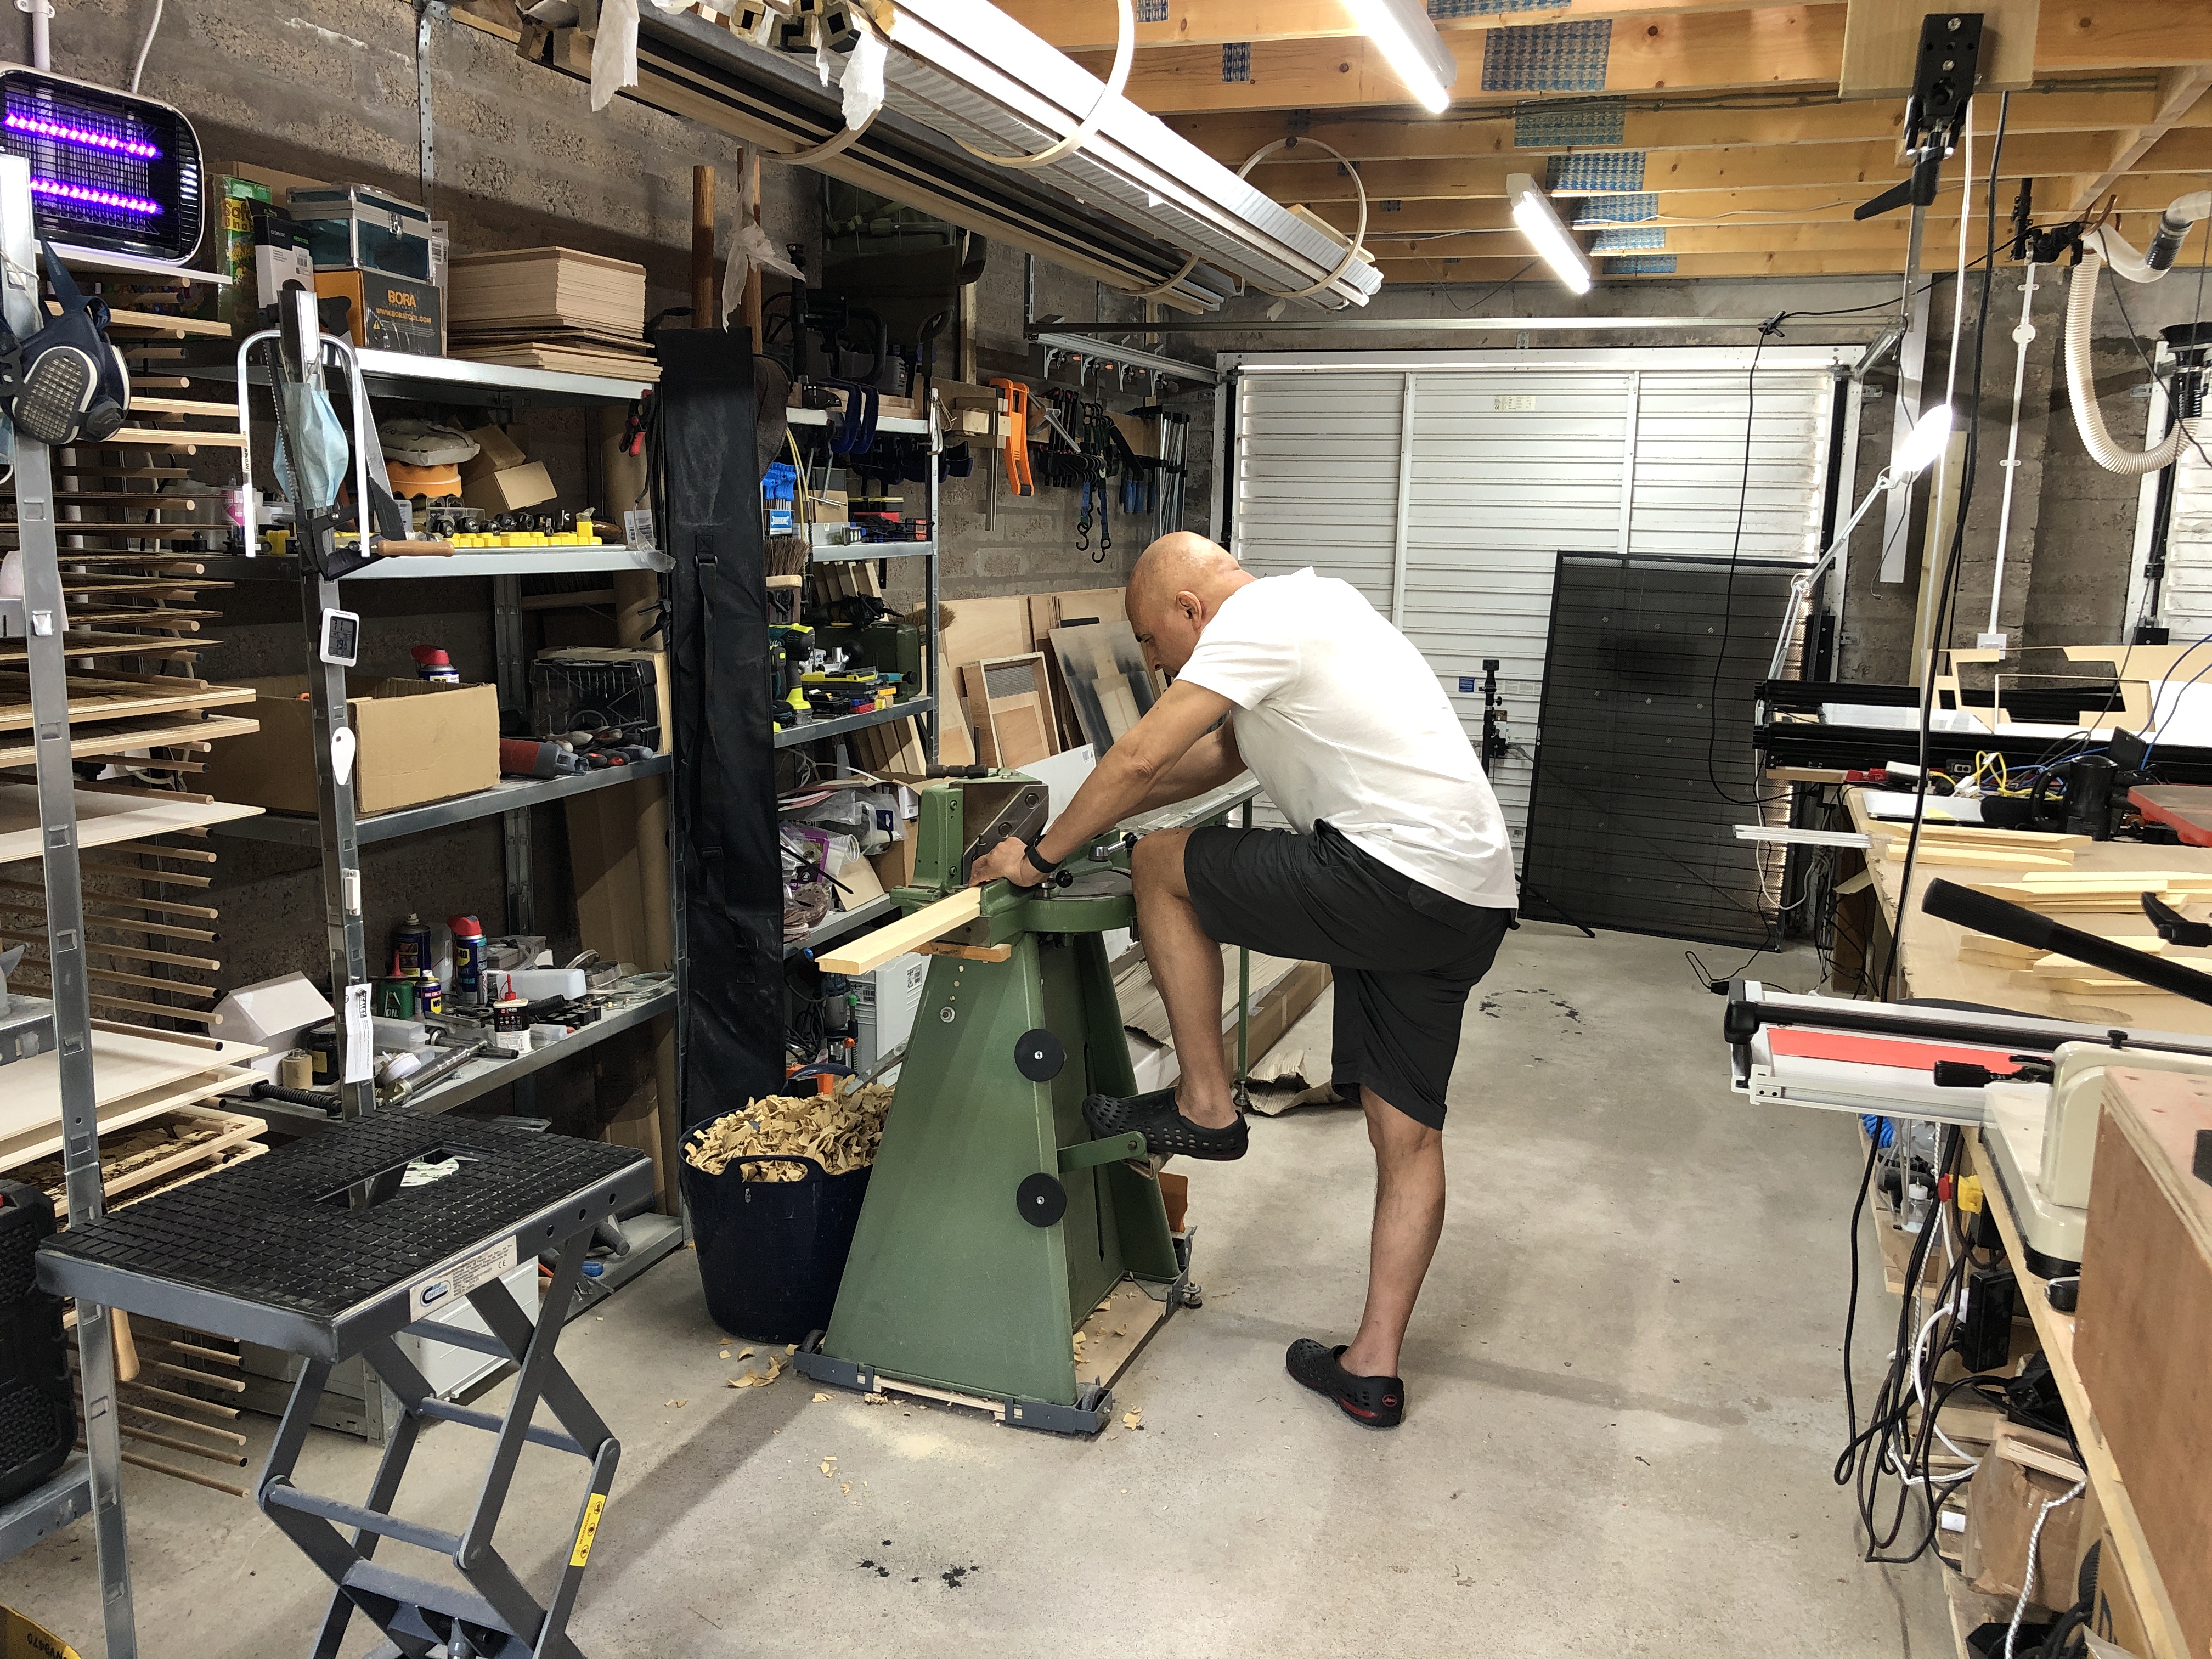
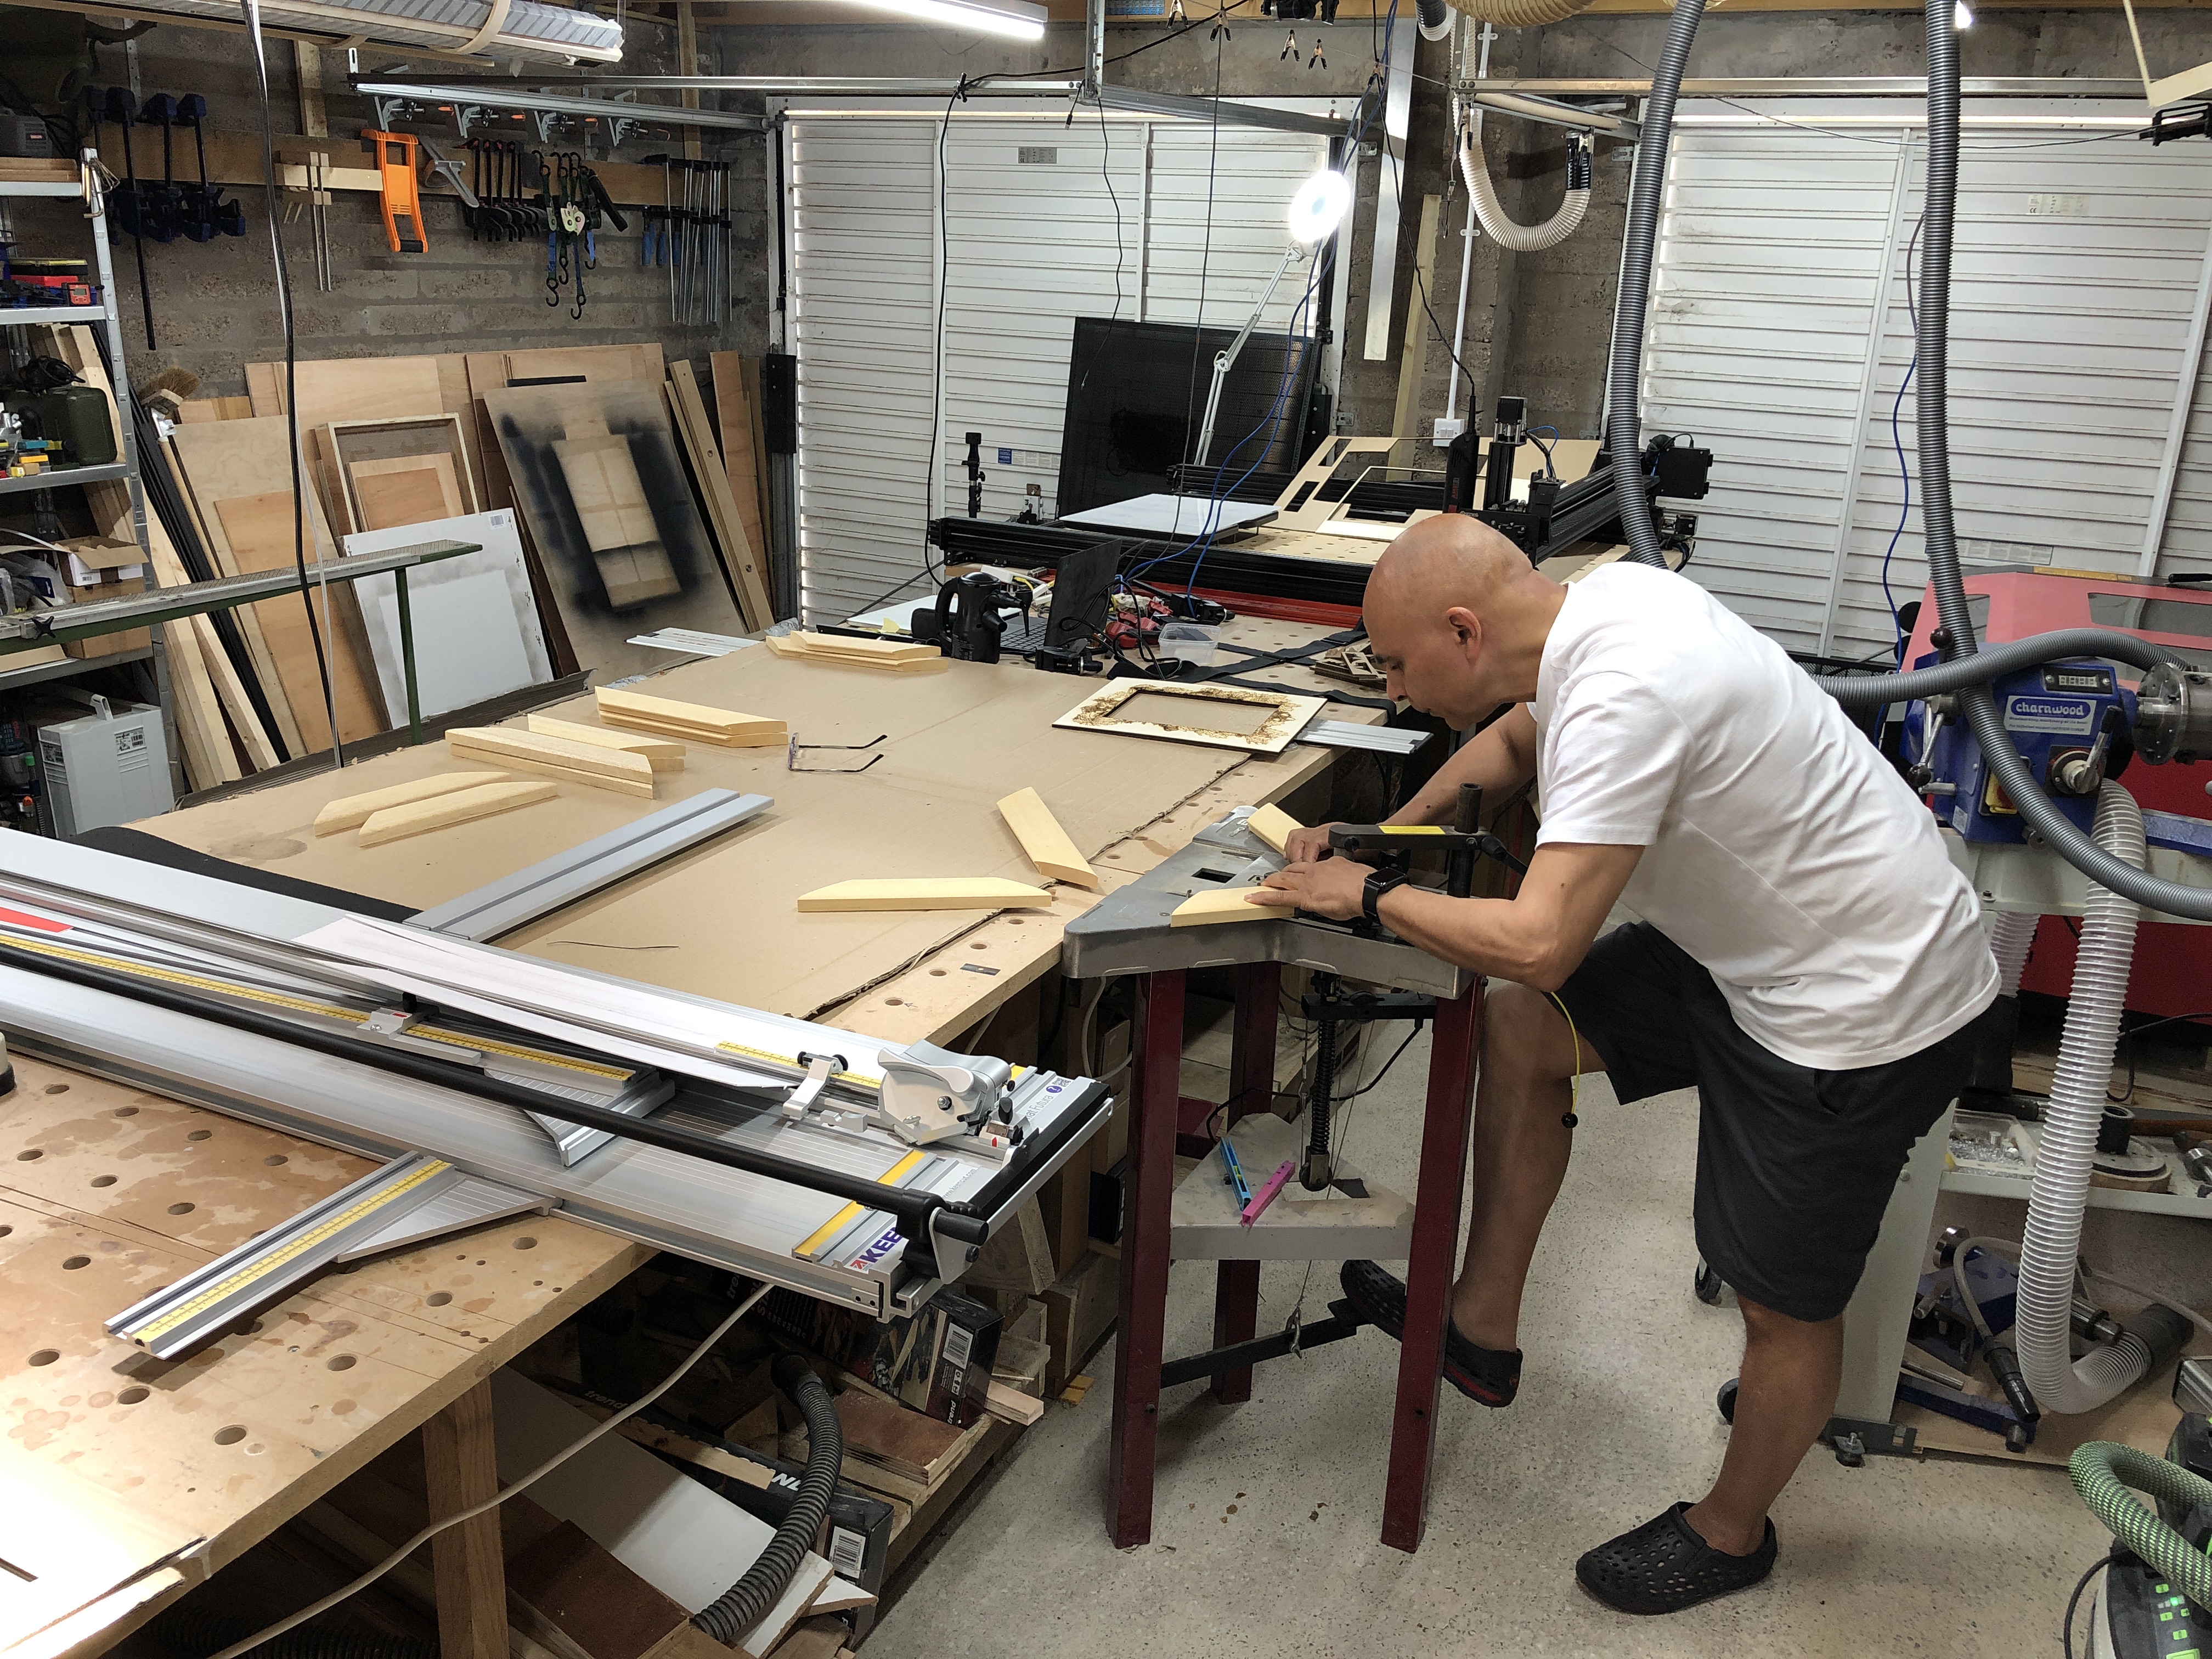
If the truth be said, I don’t really like framing. I’m an artist, and I don’t like spending my time manually making frames – especially many of the same ones. And I really don’t like cutting mounts and glazing, cleaning the glass, etc – it’s quite mundane. But I do like designing frames – and making one-offs – frames that bring out the best of my artwork.
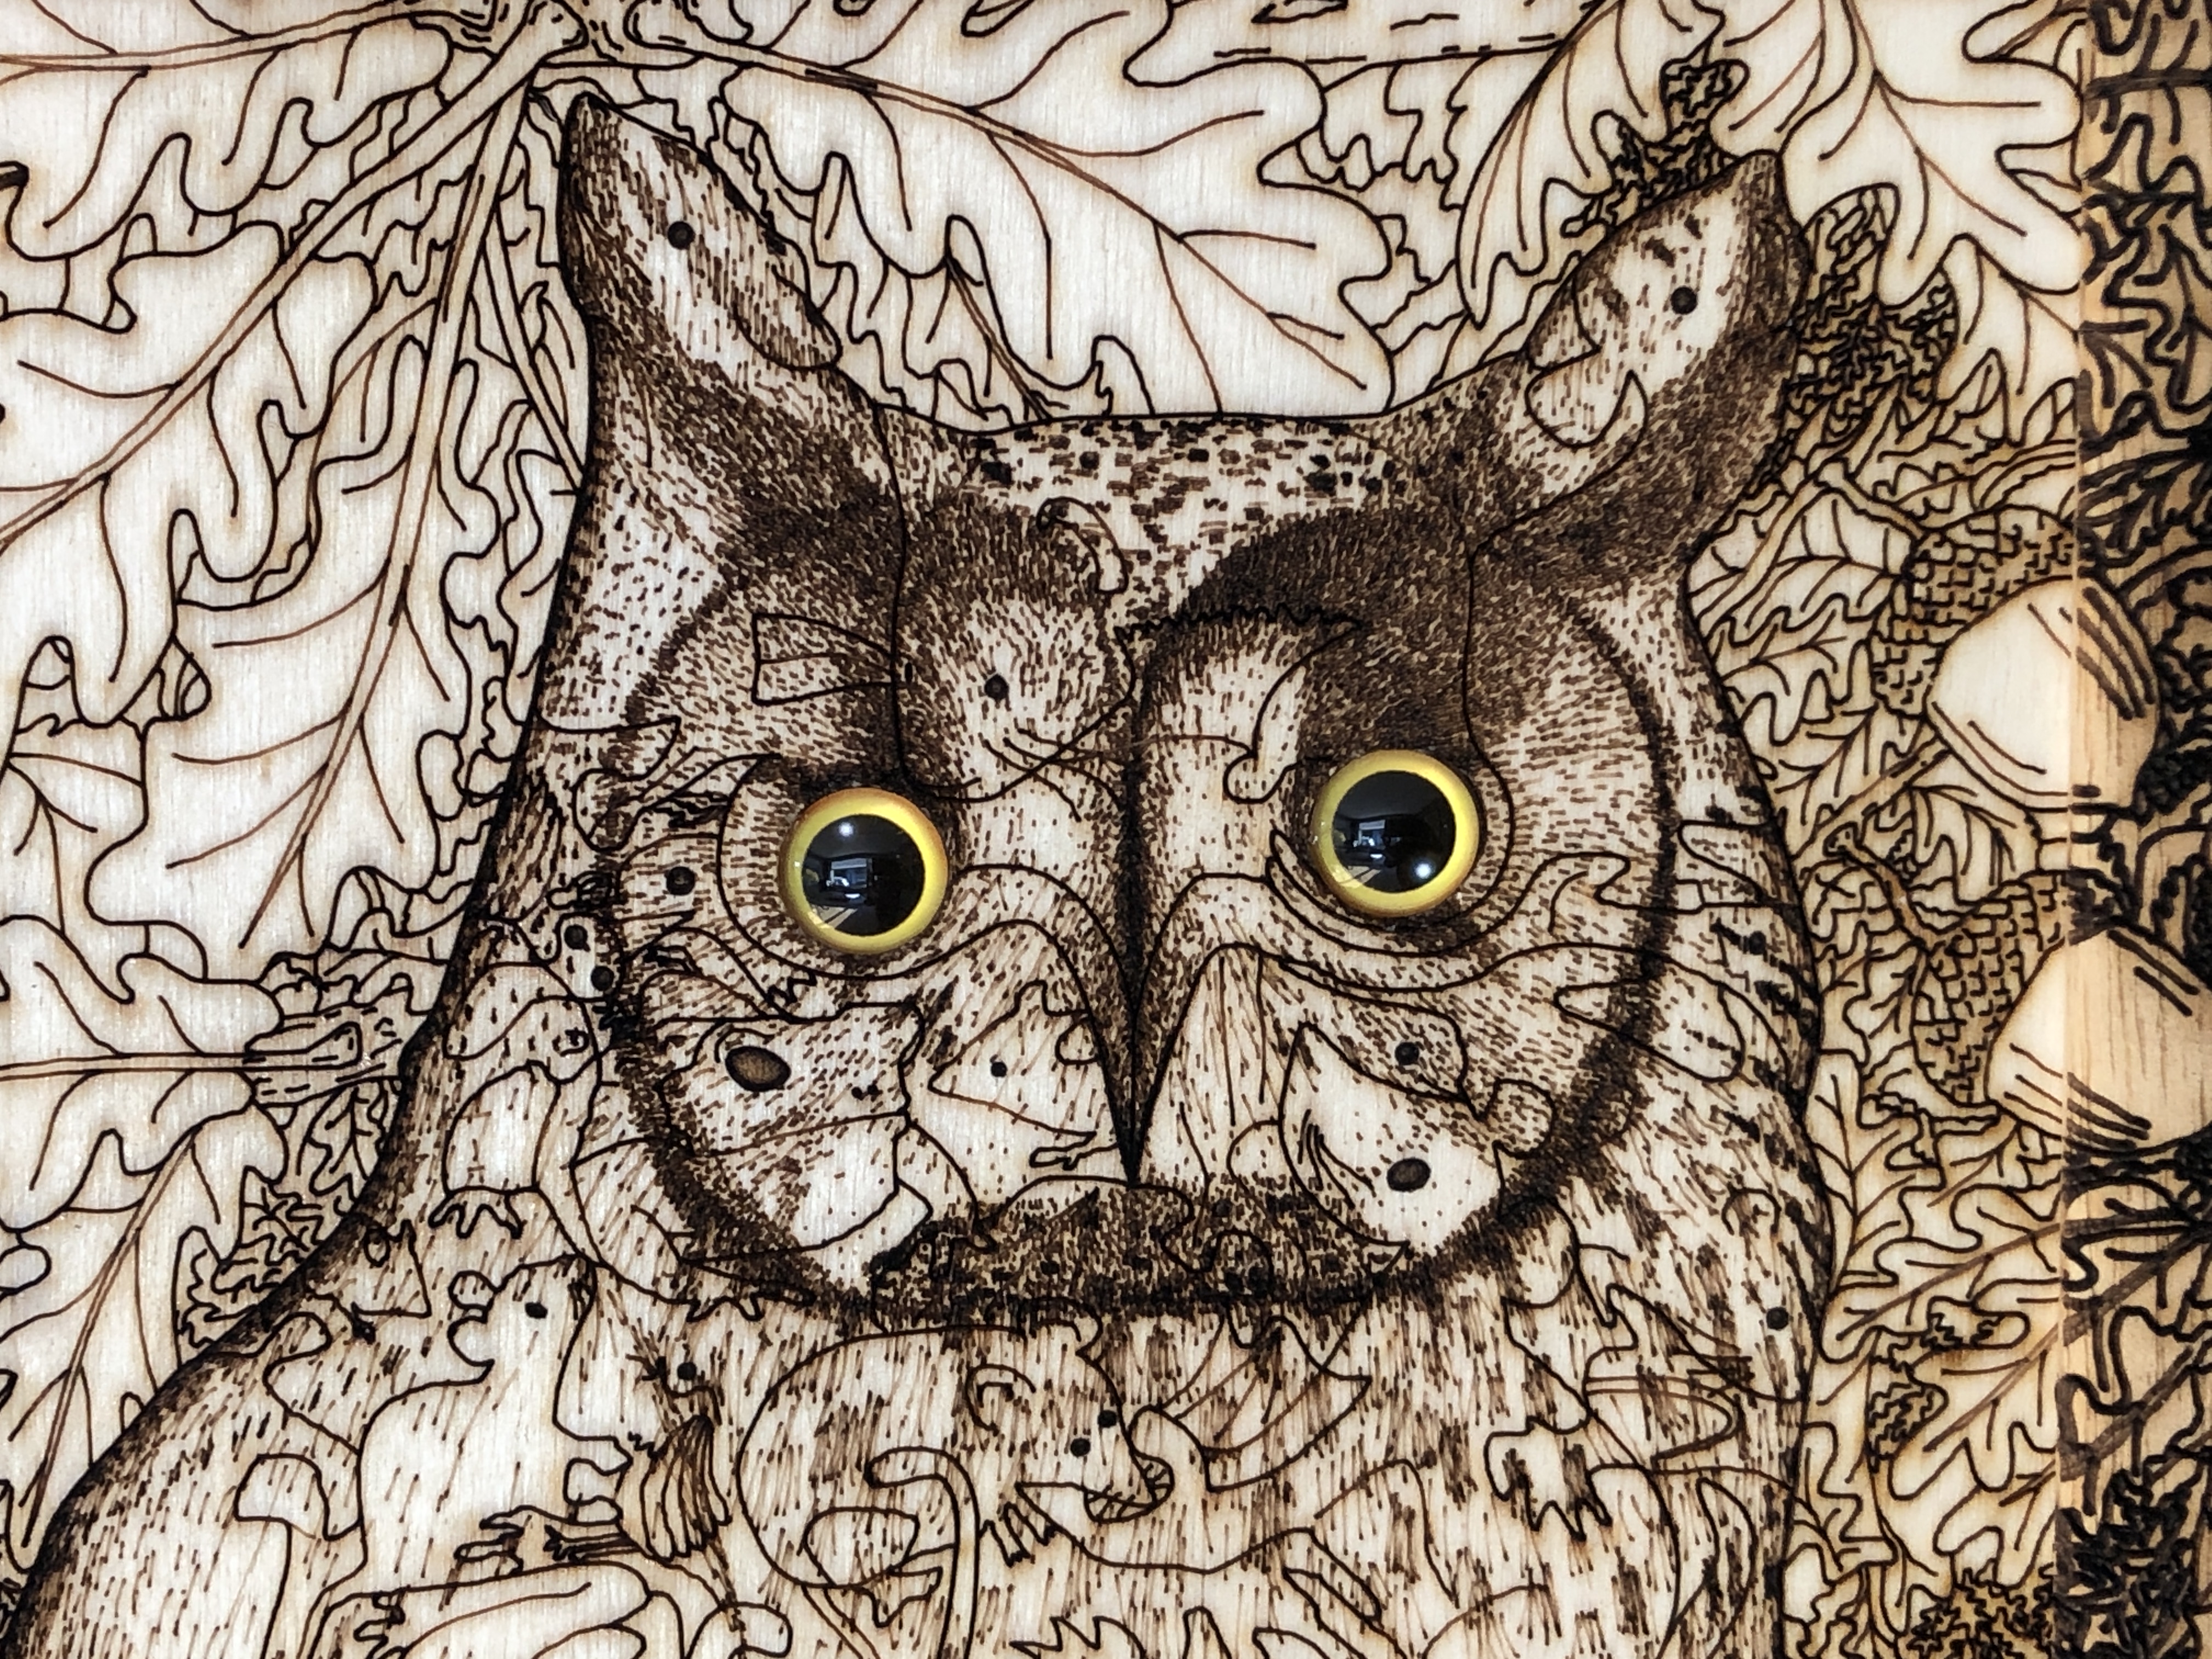
Thinking about framing this artwork I looked to see if there was a suitable readymade frame, but unfortunately there wasn’t any of the exact size required. Resigned to having to frame it myself, I thought about how I could make it more special – or interesting. My first thought was to put realistic and accurately-sized glass eyes in the owl – that would give it a central focus (no pun intended!). Also I thought the eyes should be embedded a little – rather than simply stick them on top – because this would look more realistic. And if I engrave the “sockets” as part of the laser design then they would be very easily accurately positioned and consistent. I did a few trials, and managed to get them exactly as I wanted (see photo below).
Embedded glass eyes in this special version of “Long-eared Owl with Oak Foliage”
Back to the main challenge. I don’t really like small frames – they make the artwork look insignificant – and I thought a “normal” frame with a windowmount around this piece would make the artwork look even smaller…
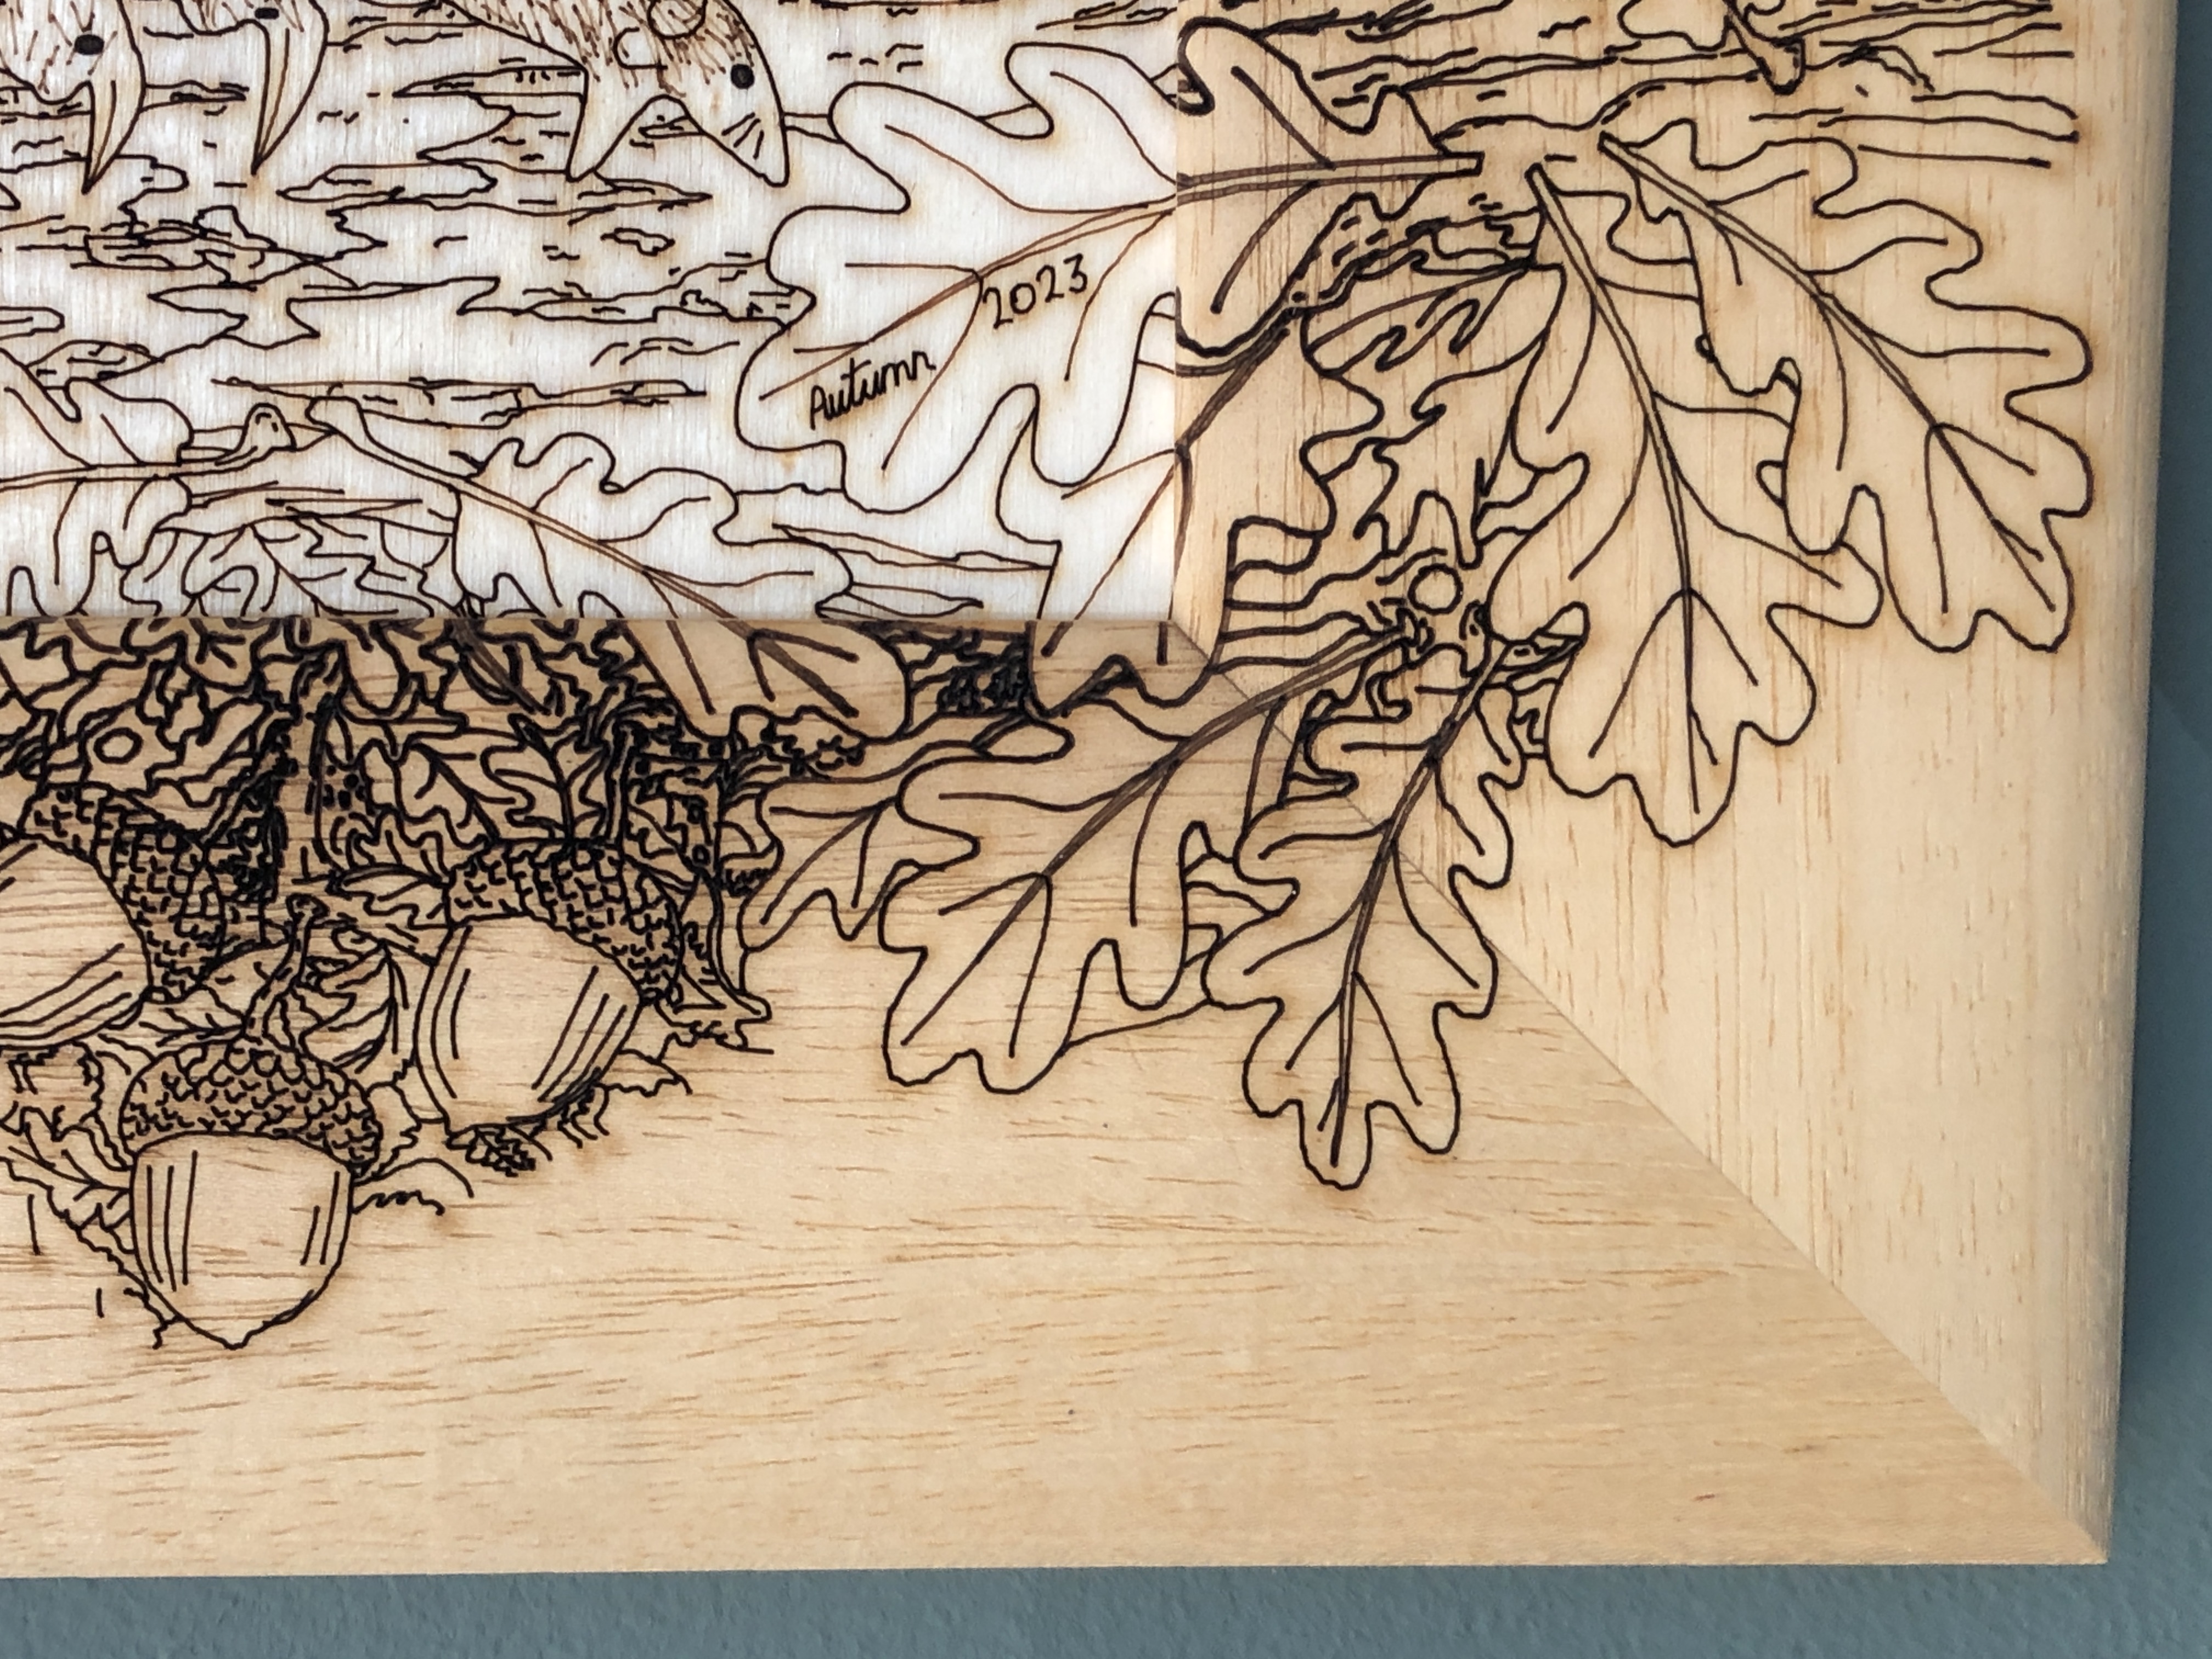
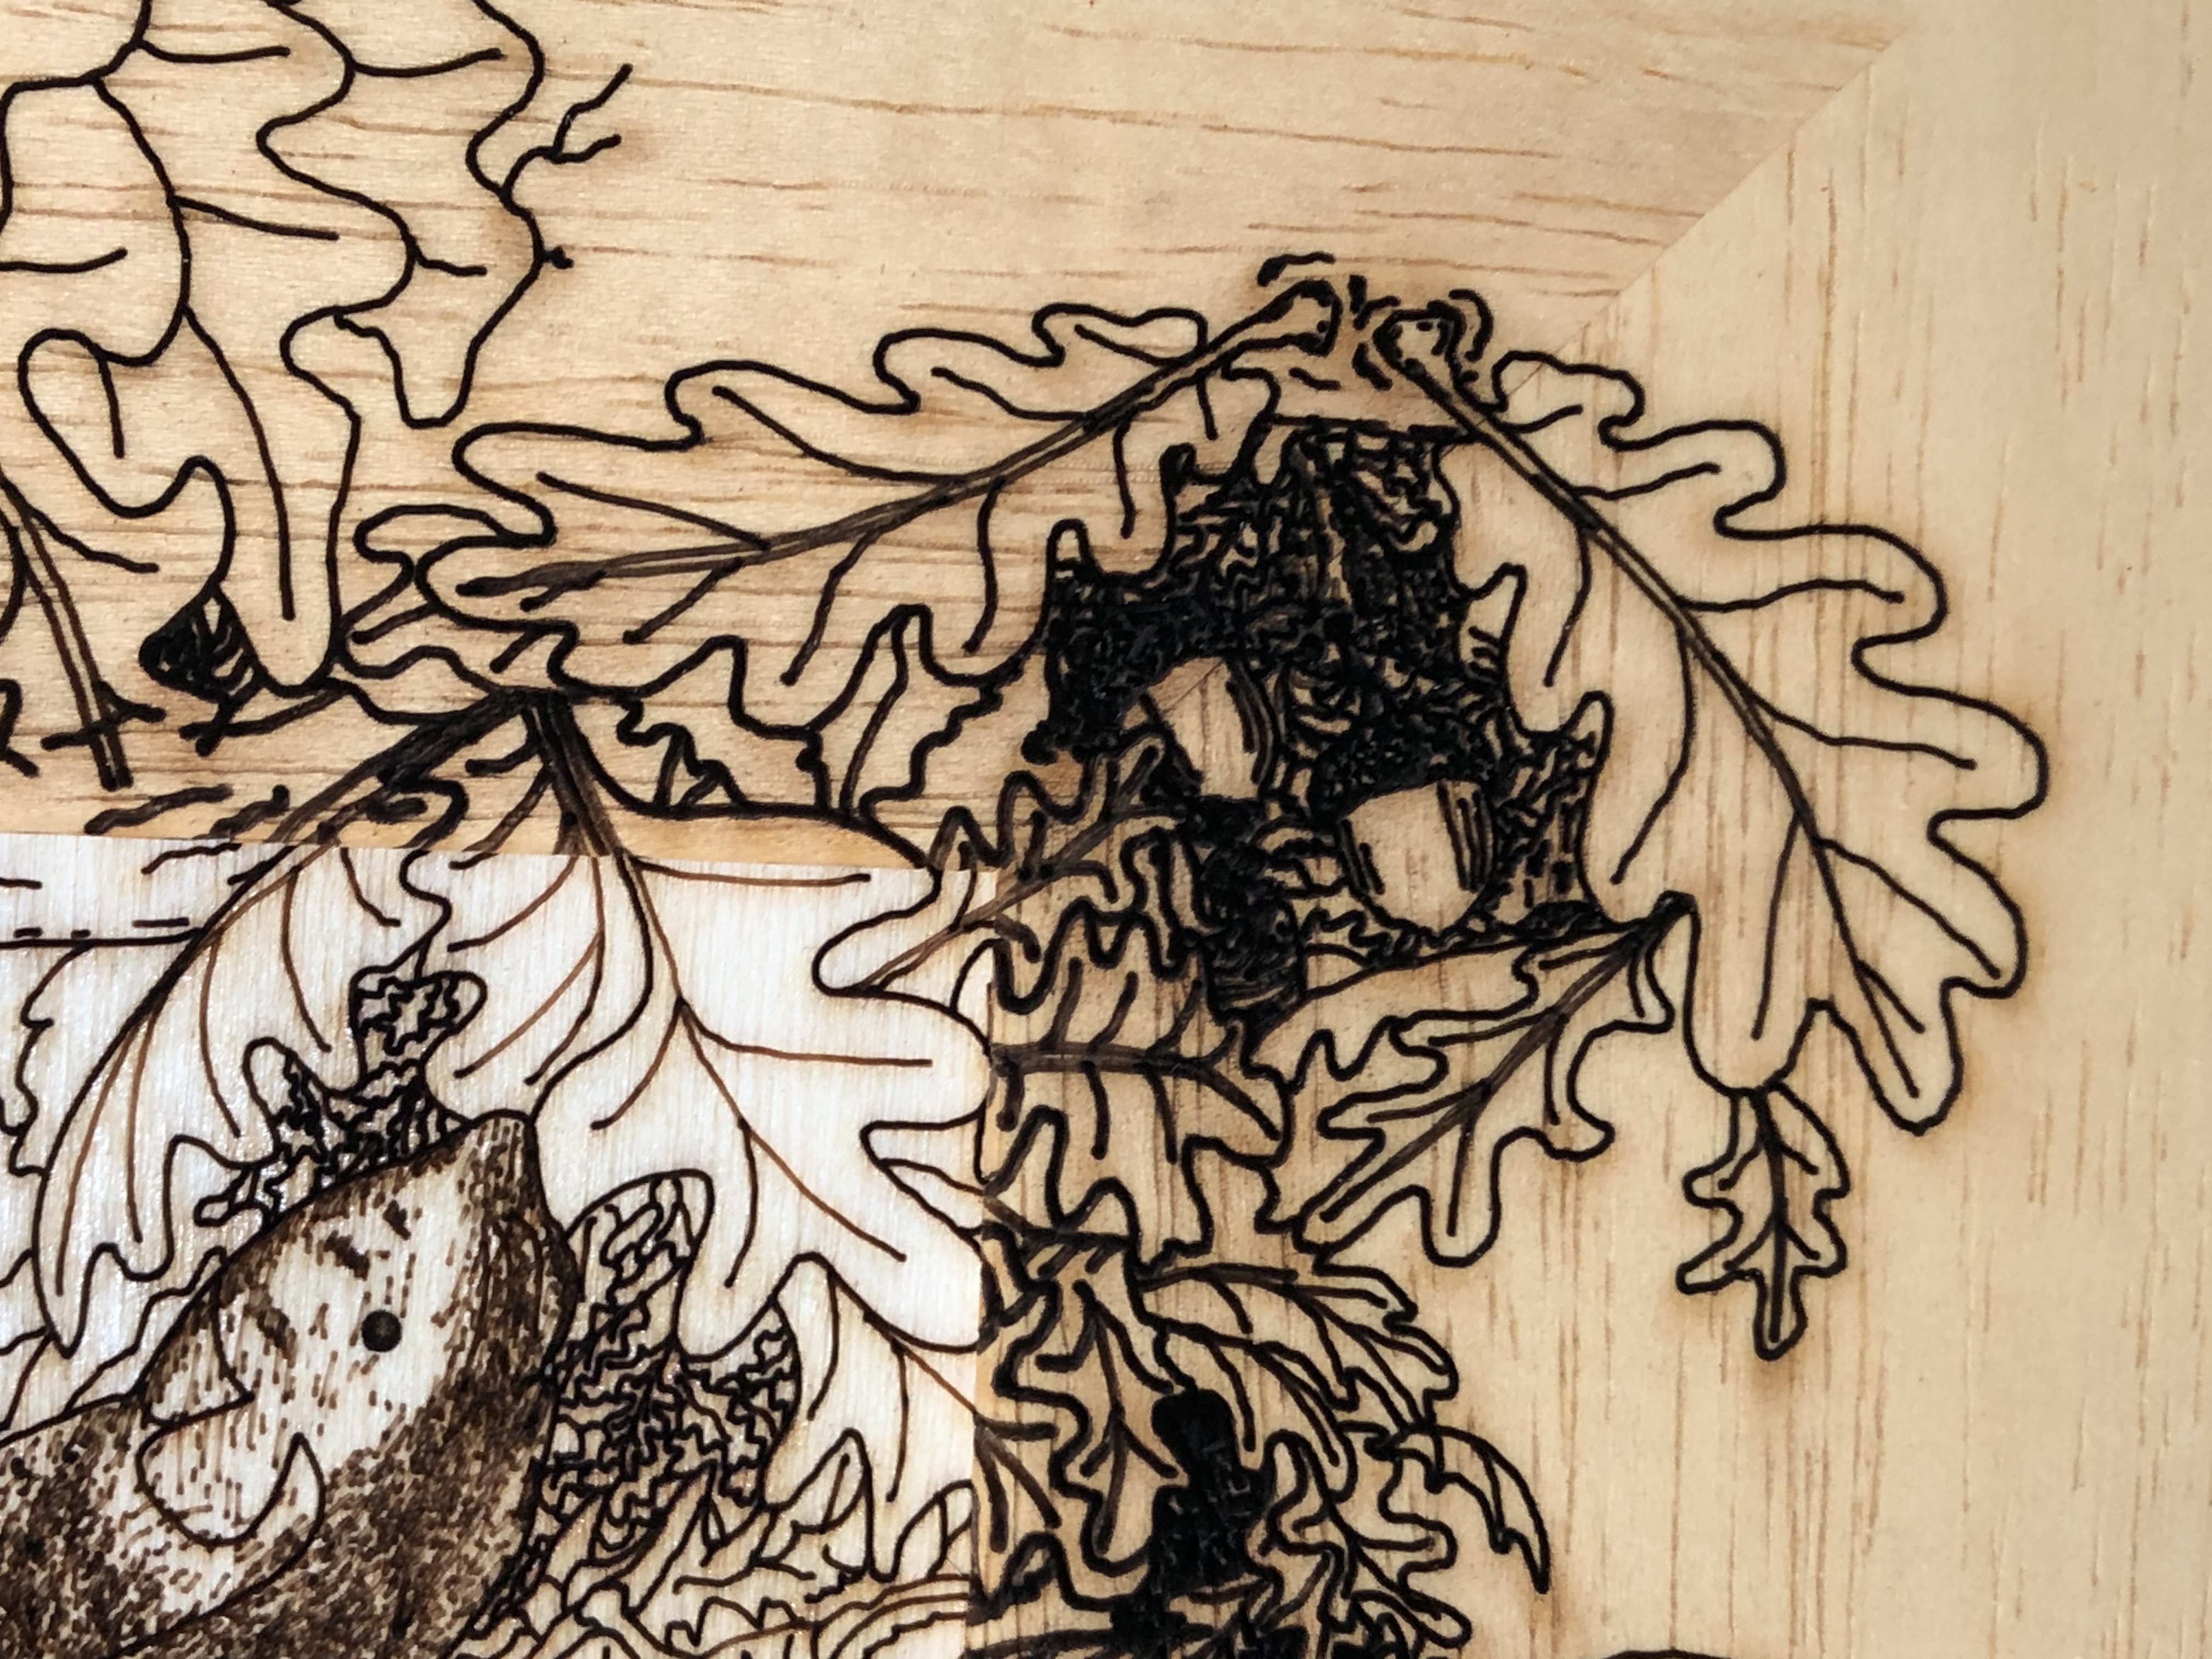
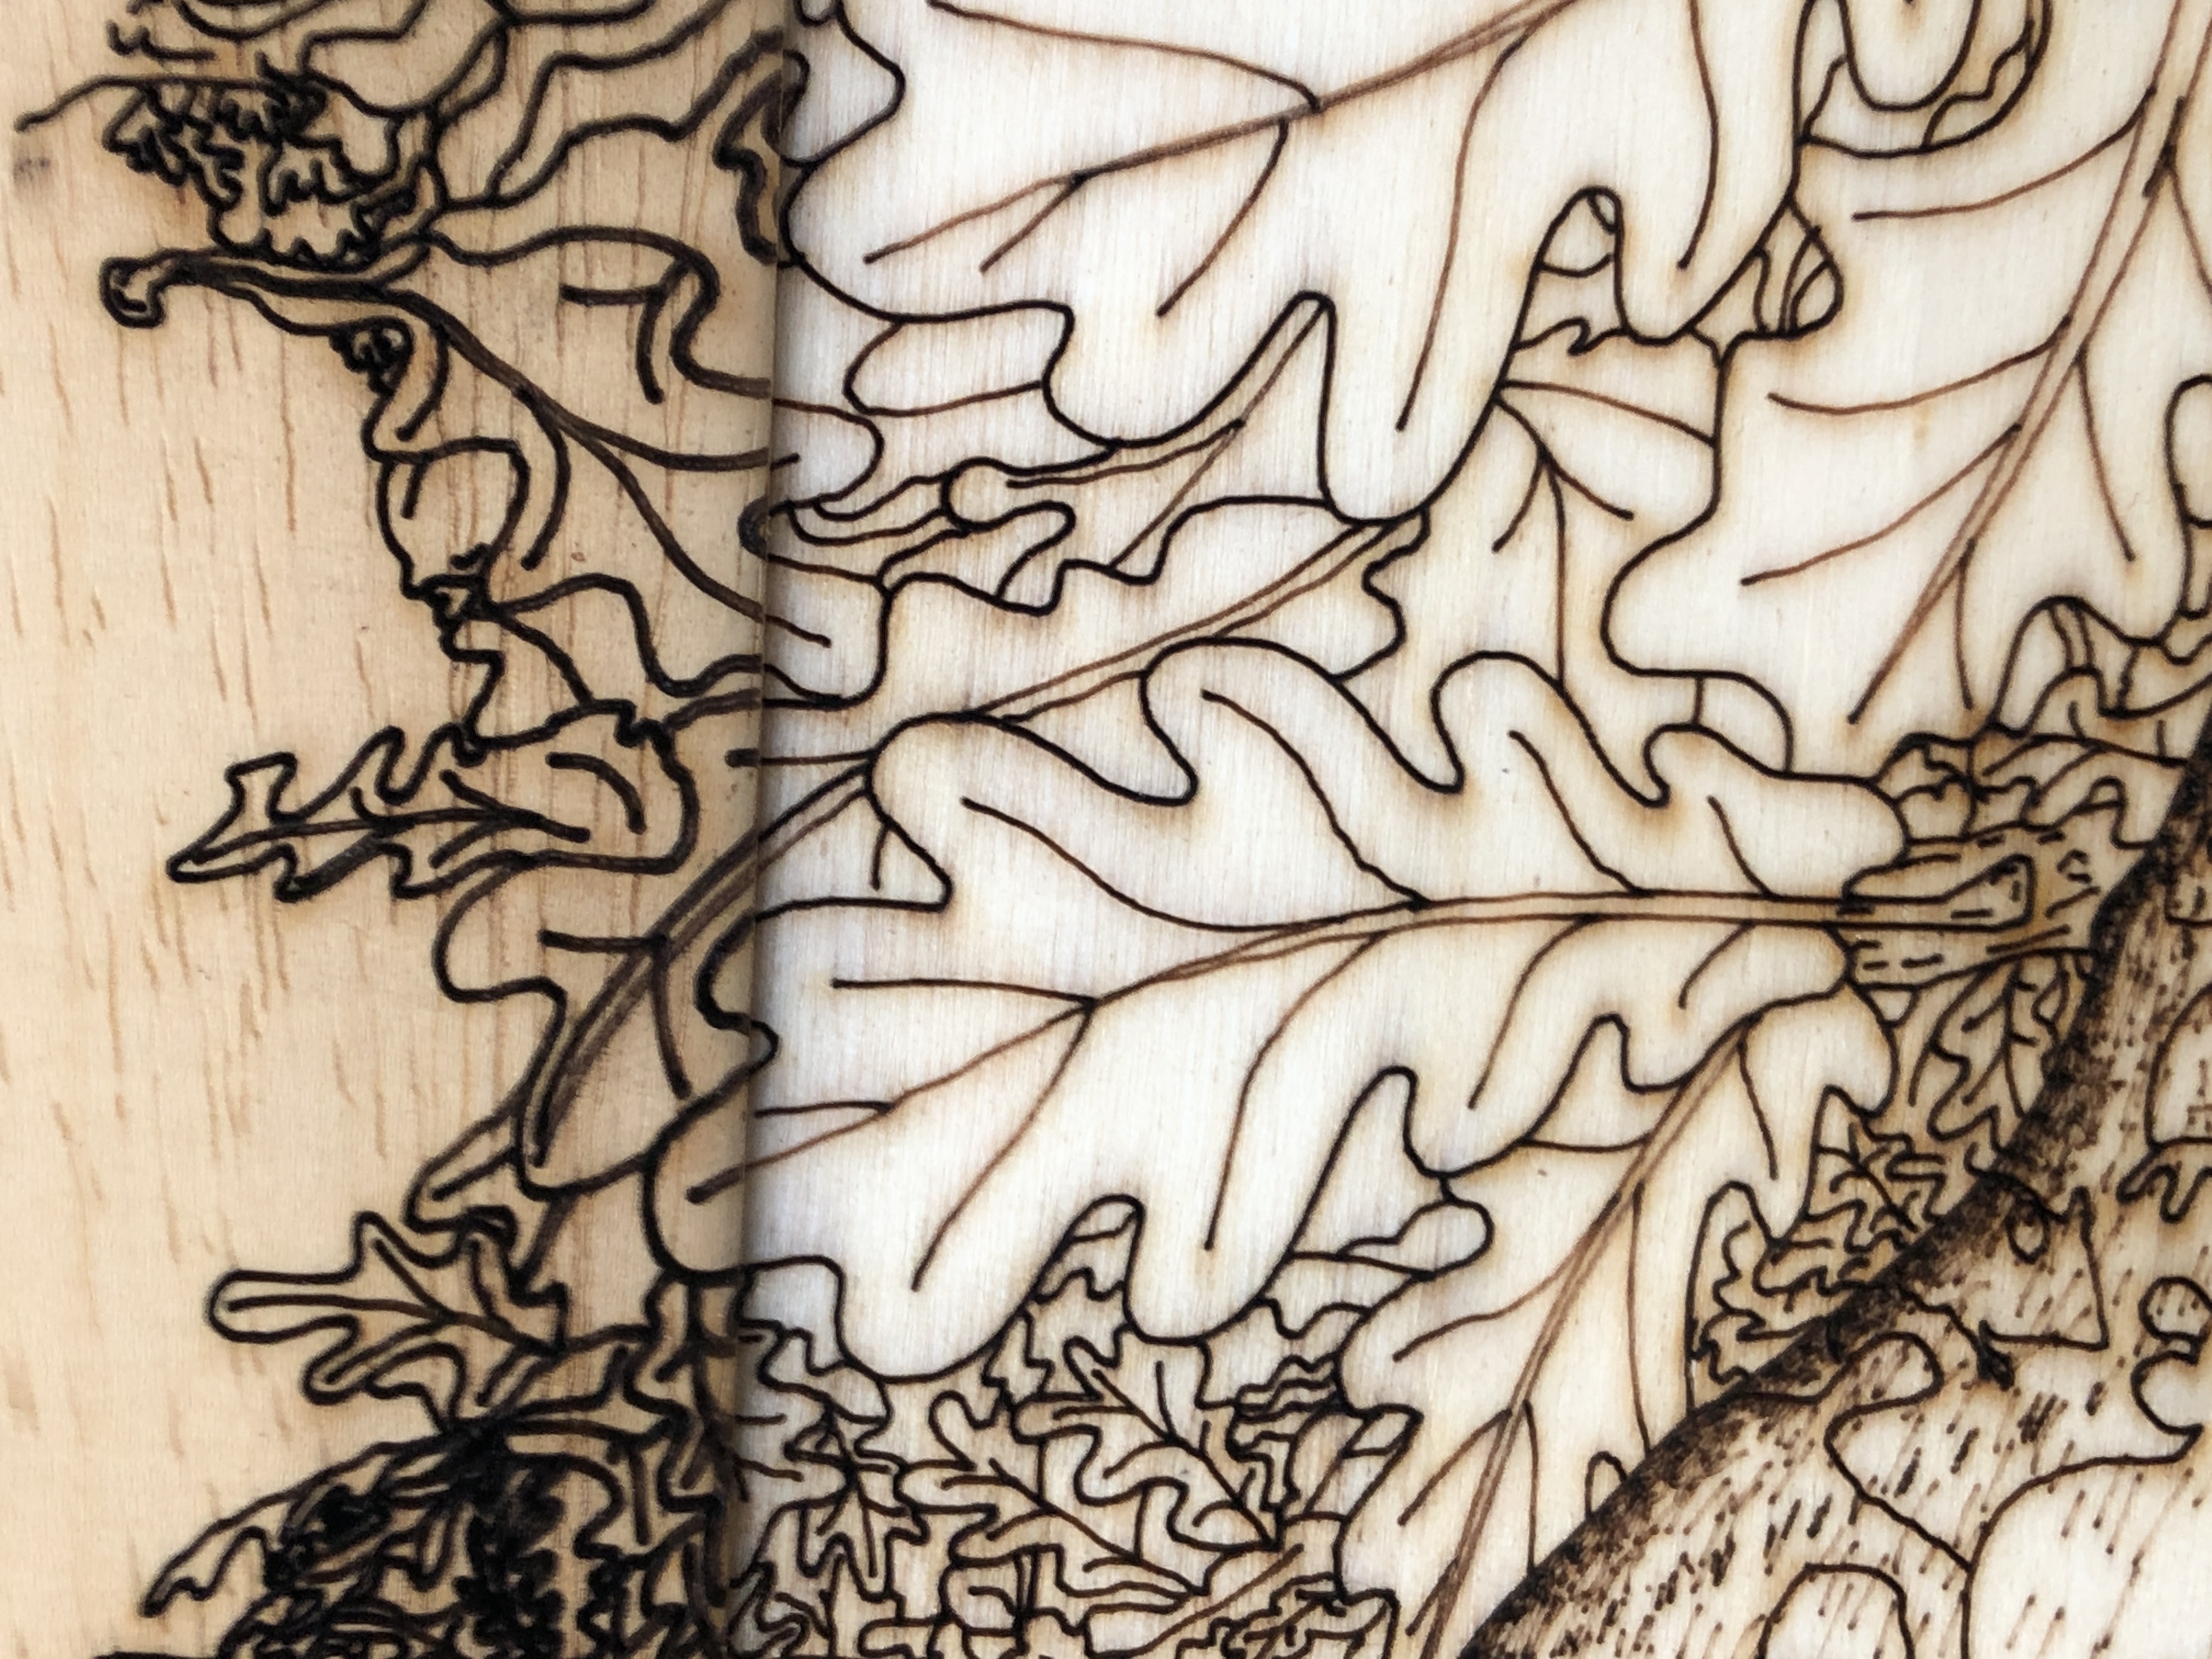
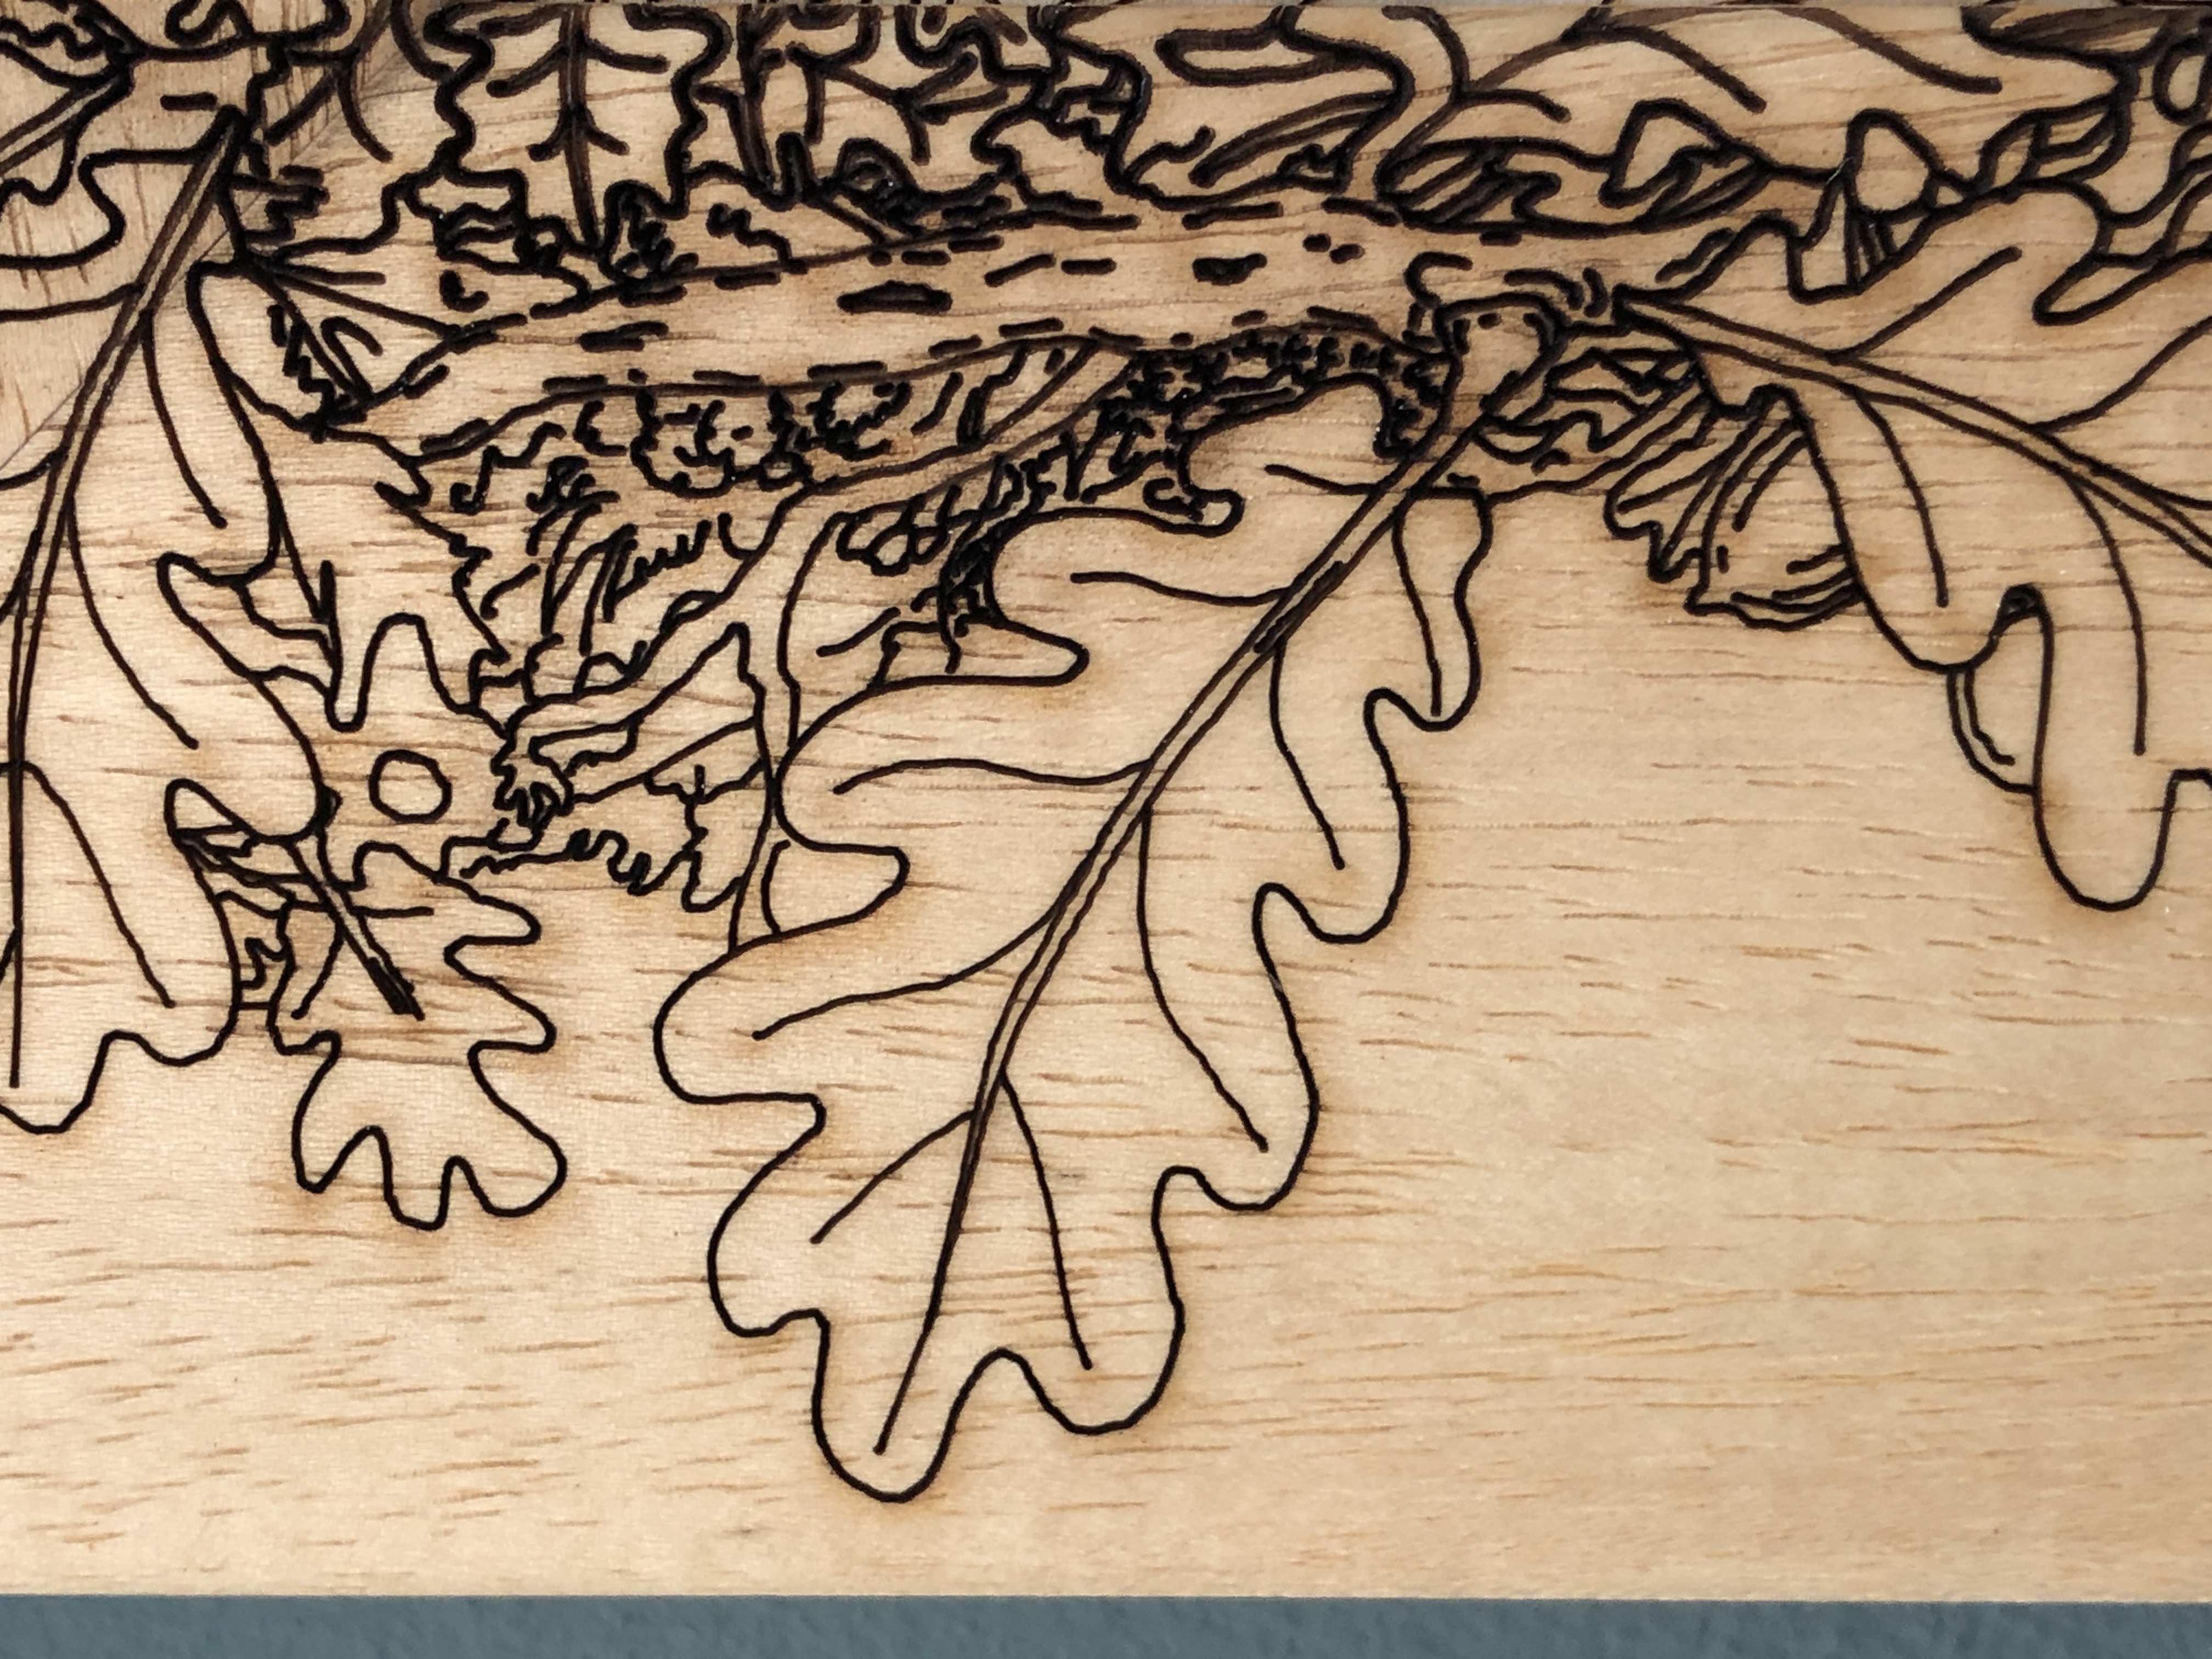
I also thought that a conventional rectangular frame feels is at odds with the artwork – where there isn’t a single straight line. Eventually I got the idea of extending the artwork out into a wide wooden frame – and not having any straight line edges – just a naturalistic “edge”… I could laser directly onto the frame in the same style as the artwork itself. I looked for a wide (to give a greater overall size impact), light-coloured, plane wood moulding. I didn’t really want a completely flat moulding profile – because that would look less like a frame. Eventually I found a suitable shallow “cushion” moulding – which subtly differentiates the artwork from the frame – and I think it works really well – what do you think…?
The advantage of this frame is that I can varnish it the same way the artwork is finished – with non-yellowing, UV-protective, varnish – and it doesn’t require a windowmount or glass.
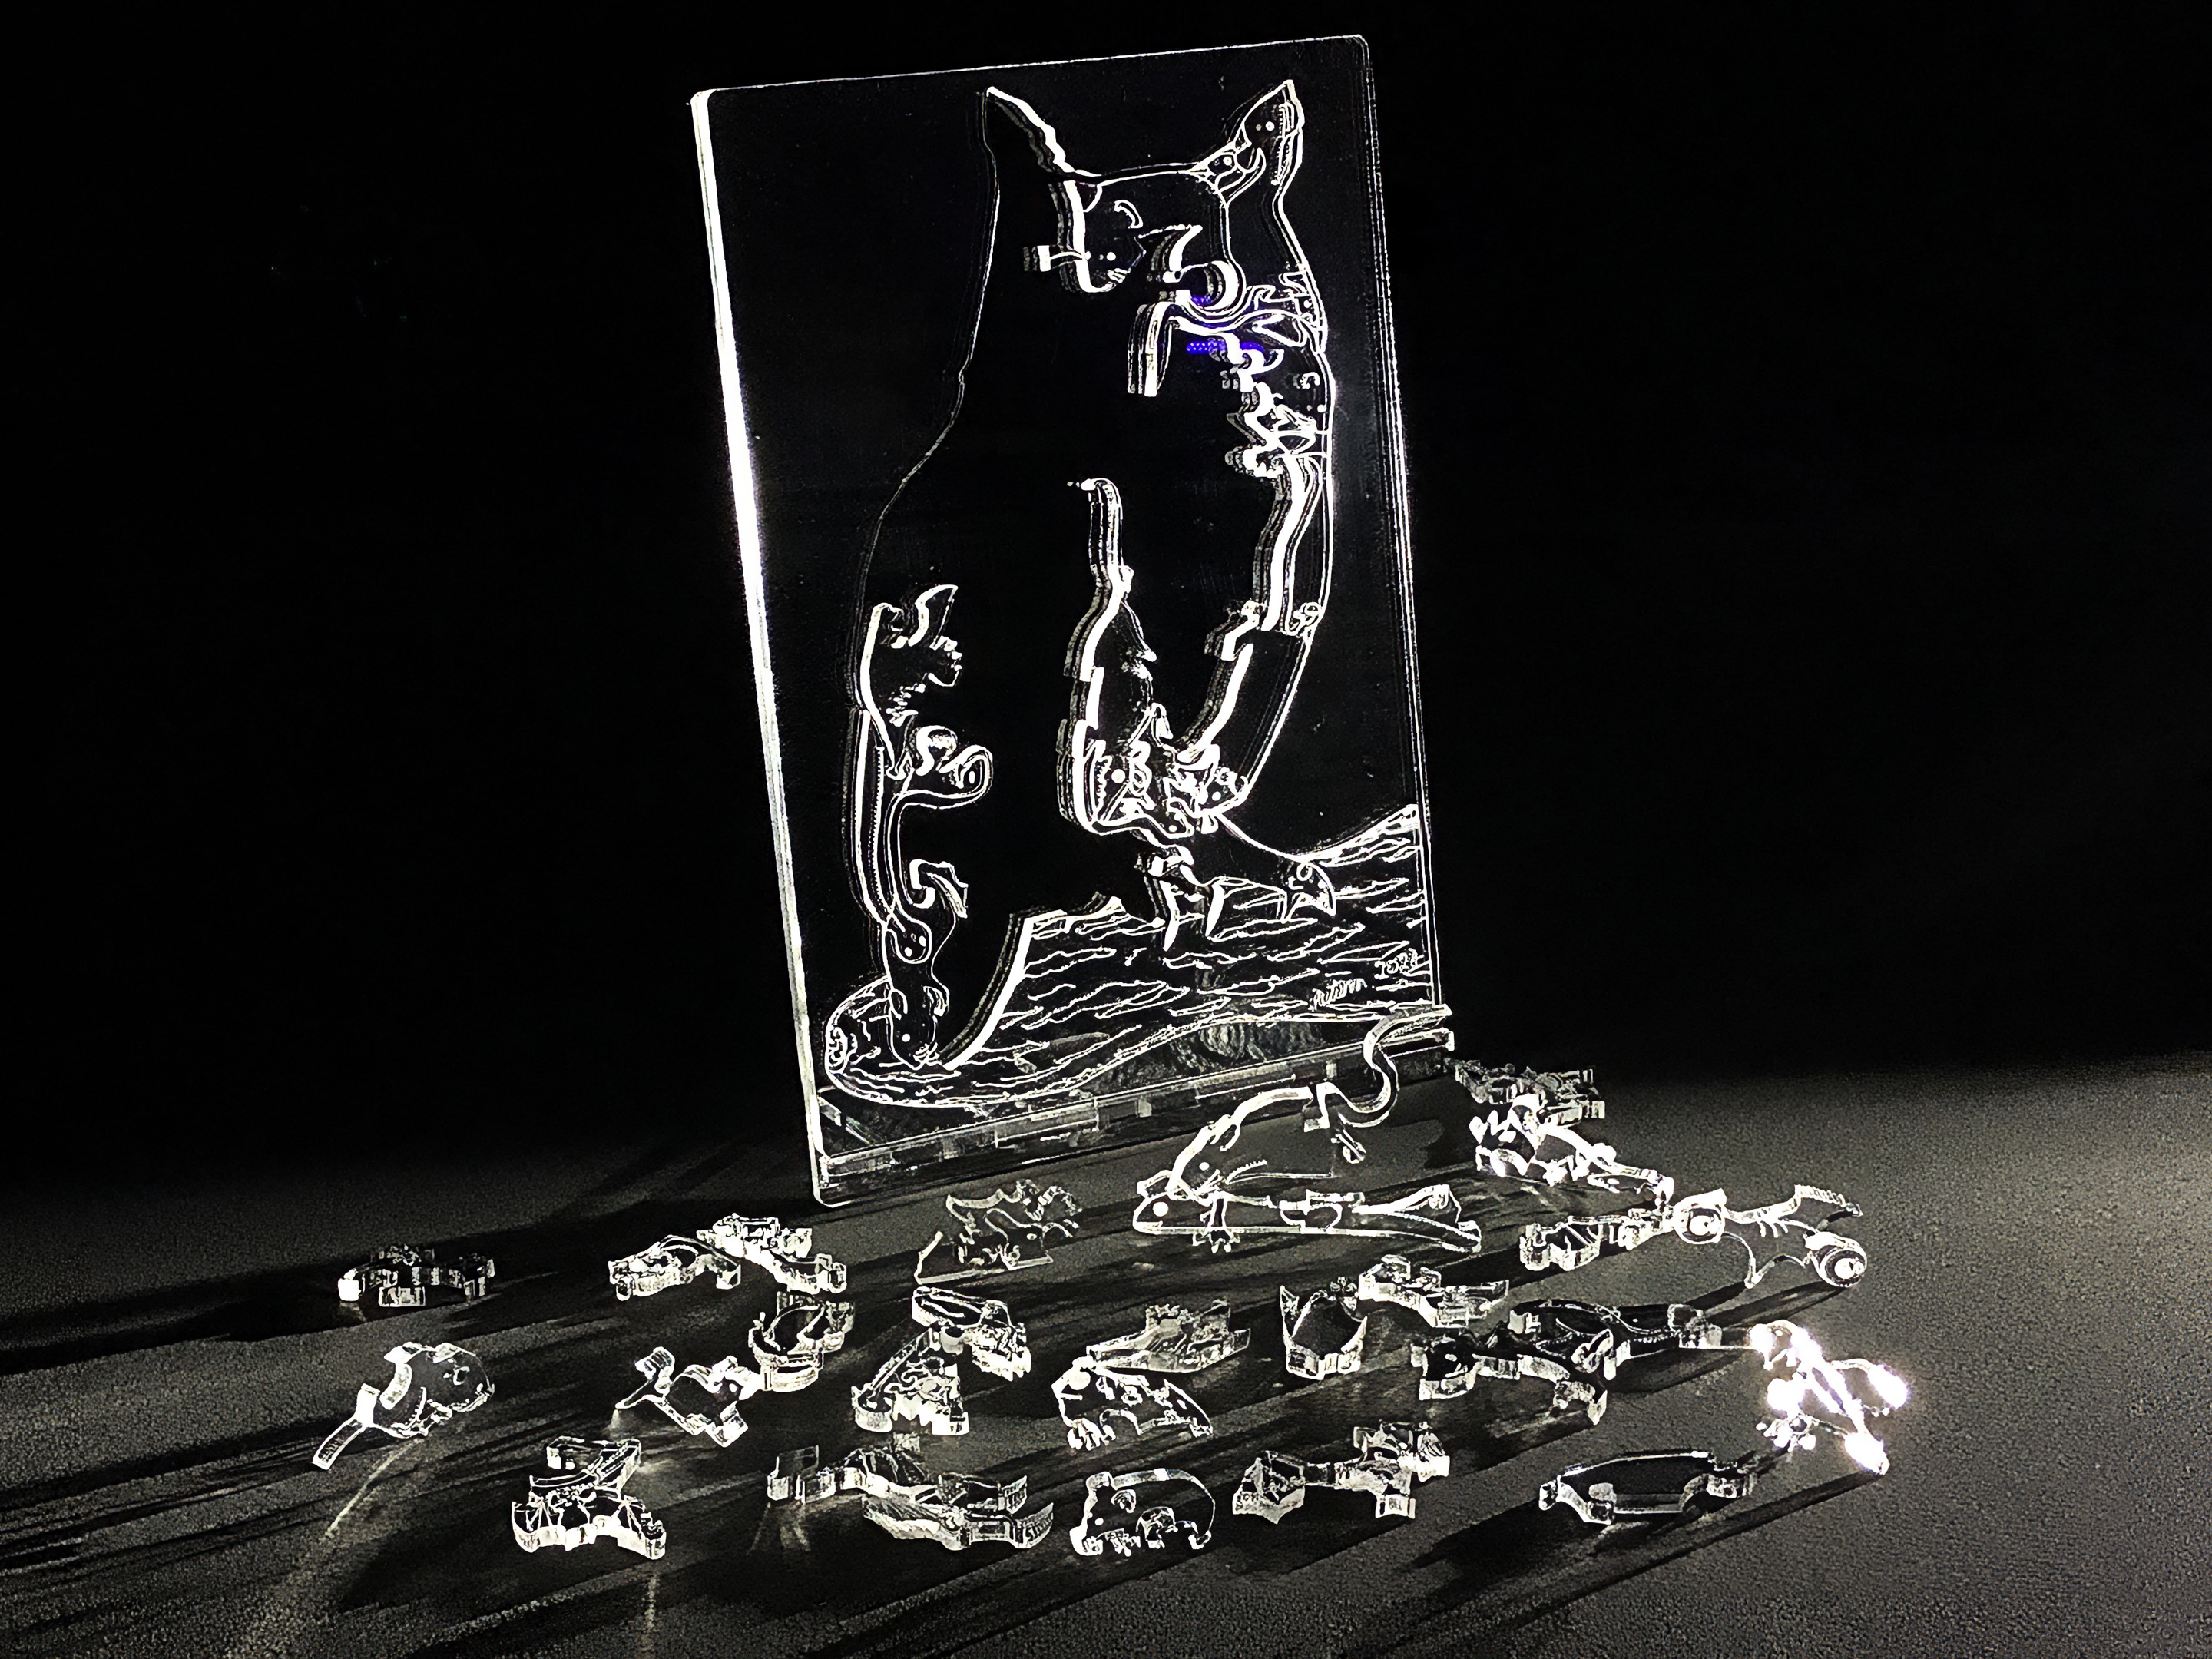
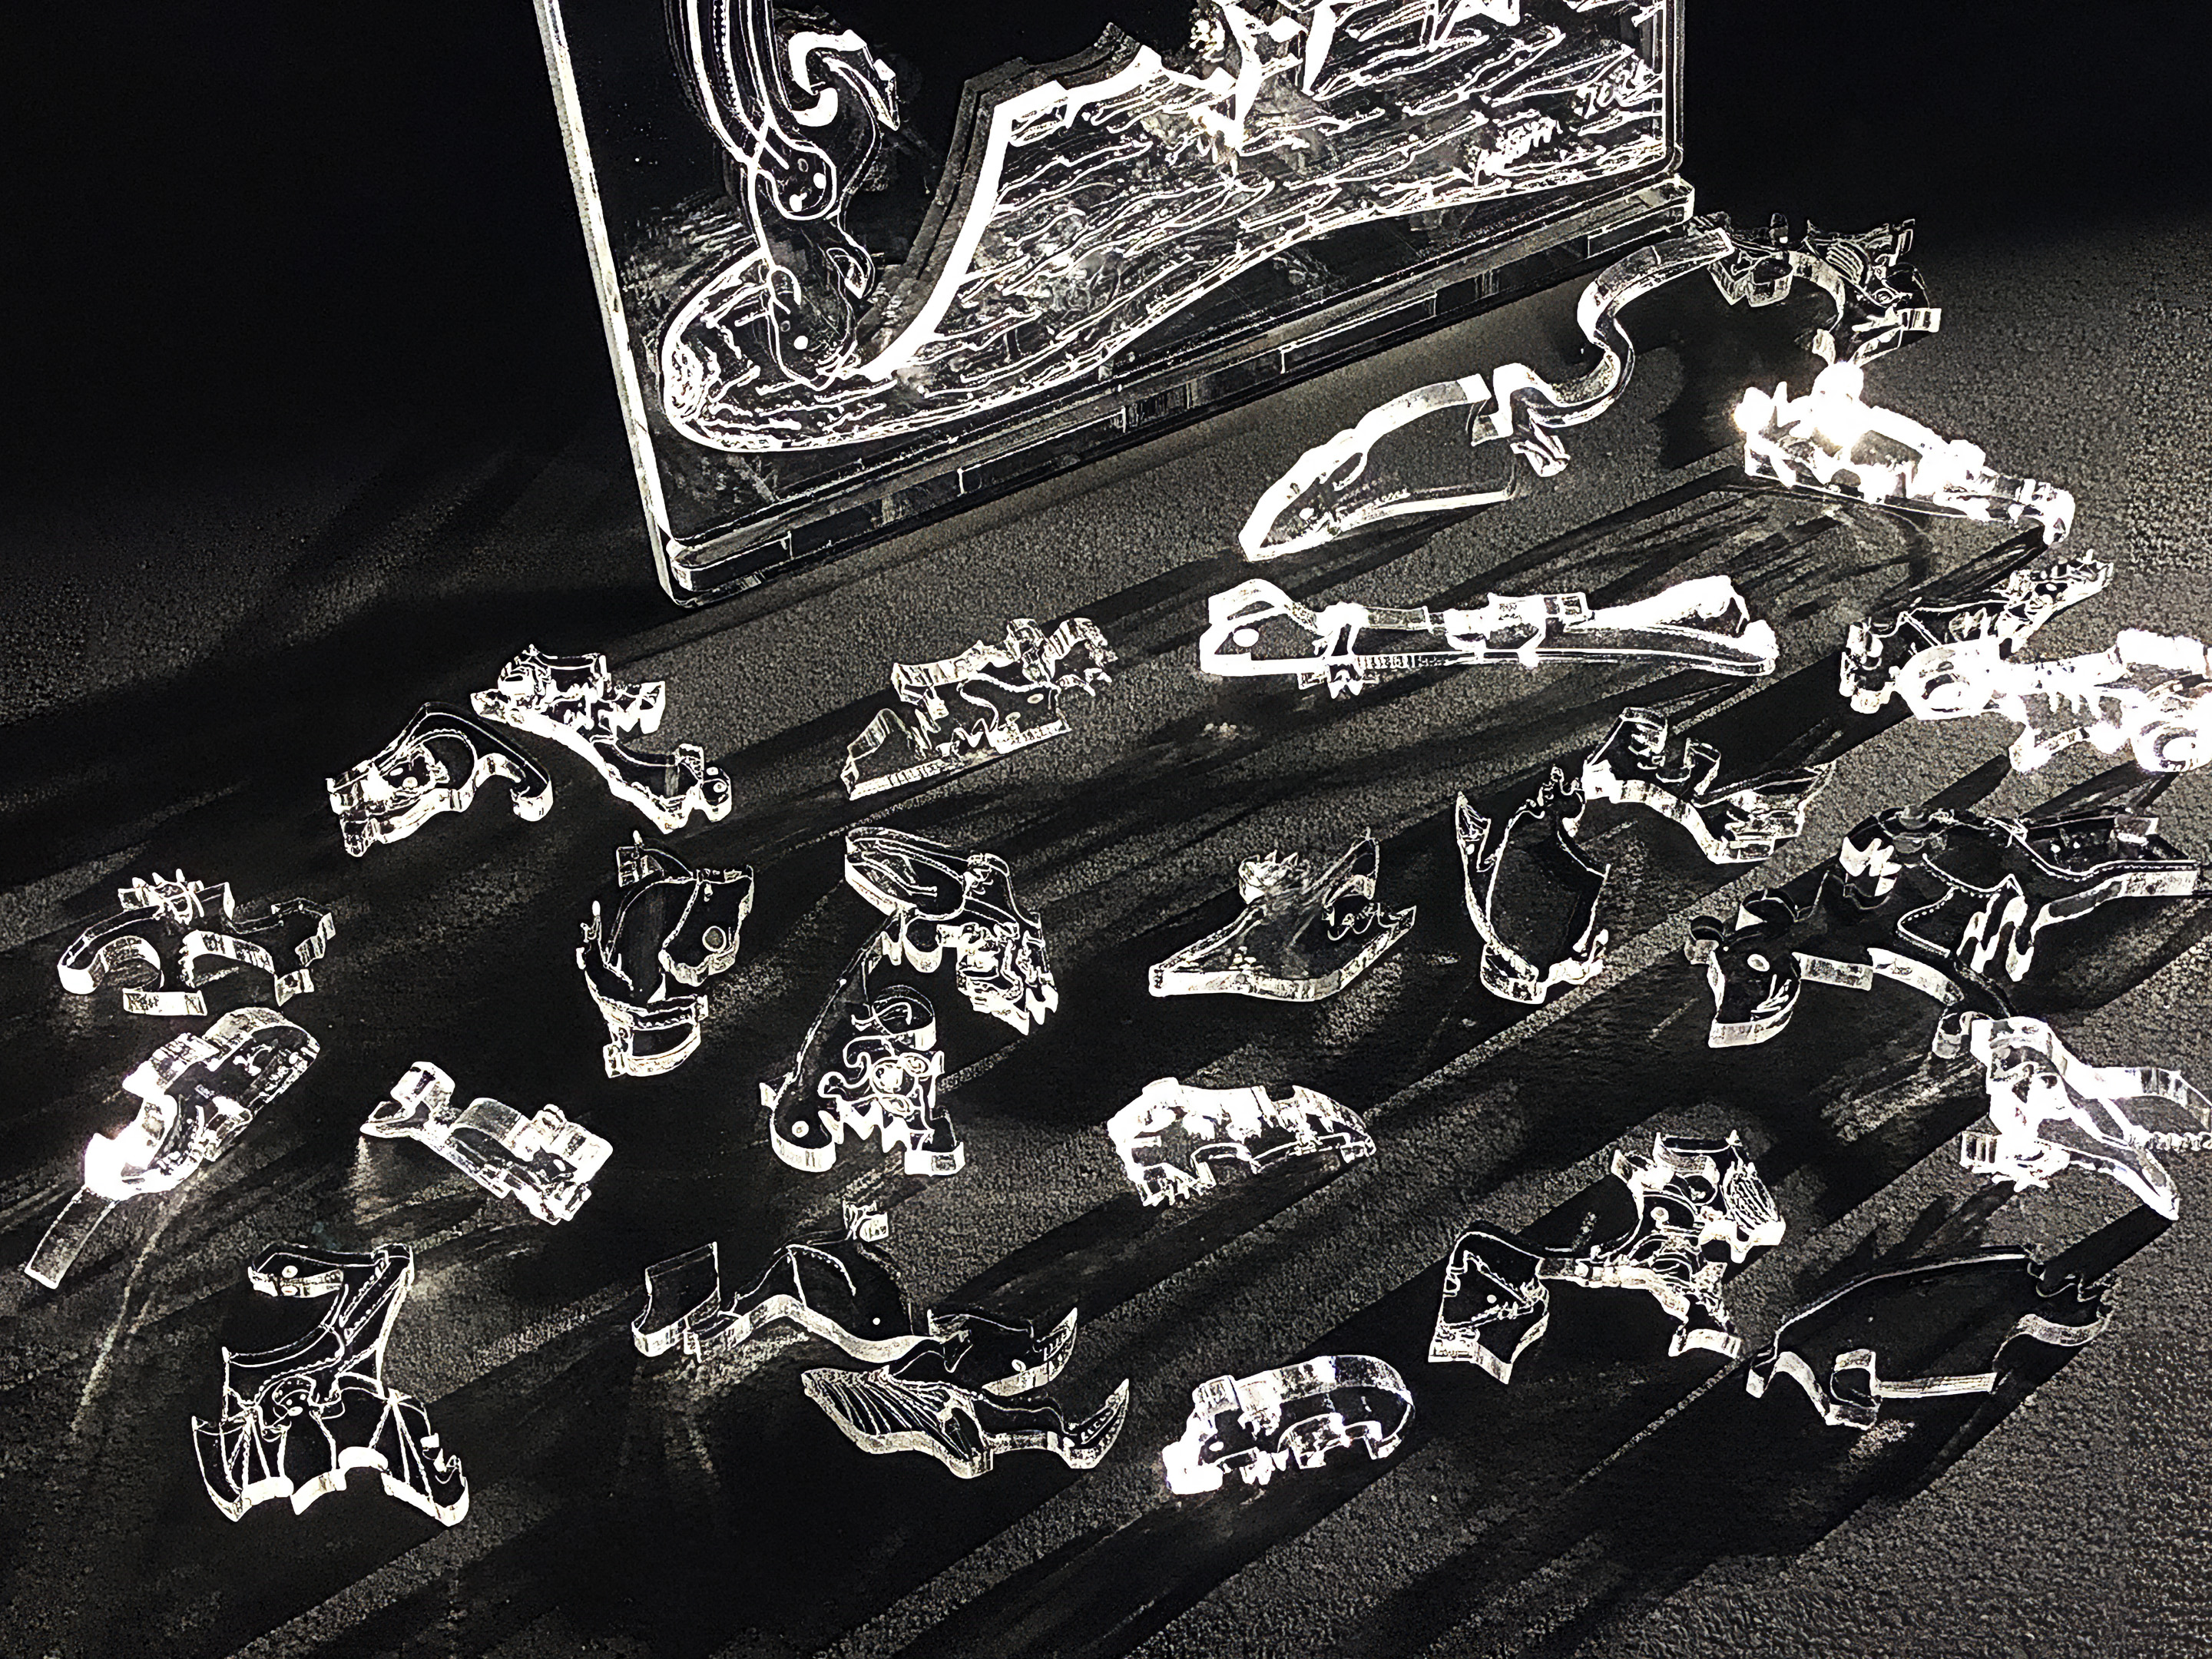
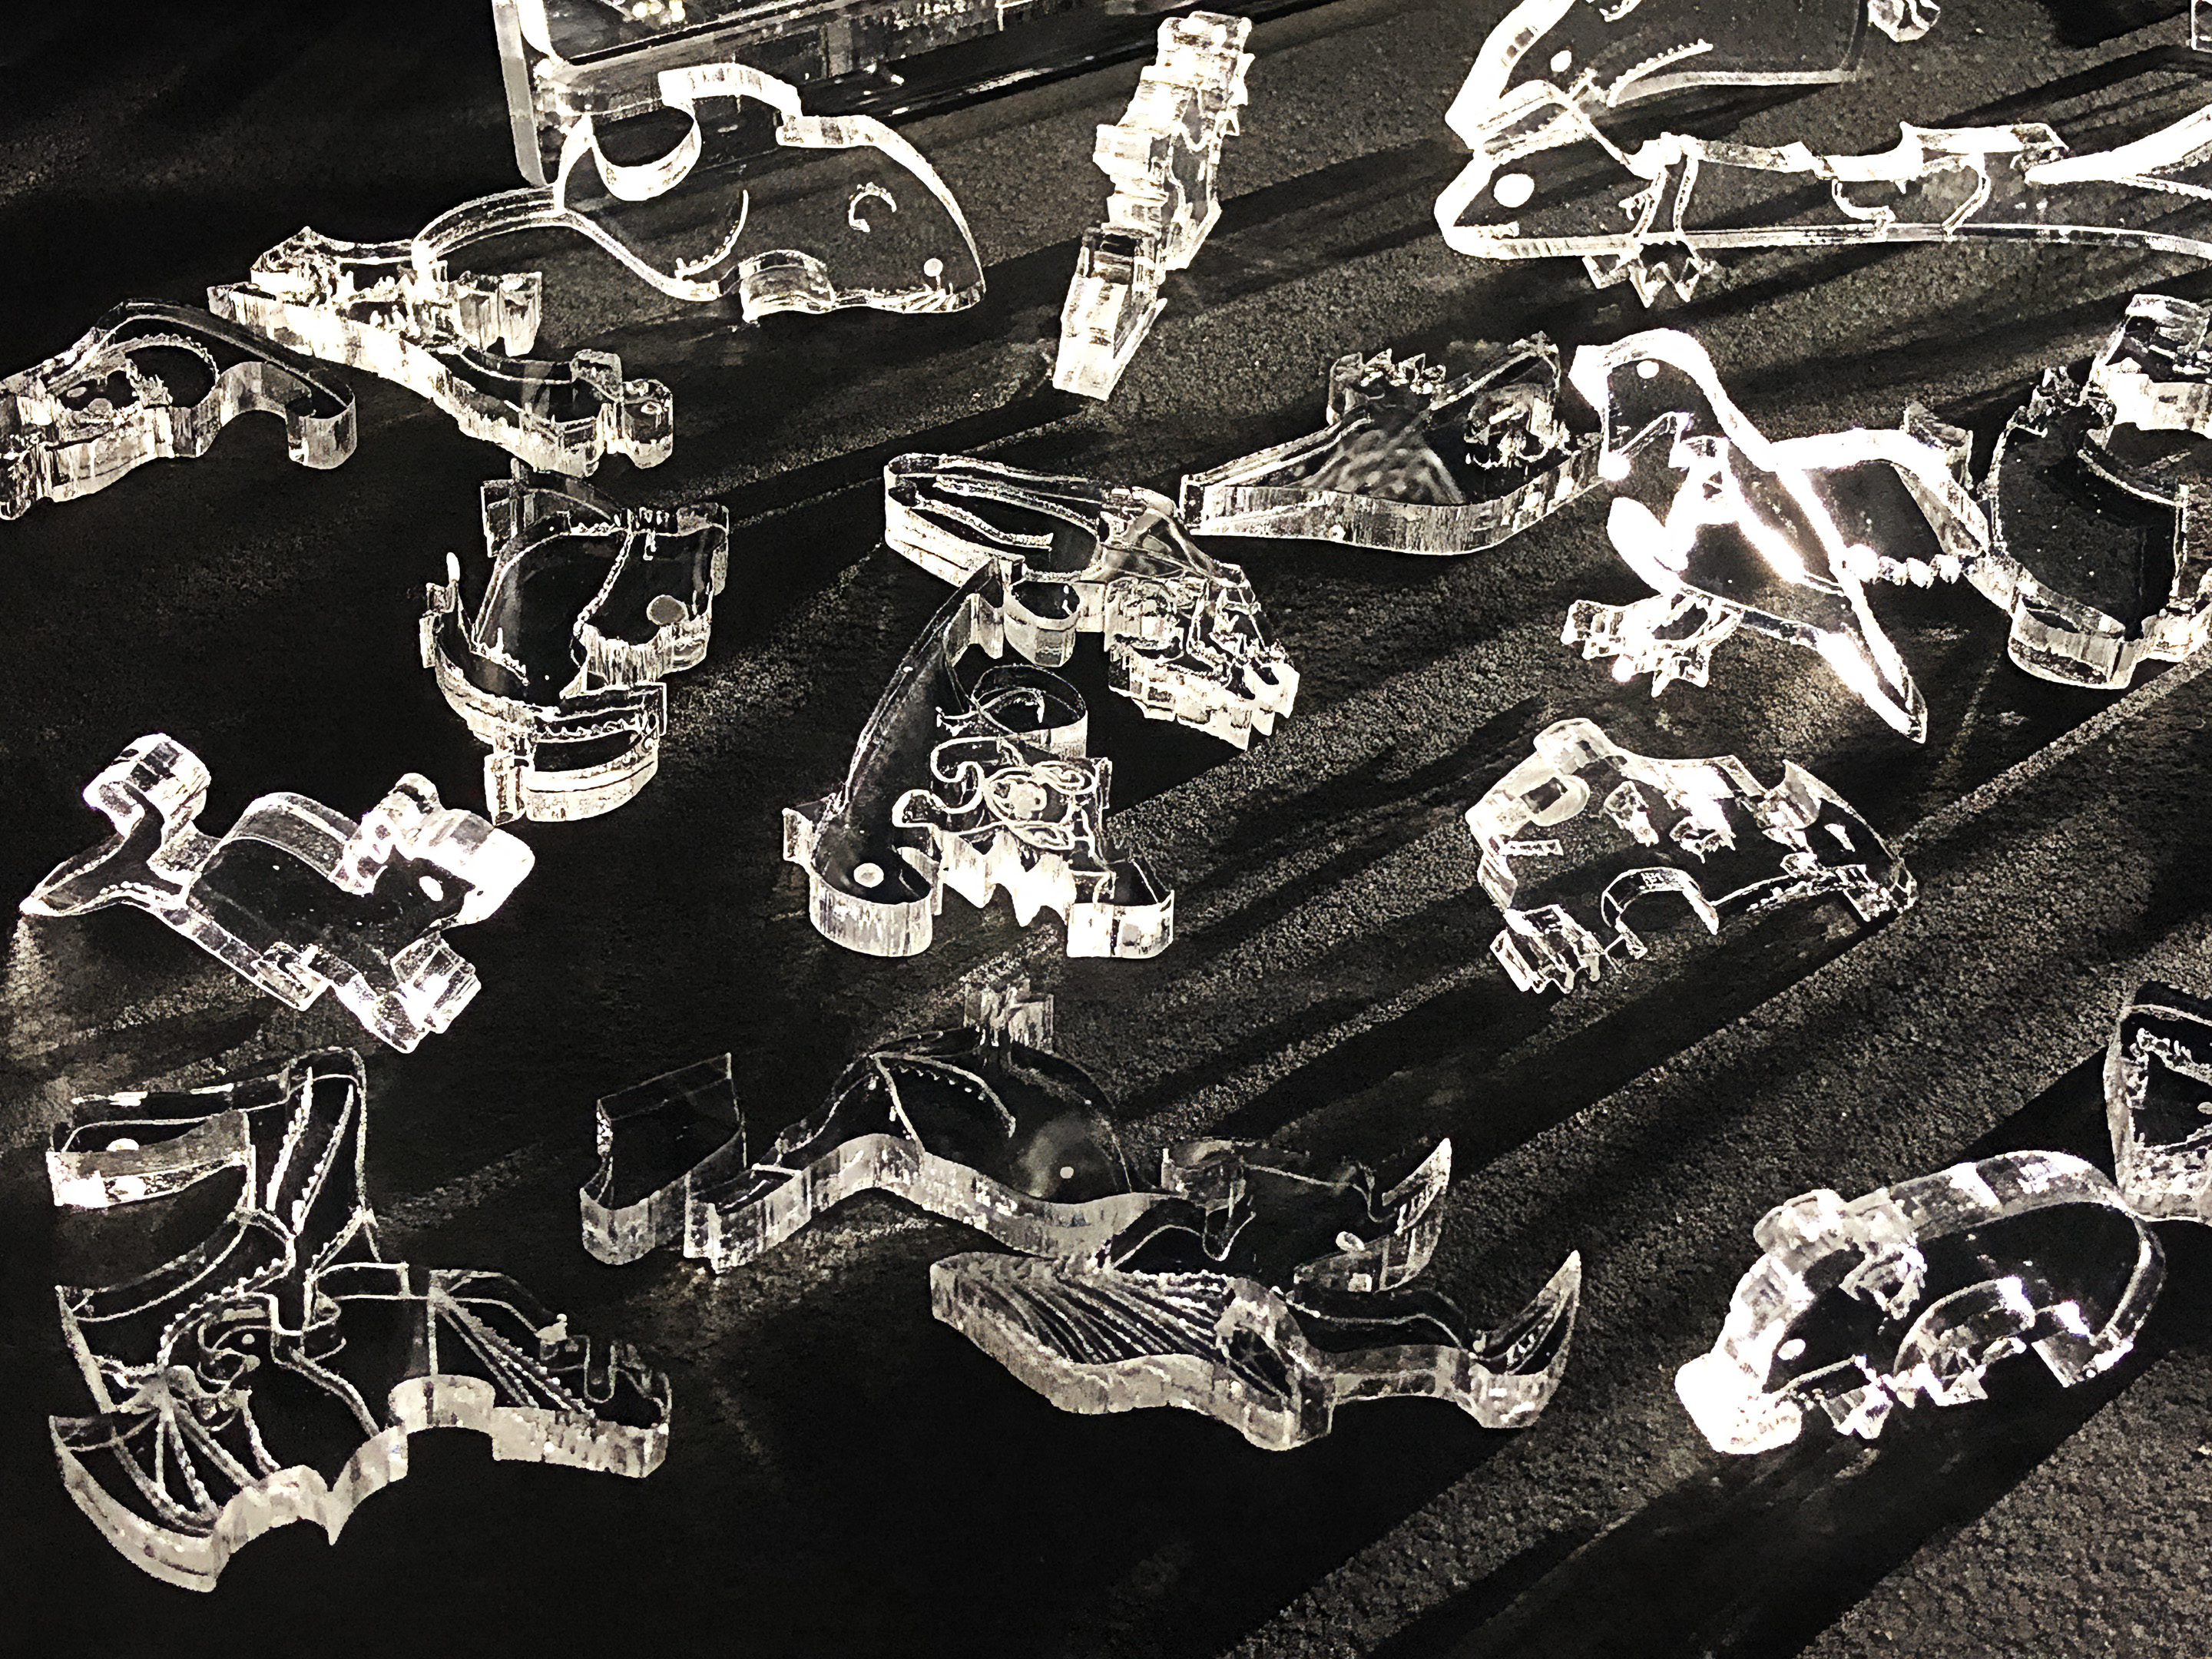
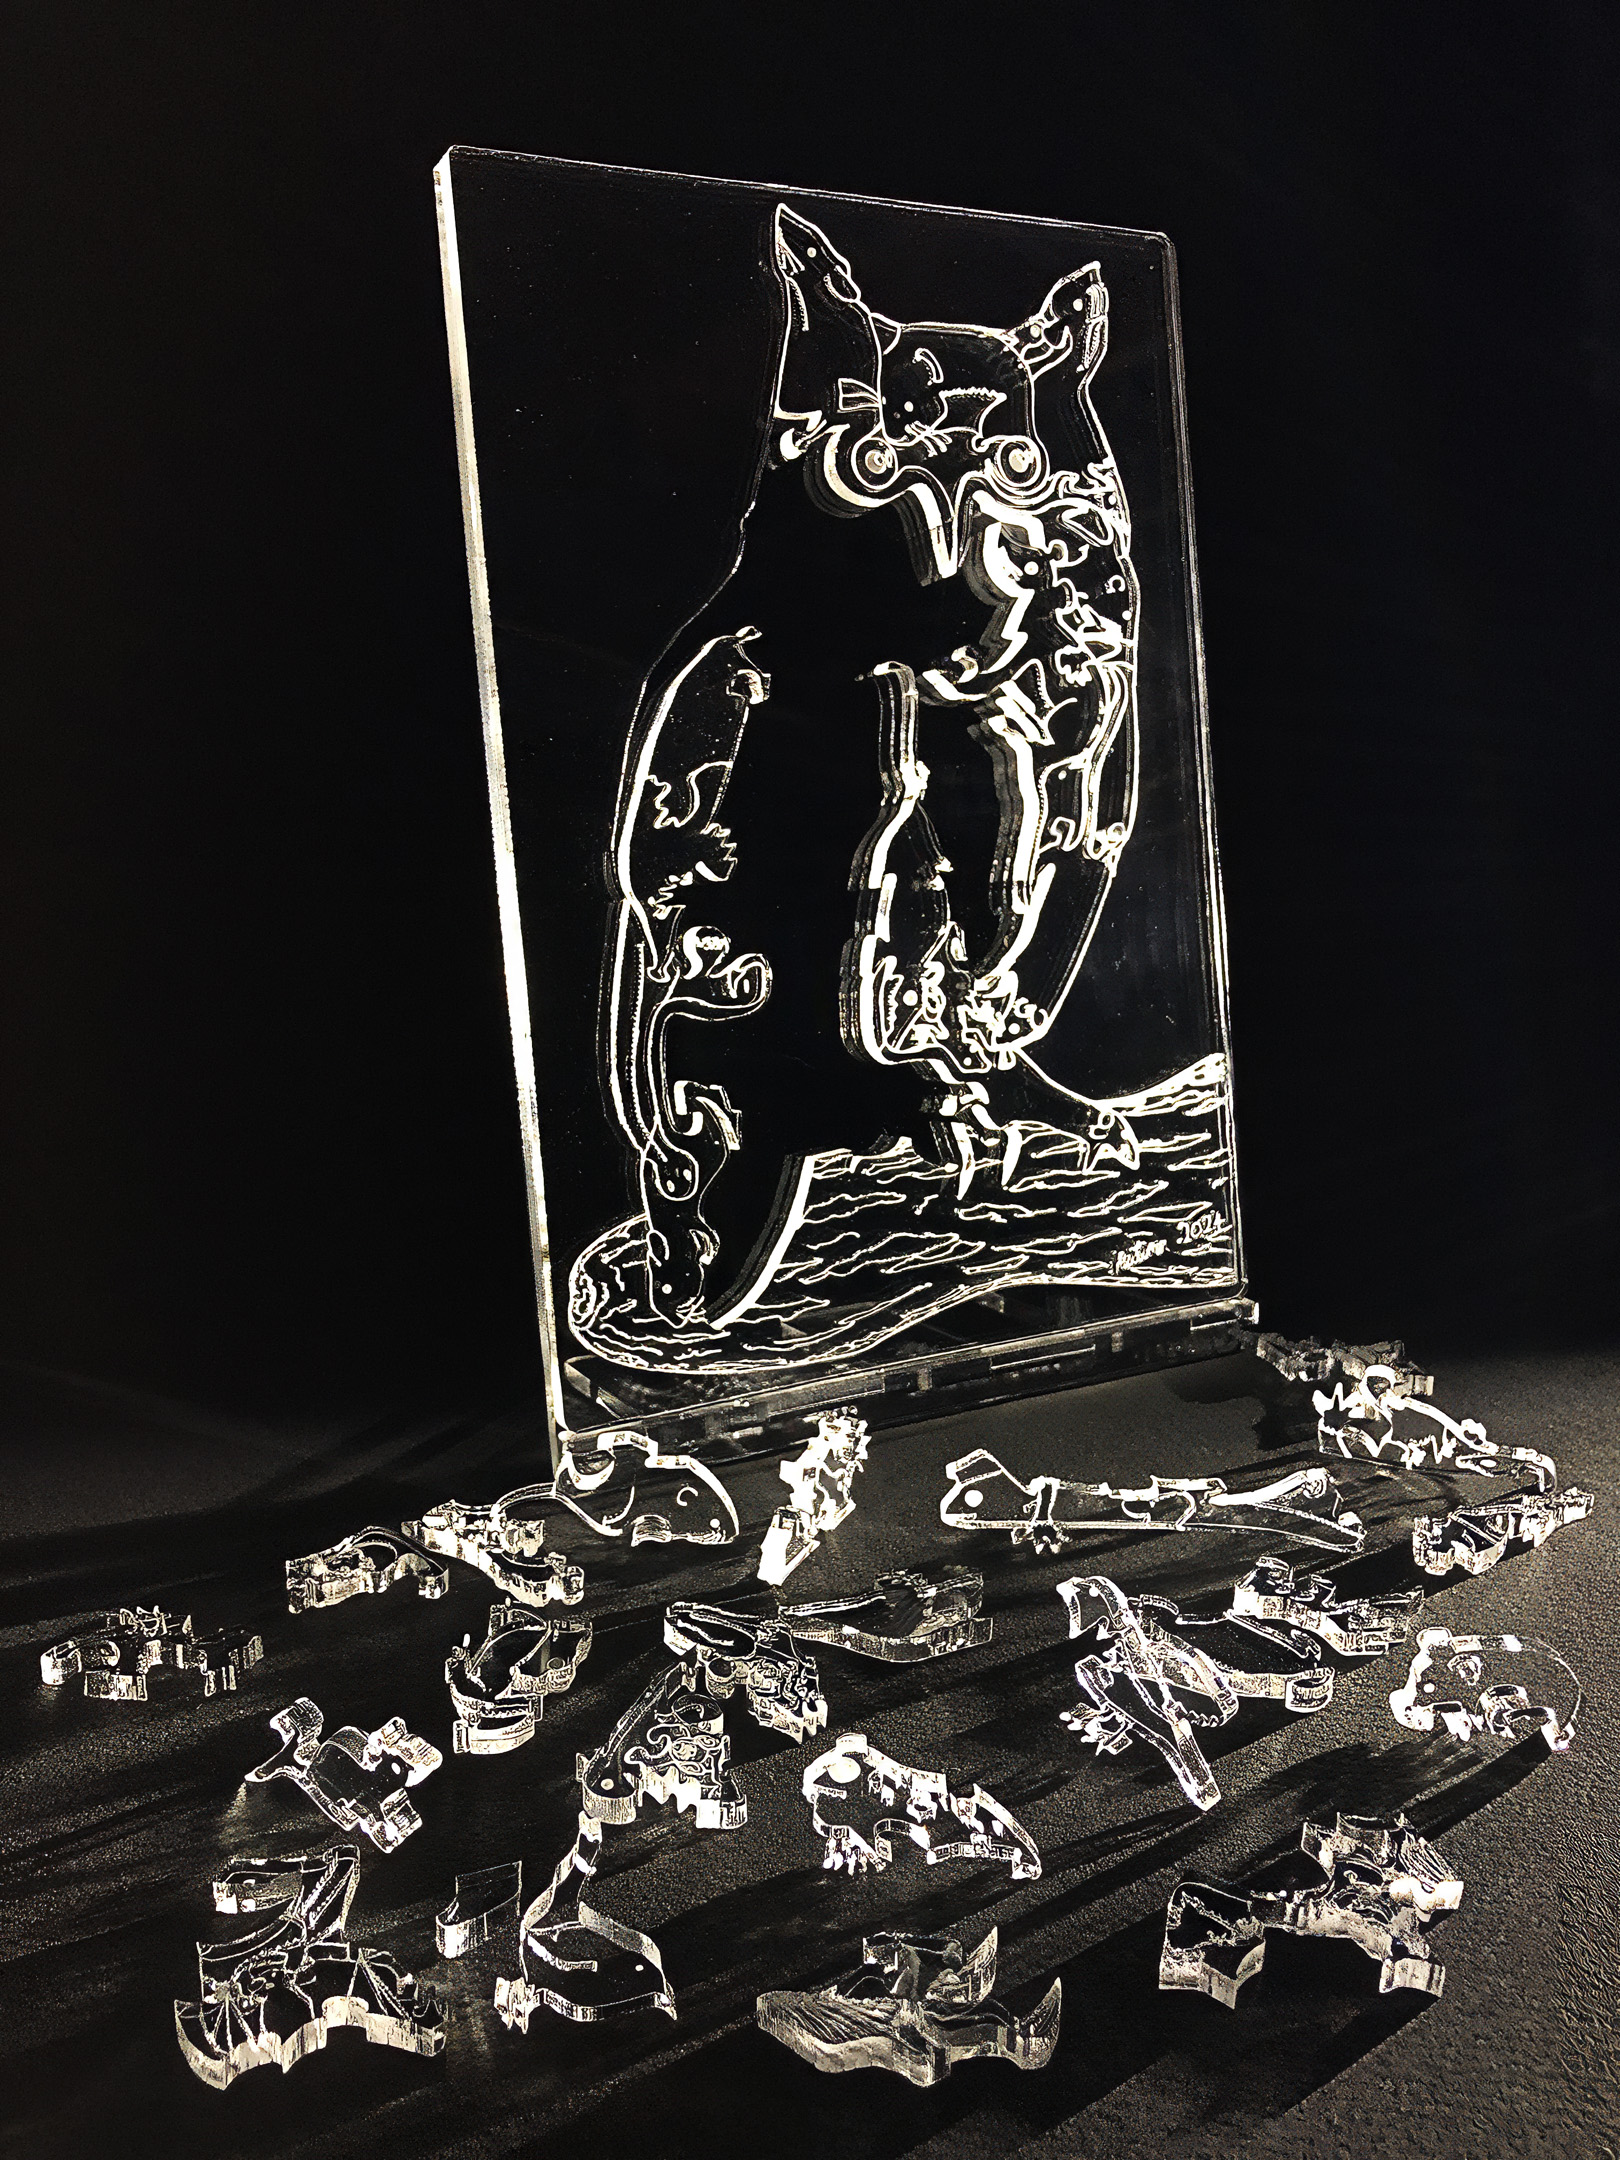
Artist: Michael Autumn Medium: Tinted/transparent/translucent/frosted/fluorescent, and opalescent cast 3mm Perspex® – laser cut & engraved from a hand-drawn digital design (with 3mm and 5mm crystal clear magnetised support panels) Size: 19cm (W) x 29cm (H) Edition: Unlimited Date: 07/2024 Country: UK For sale: A selection of colour variations is available to buy on Etsy – https://michaelautumnart.etsy.com
TL;DR
Using coloured acrylics for creating stained glass effects offers a great number of opportunities and there seems to be nothing that cannot be achieved using it compared to conventional stained glass techniques and real glass. I’m very encouraged by the future possibilities of using coloured acrylics, and have several designs already in mind. Watch this space…
Description: The idea behind this artwork was to have a tactile, life-sized, long-eared owl, and to toy with the idea – “You are what you eat”. This is my first foray into using coloured acrylics as a modern stained glass substitute. Stained glass (windows) is a really beautiful medium – not least because, unlike most other art forms, it constantly changes with light and the colour of the (sun)light shining through it. However, just like buildings today don’t have to be made from the same building materials and techniques used by the cathedral-building Normans in the mediaeval period, stained glass windows don’t have to be made with silica, lime, and soda, coloured with metallic salts – and held together with strips of lead.
I personally don’t see the point in replicating materials and techniques that have been used – and mastered – for centuries. I don’t live in the past; I live in the present. Some artists and artisans of the past can, at best (and with extreme effort), be matched – but it’s exceedingly unlikely that they can be surpassed. I’m talking about the likes of Grinling Gibbons, Ingres, Peter Bruegel the Elder, Jan van Eyke, Albrecht Dürer, Gian Lorenzo Bernini (sculptor) – not to mention the often anonymous mediaeval stained-glass window artists.
I can learn from the past, but learning is not the same a replicating. As an artist, I’m always looking to create something new – or say something new. And a constant challenge is to create something different – something that stands out from the crowd, and hasn’t been done before. In my opinion, in the art world it’s a waste of time to do what someone has done before… That is what an artisan does – not an artist…
Glass is a truly wonderful, diverse, and lovely material – particularly with its ability to be coloured (tinted) – but it has its limitations. The old severe limitations of cutting it have been completely overcome by the use of modern day lasers, but it’s very brittle, sharp, and dangerous! This leaves one with the option to work within glass’s limitations, resort to cast moulding (and its limitations), or look for alternative materials that achieve similar results…
Poly(methyl methacrylate) (PMMA) is the synthetic polymer derived from methyl methacrylate. It is used as an engineering plastic, and it is a transparentthermoplastic. PMMA is also known as acrylic, acrylic glass, as well as by the trade names and brands Crylux, Hesalite, Plexiglas, Acrylite, Lucite, and Perspex, among several others (see below). This plastic is often used in sheet form as a lightweight or shatter-resistant alternative to glass. It can also be used as a casting resin, in inks and coatings, and for many other purposes. It is often technically classified as a type of glass, in that it is a non-crystalline vitreous substance—hence its occasional historic designation as acrylic glass.
Wikipedia
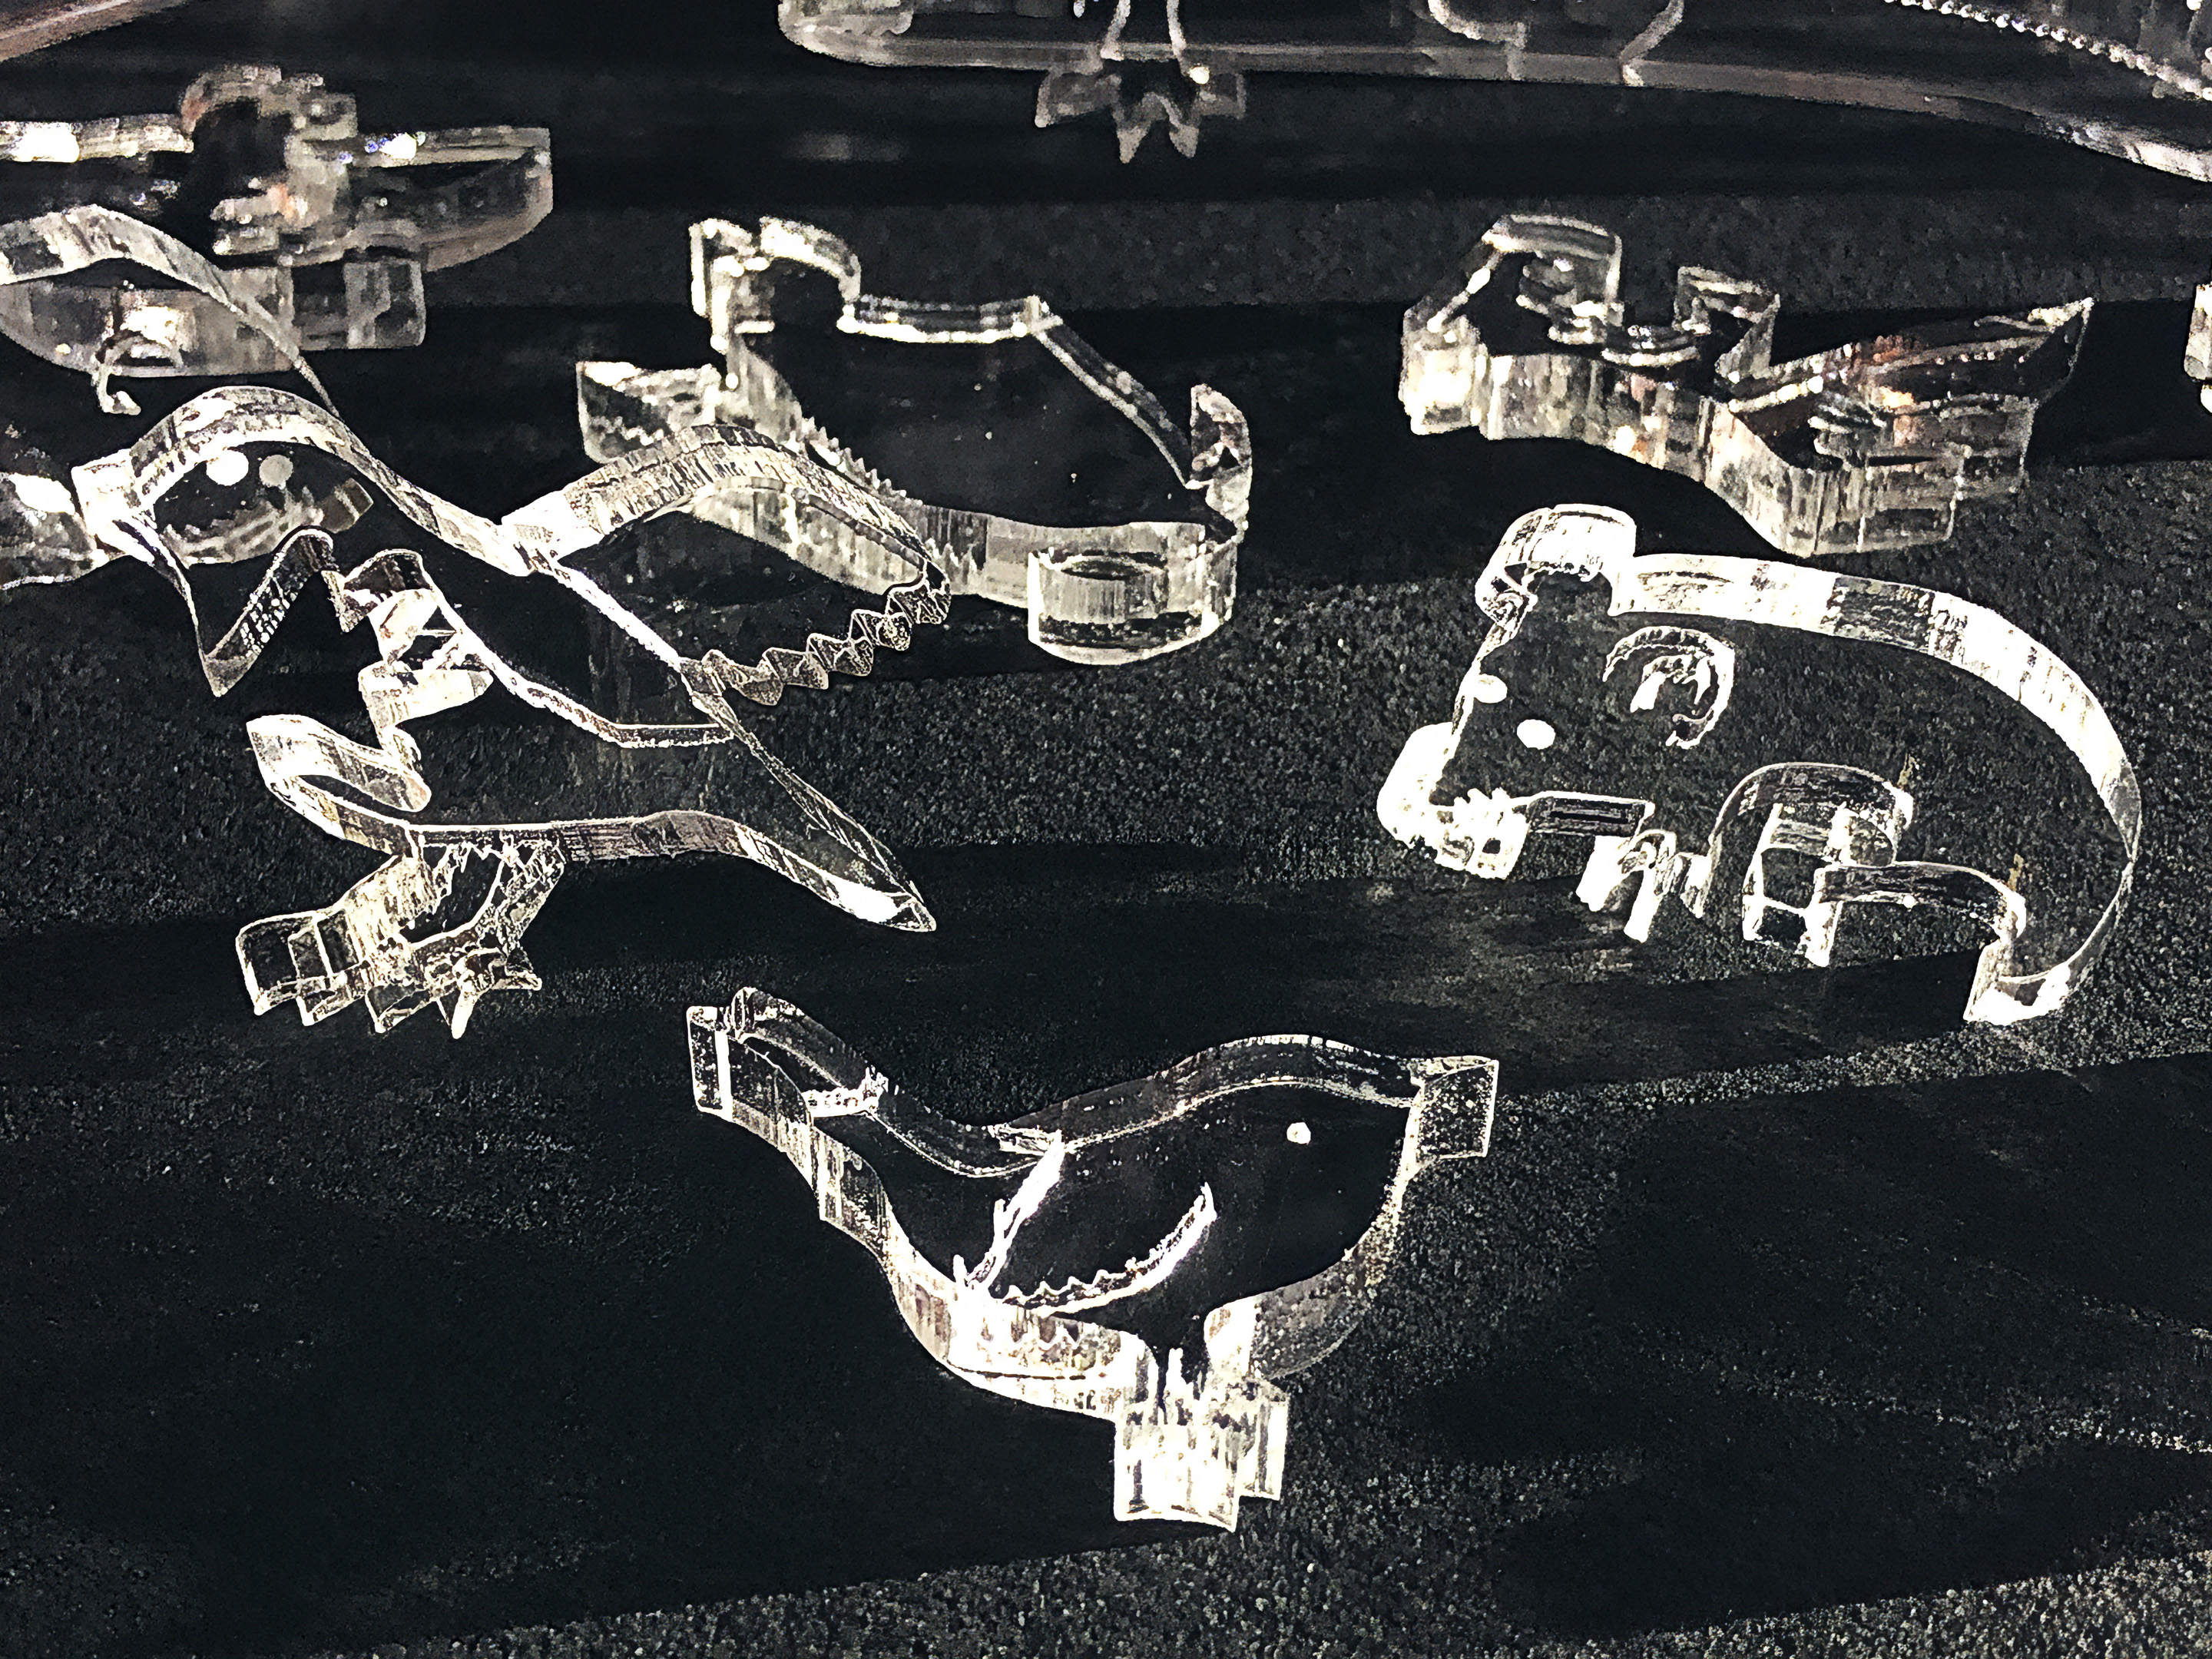
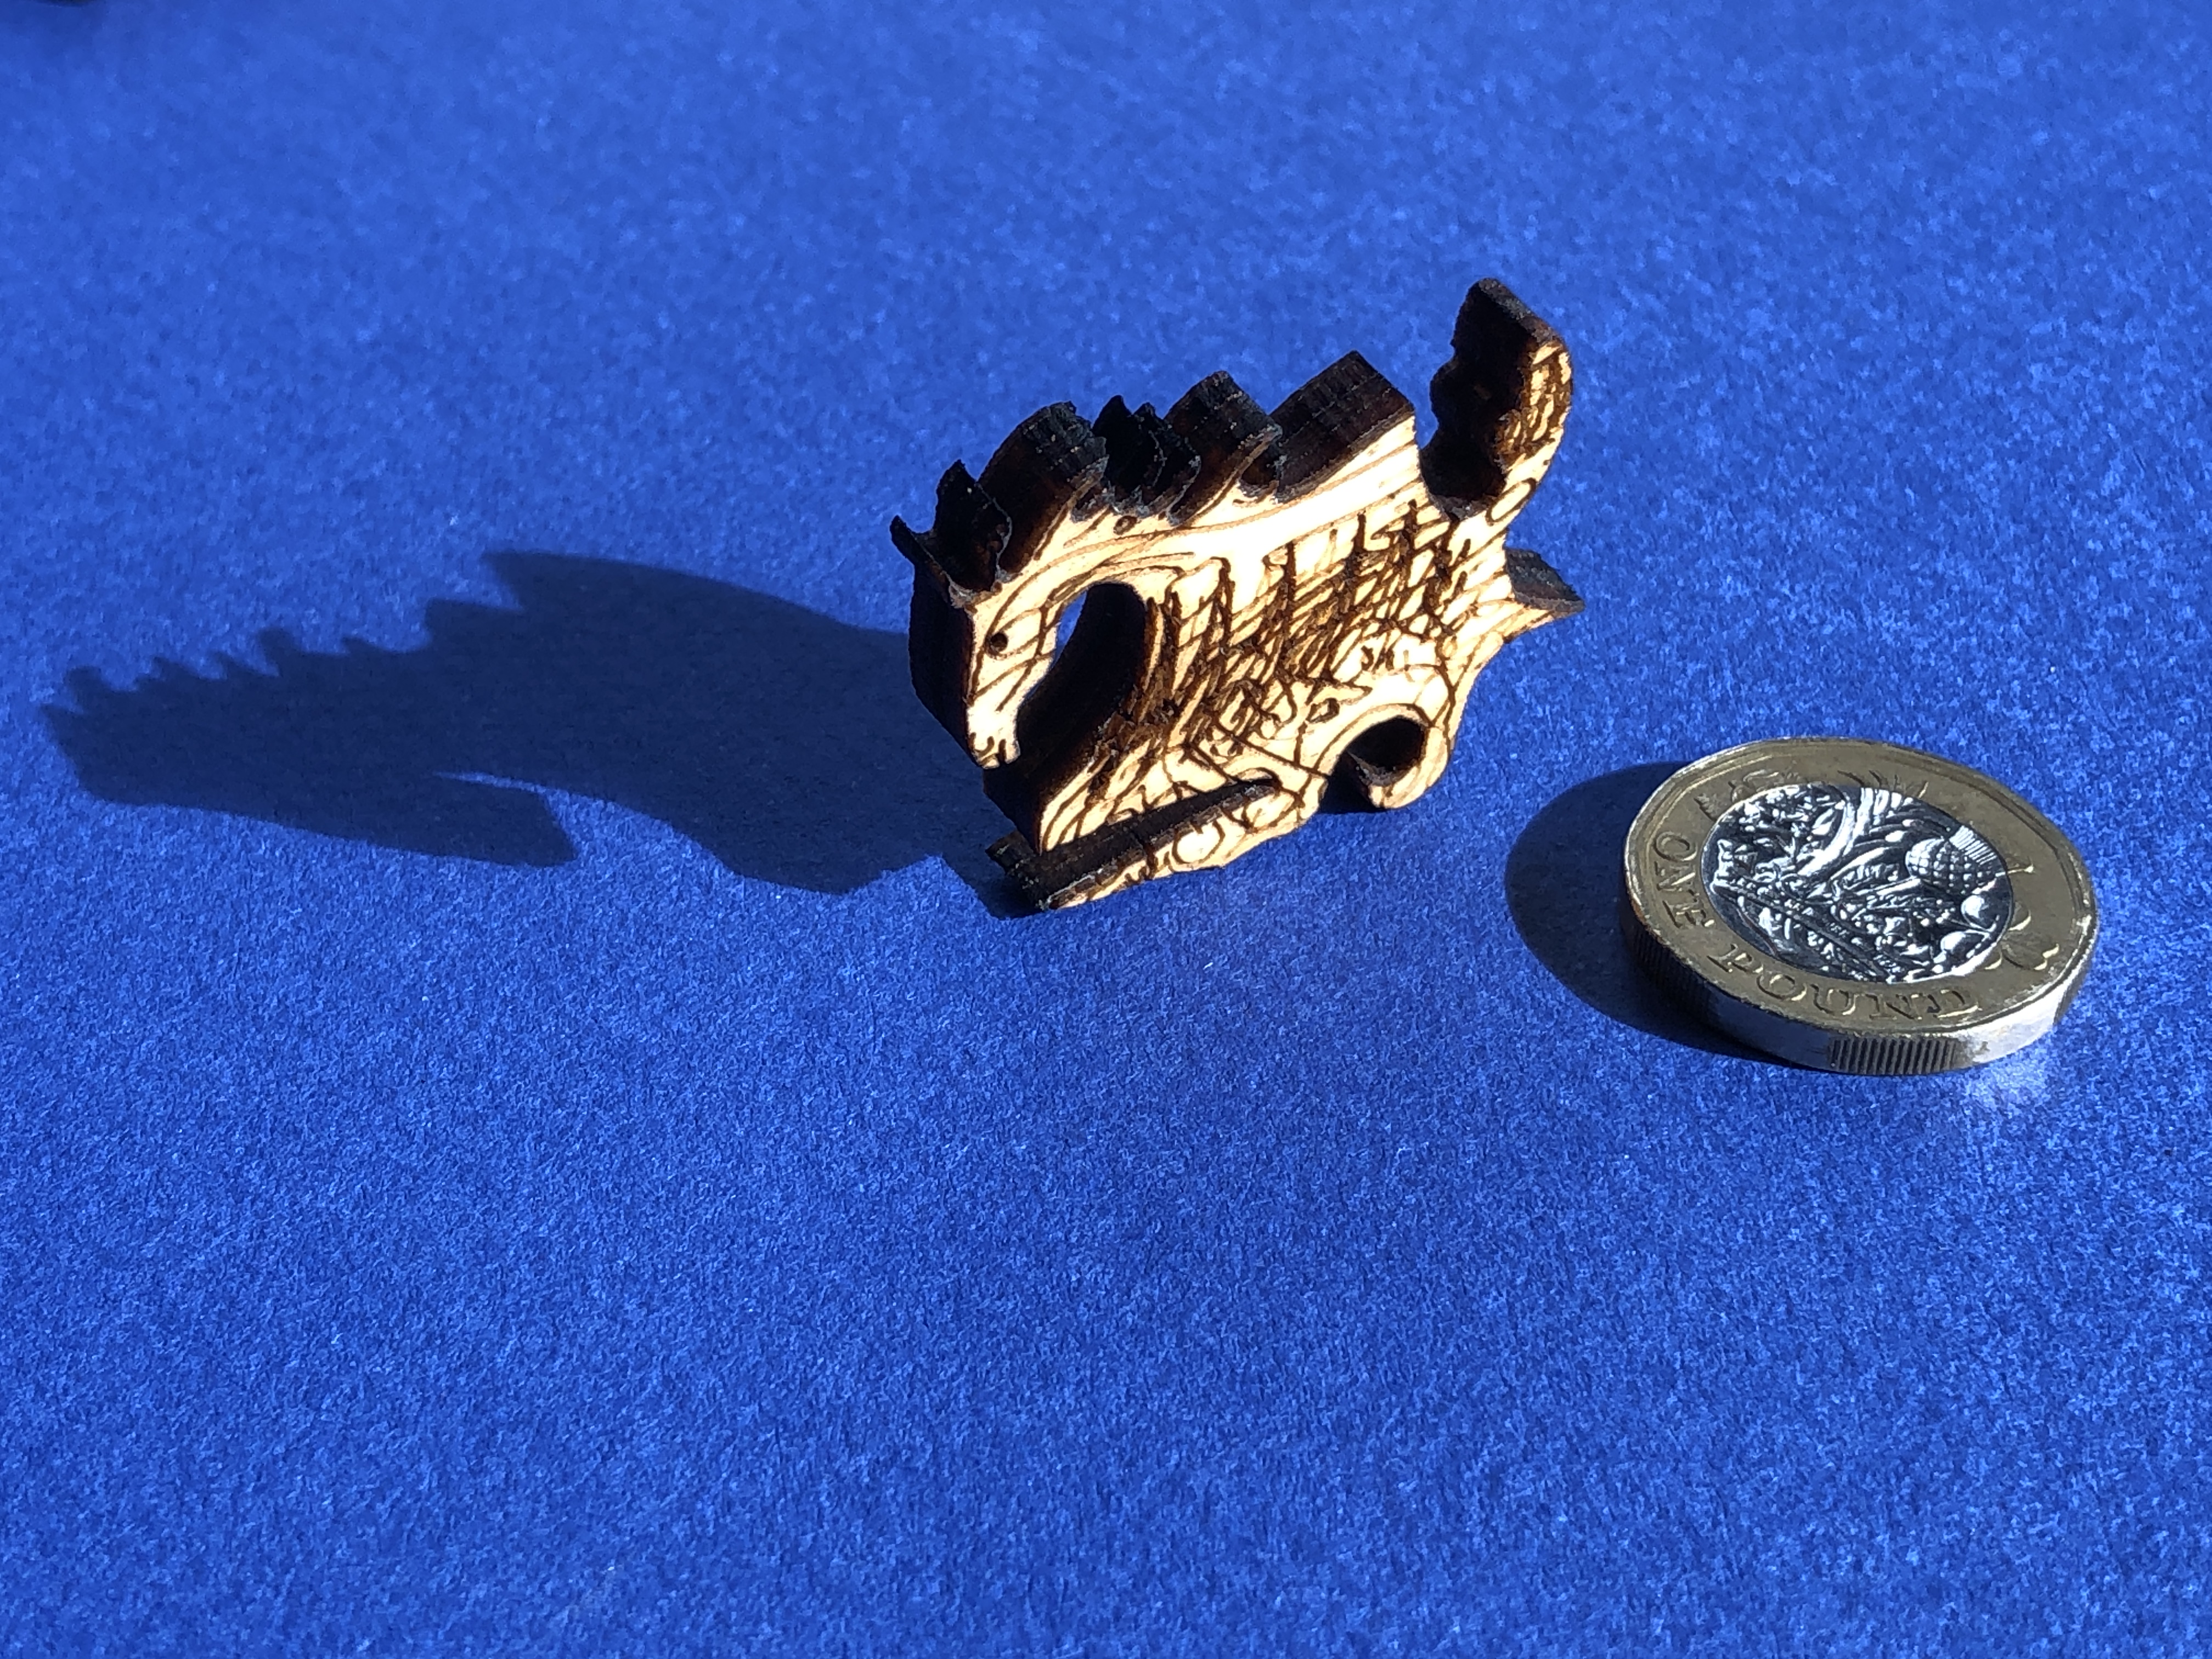
Clear cast acrylic already matches conventional glass in many respects – and in some cases surpasses it. Clear acrylic can transmit up to 97% of light passing through it (compared to more like 90% in normal glass), it’s less dense (and therefore lighter for the same volume) than glass (but up to 20 times stronger), doesn’t shatter like glass, is nowhere near as sharp – and therefore much safer to handle. Acrylic, like glass, can be cut with a laser. This last point is extremely important because the laser literally vaporises the acrylic in its very narrow path. This allows for extremely intricate cutting. I’ve achieved approximately 1mm wide cuts in a 3mm thick sheet – see below :-
I do quite a lot of museum-level picture framing, and it’s noteworthy that acrylic glass is the “glass” of choice for practically every museum. Like glass, it can be painted on, and it’s naturally more UV blocking than glass. So the only downside to using acrylic that I can think of is that it’s much softer, and therefore more easily scratched, than glass – and so it needs to be handled very carefully (but so does glass…!).
After successfully managing to very intricately and smoothly cut and engrave clear 3mm & 5mm acrylic in this artwork –
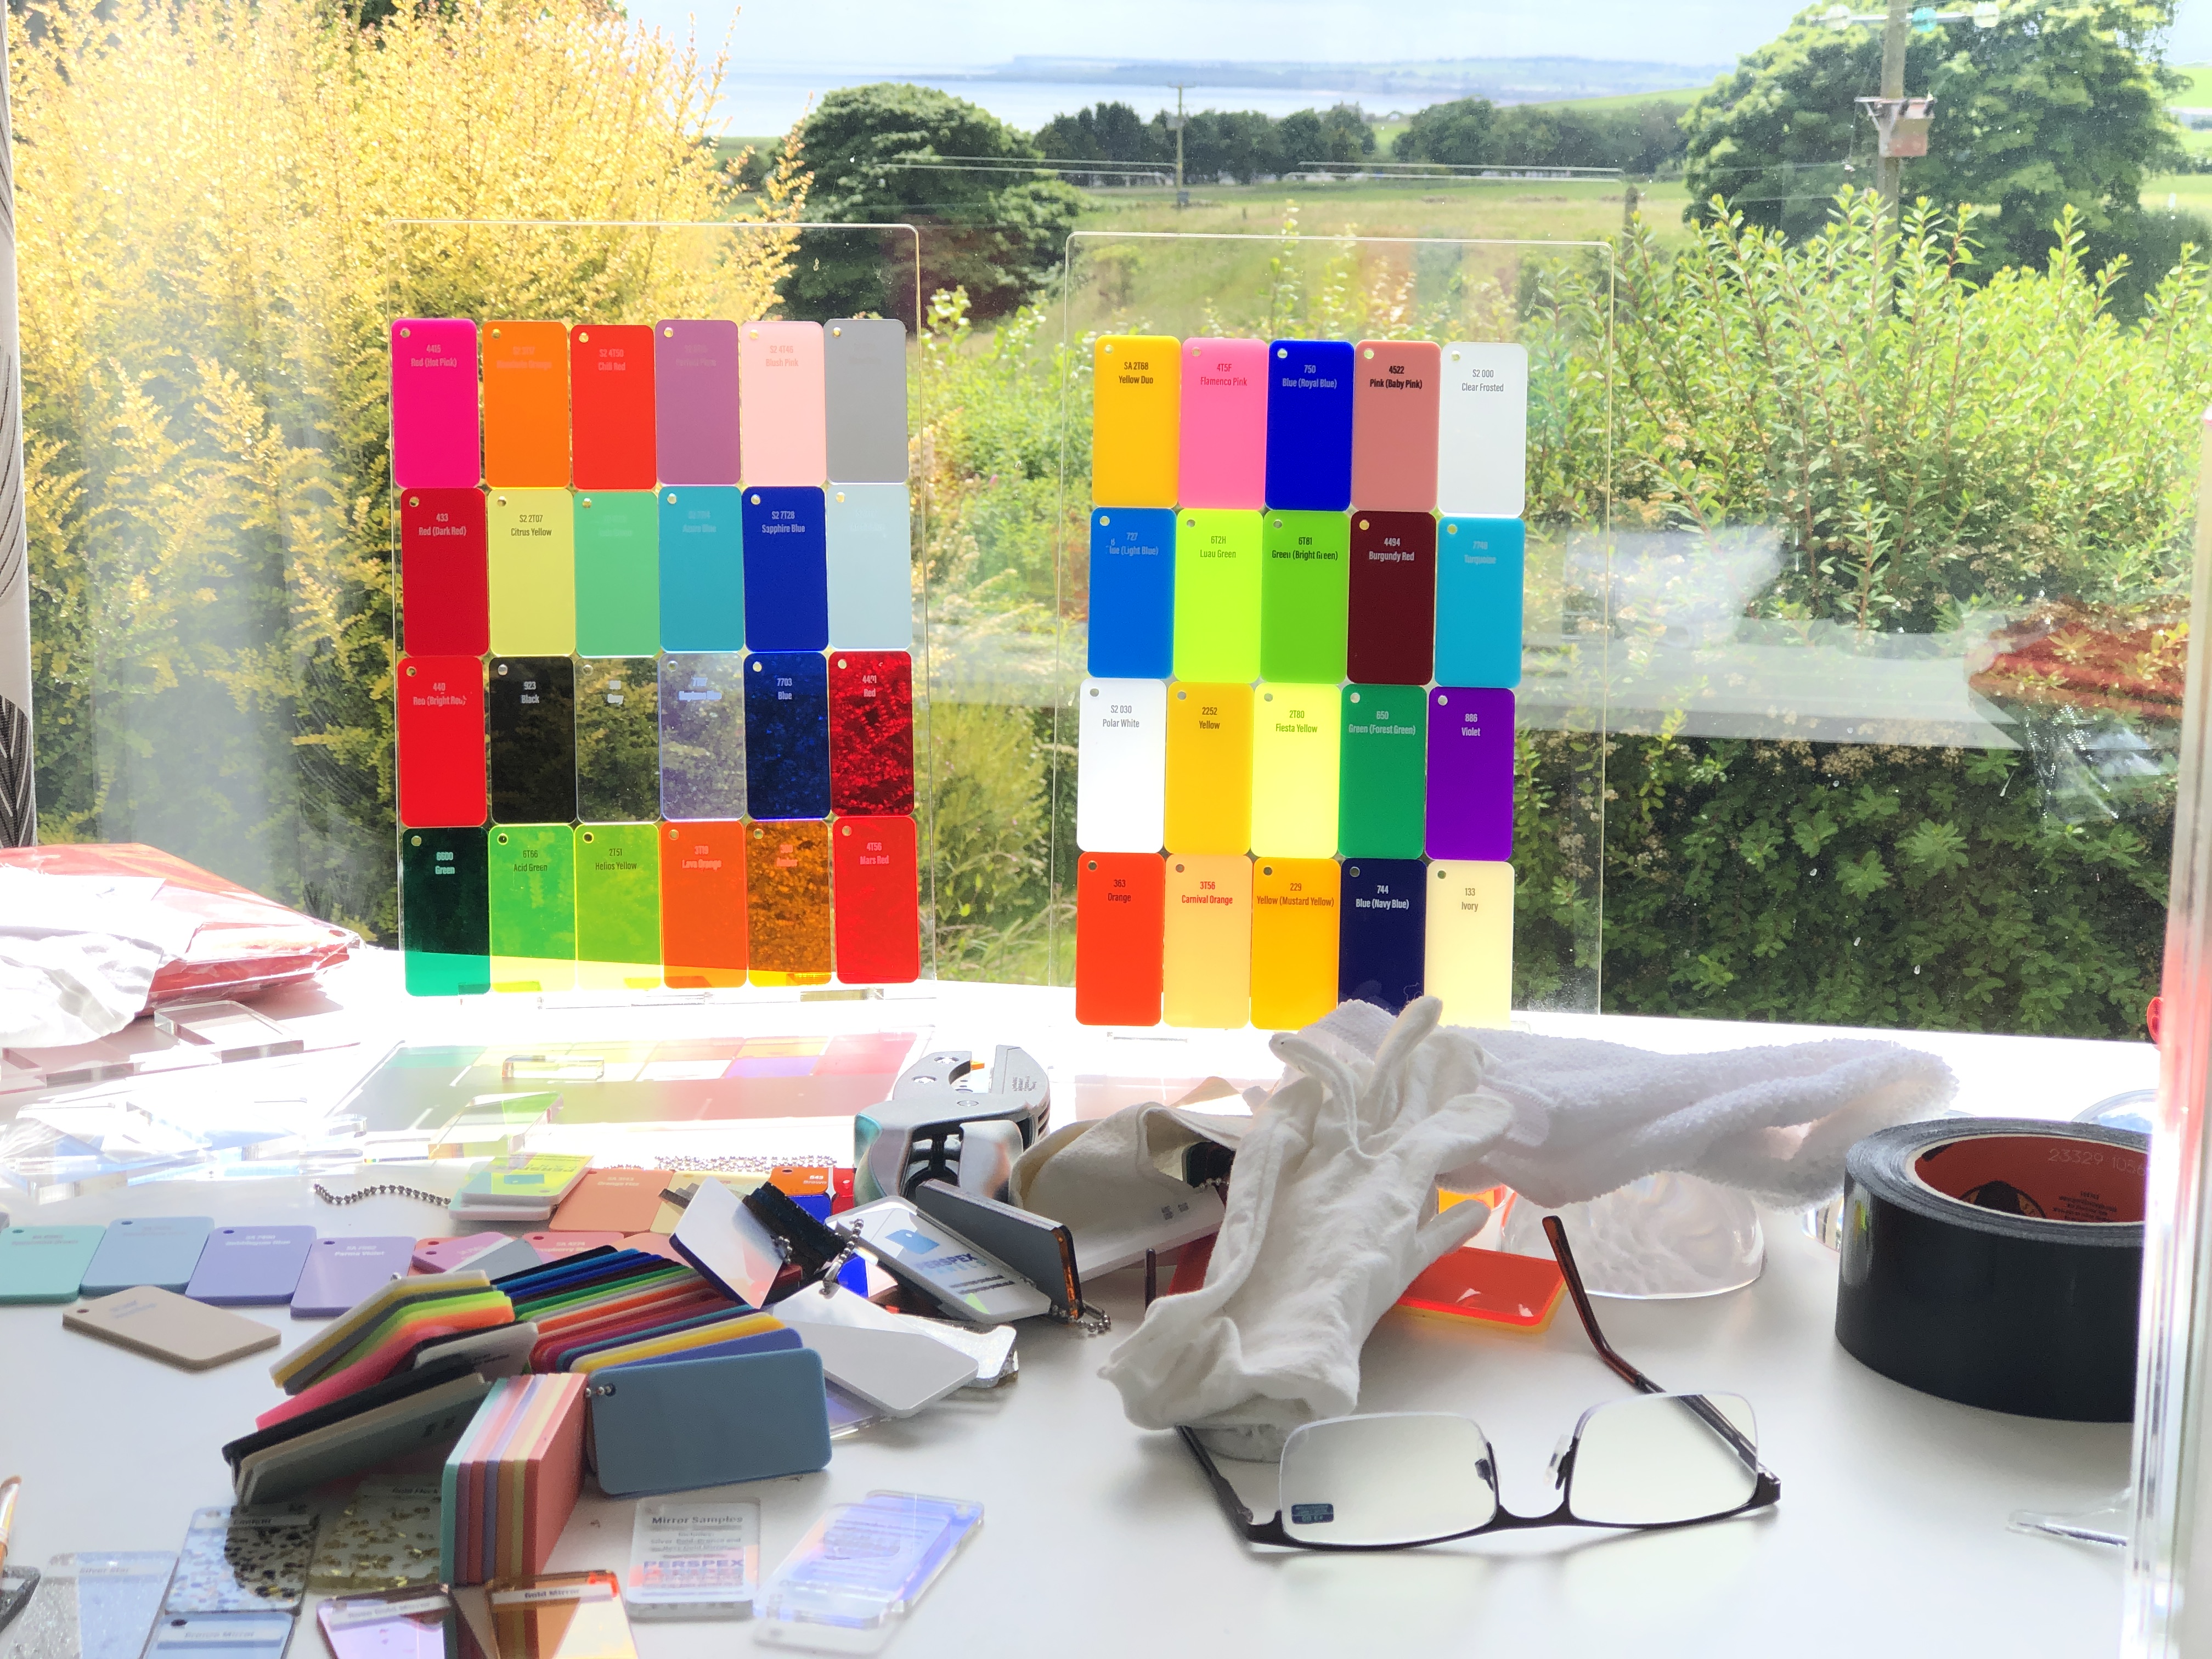
…I thought it would be extremely interesting to try cutting and engraving coloured 3mm acrylic sheets (this is the thickness with the widest range of colours available) – to see how it performs as a stained glass substitute.
Most of the range of colours of acrylic available
I didn’t envisage any problems – except perhaps that some colours may require more cutting power than others (greater reflectance of bright colours verses albedo effect of dark colours). But this turned out not to be the case, and the cutting was a breeze.
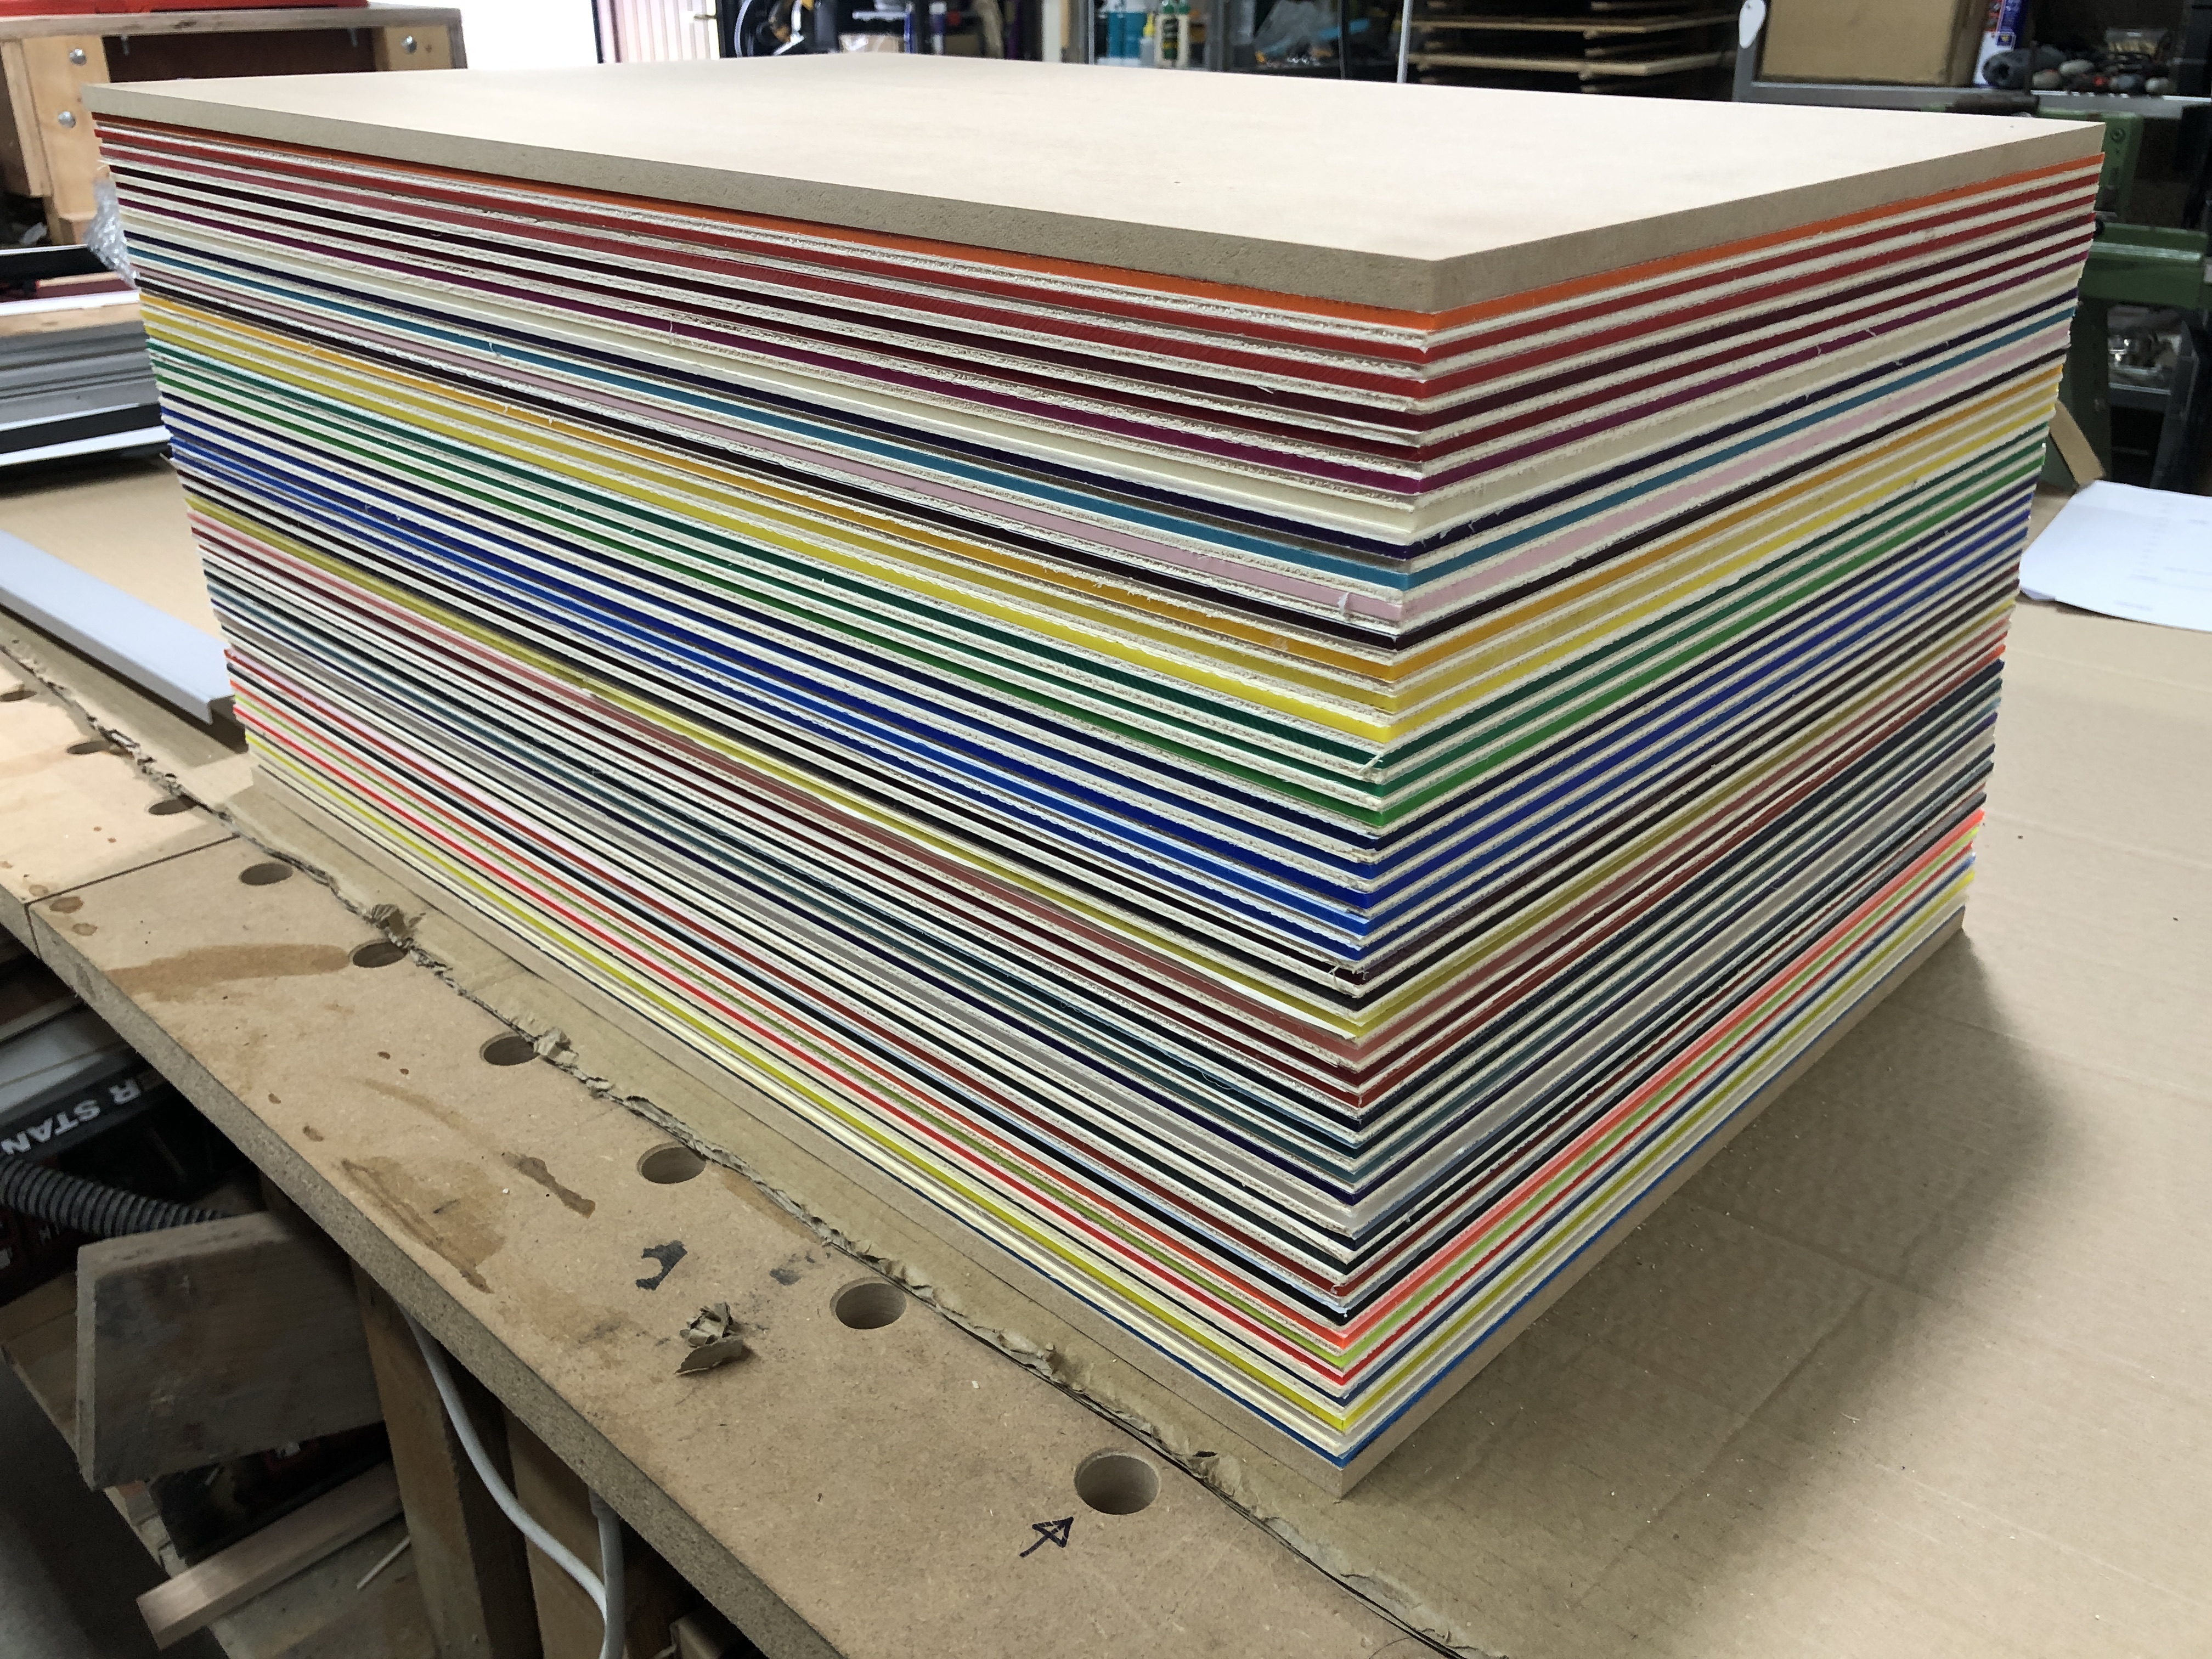
In fact I was confident enough that cutting coloured acrylic would be doable (having gotten comfortable with cutting 3 & 5mm clear acrylic), that I decided to go full in, and bought 44 different colour/tint/frost/florescence/opalescence sheets (at not inconsiderable expense) – one for each of the pieces of the long-eared owl art puzzle!
44 sheets of different colour/tint/frost/florescence/opalescence sheets of acrylic
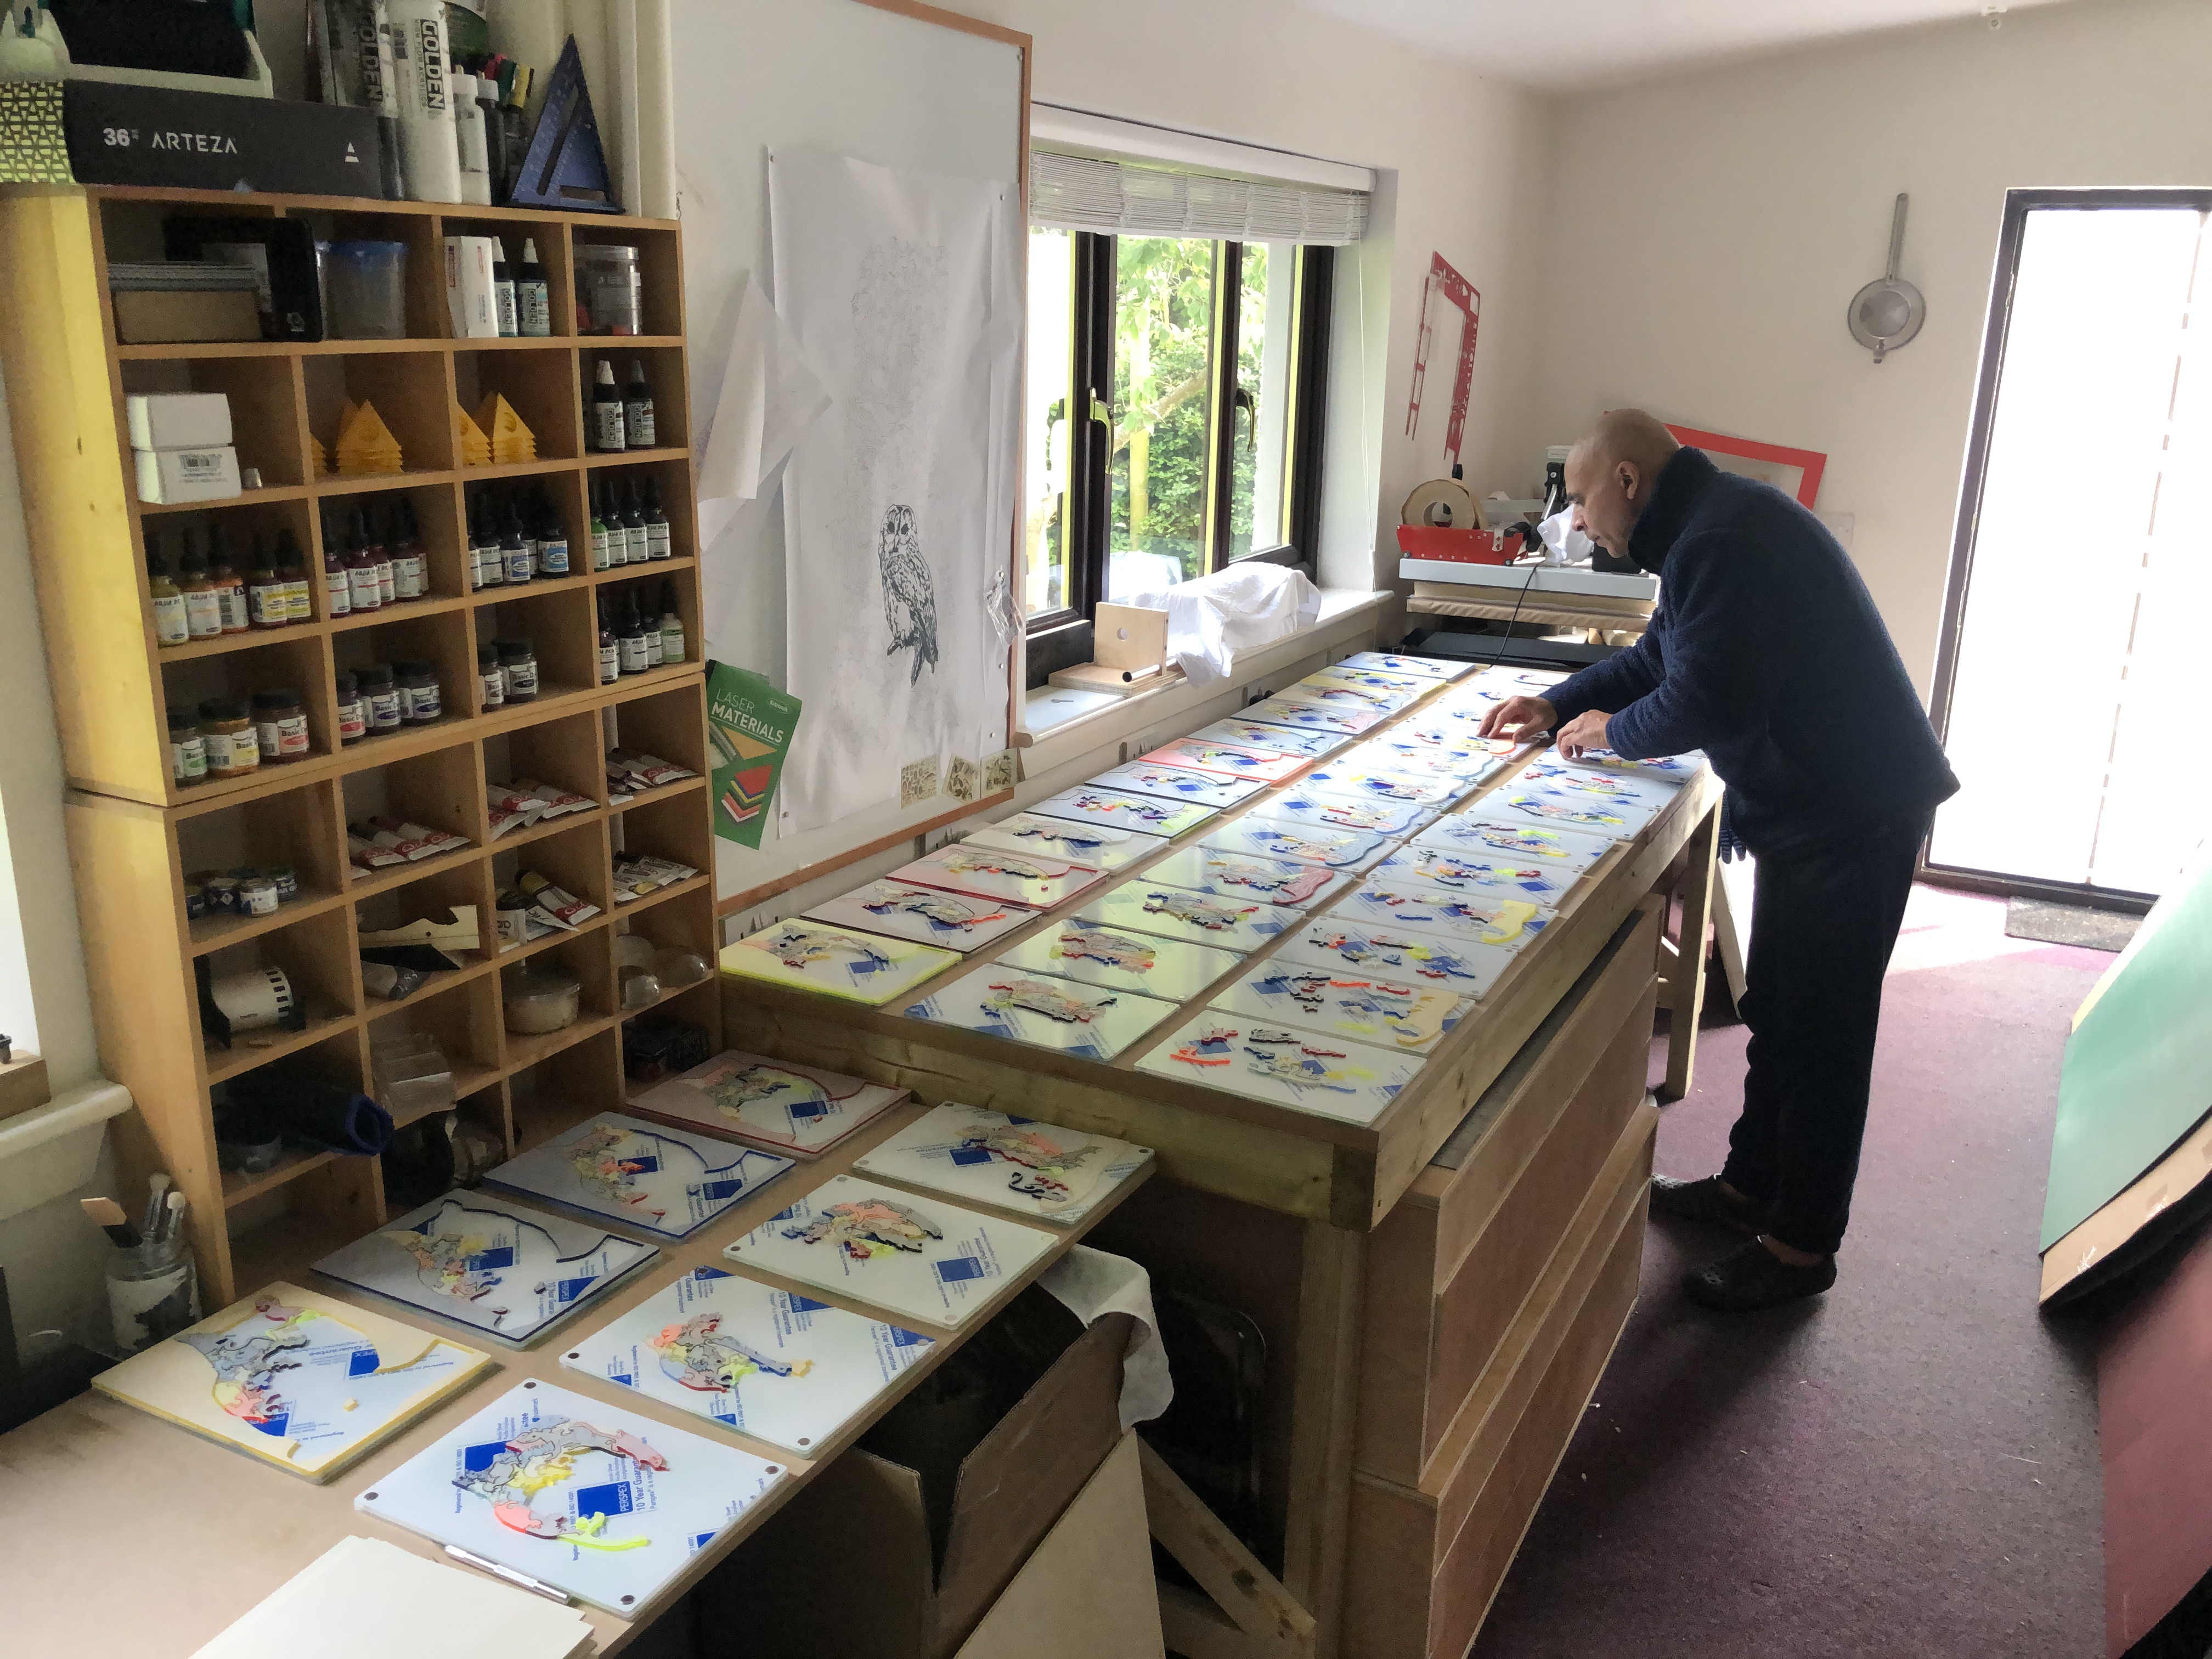
I thought it would make a great artwork for each of the 44 pieces to be a different colour and/or opacity. And I would be able to make 44 random-coloured/effects art puzzles… (I had to make do with some opaque colours because there simply weren’t enough transparent/translucent colours available – but I thought the variety of translucency in itself could be very different and interesting…)
Assembling 44 different art puzzles from 44 single-coloured puzzles took a long time and was very painstaking…
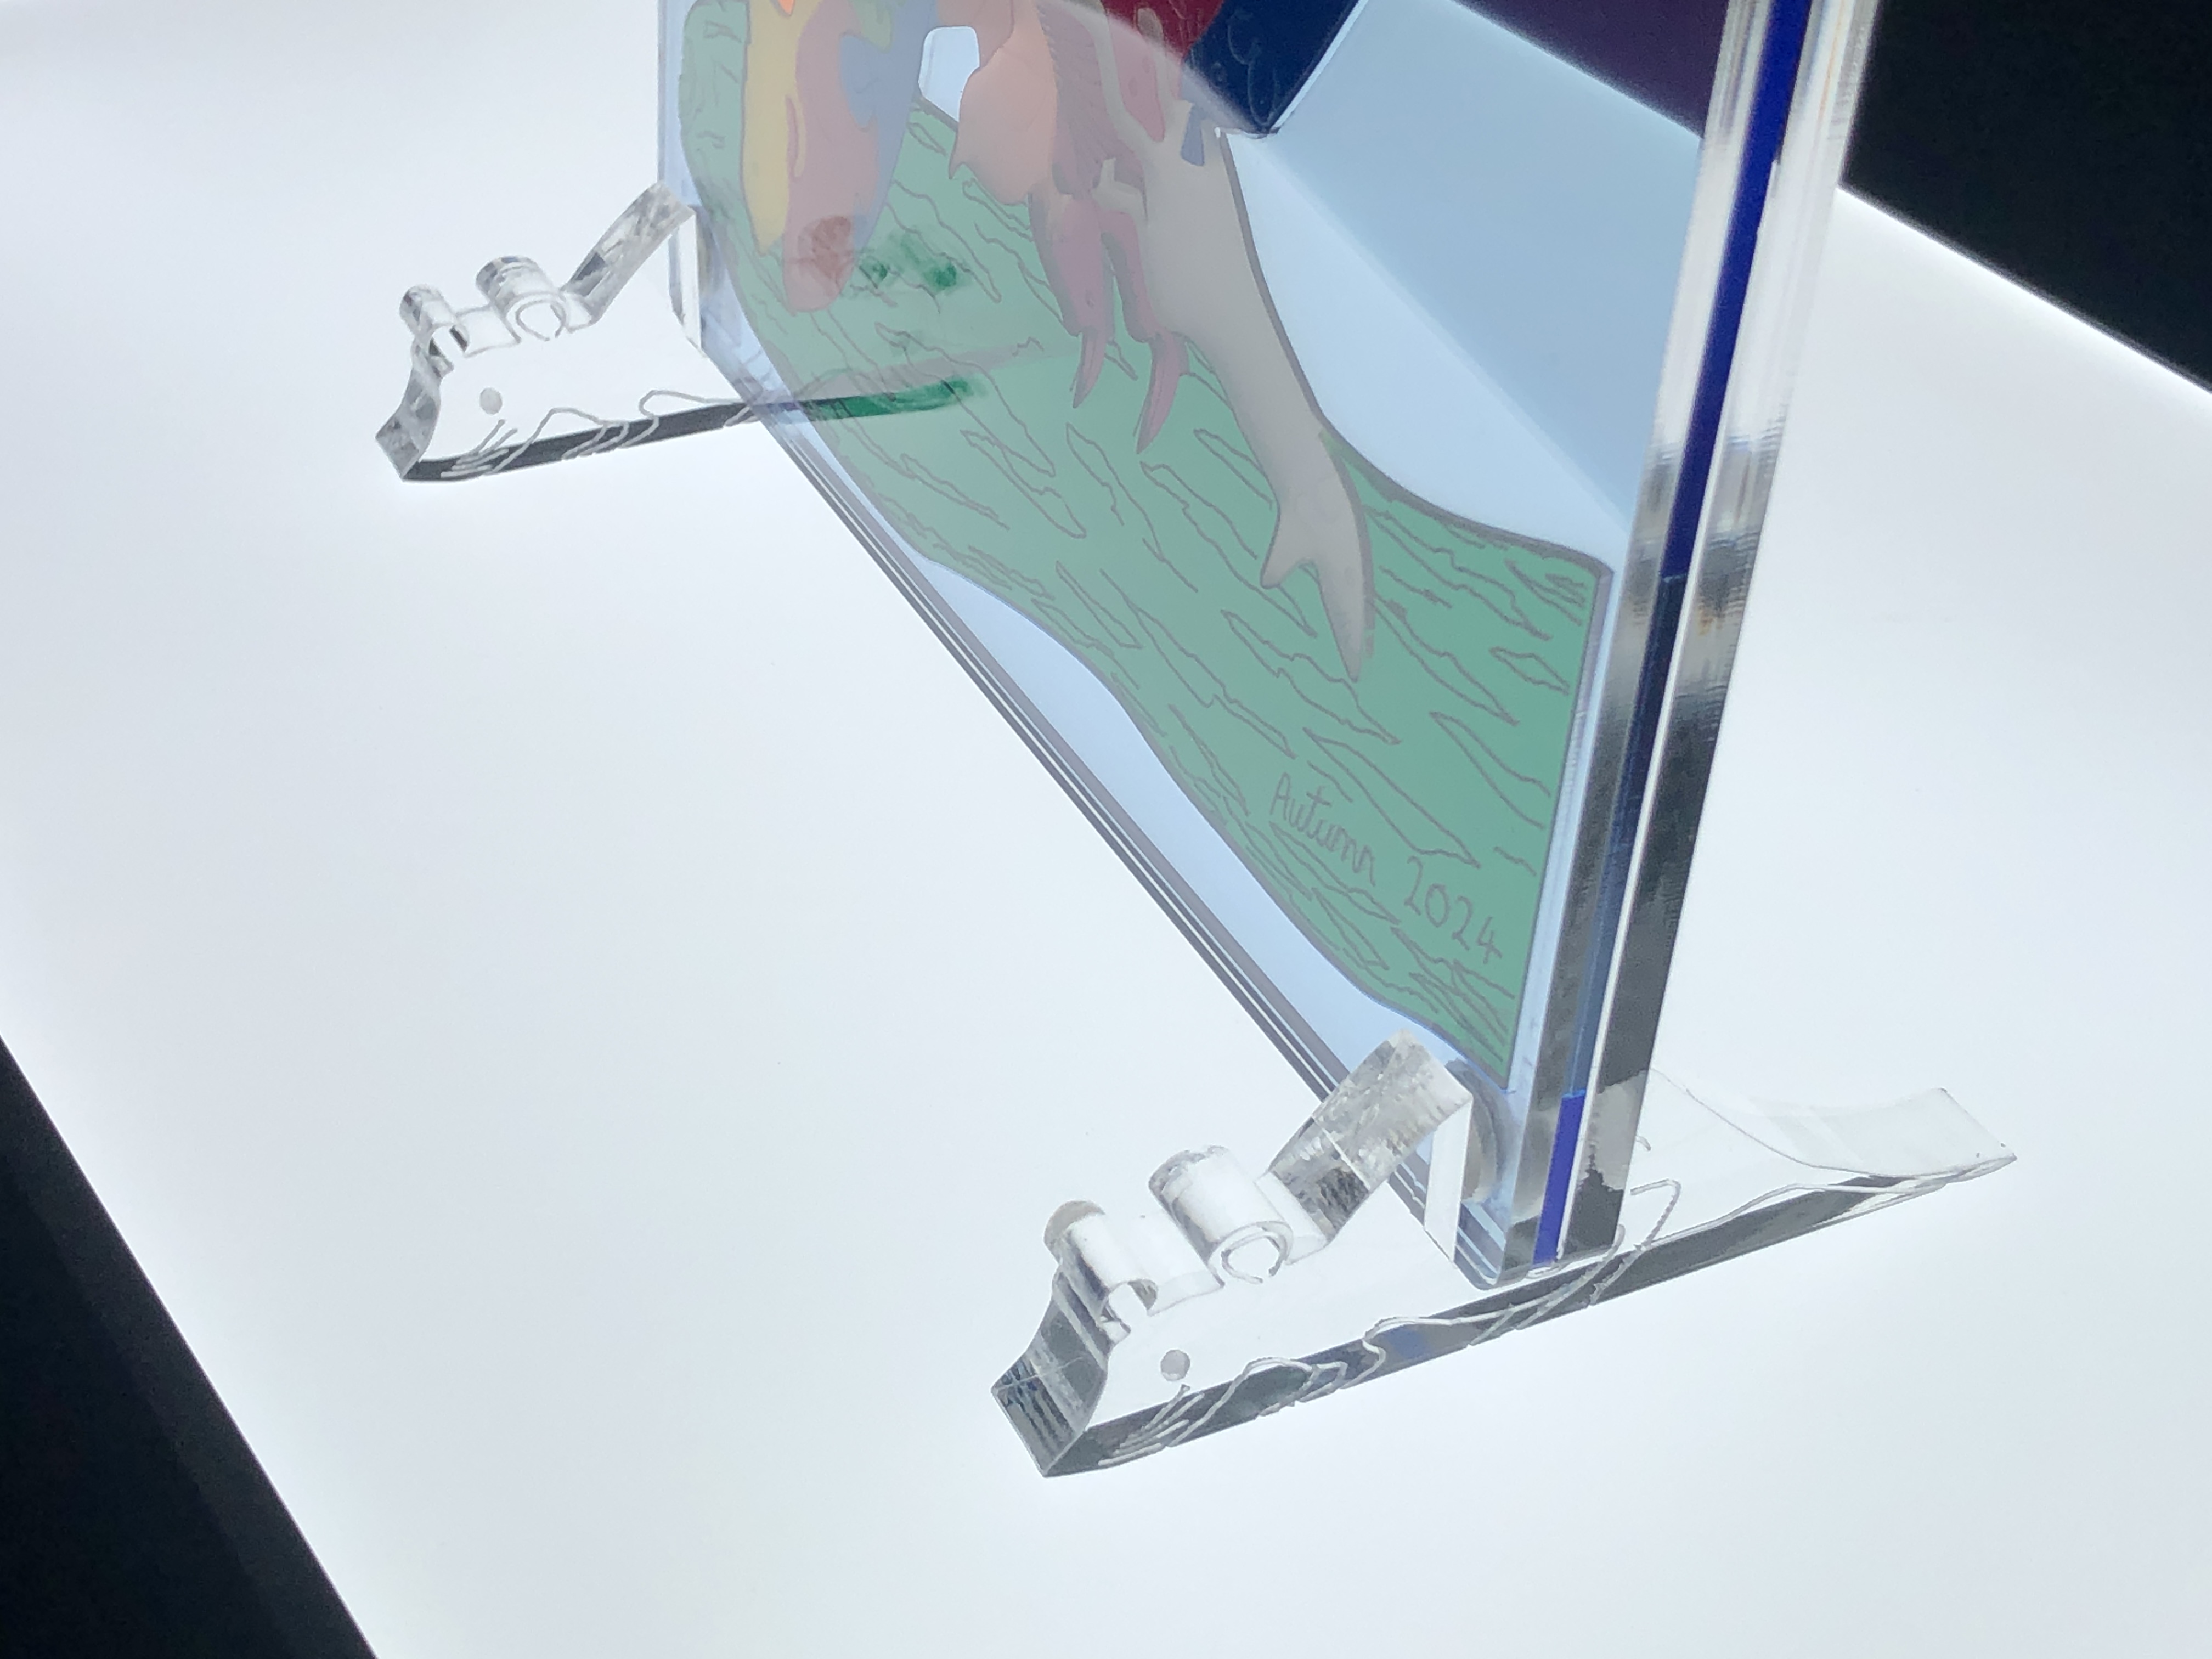
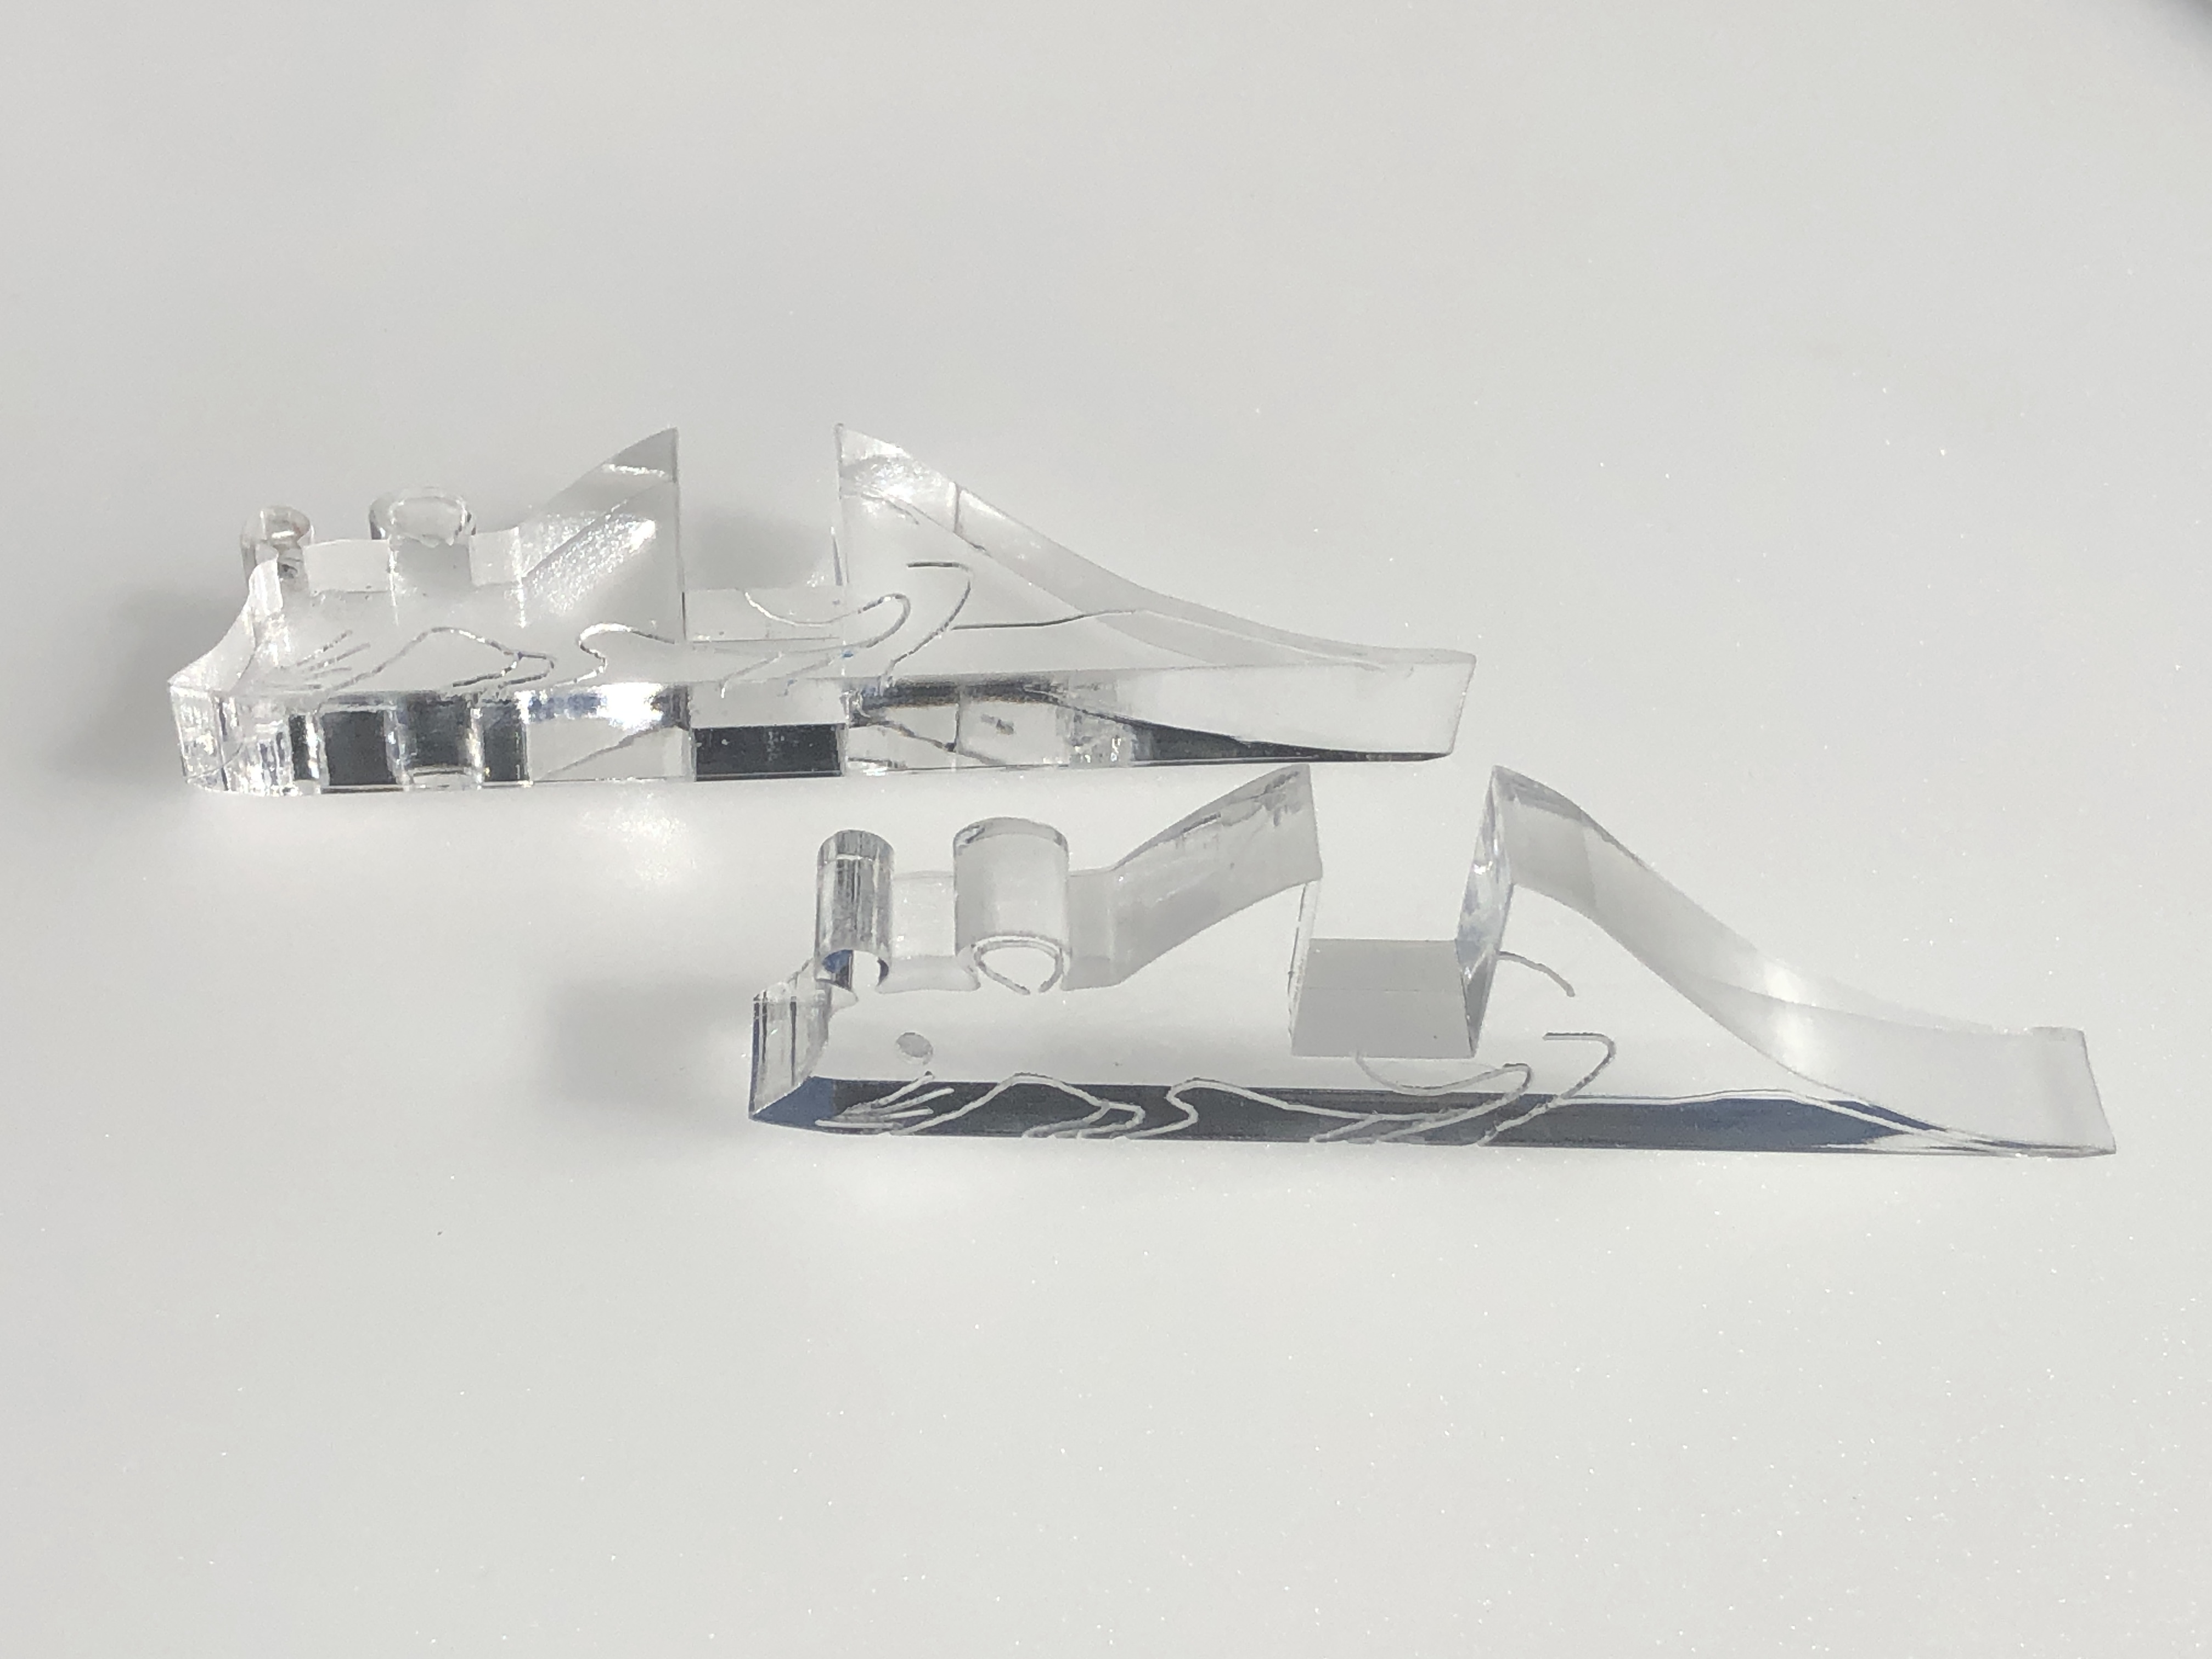
I envisioned that the “stained glass” art puzzle would look best on a windowsill (or similar), so I planned that the art puzzle(s) should be sandwiched between two sheets of magnetised clear panels (3mm for the front and 5mm for the back – the latter for greater stiffness), and stood on 10mm thick (for better stability) mice “feet” – so I also ordered in enough clear cast acrylic for these.
10mm thick custom cut and engrave crystal clear mice “feet” to display the art puzzle on e.g. a windowsill
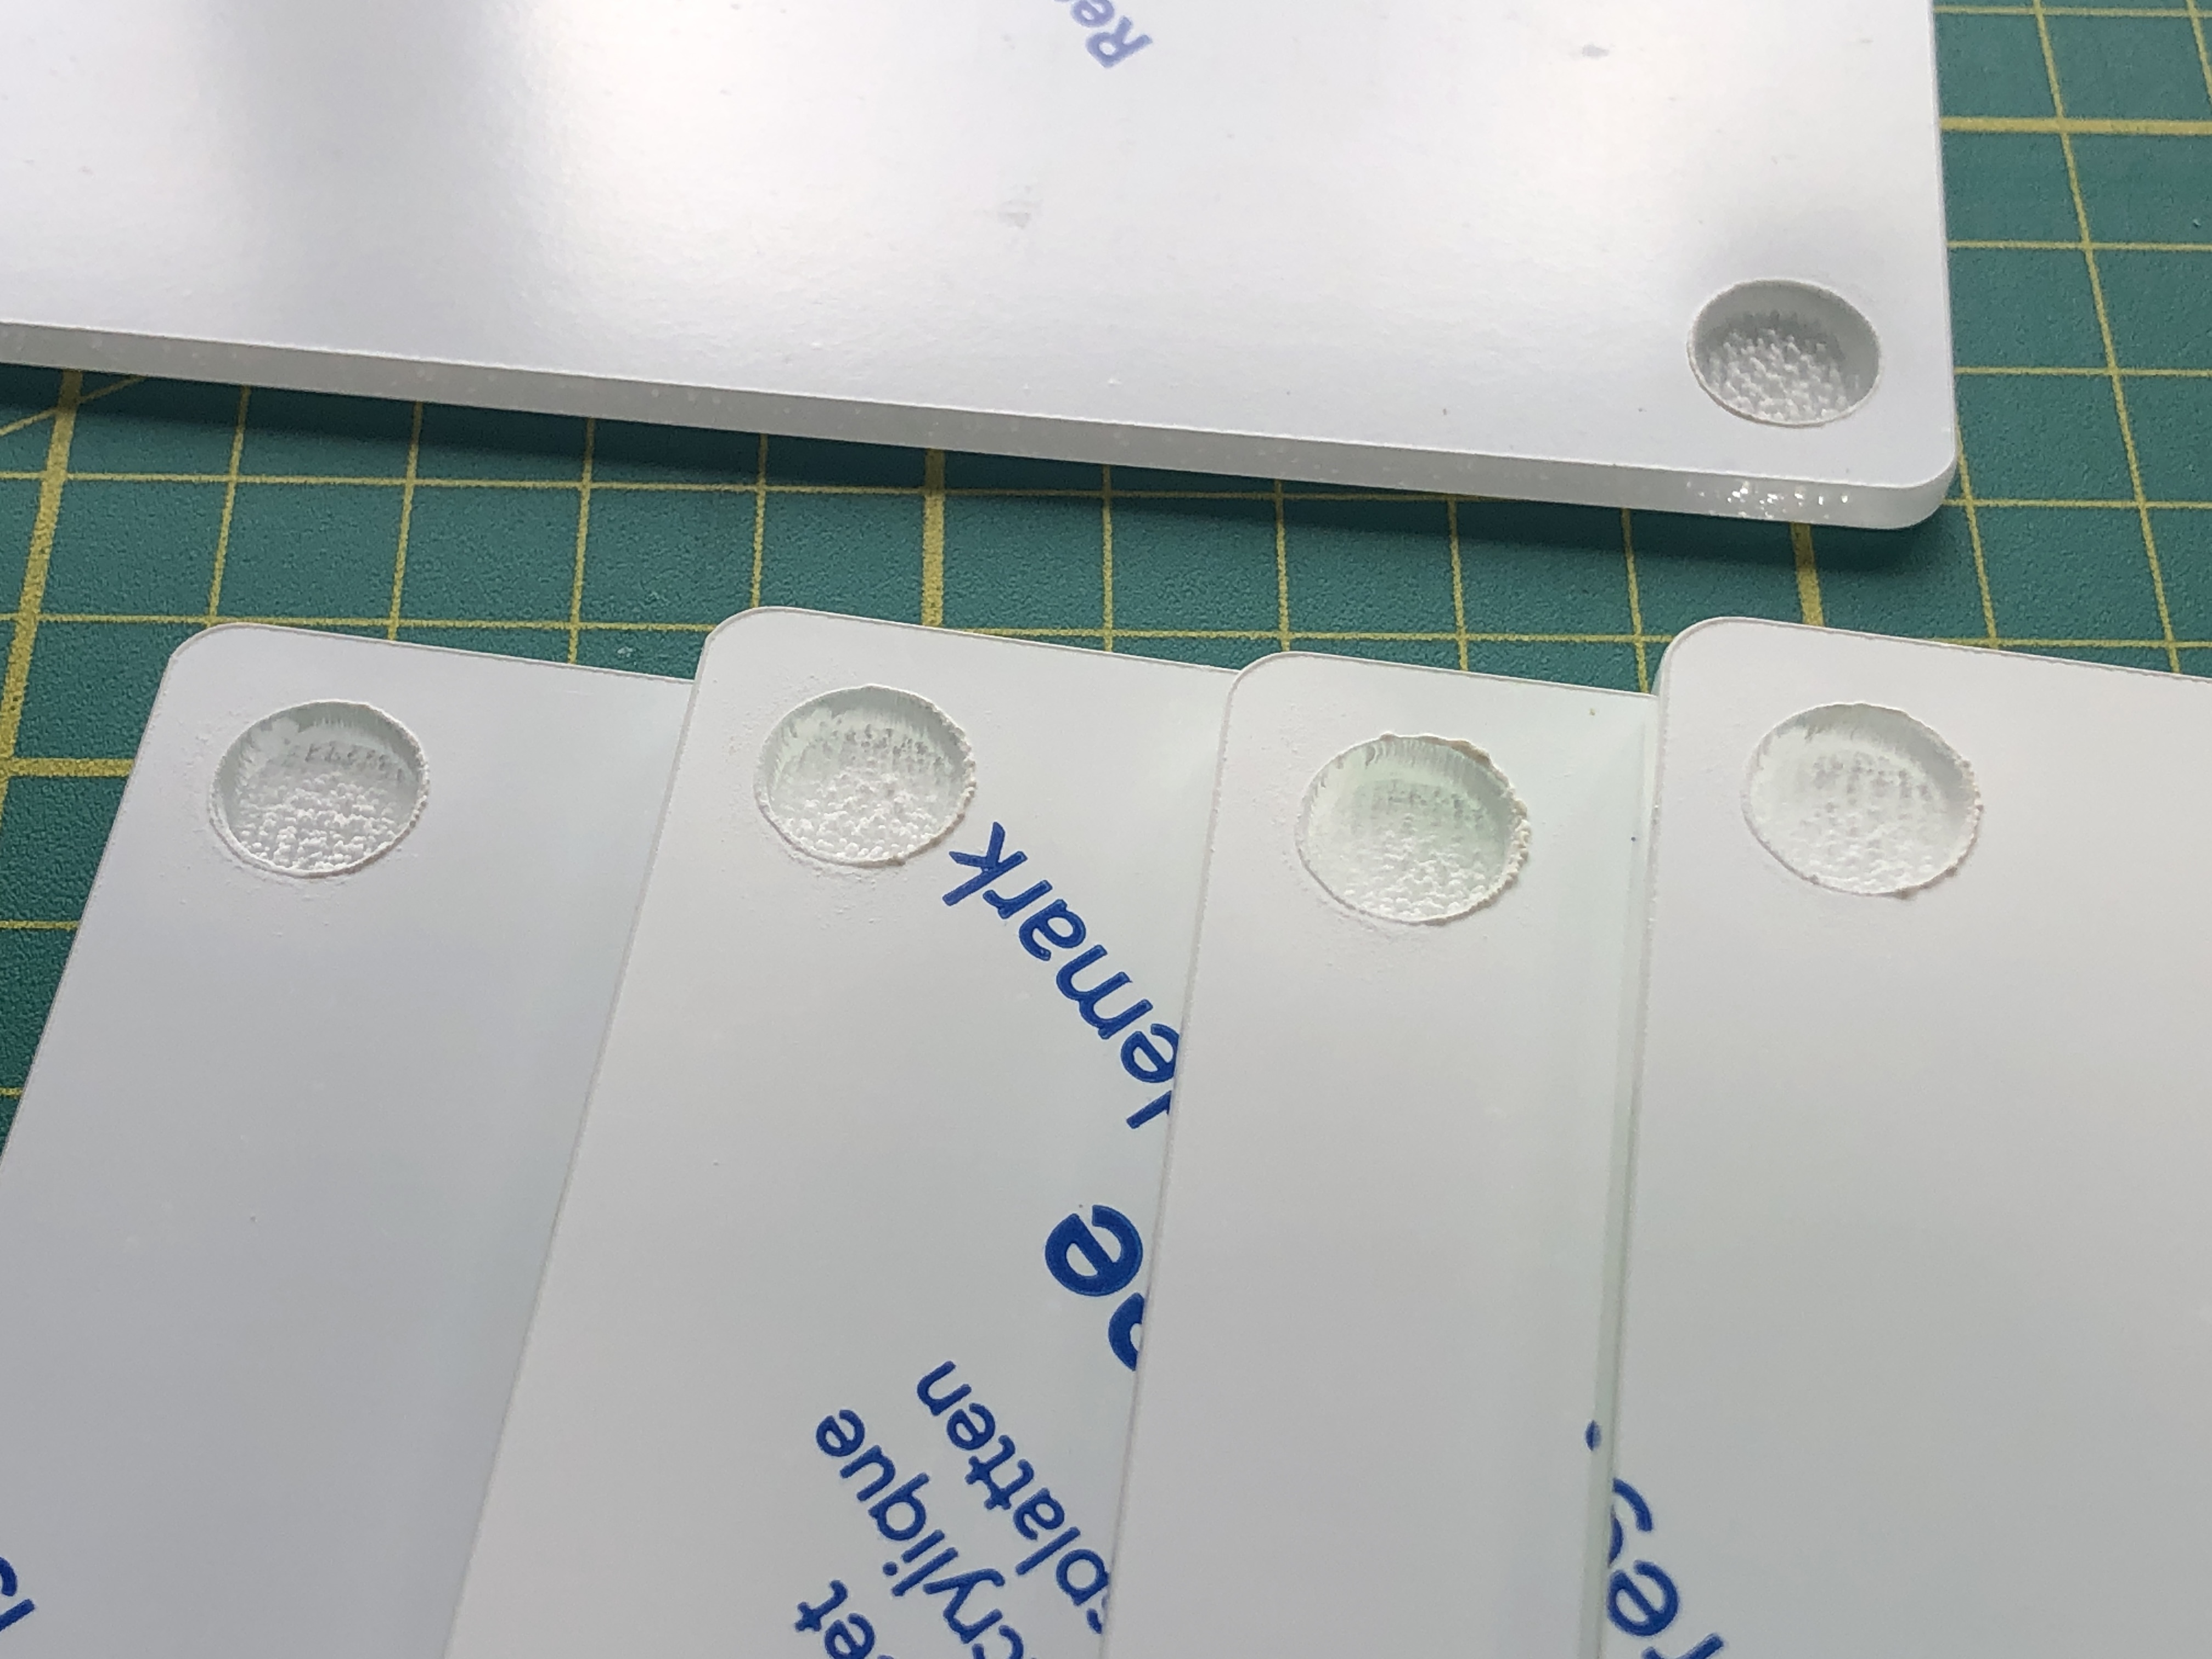
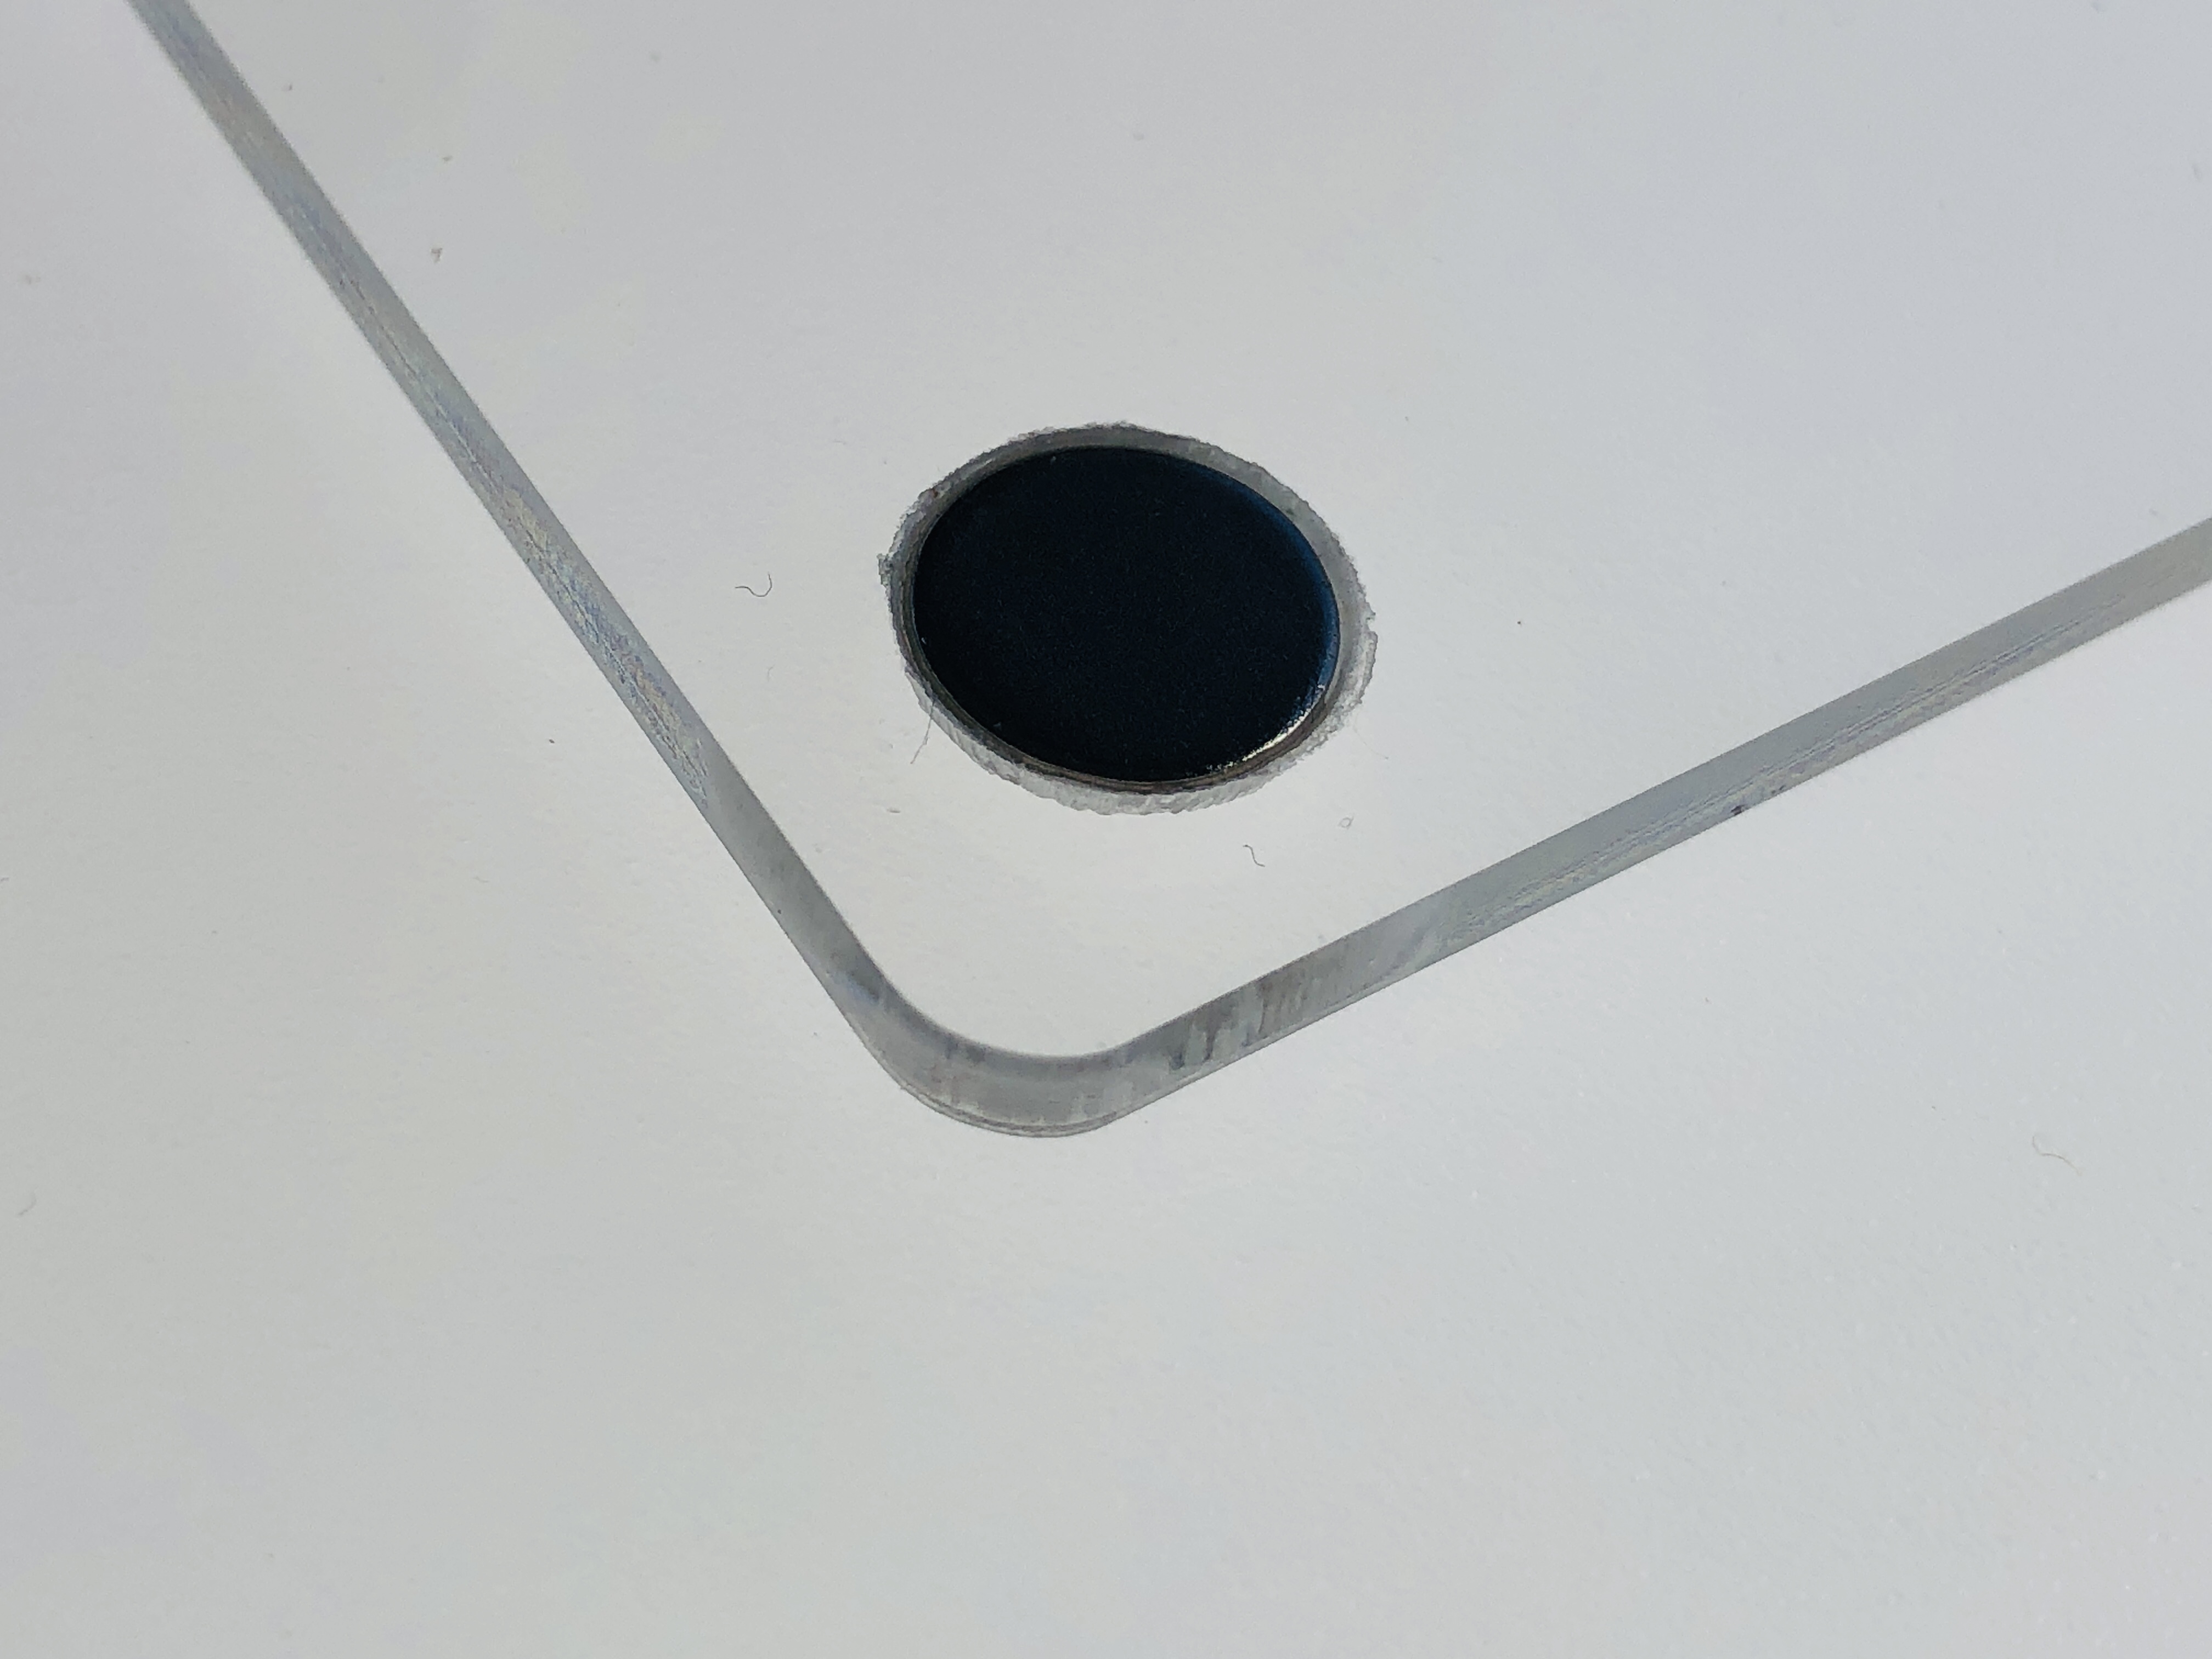
Cutting the circular recesses in both the sandwiching clear sheets of acrylic to snugly fit the 10mm diameter x 2mm thick neodymium magnets took a bit of working out and experimentation – particularly given that I was drilling into 3mm material and had to leave 0.5mm for glue – leaving only 0.5mm material left! I originally tried to use a bench drill and a positioning jig for the acrylic pieces, but that seemed too risky, and with 352 recesses to cut (2 x 4 x 44) – too time-consuming. I then tried to use a CNC router and a positioning jig. But that wasn’t accurate enough across all four corners – and getting perfect registration of the sunken recesses across two different thickness of acrylic seemed problematic. In the end I thought the easiest and most accurate way to bore out the recesses was to engrave them with the laser. This took a bit of experimentation to get the correct depth, but I got there in the end. Also, the rough bottoms made a good biting surface for the glue used to fix the magnets in place.
Recesses engraved into the corners of the clear acrylic support panels to hold the magnets in place.Magnet glued into a clear panel such that the top is level with the clear acrylic support panel’s surface
Conventional stained glass windows have to be strong enough to hold their own weight and withstand the worst weather they are likely to face, and to achieve this there is a great deal of strength built into, and around, them. All the individual glass pieces are welded together in the form of soldered H-sectioned lead strips. This relatively flimsy carcass is supported by being fixed to metal and/or masonry frame/s.
However, the approximately 10mm wide lead H-section strips are what on the one hand give conventional stained glass it’s traditional thick wire-frame look, but on the other hand means the stained glass pieces themselves are very basic and simple shapes. This low resolution can be largely overcome by over-painting, but the pronounced wire-frame effect of the lead strips is a given. Some people may like this effect, and, to be fair, the further away you stand away, the less intrusive it looks.
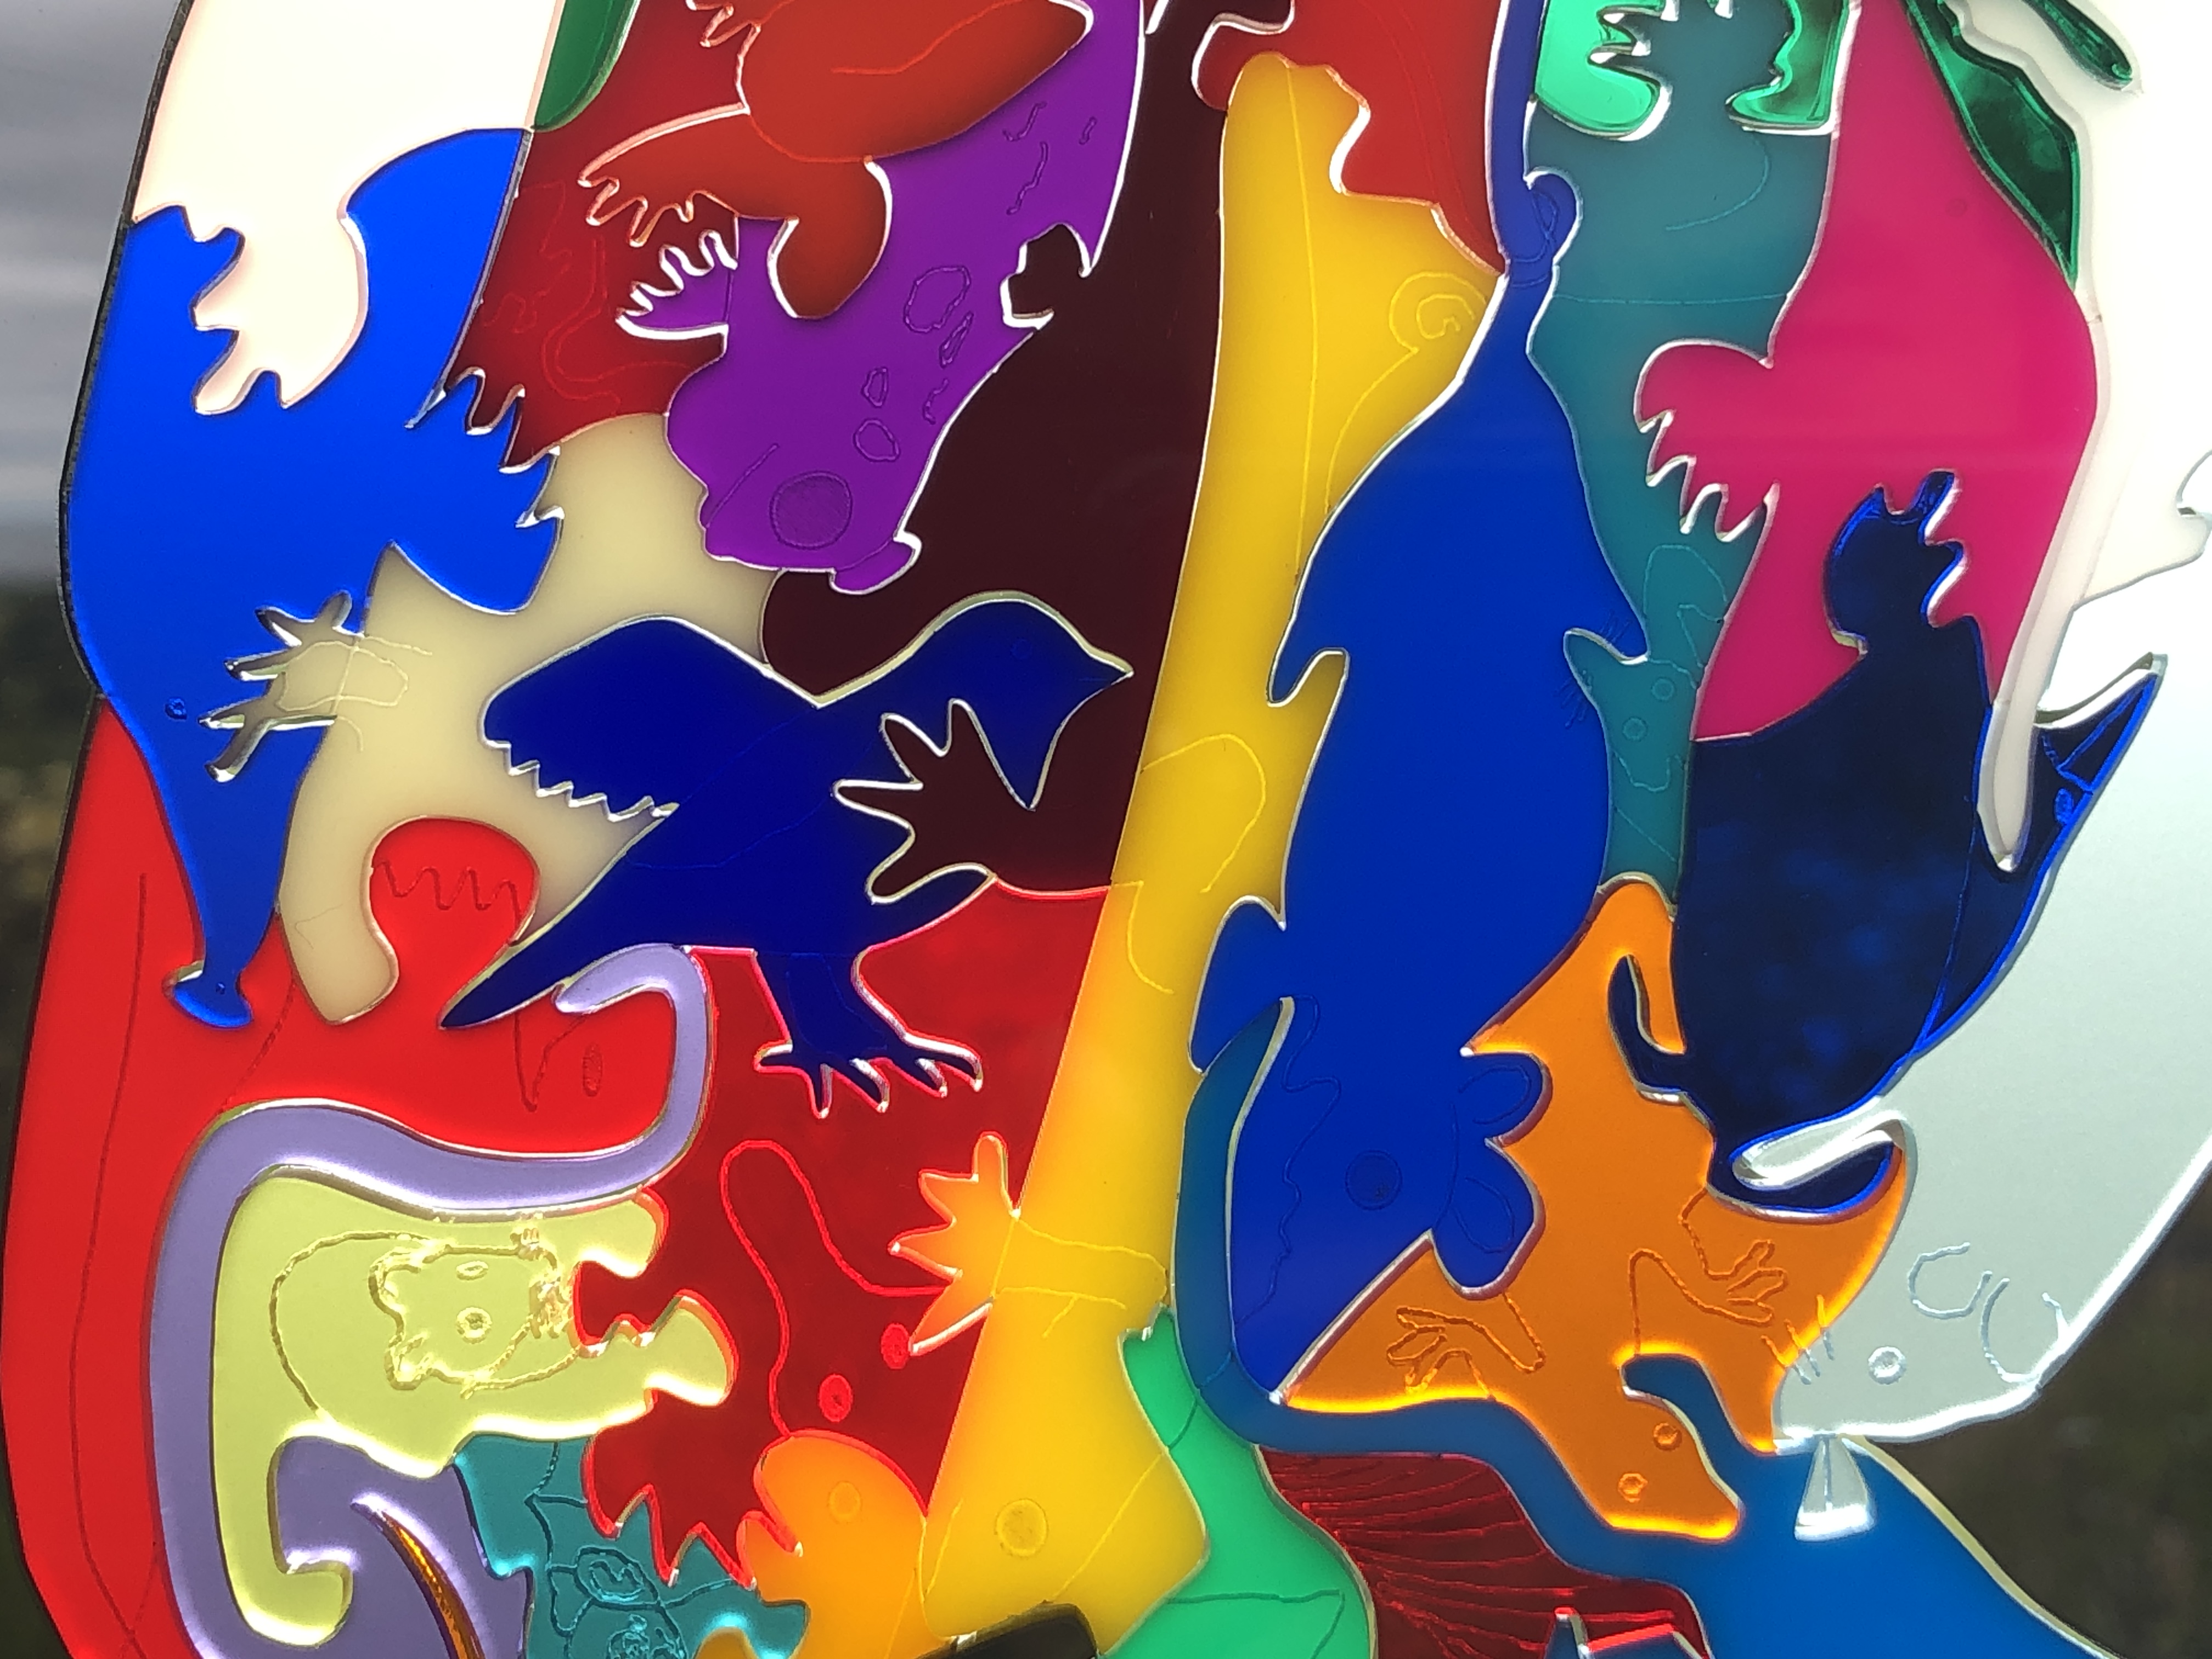
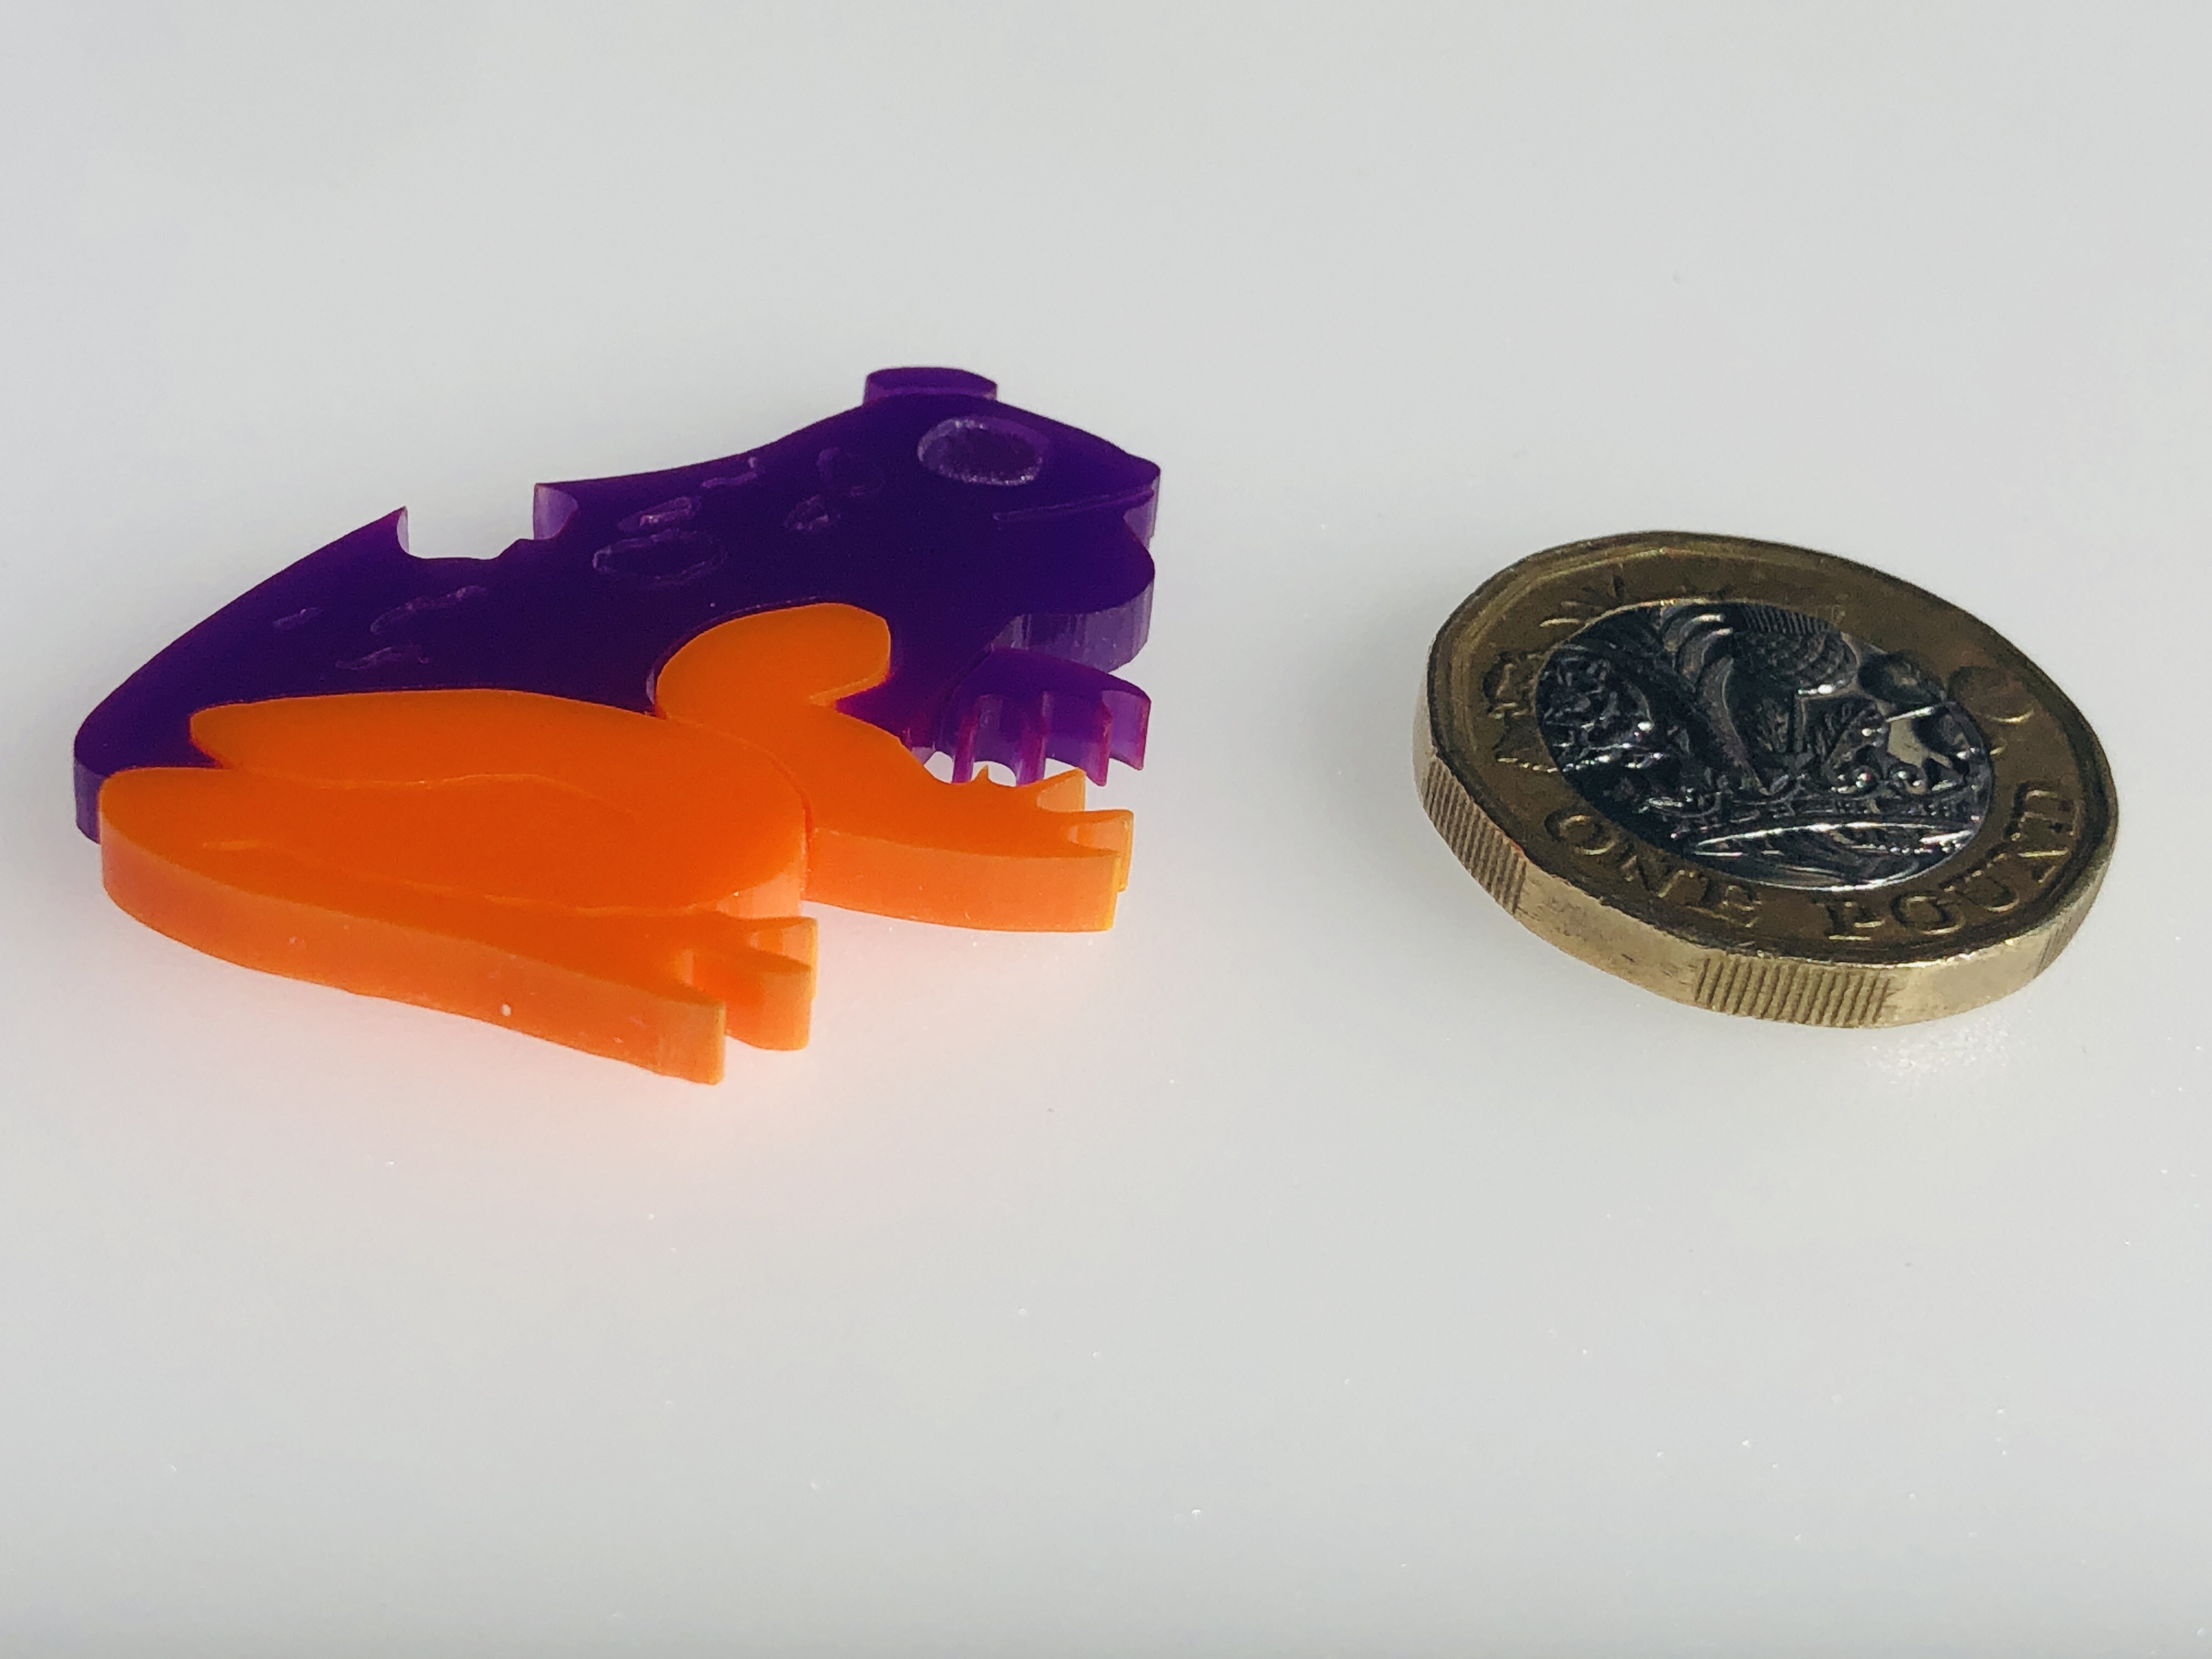
Coloured acrylic provides a completely alternative modern approach. The “stained glass” can be sandwiched between two clear sheets of acrylic (or glass), and optionally the whole design can be fixed in a frame and placed anywhere… There is no need for leading – or faux leading – at all. For practical purposes it’s useful to have a small gap between the pieces – if, for no other reason, to be able to assemble (and optionally disassemble) the pieces. This can be quite advantageous because on close inspection it provides for a halo of a thin gap of light between and around the pieces – see photo below :-
What’s more, unlike welded-in stained glass pieces, because the acrylic pieces are not fixed in position (they cannot move if supported around the sides), the whole design lends itself to be a (jigsaw) puzzle as well as a decorative beautiful “stained glass” artwork… This simply requires that there be some way to easily open the framed sandwich – hence why I chose to use simple magnets to hold the three panels together…
Not having leading means literally more light comes through, but, on the positive side, leading more clearly defined the edges of shapes – and so may be preferred for that reason. However, there is nothing to stop you using leading, faux leading, piping, or indeed a purpose-cut lattice of opaque black (or any other colour) acrylic – if a shape-outlining effect is desired…
In conclusion, using coloured acrylics for creating stained glass effects offers a great number of opportunities and there is seems to be nothing that cannot be achieved using it compared to conventional stained glass techniques and real glass. I’m very encouraged by the future possibilities of using coloured acrylics, and have several designs already in mind. Watch this space…
Long-eared owls are ferocious predators (as are all owls) – and will basically eat anything that moves that is smaller than them. They often swallow their prey whole, and regurgitate a large pellet of the undigestible parts – such as bones, teeth, hair, feathers. Indeed, examining their pellets is how ornithologists know so much about what they eat.
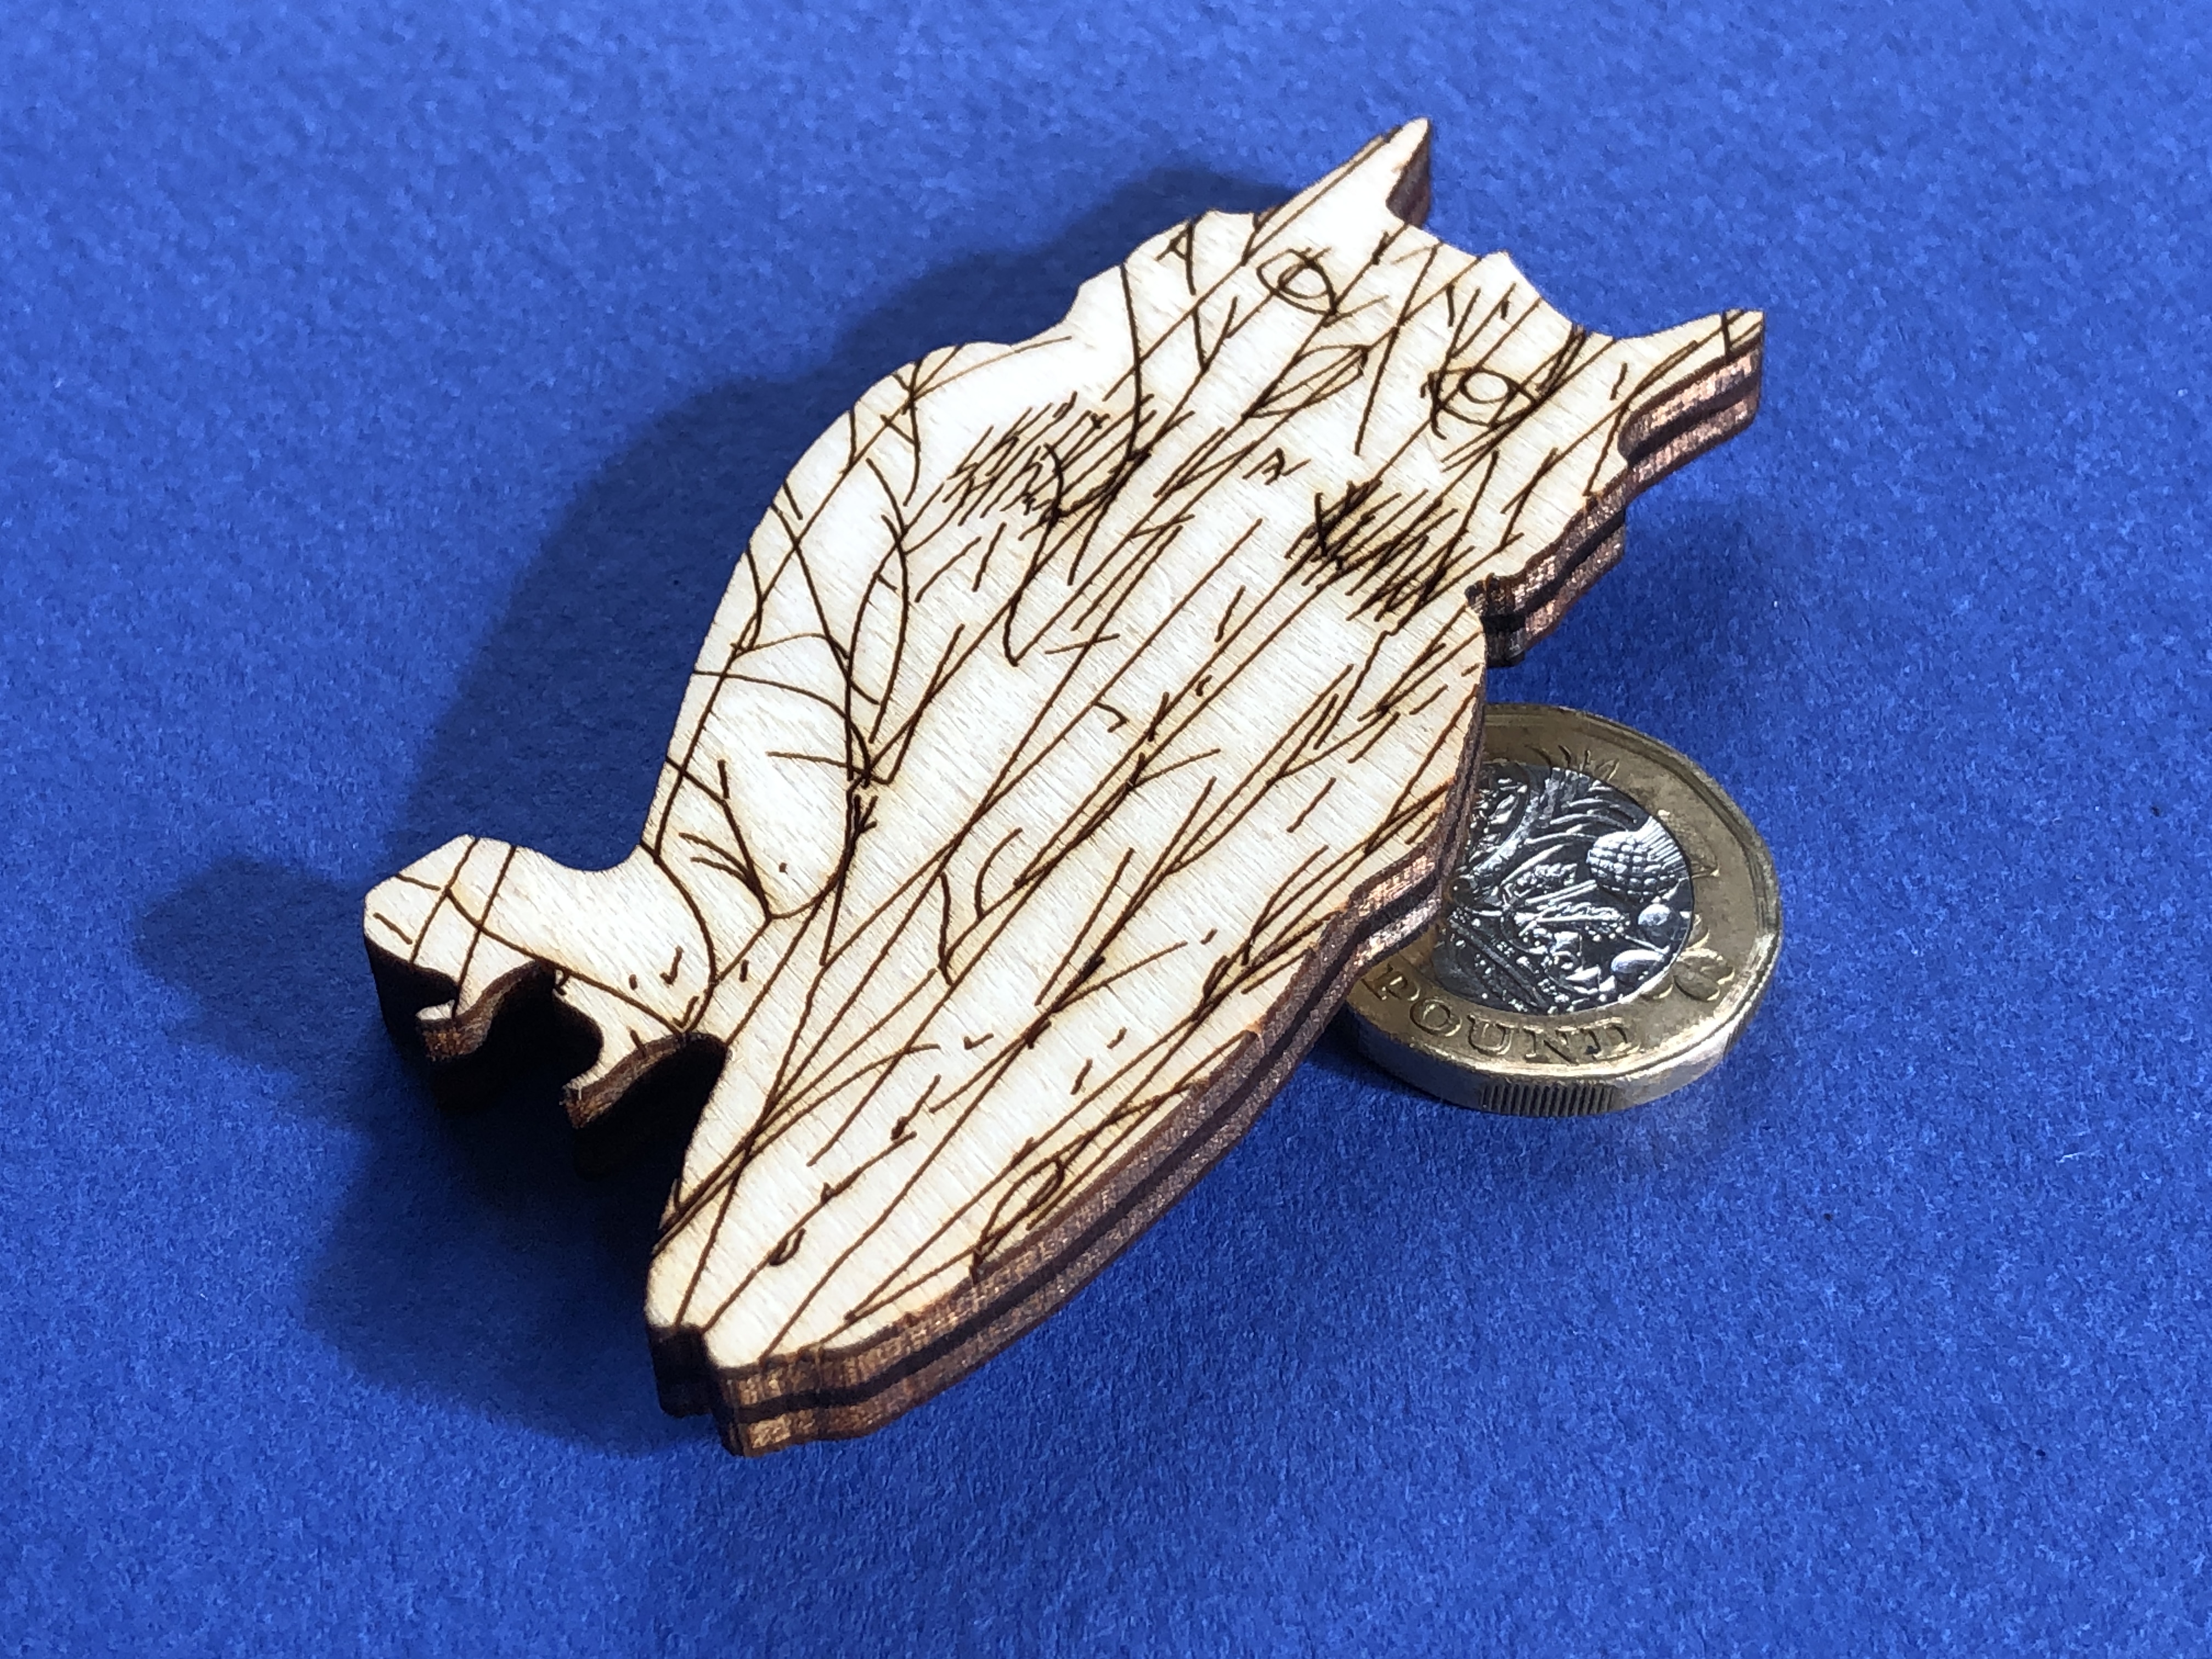
This is a precision laser-cut and engraved “art” puzzle – directly cut and engraved in premium 3mm coloured cast acrylic from an original digital hand-drawing. The design is a specially modified version of my original hand-cut 40mm thick solid oak artwork entitled “Long-eared Owl (Art Puzzle) (You are what you eat)” (2022)
I have created a few stained glass designs in the past – using stick-on lead piping and coloured glass inks. At the time I was happy enough with them, but they weren’t very good. The solidity of the colours wasn’t there, and the colours faded over time. I do find there is something magical about transparent materials – as well as them being beautiful because their appearance changes dramatically from different angles, and by the changing light falling on them.
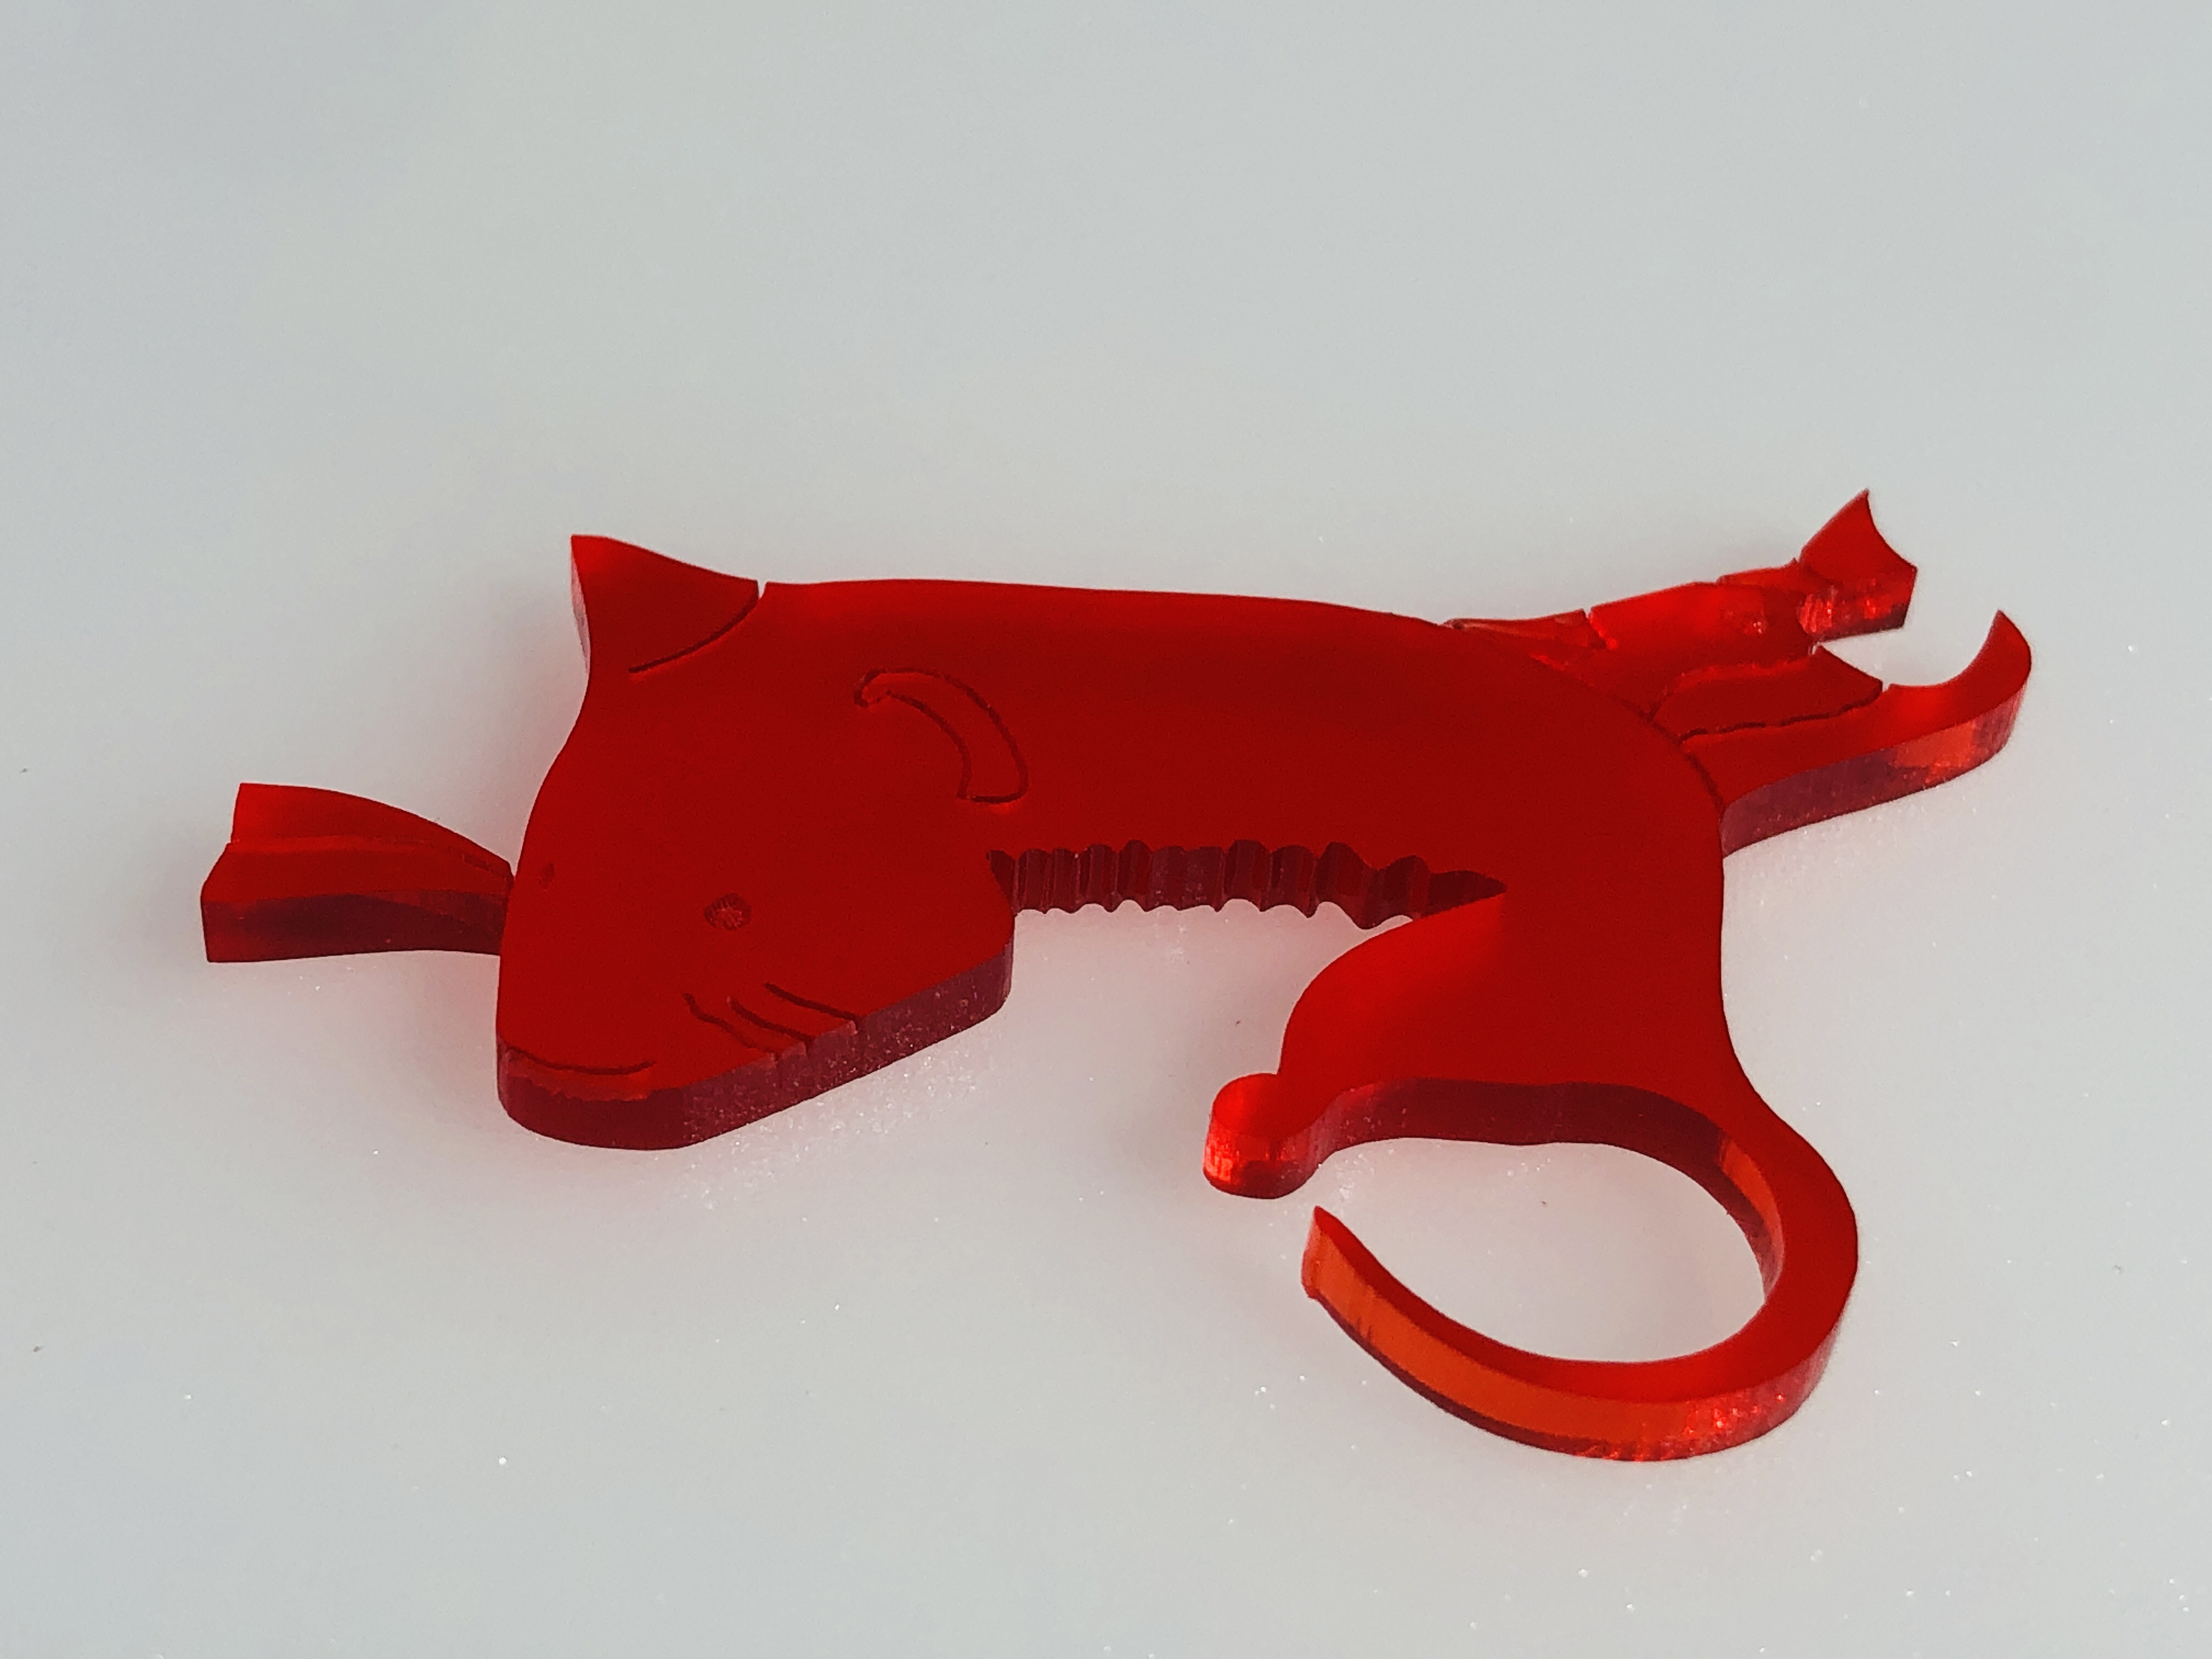
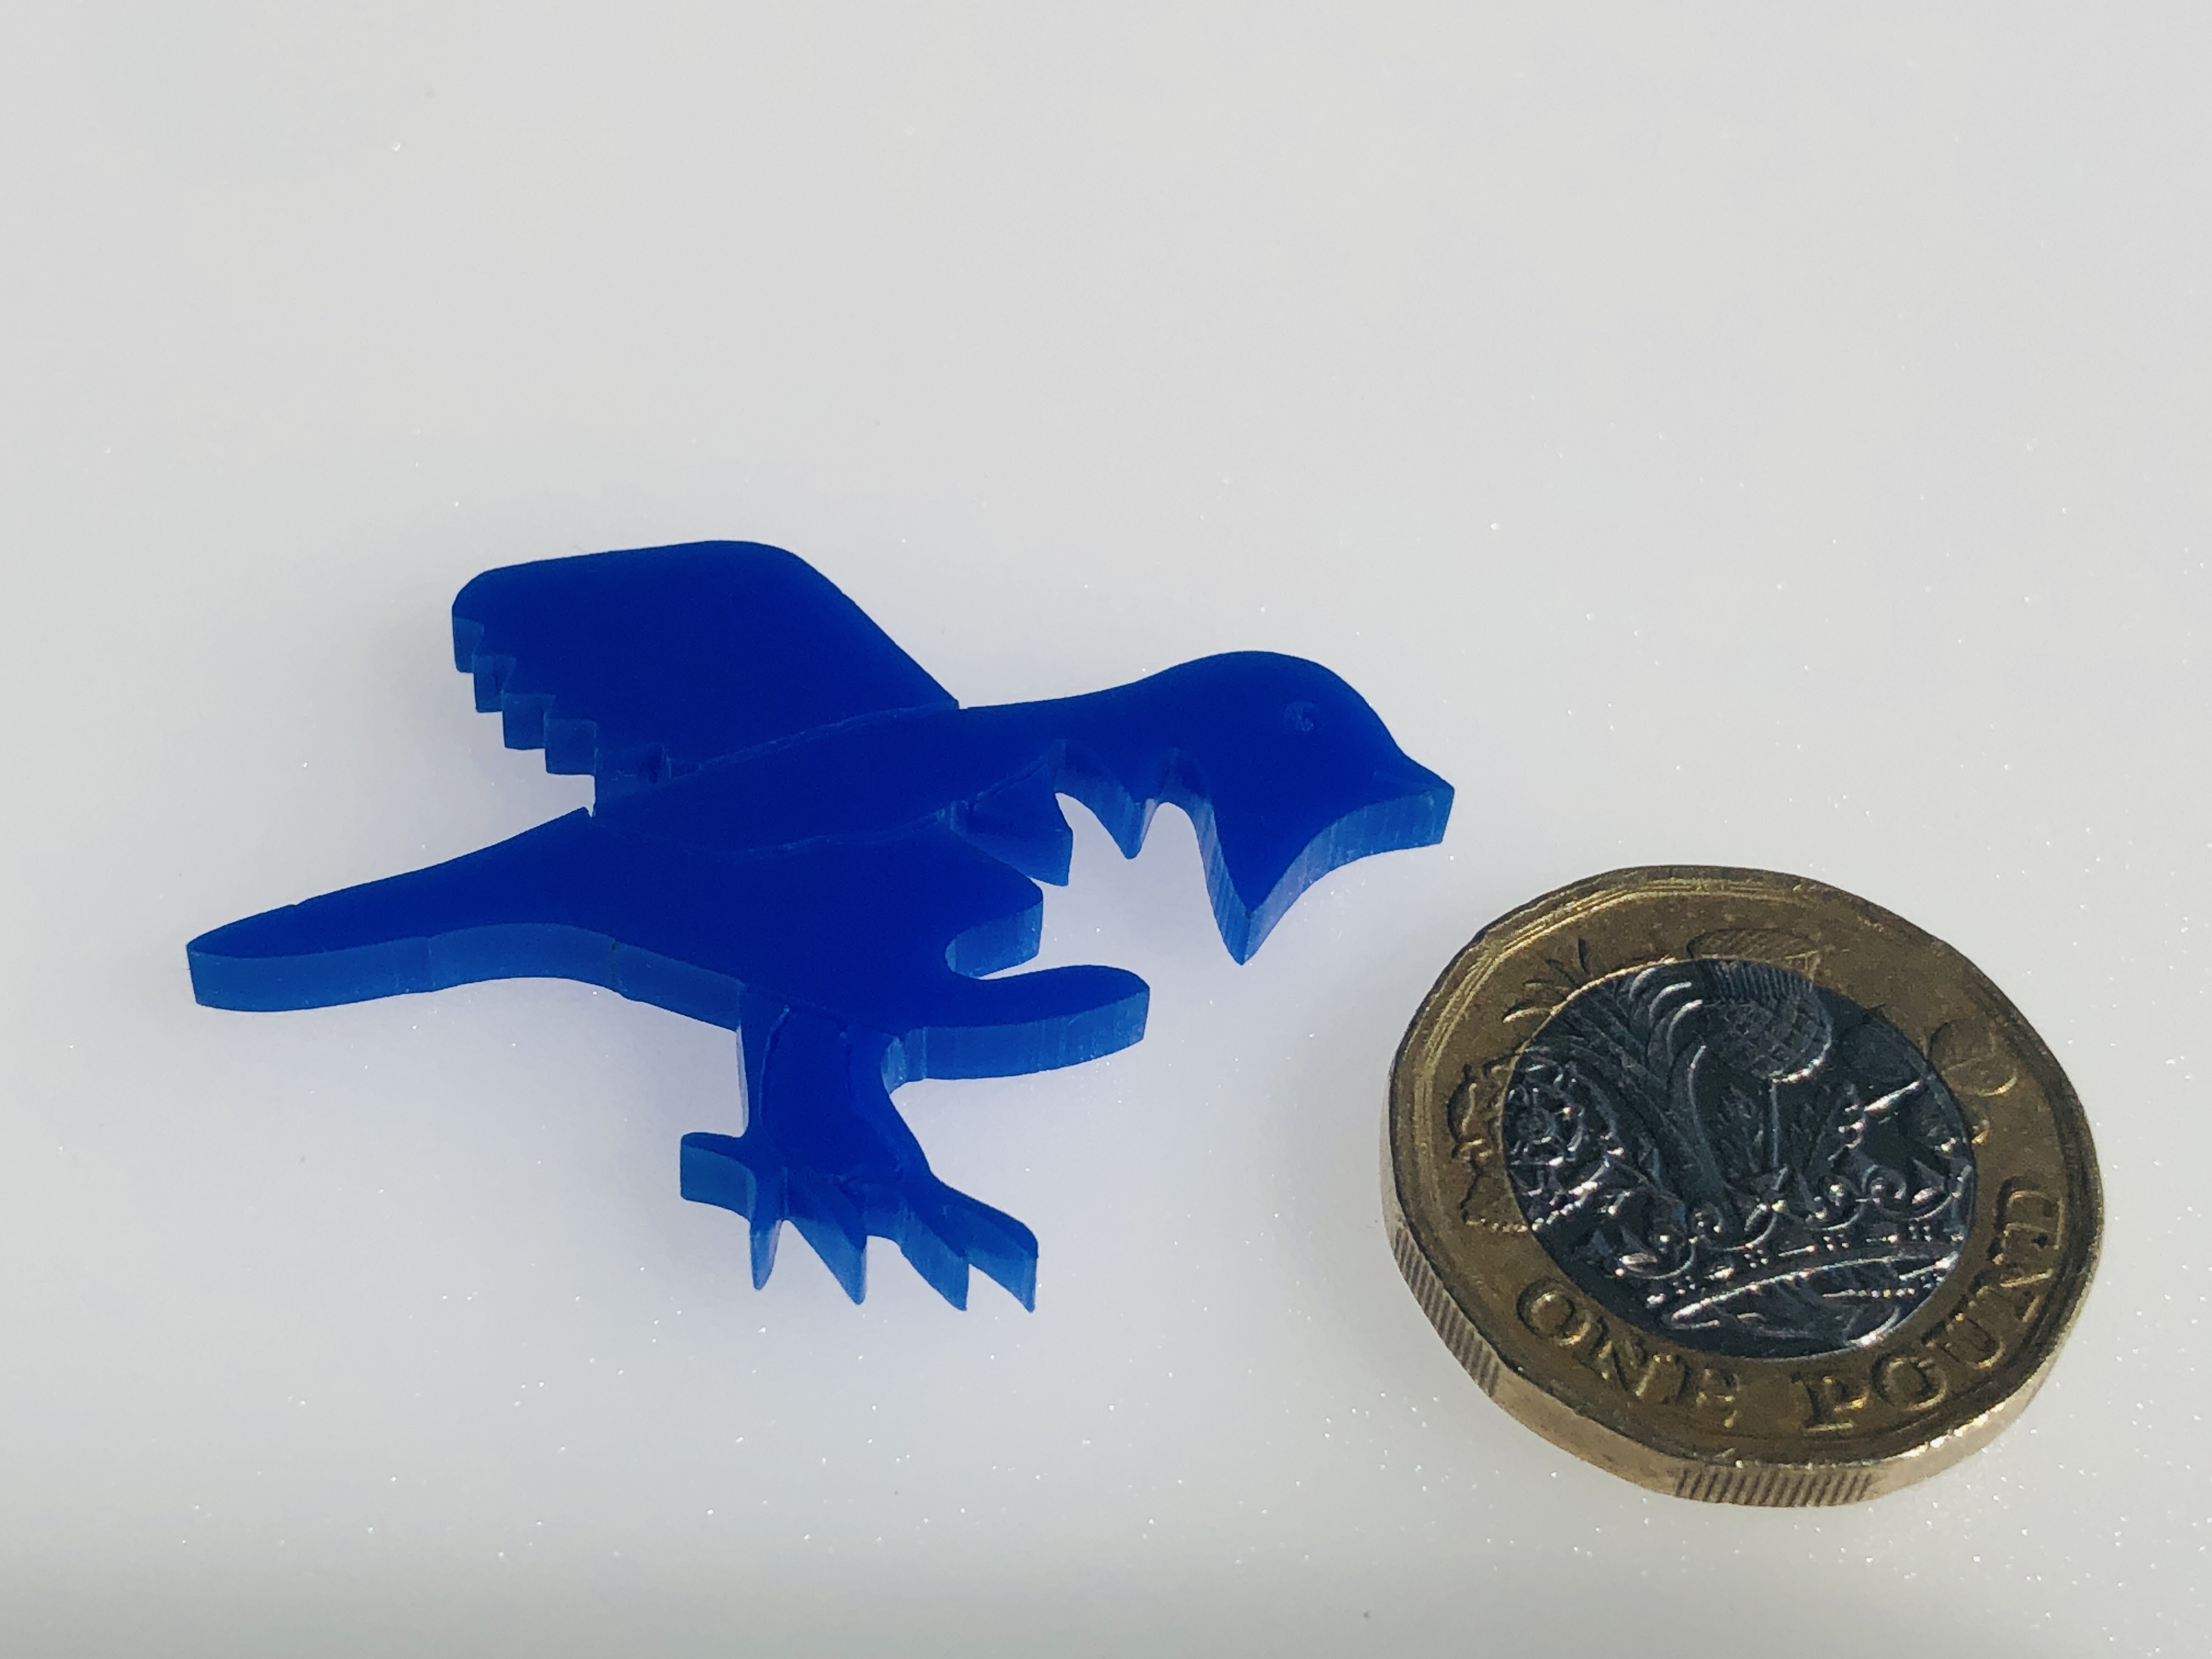
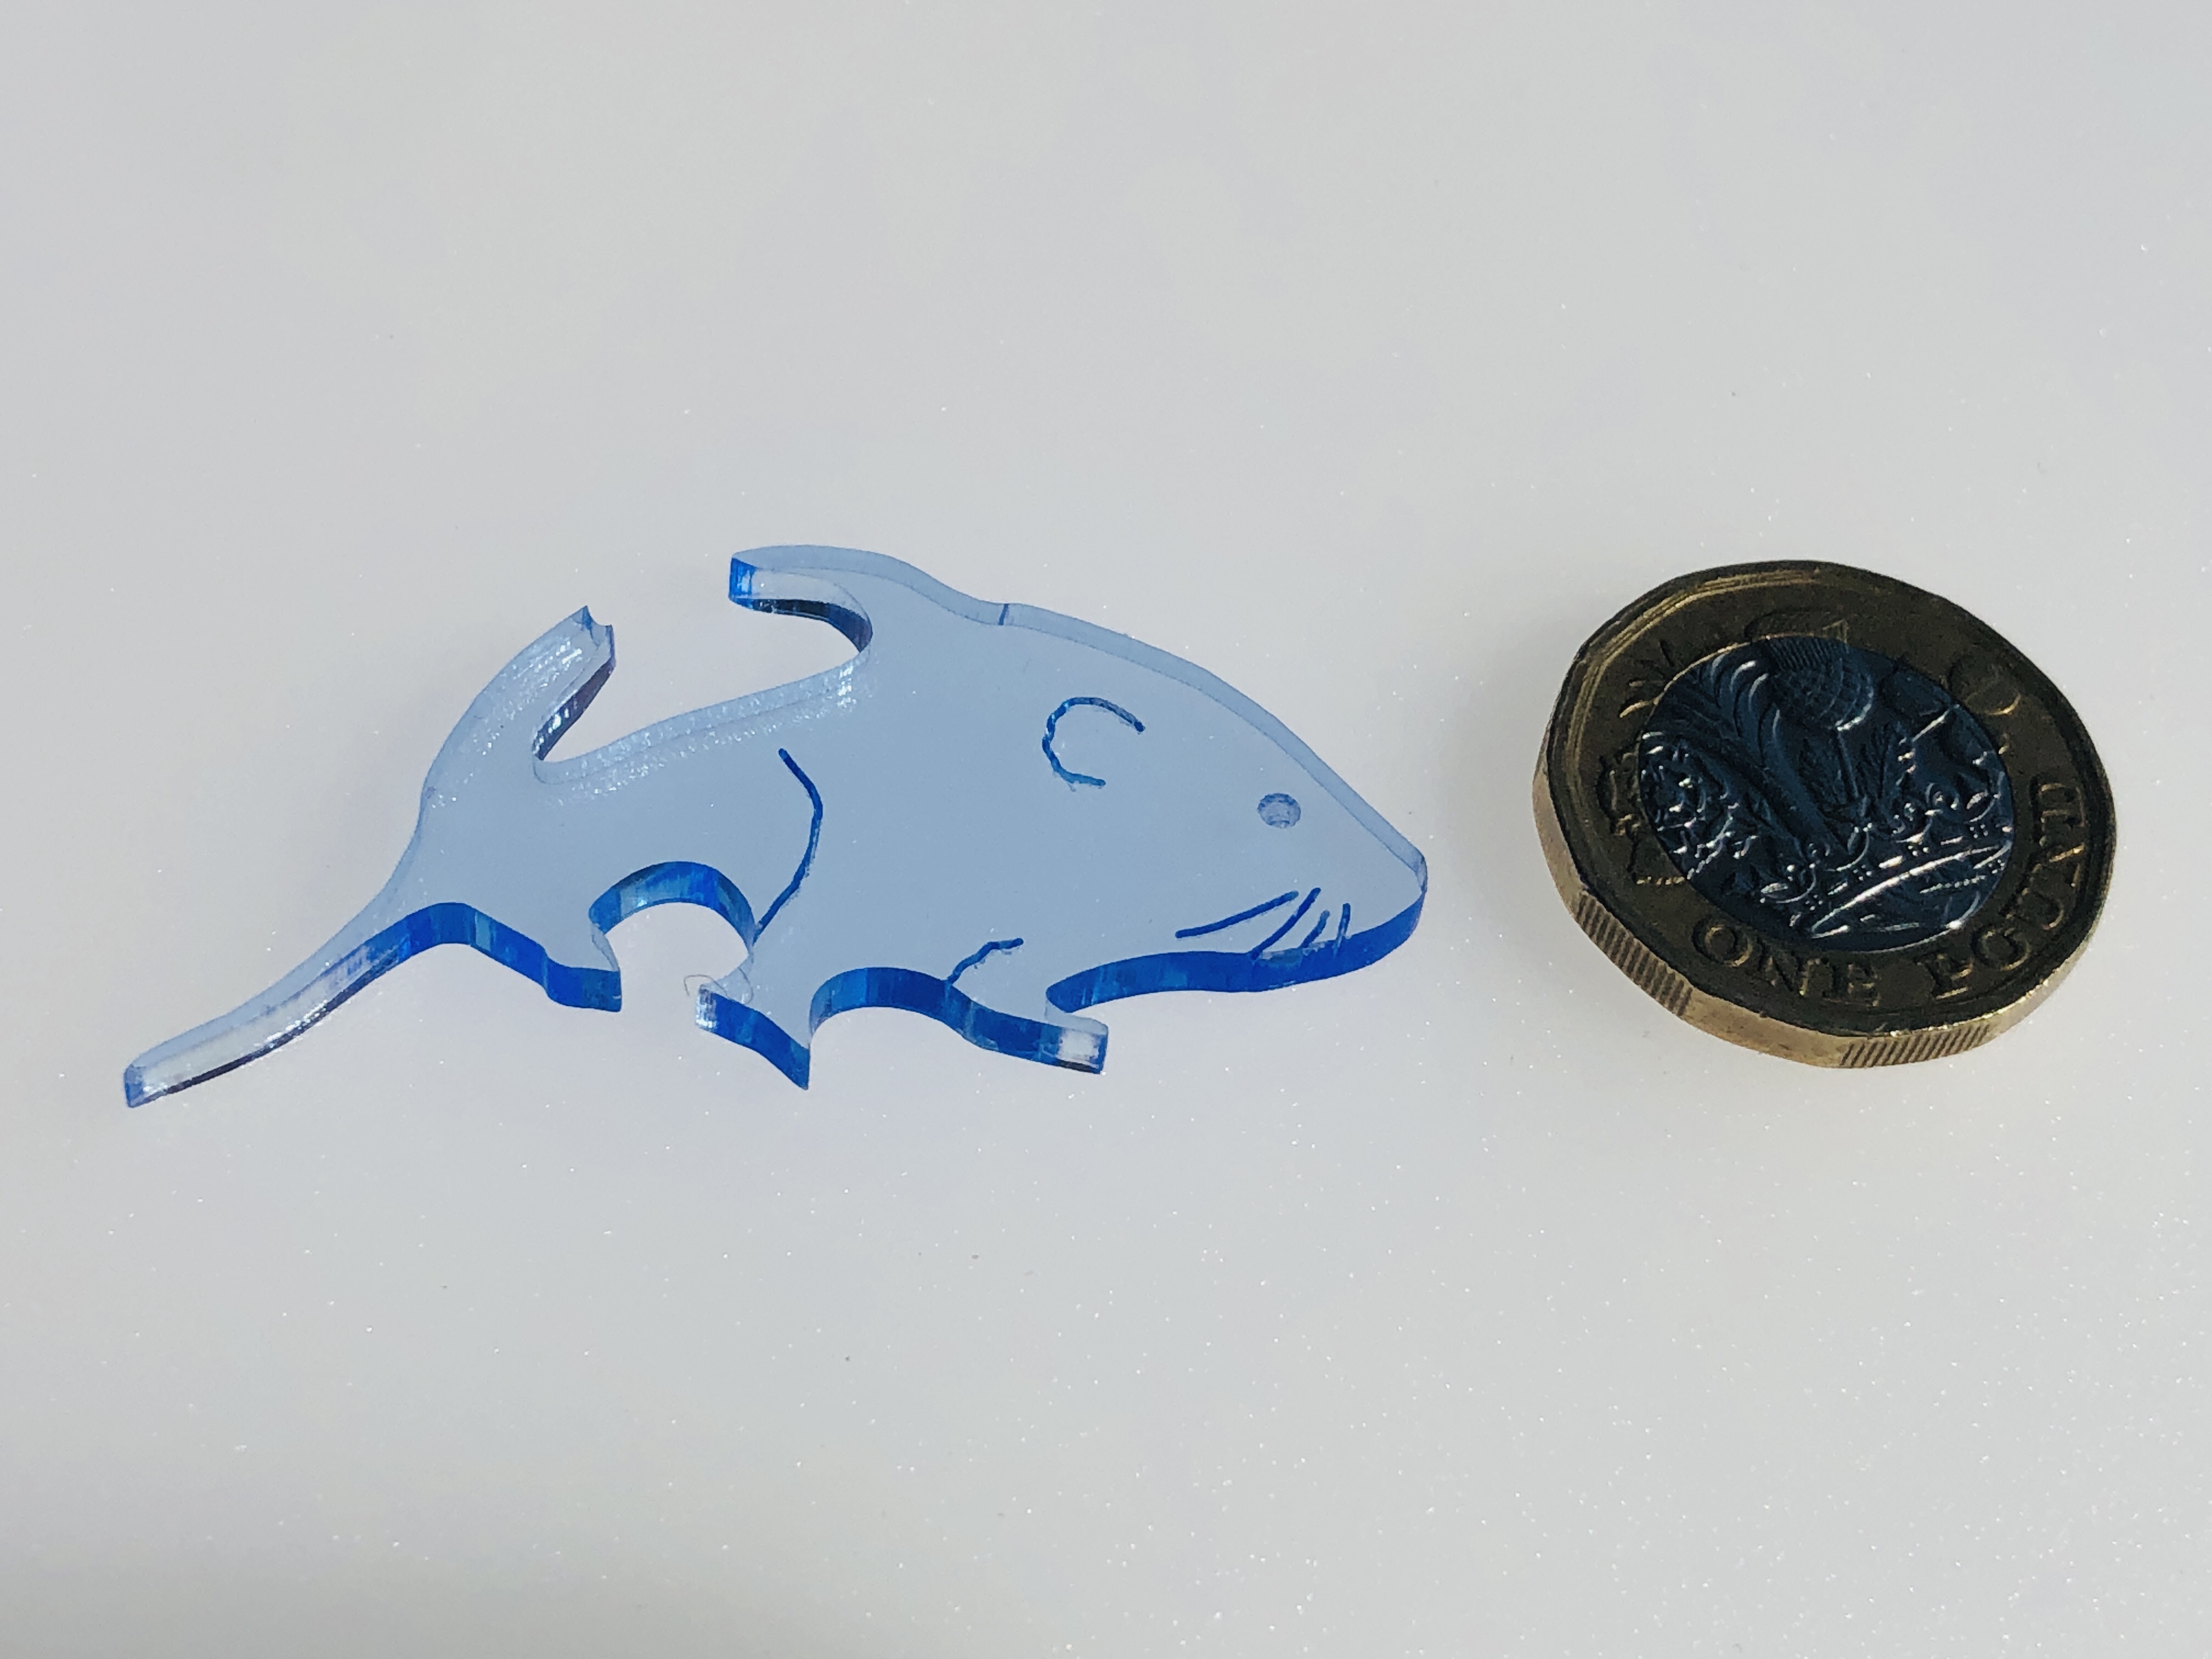
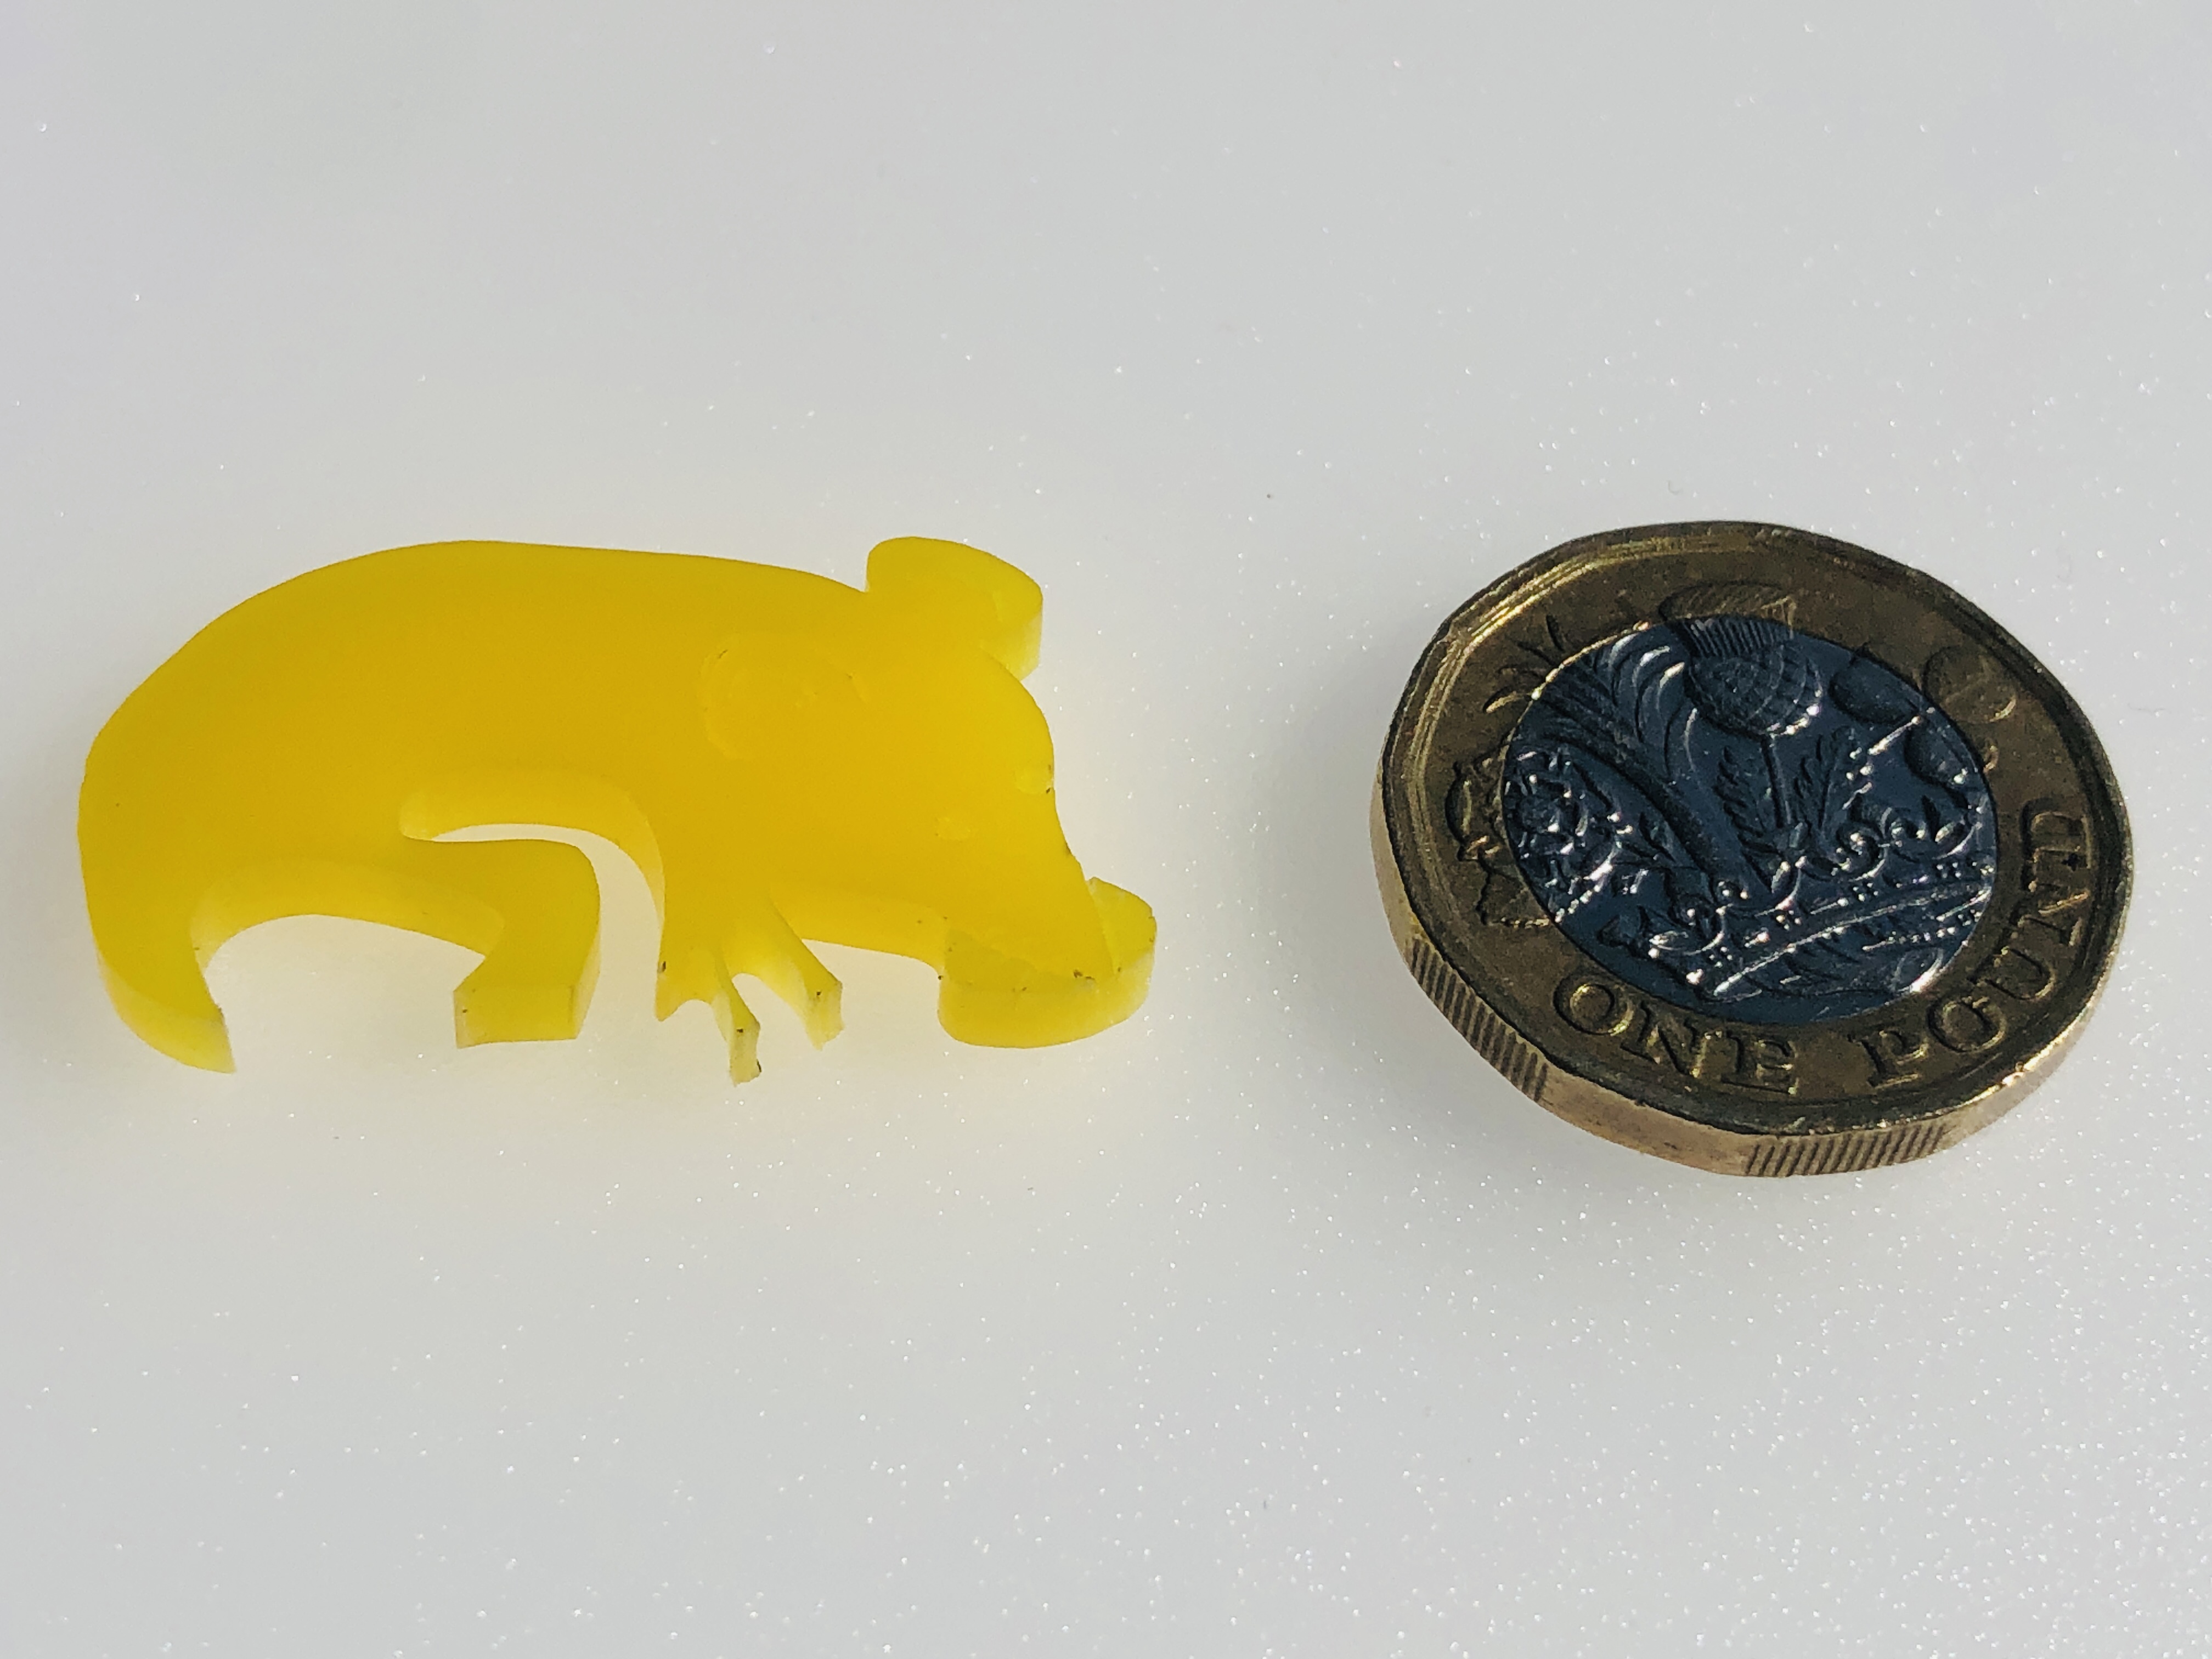
Here are a few of the many varieties I have made :-
Artist: Michael Autumn Medium: Clear cast 5mm Perspex® – laser cut & engraved from a hand-drawn digital design Size: 19cm (W) x 29cm (H) (including stand) Edition: Unlimited Date: 05/2024 Country: UK For sale: Available to buy on Etsy – https://www.etsy.com/uk/listing/1741855133/long-eared-owl-you-are-what-you-eat
Description: The idea behind this artwork was to have a tactile, life-sized, long-eared owl, and to toy with the idea – “You are what you eat”. Long-eared owls are ferocious predators (as are all owls) – and will basically eat anything that moves that is smaller than them. They often swallow their prey whole, and regurgitate a large pellet of the undigestible parts – such as bones, teeth, hair, feathers. Indeed, examining their pellets is how ornithologists know so much about what they eat.
This is a precision laser-cut and engraved “art” puzzle – directly cut and engraved in premium 5mm clear cast acrylic from an original digital hand-drawing. The design is a specially modified version of my original hand-cut 40mm thick solid oak artwork entitled “Long-eared Owl (Art Puzzle) (You are what you eat)” (2022)
I’ve been longing to create something in clear glass or acrylic for many years because I find there is something magical about transparent materials – as well as them being beautiful because their appearance changes dramatically from different angles, and by the changing light falling on them.
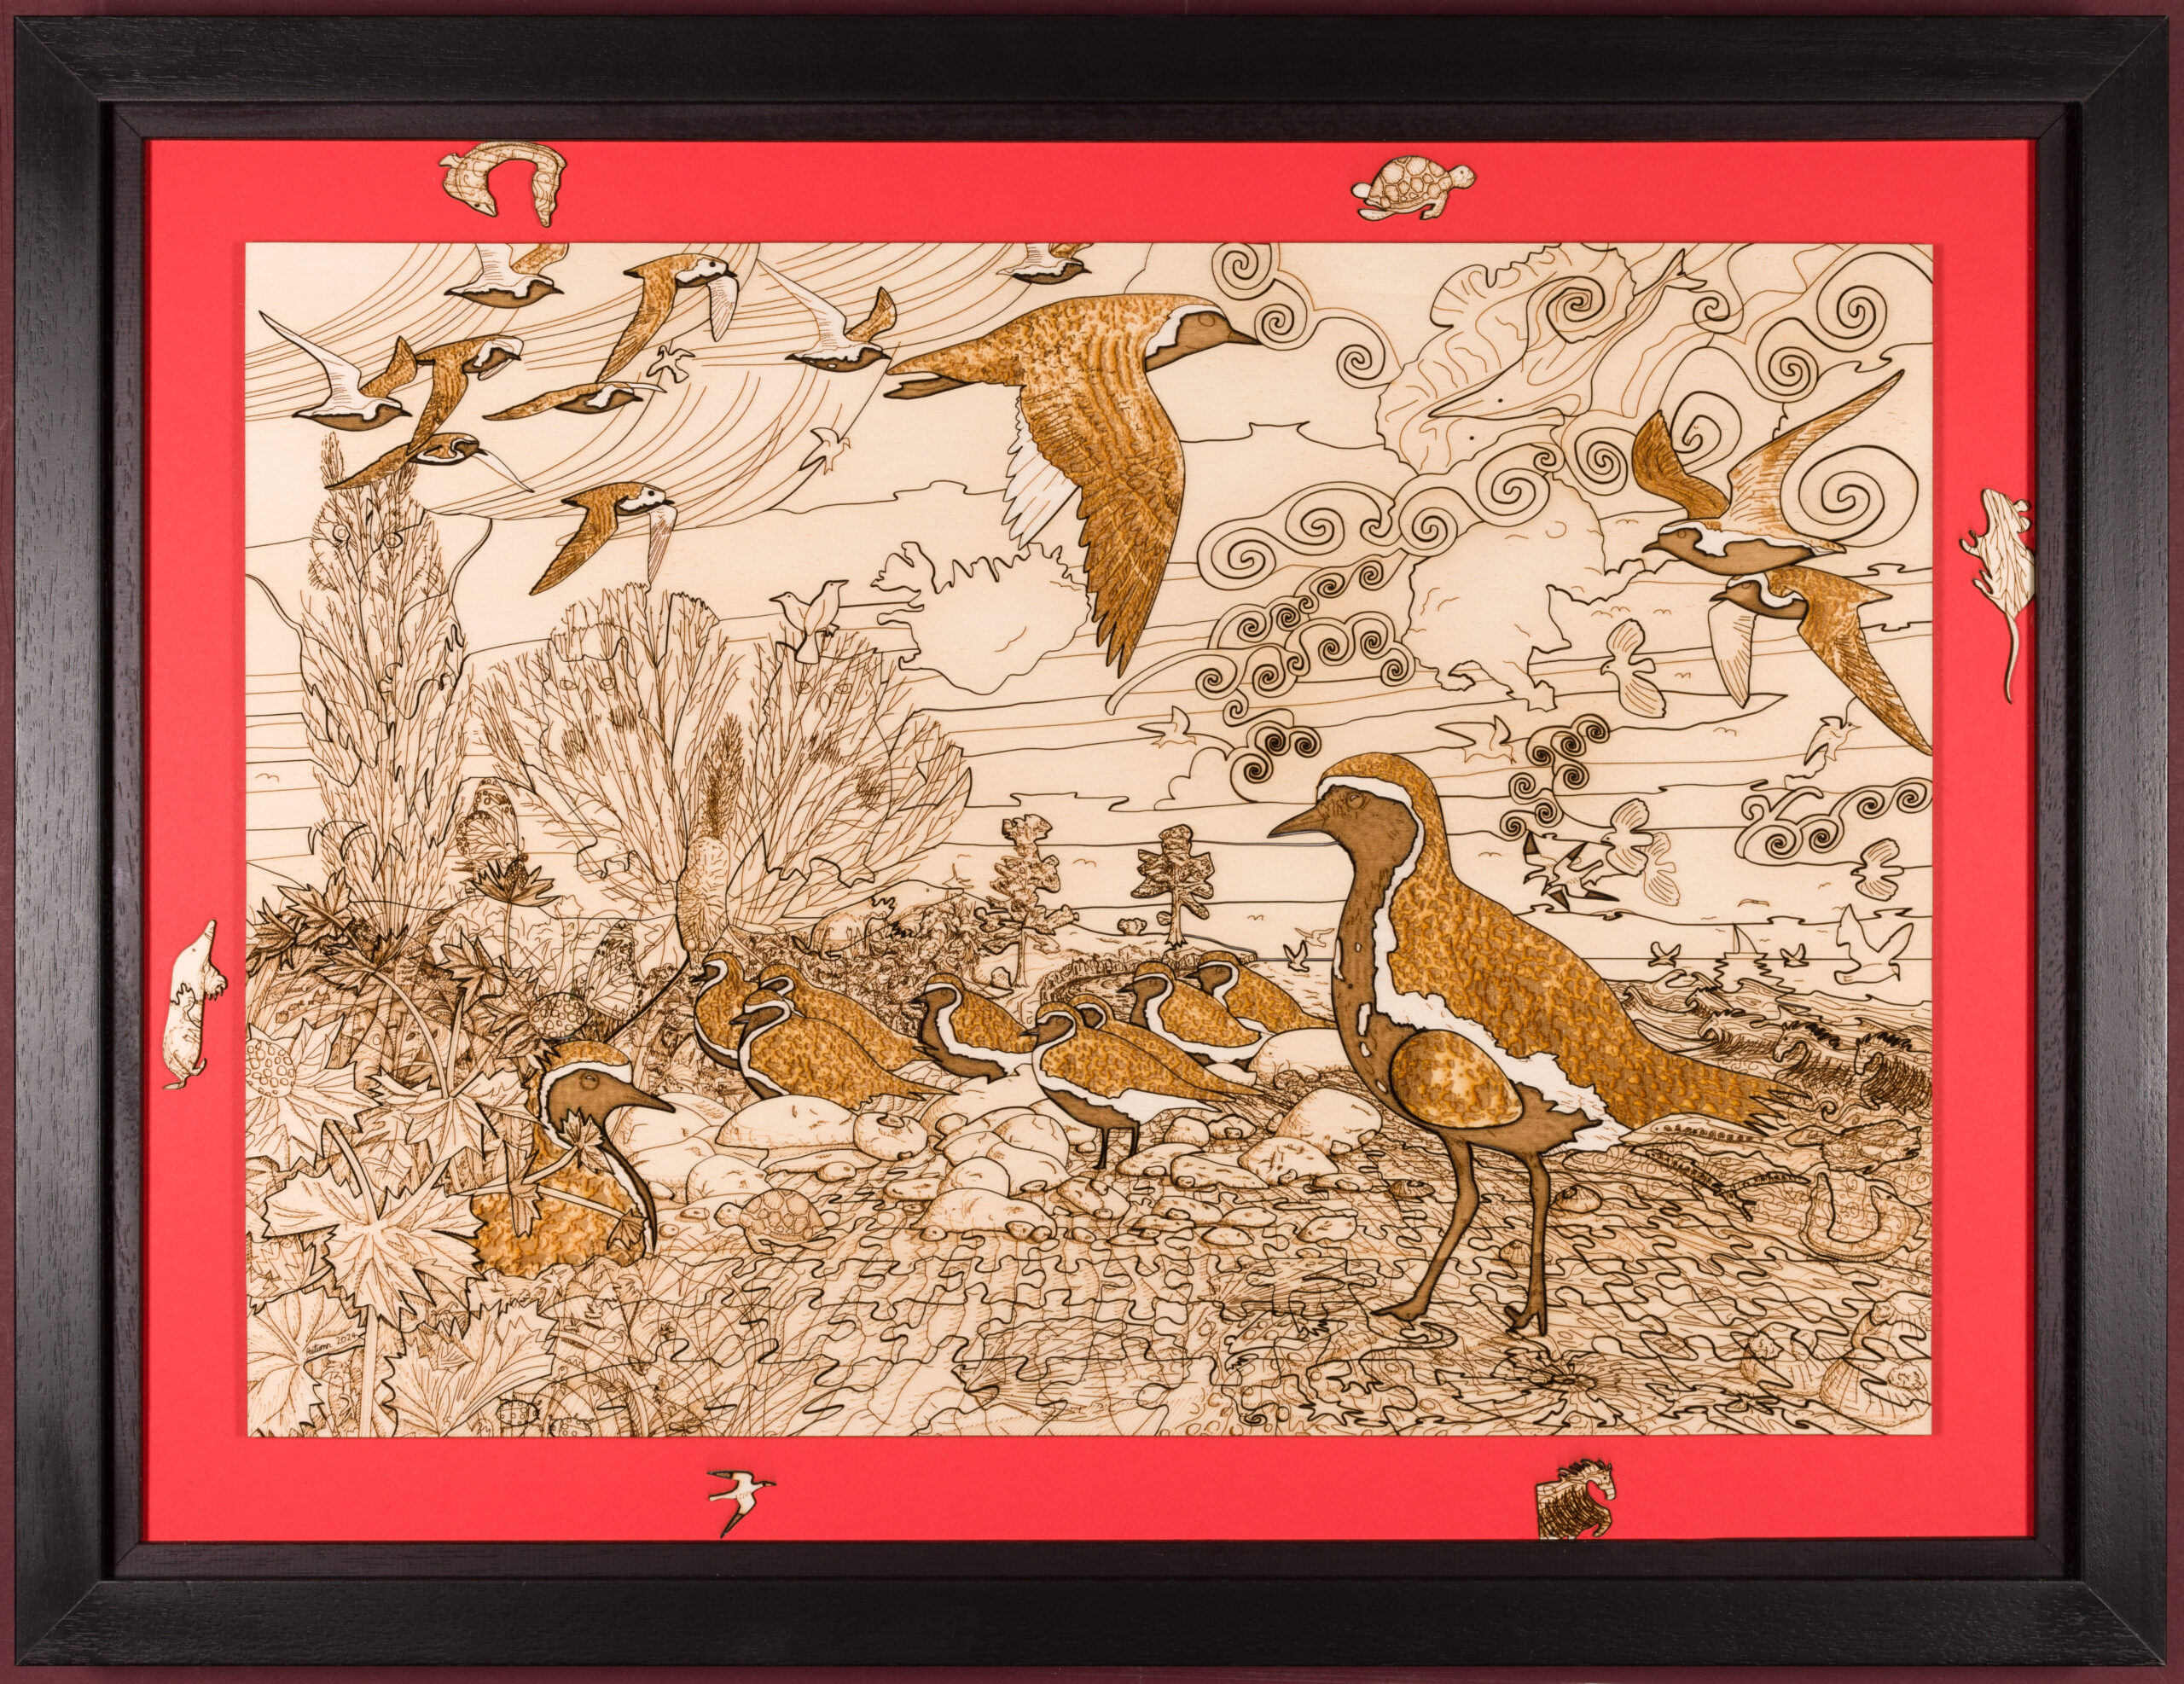
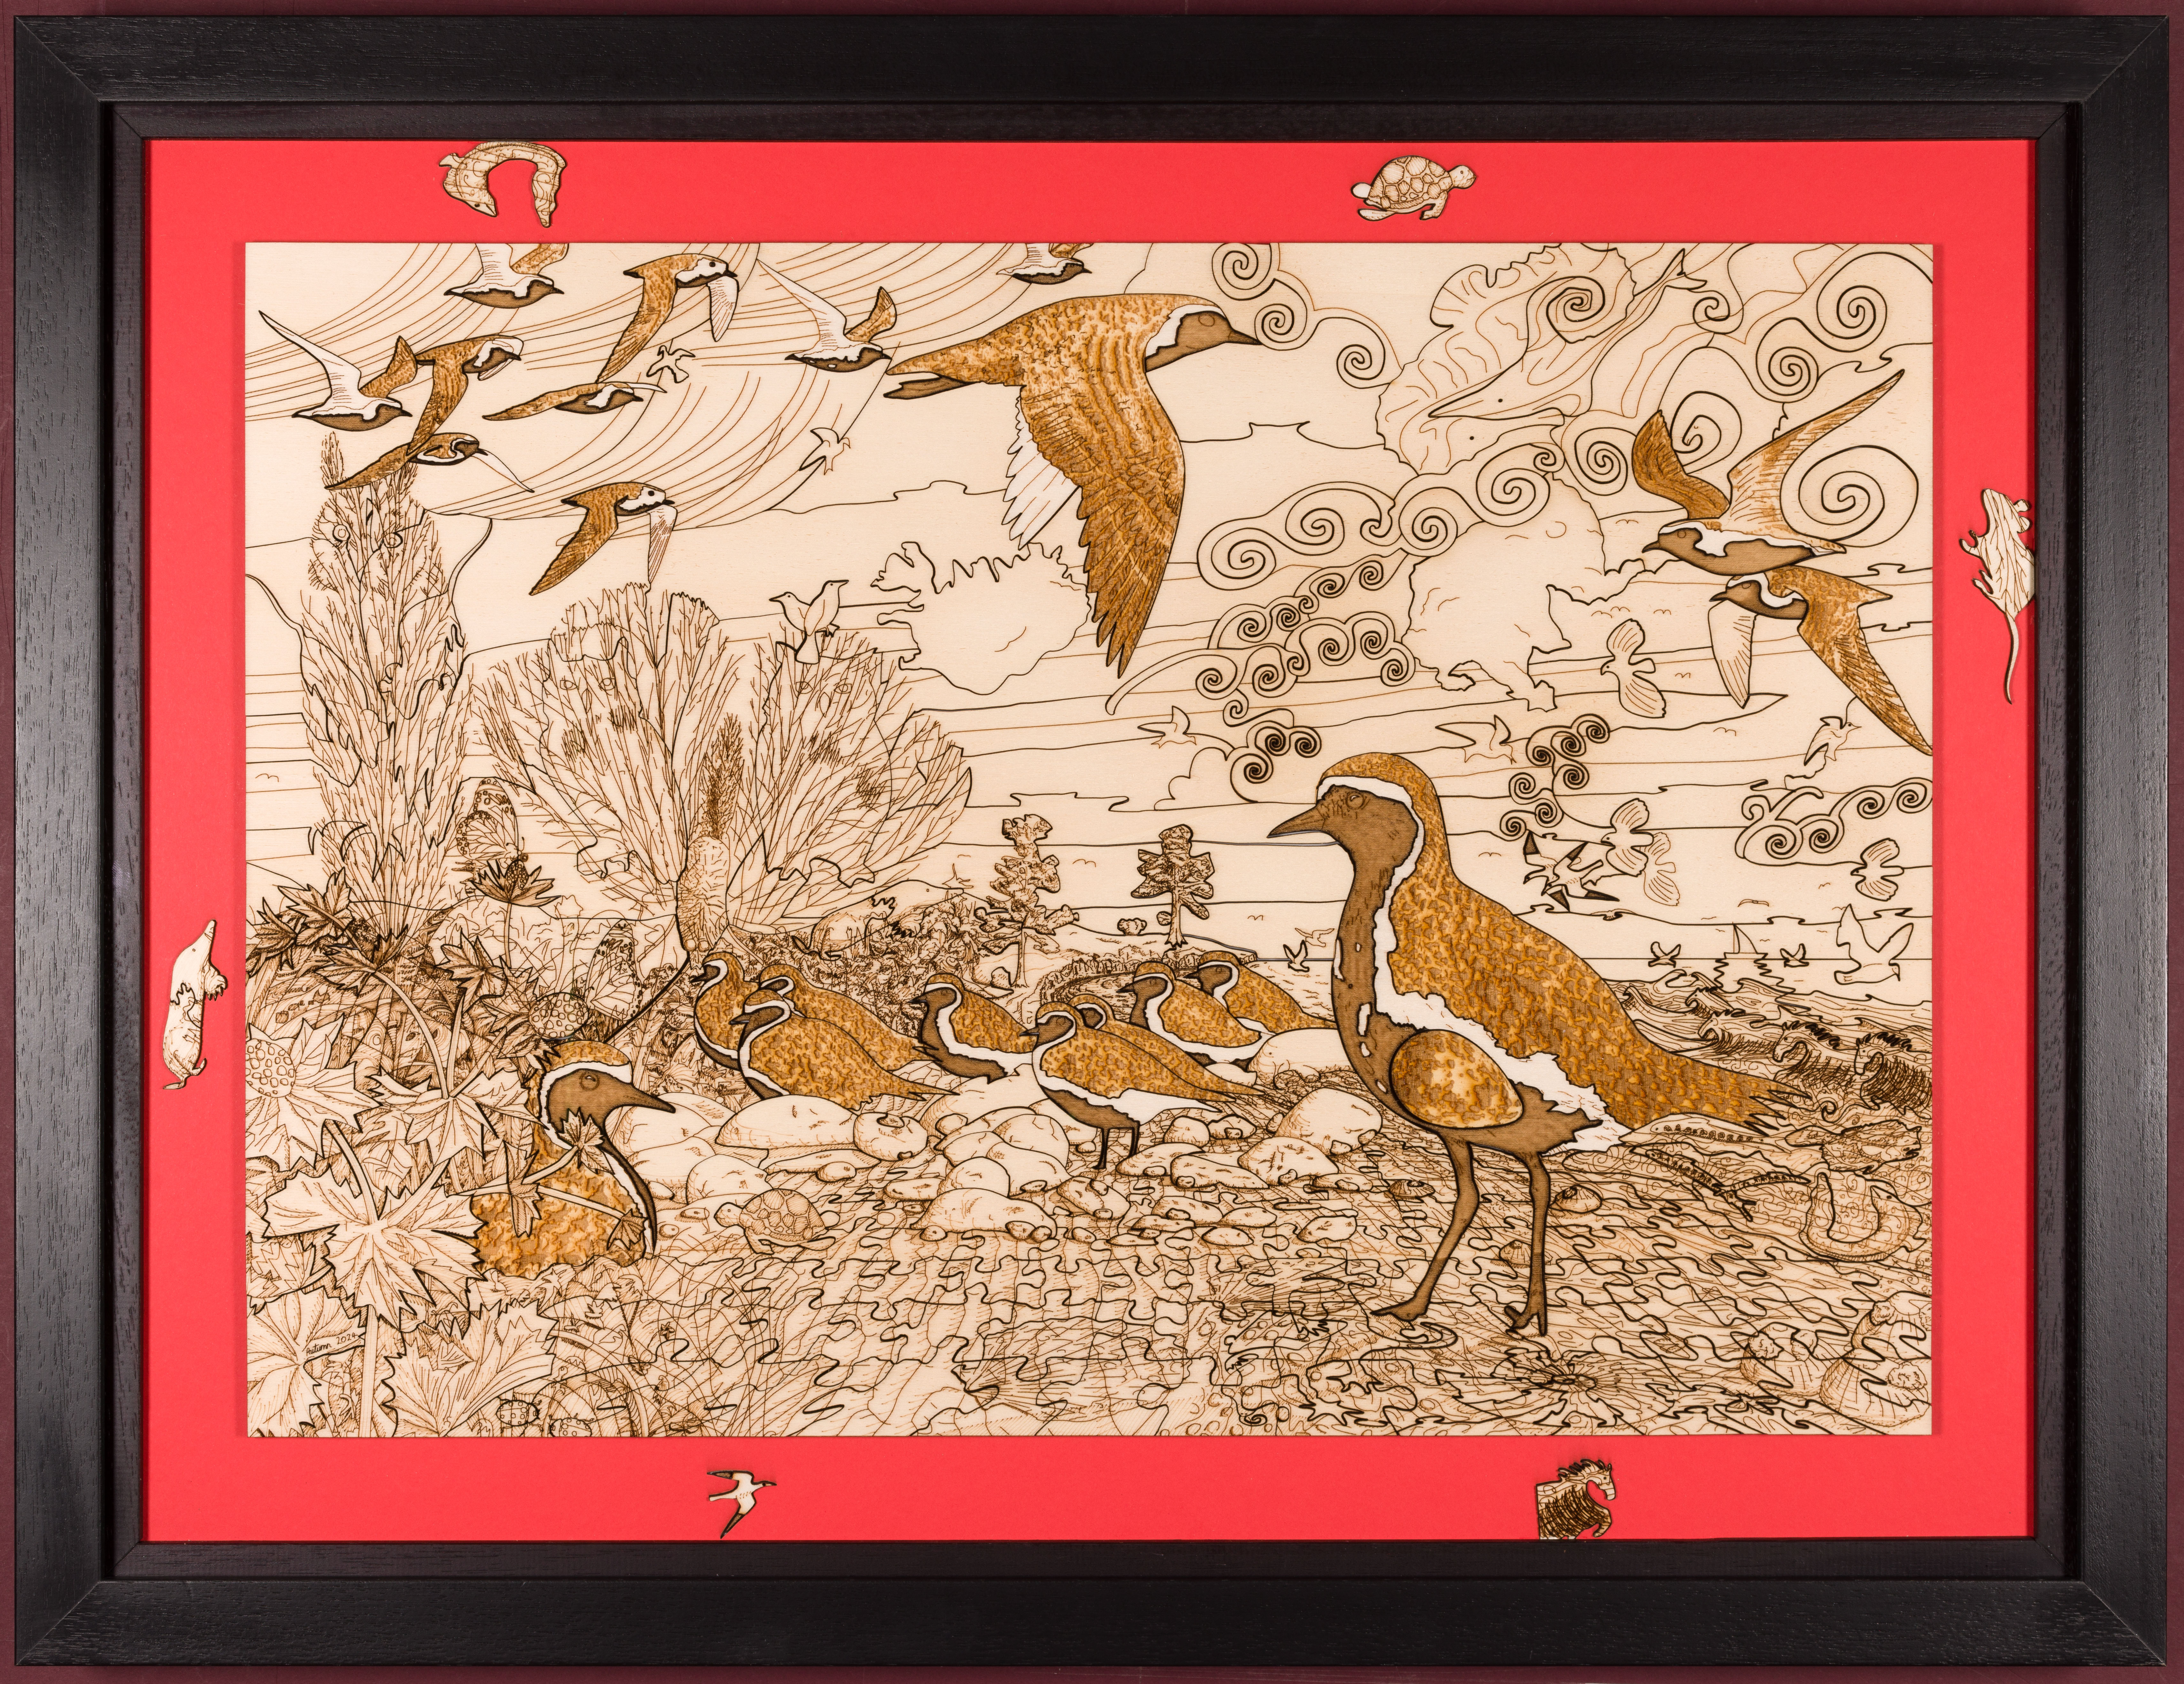
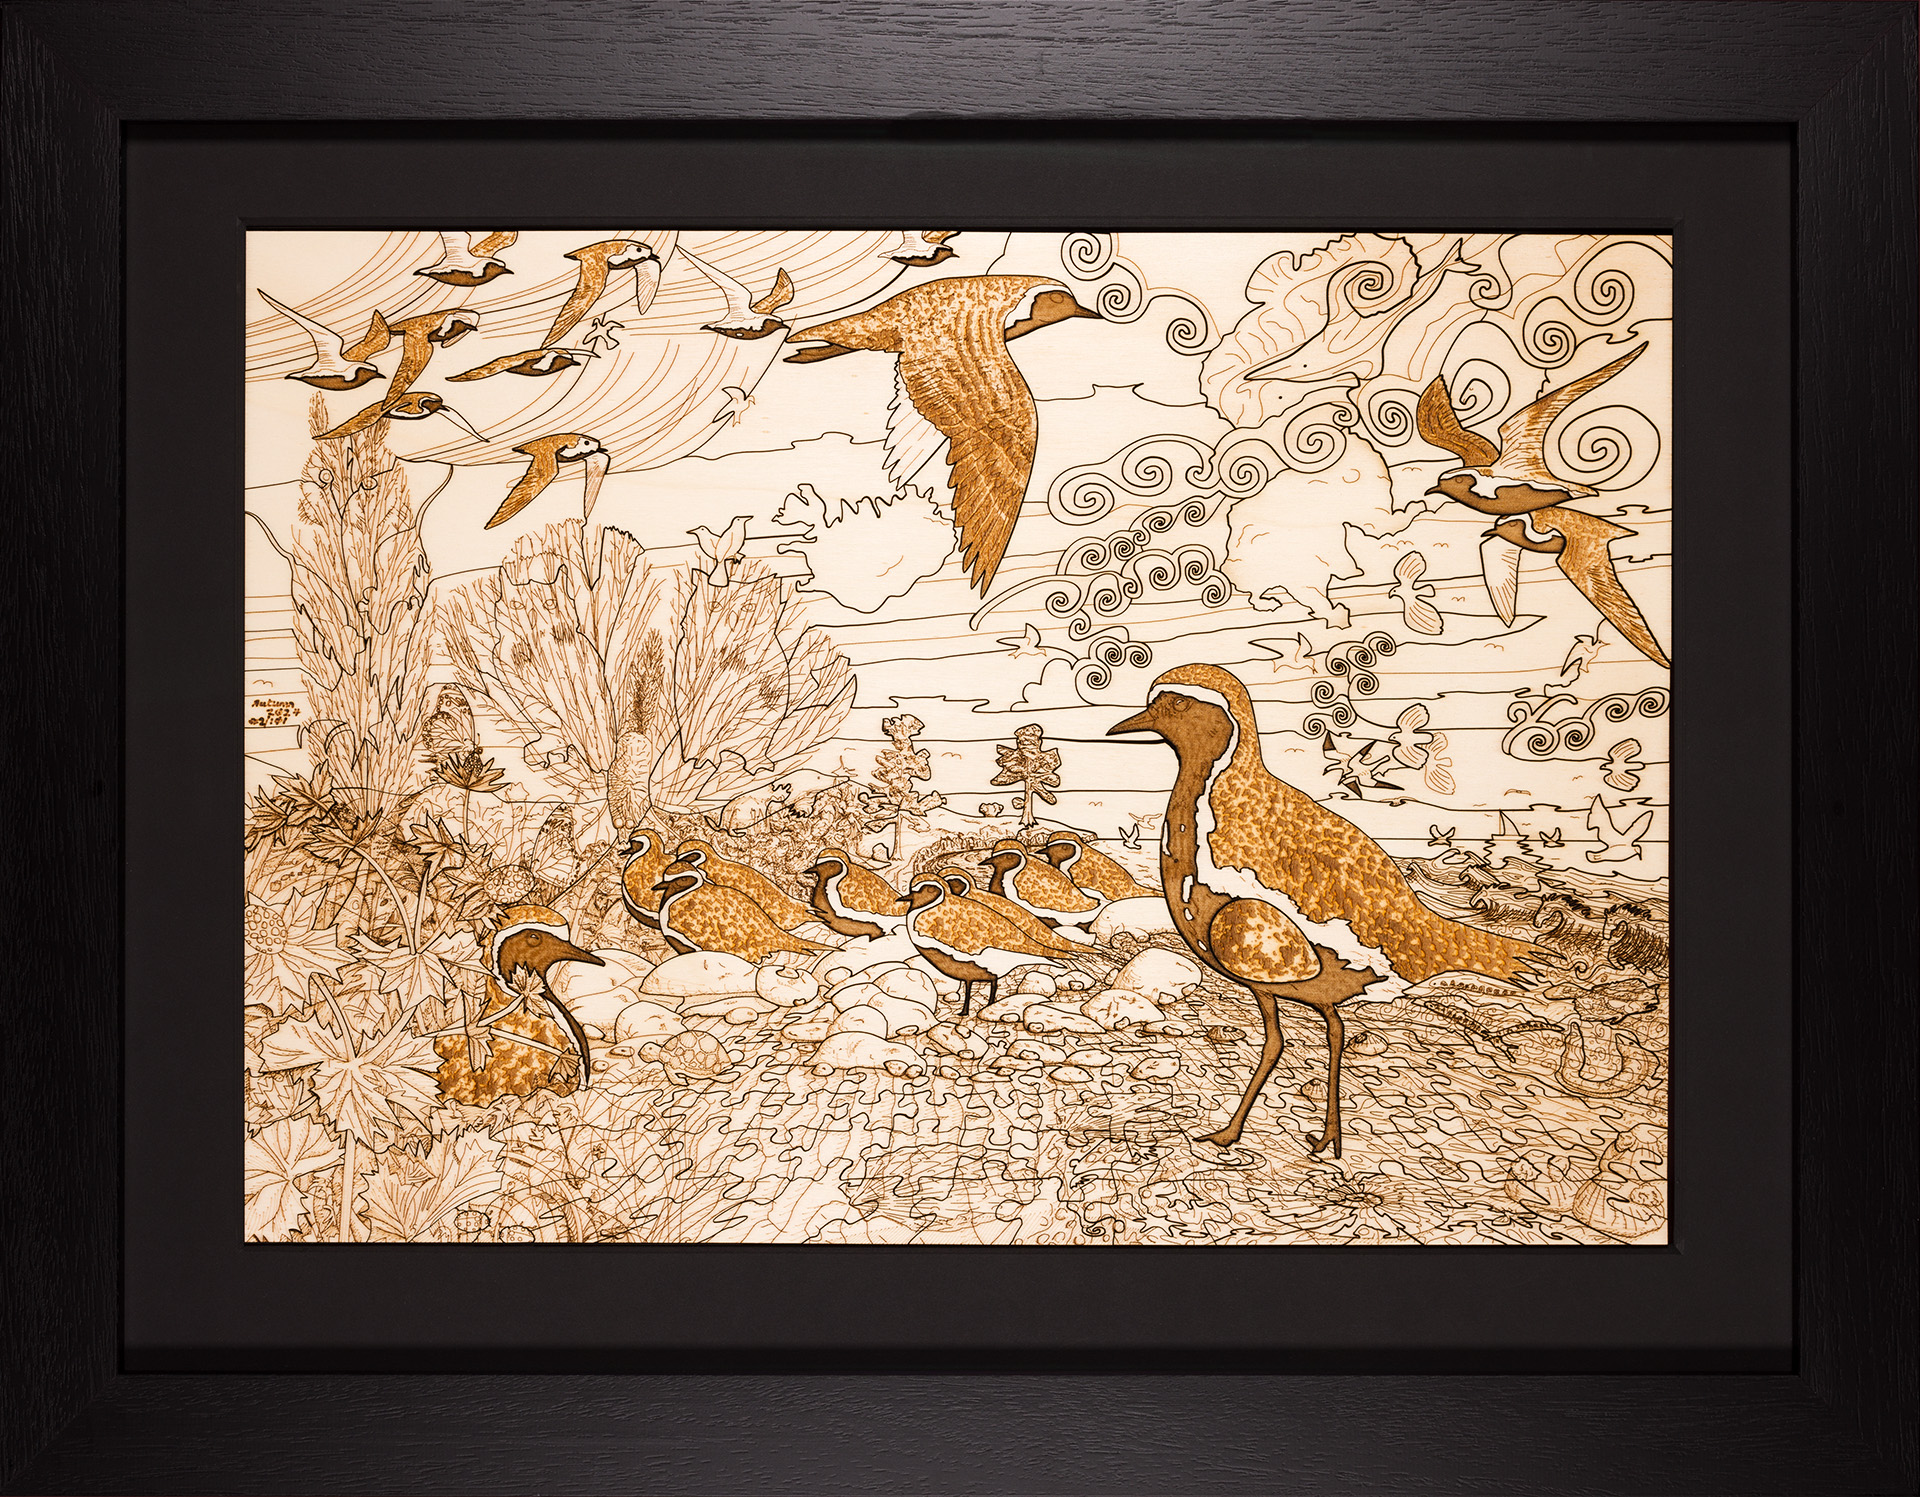
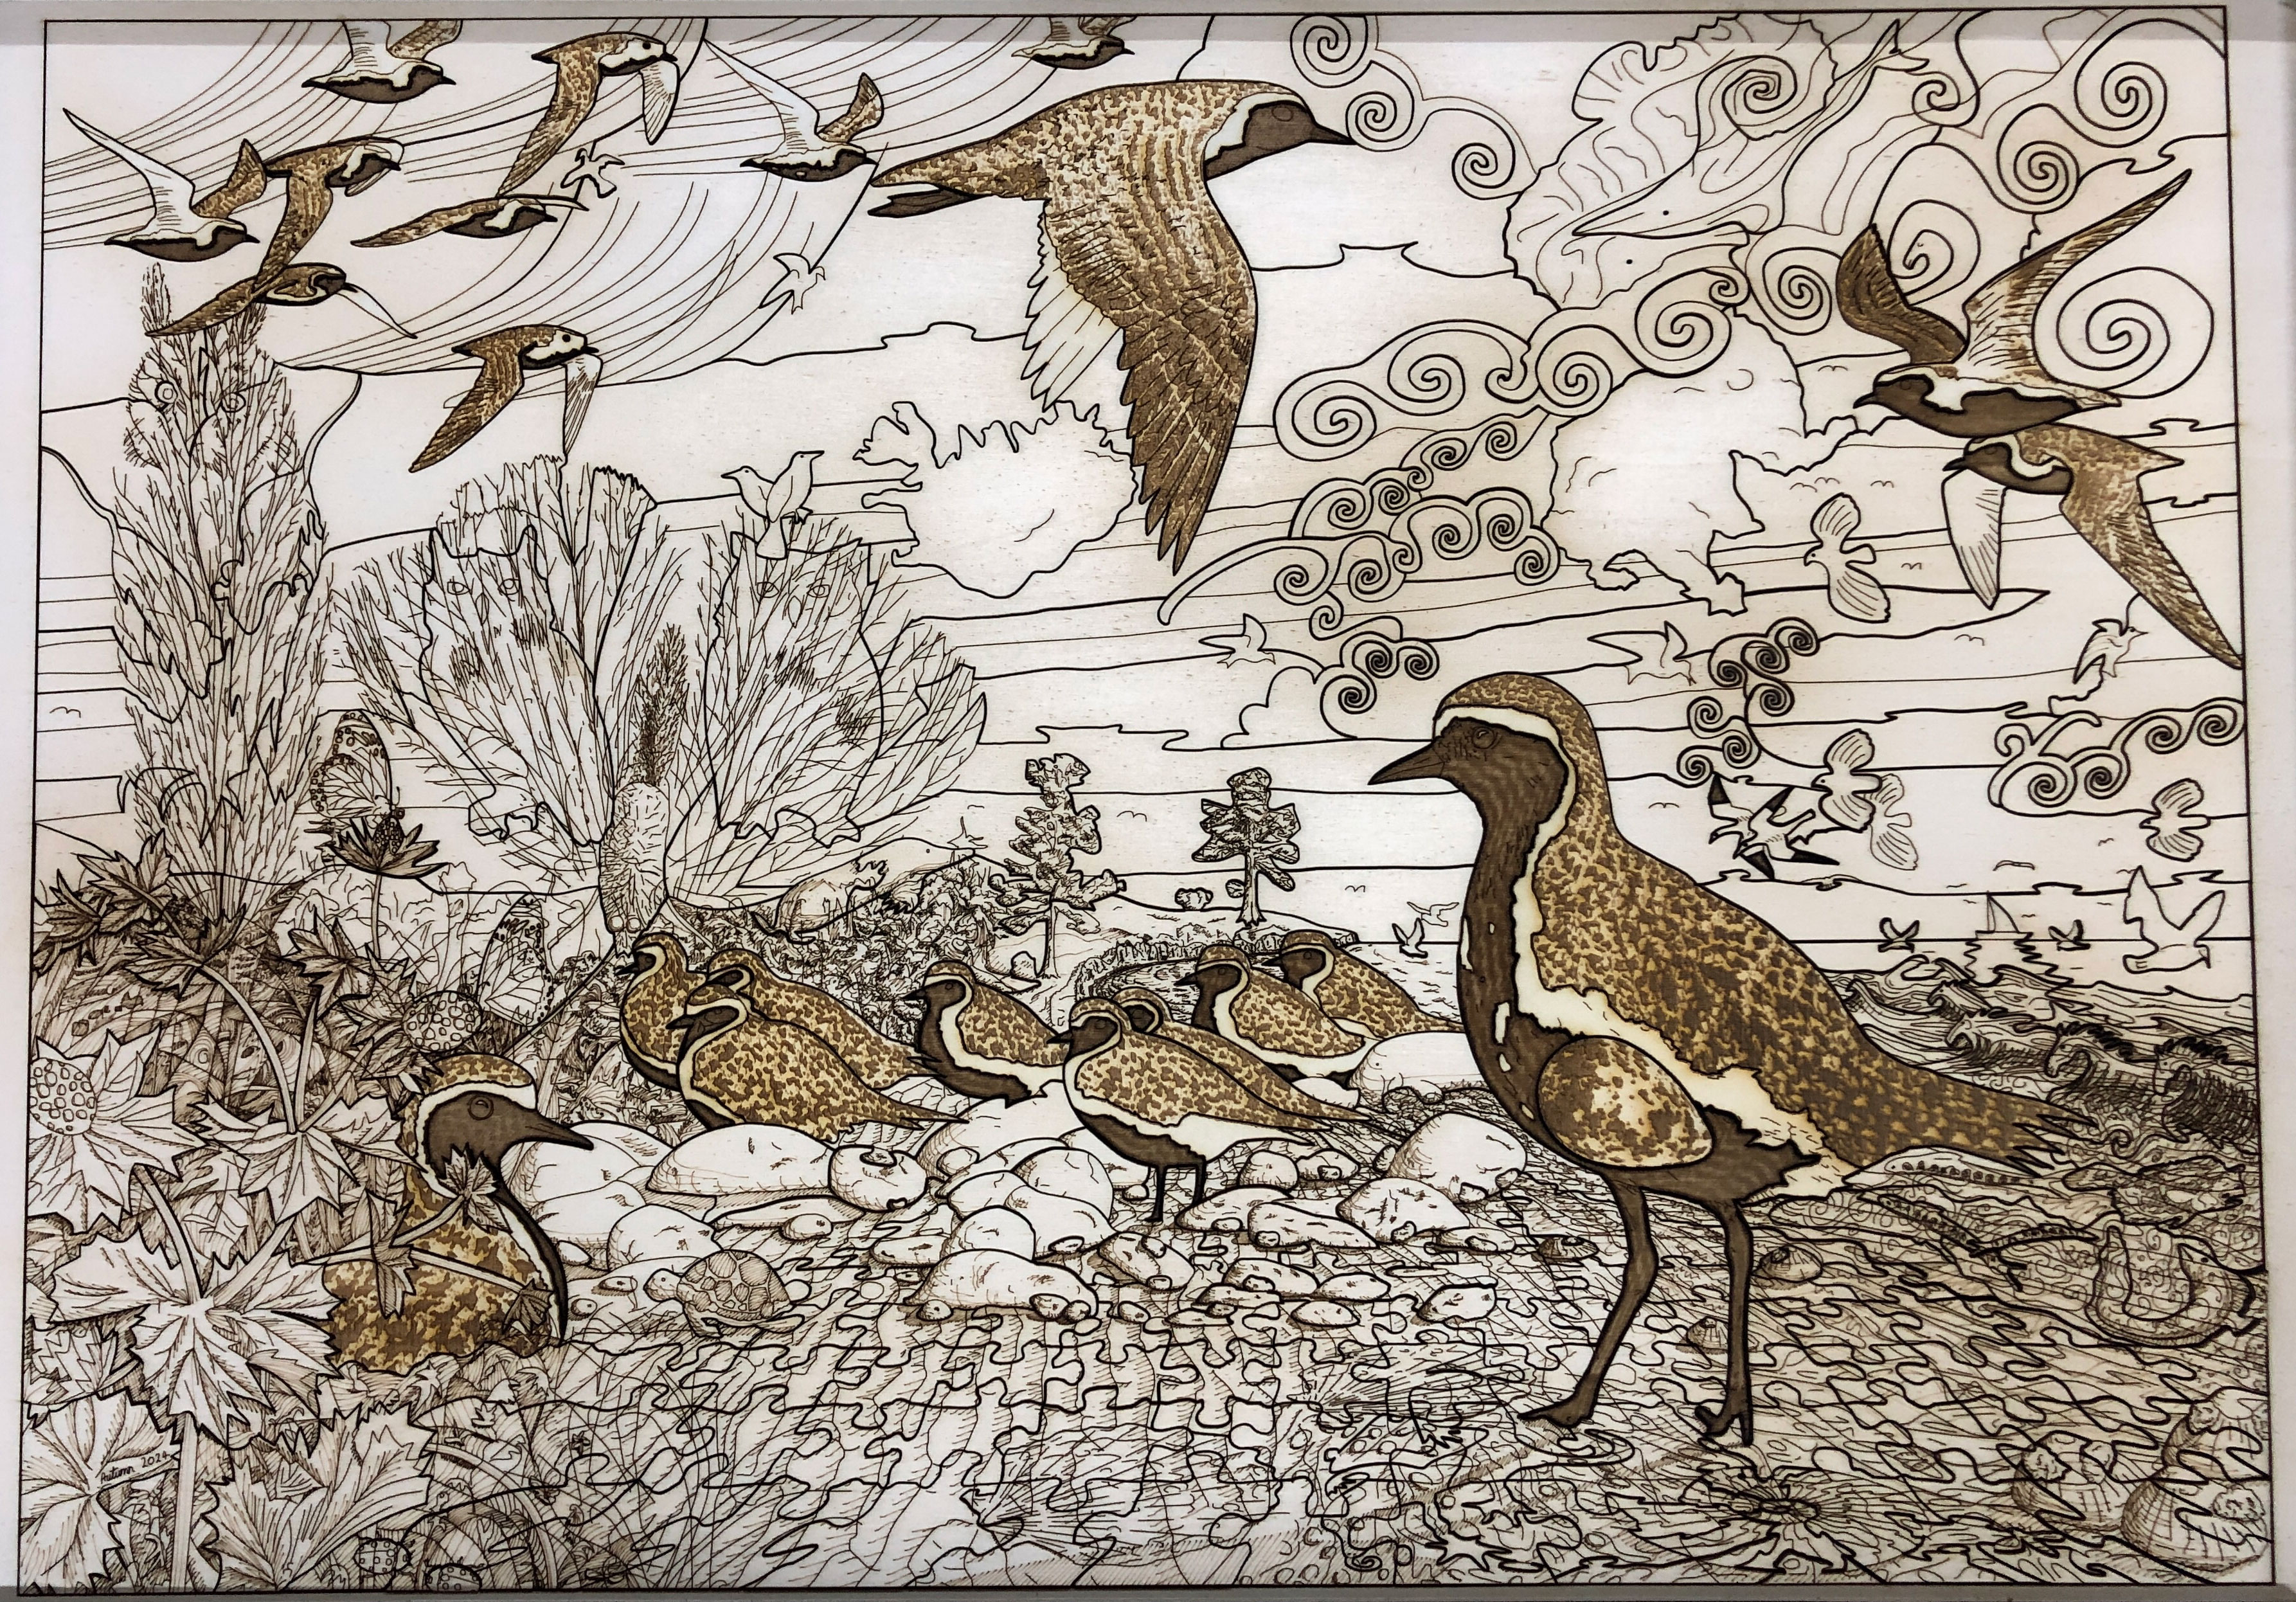
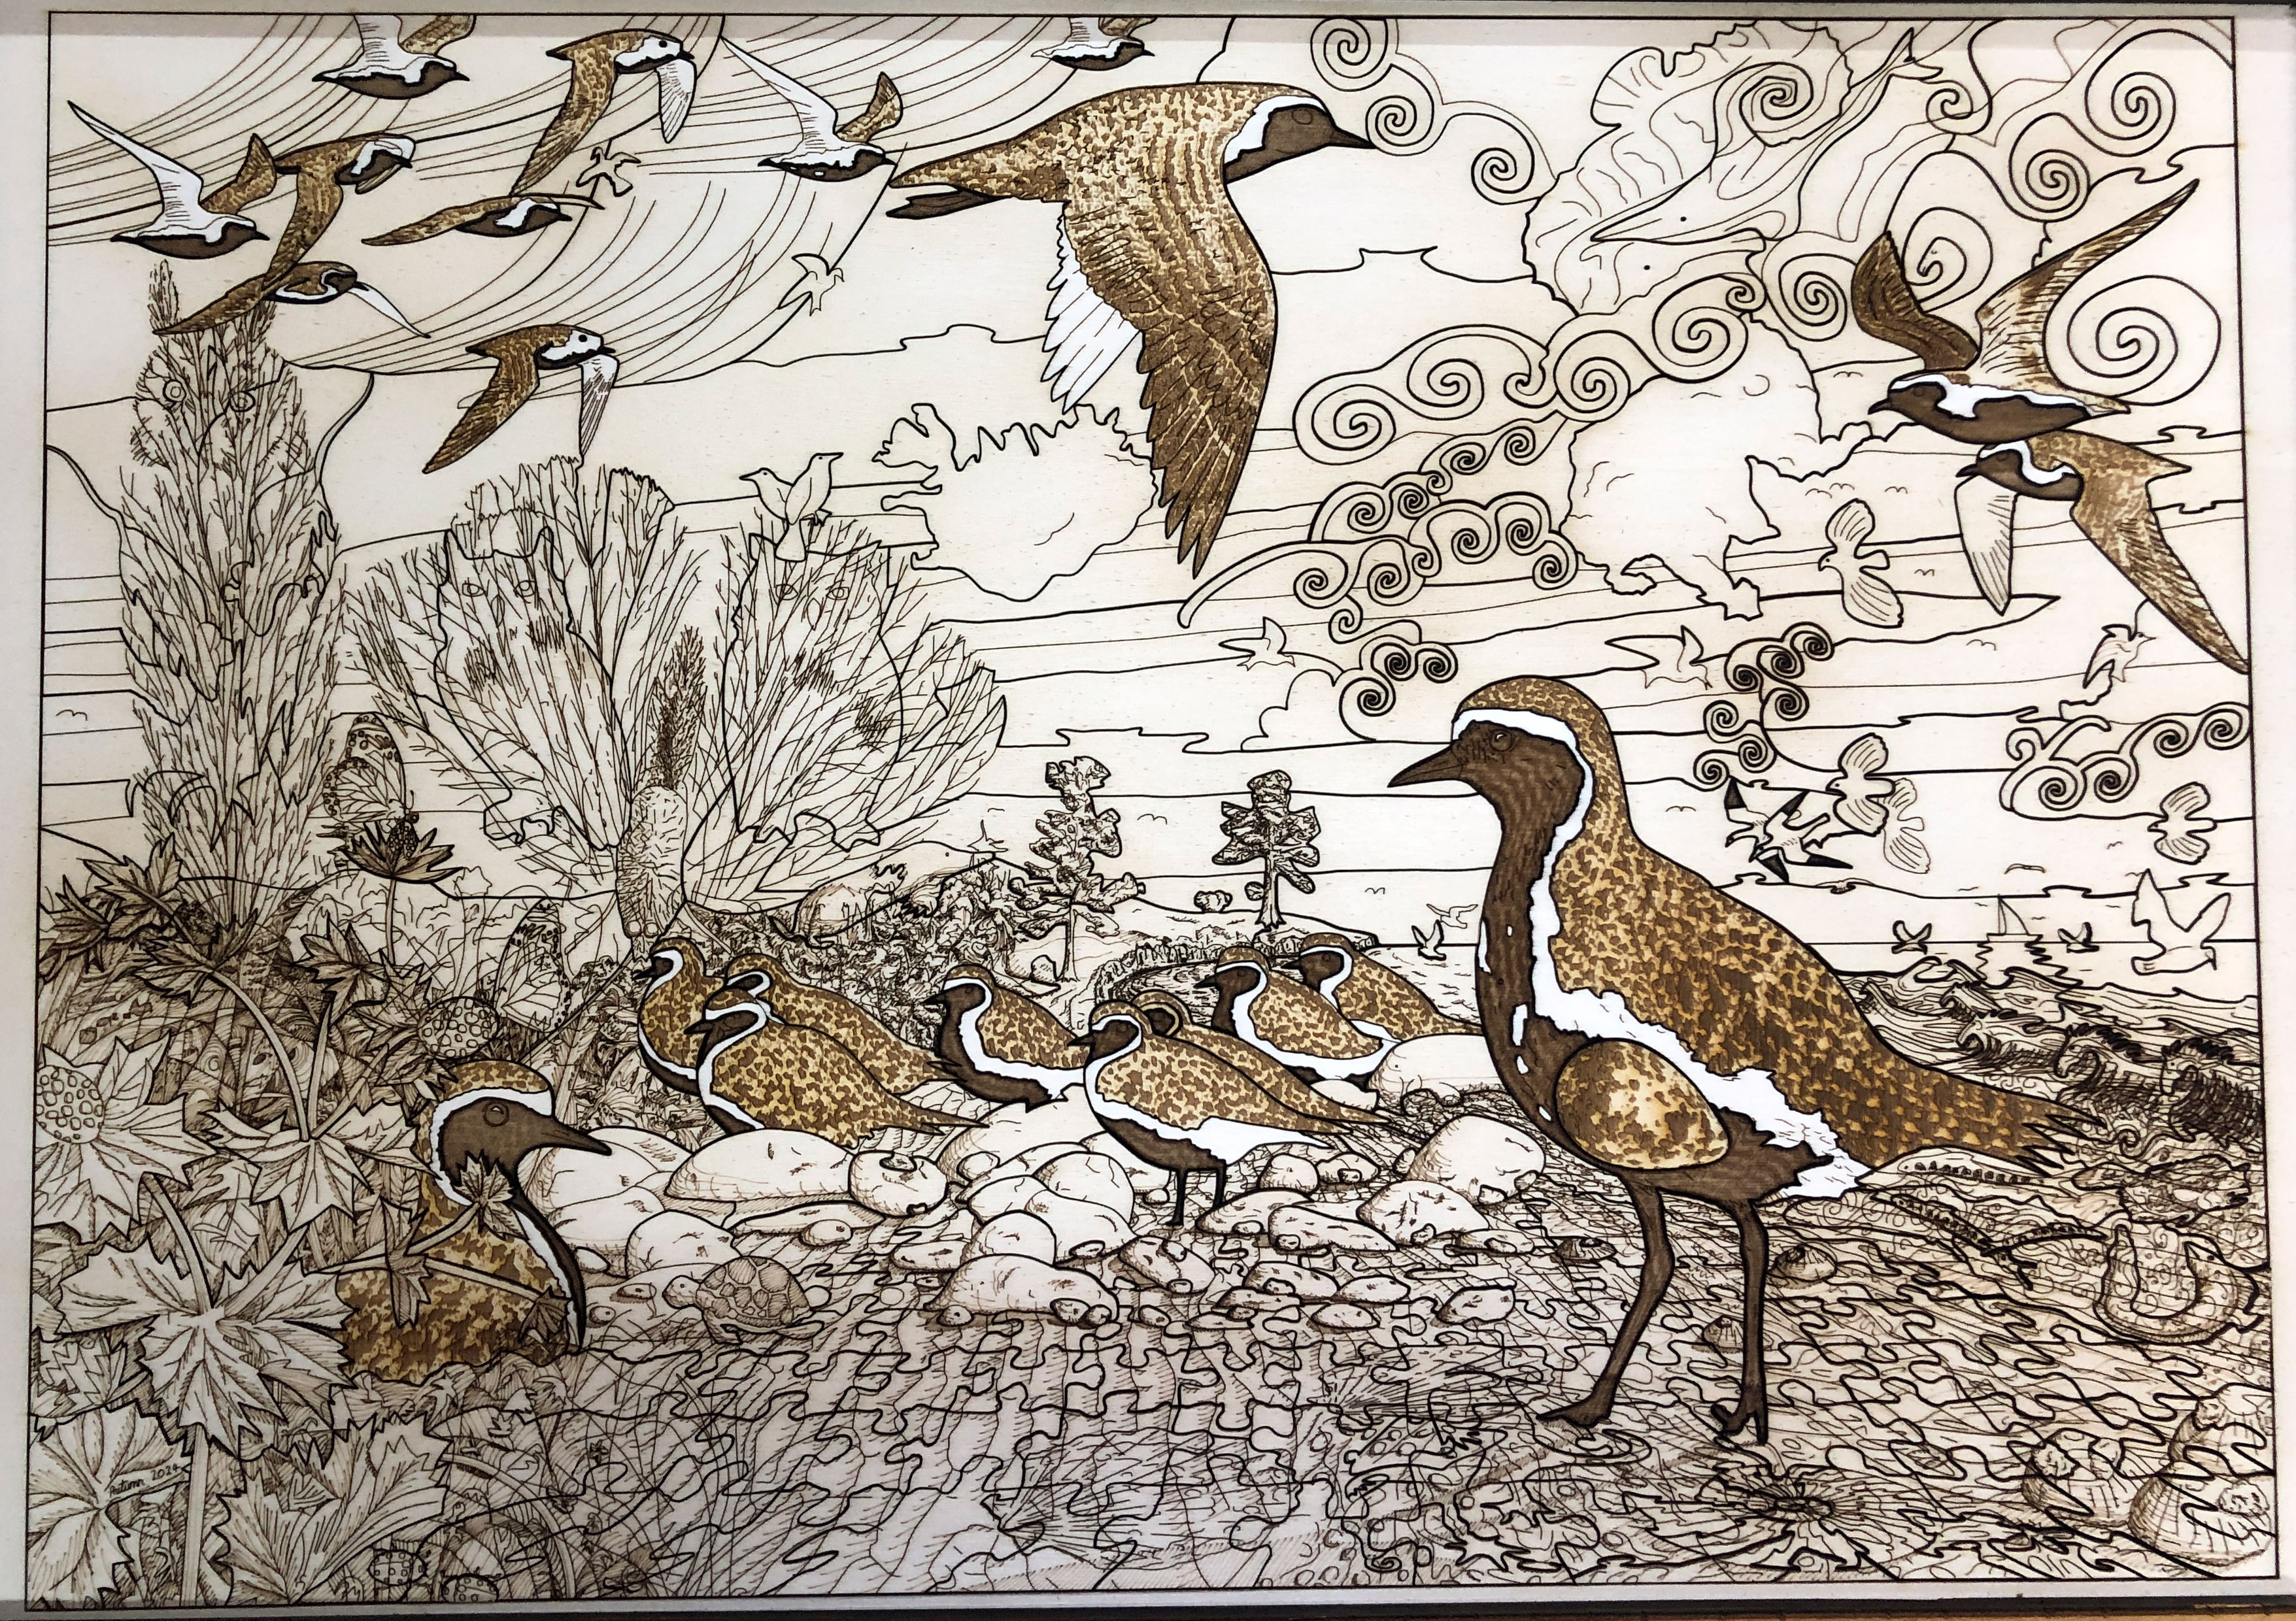
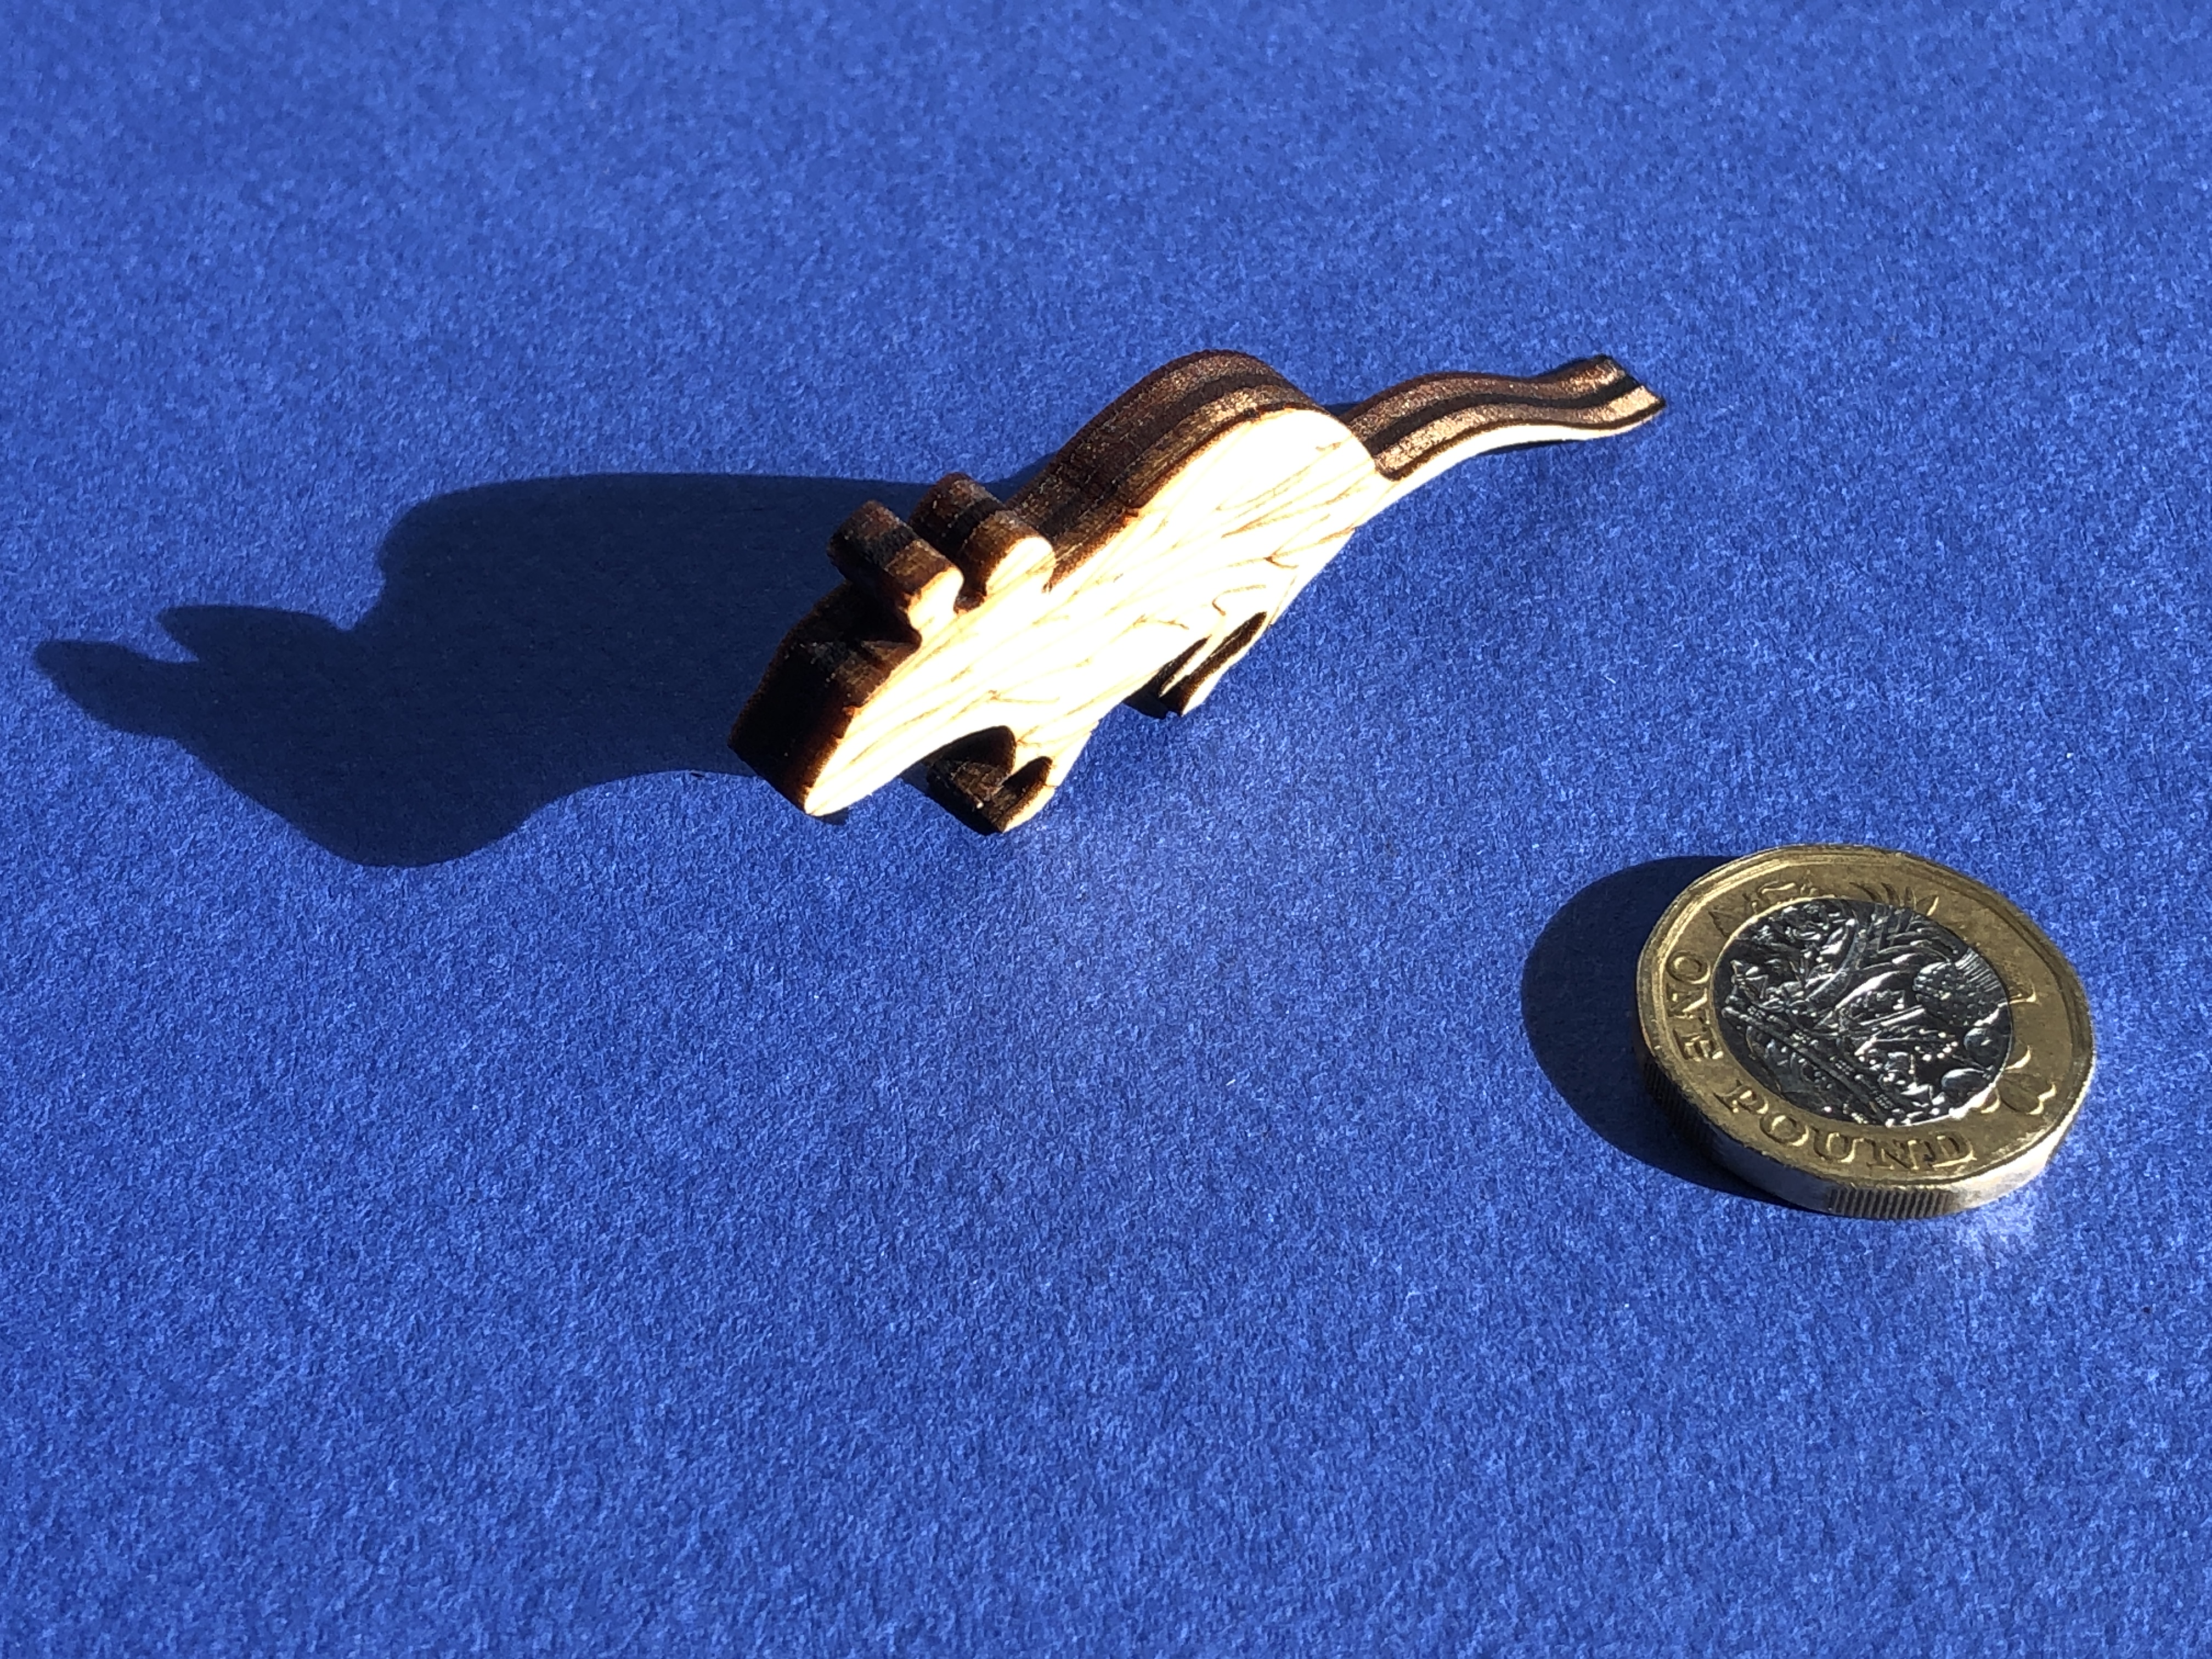
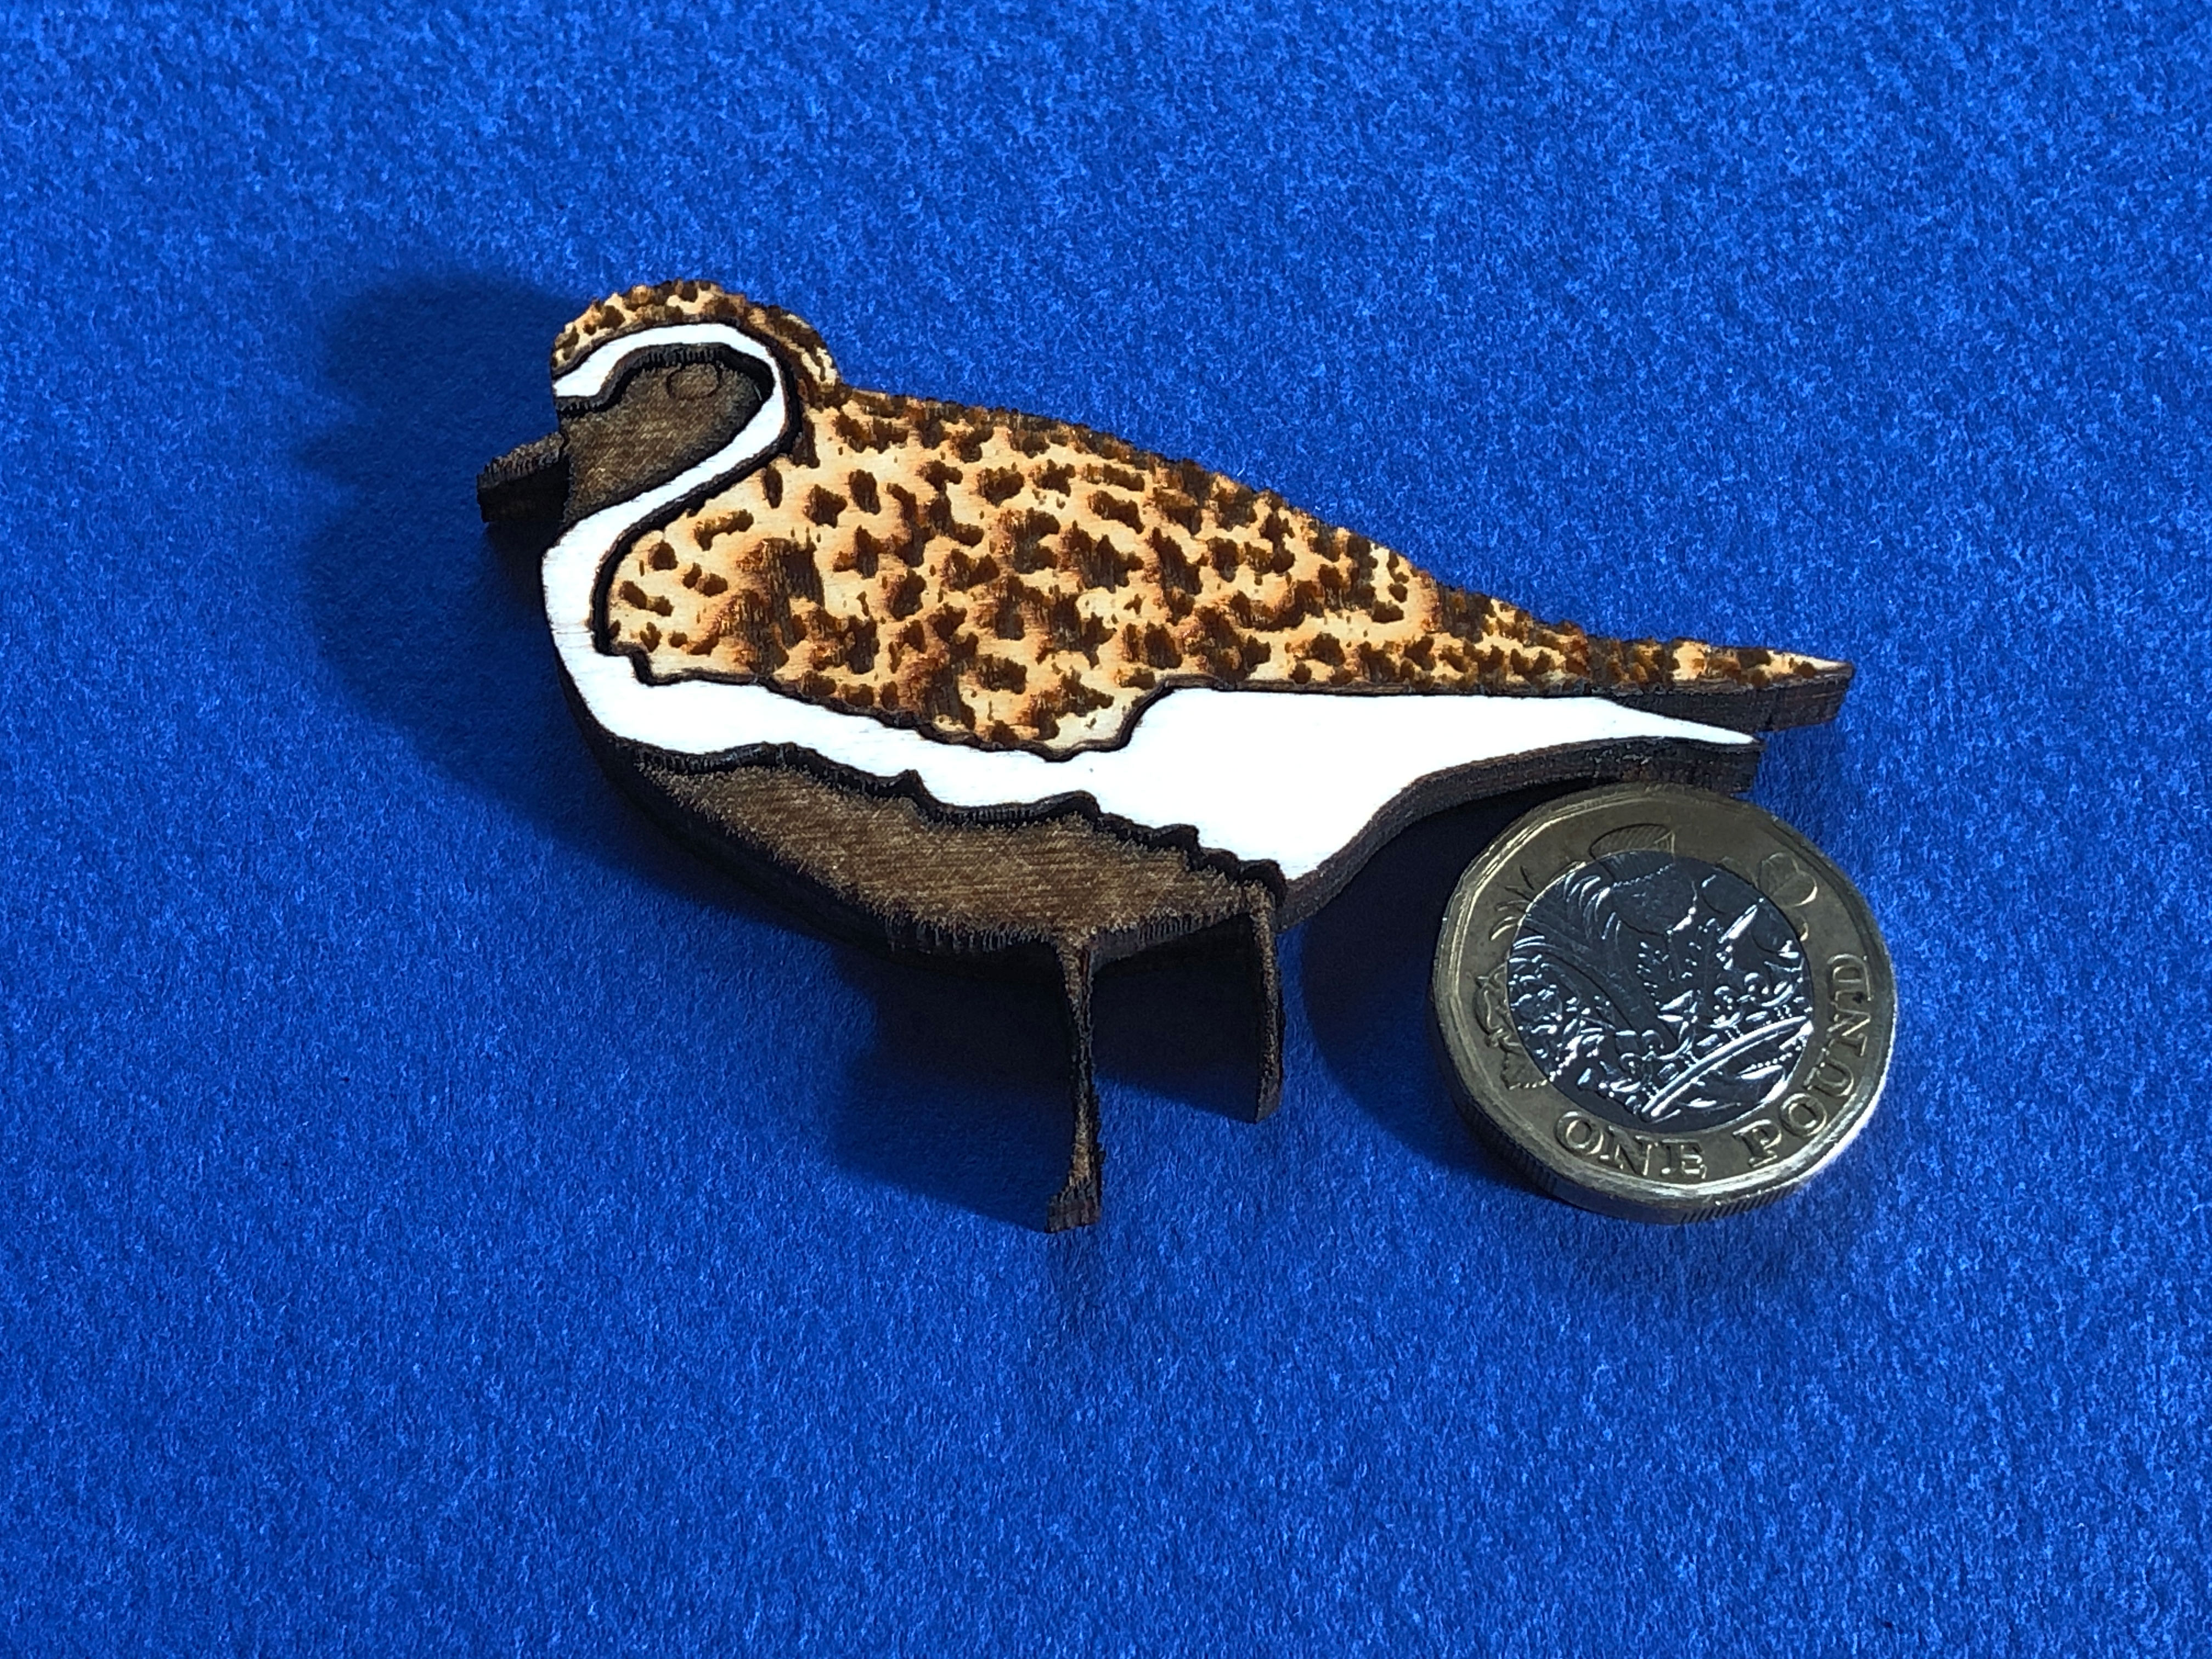
Title: “Golden Plover with Egg (Art Puzzle) – Laser” Artist: Michael Autumn Medium: Hand-drawing – laser cut & engraved Giclée archival laser cut & engraved on premium 6mm AB/AB Italian Panguaneta Poplar plywood (produced responsibly, sustainably, and to the highest of standards), child-safe, moisture-repelling, varnish Size: 39.0cm (W) x 55.1cm (H), framed 53.2cm x 69.5cm Edition: Limited Edition of 101 – individually signed and numbered, and museum-level (FATG Level 1) :-archival and bespoke framed; and Unlimited Edition, lasered signature, unframed. Date: 02/2024 Options: Available as a puzzle (338 unique pieces actually cut) OR left as a single engraved wooden panel. N.B.: The cut-outs in the frame above are to draw attention to the fact that the artwork is a wooden puzzle. – otherwise it could be mistaken for a simple drawing…
This is the framed limited edition version (museum grade – FATG Level 1) :-
Framed limited edition
The art of simply burning wood with light
This is an attempt to create high quality art using the medium of simply burning wood with light – and nothing else. From the concept of a magnifying glass burning paper, technology has progressed enormously to the modern day laser – where a beam of light can be very finely controlled in terms of intensity and speed of movement. Where sophisticated software can very precisely translate vector- and pixel-based drawings into computer-controlled movement of a laserbeam over your chosen material. But there is a real art to doing this successfully…
I was hoping to create a mass-produceable wooden laser cut & engraved version of my 40mm thick solid oak “Golden Plover with Egg (Art Puzzle)”
Golden Plover with Egg (Art Puzzle)
(see https://michaelautumn.wordpress.com/2020/07/30/golden-plover-with-egg-jigsaw-puzzle/) because hand-cutting the latter took far too long and caused serious RSI and/or rheumatoid arthritis in my hands/fingers. But in order to achieve the quality I wanted, it turns out (after considerable effort!) that mass-production is simply not possible. It has been a long journey to get to a standard I’m happy with. Along the road I have researched a great deal about materials, wood, lasers (obviously! – but this is a big topic…), and lasering techniques. I have developed some of my own techniques and built some special tools because there were clear limitations in the best techniques, tools, and materials available. Suffice to say, I haven’t come across any individual or company who can produce my designs to the quality I do. But it comes at a significant cost. I can only produce one per day – so in any definition of the phrase mass production, this definitely is not!
Putting aside the weeks it took me to complete the design (in addition to the weeks it took me to design the original, I spent about another four weeks enhancing it to take advantage of laser capabilities) – and may trials, adjustments, custom tooling, and more trials…
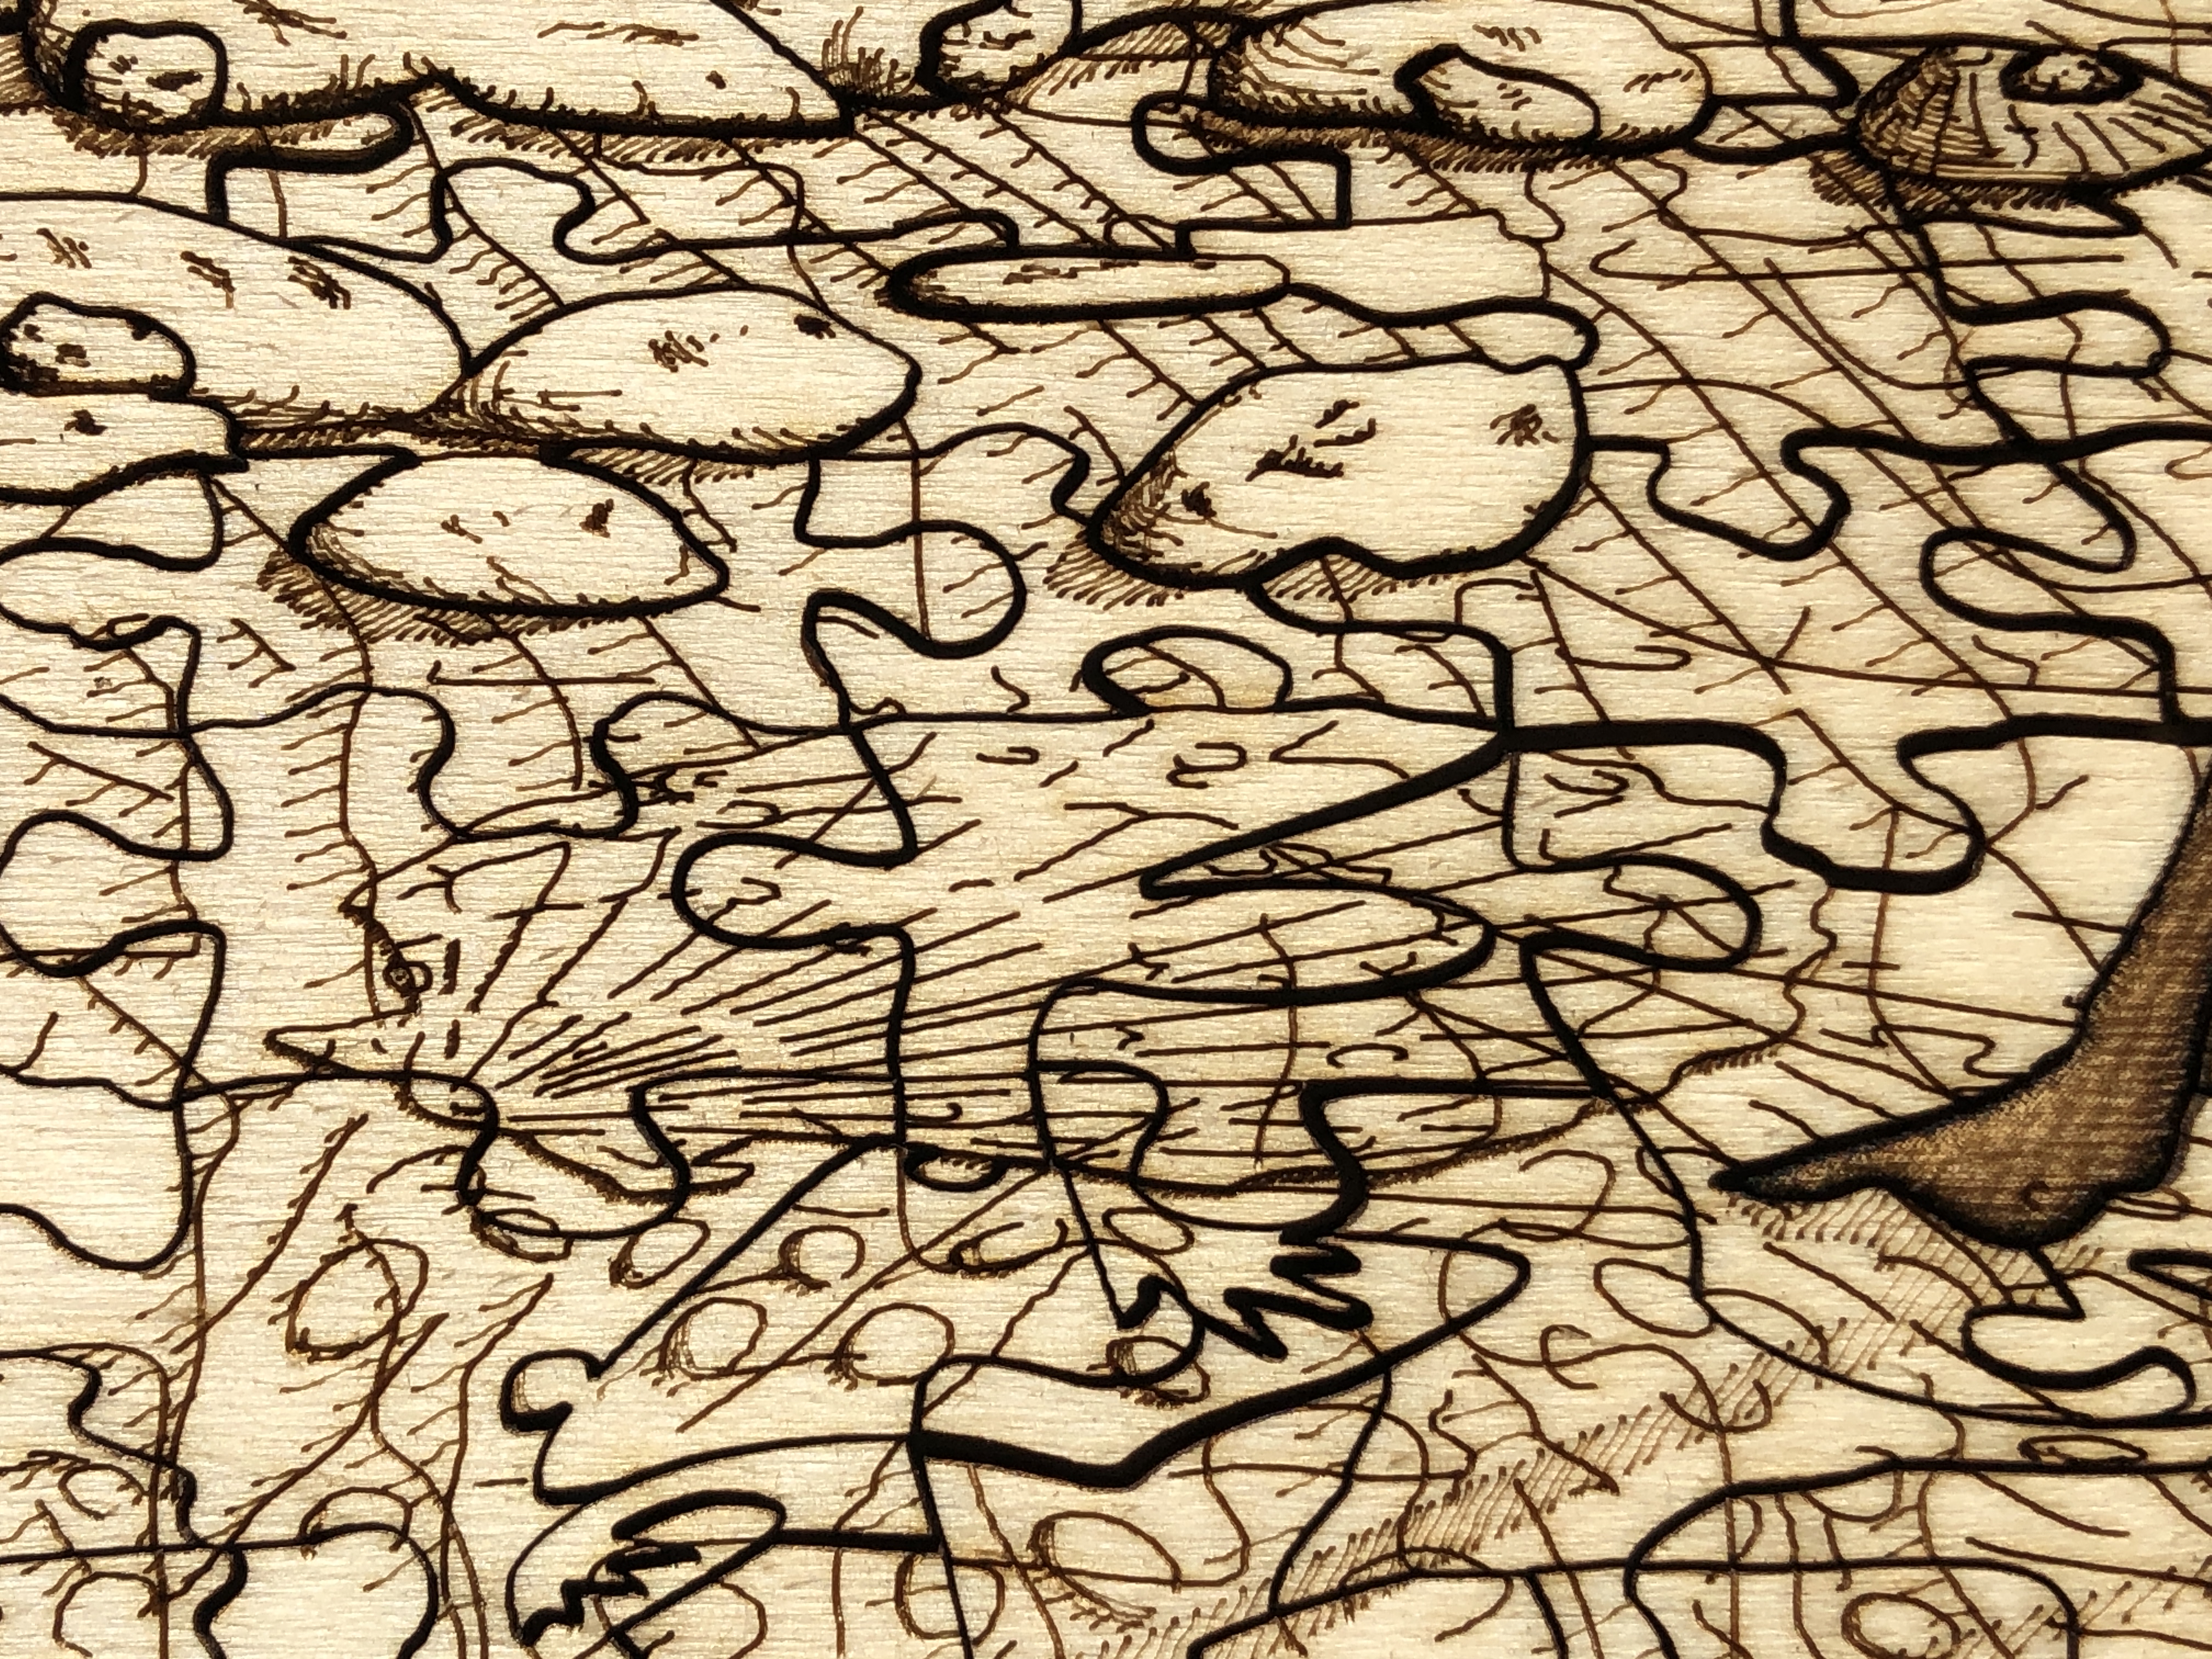
The design uses multiple lasering and layering techniques – cut-throughs, scoring, light scoring, engraving, deep engraving – which all have to be done in a specific sequence. For example, in places in the design, I have score marks on top of some deep engraved areas – so obviously the deep engraving has to be done before the scoring.
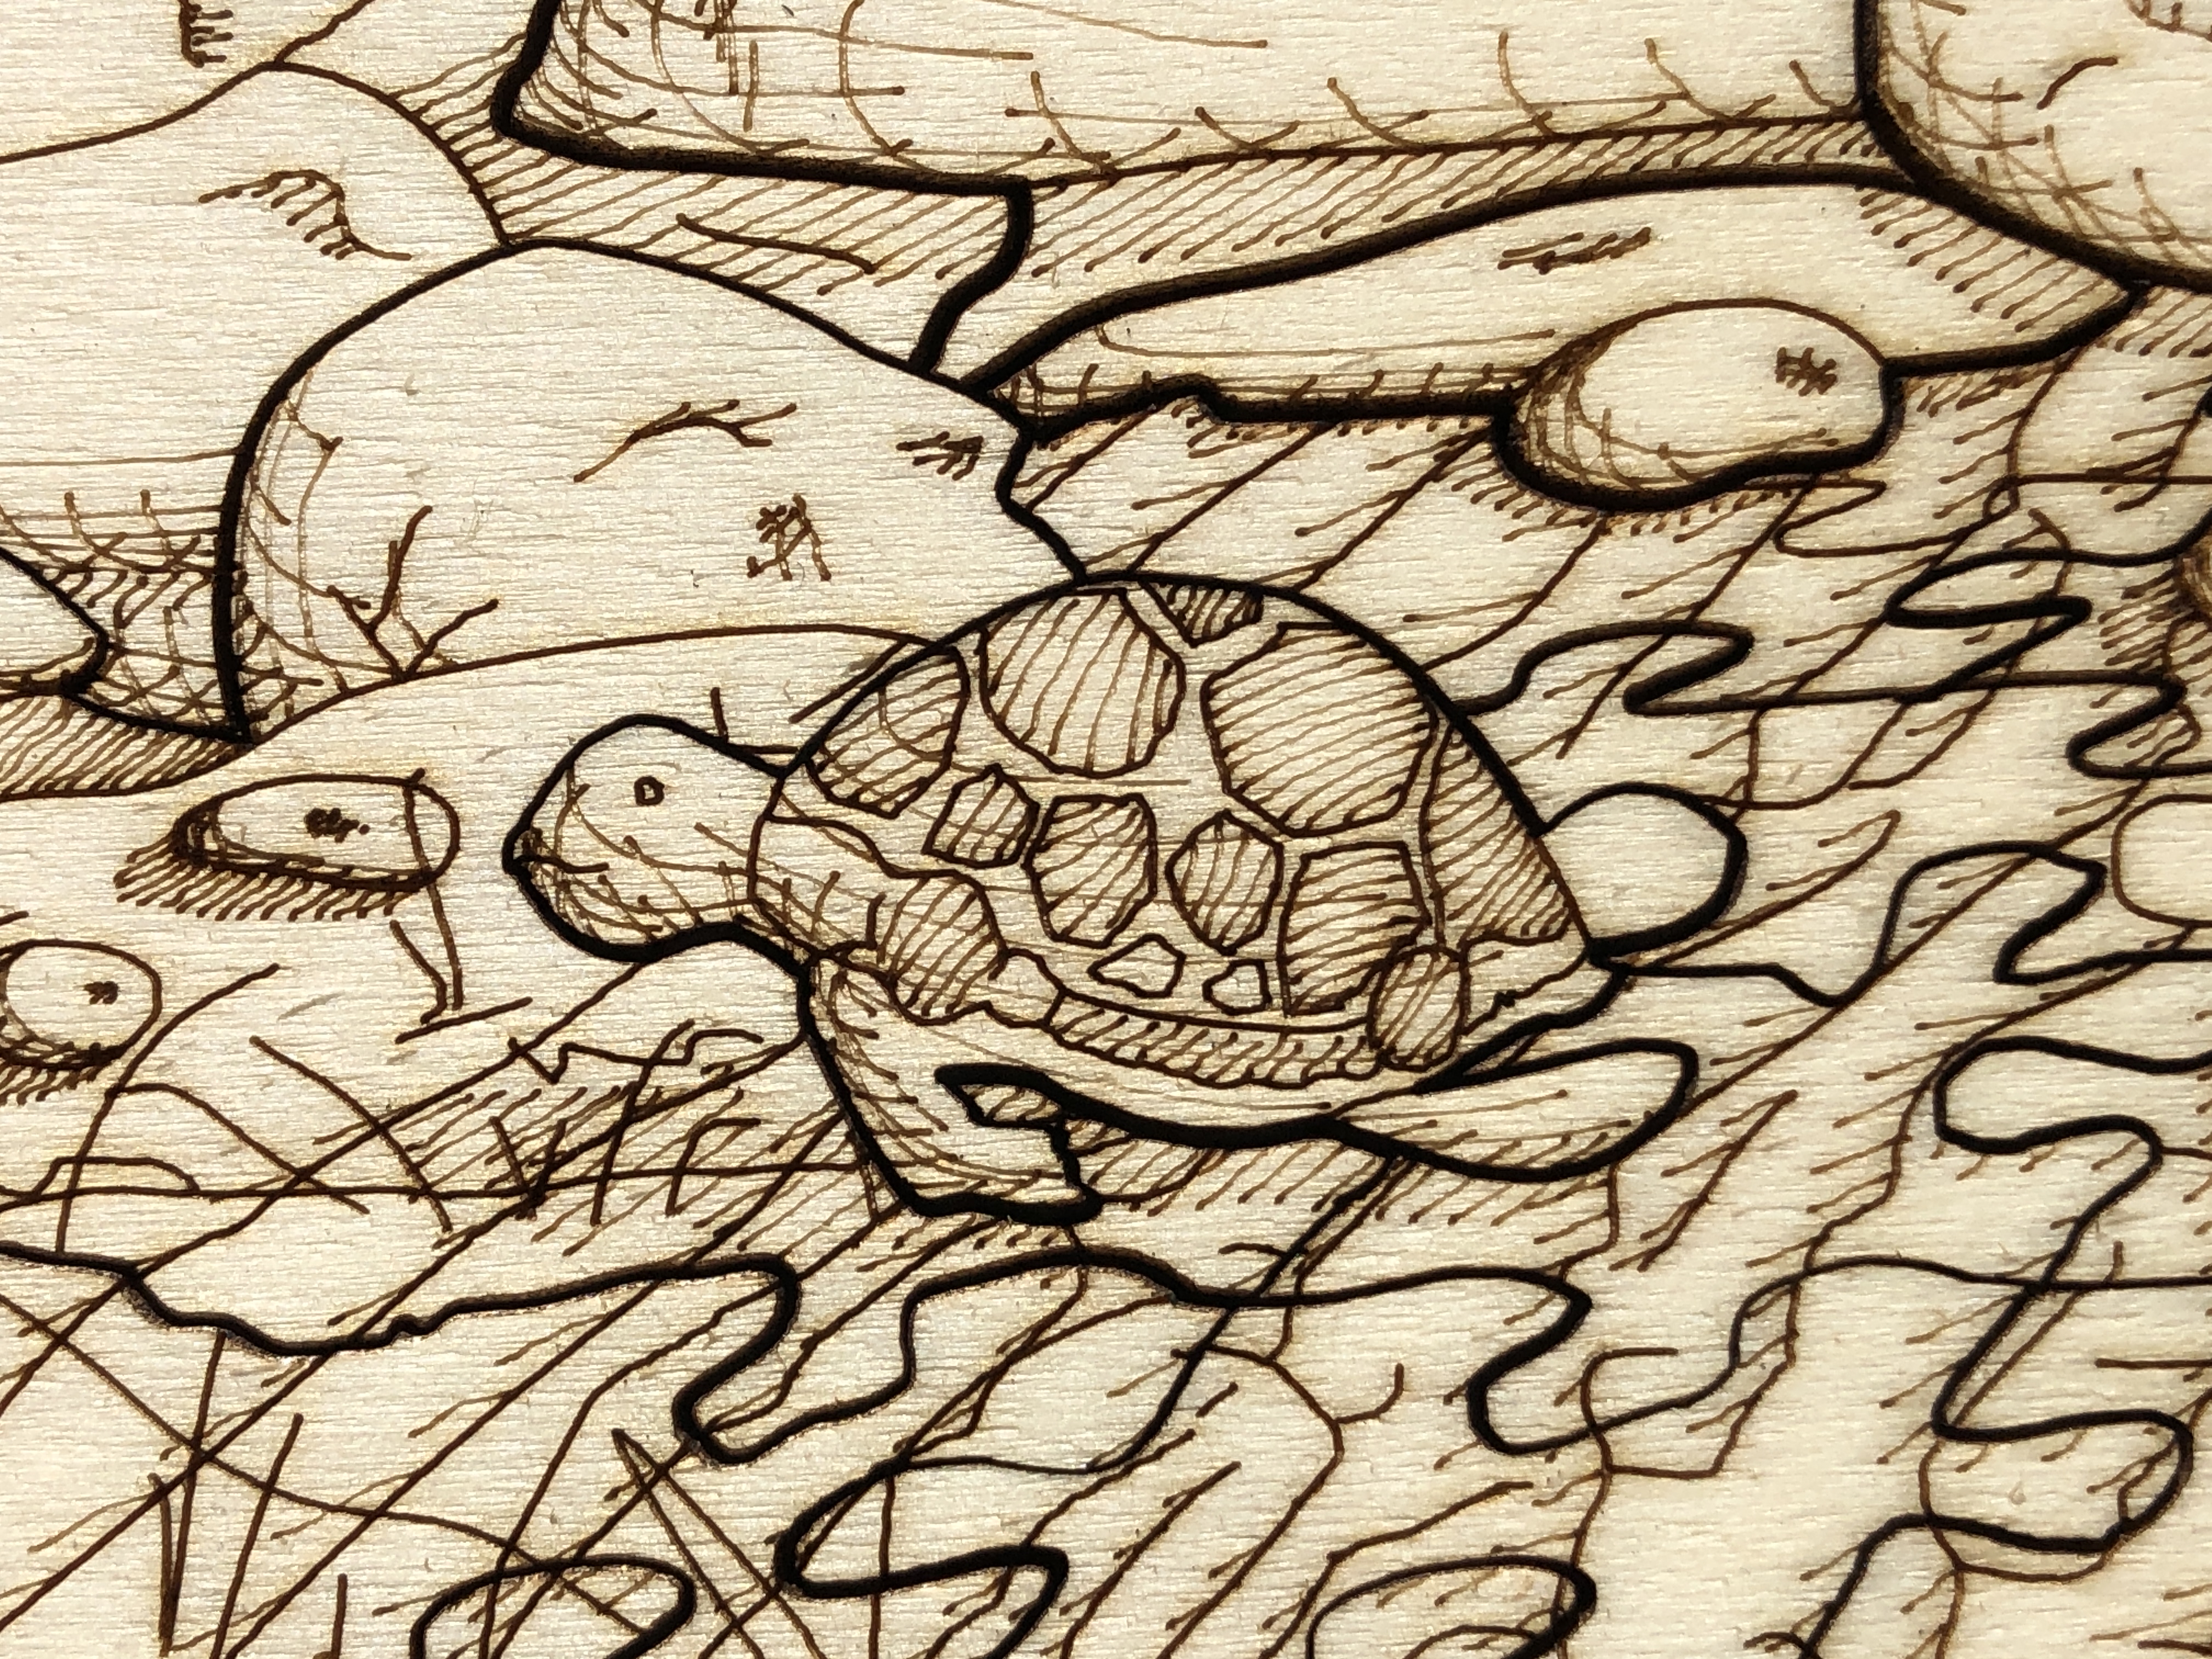
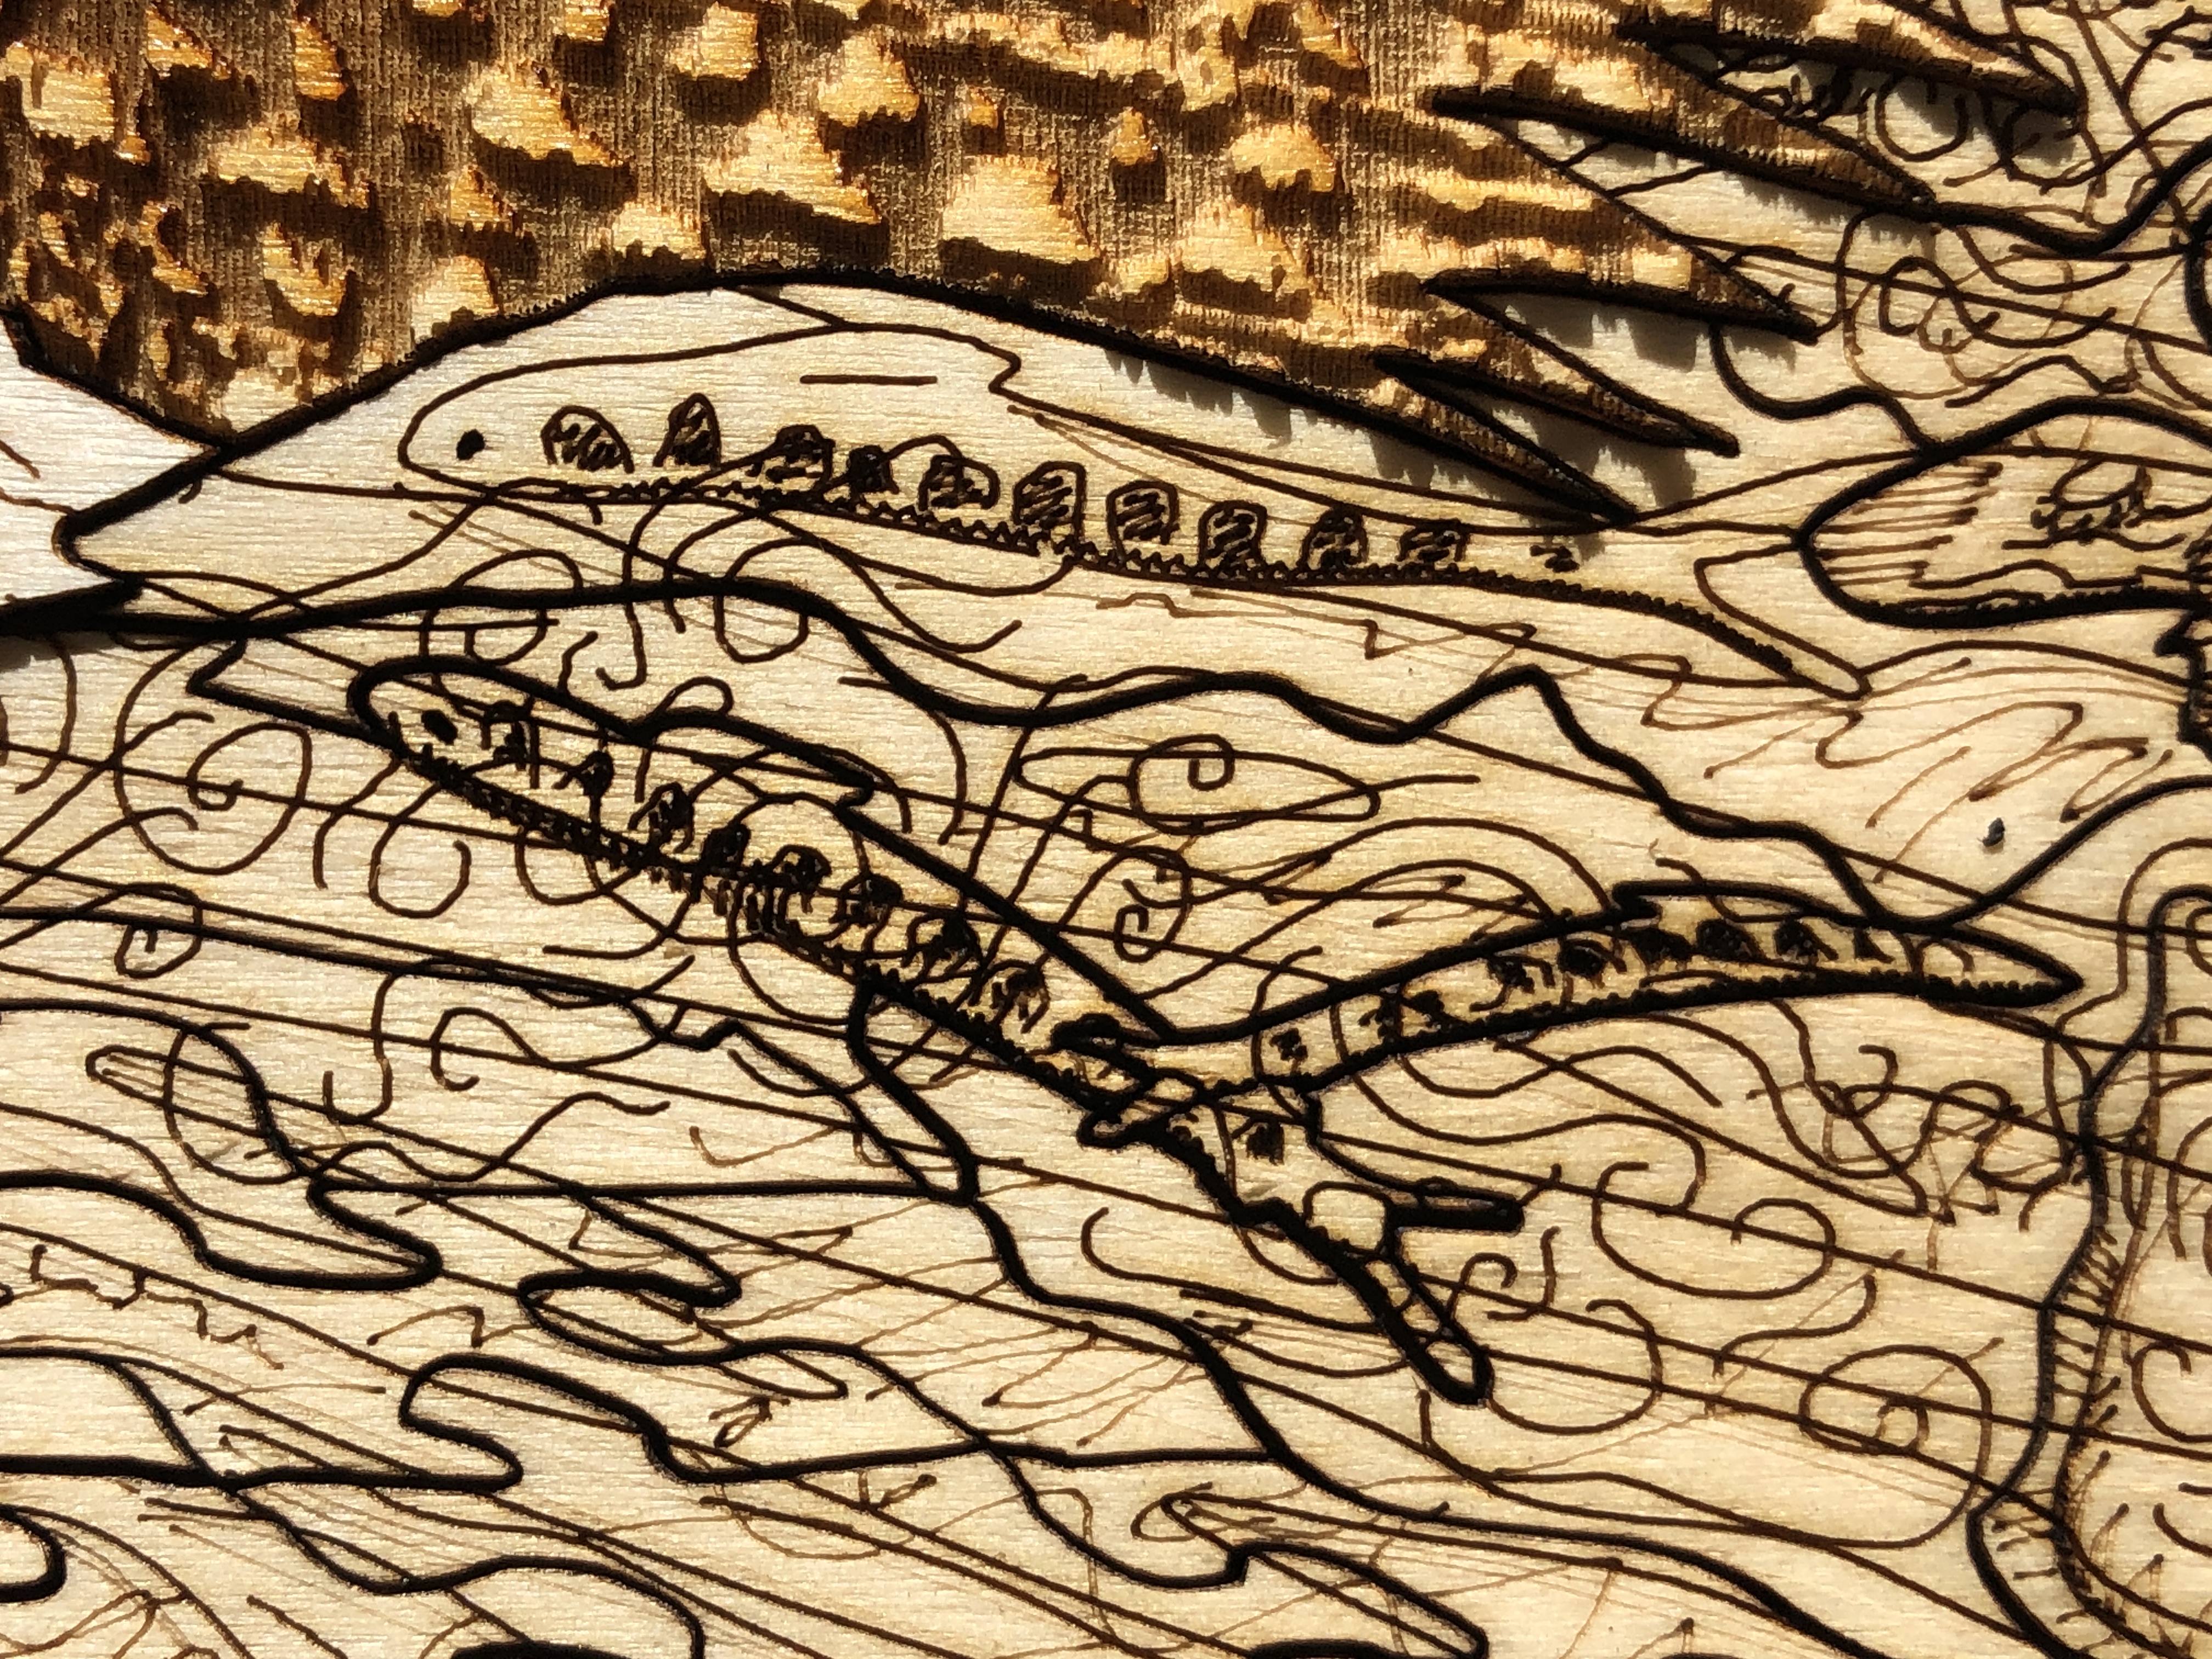
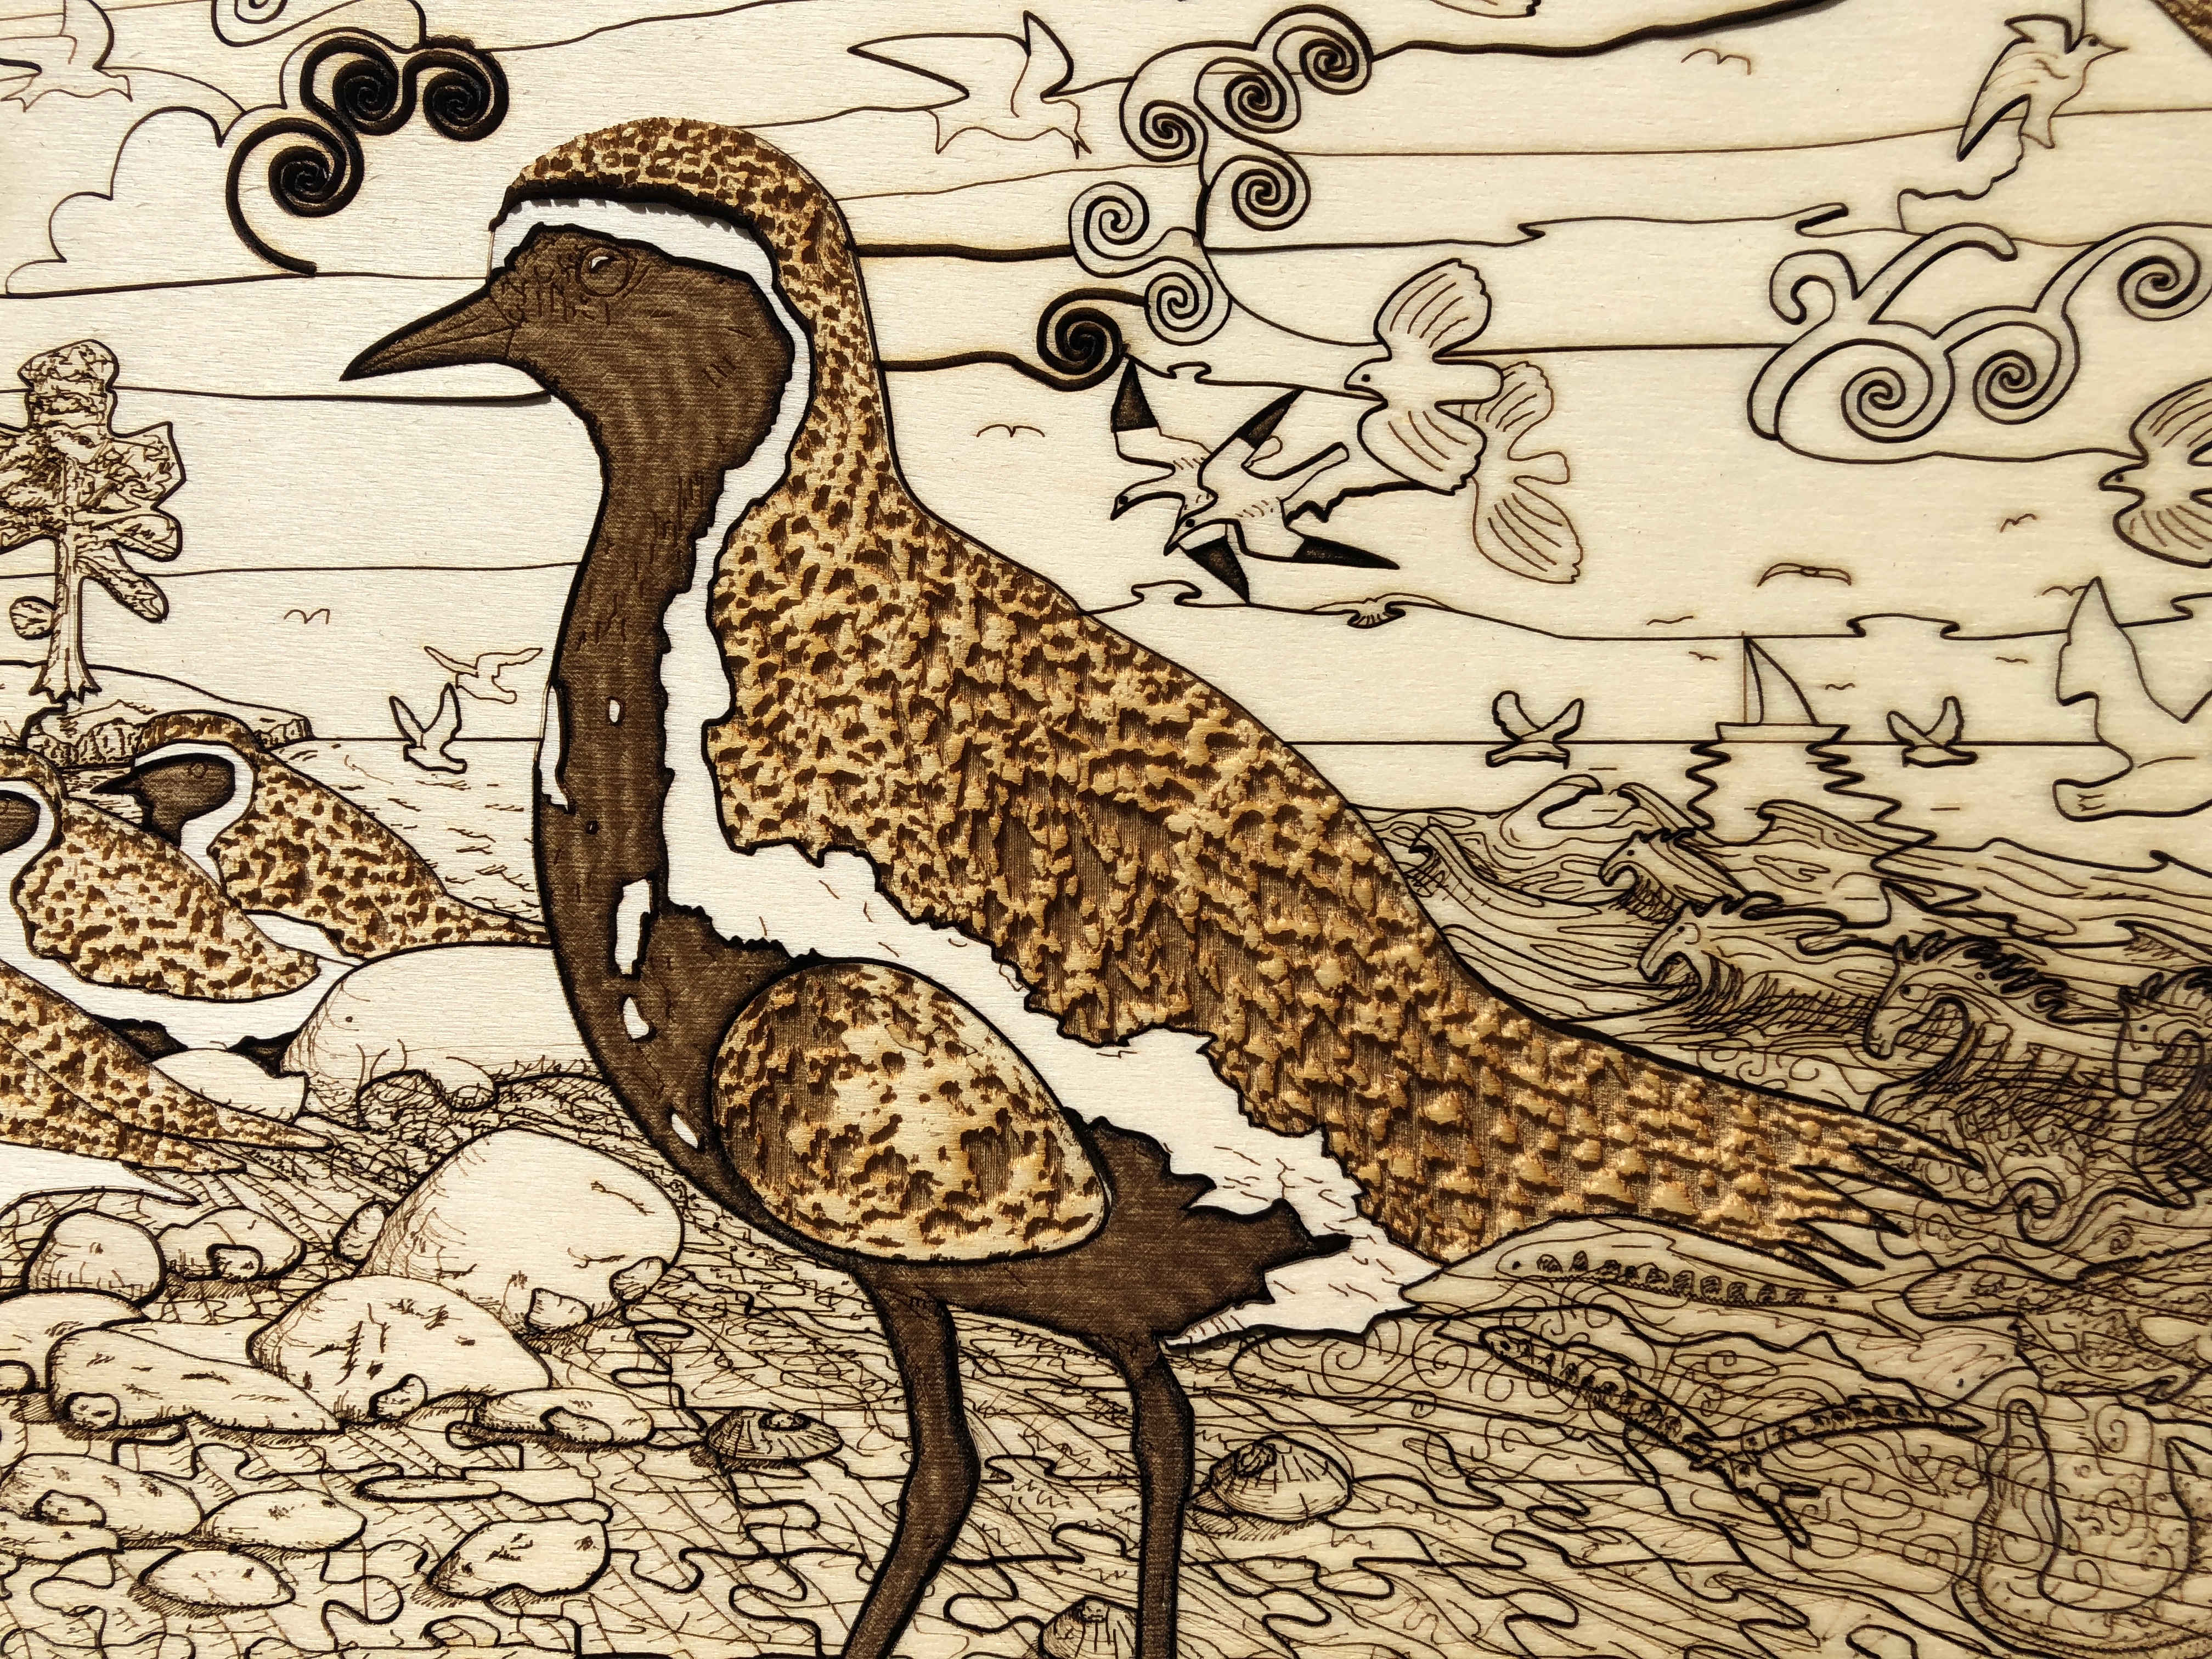
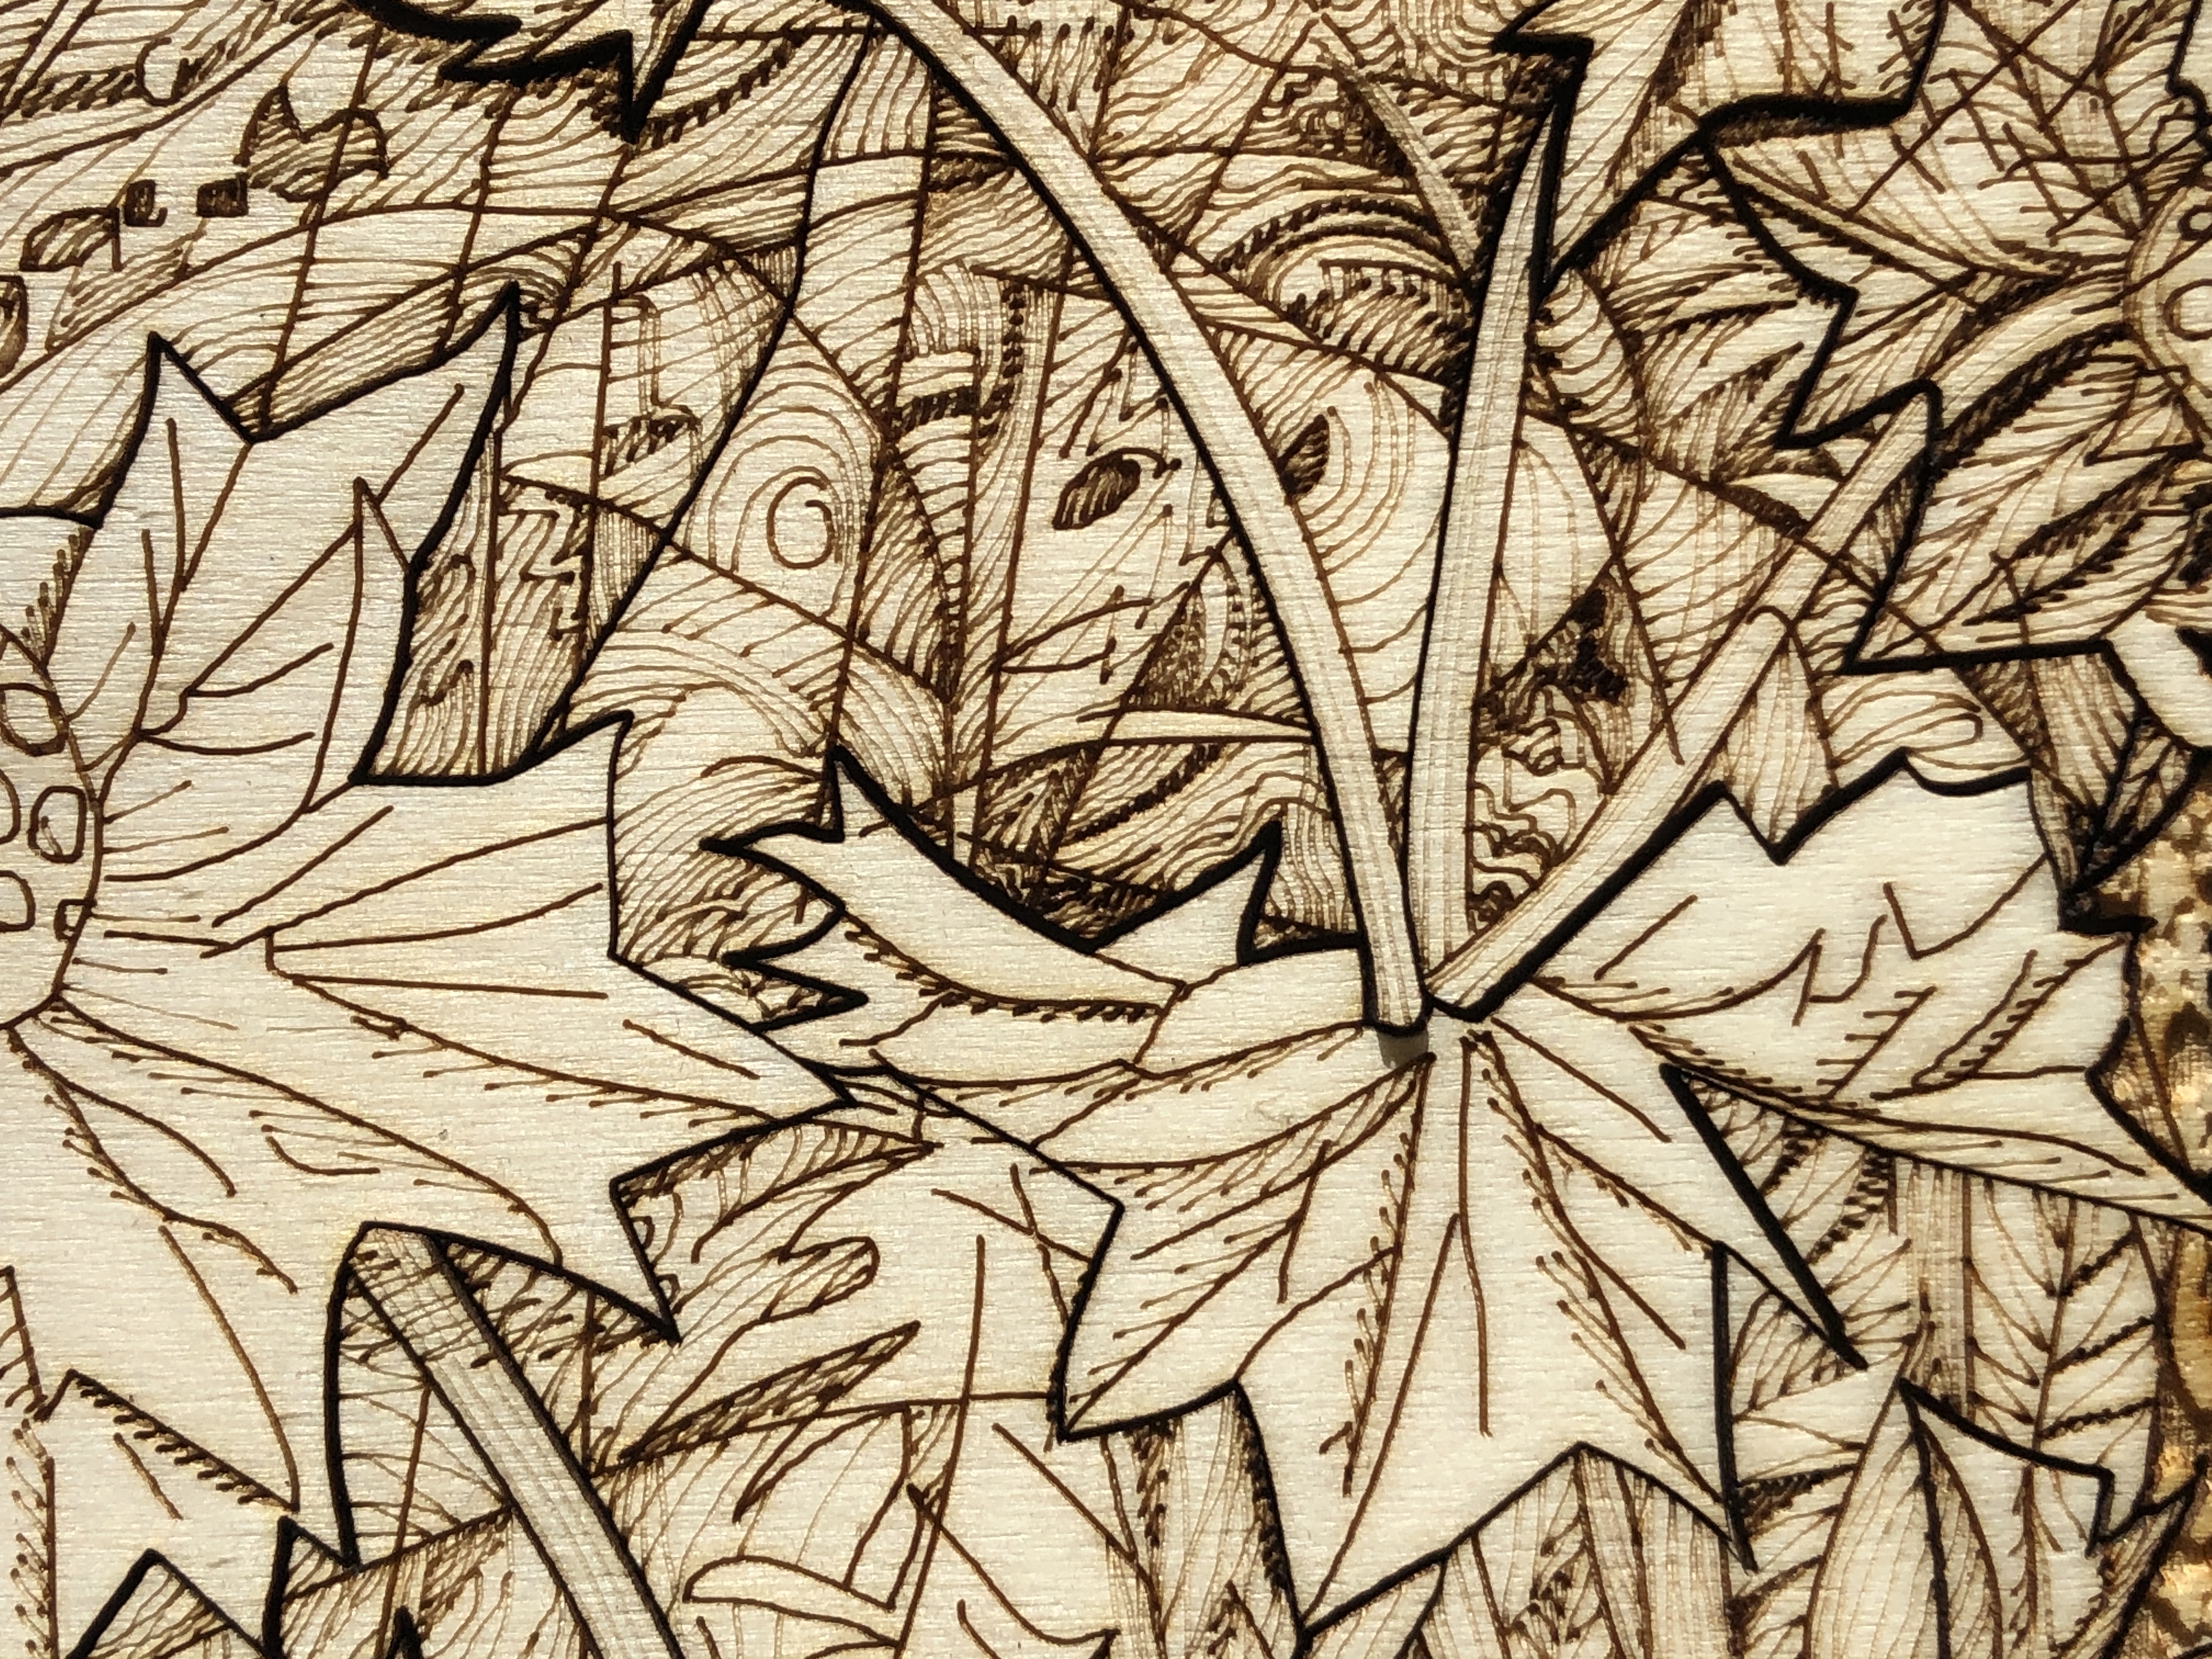
Detail showing a mix of cut lines, scoring, light scoring, and different types of engraving.
Also, I use the flattest, smoothest, least porous, best quality plywood I can (and do special preparations to achieve this – see below) – so I can achieve the subtle effects I’m looking for with the minimum of laser power (basically more power equals less precision).
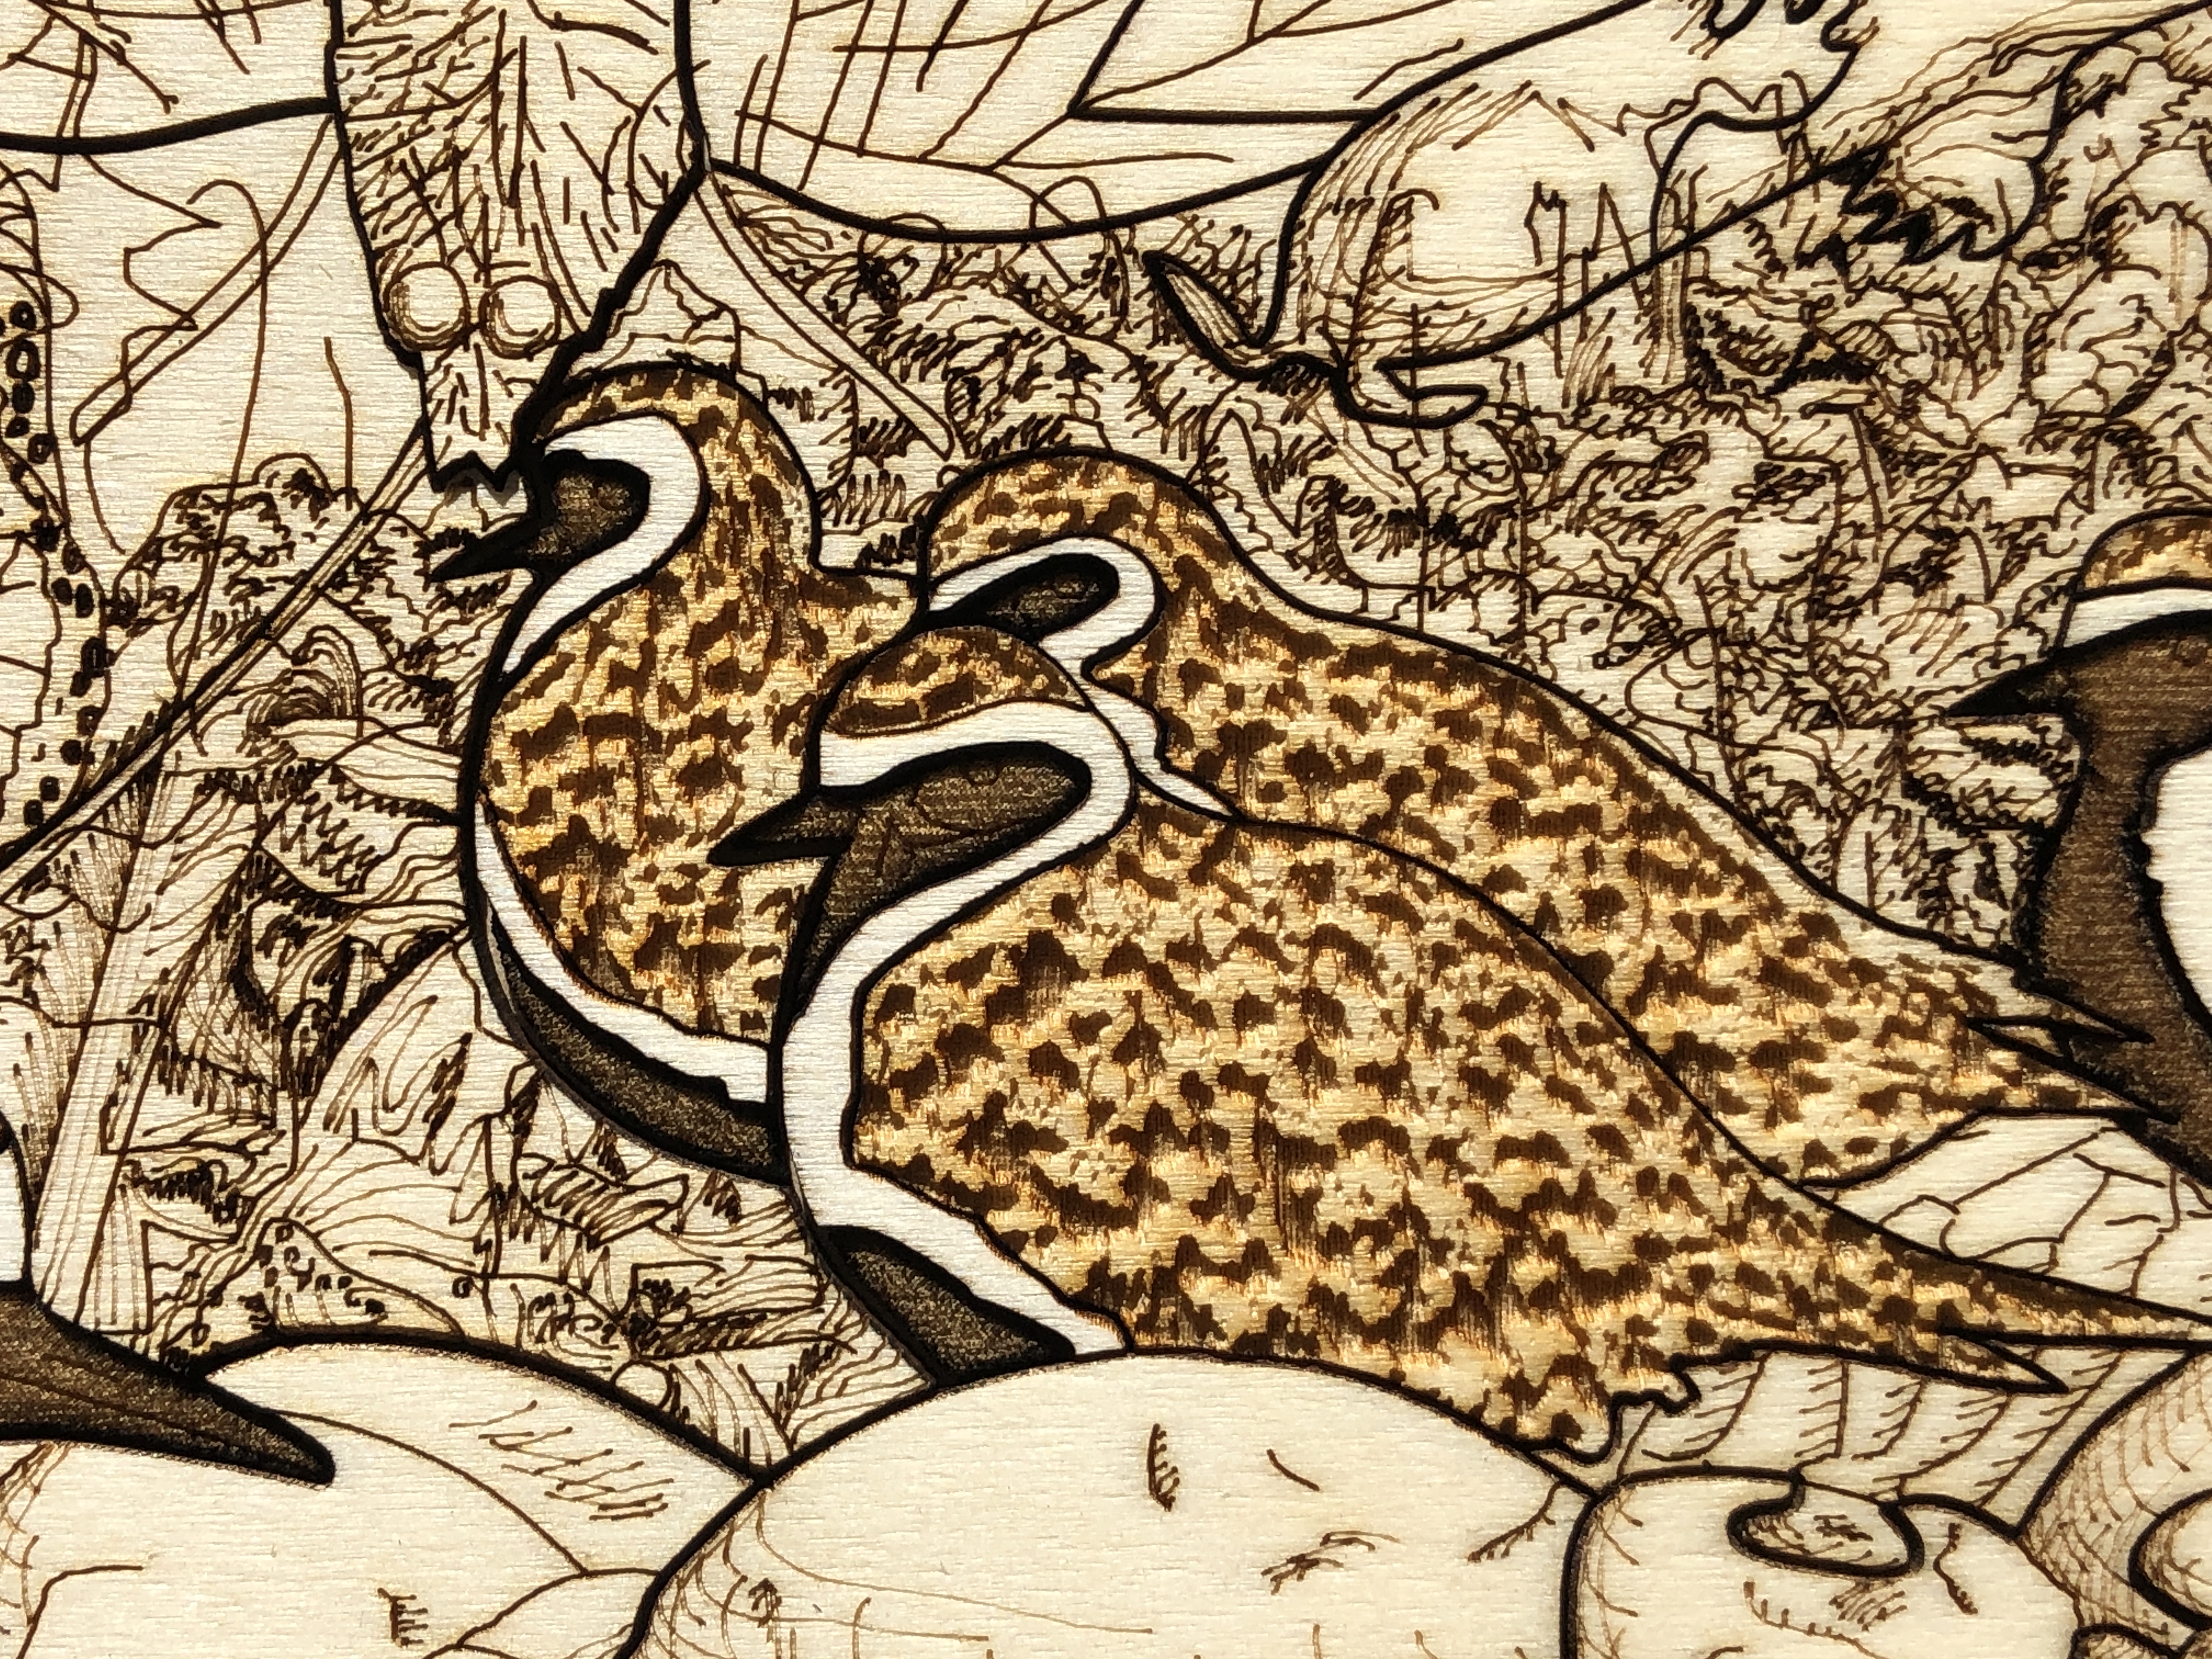
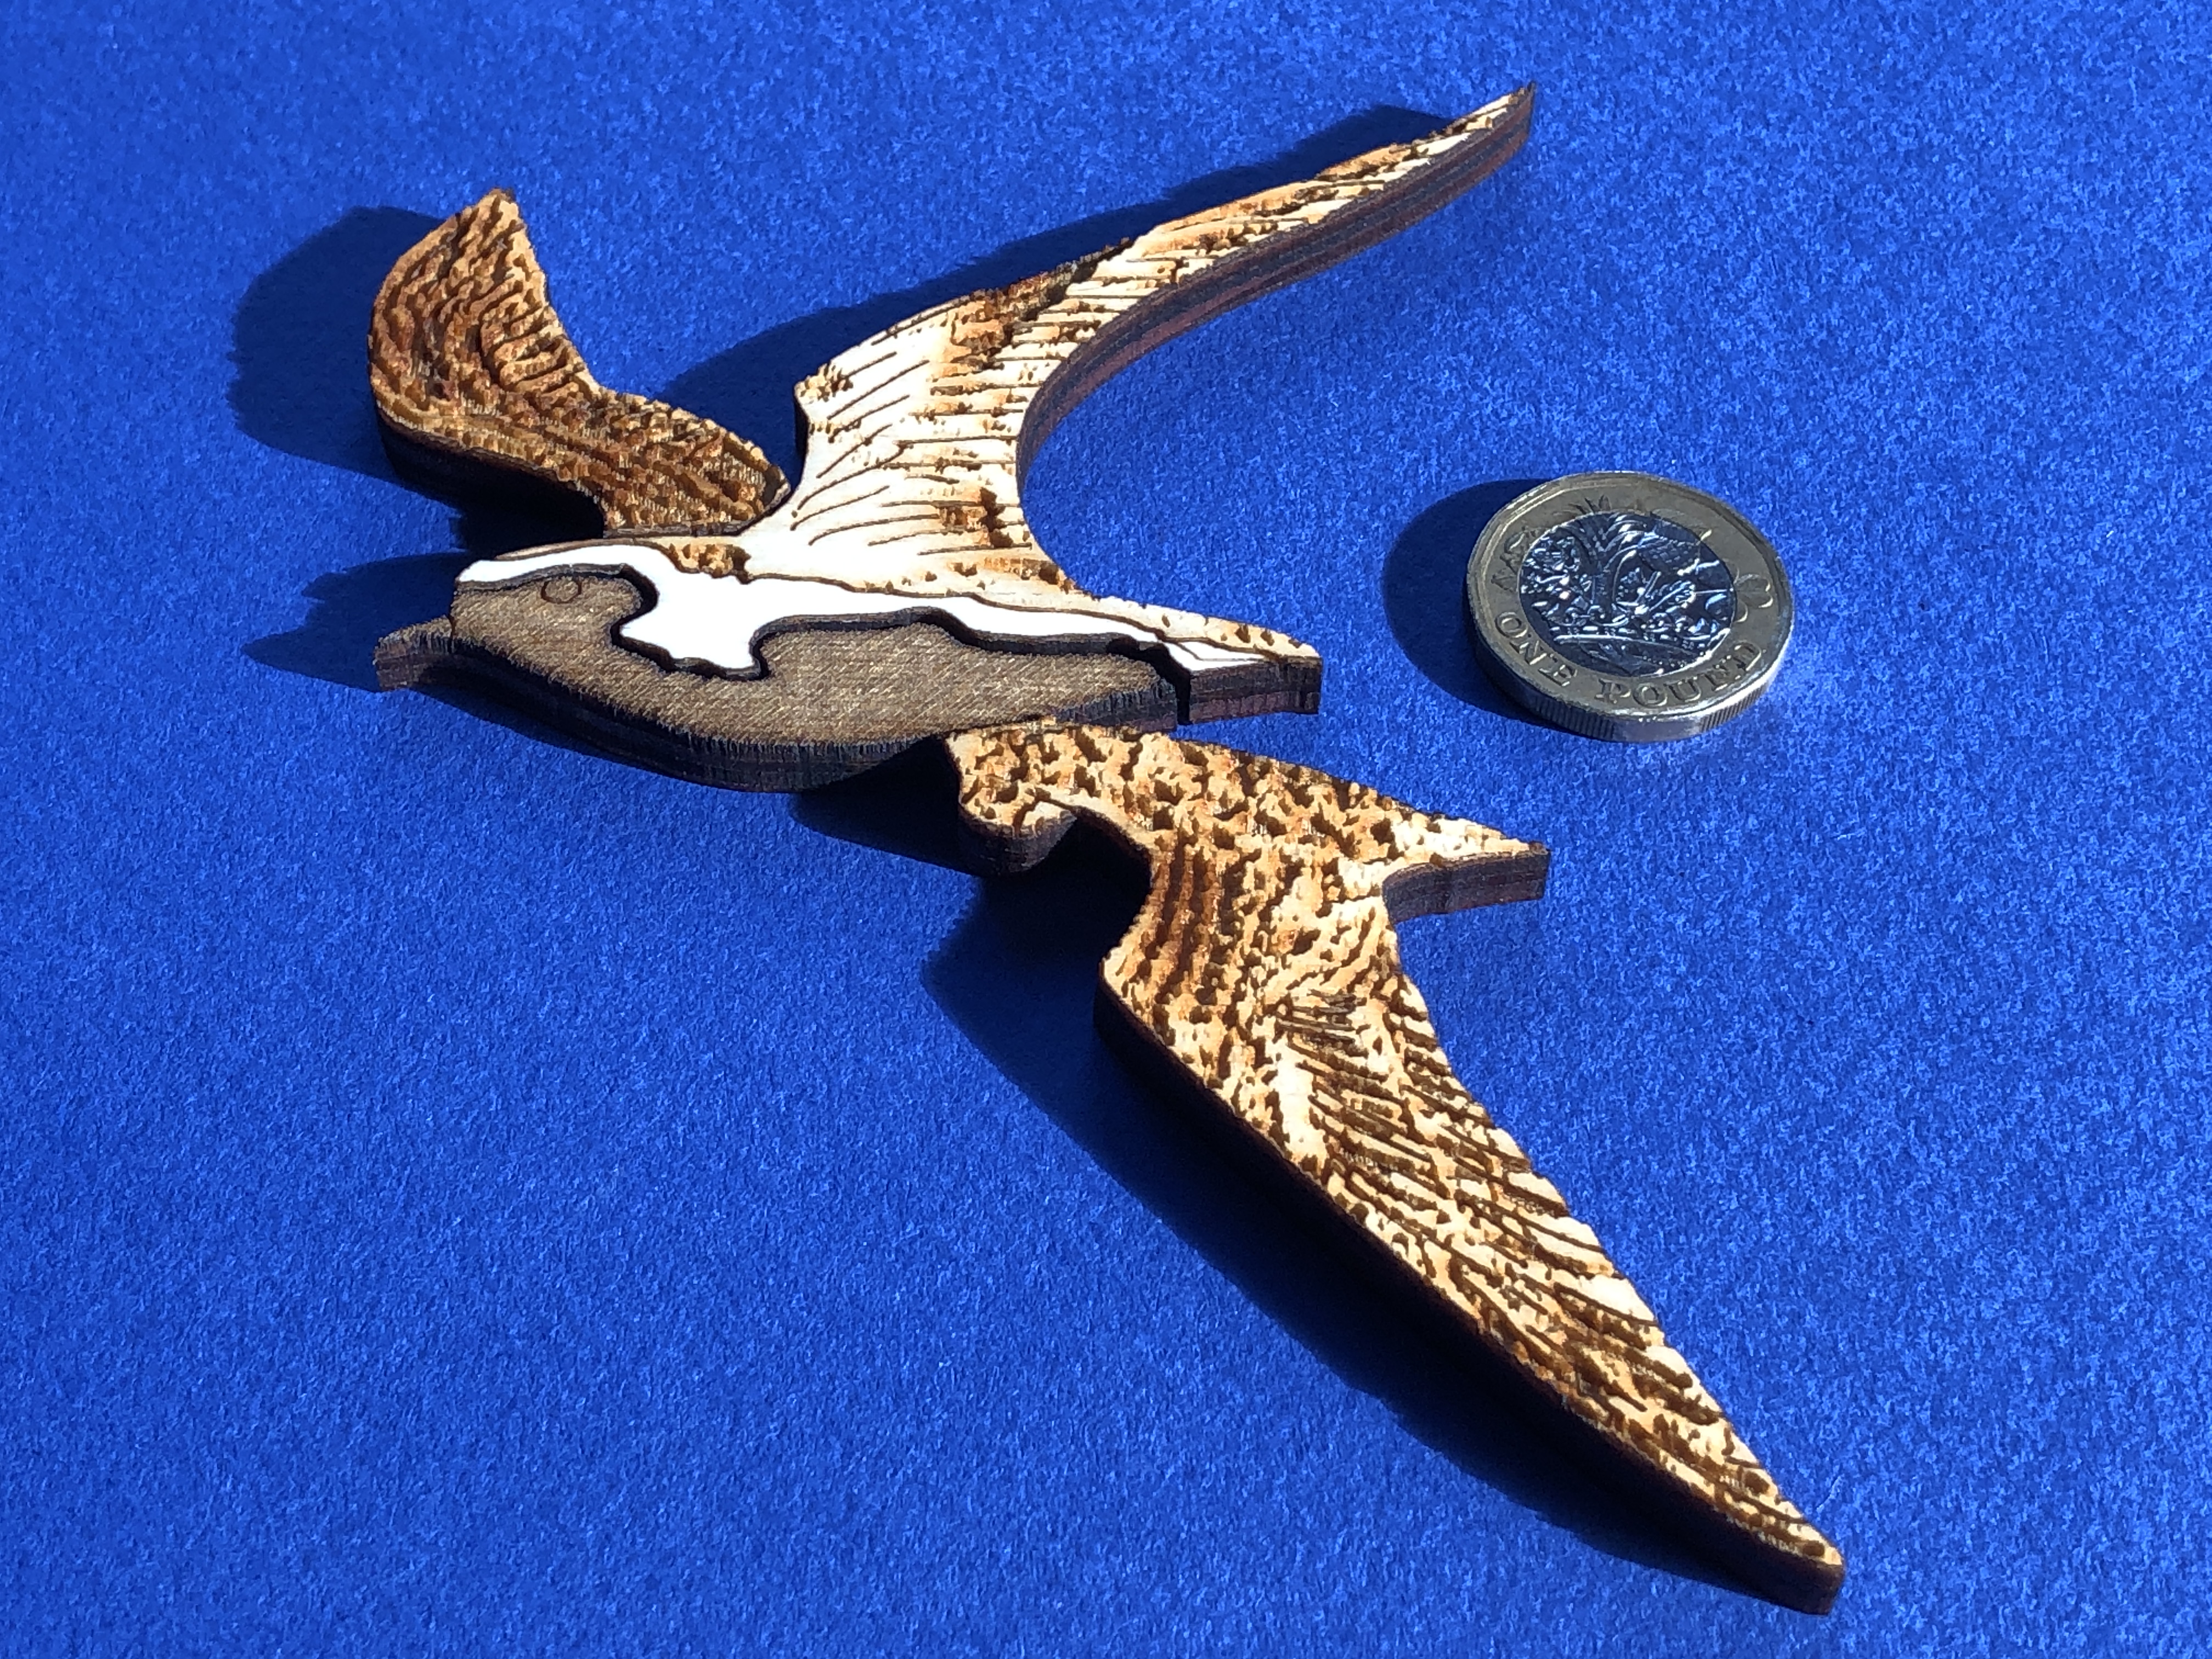
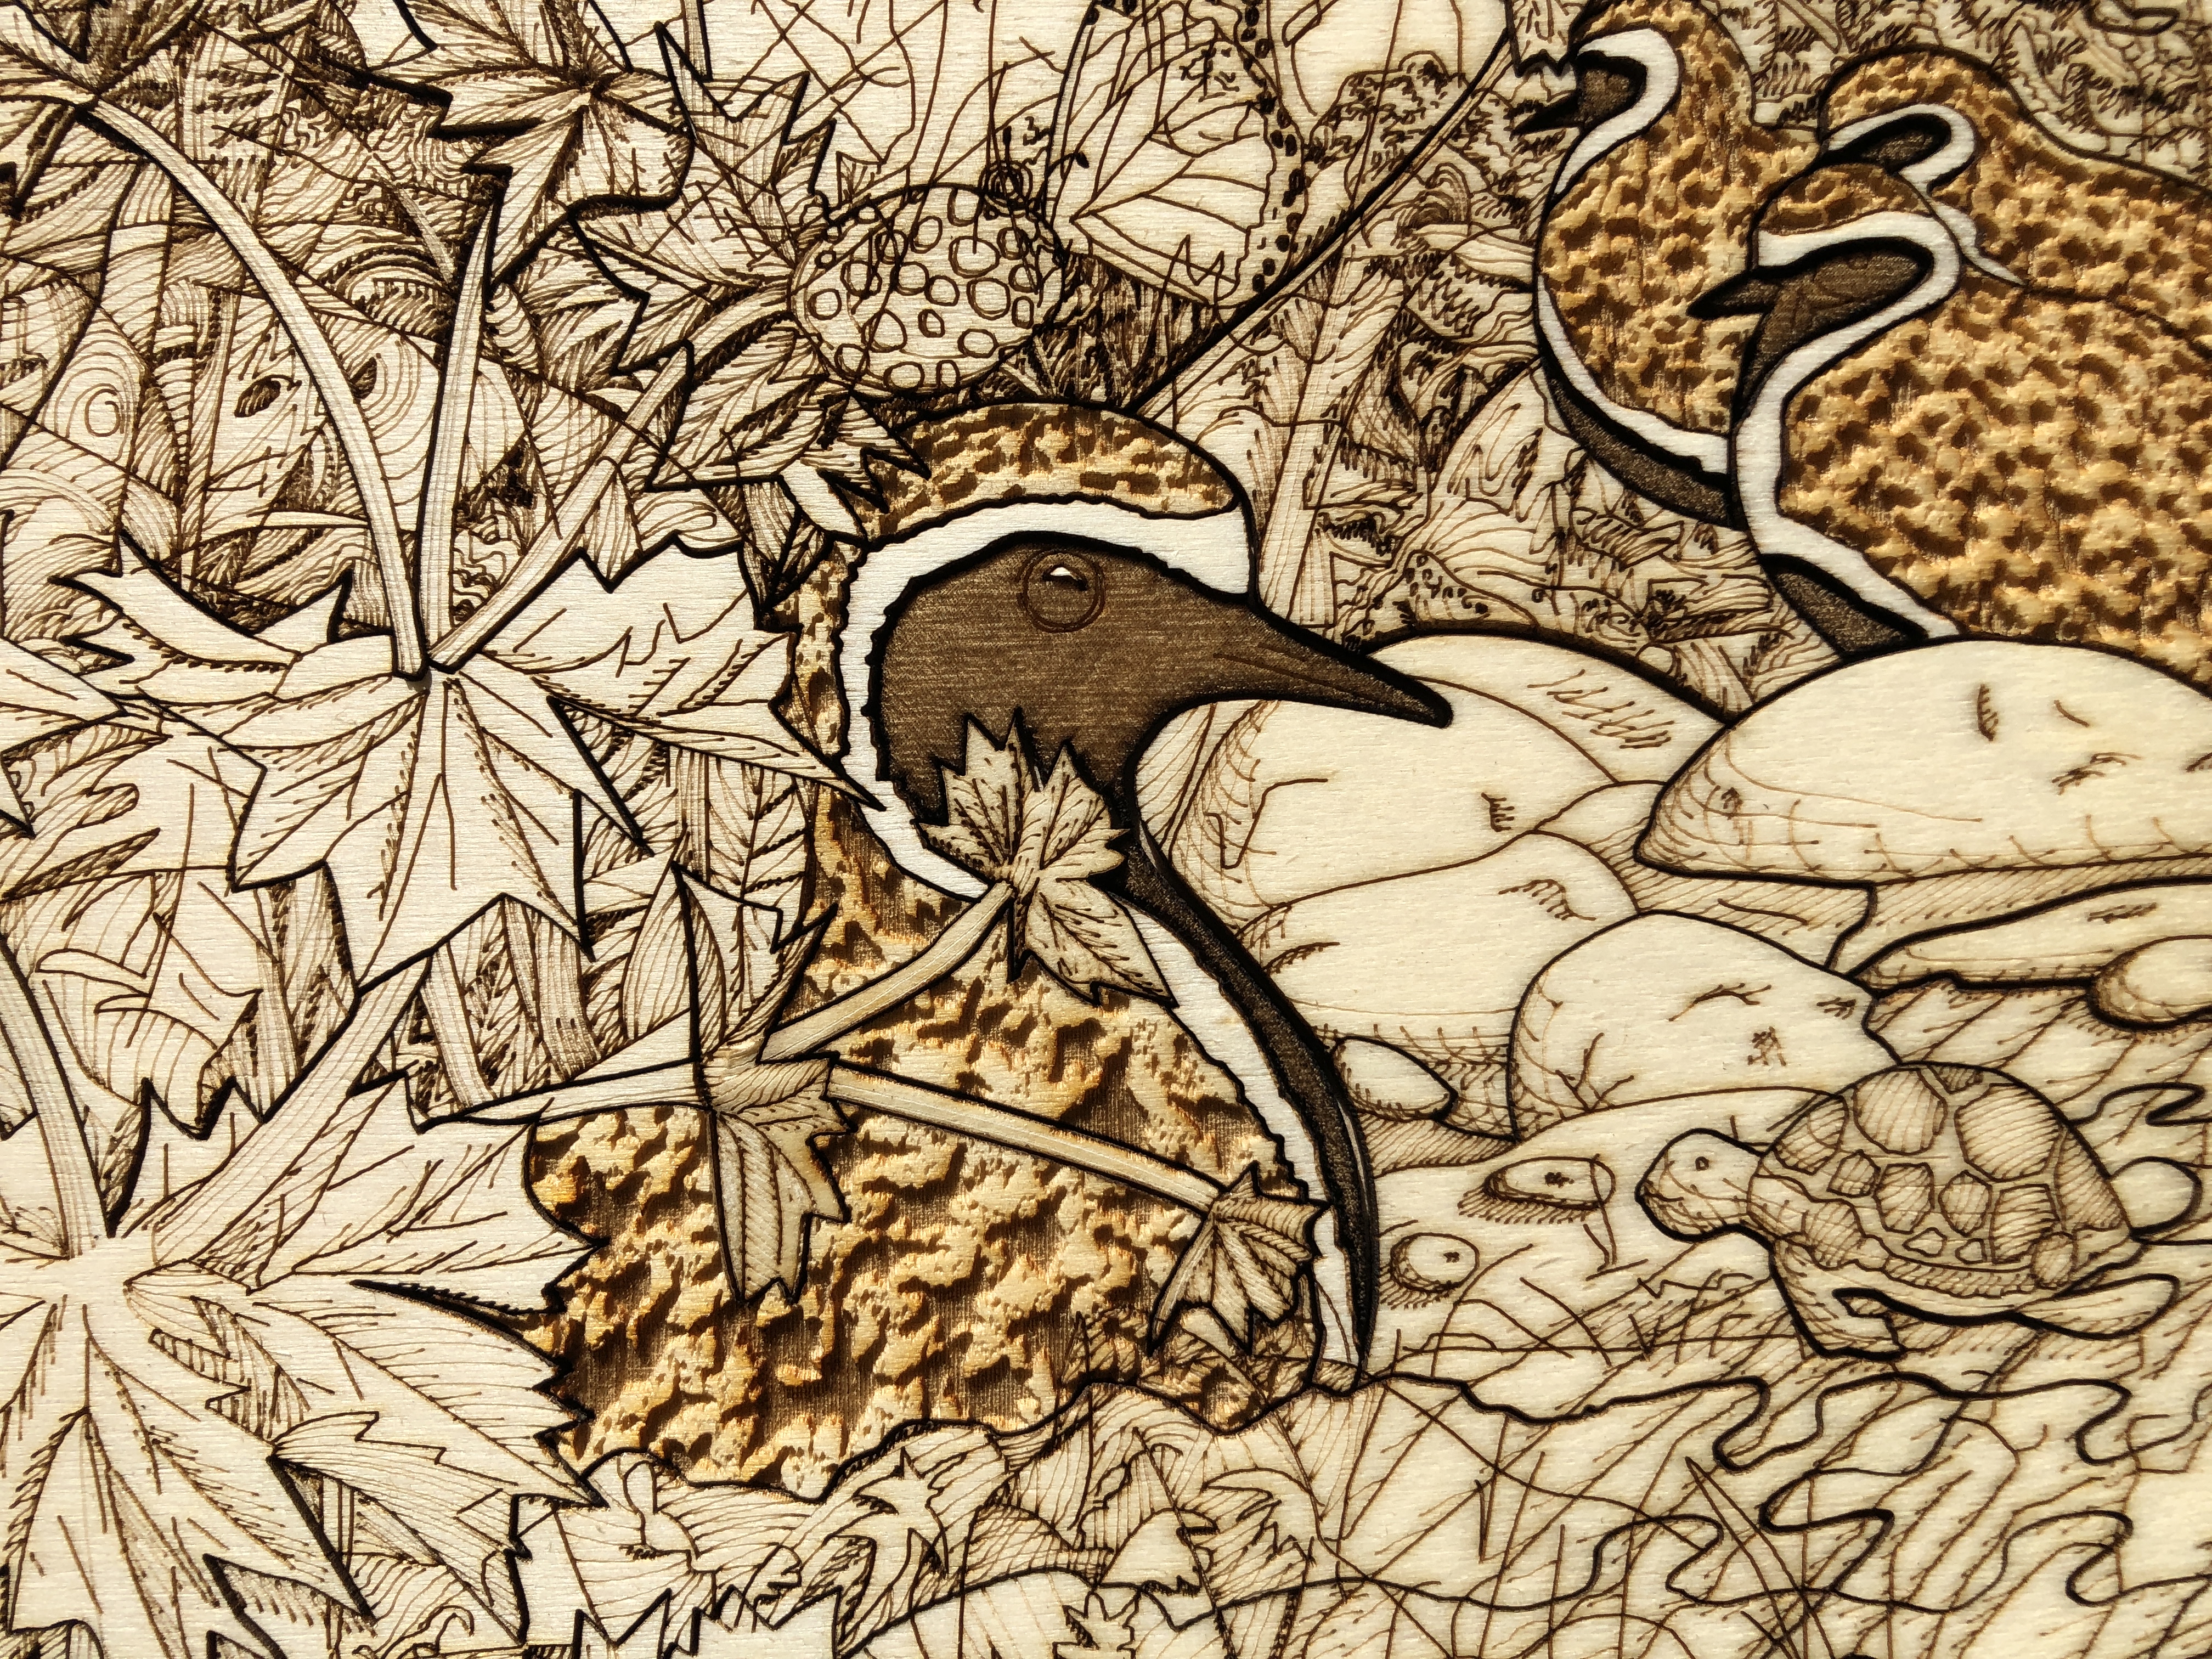
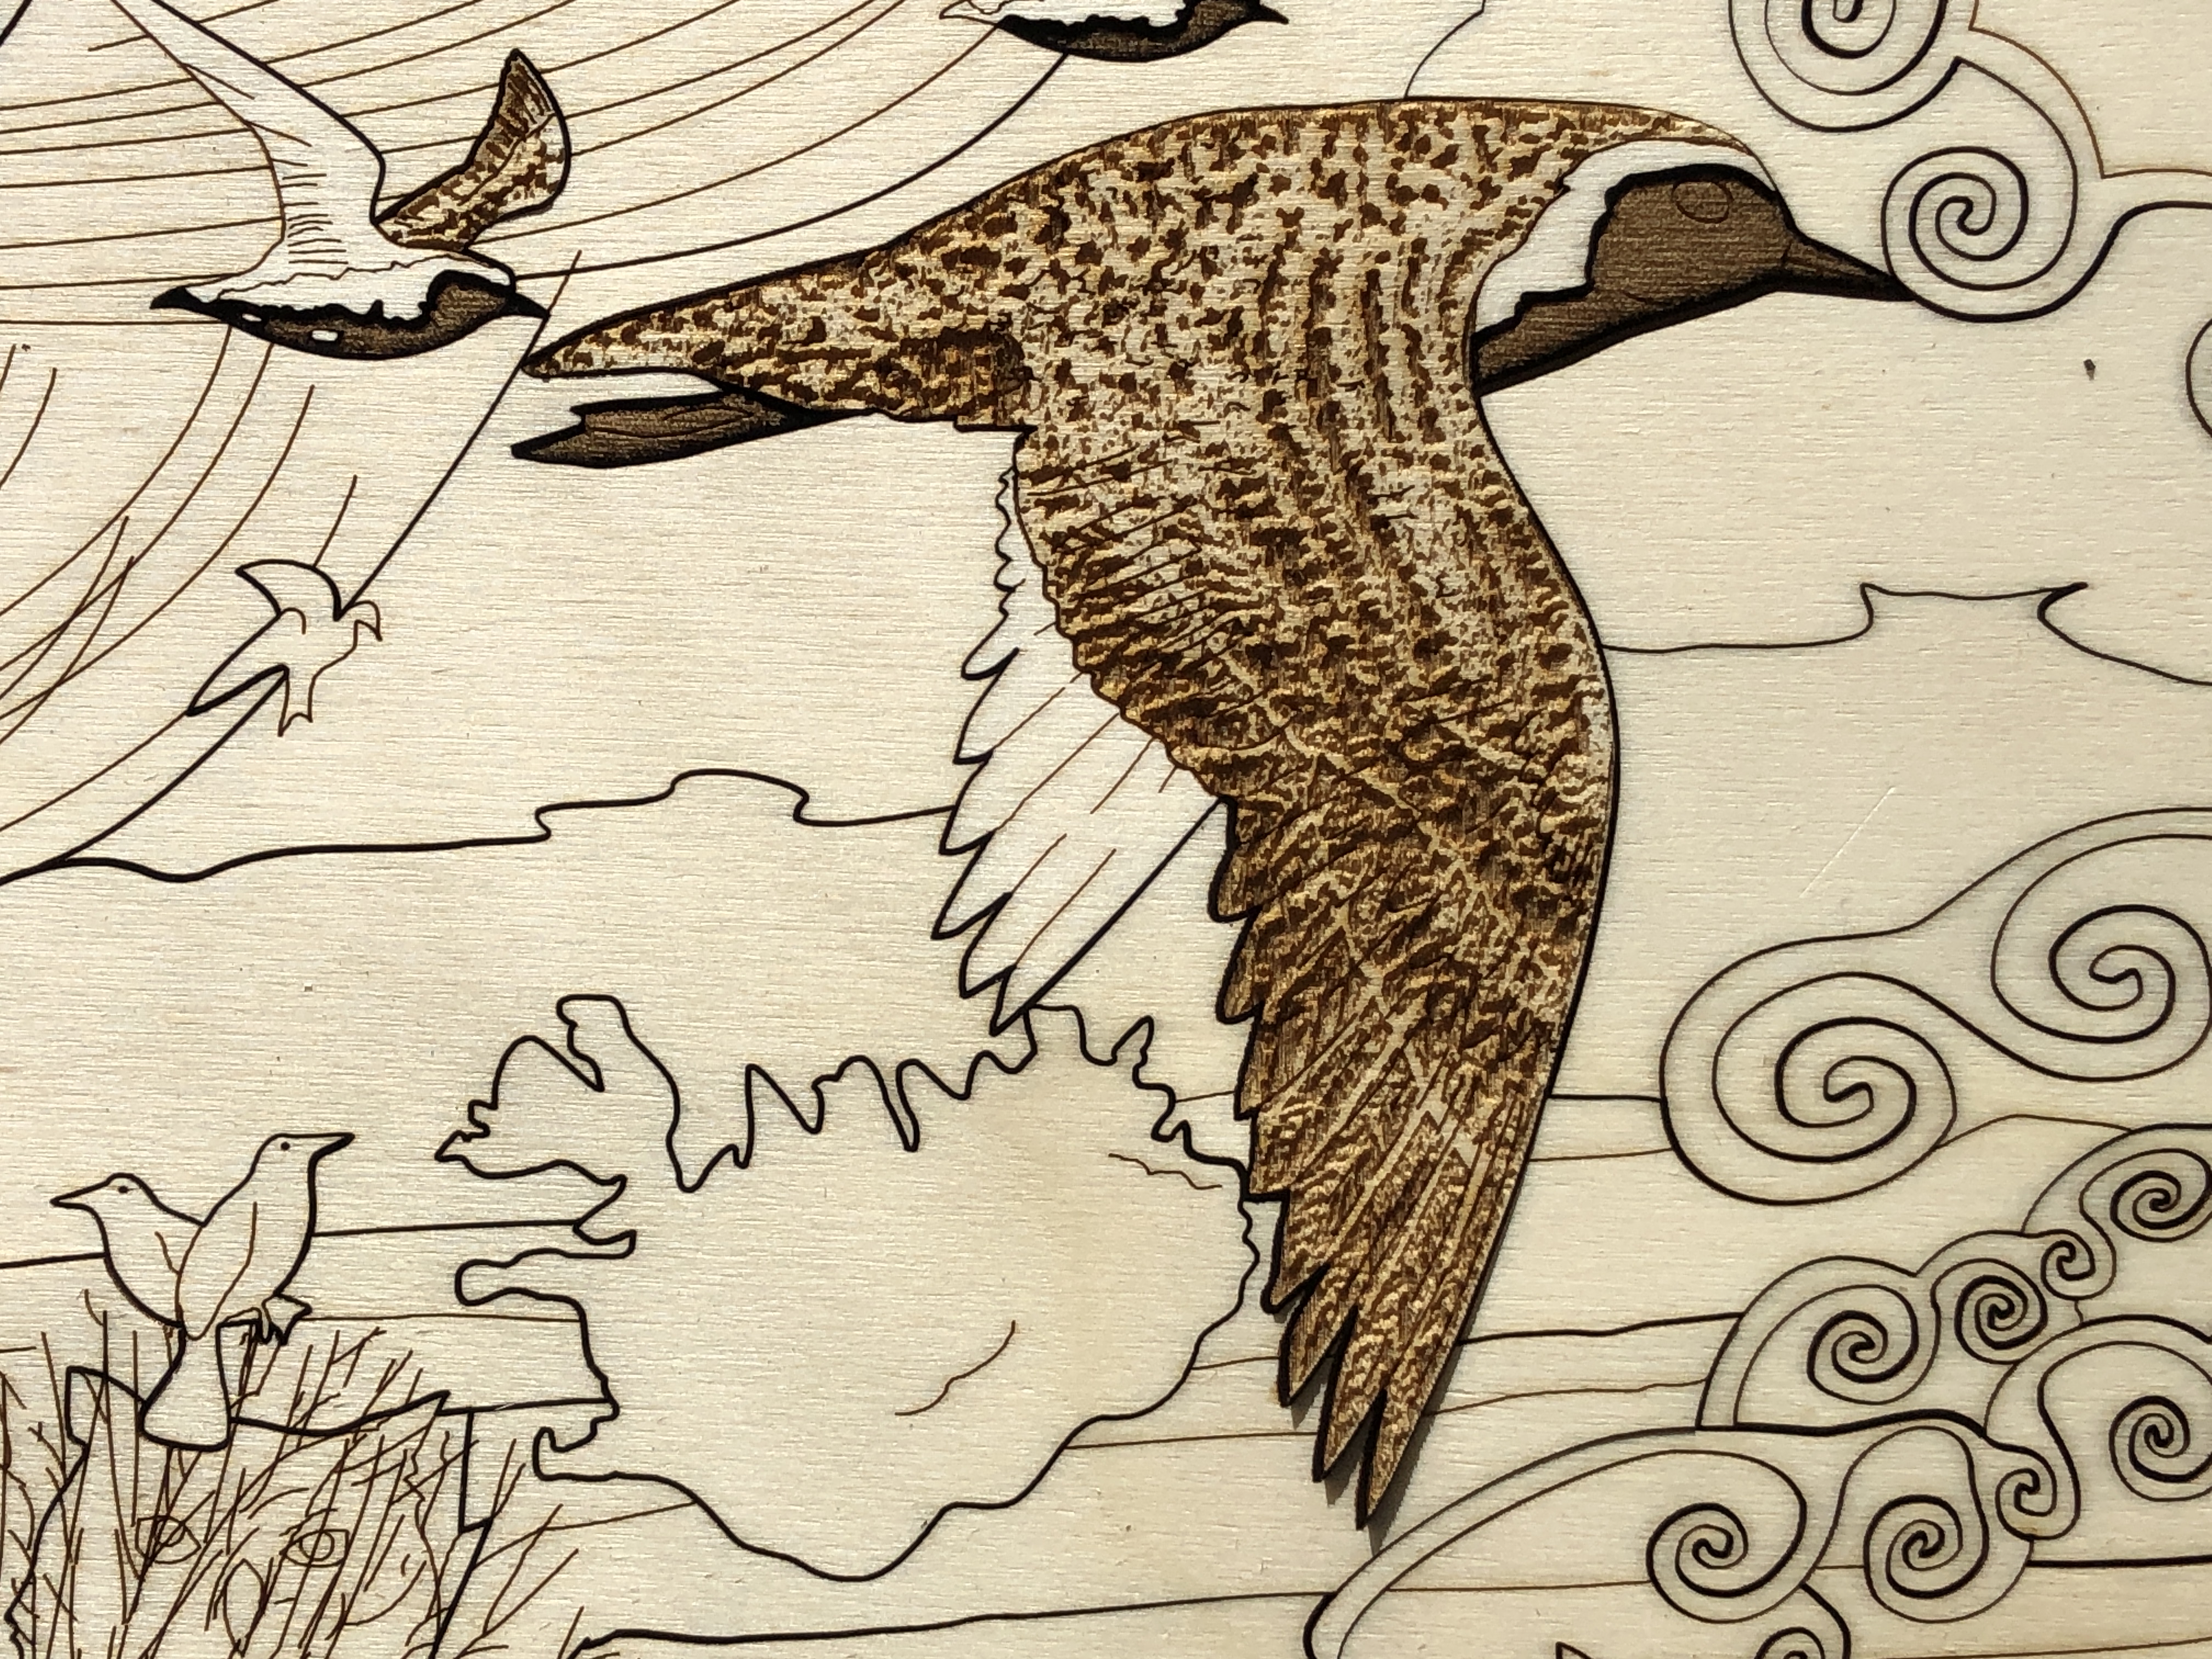
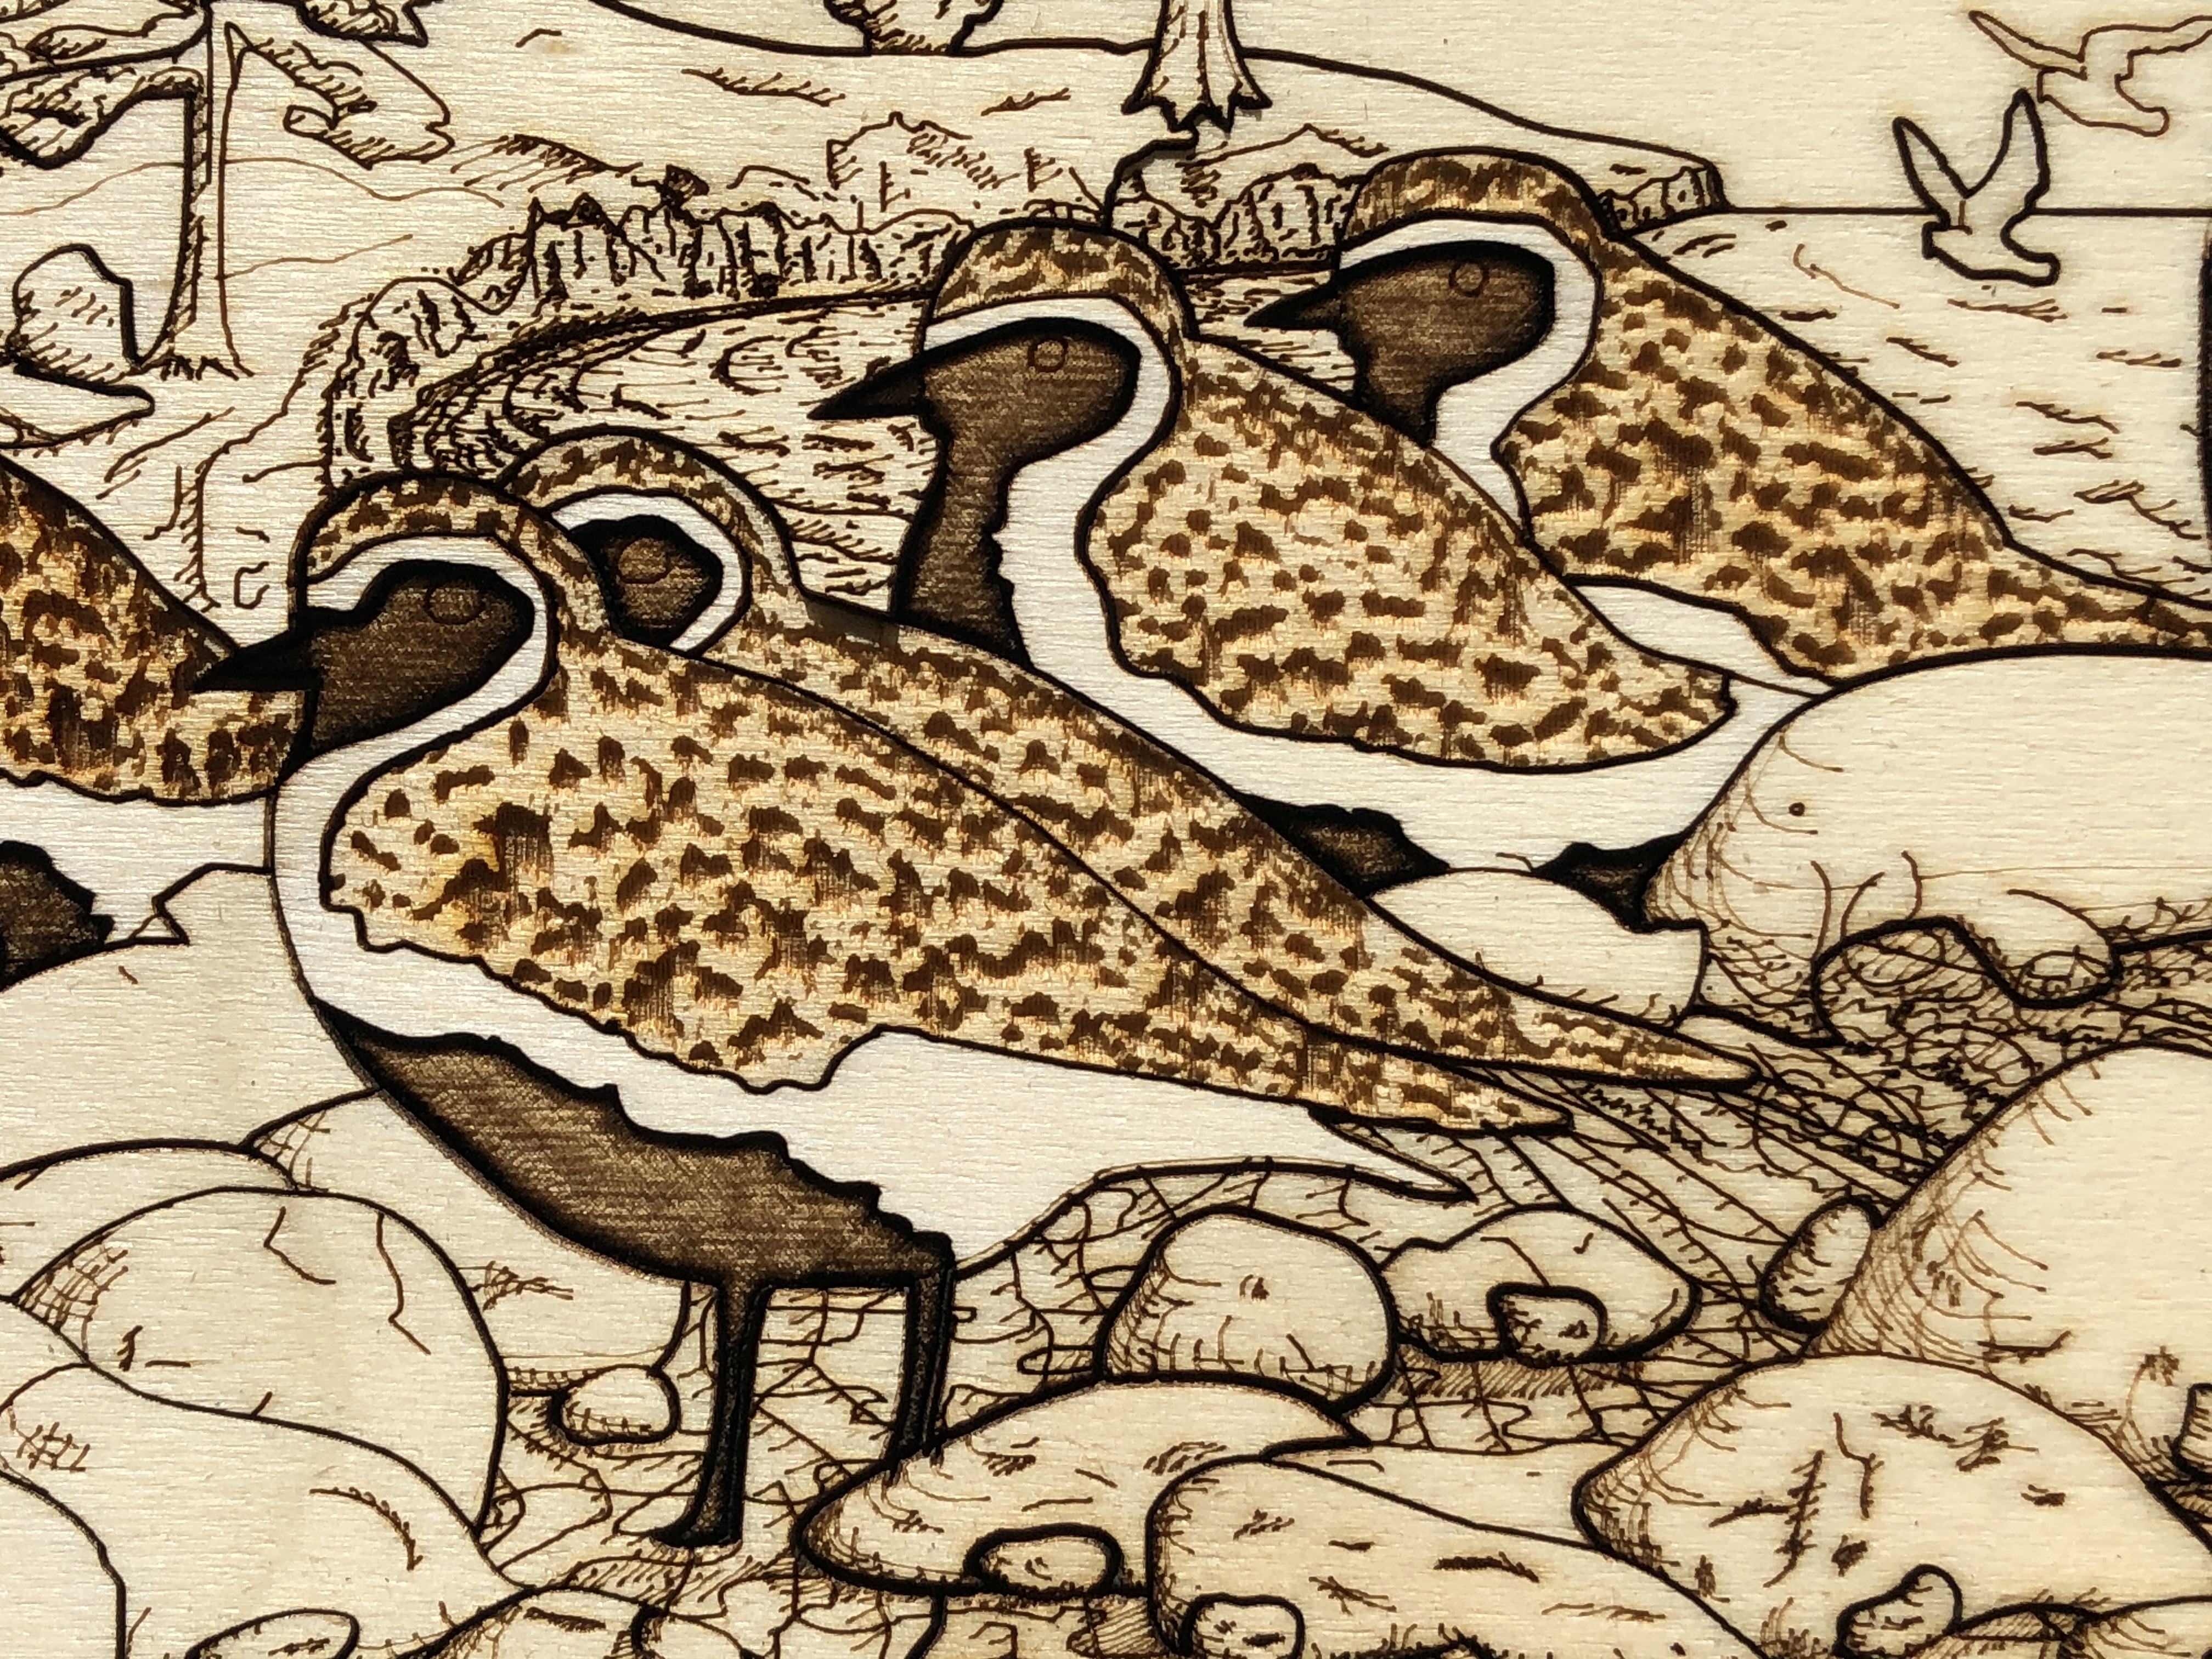
In this artwork I particularly wanted to reproduce, using light-burning alone, what is for me the three important colours of the golden plover in its magnificent summer plumage: the white fringe to their mainly black bellies, and especially the goldentones of their back – from where they get their name. So what is white in terms of lasering wood? It’s the absence of any burning and scorch marks on very pale, smooth, wood. But the crux of the matter is avoiding getting any discolouration/contamination in these areas – especially as they are sandwiched between very dark areas. It’s very hard to control smoke and scorch marks with lasers. It’s like the challenge of white in watercolour painting – where the white areas are usually the colour of the paper itself, the absence of paint – and in detailed areas masking is often used to exclude surrounding colour seeping into where it is not wanted.
These are the steps :-
Spray water on the raw plywood panels to raise the grain, let them dry.
Very fine (400 grit) orbit sand the dry plywood, wipe clean.
The plywood panels are then varnished and left to dry for up to three days (depending on time of year – humidity and temperature). This is to minimise the effects of laser burning and makes it easier to clean specific areas afterwards (see step 8).
The plywood panels are then flattened in a special press for several days.
A single plywood sheet is put in a custom-made flat panel laser bed holder (I designed).
The lasering itself takes a little over five hours on my 130W CO2 laser (for a single artwork). I do it in two steps because I find the results are better. Clean the “white” engraved areas (which I want as pale as possible) after engraving the “golden” areas – and before doing the black areas, scoring, and cuts.
Step 1 – the “golden” areas. The following two images show the “golden” engraved areas before and after cleaning :-
Step 2 – the black engraving, scoring, and cuts.
After lasering, I do a detailed quality check. Wood, being organic with glued layers, varies from sheet to sheet – and some lasered artwork doesn’t make the grade – or needs fixing in some way.
Then very carefully lighten the brightest/whitest, most important areas (that have been darkened by smoke) with cotton swabs and a mild acid – to make them stand out better. This seems very much like an art-restoration process – like removing the old varnish from an old masterpiece – to restore the original colours! (But I only do certain areas to make them stand out – not the whole thing.) This takes me about an hour and a half. The difference is subtle, but vital to me. It is the difference between a mechanically produced piece of art and a true piece of art I’m happy with.
The following two images show before and after selected cleaning (notice how the white margins of the golden plovers stand out better after this second cleaning) :-
The artwork then gets a final varnishing and left to dry for up to three days. This is especially important to protect the newly exposed wood surfaces.
I use pyrography to number each piece in the limited edition.
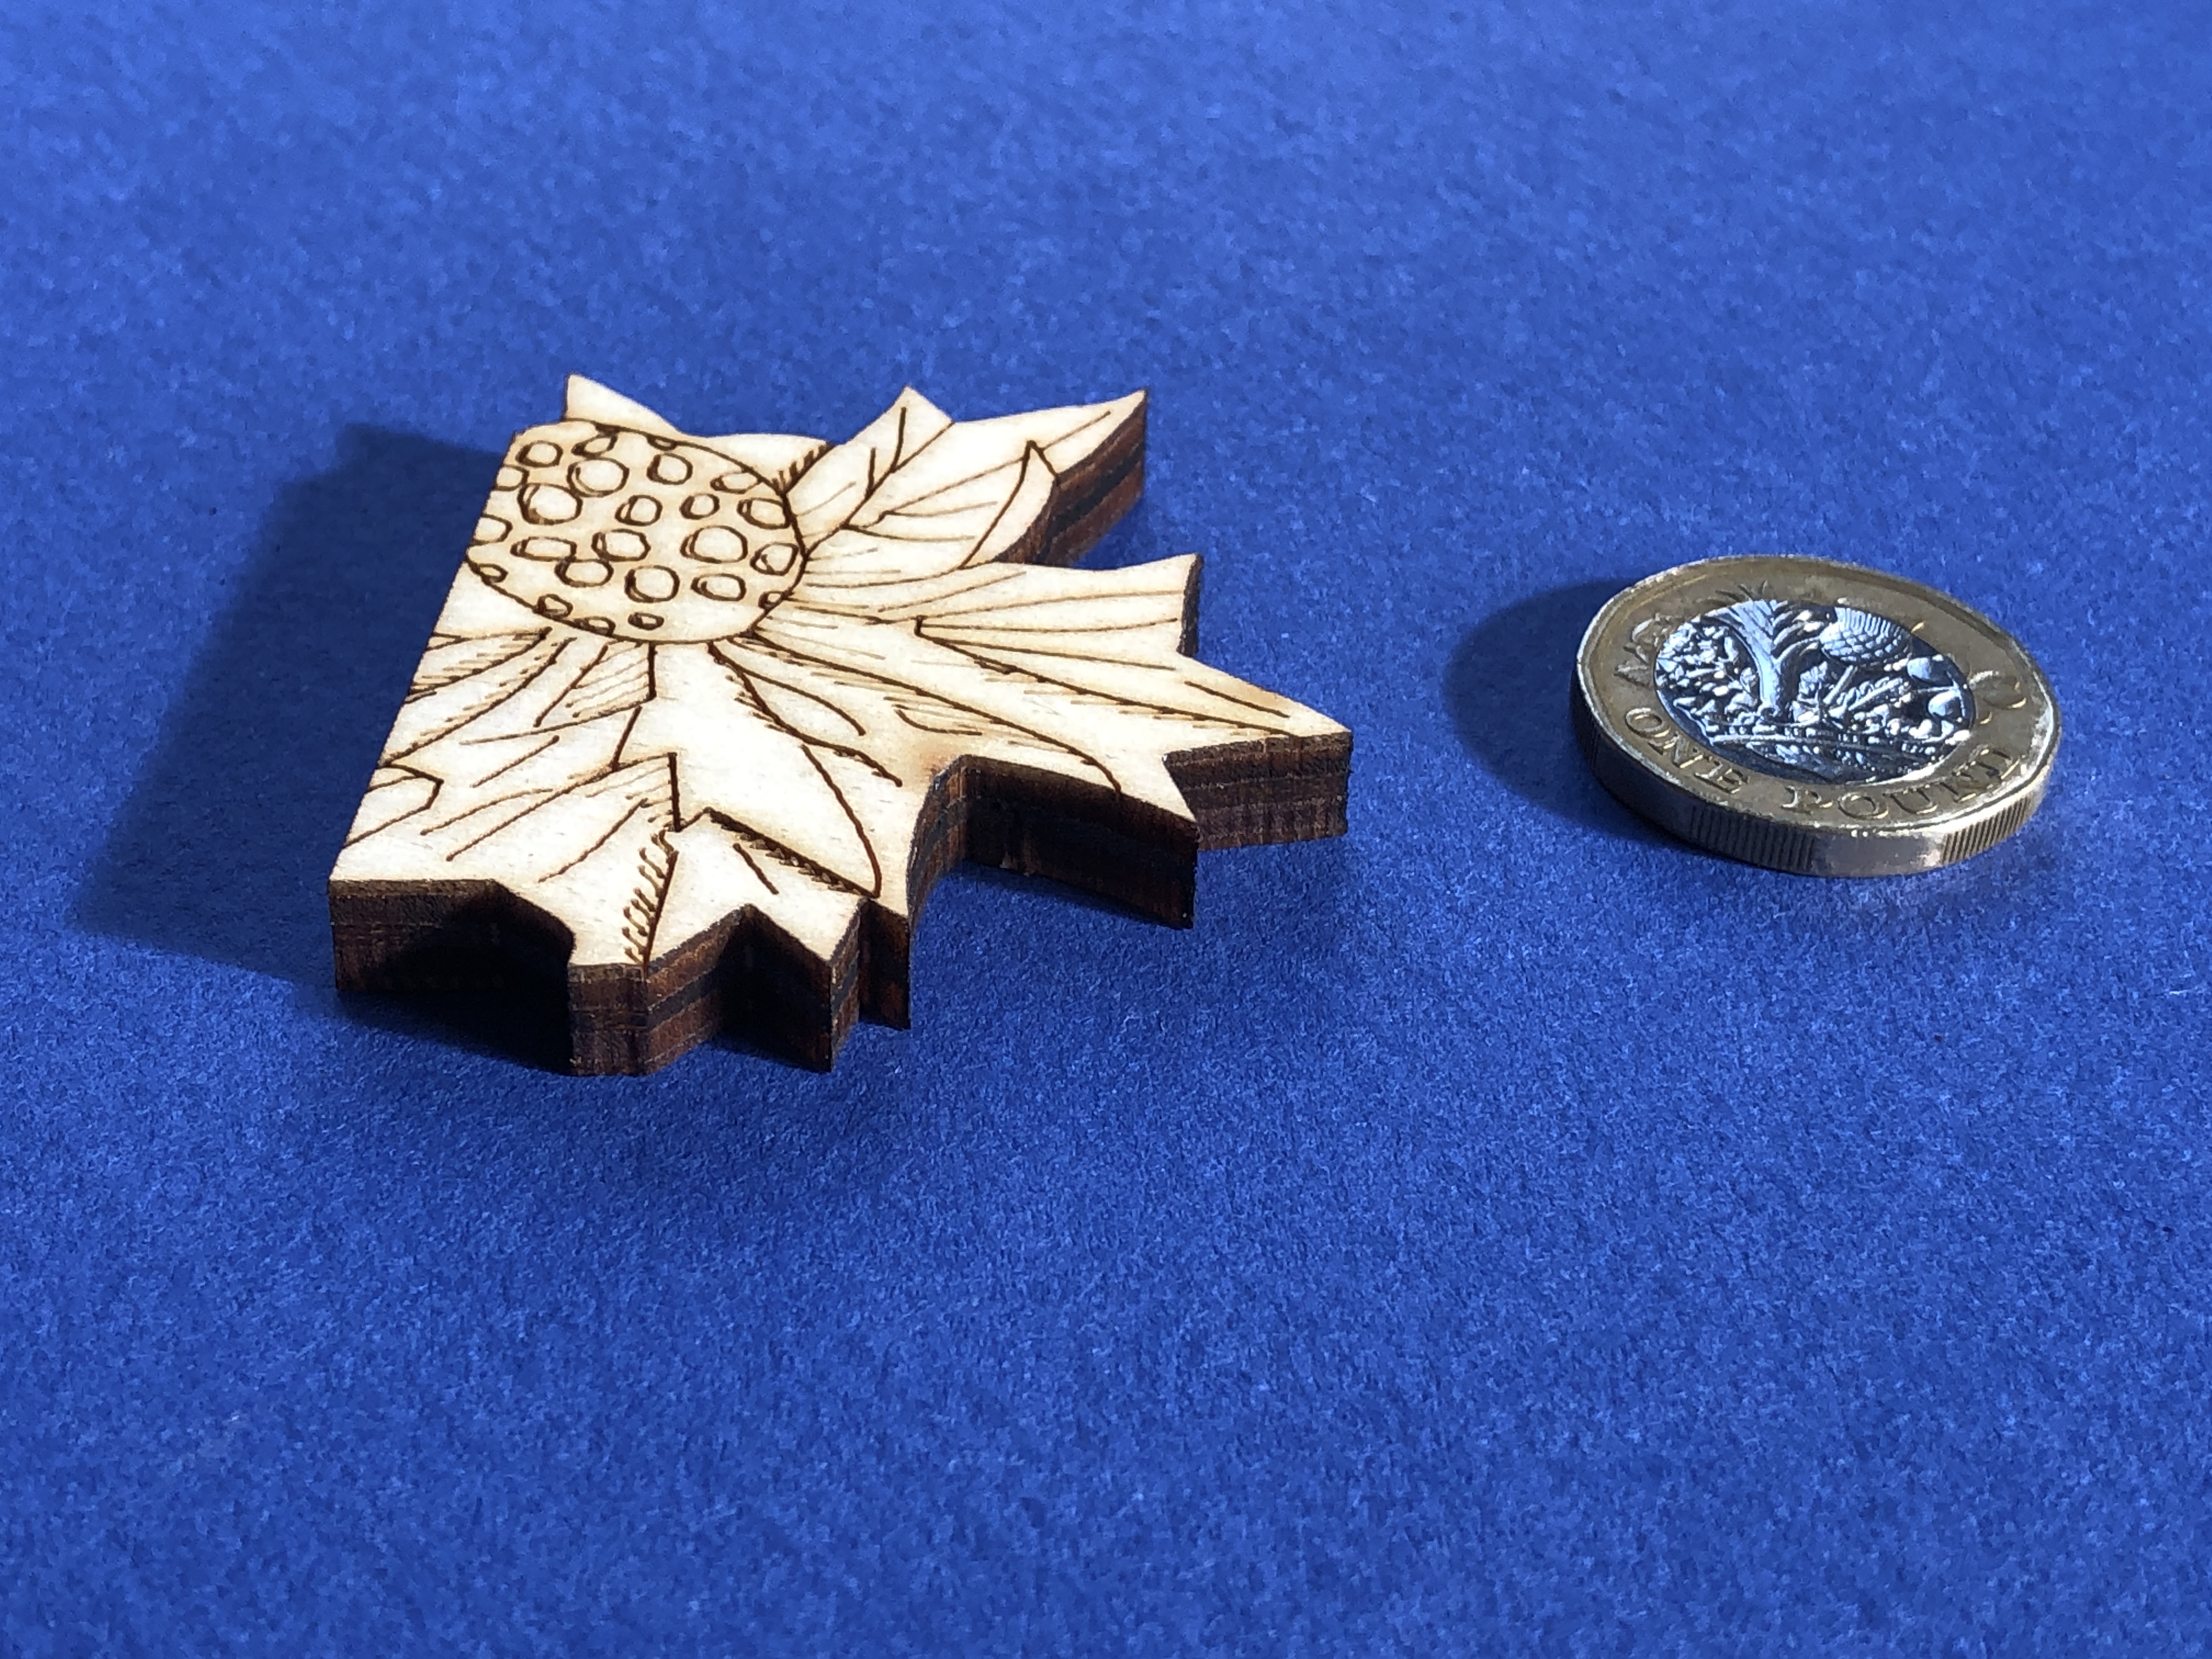
The special display mounts – with a selection of pieces cut of in order to highlight the work is in fact a puzzle – and not simply a drawing – are individually laser cut out of high quality mount board. This takes my precision laser about 40 minutes.
Finally I frame the artwork to using museum materials and techniques. I use anti-reflective, 99% UV filtering, ultra clear museum-grade glass to provide maximum protection to the piece.
I think the final work shows that lasers can be used to make real art – and are capable of very fine control – as much as lithographic printing, silk-screen printing, wood-block printing, lino-printing. Like any tool, the best results come with experience, knowledge, perseverance, patience, and finding ways around the natural limitations of the medium…
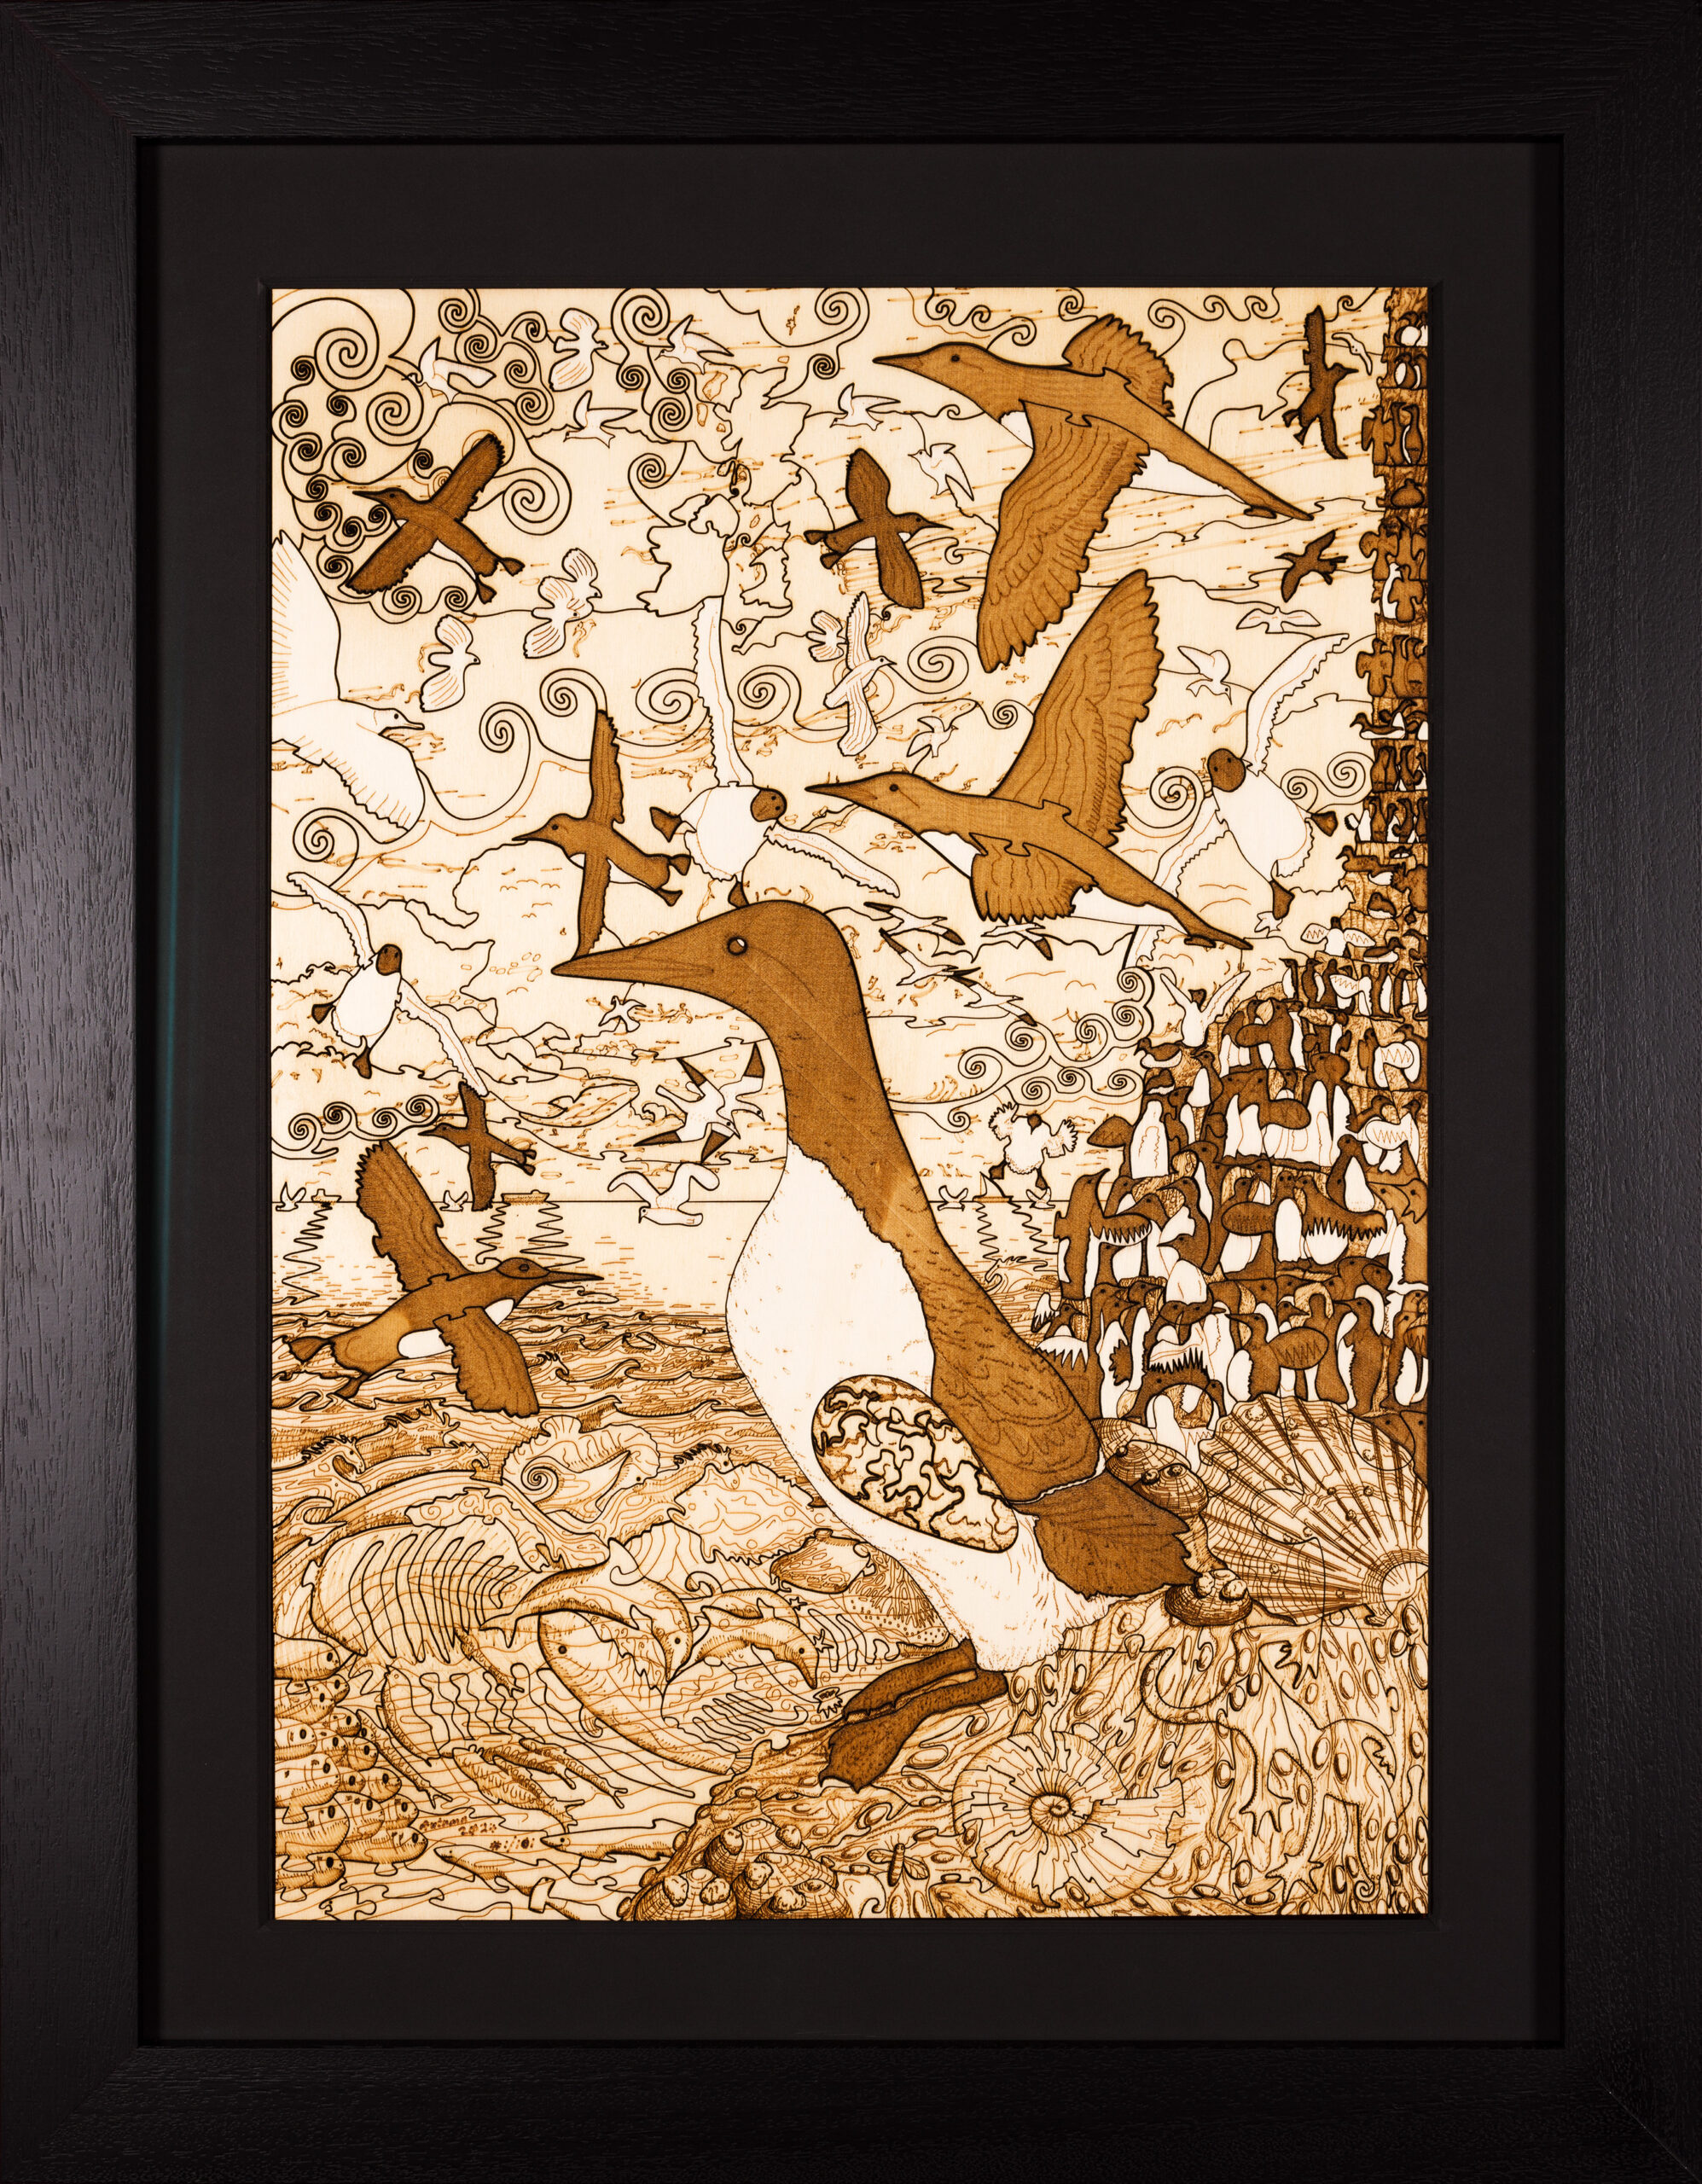
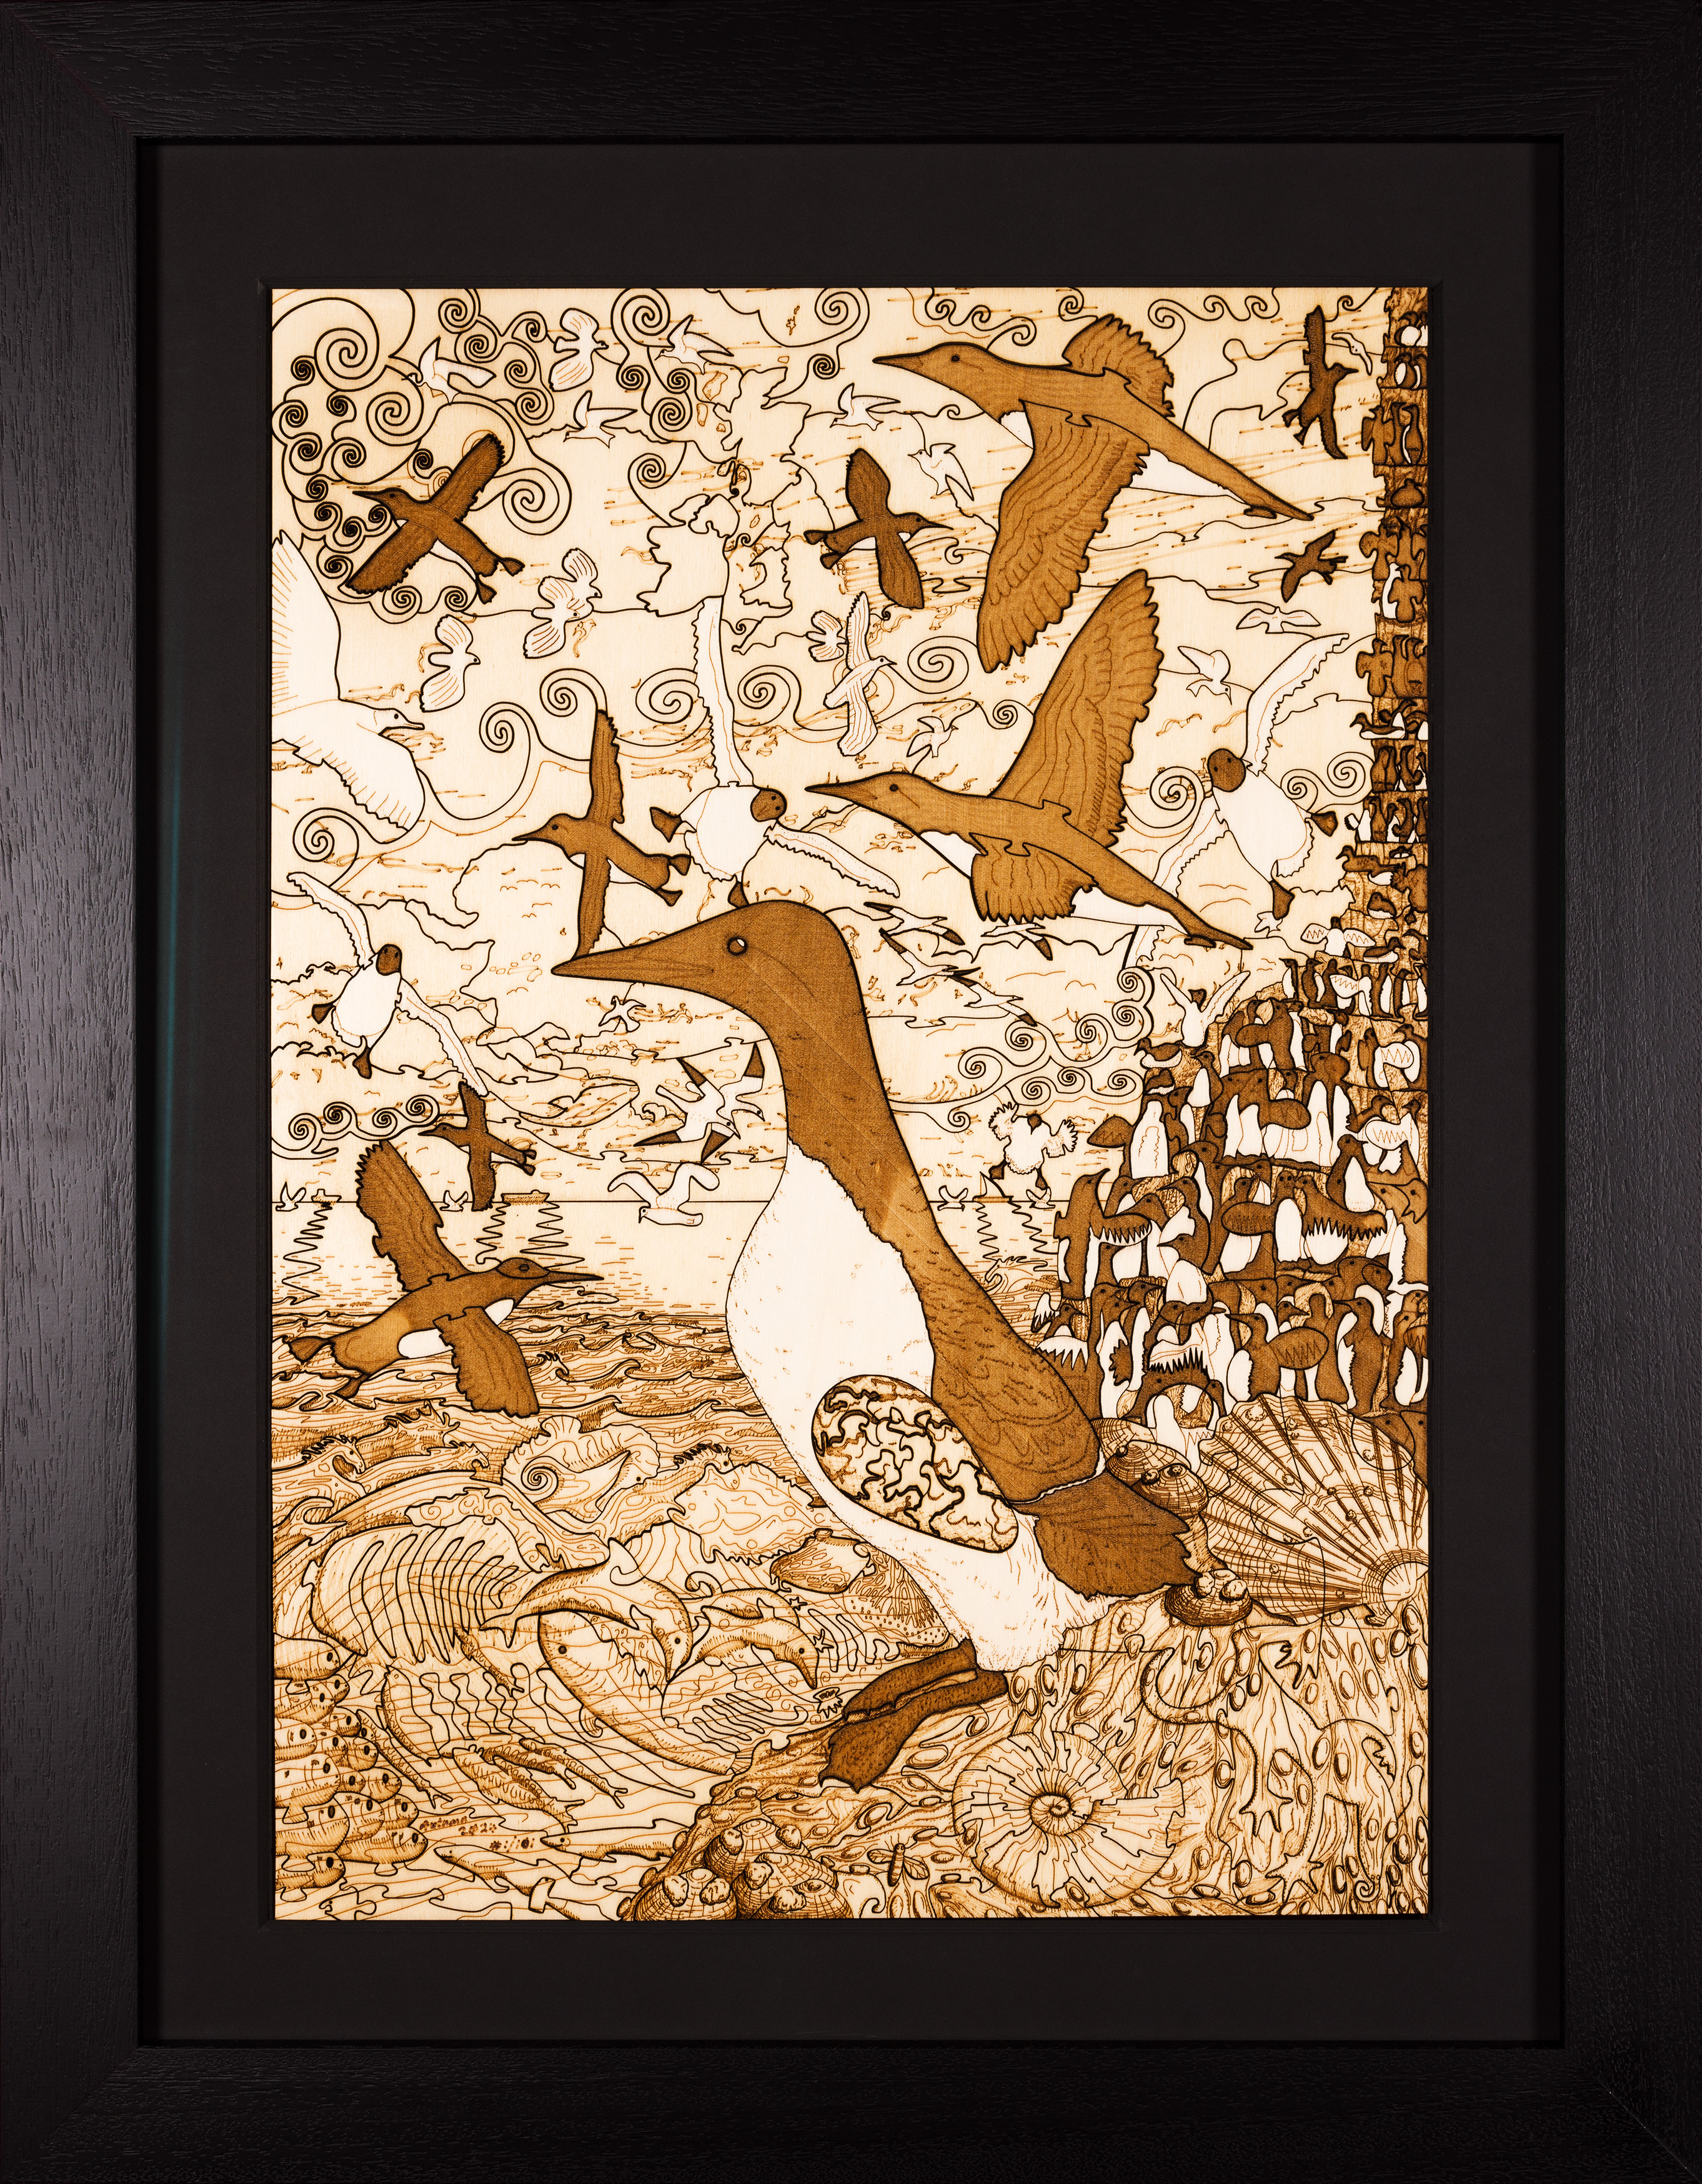
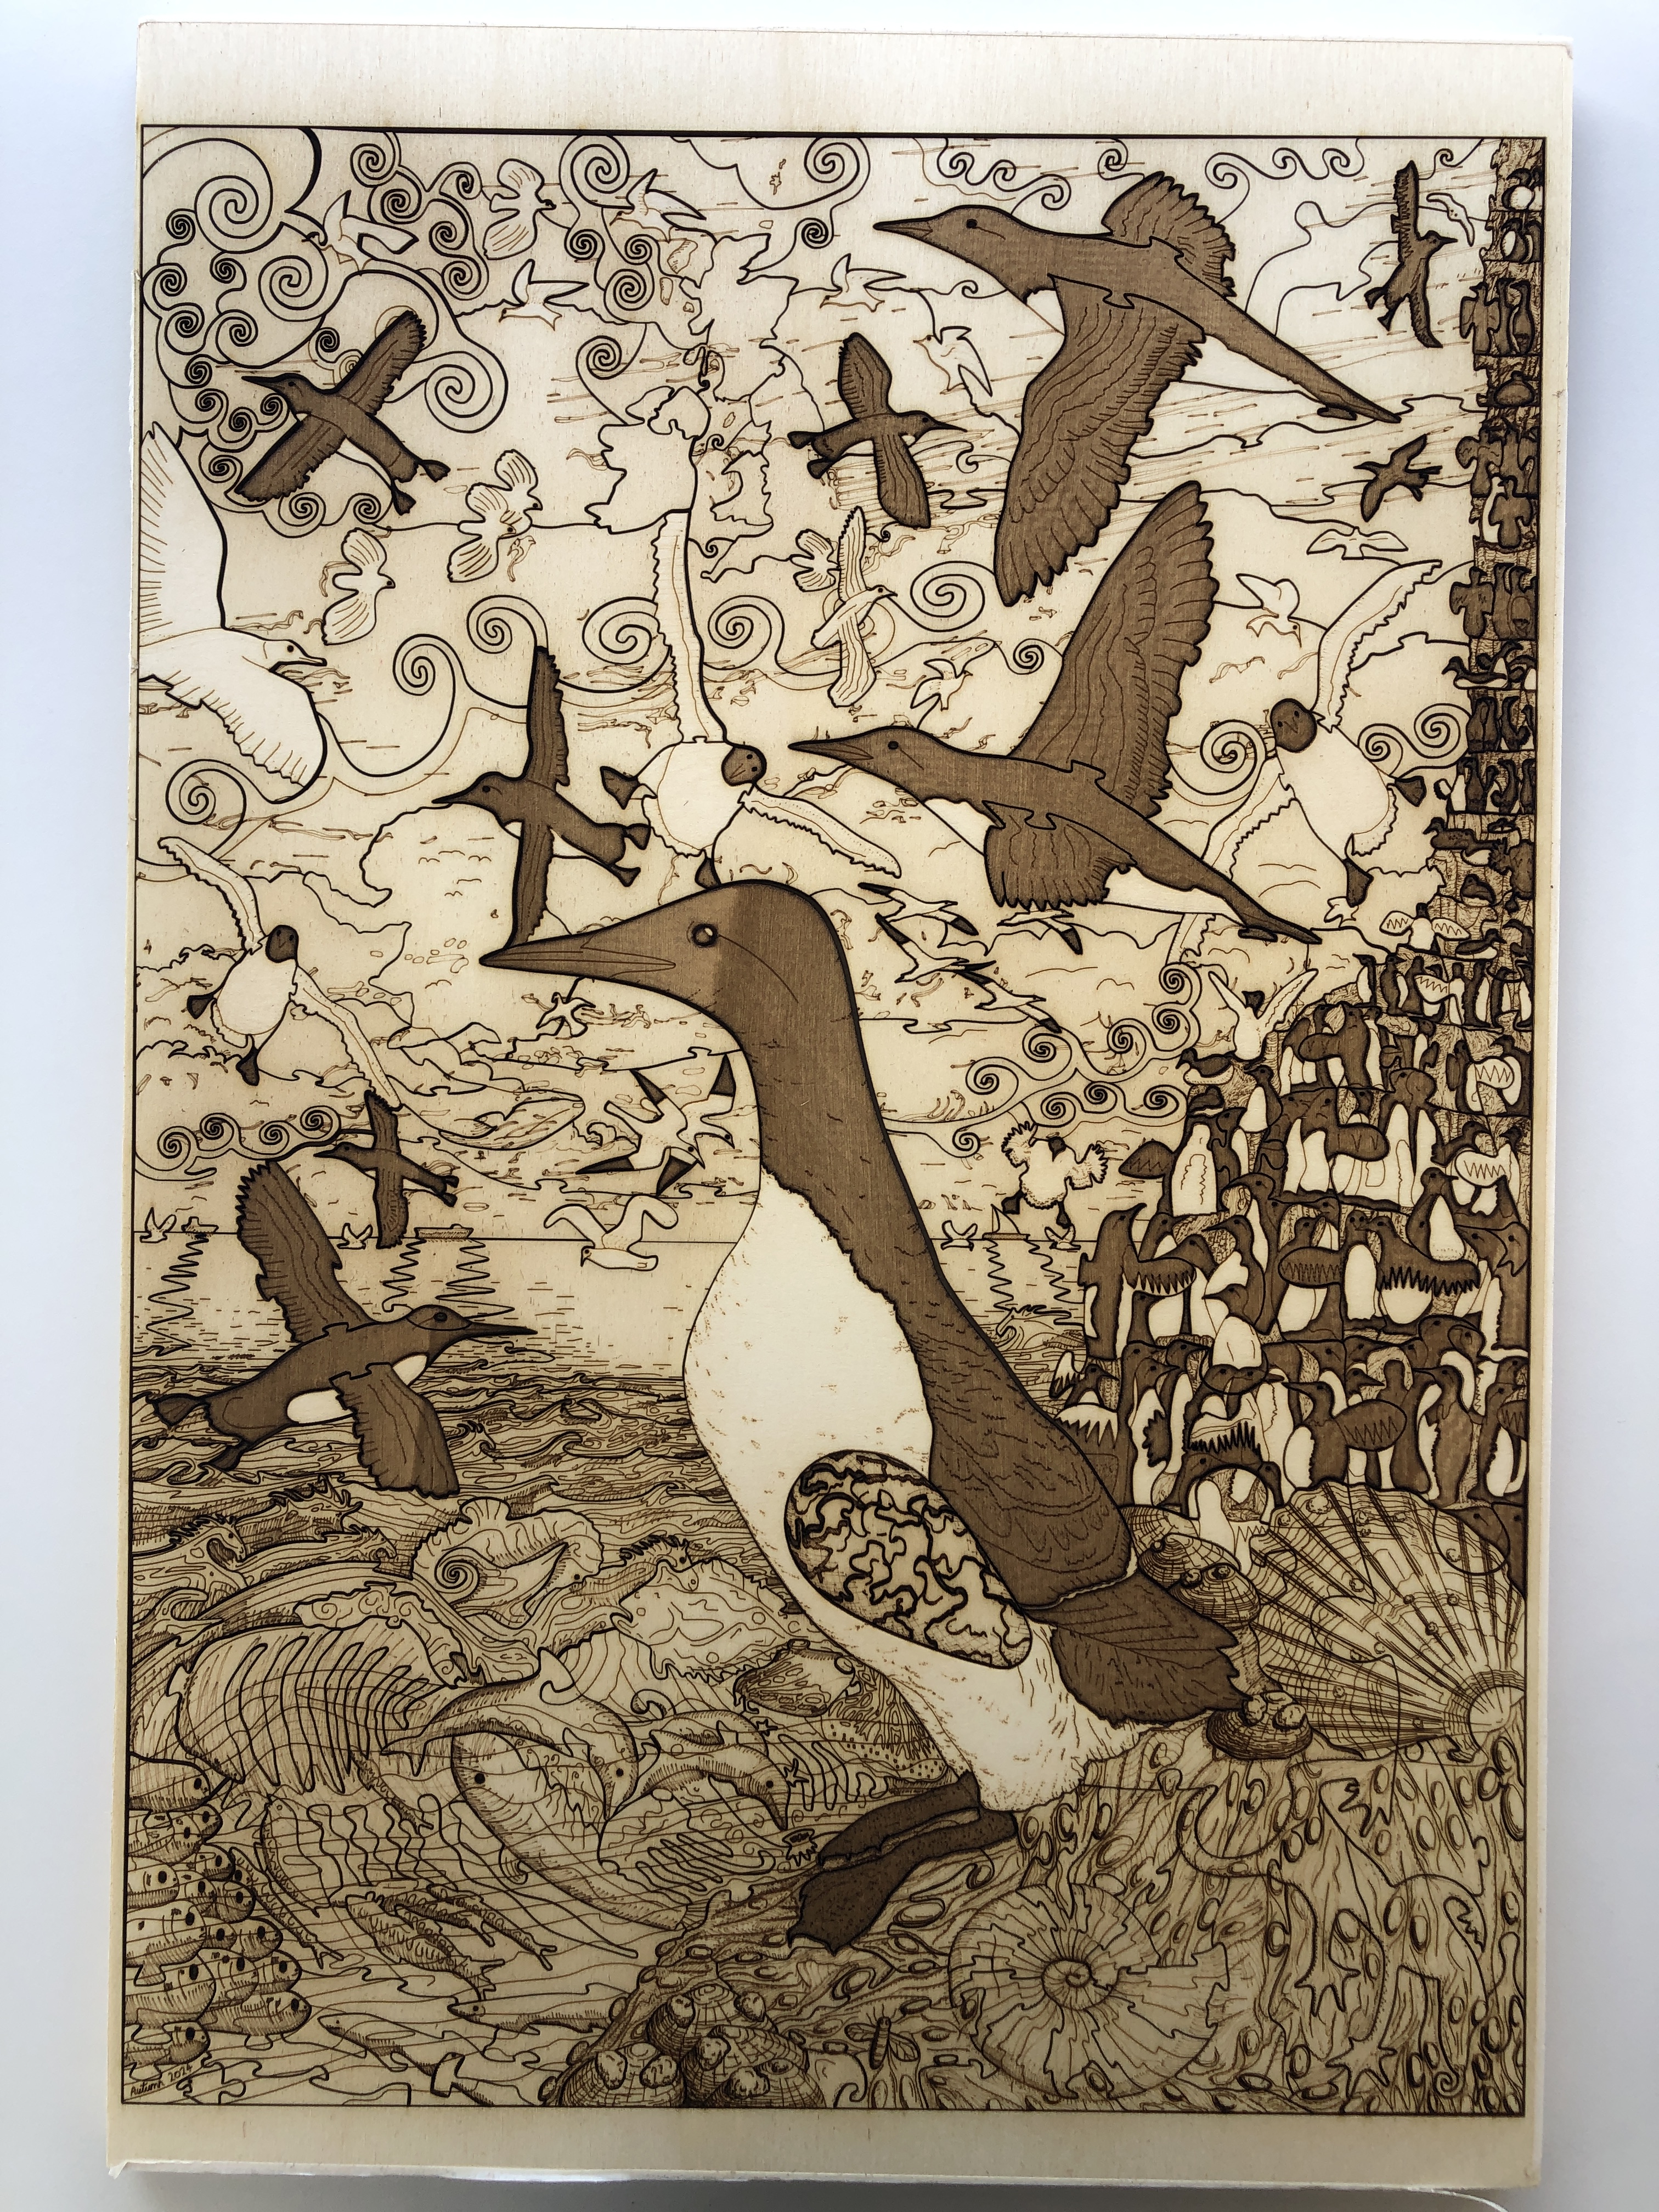
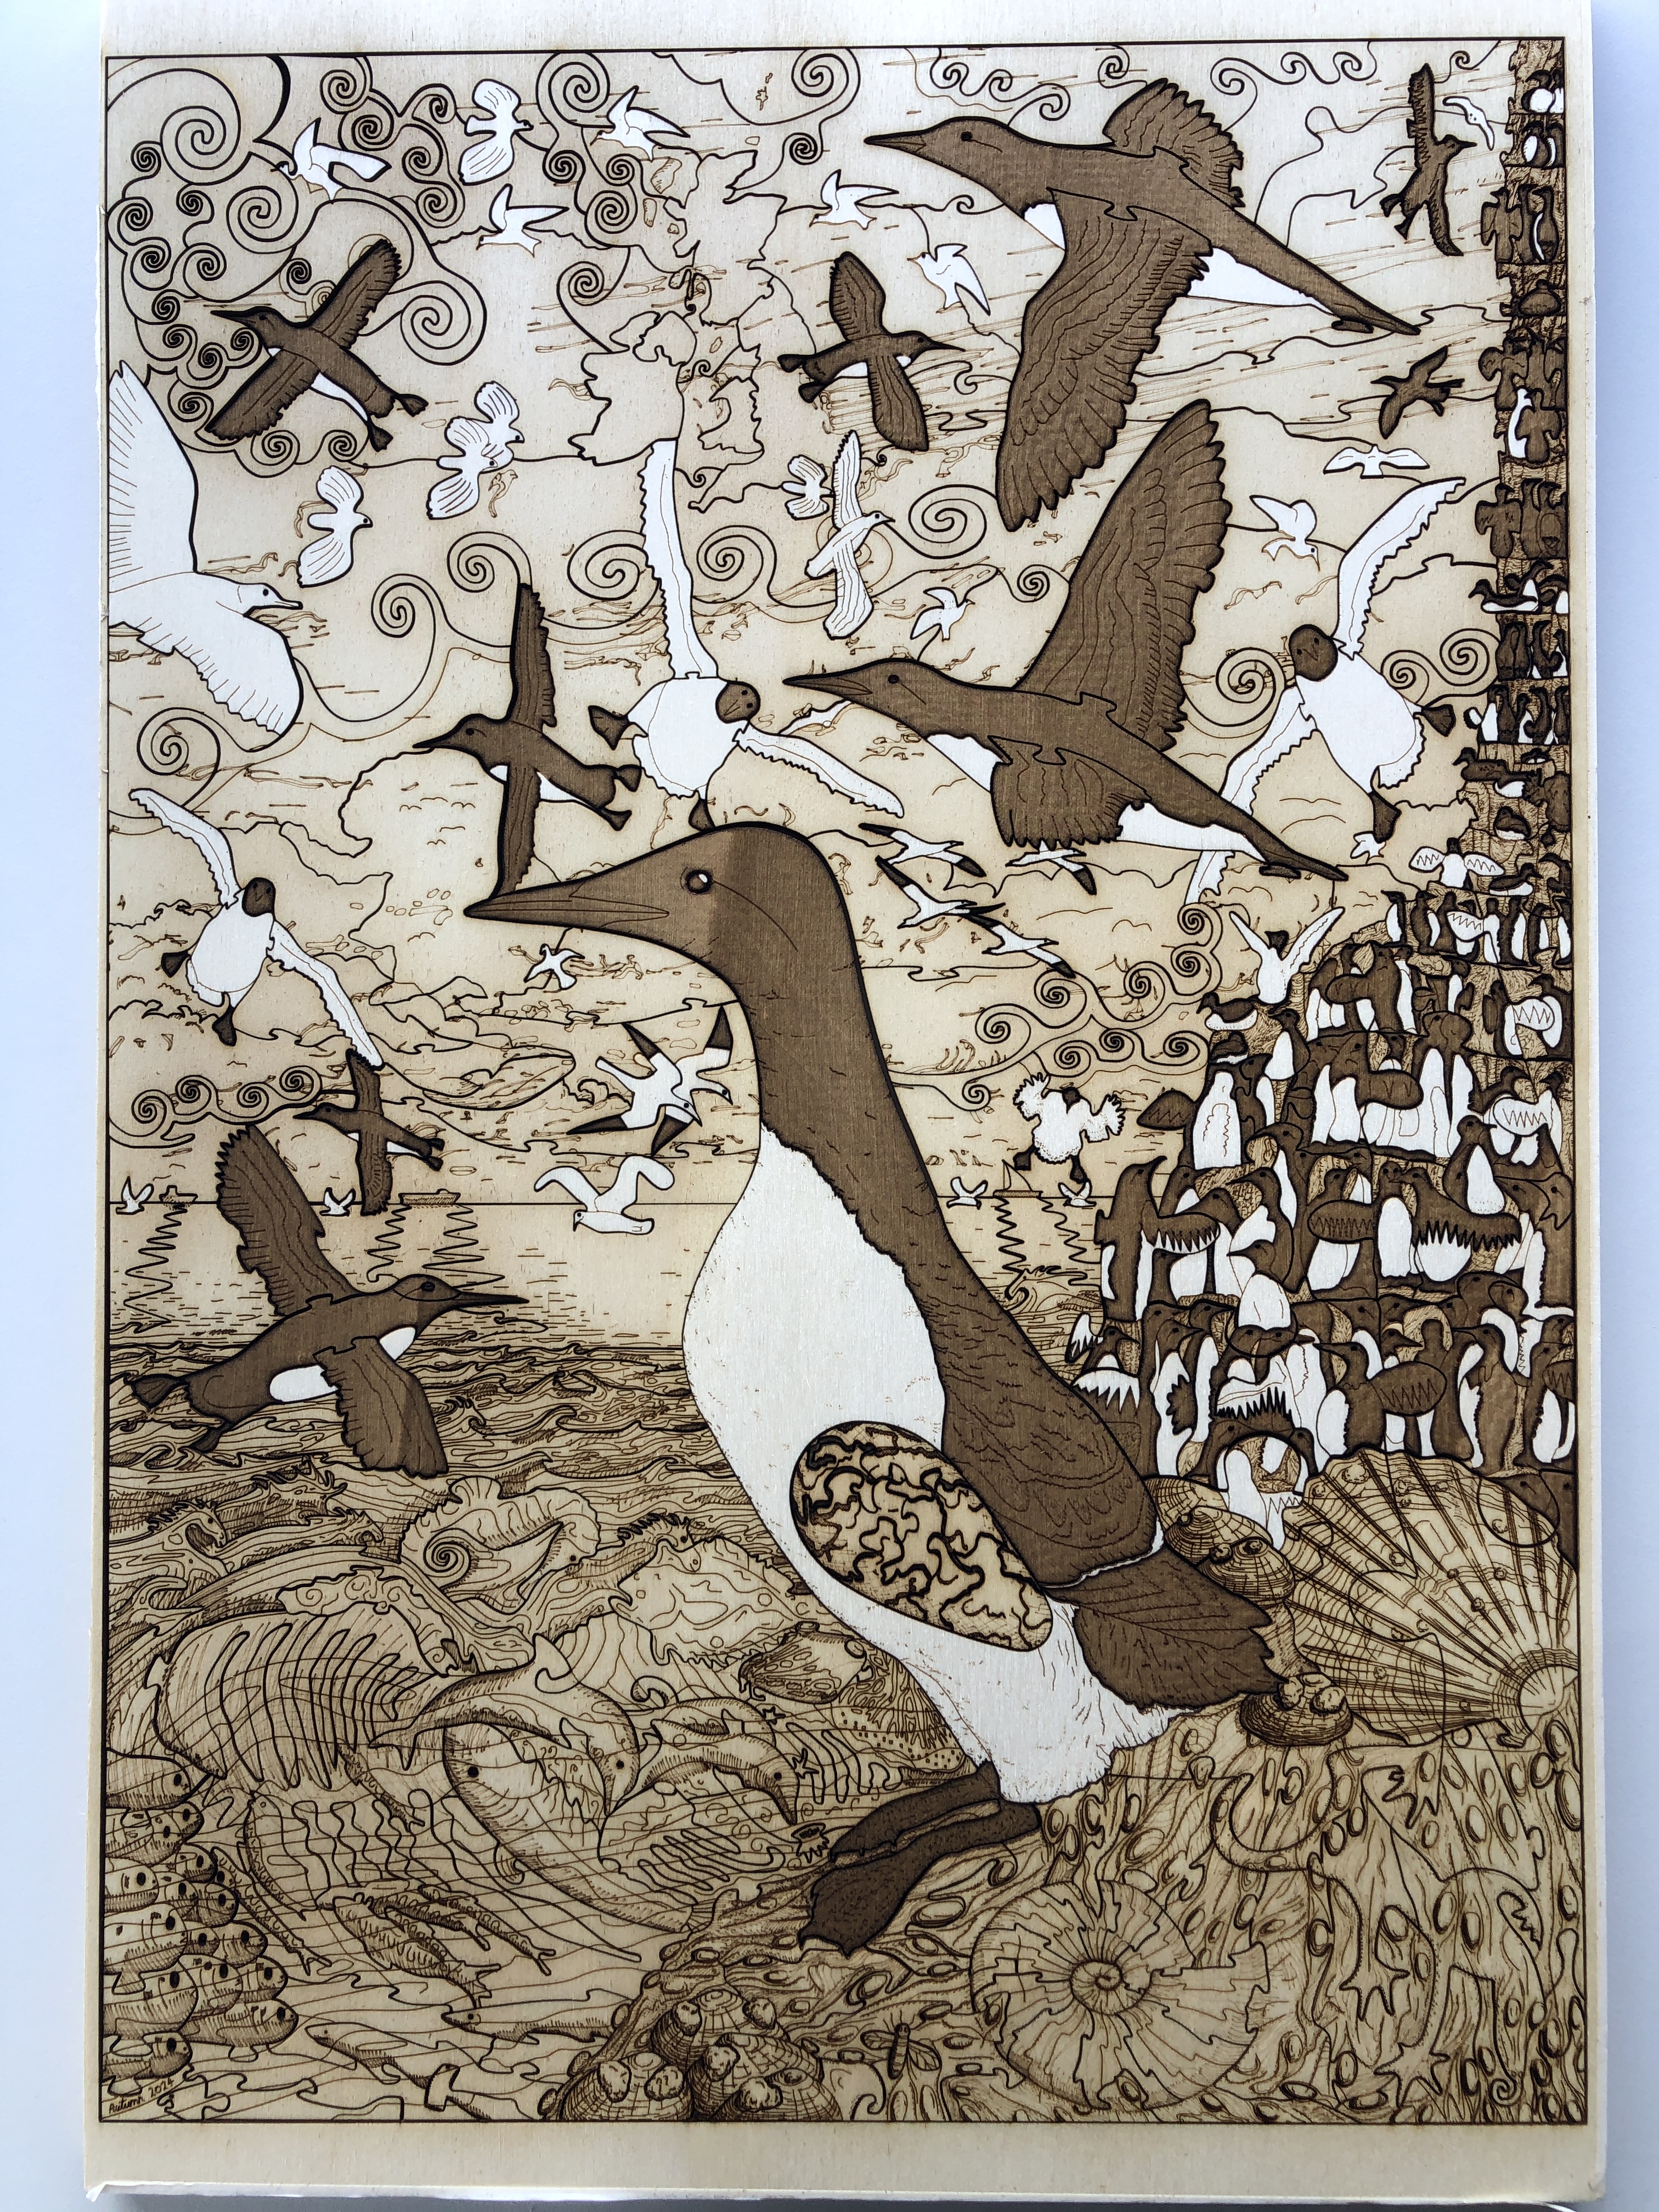
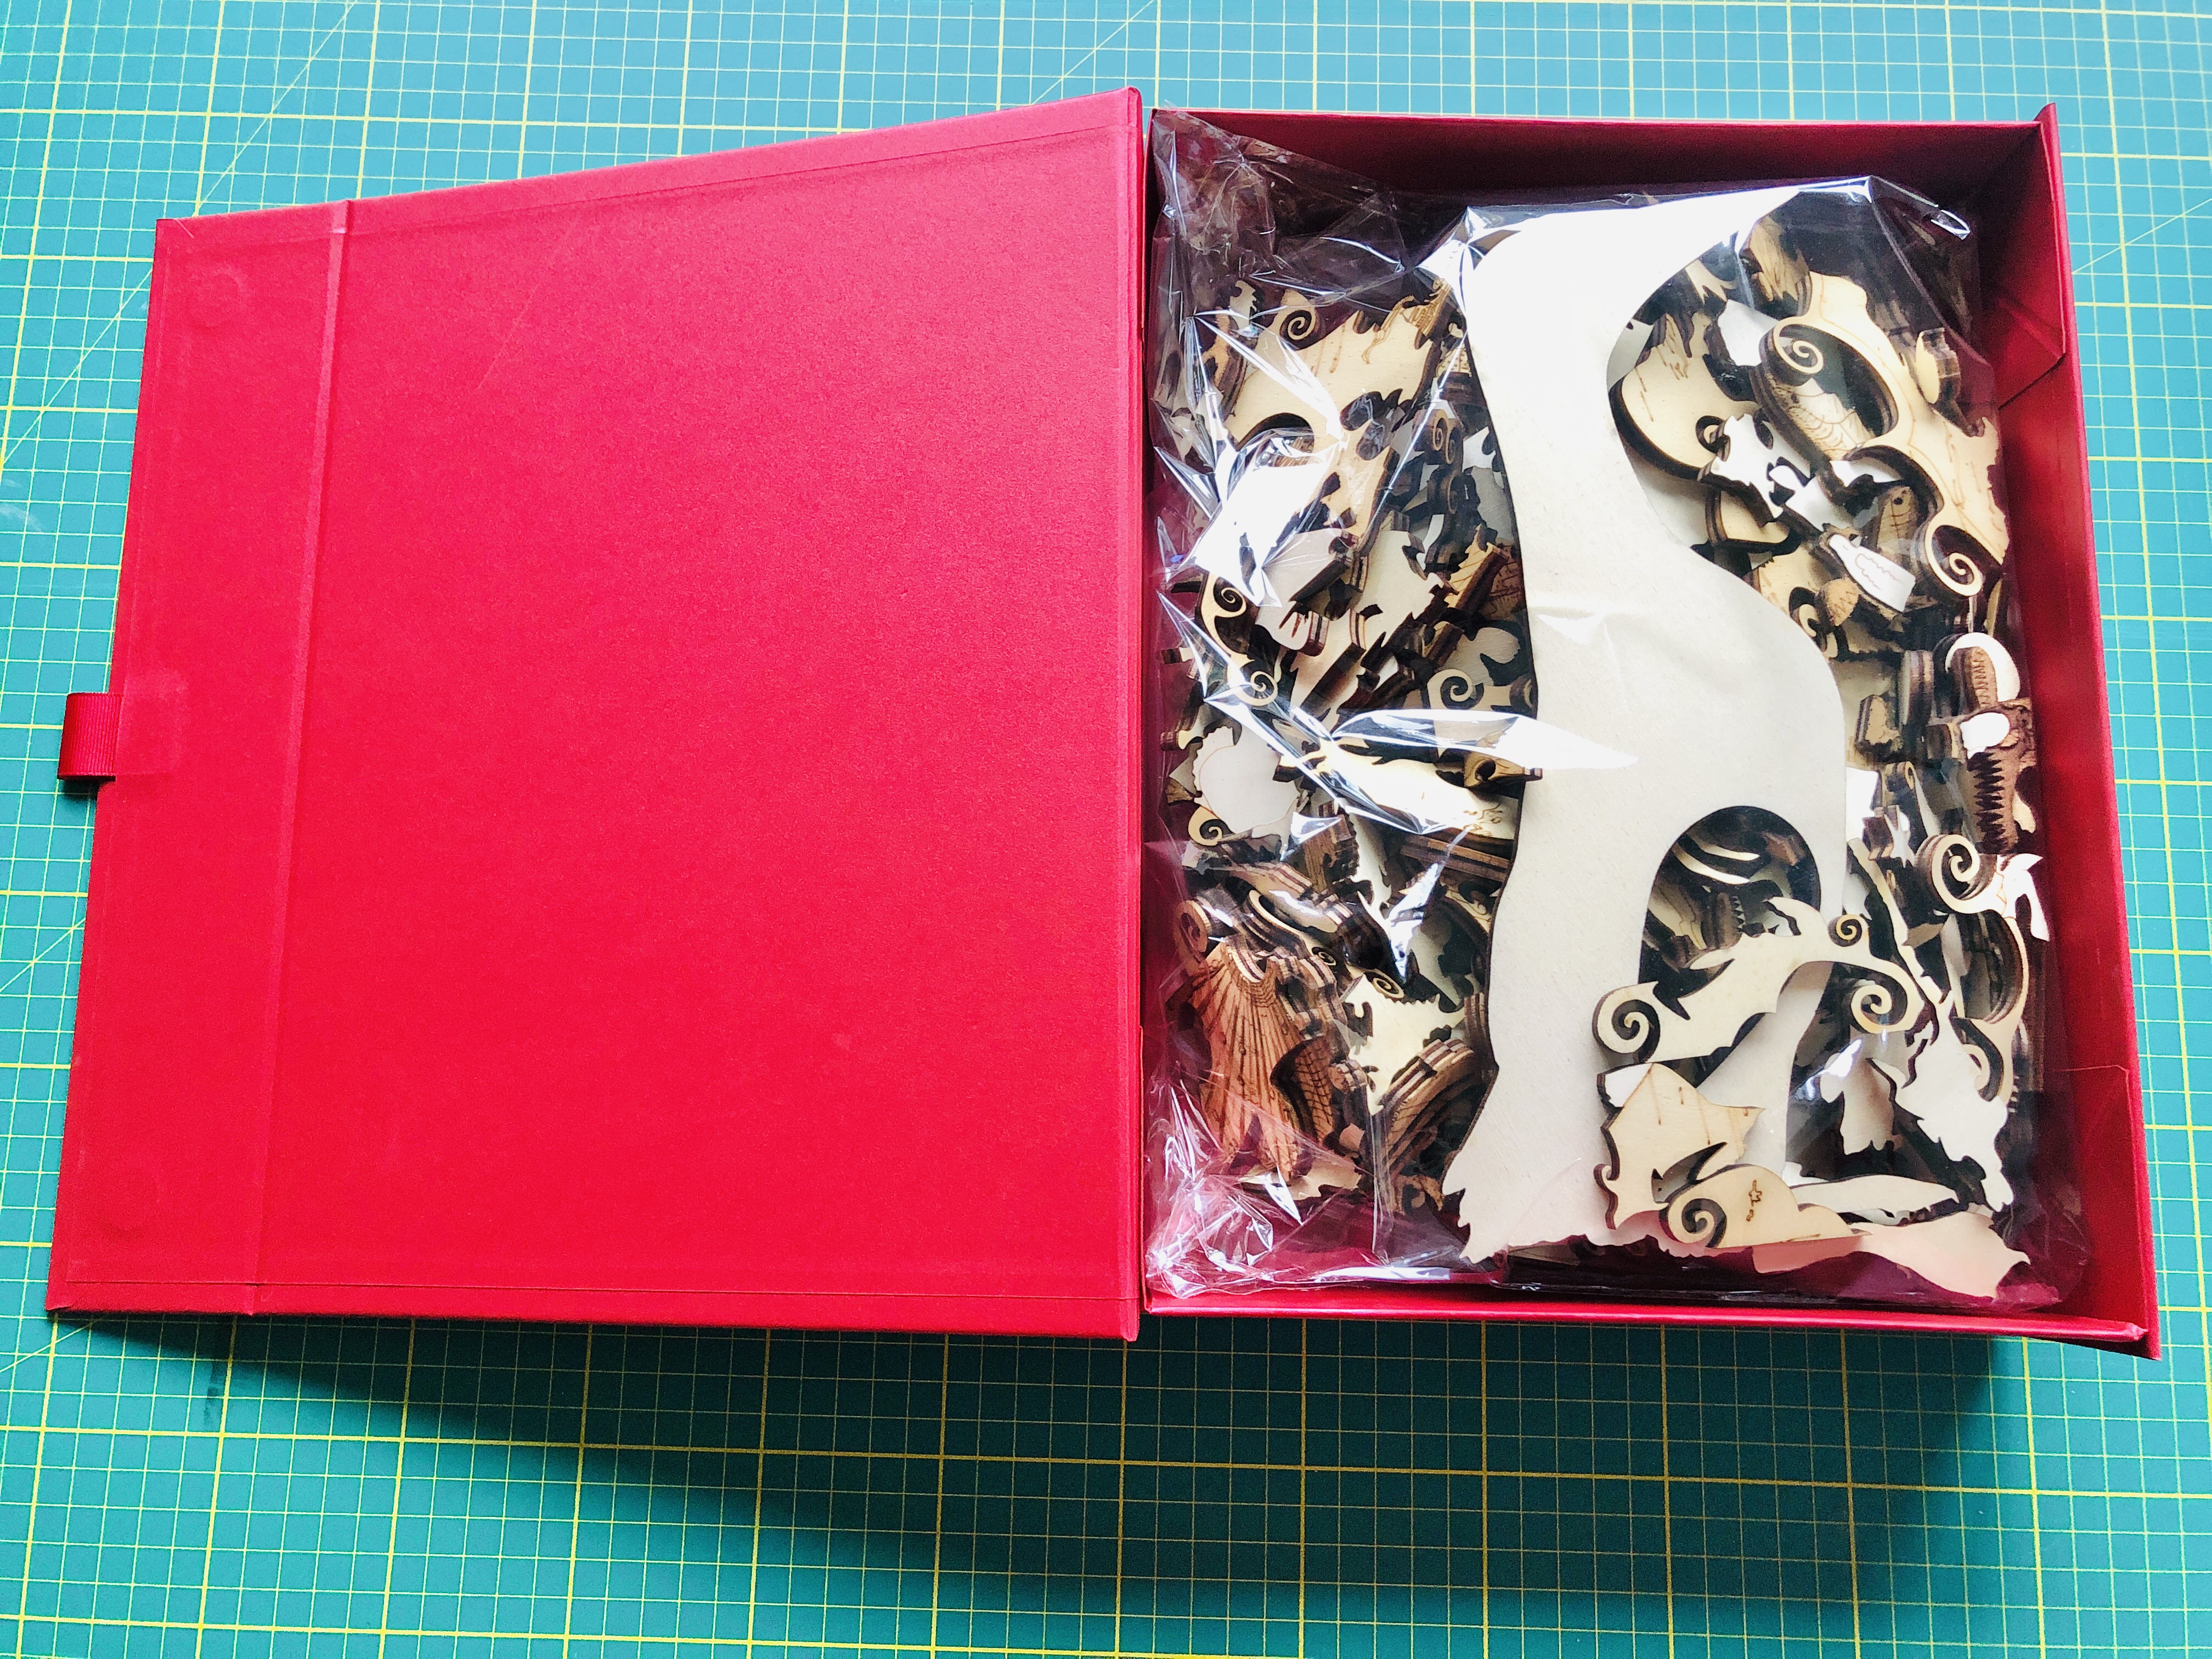
Title: “Guillemot with Egg (Art Puzzle) – Laser” Artist: Michael Autumn Medium: Hand-drawing – laser cut & engraved plywood Giclée archival laser cut & engraved on 6mm AB/AB Italian Panguaneta Poplar plywood (produced responsibly, sustainably, and to the highest of standards), child-safe, moisture-repelling, varnish Size: 39.0cm (W) x 55.1cm (H), framed 57cm (W) x 73cm (H) x 5cm (D) Edition: Limited Edition of 101 – individually signed and numbered, and museum-level (FATG Level 1) :-archival and bespoke framed; and Unlimited Edition, lasered signature, unframed. Limited editions come with highly respected, secure and verifiable Hahnemühle Certificates of Authenticity and are publicly trackable here – https://www.hahnemuehle.com/en/digital-fineart/my-art-registry/preview/14596.html Date: 02/2024 Options: Available as a puzzle (314 unique pieces actually cut) OR left as a single engraved wooden panel.
because hand-cutting the latter took far too long and caused serious RSI and/or rheumatoid arthritis in my hands/fingers. But in order to achieve the quality I wanted, it turns out (after much effort) that mass-production is simply not possible. It has been a long journey to get to a standard I’m happy with. Along the road I have researched a great deal about materials, wood, lasers (obviously! – but this is a big topic…), and lasering techniques. I have developed some of my own techniques and built some special tools because there were clear limitations in the best techniques, tools, and materials available. Suffice to say, I haven’t come across any individual or company who can produce my designs to the quality I do. But it comes at a significant cost. I can only produce one per day – so in any definition of the phrase mass production, this definitely is not!
Putting aside the weeks it took me to complete the design (in addition to the weeks it took me to design the original, I spent about another four weeks enhancing it to take advantage of laser capabilities) – and may trials, adjustments, custom tooling, and more trials…
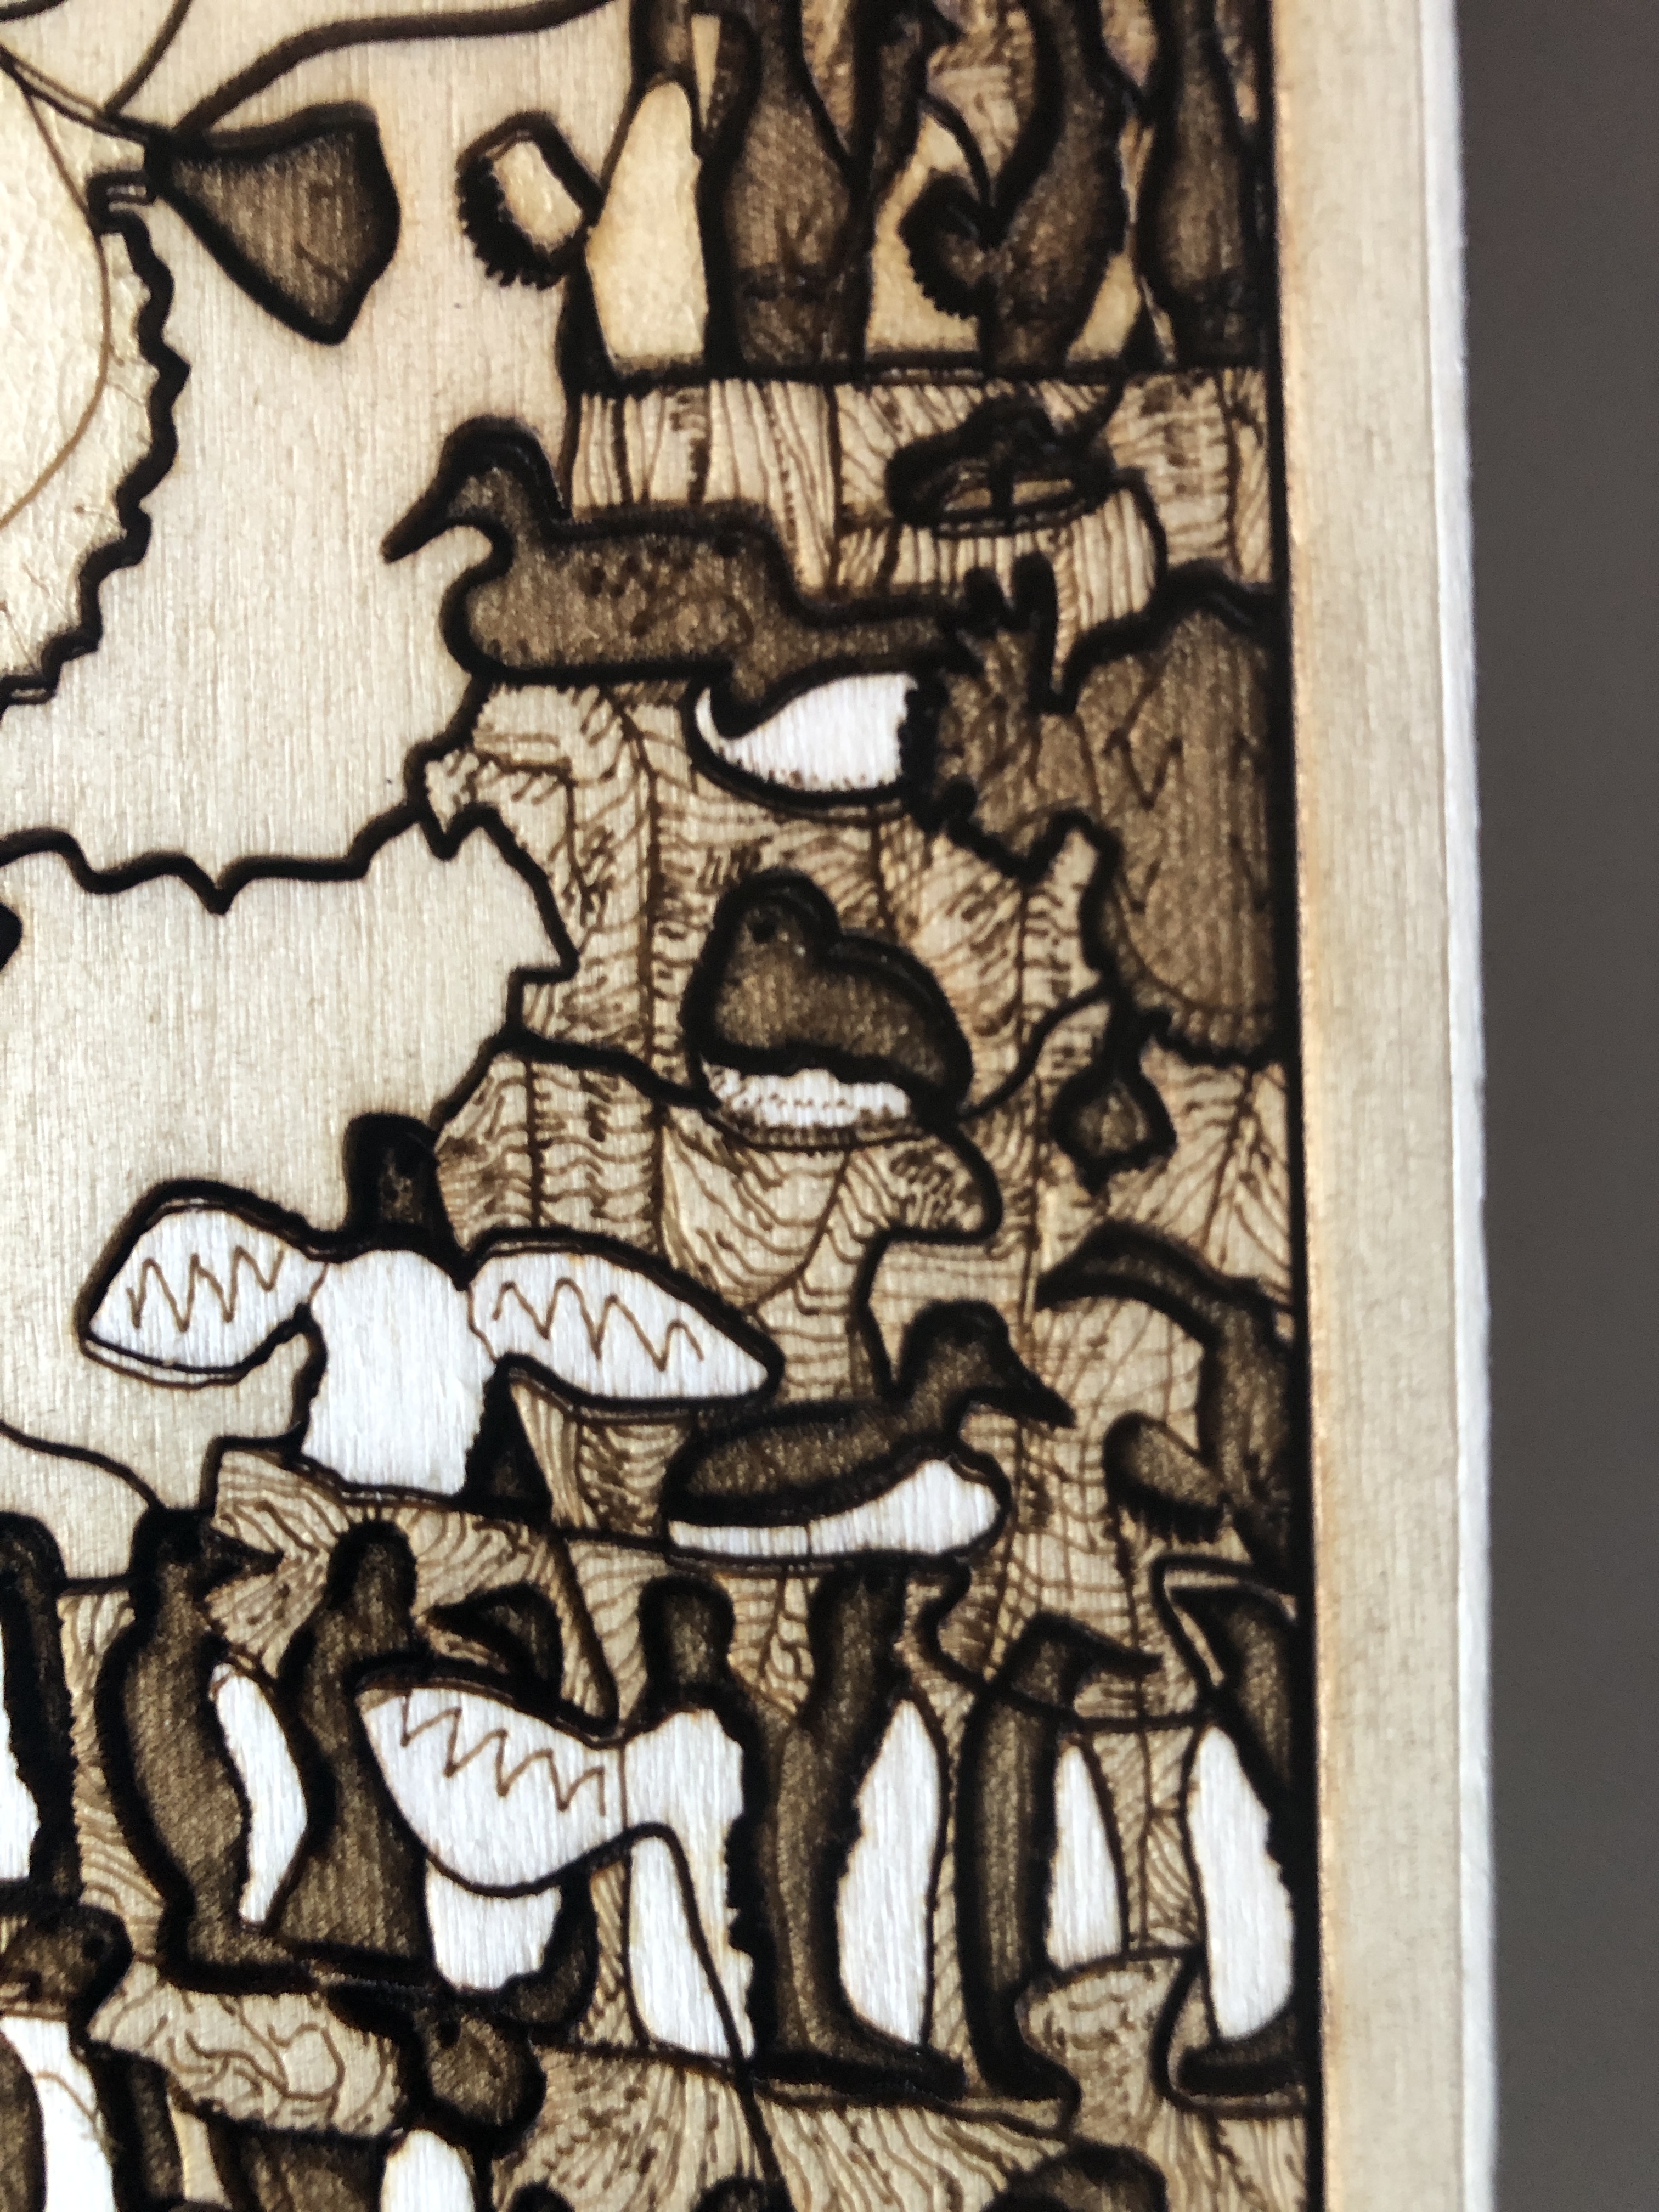
The design uses multiple lasering and layering techniques – cut-throughs, scoring, light scoring, engraving, deep engraving – which all have to be done in a specific sequence. For example, in places in the design, I have score marks on top of some deep engraved areas – so obviously the deep engraving has to be done before the scoring.
Detail showing a mix of cut lines, scoring, light scoring, and different types of engraving.
Also, I use the flattest, smoothest, least porous, best quality plywood I can (and do special preparations to achieve this – see below) – so I can achieve the subtle effects I’m looking for with the minimum of laser power (basically more power equals less precision).
These are the steps :-
Spray water on the raw plywood panels to raise the grain, let them dry.
Very fine (400 grit) orbit sand the dry plywood, wipe clean.
The plywood panels are then varnished and left to dry for up to three days (depending on time of year – humidity and temperature). This is to minimise the effects of laser burning and makes it easier to clean specific areas afterwards (see step 8).
The plywood panels are then flattened in a special press for several days.
A single plywood sheet is put in a custom-made flat panel laser bed holder (I designed).
The lasering itself takes a little over seven hours on my 130W CO2 laser (for a single artwork).
After lasering, I do a detailed quality check. Wood, being organic with glued layers, varies from sheet to sheet – and some lasered artwork doesn’t make the grade – or needs fixing in some way.
Then very carefully lighten the brightest/whitest, most important areas (that have been darkened by smoke) with cotton swabs and a mild acid – to make them stand out better. This seems very much like an art-restoration process – like removing the old varnish from an old masterpiece – to restore the original colours! (But I only do certain areas to make them stand out – not the whole thing.) This takes me about an hour and a half. The difference is subtle, but vital to me. It is the difference between a mechanically produced piece of art and a true piece of art I’m happy with.
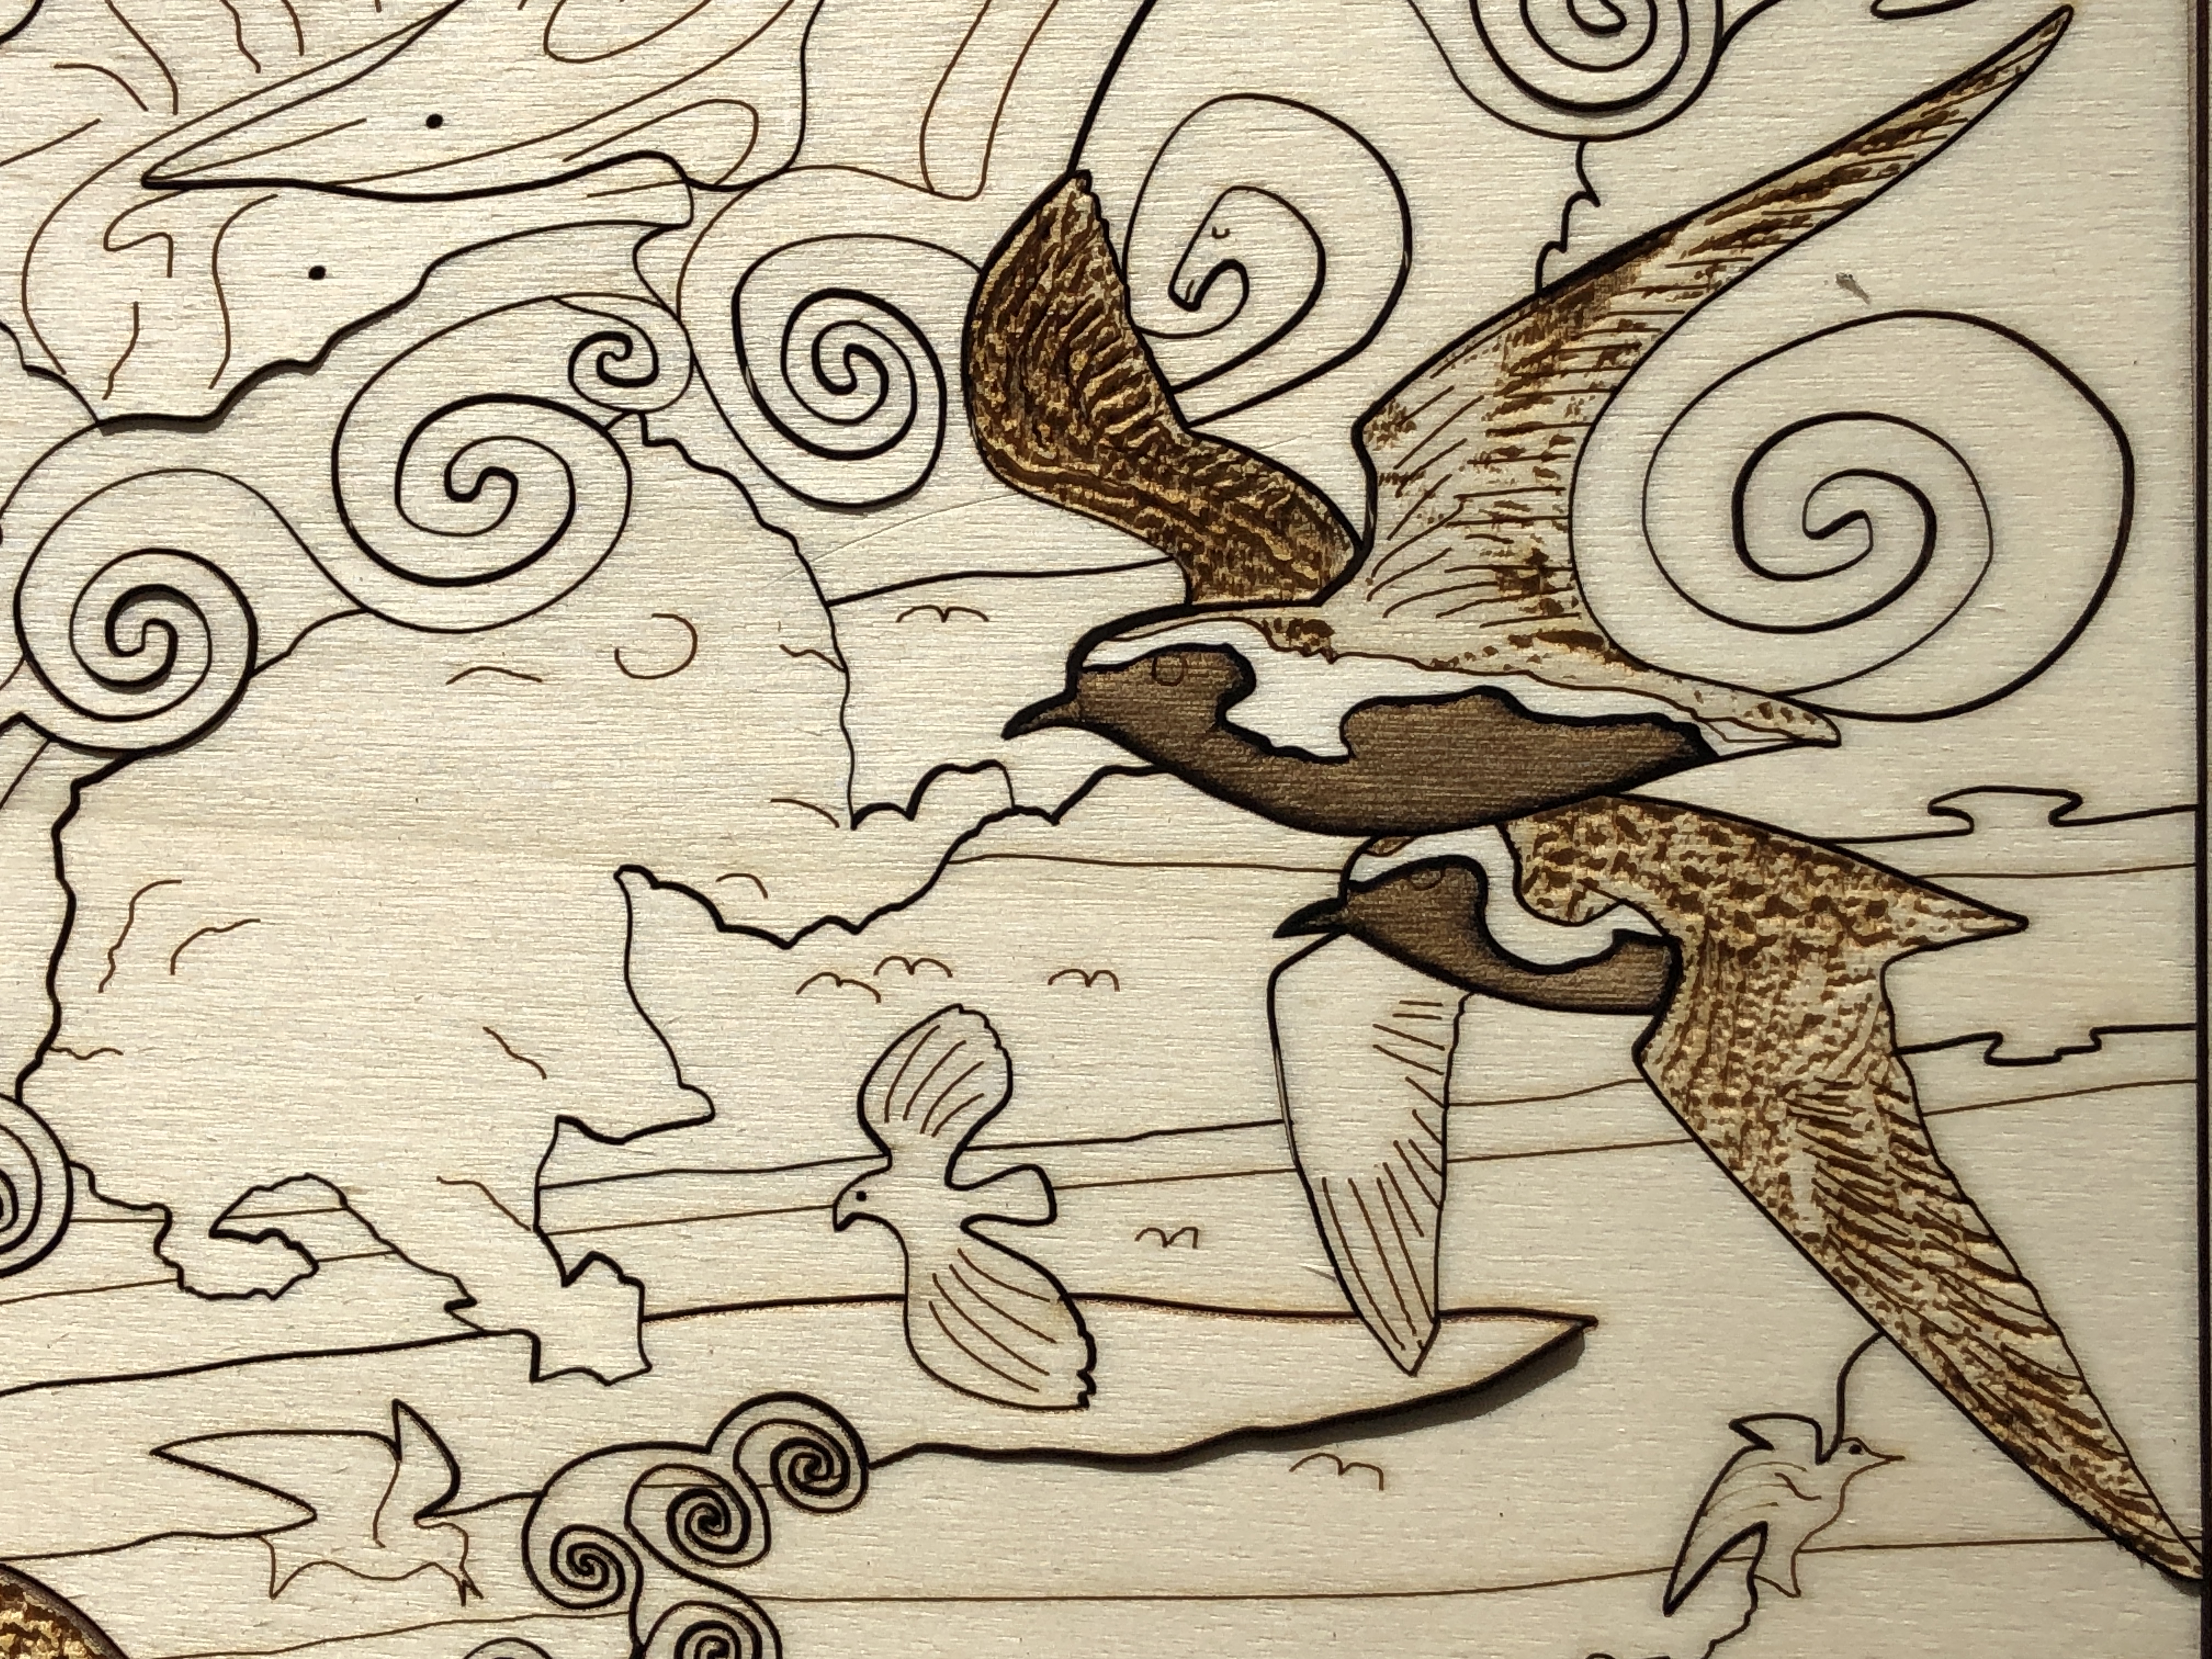
The following two images show before and after the white masking has been removed (notice how the white bellies of the guillemots stand out better after cleaning, and the eye of the main bird) :-
The following image shows detail of a part-de-masked area (compare the guillemot bellies on the bottom and middle to those on the top row) :-
The artwork then gets a final varnishing and left to dry for up to three days. This is especially important to protect the newly exposed wood surfaces.
I use pyrography to number each piece in the limited edition.
The special display mounts – with a selection of pieces cut of in order to highlight the work is in fact a puzzle – and not simply a drawing – are individually laser cut out of high quality mount board. This takes my precision laser about 40 minutes.
Finally I frame the artwork to using museum materials and techniques. I use anti-reflective, 99% UV filtering, ultra clear museum-grade glass to provide maximum protection to the piece.
I think the final work shows that lasers can be used to make real art – and are capable of very fine control – as much as lithographic printing, silk-screen printing, wood-block printing, lino-printing. Like any tool, the best results come with experience, knowledge, perseverance, patience, and finding ways around the natural limitations of the medium…
Just to give you an artist’s insight into this piece, a video of me talking about a very similar artwork to this (“Golden Plover with Egg (Art Puzzle) – Laser”) and the making of it can be seen on YouTube :-
– with the main difference being this one takes twice as long to laser, and three times as long to remove the masking tape.
Title: “Long-eared Owl (Art Puzzle) (You Are What You Eat)” – laminated Artist: Michael Autumn Life-sized part-handmade, part laser-cut & engraved, two-sided, laminated plywood art puzzle (Limited Edition of 11)
Long-eared Owl (Art Puzzle) – Laminated: Full image – front
Size: 20cm (W) x 30cm (H) x 4cm (depth) @ 0.65kg weight Medium: 7 laminated layers of 6mm AB/AB Italian Panguaneta Poplar plywood + acrylic eyes. Date: 2023Rear of the laminated version
This is the culmination of three years of trying to find an engineering solution to making the incredibly intricate thick oak art puzzles I used to very laboriously (and painstakingly!) cut by hand using an electronic scroll (fret) saw. I tried waterjet cutting (that blasts away intricate areas and requires continuous cuts – totally wrong!). I bought and tried CNC routing (for about six months) with the smallest router bits available – but the bits that had the required diameter (1/32″) kept breaking and couldn’t reliably cut the depth required. And it require cutting at such small depths at each pass that even if the router bits didn’t keep breaking (and the whole job having to be restarted!) then it would have taken literally weeks to complete a single design!
The problem with conventional laser cutting (which I spent the best part of a year trying – with three different bought lasers) is that the deeper the material is, the more power is required – and therefore the wider the laser beam is. This results in an unacceptably wide kerf – gap between cuts. The kerf (gap) I managed by scroll-sawing – was about 0.7mm – which is the minimum I can accept. A laser that can cut through 42mm of plywood would ordinarily have a kerf of well over 1mm. So that is out of the question.
I pondered this dilemma for months, and tried various ideas – none of which worked. Eventually I can up with the idea of not trying to cut such thick material all at once – but to cut it much more finely in several thin layers – and then bond them together. This has (had) a number of issues and challenges in and of itself, however, I’m extremely please and relieved that I worked out solutions to the problems. And when I first produced the first fully acceptable complete version I was on cloud nine for several days…!
Suffice to say that the part hand-, part laser-, cut laminated version of my Long-eared Owl (Art Puzzle), is far more accurate, better fitting, and more reproducible – without causing RSI/hand arthritis! Having said all that, it takes about the same amount of time in total as hand-cutting(!) – about a week for each edition – because of all the part-laser cutting of multiple layers, doing the rear design – and quite a lot hand-finishing. But at least if is much less of a strain on my hands – and infinitely less daunting…!
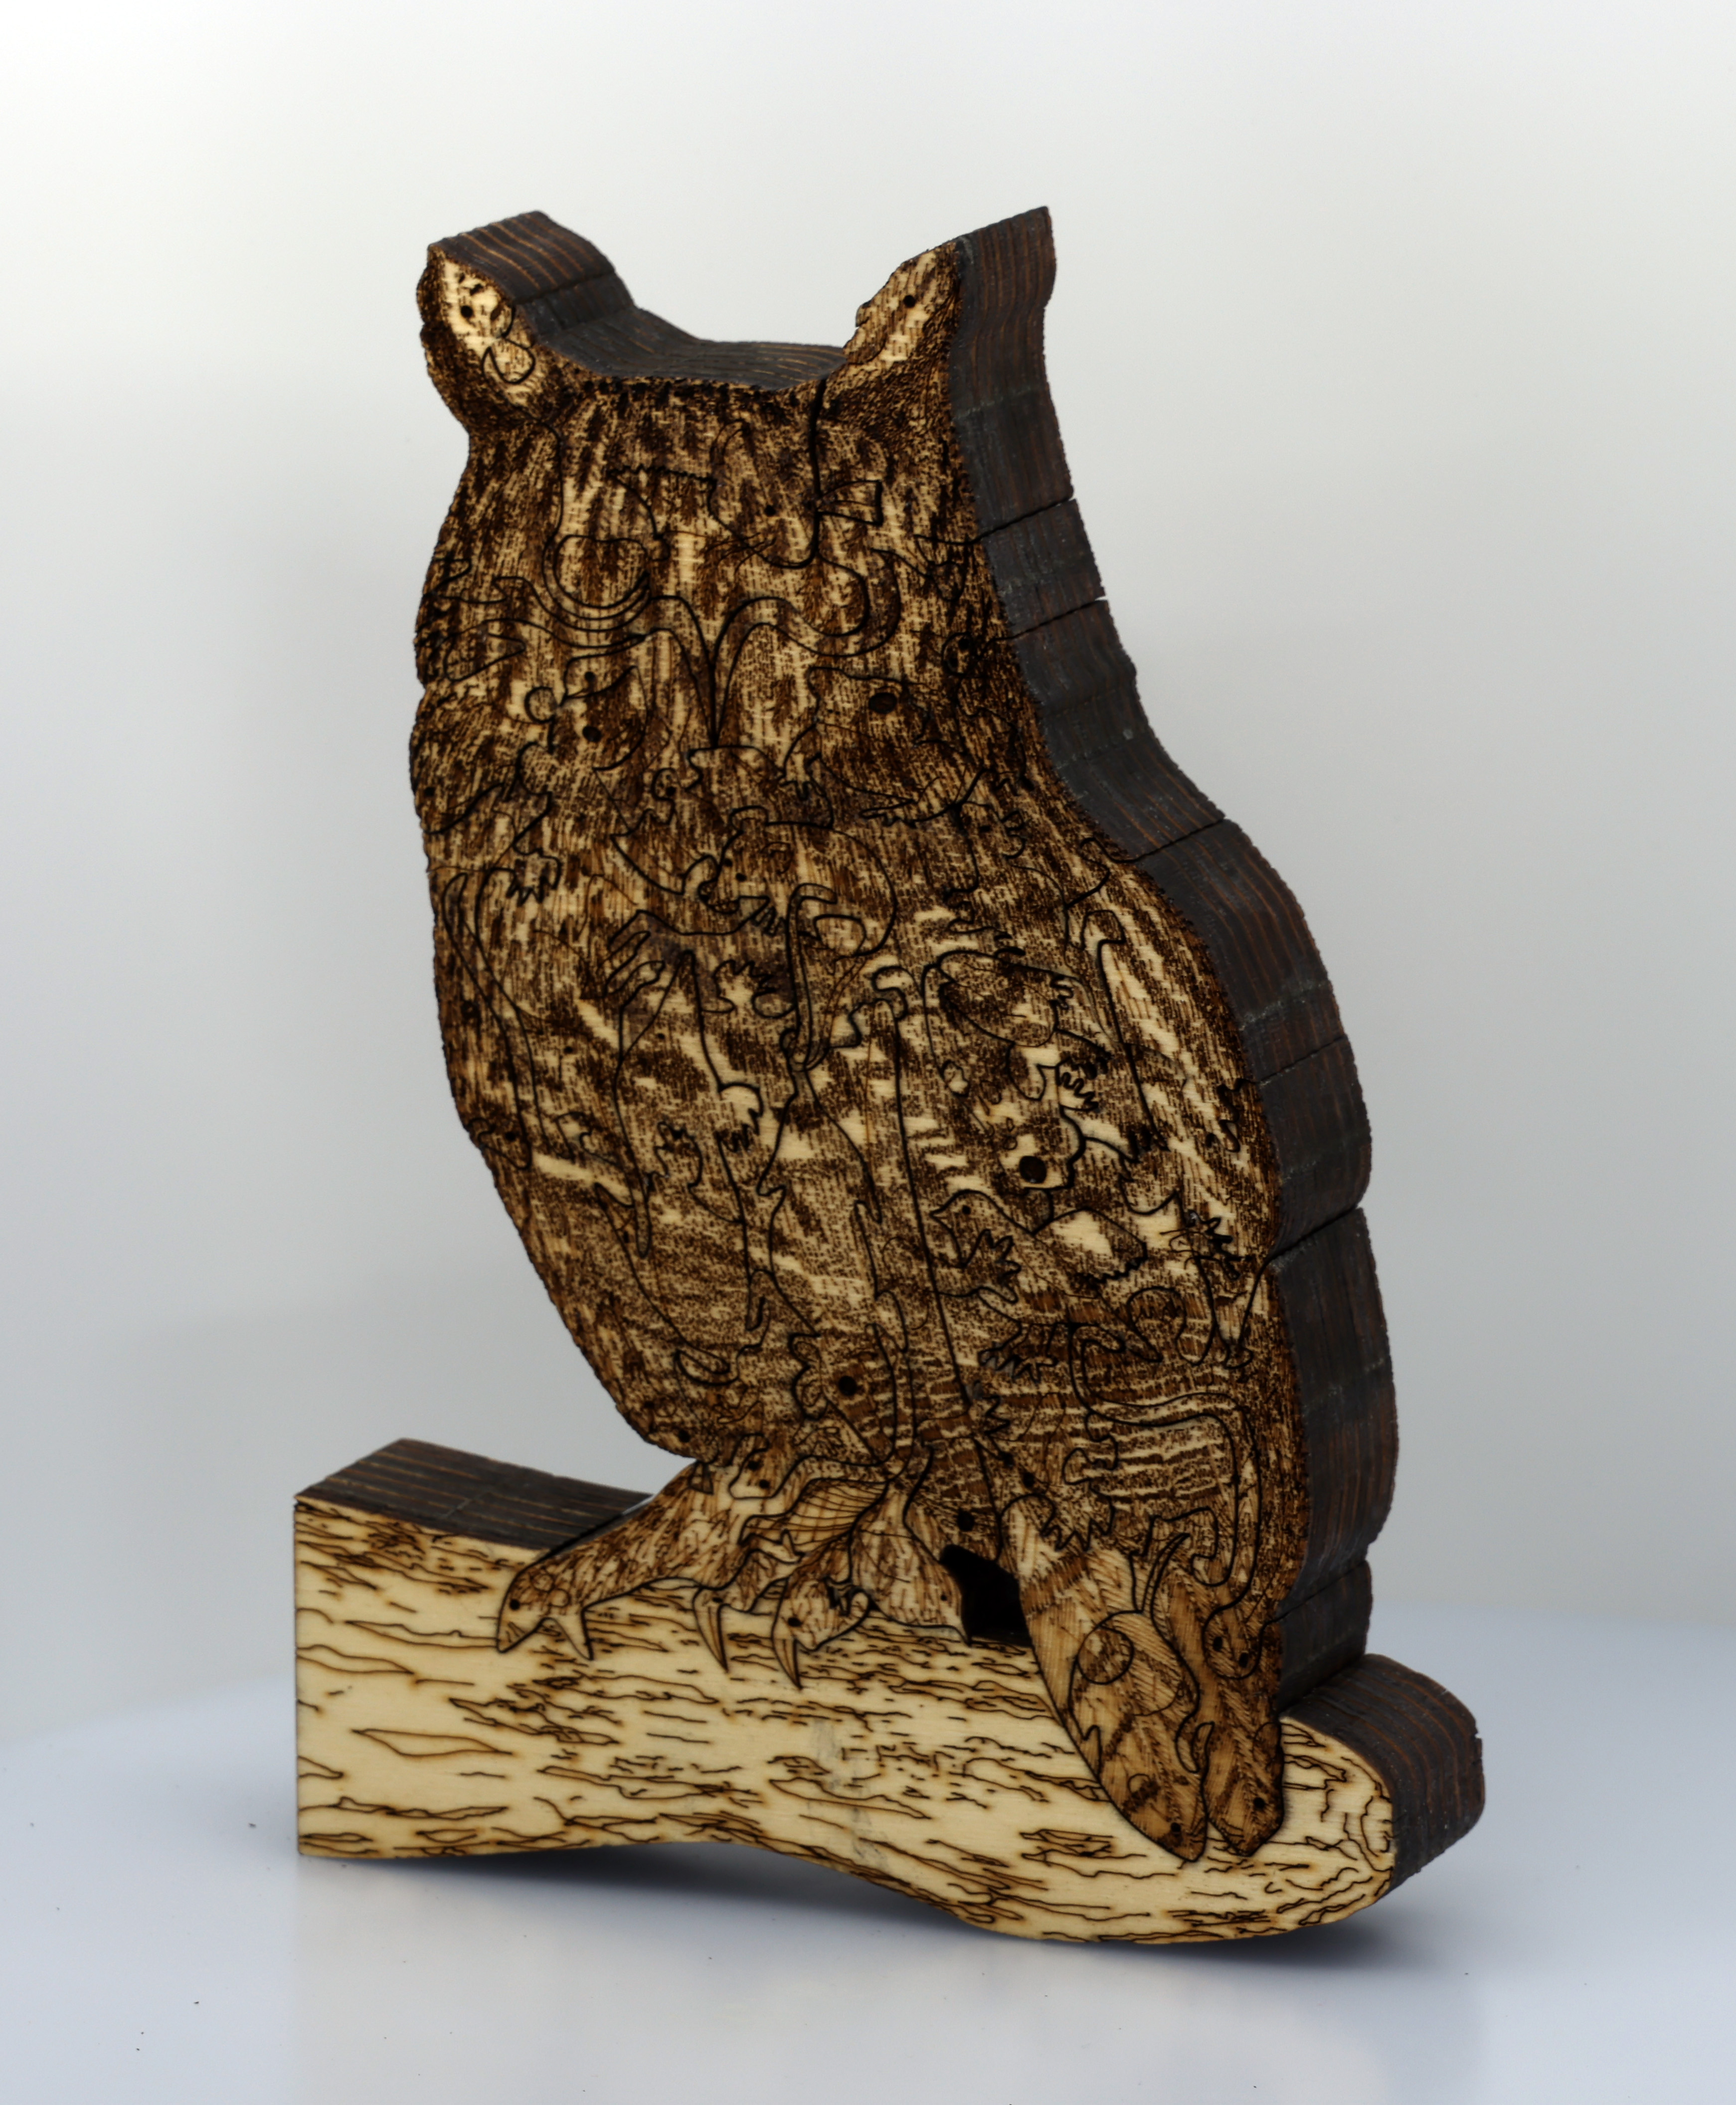
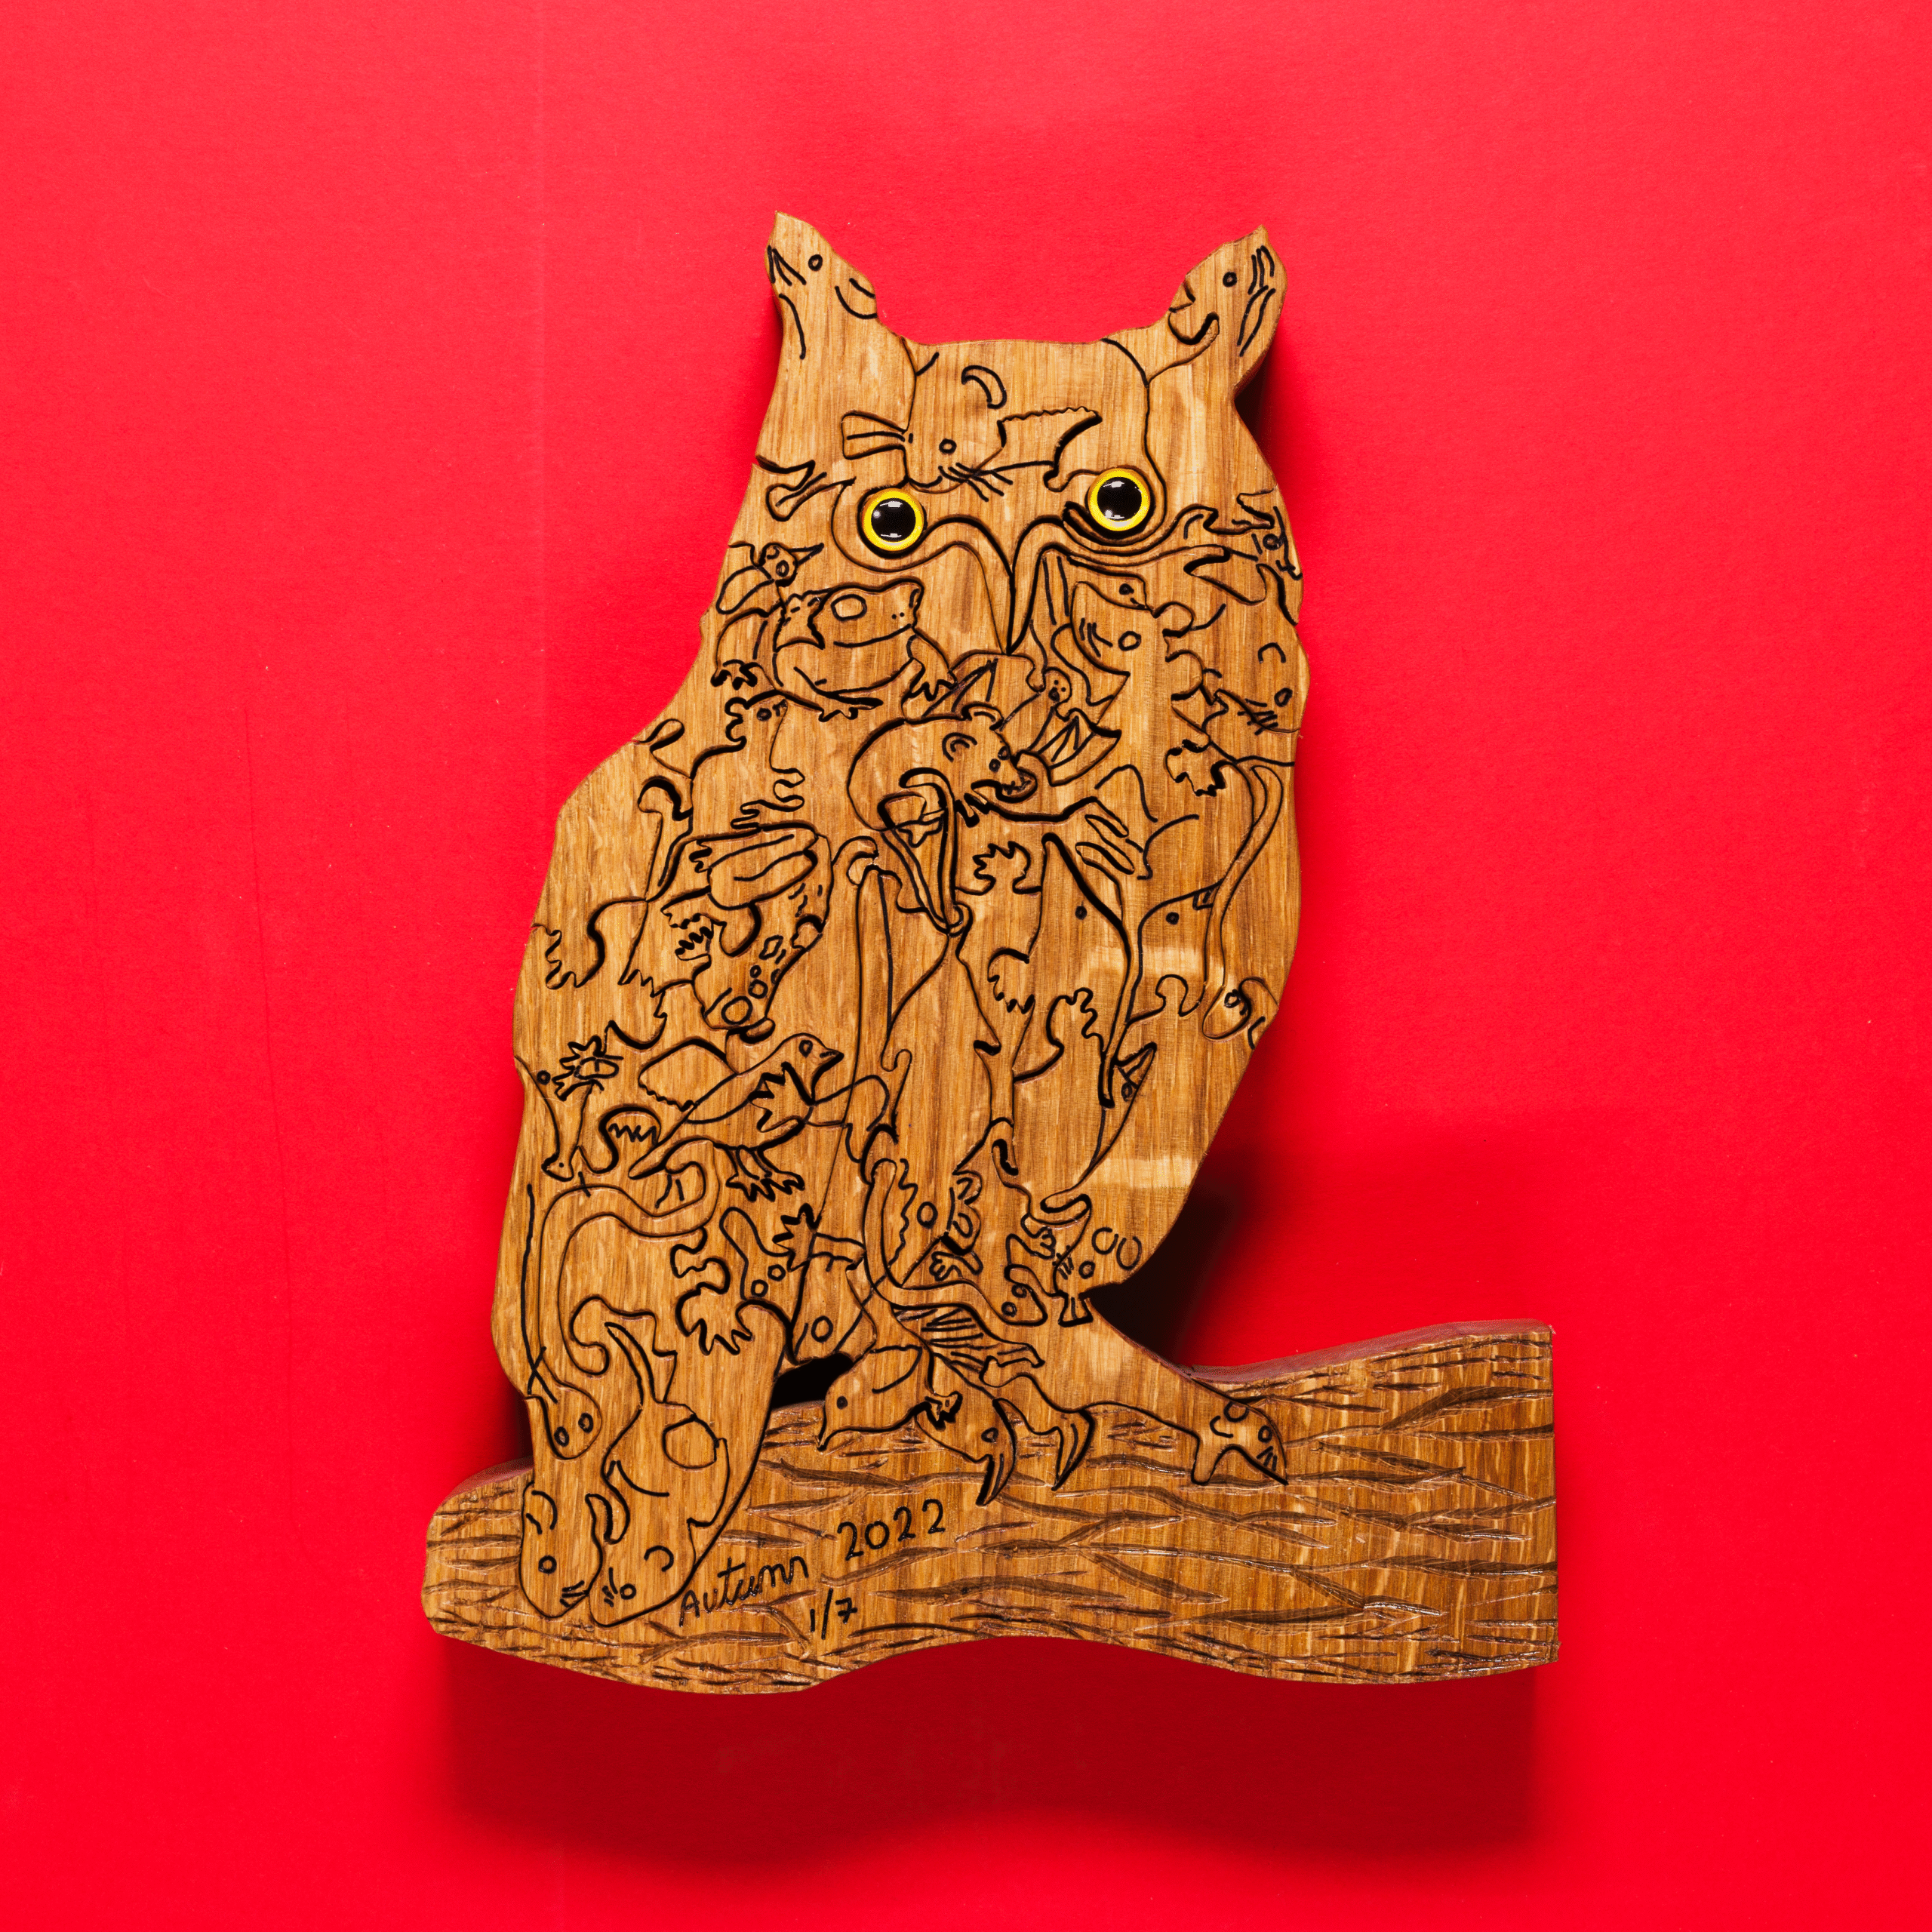
Title: “Long-eared Owl (Art Puzzle) (You Are What You Eat)” Artist: Michael Autumn Life-sized handmade solid oak jigsaw puzzle (Limited Edition of 7)
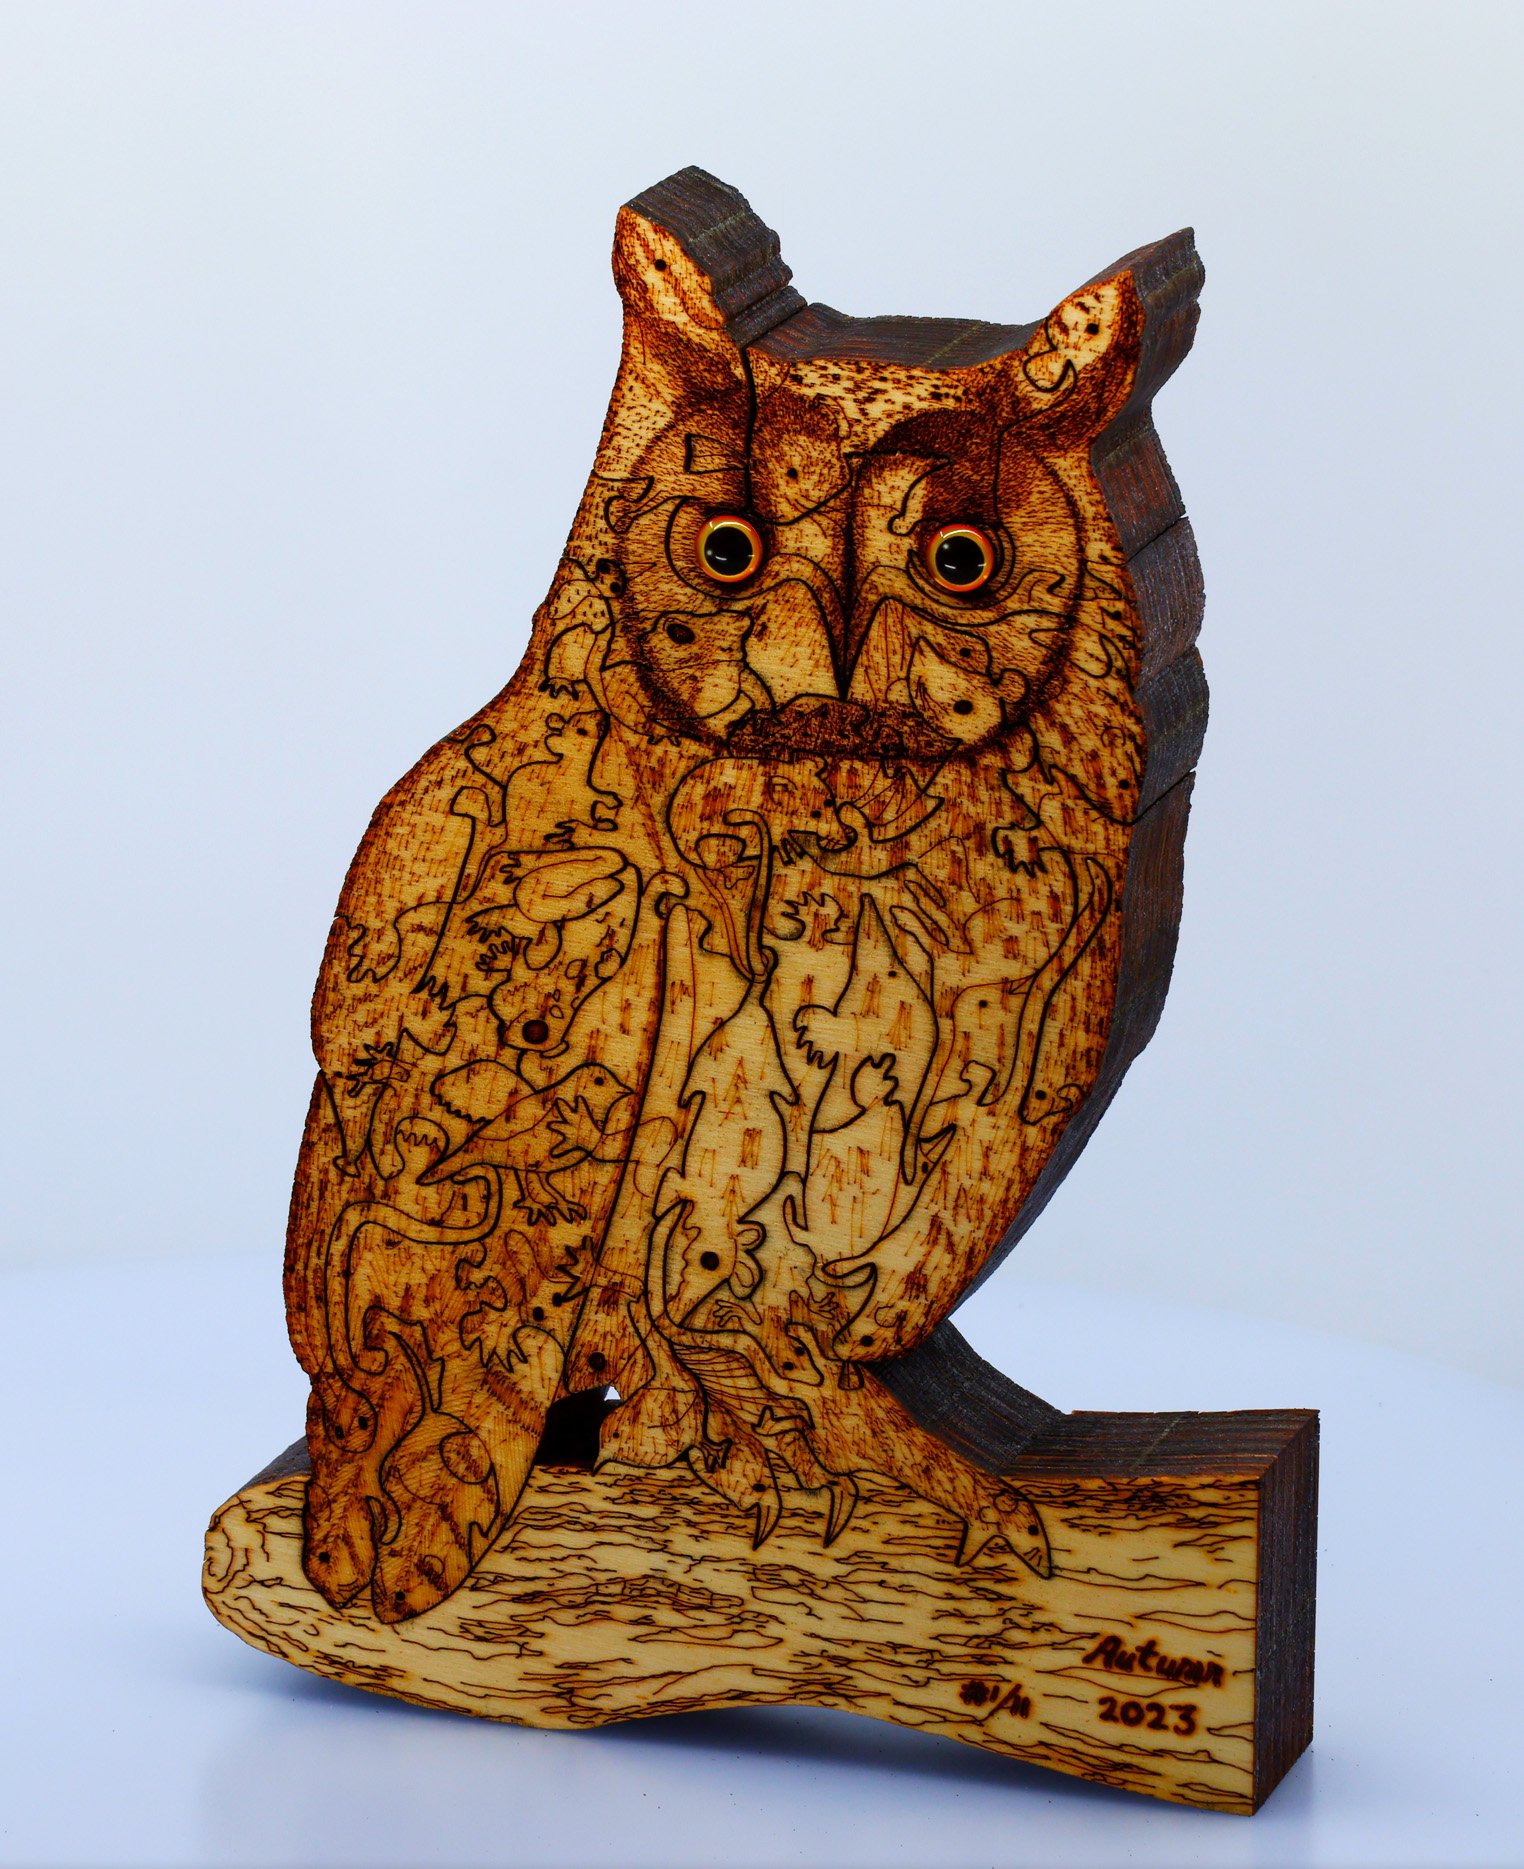
Long-eared Owl (Art Puzzle): Full image Size: 20cm (W) x 30cm (H) x 4cm (depth) @ 1.5kg weight Medium: Solid European Oak, hand-cut, hand-engraved, hand-carved, art puzzle + acrylic eyes. Date: 2022
Long-eared Owl
The story behind this art piece was to have a free-standing, tactile, life-sized long-eared owl, and to toy with the idea – “You are what you eat“. These birds are ferocious predators (as are all owls) – and will basically eat anything that moves that is smaller than them. They often swallow their prey whole, and regurgitate a large pellet of the undigestible parts – such as bones, teeth, hair, feathers. Indeed, examining their pellets is how ornithologists know so much about what they eat.
I often think about predator-prey relationships – perhaps being a veggie has something to do with this… All animals have to get their energy and material they are made of by consuming specific things – protiens, carbohydrates, and fats. Herbivores obviously get this material directly and indirectly from plants – which is often widely available (they don’t usually eat fats directly, but make them from carbohydrates). However, they usually have to eat a lot of plant material in relation to their size because it is a low concentrated source of food – requiring long, slow, complex digestion. Predators usually don’t eat plants – instead they prefer much more concentrated and complex food in the form of other animals.
I have designed the owl to show that it is literally made of many of the wide variety of creatures that it eats. From the moment of conception – where it starts as a single egg – it literally takes parts of smaller animals – and its amazing body chemistry converts them into material to make (and maintain) it’s growing body – and energy. I used the simple jigsaw-puzzle you-are-what-you-eat metaphor to illustrate this puzzling (pun intended!) transformation of lots of small animals making up an owl.
Owls typically eat 2-4 mice-sized animals per day – so about a thousand a year. Without owls, goodness know how many mice, moles, voles, rats, small birds, newts, etc. there would be…!
(I have to confess this was originally intended to be a tawny owl! I haven’t been lucky enough to actually see a wild long-eared owl, and as I got a long way into designing this piece I felt it would look better with ears – and, of course, a tawny owl doesn’t have visible “ears“… So I thought, okay, I’ll change it to a long-eared owl – they have great “ears” (well they look like ears, but they’re actually not – they’re just tufts of feathers!). The two species are quite similar in many respects – so the change was easy!)
The phrase limited edition in this case is a bit of a misnomer. These are all individually handmade by me from my original design. I really wish there was, but there is no mechanical or chemical process I know of by which these can be reproduced – like screen printing, lithographs, card puzzles (using a die and jigsaw press), etc. (for more details please see the aforementioned post).
Life-sized handmade solid oak art puzzle (Limited Edition of 7)
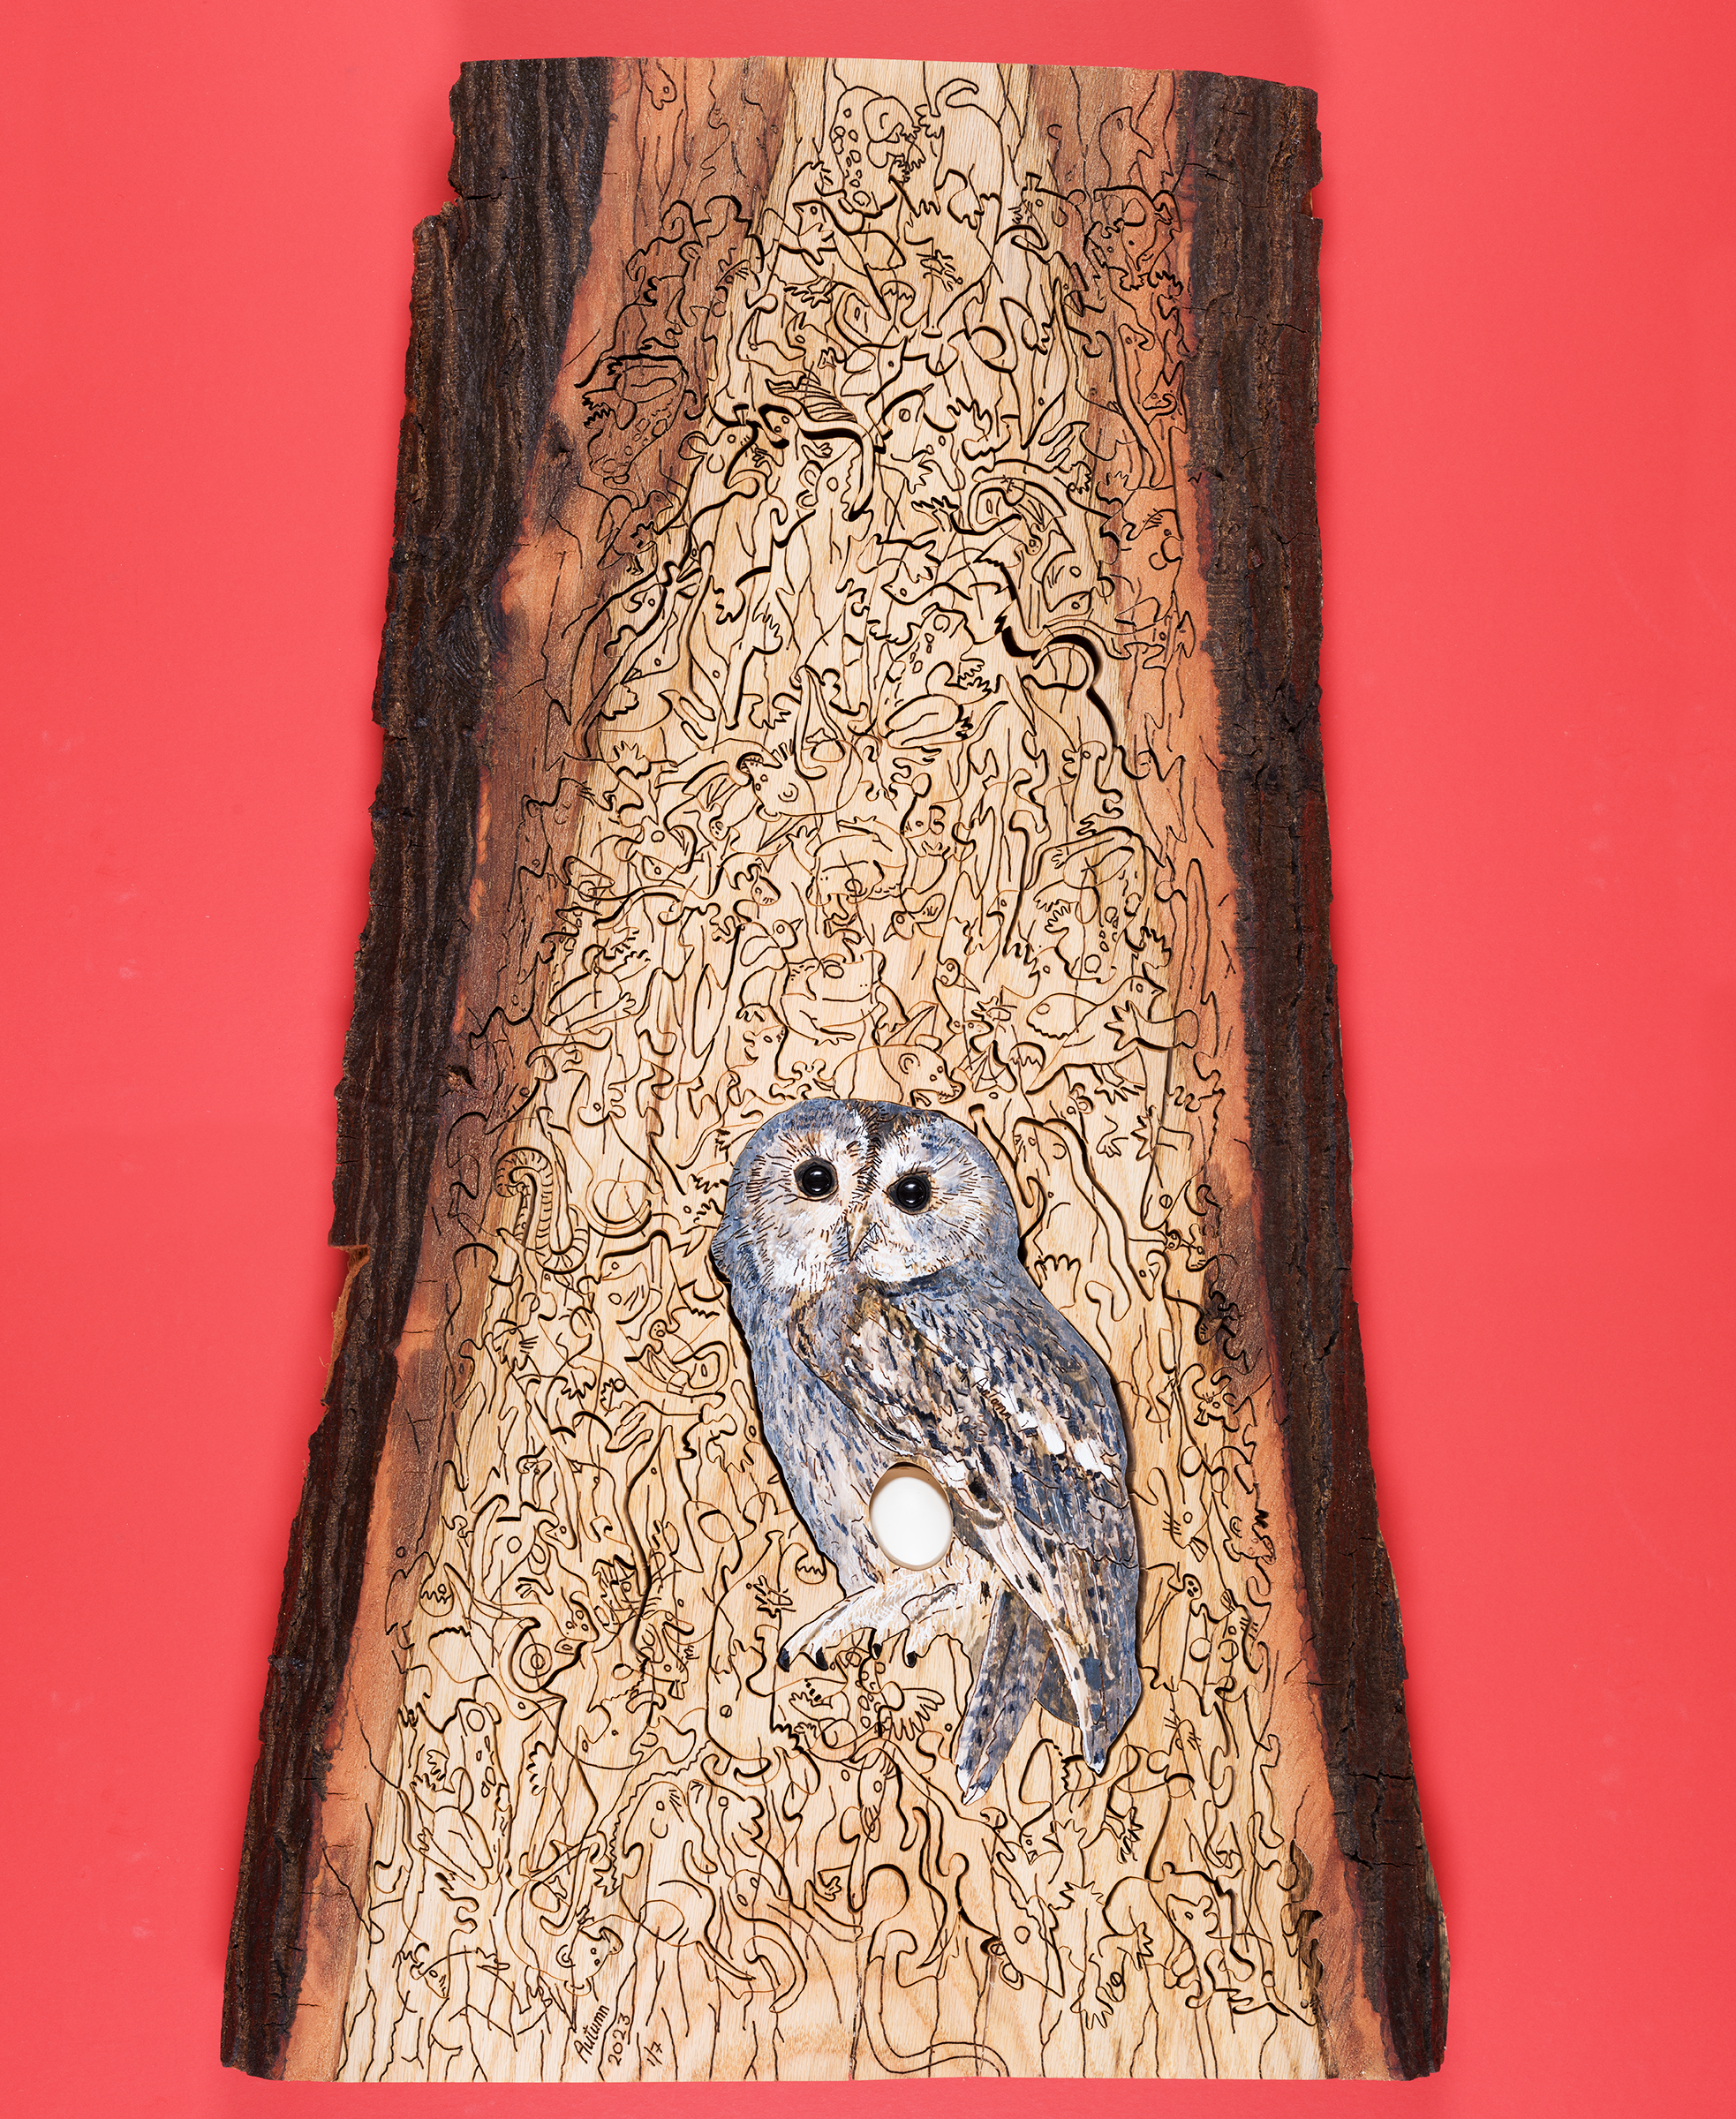
Tawny Owl with Egg (Art Puzzle): Full image Size: 50cm (W) x 82cm (H) x 8cm (depth) @ 20kg weight Medium: A single piece of waney-edged European Oak, hand-cut, hand-engraved, art puzzle with inset full-size replica tawny owl egg and acrylic eyes. Date: 2023
First and foremost I want to mention that the eggs used in my work are not real – for obvious ethical reasons (it is also illegal to take wild birds eggs). They are life-size replicas made of a plaster resin composite and hand-painted – not by me, but by a very reputable leading replica birds eggs maker.
Tawny Owl
Following on from Guillemot with Egg (Jigsaw Puzzle) (see https://michaelautumn.wordpress.com/2020/03/01/guillemot-with-egg-art-puzzle/), I thought I would pay homage to another favourite bird of mine – the Tawny Owl (Strix aluco). These, like all owls, are very mysterious – especially the noctornal ones (which tawnies are) – because they do things the opposite to us: they sleep/rest during the daylight, and come out – and hunt – at night. They are supremely designed and adapted to this lifestyle: they have excellent hearing and eyesight, they fly almost silently, and their hunting strategy is to hunt in the darkness – when other small nocturnal animals think it’s safe to come out…!
Mice, voles, shrews, moles – in fact any small rodent up to the size of a rat – are largely nocternal to avoid daylight predators – like kestrels, buzzards, merlin, sparrowhawks. But while rummaging for food and going about their normal lives – in what they think is the relative safety of darkness – a tawny owl – alerted to their presence by their quiet, but inevitable, sounds – can swoop undetected near to the unwitting little creatures. From close by the tawny can watch their prey’s every move – until they decide to pounce, crush and puncture them with their razor-sharp tallons – and then invariably swallow them whole…
Little birds could be roosting or sleeping in trees or bushes, but if they make any sounds in their sleep – even just quietly snooring or sleep-calling/singing – they are easy game for these owls… Frogs, toads, newts – in fact any small reptile – making any kind of sound at night – are likely to court the deadly attention of a tawny owl. Even fish splashing about at the water’s surface, or in the shallows, are fair game for these owls…
Suffice to say that if it is small and it makes a noise, it is on the menu…! So I thought I would play with this idea and illustrate as many of the small creatures tawny owls eat – as jumbled up jigsaw pieces surrounding the main protagonist. The whole design slightly resembles a huge regurgitated pellet of the tawny owl, and the small prey animals are all jumbled up – like fragments in a pellet.
I like art in the form of a jigsaw puzzle because it is interactive, and by careful design of the shapes and carving on the pieces, I can get the puzzle-solver to look at, and think very carefully about, them – in a way that is simply not possible with non-interactive art. Indeed, someone could look at a piece of art like this and not even notice the small creatures surrounding the main owl – let alone have any understanding why they are there – and why these particular animals. However, trying to solve a puzzle like this is a very different matter – they will definitely think more about what it is they are looking at…!
I have deliberately made the jigsaw puzzle very subtle because Nature is very subtle. These creatures are very difficult to see because of their camouflage and because they mainly come out at night – and it is precisely because they are so difficult to see that the owls rely on the noise they make to home in on them… The puzzle metaphor lets me toy with the idea that these small creatures think they are invisible – or out of harm’s way – but to a tawny owl, in the dead calm of night, their sounds makes them highly visible…
Owls typically eat 2-4 mice-sized animals per day – so about a thousand a year. Without owls, goodness know how many mice, moles, voles, rats, small birds, newts, etc. there would be…! If all the creatures a tawny own ate over the course of its lifetime were put into a 30cm diameter (about the width of this jigsaw puzzle) very tall clear tube – I wonder how high the pile of eaten animals would be…
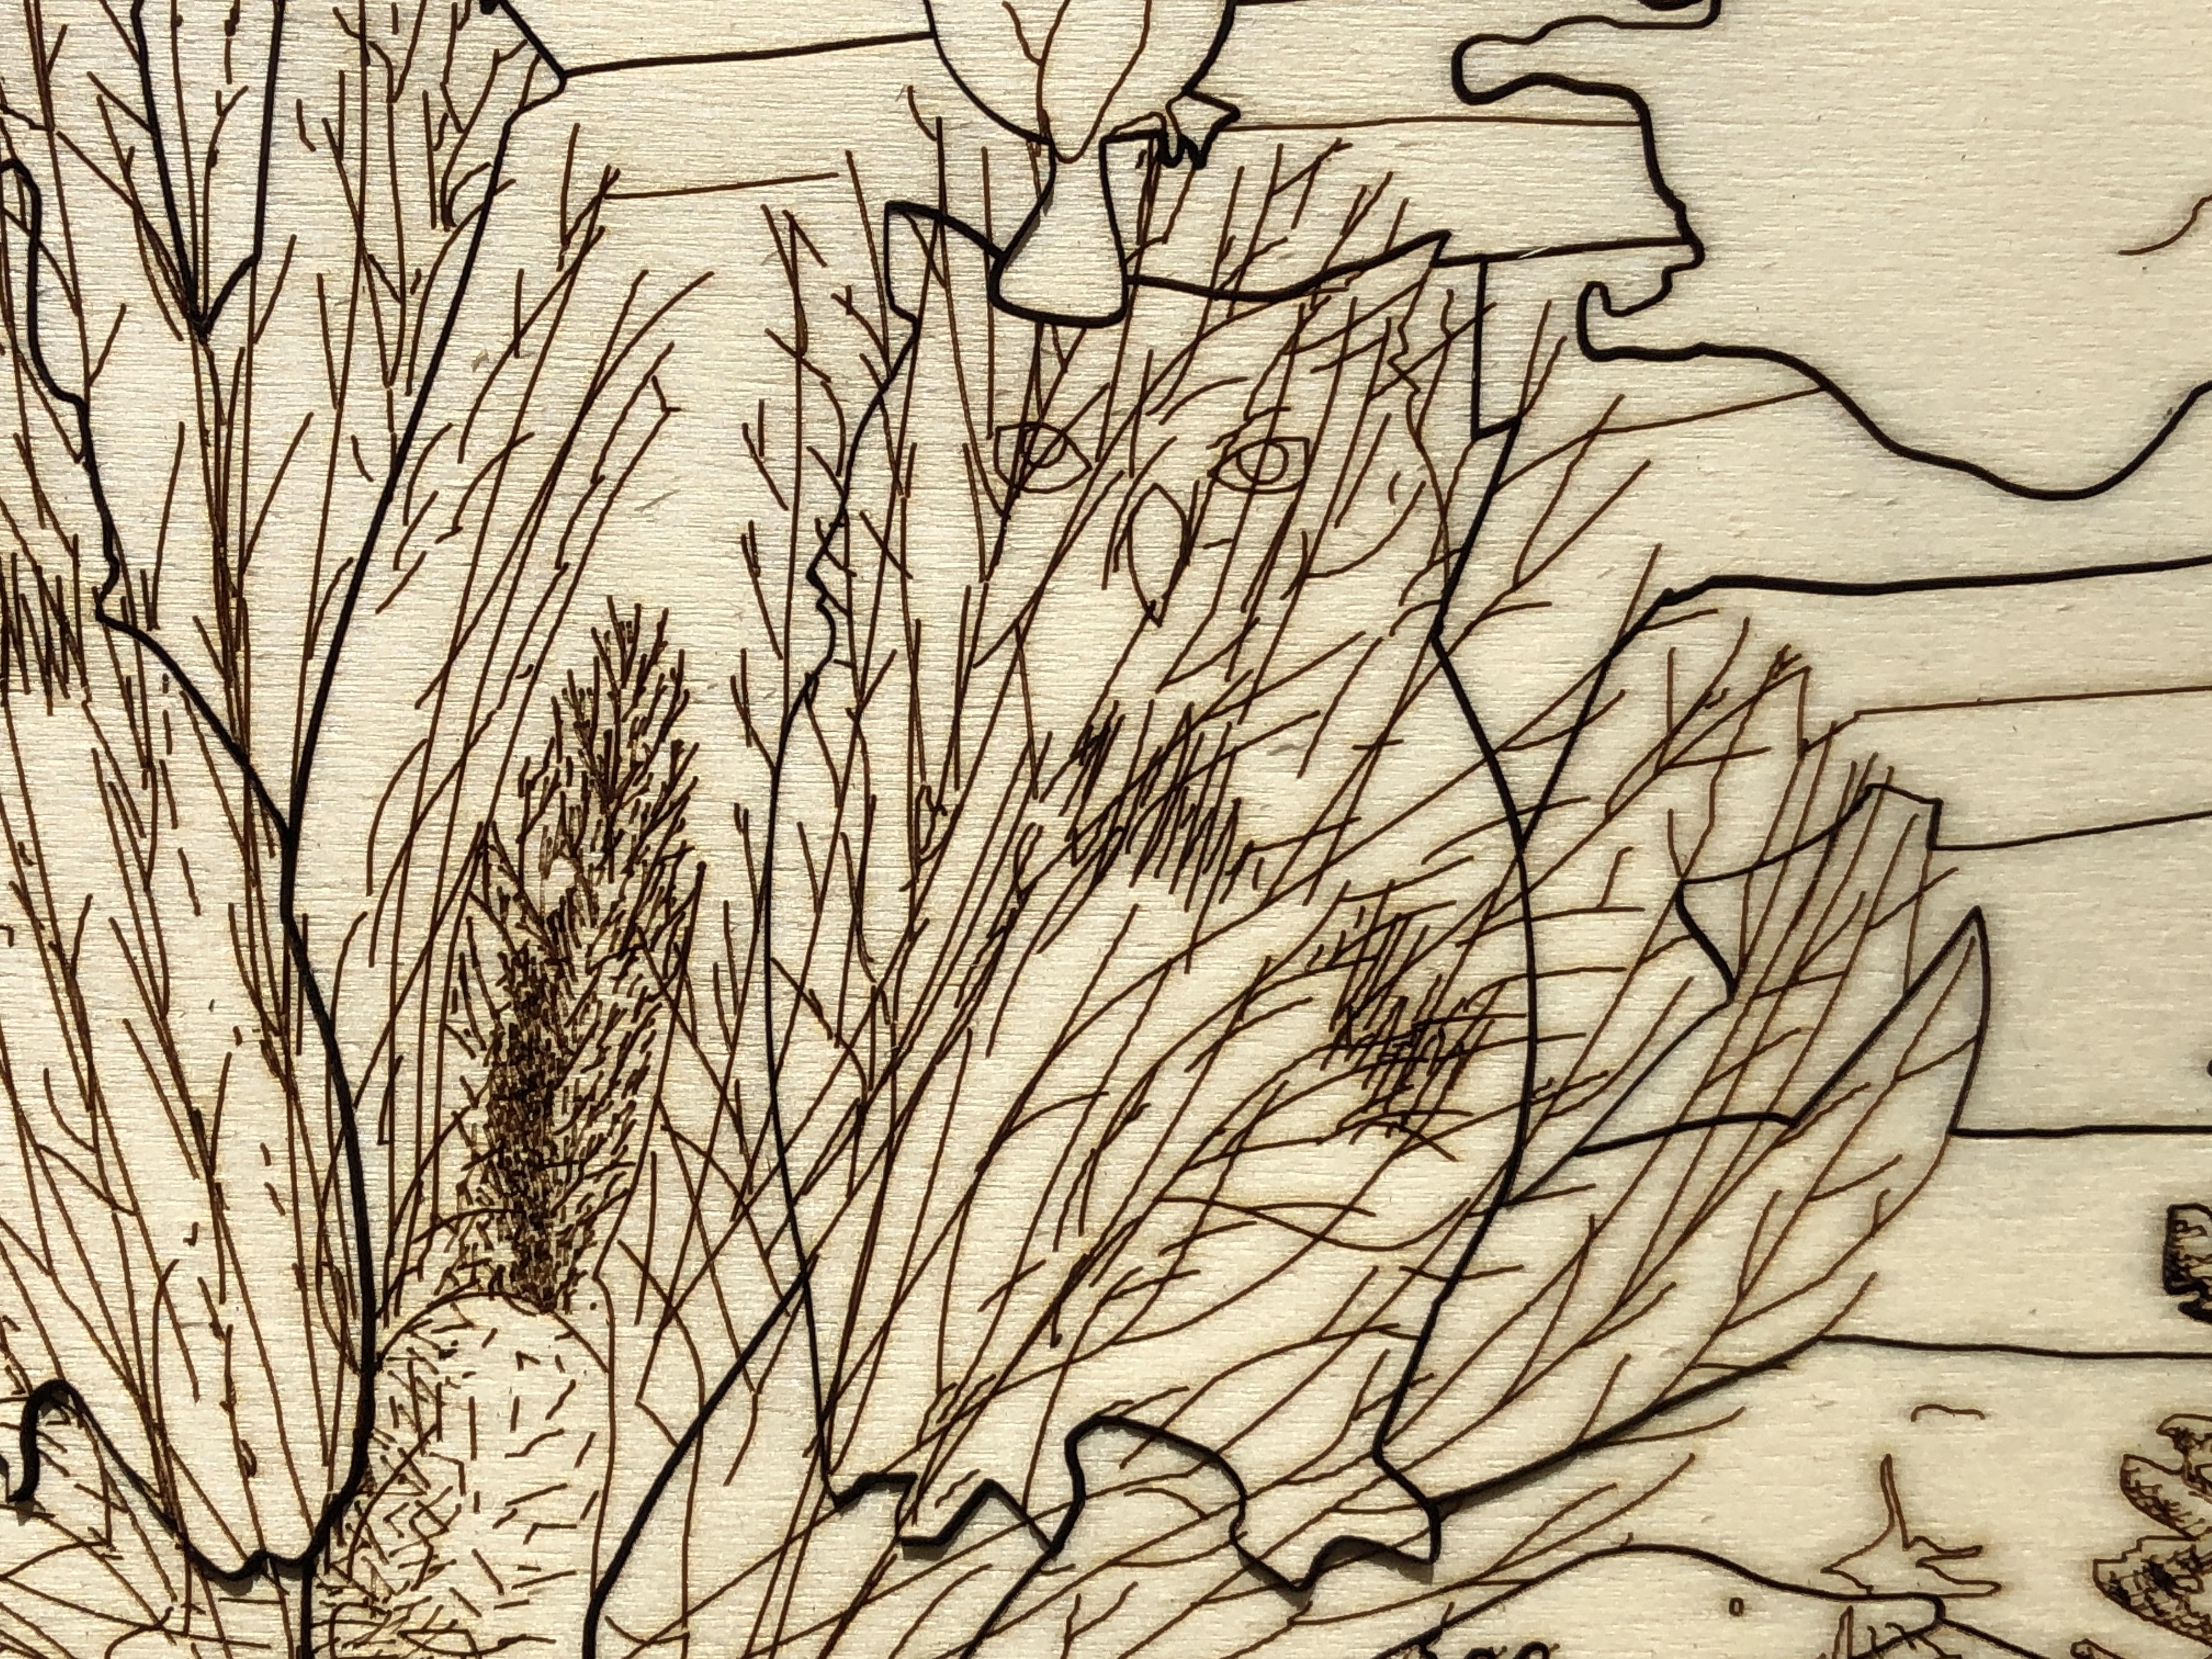
Close-up of the life-sized tawny owl with replica eggSome of the art puzzle pieces laid out
The phrase limited edition in this case is a bit of a misnomer. These are all individually handmade by me from my original design. I really wish there was, but there is no mechanical or chemical process I know of by which these can be reproduced – like screen printing, lithographs, card puzzles (using a die and jigsaw press), etc. (for more details please see the aforementioned post).