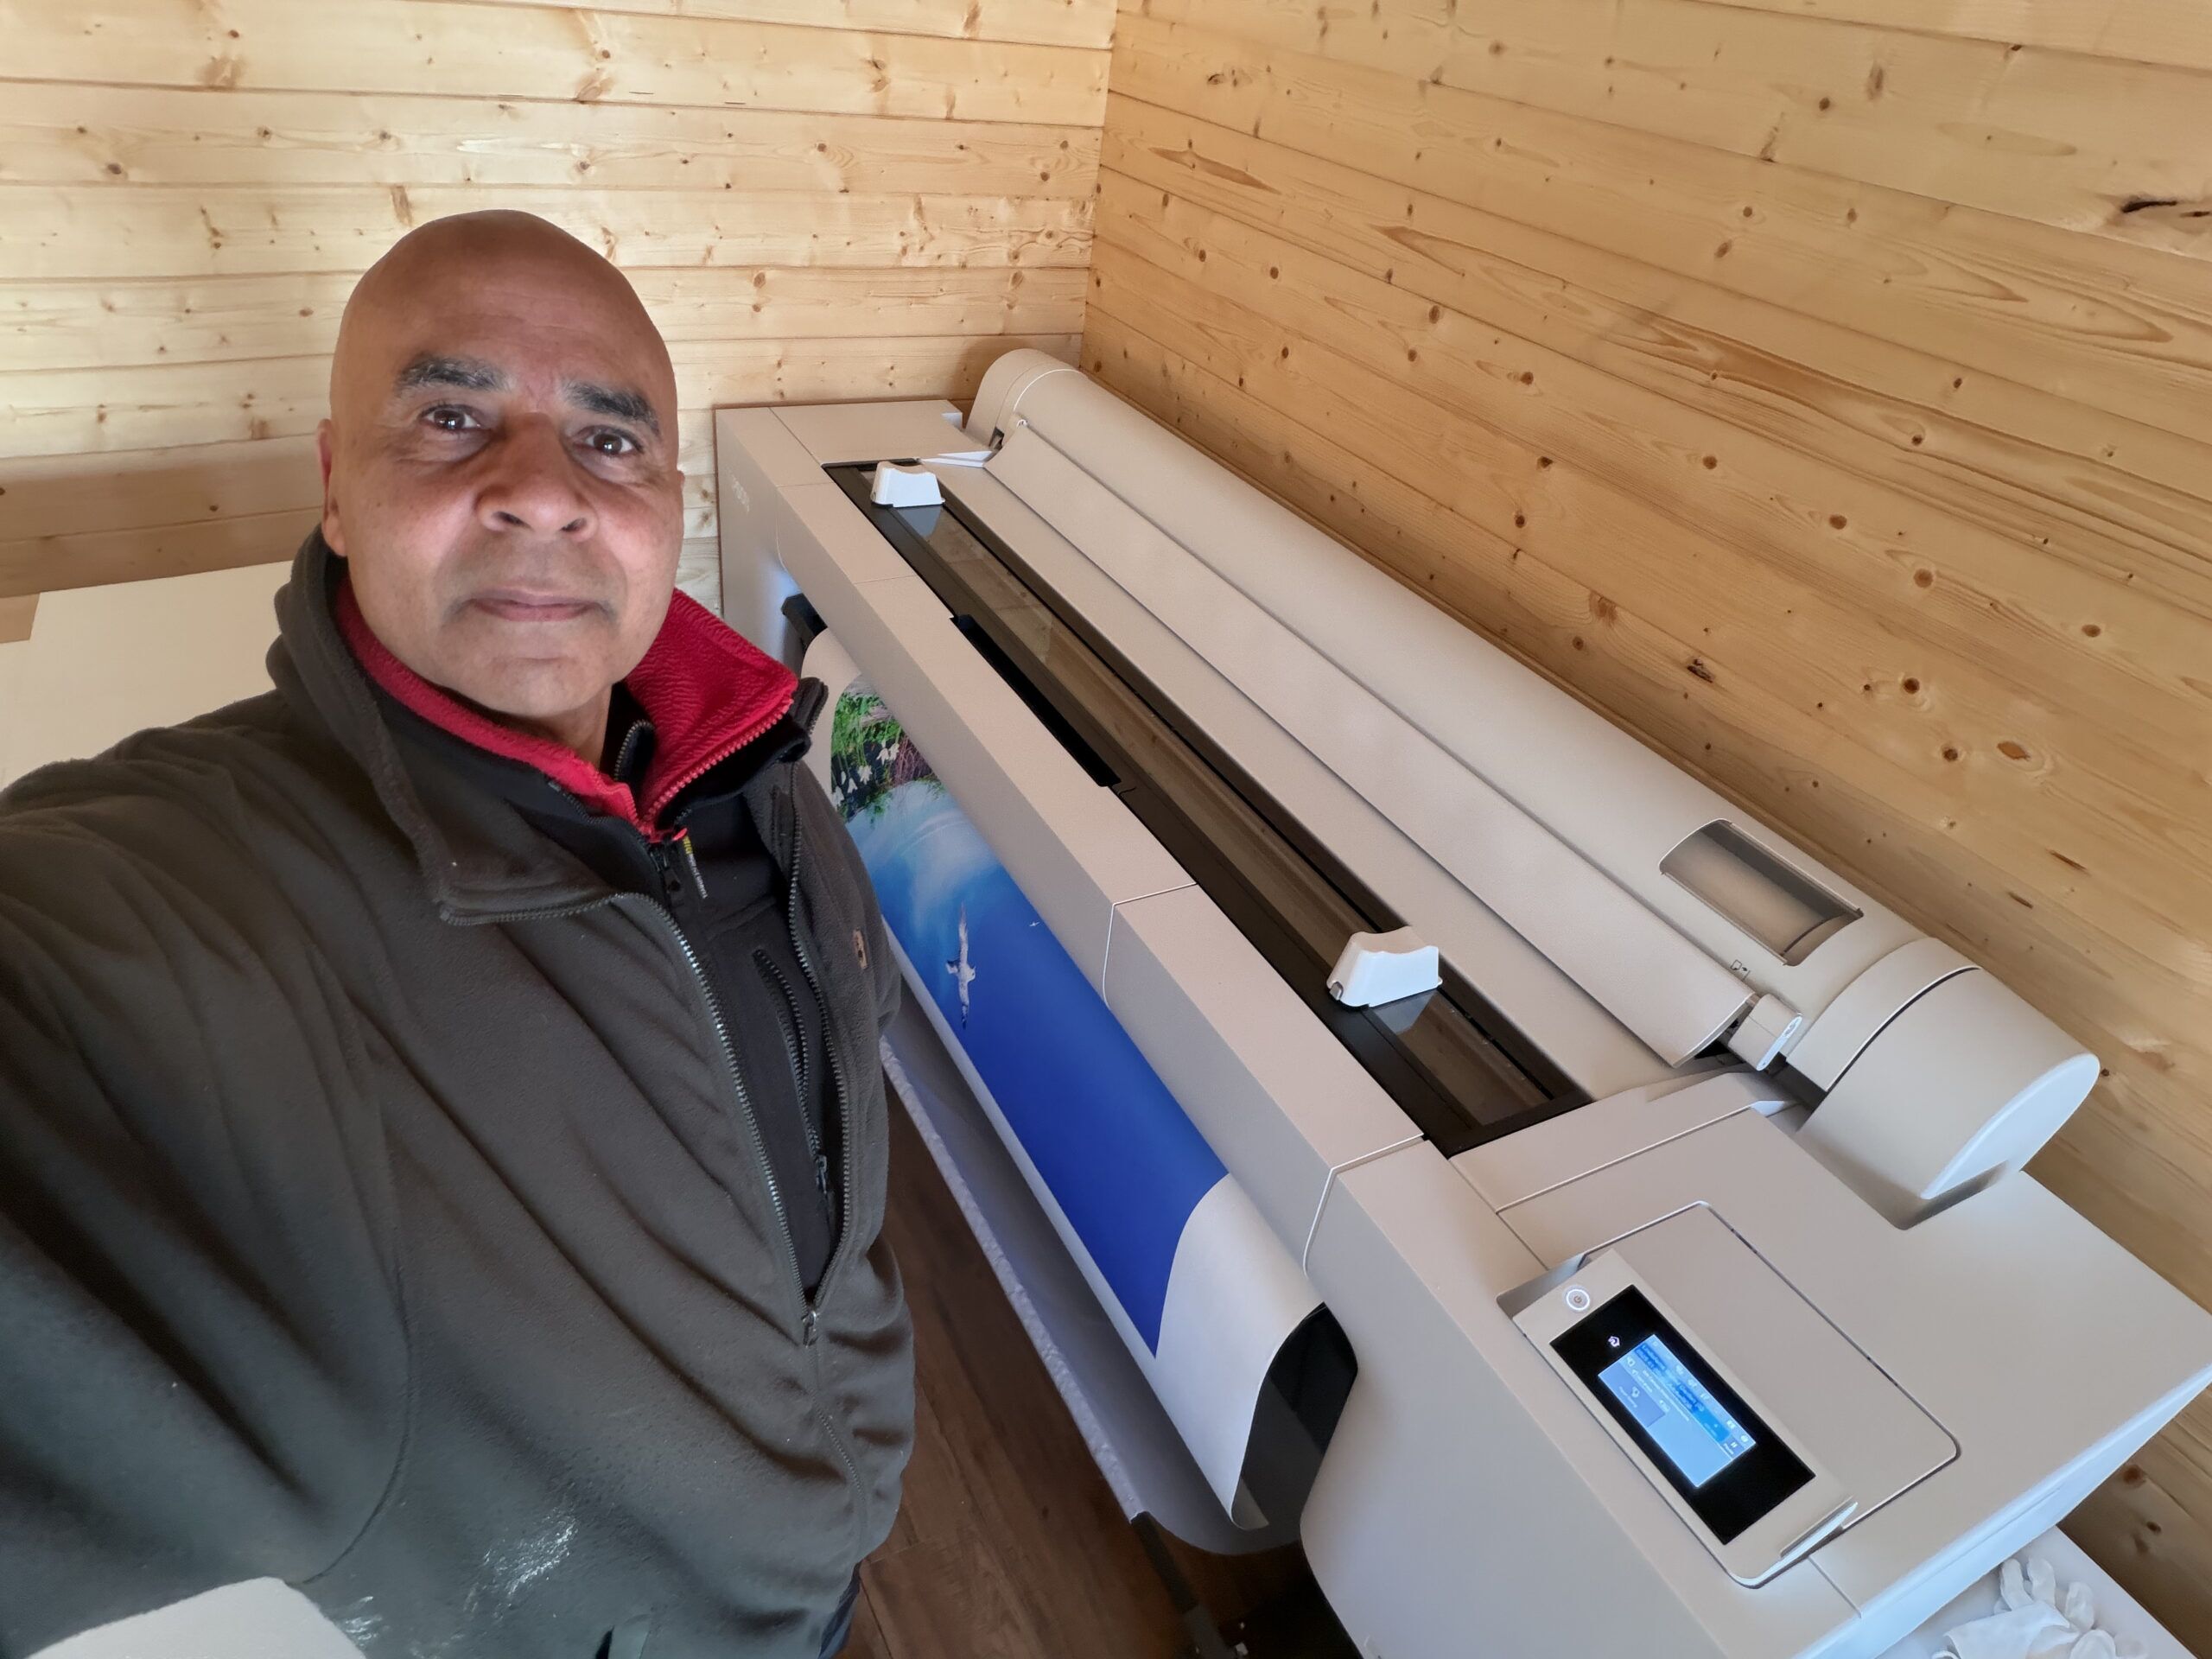
Why don’t I use a commercial professional printing service to produce giclée prints for me – like most people?
Believe me – I wish I could! I searched high and low, but I couldn’t find a printing company that met all my exacting requirements – and I wasn’t prepared to compromise and accept what random permutation of my requirements individual companies happened to offer. My art is too important to me. Most companies were only offering two or three, out of my seven, requirements – which are as follows :-
- Using verified archival pigment inks from a highly reputable ink maker (this is currently only Epson UltraChrome PRO inks as far as I’m concerned)
- Using a 12-colour printer. None were offering this! This is because 12-inks is new on the market and most printing companies are using older generations of printer.
- Minimum of 60 inches wide. Most only offered 44”. 60”+ is quite niche.
- Printing on Hahnemühle Smooth Fine Art 370 canvas. I want the texture of the canvas to be as inconspicuous as possible, and this canvas is the smoothest, most archival, canvas that I know of. It also has the brightest natural white (without using the completely non-archival – and therefore completely unacceptable – optical brightening agents (OBAs)). It also has a matt finish – which looks better from all viewing angles and preserves colours best with random, background lights. Most companies use their own preferred canvas and weren’t prepared to use this!
- Mount the canvas on aluminium stretchers. Aluminium stretchers will never twist or warp – unlike with wooden stretchers – something that is especially important with large canvases. No canvas printing companies I researched offered this.
- Stretch the canvas leaving a precise specified white margin (aka museum wrap – which I use for limited editions – where I add a title, edition number / edition size, and signing in pencil. No canvas printing companies I researched offered this.
- Finish the canvas with a completely invisible, waterproof, archival UV-protective varnish (only one offered this).
Sometimes in life if you want to have a job done well (because you know what well means) then you have to do it yourself…
Why did I want a 60″+ Giclée Printer?
Getting the best 60″+ giclée (pronounced “zhee-clay“) printer (as considered by most in the know) was a big decision for me – not only because of it’s expense (and the twelve 1.6 litre inks for it are half as much again!), but also because it needs quite a lot of working space. That’s the room required to handle, cut, stretch (canvases), mount, and frame the huge prints it produces. I didn’t have anywhere near enough dust-free, clean, space where I live, so before buying the printer I bought space for it – in the form of a new 6m x 6m log cabin (see My new big printer requires a new shed!).
Why did I want such a big printer? I’m an artist, I want to make a big impact. I see big, I think big. I love Nature, and a lot of the time I try to capture or say something about Nature. I don’t like big things being unnecessarily shrunk. Small is easy. Everybody and anybody does small. Point a camera (or more likely a smartphone these days), click, small print. It’s all too quick and too easy, has little or no value, and doesn’t stand out in the crowd. Small doesn’t have a big impact. Large does. Small is not special. Large is much more likely to.
Much, though by no means all, of my art is large and photo-realistic – and is intentionally made to look like photographs (although they are not simply photos – very far from it). In relation to this genre of my art, you could say that I attempt to make “photos” – rather than simply take photos. Unlike photos, I don’t want my art to fade – I want them to last as long as possible – hundreds of years – hence why I got interested in giclée printing and museum framing techniques many years ago.
I’ve been doing this form of art for quite a long time – since the noughties in fact (prior to the that I was doing high-end conventional analogue photography, however, I’ve always conventionally manually drawn and painted as a separate passion). It seemed like a god-given opportunity to me in the beginning of the digital age – and, with my background in computing and photography, I took to it like a duck to water.
Some twenty years ago I bought what was then the best large format 44″ giclée printer. I started producing and framing large scale, highly detailed, and archival artworks (using museum-grade inks, materials and framing techniques) – some of which were accepted by the Royal Academy of Art in London (although I never got around to other galleries or outlets at the time).
My life took an absolutely terrible turn (details of which I needn’t go into) and effectively my creativity was put on hold for about a decade and a half. After fifteen years in the wilderness, I am largely recovered, re-motivated, and re-energised.
Size isn’t everything.
What about quality? What is a giclée printer? A giclée printer is an uncompromisingly high quality, very high resolution, printer that uses archival pigment inks on archival papers and canvases – and produces superb prints that will keep their pristine colours and vibrancy for at least 200 years under normal indoor lighting conditions. First and foremost a giclée printer uses pigment inks. Pigment inks used by giclée printers are among the purest forms of water insoluble colour substances we know of – which we get from rocks (including clays), plants, metals, and some we synthesize – and are the most lightfast colourants generally available. The key word is colourant, because every printing technology tries to change the colour of the surface it is printed on. The crucial question for me – as it should be for all artists and photographers – is how long will the colours remain as vibrant and pure as the day they were originally printed? In addition to the inks used, a key determinant of lightfastness is the material it is printed on – how stable it is over time, and how well does it present (reflect) colours printed (or painted) on it? In this respect cotton – in the form of papers and canvas – is one of the most colour stable and colour faithful print surfaces we know of and use extensively in high end art and printing.
Colour Gamut
Another crucial aspect of giclée printers is called colour gamut. What is the range of colours it can print – and how vibrant are they? Put simply, this is how many colours and tonal ranges a printer can reproduce. In theory only four colours are required to make any reflected colour – Cyan, Magenta, Yellow, and blacK (CMYK). But there is much more to printing than this. Basic CMYK cannot directly produce all the colours we can see, and many colours are achieved quite crudely by the placement of small dots of CMYK colour next to each other – to give the impression of the other colours – like red (from yellow and magenta), blue (from cyan and magenta), and green (from yellow and cyan). However, this effect looks pixelated close-up because you can literally see the patches of dots – so effectively the resolution of basic simple four-colour CMYK printing is low. Also, the vast number of shades of blue and green in nature cannot be reproduced very well with this basic approach.
My printer has twelve colours – the most currently available on any pigment inkjet printer – to give the widest possible range of colours. The set includes dedicated colours for those particularly difficult hues to reproduce by combining other colours – orange, green, and violet. It also has two greys (mid and light), and two blacks – a matte black (for matt surfaces) and a photo black (which reproduces blacks better on a glossy surface) – so it is exceptional at black-and-white prints also.
So, wanting to make as big an art impact as I can, I thought: if I don’t do it now, I probably never will… This new printer is the best of what is available today – and is really only a continuation of where I left off fifteen years ago…
Installation was forced on me!
The steps I went through to get this printer was, firstly, deciding what printer I wanted (back in April 2025), and finding out how much it would cost; secondly, realising I needed to build a log cabin to put it in and researched the options; thirdly, realising I needed a concrete base, researched that, and got one built; fourthly, buying and then building the log cabin, fitting it out, treating the wood inside and out, making a path and building two very large workbenches (I finished in late September 2025); fifthly, revisiting the market to see what the best deal I could get now.
However, in the six months between the first and fifth steps, something very impactful happened: the company who I originally planned to buy the printer from said back in April that the price included delivery, unpacking, removing all the packaging, installation, and training. Great, I thought – that’s a lot of work and worry avoided. However, when I came to ordering it in late September, that delivery deal was no longer available because the third-party company who provided that service decided, for whatever reason, not to do it anymore – and it turned out they were the only company in the country providing that service… So, I was left with the daunting prospect of doing everything myself…!
The printer was hands down the biggest and heaviest thing I have ever had to handle – (and I have handled quite a few large machines in my time – including big CNC machines, a big industrial laser, and other big woodworking machines).
Using my heavy-duty pallet jack, my neighbour and I managed to roll the huge 3.5m x 1.5m x 1m printer box from the driveway (where the tractor forklift took it as close as it could), along my newly built path, into the log cabin (over a carefully designed double ramp I built). We managed to get all the surrounding cardboard and most of the polystyrene off it. There was a daunting number of pieces in bags and boxes of various sizes, and labelled bags of nuts and bolts.
With the main printer chassis propped up on big dense blocks of polystyrene resting on the huge pallet, we set about assembling all the other pieces as much as we could – including the stand (which also had to be assembled). It was by no means straightforward, and some parts were incredibly confusing as to where they were supposed to go – or how they were supposed to be fixed in position. The instructions were far from clear, and the order some things should have been done was utterly confusing at times. Anyway, after about three hours, all that was left to do was to lift the printer on to the wheeled stand. And, because this required at least five people, we stopped working on it that day – and I was left with trying to rope in a couple of other near neighbours to help. I did manage to get their commitment, and we scheduled a day (the following week) where the five of us could do it.
It required four guys to lift/move the printer onto the nearby stand – and two people to guide us on to the stand and pull the big pieces of polystyrene out from underneath it. The whole 6m by 6m log cabin felt full to the brim with all the packaging it came in, and the pallet it was transported on was so heavy that it took four of us to carry it out of the log cabin afterwards!
It was quite a mammoth effort to move and assemble the printer – something that was never even discussed in the sales process – nor even mentioned on the manufacturer’s website…! In hindsight I don’t think this printer should ever be sold without a full installation commitment by an experienced dedicated team. Leaving it to the customer is a huge ask, and, with so much difficult and delicate assembly required by the customer, it begs the question how the manufacturer can offer any warranty – let alone two years…
Then there was the clean-up of all the packaging. It was one hell of a job fitting all the polystyrene in my hatchback – to take it to the recycling centre. And there were huge sheets and boxes of thick cardboard that I just dumped in my large shed for the time being – until I decide what to do with it.
Installing the inks was no simple matter either! The instructions were useless, and I couldn’t find any clearer instructions or videos online. The 1.6 litre flimsy-looking flexible plastic bag ink pouches are extremely expensive – at nearly £500 each – so you really want to put them in properly – and not leak or tear them…!
Ink charging
The printer comes completely empty of ink, and filling the required system components with ink known as ink-charging. What I don’t understand is why doesn’t the printer come with a small sized set of starter inks for this purpose – like every printer has that I have ever bought up until this one…? And why does this ink-charging process take a whopping 45 minutes – and require two- and a-bit maintenance tanks to be filled with “waste” ink?! The printer came with six maintenance tanks – three of which were already in the printer, however, two of these – exactly as explained in the instructions – were completely filled – and needed to be discarded and replaced with new ones – during this initial ink-charging!
I compared the weight of a used, full (and therefore needing to be disposed of), maintenance tank, with a new empty one, and I estimate there was about a half a kilo of weight difference. A kilogram is roughly the weight of one litre of liquid (with a similar density to water), and so this means that, over and above the ink used to fill the many metres of tubing in the printer, the ink charging squirted out a total of well over a litre ( spread over all twelve ink pouches) straight into the waste maintenance tanks! That’s about 10% of the £6,000 worth of ink – straight into the bin – including two maintenance tanks…!
Colour-Proofing
With the printer all set up, the next task was to load it up with some canvas and do some test prints. A crucial step was to calibrate my new proofing computer monitor with the inks and the Hahnemühle canvas in the printer. Having done a lot of colour proofing before, this should have been quick and easy to do. Was it heck! There turned out to be a completely unexpected red herring in the form of Hahnemühle’s Fine Art Smooth Canvas ICC colour profile. This is the ICC colour profile I should be using: it’s made specifically for this canvas and this printer’s inks – and is supplied by Hahnemühle! However, it consistently produced weird small black streaks on the same parts of the print. Over four days I tried absolutely everything I could think of to get rid of these disastrous black streaks – wasting lots of canvas and ink in the process. In the end, by a process of elimination, it turned out to be a weird fault with Hahnemühle’s ICC colour profile -because when I tested the same print with Epson’s Matt Canvas ICC colour profile for this printer, it printed perfectly every time. I’m really annoyed with Hahnemühle about this because it wasted so much of my time, ink and canvas. What kind of testing did they do – if any – because the very first time I tried to use it, I ran into this problem…?!
Final Thoughts
The cost of getting top-quality commercial prints done is very high – often running into hundreds of pounds each – which is okay if you have confirmed sales (or a lot of money). During the creative process there is no guarantee for most artists that any artwork will sell, so the individual cost of experimental or test prints can be quite off-putting, and stifling of creativity.
By owning such a versatile and brilliant printer as this one, I can experiment with different sizes and media – and can simply re-do prints if I’m not happy with them. So, although the up-front cost (and effort!) was enormous, I don’t have to worry much about each print individual I do…
The printer is an extremely versatile and power tool, and by owning it I can explore all its capabilities – creative and technical opportunities that would otherwise be completely unavailable to me.
As an artist, it’s a dream come true to have such a printer – to have such a fabulous creative instrument in my toolbox. And I bought it for that reason alone. However, some companies make good money printing for clients who want the best. This commercial opportunity, coupled with the potential I have for selling my own limited and unlimited edition prints, could mean I will reap financial rewards with it. Indeed, it is far from impossible or improbably that, in time, it will comfortably pay for itself – and more…
Finally, from a providence and buyer’s perspective, it is surely much better for customers to know that I, the artist, printed and handled the artworks – as opposed to a random commercial printer…?


