Category: Jigsaw Puzzle Art

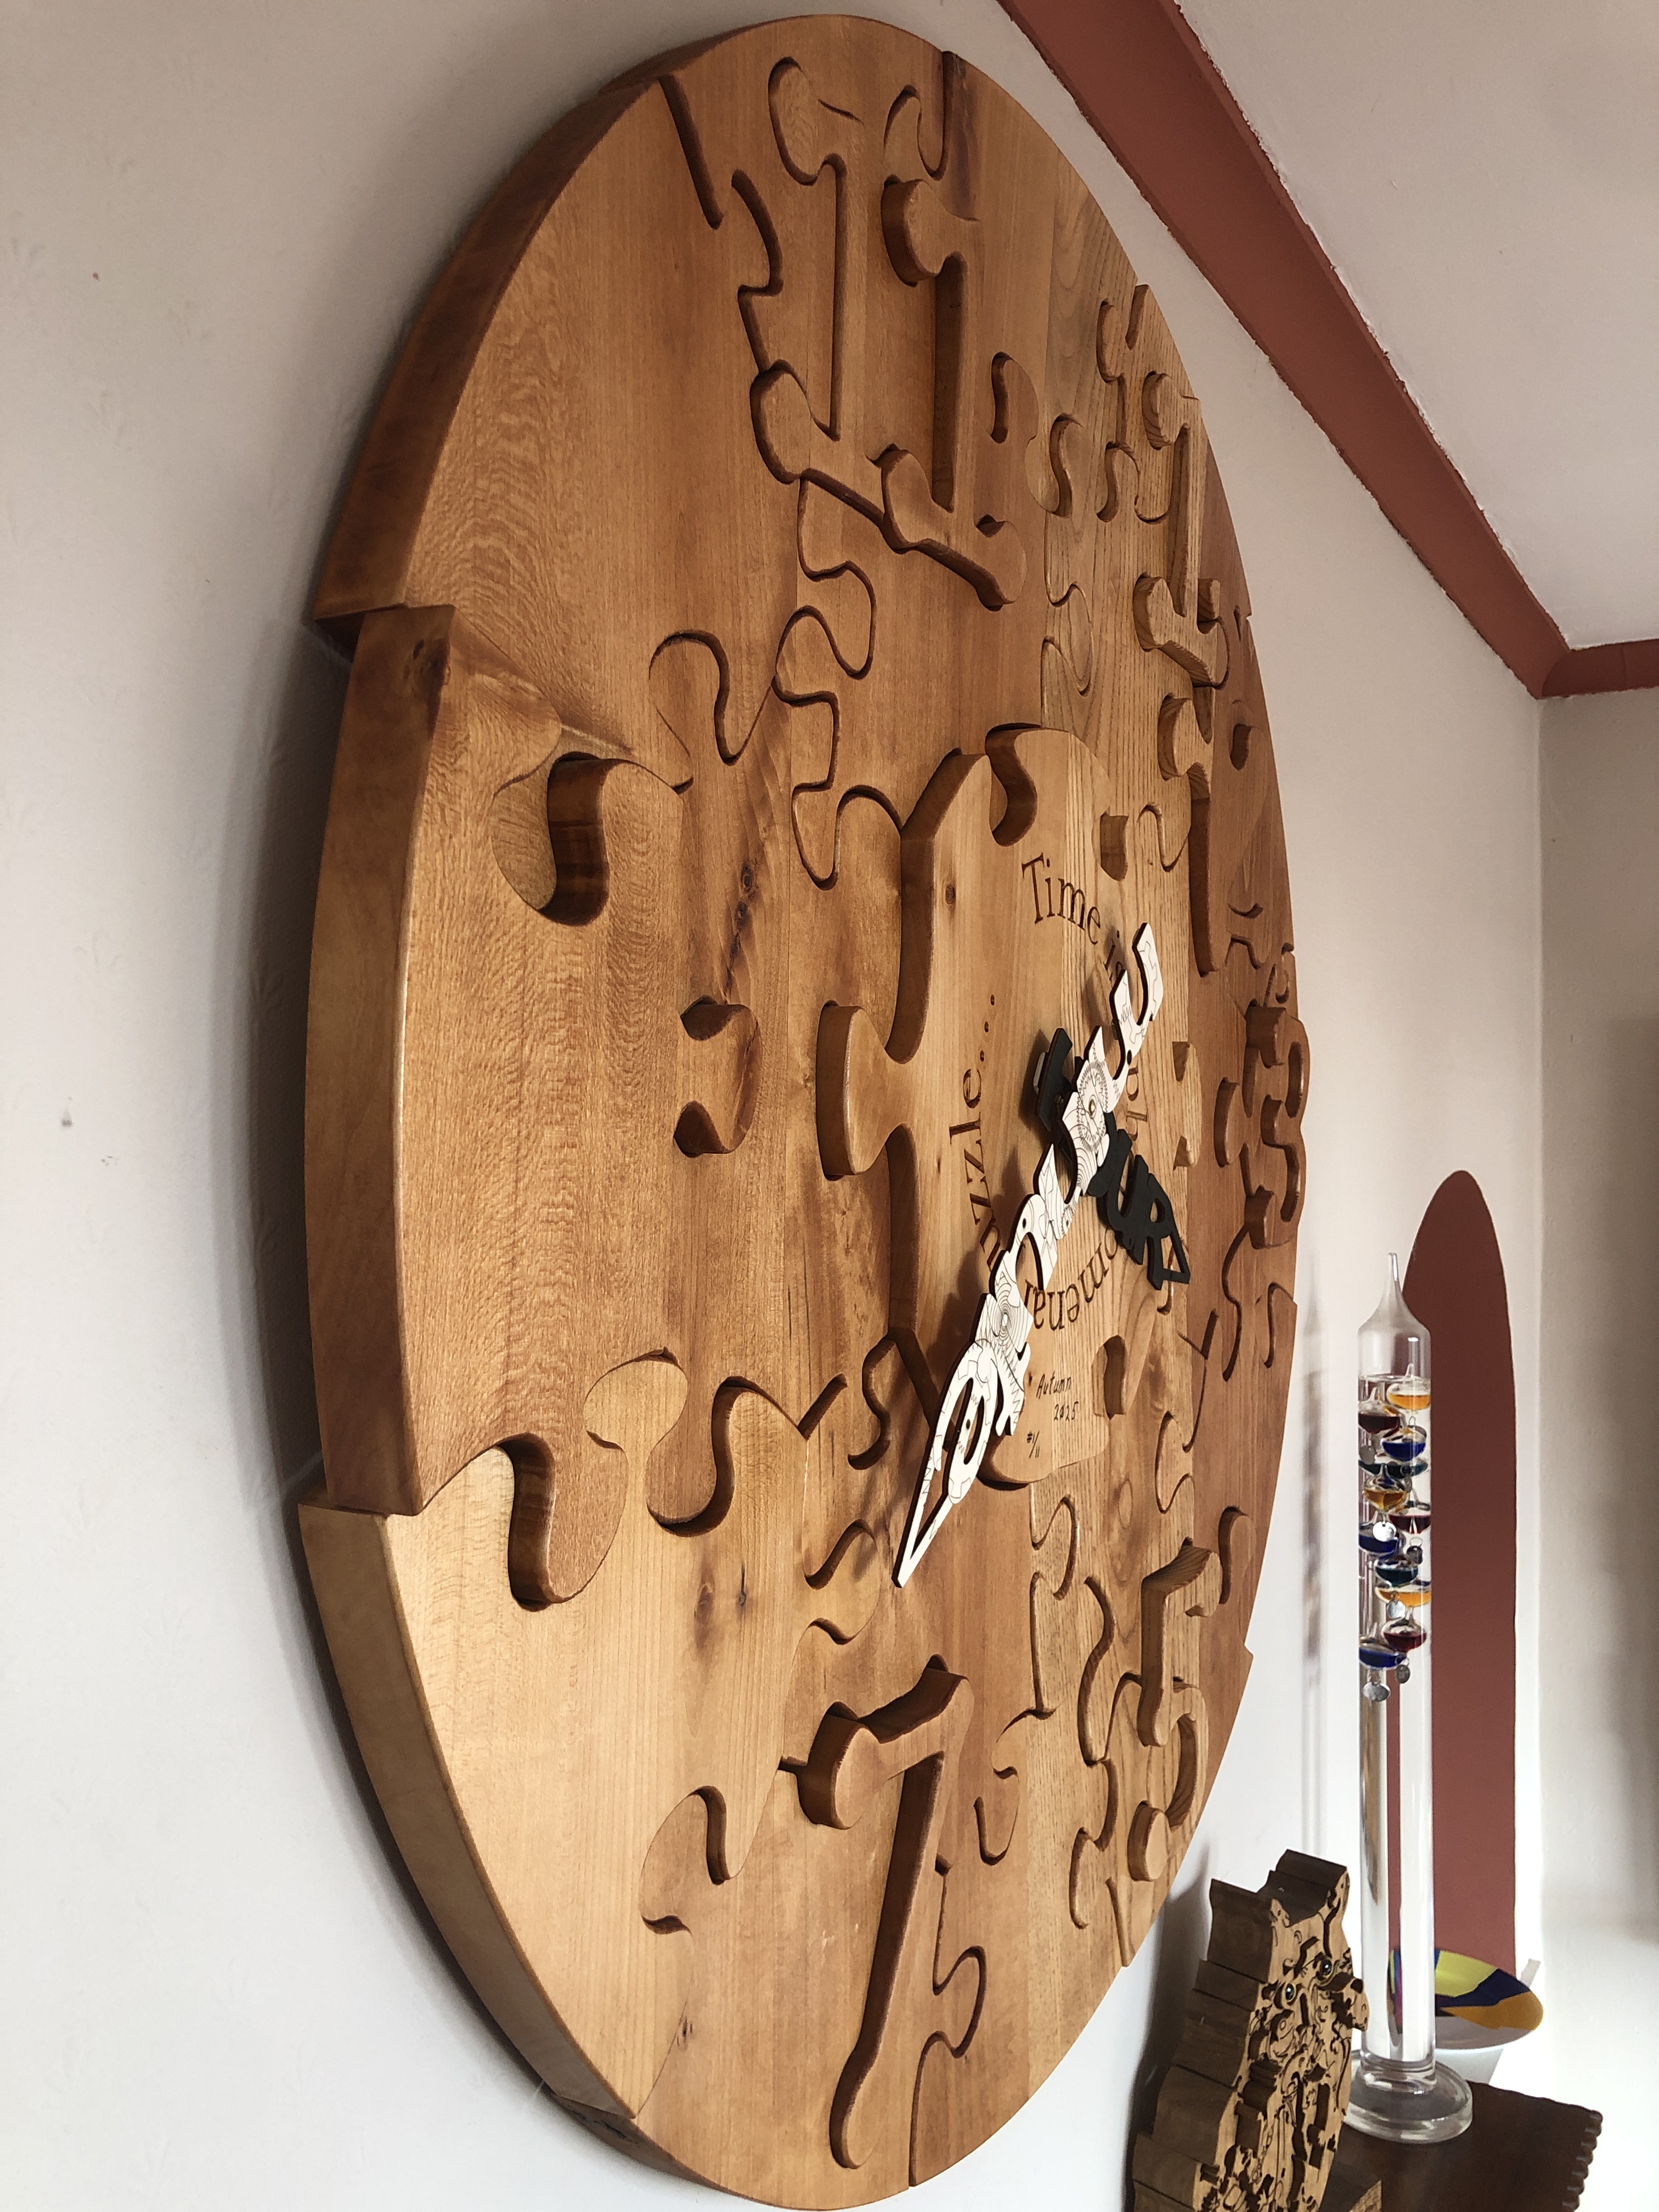
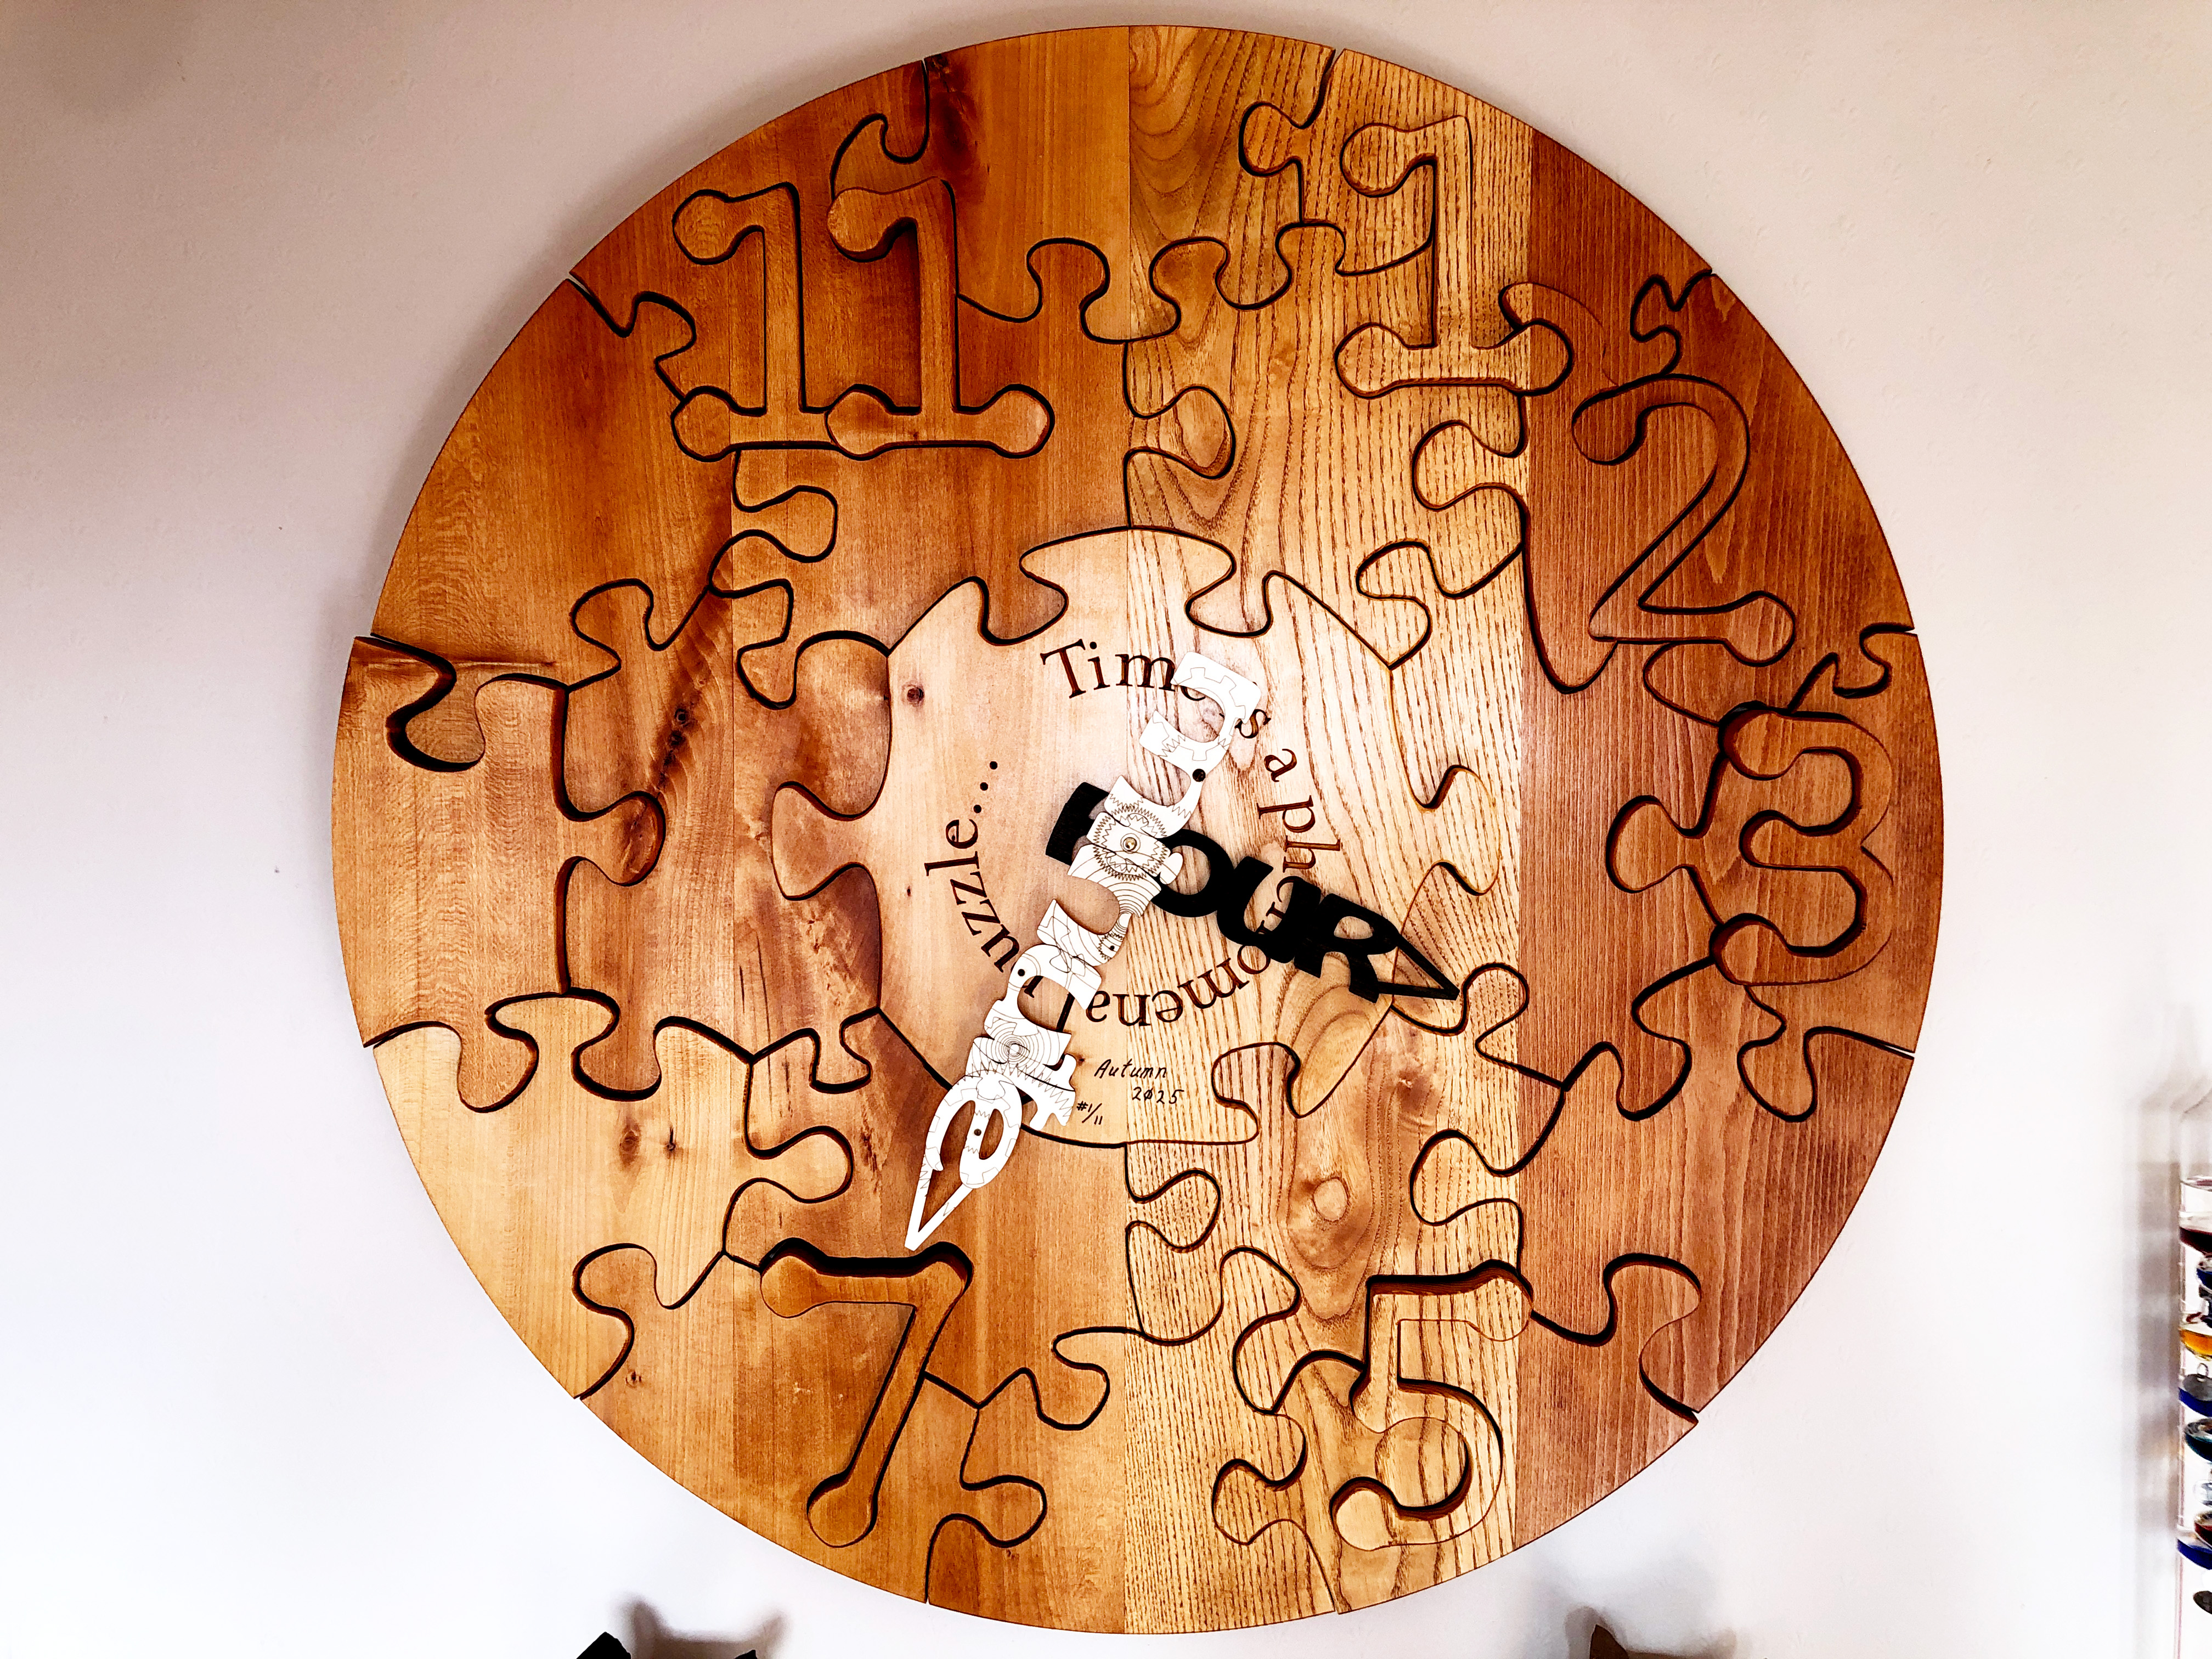
  • Time is a phenomenal puzzle…(Clock and Art Puzzle)

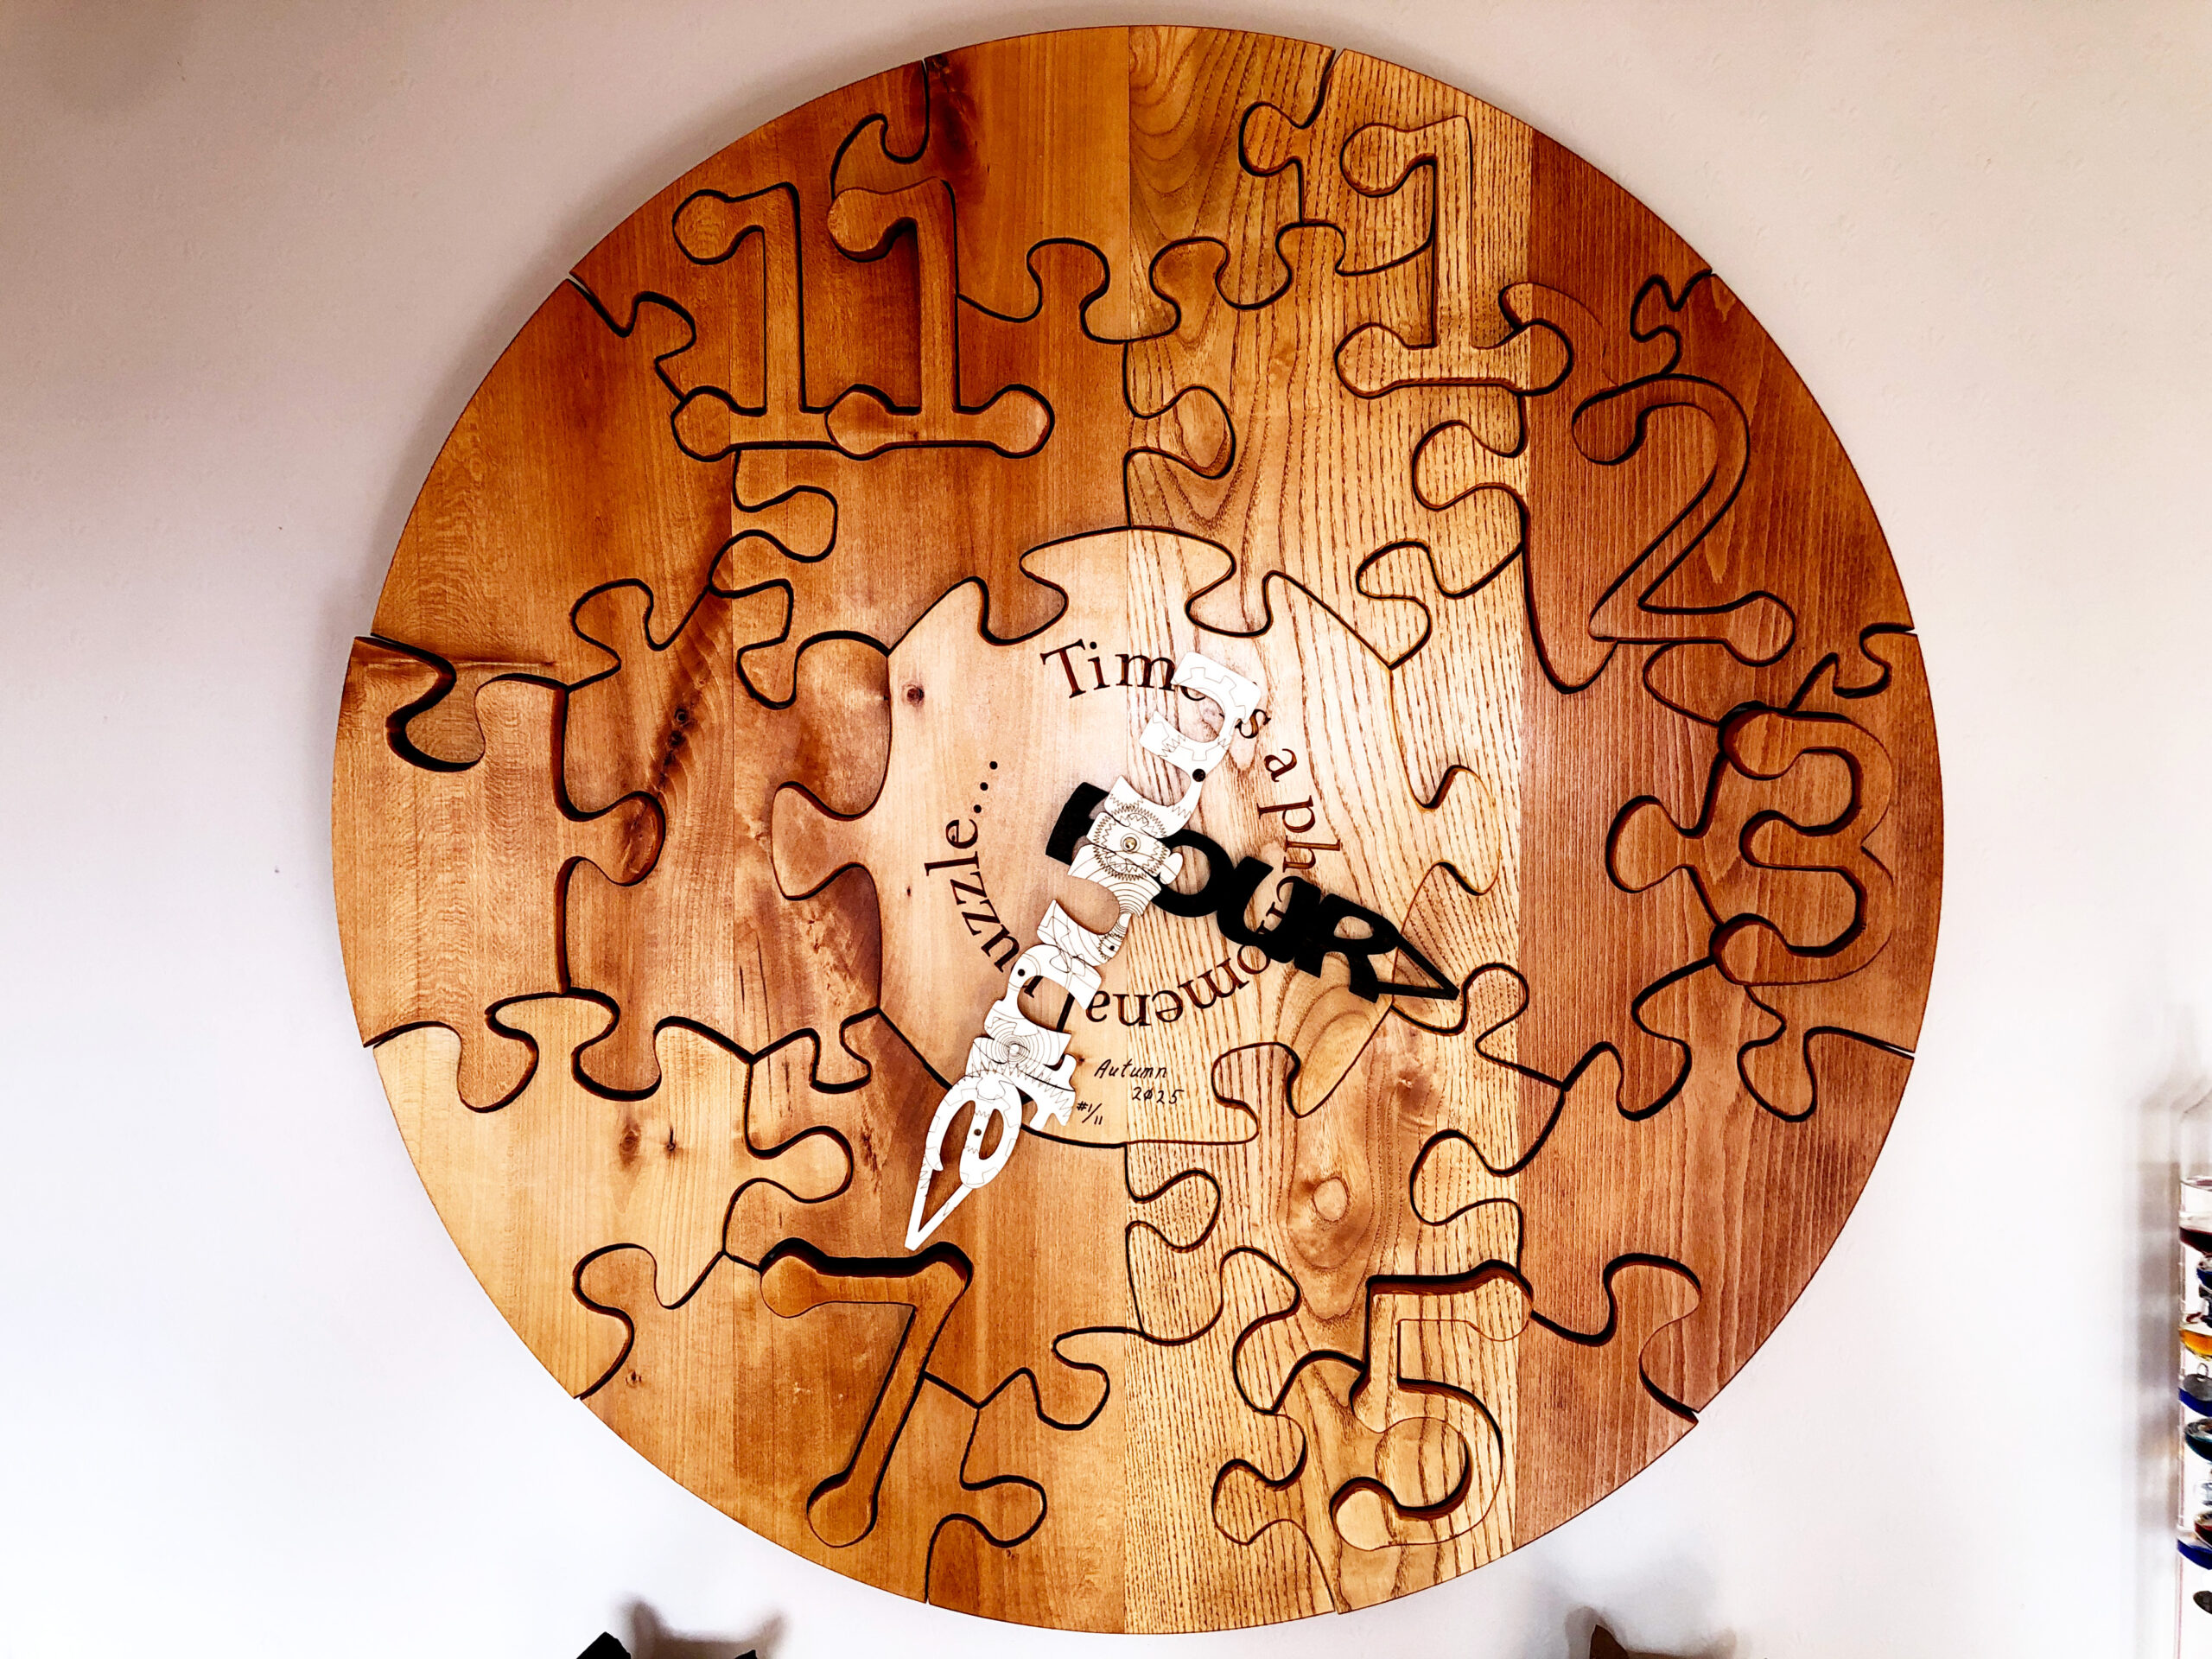
    Time is a phenomenal puzzle…(Clock and Art Puzzle)

    Title: โ€œTime is a phenomenal puzzle…(Clock and Art Puzzle)โ€
    Artist: Michael Autumn
    Medium: Oak wood clock face and plywood hands. Working clock movement.
    Size: 95cm (W) x 95cm (H)
    Edition: 11 (only made to order)
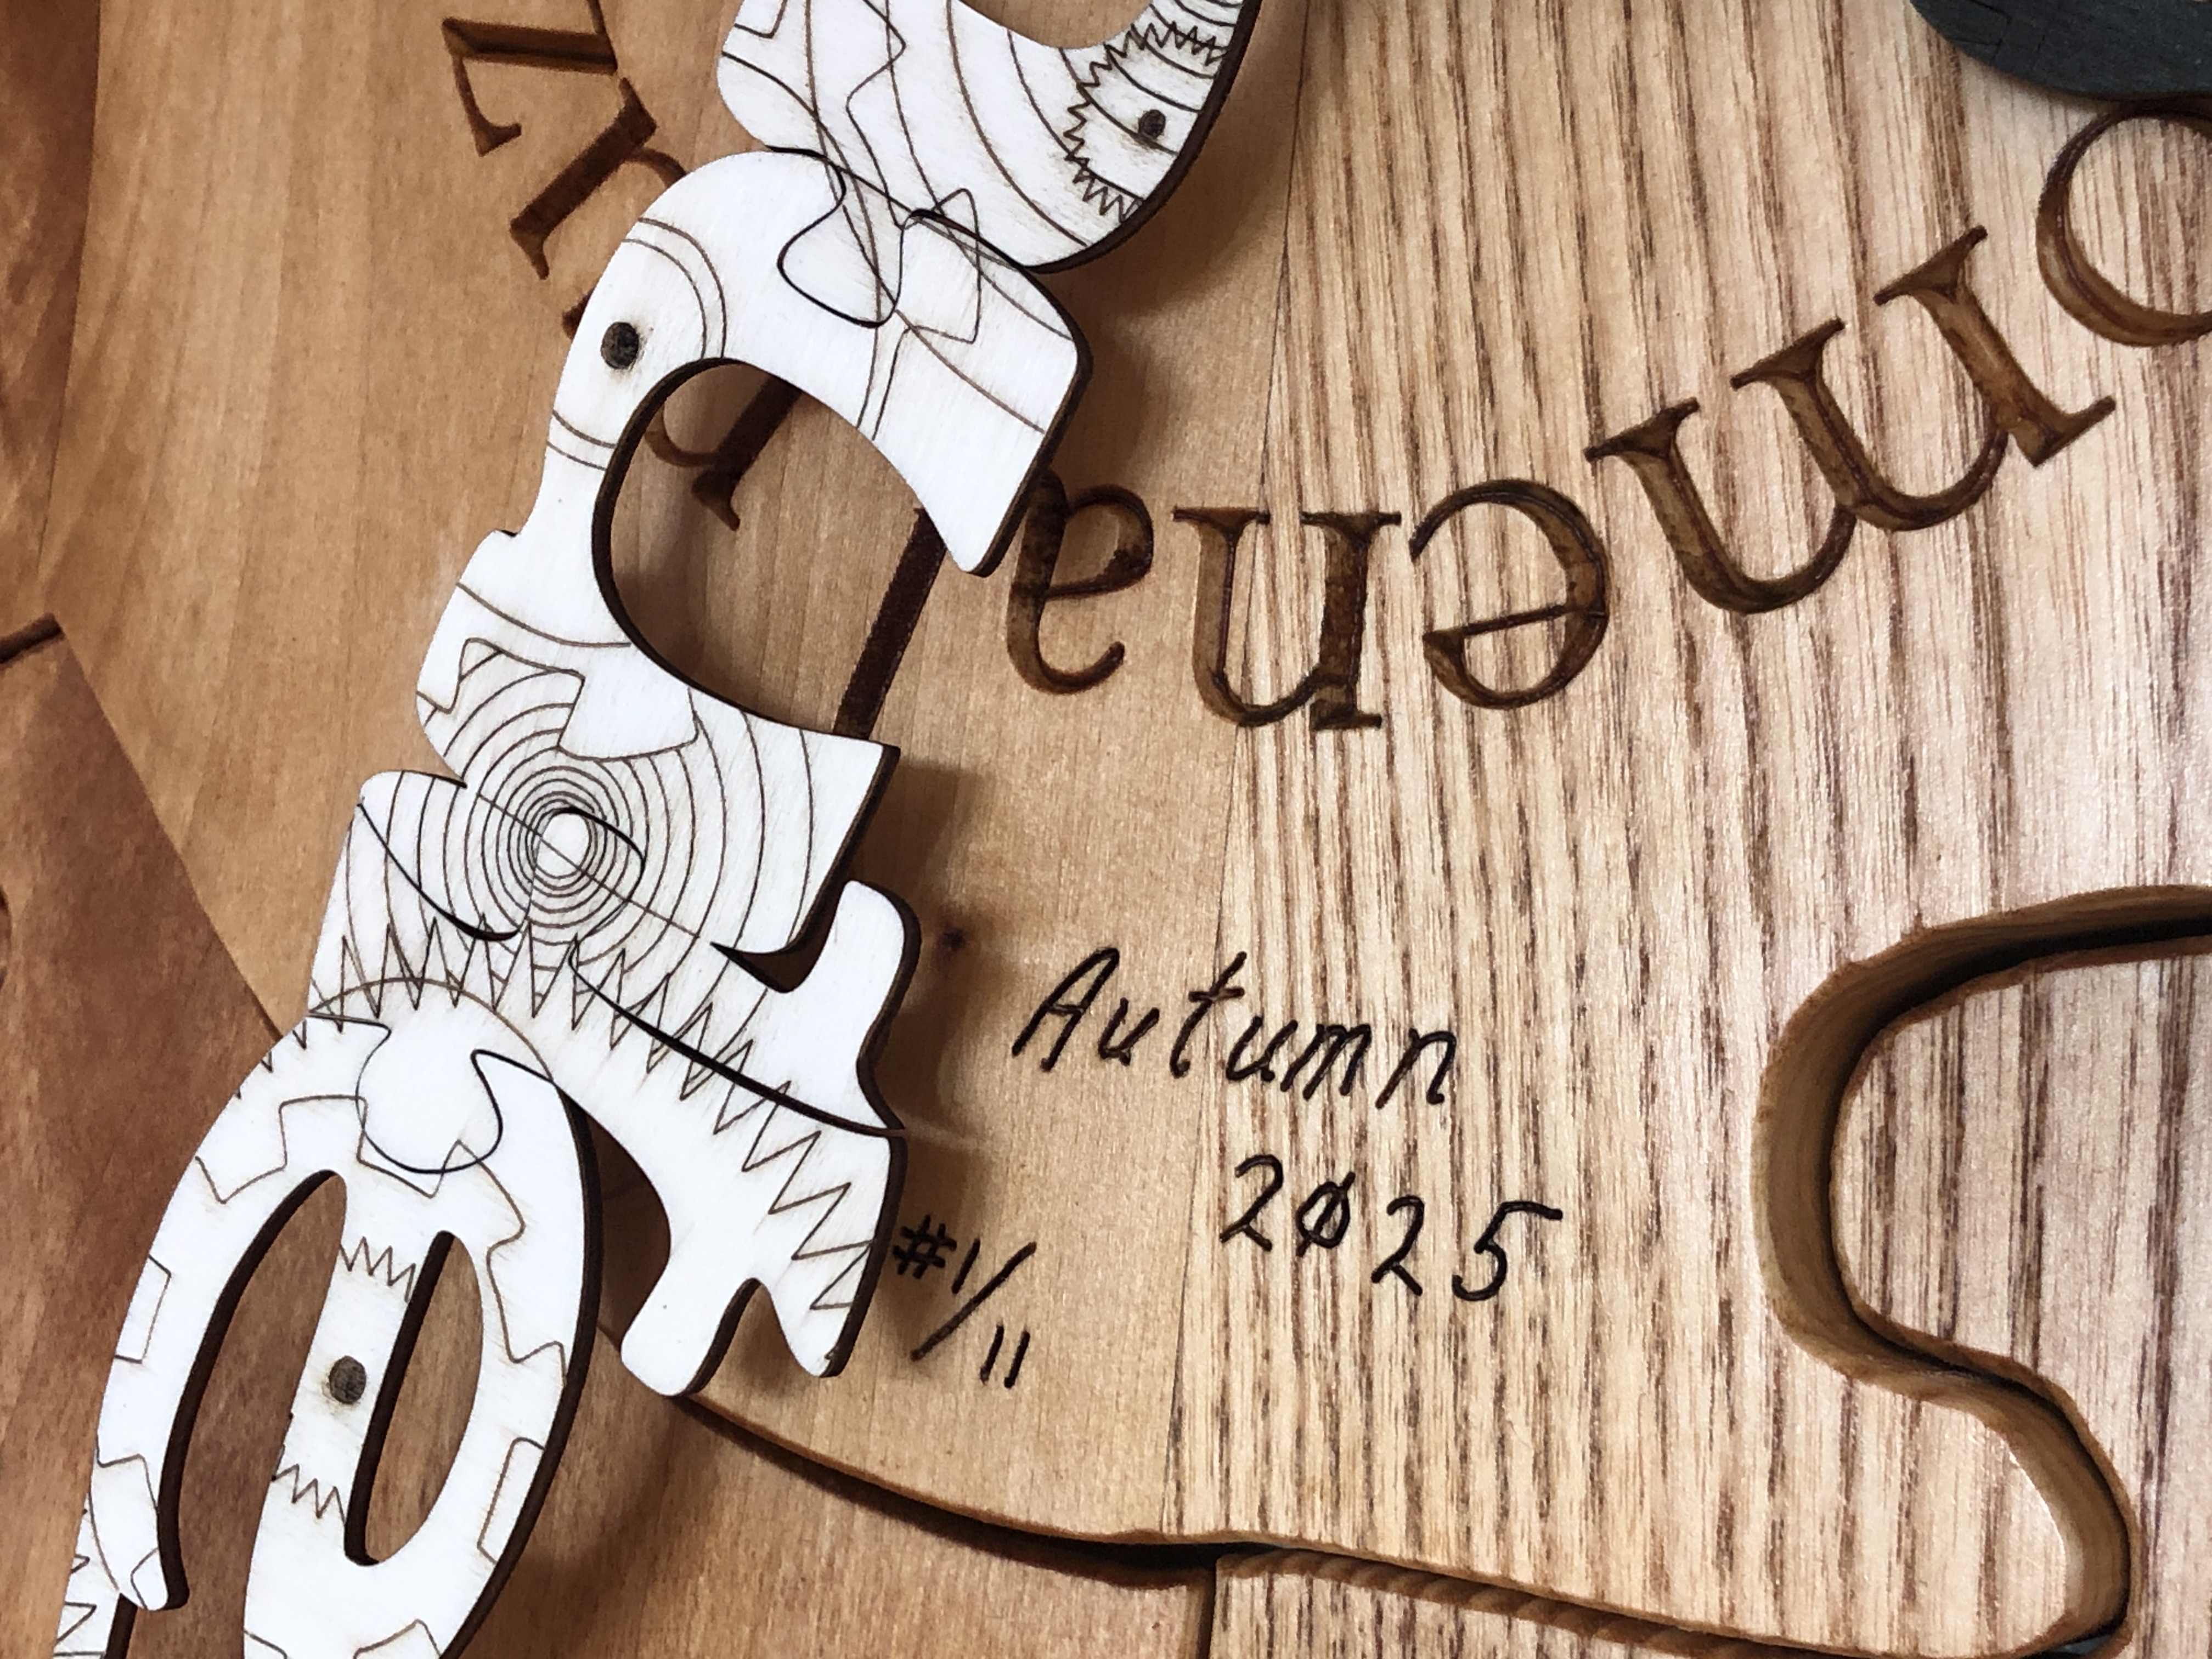
    Authenticity: Hand-engraved (bottom, center of main central piece).
    Date: 03/2025


    This is an artwork primarily about time โ€“ that eternal puzzle in human minds – mine included – and what better way to depict time than by a clockโ€ฆ? However, during my journey in creating this piece I realised that it is also about gravity โ€“ because without gravity this clock would simply fall apart โ€“ because there is nothing else holding it togetherโ€ฆ! And this ties in nicely with Einsteinโ€™s Theory of Relativity โ€“ where gravity deflects time (gravitational time dilation) in what is known as โ€œspacetimeโ€โ€ฆ

    But this is not a normal clock (as you might expect from me!?): it is in fact two puzzles โ€“ and it was quite a technical challenge or puzzle to design and make both of themโ€ฆ! There is nothing holding the clock face or clock hands jigsaw pieces together – other than gravity โ€“ i.e. their own weight. There is no glue, screws, or nails โ€“ all the pieces are gravity-defying wooden joints!
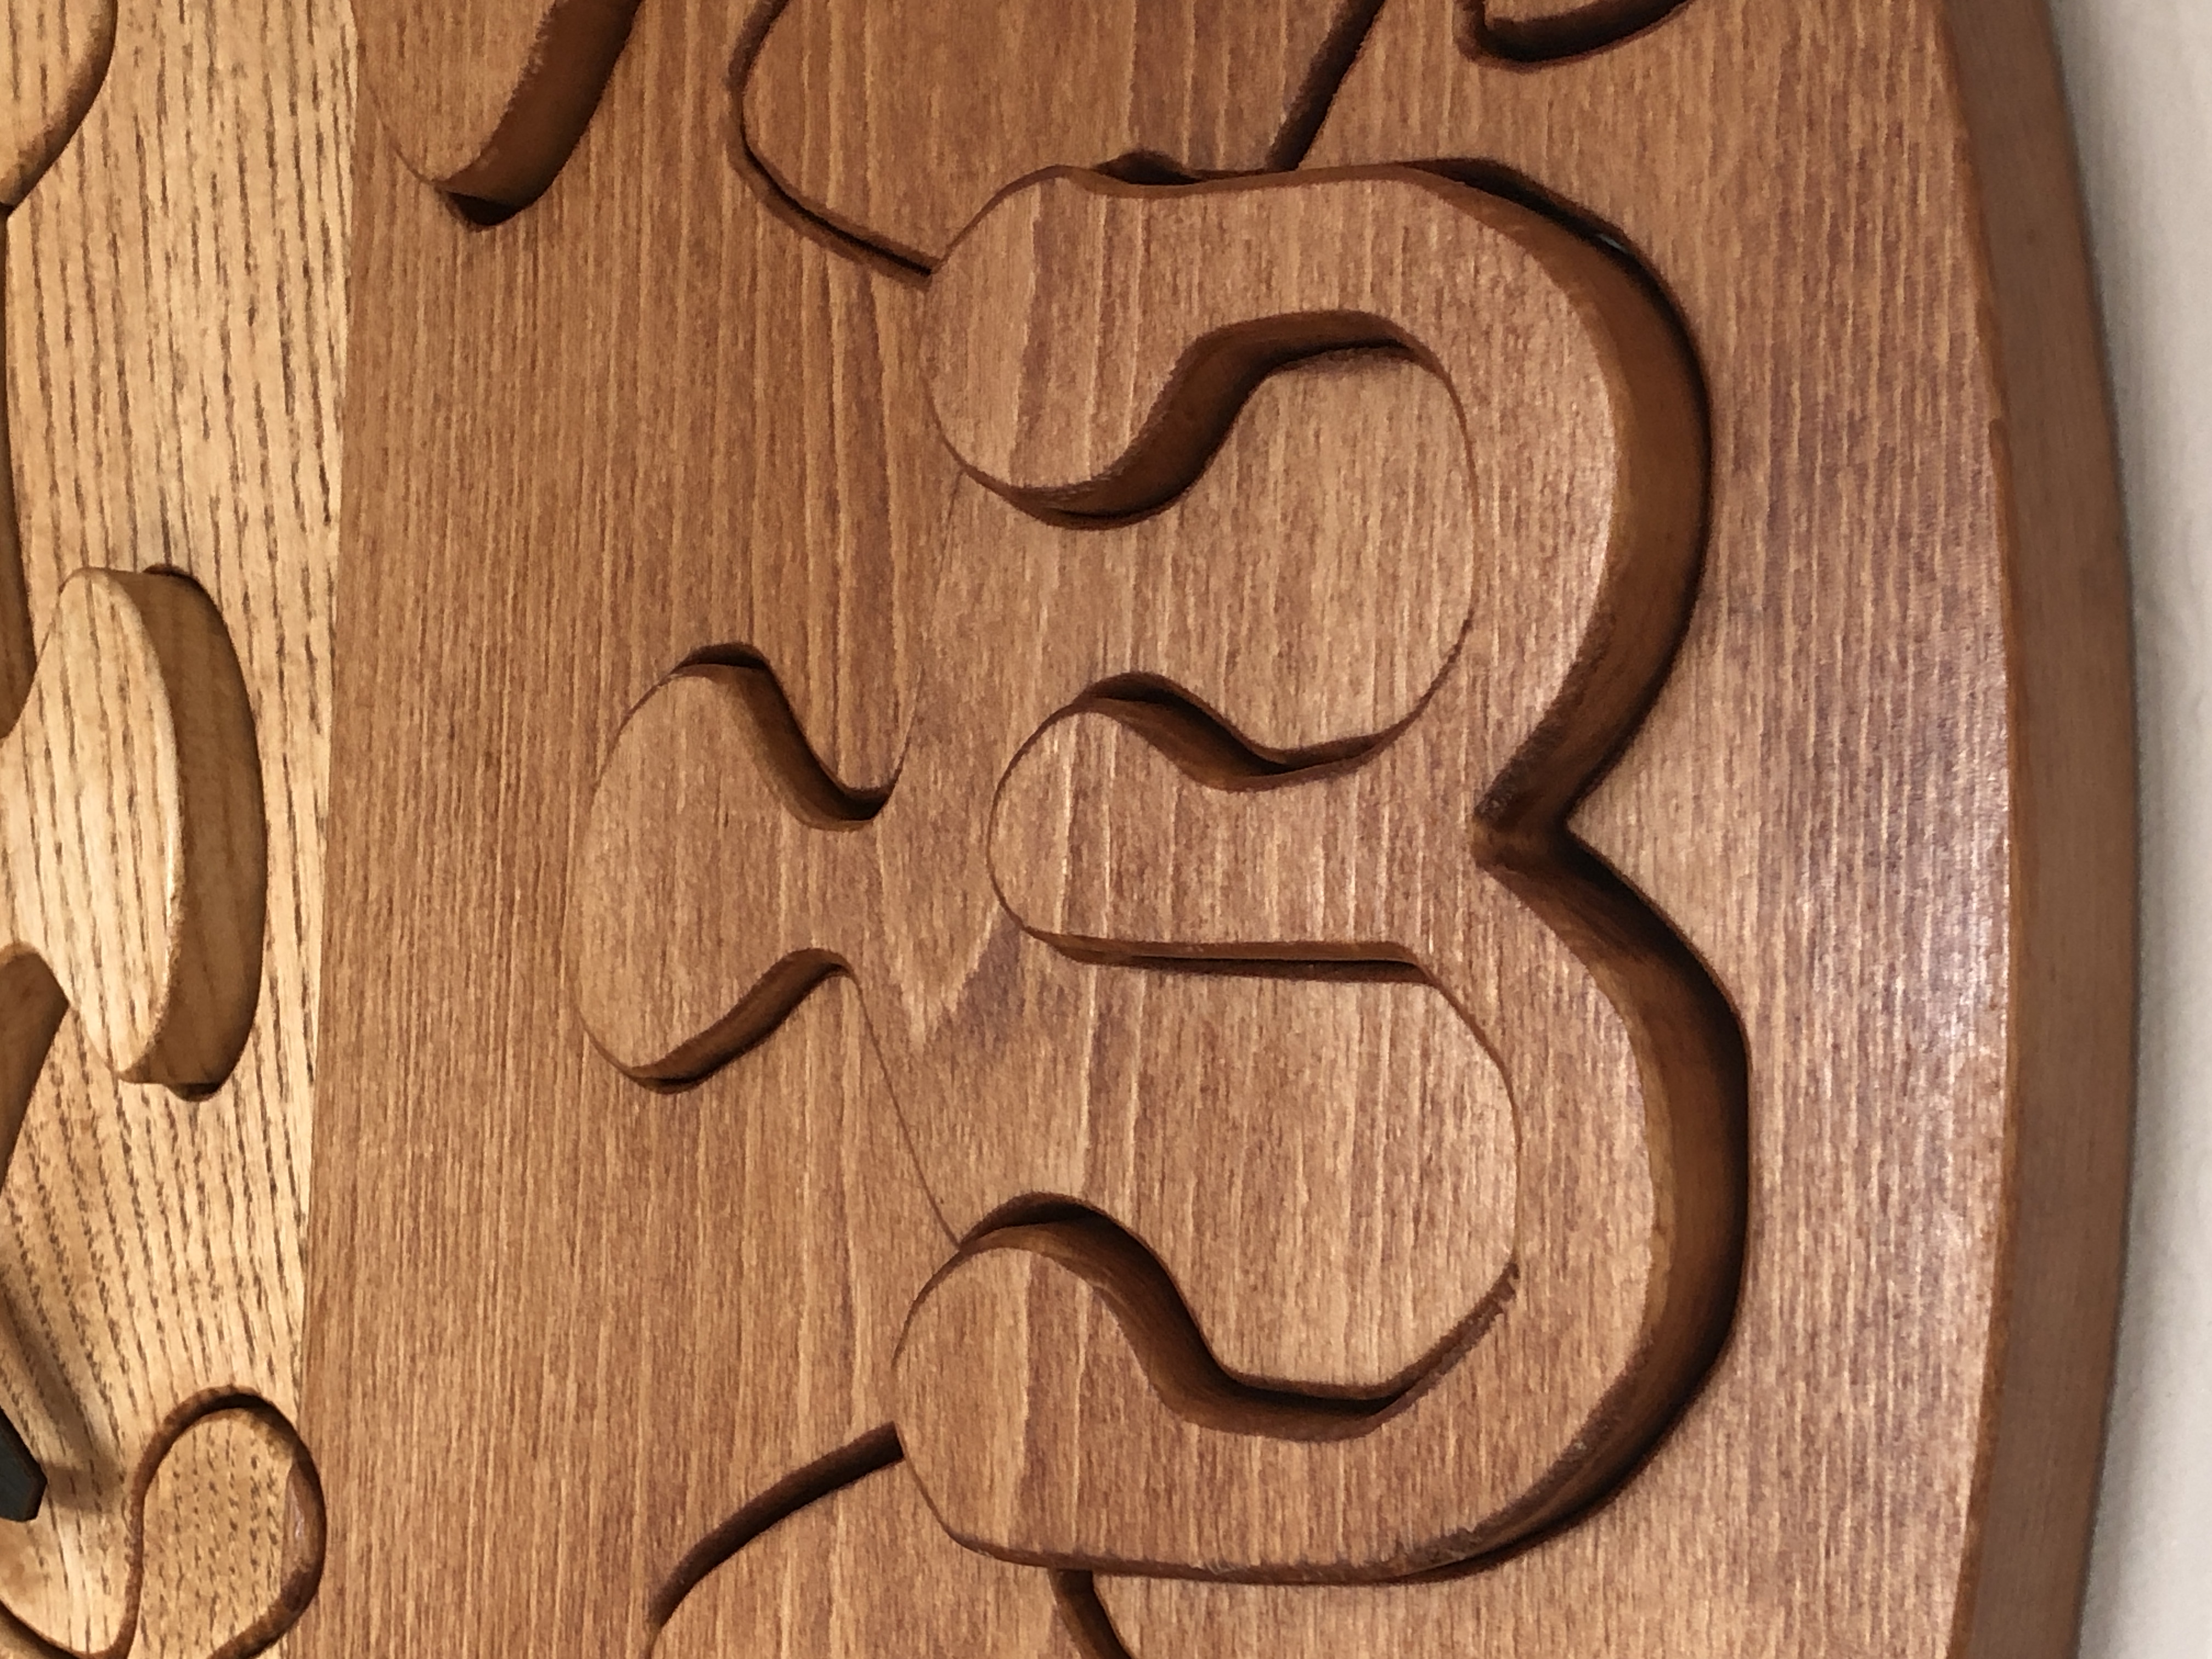
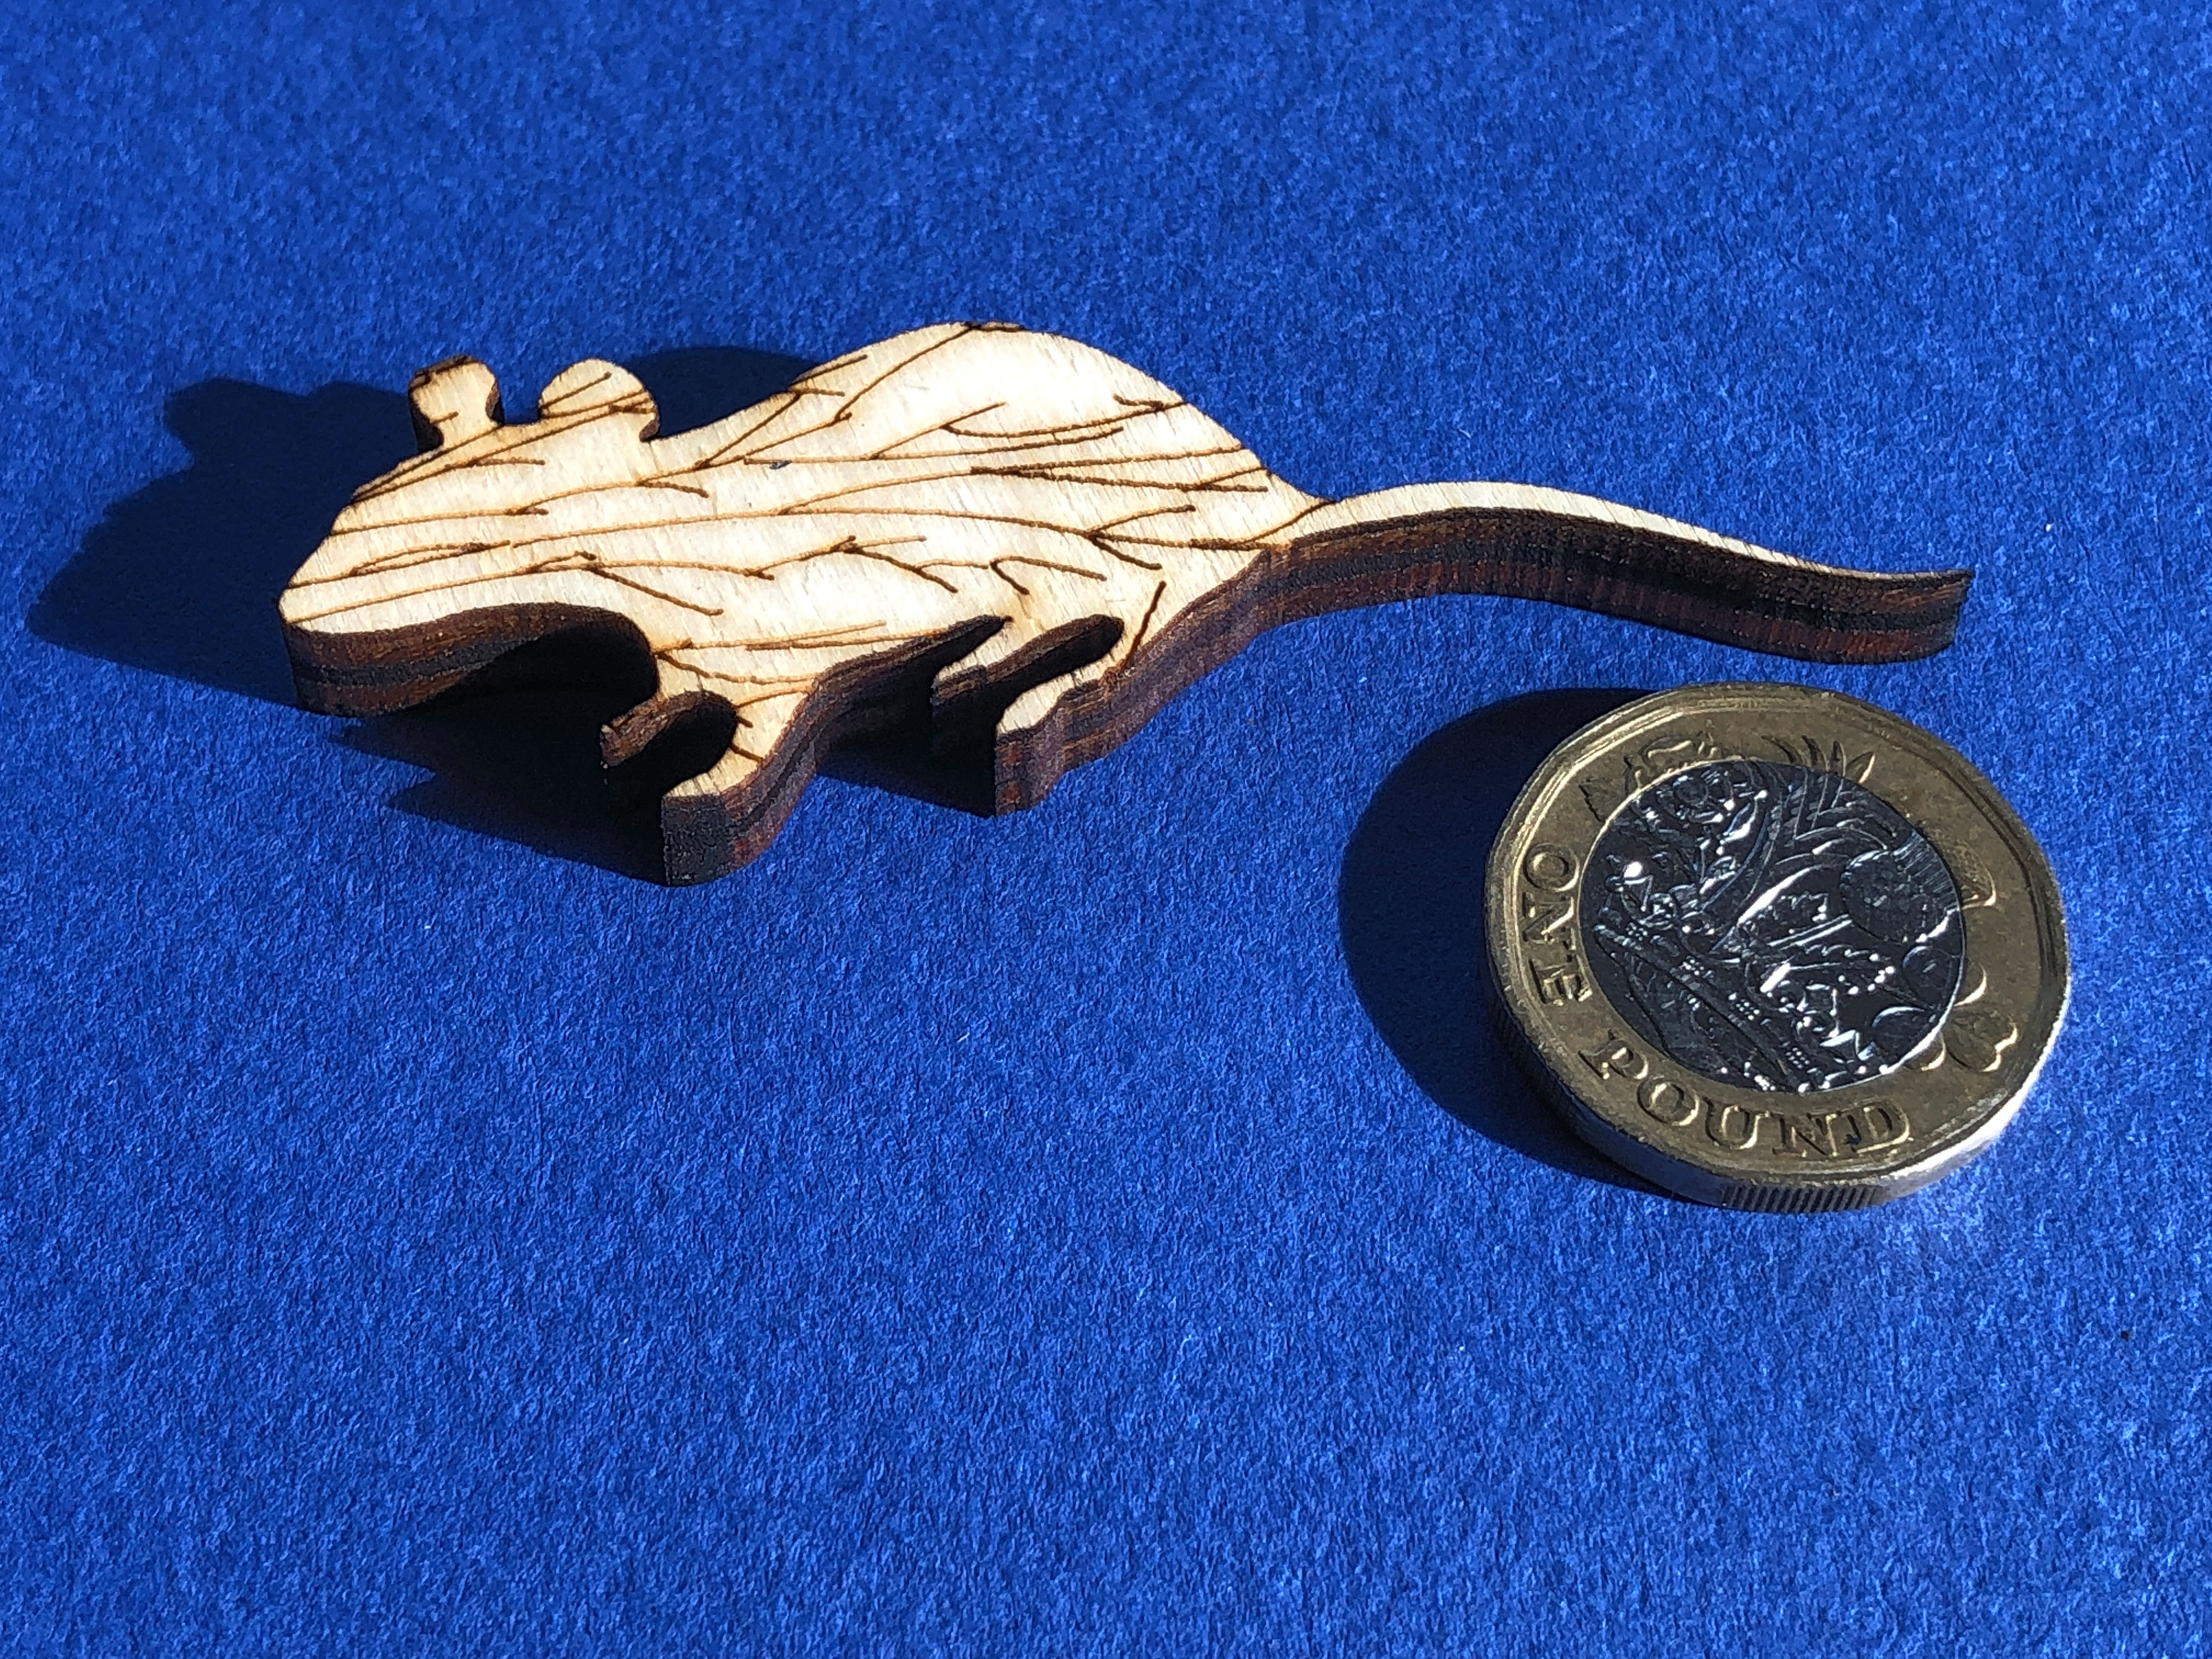
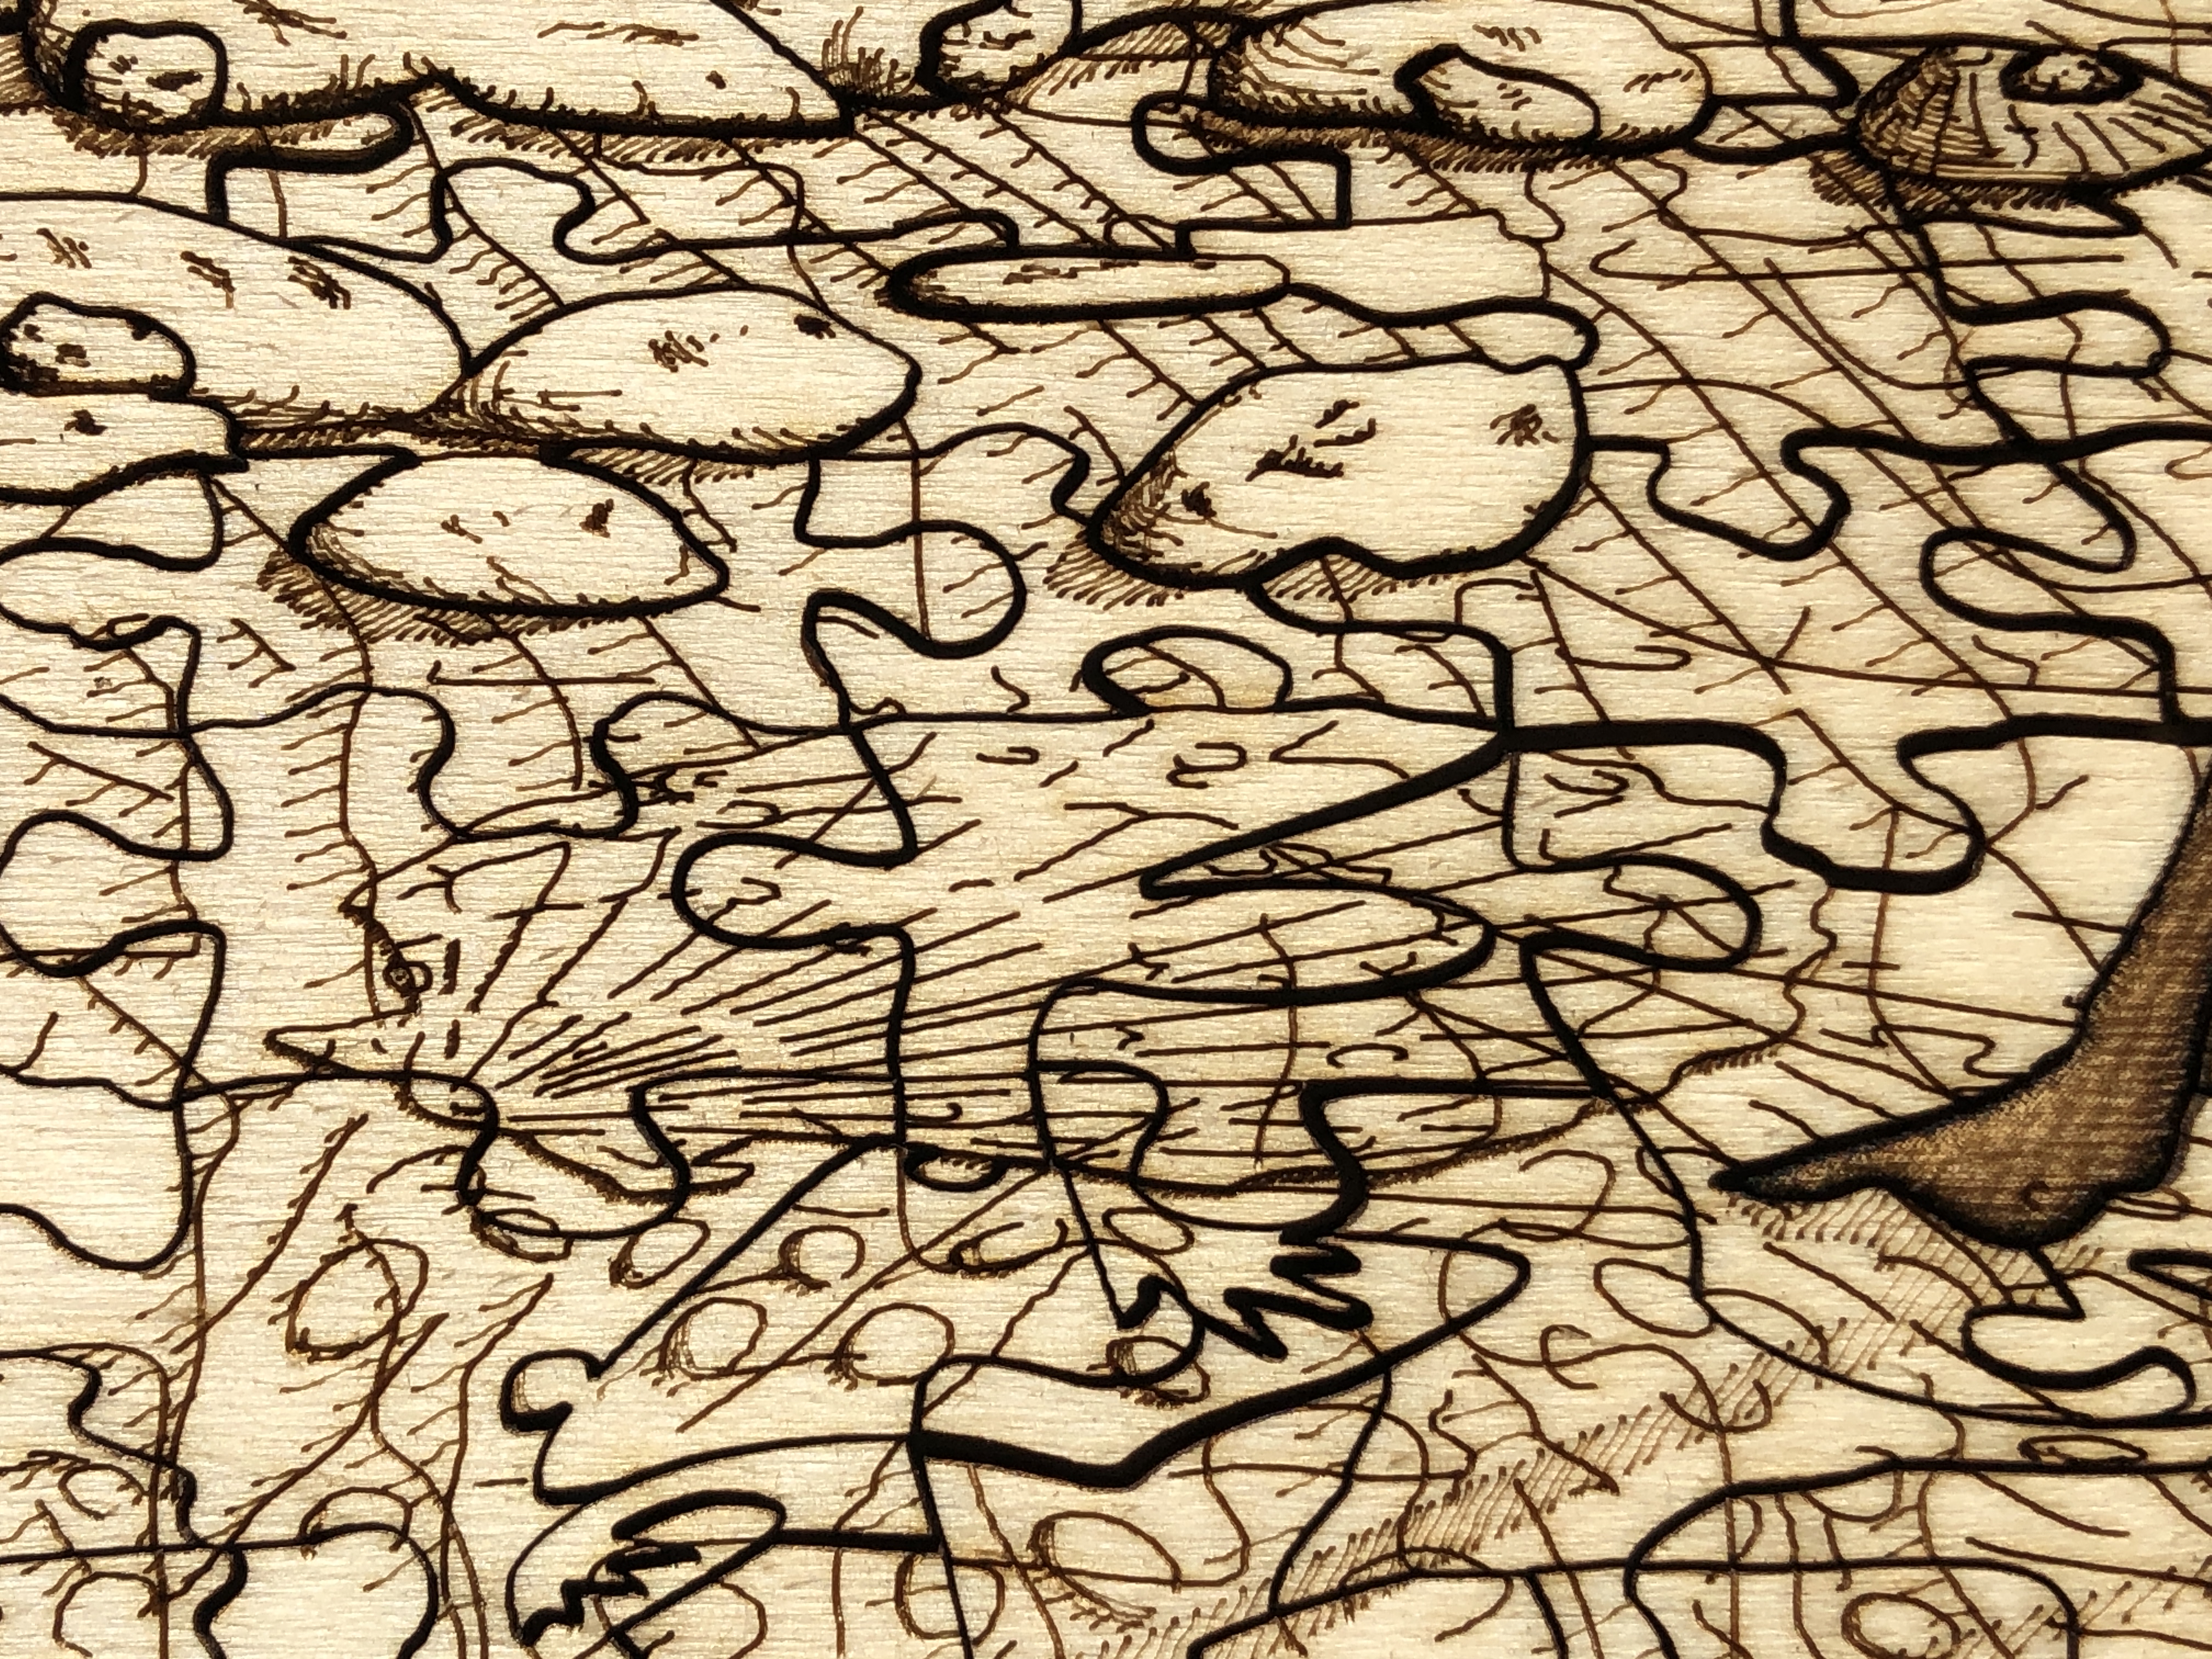
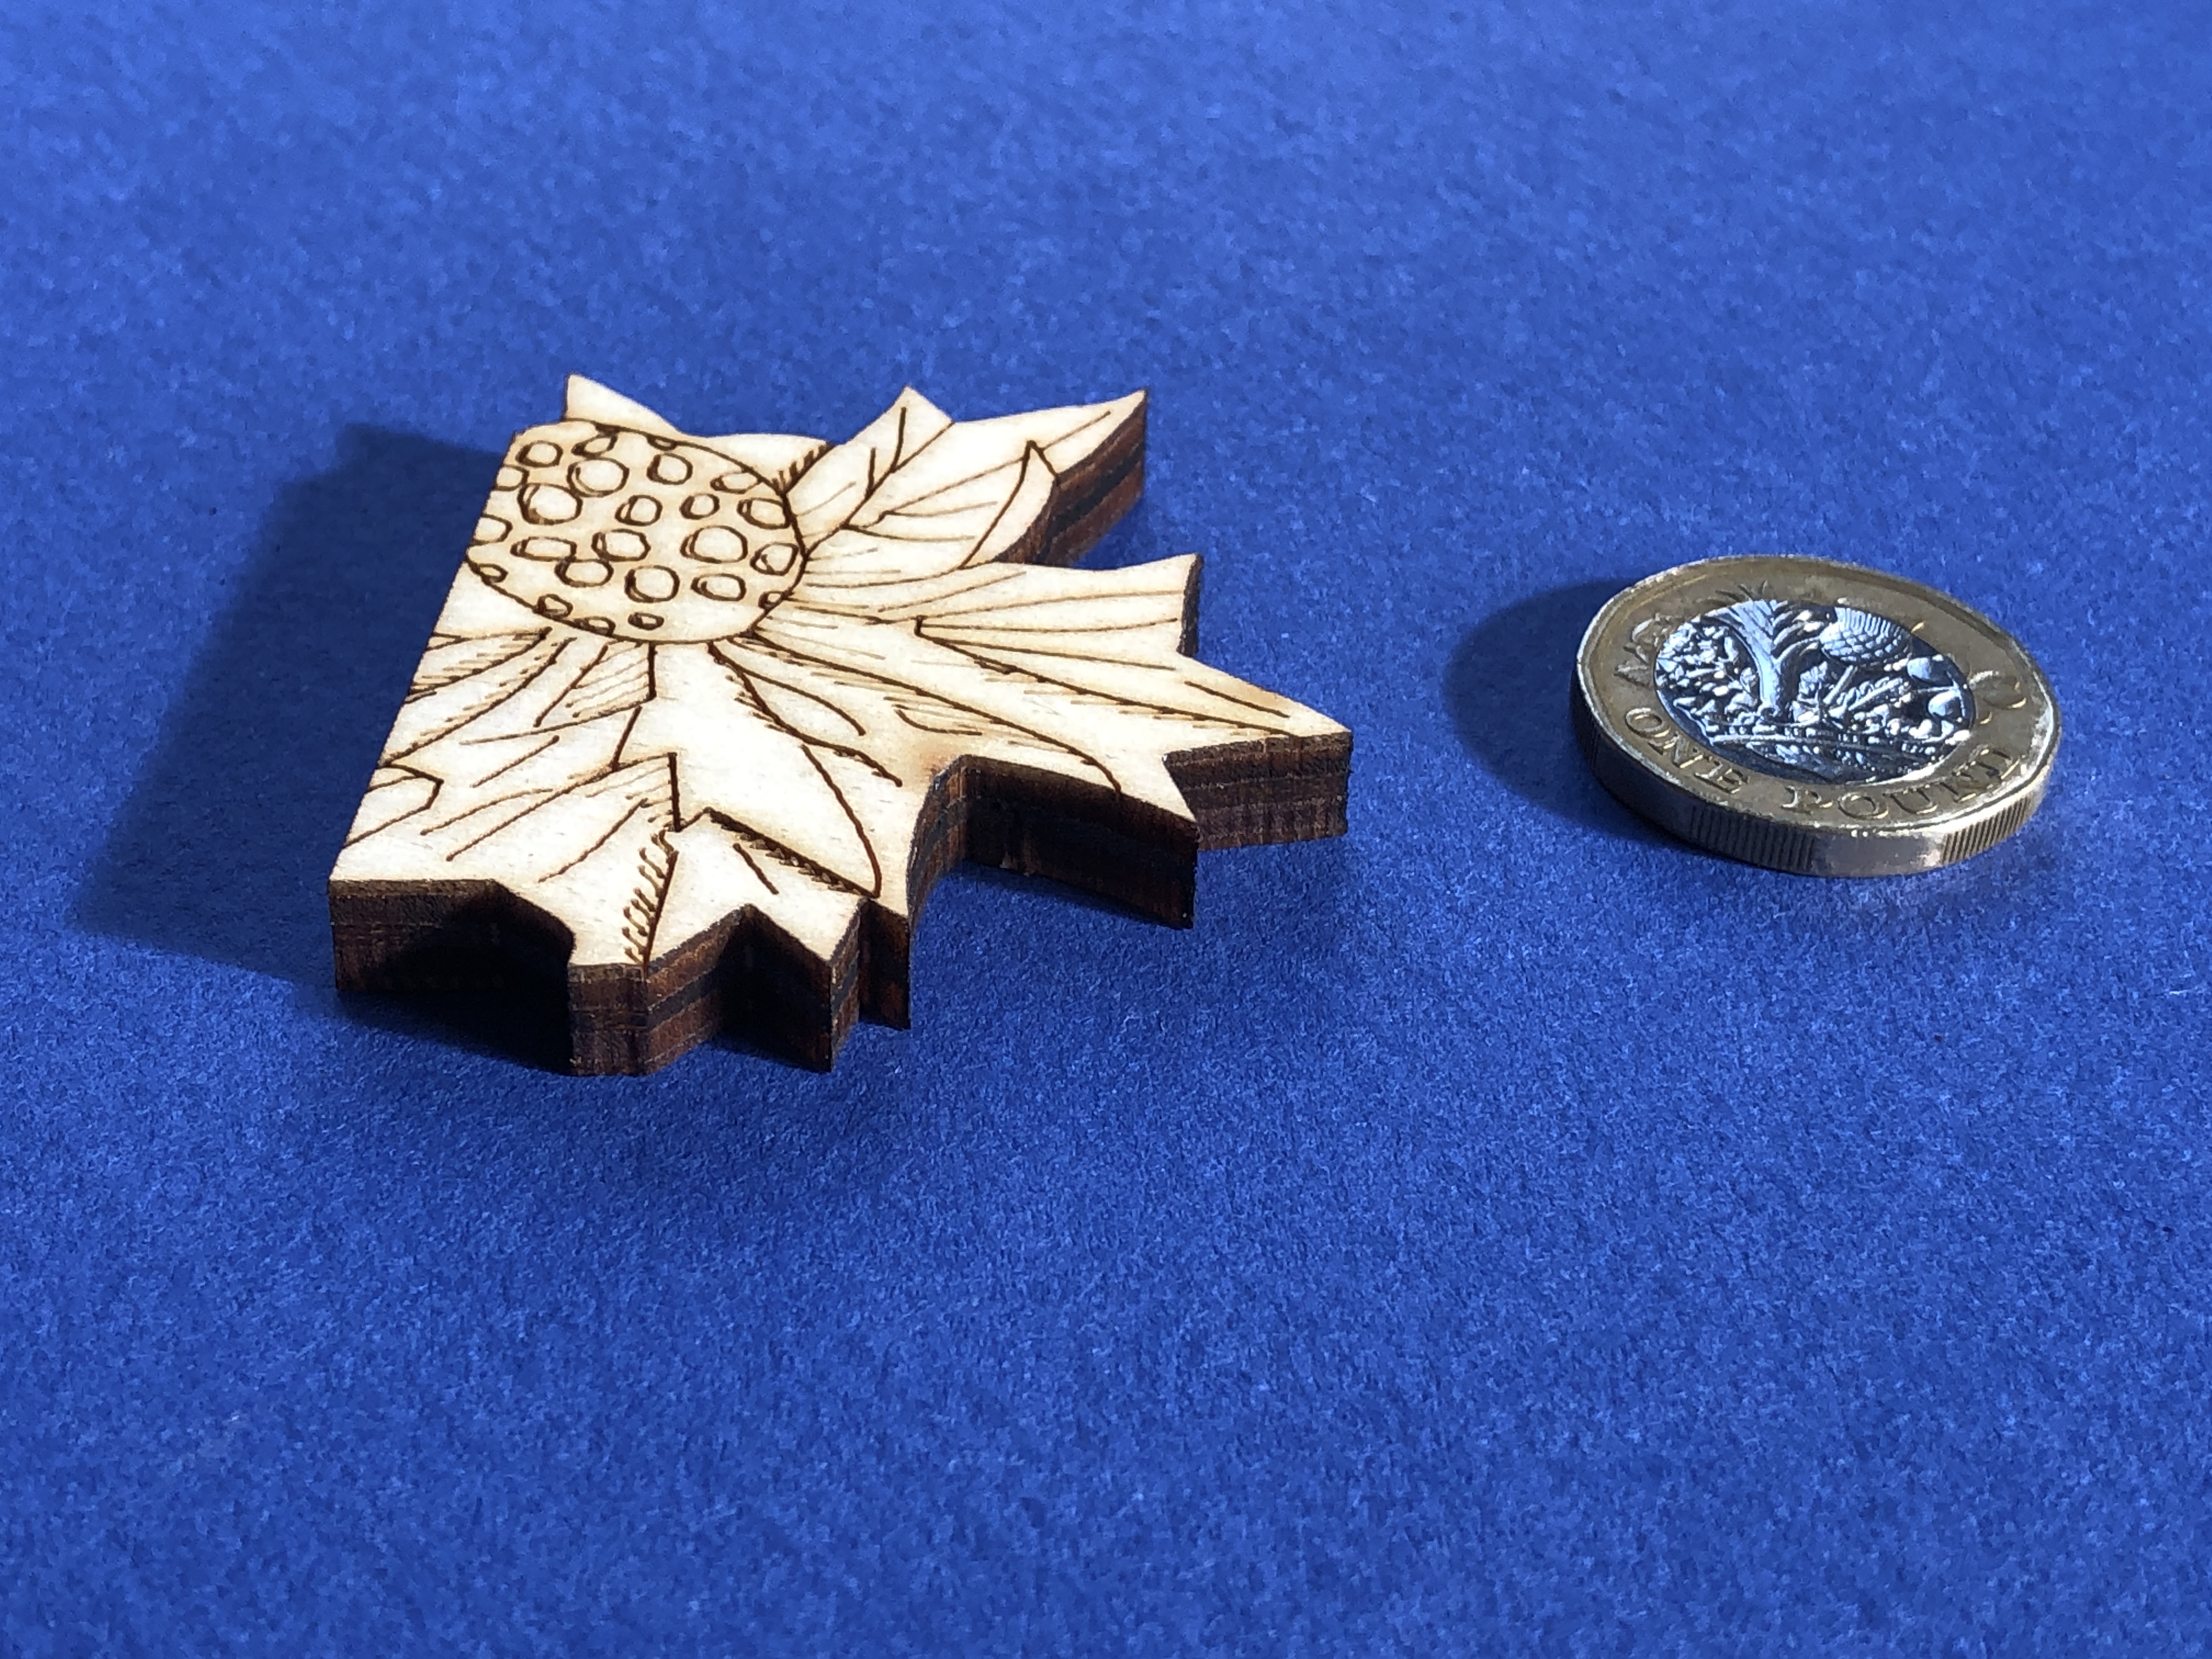
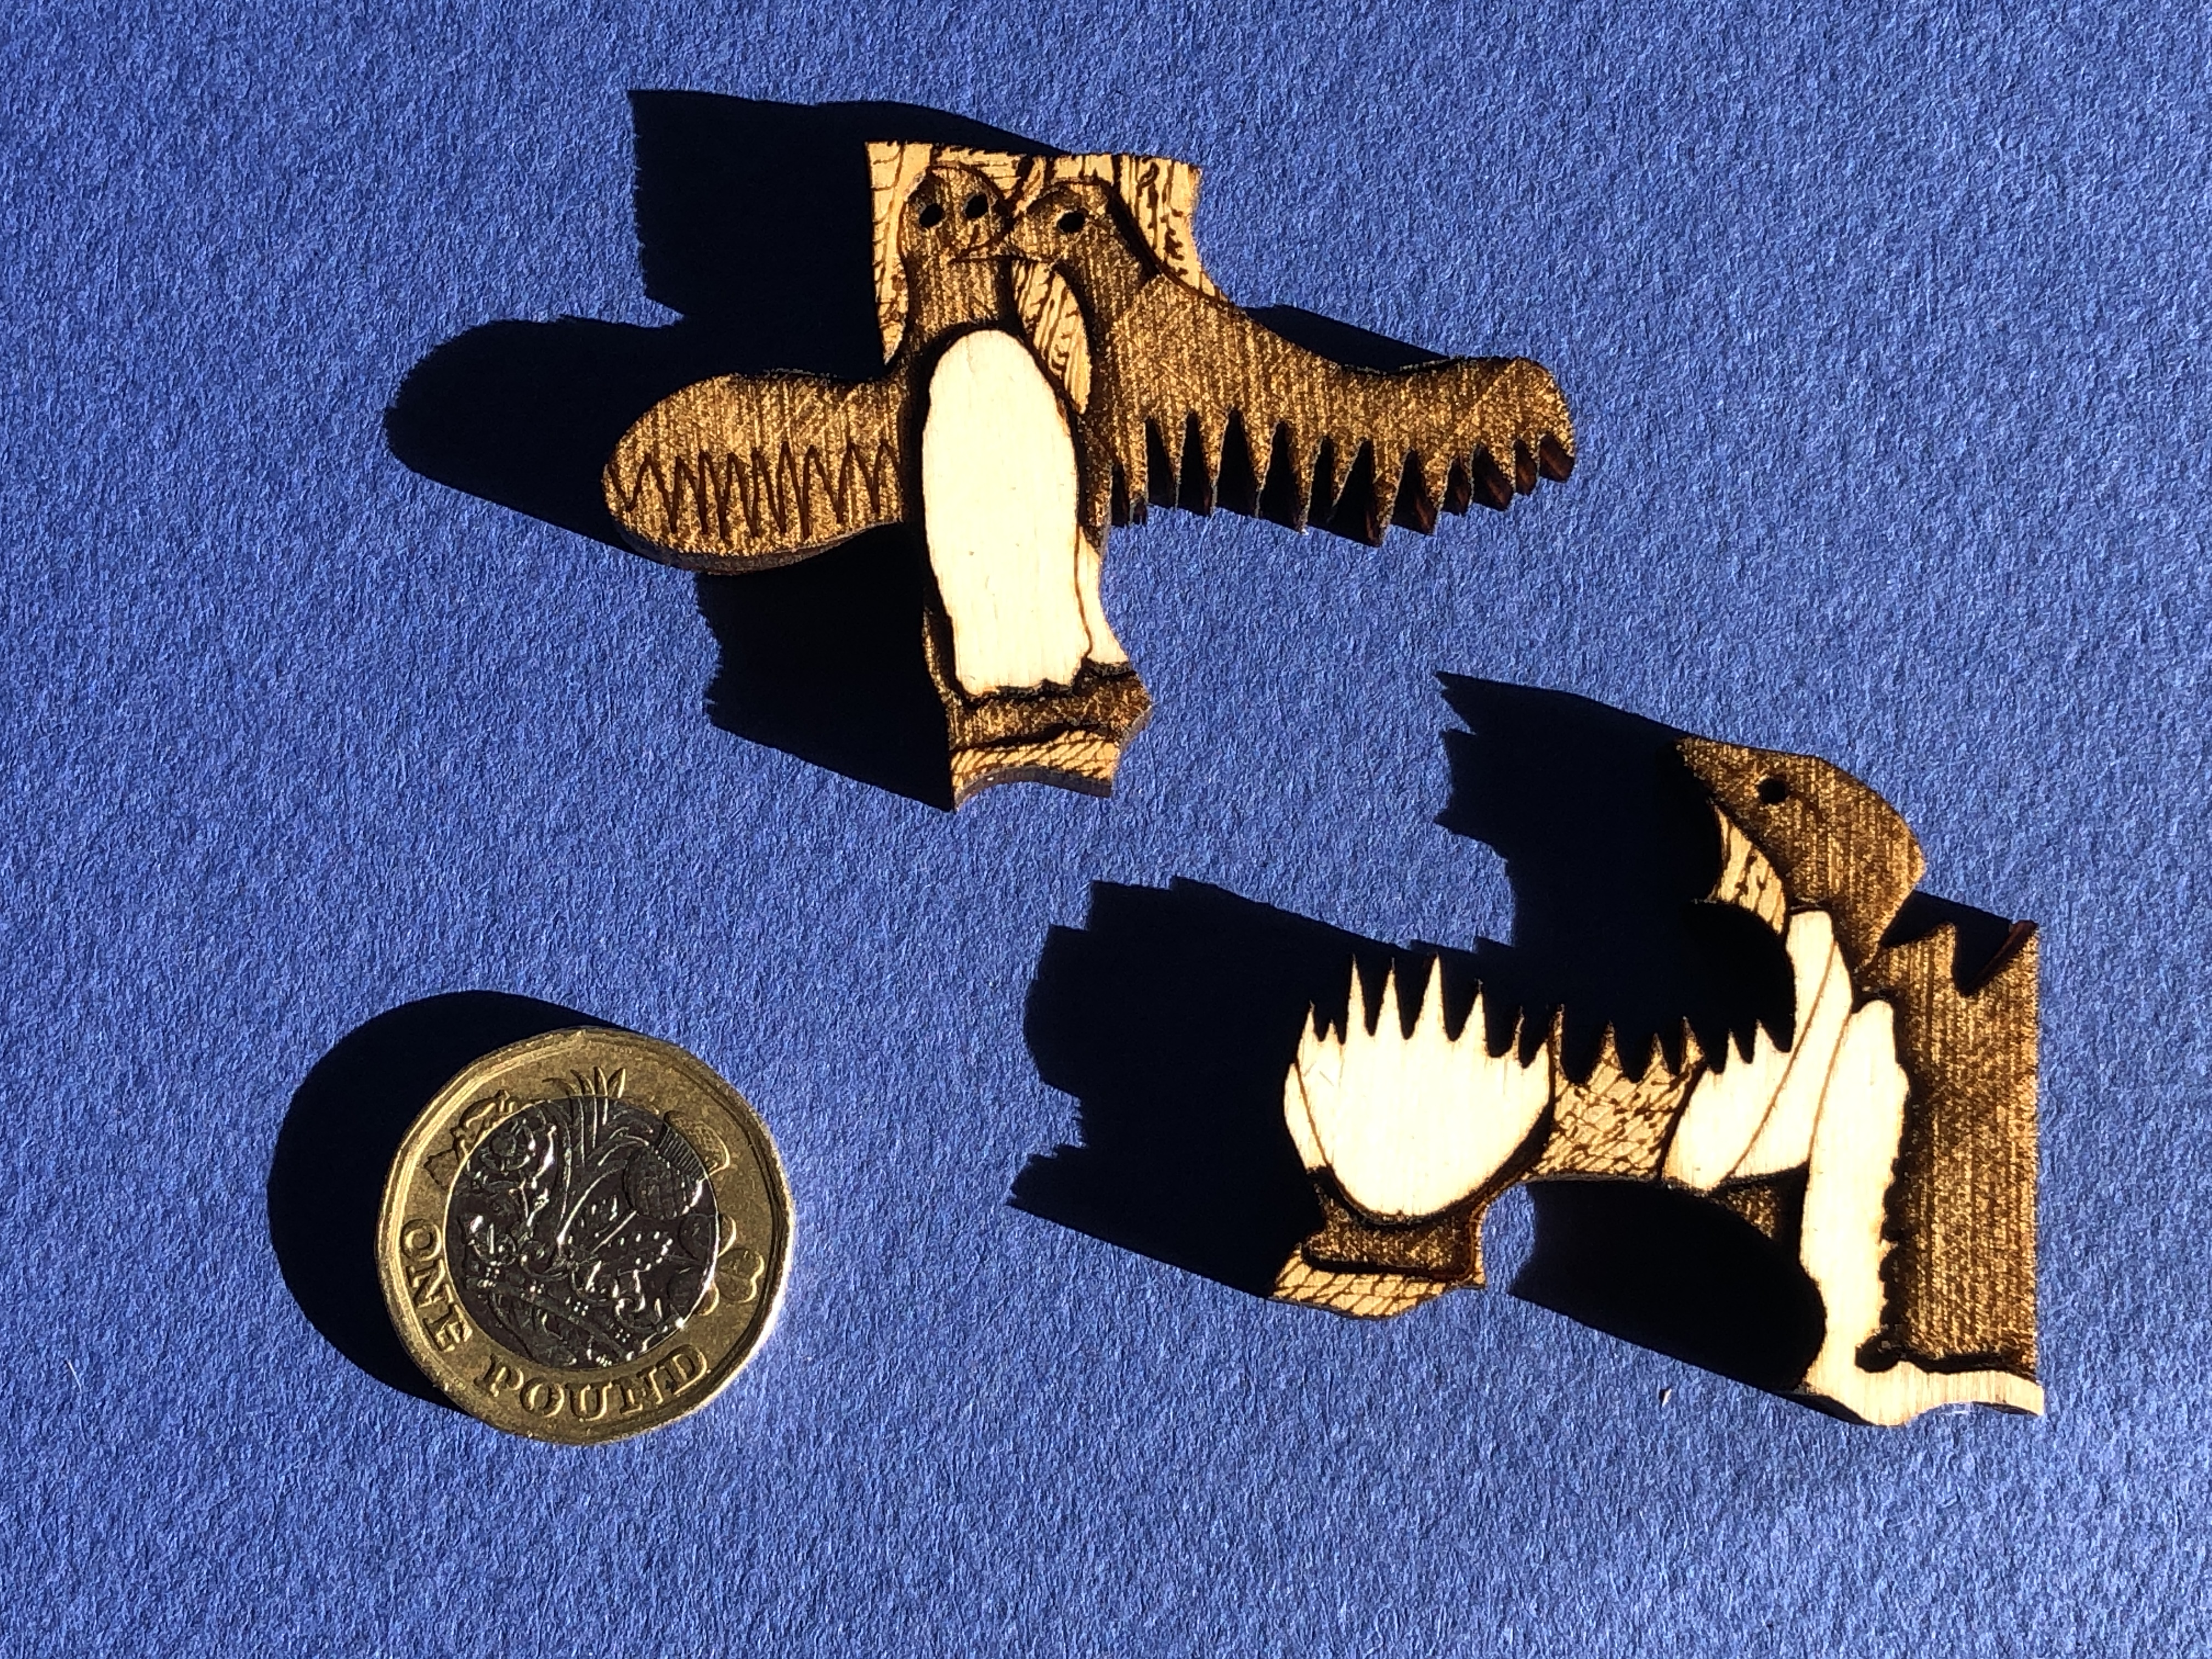
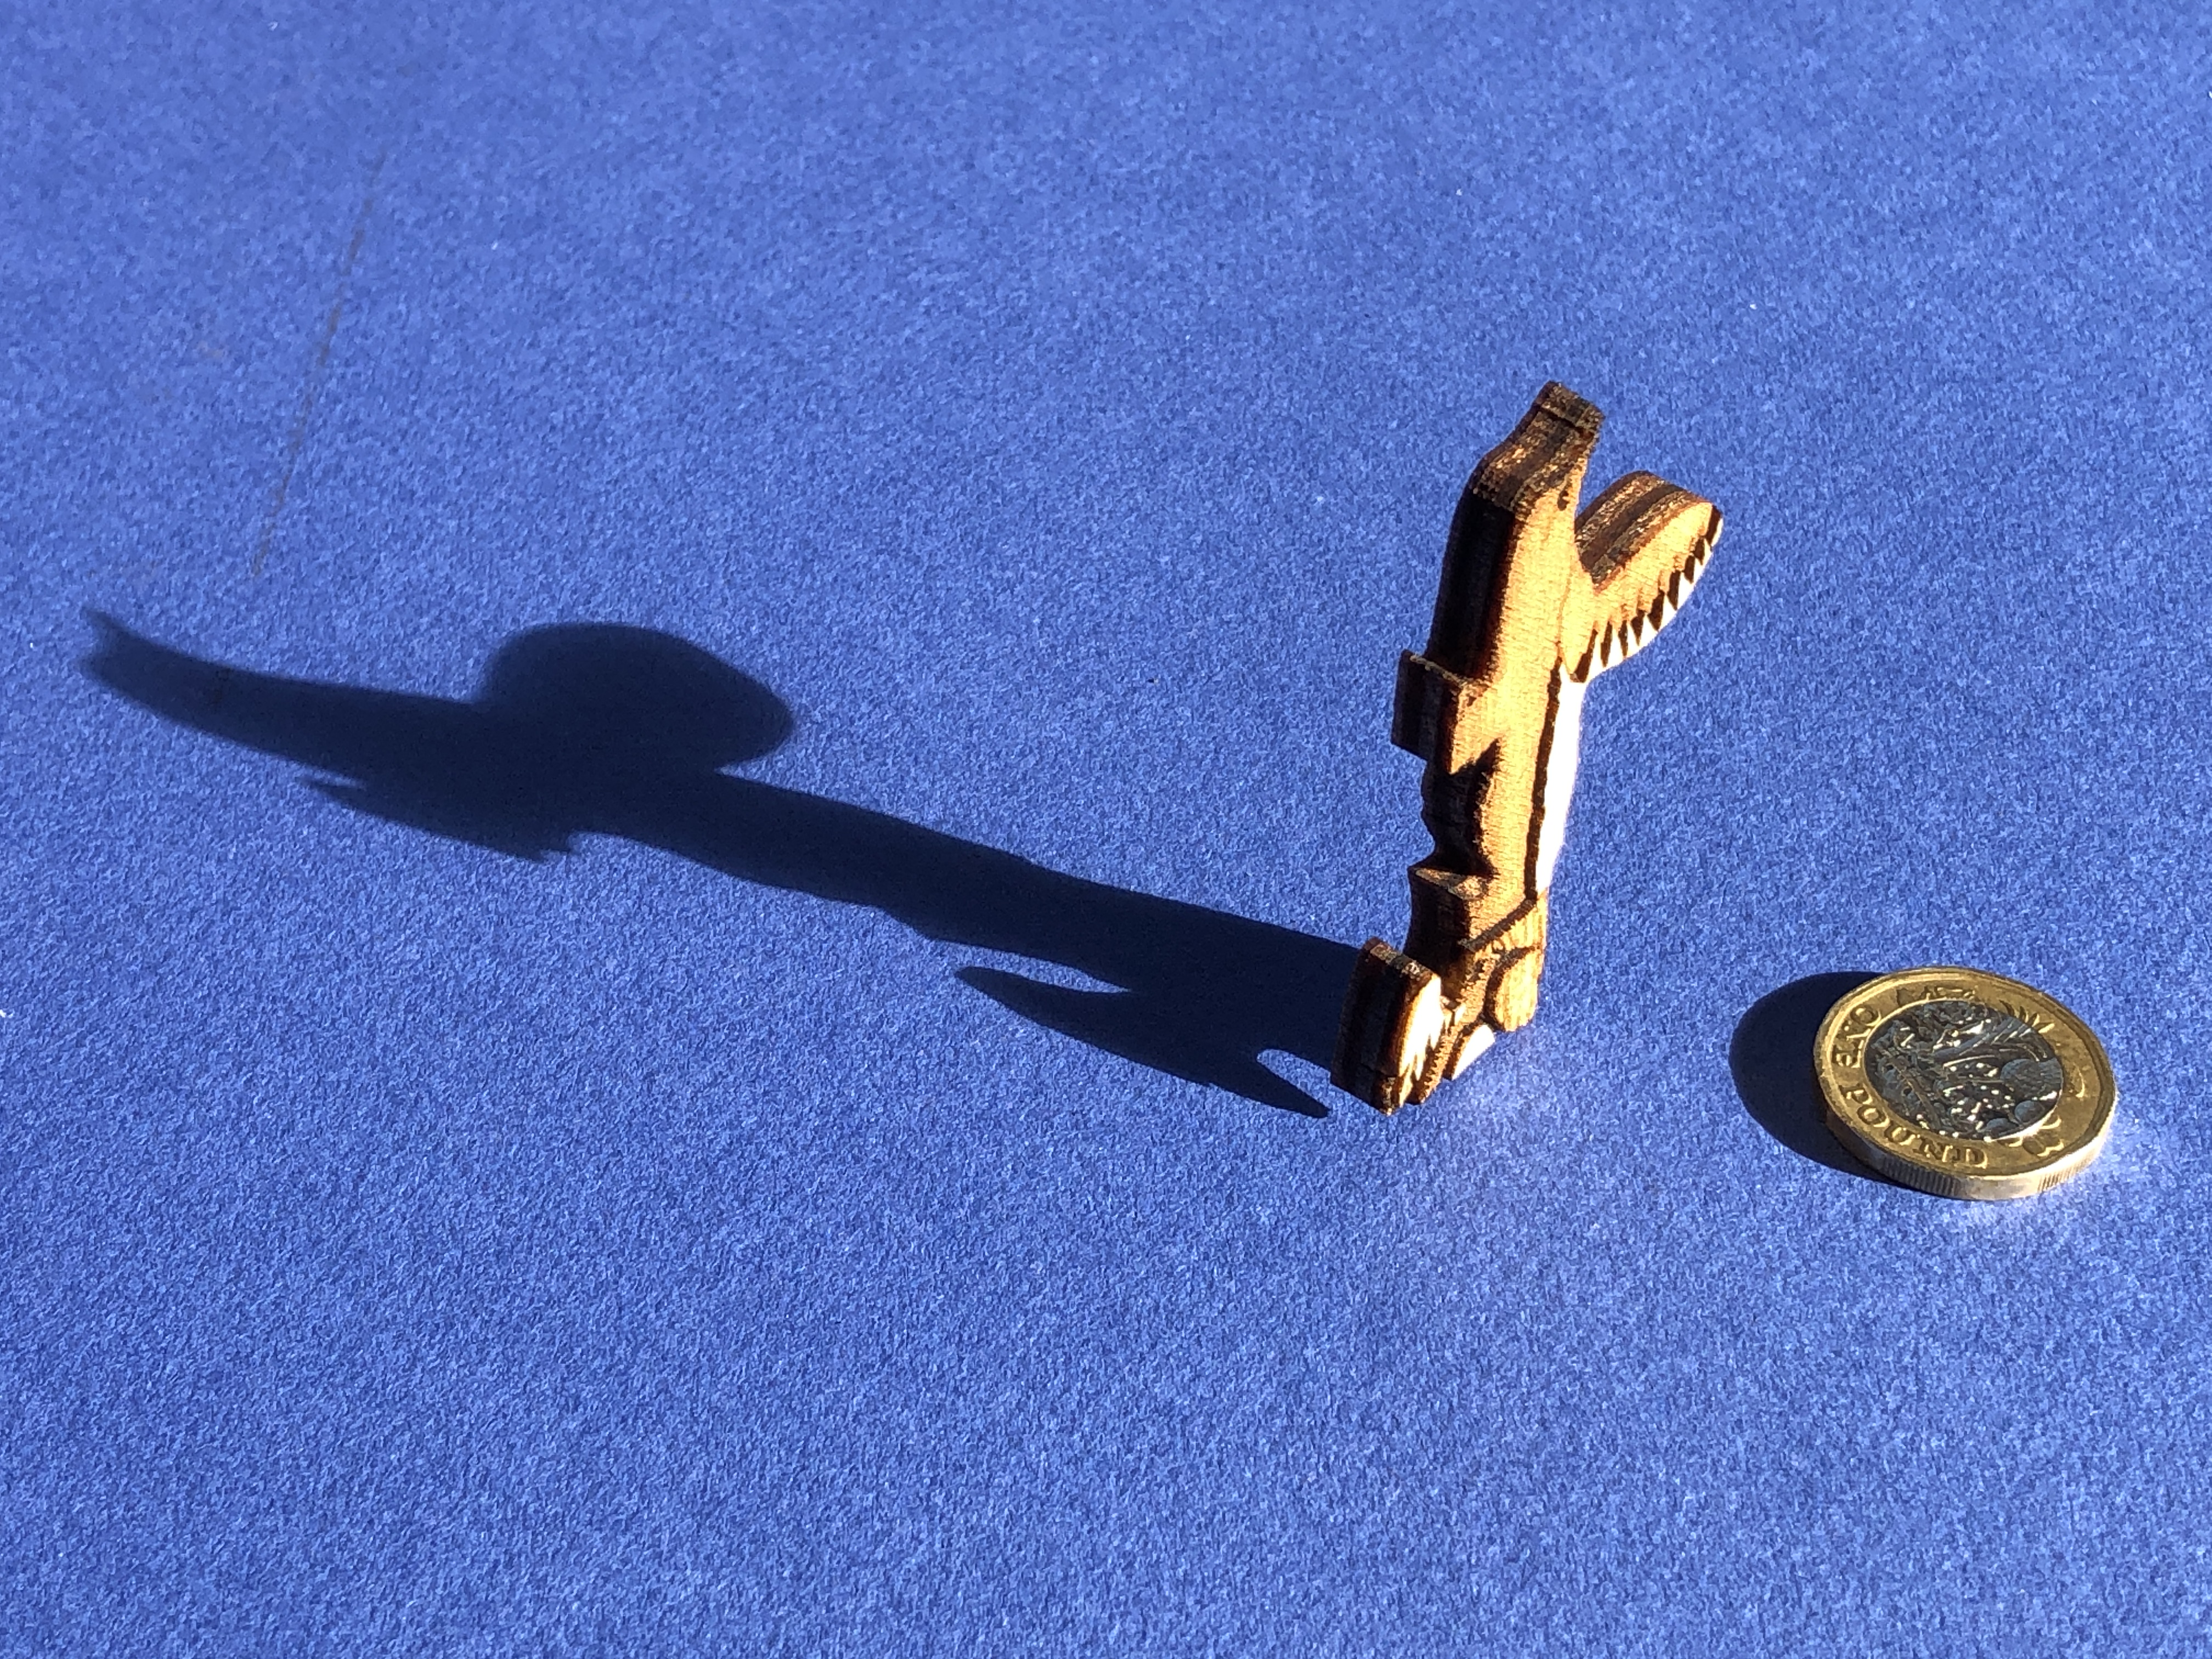
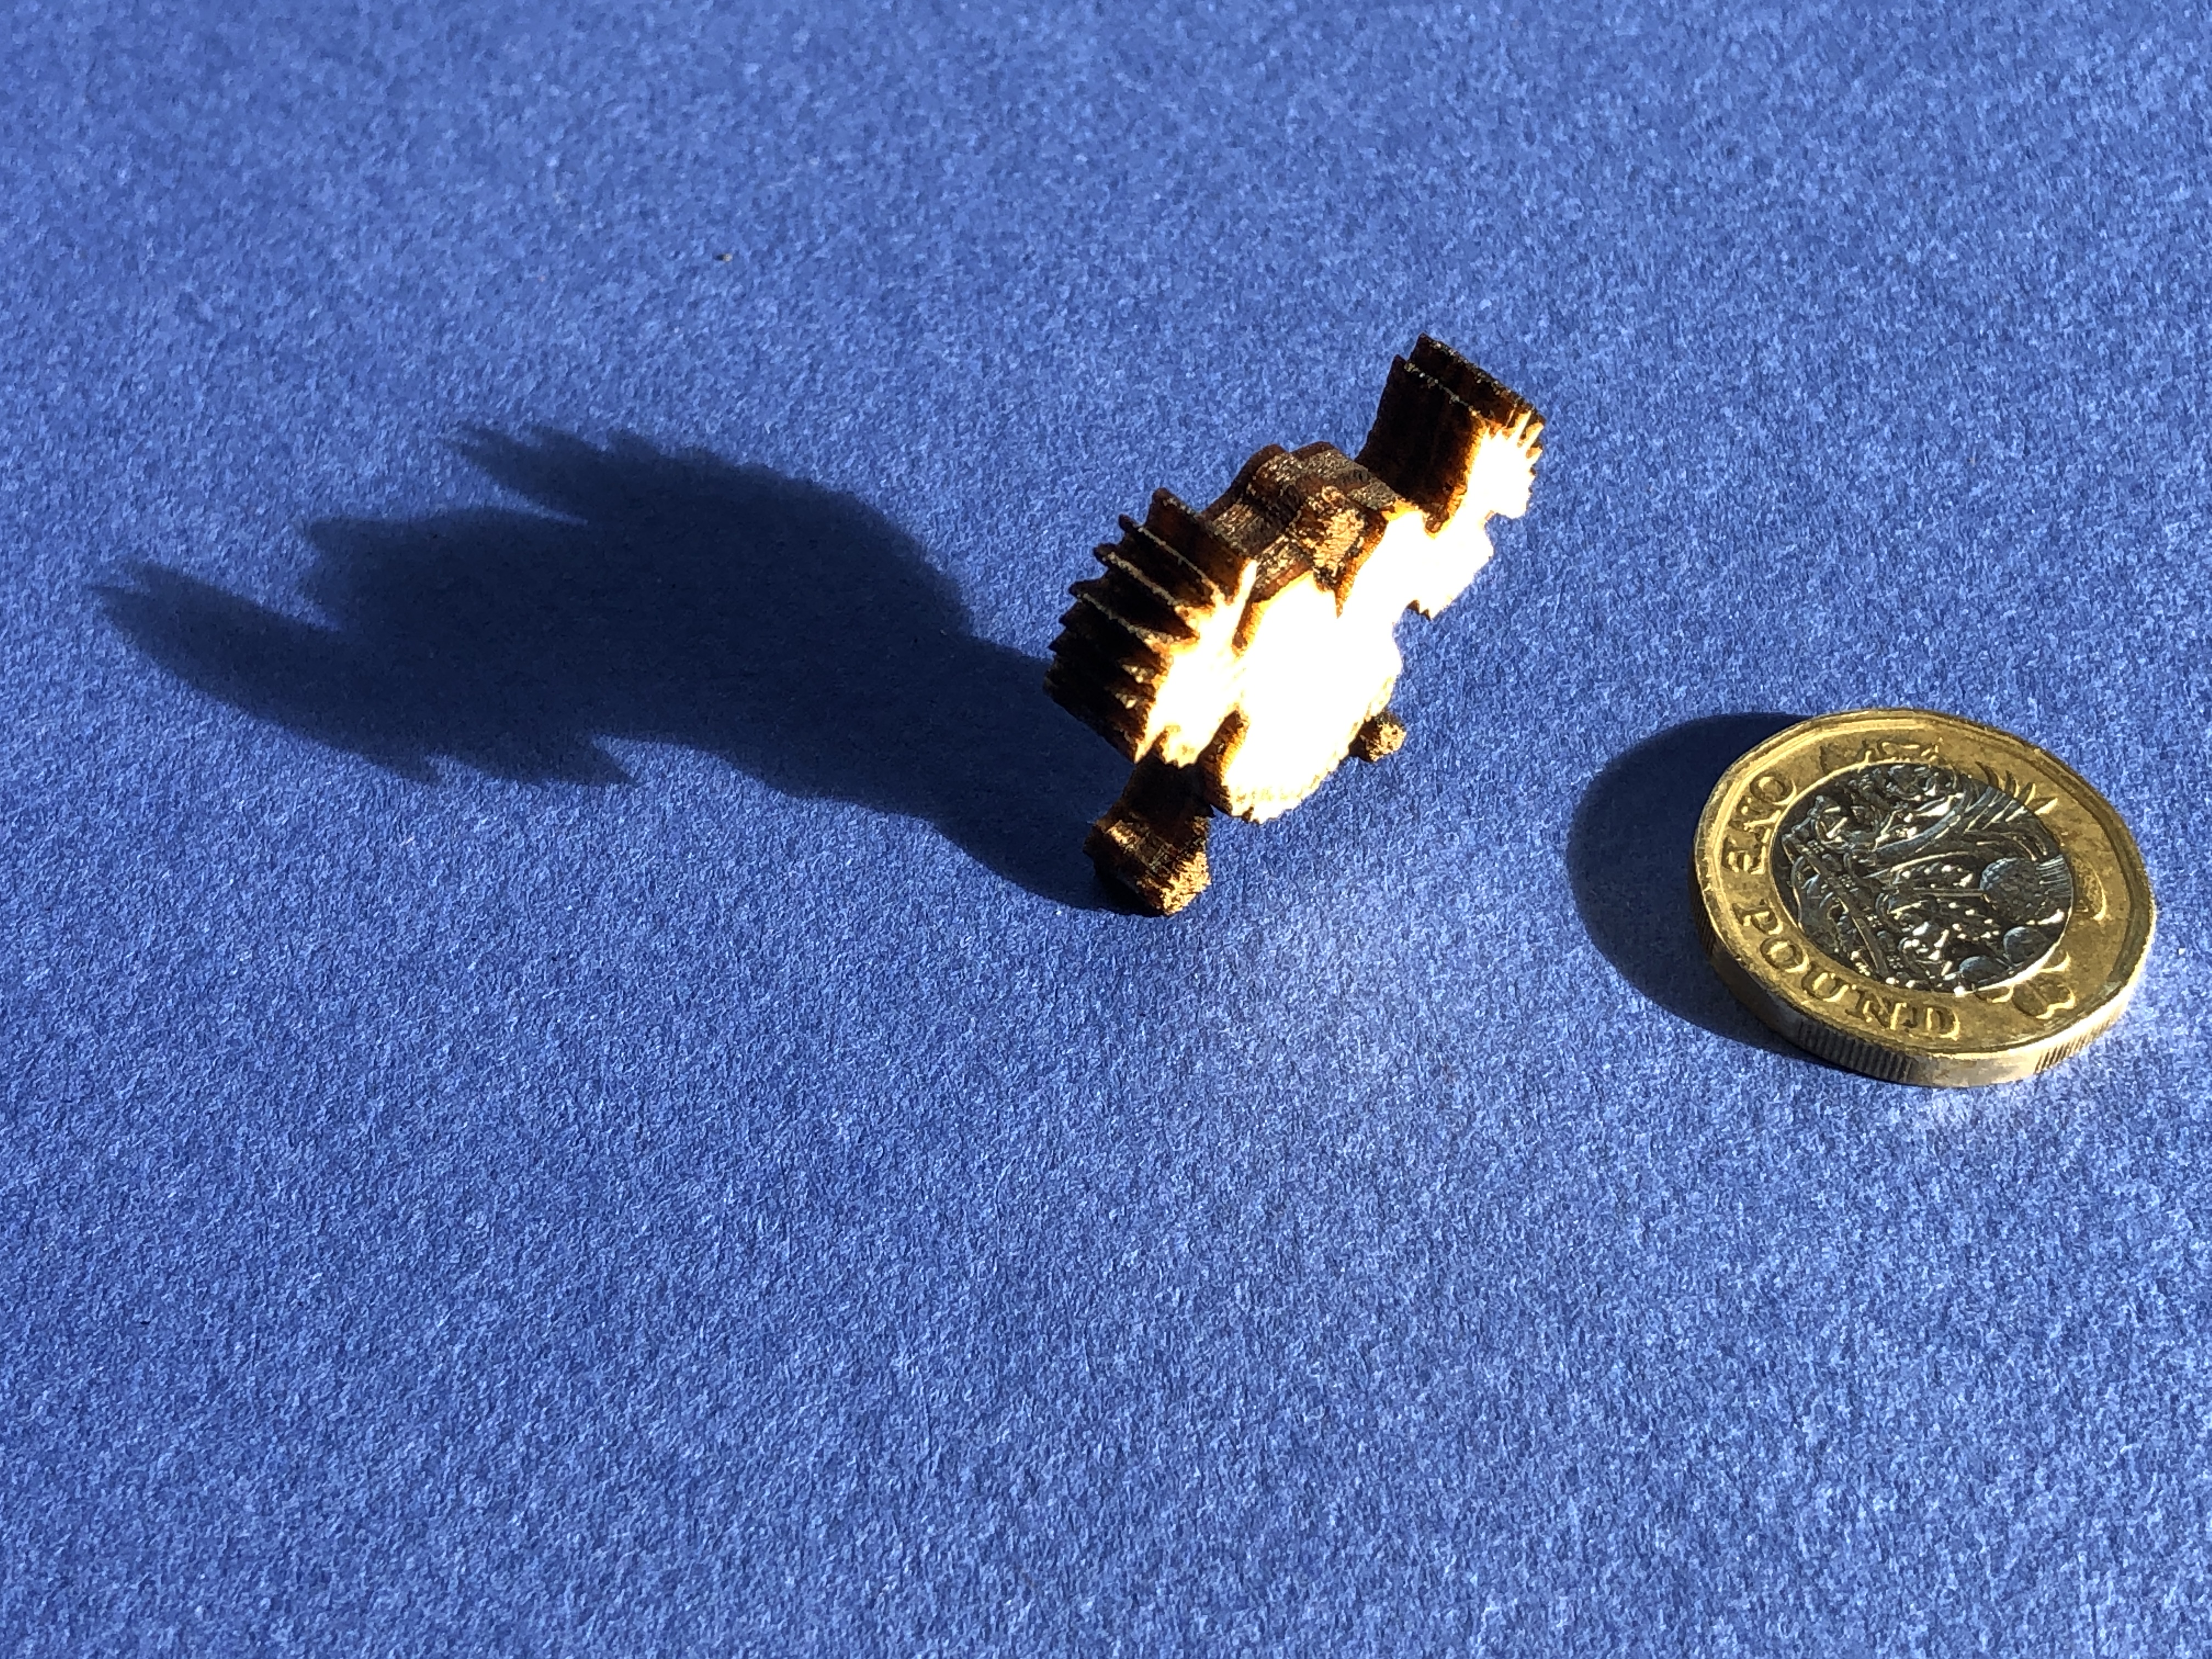
    Close-up of some face pieces – they are all loose.
    I vary the depth of some pieces to make them stand out…

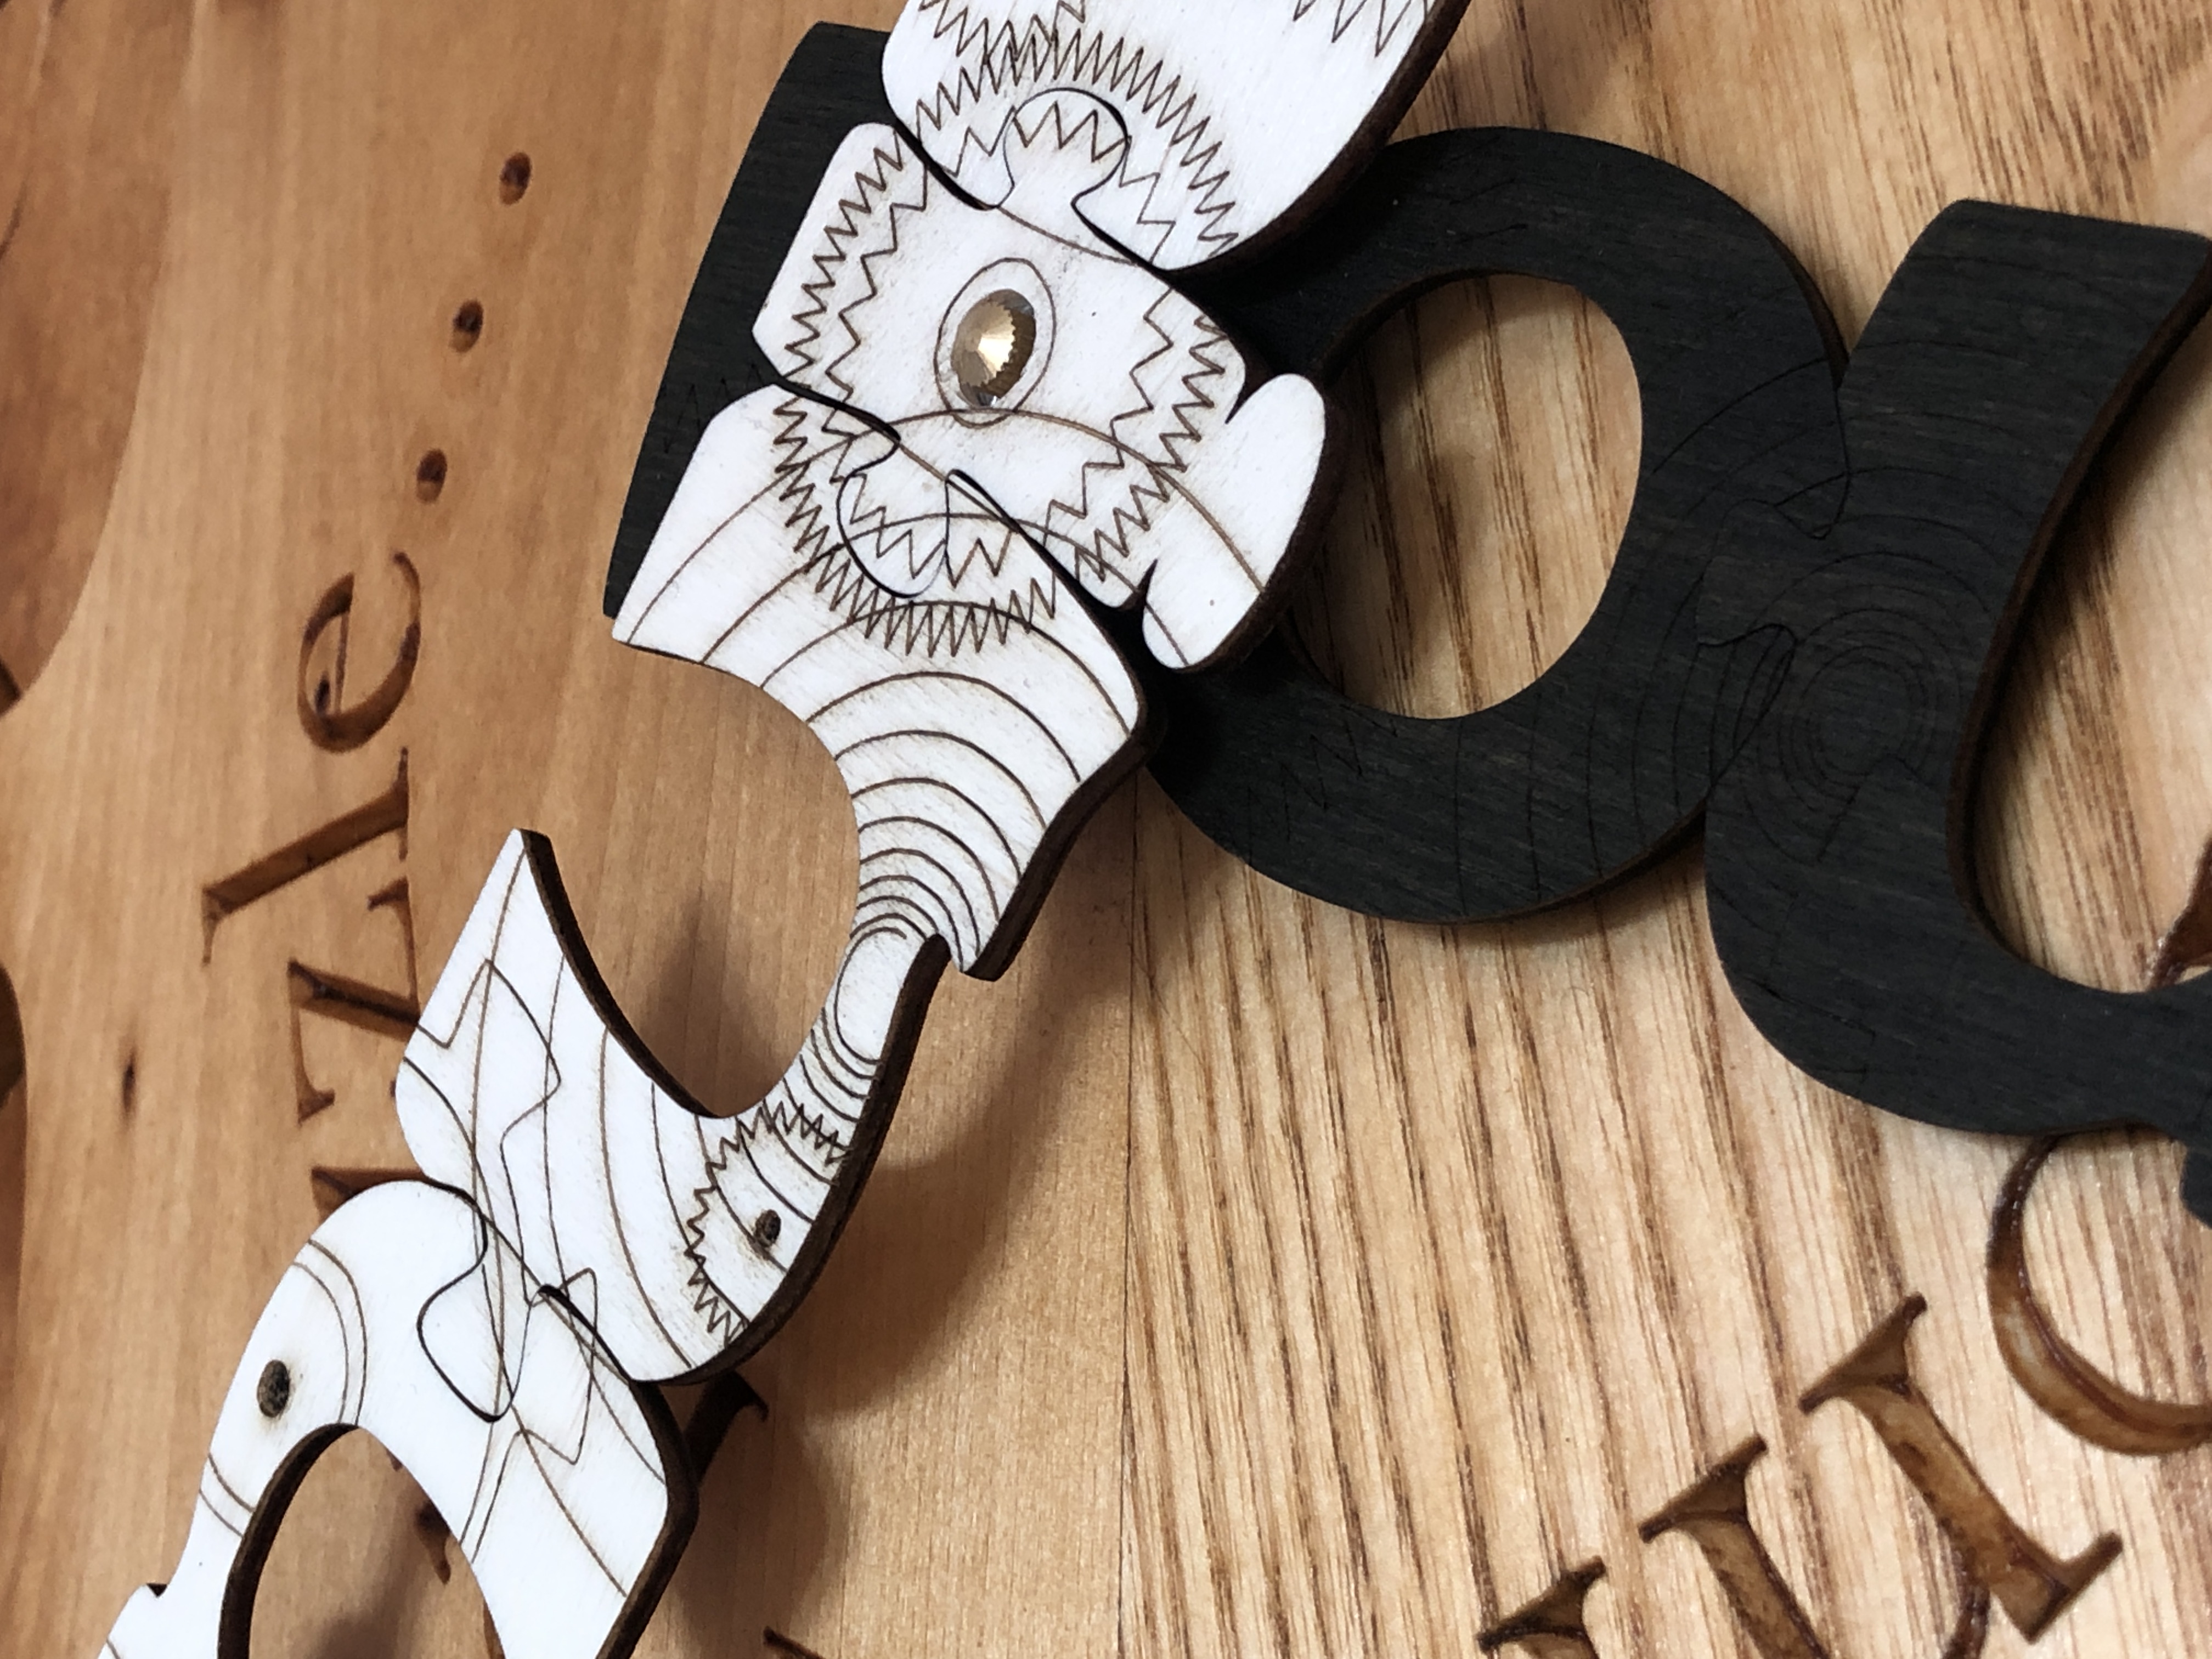
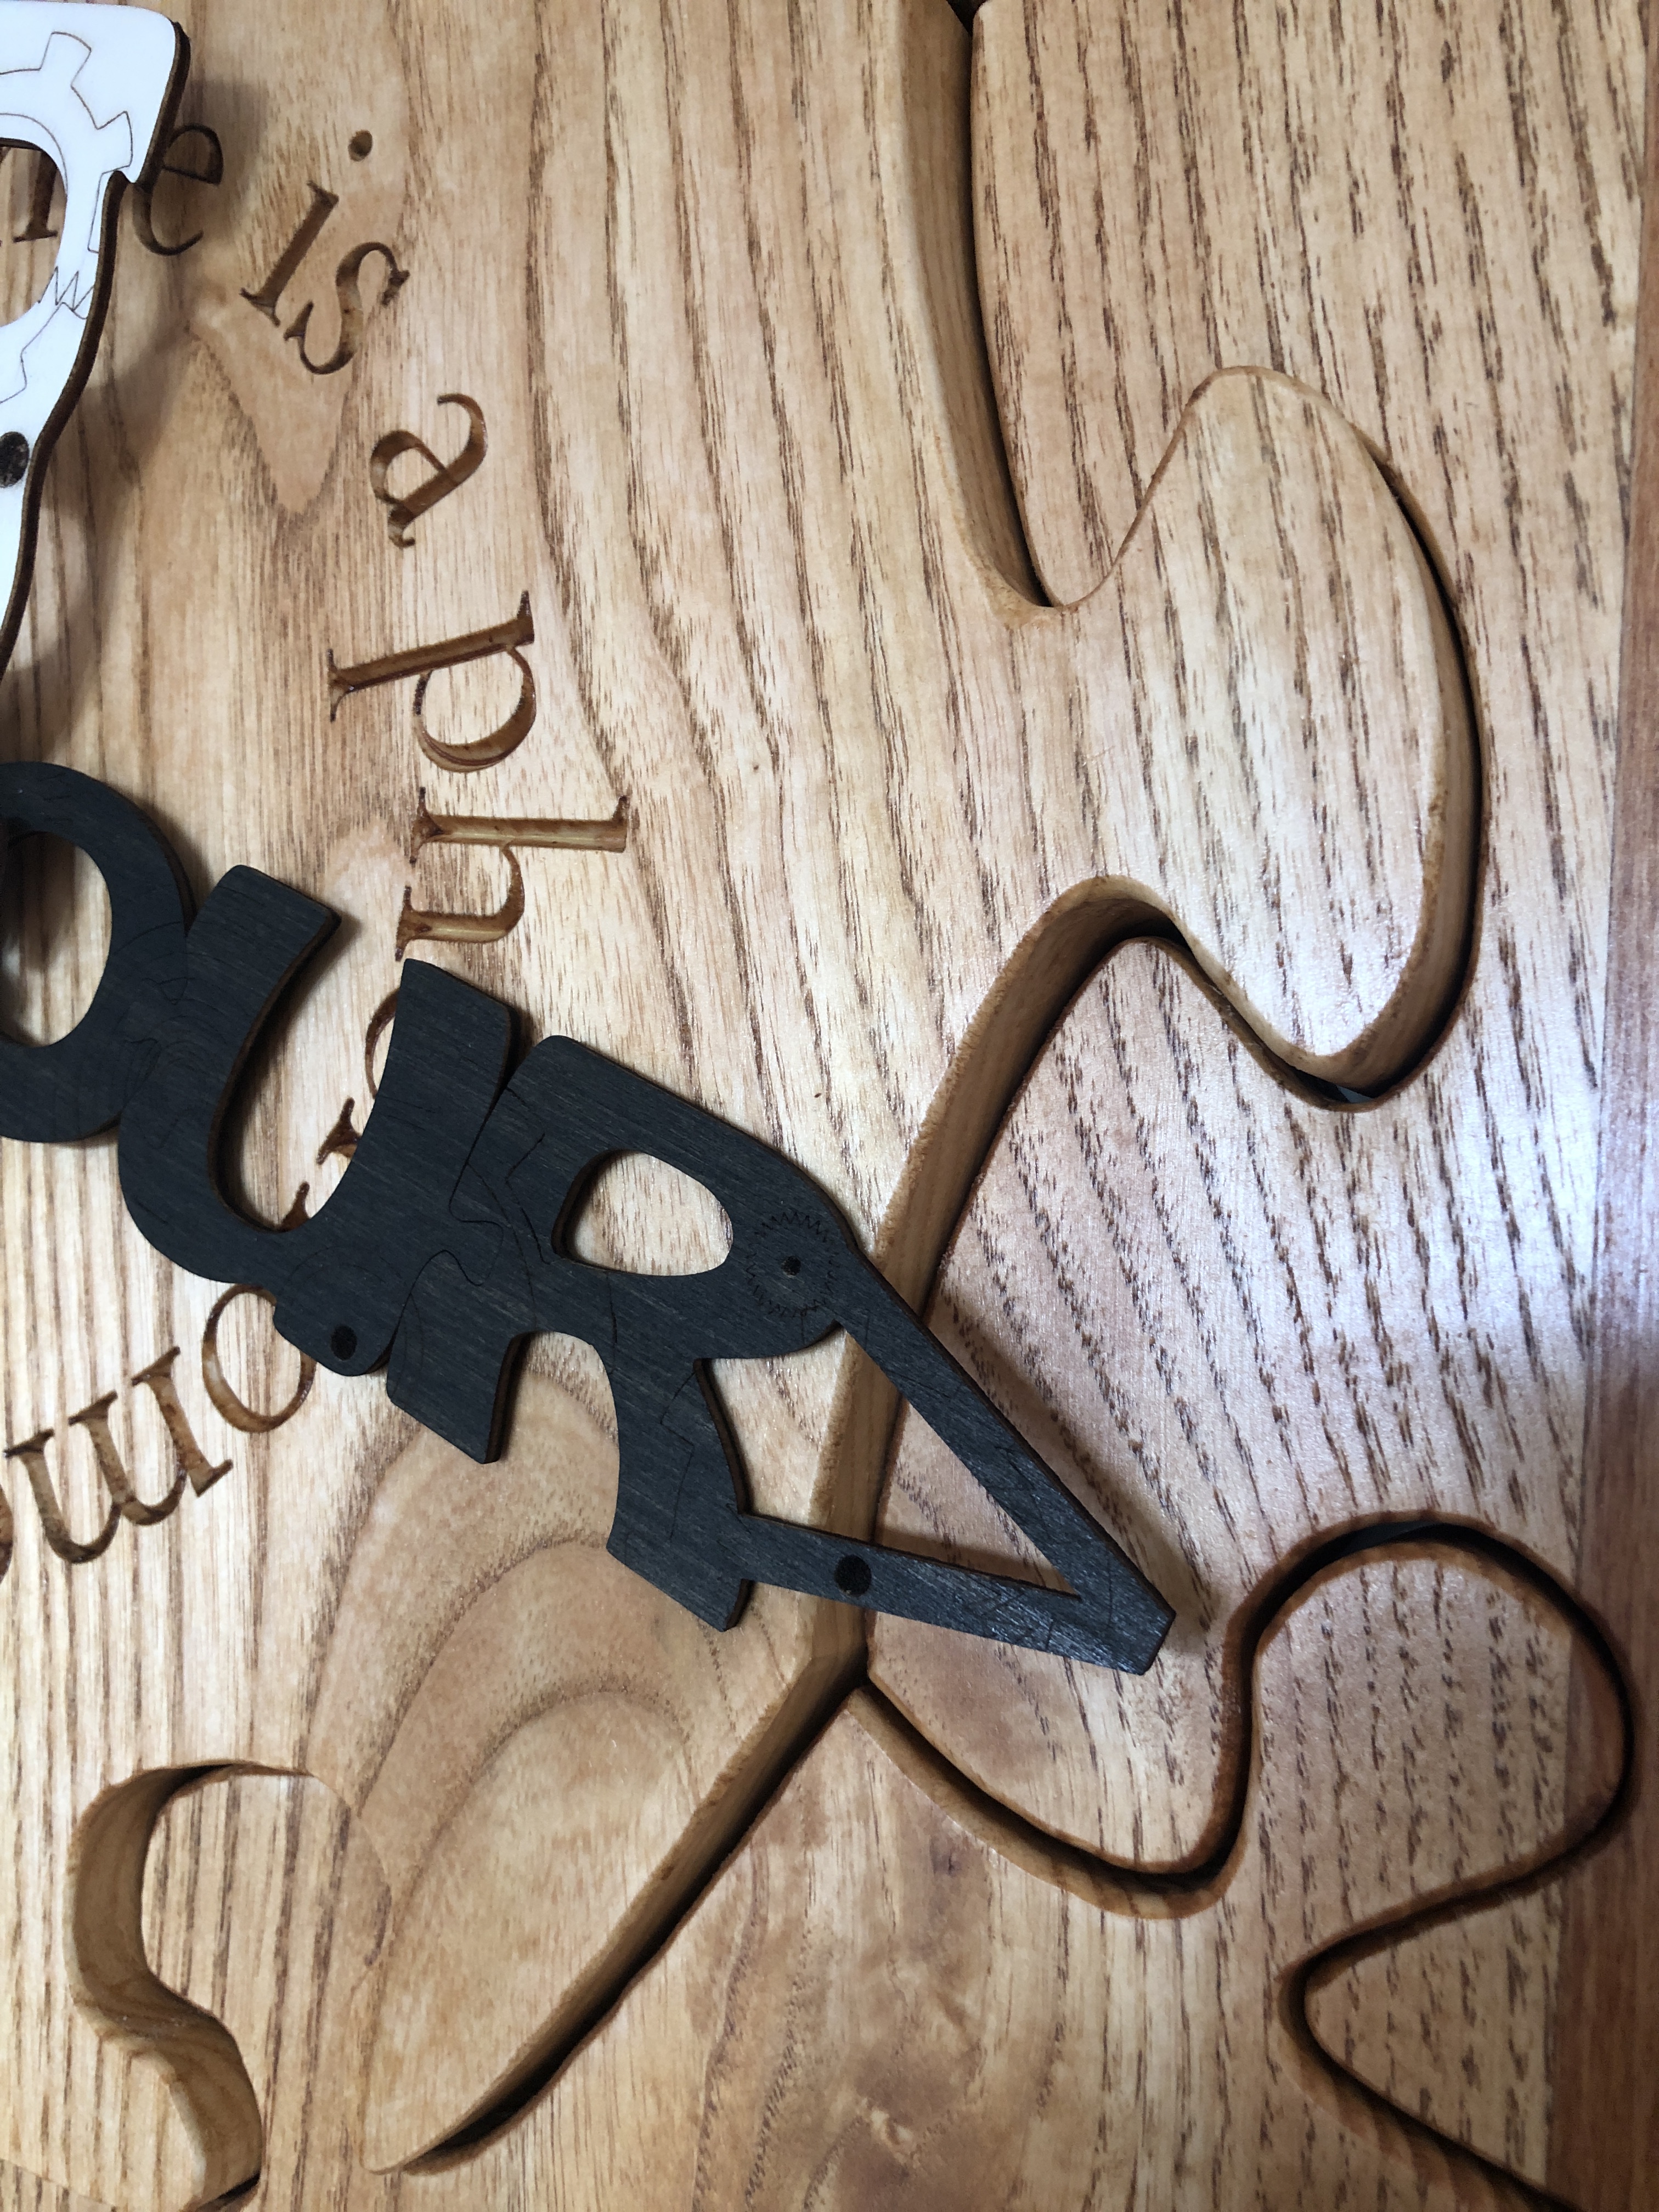
    The clock face is a large (950mm or 37 ยฝ โ€ diameter) thick circular wooden jigsaw puzzle โ€“ where all the pieces are solid oak โ€“ about 32mm (1 ยผ โ€) thick. The clock hands are very strong but light plywood jigsaw puzzle pieces 3mm (about an โ…› โ€) thick โ€“ spelling out the words โ€œhourโ€ and โ€œminuteโ€. They have a steampunk motif engraving of cogs, wheels, springs, shafts, and screws โ€“ as if they were word-shaped windows revealing the inner workings of the clock inside.
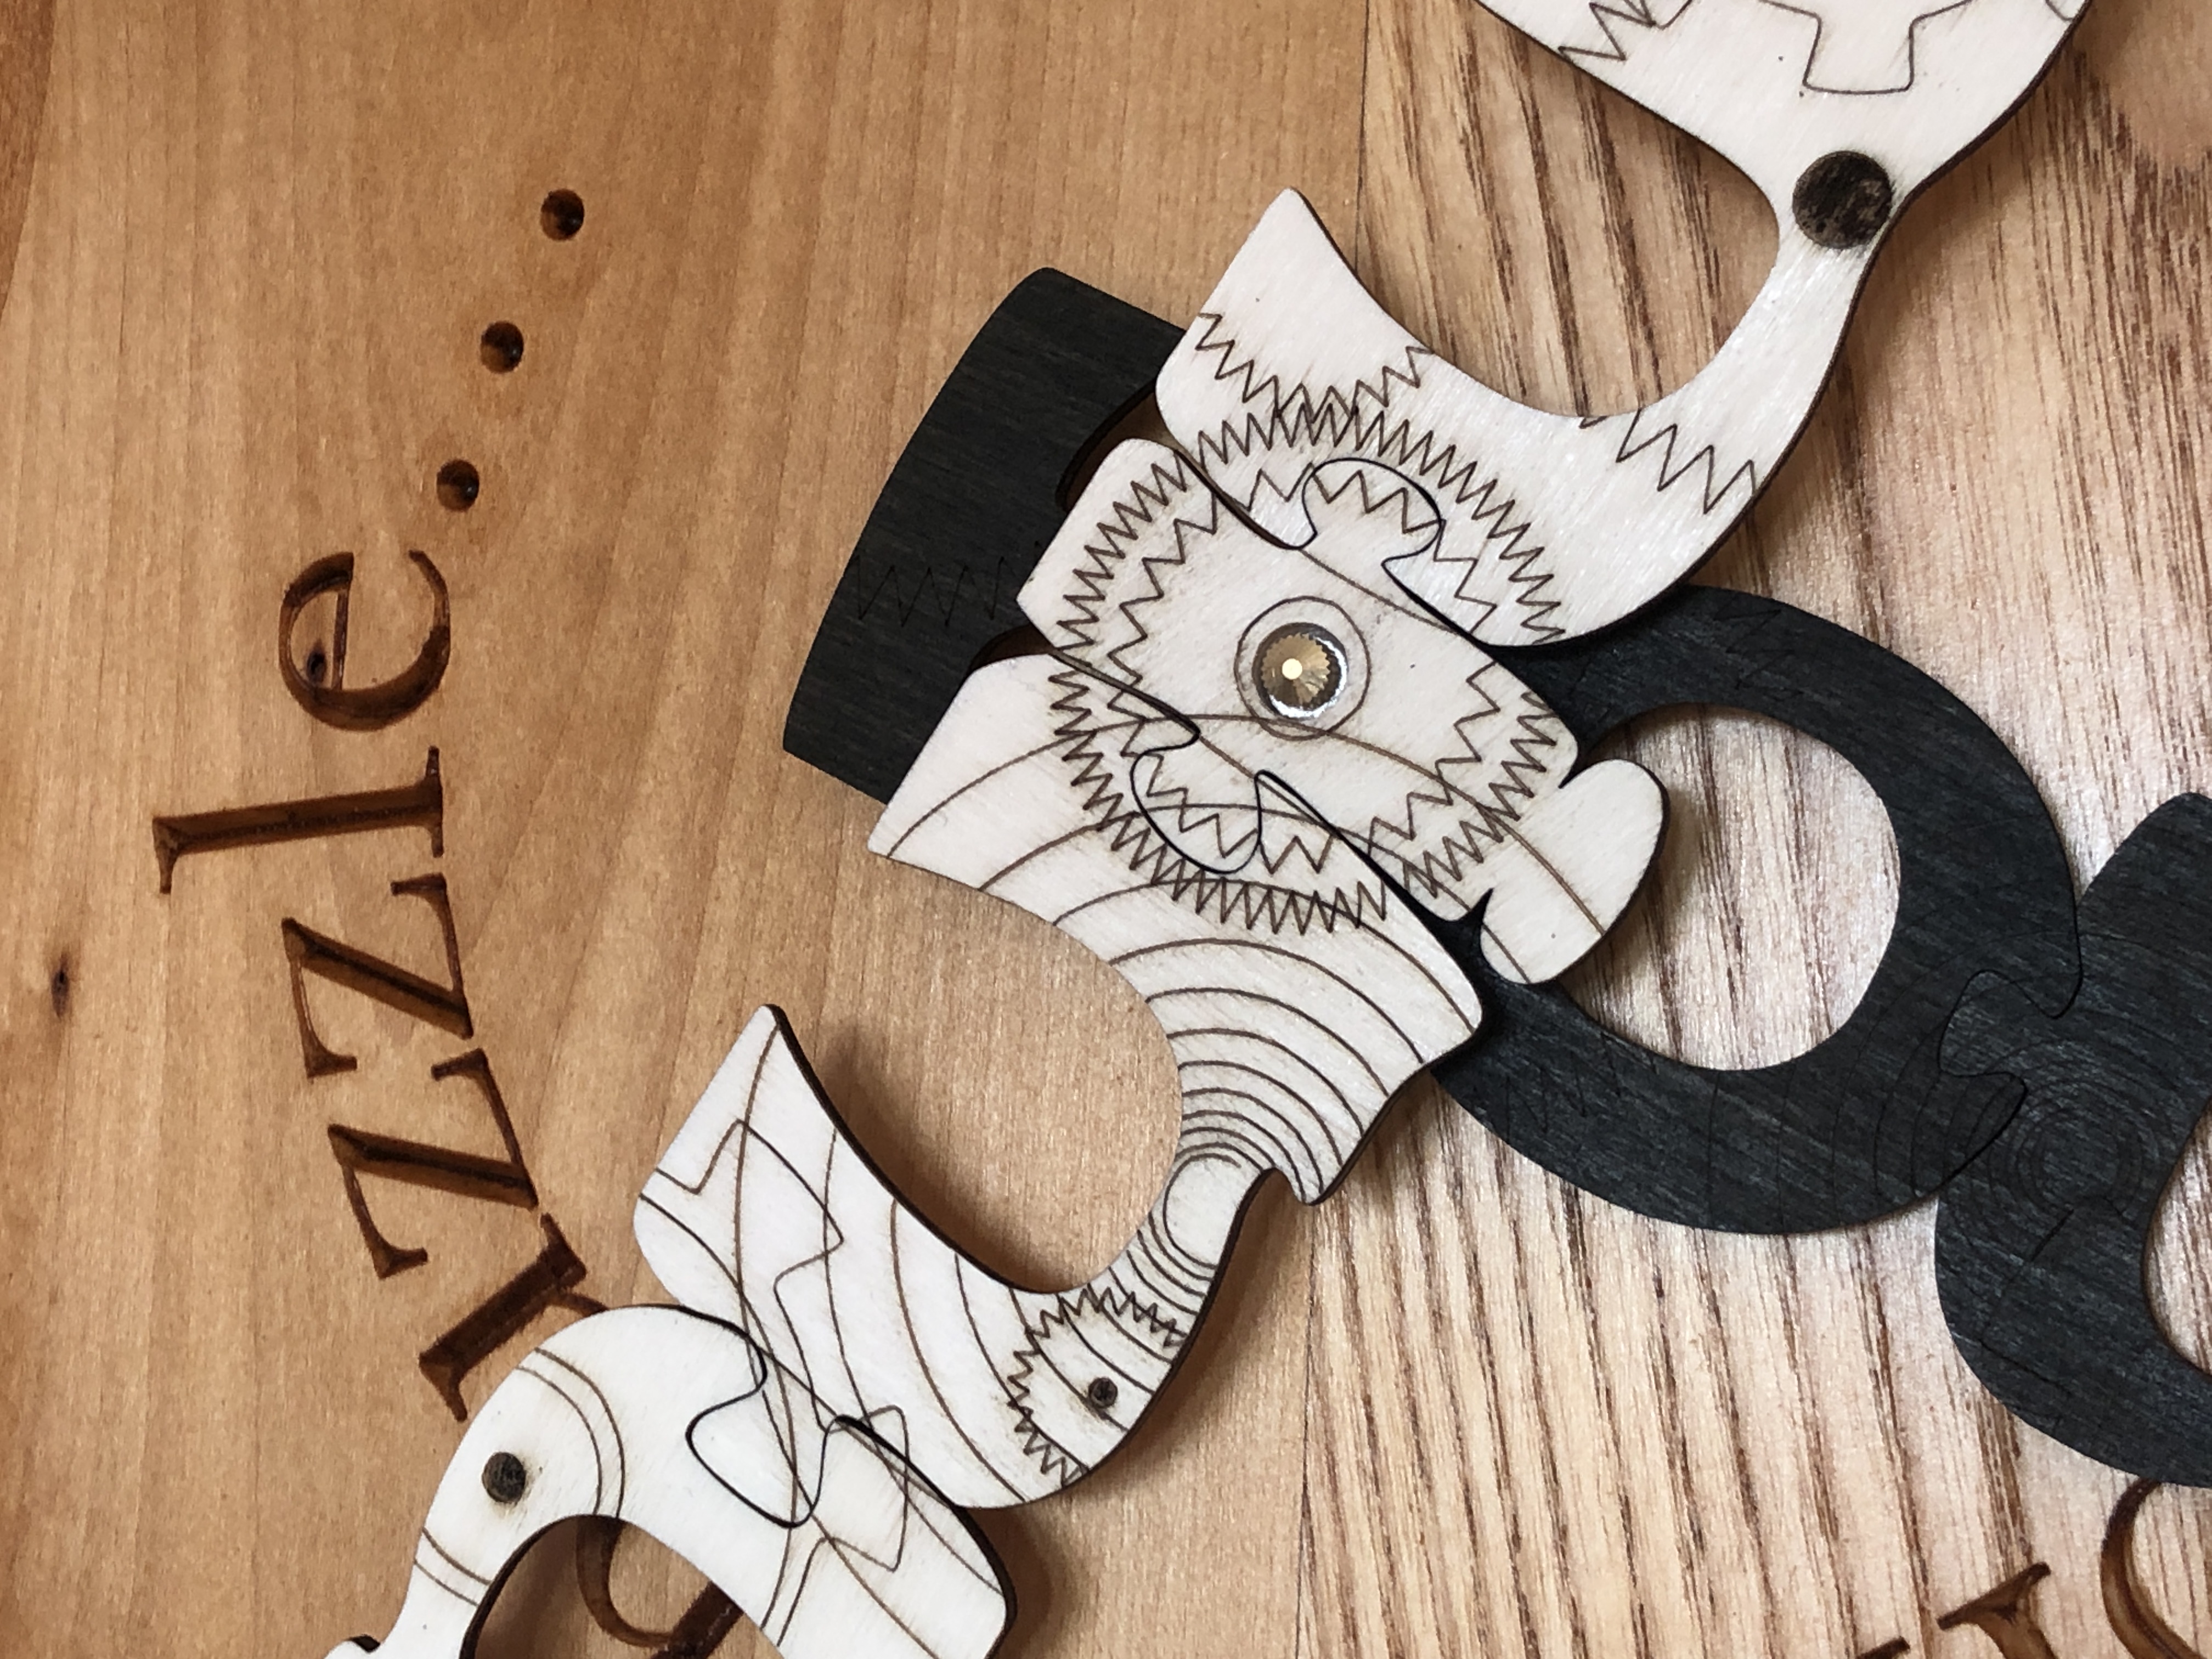
    Close-up of steampunk motif engraving of cogs, wheels, springs, shafts, and screws

    I designed and made the puzzle clock face about three years ago (December 2021) (albeit a โ€œsmallโ€ one โ€“ about 500mm โ€“ 20โ€ โ€“ in diameter), but I couldnโ€™t think of a design I was happy with for the clock hands. This proved really difficult because I wanted the clock hands to be puzzles in themselves โ€“ so the pieces had to reliably and tightly fit together โ€“ each as a rigid unit, be fully rotatable, and fit securely on a conventional working clock movement. The latter was an interesting technical challenge, but I really struggled with a suitable aesthetic design for them. What would look appropriate or conforming with the theme of a time puzzle? What would look aesthetically pleasing (to me at least!)?

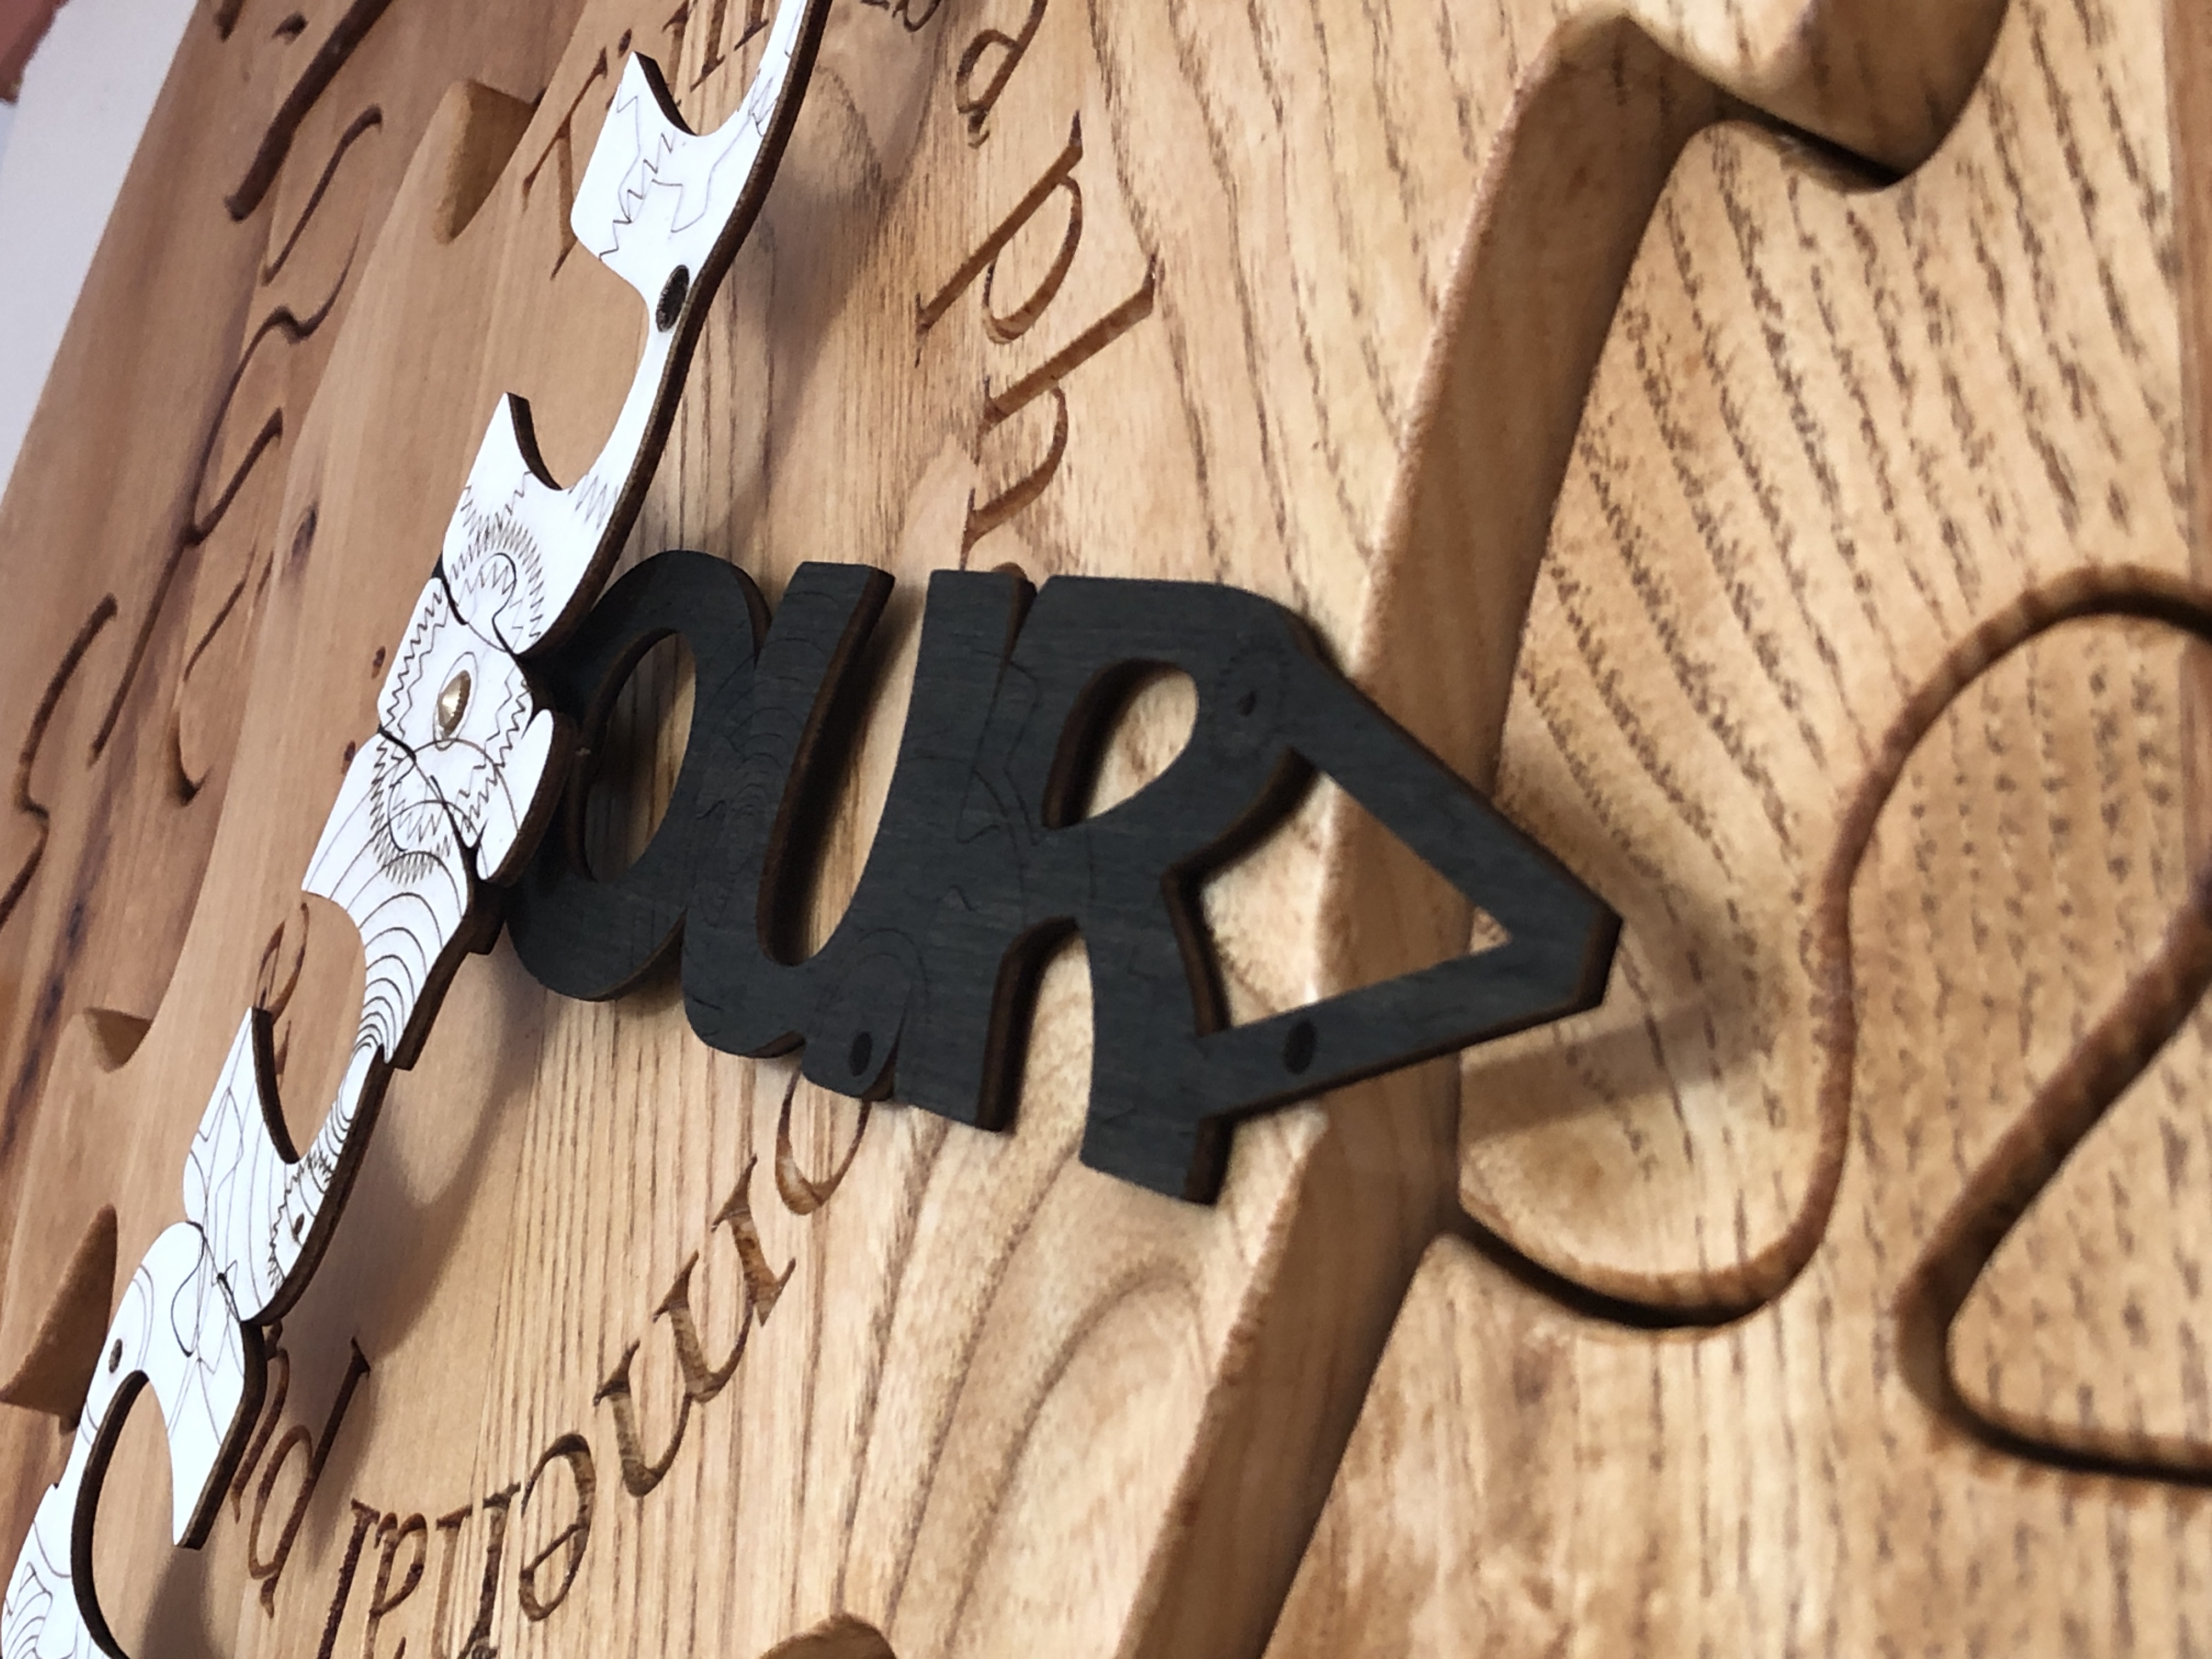
    I toyed with several ideas and made prototypes โ€“ most of which failed โ€“ but recently I came up with the idea of a steampunk motif on the words โ€œhourโ€ and โ€œminuteโ€ โ€“ and I figured out how to make them into actual jigsaw puzzle pieces. It involved the use of an extremely precise laser (you could be forgiven for thinking all lasers were equally precise, but that would be very wrongโ€ฆ), choosing extremely flat, strong, very light, and knife-edge-holding, material – with very careful preparation and handling. The hands have been dyed โ€“ not stained or painted โ€“ to give good contrast with each other and the clock face.
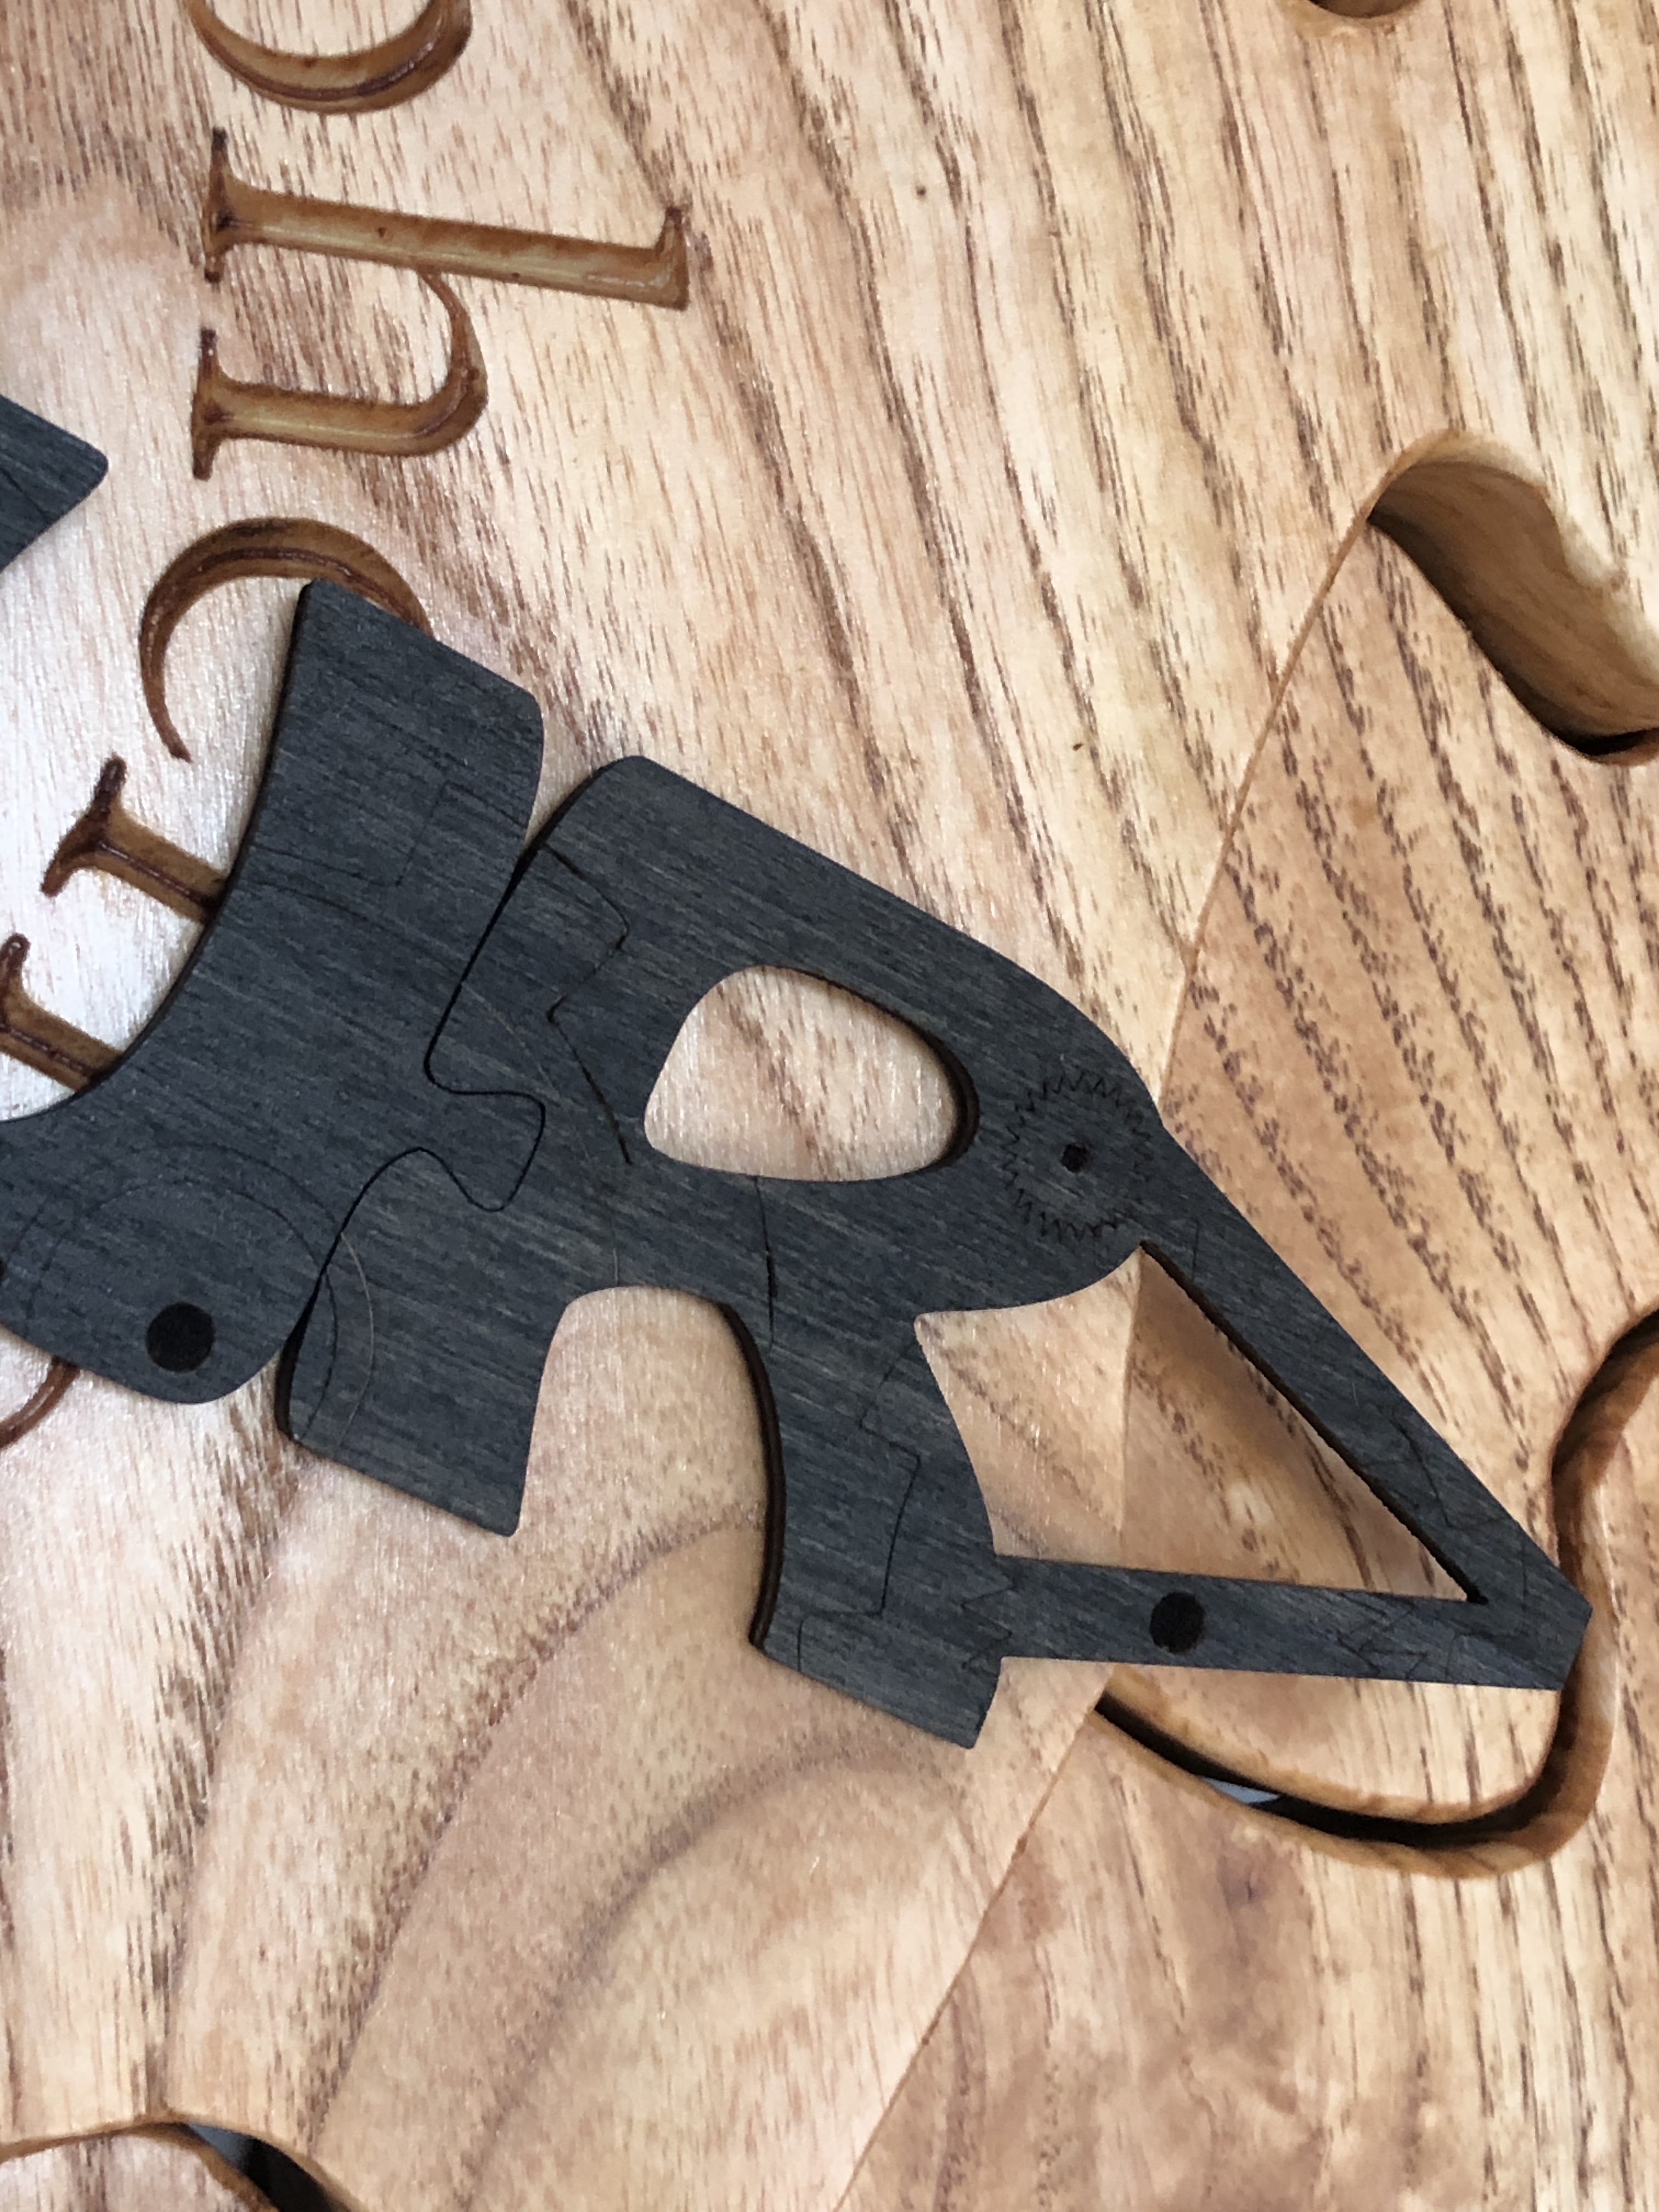
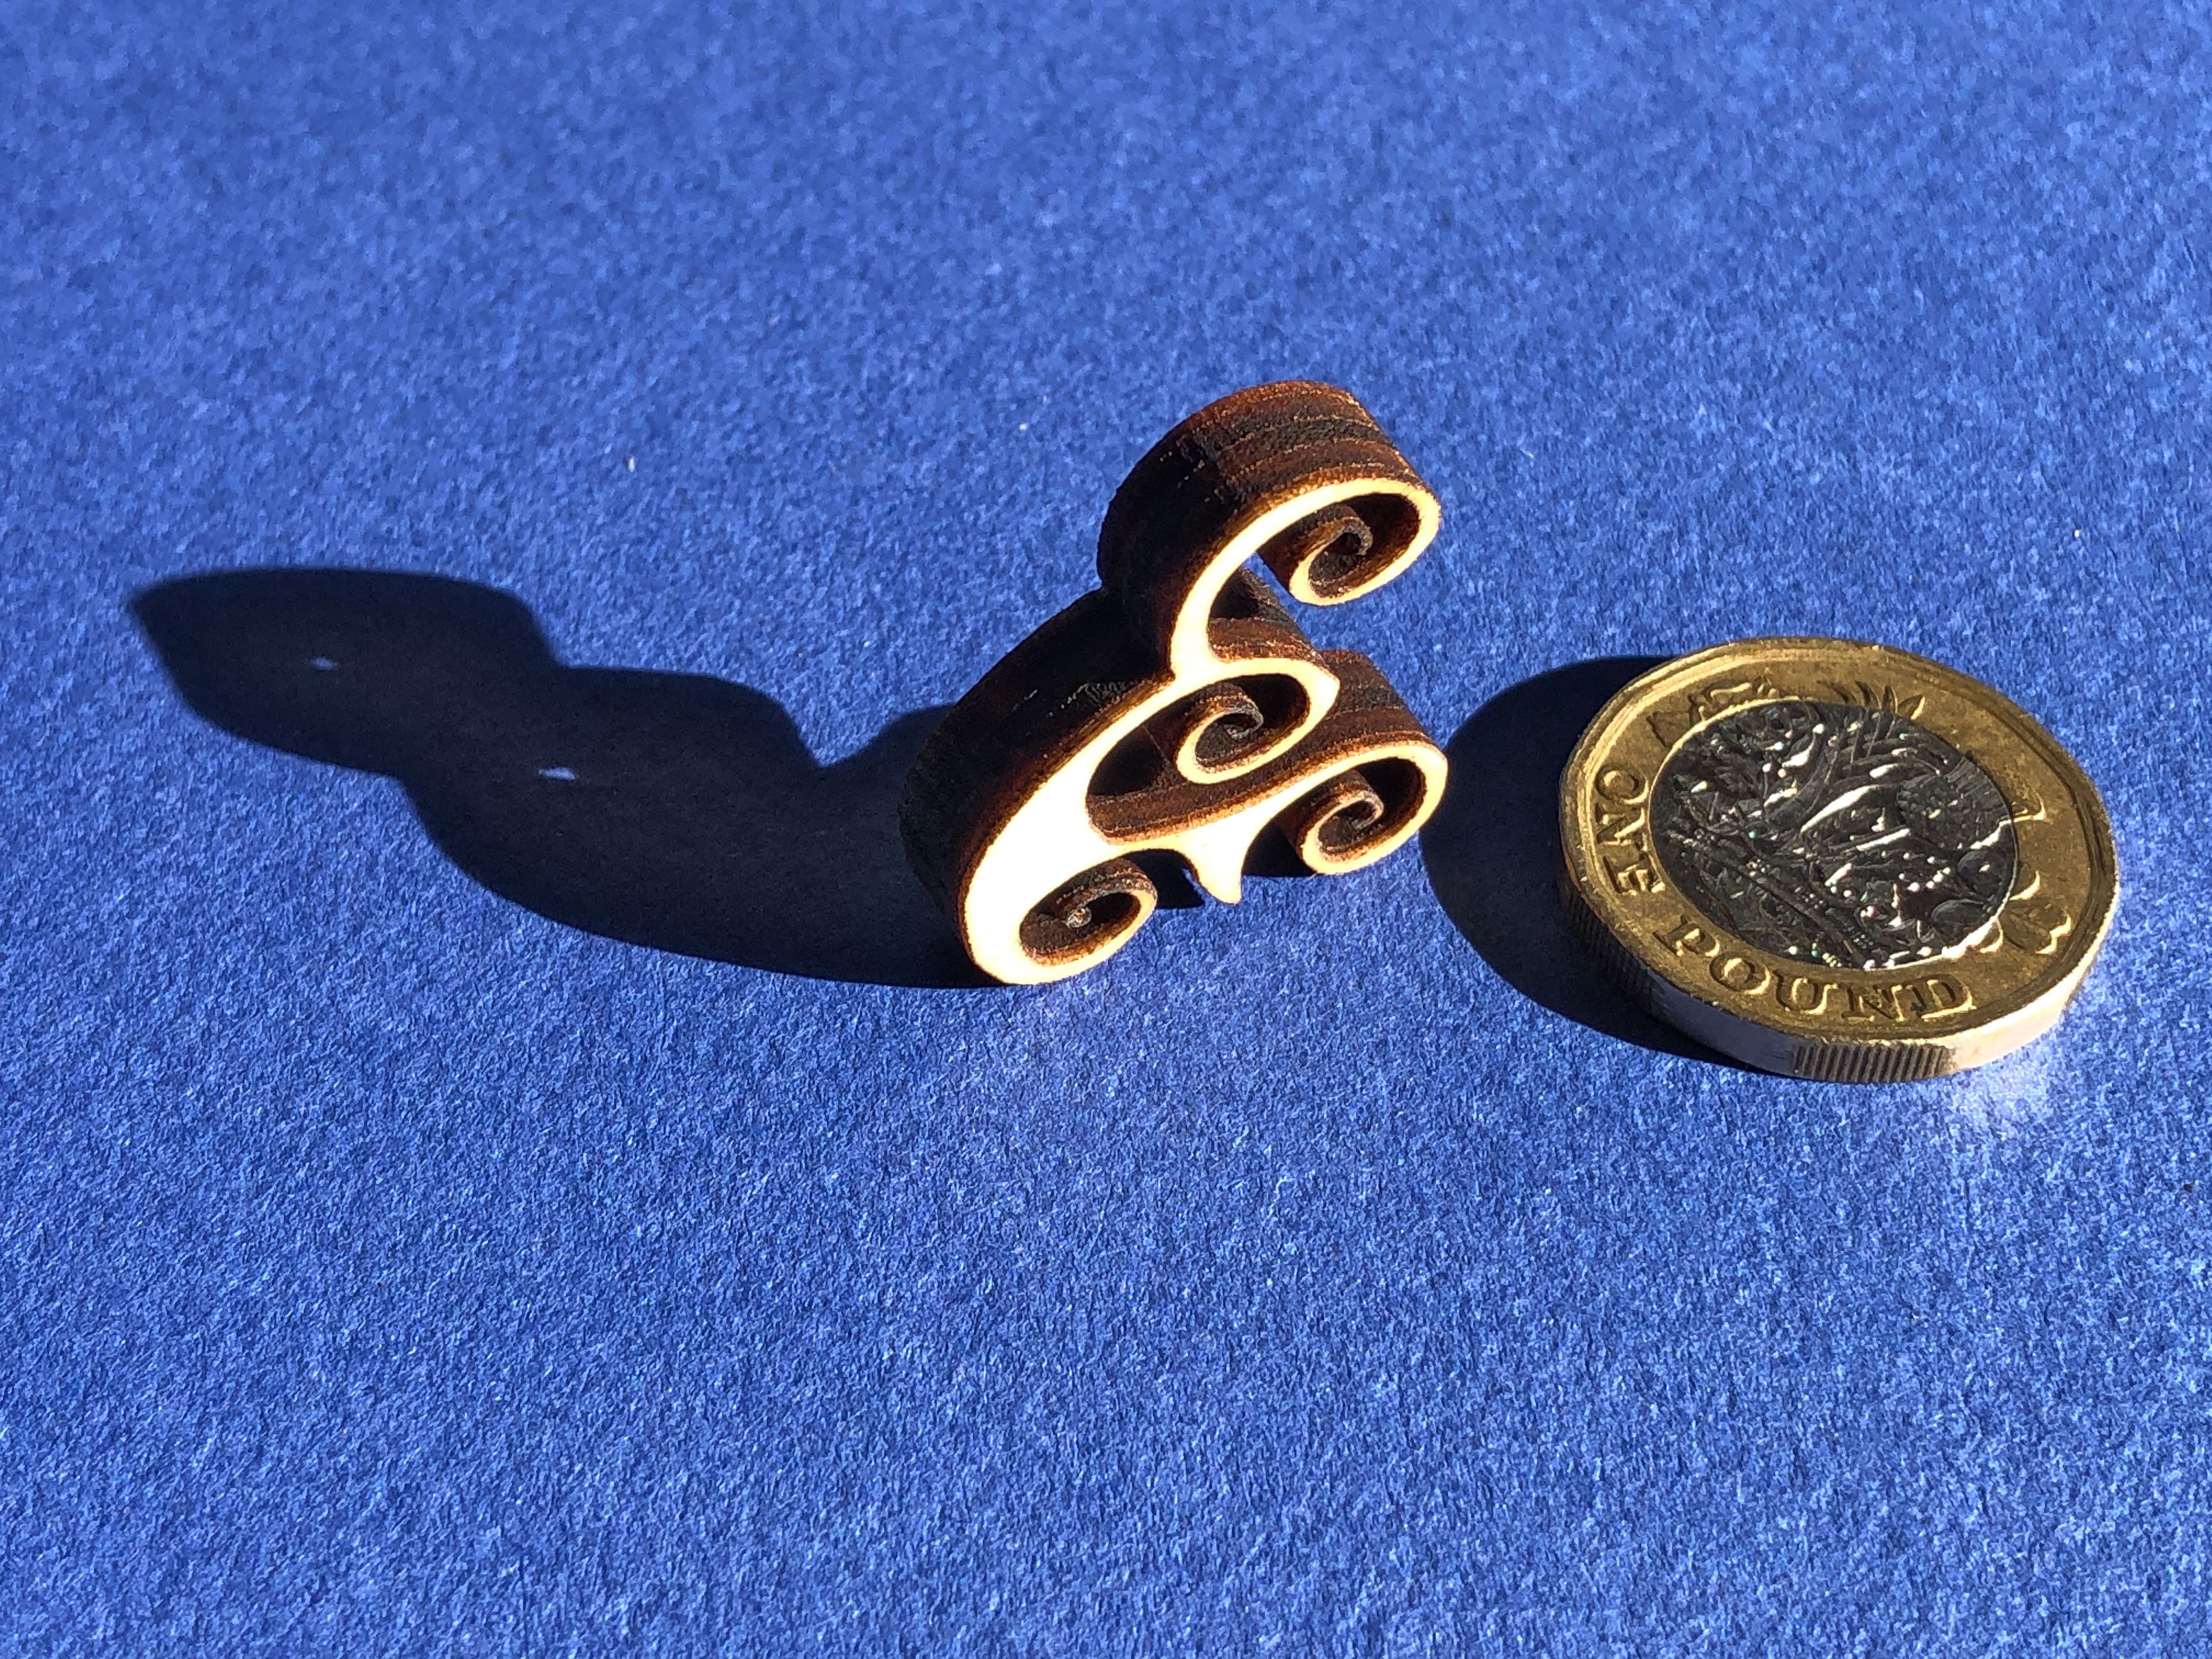
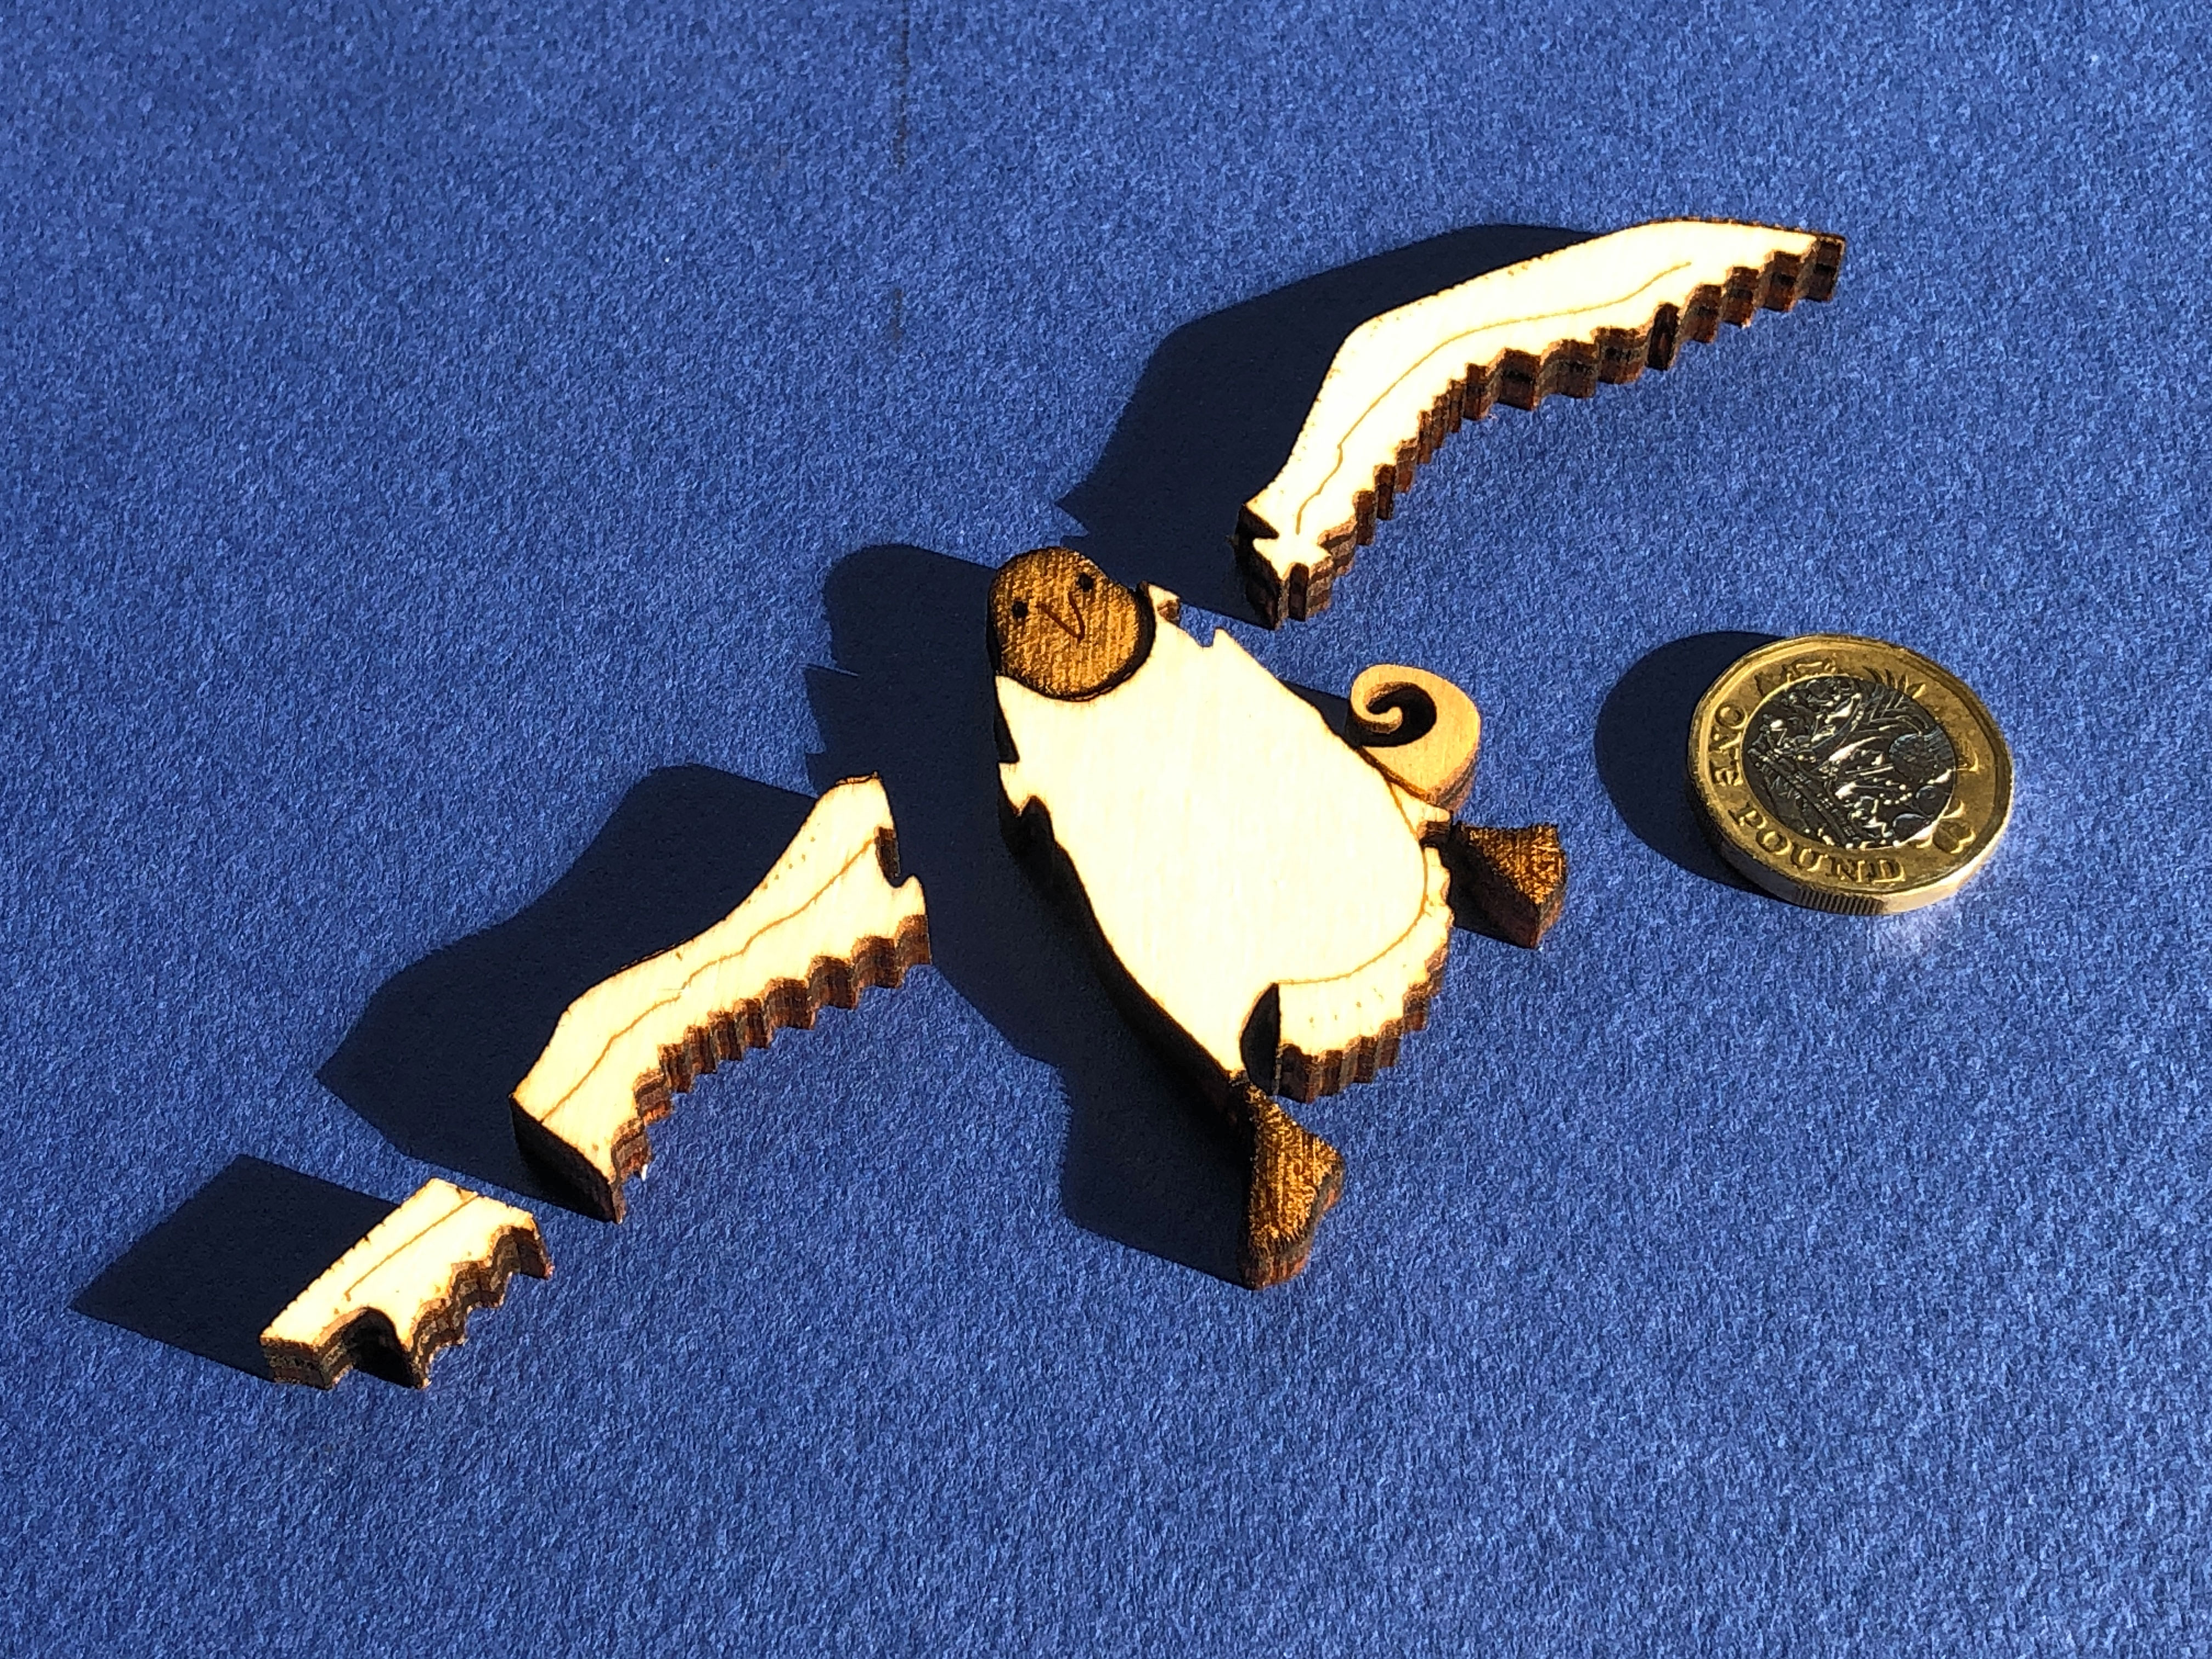
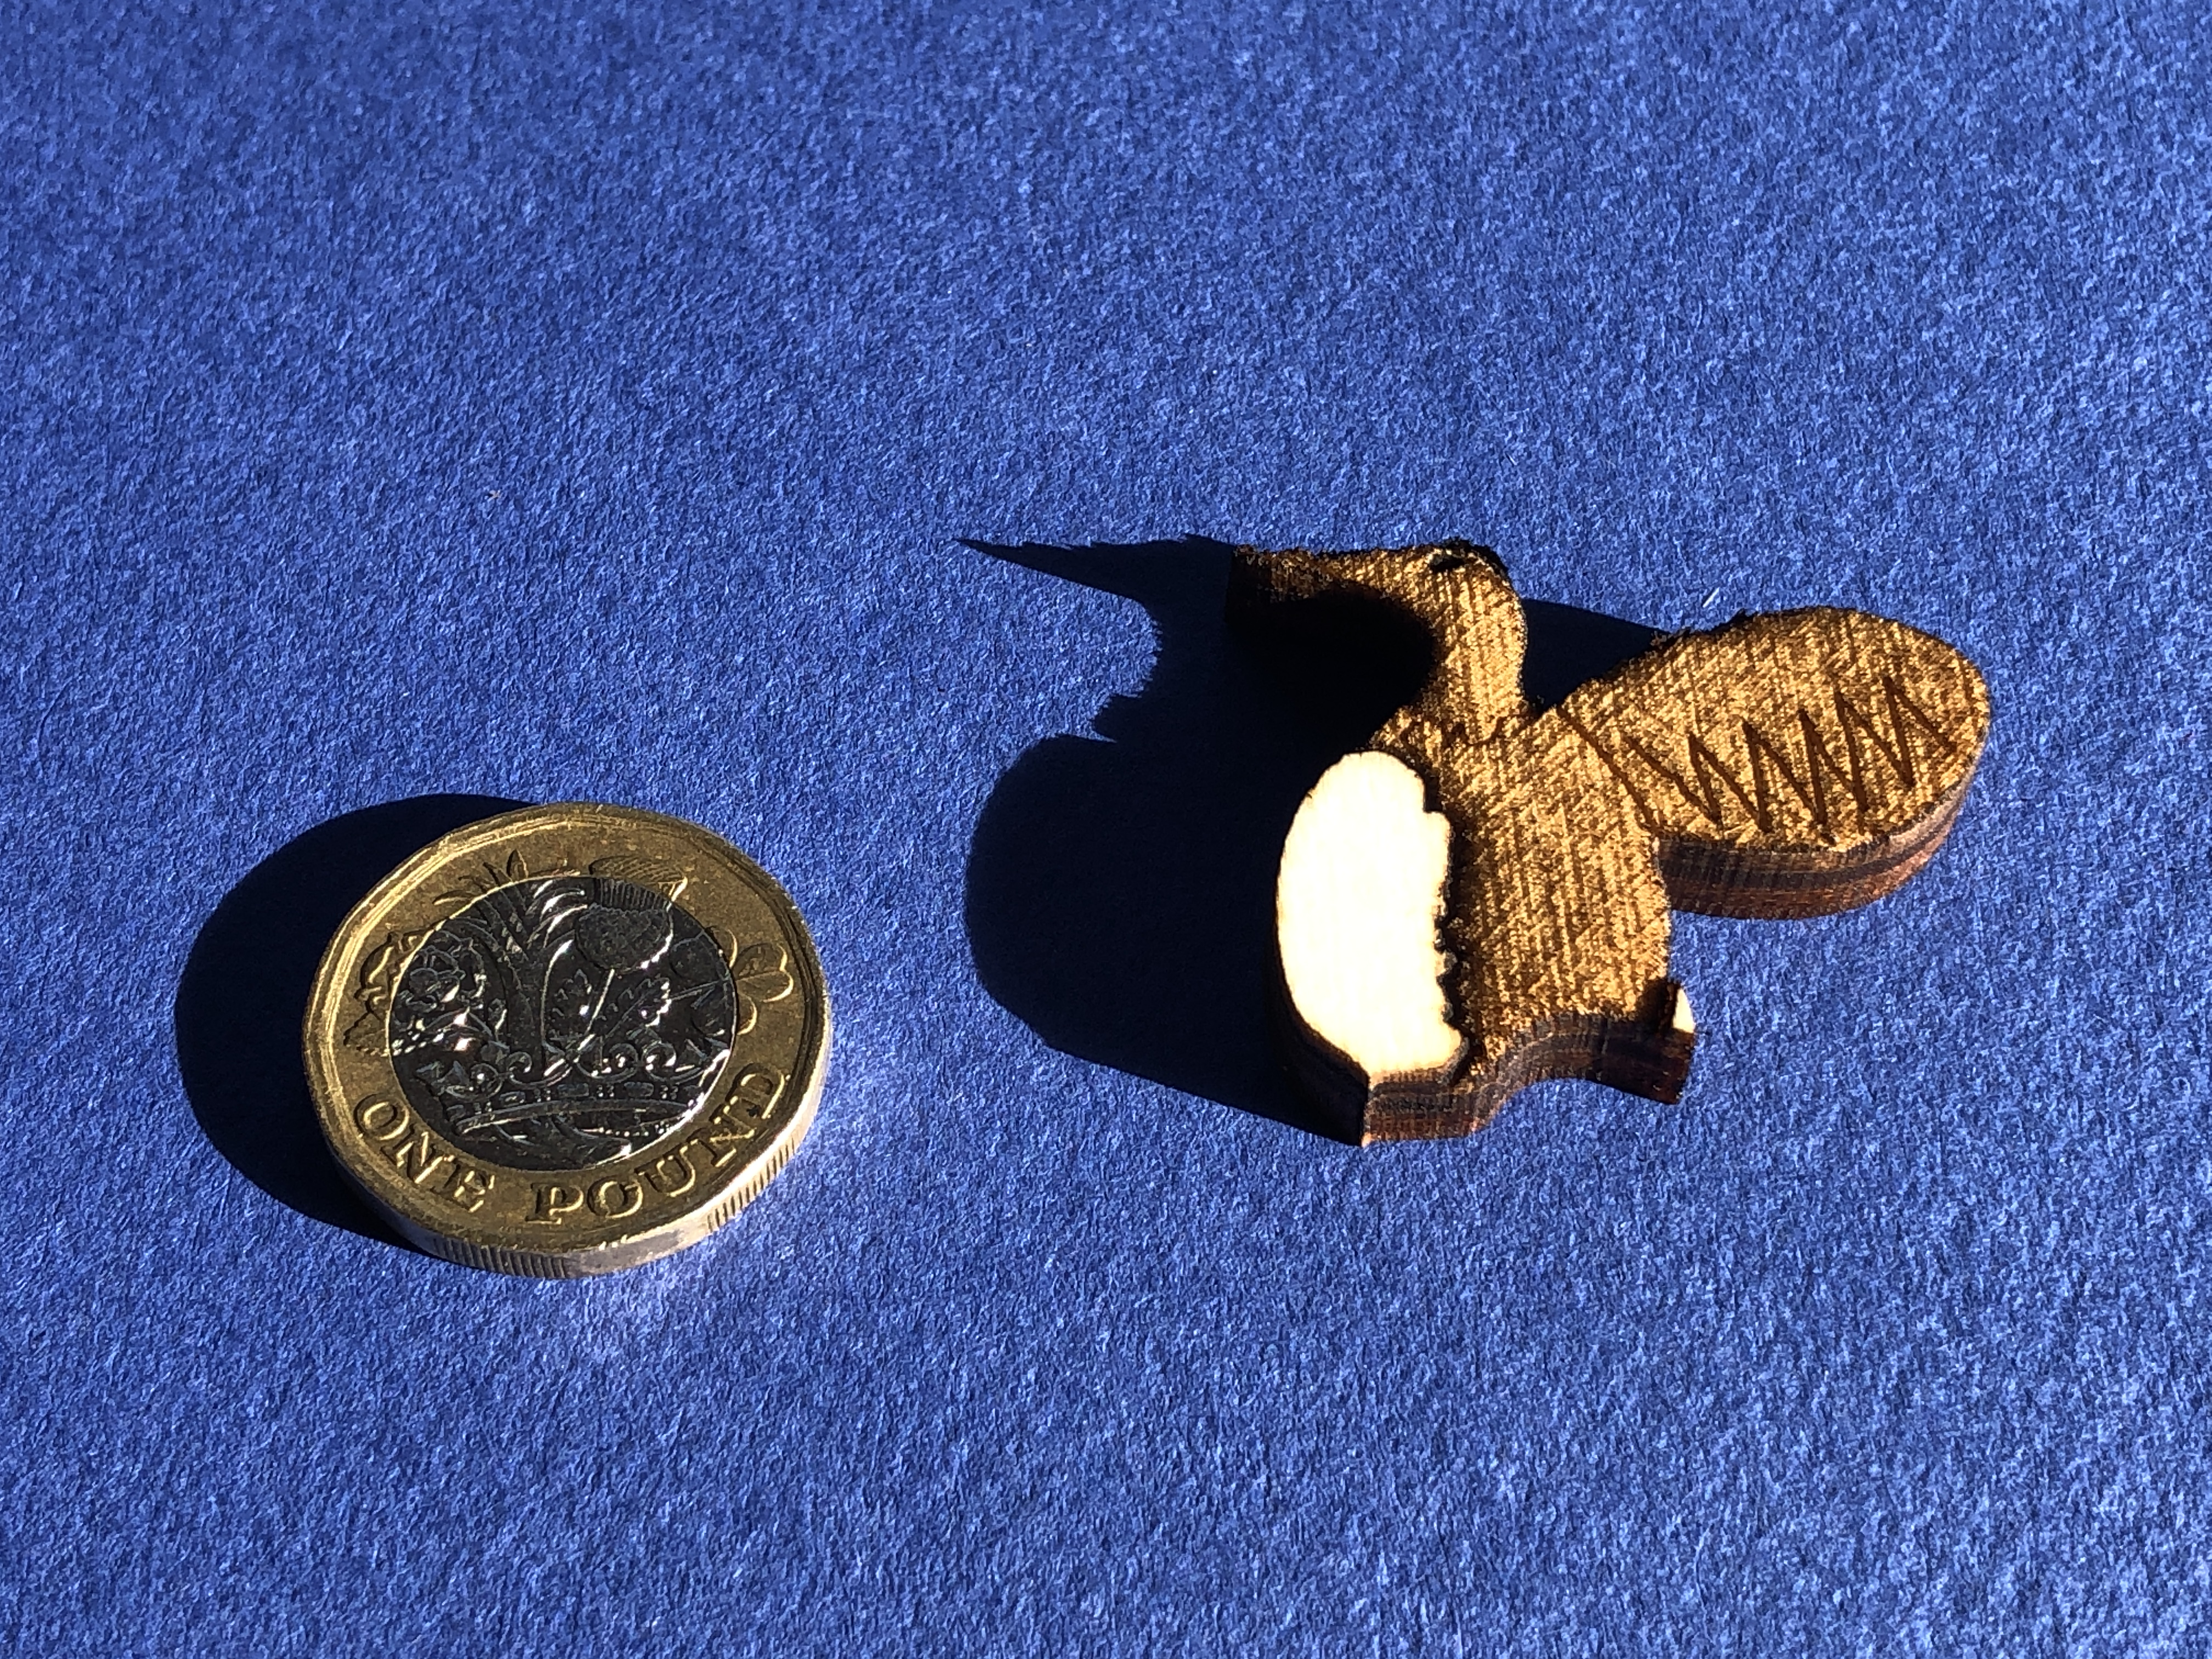
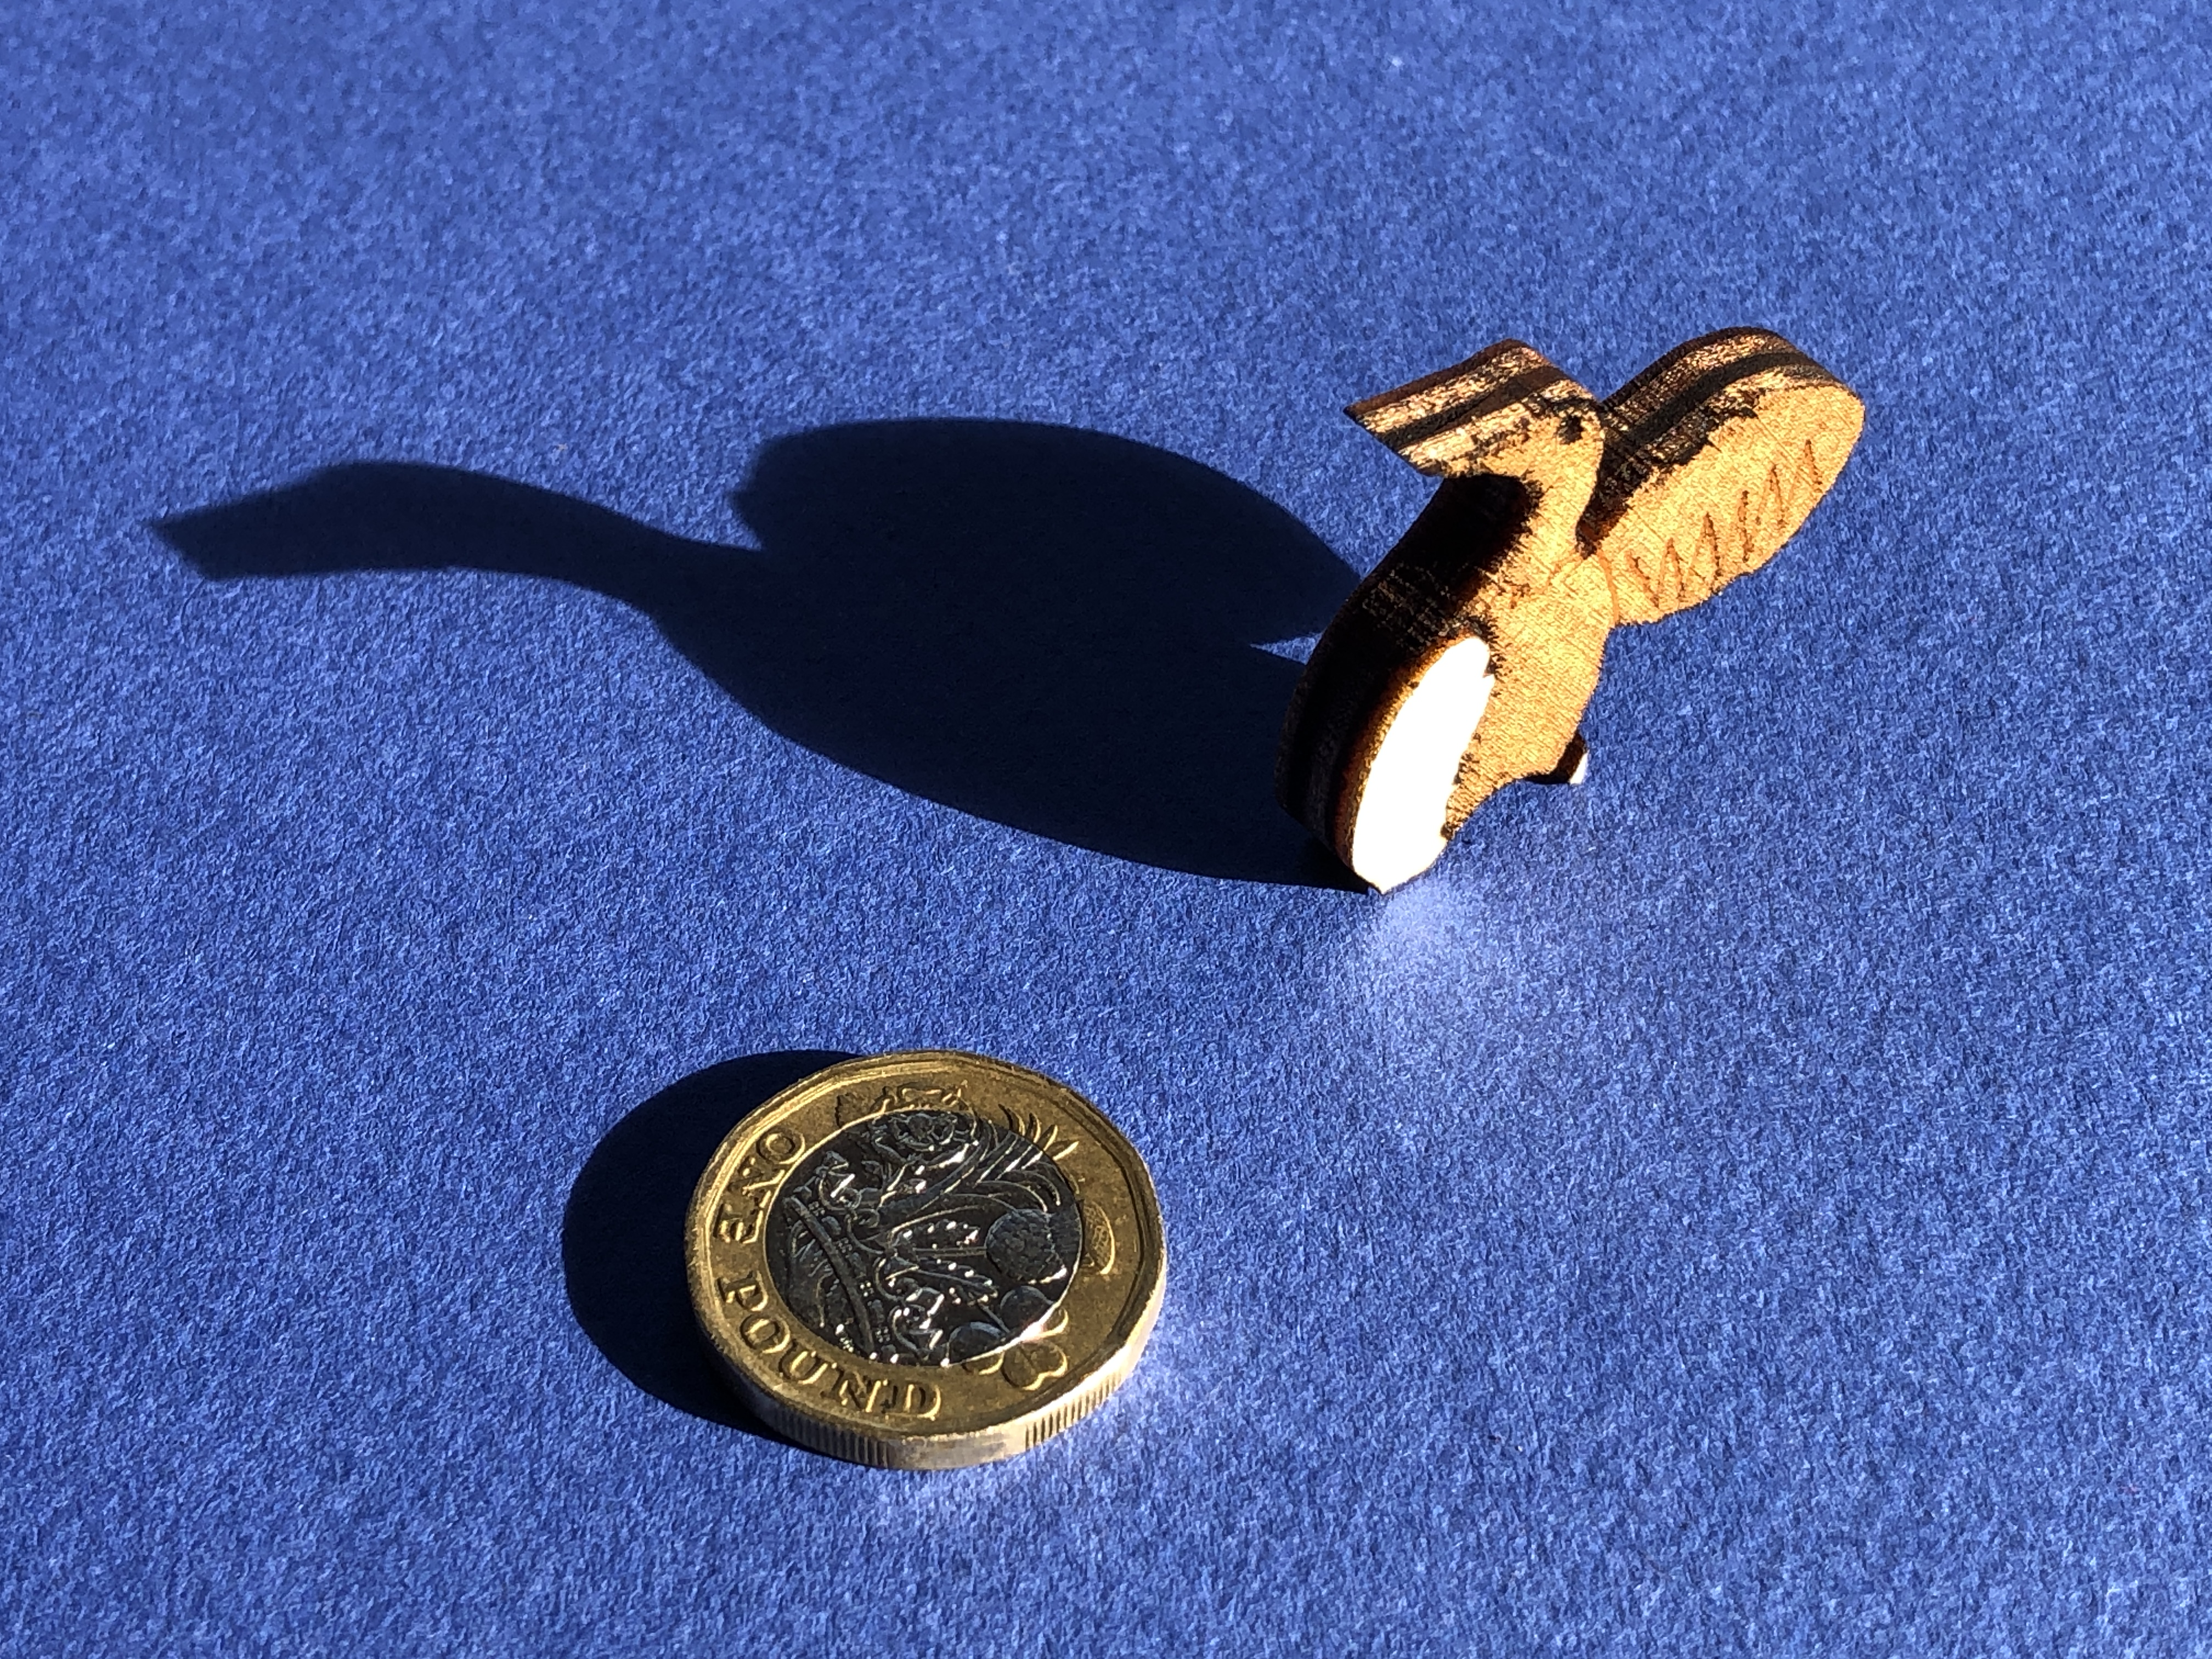
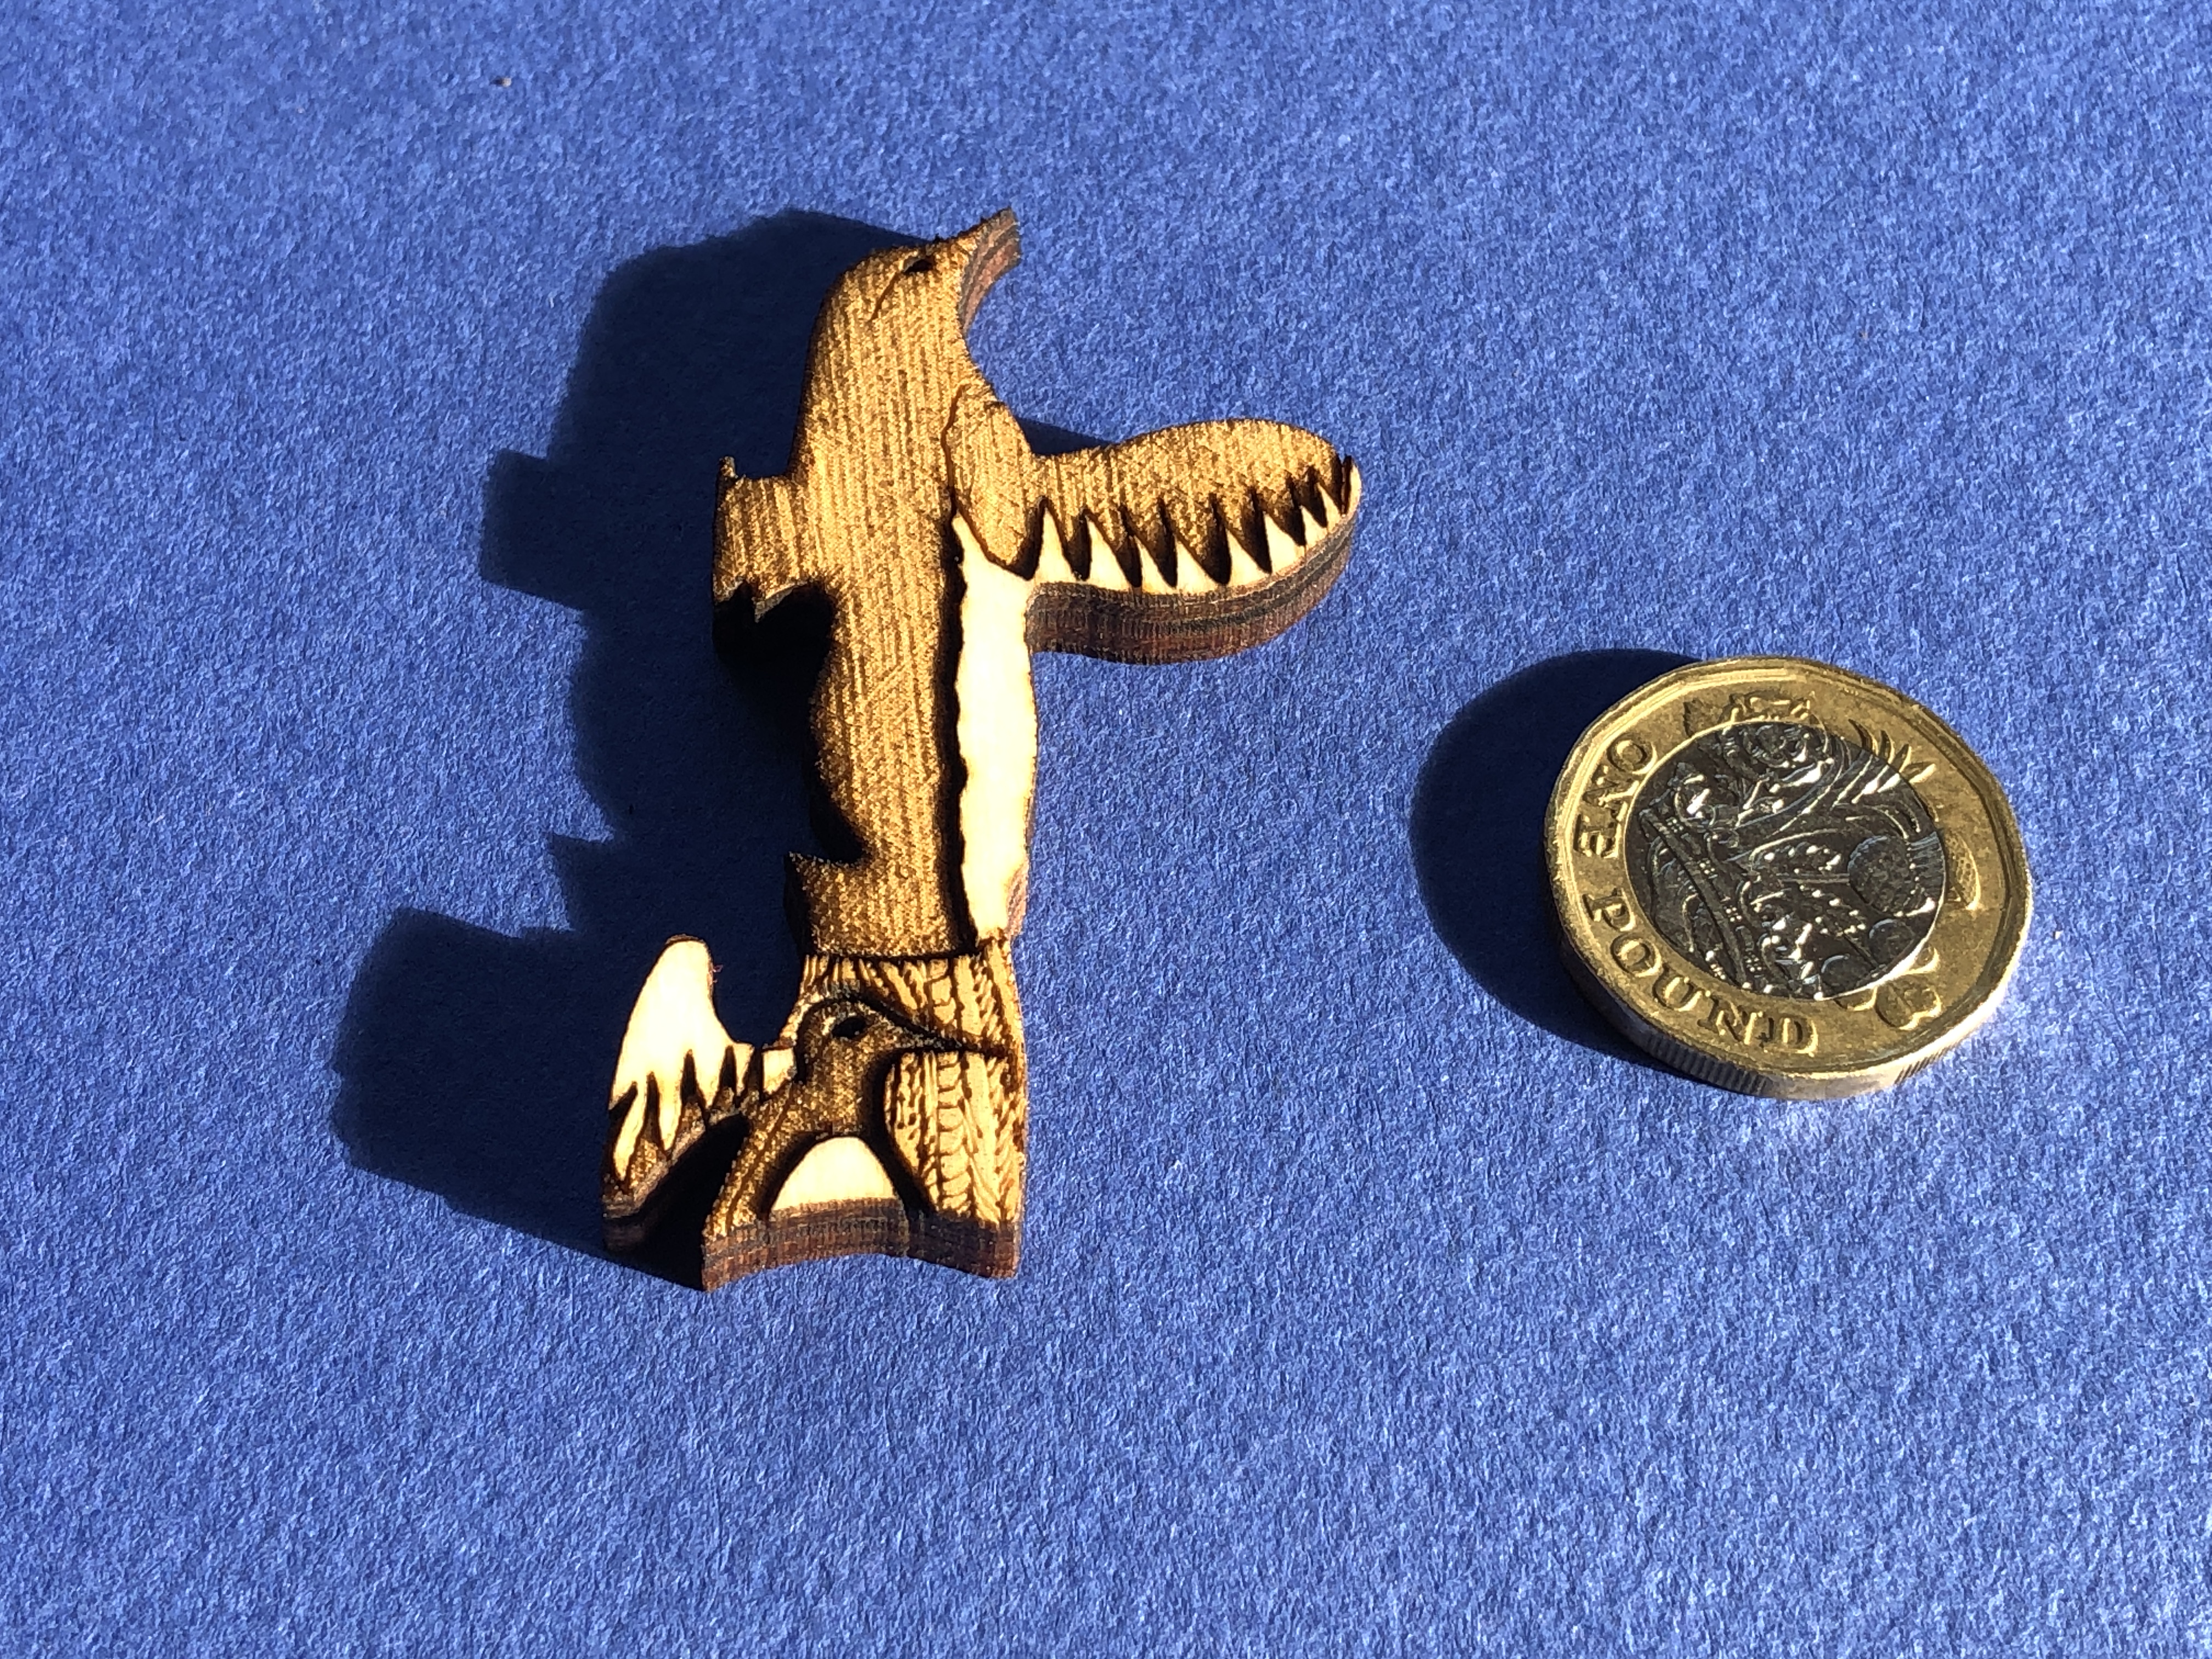
    Close-up of the “R” of the HOUR hand. Note the join with the “U”.

    The final artwork has been 95% made by hand, my hands, using the best tools at every stage (as the making-video shows). Iโ€™m very pleased to reference, and hope to provoke thought into, two fundamental and very puzzling concepts in physics and philosophy โ€“ time and gravityโ€ฆ

    Why are some of the numbers missing on my clock face?

    The keen-eyed amongst you might notice that the only numbers Iโ€™ve used are prime numbers. Having a penchant for prime numbers, when designing the clock face, I felt that putting on all the numbers – one to twelve – would make it look too crowded. Also, my goal was to design a clock puzzle โ€“ i.e. with interlocking puzzle pieces. Interlocking puzzle pieces are where two or more distinct puzzle pieces structurally hold together โ€“ and each piece connects with two or more other distinct puzzle pieces.

    It is surely a coincidence that whoever came up with the shape of the Hindu-Arabic numbers we use today, all the single-digit prime numbers have no holes โ€“ or negative spaces – in them, whereas the non-prime numbers have holes. This means that the non-prime numbers โ€“ 4, 6, 8, and 9 โ€“ cannot be single, whole, puzzle pieces. They are two or more pieces โ€“ with one or more smaller (hole) pieces fully enclosed. These โ€œholeโ€ pieces โ€“ or negative spaces – are attachable to only one other piece โ€“ the positive space of the enclosing main digit shape – whereas the prime single digit numbers are all simple single puzzle piecesโ€ฆ

    The negative spaces of the even numbers do not meet the criterion of a puzzle piece – each piece connects with two or more other distinct puzzle pieces – and were excluded from the design.

    This clockface design is using only prime numbers because it is a proper structural puzzle โ€“ all the pieces meet the criteria of proper puzzle pieces โ€“ and, most importantly, this appeals to my aesthetic and numerophile senses (in fact I did originally call this artwork โ€œPrime Jigsaw Clockโ€, but later changed my mind). A clock face is so familiar to modern people that numbers are not strictly necessary โ€“ and many clockface designs have no numbers at all. So, to be provided with six very special prime numbers, is six more than strictly necessary โ€“ and adds to the mystique of what this clock is all aboutโ€ฆ


  • Long-eared Owl with Oak Foliage (floral map)

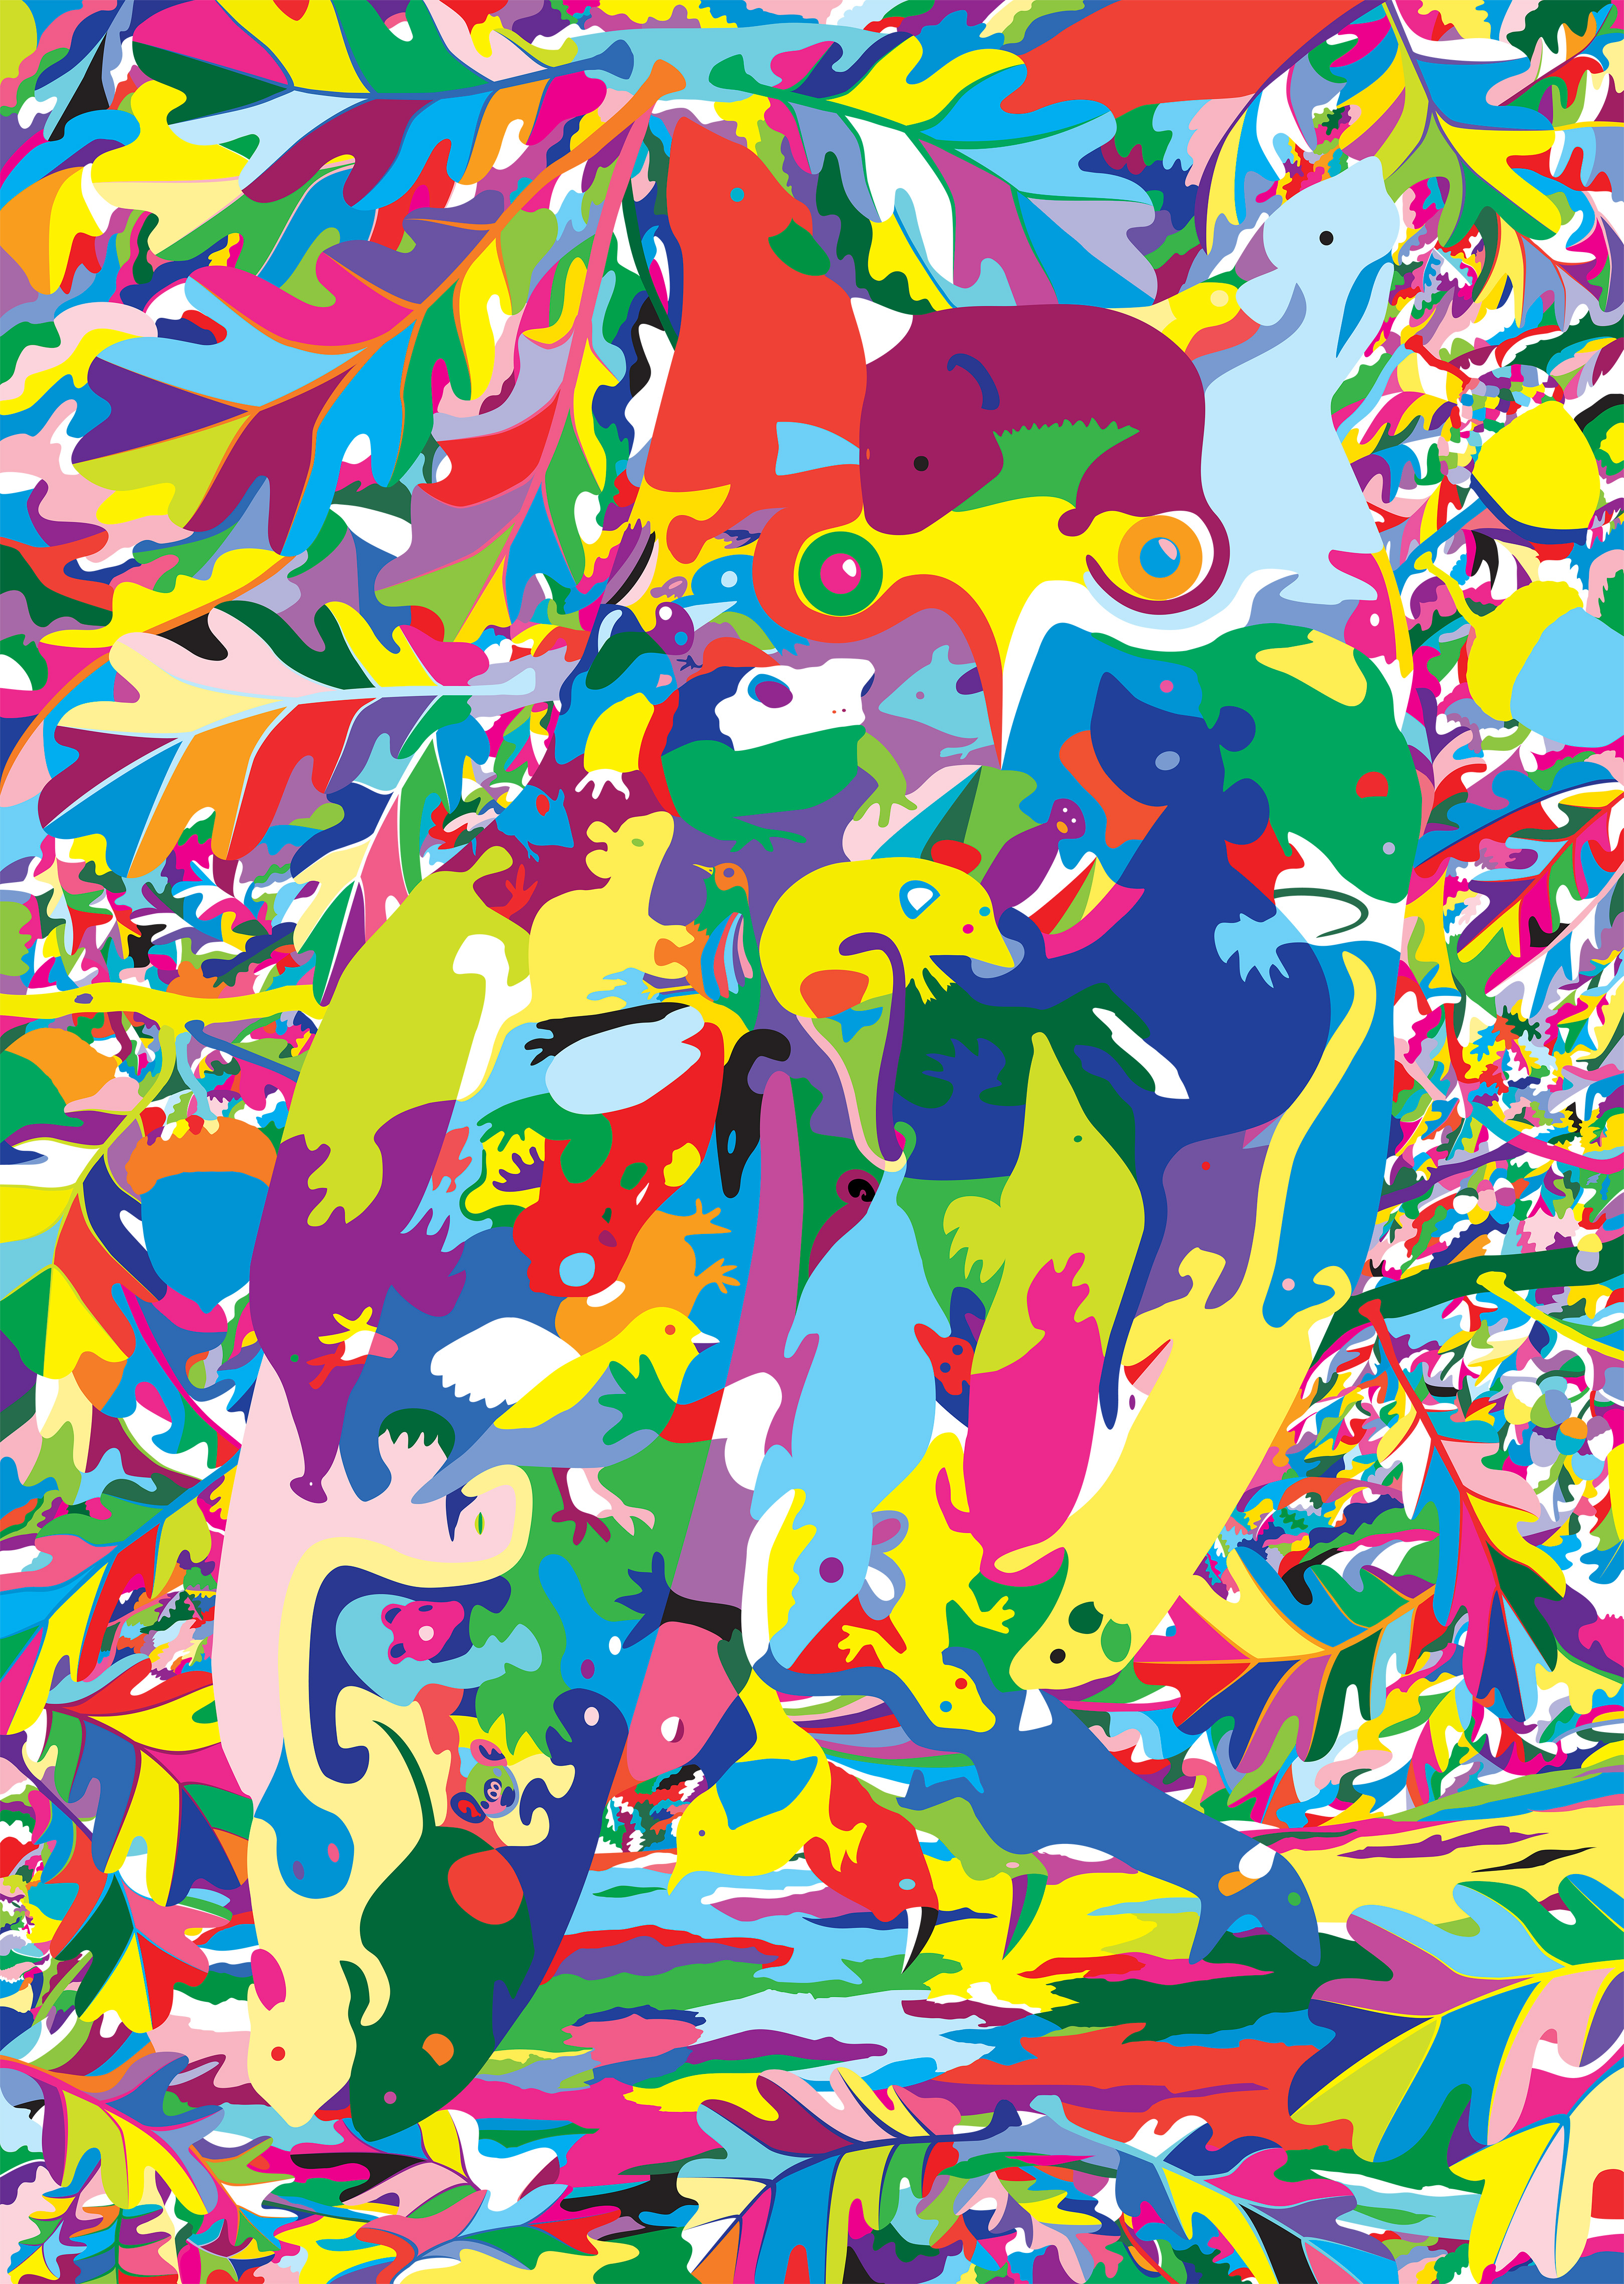
    Long-eared Owl with Oak Foliage (floral map)

    (Very low resolution for copyright reasons)

    Title: โ€œLong-eared Owl with Oak Foliage (floral map)โ€
    Artist: Michael Autumn
    Medium: Hand-drawing with digital gouache
    Giclรฉe archival print on fine 100% cotton canvas (matt)
    Hahnemรผhle Art Canvas Smooth 370gsm + Hahnemรผhle UV protection matt varnish
    Size: 36″ (W) x 50.9″ (H), canvas stretcher 38″ (W) x 53″ (H)
    Edition: Limited Edition of 101
    Authenticity: Hand-signed (front, bottom, far right on white canvas border) with graphite pencil (varnished over with same UV-protective matt varnish as whole) and titled (front, bottom, centre on white canvas border)
    Date: 04/2024

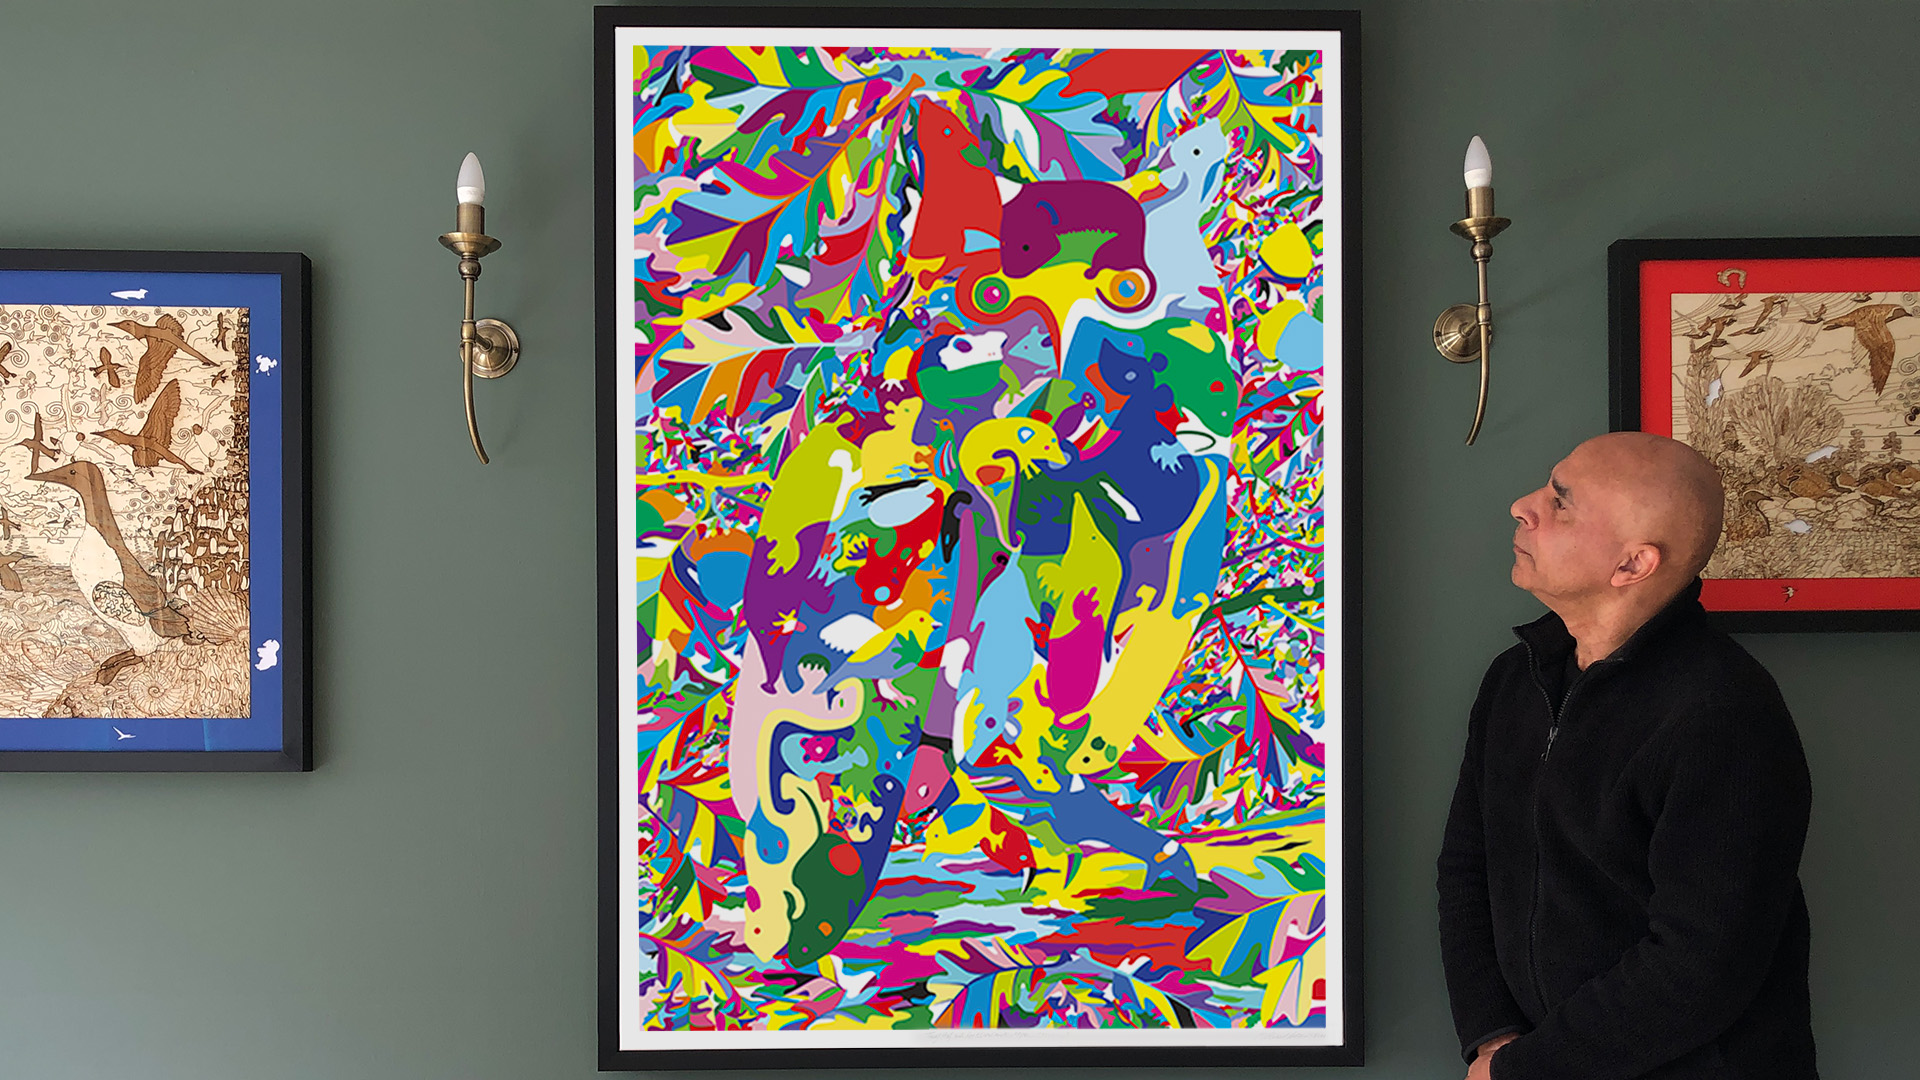
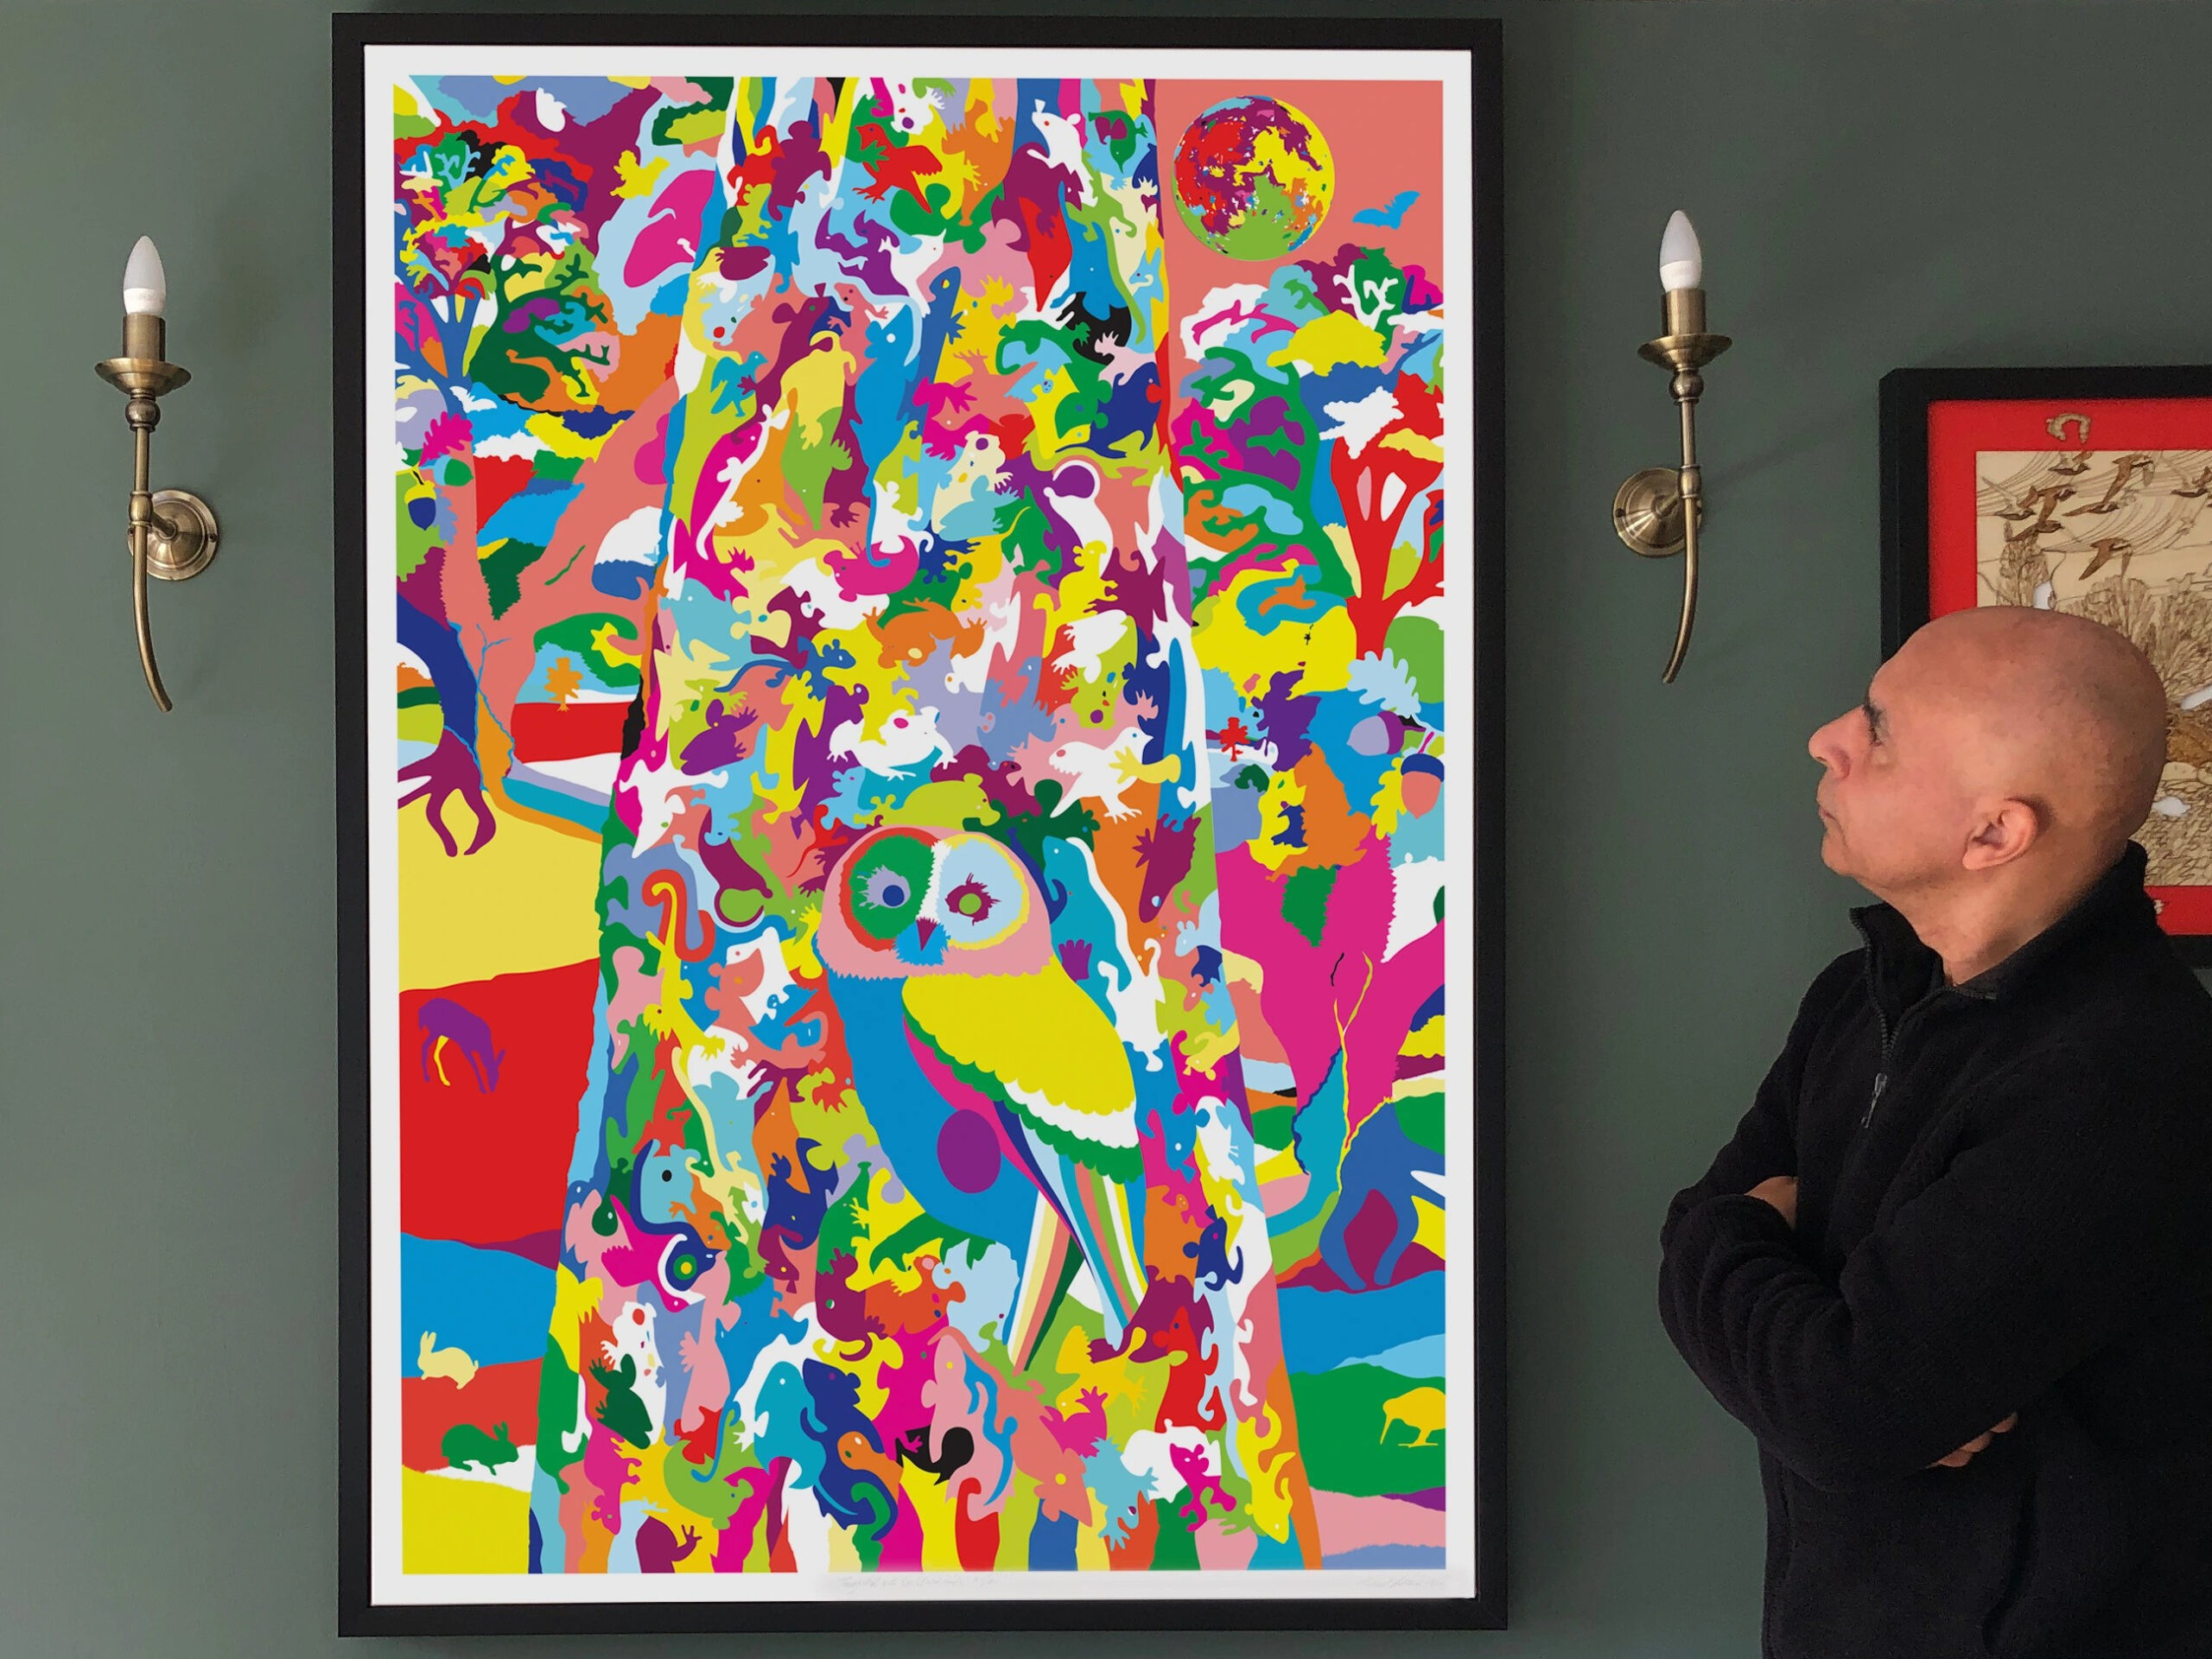
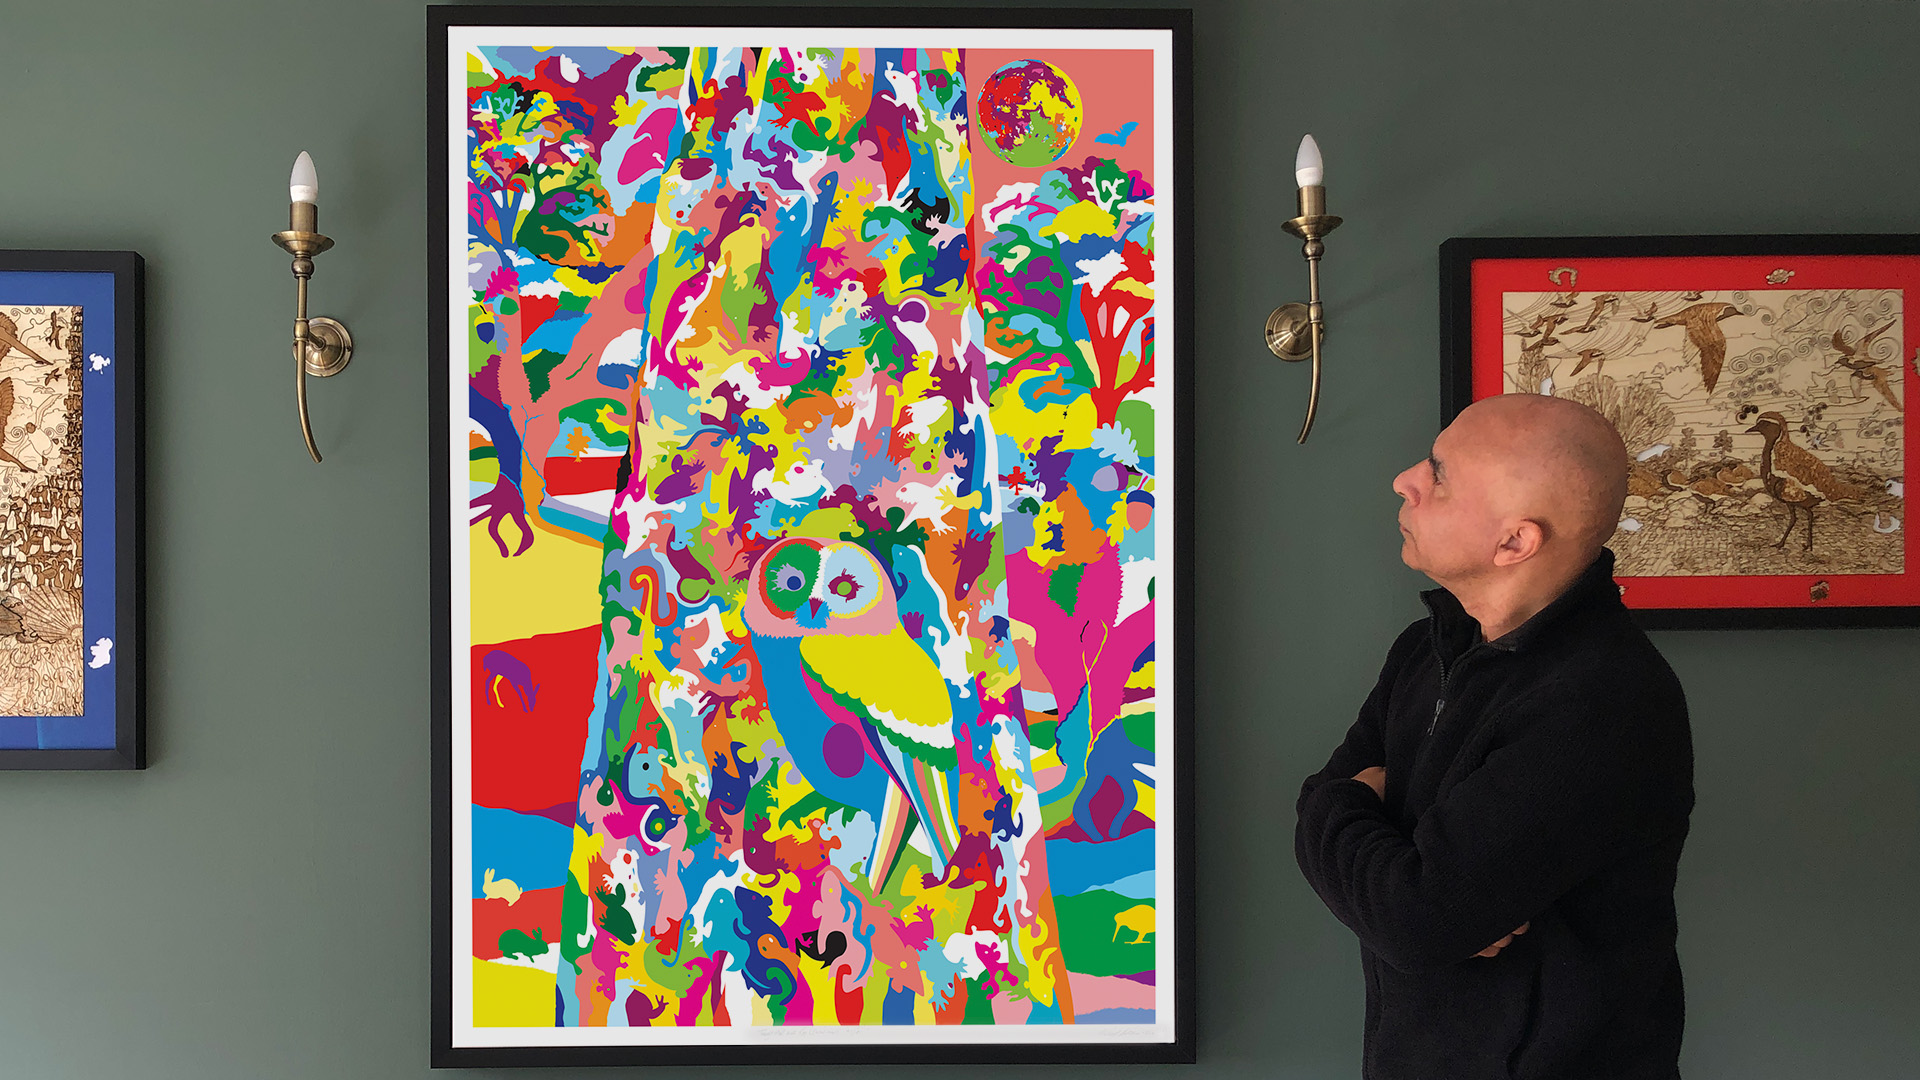
    Just to give an idea of the size the artwork…
    TL;DR

    This artwork is an homage to visual perception โ€“ itโ€™s about how we detect meaning from the millions of individually coloured photons entering our eyes โ€“ and how I, as an artist, can trick you into seeing what I want you to see.

    Owls, like this one, are incredibly well camouflaged – not so much by their colouring, but by their habit of staying completely still, most often in a tree, during their time of rest and sleep (often during the day). So much so, that you could literally walk within feet of them and you probably wouldn’t even realise they are there. Likewise, in this artwork, you have to really look to see the owl…

    And there is a reference to the idiom – “you are what you eat“…

    Long-eared Owl with Oak Foliage (floral map) is the simple colouring-in (albeit very carefully selected and juxtaposed colours) of a flat line drawing I did previously of this art puzzle design (see the photo of that artwork below and this post: Long-eared Owl with Oak Foliage (Art Puzzle)).

    Long-eared Owl with Oak Foliage (Art Puzzle)

    I used this technique to regularly check for line breaks (where there shouldnโ€™t be any), and to get a better view of the shapes of the individual pieces I was designing โ€“ amid a sprawling mesh of simple black thin lines on a white background. This got me to thinking about the difference between the dumb mechanical process of colouring a shape (of a flood fill) and true animal (human) understandingโ€ฆ

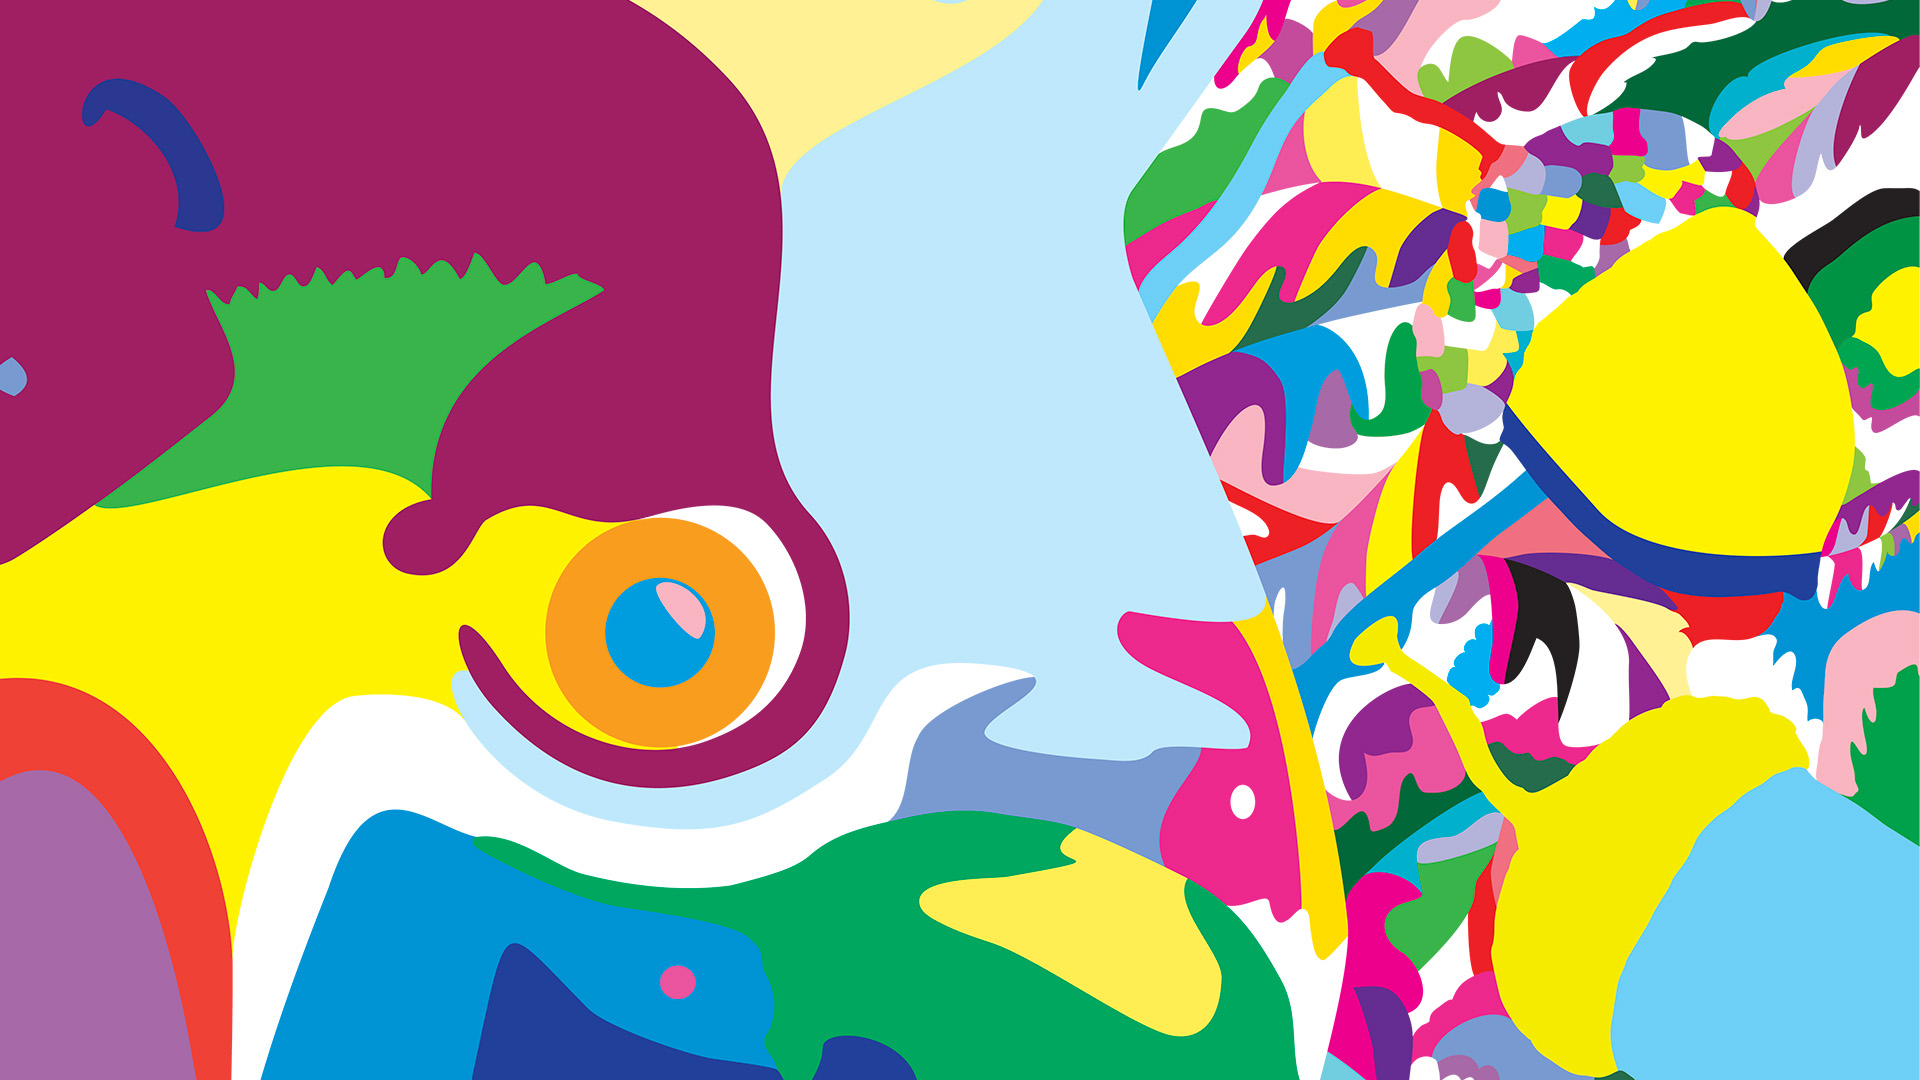
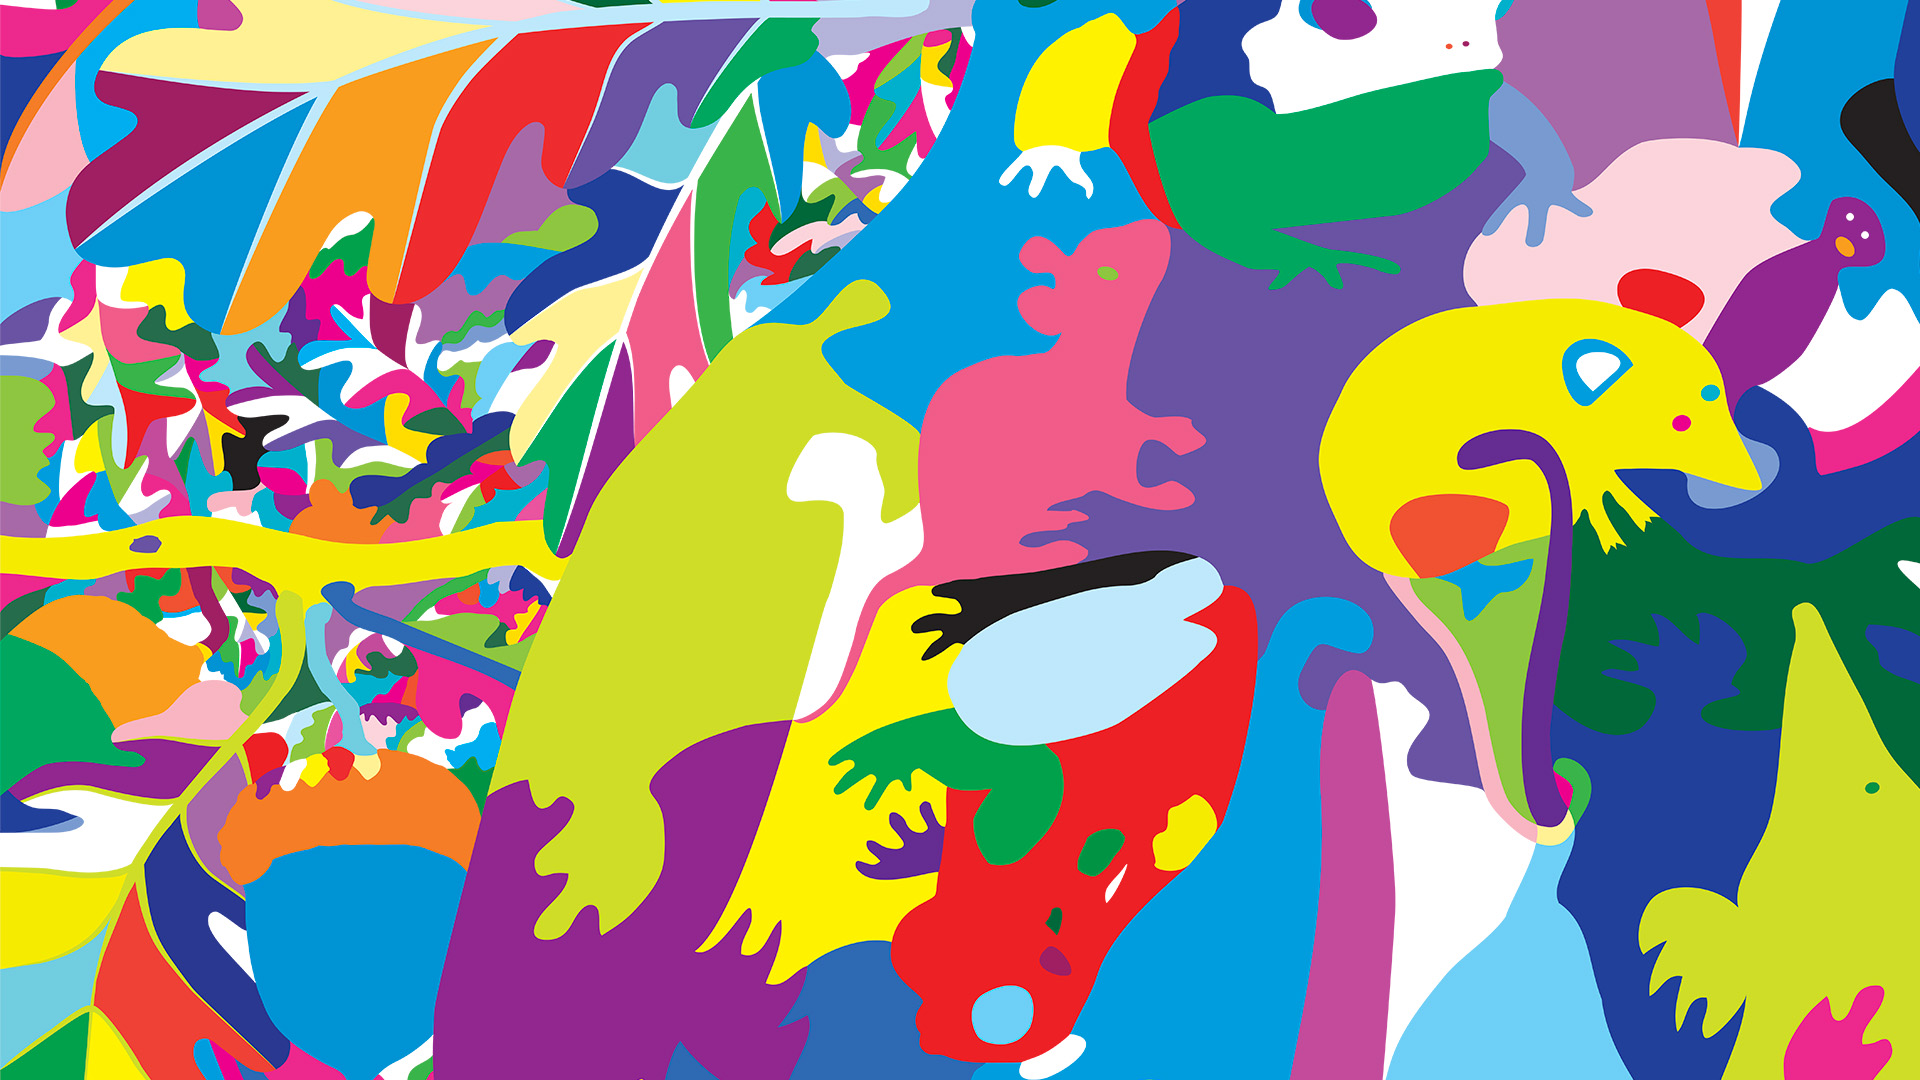
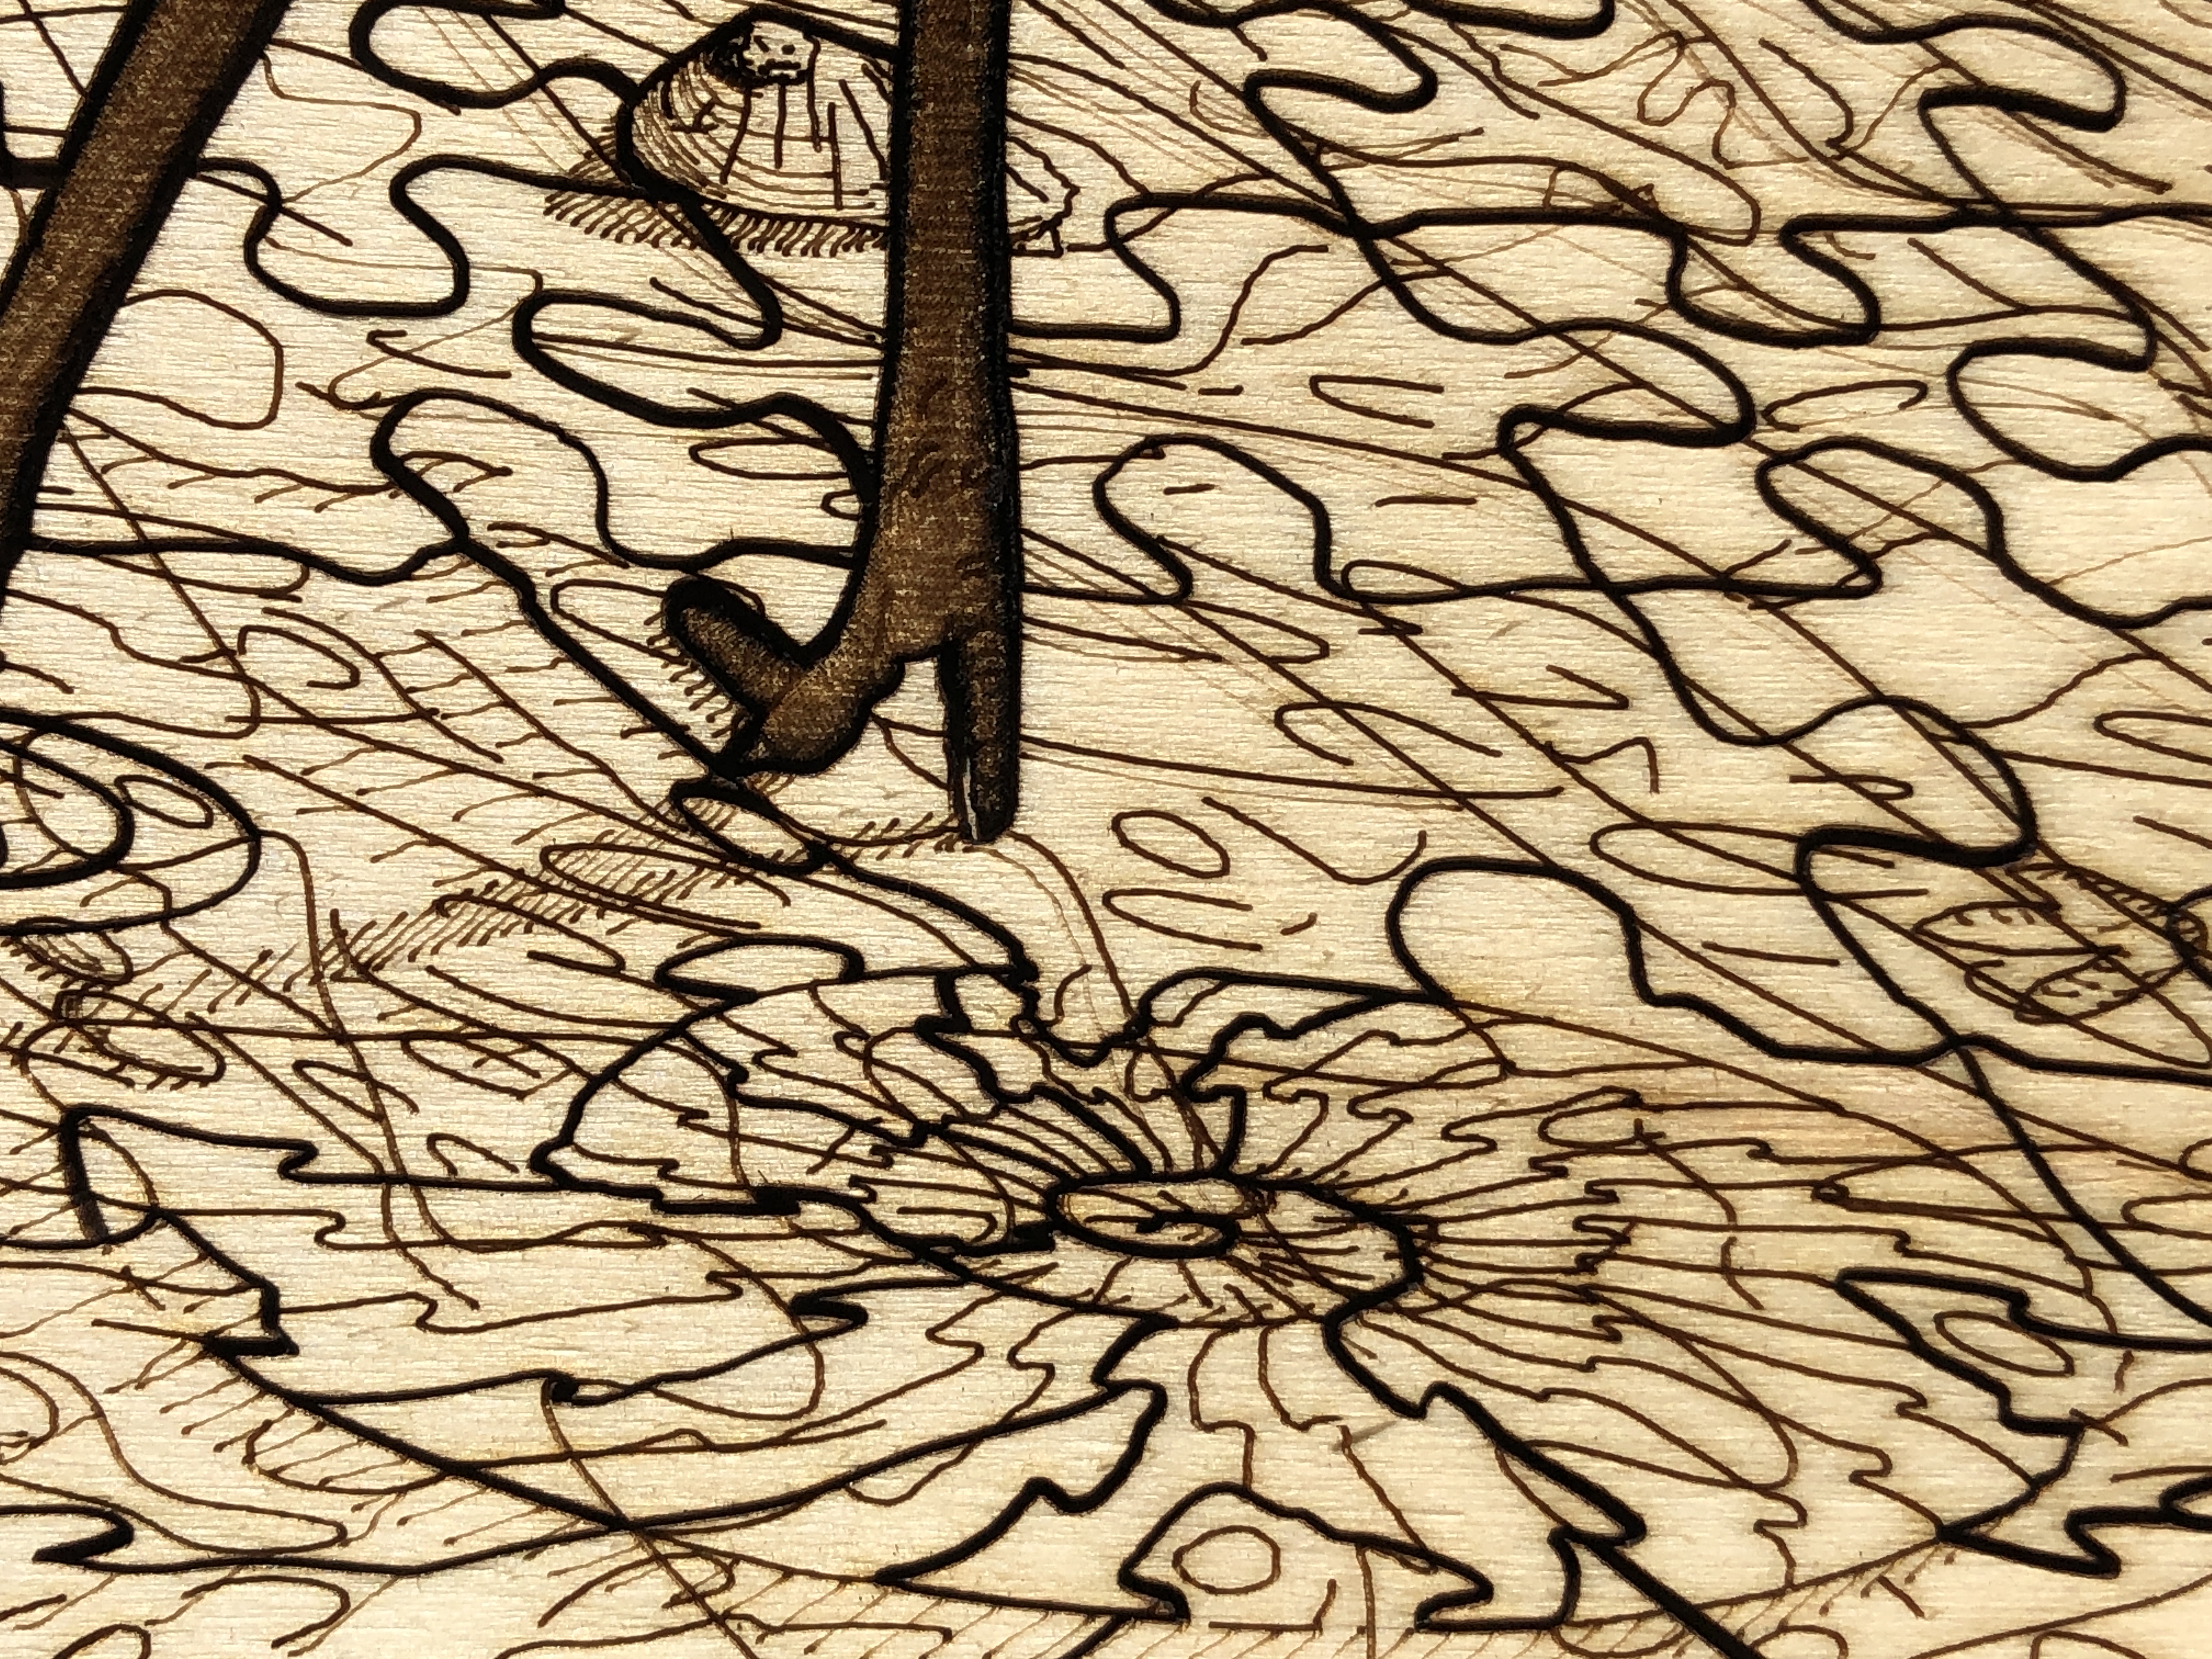
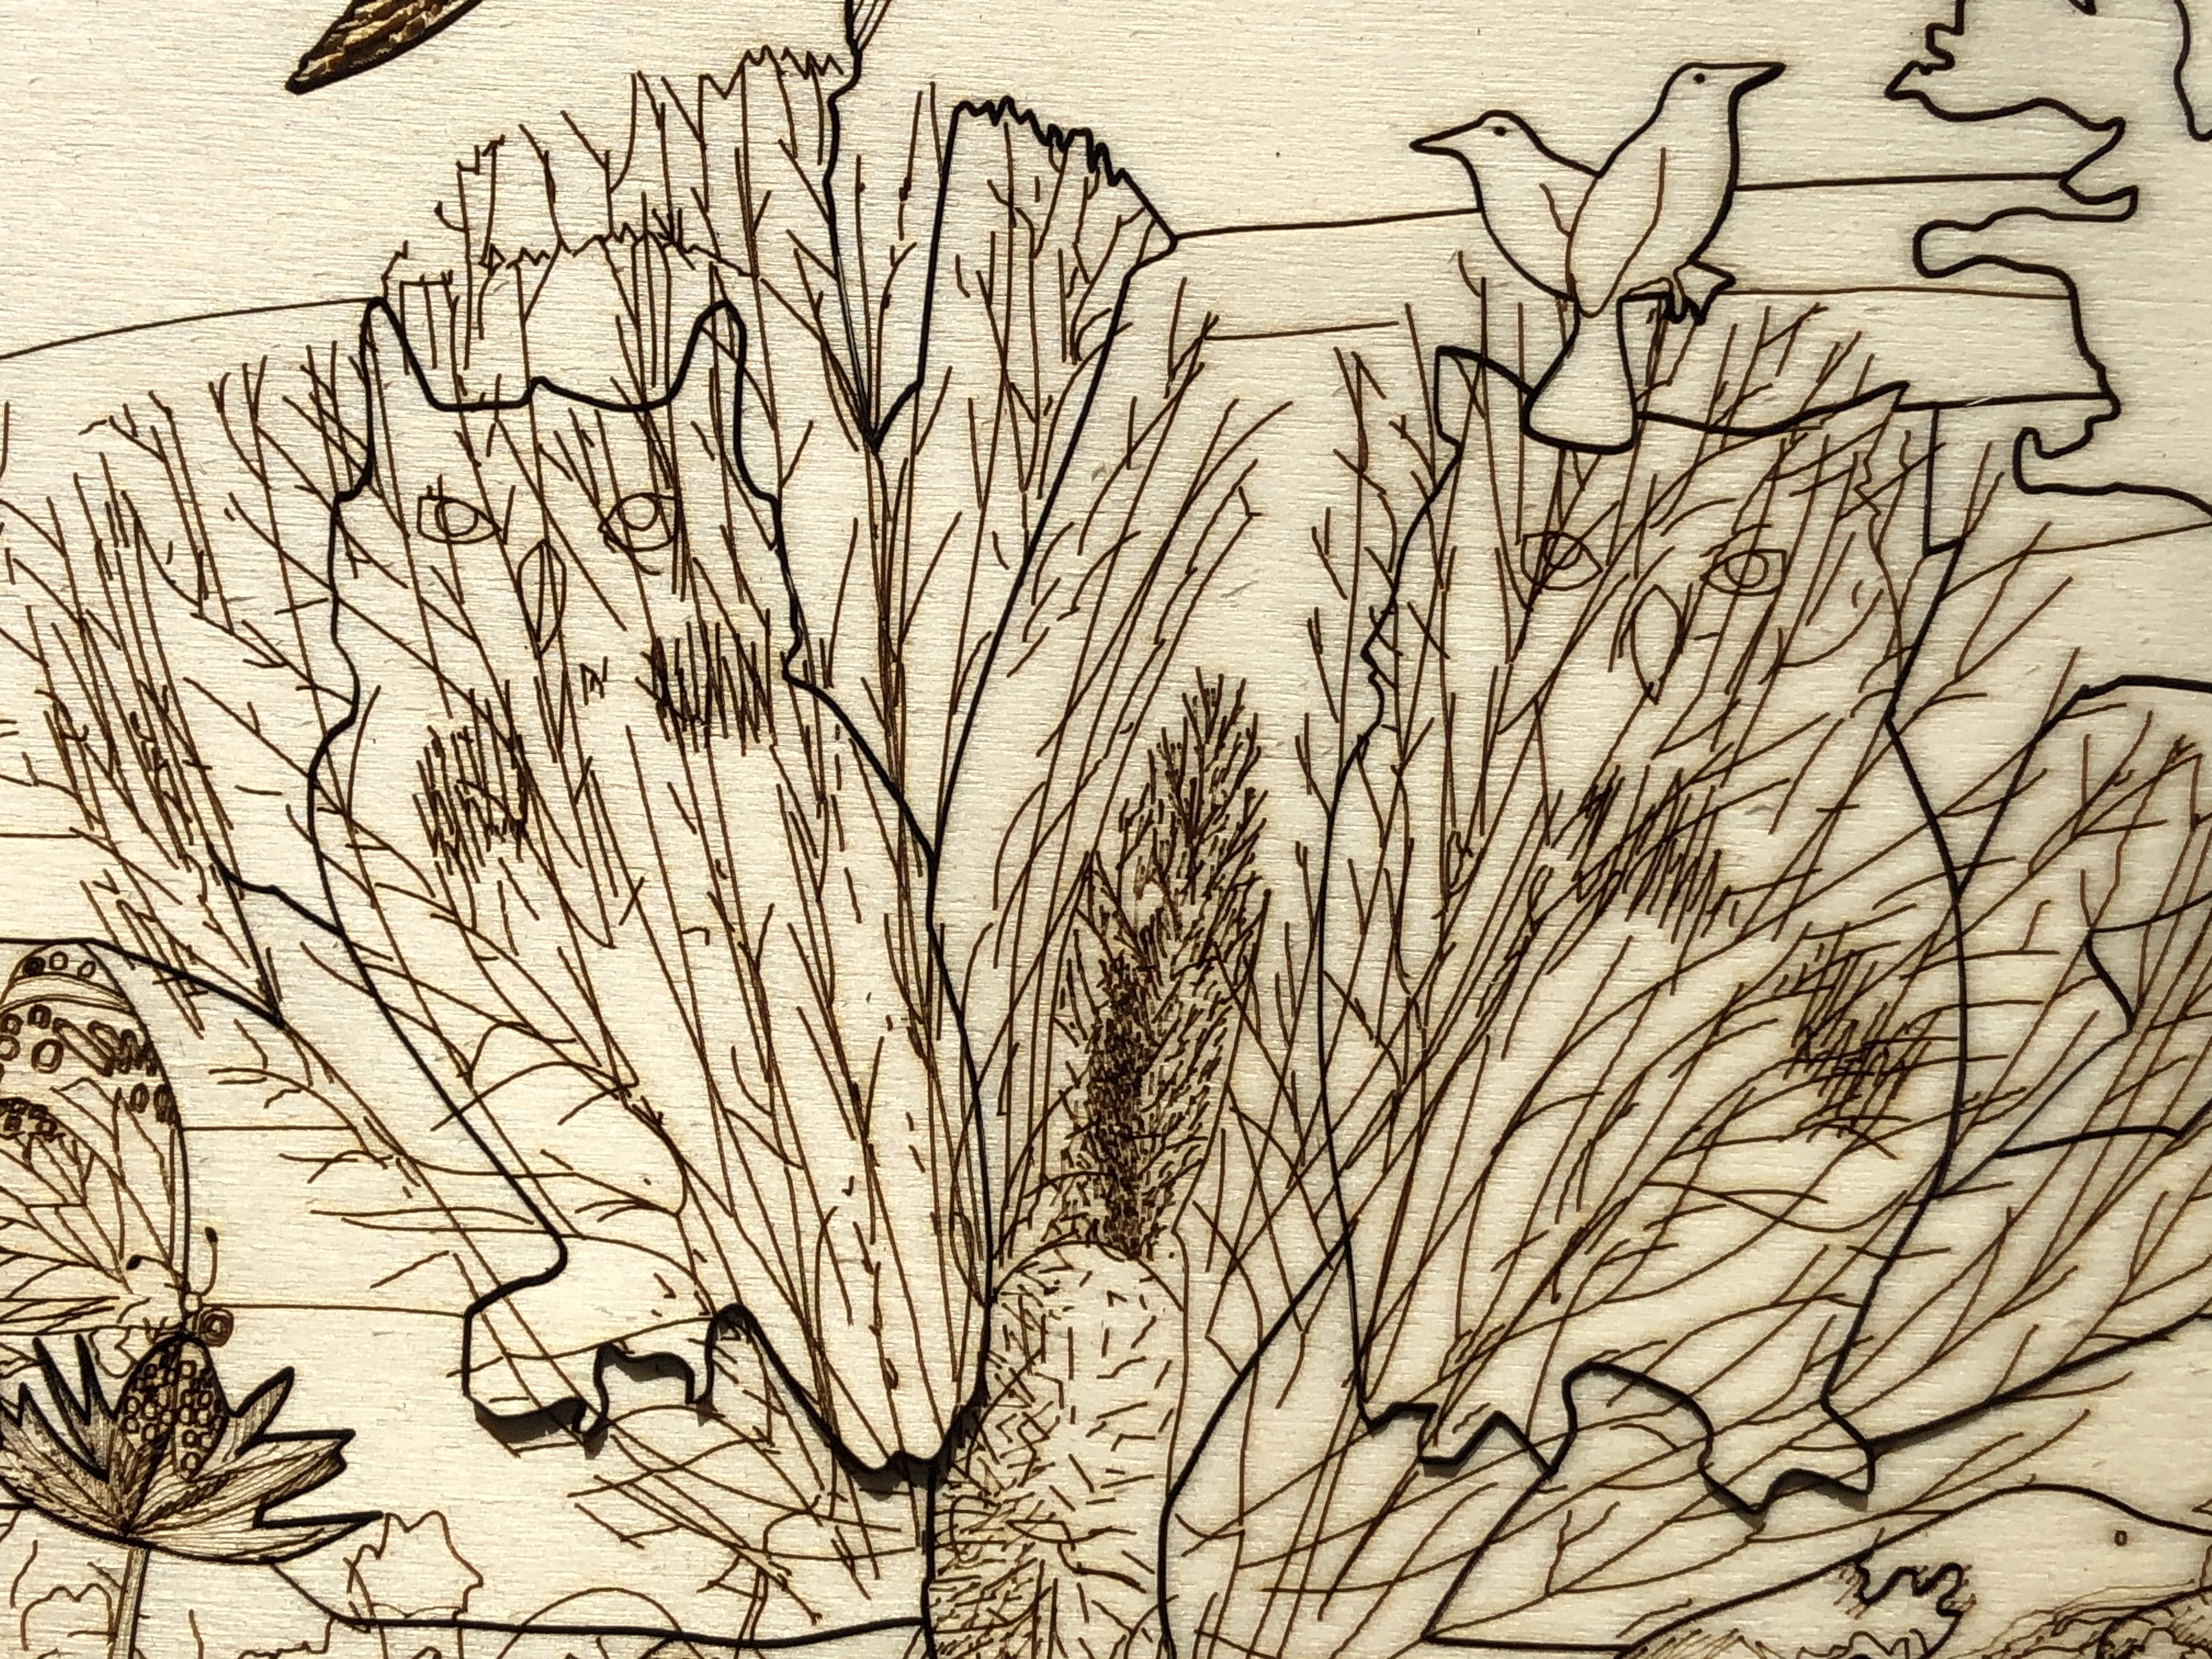
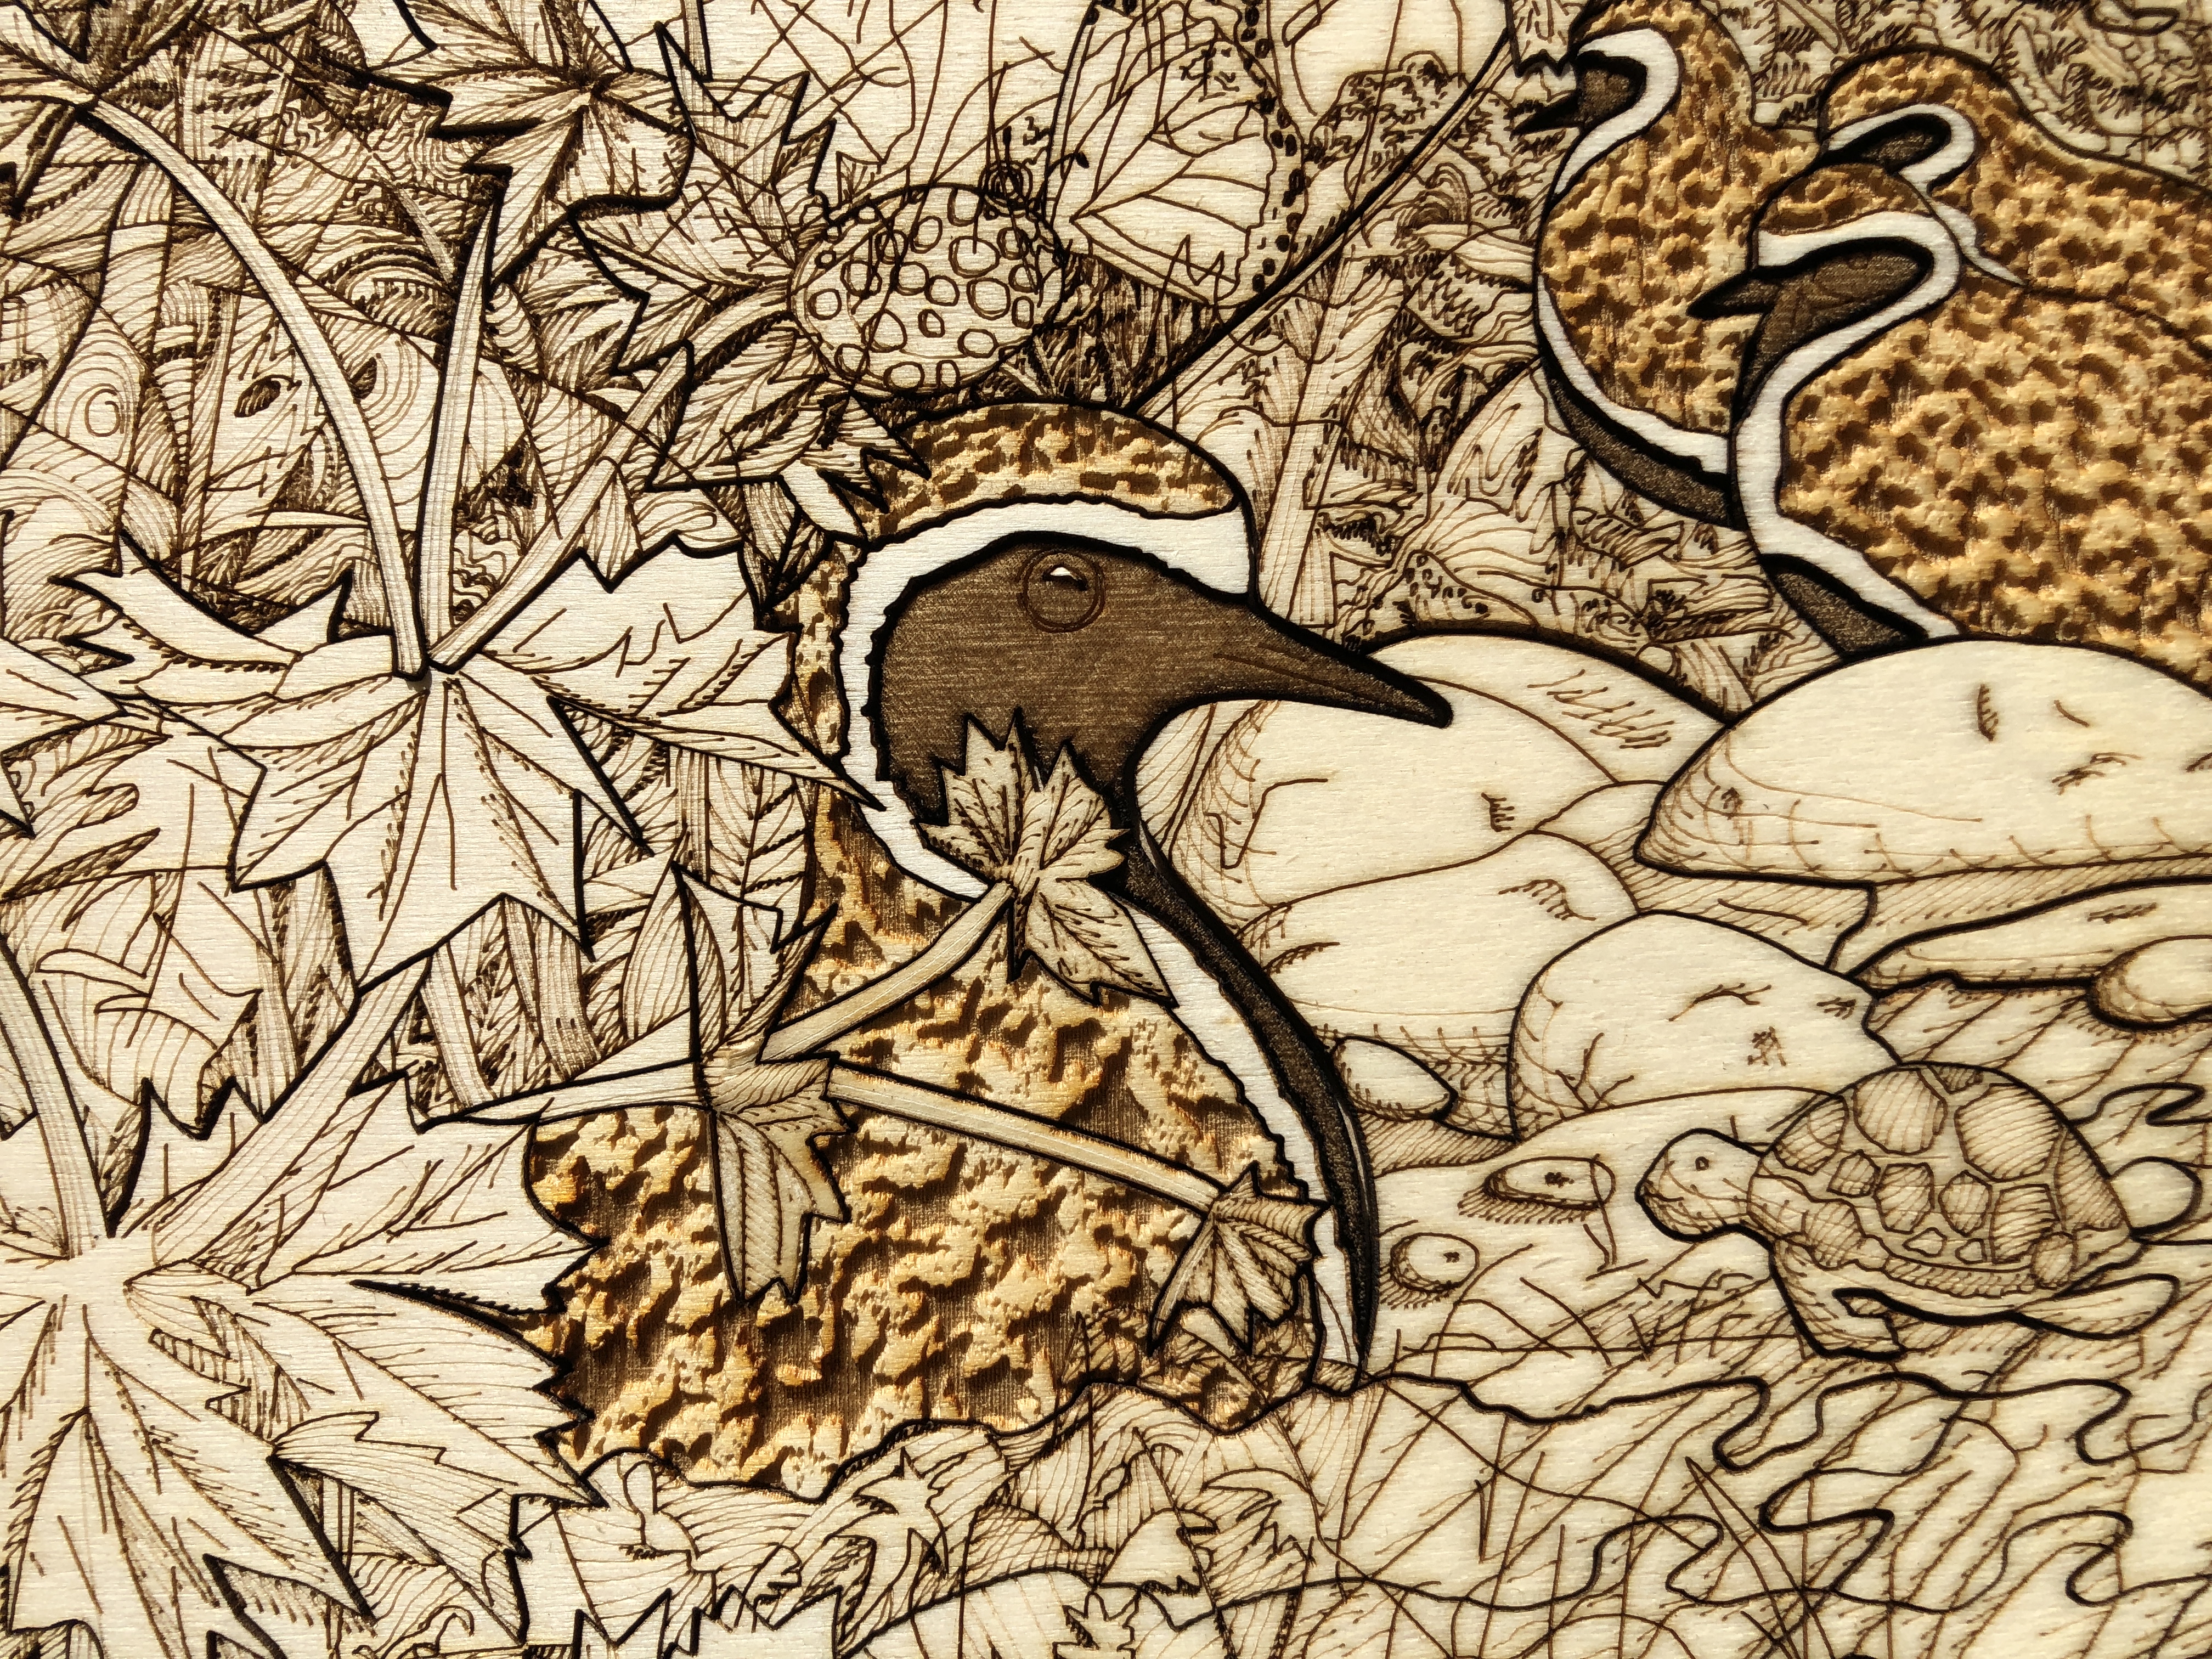
    Detail showing a geographical reference…

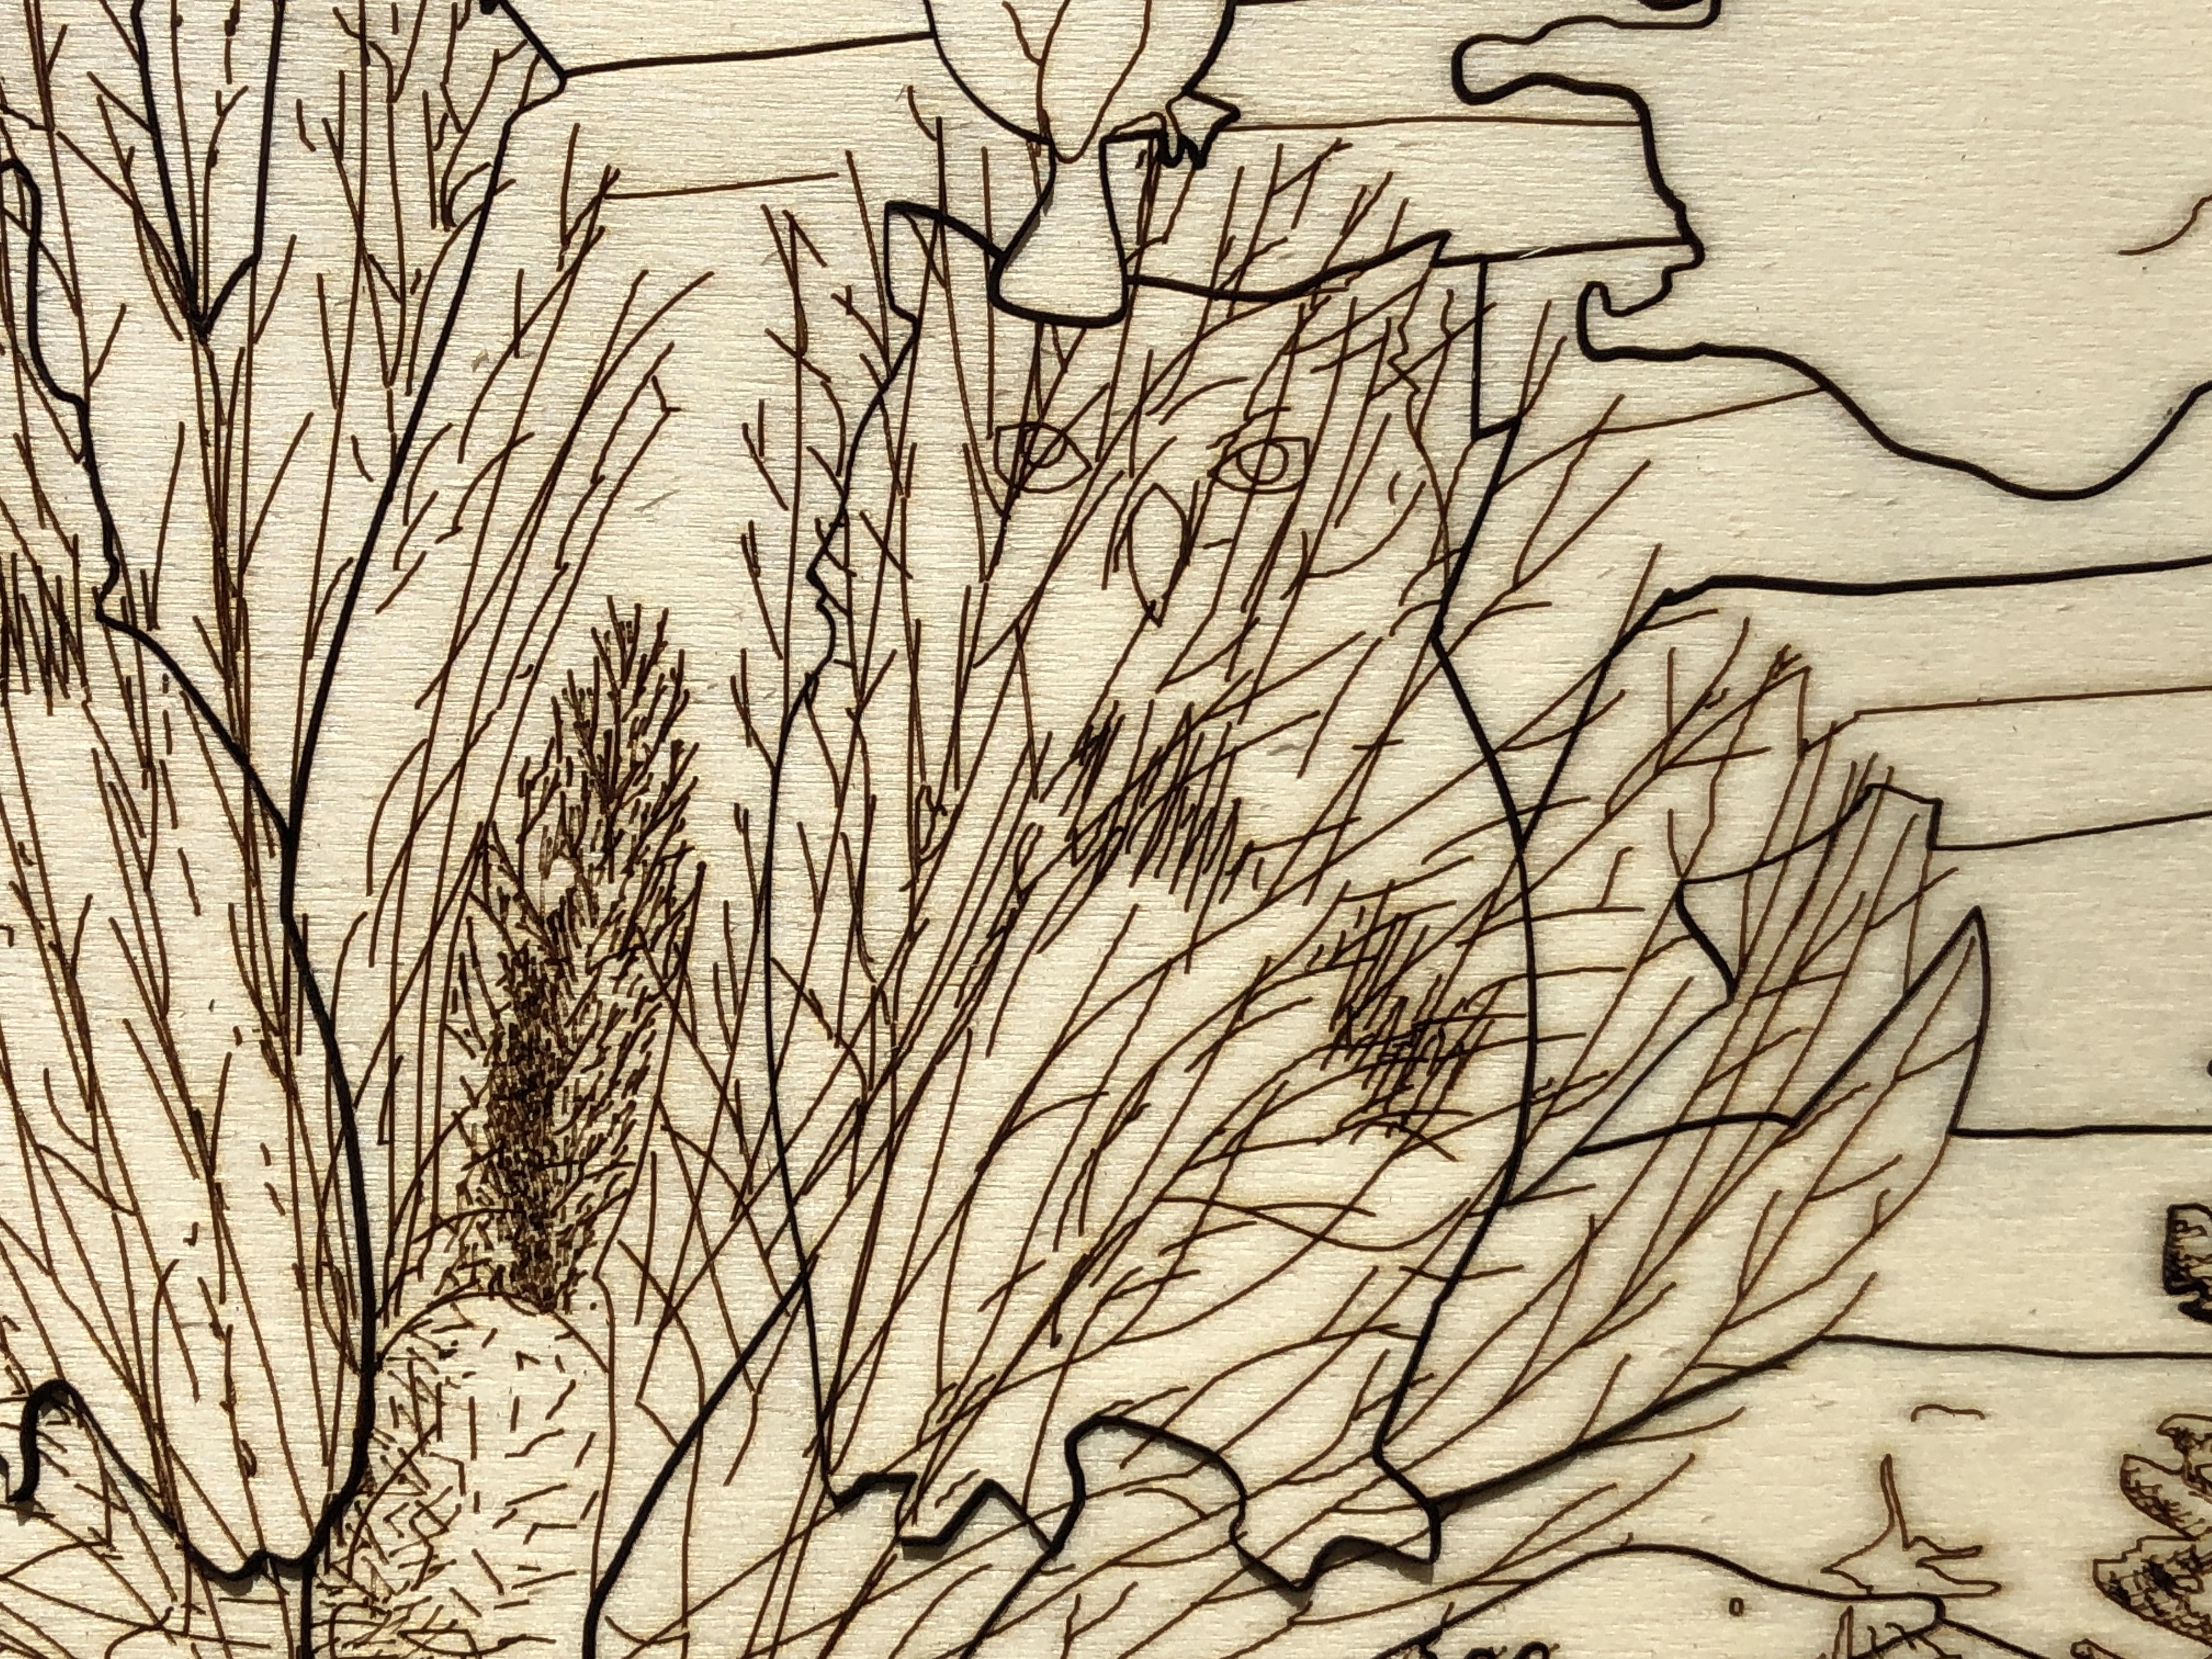
    Detail #2

    This is (obviously!) part of my floral map series. See Guillemot with Egg (floral map) for details.

  • Tawny Owl with Egg (floral map)

    Tawny Owl with Egg (floral map)

    (Very low resolution for copyright reasons)

    Title: โ€œTawny Owl with Egg (floral map)โ€
    Artist: Michael Autumn
    Medium: Hand-drawing with digital gouache
    Giclรฉe archival print on fine 100% cotton canvas (matt)
    Hahnemรผhle Art Canvas Smooth 370gsm + Hahnemรผhle UV protection matt varnish
    Size: 36″ (W) x 50.9″ (H), canvas stretcher 38″ (W) x 53″ (H)
    Edition: Limited Edition of 101
    Authenticity: Hand-signed (front, bottom, far right on white canvas border) with graphite pencil (varnished over with same UV-protective matt varnish as whole) and titled (front, bottom, centre on white canvas border)
    Date: 03/2024

    Just to give an idea of the size the artwork…

    TL;DR

    This artwork is an homage to visual perception โ€“ itโ€™s about how we detect meaning from the millions of individually coloured photons entering our eyes โ€“ and how I, as an artist, can trick you into seeing what I want you to see.

    Tawny Owl with Egg (floral map) is the simple colouring-in (albeit very carefully selected and juxtaposed colours) of a flat line drawing I did previously of this art puzzle design (see the photo of that artwork below and this post: Tawny Owl with Egg (Art Puzzle)).

    Tawny Owl with Egg (Art Puzzle)

    I used this technique to regularly check for line breaks (where there shouldnโ€™t be any), and to get a better view of the shapes of the individual pieces I was designing โ€“ amid a sprawling mesh of simple black thin lines on a white background. This got me to thinking about the difference between the dumb mechanical process of colouring a shape (of a flood fill) and true animal (human) understandingโ€ฆ

    Detail showing a geographical reference…

    Detail #2

    This is (obviously!) part of my floral map series. See Guillemot with Egg (floral map) for details.

  • New opportunities for my art with computer programming…

    Itโ€™s difficult sometimes to know what to include in an artistโ€™s diary. I keep my diary to the absolute minimum โ€“ not only because I simply donโ€™t have the time to jot down everything, but I have a high level of self-censorship. Some things are trivial, however, who knows what legacy I may leave (if any), and what are significant landmarks in an artistsโ€™ life that may be of historical and/or biographical interestโ€ฆ?

    This is not a posting about any specific piece of work, I just want to put an entry in the diary of recent achievements that will probably be the beginnings of a fruitful seam of creativity for me โ€“ after having recently solved a series of technical challenges (wearing my IT (computer programming) hat) that literally enable some creative ideas that would otherwise not be realisable…

    Iโ€™ve long been interested in depicting puzzling, ambiguous, dimorphous ideas in art – and have had many, and a growing number of, ideas mulling around in my head for several years โ€“ but with no satisfactory or acceptable way of representing them. So they have been on the backburner – waiting for solutionsโ€ฆ

    In parallel to this, for the last few years Iโ€™ve been exploring puzzles as a means artistic expression, and this has resulted in me spending hundreds of hours doing vector-based freehand drawings (using a graphics tablet). I have recently been doing some intricate image manipulations and transformations manually (with the creative software I use), and this gave me the idea of using these techniques for the aforementioned other art ideas. However, the problem is (was) that these techniques, if applied to the other ideas, would take prohibitively long. With my IT hat on, I wondered if there might be a way to program some, or all, of these laborious tasksโ€ฆ?

    The great thing about computer programming is that once you solve a problem, itโ€™s a trivial matter to scale it up. For example, if you get a computer program to draw a grid of rectangles โ€“ letโ€™s say 5 by 7 โ€“ then itโ€™s a trivial matter to get it to do any number of rectangles โ€“ e.g. 500 x 700, 5,000,000 x 7,000,000 โ€“ or any number you choose. Also, the repeatability of any solved task opens up enormous opportunities โ€“ including testing, simulations, daisy-chaining tasks, etcโ€ฆ

    Iโ€™ve never mixed proper art with computer programming before. I have designed and developed an art program for others to create digital art, but Iโ€™ve never used computer programming to create, or help create, art. However, a few weeks ago I thought it could be a very worthwhile investment of my time to see if I could automate some tasks which would otherwise be too laborious to be conscionableโ€ฆ

    So I looked at the following :-

    • Generate a vector puzzle of any size (these are freely available online)
    • Break a bitmap image into any vector puzzle
    • Make jigsaw puzzle tiles of any colour โ€“ particularly random colours from a given palette
    • Break a given percentage of a bitmap image into puzzle pieces. Set these pieces to a given colour or a random selection of colours from a given palette
    • Interleave the puzzle pieces of two (or more) images
    • Allow the masking (in or out) of any of the above
    • Allow the manual manipulation of any of the above โ€“ i.e. everything should be manually changeable

    The handful of solutions (the above tasks are very different – and each require a different solution) I have recently come up with collectively give me what I would describe as a new visual grammar with which to express โ€“ or depict – a number of visual ideas โ€“ including all the ones I have been struggling with prior to this pointโ€ฆ Watch this spaceโ€ฆ

    March 2024

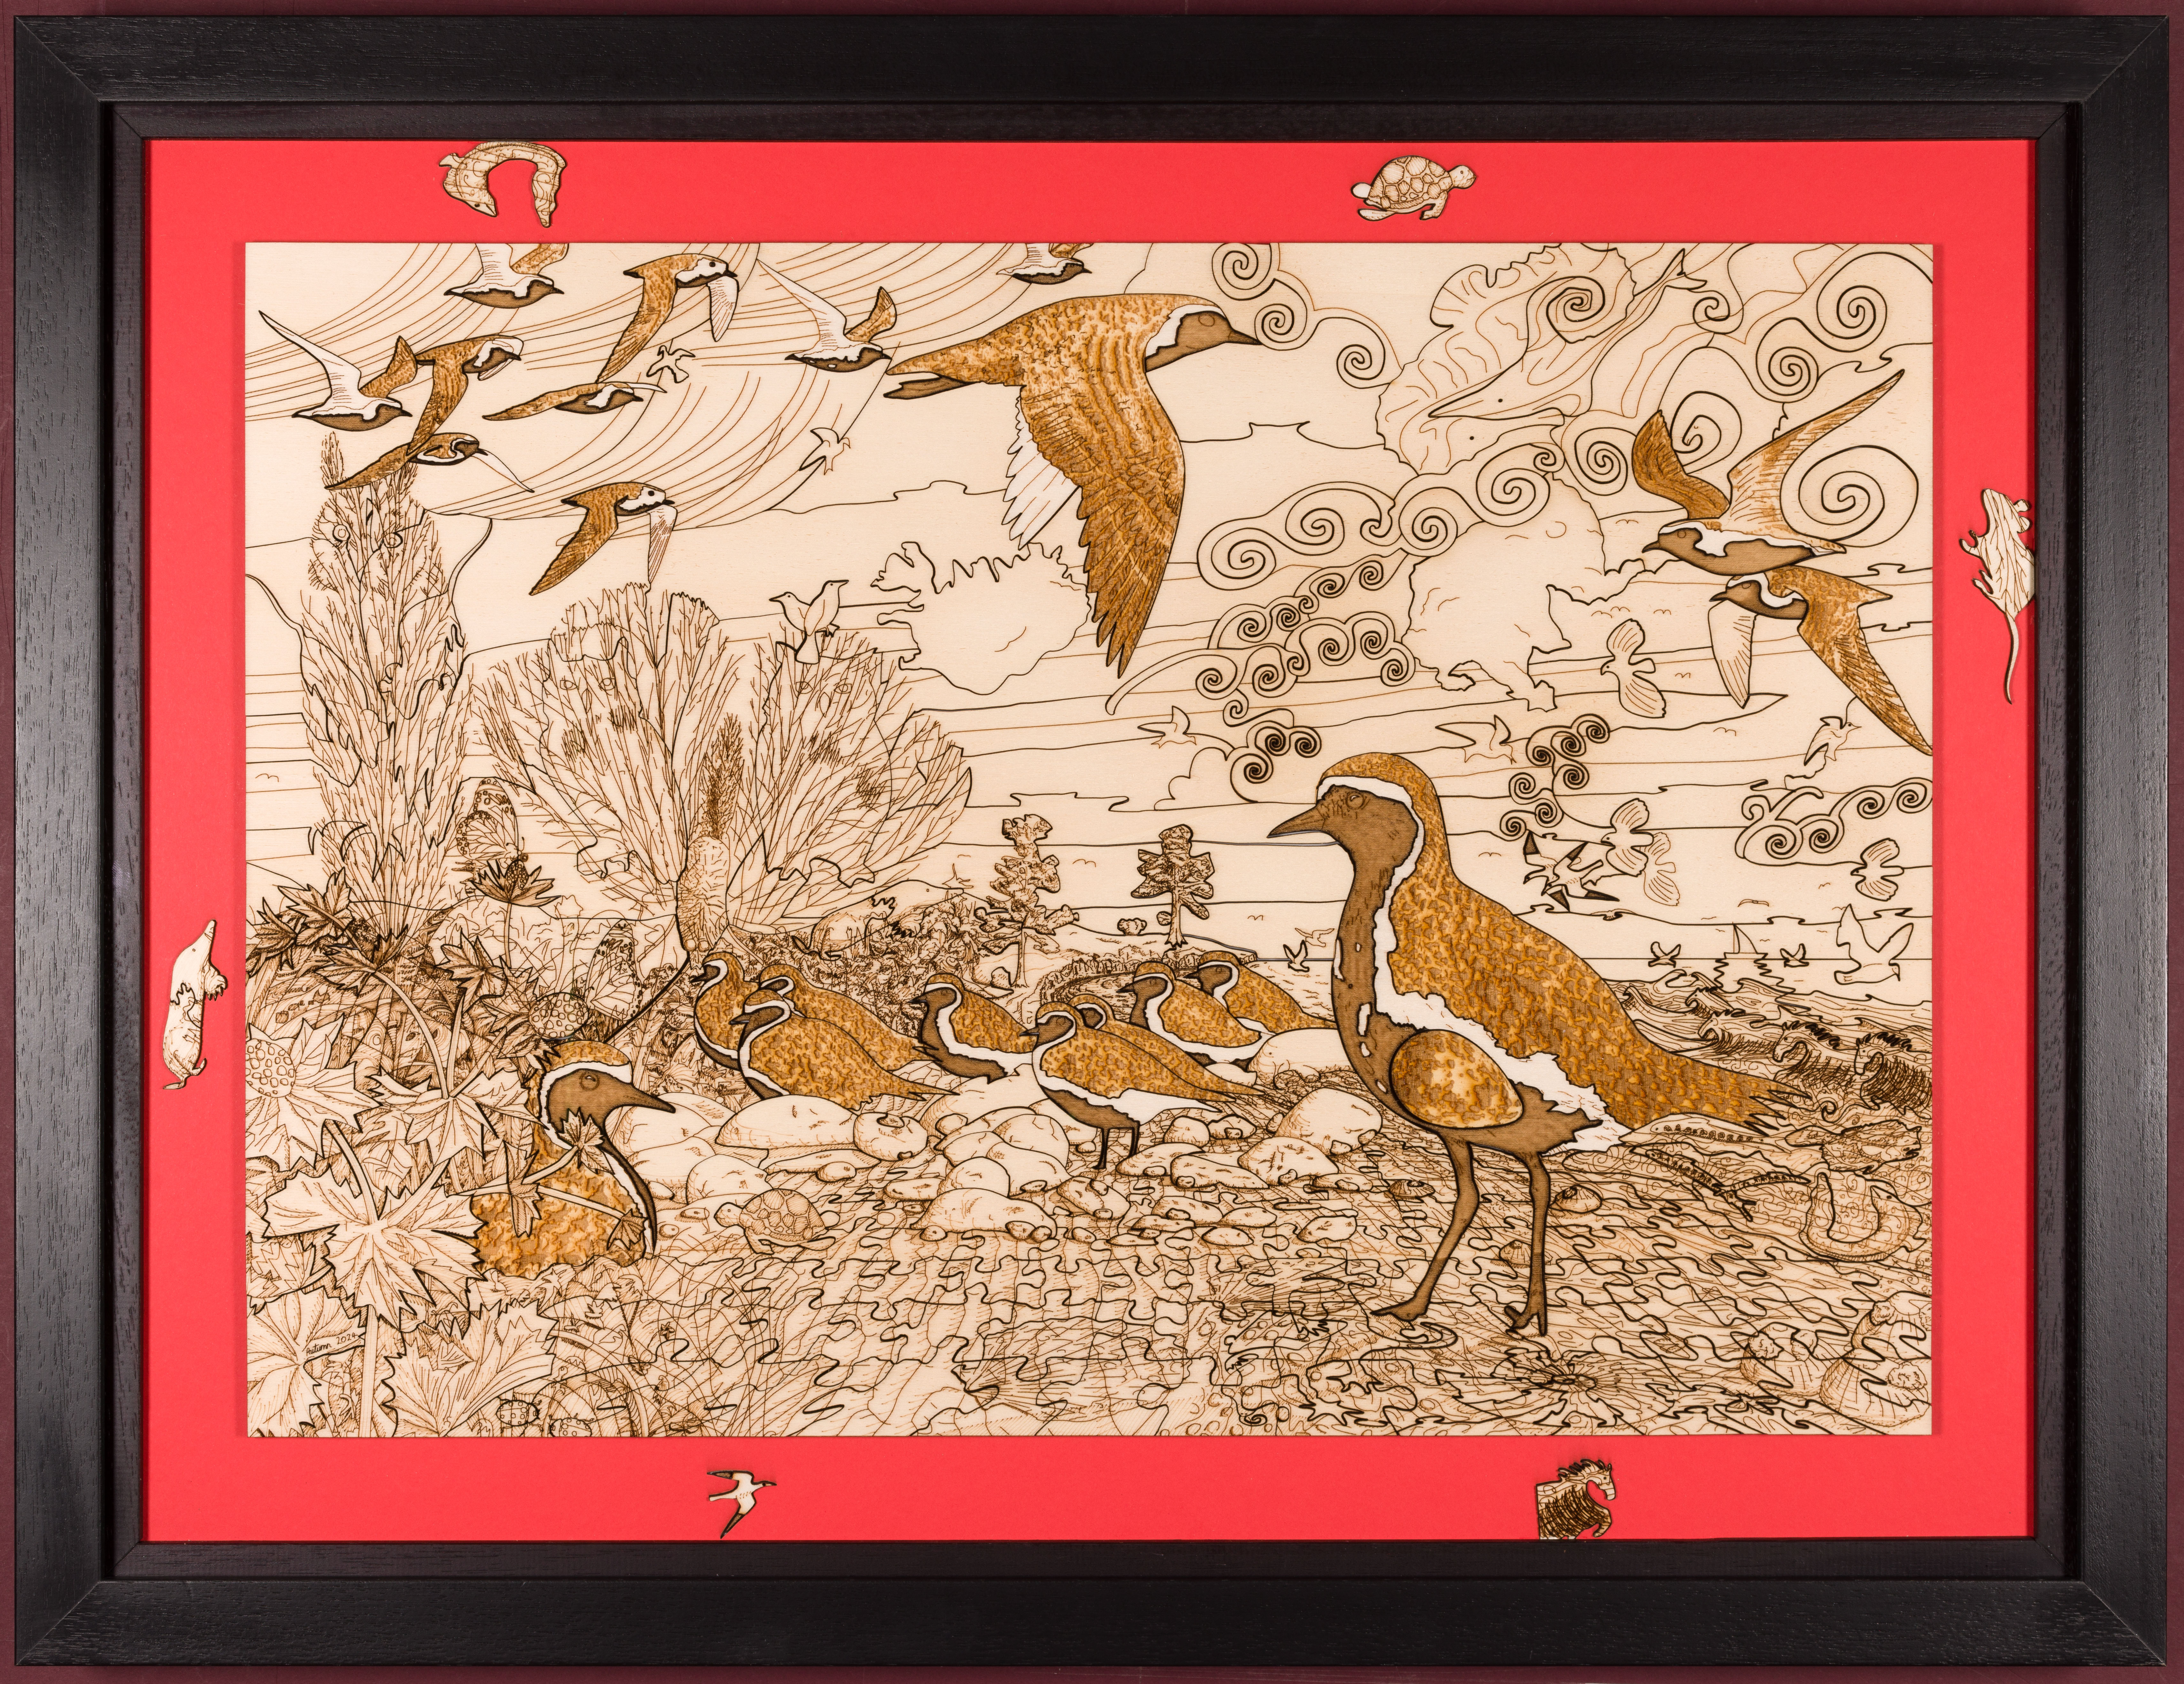
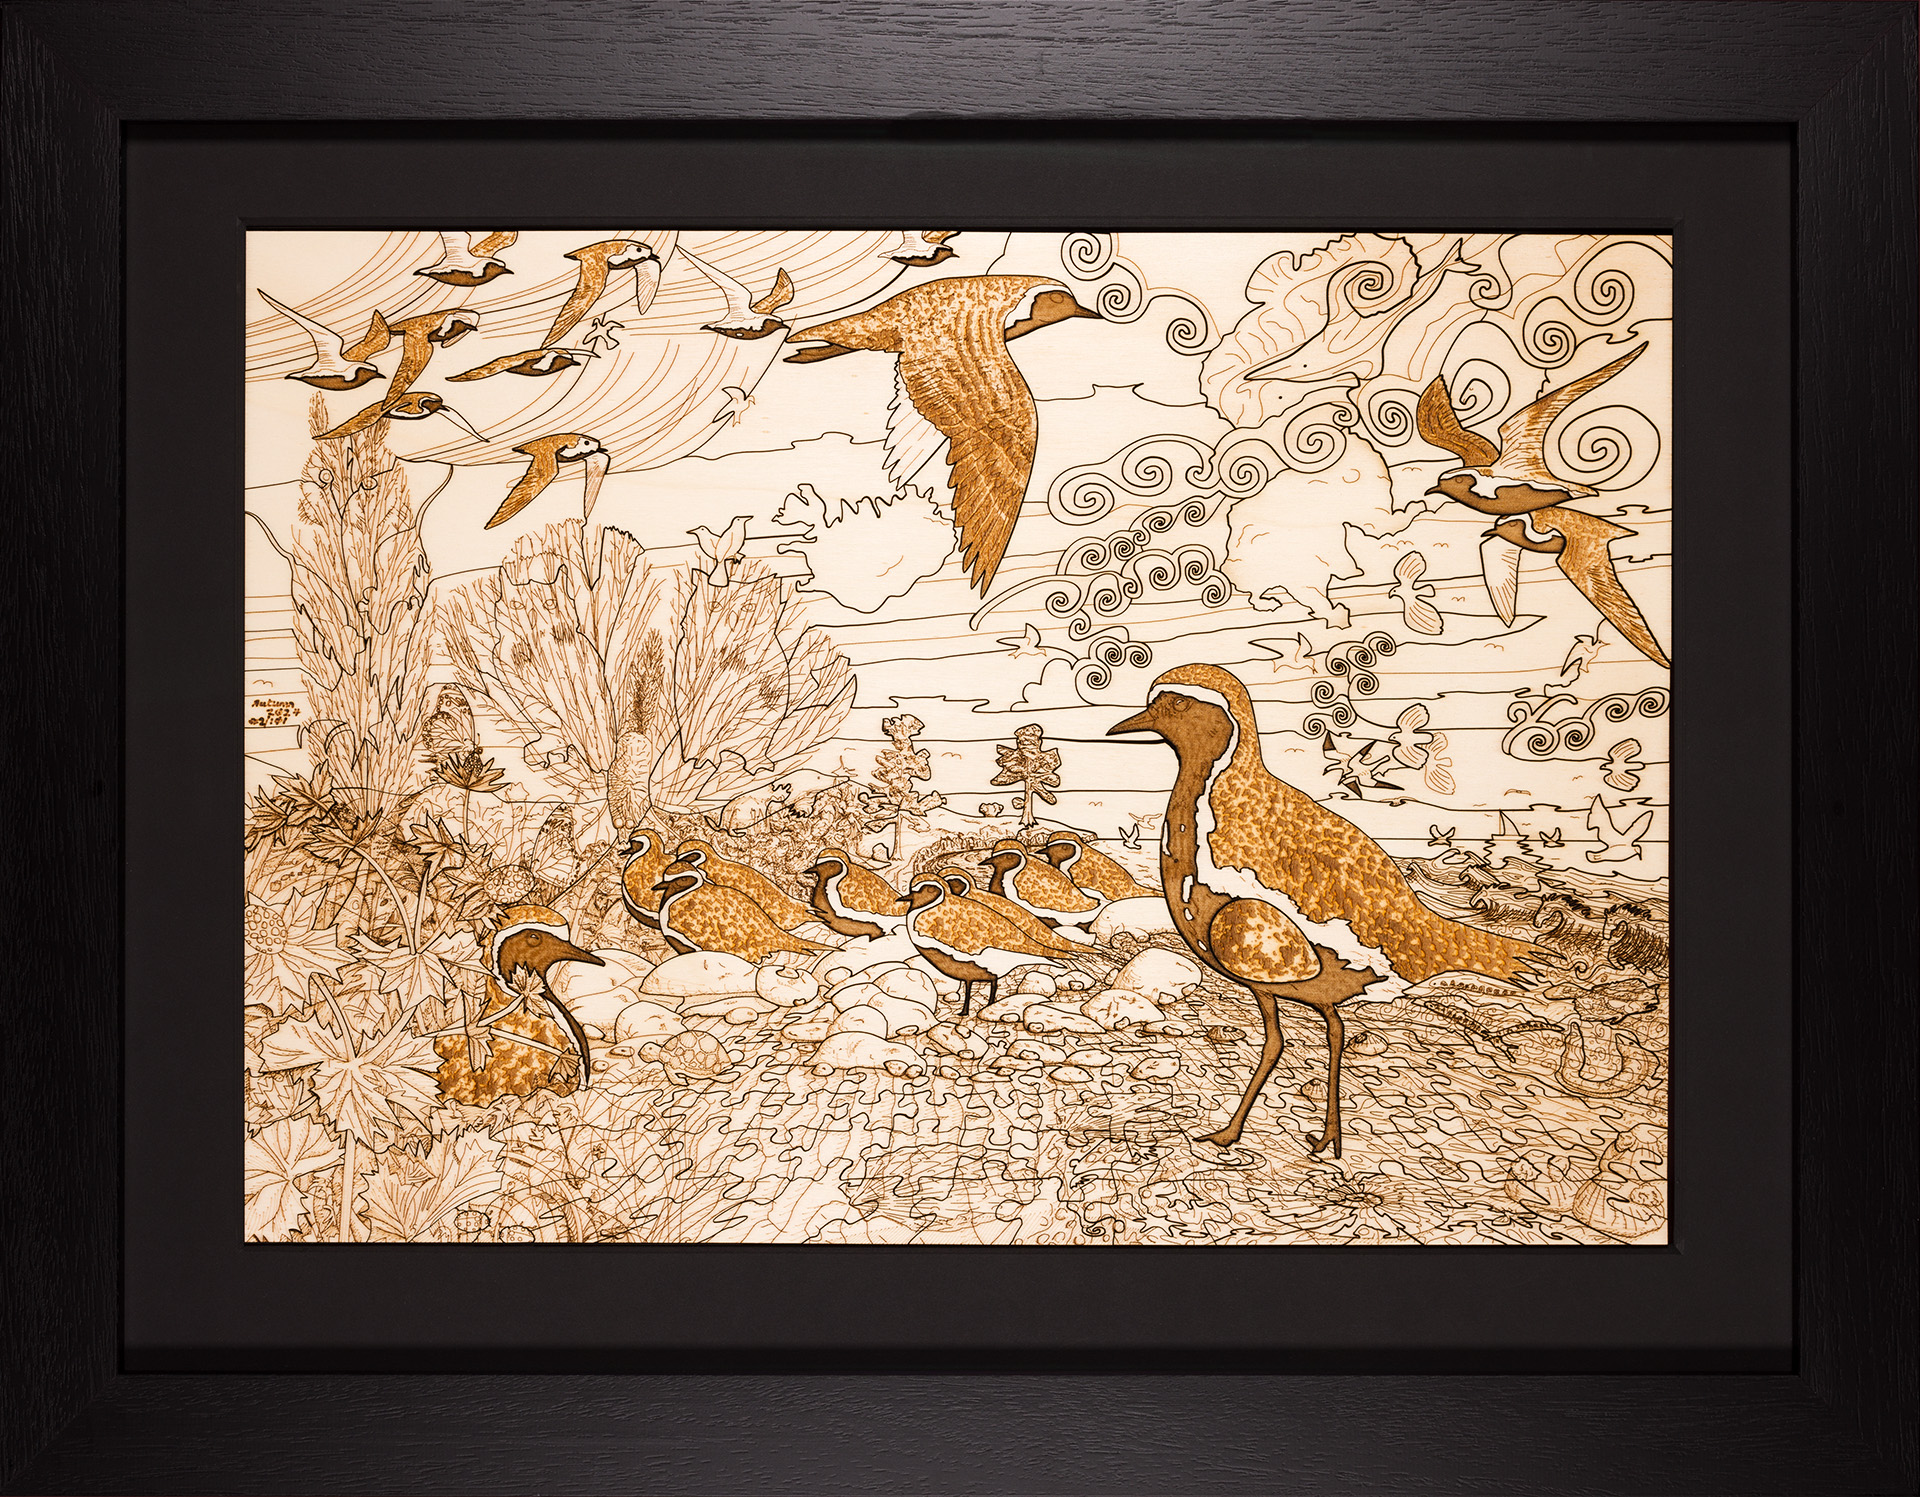
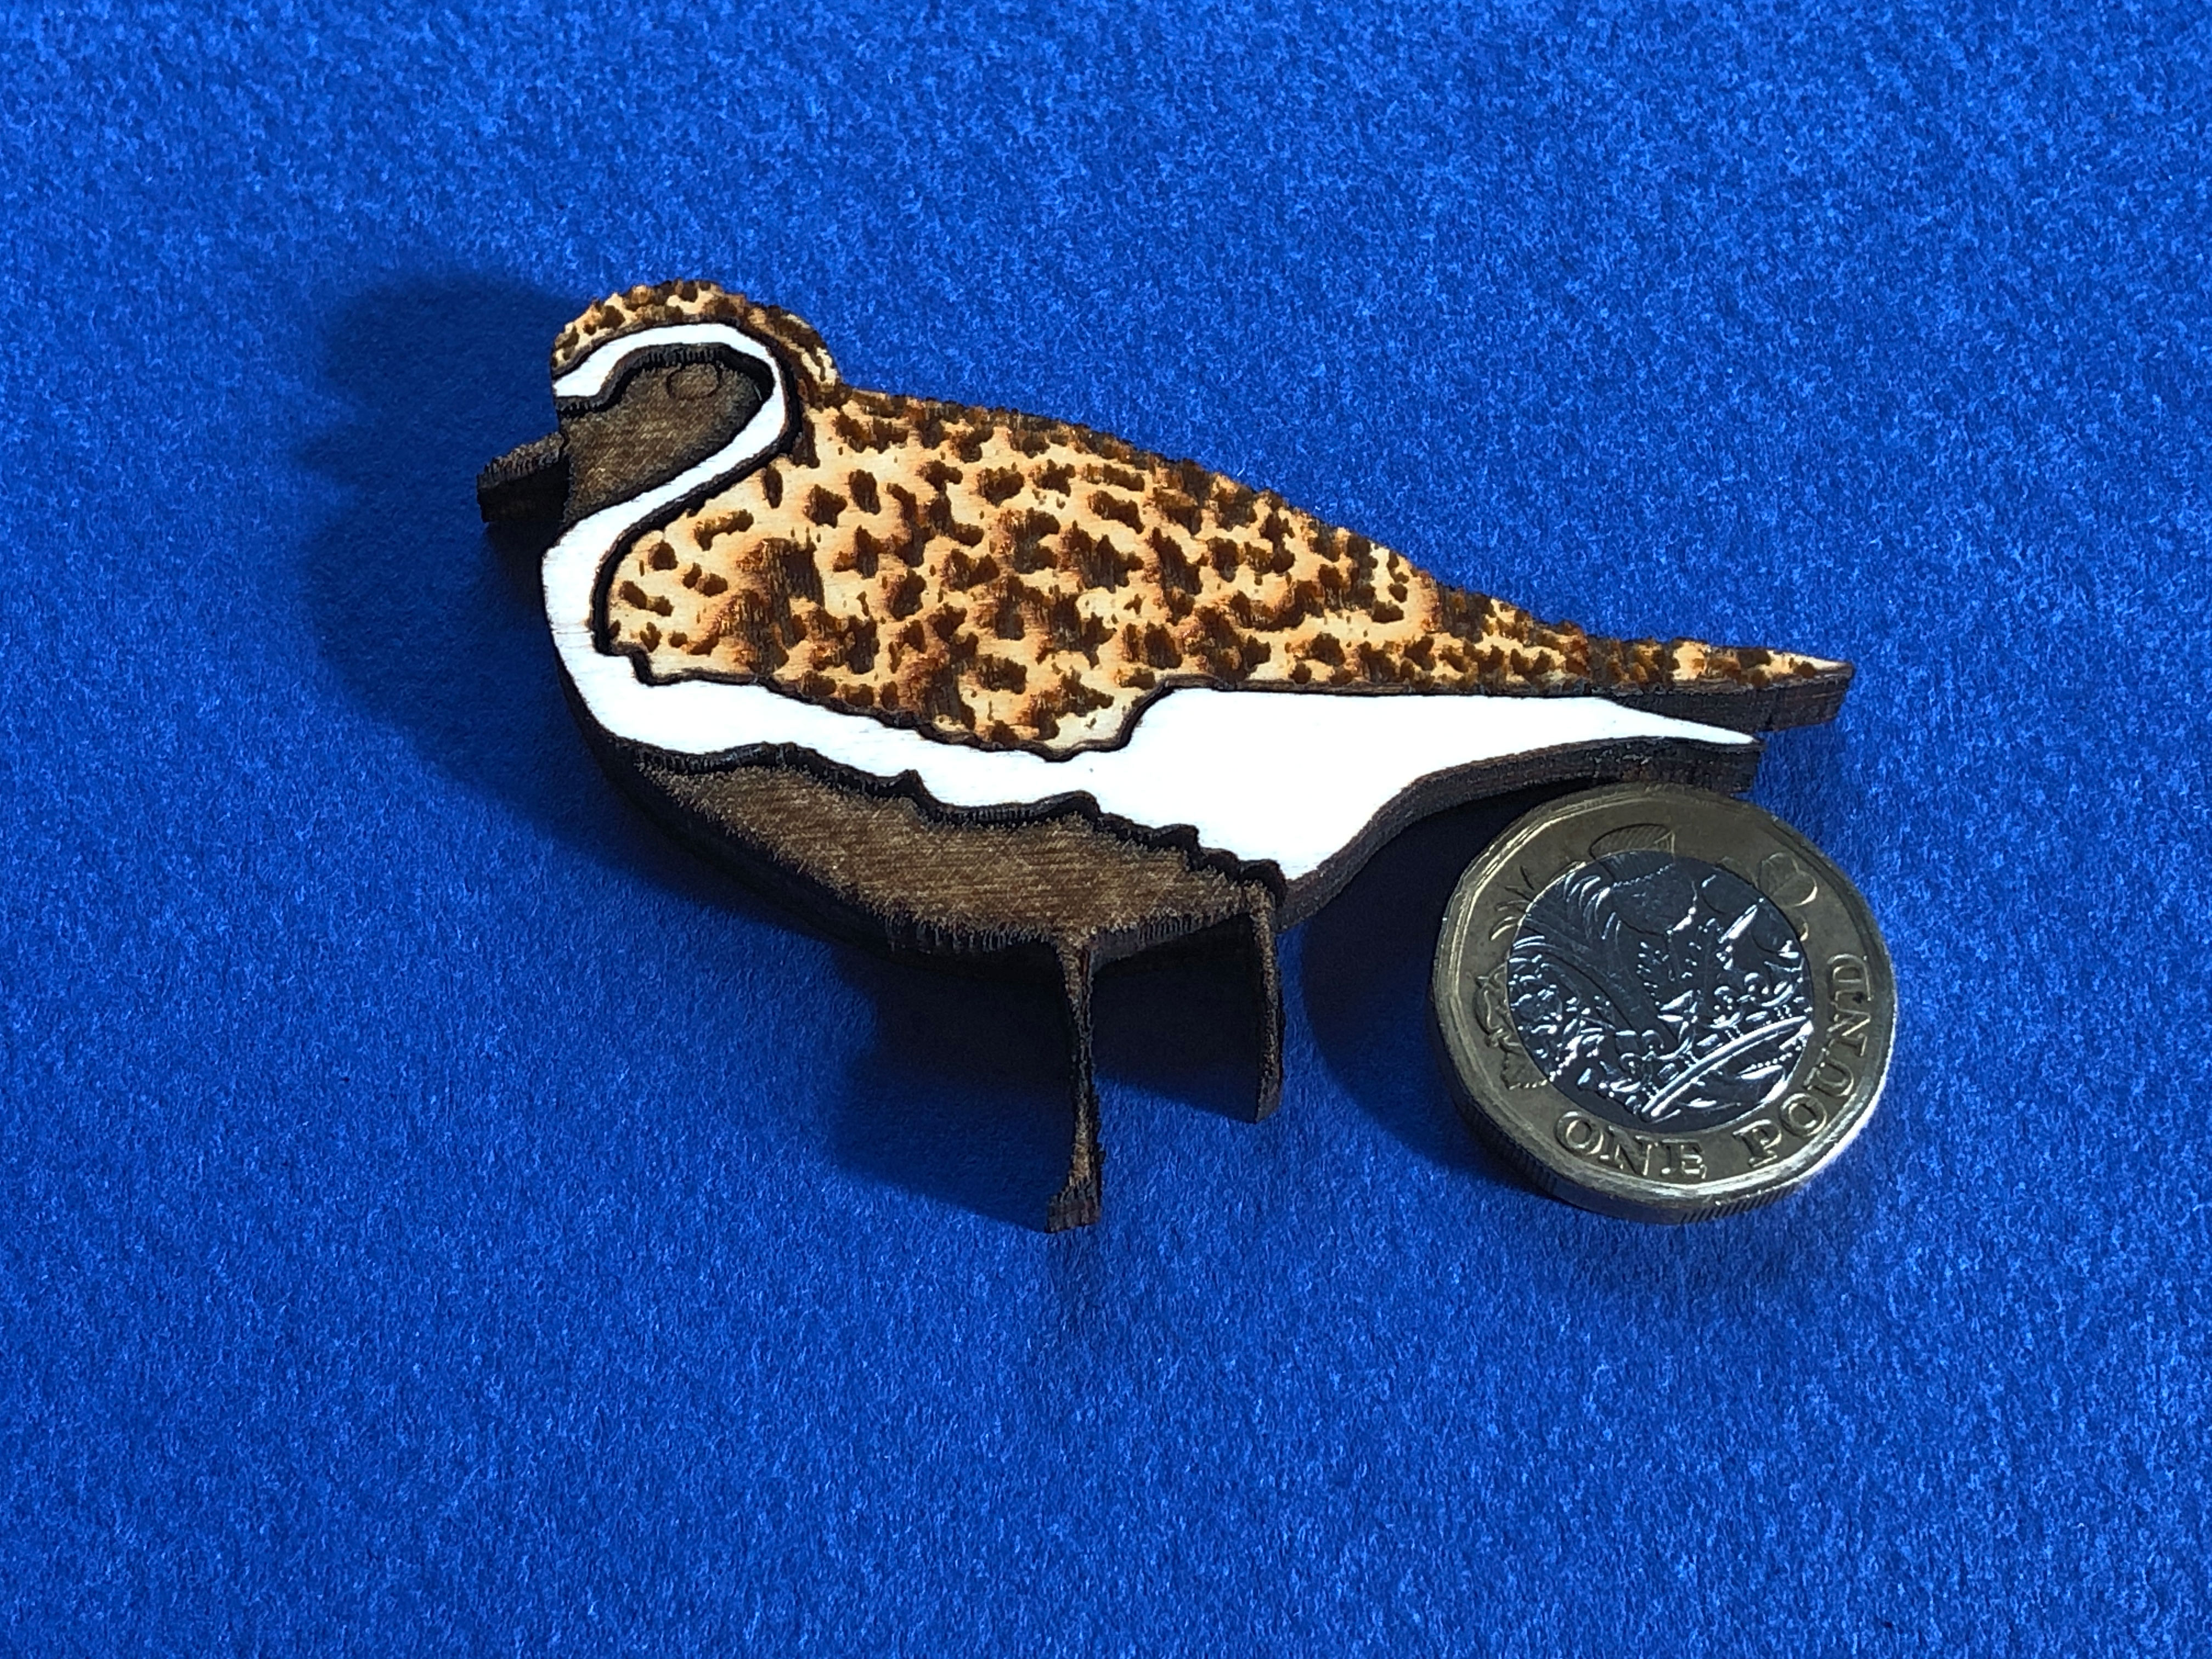
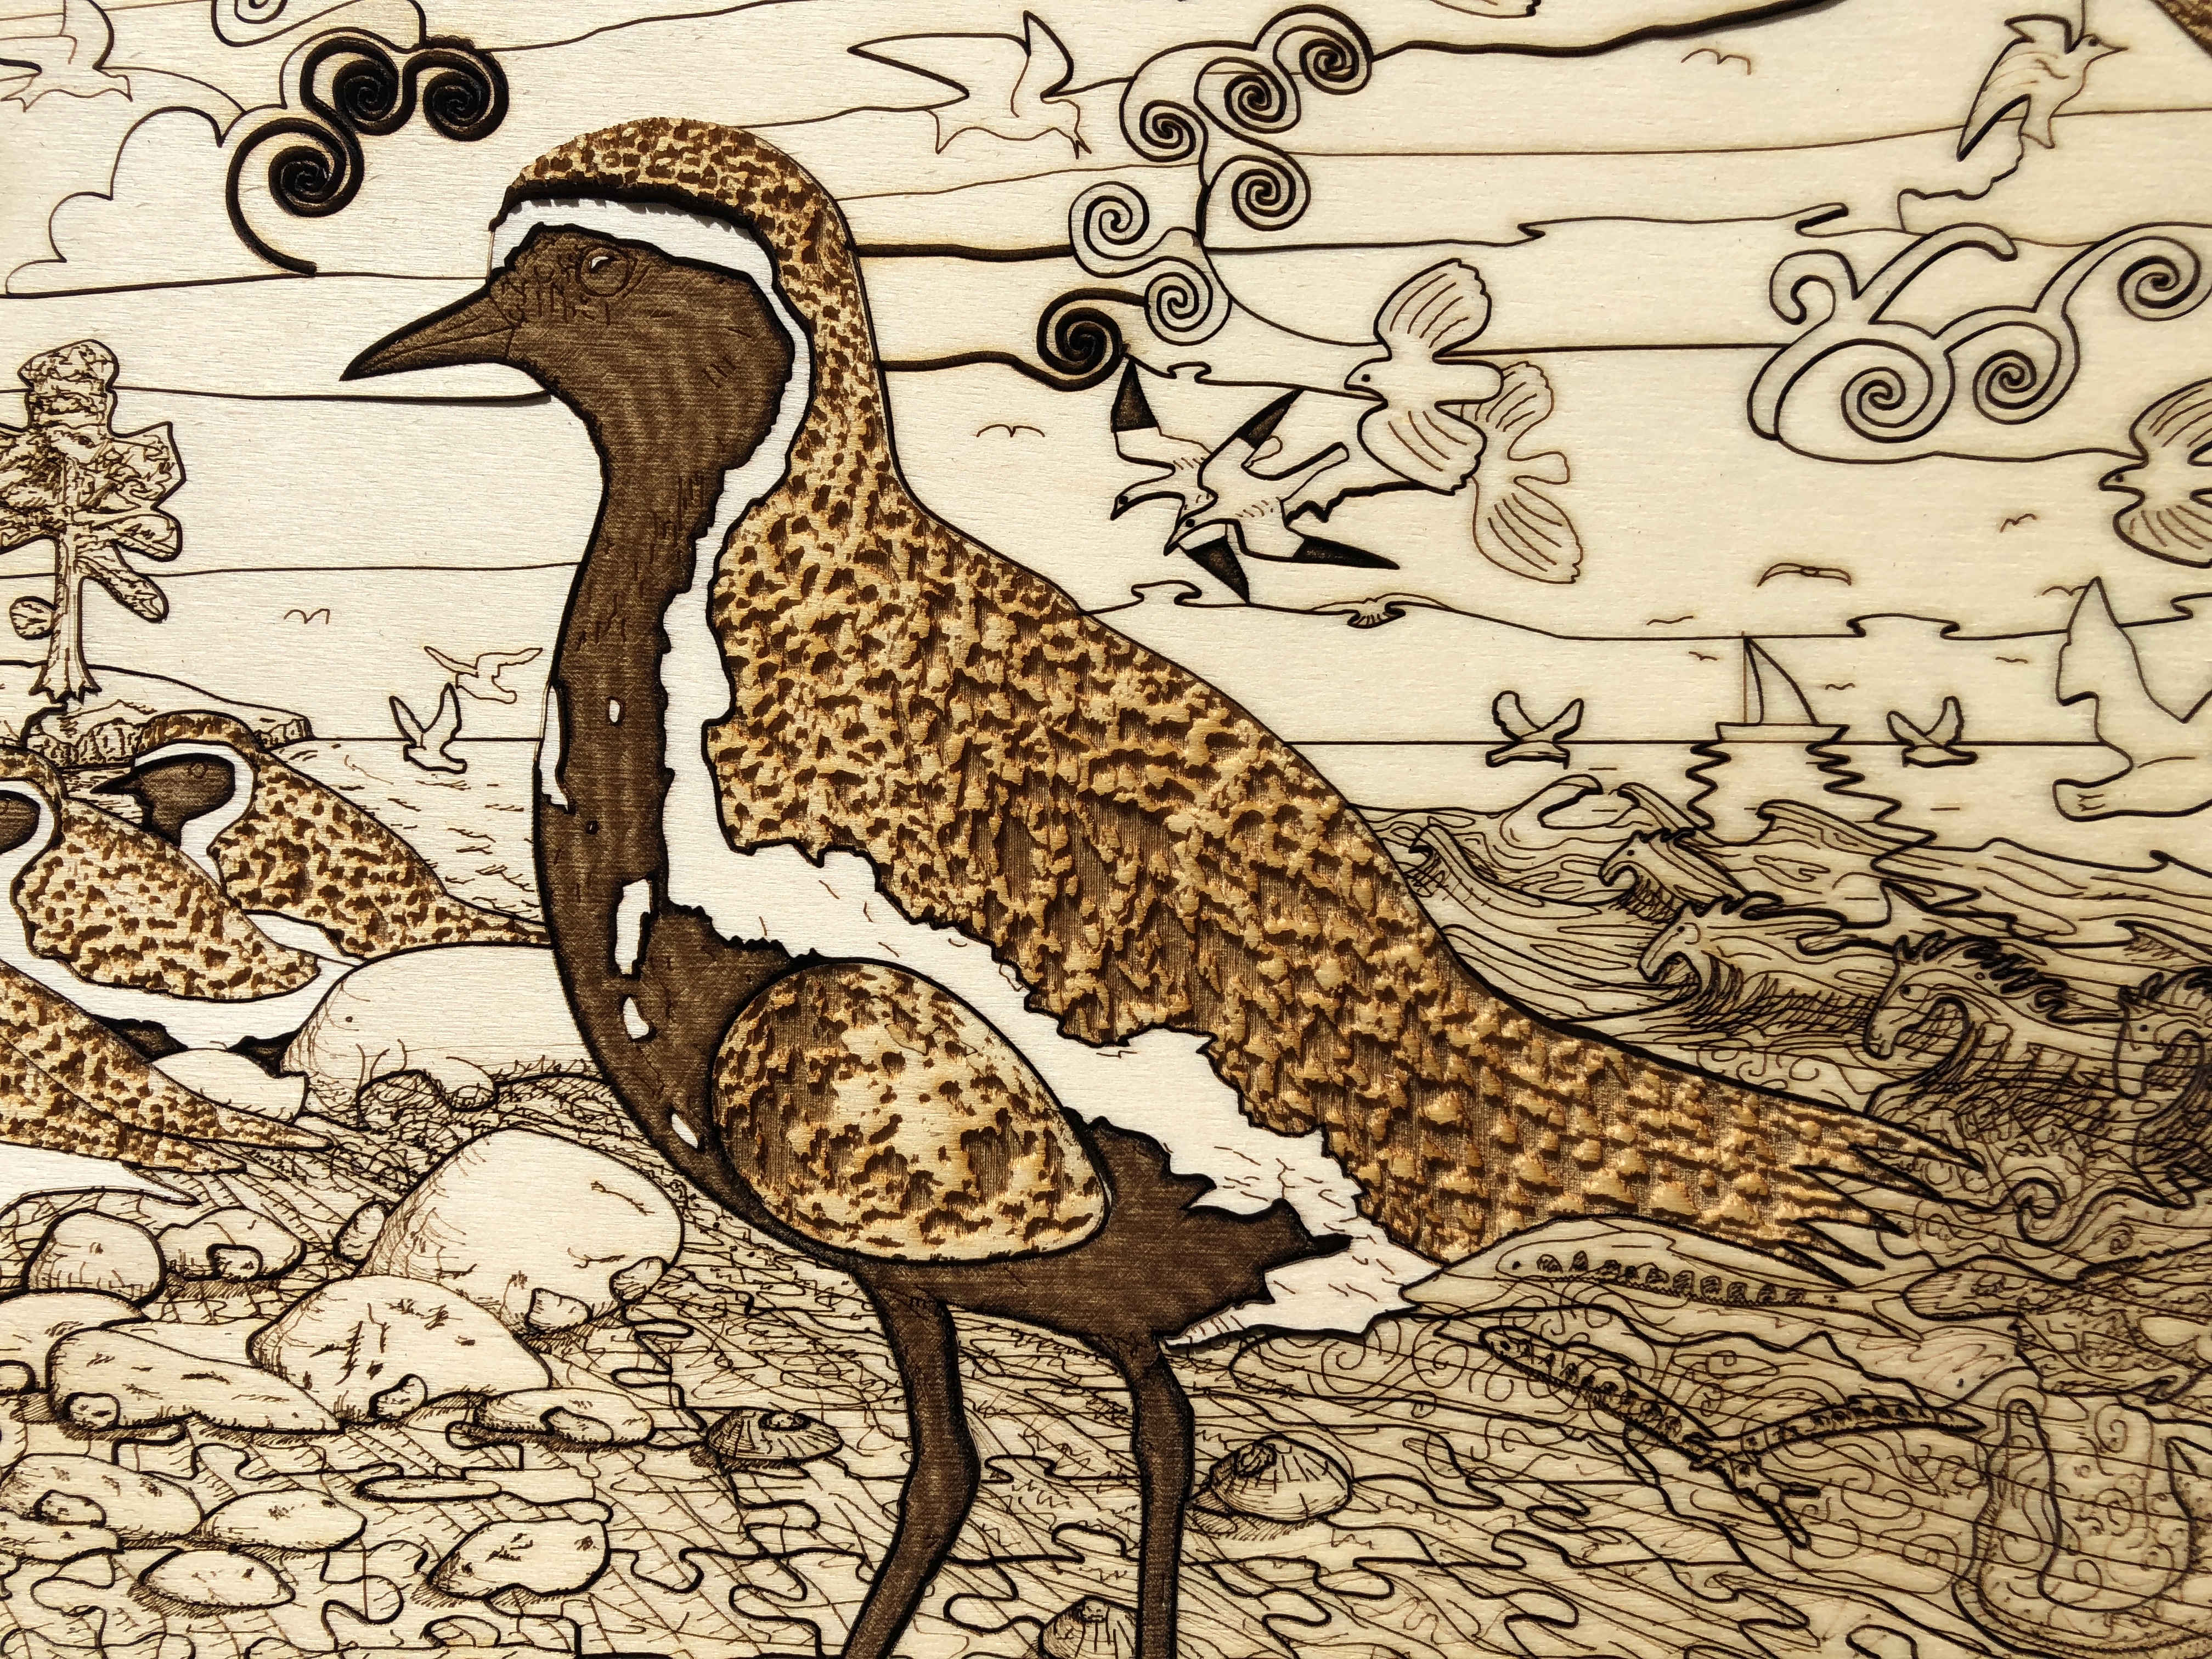
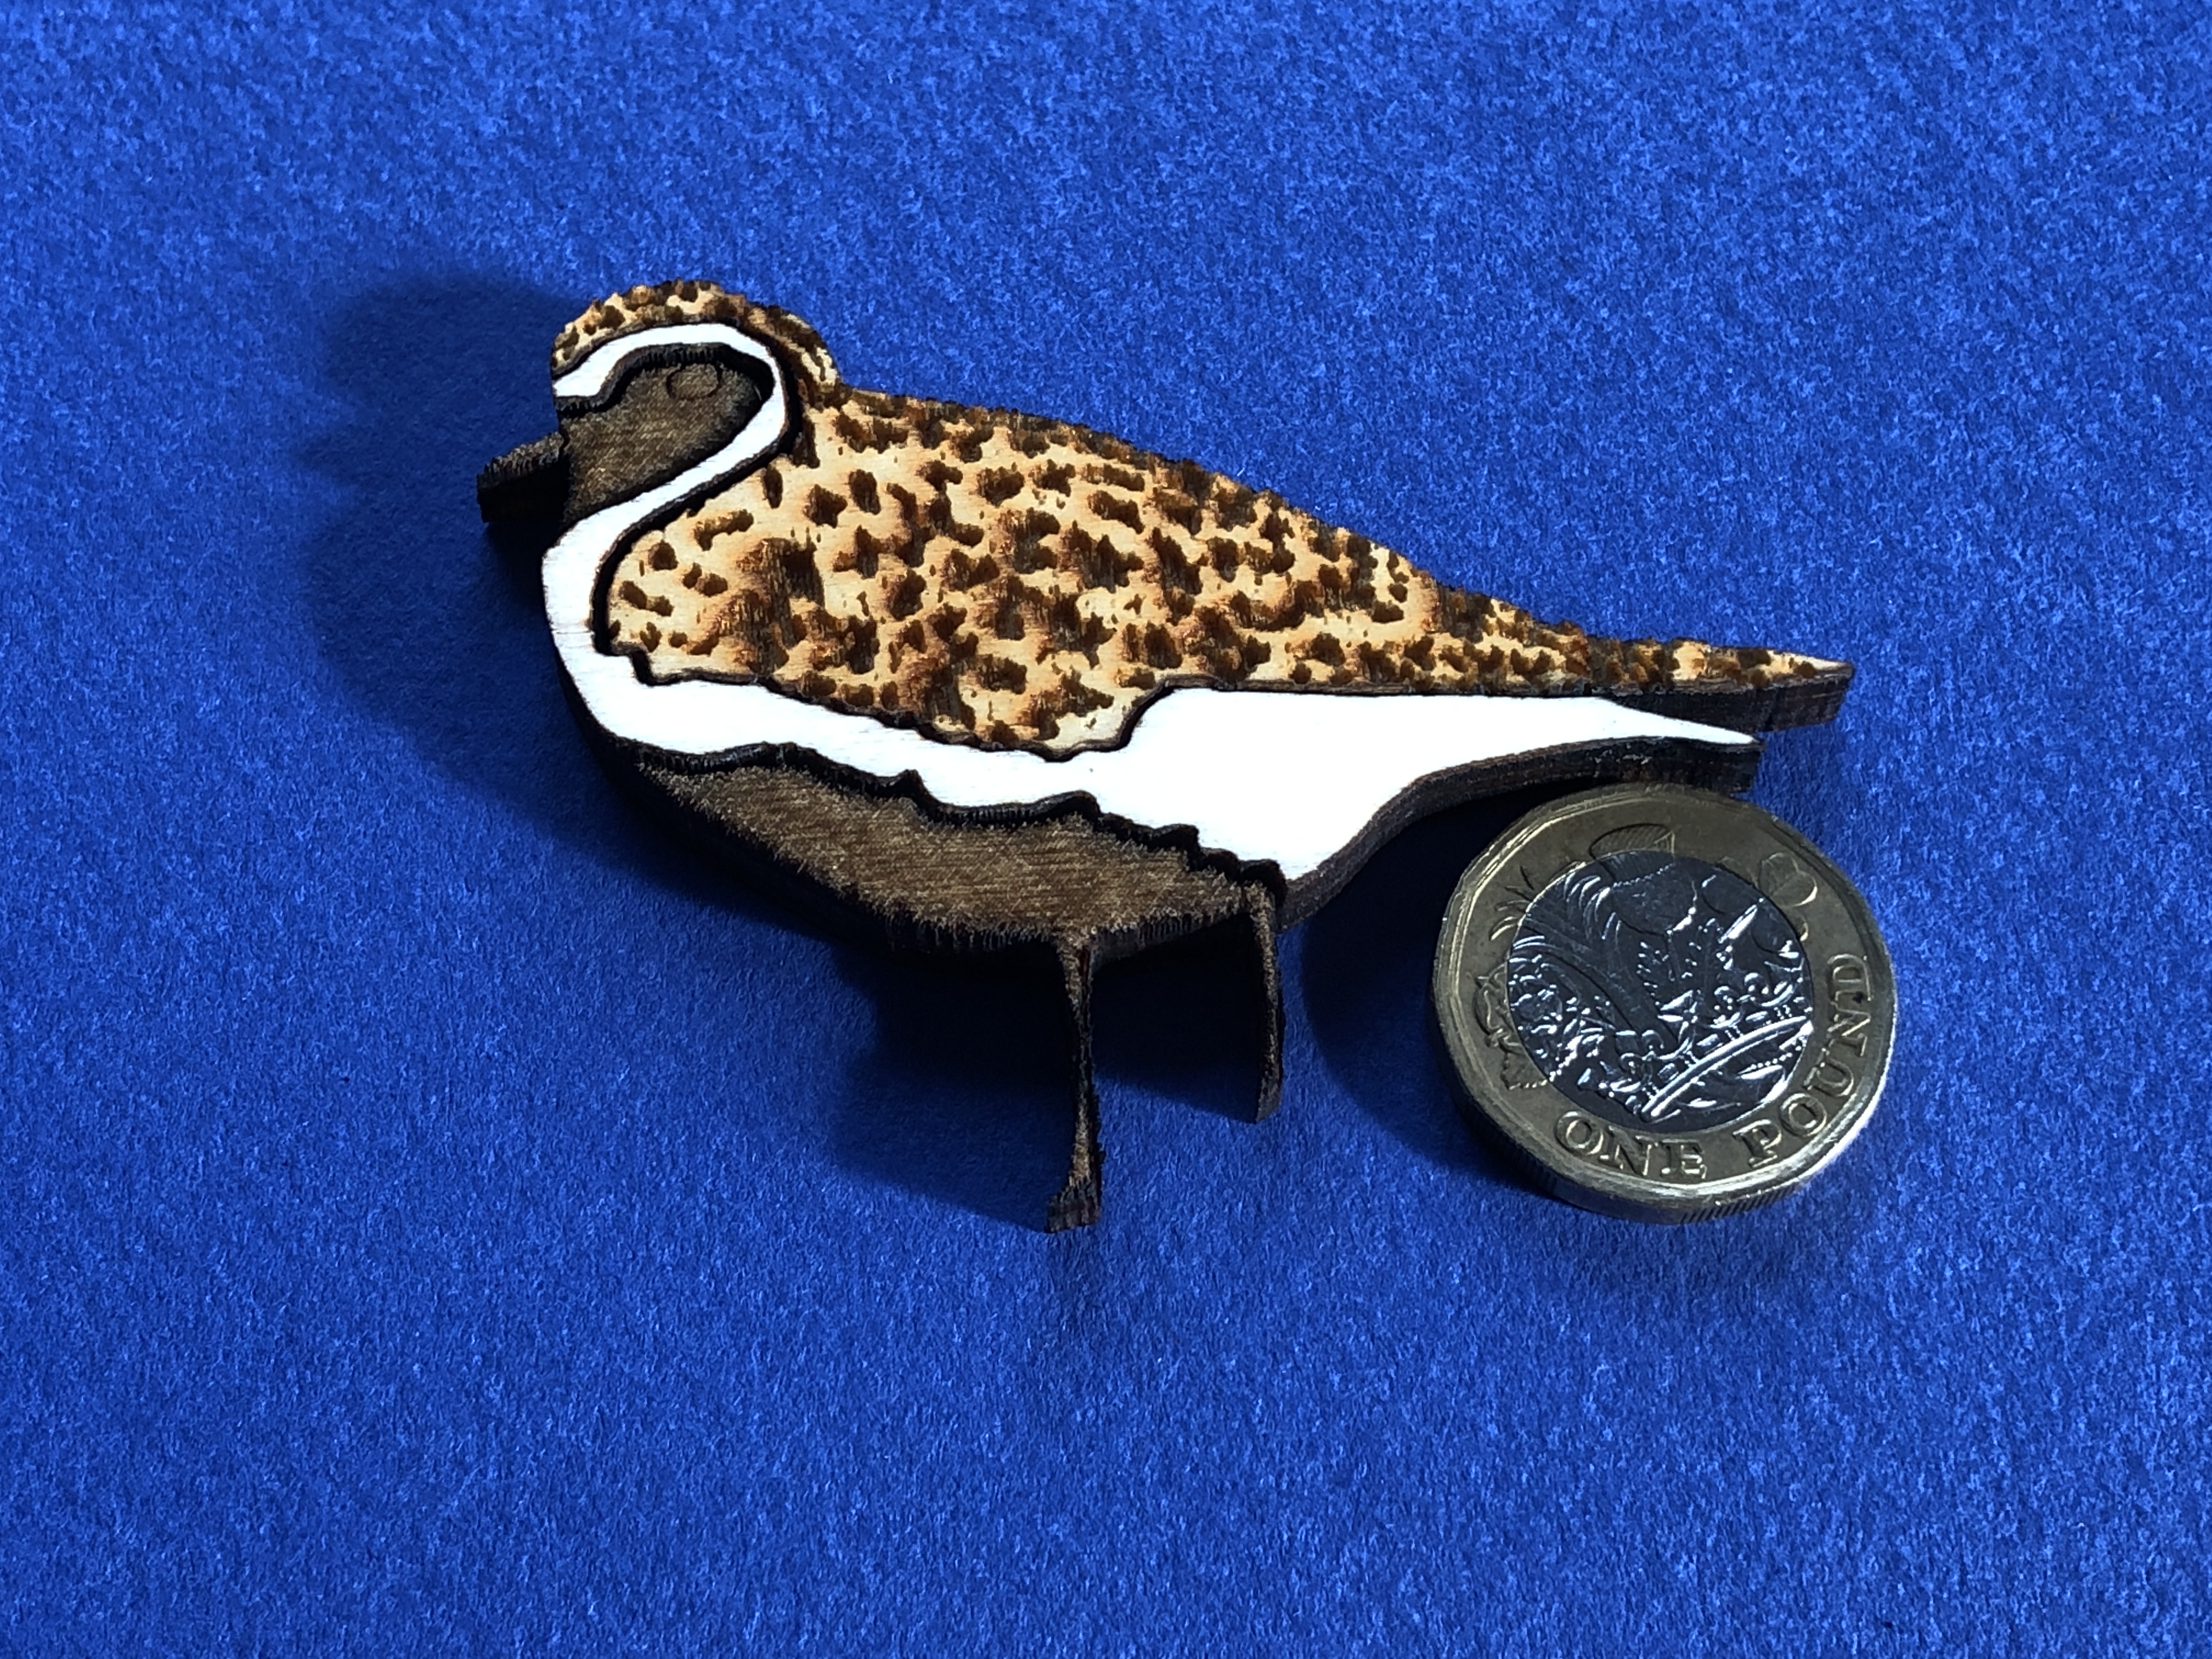
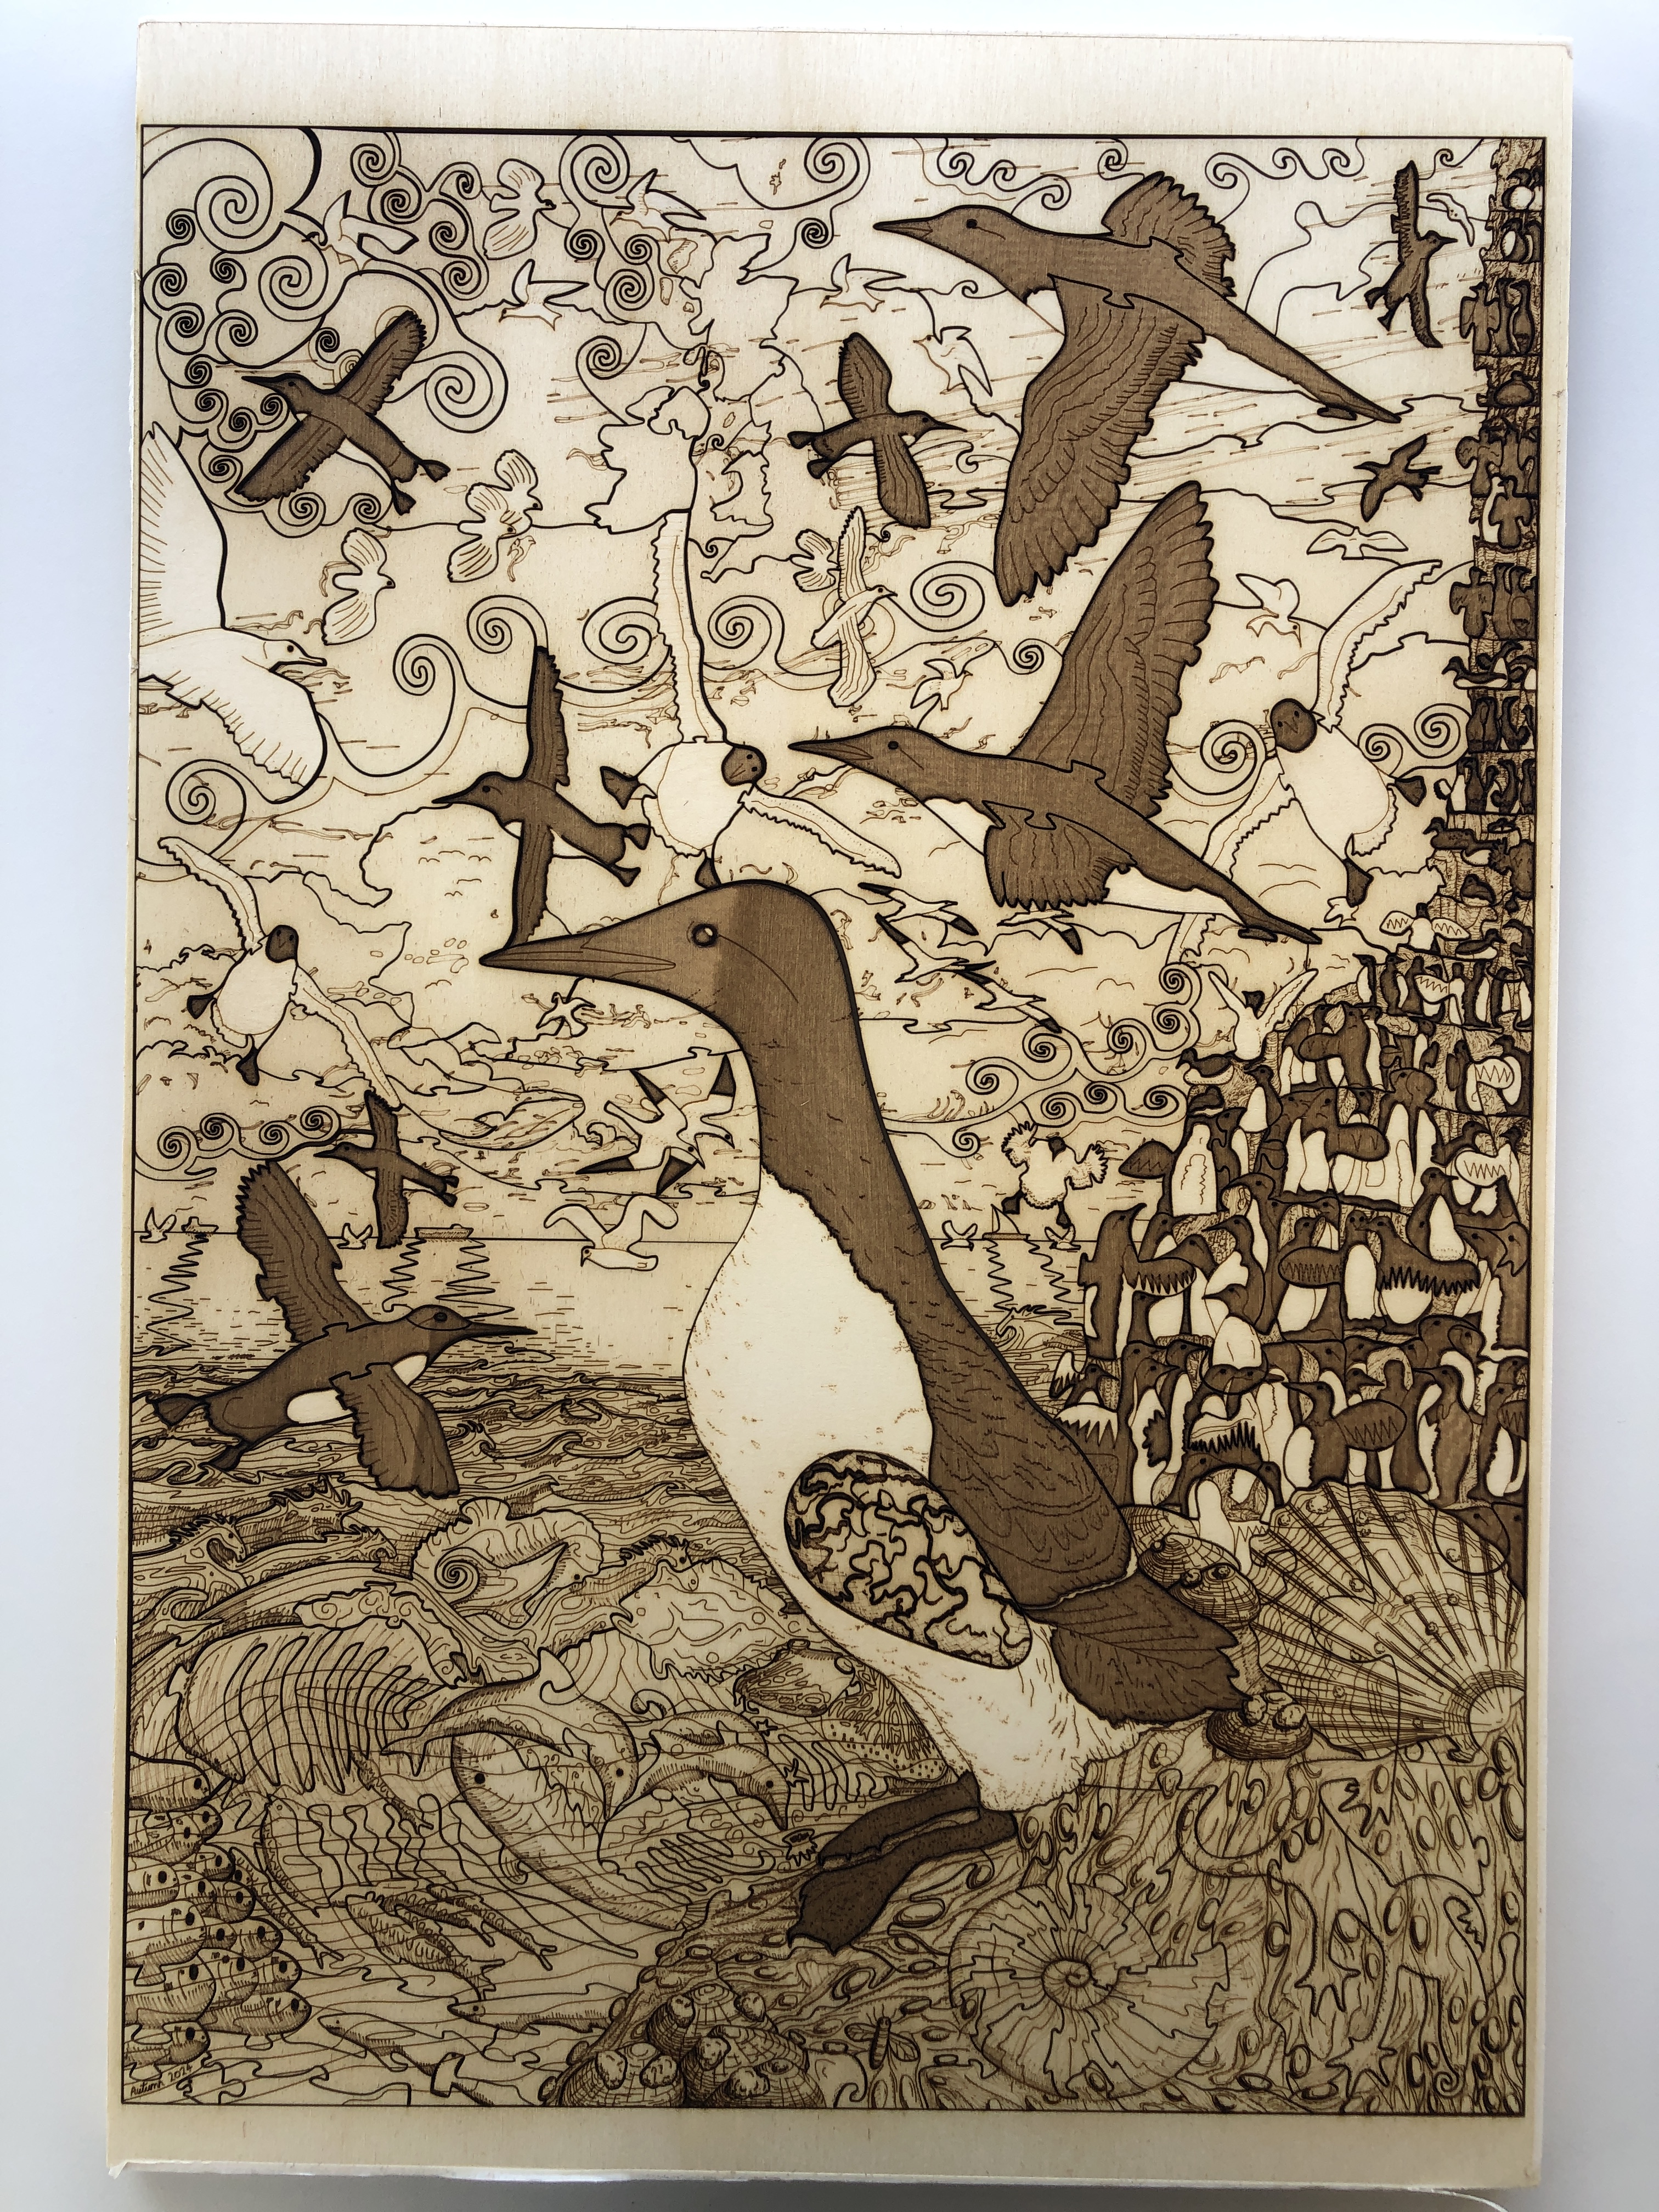
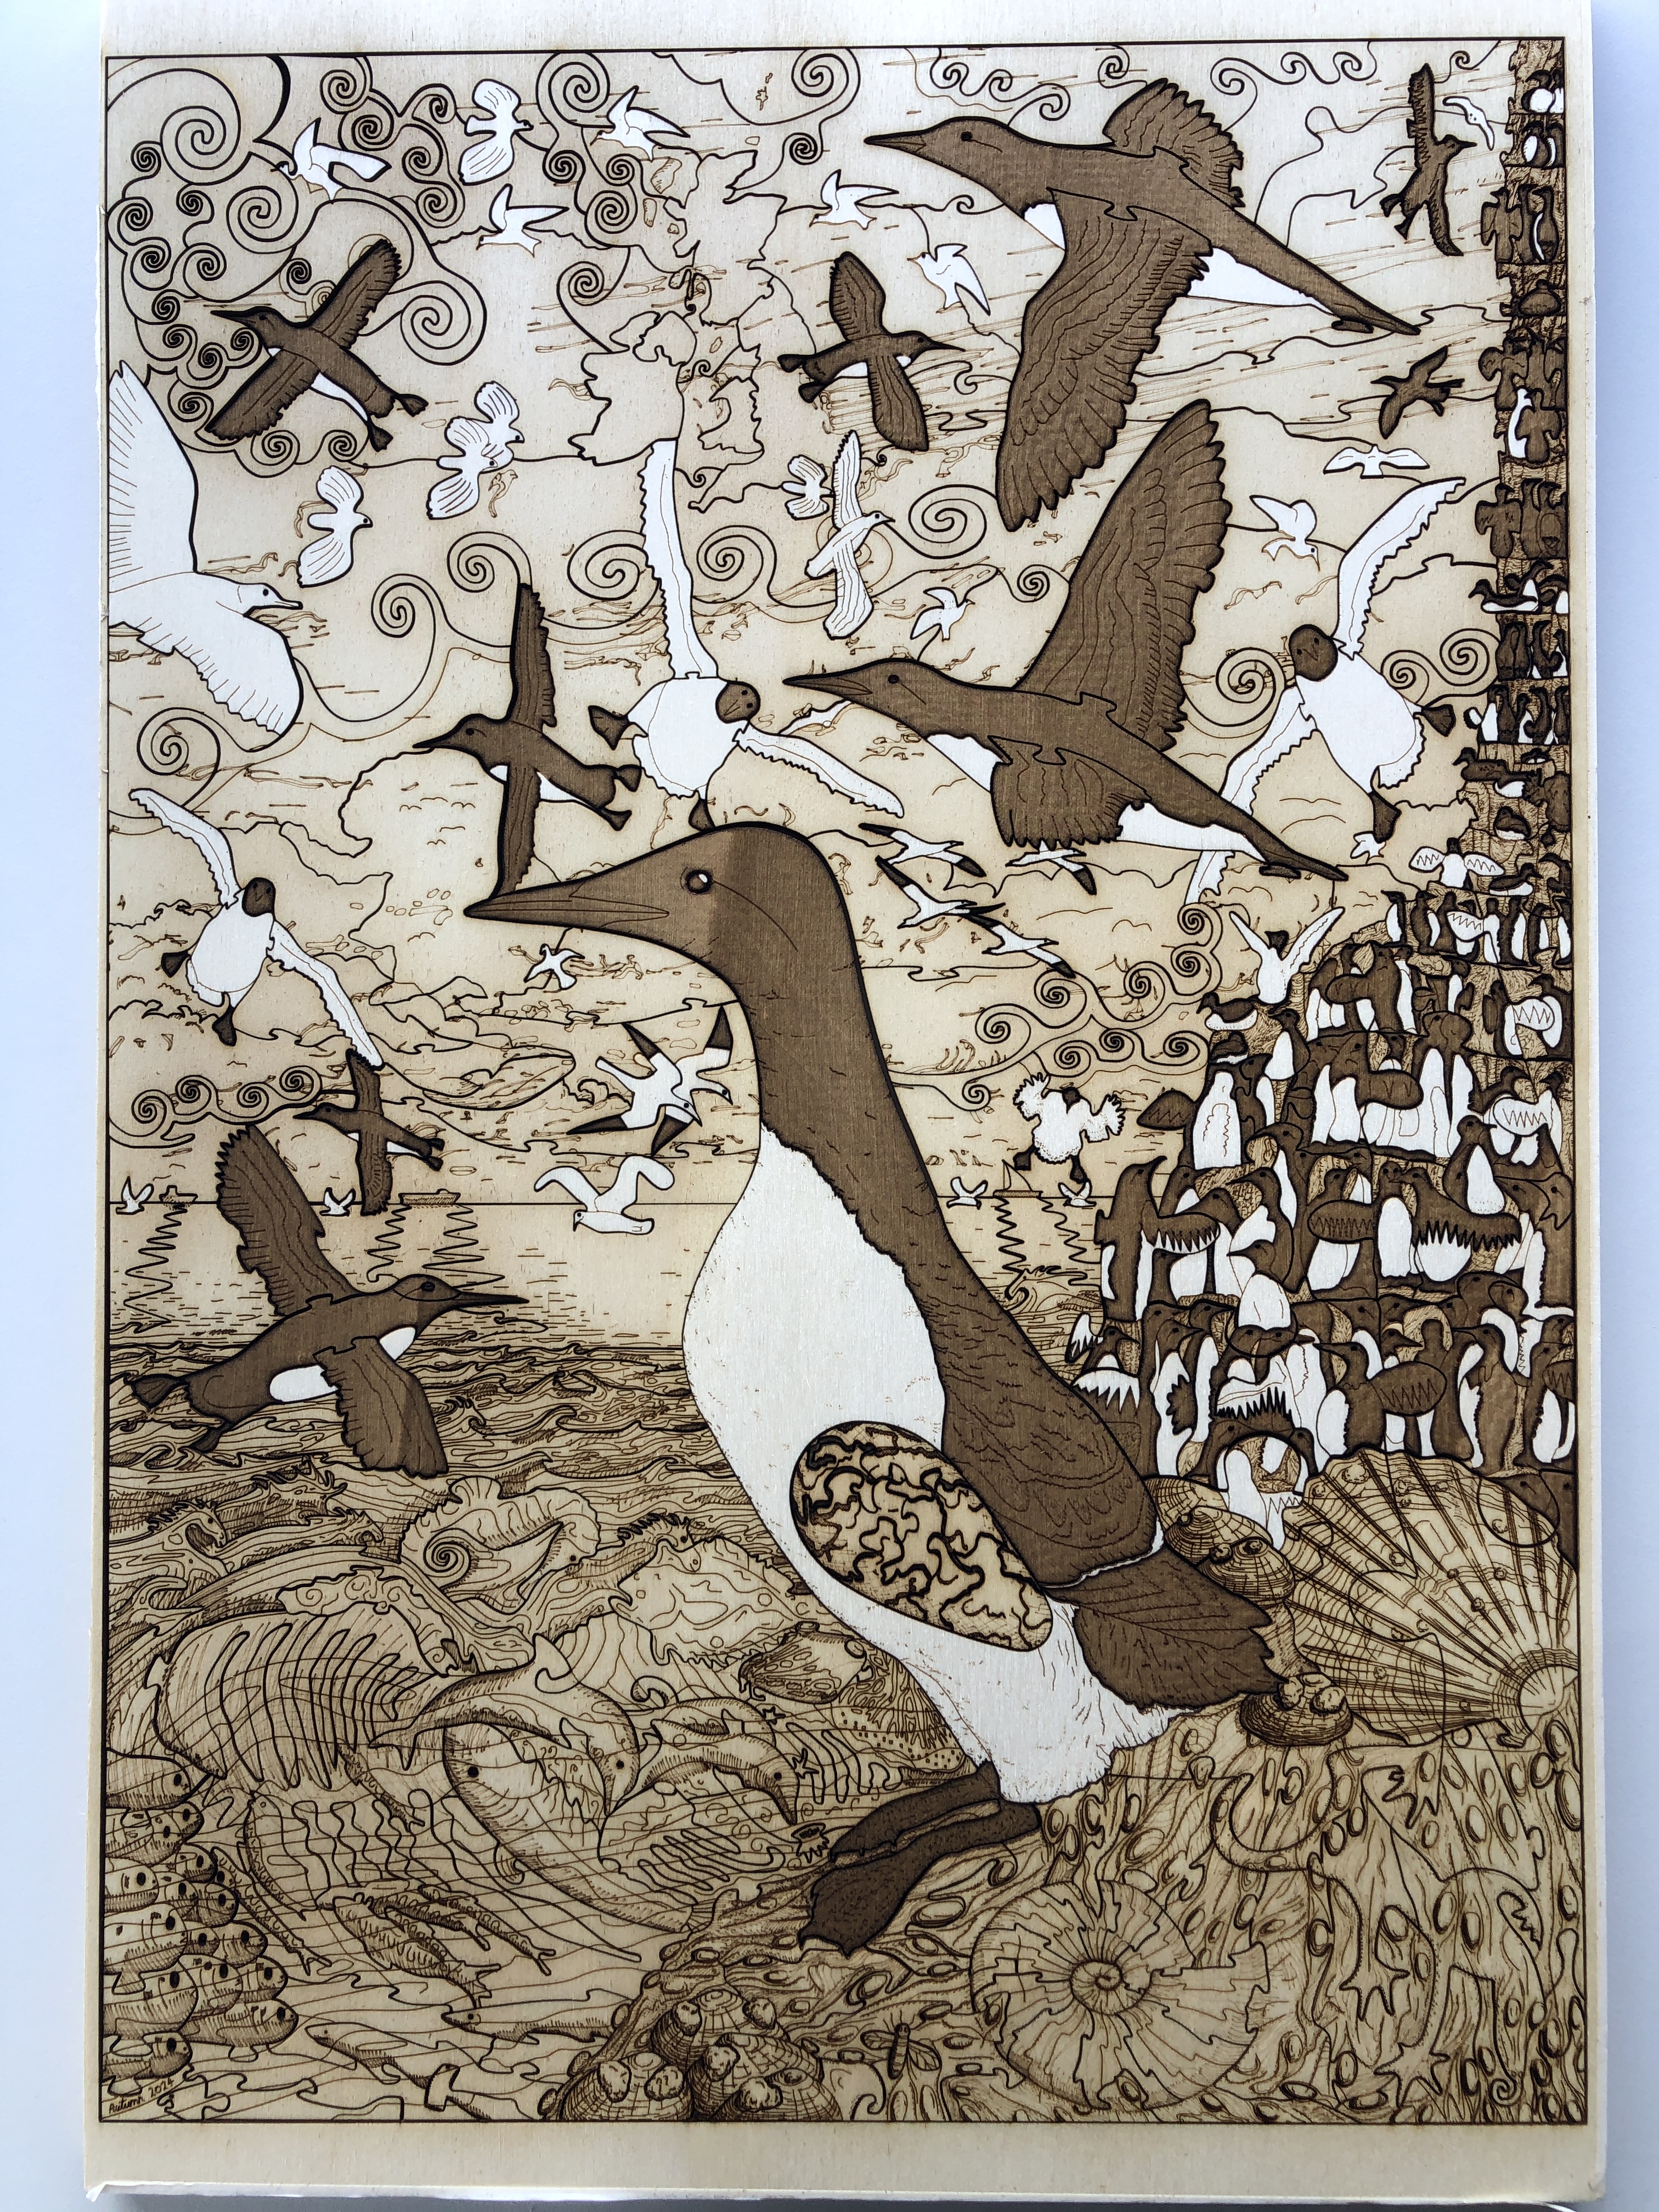
  • Golden Plover with Egg (Art Puzzle) – Laser

    Golden Plover with Egg (Art Puzzle) – Laser

    Title: โ€œGolden Plover with Egg (Art Puzzle) – Laserโ€
    Artist: Michael Autumn
    Medium: Hand-drawing – laser cut & engraved
    Giclรฉe archival laser cut & engraved on premium 6mm AB/AB Italian Panguaneta Poplar plywood (produced responsibly, sustainably, and to the highest of standards), child-safe, moisture-repelling, varnish
    Size: 39.0cm (W) x 55.1cm (H), framed 53.2cm x 69.5cm
    Edition: Limited Edition of 101 – individually signed and numbered, and museum-level (FATG Level 1) :-archival and bespoke framed; and Unlimited Edition, lasered signature, unframed.
    Date: 02/2024
    Options: Available as a puzzle (338 unique pieces actually cut) OR left as a single engraved wooden panel.
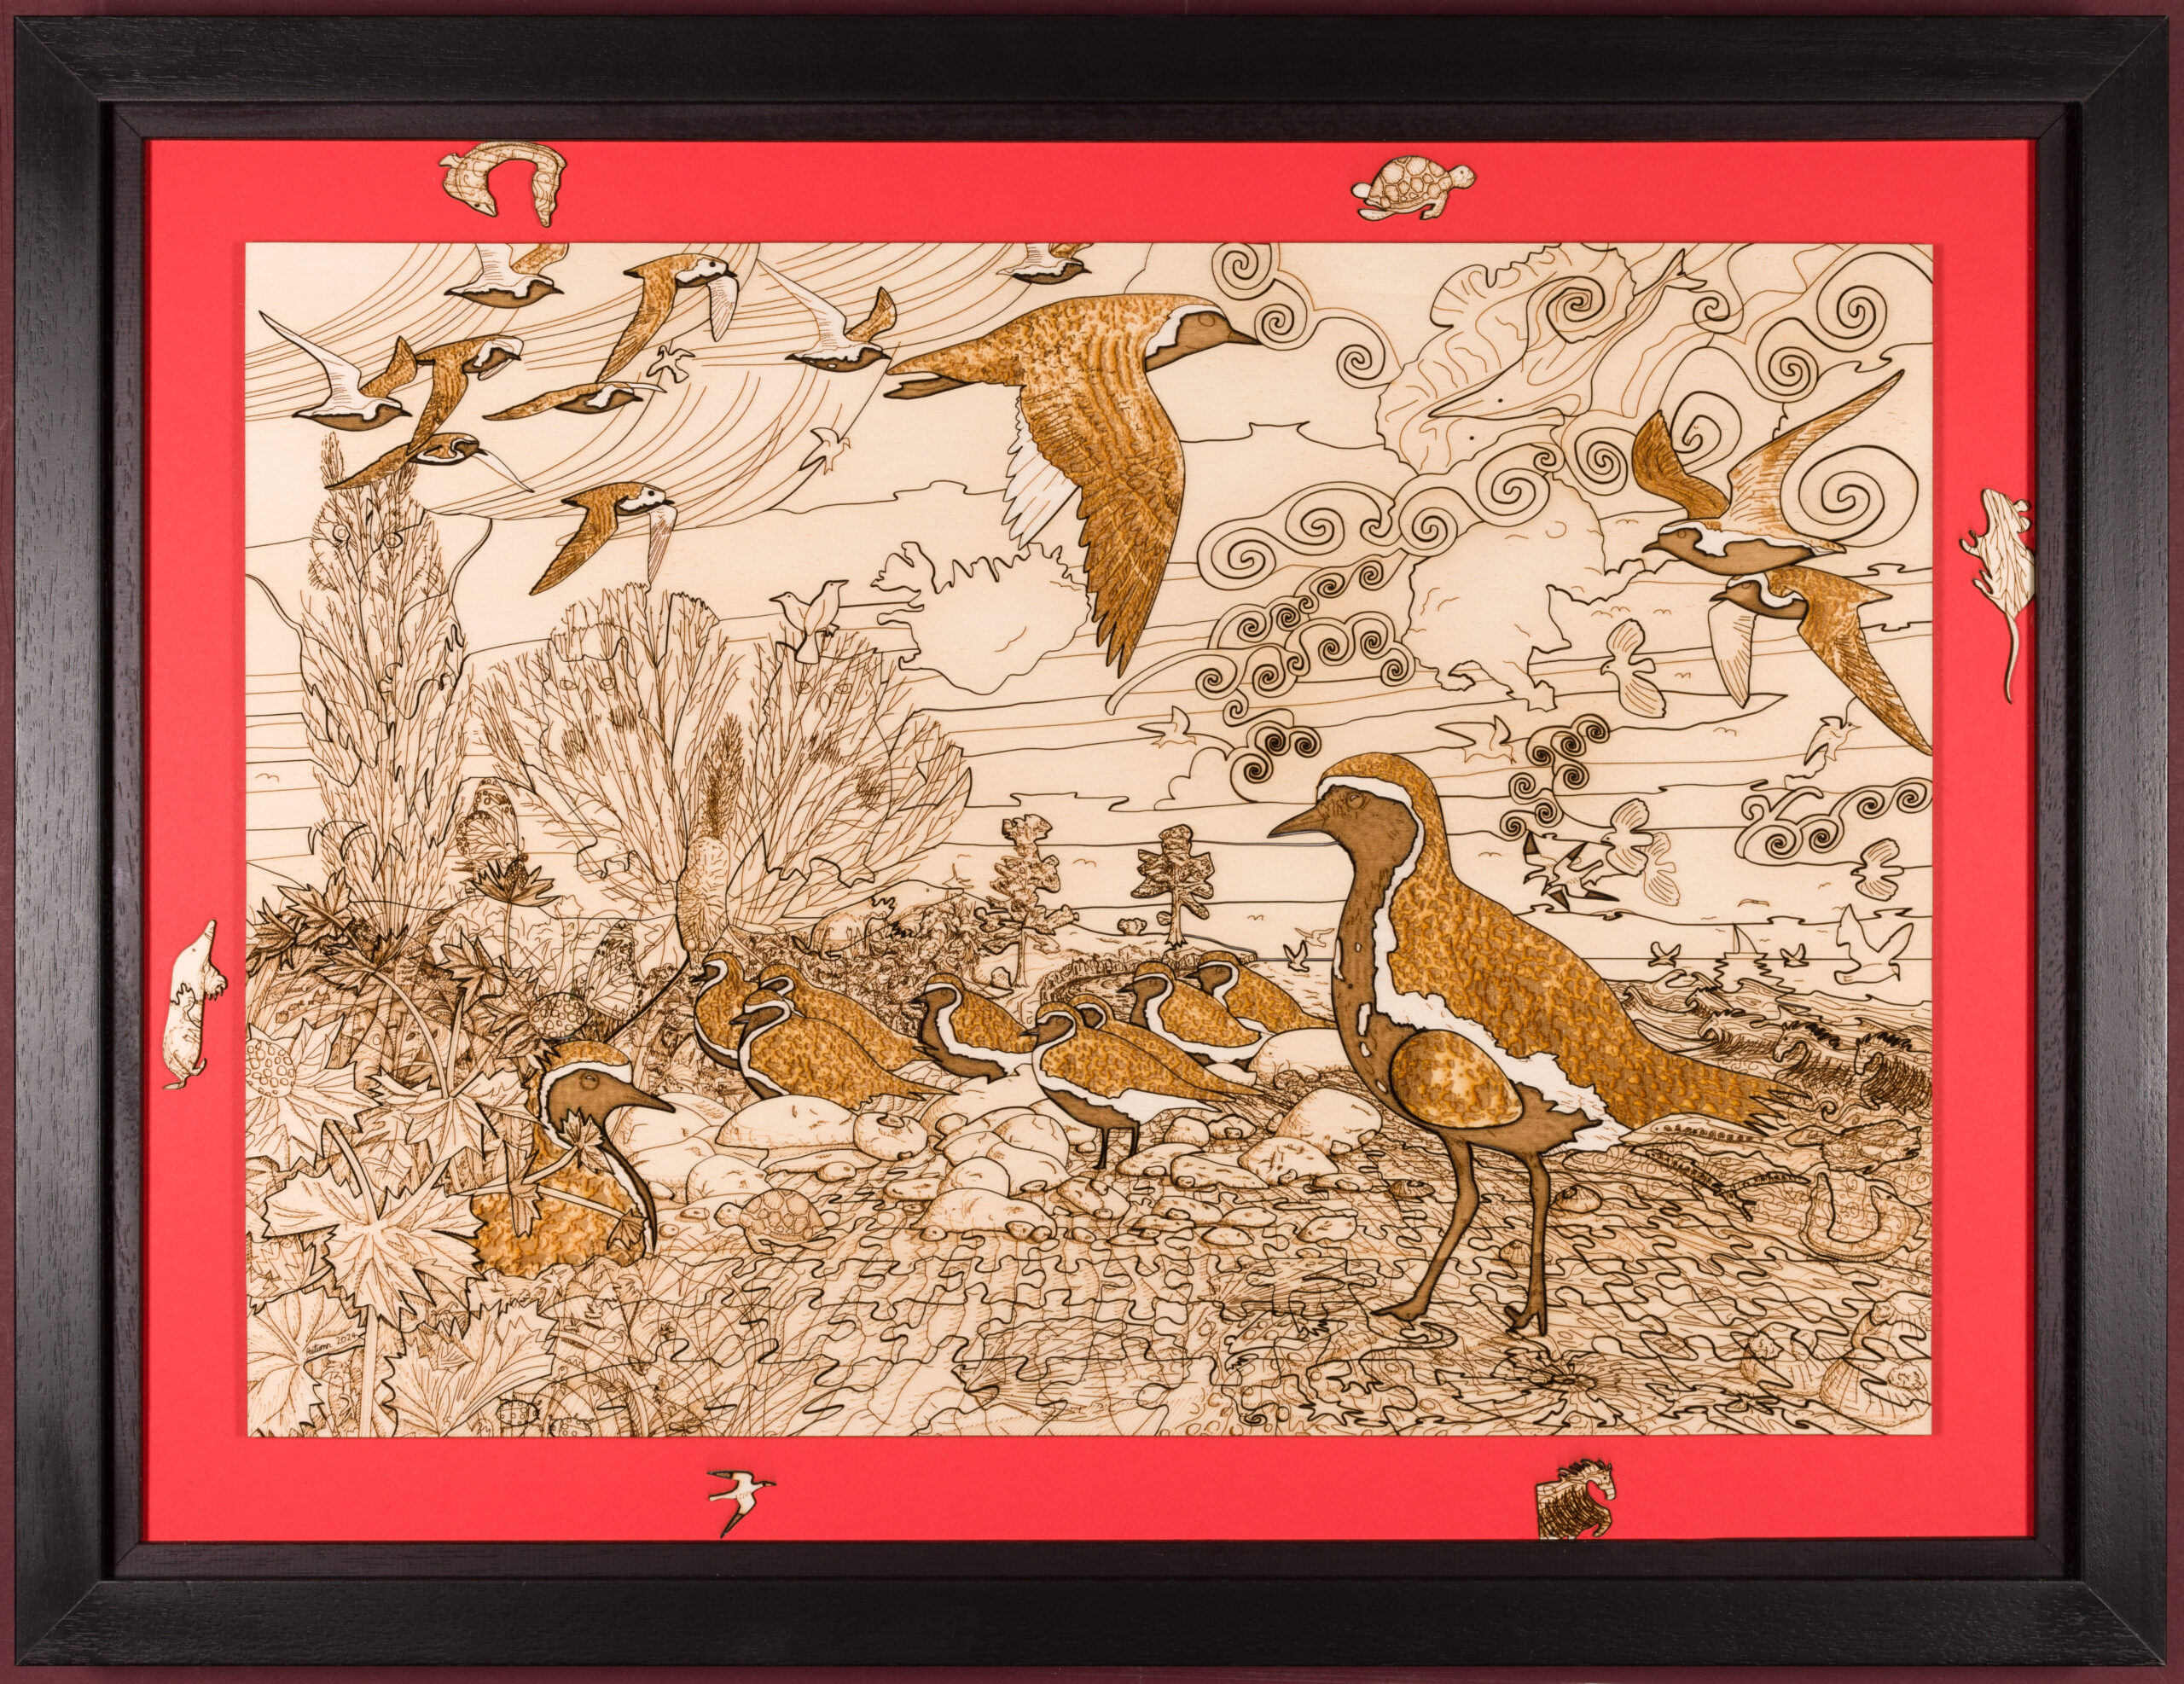
    N.B.: The cut-outs in the frame above are to draw attention to the fact that the artwork is a wooden puzzle. – otherwise it could be mistaken for a simple drawing…

    This is the framed limited edition version (museum grade – FATG Level 1) :-

    Framed limited edition

    The art of simply burning wood with light

    This is an attempt to create high quality art using the medium of simply burning wood with light – and nothing else. From the concept of a magnifying glass burning paper, technology has progressed enormously to the modern day laser – where a beam of light can be very finely controlled in terms of intensity and speed of movement. Where sophisticated software can very precisely translate vector- and pixel-based drawings into computer-controlled movement of a laserbeam over your chosen material. But there is a real art to doing this successfully…

    I was hoping to create a mass-produceable wooden laser cut & engraved version of my 40mm thick solid oak โ€œGolden Plover with Egg (Art Puzzle)โ€

    Golden Plover with Egg (Art Puzzle)

    (see https://michaelautumn.wordpress.com/2020/07/30/golden-plover-with-egg-jigsaw-puzzle/) because hand-cutting the latter took far too long and caused serious RSI and/or rheumatoid arthritis in my hands/fingers. But in order to achieve the quality I wanted, it turns out (after considerable effort!) that mass-production is simply not possible. It has been a long journey to get to a standard Iโ€™m happy with. Along the road I have researched a great deal about materials, wood, lasers (obviously! โ€“ but this is a big topicโ€ฆ), and lasering techniques. I have developed some of my own techniques and built some special tools because there were clear limitations in the best techniques, tools, and materials available. Suffice to say, I havenโ€™t come across any individual or company who can produce my designs to the quality I do. But it comes at a significant cost. I can only produce one per day โ€“ so in any definition of the phrase mass production, this definitely is not!

    Putting aside the weeks it took me to complete the design (in addition to the weeks it took me to design the original, I spent about another four weeks enhancing it to take advantage of laser capabilities) โ€“ and may trials, adjustments, custom tooling, and more trialsโ€ฆ

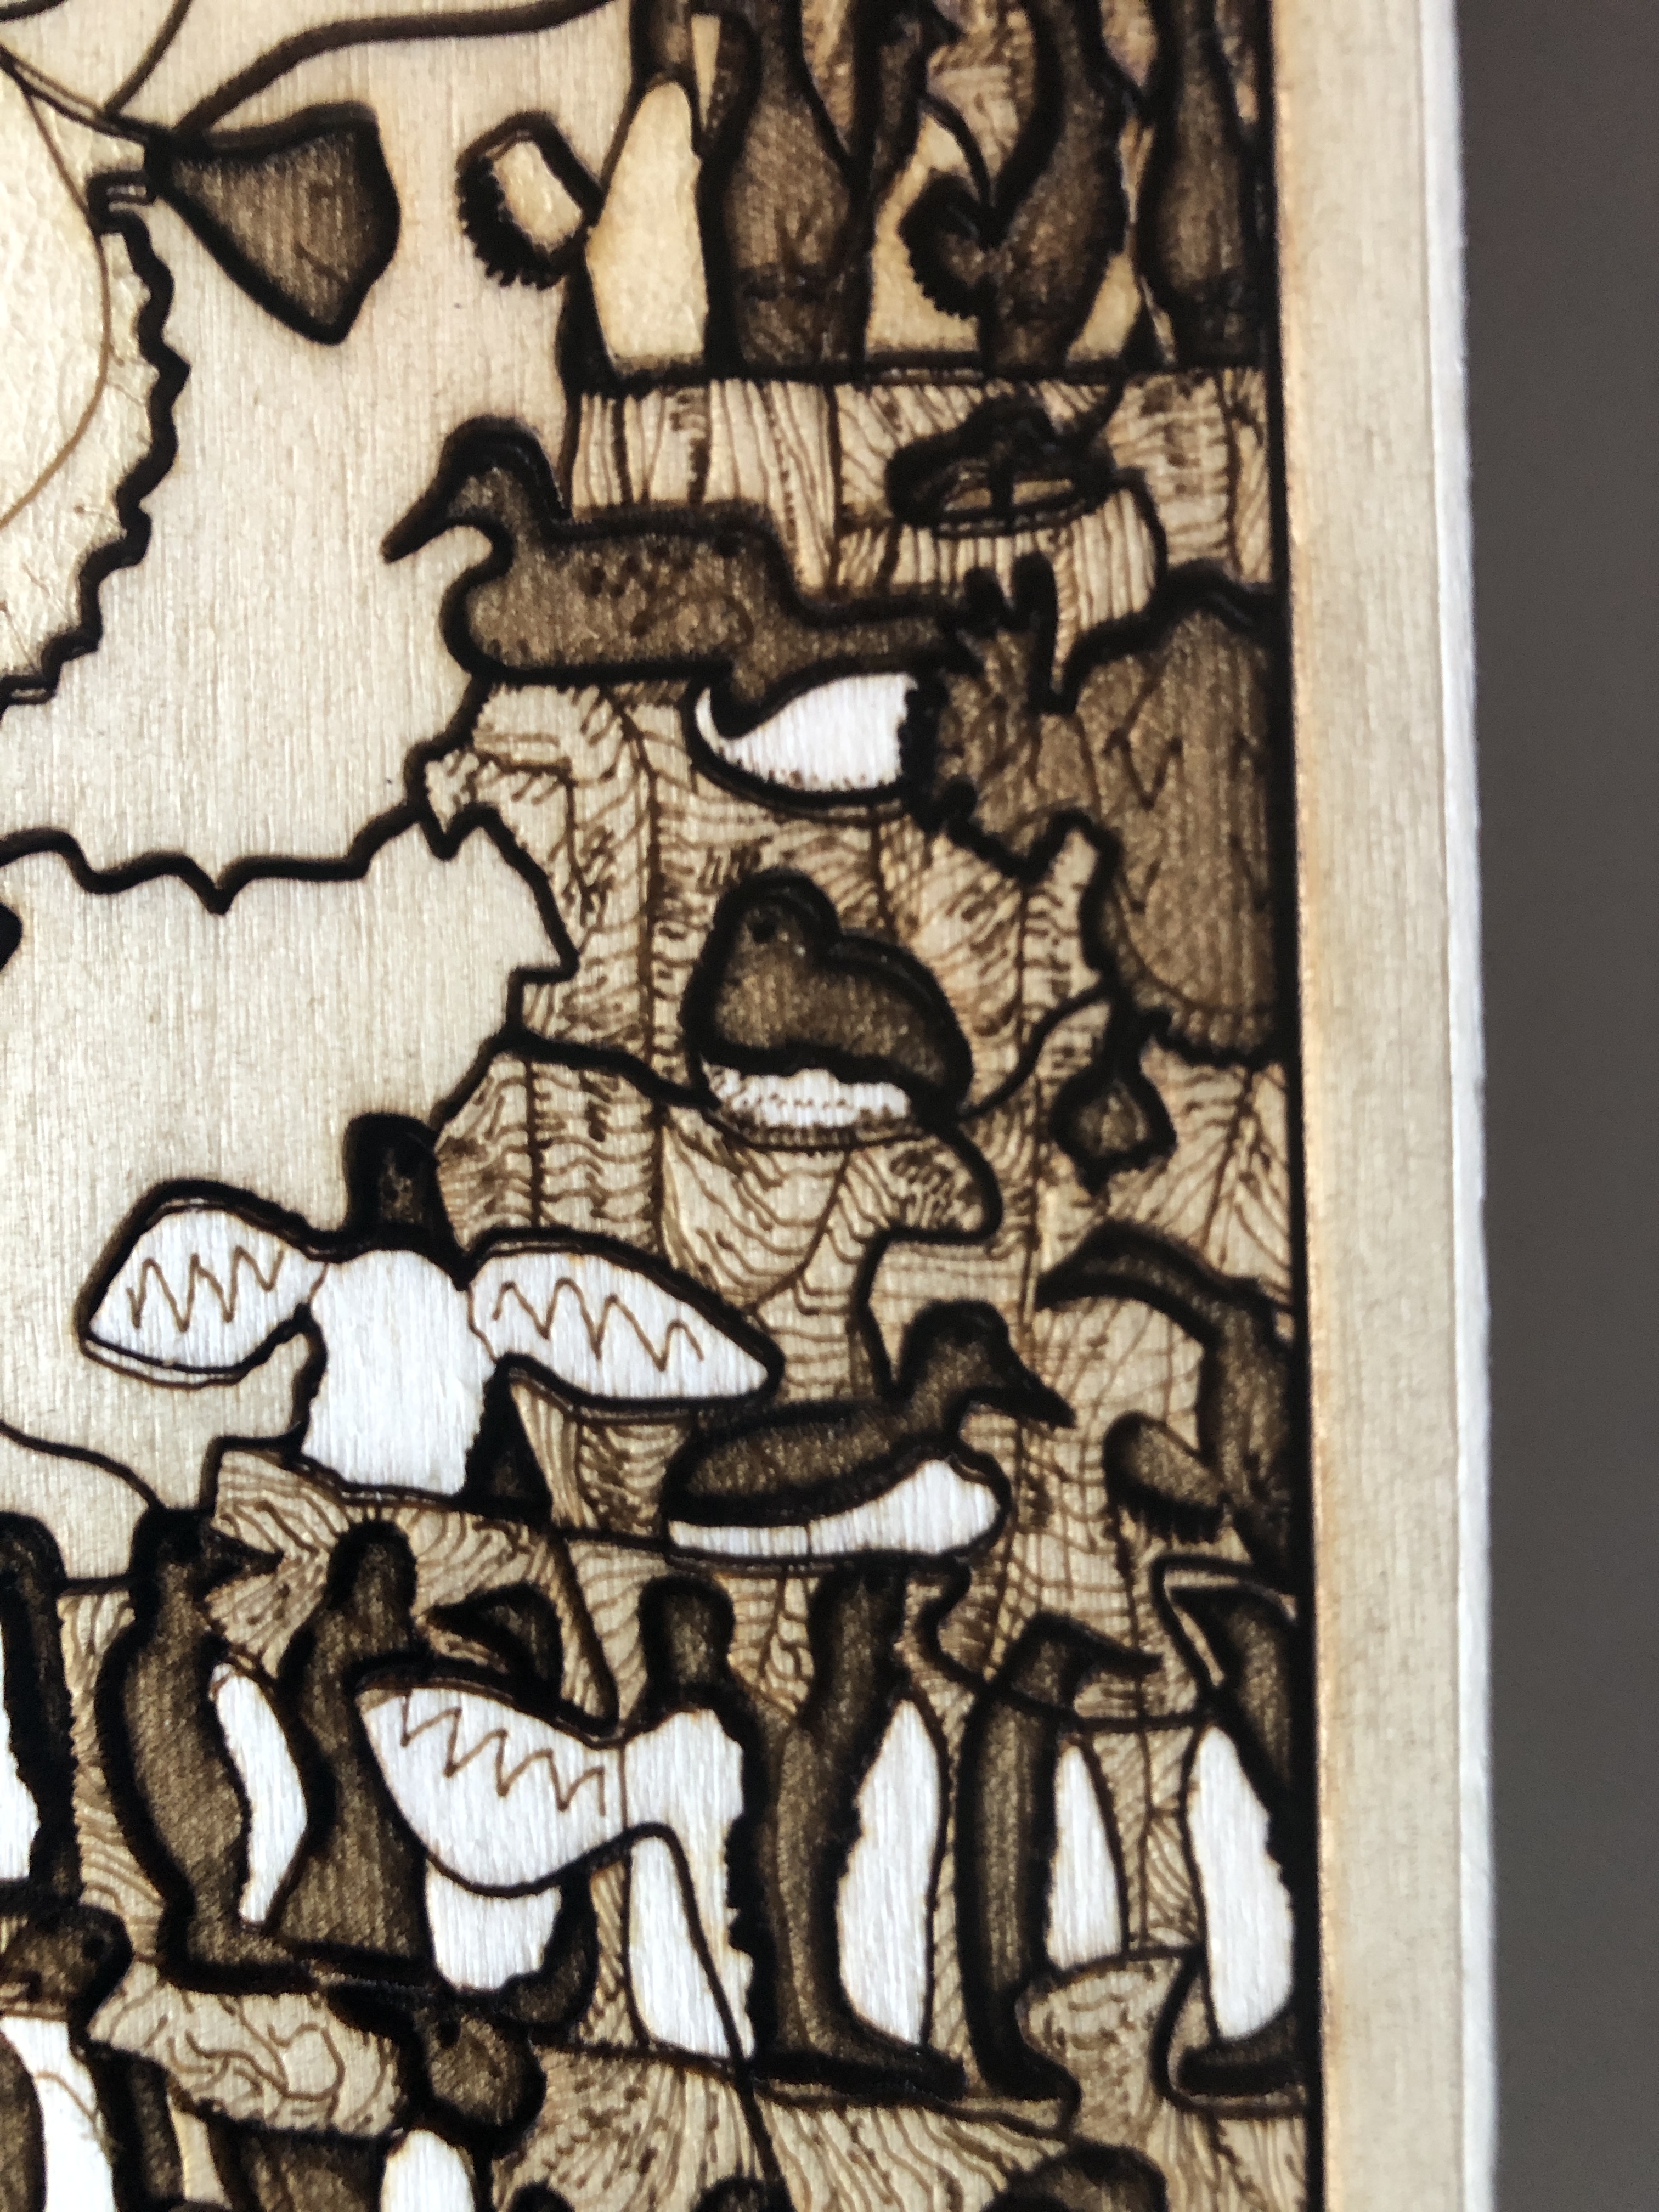
    The design uses multiple lasering and layering techniques โ€“ cut-throughs, scoring, light scoring, engraving, deep engraving โ€“ which all have to be done in a specific sequence. For example, in places in the design, I have score marks on top of some deep engraved areas โ€“ so obviously the deep engraving has to be done before the scoring.


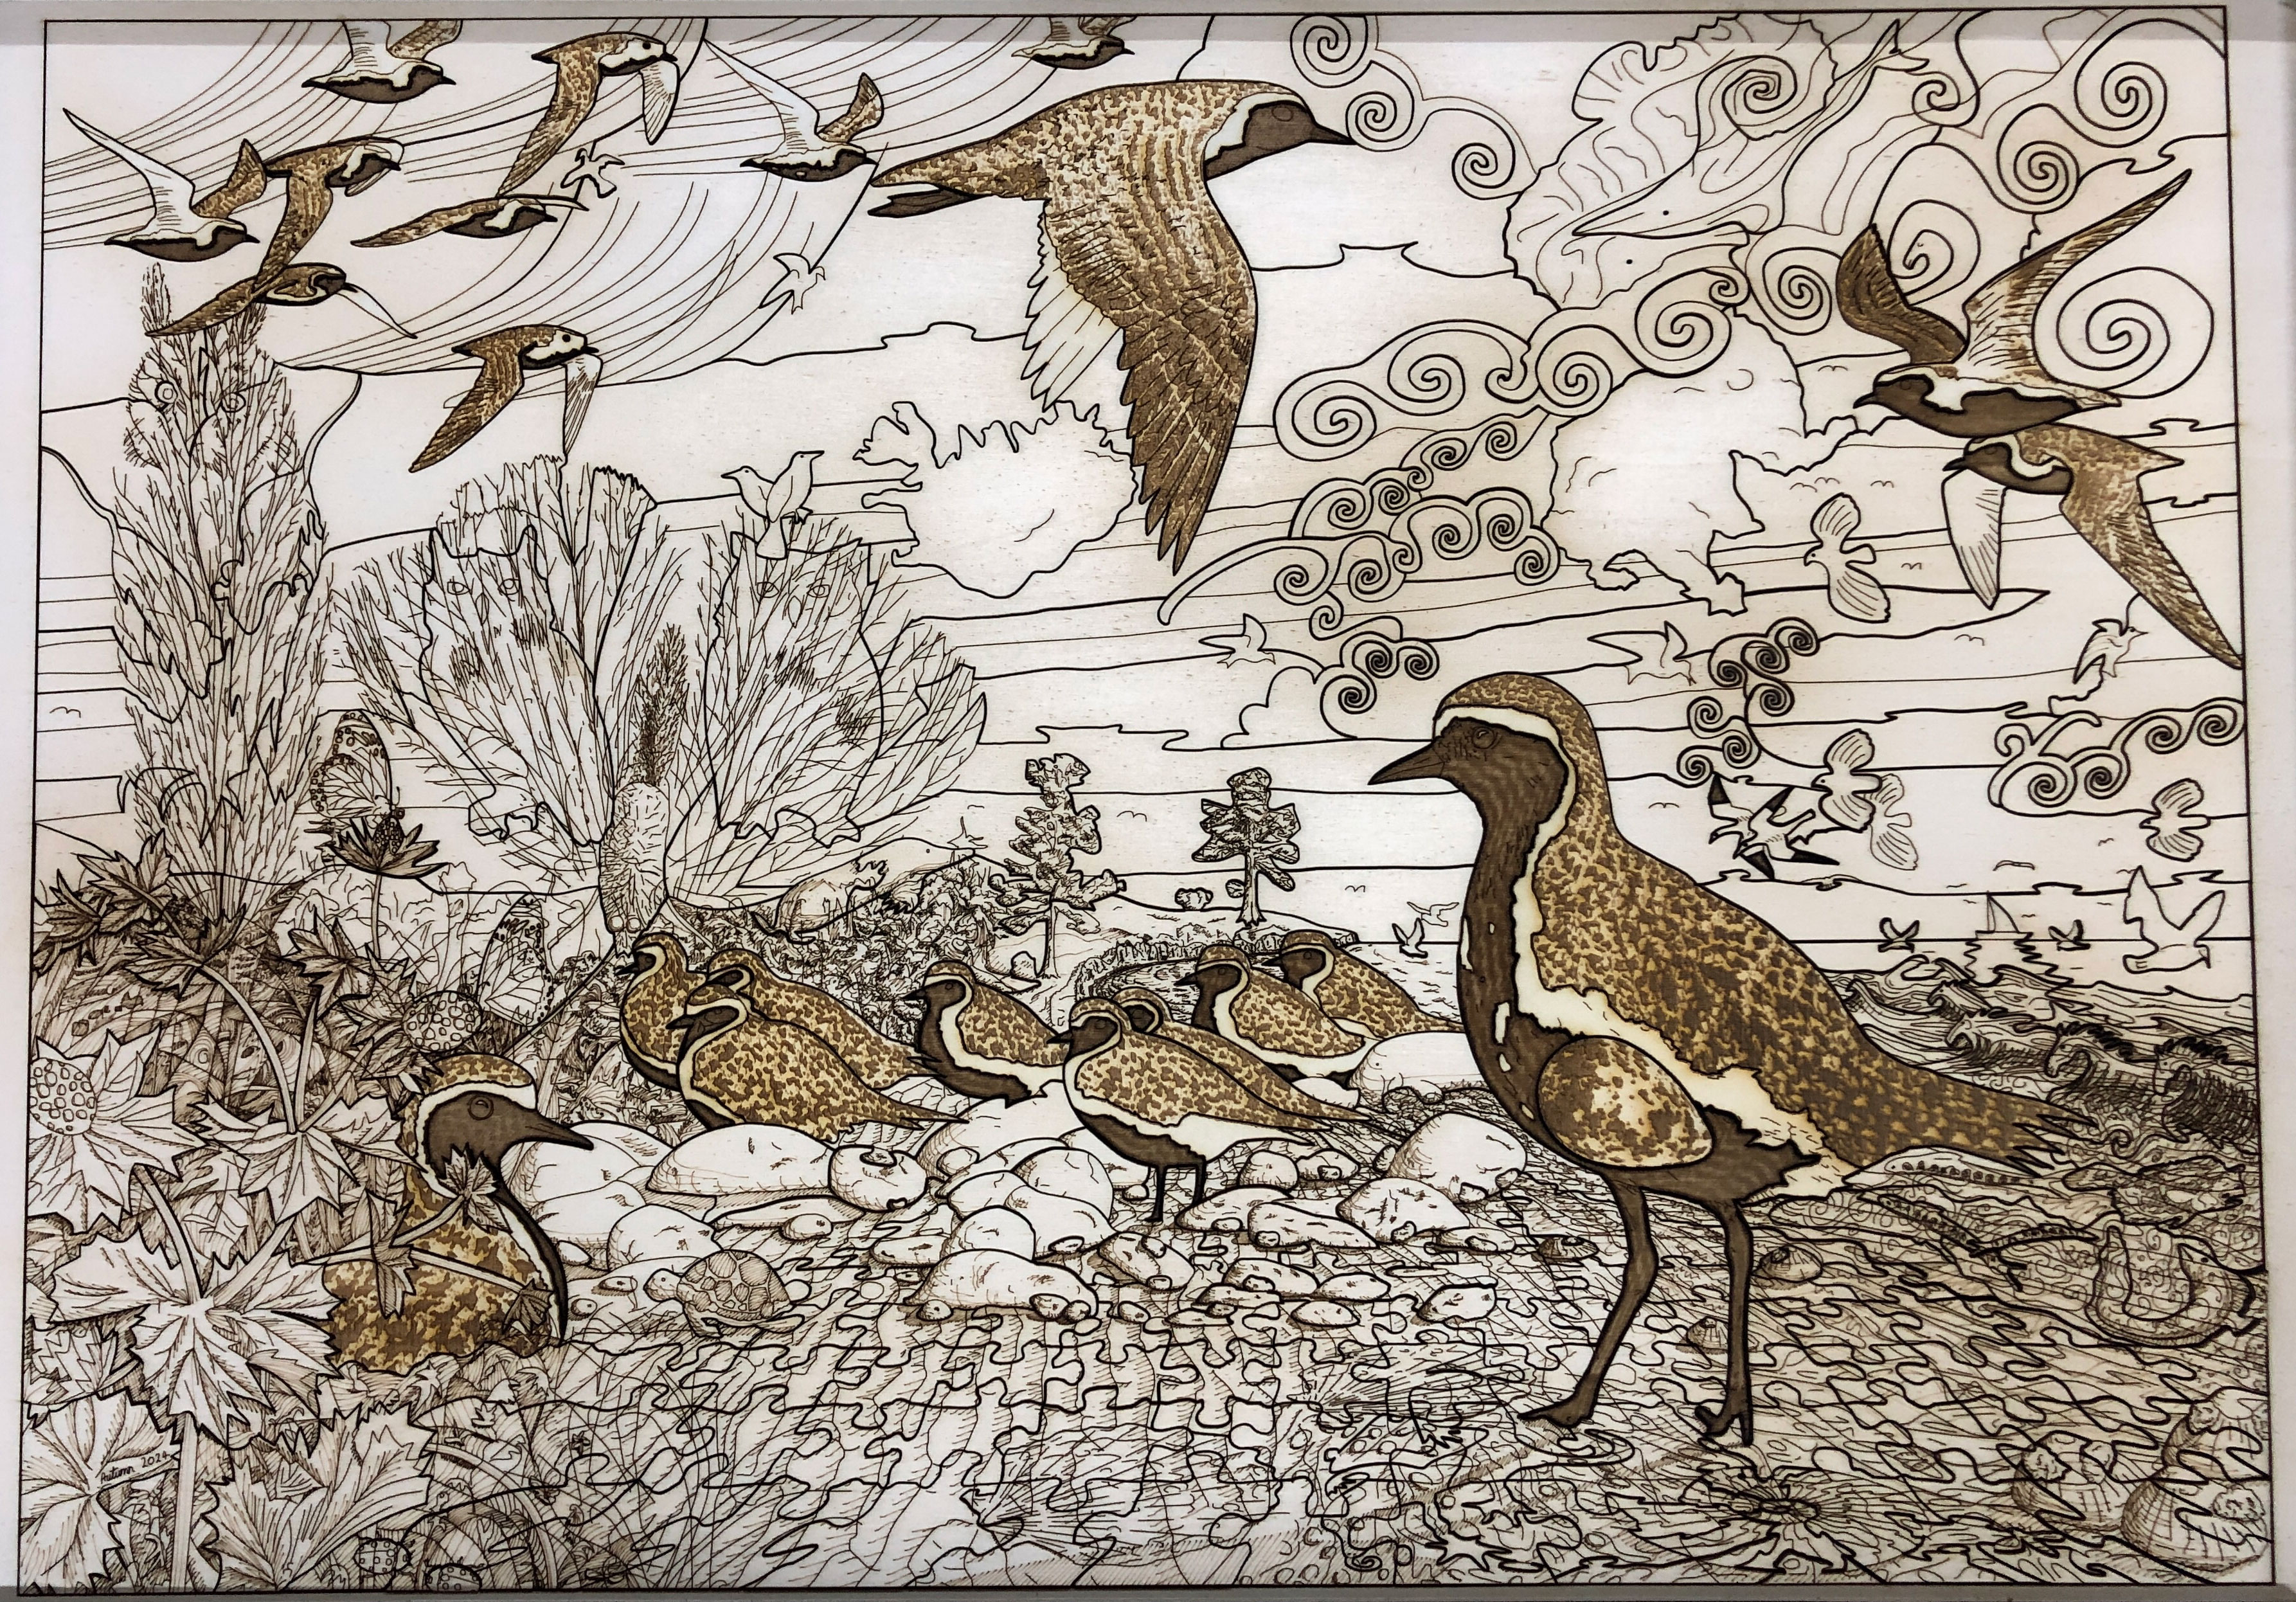
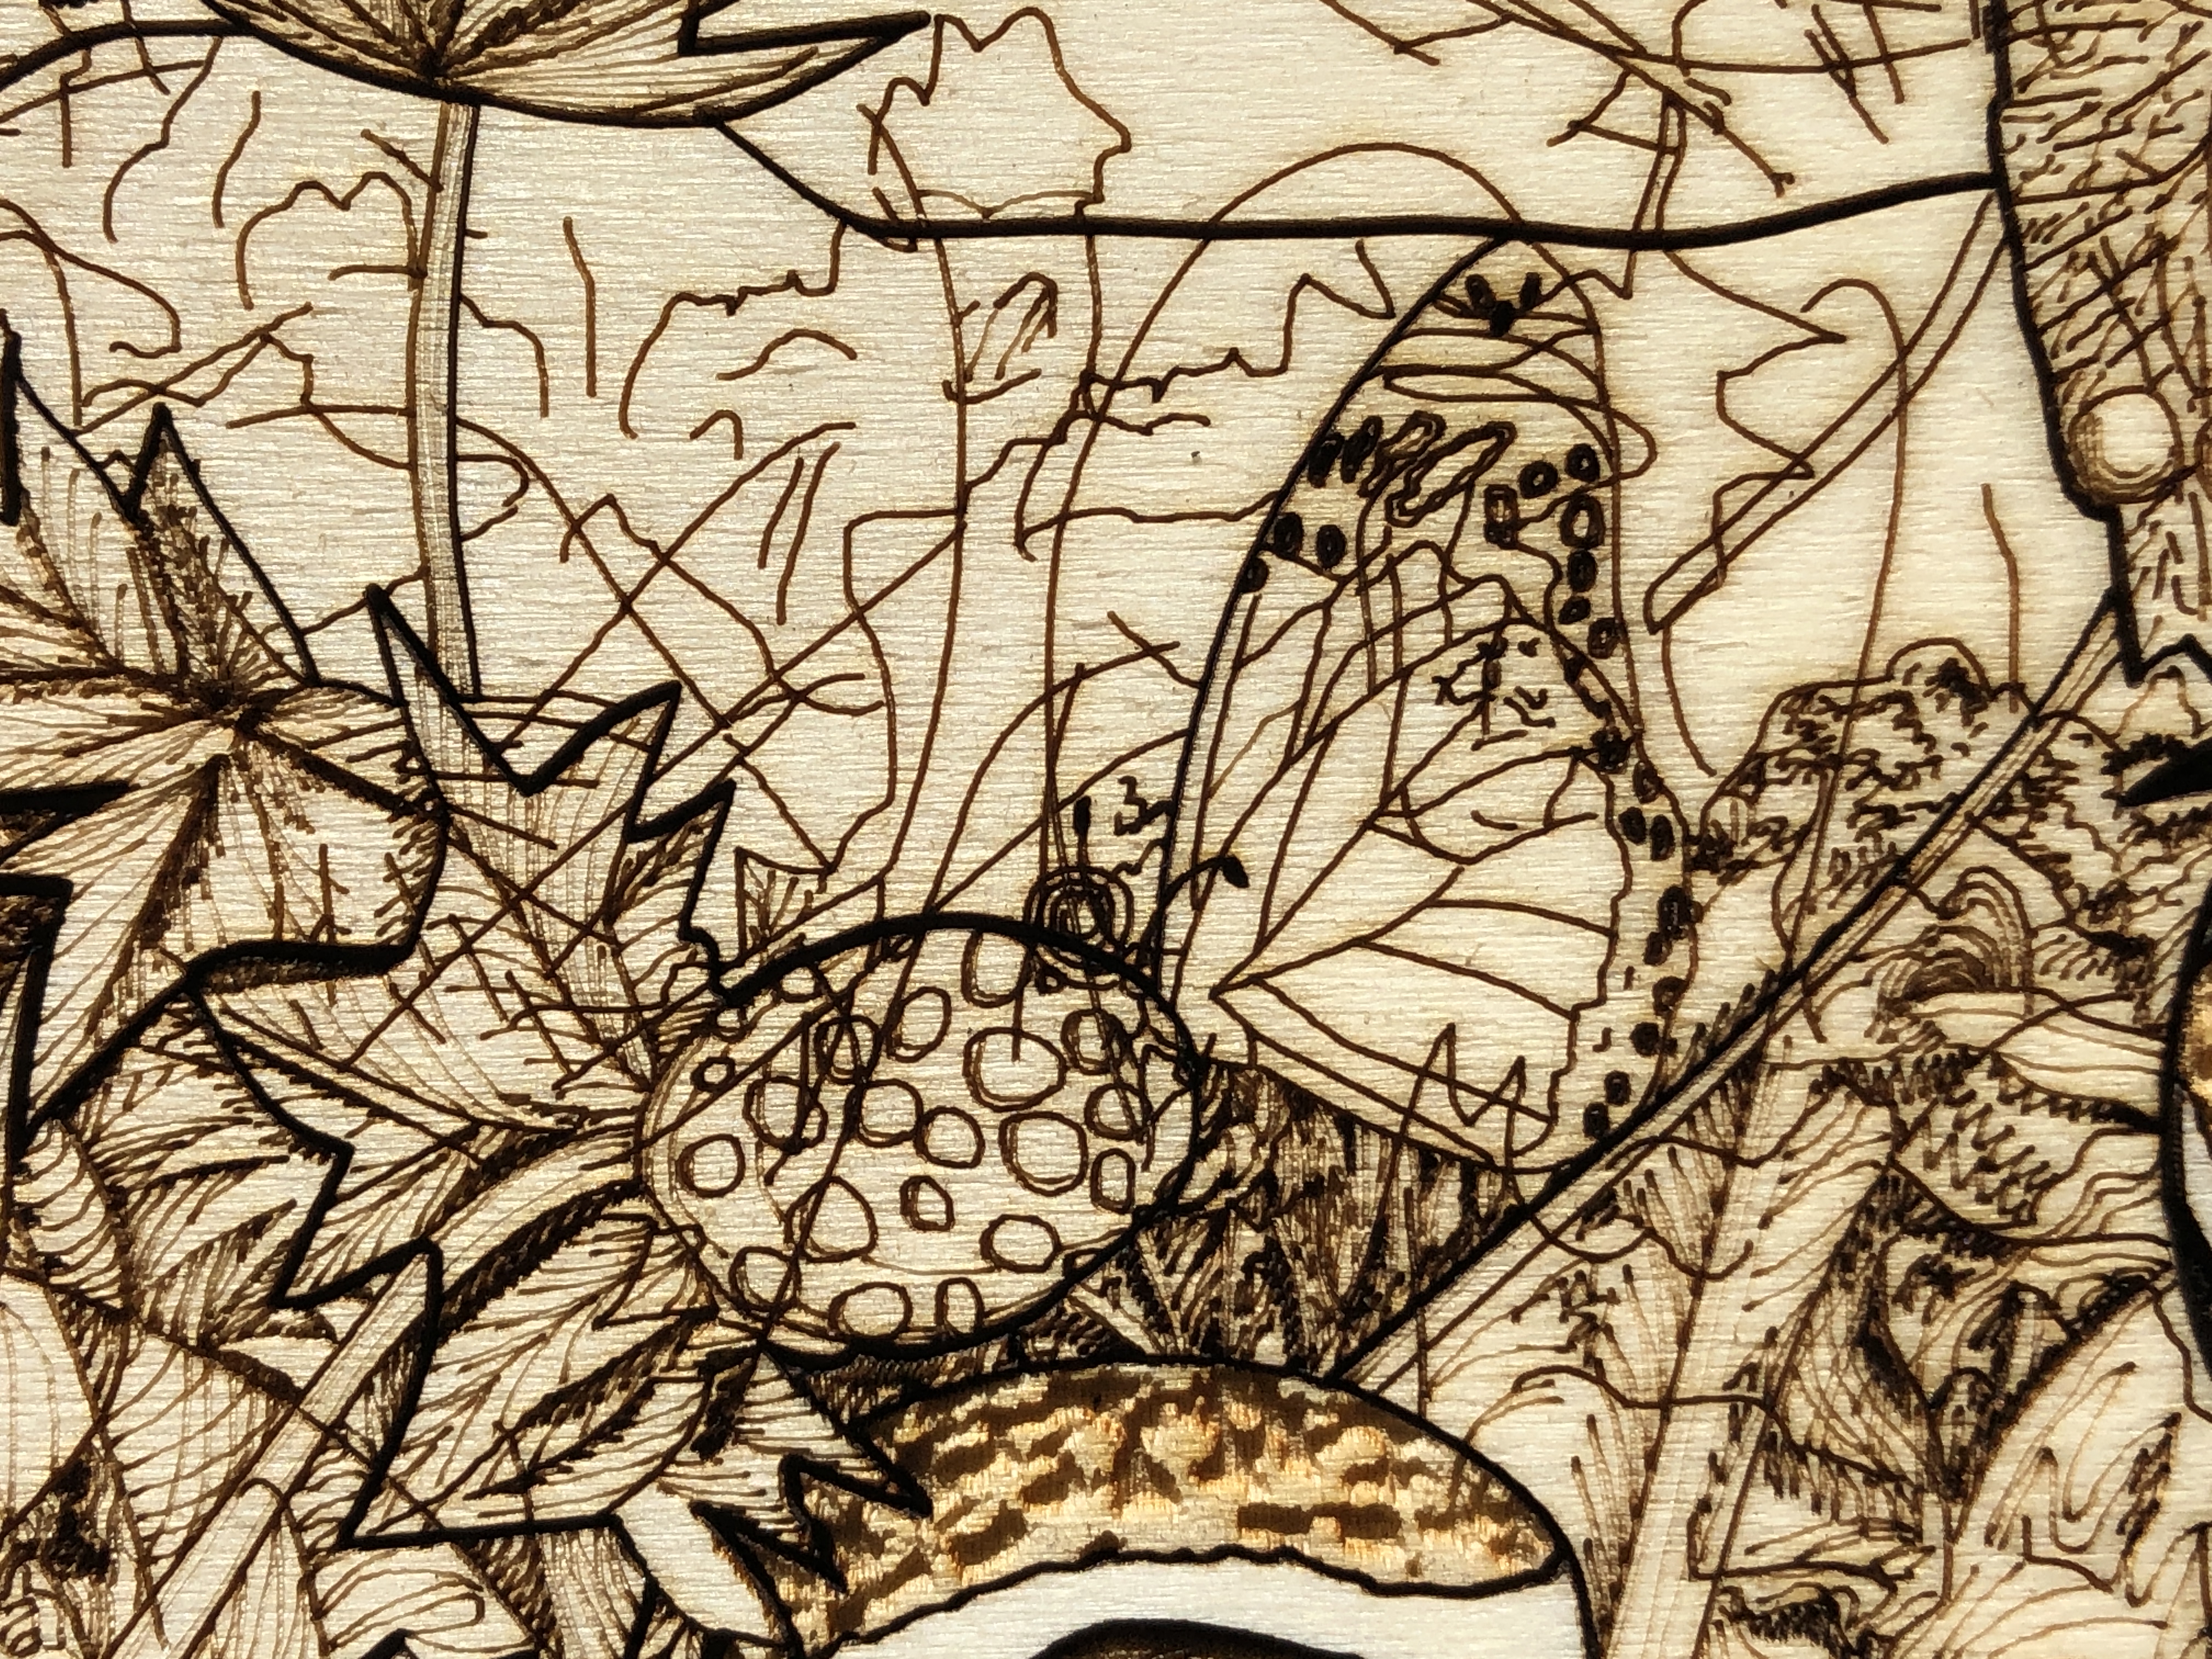
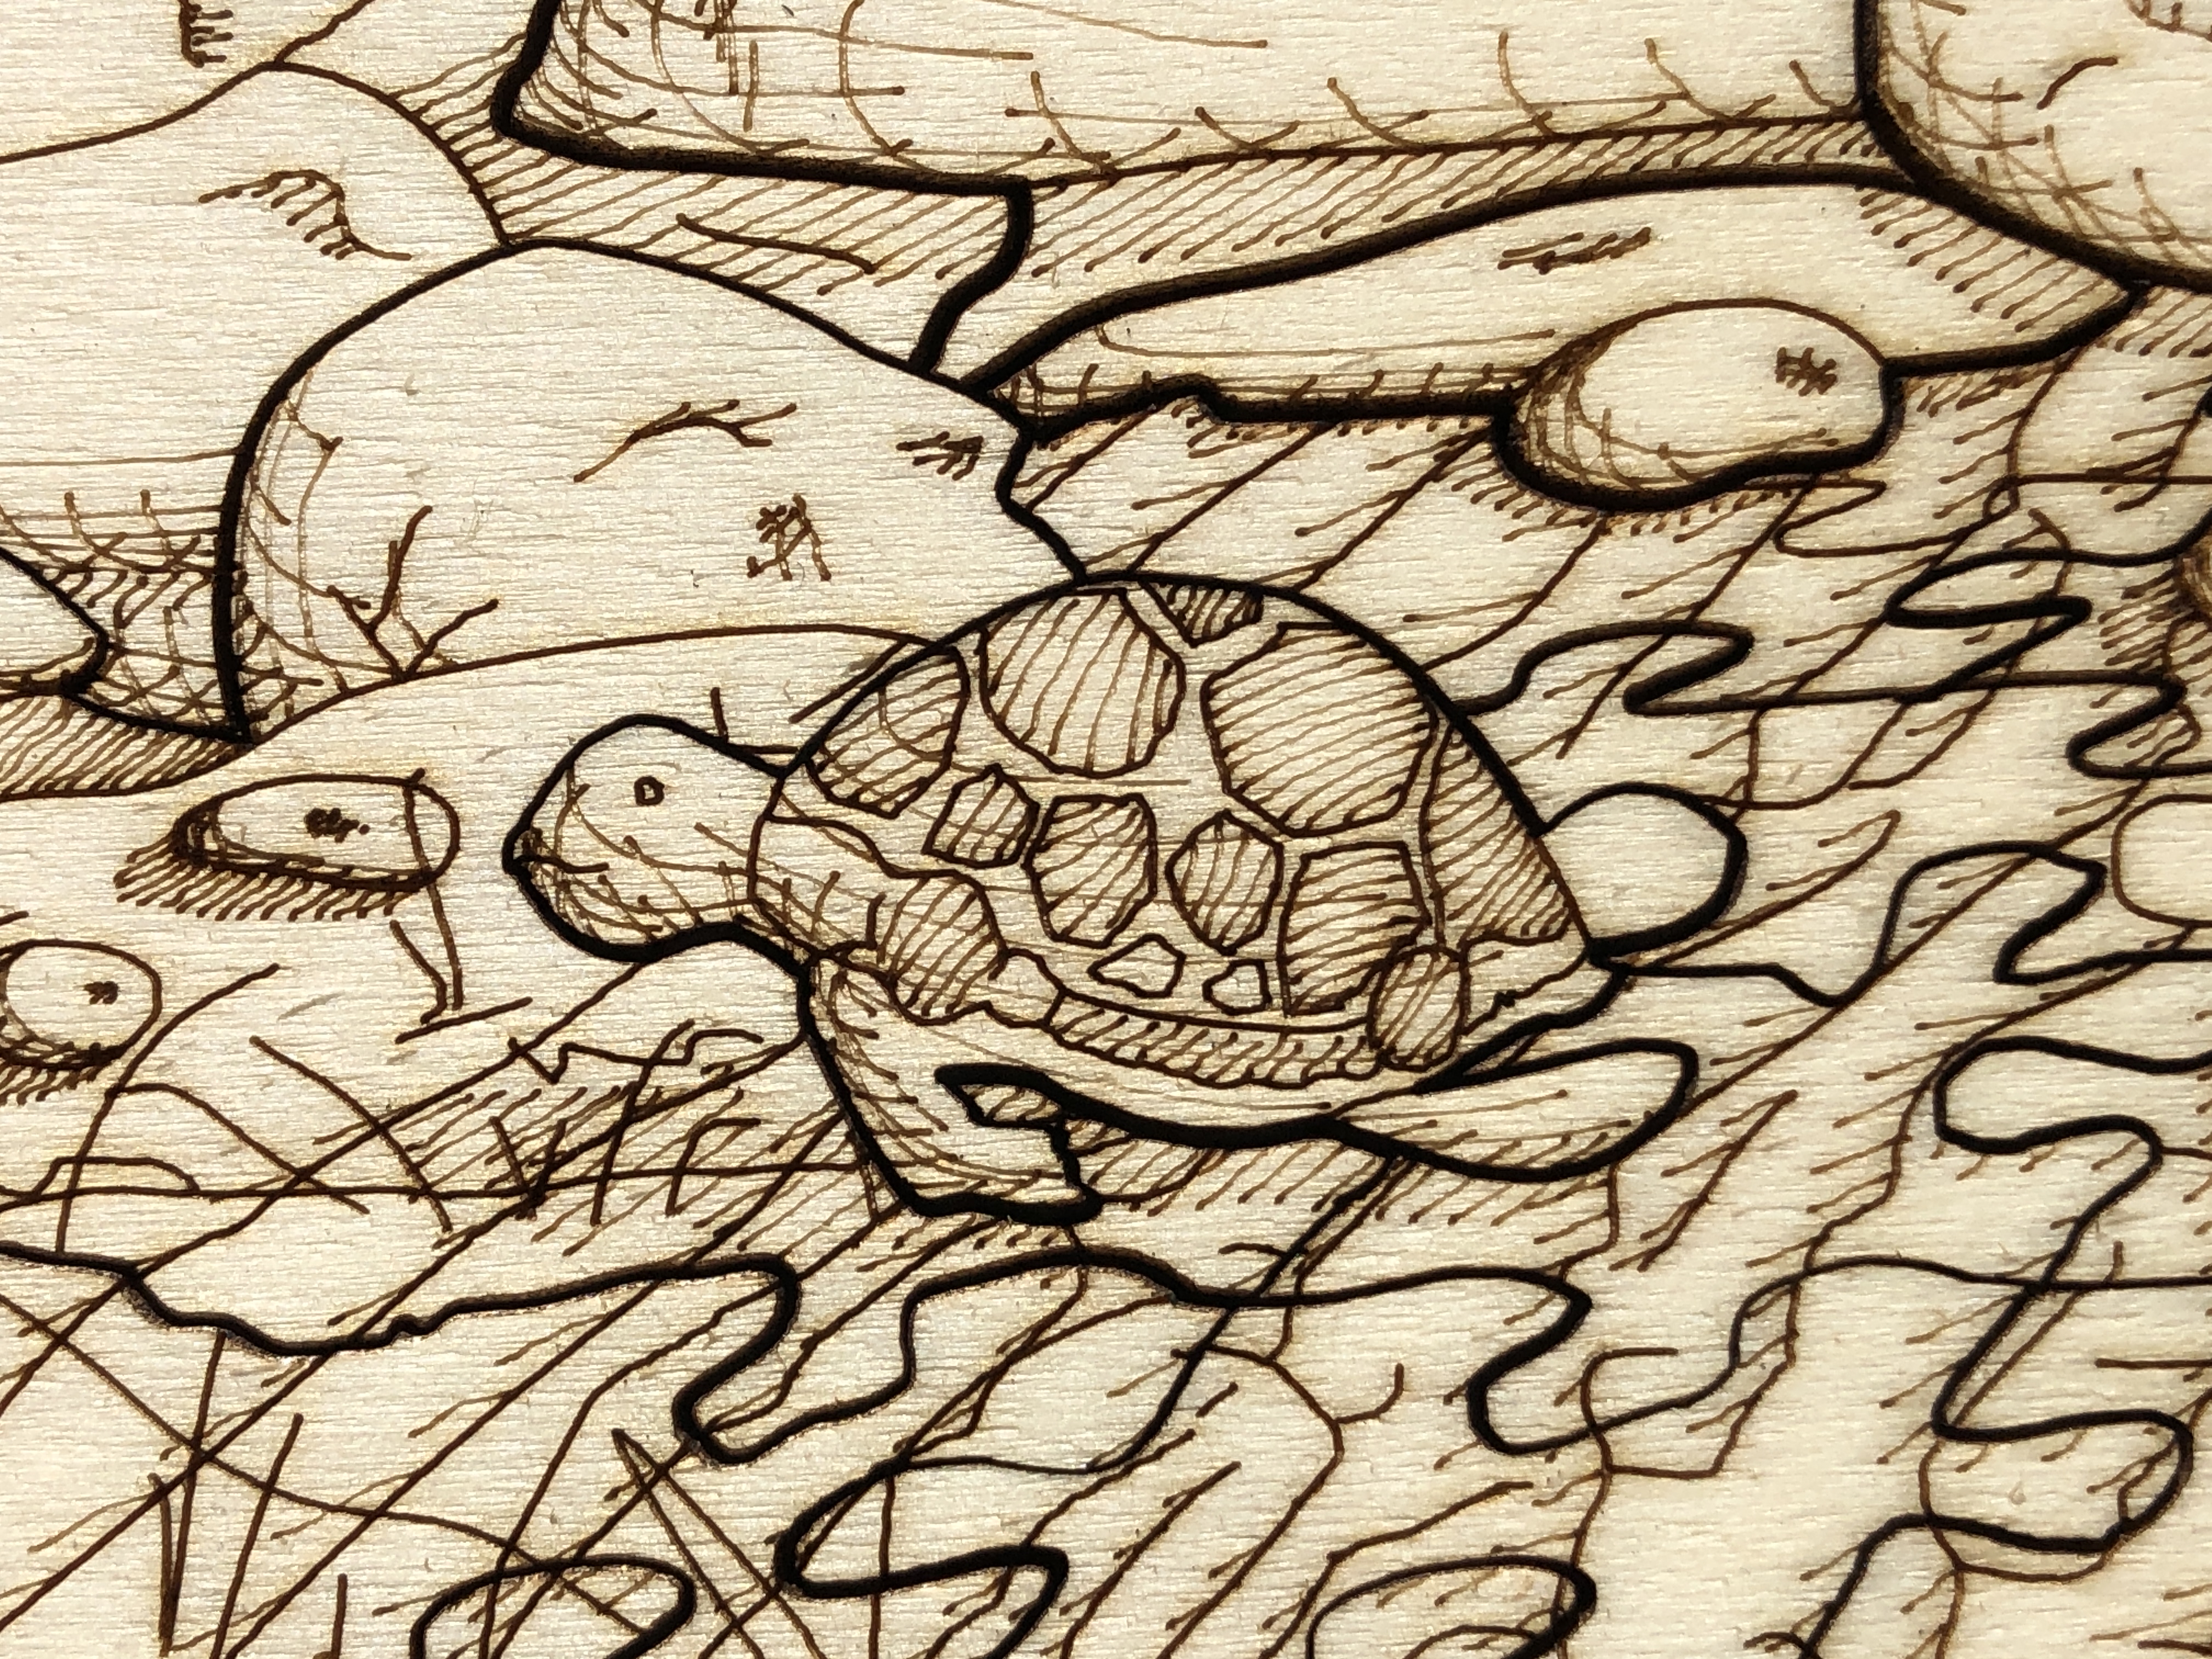
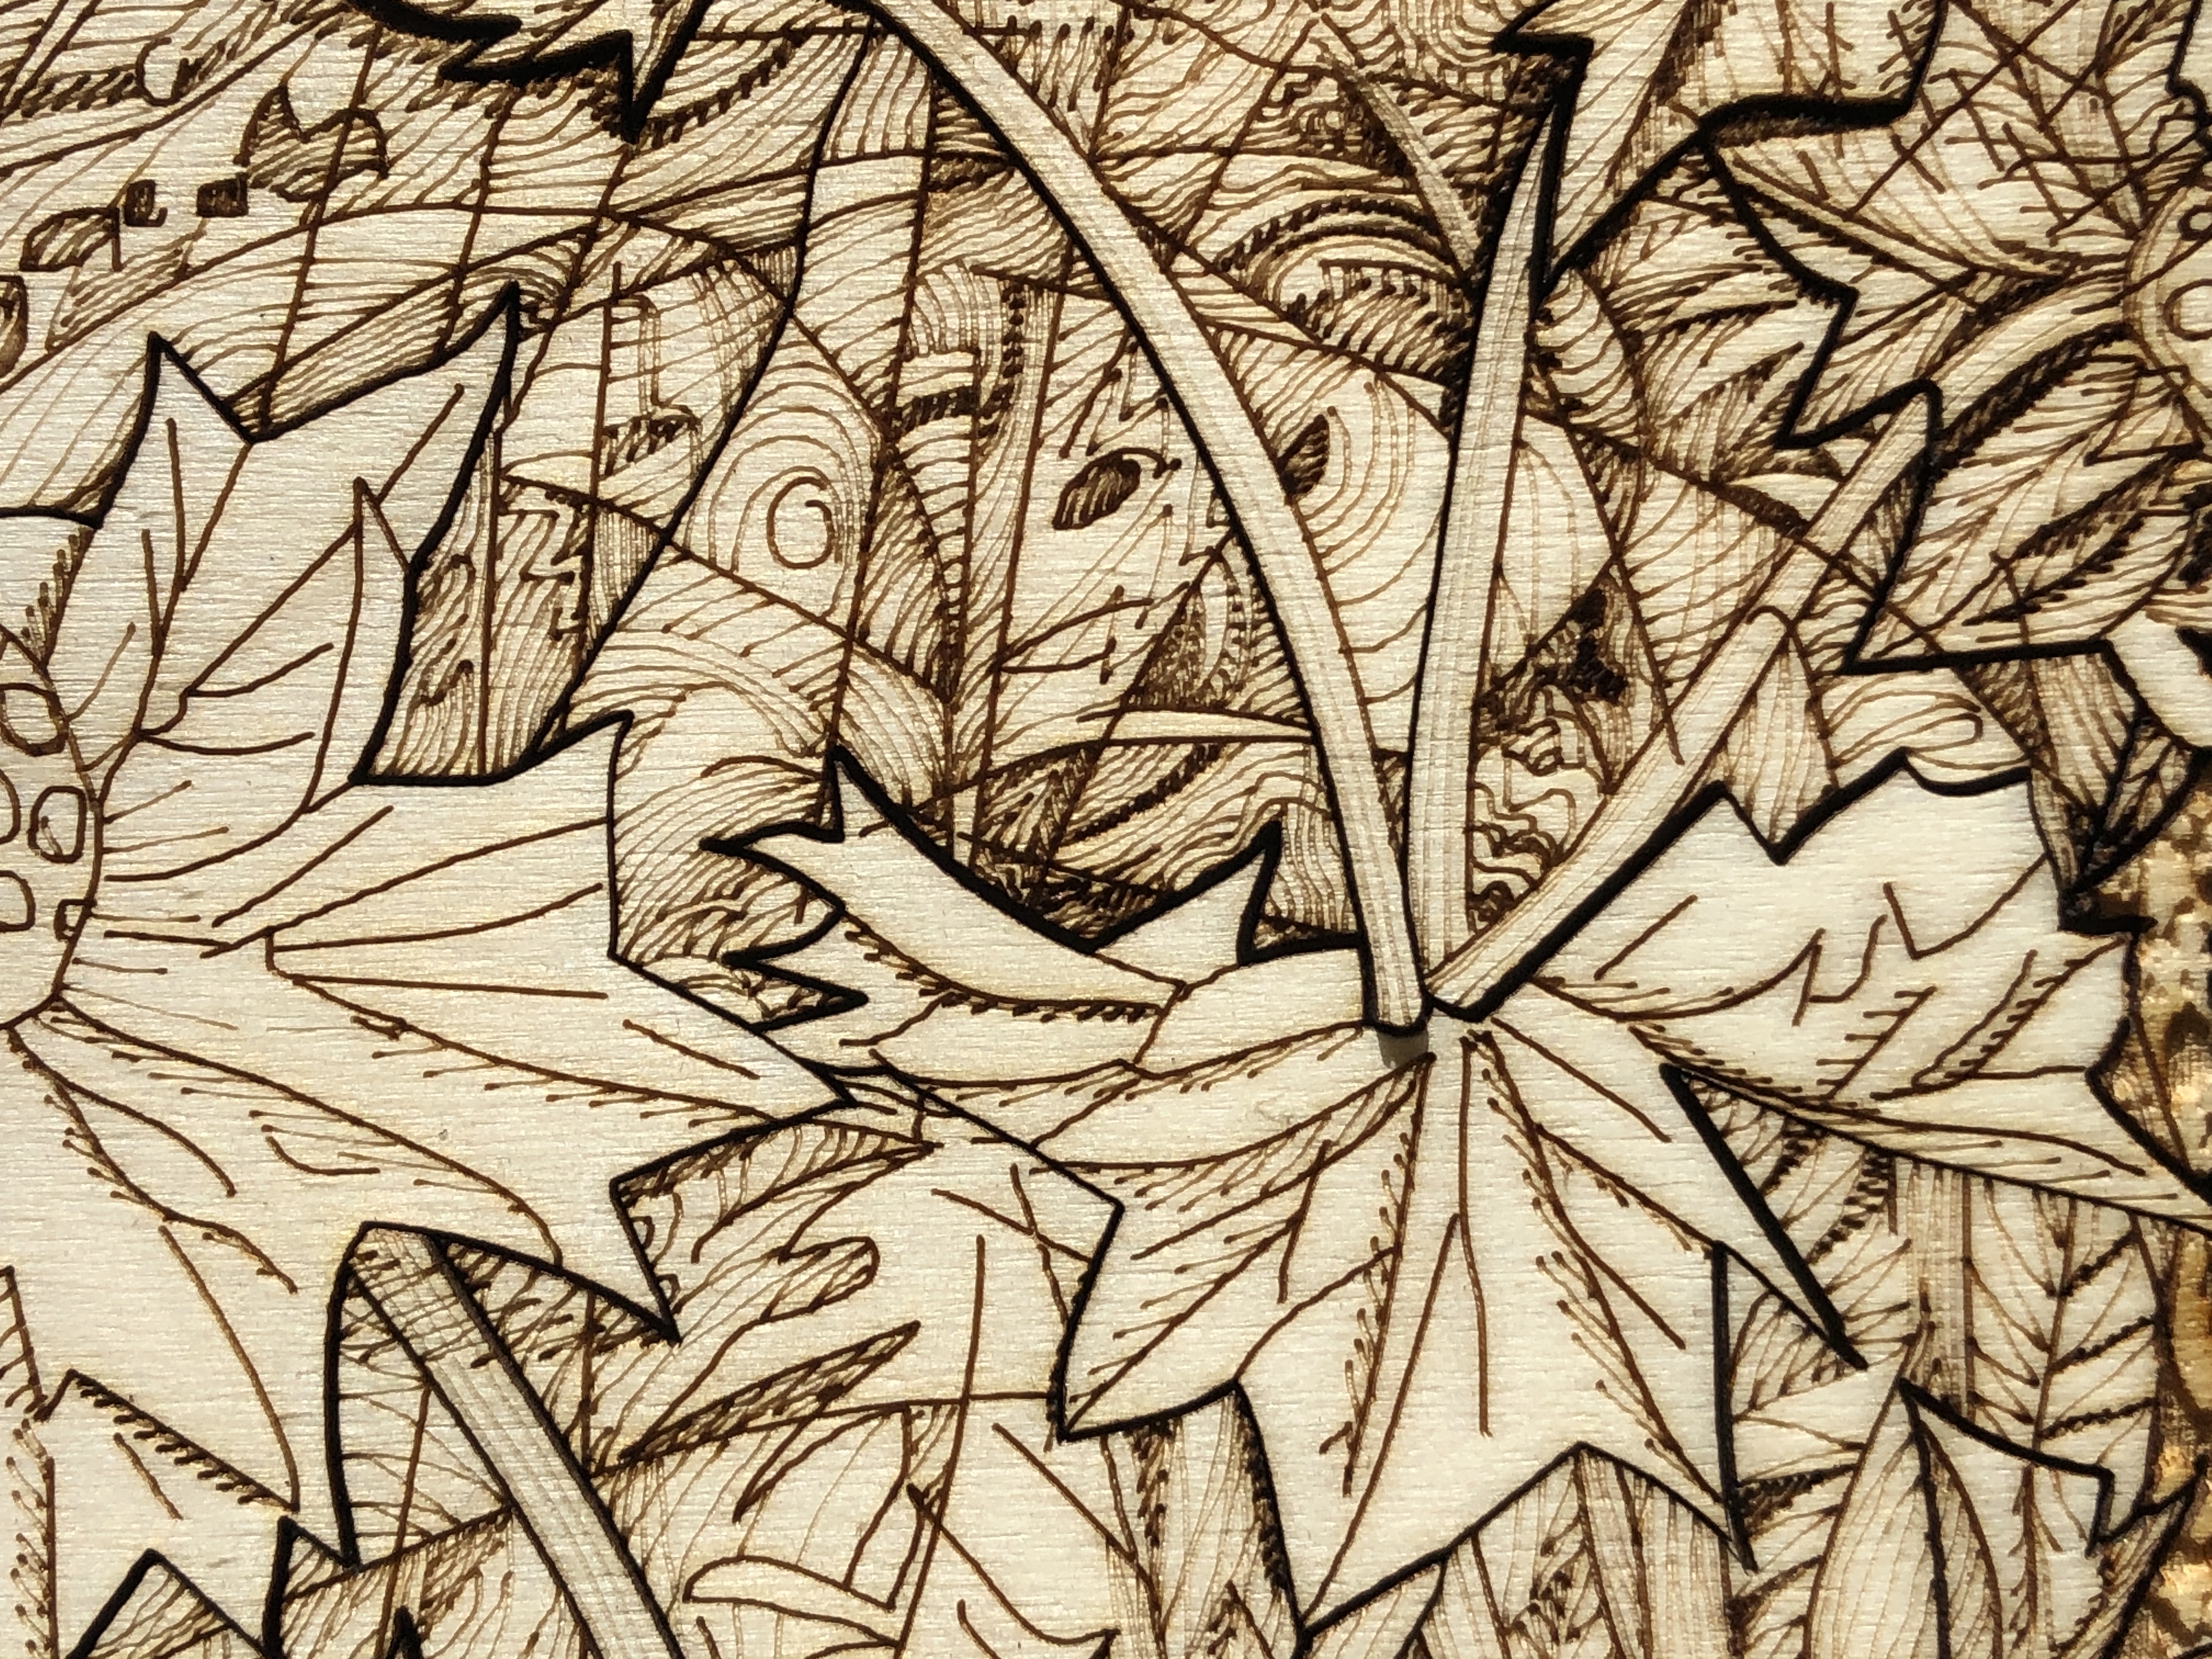
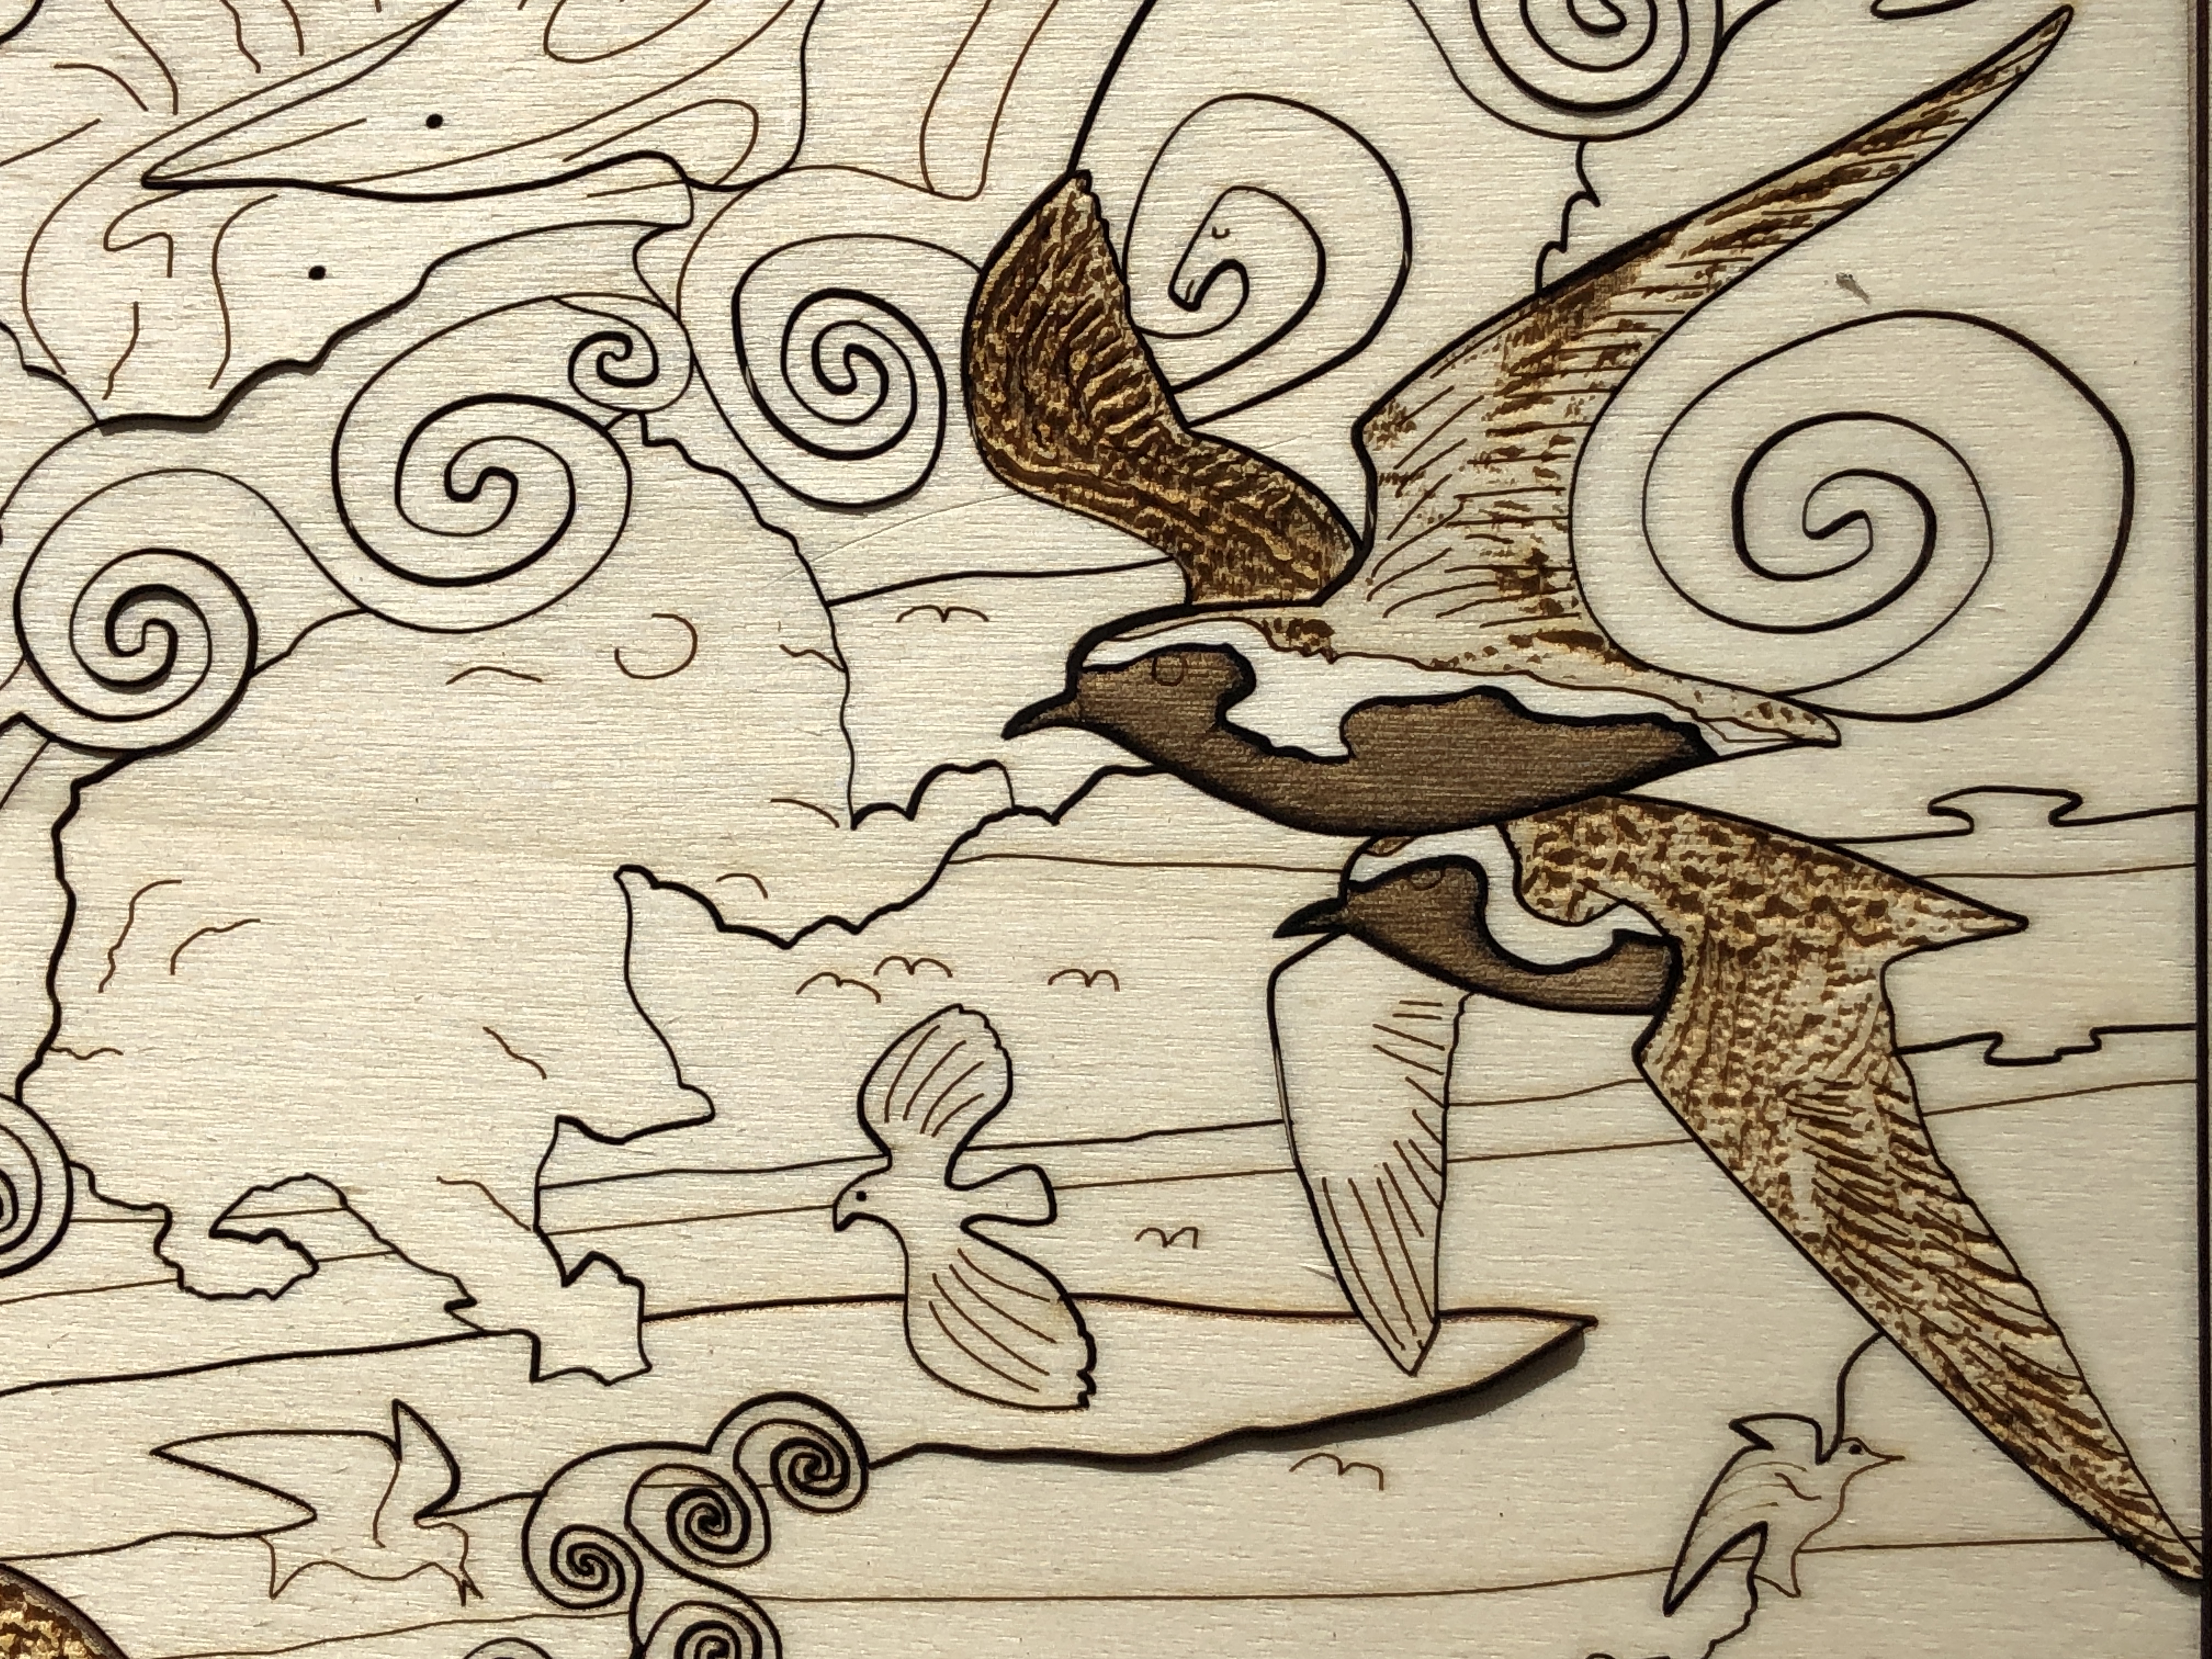
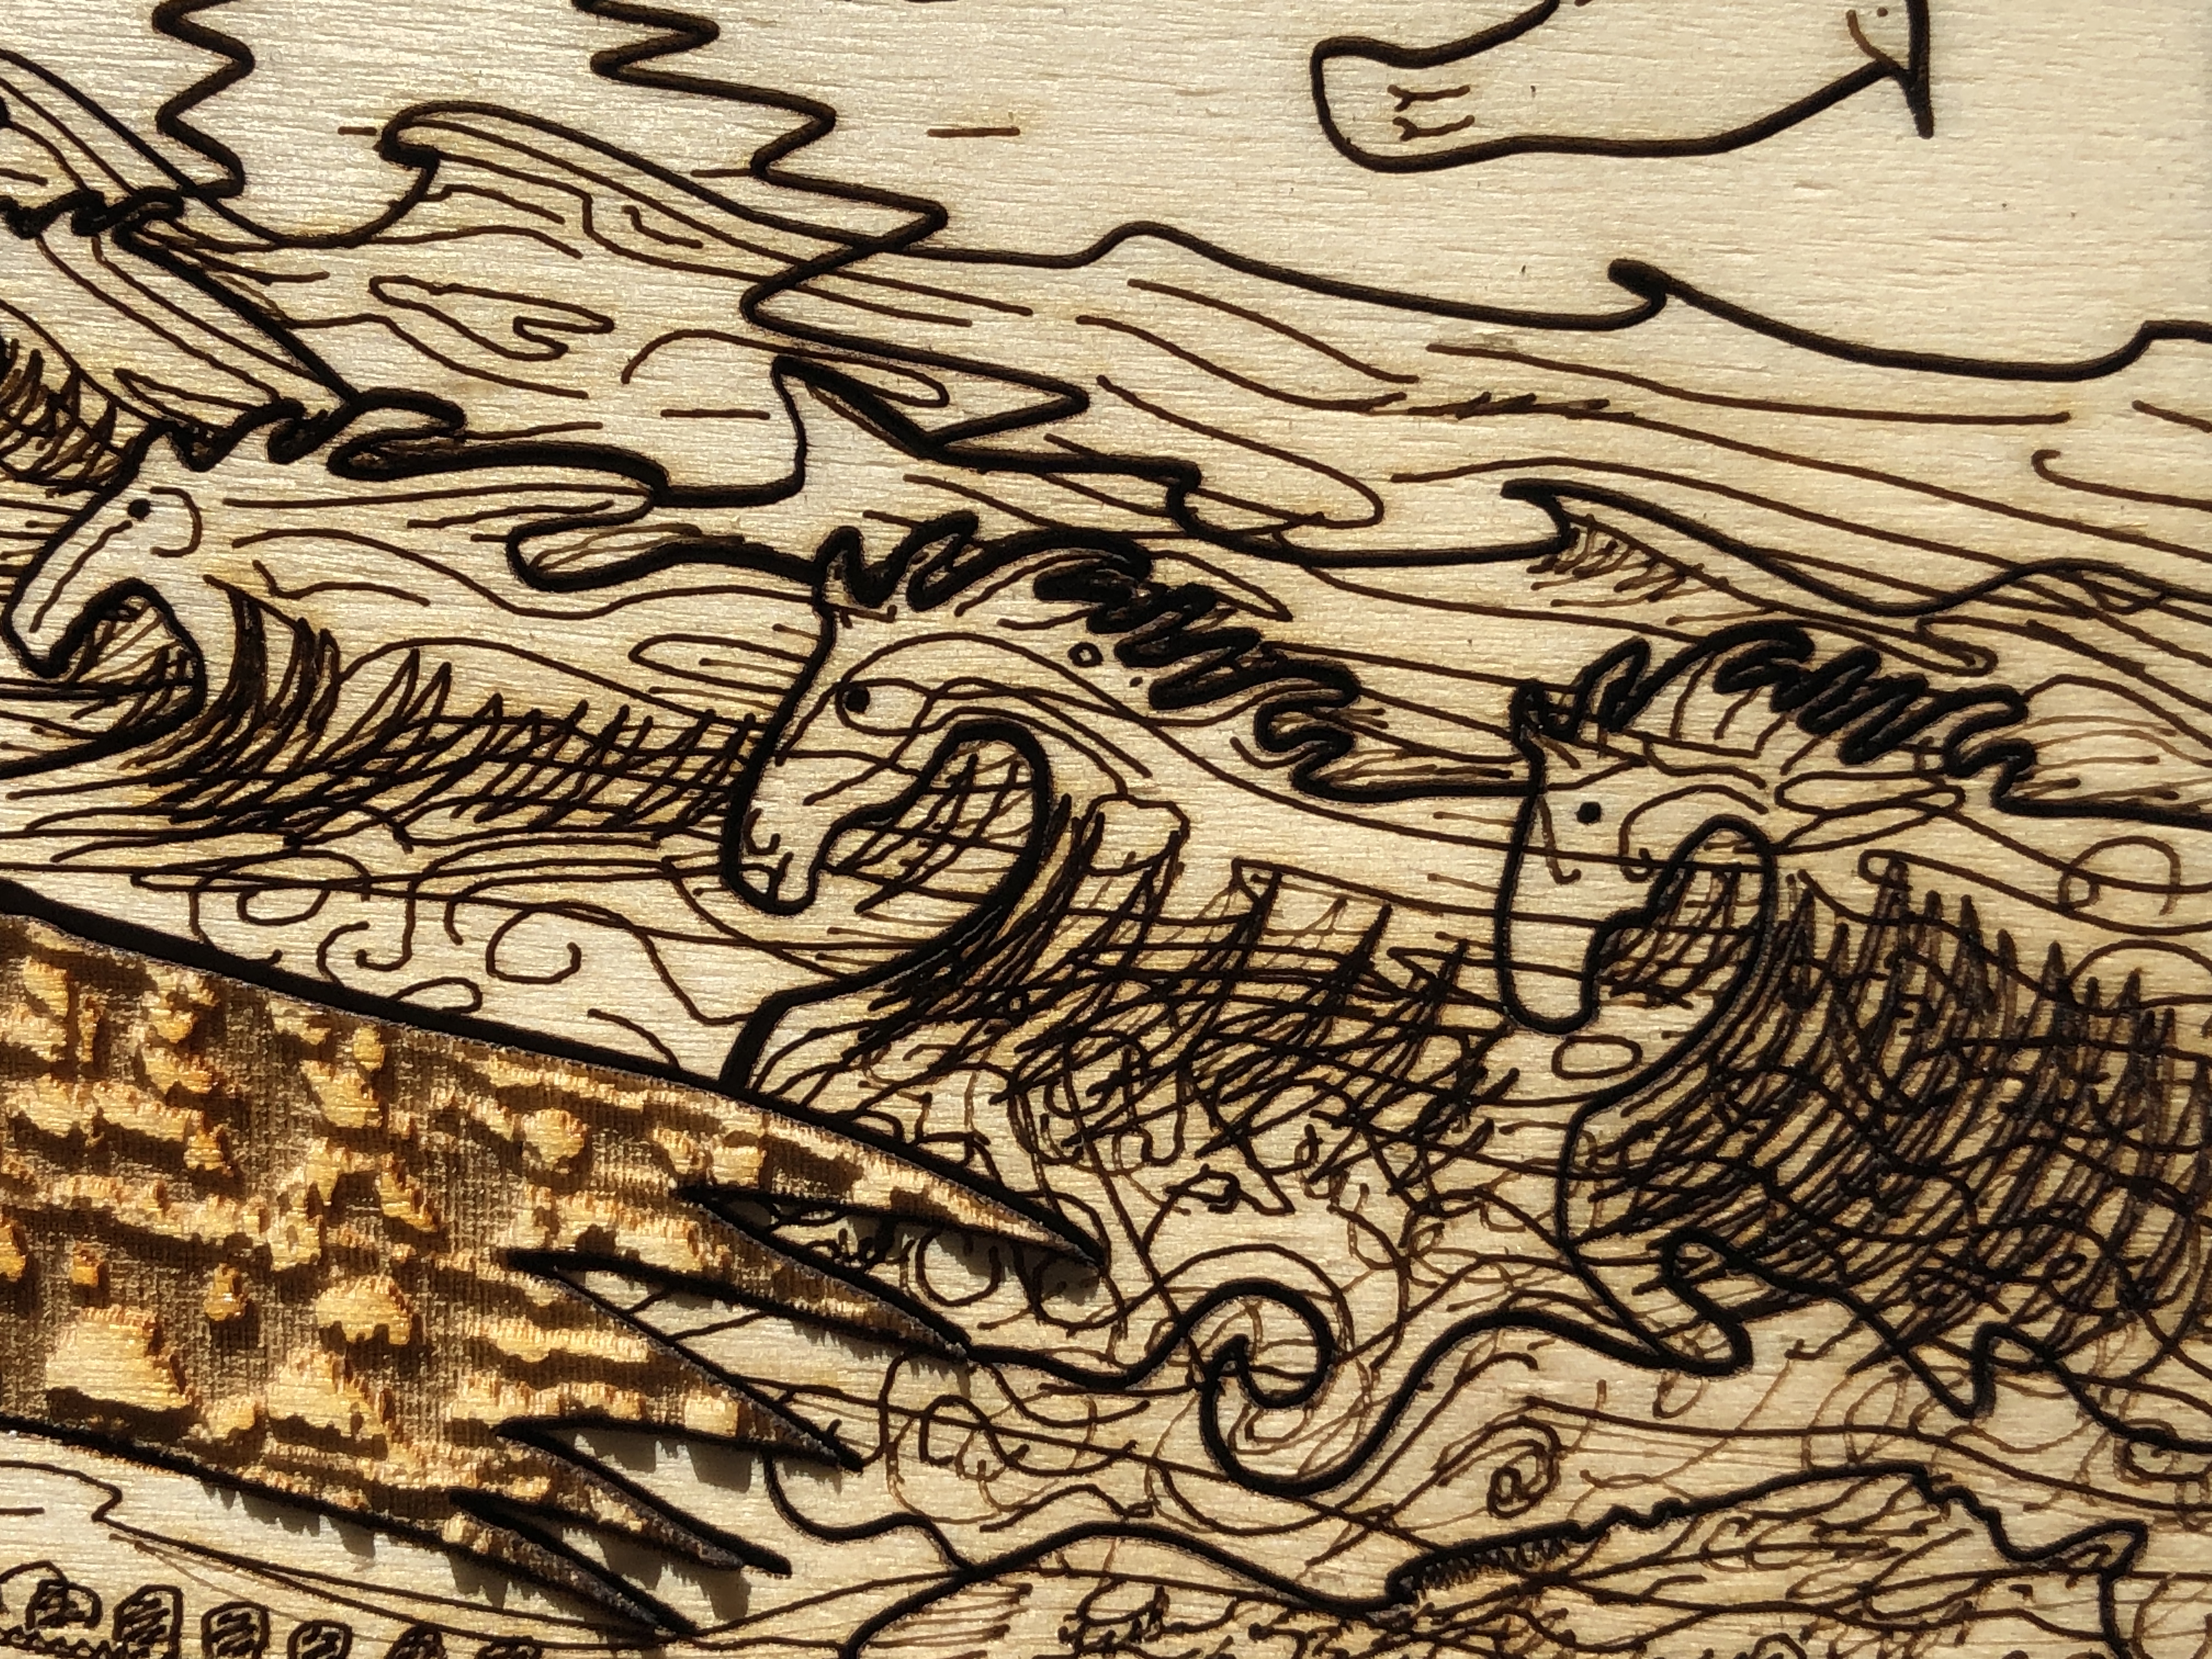
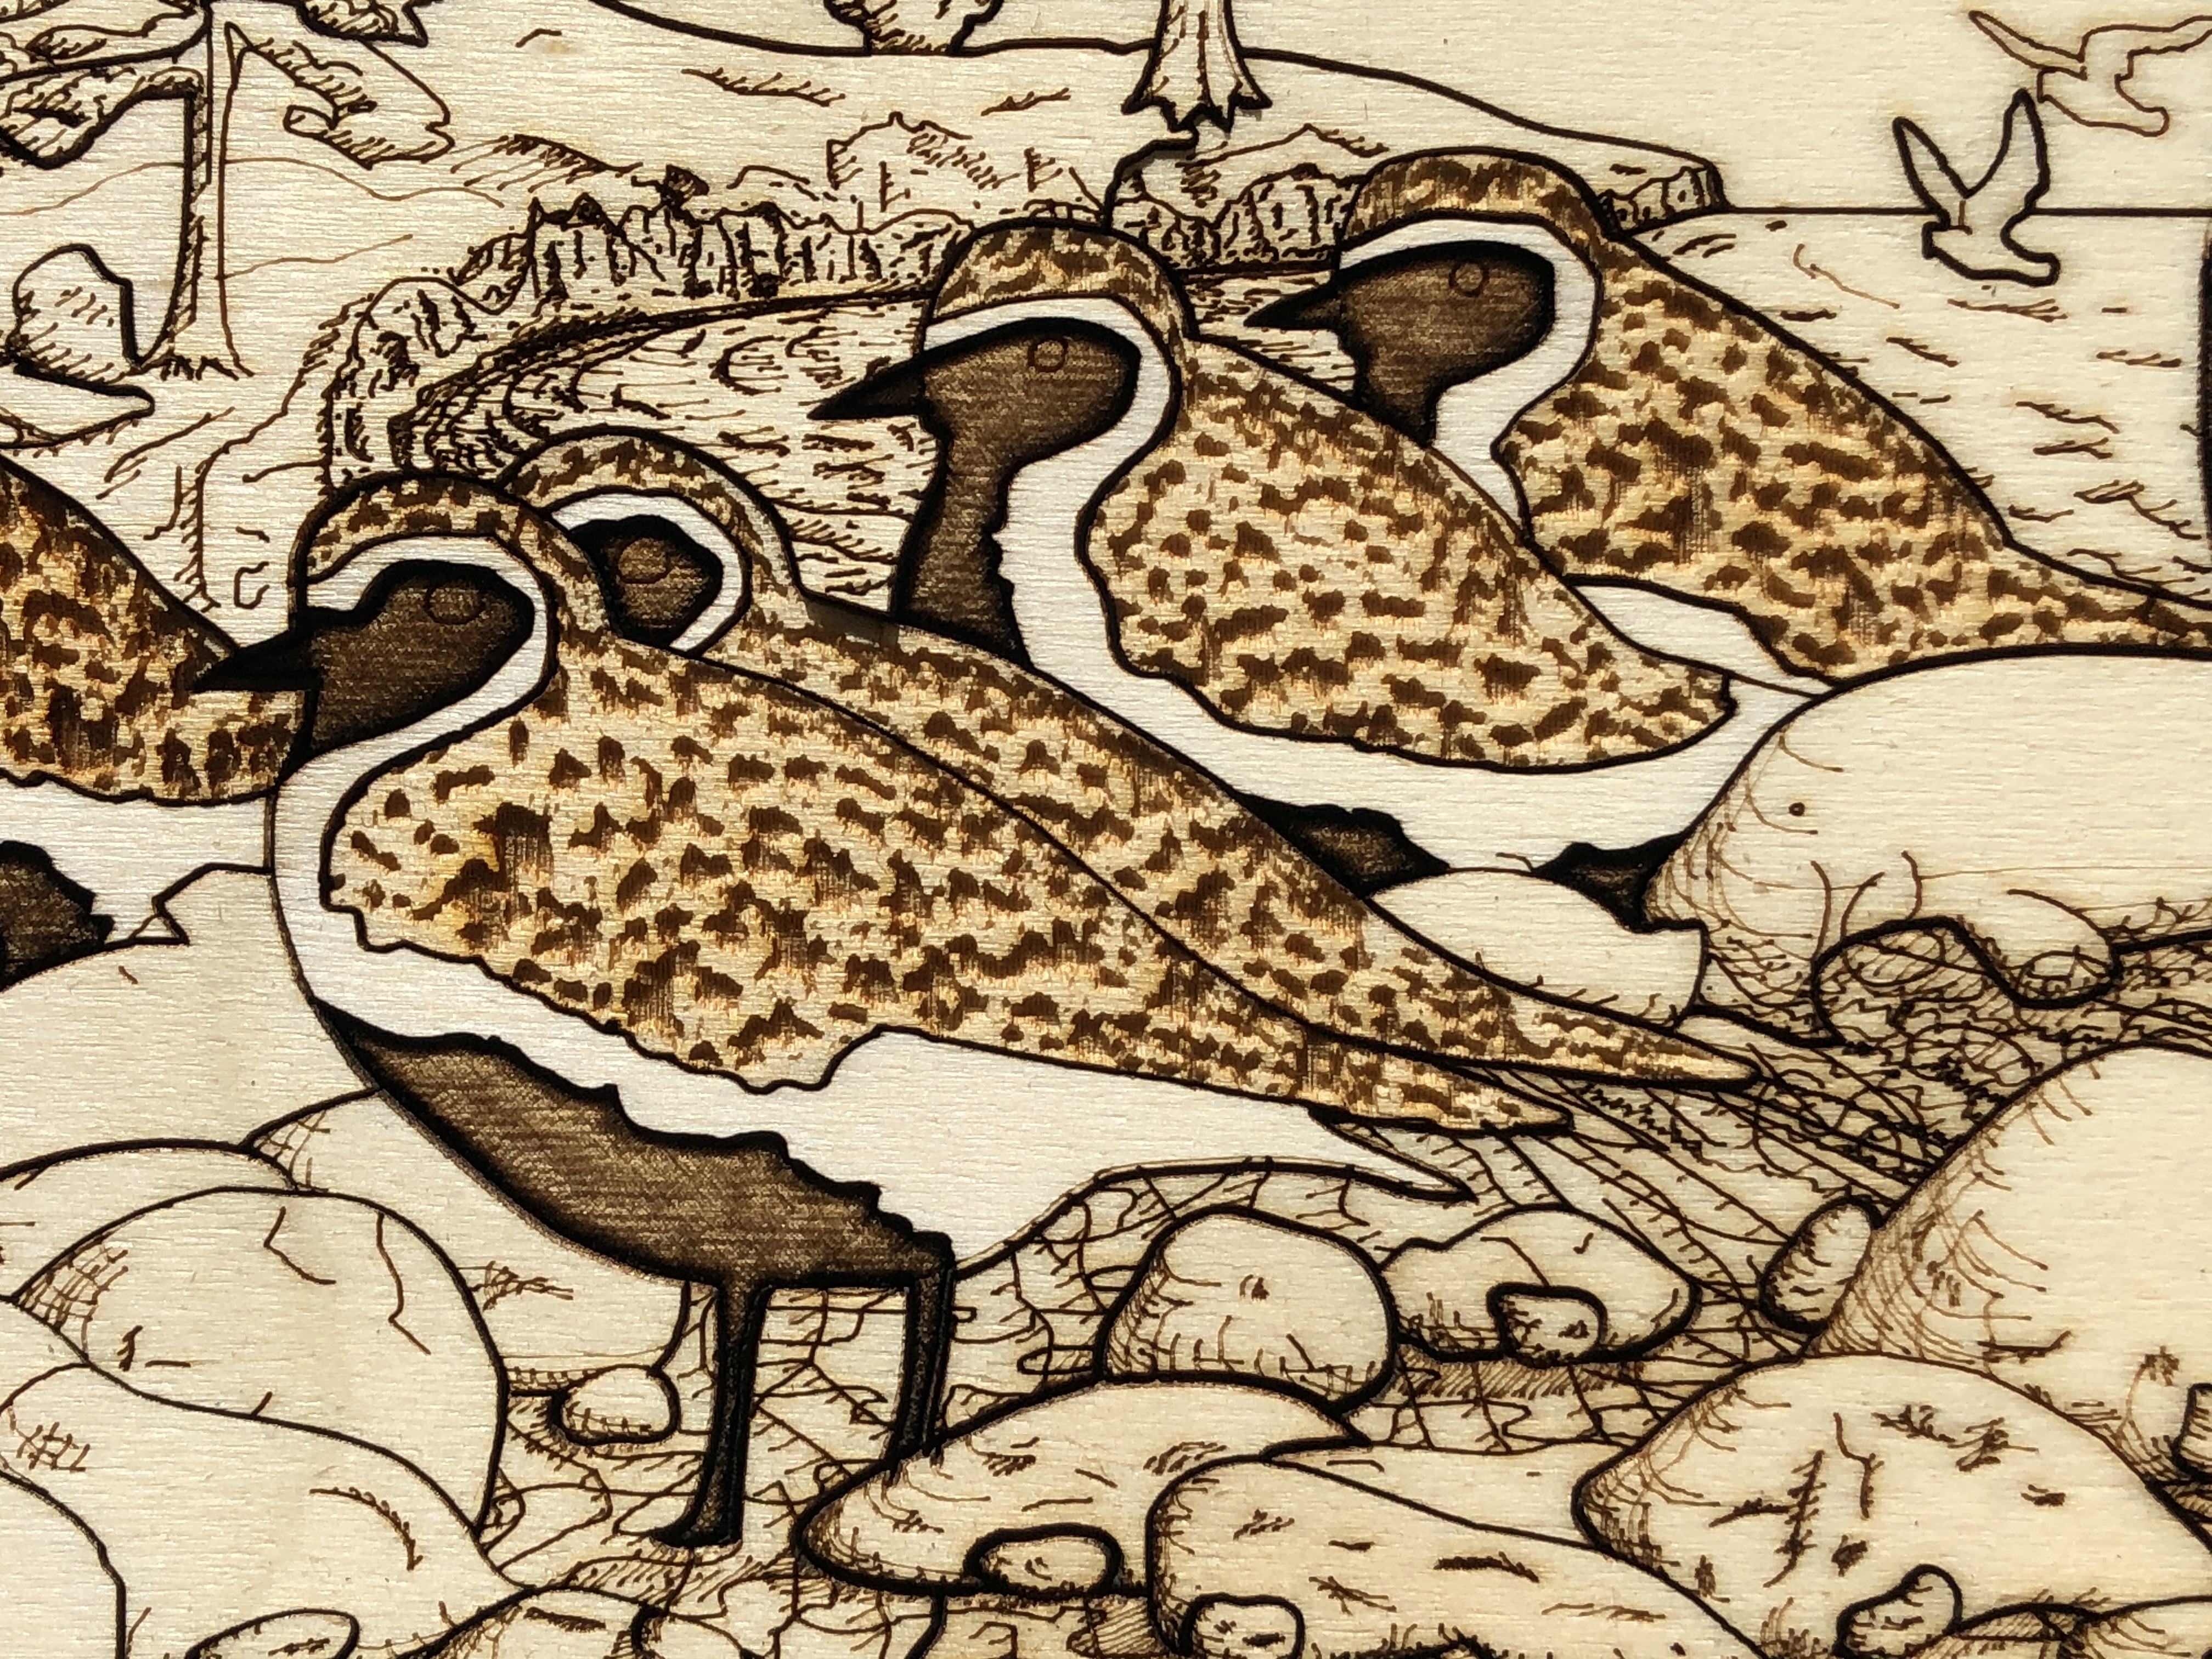
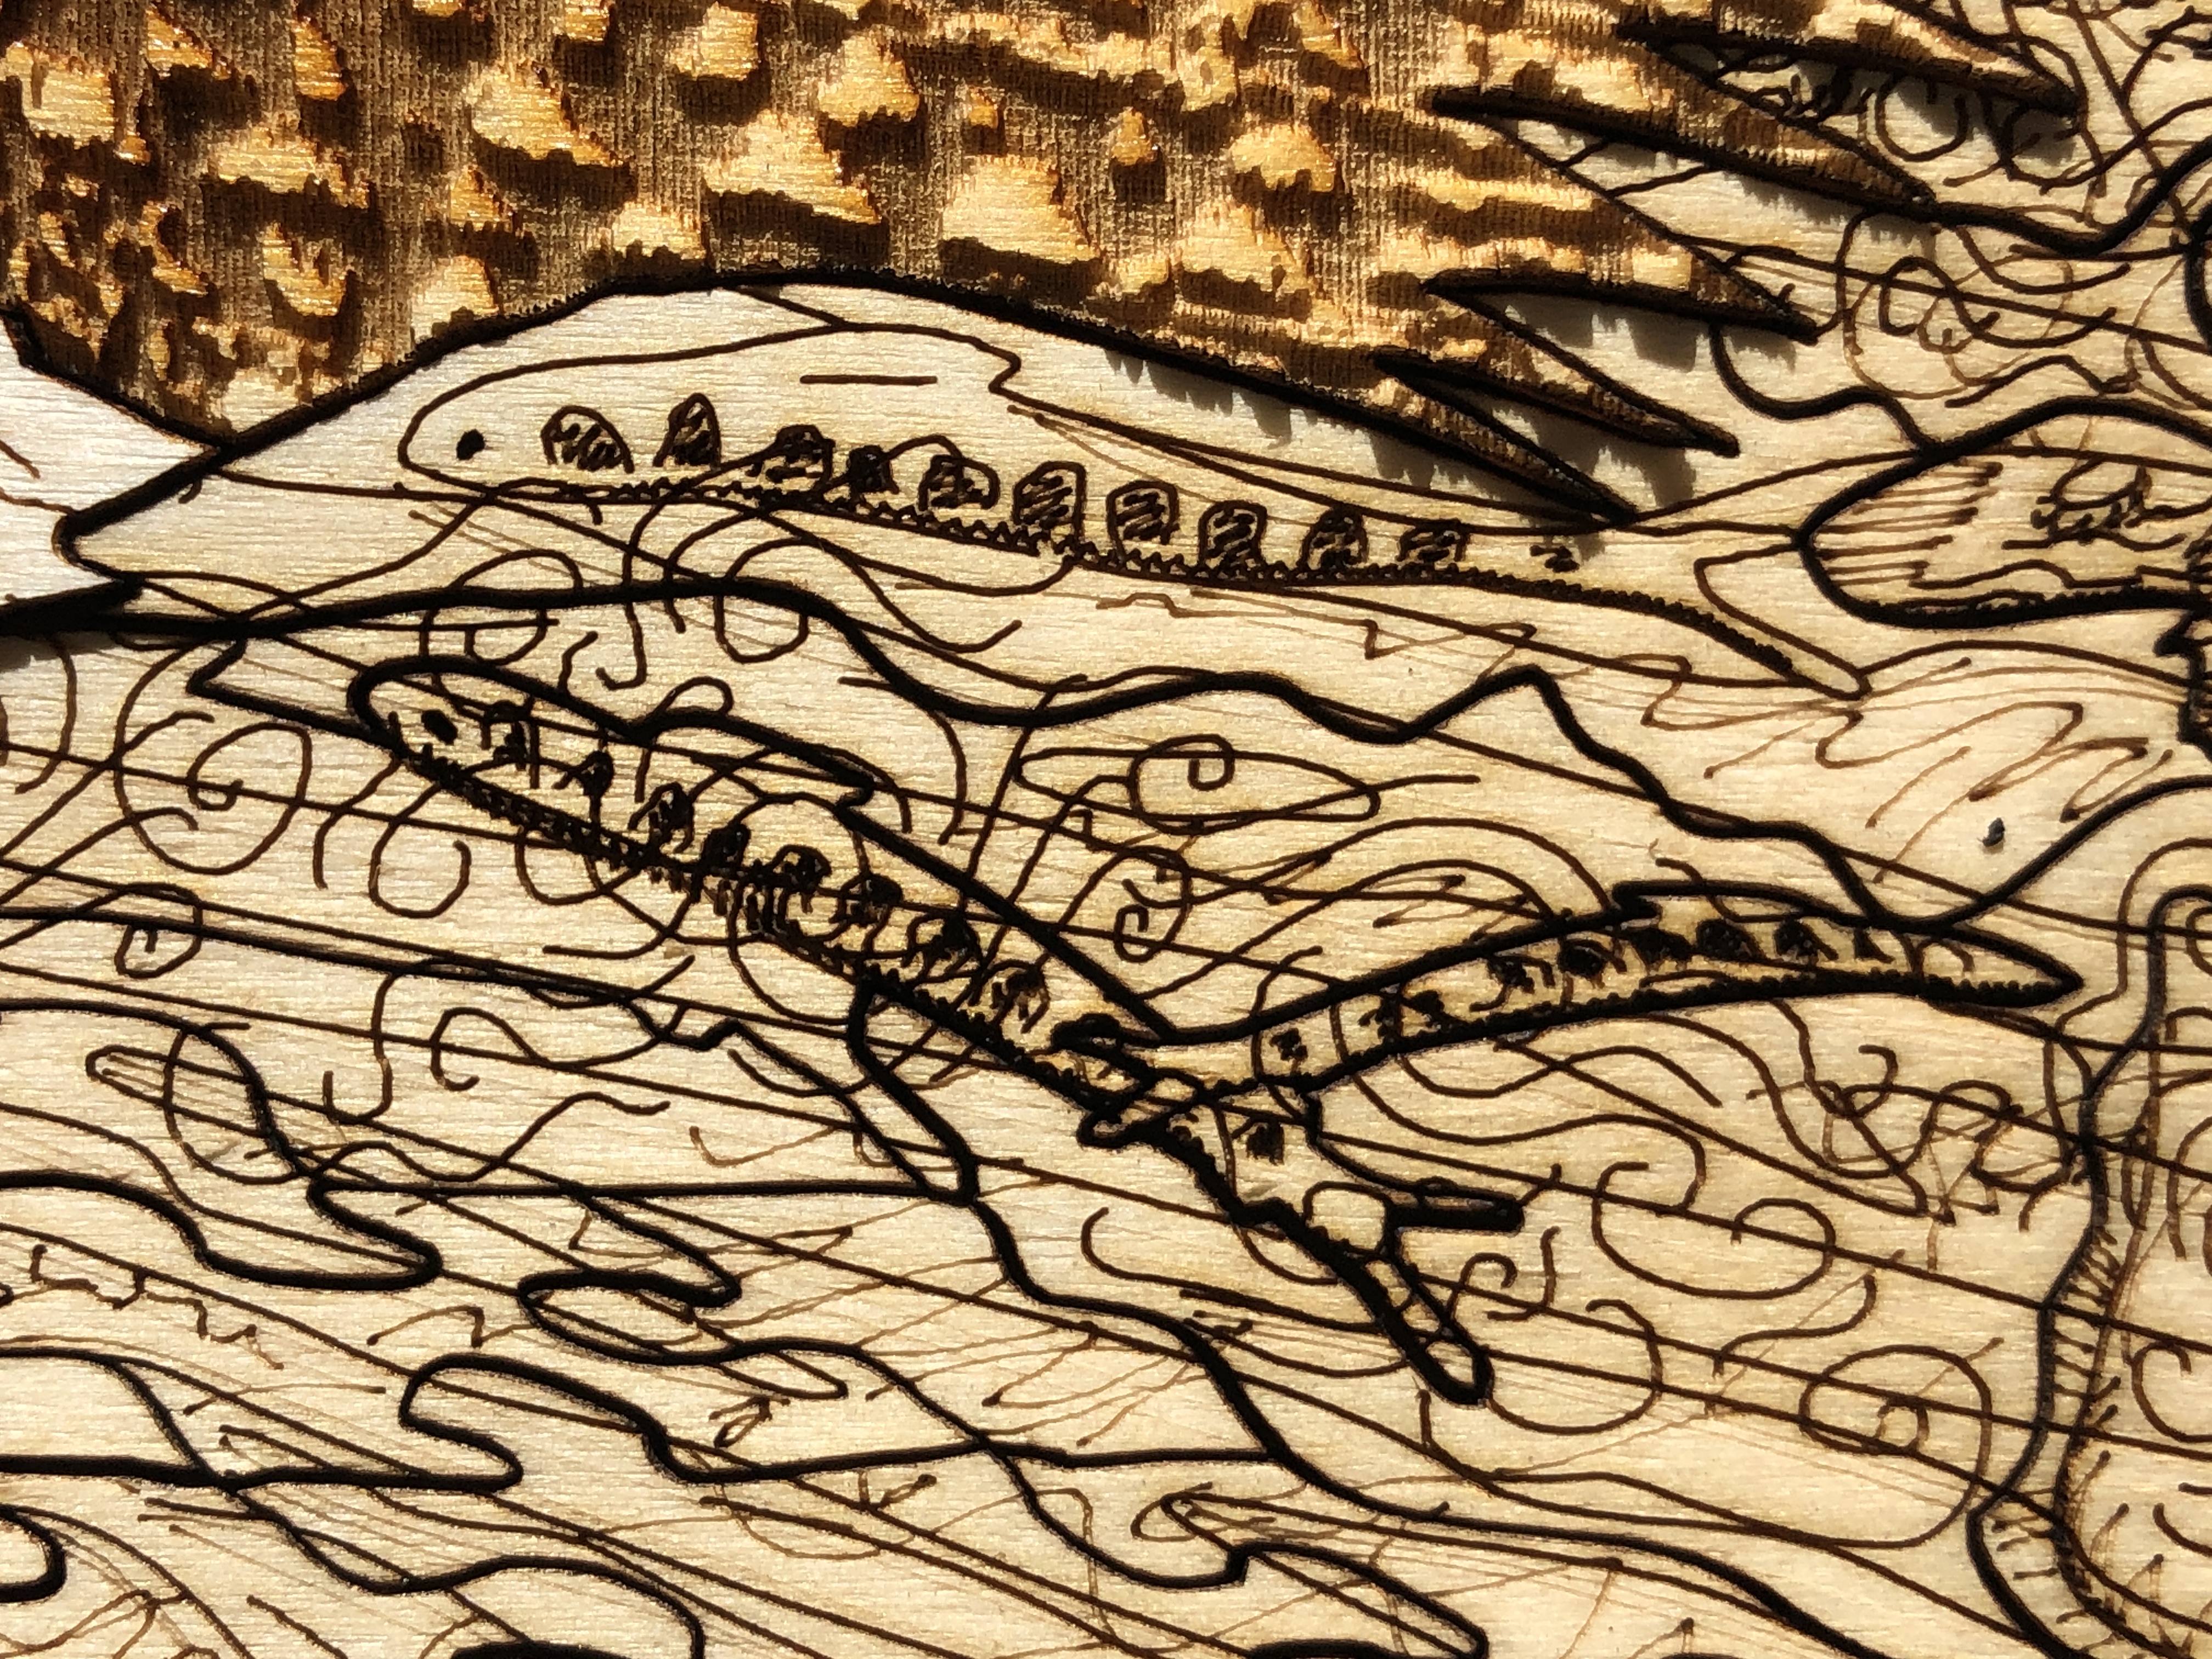
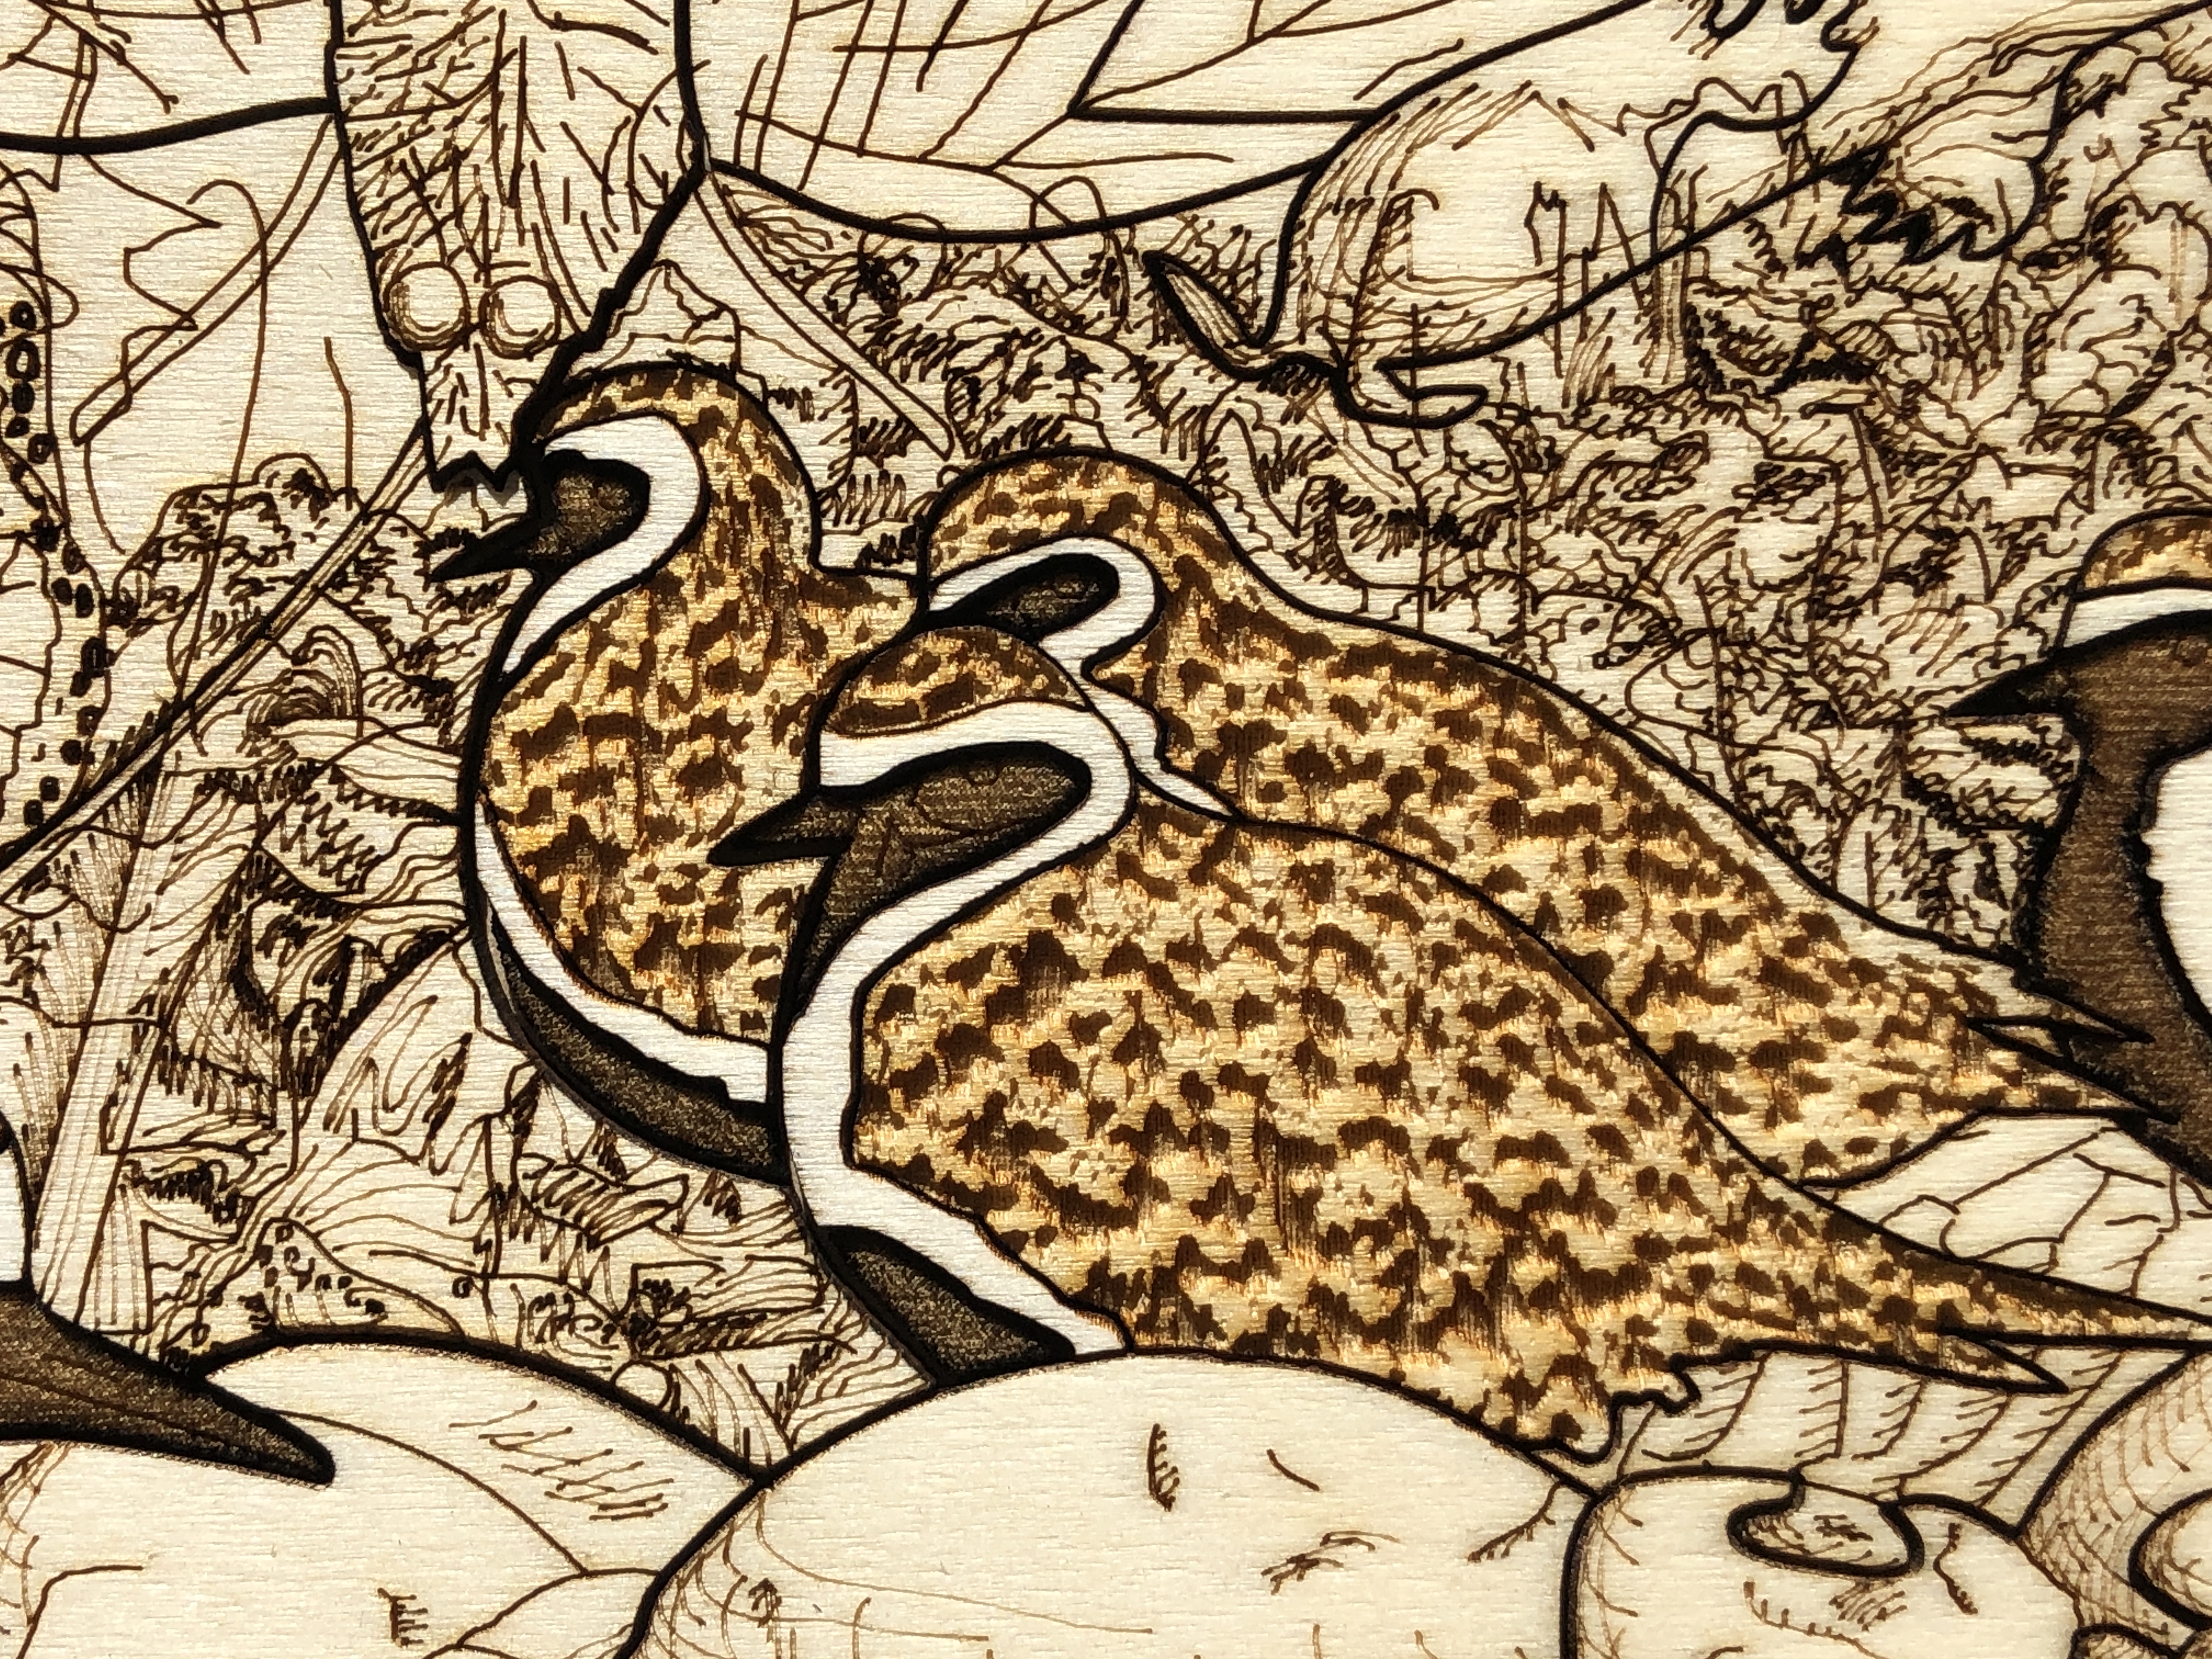
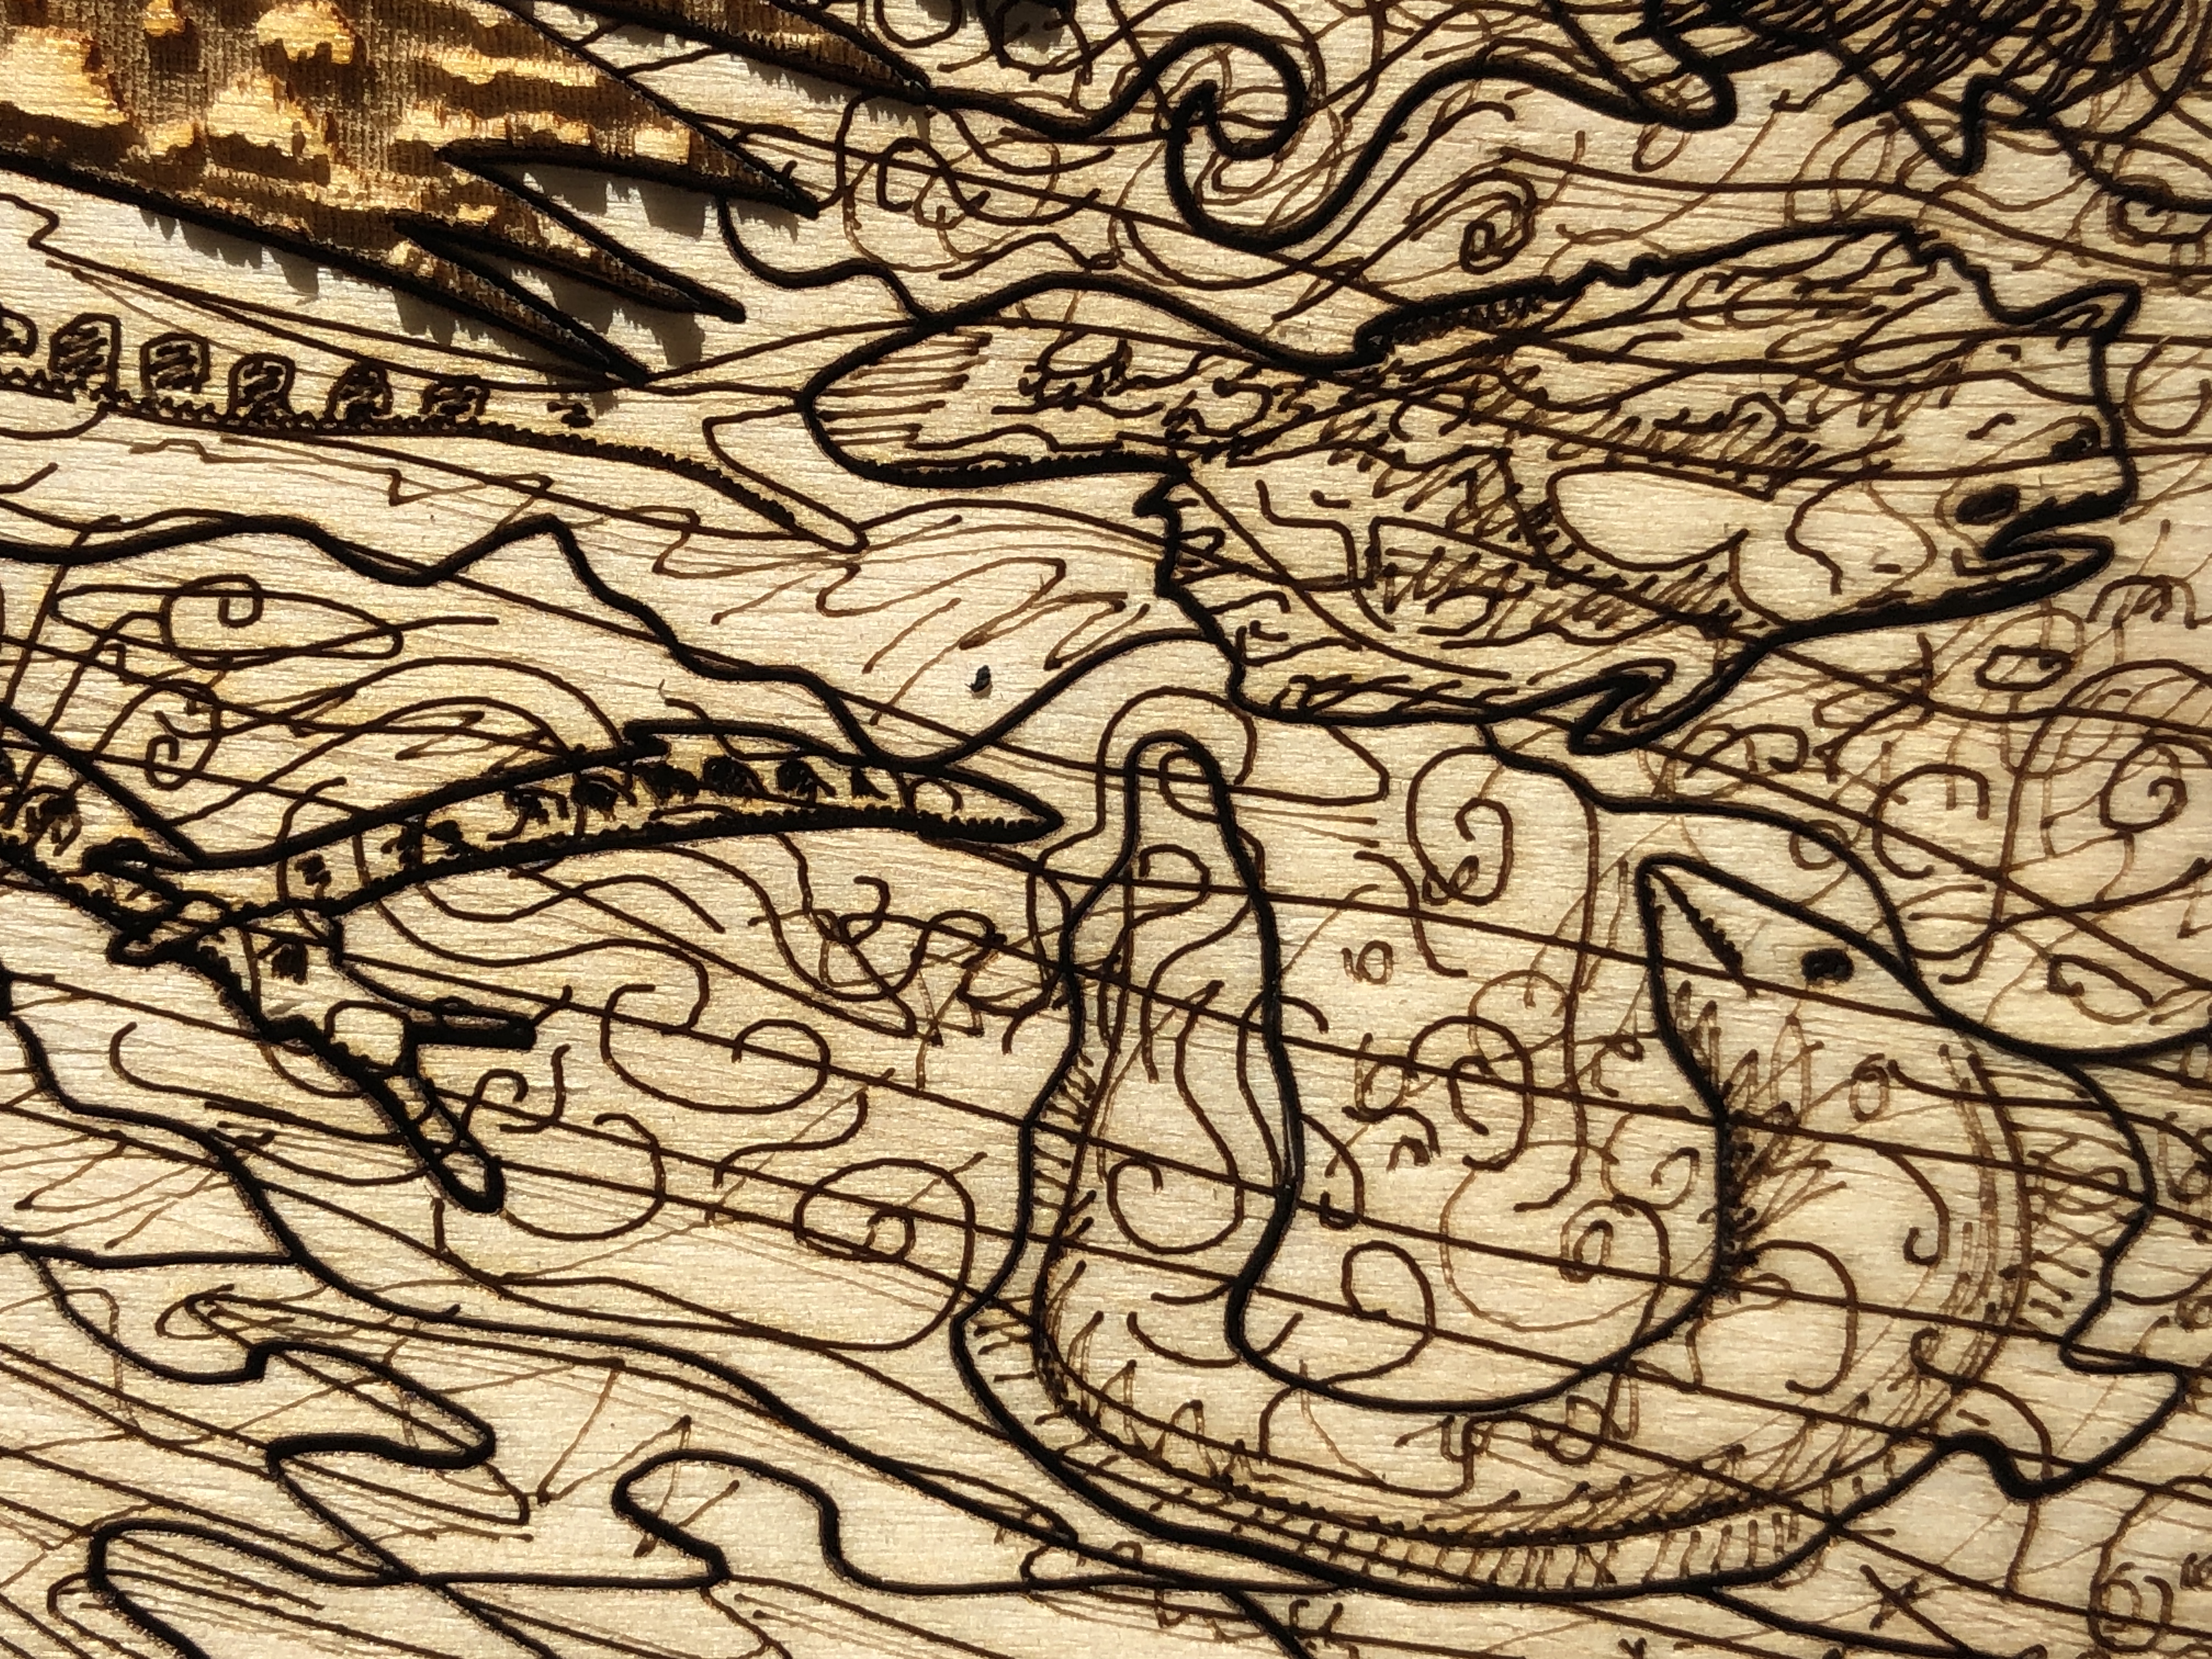
    Detail showing a mix of cut lines, scoring, light scoring, and different types of engraving.

    Also, I use the flattest, smoothest, least porous, best quality plywood I can (and do special preparations to achieve this โ€“ see below) โ€“ so I can achieve the subtle effects Iโ€™m looking for with the minimum of laser power (basically more power equals less precision).

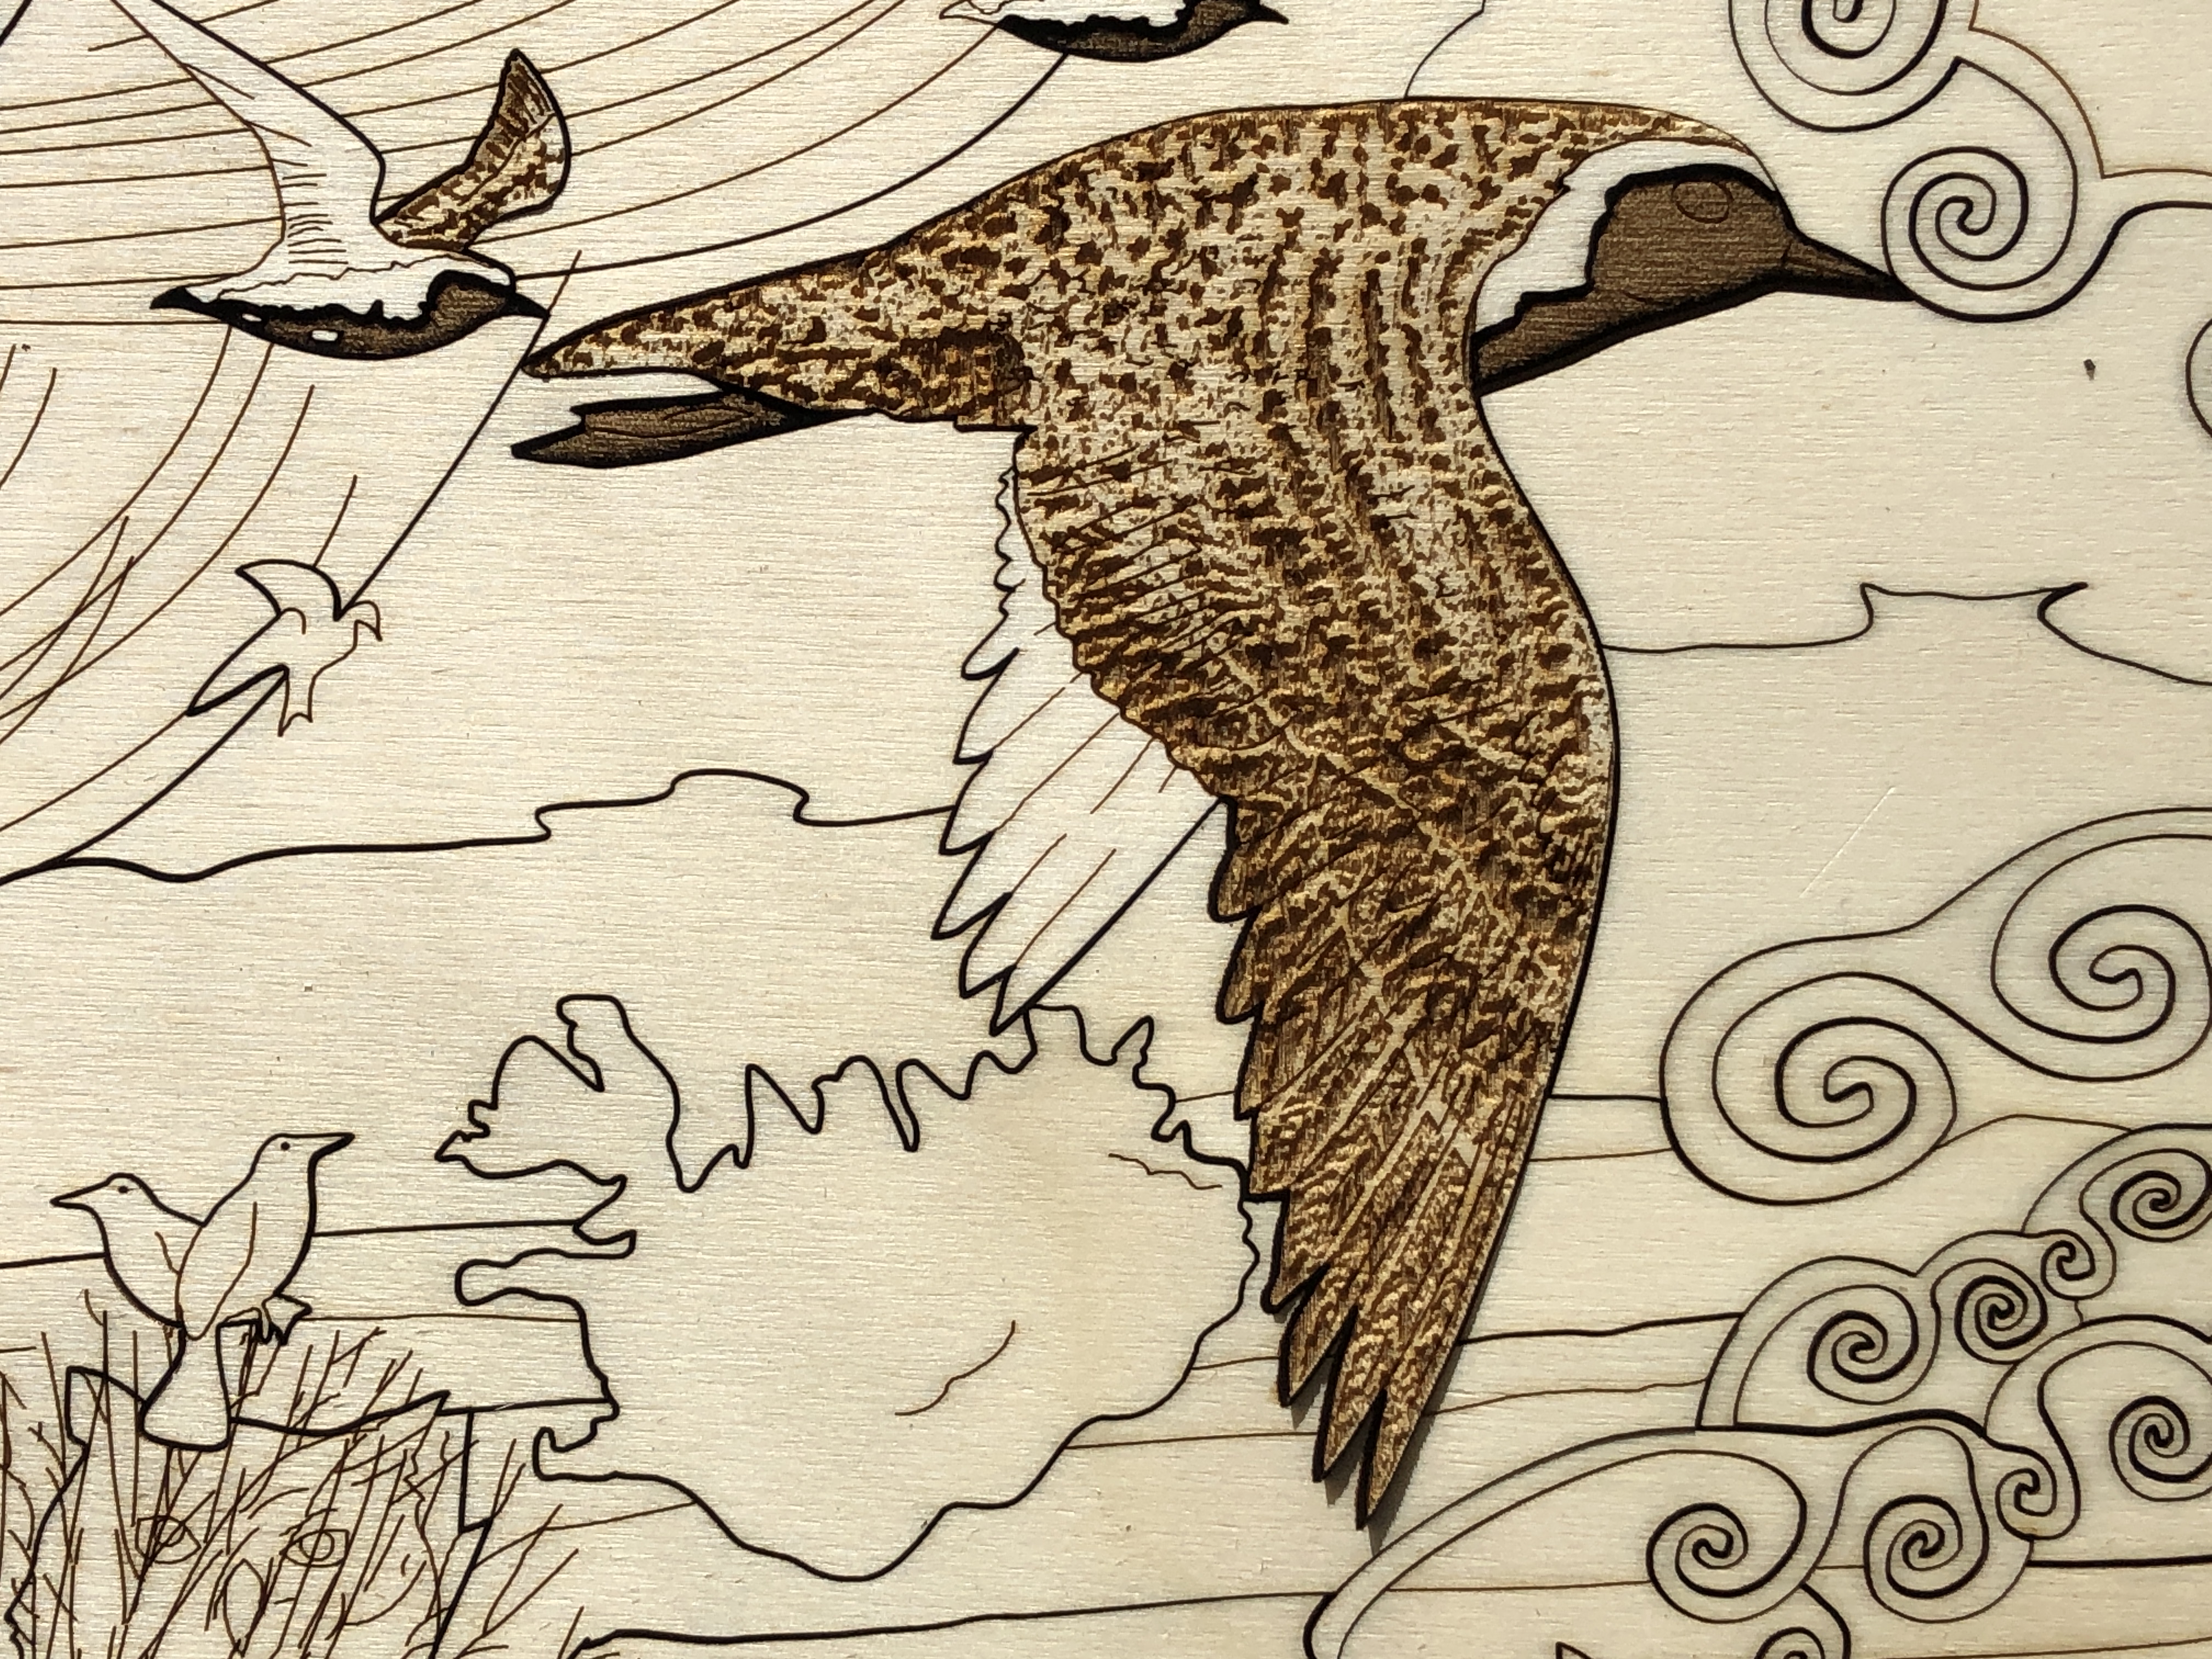
    In this artwork I particularly wanted to reproduce, using light-burning alone, what is for me the three important colours of the golden plover in its magnificent summer plumage: the white fringe to their mainly black bellies, and especially the golden tones of their back โ€“ from where they get their name. So what is white in terms of lasering wood? Itโ€™s the absence of any burning and scorch marks on very pale, smooth, wood. But the crux of the matter is avoiding getting any discolouration/contamination in these areas โ€“ especially as they are sandwiched between very dark areas. Itโ€™s very hard to control smoke and scorch marks with lasers. Itโ€™s like the challenge of white in watercolour painting โ€“ where the white areas are usually the colour of the paper itself, the absence of paint โ€“ and in detailed areas masking is often used to exclude surrounding colour seeping into where it is not wanted.

    These are the steps :-

    1. Spray water on the raw plywood panels to raise the grain, let them dry.
    2. Very fine (400 grit) orbit sand the dry plywood, wipe clean.


    3. The plywood panels are then varnished and left to dry for up to three days (depending on time of year โ€“ humidity and temperature). This is to minimise the effects of laser burning and makes it easier to clean specific areas afterwards (see step 8).


    4. The plywood panels are then flattened in a special press for several days.


    5. A single plywood sheet is put in a custom-made flat panel laser bed holder (I designed).
    6. The lasering itself takes a little over five hours on my 130W CO2 laser (for a single artwork). I do it in two steps because I find the results are better. Clean the “white” engraved areas (which I want as pale as possible) after engraving the “golden” areas – and before doing the black areas, scoring, and cuts.

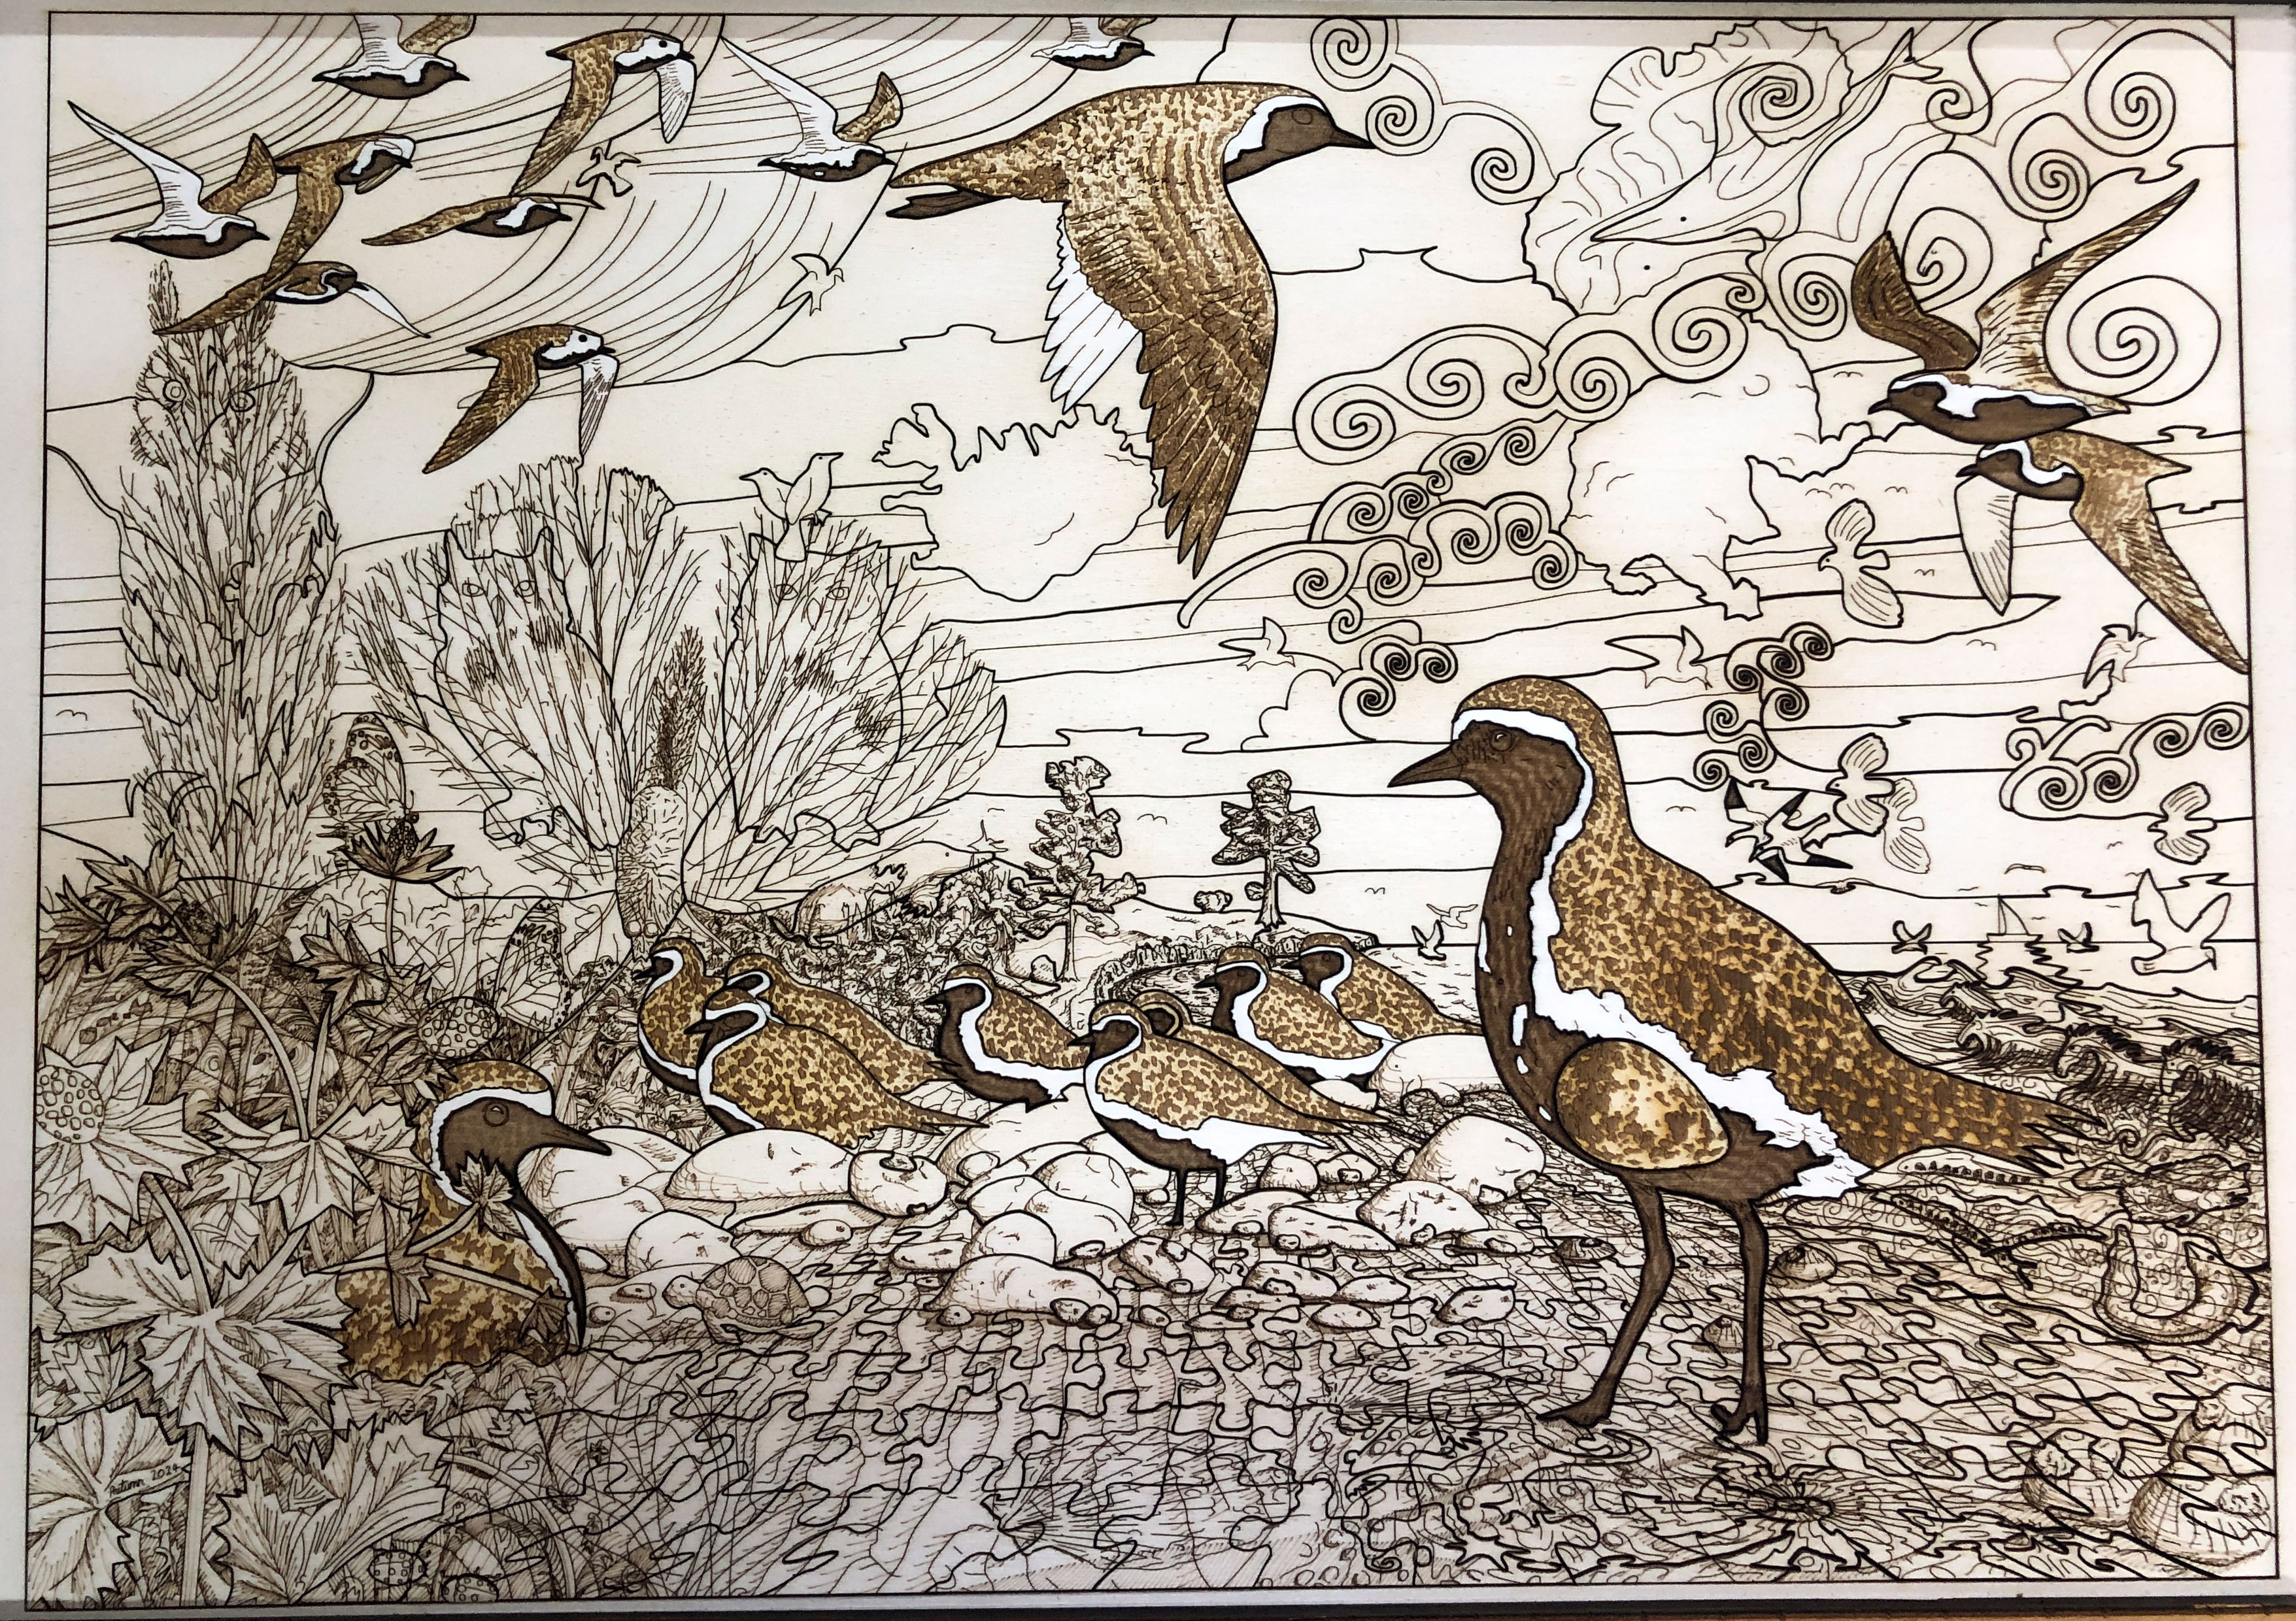
      Step 1 – the “golden” areas. The following two images show the “golden” engraved areas before and after cleaning :-


      Step 2 – the black engraving, scoring, and cuts.
    7. After lasering, I do a detailed quality check. Wood, being organic with glued layers, varies from sheet to sheet – and some lasered artwork doesnโ€™t make the grade โ€“ or needs fixing in some way.
    8. Then very carefully lighten the brightest/whitest, most important areas (that have been darkened by smoke) with cotton swabs and a mild acid โ€“ to make them stand out better. This seems very much like an art-restoration process โ€“ like removing the old varnish from an old masterpiece – to restore the original colours! (But I only do certain areas to make them stand out โ€“ not the whole thing.) This takes me about an hour and a half. The difference is subtle, but vital to me. It is the difference between a mechanically produced piece of art and a true piece of art Iโ€™m happy with.


      The following two images show before and after selected cleaning (notice how the white margins of the golden plovers stand out better after this second cleaning) :-


    9. The artwork then gets a final varnishing and left to dry for up to three days. This is especially important to protect the newly exposed wood surfaces.
    10. I use pyrography to number each piece in the limited edition.


    11. The special display mounts โ€“ with a selection of pieces cut of in order to highlight the work is in fact a puzzle โ€“ and not simply a drawing – are individually laser cut out of high quality mount board. This takes my precision laser about 40 minutes.


    12. Finally I frame the artwork to using museum materials and techniques. I use anti-reflective, 99% UV filtering, ultra clear museum-grade glass to provide maximum protection to the piece.

    I think the final work shows that lasers can be used to make real art โ€“ and are capable of very fine control โ€“ as much as lithographic printing, silk-screen printing, wood-block printing, lino-printing. Like any tool, the best results come with experience, knowledge, perseverance, patience, and finding ways around the natural limitations of the medium…

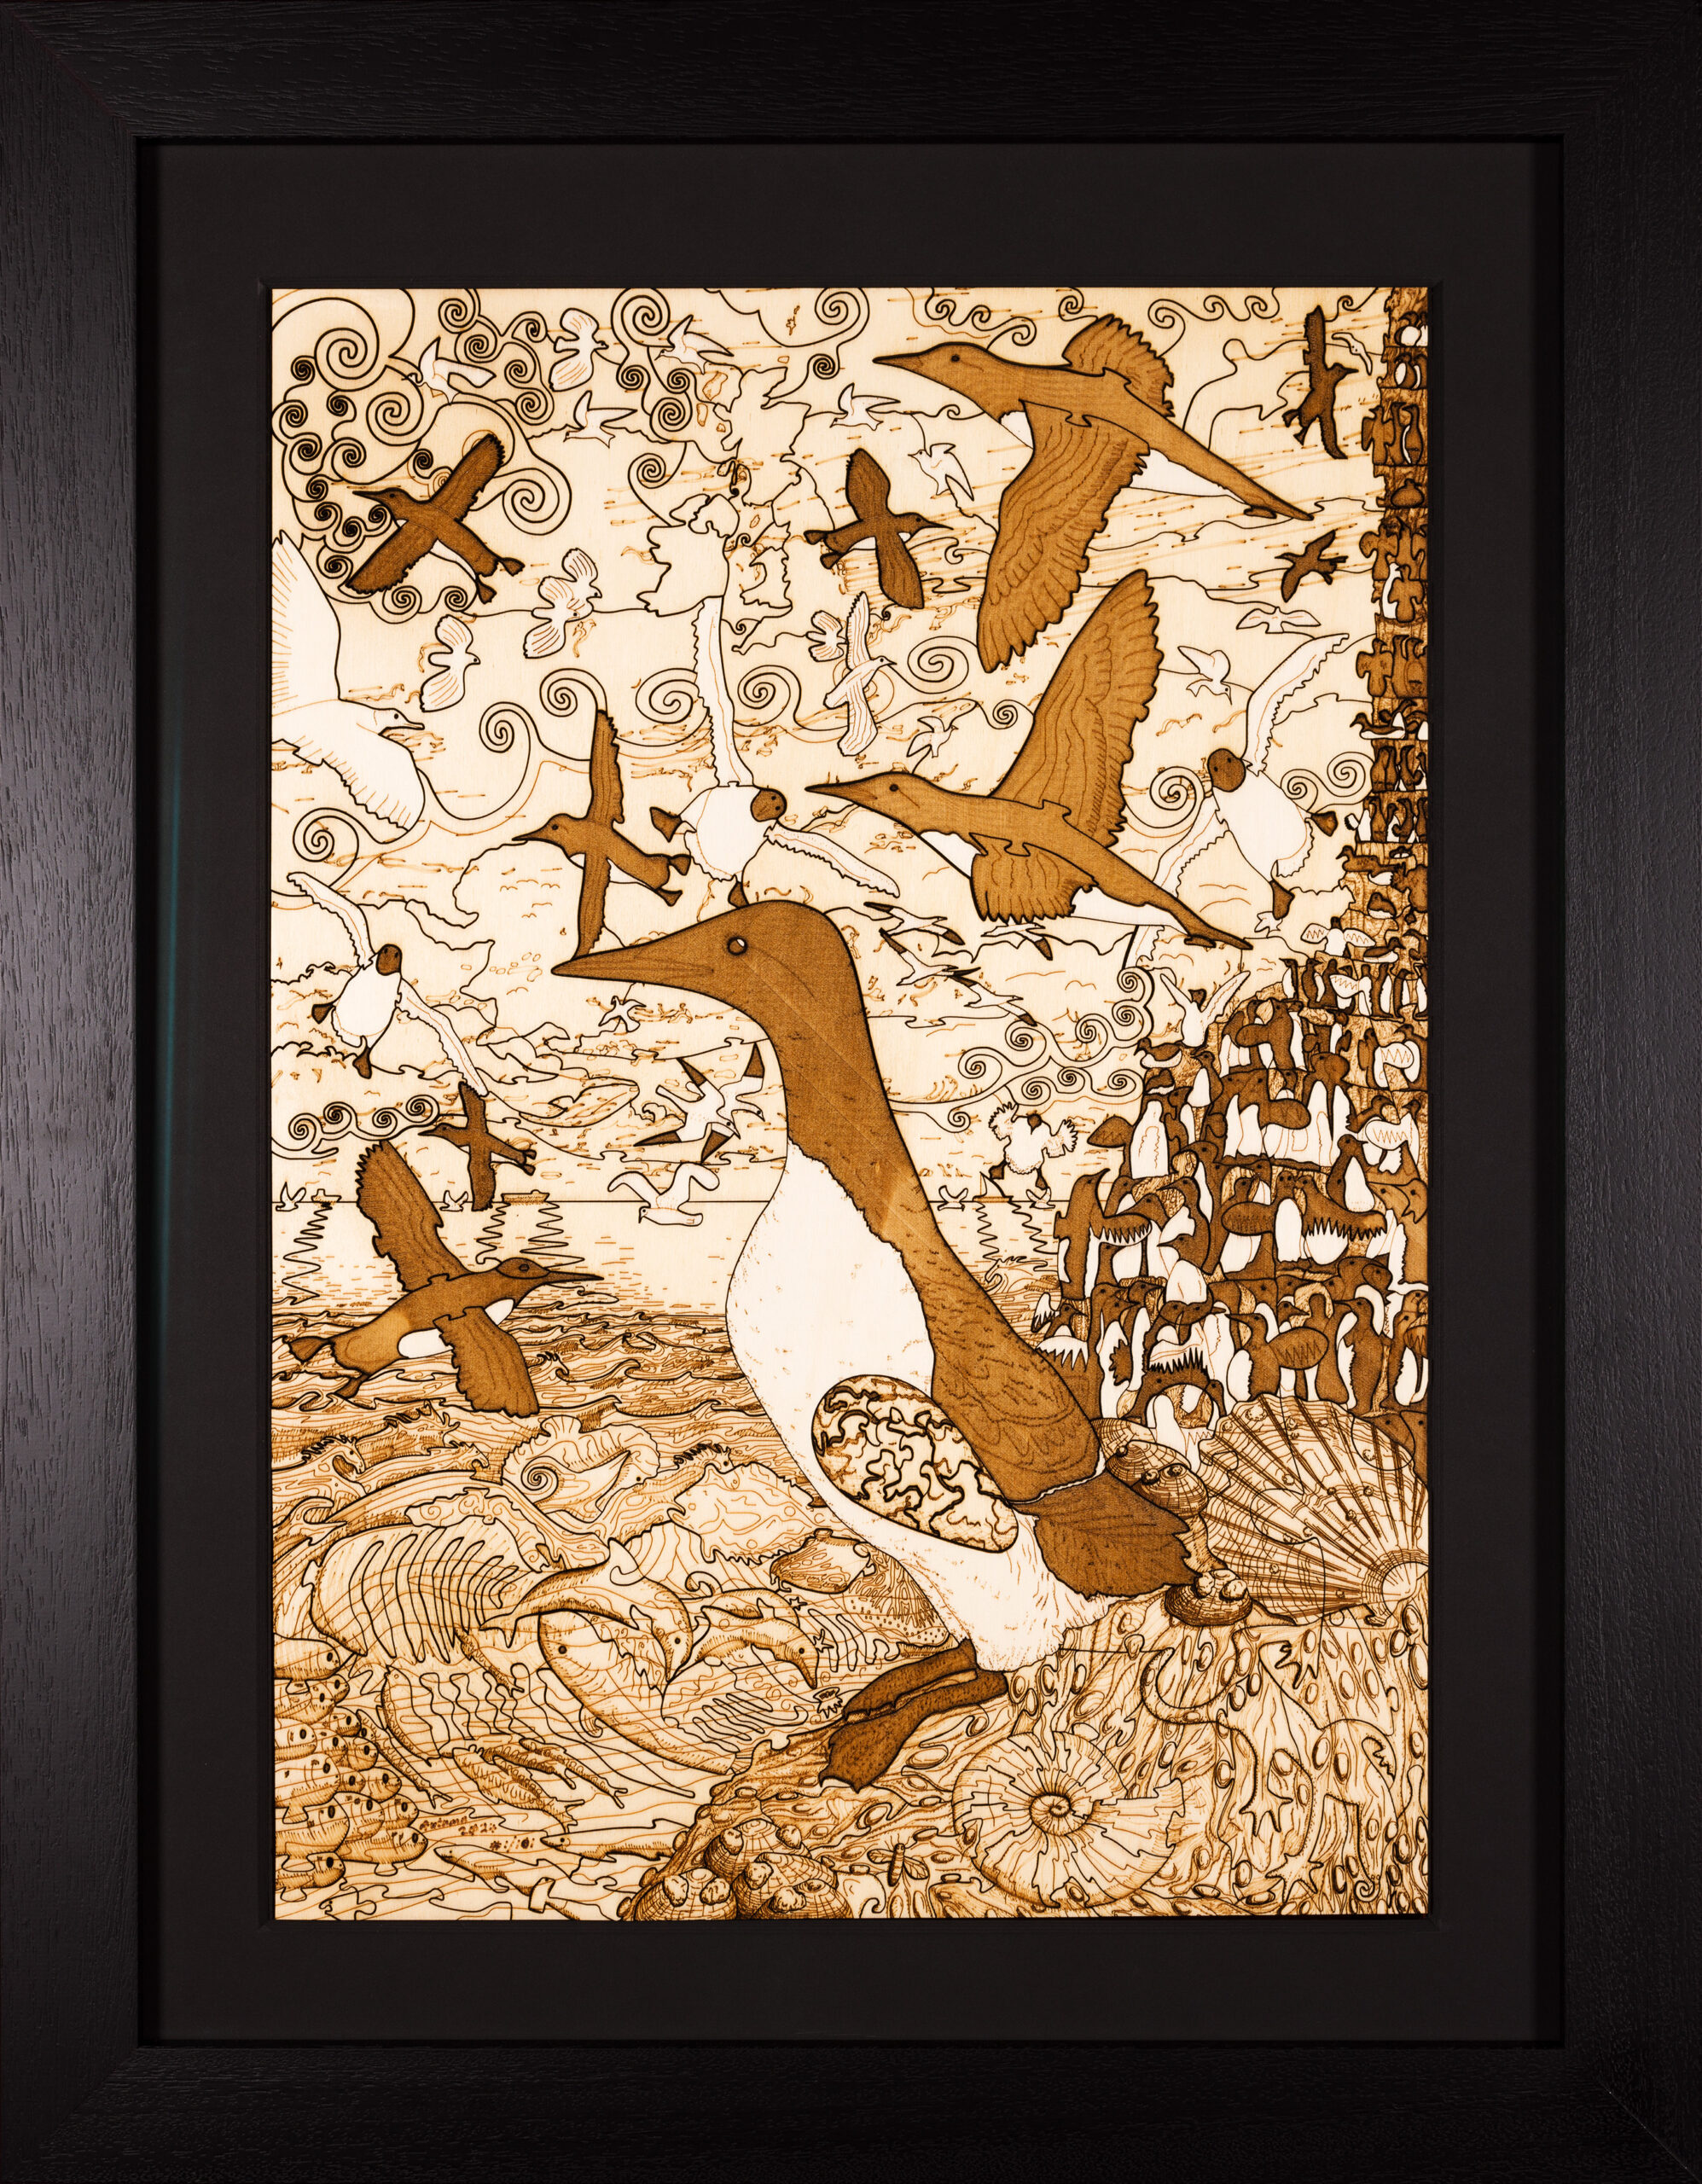
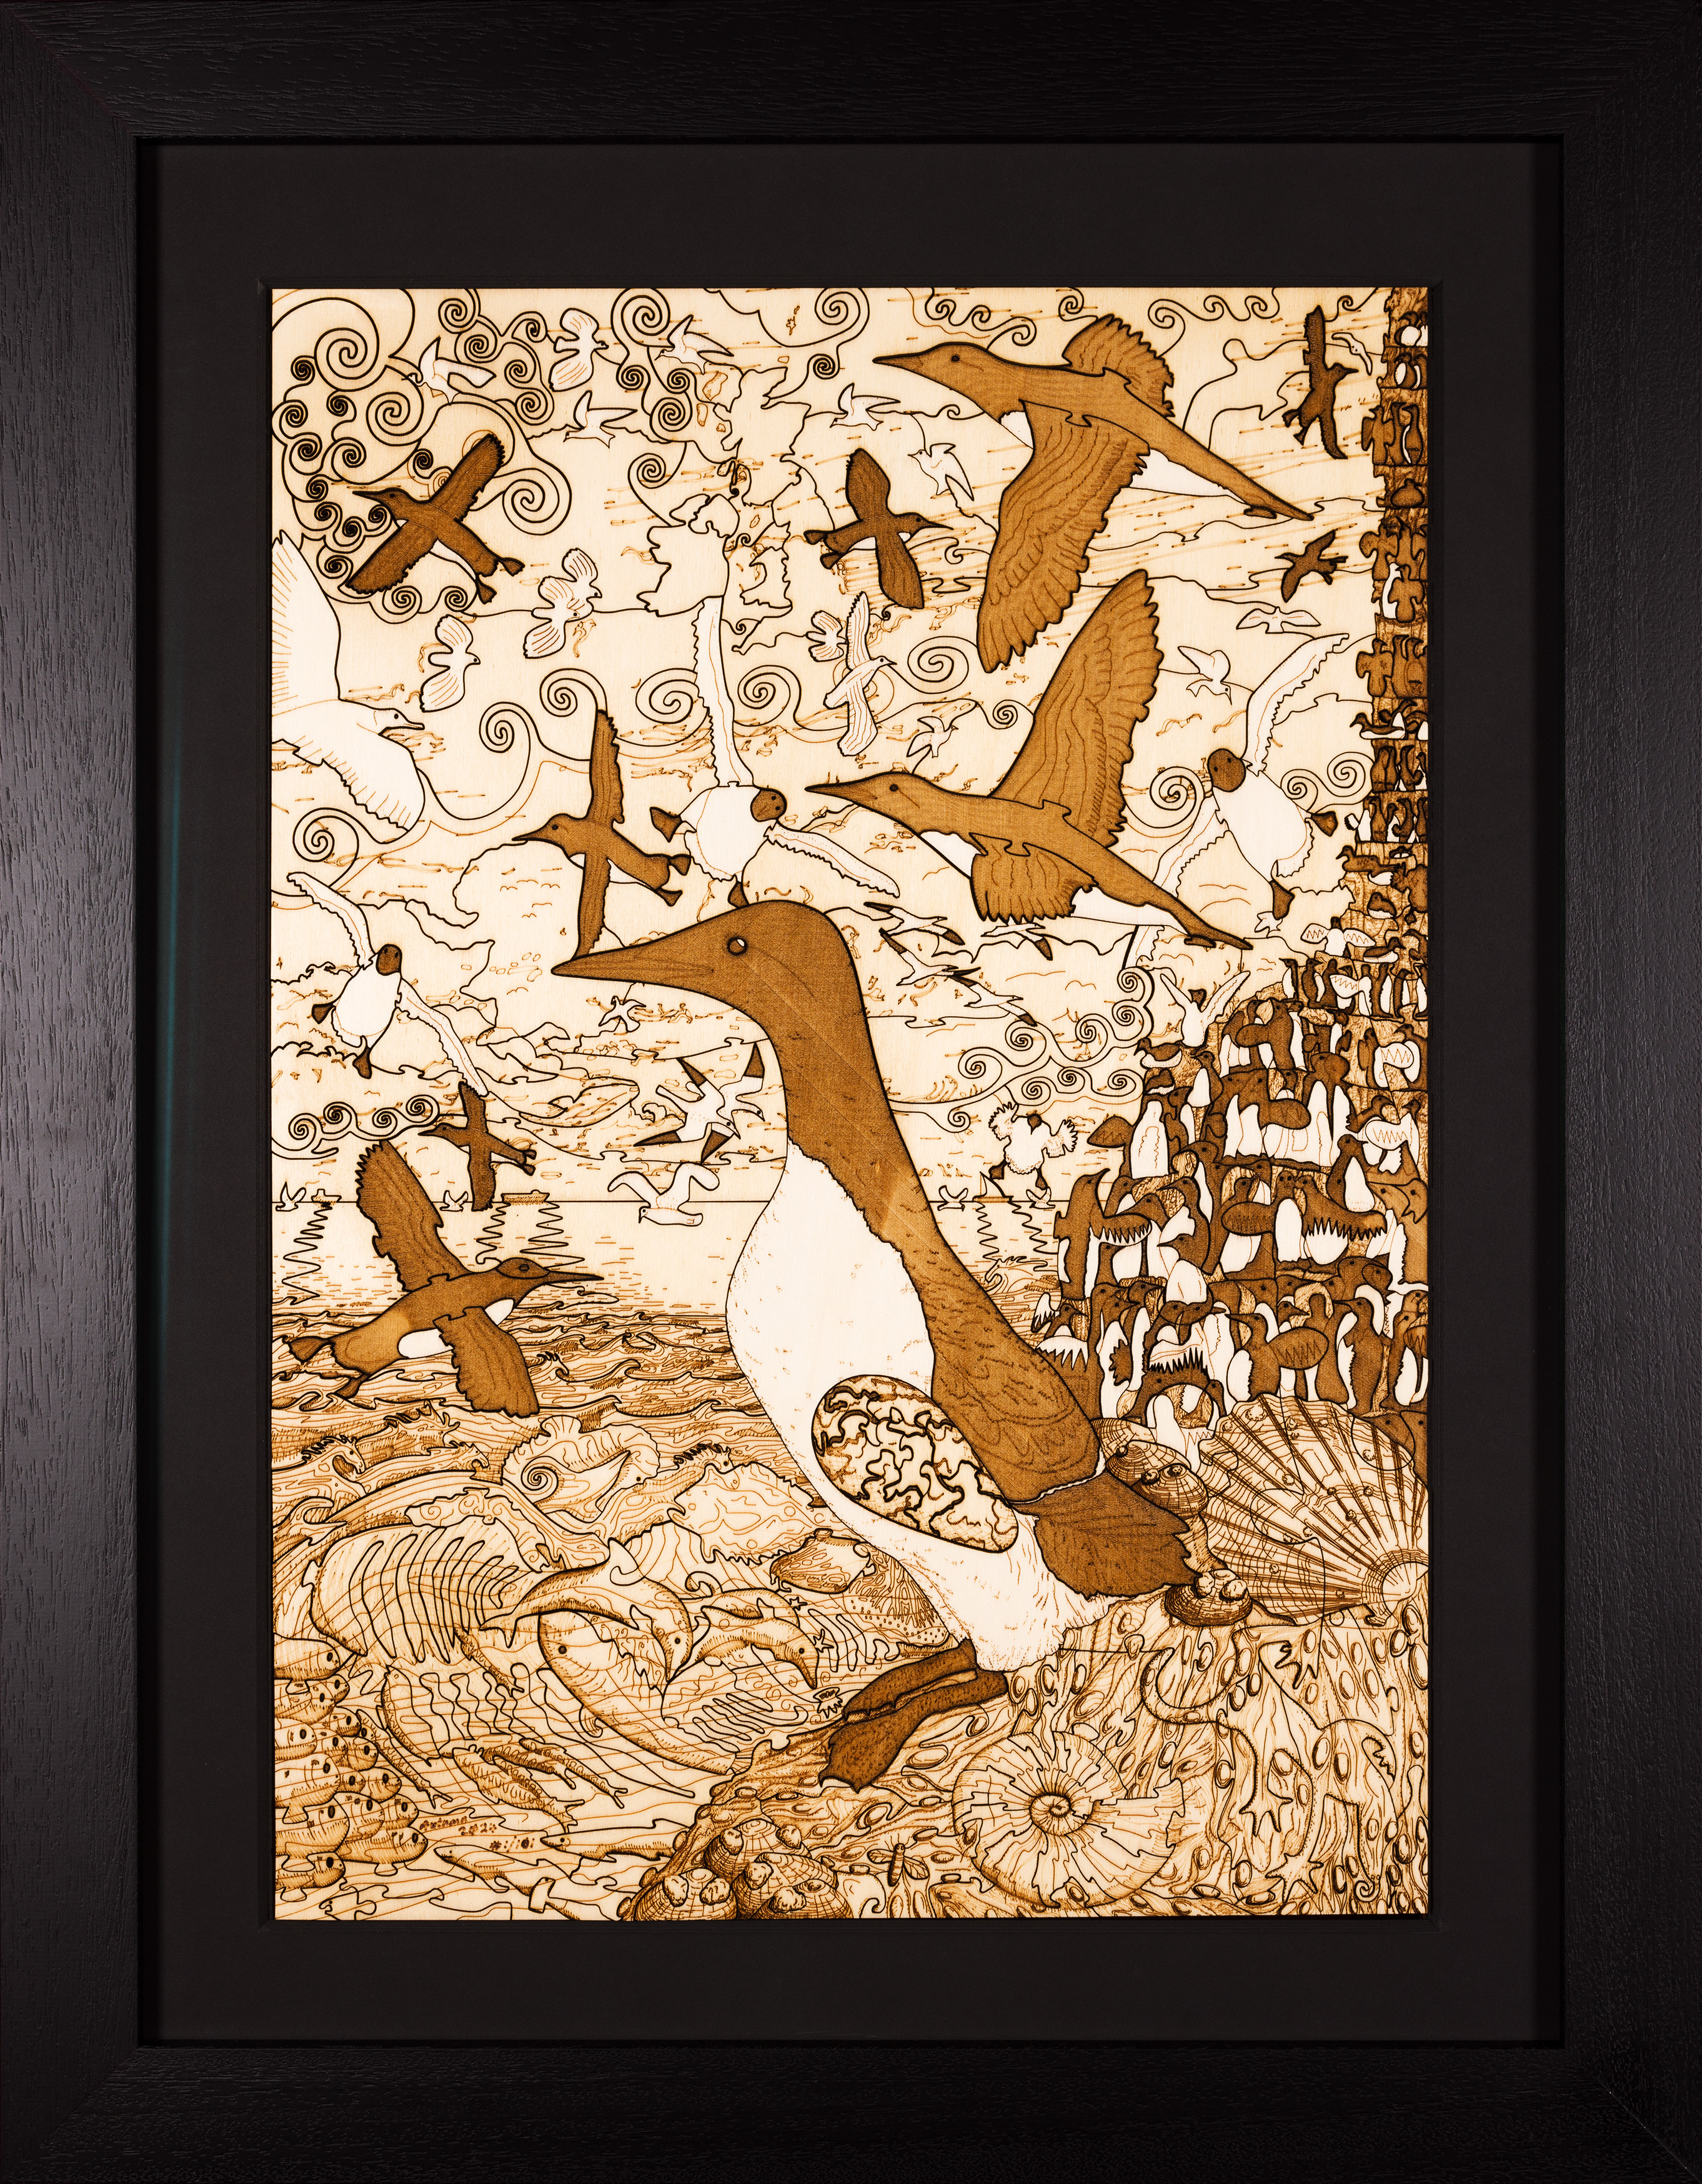
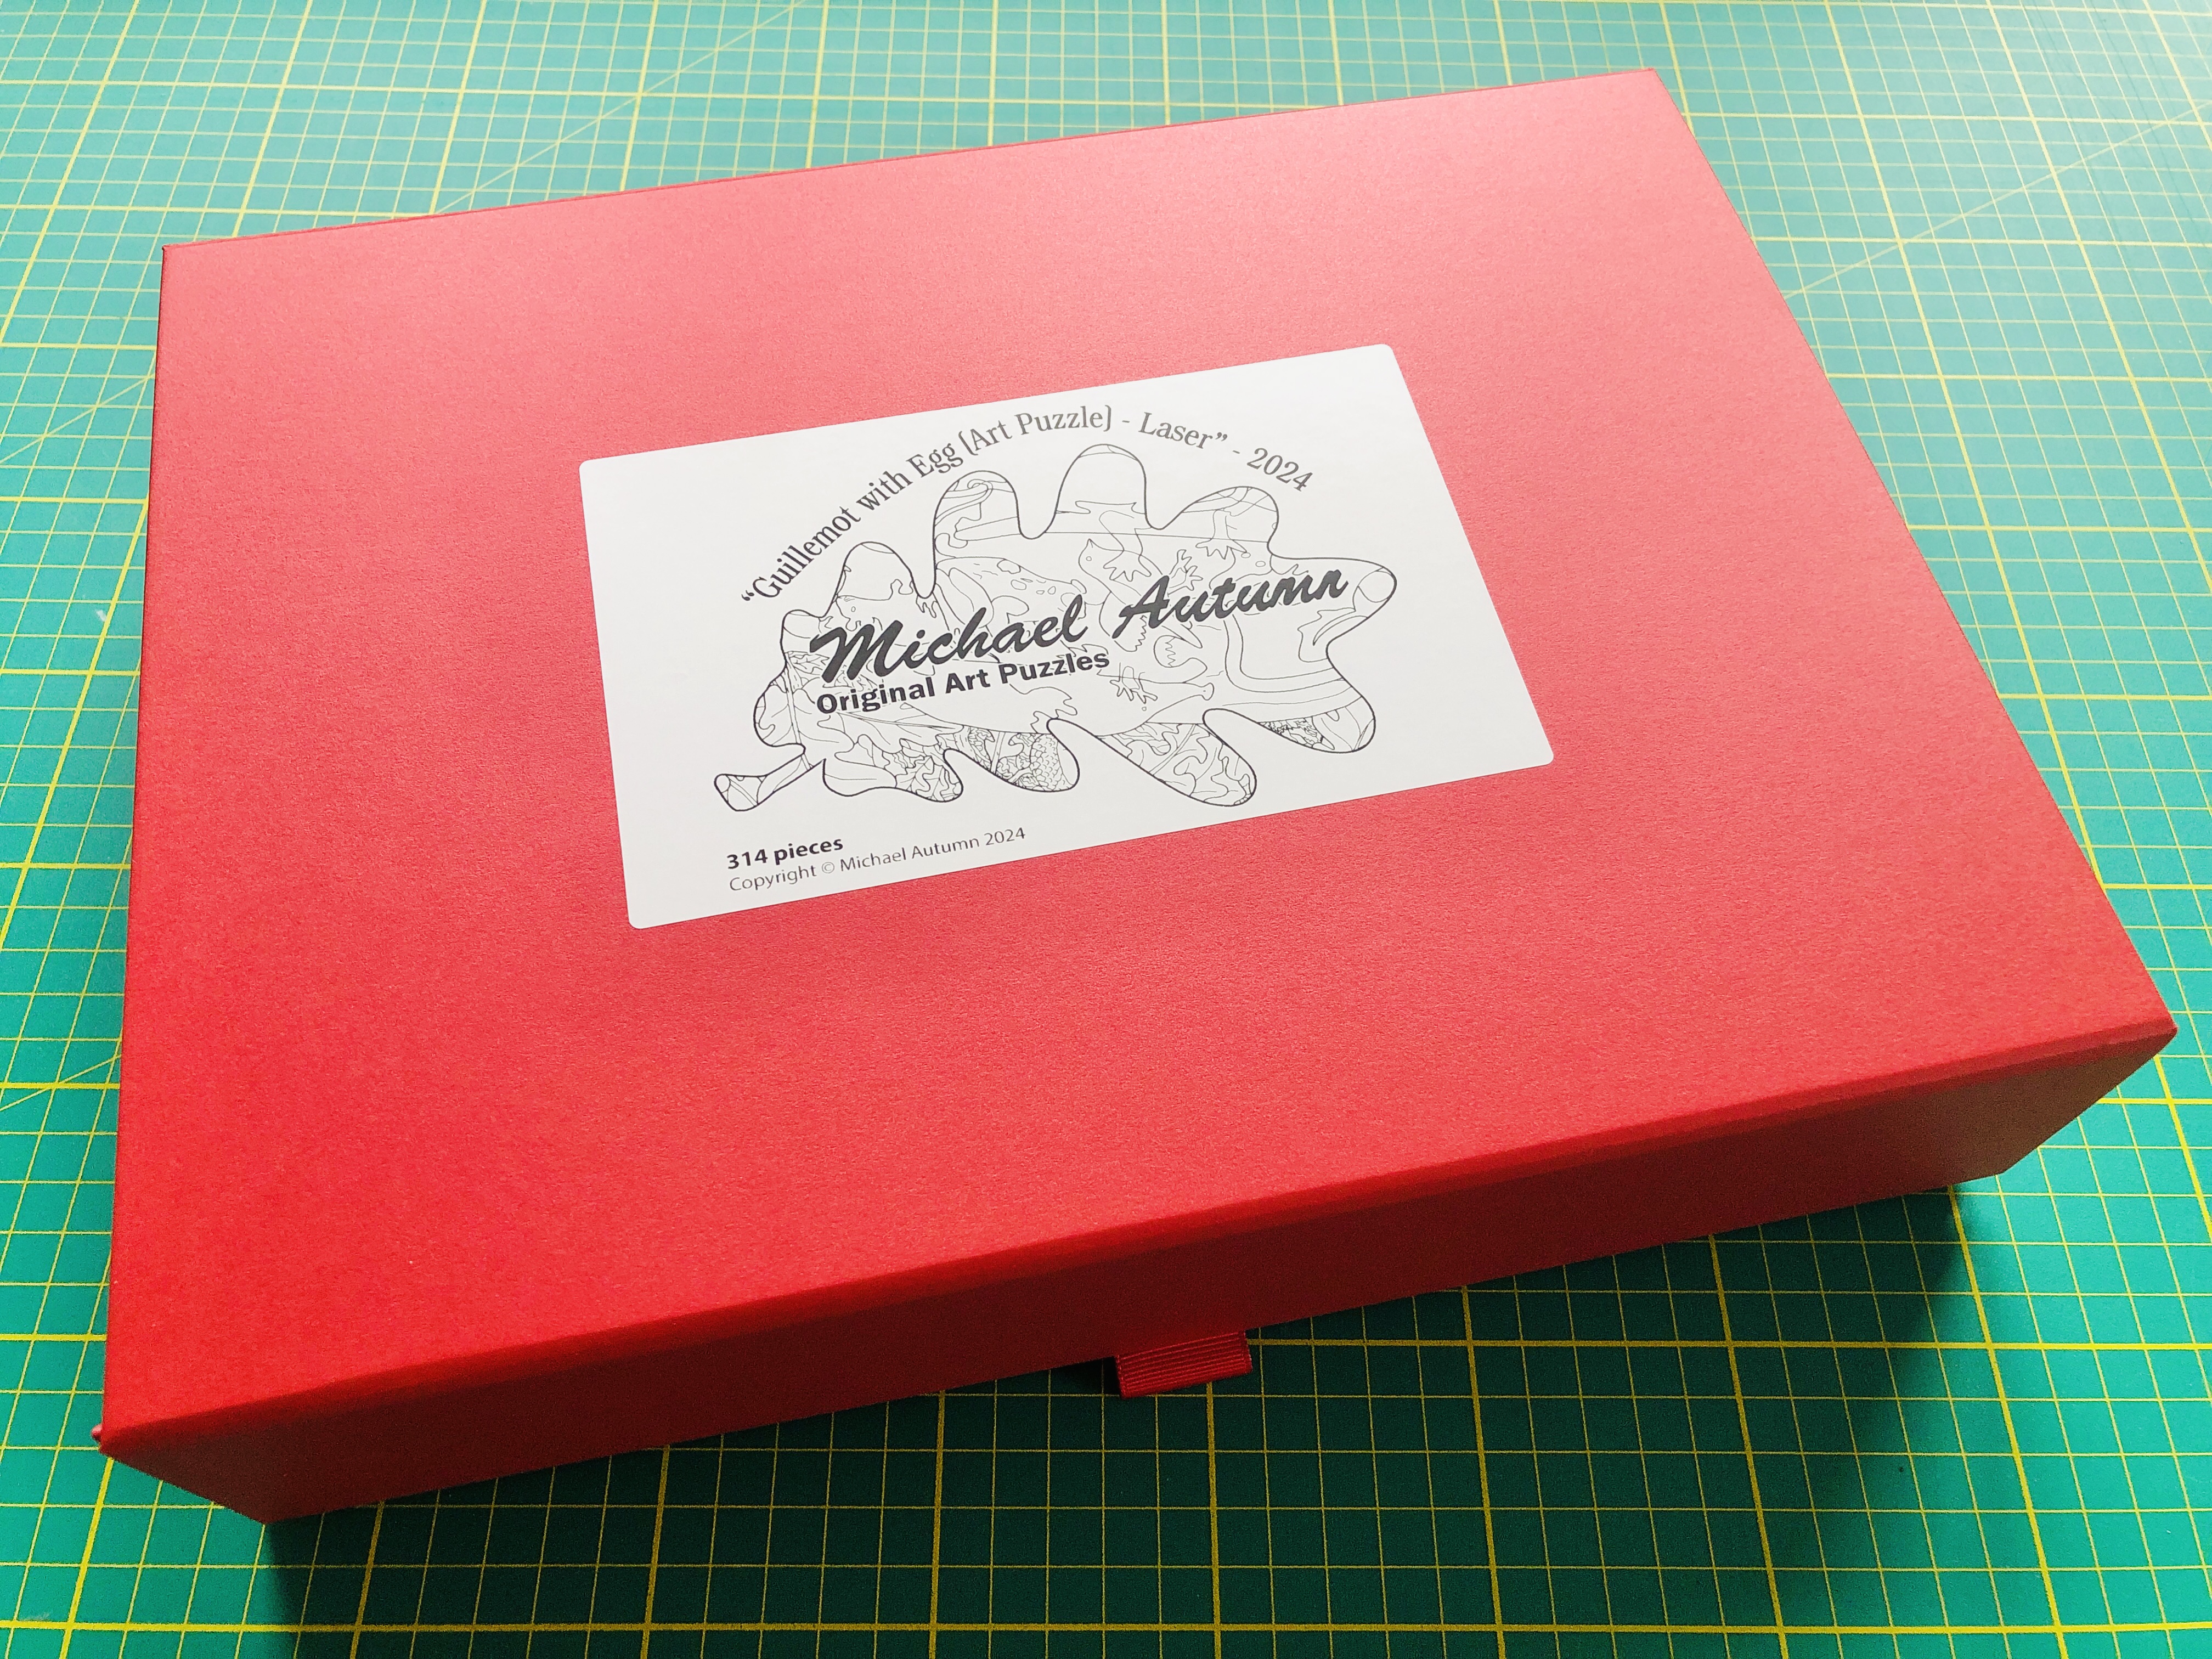
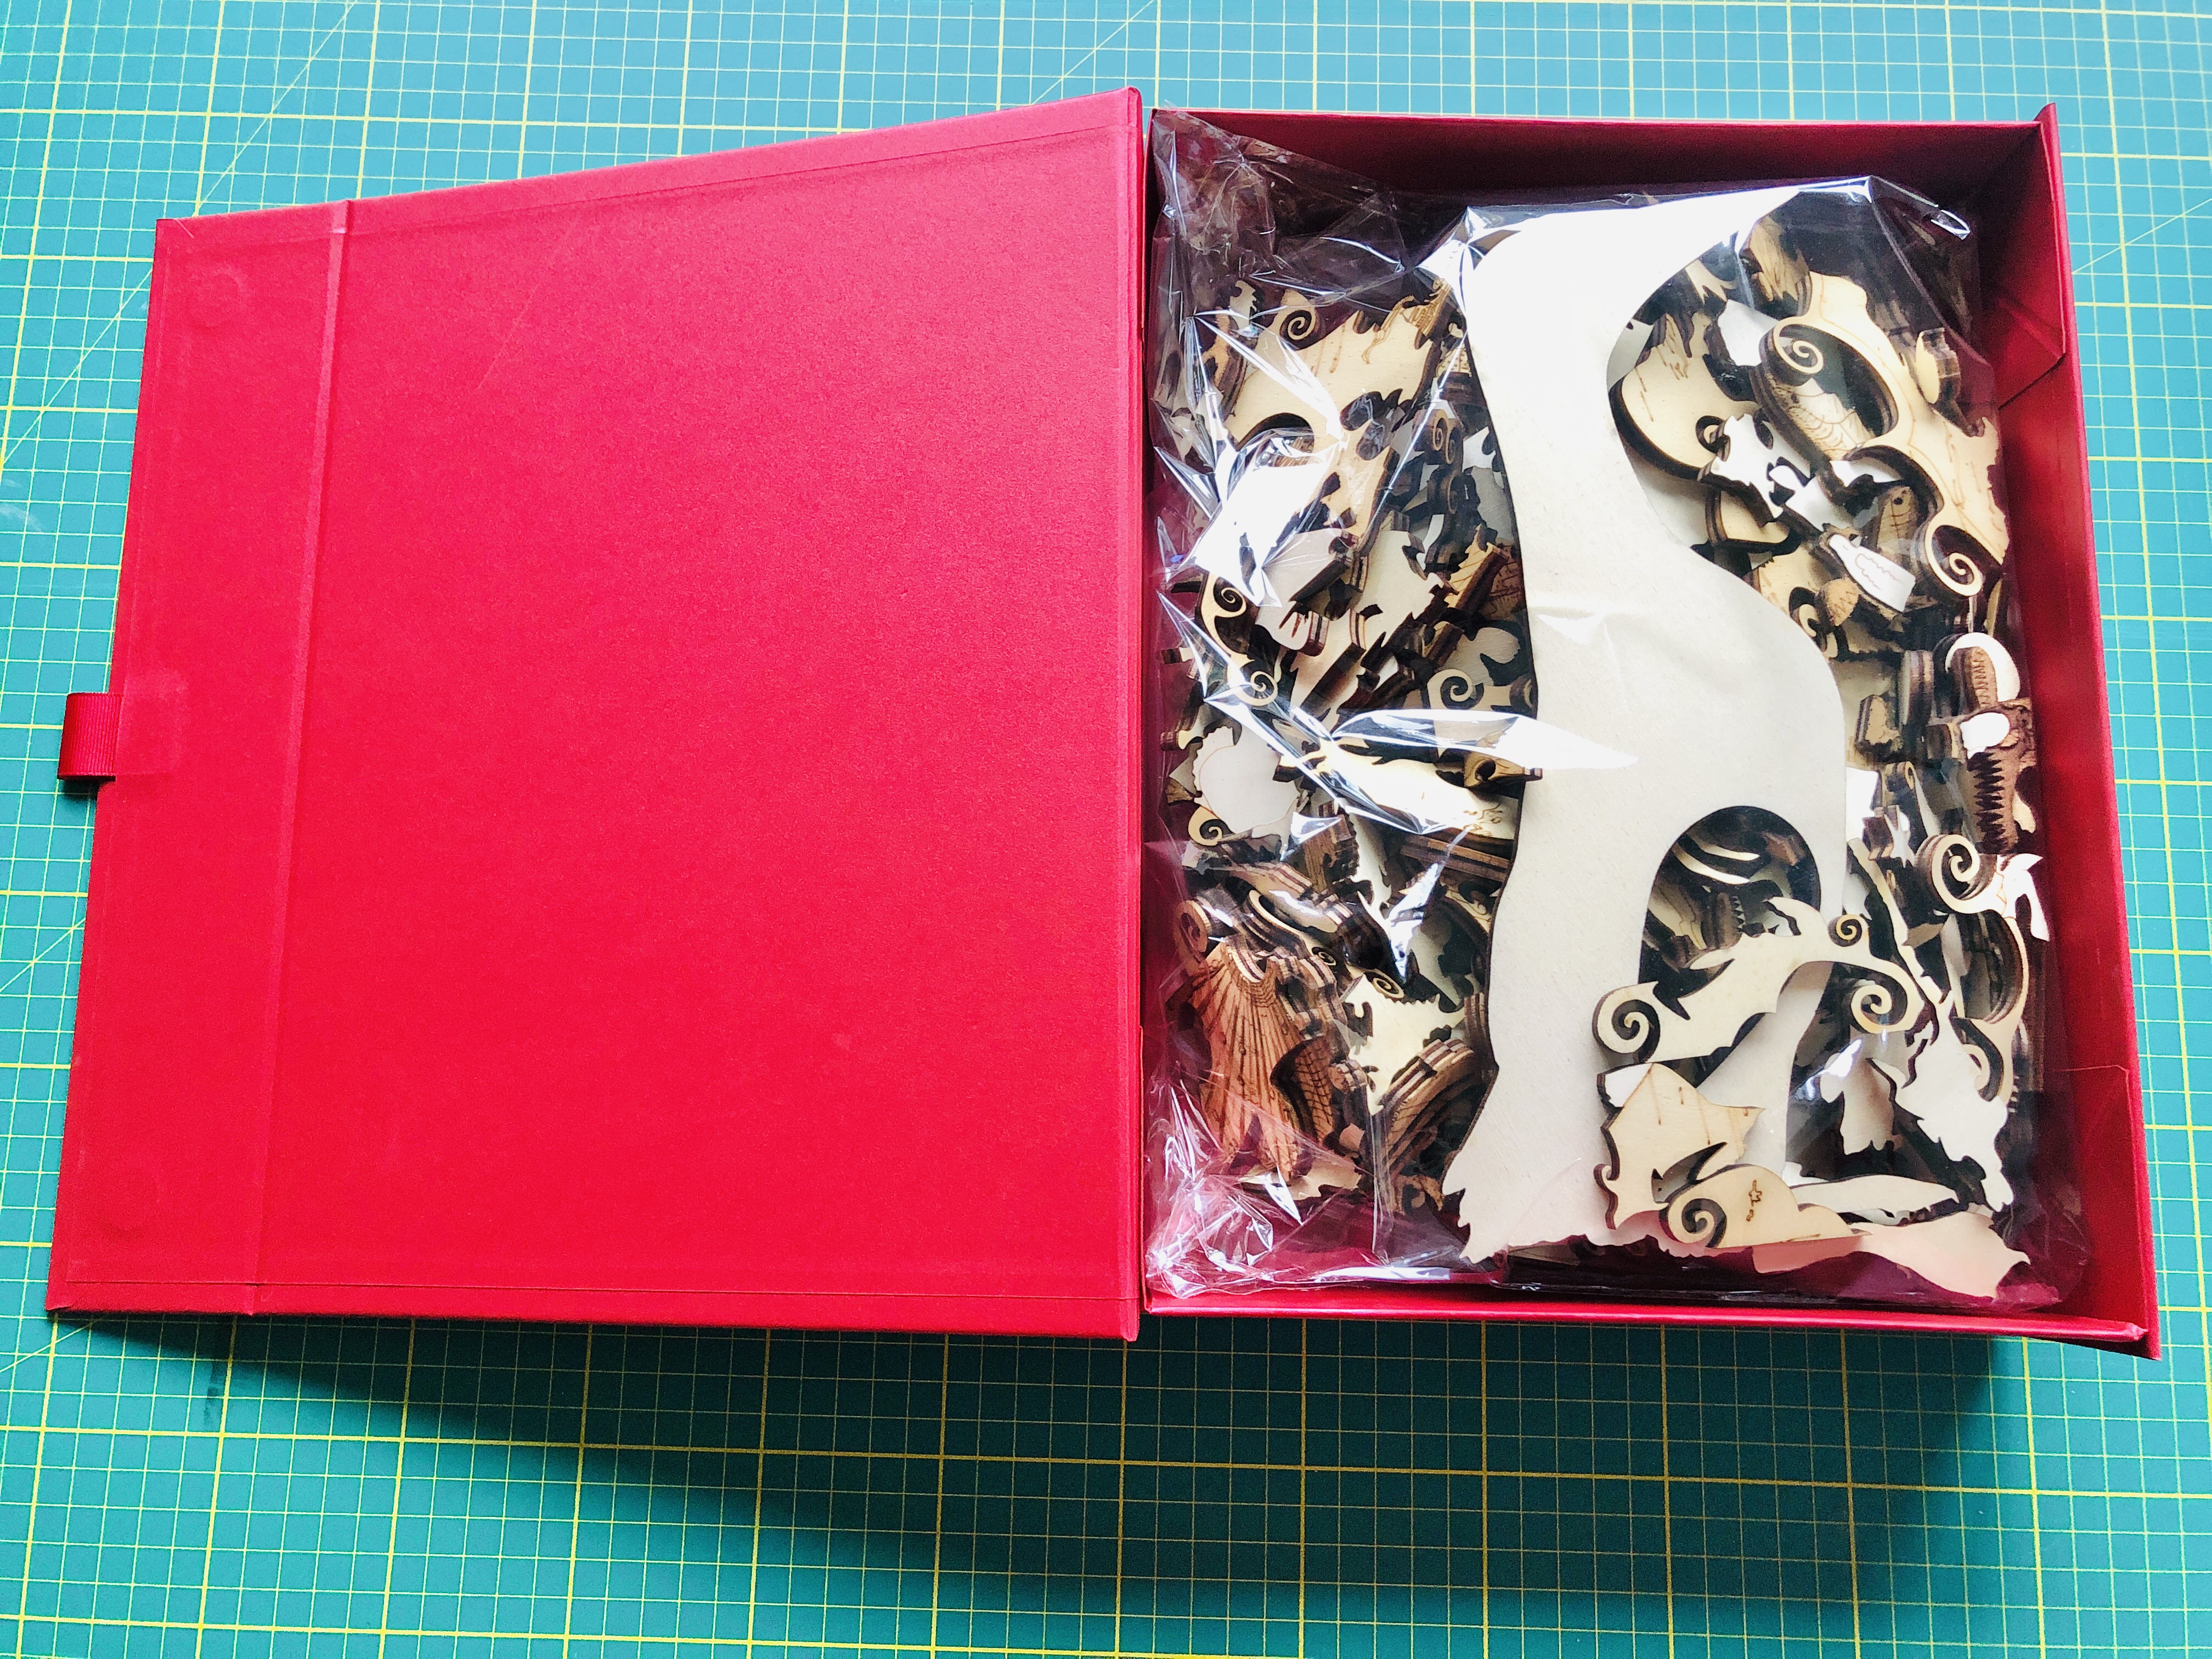
  • Guillemot with Egg (Art Puzzle) – Laser

    Guillemot with Egg (Art Puzzle) – Laser

    Title: โ€œGuillemot with Egg (Art Puzzle) – Laserโ€
    Artist: Michael Autumn
    Medium: Hand-drawing – laser cut & engraved plywood
    Giclรฉe archival laser cut & engraved on 6mm AB/AB Italian Panguaneta Poplar plywood (produced responsibly, sustainably, and to the highest of standards), child-safe, moisture-repelling, varnish
    Size: 39.0cm (W) x 55.1cm (H), framed 57cm (W) x 73cm (H) x 5cm (D)
    Edition: Limited Edition of 101 – individually signed and numbered, and museum-level (FATG Level 1) :-archival and bespoke framed; and Unlimited Edition, lasered signature, unframed.
    Limited editions come with highly respected, secure and verifiable Hahnemรผhle Certificates of Authenticity and are publicly trackable here – https://www.hahnemuehle.com/en/digital-fineart/my-art-registry/preview/14596.html
    Date: 02/2024
    Options: Available as a puzzle (314 unique pieces actually cut) OR left as a single engraved wooden panel.


    I was hoping to create a mass-producible wooden laser cut & engraved version of my โ€œGuillemot with Egg (Art Puzzle)โ€ (see https://michaelautumn.wordpress.com/2020/03/01/guillemot-with-egg-art-puzzle/)

    Guillemot with Egg (Art Puzzle)

    because hand-cutting the latter took far too long and caused serious RSI and/or rheumatoid arthritis in my hands/fingers. But in order to achieve the quality I wanted, it turns out (after much effort) that mass-production is simply not possible. It has been a long journey to get to a standard Iโ€™m happy with. Along the road I have researched a great deal about materials, wood, lasers (obviously! โ€“ but this is a big topicโ€ฆ), and lasering techniques. I have developed some of my own techniques and built some special tools because there were clear limitations in the best techniques, tools, and materials available. Suffice to say, I havenโ€™t come across any individual or company who can produce my designs to the quality I do. But it comes at a significant cost. I can only produce one per day โ€“ so in any definition of the phrase mass production, this definitely is not!

    Putting aside the weeks it took me to complete the design (in addition to the weeks it took me to design the original, I spent about another four weeks enhancing it to take advantage of laser capabilities) โ€“ and may trials, adjustments, custom tooling, and more trialsโ€ฆ

    The design uses multiple lasering and layering techniques โ€“ cut-throughs, scoring, light scoring, engraving, deep engraving โ€“ which all have to be done in a specific sequence. For example, in places in the design, I have score marks on top of some deep engraved areas โ€“ so obviously the deep engraving has to be done before the scoring.


    Detail showing a mix of cut lines, scoring, light scoring, and different types of engraving.

    Also, I use the flattest, smoothest, least porous, best quality plywood I can (and do special preparations to achieve this โ€“ see below) โ€“ so I can achieve the subtle effects Iโ€™m looking for with the minimum of laser power (basically more power equals less precision).

    These are the steps :-

    1. Spray water on the raw plywood panels to raise the grain, let them dry.
    2. Very fine (400 grit) orbit sand the dry plywood, wipe clean.


    3. The plywood panels are then varnished and left to dry for up to three days (depending on time of year โ€“ humidity and temperature). This is to minimise the effects of laser burning and makes it easier to clean specific areas afterwards (see step 8).


    4. The plywood panels are then flattened in a special press for several days.


    5. A single plywood sheet is put in a custom-made flat panel laser bed holder (I designed).
    6. The lasering itself takes a little over seven hours on my 130W CO2 laser (for a single artwork).
    7. After lasering, I do a detailed quality check. Wood, being organic with glued layers, varies from sheet to sheet – and some lasered artwork doesnโ€™t make the grade โ€“ or needs fixing in some way.
    8. Then very carefully lighten the brightest/whitest, most important areas (that have been darkened by smoke) with cotton swabs and a mild acid โ€“ to make them stand out better. This seems very much like an art-restoration process โ€“ like removing the old varnish from an old masterpiece – to restore the original colours! (But I only do certain areas to make them stand out โ€“ not the whole thing.) This takes me about an hour and a half. The difference is subtle, but vital to me. It is the difference between a mechanically produced piece of art and a true piece of art Iโ€™m happy with.


      The following two images show before and after the white masking has been removed (notice how the white bellies of the guillemots stand out better after cleaning, and the eye of the main bird) :-


      The following image shows detail of a part-de-masked area (compare the guillemot bellies on the bottom and middle to those on the top row) :-


    9. The artwork then gets a final varnishing and left to dry for up to three days. This is especially important to protect the newly exposed wood surfaces.
    10. I use pyrography to number each piece in the limited edition.


    11. The special display mounts โ€“ with a selection of pieces cut of in order to highlight the work is in fact a puzzle โ€“ and not simply a drawing – are individually laser cut out of high quality mount board. This takes my precision laser about 40 minutes.


    12. Finally I frame the artwork to using museum materials and techniques. I use anti-reflective, 99% UV filtering, ultra clear museum-grade glass to provide maximum protection to the piece.

    I think the final work shows that lasers can be used to make real art โ€“ and are capable of very fine control โ€“ as much as lithographic printing, silk-screen printing, wood-block printing, lino-printing. Like any tool, the best results come with experience, knowledge, perseverance, patience, and finding ways around the natural limitations of the medium…

    Just to give you an artist’s insight into this piece, a video of me talking about a very similar artwork to this (“Golden Plover with Egg (Art Puzzle) – Laser”) and the making of it can be seen on YouTube :-

    – with the main difference being this one takes twice as long to laser, and three times as long to remove the masking tape.

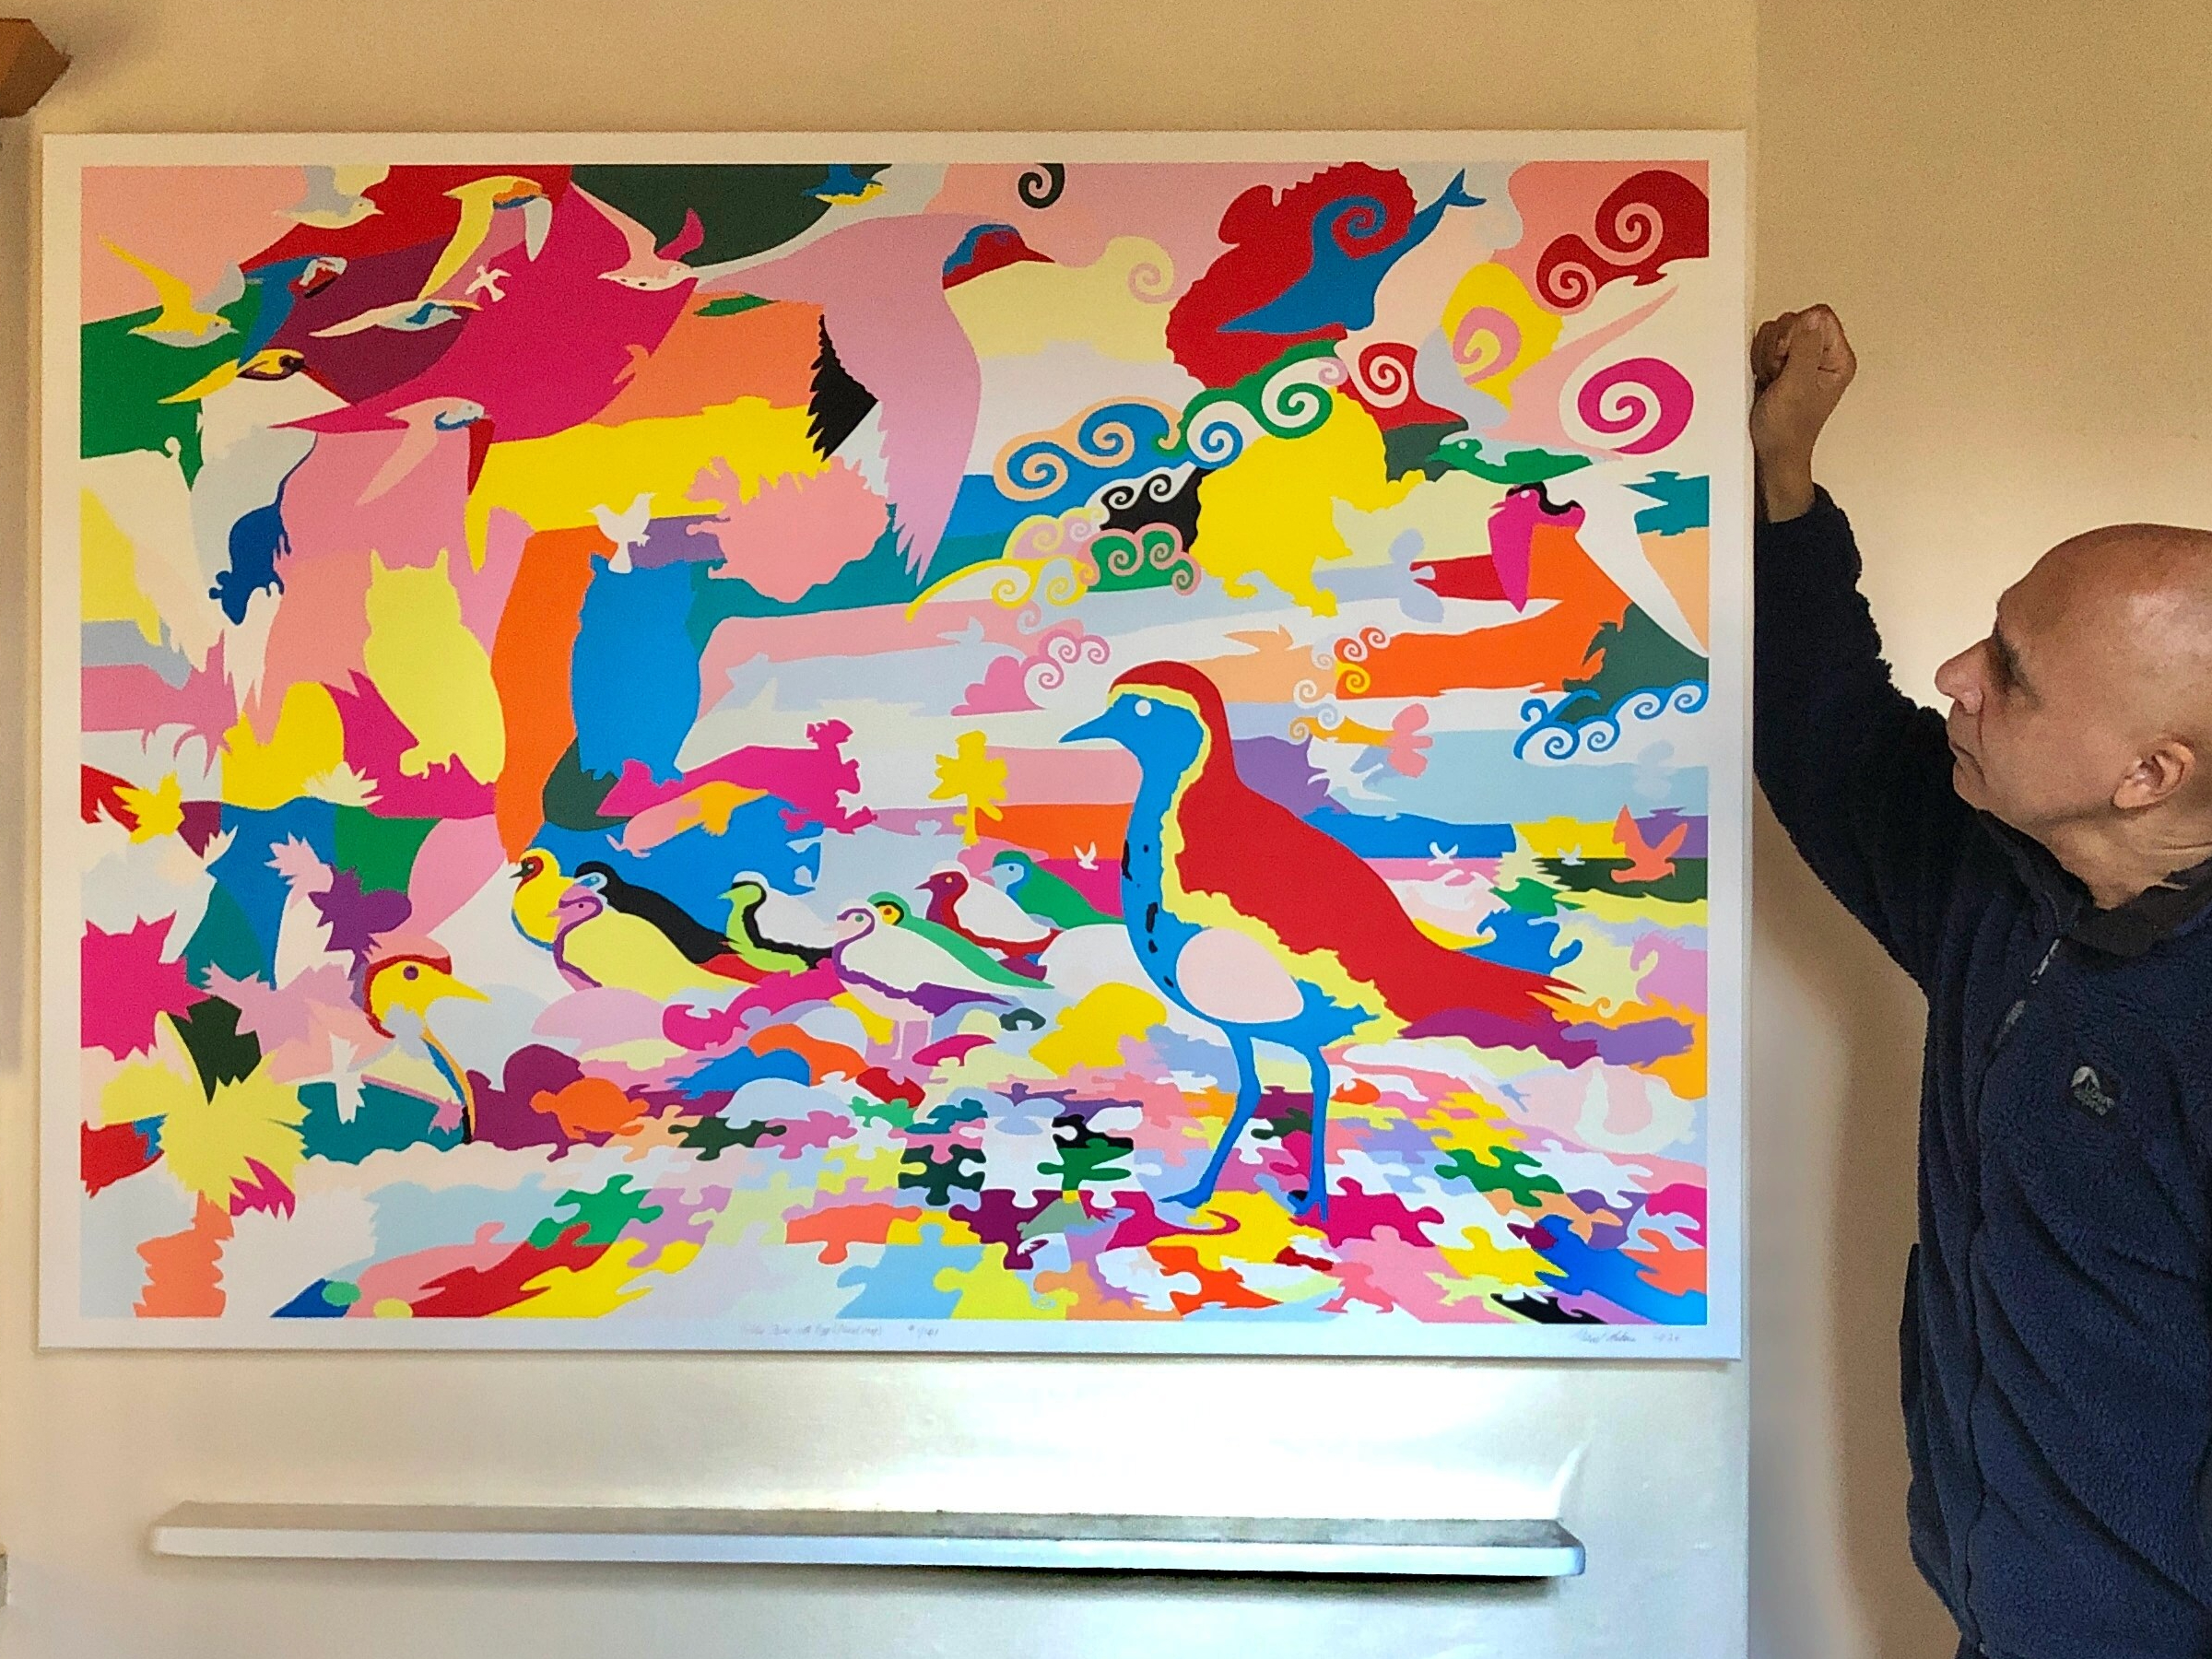
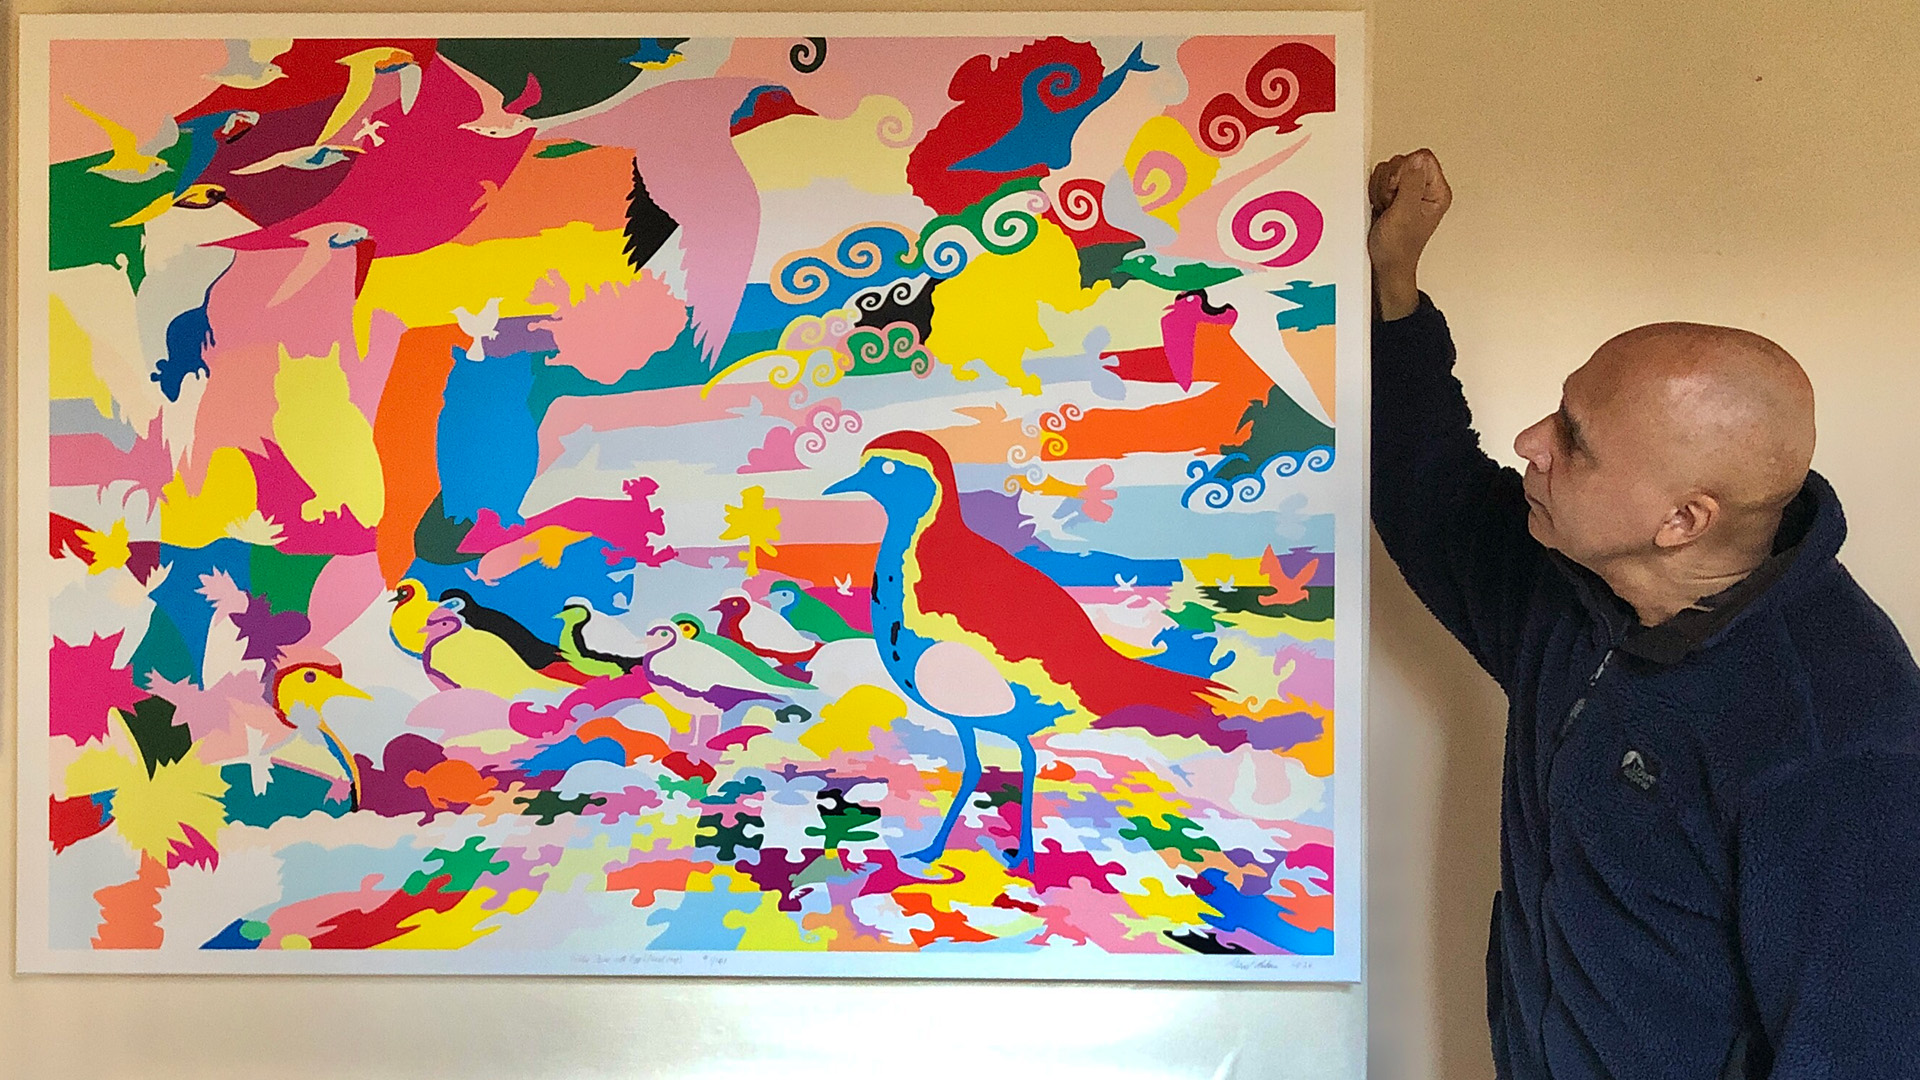
  • Golden Plover with Egg (floral map)

    Golden Plover with Egg (floral map)

    (Very low resolution for copyright reasons)

    Title: โ€œGolden Plover with Egg (floral map)โ€
    Artist: Michael Autumn
    Medium: Hand-drawing with digital gouache
    Giclรฉe archival print on fine 100% cotton canvas (matt)
    Hahnemรผhle Art Canvas Smooth 370gsm + Hahnemรผhle UV protection matt varnish
    Size: 51″ (W) x 36″ (H), stretched canvas 38″ (W) x 53″ (H)
    Edition: Limited Edition of 101
    Authenticity: Hand-signed (front, bottom, far right on white canvas border) with graphite pencil (varnished over with same UV-protective matt varnish as whole) and titled (front, bottom, centre on white canvas border)
    Date: 02/2024

    Just to give an idea of the size the artwork…

    TL:DR

    This artwork is an homage to visual perception โ€“ itโ€™s about how we detect meaning from the millions of individually coloured photons entering our eyes โ€“ and how I, as an artist, can trick you into seeing what I want you to see.

    Golden Plover with Egg (floral map) is the simple colouring-in (albeit very carefully selected and juxtaposed colours) of a flat line drawing I did previously of this art puzzle design (see photo below and this post: Golden Plover with Egg (Art Puzzle)).

    Golden Plover with Egg (Art Puzzle)

    I used this technique to regularly check for line breaks (where there shouldnโ€™t be any), and to get a better view of the shapes of the individual pieces I was designing โ€“ amid a sprawling mesh of simple black thin lines on a white background. This got me to thinking about the difference between the dumb mechanical process of colouring a shape (of a flood fill) and true animal (human) understandingโ€ฆ


    Promo video

    This is part of my floral map series. See Guillemot with Egg (floral map) for details.

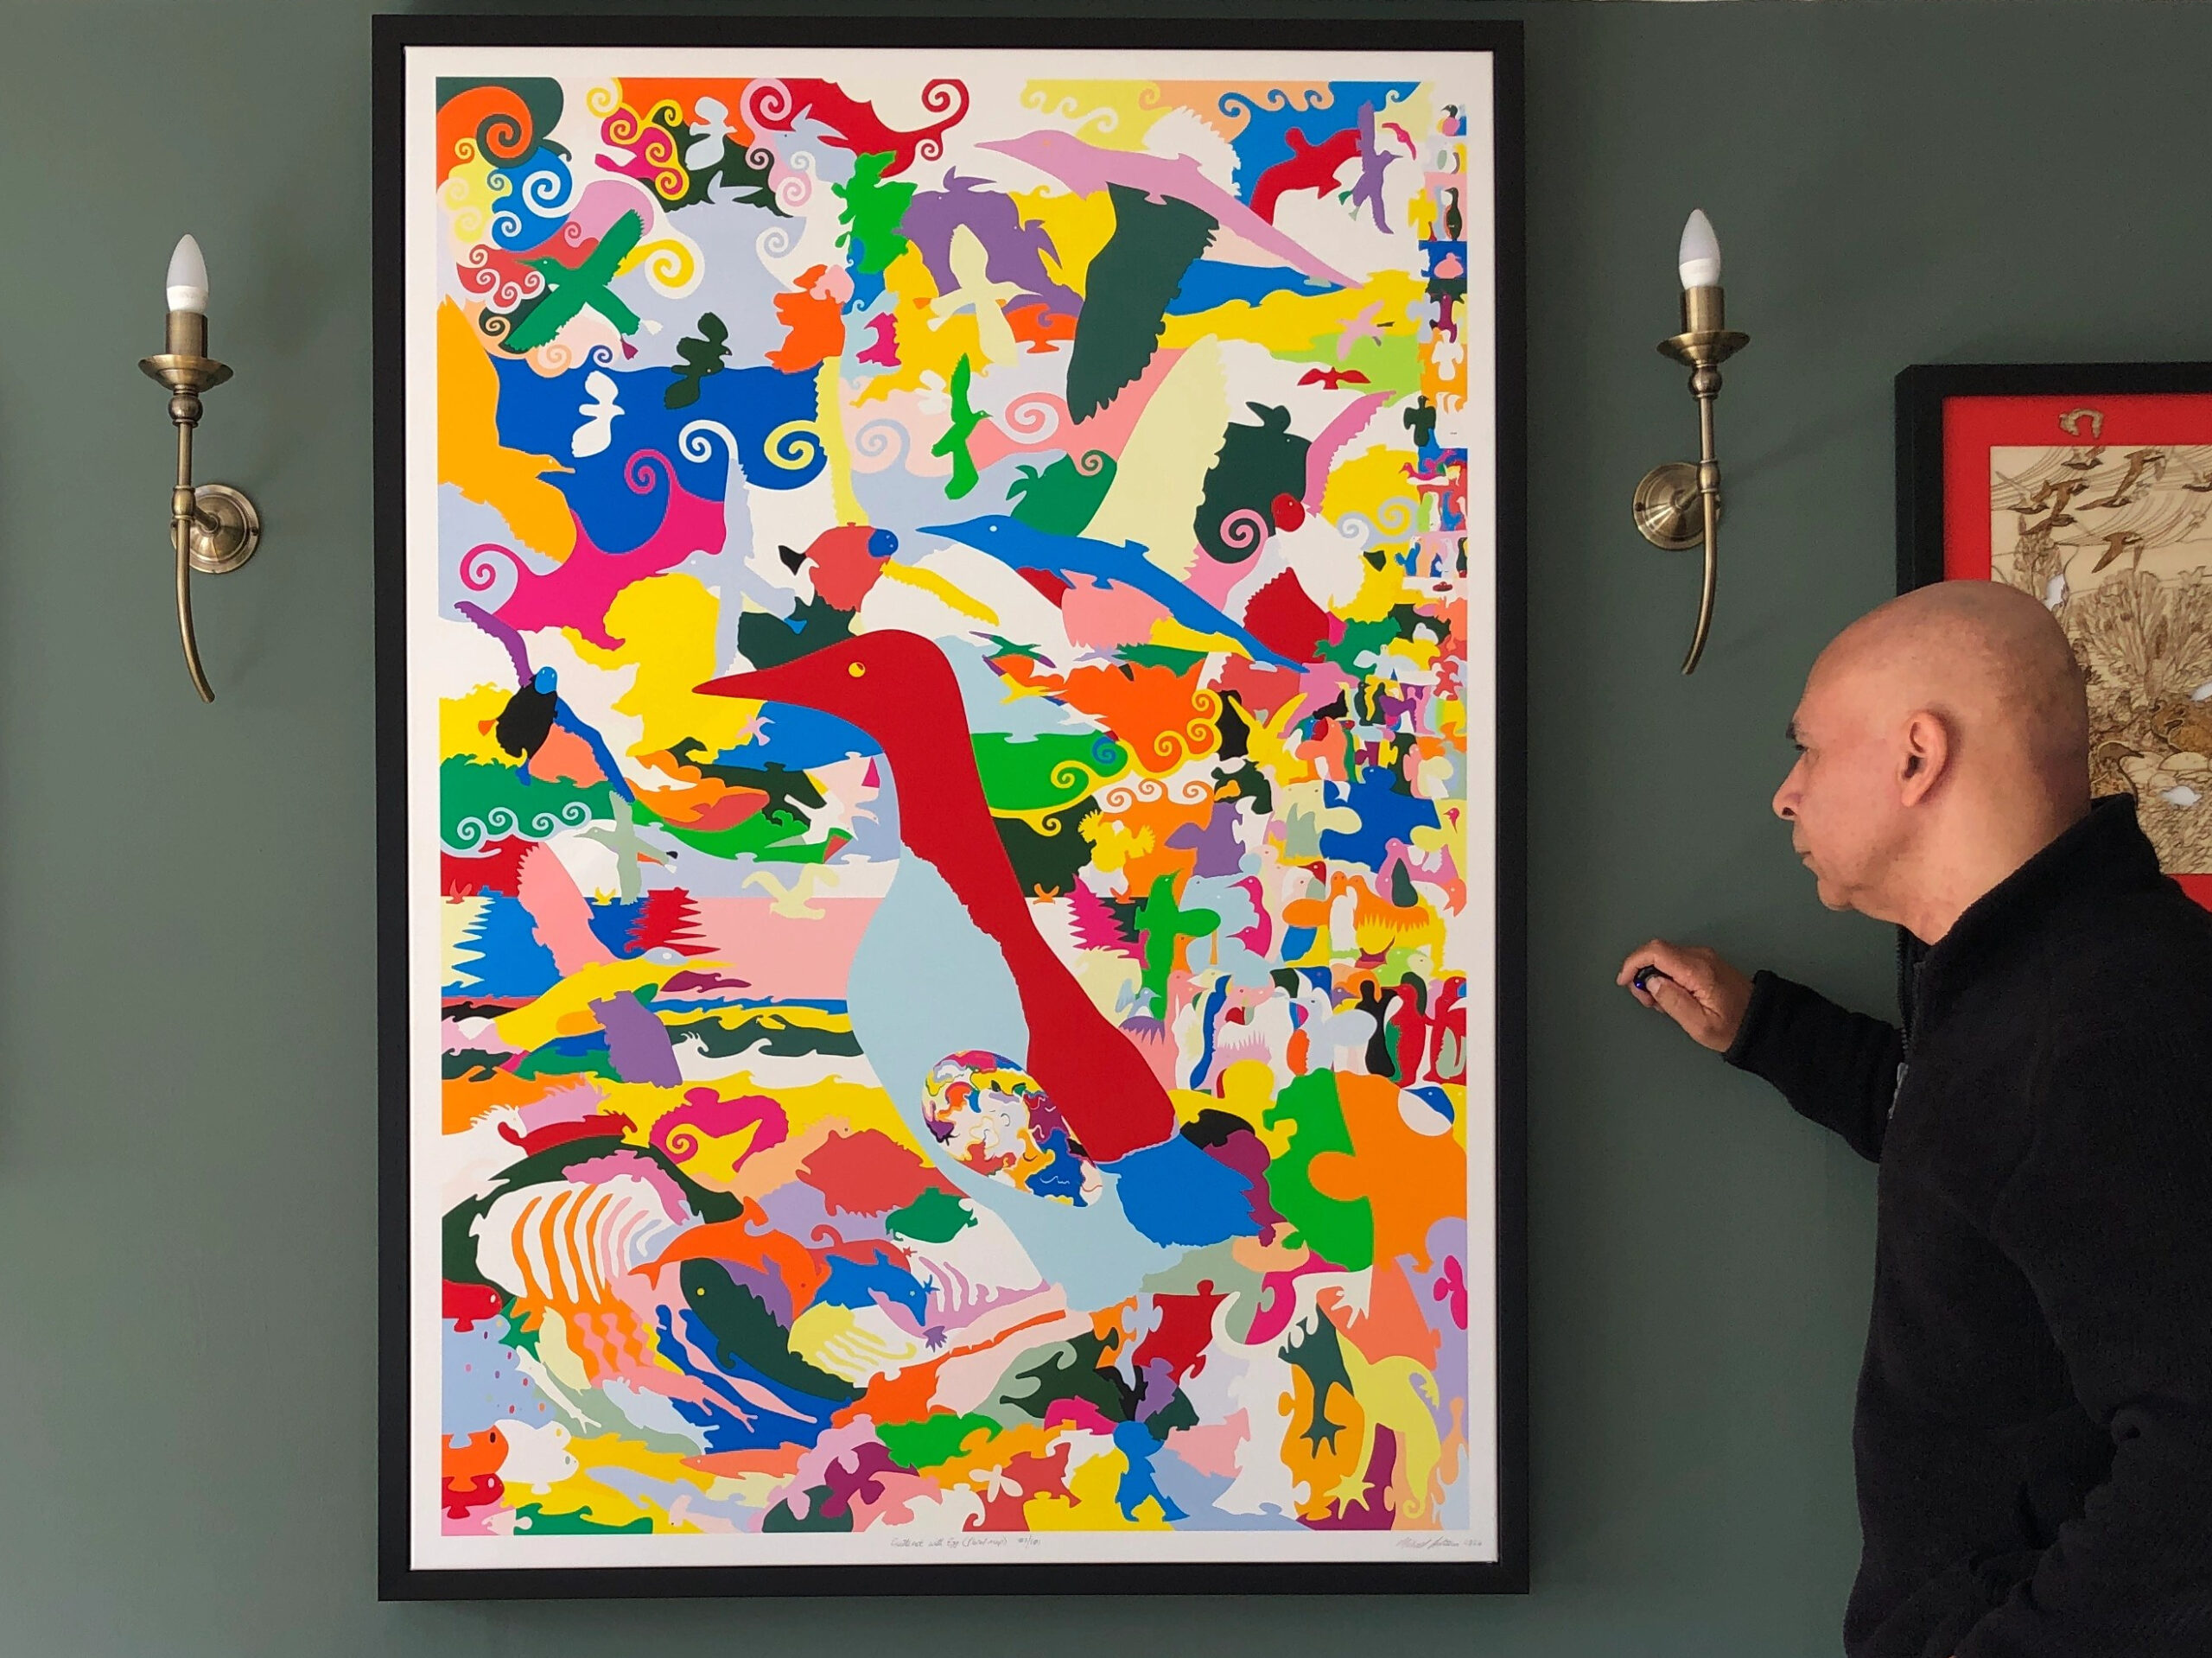
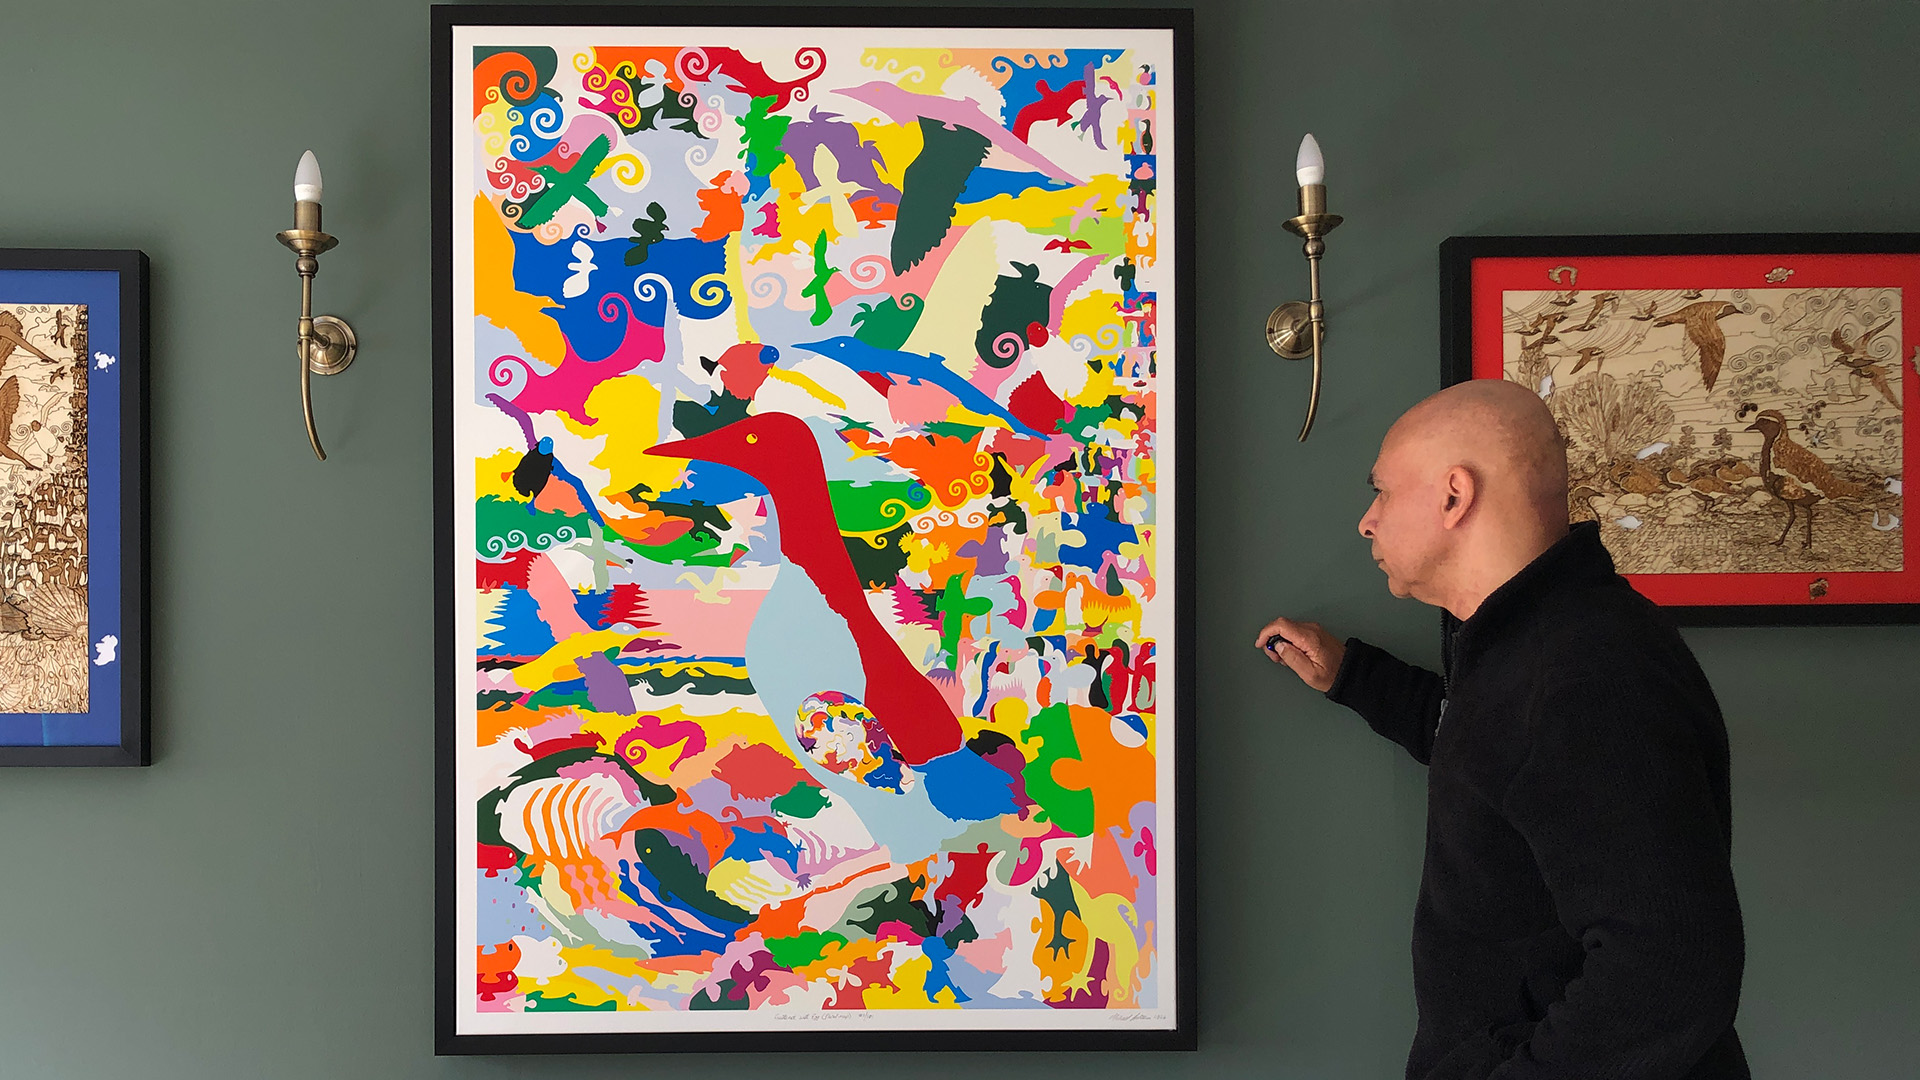
  • Guillemot with Egg (floral map)

    Guillemot with Egg (floral map)

    (Very low resolution for copyright reasons)

    Title: โ€œGuillemot with Egg (floral map)โ€
    Artist: Michael Autumn
    Medium: Hand-drawing with digital gouache
    Giclรฉe archival print on fine 100% cotton canvas (matt)
    Hahnemรผhle Art Canvas Smooth 370gsm + Hahnemรผhle UV protection matt varnish
    Size: 36″ (W) x 50.9″ (H), canvas stretcher 38″ (W) x 53″ (H)
    Edition: Limited Edition of 101
    Authenticity: Hand-signed (front, bottom, far right on white canvas border) with graphite pencil (varnished over with same UV-protective matt varnish as whole) and titled (front, bottom, centre on white canvas border)
    Date: 02/2024

    Just to give an idea of the size the artwork…

    TL;DR

    This artwork is an homage to visual perception โ€“ itโ€™s about how we detect meaning from the millions of individually coloured photons entering our eyes โ€“ and how I, as an artist, can trick you into seeing what I want you to see.

    Guillemot with Egg (floral map) is the simple colouring-in (albeit very carefully selected and juxtaposed colours) of a flat line drawing I did previously of this art puzzle design (see photo of that artwork below and this post: Guillemot with Egg (Art Puzzle)).

    Guillemot with Egg (Art Puzzle)

    I used this technique to regularly check for line breaks (where there shouldnโ€™t be any), and to get a better view of the shapes of the individual pieces I was designing โ€“ amid a sprawling mesh of simple black thin lines on a white background. This got me to thinking about the difference between the dumb mechanical process of colouring a shape (of a flood fill) and true animal (human) understandingโ€ฆ


    The story behind this artwork is part intentional, part serendipity, and partly the indirect fruits of some non-trivial computer programming I did many, many, moons ago…

    I am immensely impressed, and deeply bewildered, by our ability to visually perceive our environment. As you might know, typical adult human beings have about six million cones in our eyes to effectively detect pixels of coloured light (photons) in daylight (rods are used in low-light/dark conditions). Each detected pixel of light is to all intents and purposes completely independent of each other โ€“ and the eyeโ€™s cones are simple colour detectors of light coming into the eye โ€“ not in themselves capable of making any sense of the totality of what the all the other cones are measuring โ€“ they simply pass what they individually detect to the brain (via the optic nerve). It takes one of the most impressive and complex machines in the universe โ€“ a brain โ€“ to interpret these patchworks of colour.

    The brain compares all the pixels together, detects edge boundaries, and uses its vast database of previously classified images (and parts thereof) to try to understand the current image. And by understanding the image I mean recognising the individual objects within it. Without the aid of a vast memory and very sophisticated pattern-recognition, reinforcement, and continuous learning โ€“ making sense of what we see would be impossible โ€“ and we simply wouldnโ€™t survive. Why? Because we wouldnโ€™t be able to find food and water, avoid danger, and move about pursuing our instinctive goals – build and maintain a shelter, avoid various dangers, find a mate, reproduce, etc… That’s not to say that the brain never gets things wrong. In fact, our brainโ€™s insatiable appetite to pattern-match and classify what it โ€œseesโ€ is so strong that it is sometimes fooled into โ€œseeingโ€ things which arenโ€™t thereโ€ฆ Anyone ever seen elephant-shaped clouds…?

    Since about 2021, I have been exploring the physical and metaphorical world of puzzles โ€“ particularly those in Nature: things that are camouflaged, paradoxical, ambiguous, double-entendre, things that are not what they seem. I have been expressing this through the medium of actual visual puzzles โ€“ jigsaw puzzles with a twist, and a completely different purpose โ€“ the purpose of expressing ideas rather than a challenging pastime. I call them art puzzles.

    I start by hand-drawing a full size completely imaginary, but plausible, nature design of a main bird in an appropriate landscape (which takes me a long time – by far the bulk of the total), and then I physically cut out the puzzle (usually in wood). While designing the artwork for these intricate puzzles โ€“ with an eye for structurally interlocking pieces (which are often heavily disguised) โ€“ I periodically check that the cut lines all work โ€“ i.e. that there are no gaps where there shouldnโ€™t be any, and all the pieces cut out cleanly (i.e. not stuck together anywhere).

    This checking is important because, while I cut the pieces by hand for the first three years (and could compensate for any imperfections in the drawings), I have an eye on getting them cut by a computer-controlled machine โ€“ waterjet, laser, or some other technology โ€“ so I have to make the drawings โ€œperfectโ€. As many of you will know, if you provide instructions to humans, you can get away with some imperfections and inaccuracies because an intelligent human being is likely to still achieve the correct result โ€“ compensating for your mistakes and imperfect measurements/instructions โ€“ because they can guess at your intentions. But most of you will also know that you canโ€™t get away with anything when a computerised mechanical machine does the work: it will do exactly what it is told โ€“ no more, no less โ€“ because it has no notion of what it is supposed to do.

    Zooming in on a complex detailed drawing and looking for gaps of where lines donโ€™t join where they should – is a very tedious, long-winded, task โ€“ and itโ€™s difficult to be certain youโ€™ve properly checked everywhere. So a while back I got the idea of flood-filling the areas to see if there are any leaks. For those of you not familiar with the term, flood-filling is an automated way of filling an area of colour – of any complexity – with a new colour. It is not filling the whole image with colour โ€“ that isnโ€™t much use. It fills/puts the new colour everywhere that is the same colour as the original point (pixel) colour โ€“ and here is the subtle bit โ€“ the colour has to be connected to the original point. To illustrate this, here is a sequence of pictures showing a small detail of my gap-finding process :-

    Detail of the drawing with no gaps

    Detail of the drawing with a small gap – can you see it…?

    Detail of the drawing with red arrow showing a small gap

    Detail of the drawing with flood fill going through the gap

    Detail of the drawing with flood fill confirming gap fixed

    Detail of the drawing with various flood fills showing good gap integrity


    So where does the computer programming part come in – that I mentioned in the introduction? Well, many, many, moons ago – when personal computers were just emerging, I started a career which involved creatively using IT to help people with special needs โ€“ recreation, communication, education, etc… One of the most rewarding projects I took on was to design an art program that would enable people who could reliably press one, two, or three buttons with any part of their body – to draw and paint on the computer – and print out their colourful creations. (I was an artist long before I got involved in computing, and so this was particularly interesting to me.) My main customer and inspiration for the program at the time was a very talented mouth-artist, called Mary, whom I was very ambitious for. I wanted to provide for every feature she asked for – in addition to those I thought should be there. One day while doing quite a complex design with the program, Mary asked if it was possible to change the colour of part of her picture. It wasnโ€™t at the time, but I set about designing the feature. To my knowledge it hadnโ€™t been done before, and it turned out to be quite challenging (it took me about a month to crack it). These days it’s common in art programs, and is something most people take for granted. But solving the problem from scratch was very satisfying and gave me insights to its many possibilities (including solving any 2D line-drawn maze of any complexity)โ€ฆ

    The serendipitous aspect of this artwork lies in when I realised that the various flood fill tests I was doing during the course of designing the original art puzzle – were actually quite appealing in their own right. While I was only using a few simple random colours for my tests, I thought that with a harmoniously selected floral colour pallet and careful colour juxtapositions, I could make a really attractive design… I parked the idea at the time because I was engrossed with my original intention, but I did come back to it this year. It took quite a long time to arrive at the final design, and printing the colours correctly (i.e. as I envisioned and designed them on my computer) was really tricky (as usual!). Printed on the best available printer with the most archival inks. Best UV protection matt varnish.

    I really like it, and itโ€™s like nothing Iโ€™ve seen beforeโ€ฆ

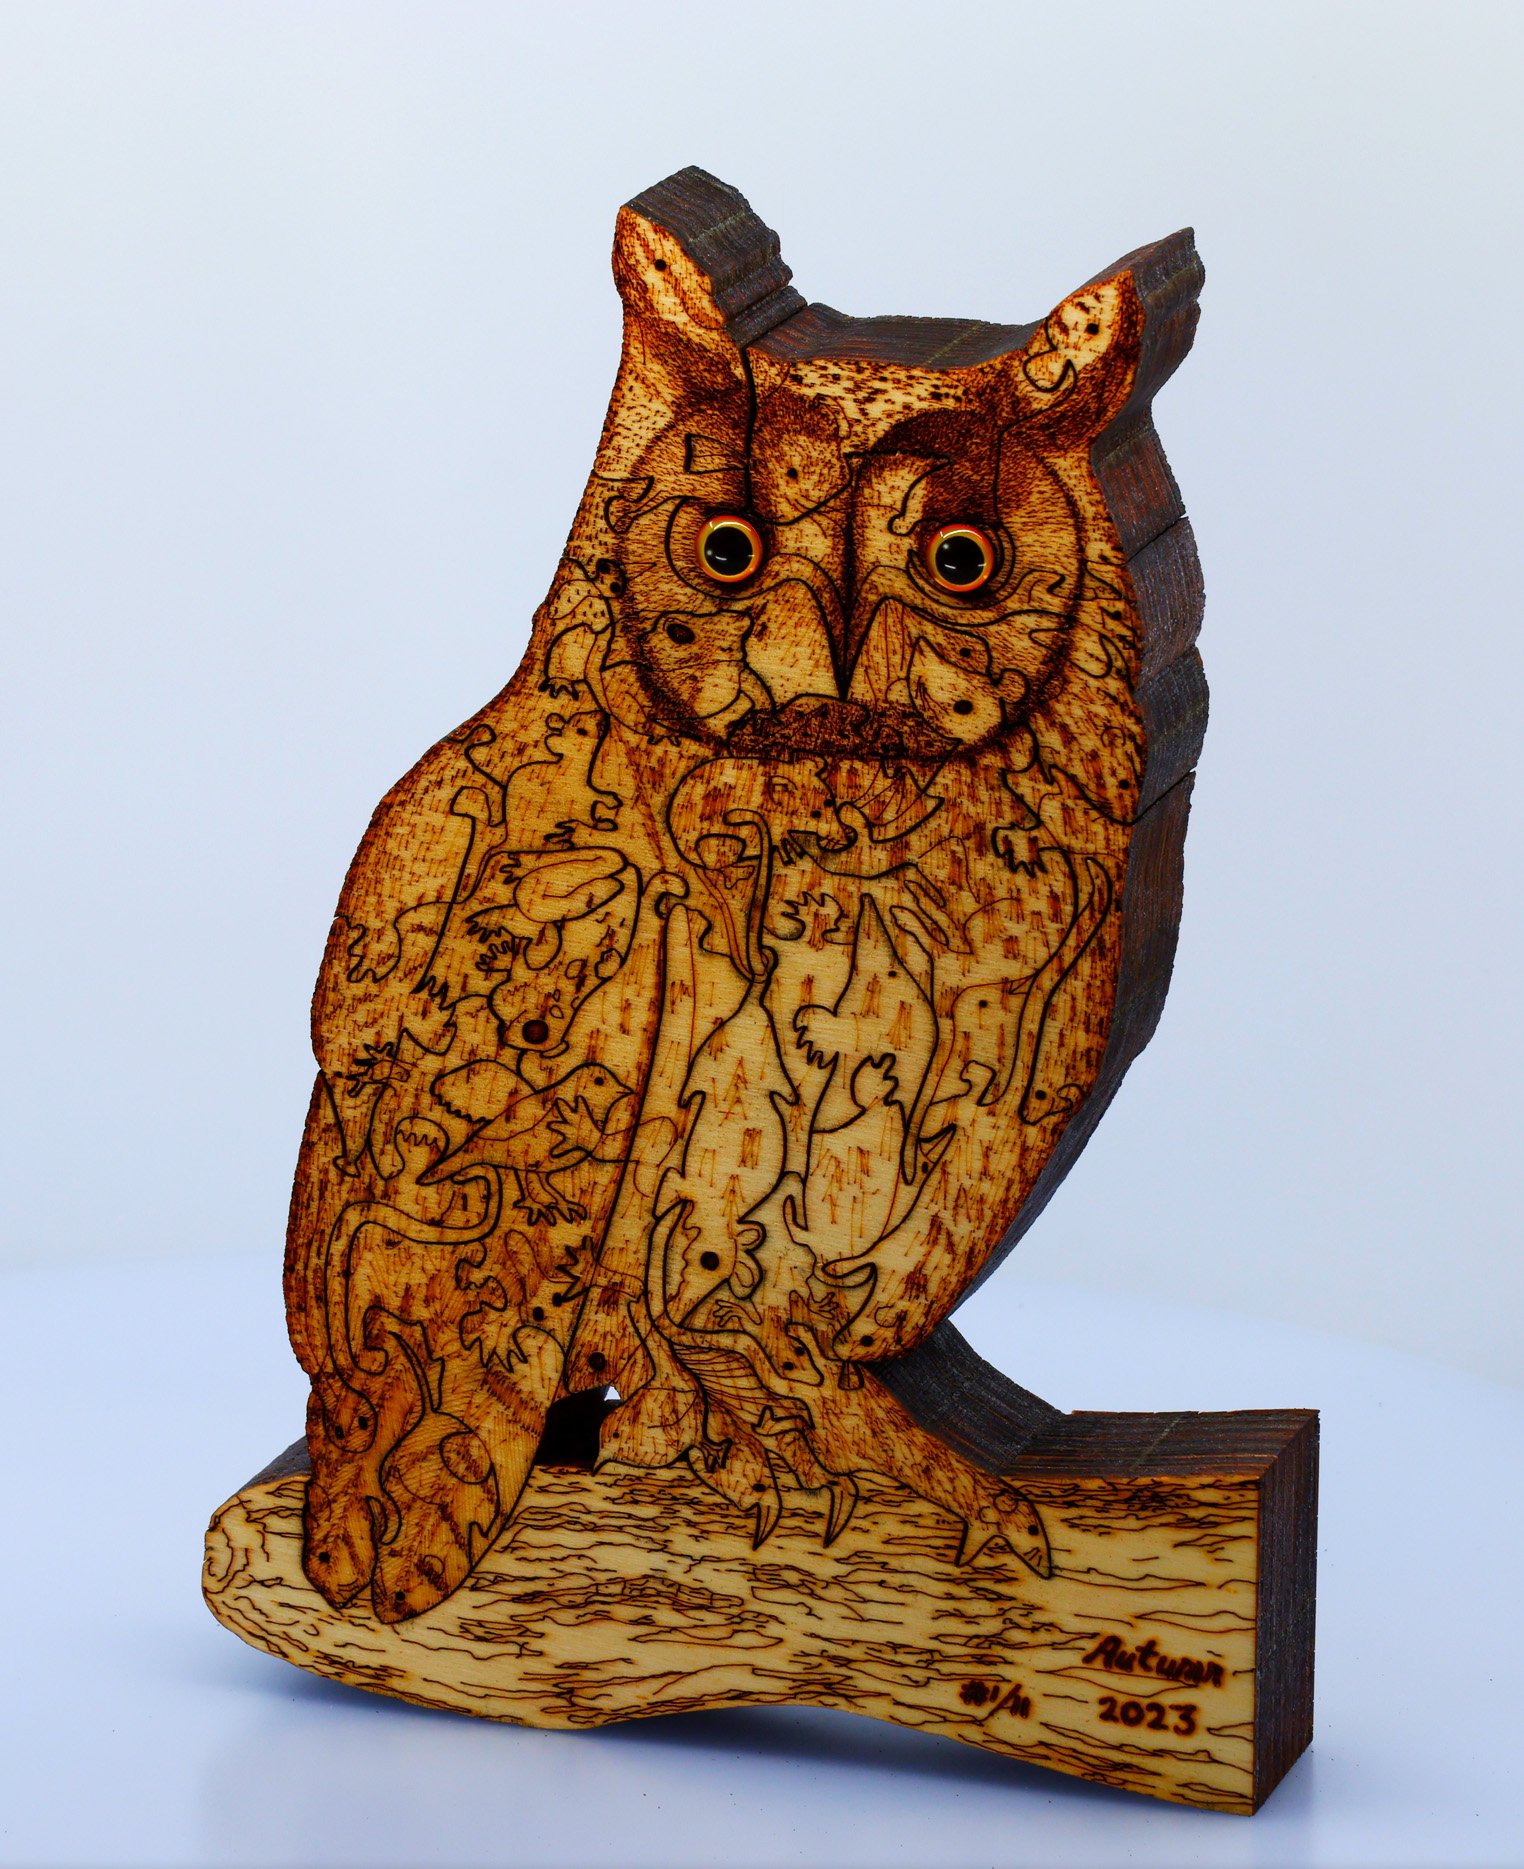
  • Long-eared Owl (Art Puzzle) (You Are What You Eat) – laminated

    Long-eared Owl (Art Puzzle) (You Are What You Eat) – laminated

    Title: โ€œLong-eared Owl (Art Puzzle) (You Are What You Eat)โ€ – laminated
    Artist: Michael Autumn
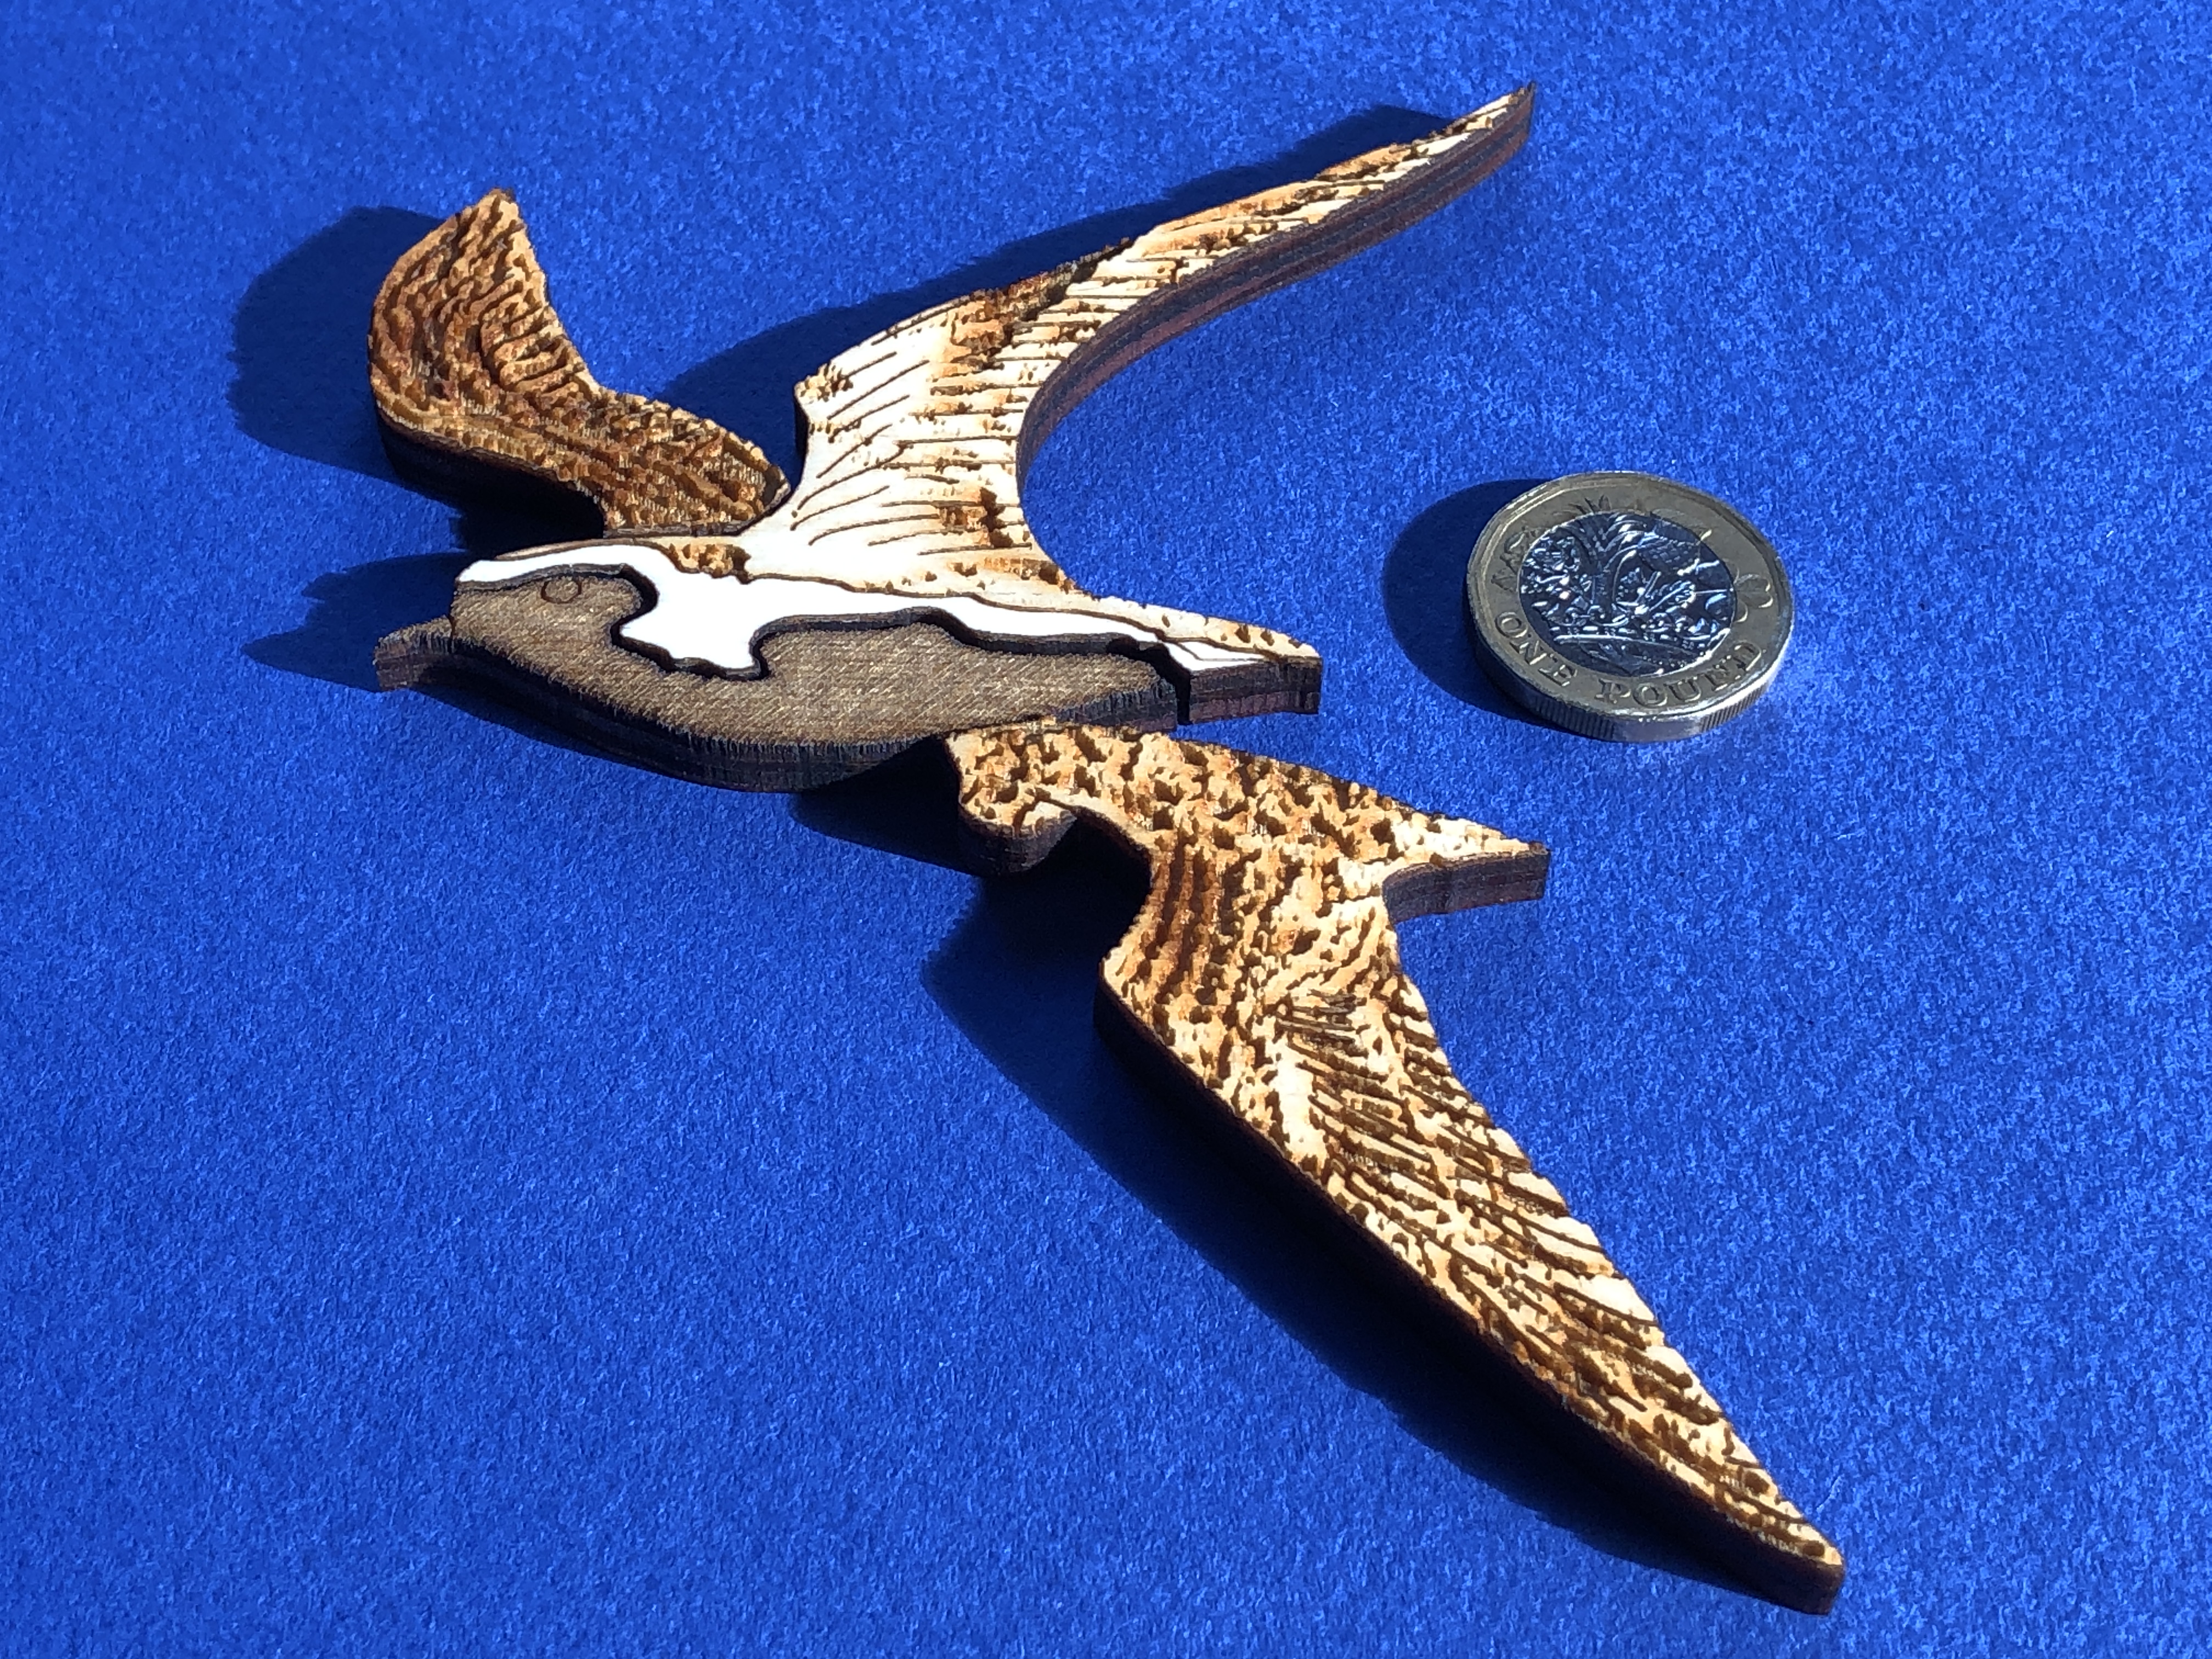
    Life-sized part-handmade, part laser-cut & engraved, two-sided, laminated plywood art puzzle (Limited Edition of 11)

    Long-eared Owl (Art Puzzle) – Laminated: Full image – front

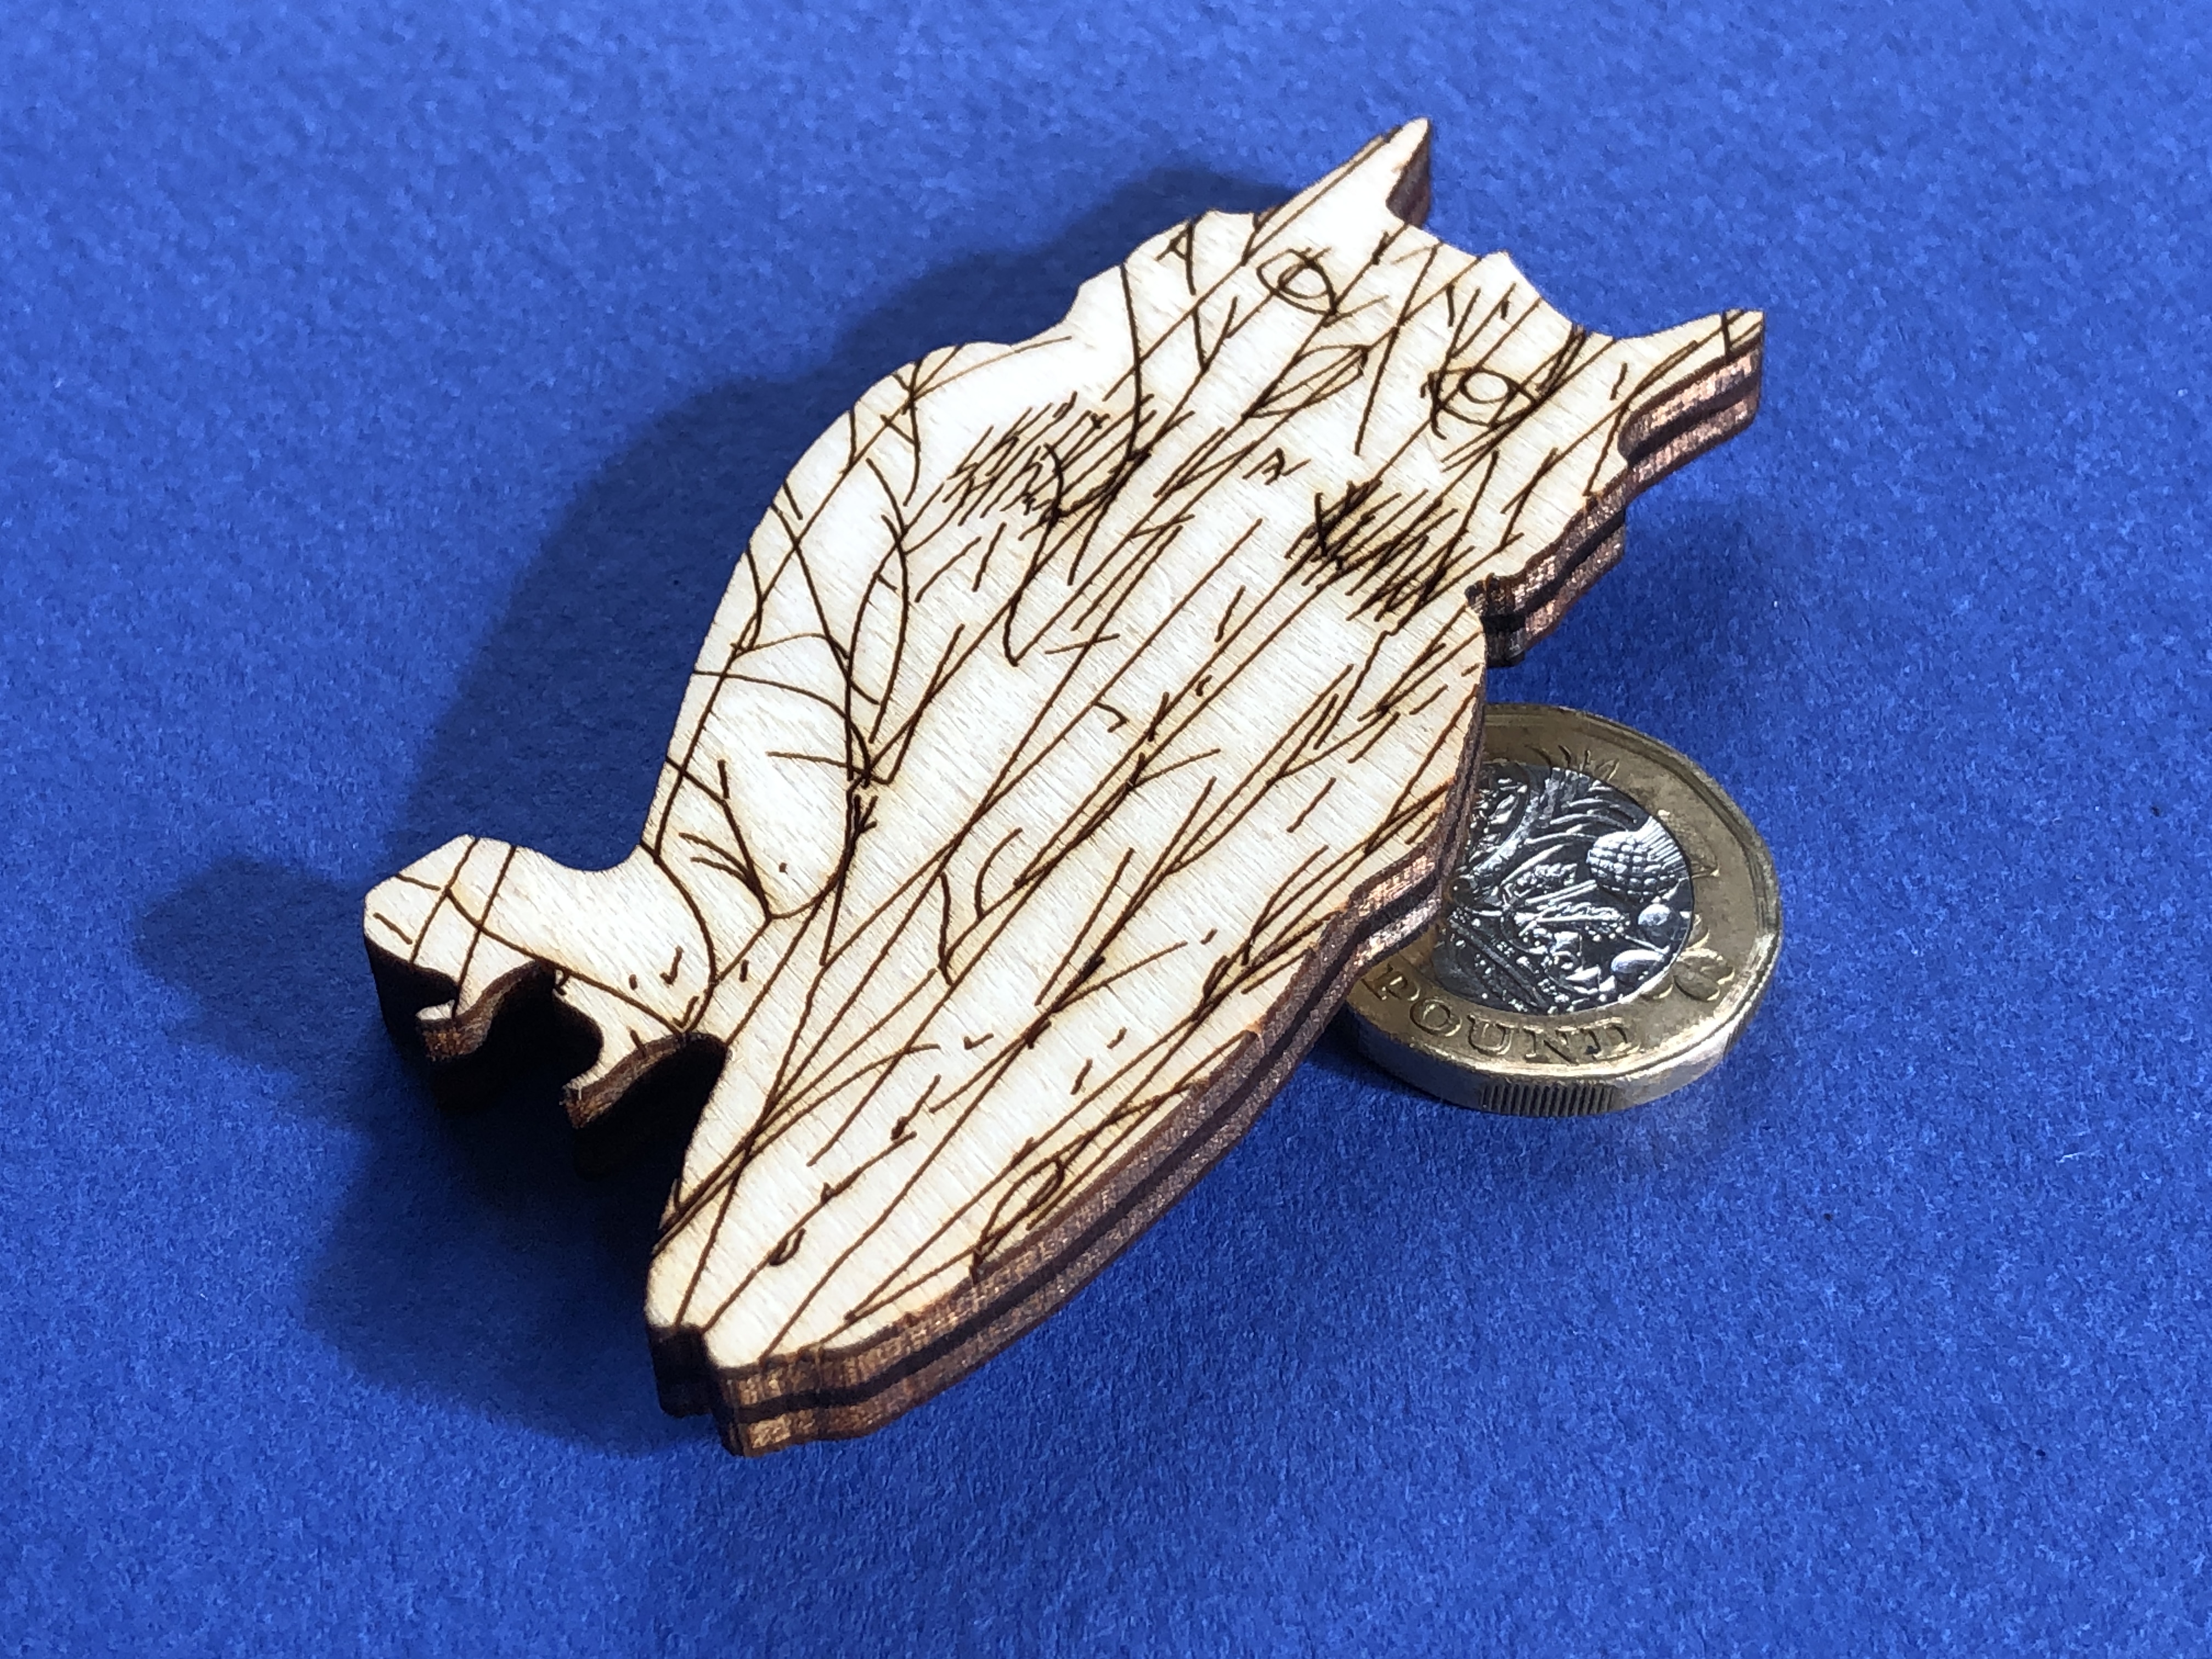
    Size: 20cm (W) x 30cm (H) x 4cm (depth) @ 0.65kg weight
    Medium: 7 laminated layers of 6mm AB/AB Italian Panguaneta Poplar plywood + acrylic eyes.
    Date: 2023
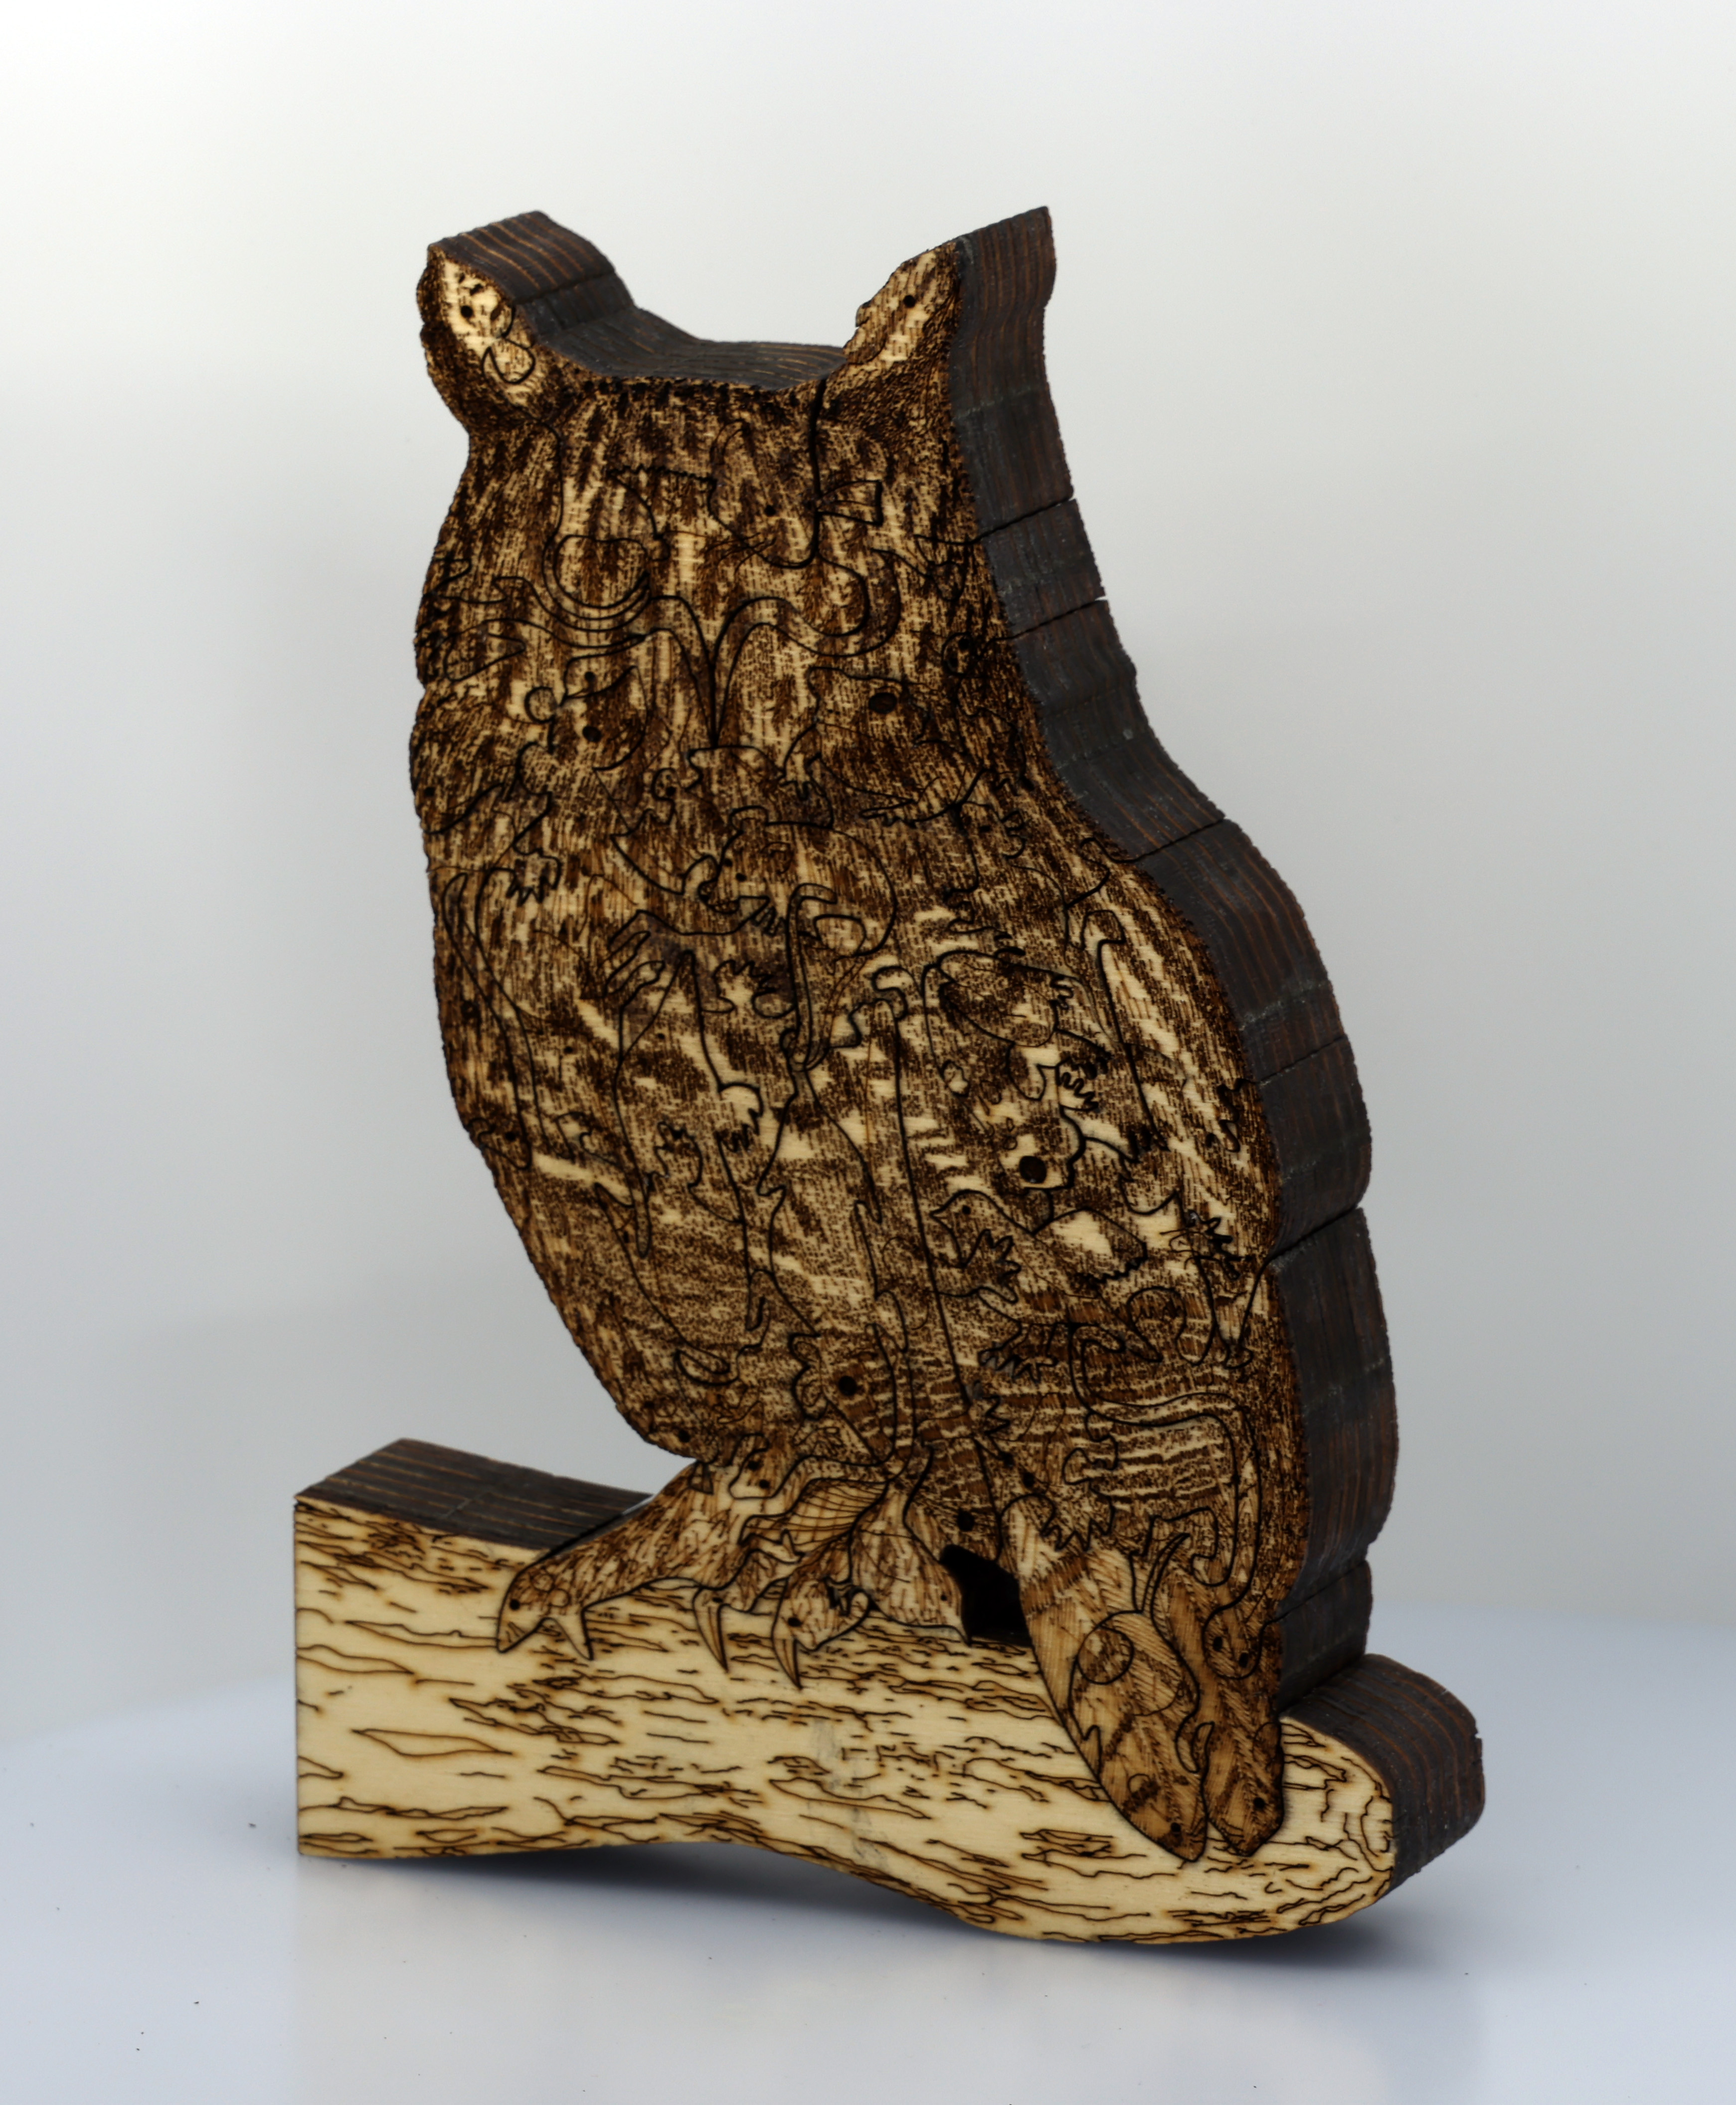
    Rear of the laminated version

    Long-eared Owl – Laminated

    This is a partly hand-cut and finished, partly laser-cut & engraved, two-sided, laminated plywood version of my original solid oak, hand-cut & engraved version of “Long-eared Owl (Art Puzzle) (You Are What You Eat)” (see https://michaelautumn.wordpress.com/2023/05/03/long-eared-owl-art-puzzle-you-are-what-you-eat/).

    This is the culmination of three years of trying to find an engineering solution to making the incredibly intricate thick oak art puzzles I used to very laboriously (and painstakingly!) cut by hand using an electronic scroll (fret) saw. I tried waterjet cutting (that blasts away intricate areas and requires continuous cuts – totally wrong!). I bought and tried CNC routing (for about six months) with the smallest router bits available – but the bits that had the required diameter (1/32″) kept breaking and couldn’t reliably cut the depth required. And it require cutting at such small depths at each pass that even if the router bits didn’t keep breaking (and the whole job having to be restarted!) then it would have taken literally weeks to complete a single design!

    The problem with conventional laser cutting (which I spent the best part of a year trying – with three different bought lasers) is that the deeper the material is, the more power is required – and therefore the wider the laser beam is. This results in an unacceptably wide kerf – gap between cuts. The kerf (gap) I managed by scroll-sawing – was about 0.7mm – which is the minimum I can accept. A laser that can cut through 42mm of plywood would ordinarily have a kerf of well over 1mm. So that is out of the question.

    I pondered this dilemma for months, and tried various ideas – none of which worked. Eventually I can up with the idea of not trying to cut such thick material all at once – but to cut it much more finely in several thin layers – and then bond them together. This has (had) a number of issues and challenges in and of itself, however, I’m extremely please and relieved that I worked out solutions to the problems. And when I first produced the first fully acceptable complete version I was on cloud nine for several days…!

    Suffice to say that the part hand-, part laser-, cut laminated version of my Long-eared Owl (Art Puzzle), is far more accurate, better fitting, and more reproducible – without causing RSI/hand arthritis! Having said all that, it takes about the same amount of time in total as hand-cutting(!) – about a week for each edition – because of all the part-laser cutting of multiple layers, doing the rear design – and quite a lot hand-finishing. But at least if is much less of a strain on my hands – and infinitely less daunting…!

    “Art Puzzle” series

    At the risk of stating the obvious, this work is part of my Art Puzzle series. For readers interested, further details can be found at the originating work’s post @ https://michaelautumn.wordpress.com/2020/03/01/guillemot-with-egg-art-puzzle/

    Finished photos & videos

    Promo Animation
    Disassembling
    Comparing the completely hand-made, solid oak, version – with the part hand, part lasered, laminated, version

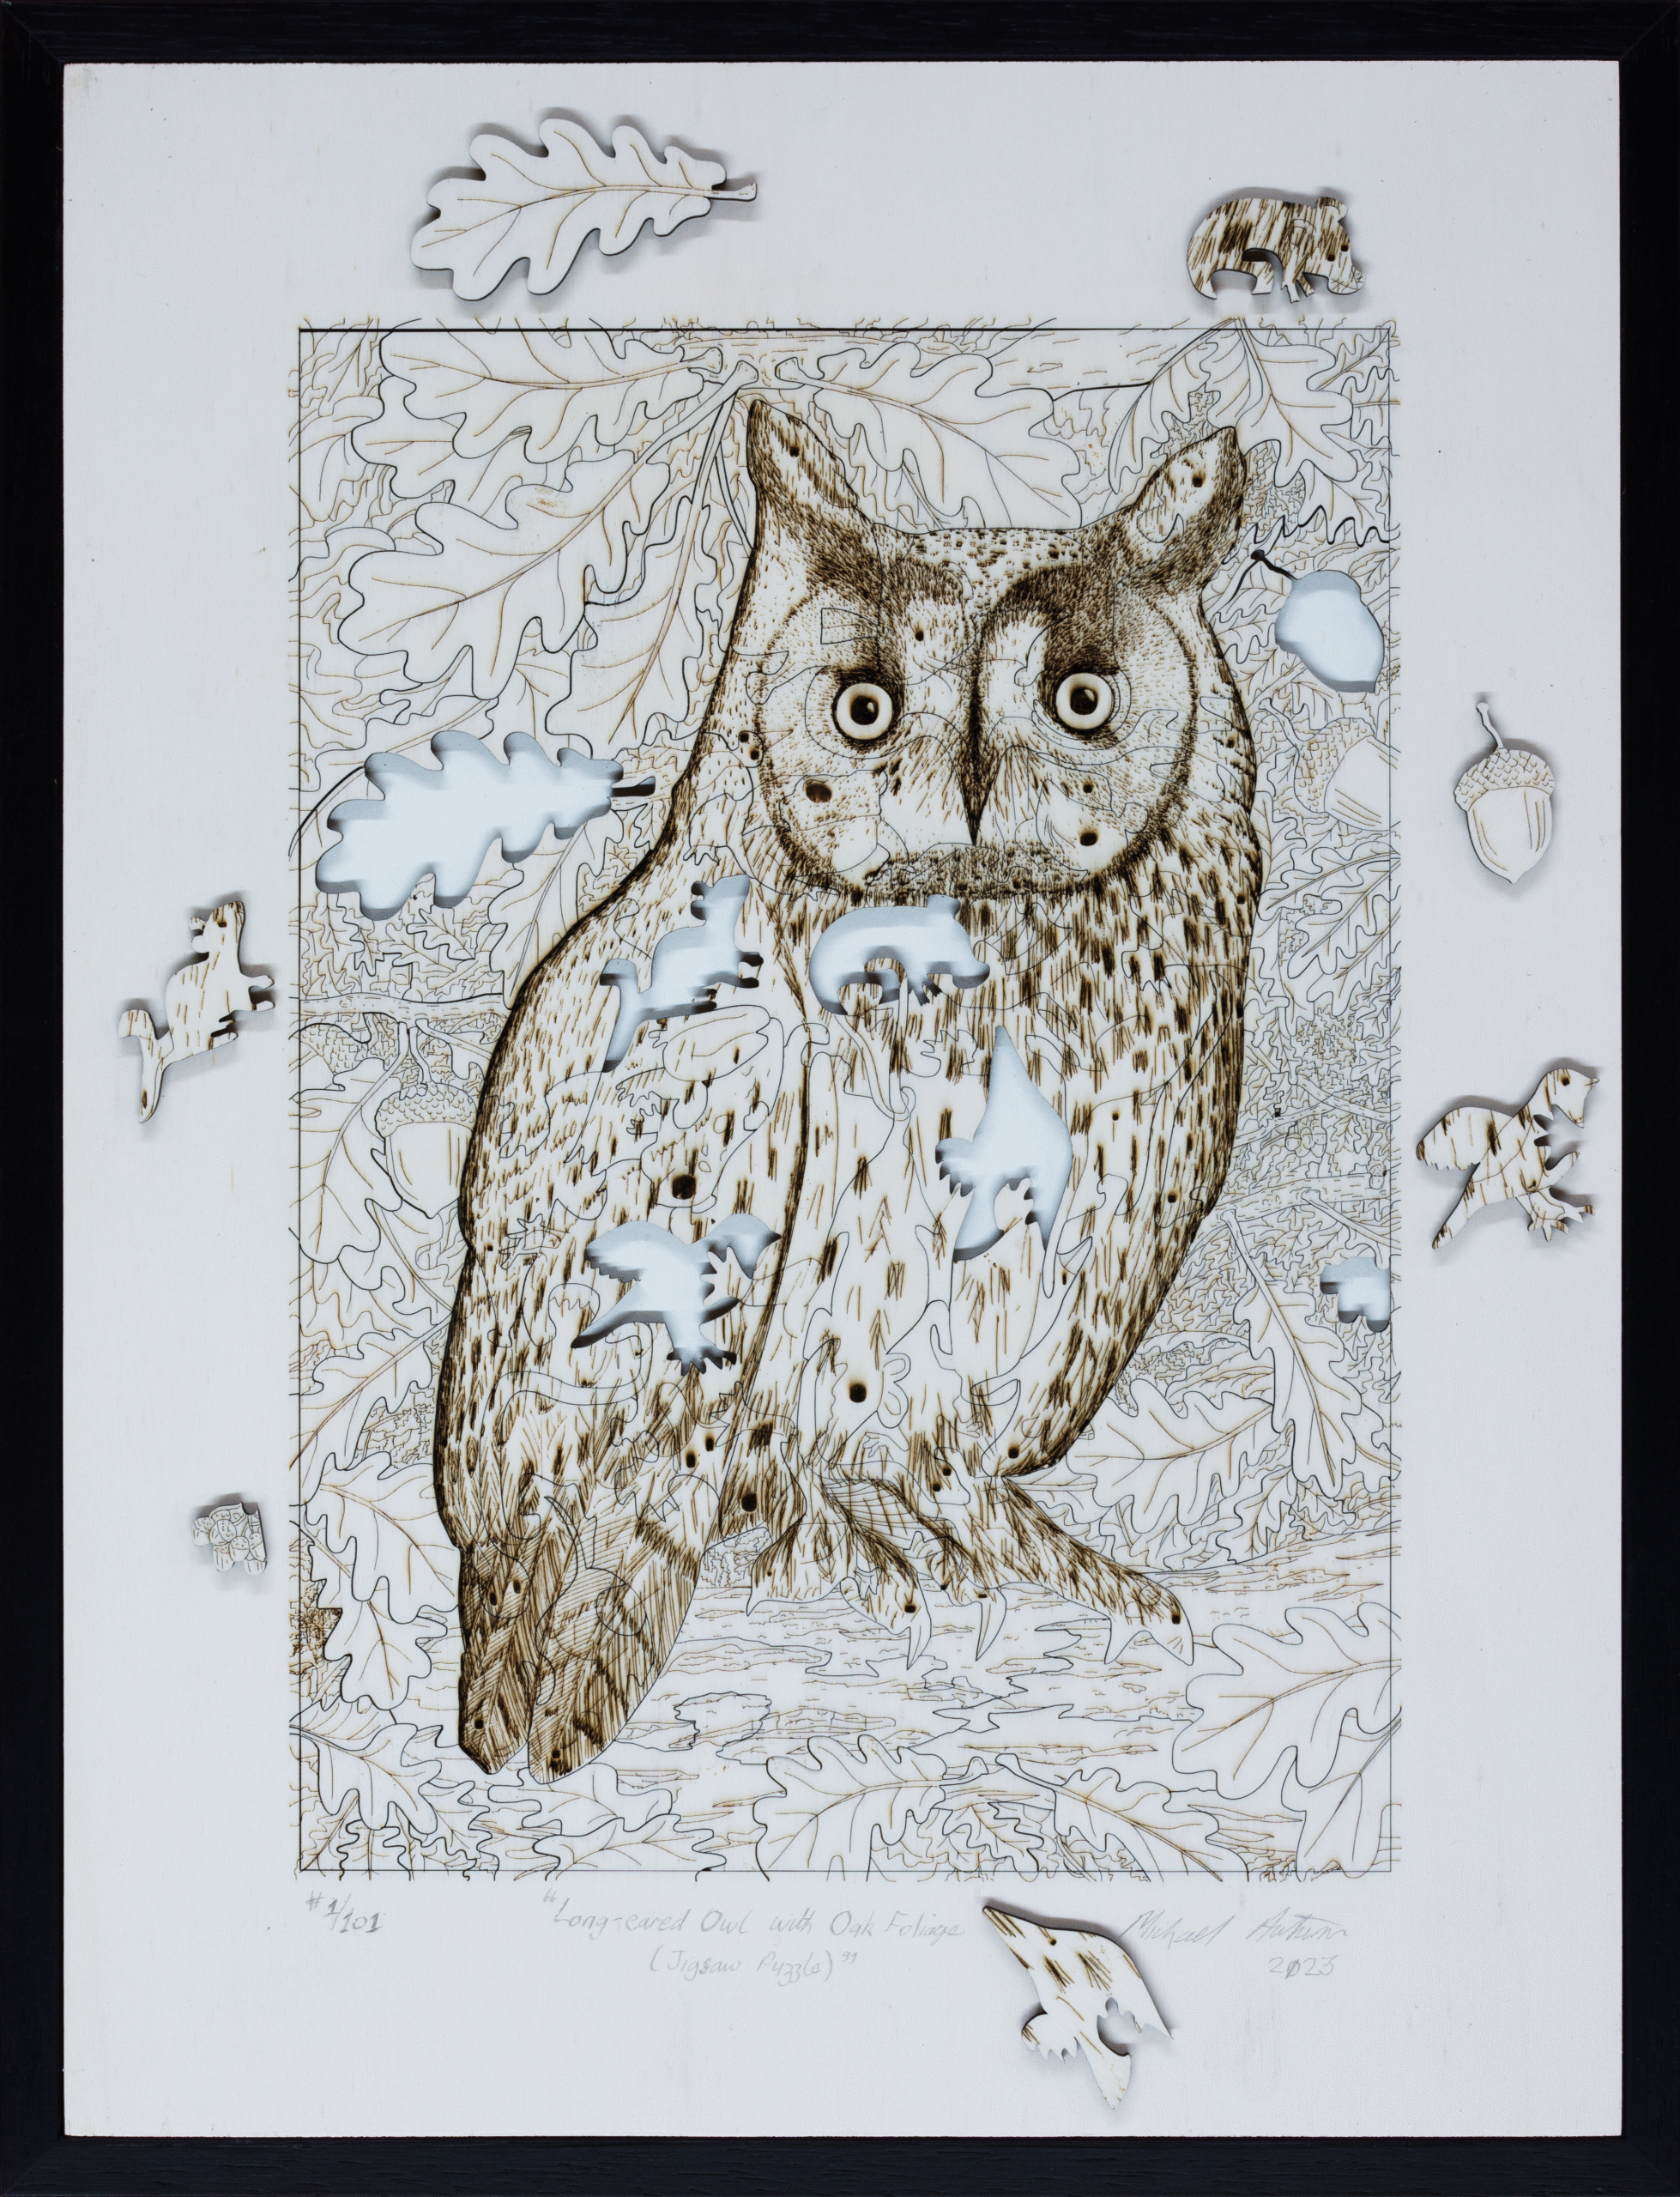
  • Long-eared Owl with Oak Foliage (Art Puzzle)

    Long-eared Owl with Oak Foliage (Art Puzzle)

    Title: โ€œLong-eared Owl with Oak Foliage (Art Puzzle)โ€

    Artist: Michael Autumn

    The complete framed art jigsaw puzzle with some pieces set to the side - to highlight that this is a jigsaw puzzle as well as being a detailed drawing piece of art.

    Available to purchase on Etsy

    Medium: Hand-drawing – laser cut & engraved premium 3mm AB/AB Italian Panguaneta Poplar plywood
    Size: 48cm (H) x 38cm (W) (including the frame)
    Date: 2023
    Country: UK

    Description: The idea behind this artwork was to have a tactile, life-sized, long-eared owl, and to toy with the idea โ€“ โ€œYou are what you eatโ€. Long-eared owls are ferocious predators (as are all owls) โ€“ and will basically eat anything that moves that is smaller than them. They often swallow their prey whole, and regurgitate a large pellet of the undigestible parts โ€“ such as bones, teeth, hair, feathers. Indeed, examining their pellets is how ornithologists know so much about what they eat.

    This is a very high (in the case of the unlimited edition), and extremely high (in the case of the limited edition), quality laser-cut โ€œartโ€ jigsaw puzzle – directly cut (and scored) from an original digital hand-drawing. The design is a specially modified drawing of his original hand-cut thick solid oak artwork entitled โ€œLong-eared Owl (Jigsaw Puzzle) (You are what you eat)โ€ (2022) (see https://michaelautumn.wordpress.com/2023/05/03/long-eared-owl-jigsaw-puzzle-you-are-what-you-eat/ and https://youtu.be/jWsK6TFEevk).

    Jigsaw Puzzle?

    This is not a jigsaw puzzle in the conventional sense of the word: it is not simply a print stuck on card or wood – and cut into puzzle pieces โ€“ where the jigsaw puzzle was never envisioned by the artist (or photographer). Most jigsaw puzzles are a commercial after-design afterthought. However, this artwork was designed from the outset, and from the ground up, as a jigsaw puzzle. This is an artwork where every single line drawn was specifically designed to be cut as interlocking puzzle pieces. This is not a cut-up picture โ€“ there are only completely intentional cuts/joints – to make a work of art.

    The โ€œartโ€ side of this artwork is where I have designed the owl to show that it is literally made of many of the wide variety of creatures that it eats. I used the simple jigsaw-puzzle you-are-what-you-eat metaphor to illustrate this puzzling (pun intended!) transformation of lots of small animals making up an owl. My hope is that interacting with art like this will make you think more about the message in it than if it was a normal drawing or paintingโ€ฆ

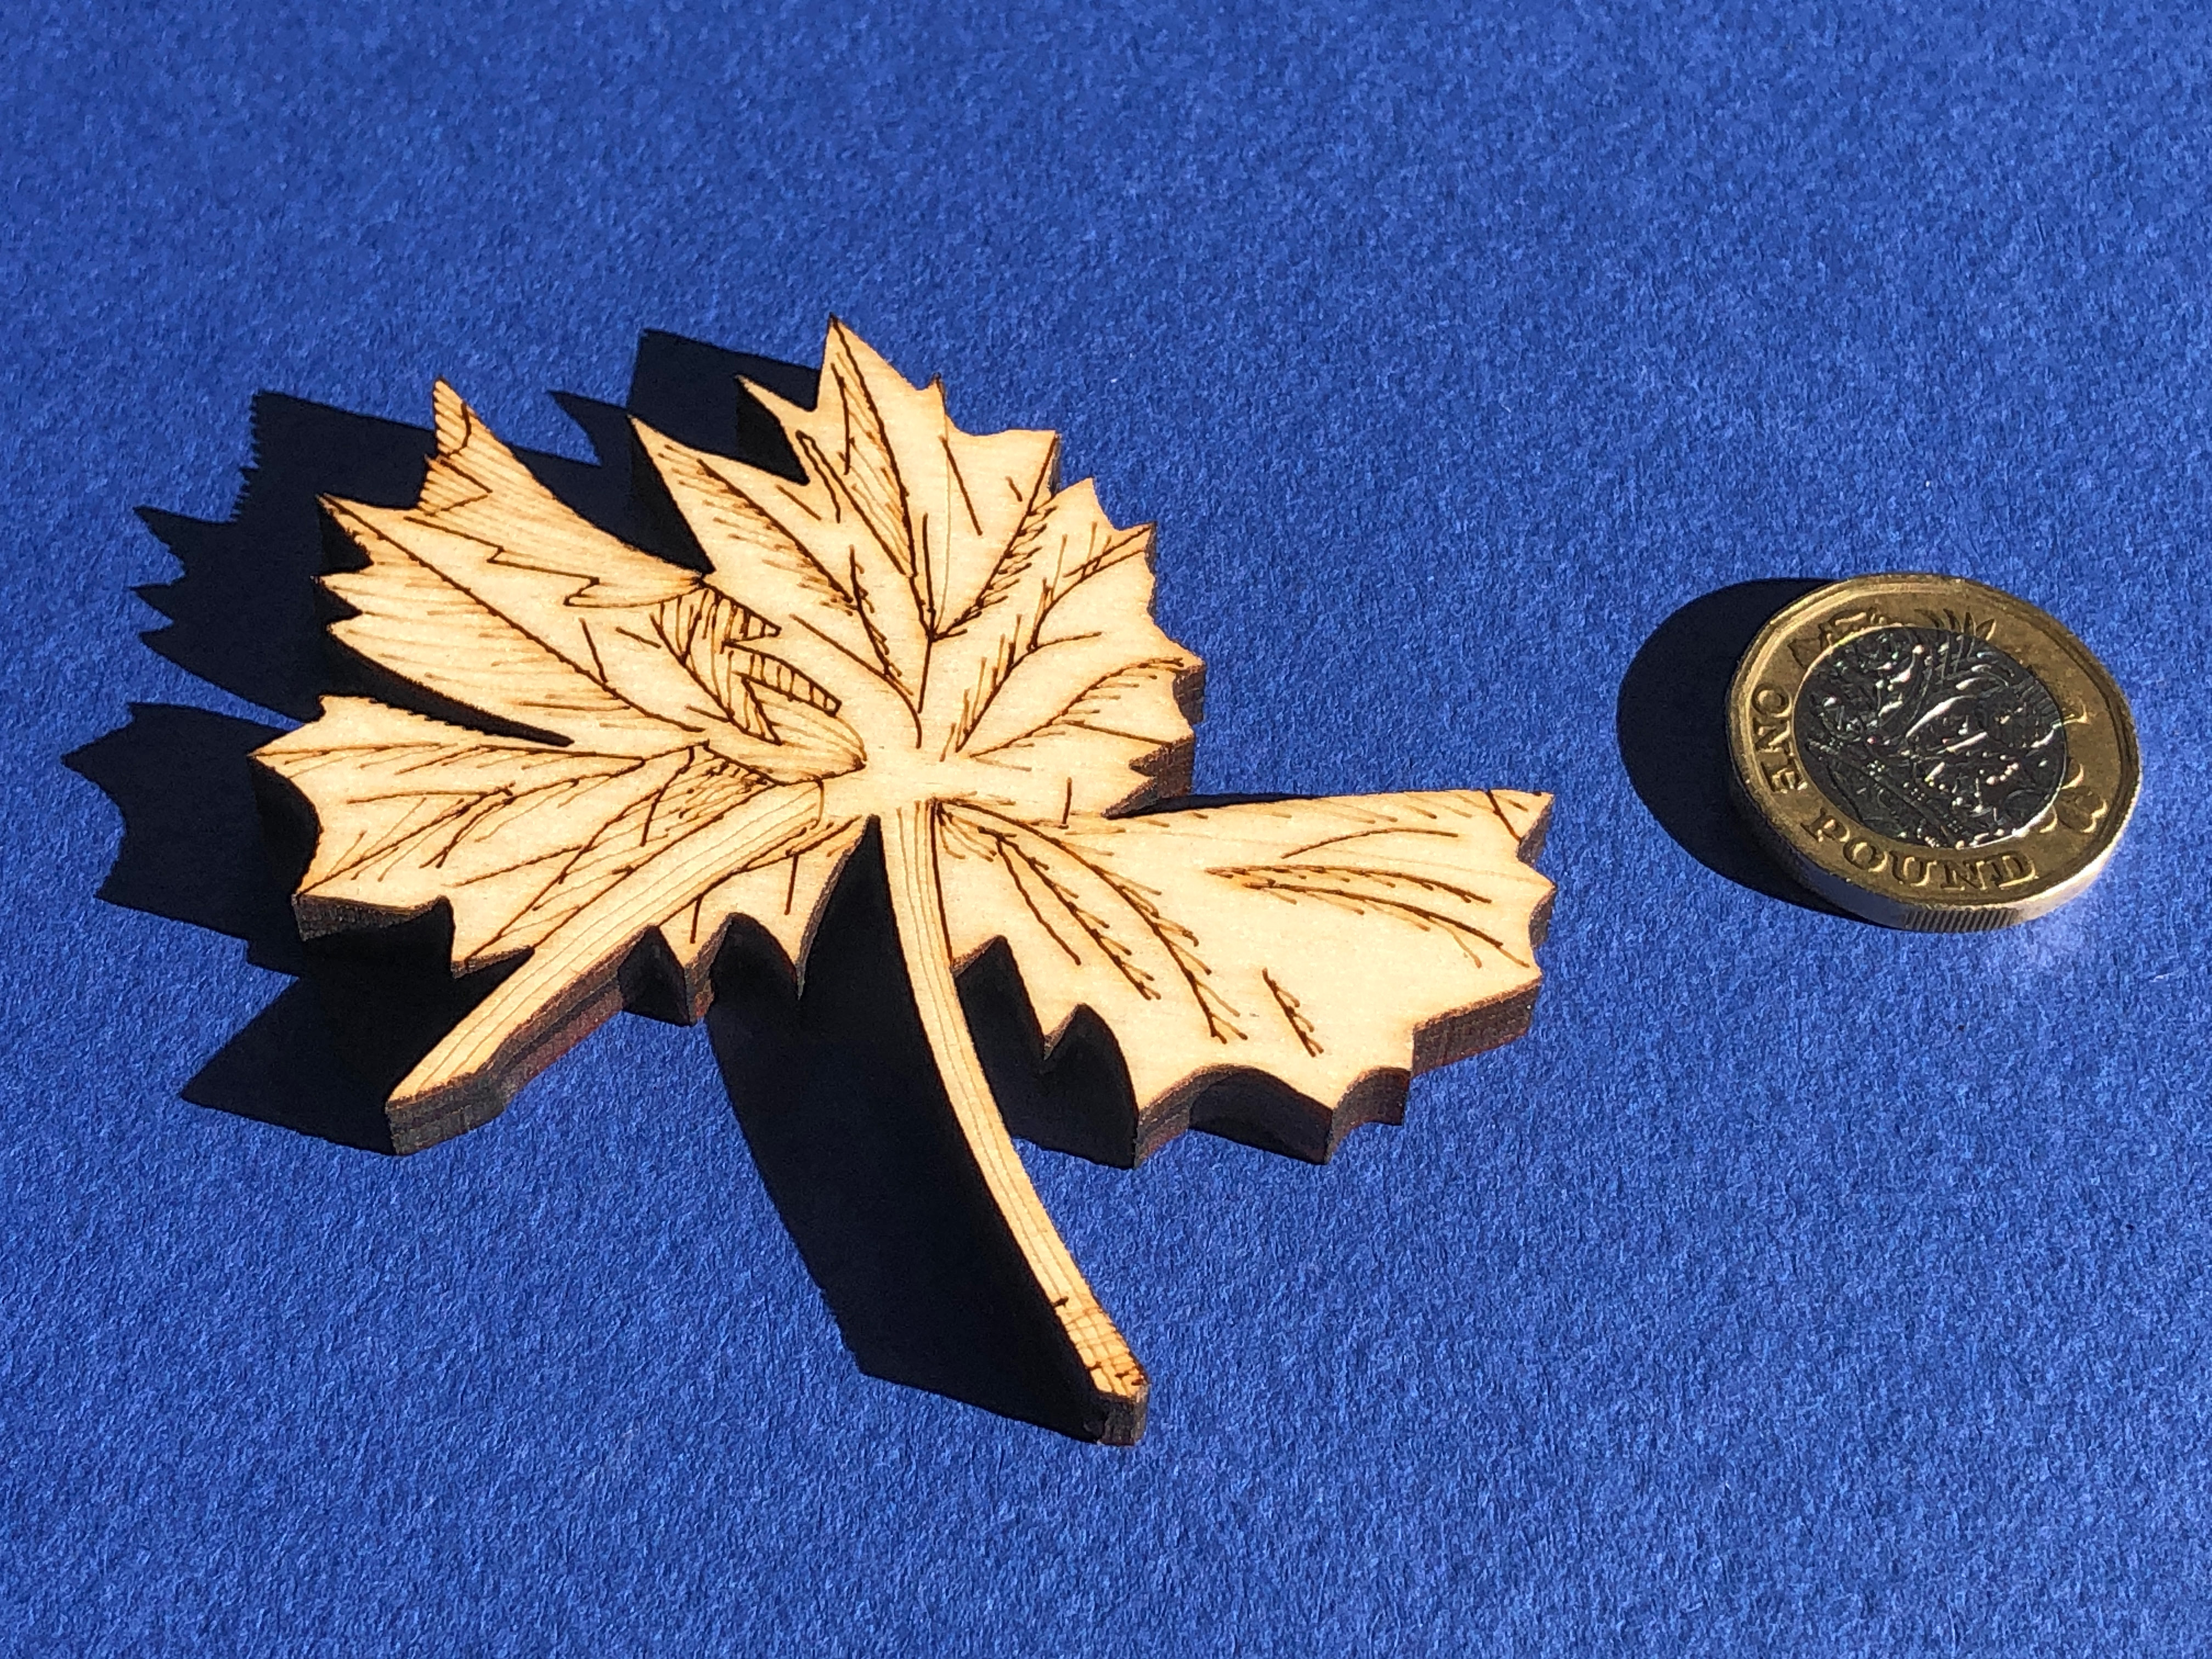
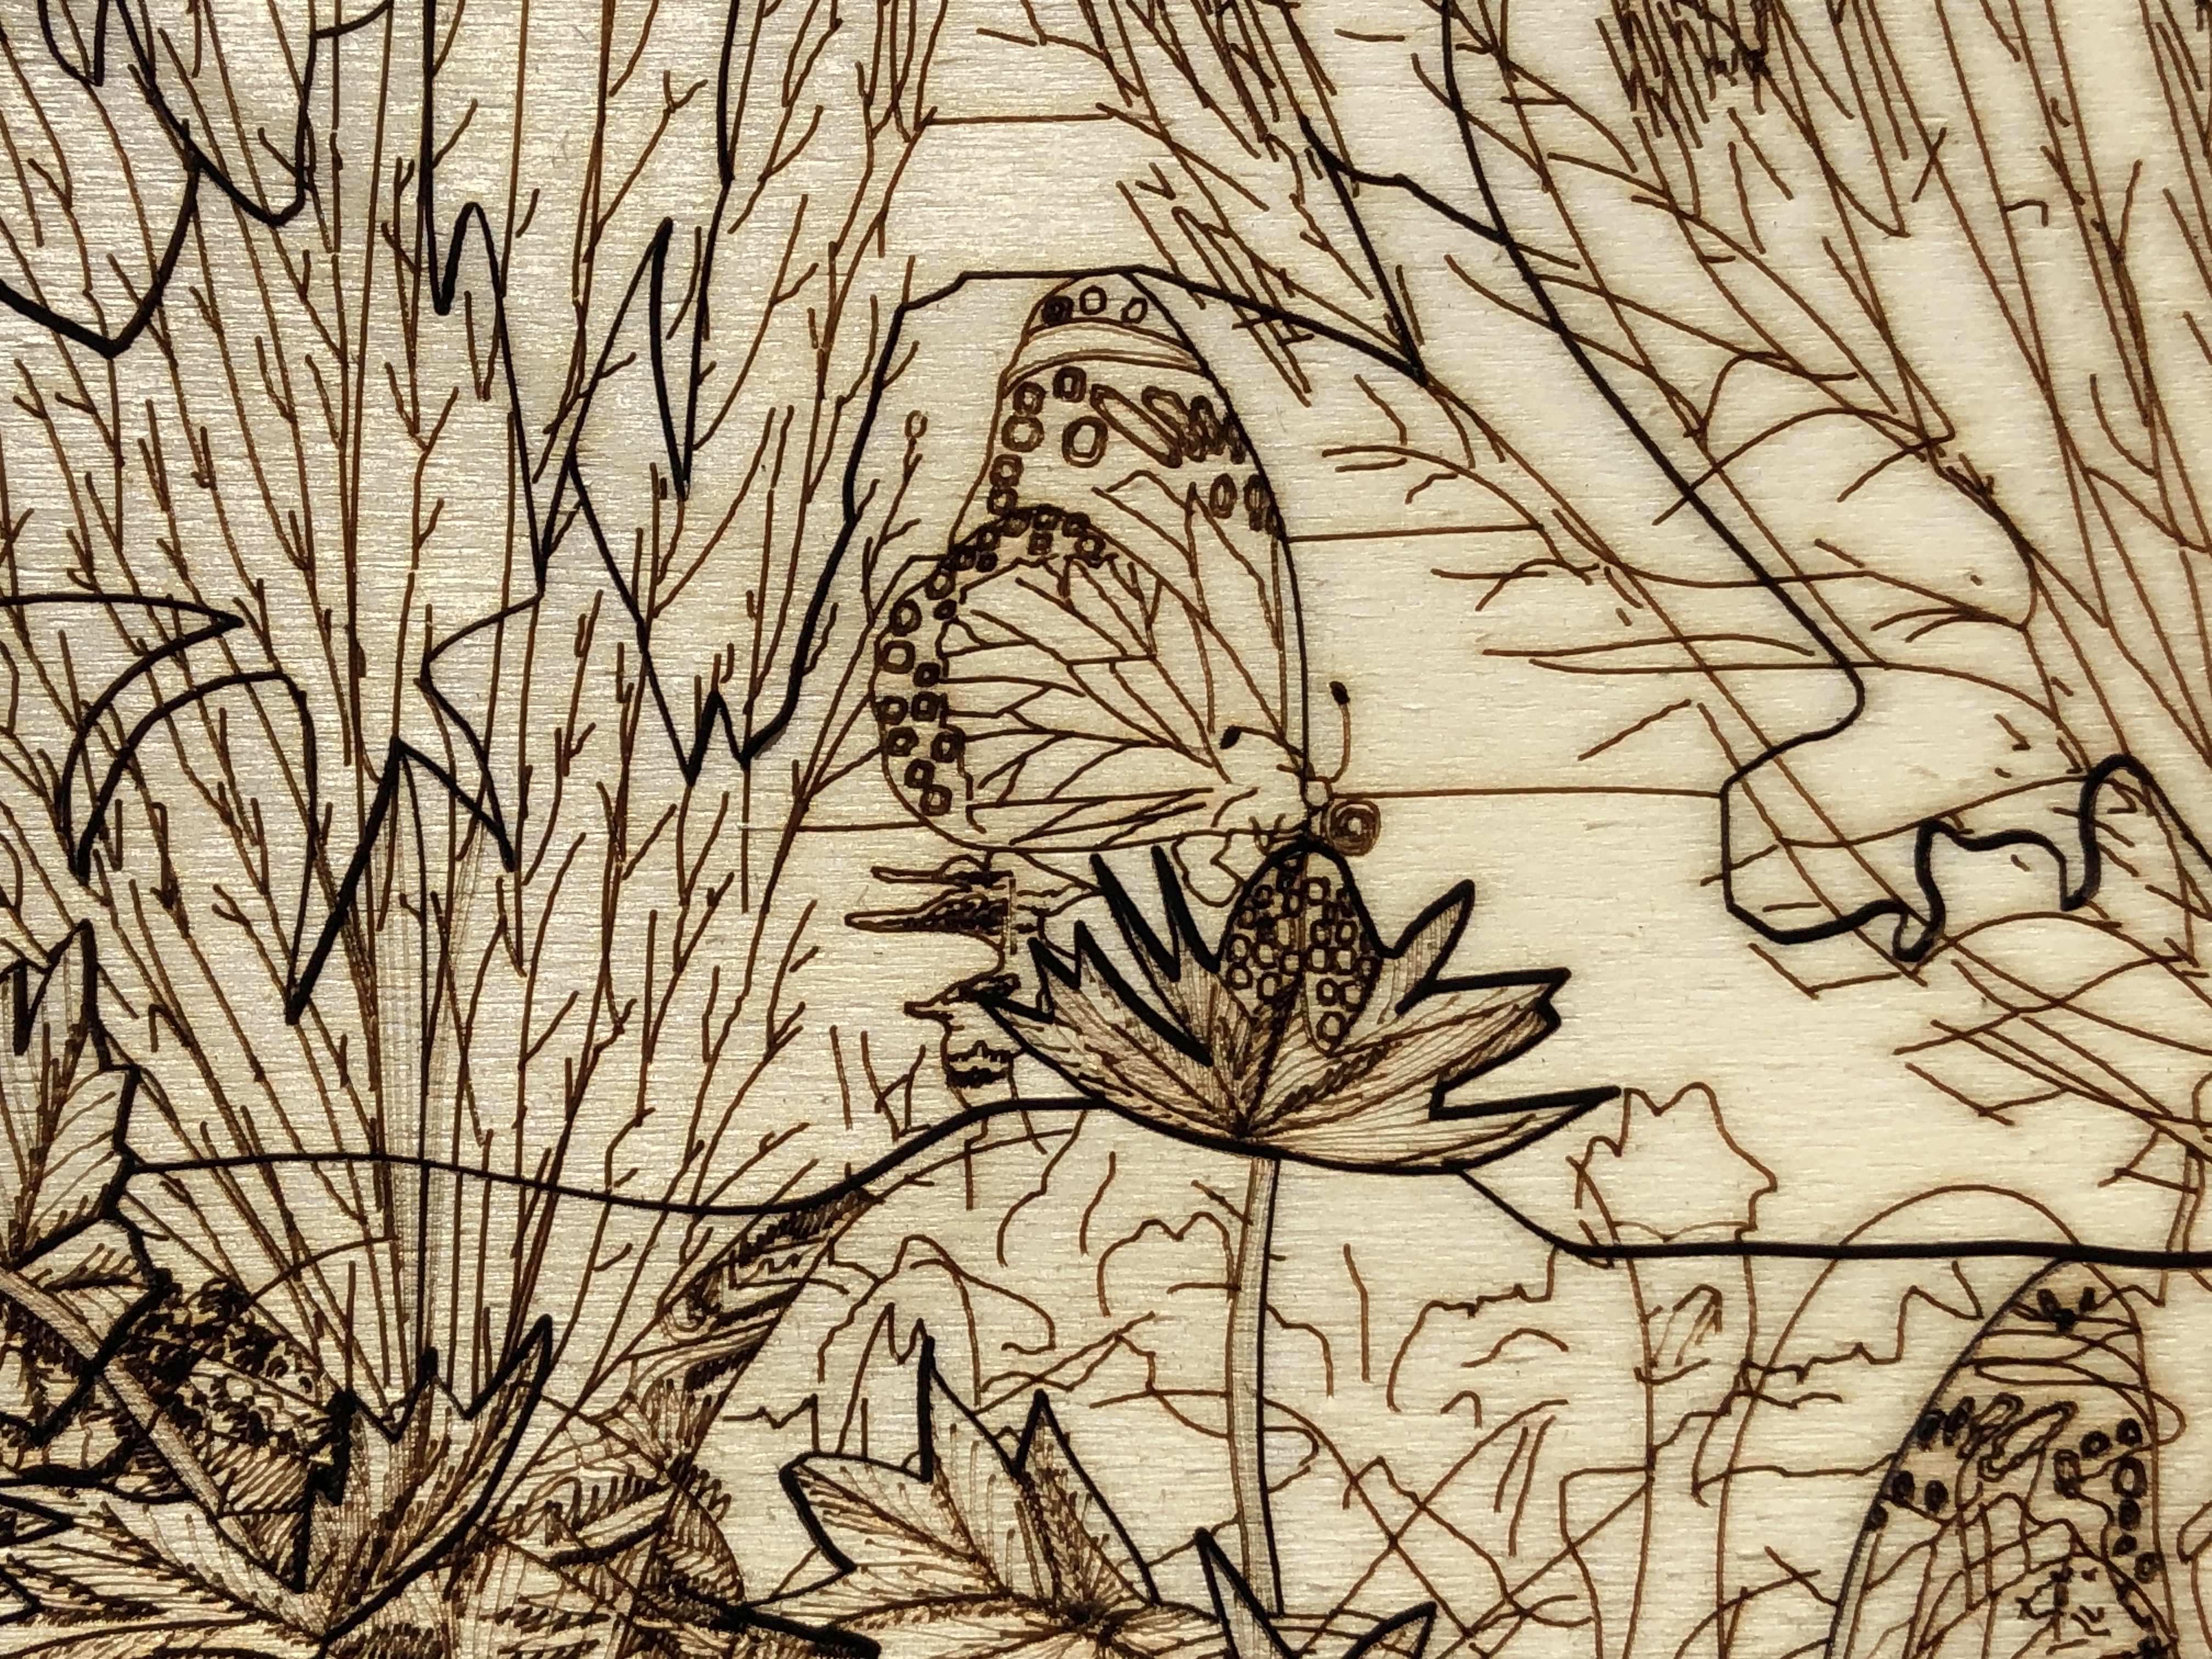
    This is a line drawing โ€“ where the strong lines are cut through the wood (to form the jigsaw puzzle pieces), and the weaker lines are scored and engraved on to the surface of the wood (to add extra detail) โ€“ by the use of a very high quality laser.

    This laser-cut artwork has considerable extra detail compared to the aforementioned artwork, and has a rich oak foliage background โ€“ to take full advantage of the extra cutting and scoring precision achievable with a very high quality laser โ€“ compared to hand-cutting and scoring. Also I wanted to produce much more affordable art โ€“ compared to my very laborious (and strenuous!), hand-cut, hand-finished, original artworks.

    Laser-cut

    This is not ordinary laser cutting: this is laser-cutting pushed to its limits. The usual flaws of laser cutting – scorching, burn marks, unsharp, brittle and crumbling edges, poor detail โ€“ might be acceptable to most people, but wasnโ€™t acceptable to me โ€“ a self-confessed perfectionist with OCD! So over several months I exhaustedly researched the problems, tried various solutions, found some to be too labour intensive, thought outside the box, made a special tool, and eventually came up with a workflow of pre-, and post-, production, specially selected materials, and using special techniques. Now Iโ€™m very happy with the results: near perfection and consistency โ€“ I think itโ€™s the best you are likely to see – or feelโ€ฆ

    Editions: Available in both limited and unlimited editions (see respectively named sections below).

    Material: finest quality 3mm hardwood plywood

    • sustainably produced wood
    • specially treated (protected against frequent handling, moisture, water spills, saliva, dirt)
      • non-cracking, non-peeling, non-flaking
      • (the limited edition has a higher specification โ€“ see โ€œLimited Editionโ€ section below)

    Number of pieces in puzzle: 156

    Jigsaw puzzle size: 297mm (H) x 210mm (W)

    Size with extended mat (for unlimited editions): 400mm (H) x 300mm (W)

    Custom Frame size (available for unlimited editions): 480mm (H) x 380mm (W) x 47mm (D)

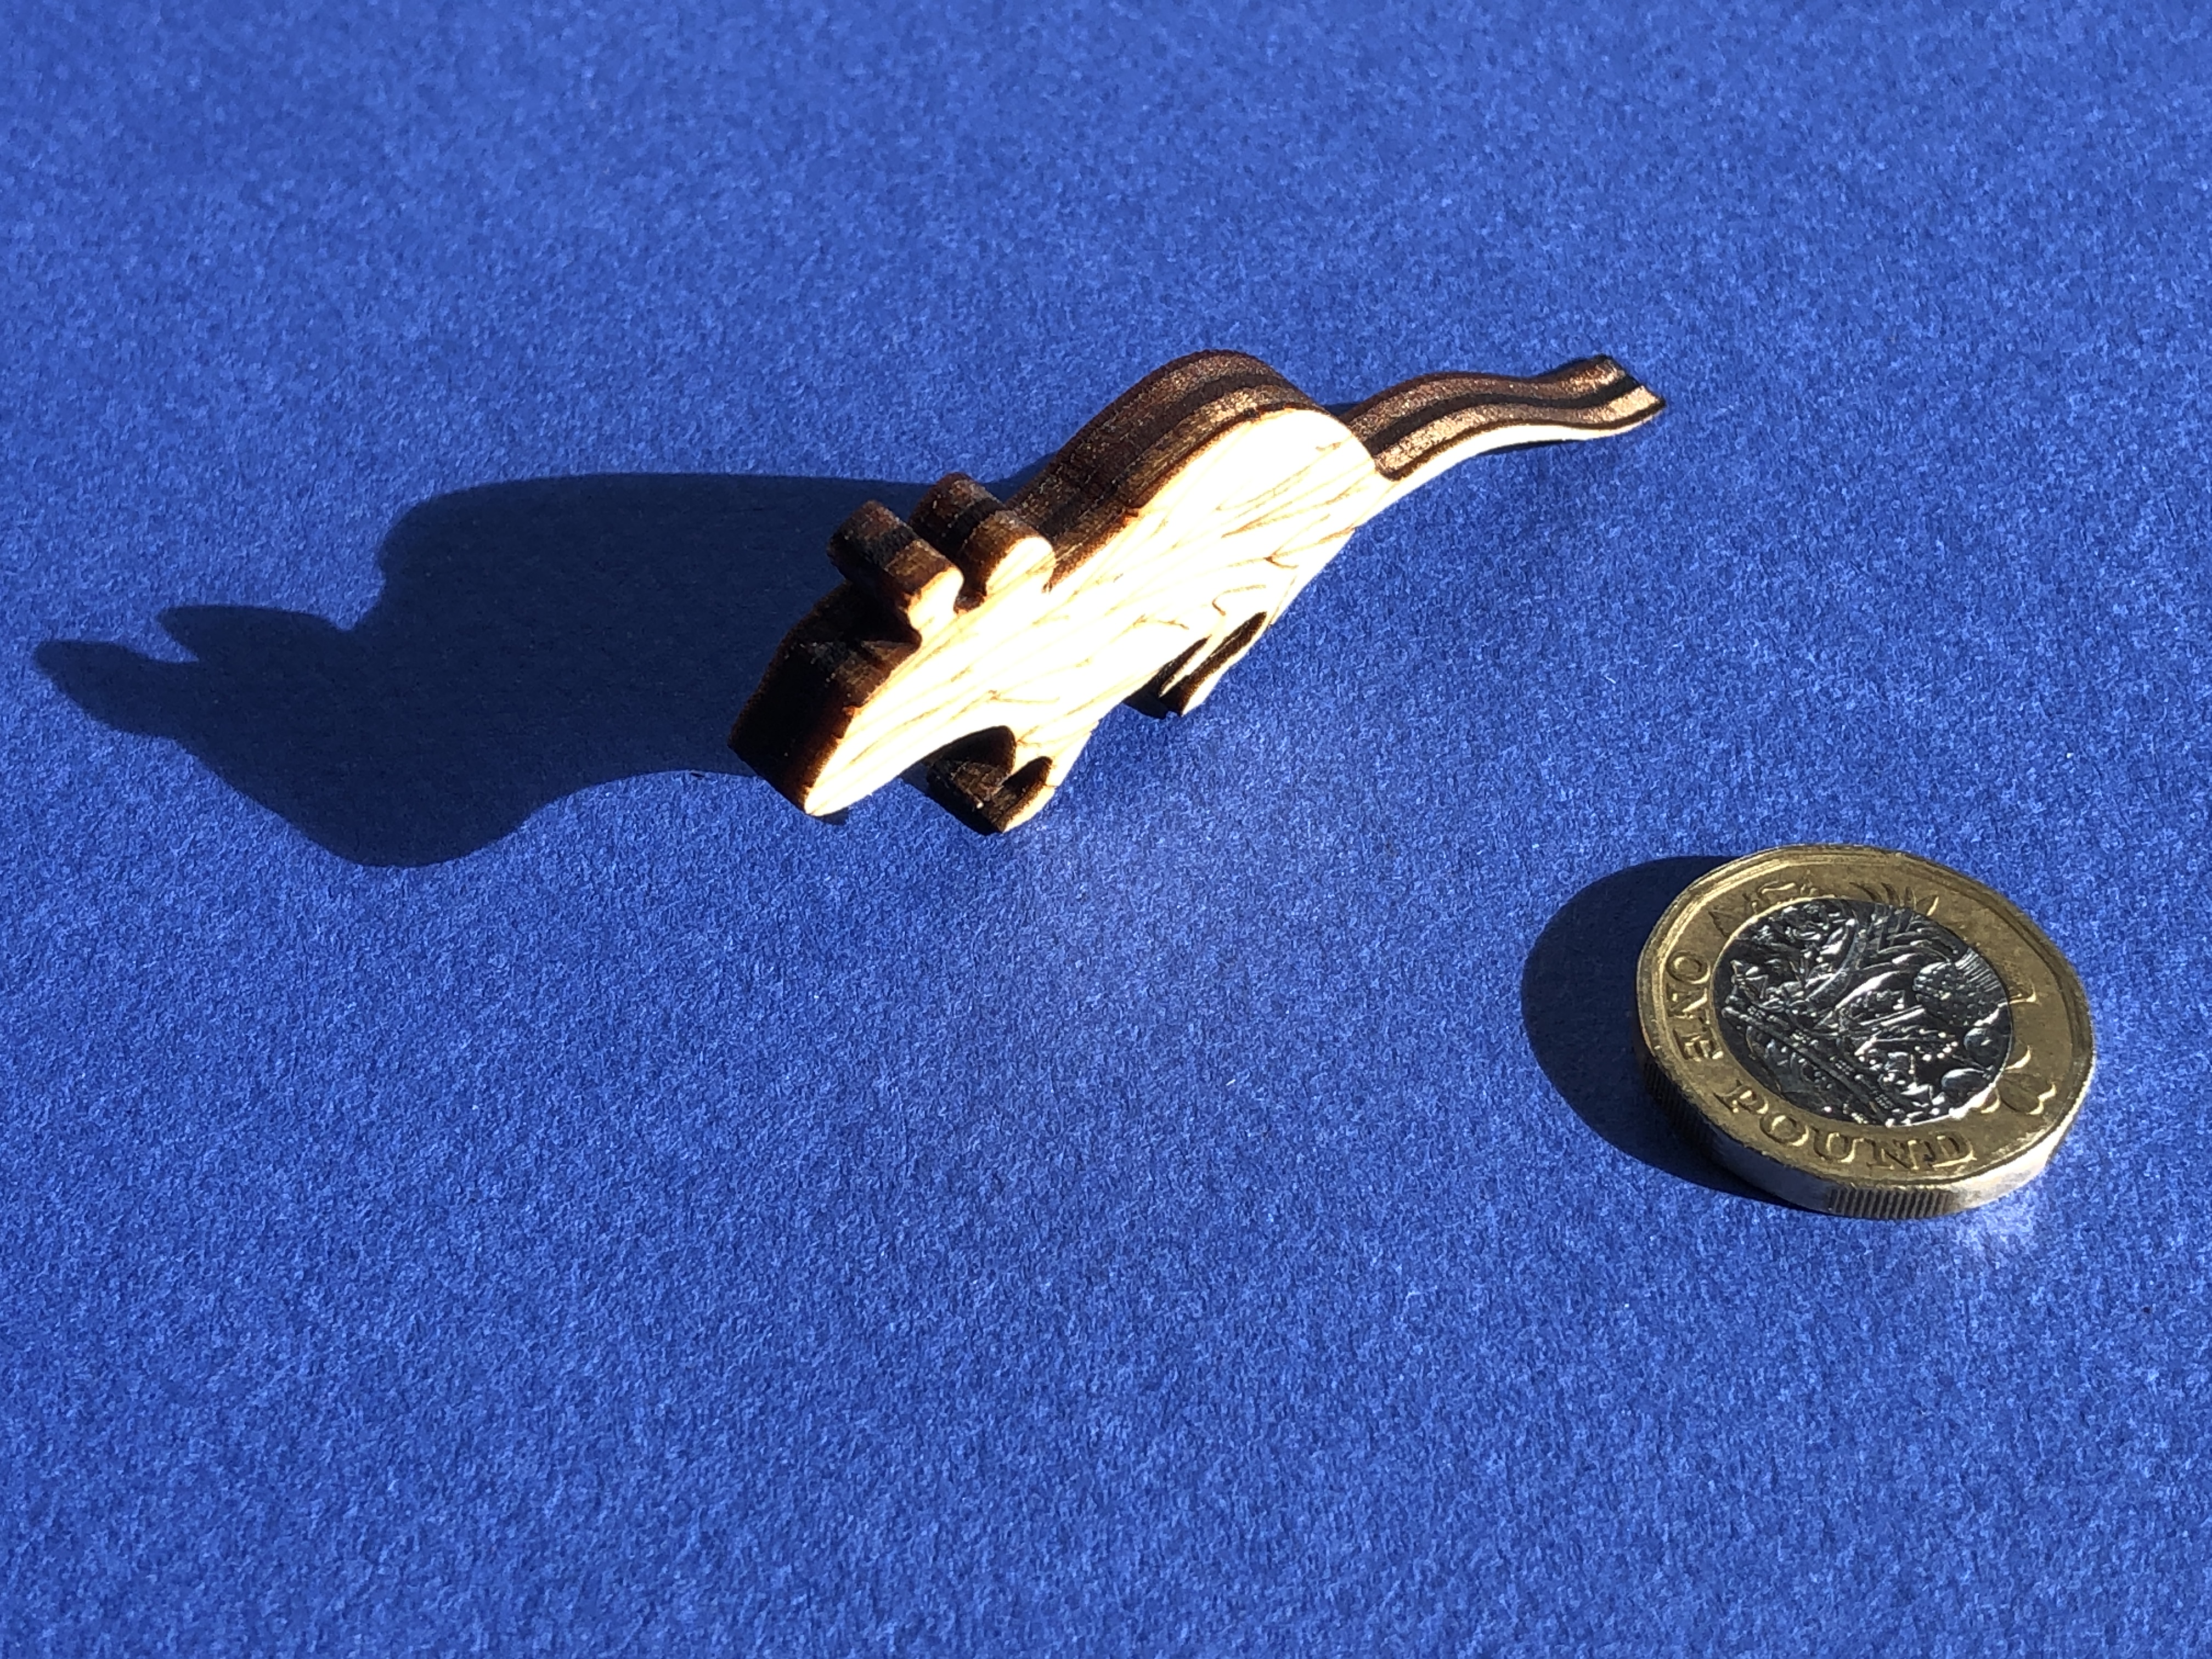
    N.B. Not suitable for young children due to the very small size of some of the pieces (the smallest are approximately 10mm x 5mm), however, the varnish meets child safety standards (EN 71.3).

    Limited Edition

    Details of the edition are hand-written by the artist in pencil on the special mat below the artwork in the following form :-

    Edition number (left), title of artwork & year (middle), signature (right).

    Edition Size: 101

    Edition numbering format: #[space][edition number]/[edition size] โ€“ e.g. โ€œ# 23/101โ€ (the โ€œ#โ€ is to prevent any additional digits being added to the left).

    While made from the same wood, the limited edition differ from the unlimited edition in the following important ways :-

    Comparing pieces from unlimited (left) and limited (right)
    • Are lighter in colour (with staining) so that the design stands out more clearly.
    • The wood is specially treated for maximum UV protection, to minimise colour change, and to virtually eliminate yellowing, darkening, and radiation damage that normally occurs in unprotected wood after many years.
    • Are cut with a much finer laser to virtually eliminate the gap between pieces and to give even tighter joints than the unlimited edition. The laser cutting takes three times longer than normal โ€“ taking over three hours for each artwork.
    • They come with the outer perimeter wood (known as the โ€œmatโ€) from which they were cut โ€“ with the design bleeding 2mm into it – making a natural-looking border. The mat is intended to be framed, and it provides space for the all-important hand-written edition number, the work title, the year, and the artistโ€™s signature.
    • Available with the optional special bespoke museum-grade archival frame. Not everyone is concerned about protecting their investment and their art staying in excellent condition for hundreds of years – or they possibly are, but donโ€™t want to spend the extra money on this – which is why the special framing offered is optional. The limited edition art jigsaw puzzle can be purchased unframed (it still comes with the aforementioned mat).

      The frame has been specially designed and made by me. I am an experienced framer (and general carpenter/joiner), but I donโ€™t relish framing! I only make special frames because unfortunately some of the types of frames I want canโ€™t be made by most professional framers โ€“ they can need special joints, special and very exacting moulding, interlocking double frames with very precise features.

      Most art is only for show – it is not meant to be touched at all – and is shielded behind a completely sealed frame and/or covered in layers of varnish. The custom frame made for this artwork is very special because I wanted the ability for the artwork to be hung on the wall โ€“ with all the pieces remaining in place(!) โ€“ whilst also being easily opened – so that the jigsaw puzzle can actually be solved as often as desired. How to achieve this, whilst at the same time providing the maximum level of protection so that the artwork lasts hundreds of yearsโ€ฆ? The answer was to make a two- part museum-grade frame – where one part fits snugly inside the other. The front (outer) part has the highest quality, clearest, anti-reflective, museum glass – that virtually eliminates all harmful UV radiation and naturally protects the artwork from dirt, dust, etc. The back (inner) part holds the mat of the artwork jigsaw puzzle completely flat to a museum-grade, acid-neutral, non-VOC, non-staining, 100% cotton rag mount board – which in turn is mounted on a very thick, very rigid, acid-free, non-VOC, non-staining, backing board – all using museum-grade adhesives, hinges, and tapes. The front (outer) frame is made from a customised precision moulding – because the required specifications are such that it is not available off-the-shelf.

      The end result is a fabulous frame โ€œsandwichโ€ that can be put on the wall – like normal framed artwork โ€“ and can be taken down any time so you can attempt to solve it. The front part can easily be lifted off (by sliding open the clasps at the back), and the jigsaw puzzle pieces can be tipped out โ€“ ready to be solved. Afterwards, the front can be replaced, the clasps at the back closed, and the whole frame can be hung back on the wall.

      This frame design is museum grade in all but one inevitable respect: it is designed to be opened – and is therefore not completely and permanently sealed. This is a very minor concession – that is obviously required for the ability to solve the jigsaw puzzle as often as required. However, obviously it can very easily be sealed at the back (preferably with readily available archival backing tape) if required โ€“ needing no special tools or skill. When sealed at the back like this, it would be 100% museum grade. But even without being sealed, it is 99% museum grade โ€“ and should last in pristine condition for hundreds of years.

    Unlimited Edition

    The unlimited edition is a very high quality laser-cut wooden product – probably the highest quality wooden jigsaw puzzle available anywhere – as of 2023 (apart from the limited edition version of course). These are not mass-produced: they are individually produced on a very fine laser – taking over an hour each – and the post-production is individually inspected and counted to guarantee quality control. The unlimited edition is not available framed.